Simple Chairs with some color
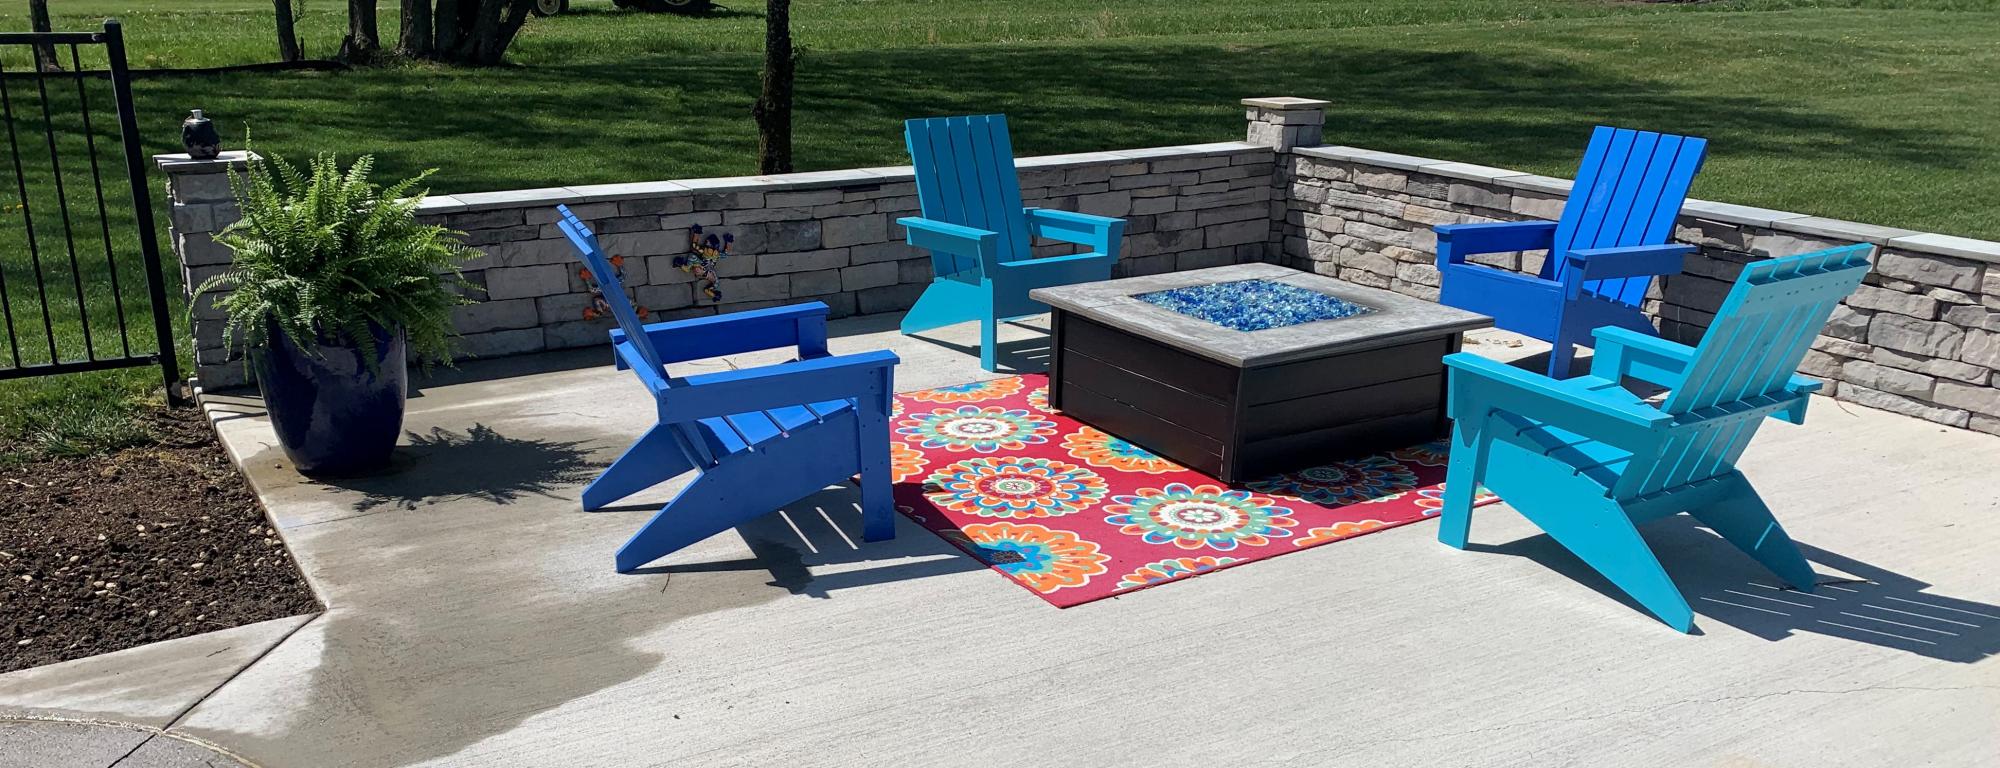
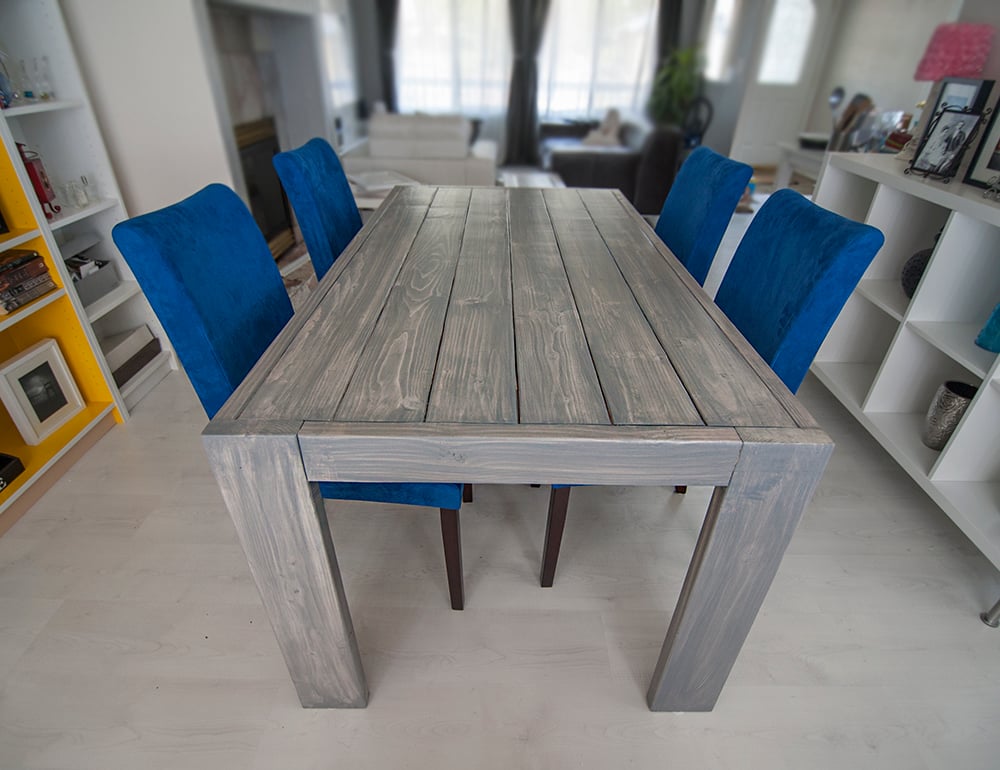
My son and I conquered this project over the winter. Cut all the pcs and the assembled 4 chairs for less than $150.

My son and I conquered this project over the winter. Cut all the pcs and the assembled 4 chairs for less than $150.
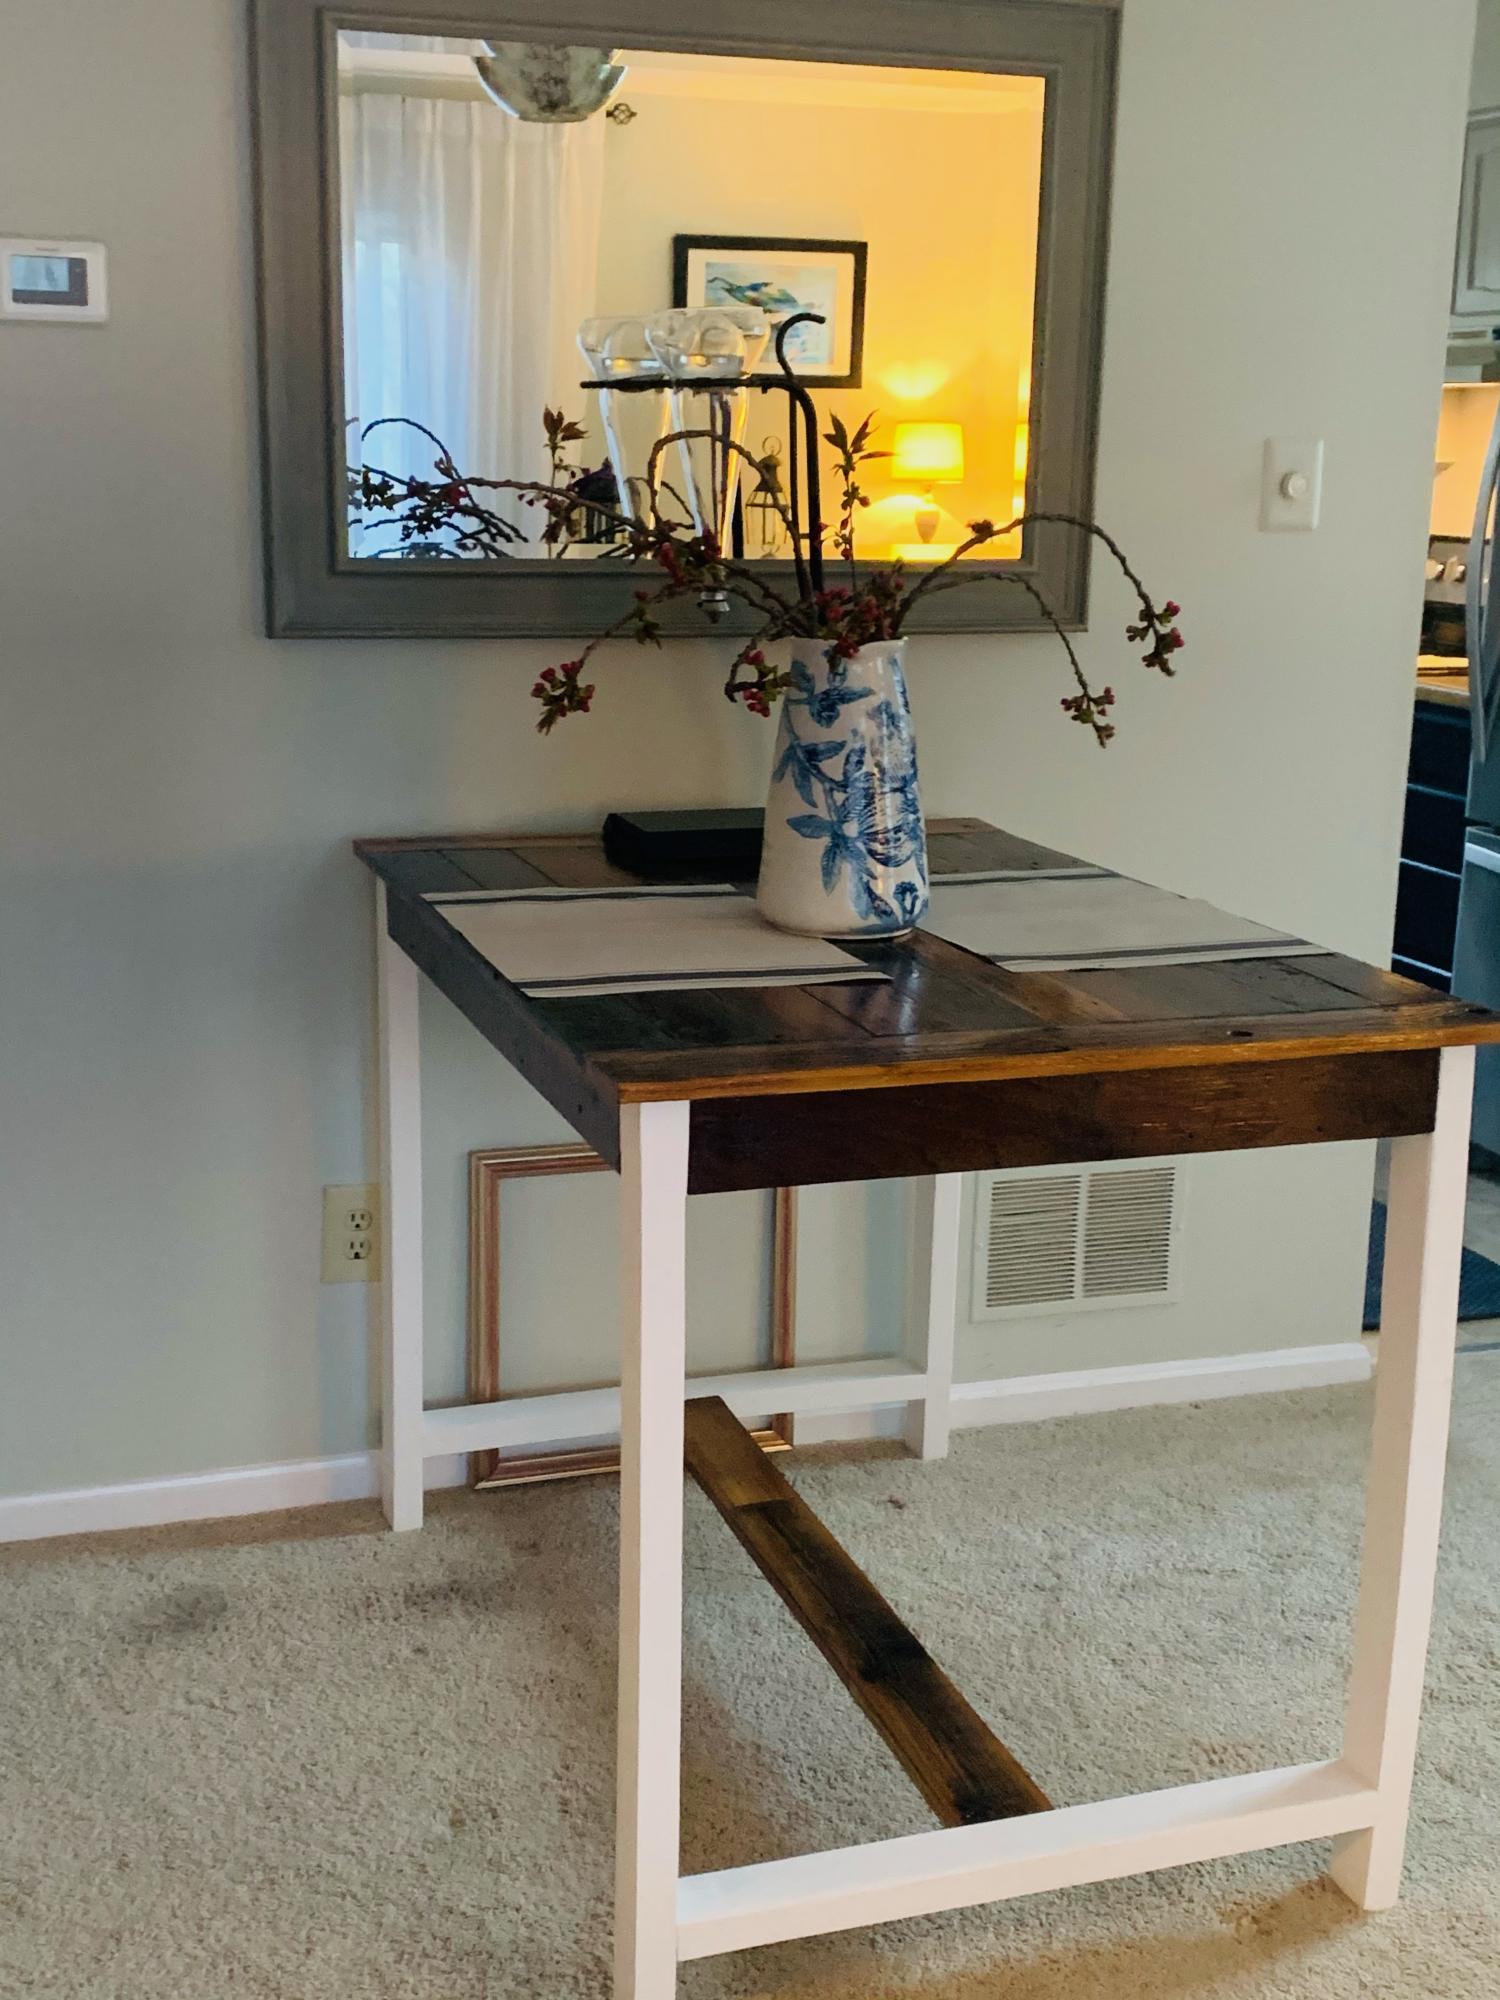
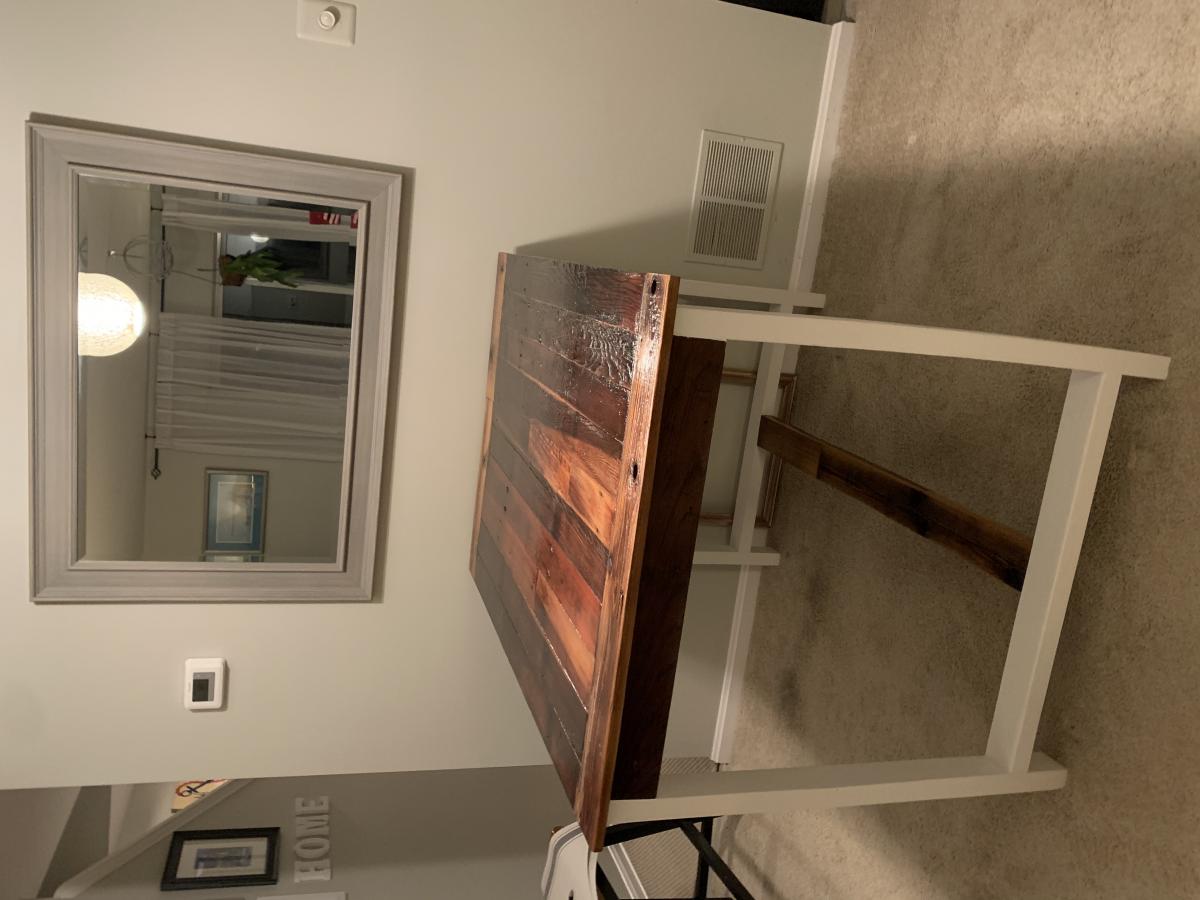
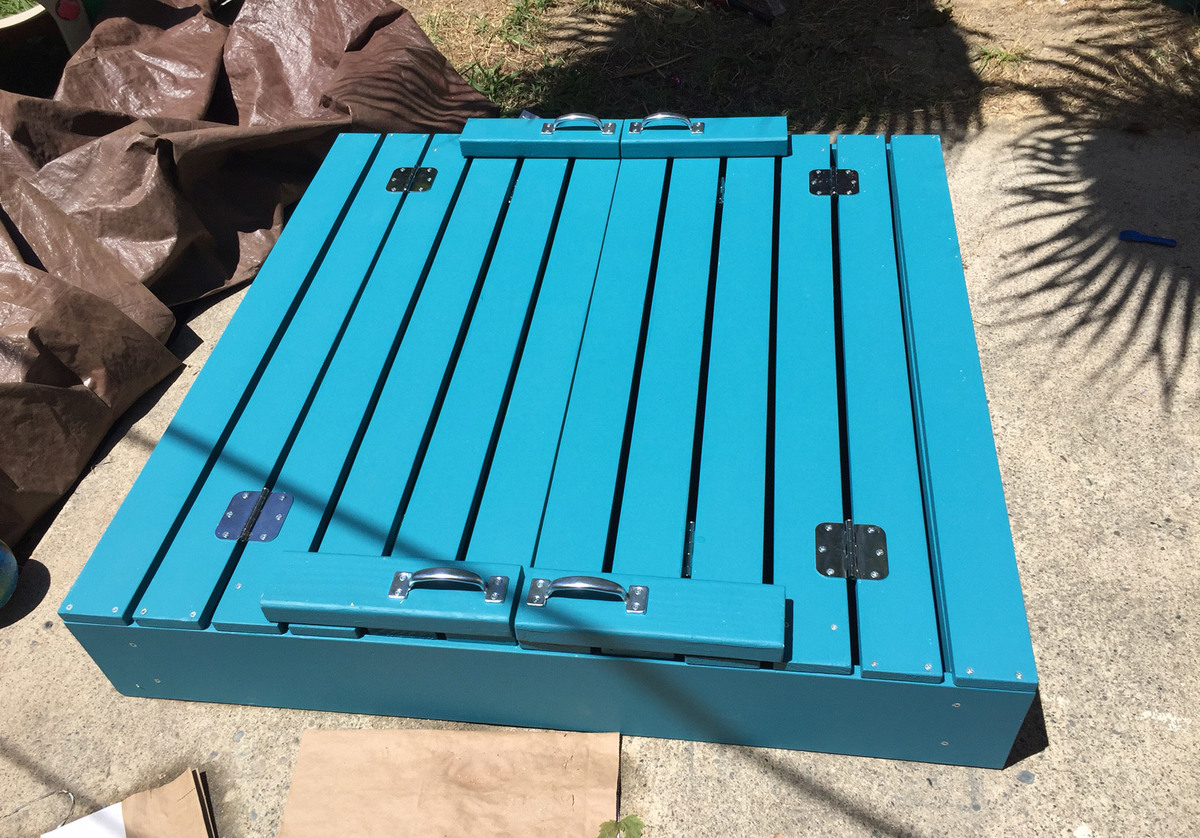
I used the outdoor bar plans to build this table. I have limited space in a living/dining room and had to fit the measurements to the space I have and the size of the pre-existing tabletop.
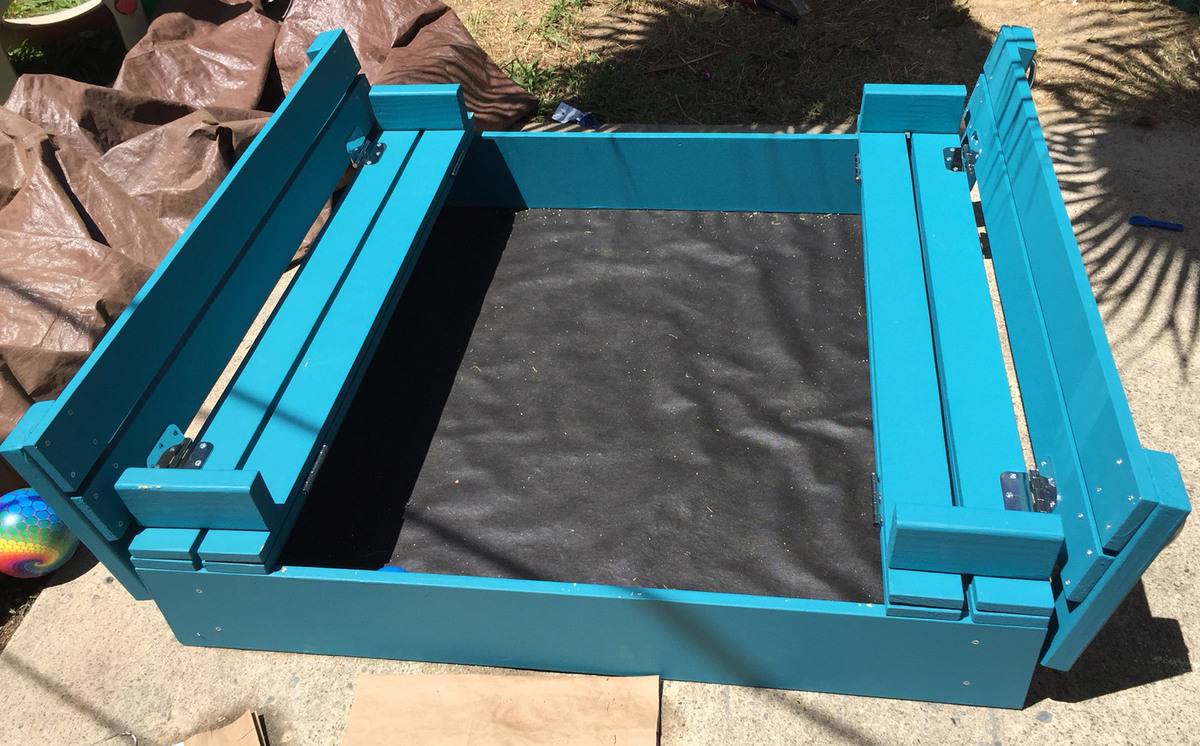
I have built some other stuff before, but not with paint and sanding and such. It was definitely a great learning project. There are imperfections, but it's a toy, so kids will be having fun and that is all that matters.
Mon, 02/07/2022 - 20:12
Did you attach the landscape fabric to the bottom of the side boards? Looks great.
I built a wooden toy truck using a leftover 1x4 board in my garage. For this build I used Ana White's plans for the wood wheelie cars. This was a quick and easy project and my first project using my scroll saw. Not too shabby for my first go at toy making. However, I am not happy with the finished toy. If I did it all over again, I would take my time with the finish. Also, the driver was not perpendicular to the truck's body when I created the holes for the axles, so the truck leans slightly. My son does not seem to notice its flaws, so I will try to overlook them as well! Check out the blog link for more project details!
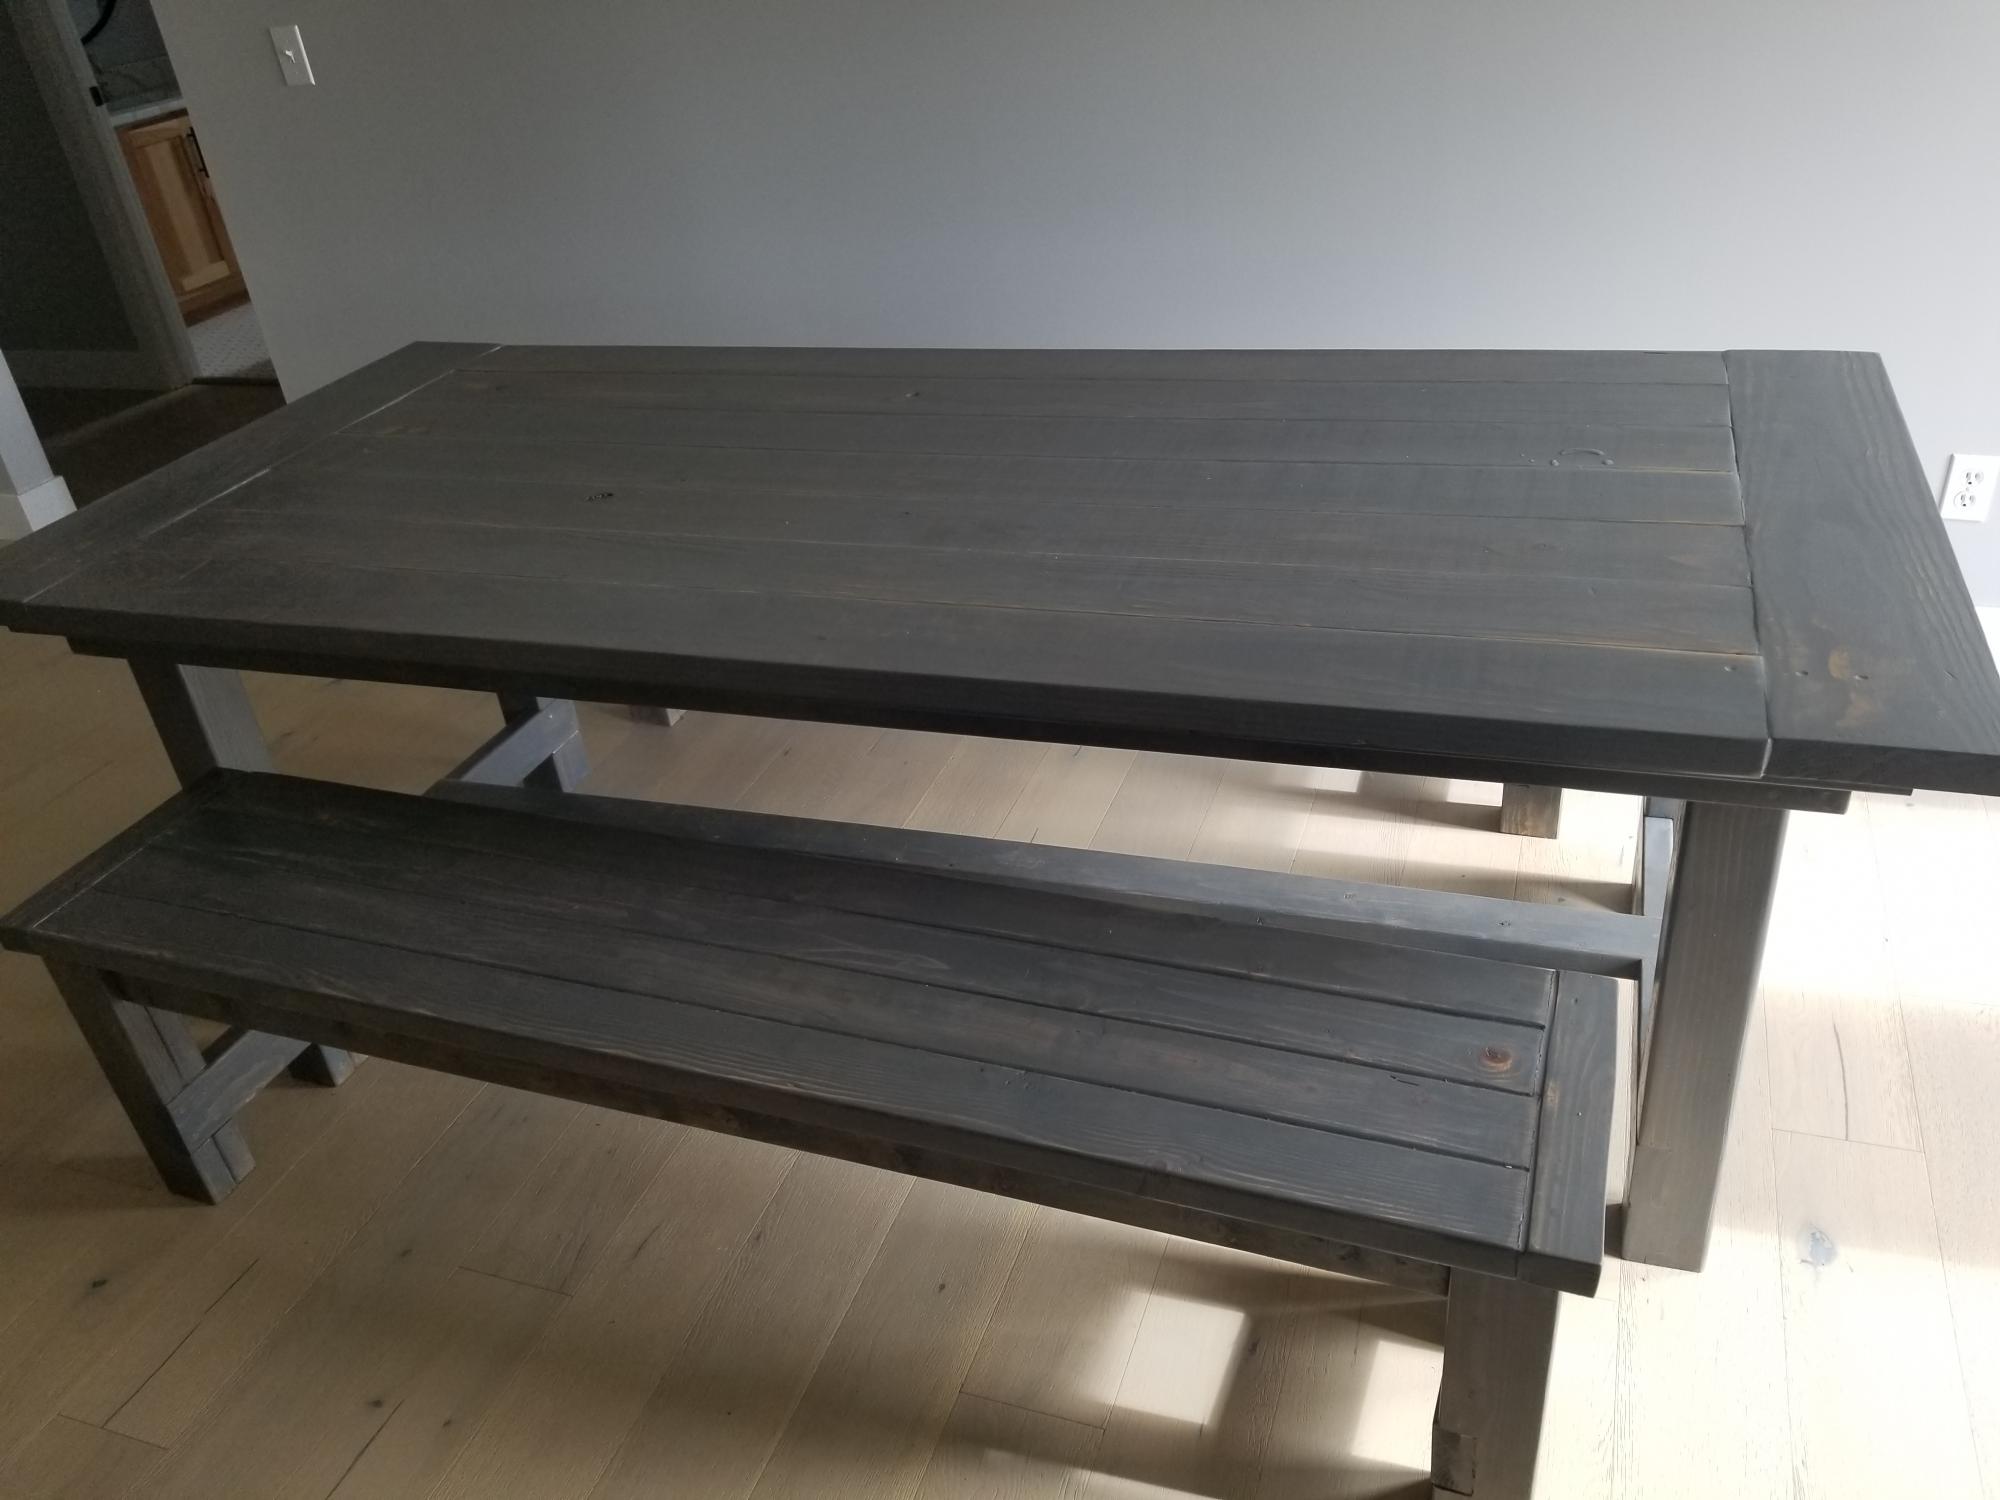
My daughter found this plan on the Ana White website and now, we have made 3 tables total. Pictured is the 2nd one we built together and is currently in her house now.
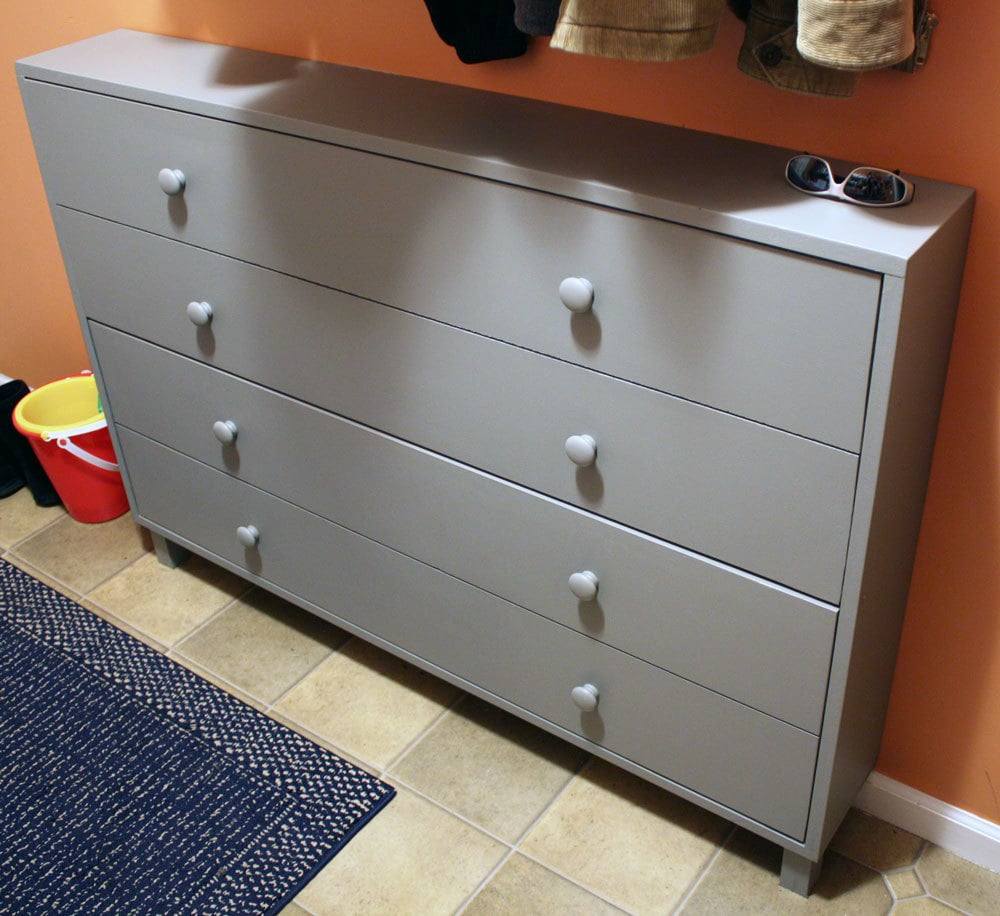
We have two young kids who don't want to take their shoes and put them away (as well as two adults who are the same way) so I asked my hubby to make Ana's shoe dresser. He did a great job and we were so excited with how it turned out!
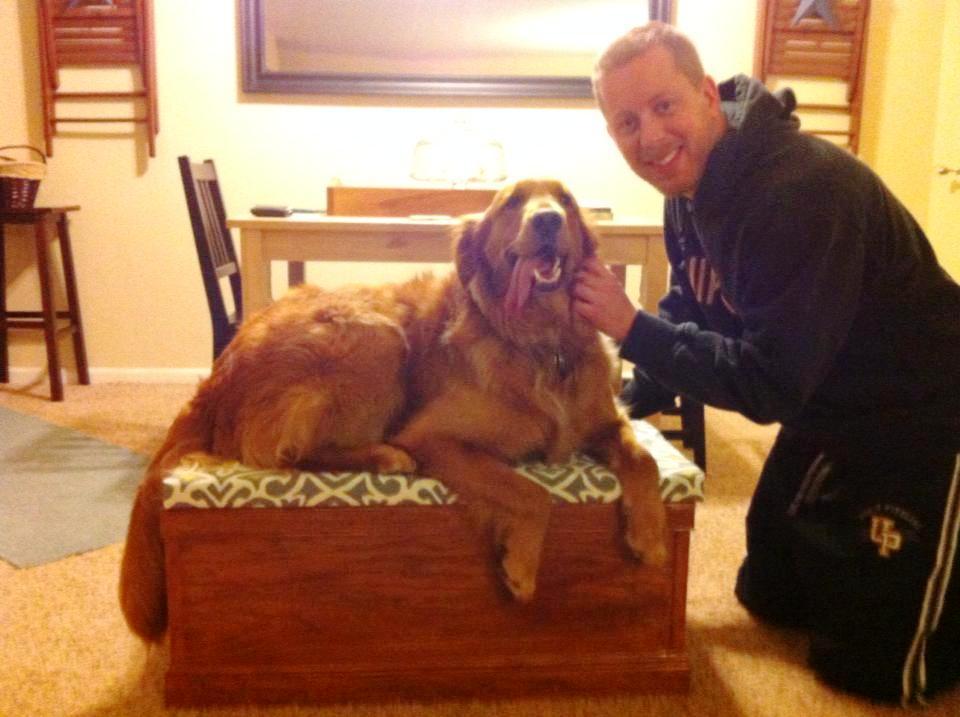
My wife and I have a 2 year old, 85lb, golden retriever named Lily. She has a tough time jumping up on our bed and has hurt herself on a few occasions. I was inspired to build her a step, but also wanted some storage. When I saw the Becca Trunk I knew I had to build it!
I used oak ply and solid oak for the trim, including some decorative leaf inscribed trim for the top and bottom. My wife and I picked out some outdoor furniture fabric that was stylish and would hold up to a big dog jumping on it. She used some firm padding and staple gunned the fabric to create a really neat and clean look (I am lost when it comes to that stuff, but she is a genius with scissors).
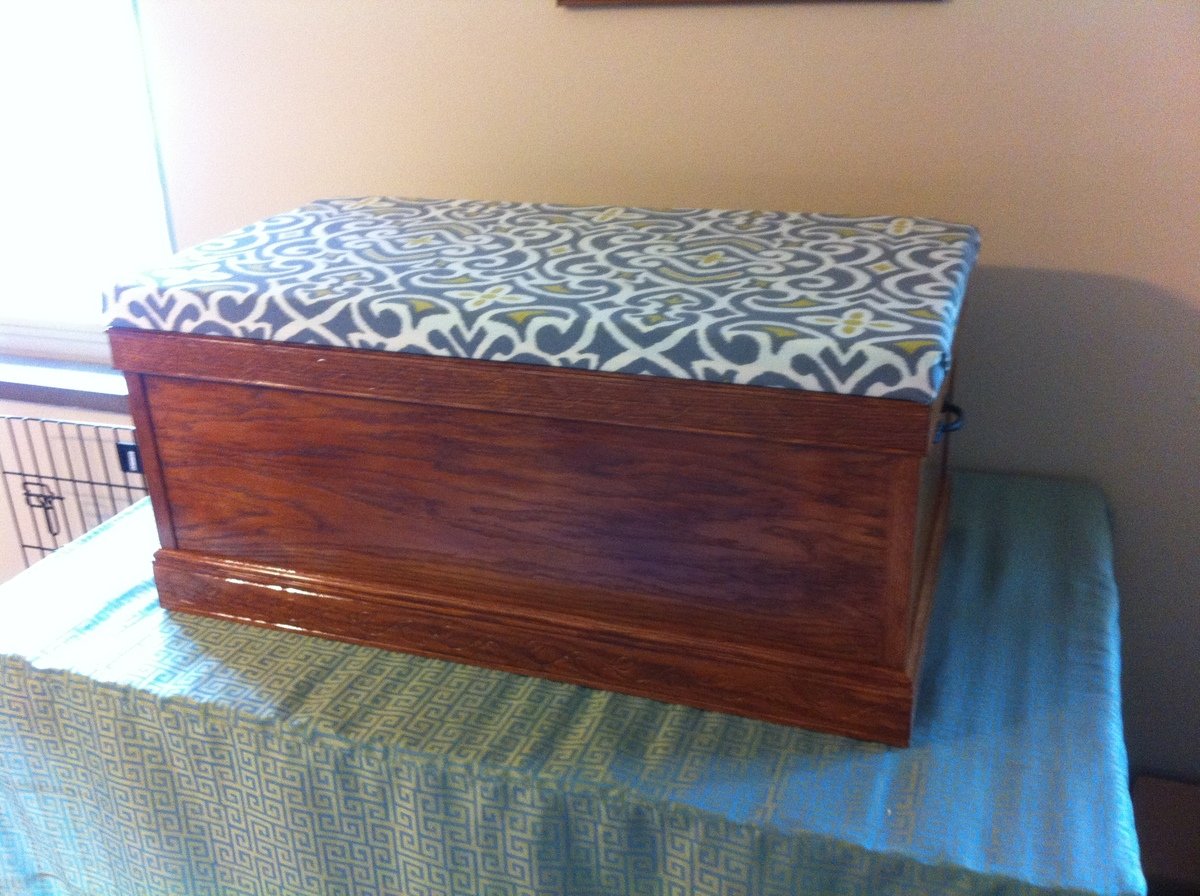
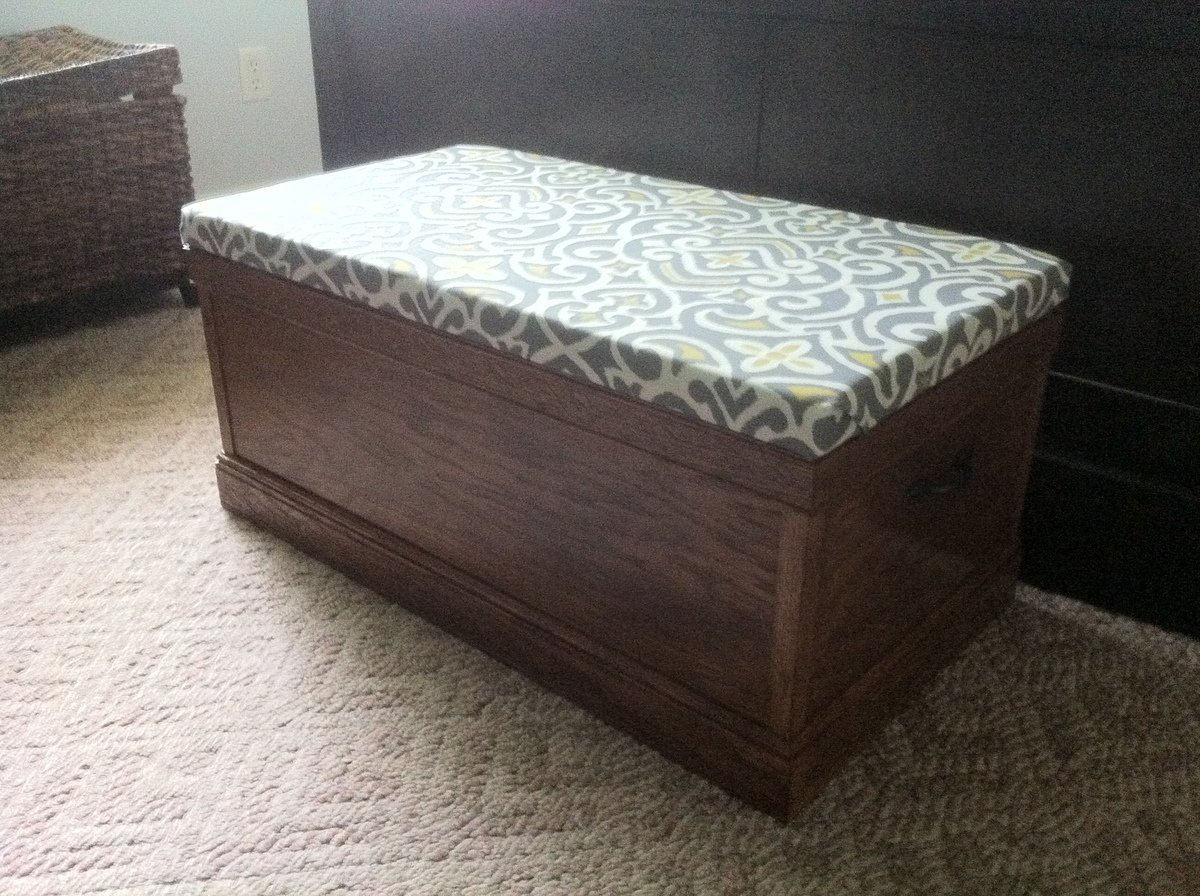
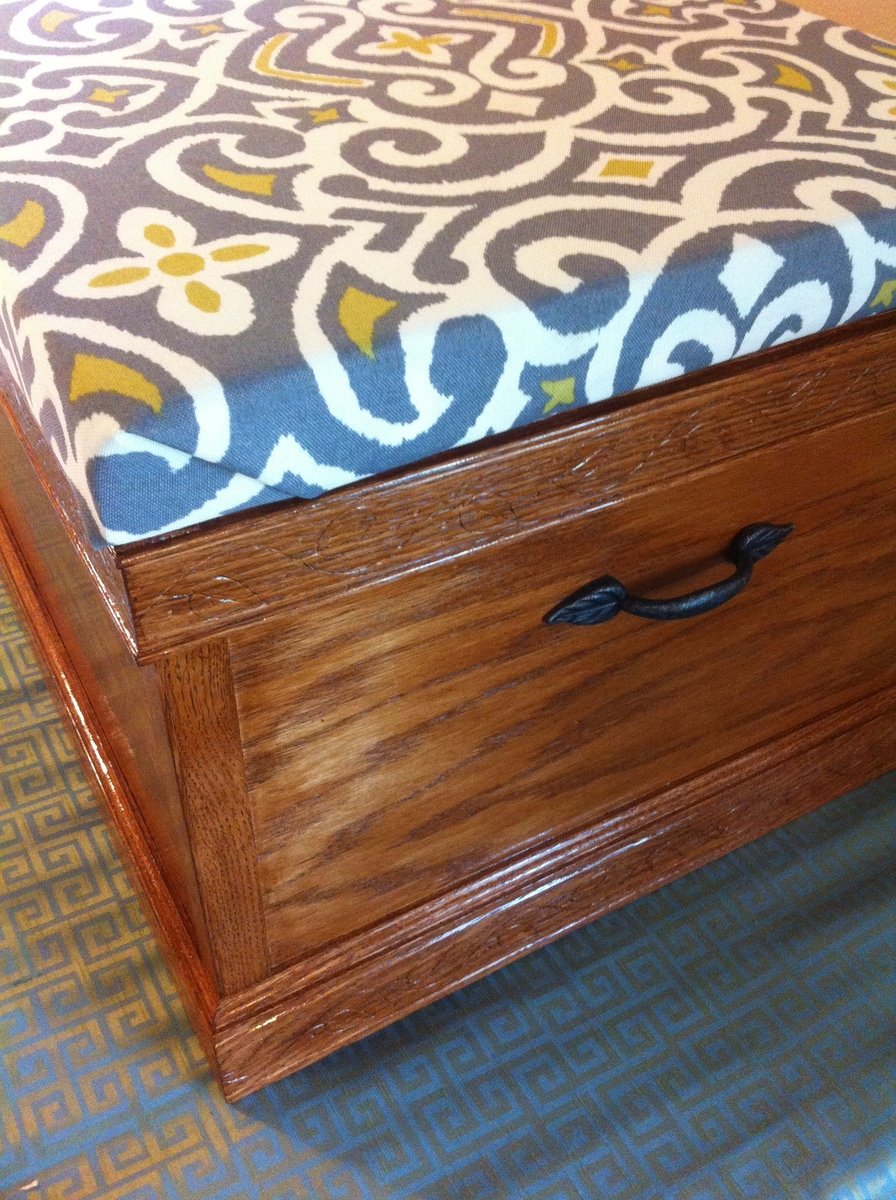
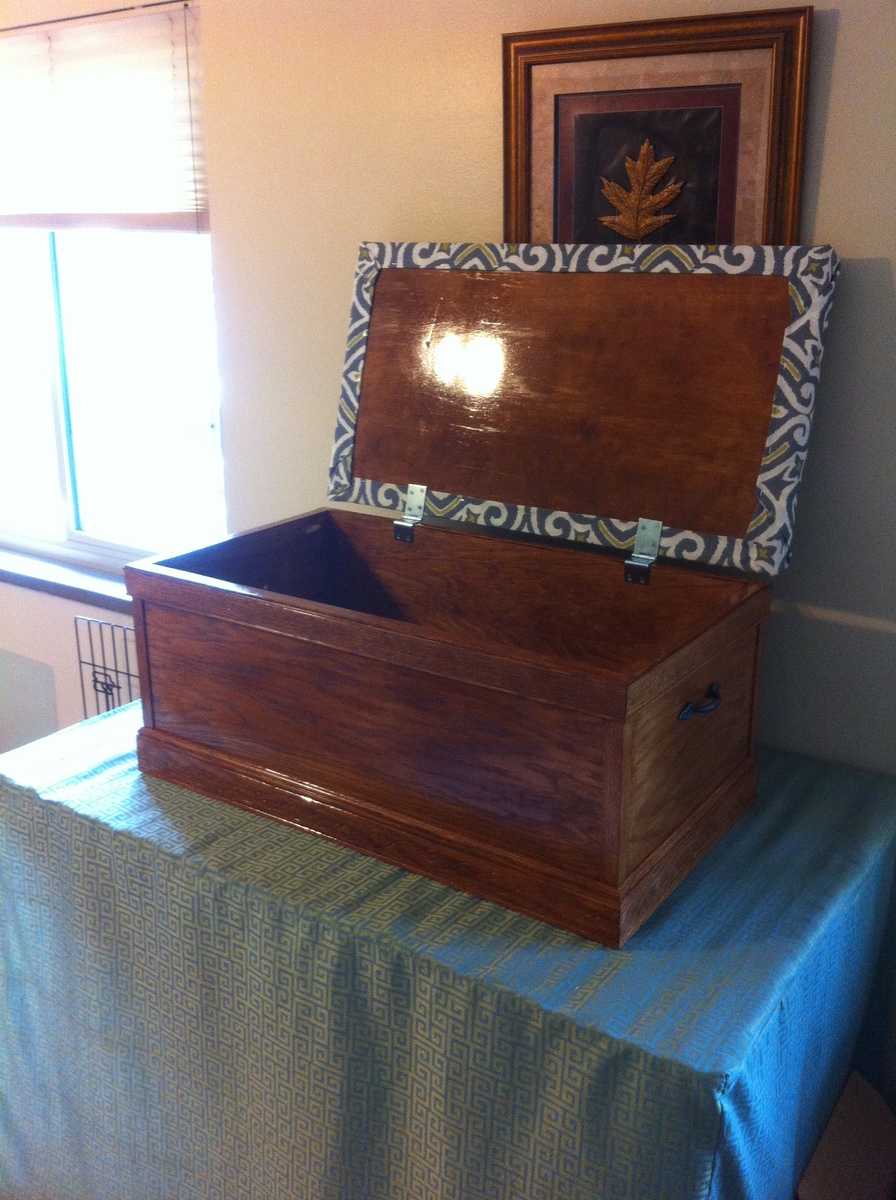
This was my first project to build although I cut wood for another project a year ago. The plans were simple and easy to follow. Now I want to build more! Thank you Ana!
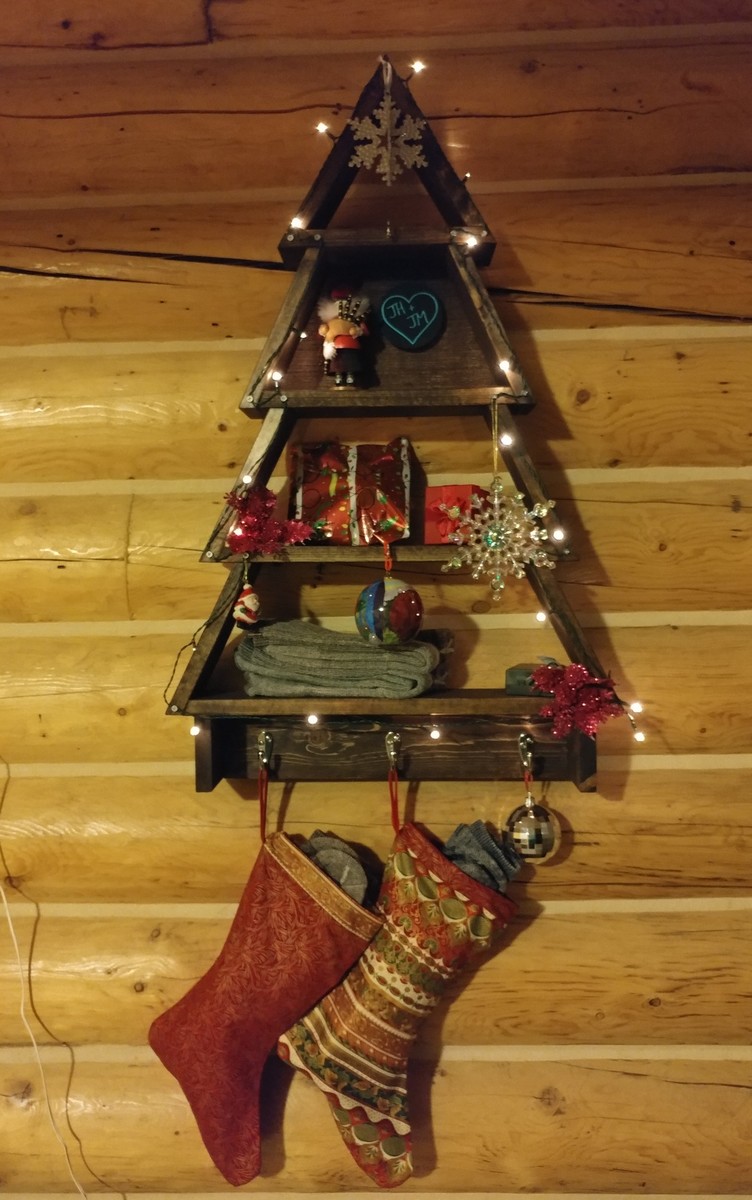
Quick, easy and inexpensive build... I opted not to do the rounded corners at the base of the tree as I was in a hurry.
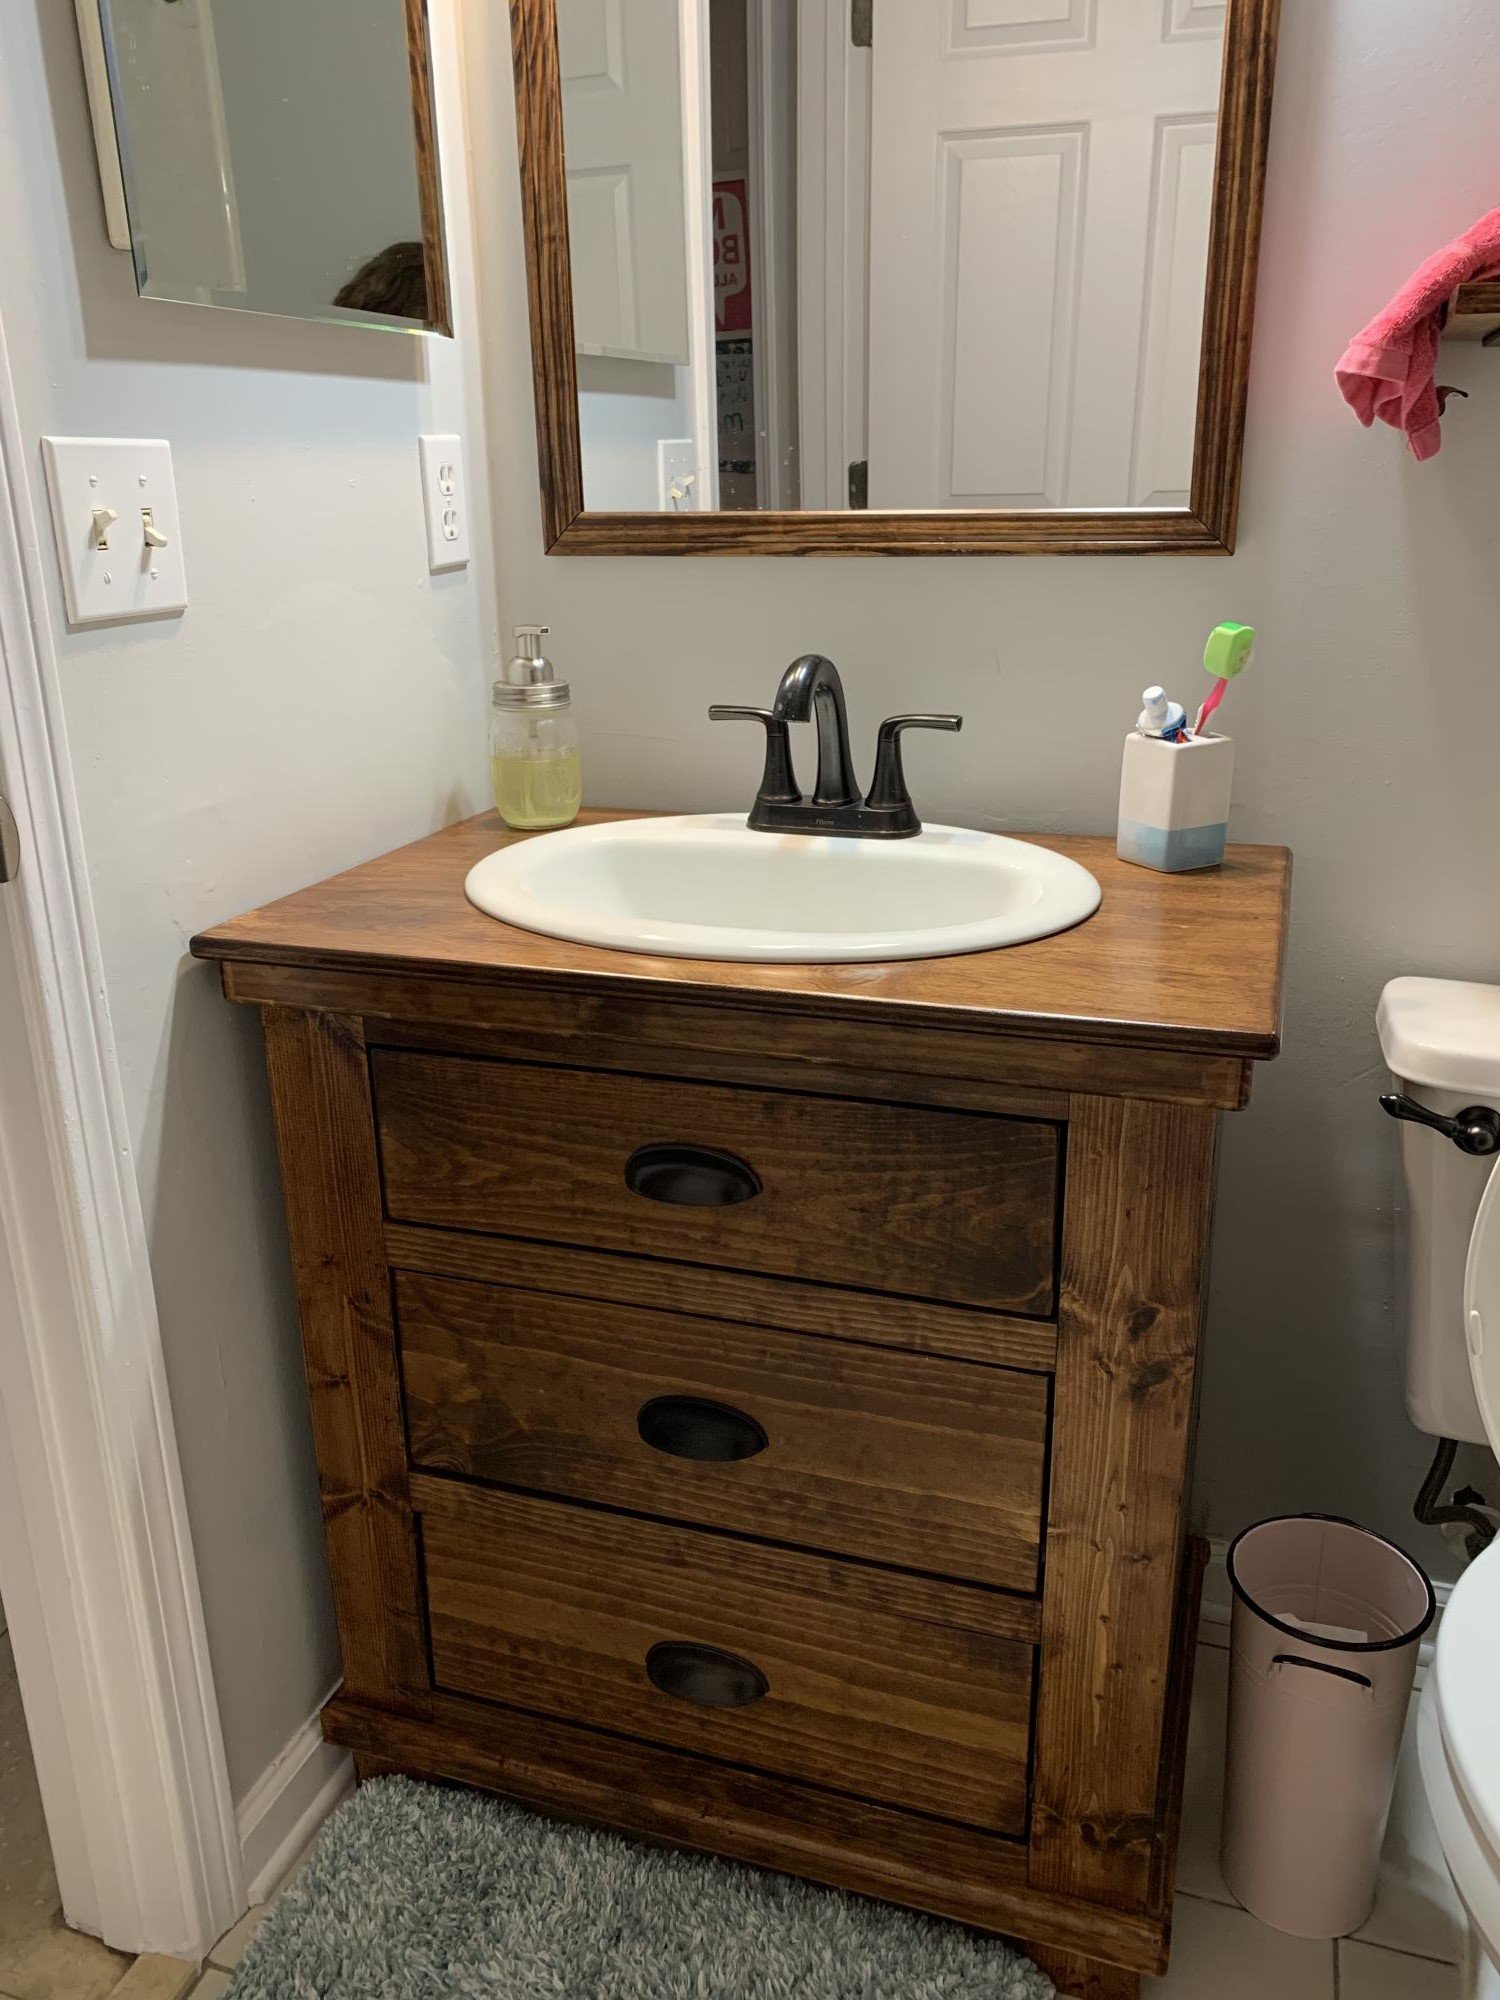
I built Ana Whites Bathroom vanity with drawers. I love how easy the plans are to follow and even adjust. I tweaked the measurements to fit the space I had. After supplies, I spent a bit less than a store bough vanity, and it is solid wood rather than the cheap materials the less expensive store bought one. It turned out beautiful! I also built the mirror frame and the shelves to match. Thank you, Ana, for your amazing website, plans, videos, and confidence to tackle the projects myself. My daughter chose the mahogany stain because she loved the way it sounds..."It's Mahogany!"
Thu, 12/16/2021 - 13:44
Way to go, love the finish and the matching mirror! Thank you for sharing:)
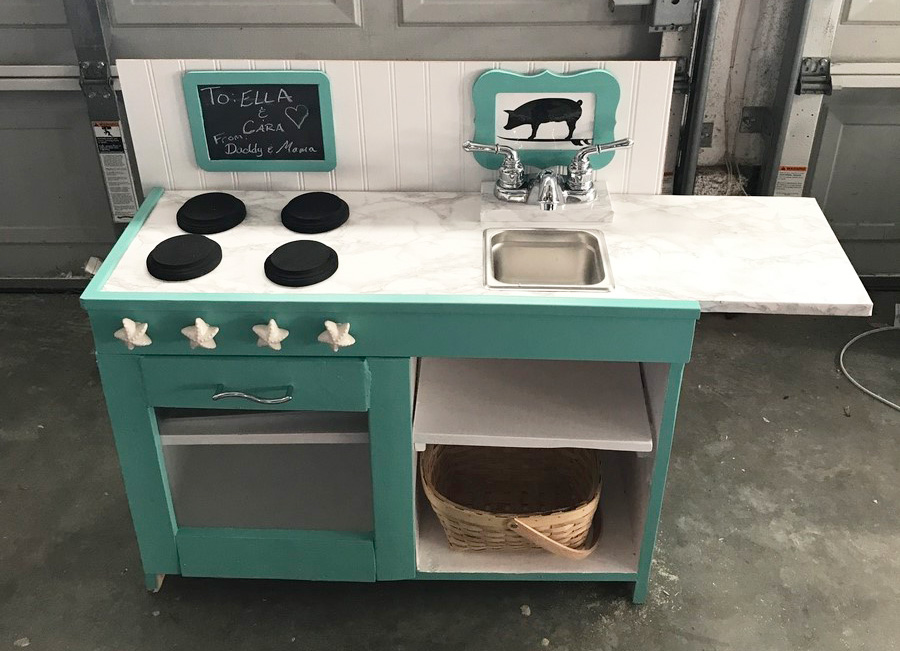
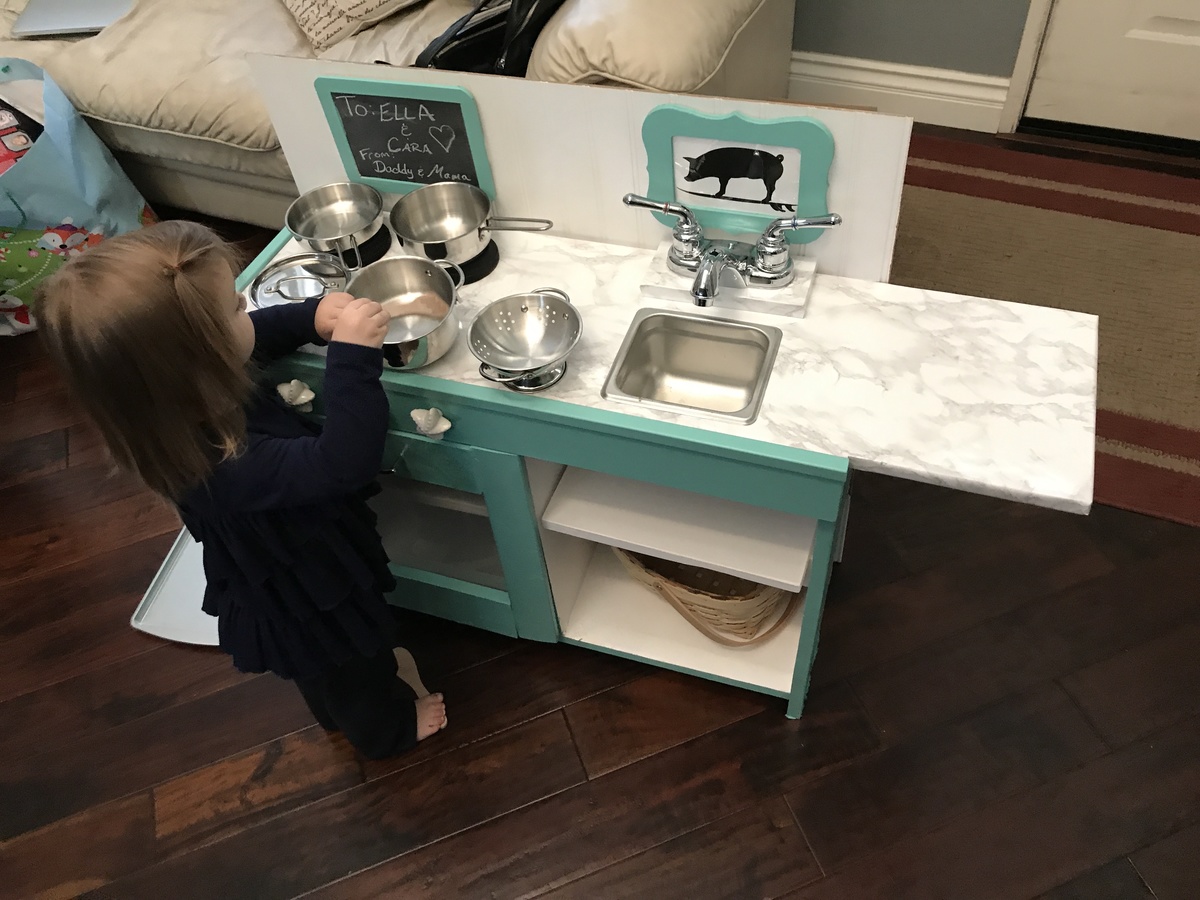
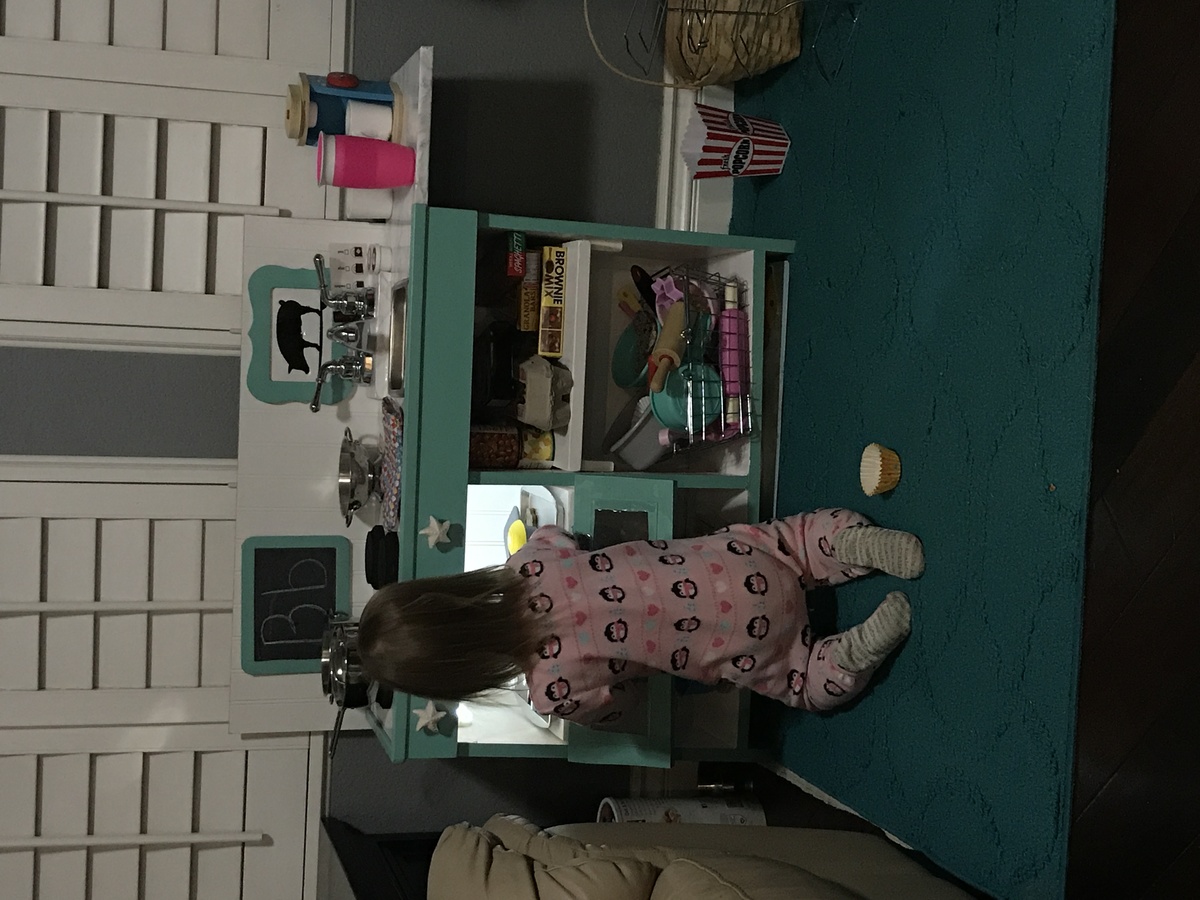
This was my first major build and while not perfect and I was little clunky building along the way, I’m happy with how it turned out and I think the girls will love it for Christmas. We are beach dwellers and surfers, but I’m also a former (always) a farm girl as well, so we put a surfing pig on it too. I wanted to keep it whimsical a bit so put starfish knobs for the burners. Took me a long time and more money than average probably because of learning curve as well as having to sneak work on it between working, toddler and infant. I got a Kreg and more tools for Christmas, so I am looking forward to more building!
update: My little destroyer broke the door within 10 minutes because it was too big for her to work around. So I “remodeled” it and made the door just the top half so that is her oven. MUCH BETTER. Now she can use it far easier and it isn’t dropping to the floor.
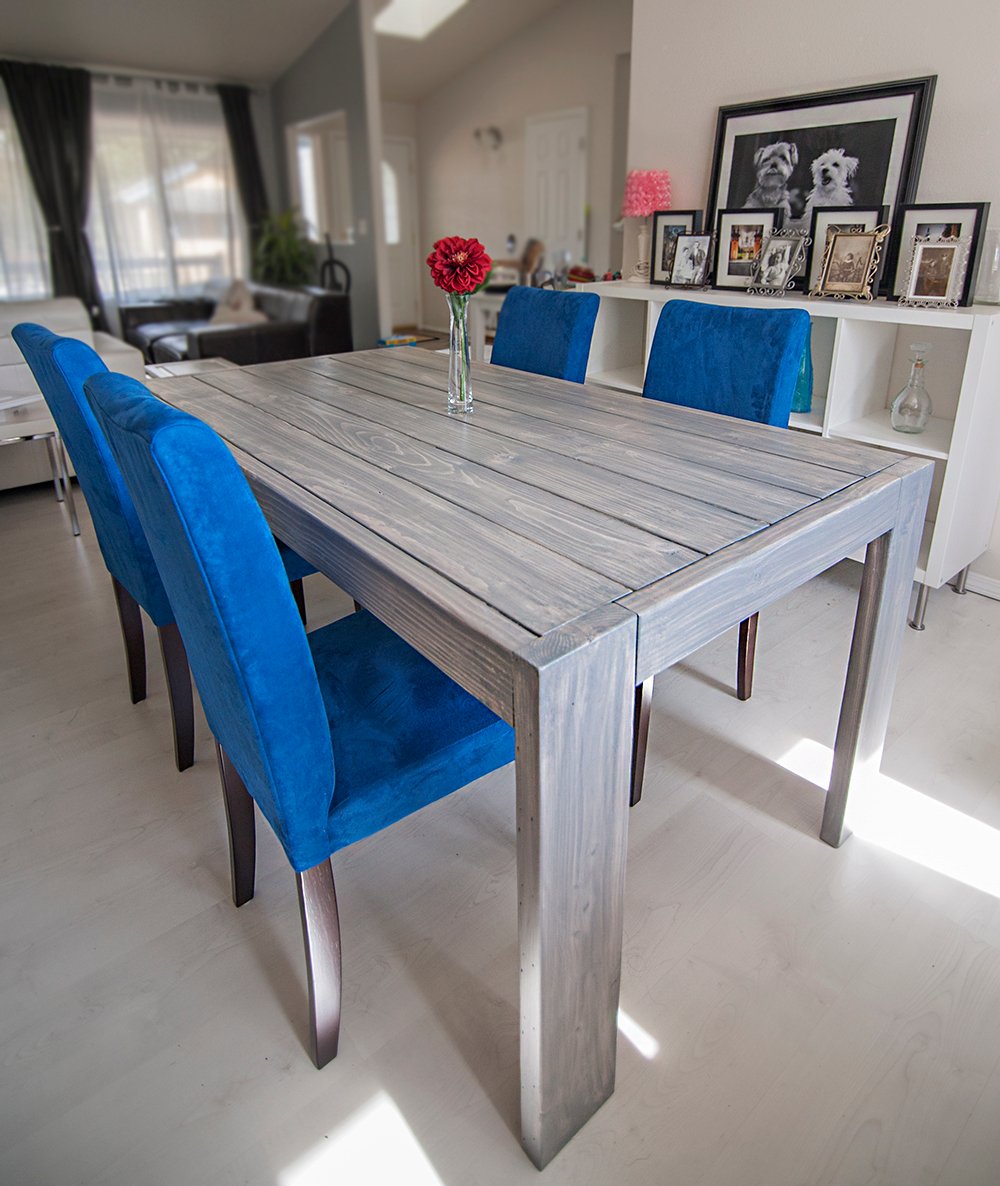
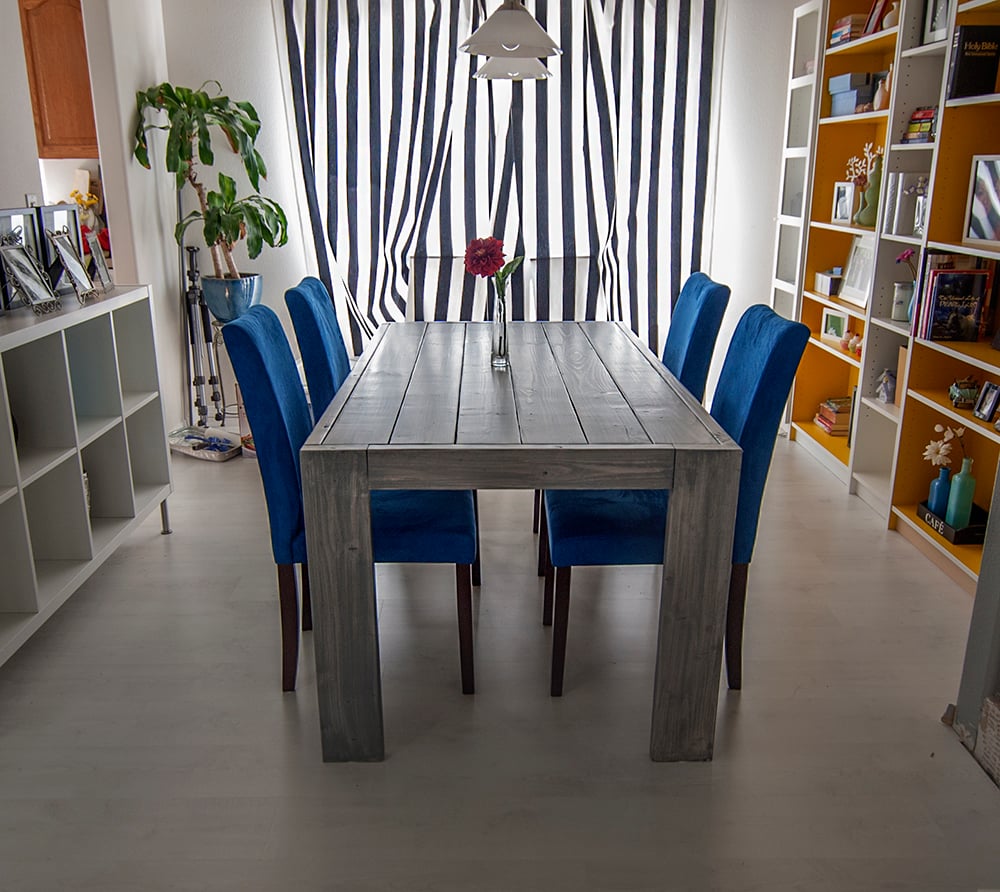
My first real project, can't wait to do another one.
Mon, 06/01/2015 - 20:57
Thanks! Yeah the finish was a bit difficult but finally came out nice.
Thu, 06/02/2016 - 11:00
I know this is an old post. But just wondering about your finish as well. So when u say white wash what did you use?
Beautiful by the way!
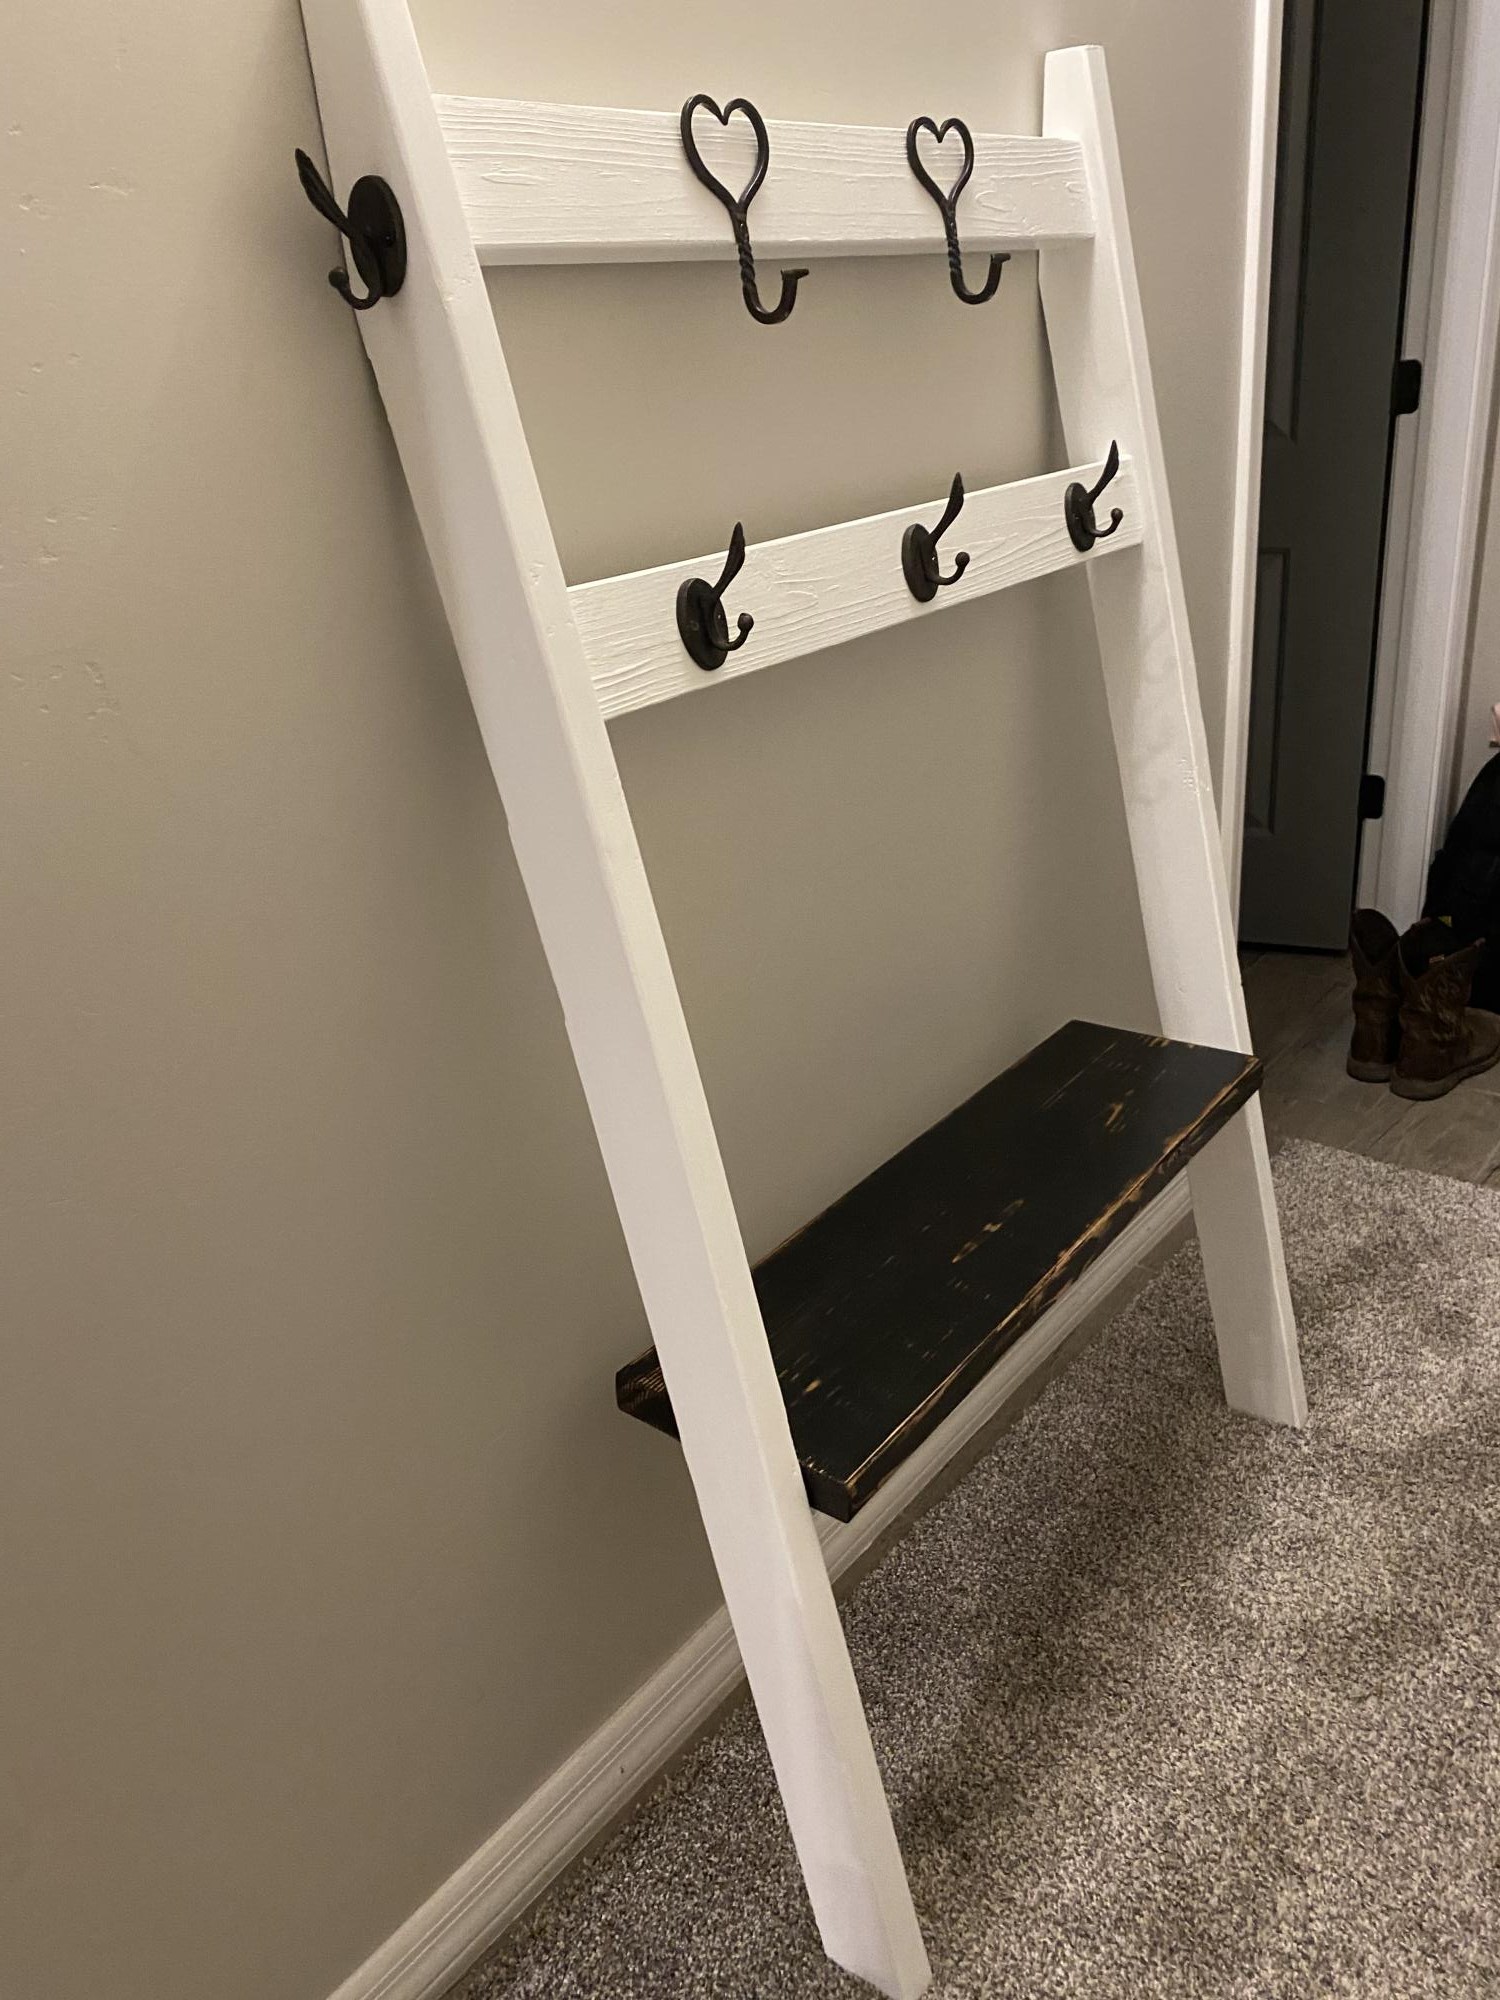
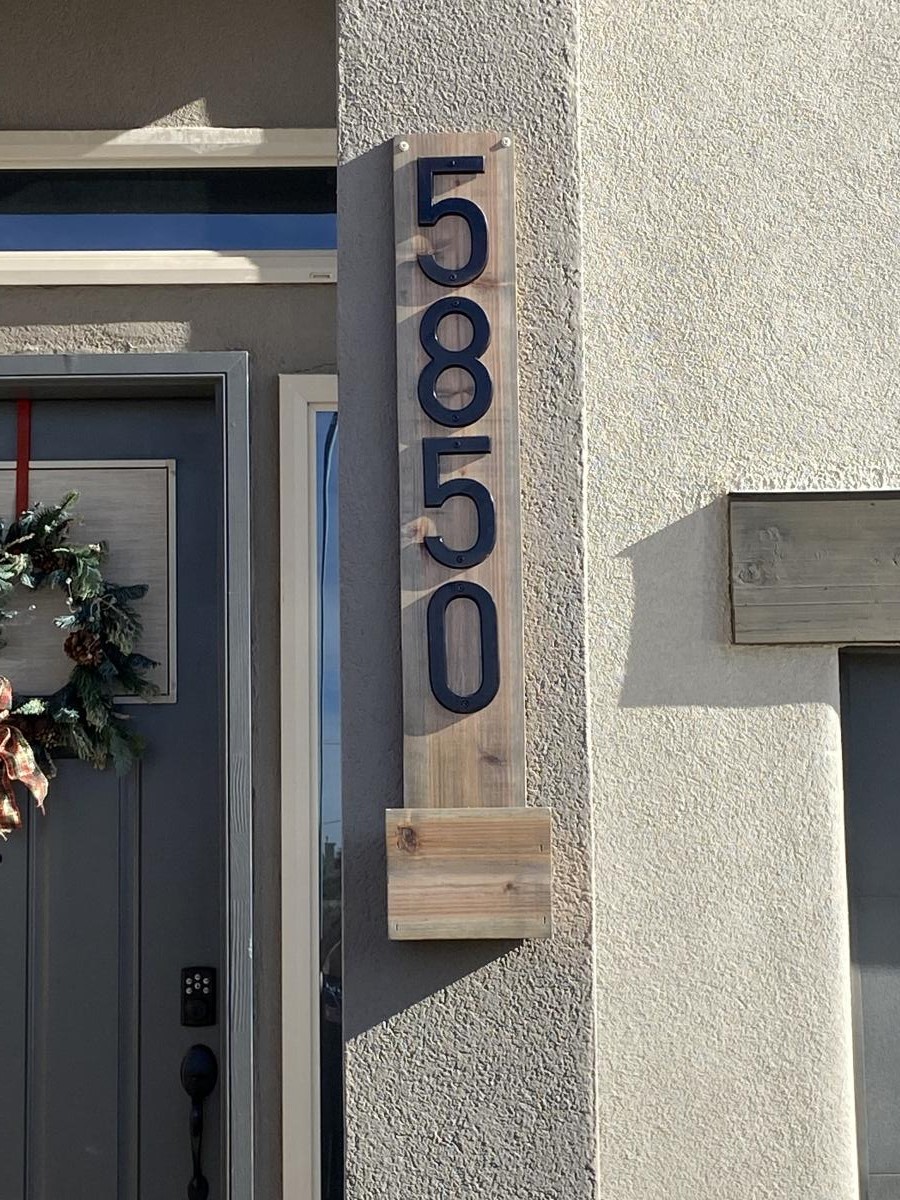
Hi Ana, I recently made two of your posts. First, the 2”x4” hall tree and then the house number planter. We found some unique hooks at Hobby Lobby for the hall tree. This is great to keep the kids’ backpacks off of the floor. On the house number planter I stained it with Antique Beige, but is more gray than beige. I then put 3 coats of spar urethane on it to protect from the TX sun.
Sun, 12/26/2021 - 17:58
Those are both great, thank you for sharing! I will need to check out that Antique Beige finish, just gorgeous~
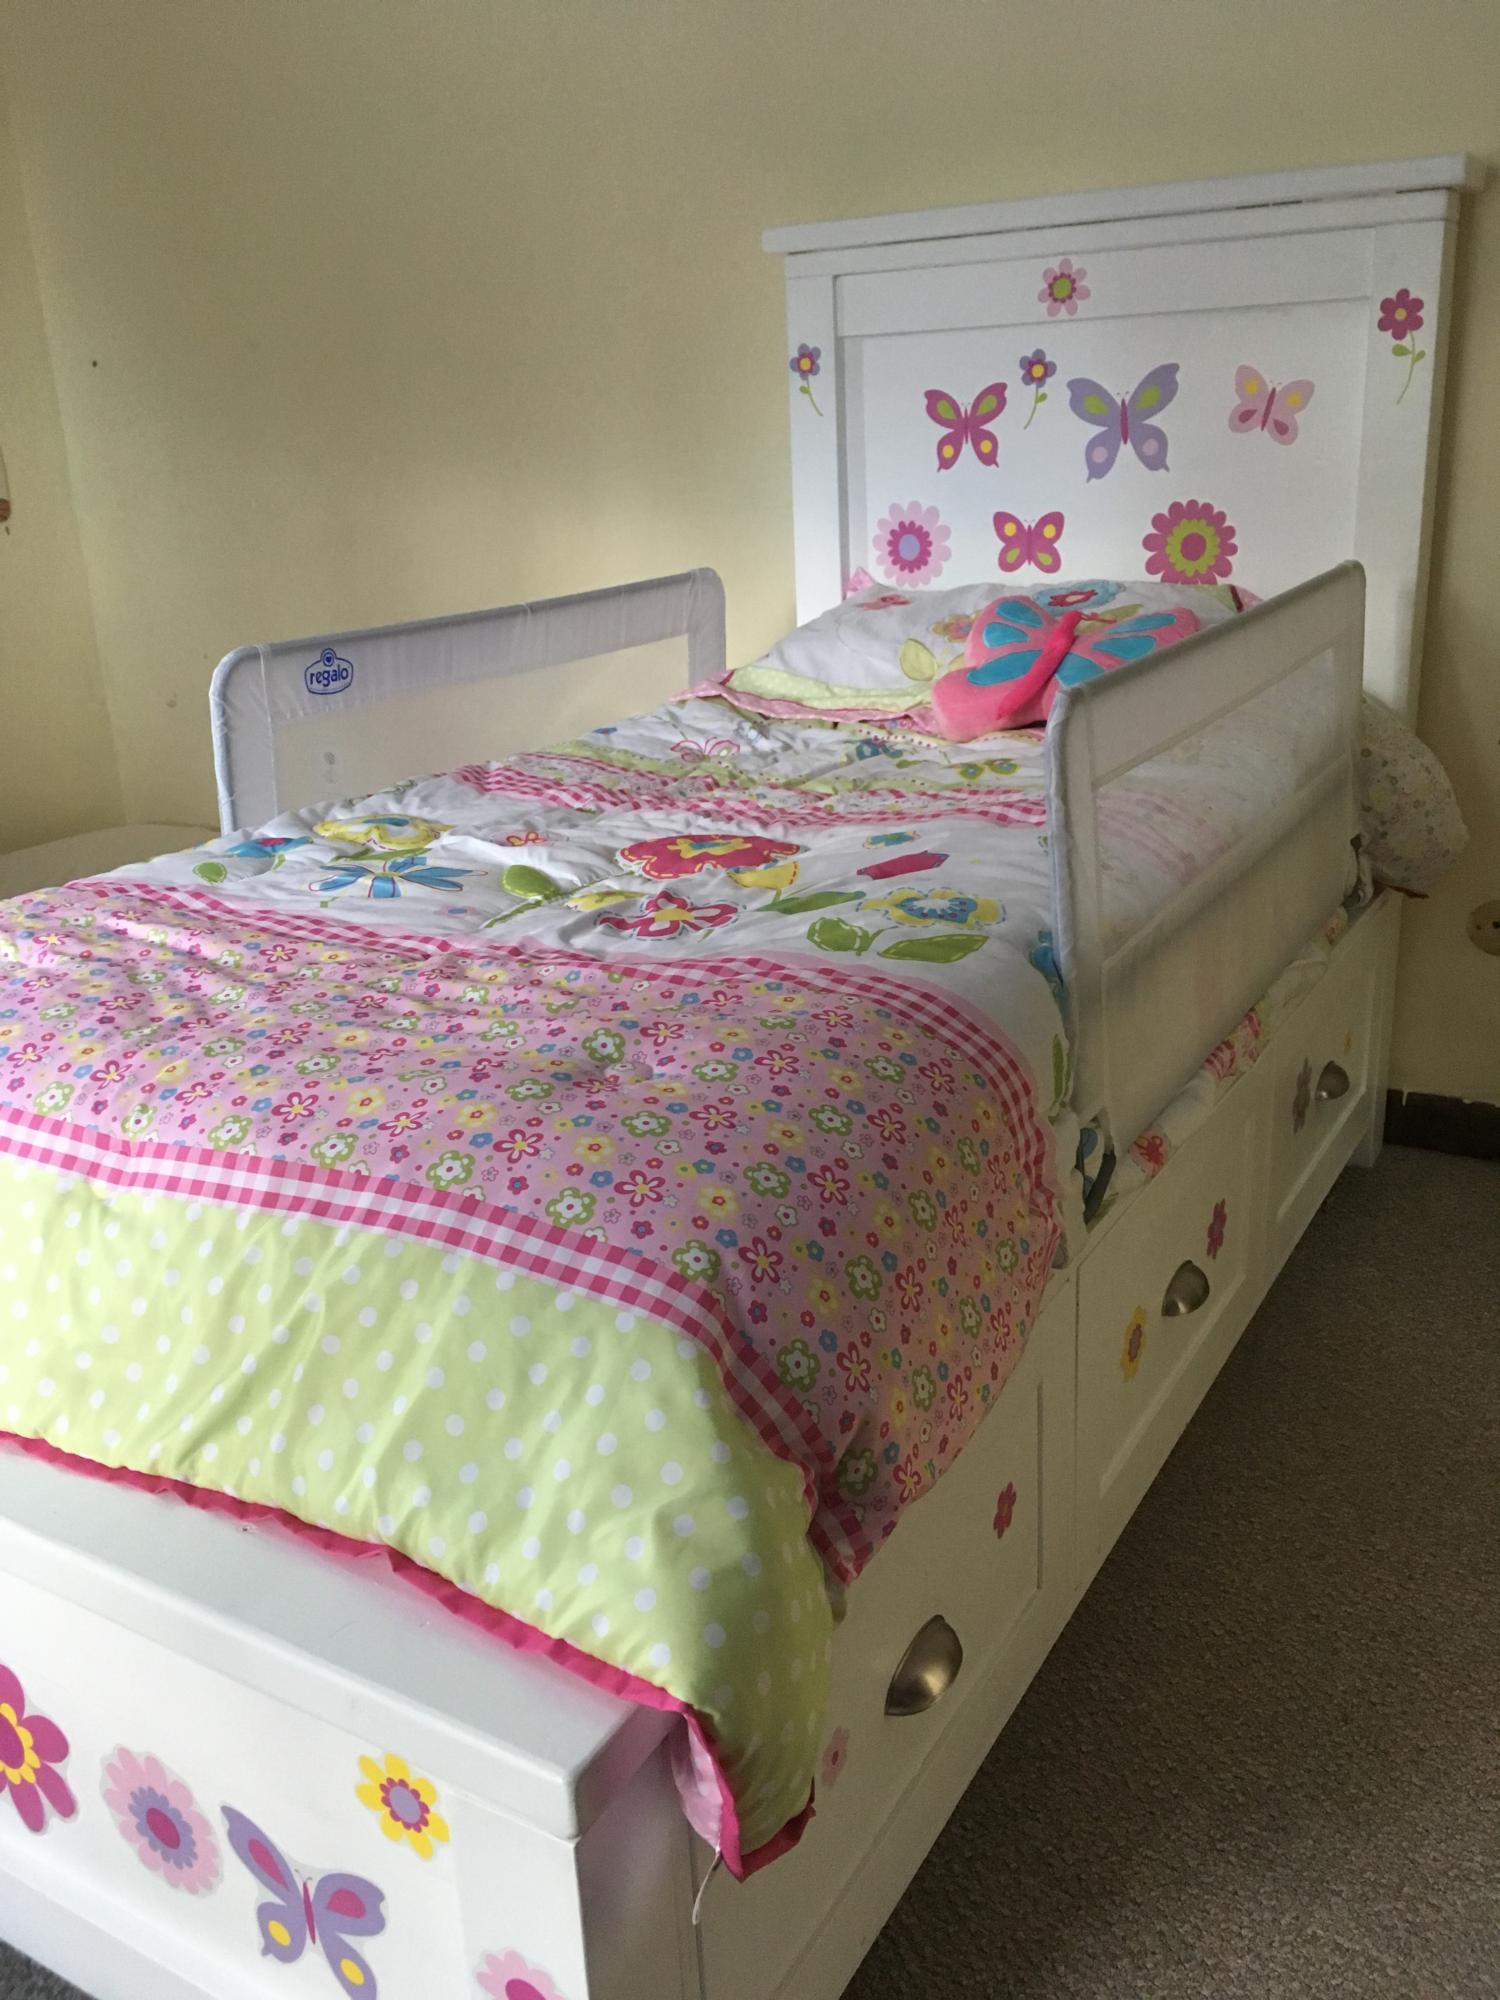
My daughter loves her new bed! The plans were easy to follow and didn't take very long to build. It took me about 2 weeks to finish. I suggest measuring your mattress first and adjusting dimensions accordingly. My daughter's mattress is a bit longer than usual, so I added about an inch to the length. I added drawers to one side and left one side as open cubbies. I also added a 2x4 base below the storage boxes for support. Ana has plans for this in one of her kitchen cabinet plans. I'm so glad I did, as I've already found 3 kids hiding on the cubby side, and one of them is 14! I didn't run the 2x4 base all the way to the head/footboard, so it wouldn't show. This changes the height where the storage boxes attach by 1/2 an inch. The bed may suprise you at how high the mattress sits, but I think that is normal with a storage bed. My daughter loves sleeping up high. Thank you so much for this wonderful plan! I love Ana's website and have learned so much!
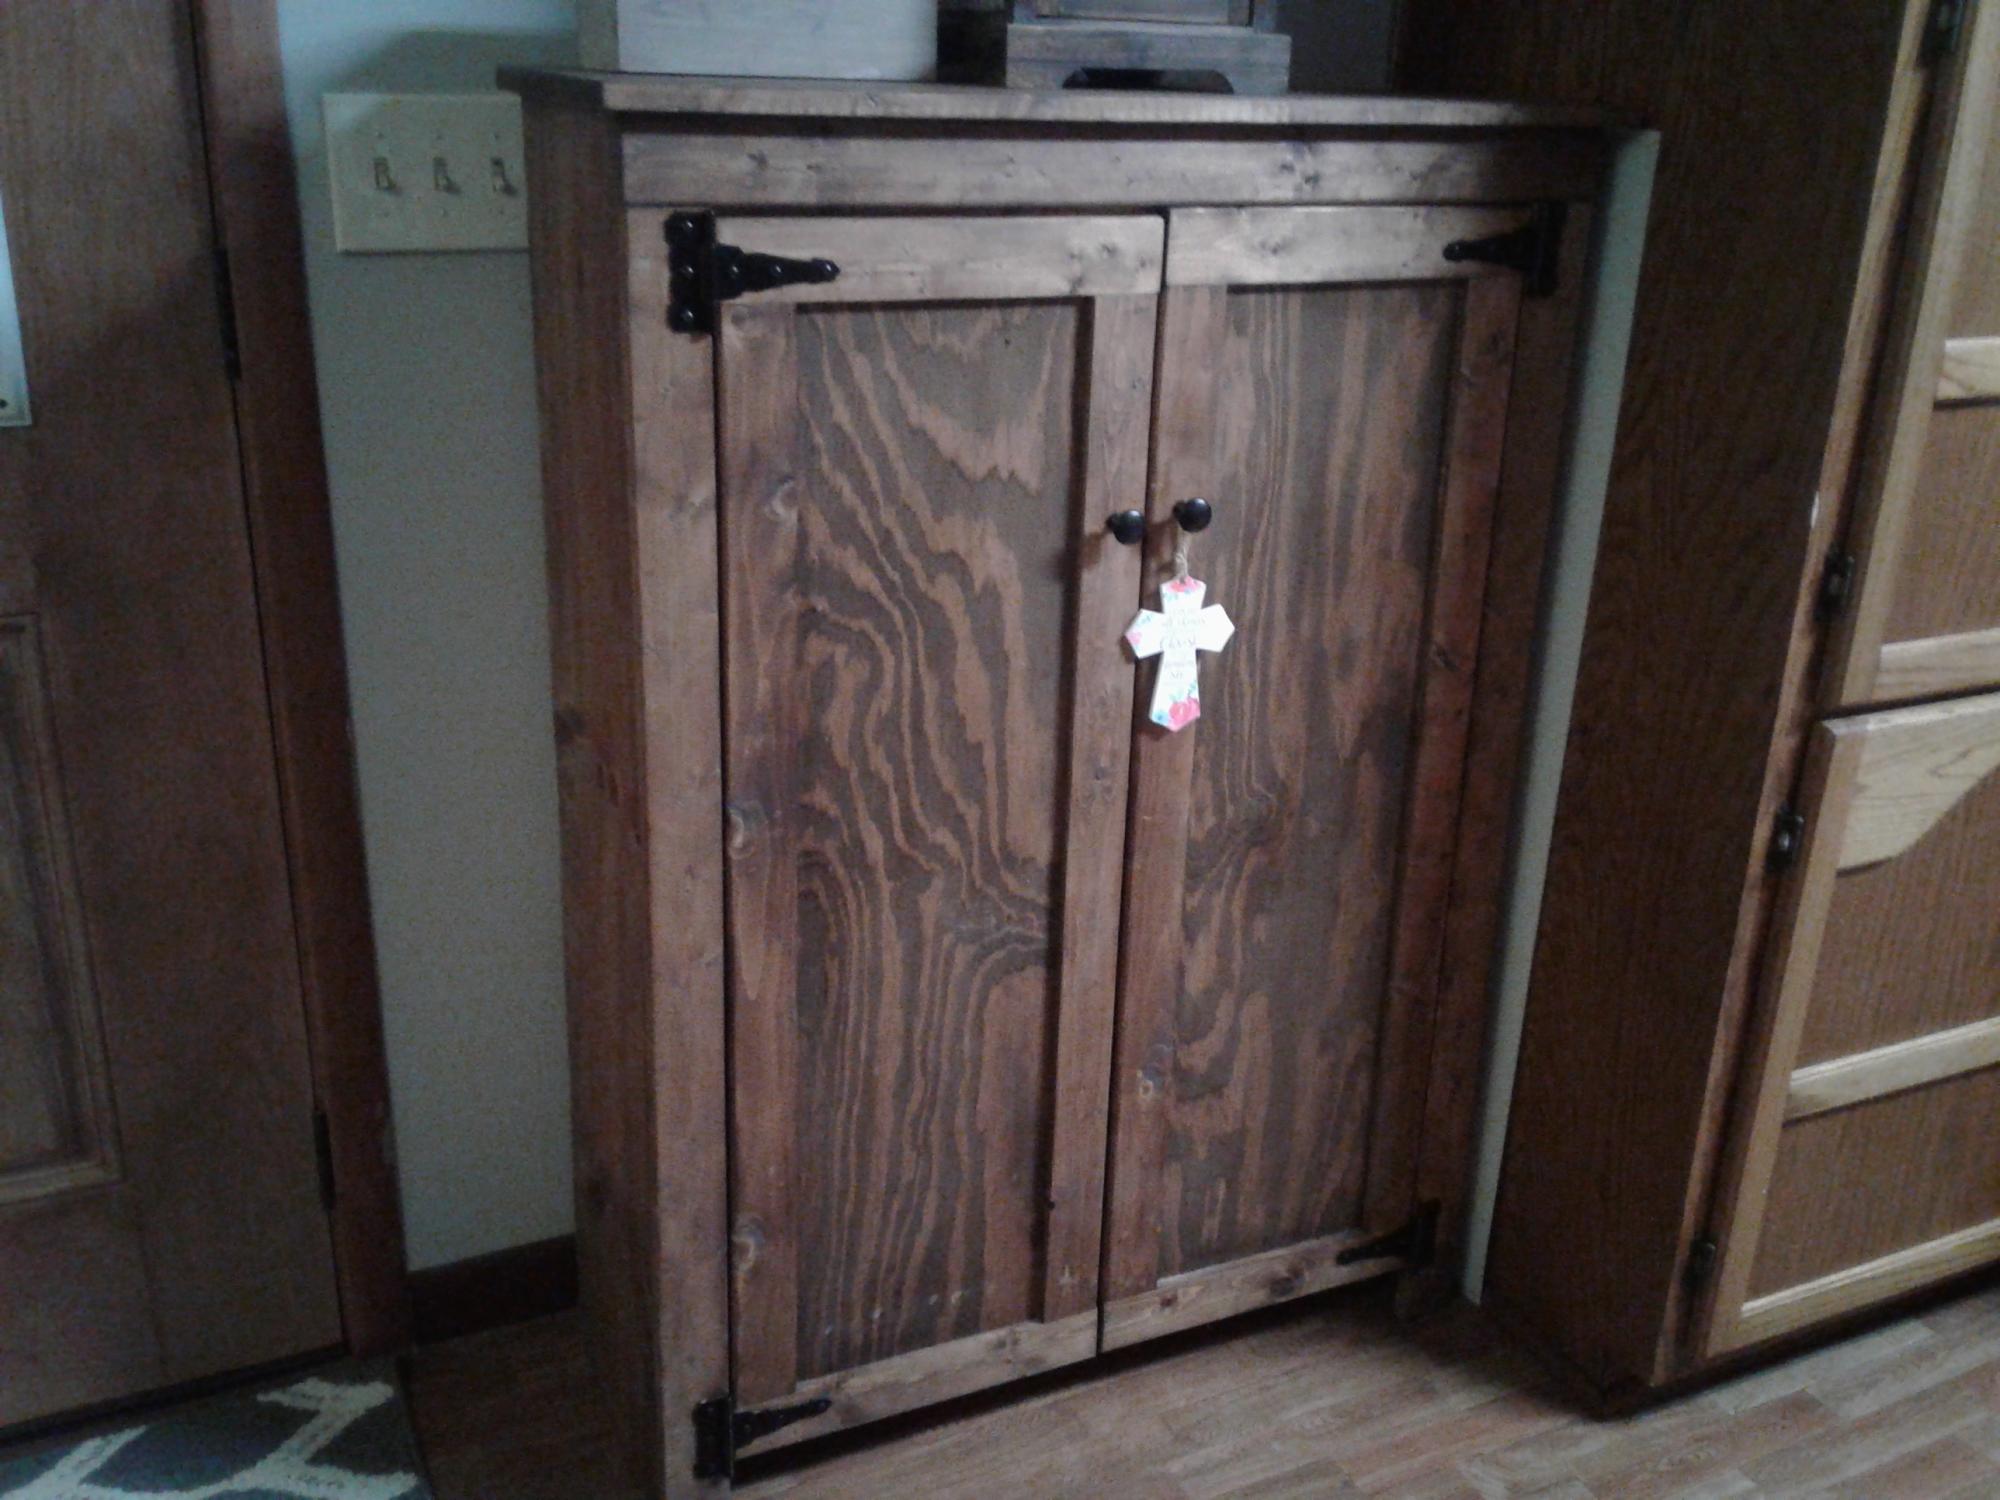
Made from Ana White `s plan. Thanks for the help.
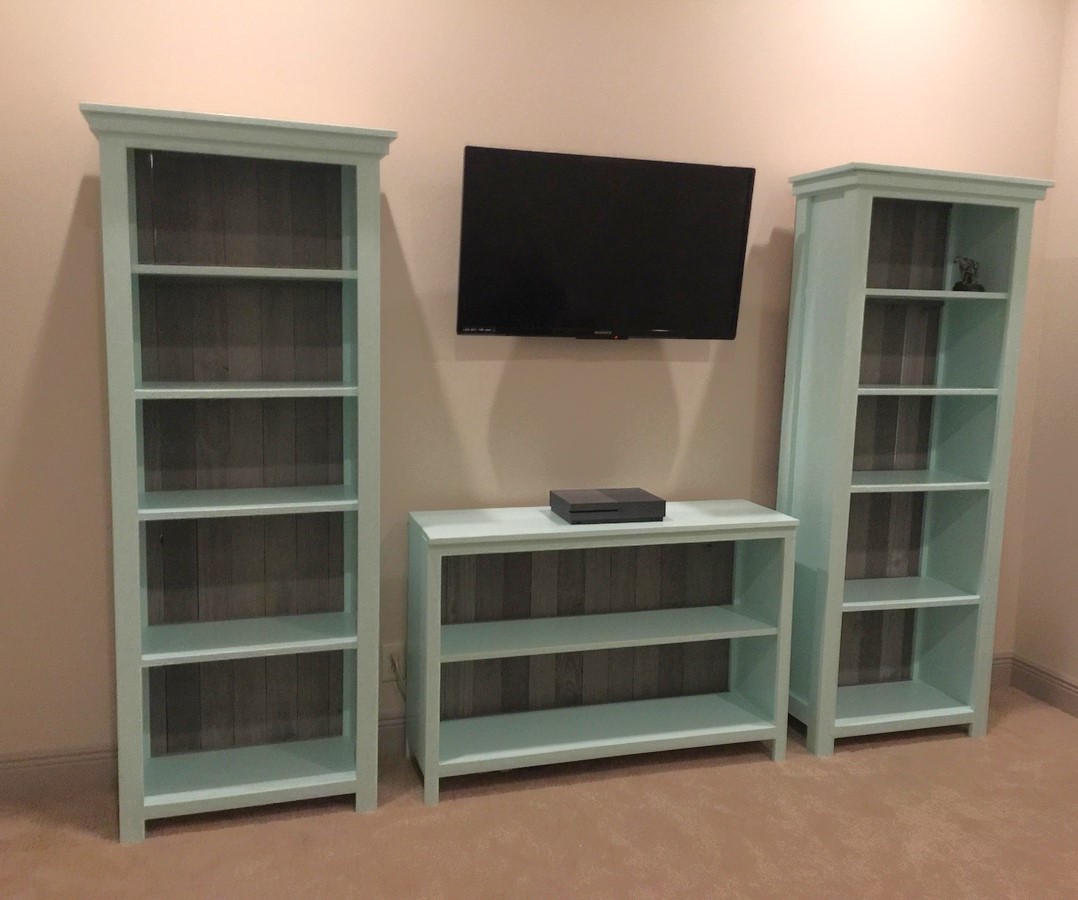
Our playroom needed serious help so as my first Ana White project I decided to tackle these shelving units.
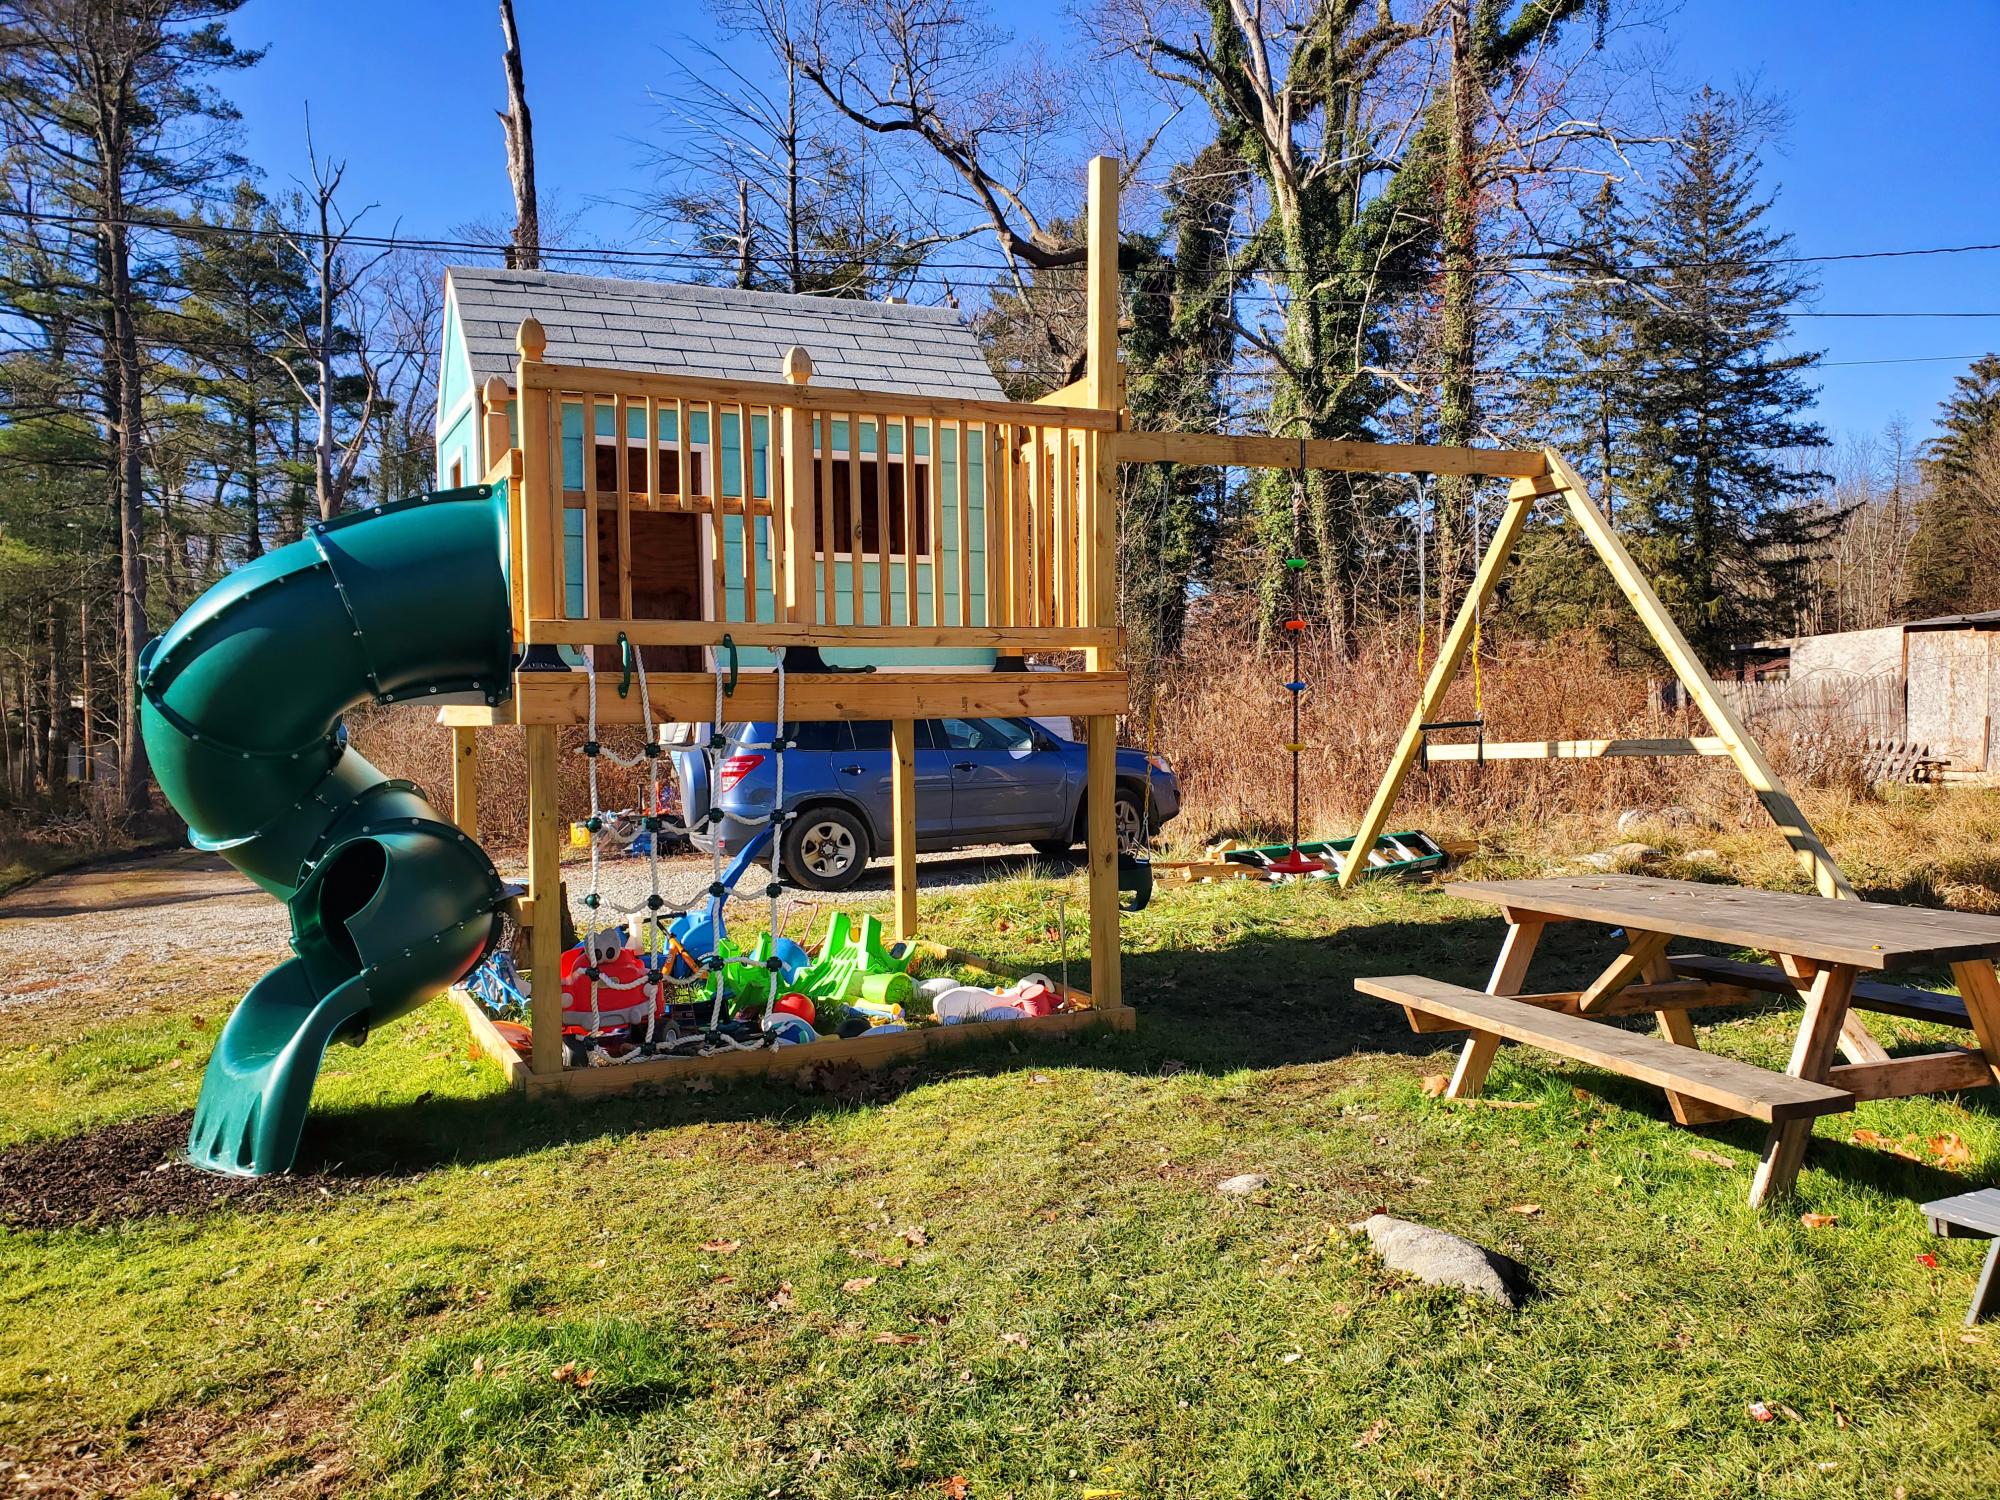
We made a few changes to fit our needs but love the design. Way better than any kit you can buy!
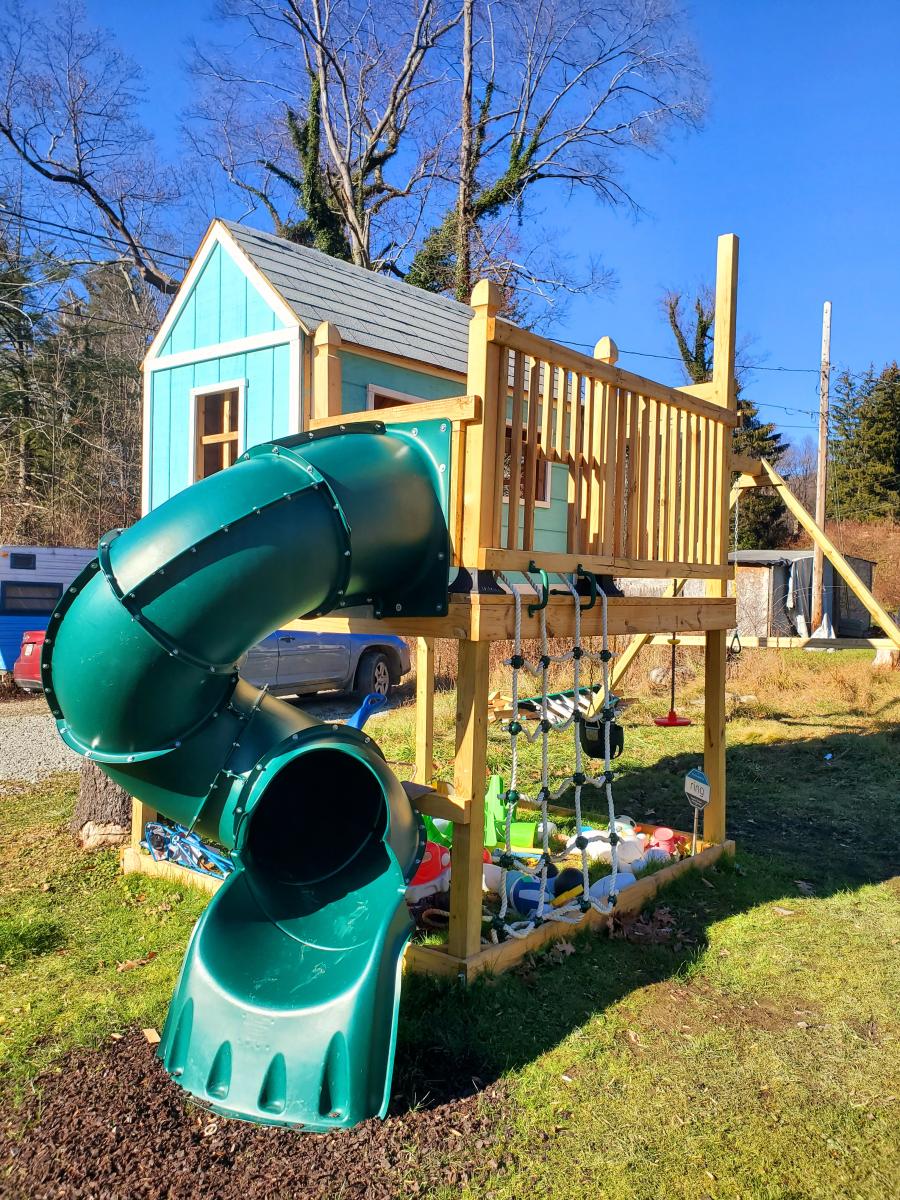
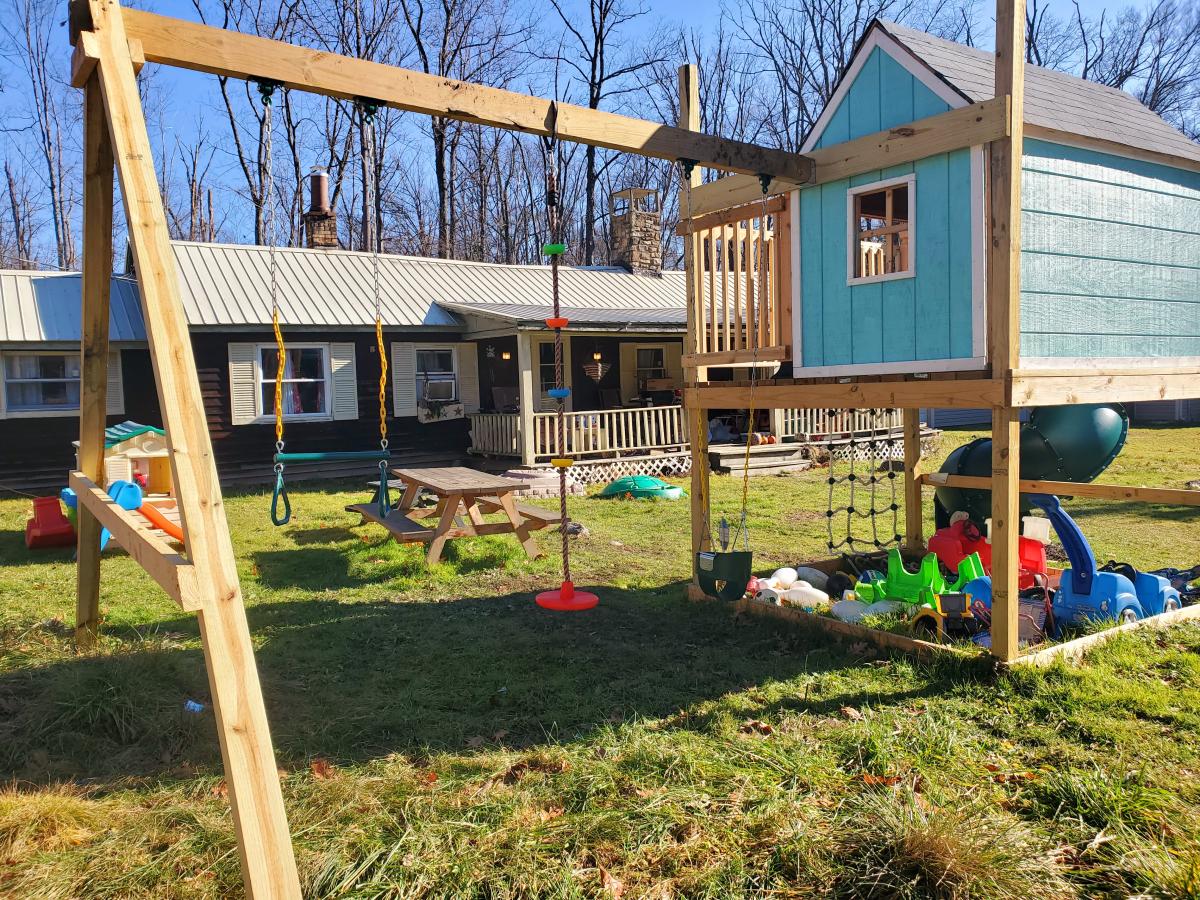
I made this for my son; he loves it! I don't have the tools to bevel edges so I did my angles with a cheap jigsaw and I think they turned out just fine. Thinking of adding a narrow shelf on the bottom.
Super easy and inexpensive build!
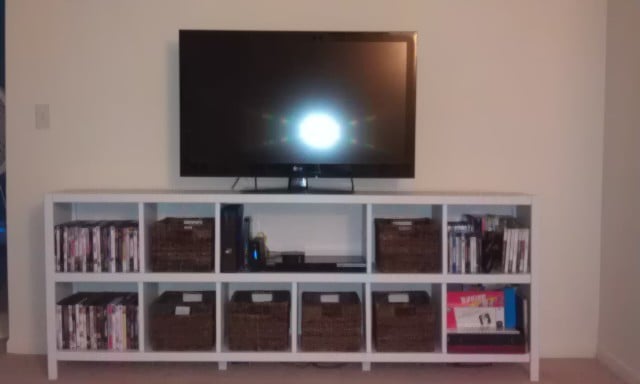
My husband and I needed more room and storage in our small one bedroom apartment. In order to get both we needed to get rid of our big hutch, desk and tv stand. So when I saw these cubes shelves I thought they would be perfect, then I saw TRACYSMITH's brag post a decided that was perfect! I painted it and did some organizing and it was probably the best decision we have ever made!
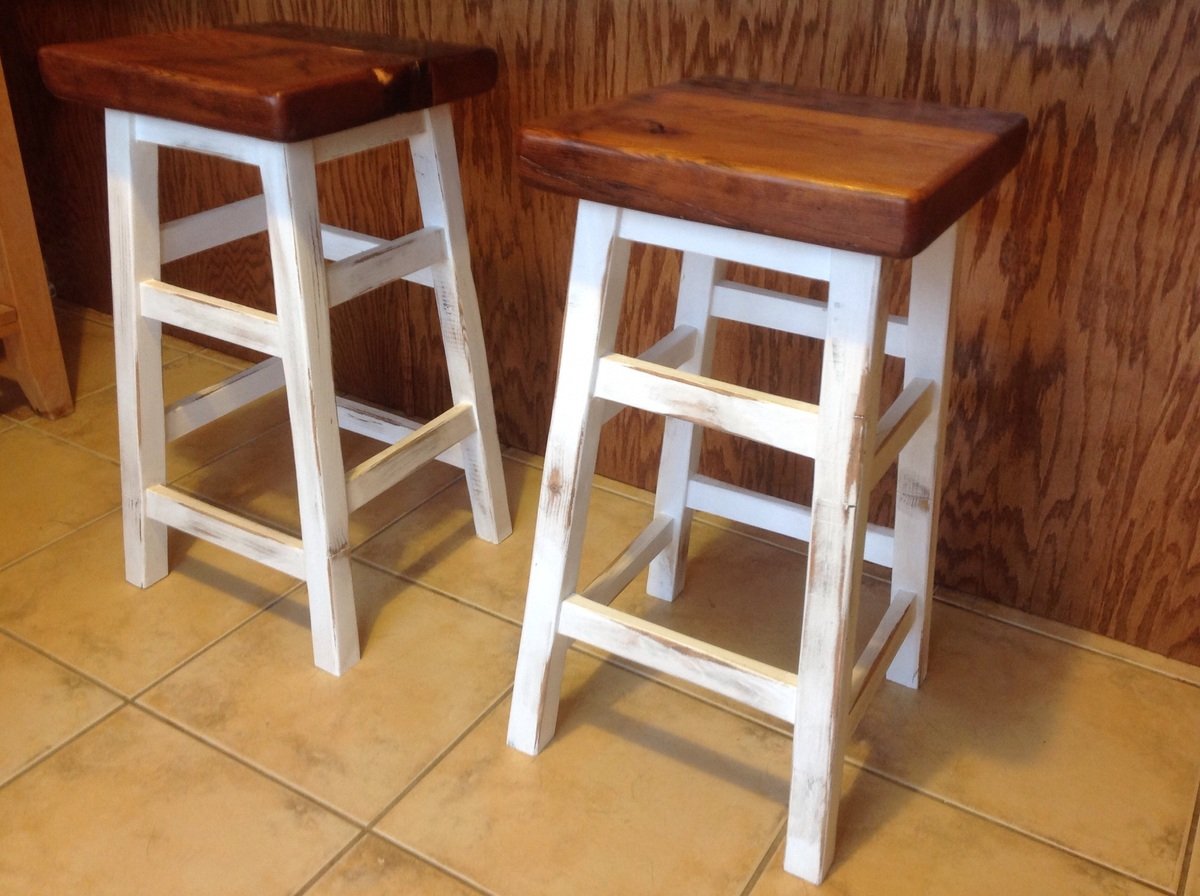
I modified the Simplest Stool plan for this project to use some old threshing floor boards that I had leftover from another project. I like the blocky and chunky look it gives it. We chose to distress these stools to make them look as though they've been around for awhile. The stools didn't take long to build, but since the finish needed time to cure between coats, the overall length of time for the project was about a week.
My husband and I live on a small hobby farm and are growing/raising a lot of our own food. We decided to venture into working with chickens. We wanted to start out small so we got 6 chickens and needed a home for them. We found a kids play house one day while shopping and got the idea of modifying it into a chicken coop with a run. We took off with this idea and with quite a bit of modification and some extra building materials we were able to raise it up in the air and attach a run so our chickens would have a nice home to protect them from preditors and the emements and not to mention one that looks good in our yard!
In reply to OMG! by benfoldsfivealive
Wed, 05/27/2015 - 18:42
Building chicken coop doesn't have to be expensive. Just get the easy-to-follow plan from this:
http://bit.ly/how-to-build-cheap-chicken-coop
Fri, 06/17/2011 - 21:26
Looks awesome! I just spent the evening building a coop for 4 hens of my own!
Tue, 02/21/2012 - 19:08
Are the plans available? I have Black Copper Marans and Lavender Ameraucanas and I really need to separate the LAs from the BCMs and this would be perfect!
Sun, 02/26/2012 - 18:00
When I click the link to get the plans for the standard coop, they are not there. Do you know where I can find the original plans? Thanks.
Tue, 02/28/2012 - 10:20
Yes - would love the plans please!!!
It's gorgeous - great job!
Sat, 06/02/2012 - 15:22
Sorry guys there are no plans for this coop. My husband and i just "winged it" and built it without any plans.
It is a play house that we found at Mills Fleet Farm and we modified it to make it a chicken coop. We put together the play house based on instructions from the box (with a few of our own modifications to make the window on the ground etc.) added some chicken wire to the doors and bay window, added some 4x4 "stilts" and a floor to get the house in the air, and constructed a frame around it with 2x4's and wire fencing to make the run
Sorry I dont have any plans to give you guys!
Comments
Ana White Admin
Wed, 04/14/2021 - 12:23
Love the pop of color!
Such a bright and cheery space, great job!