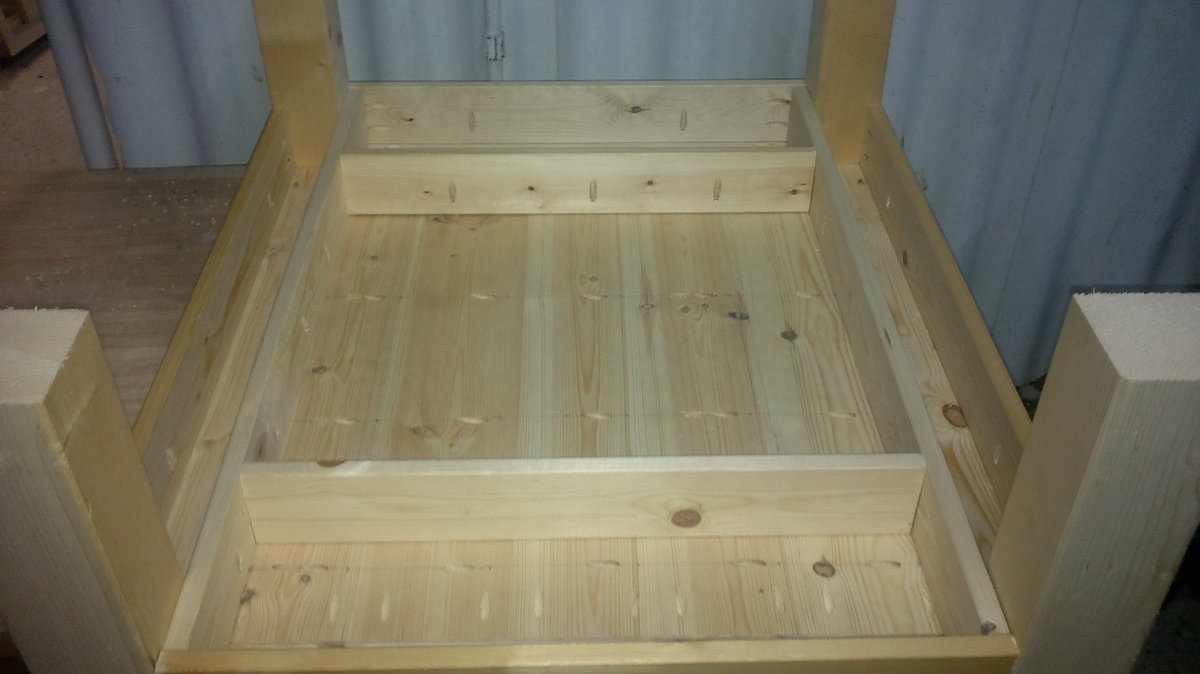
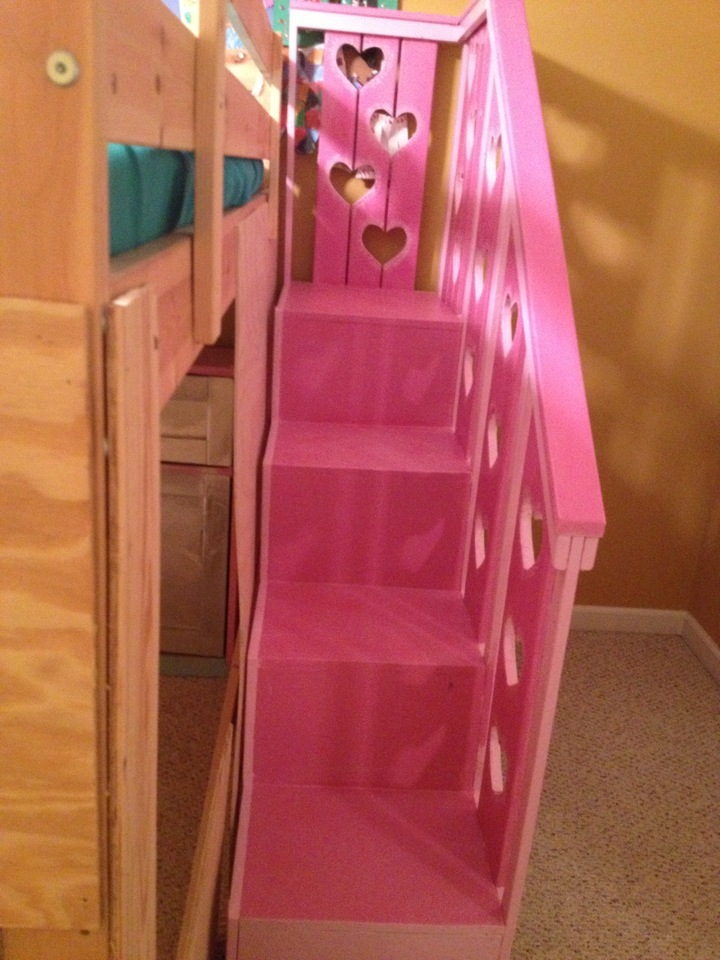
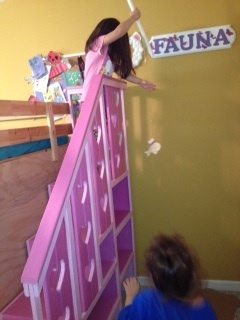
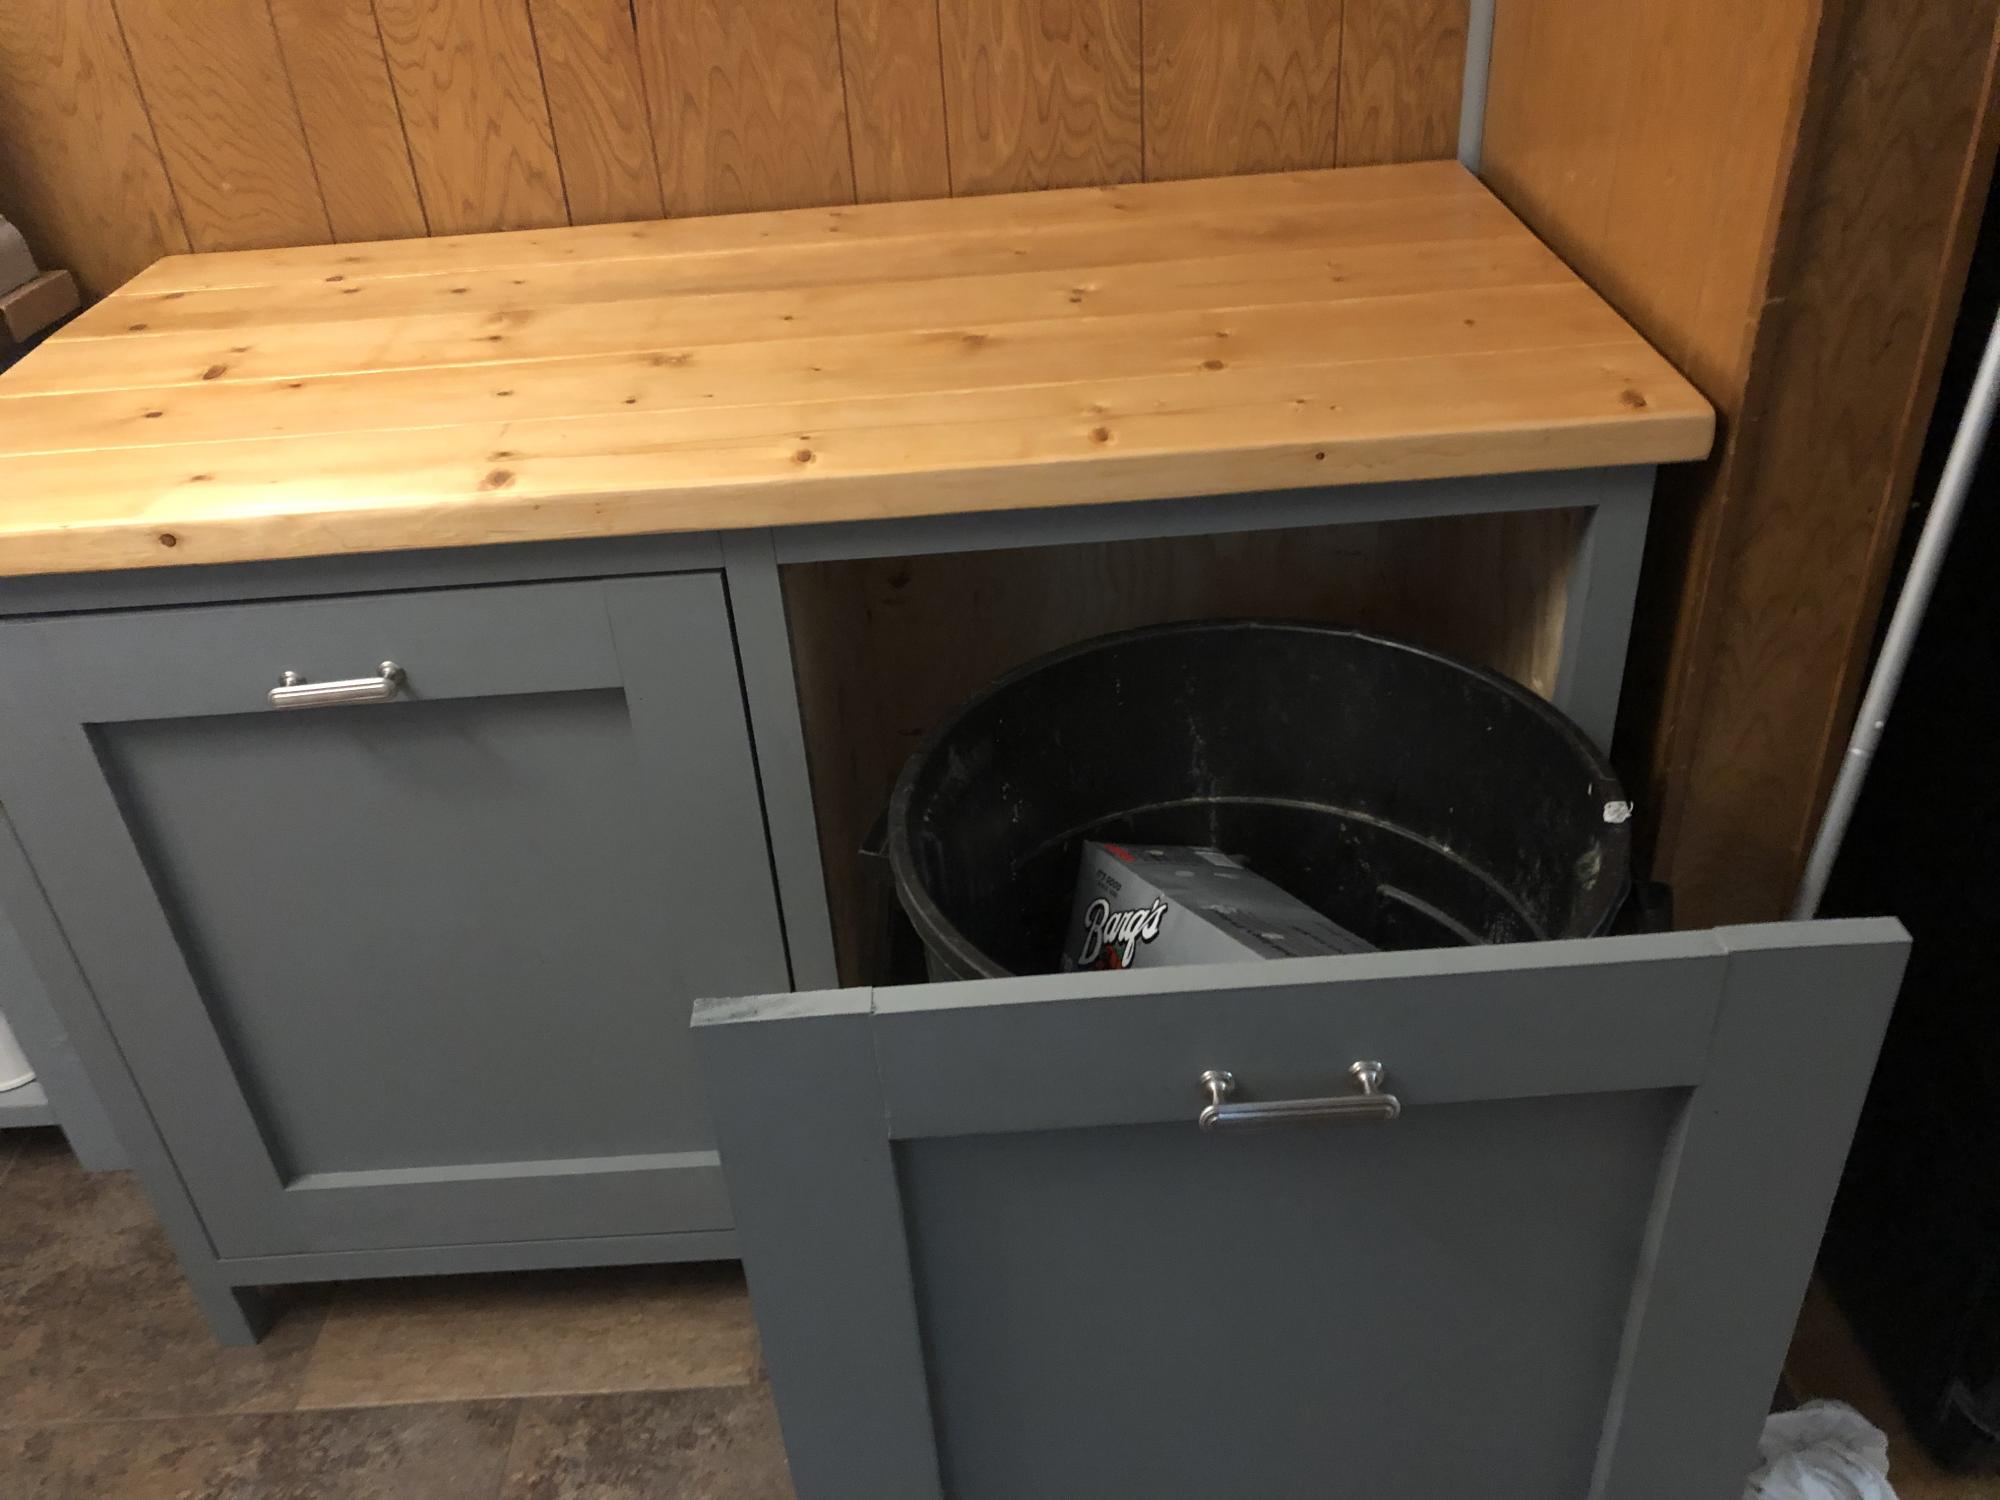
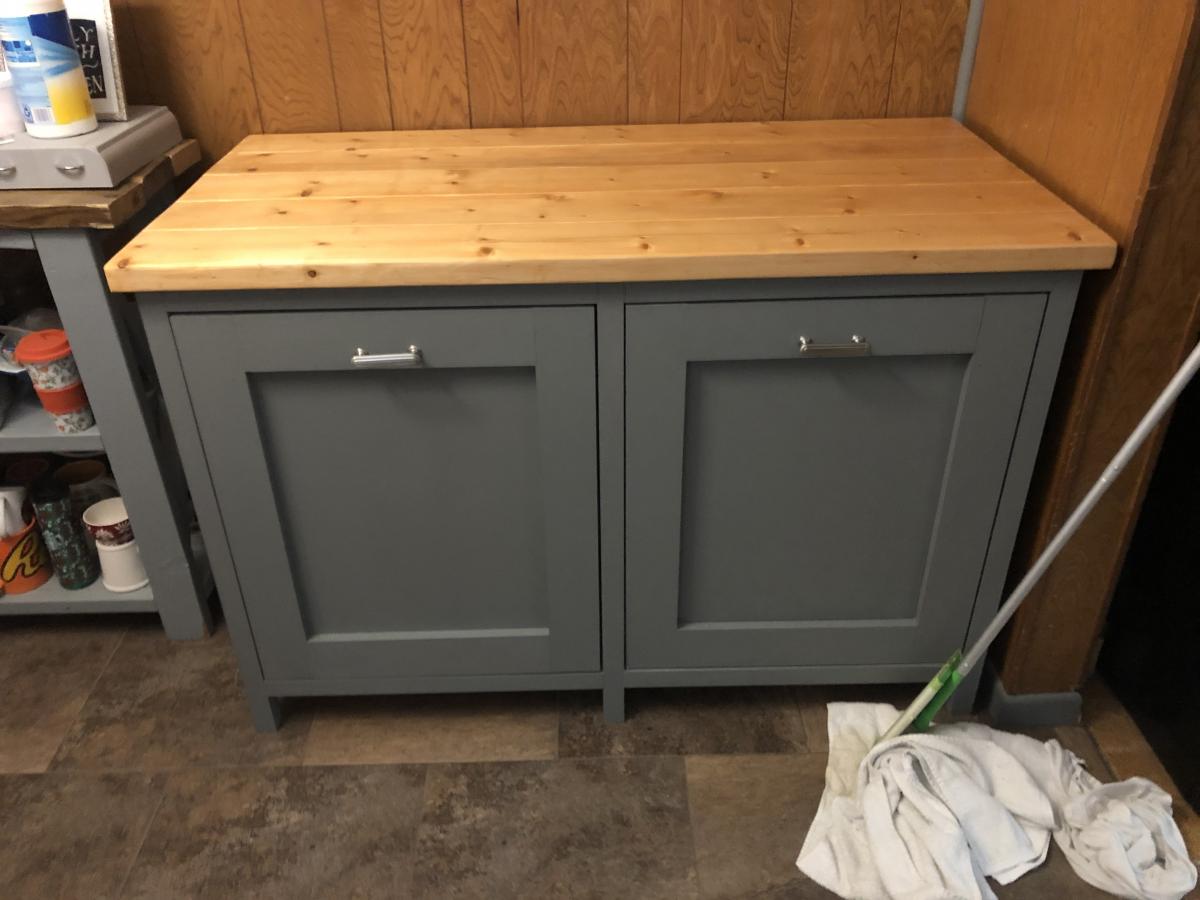
Barn Door Bookcase/ Side Pantry
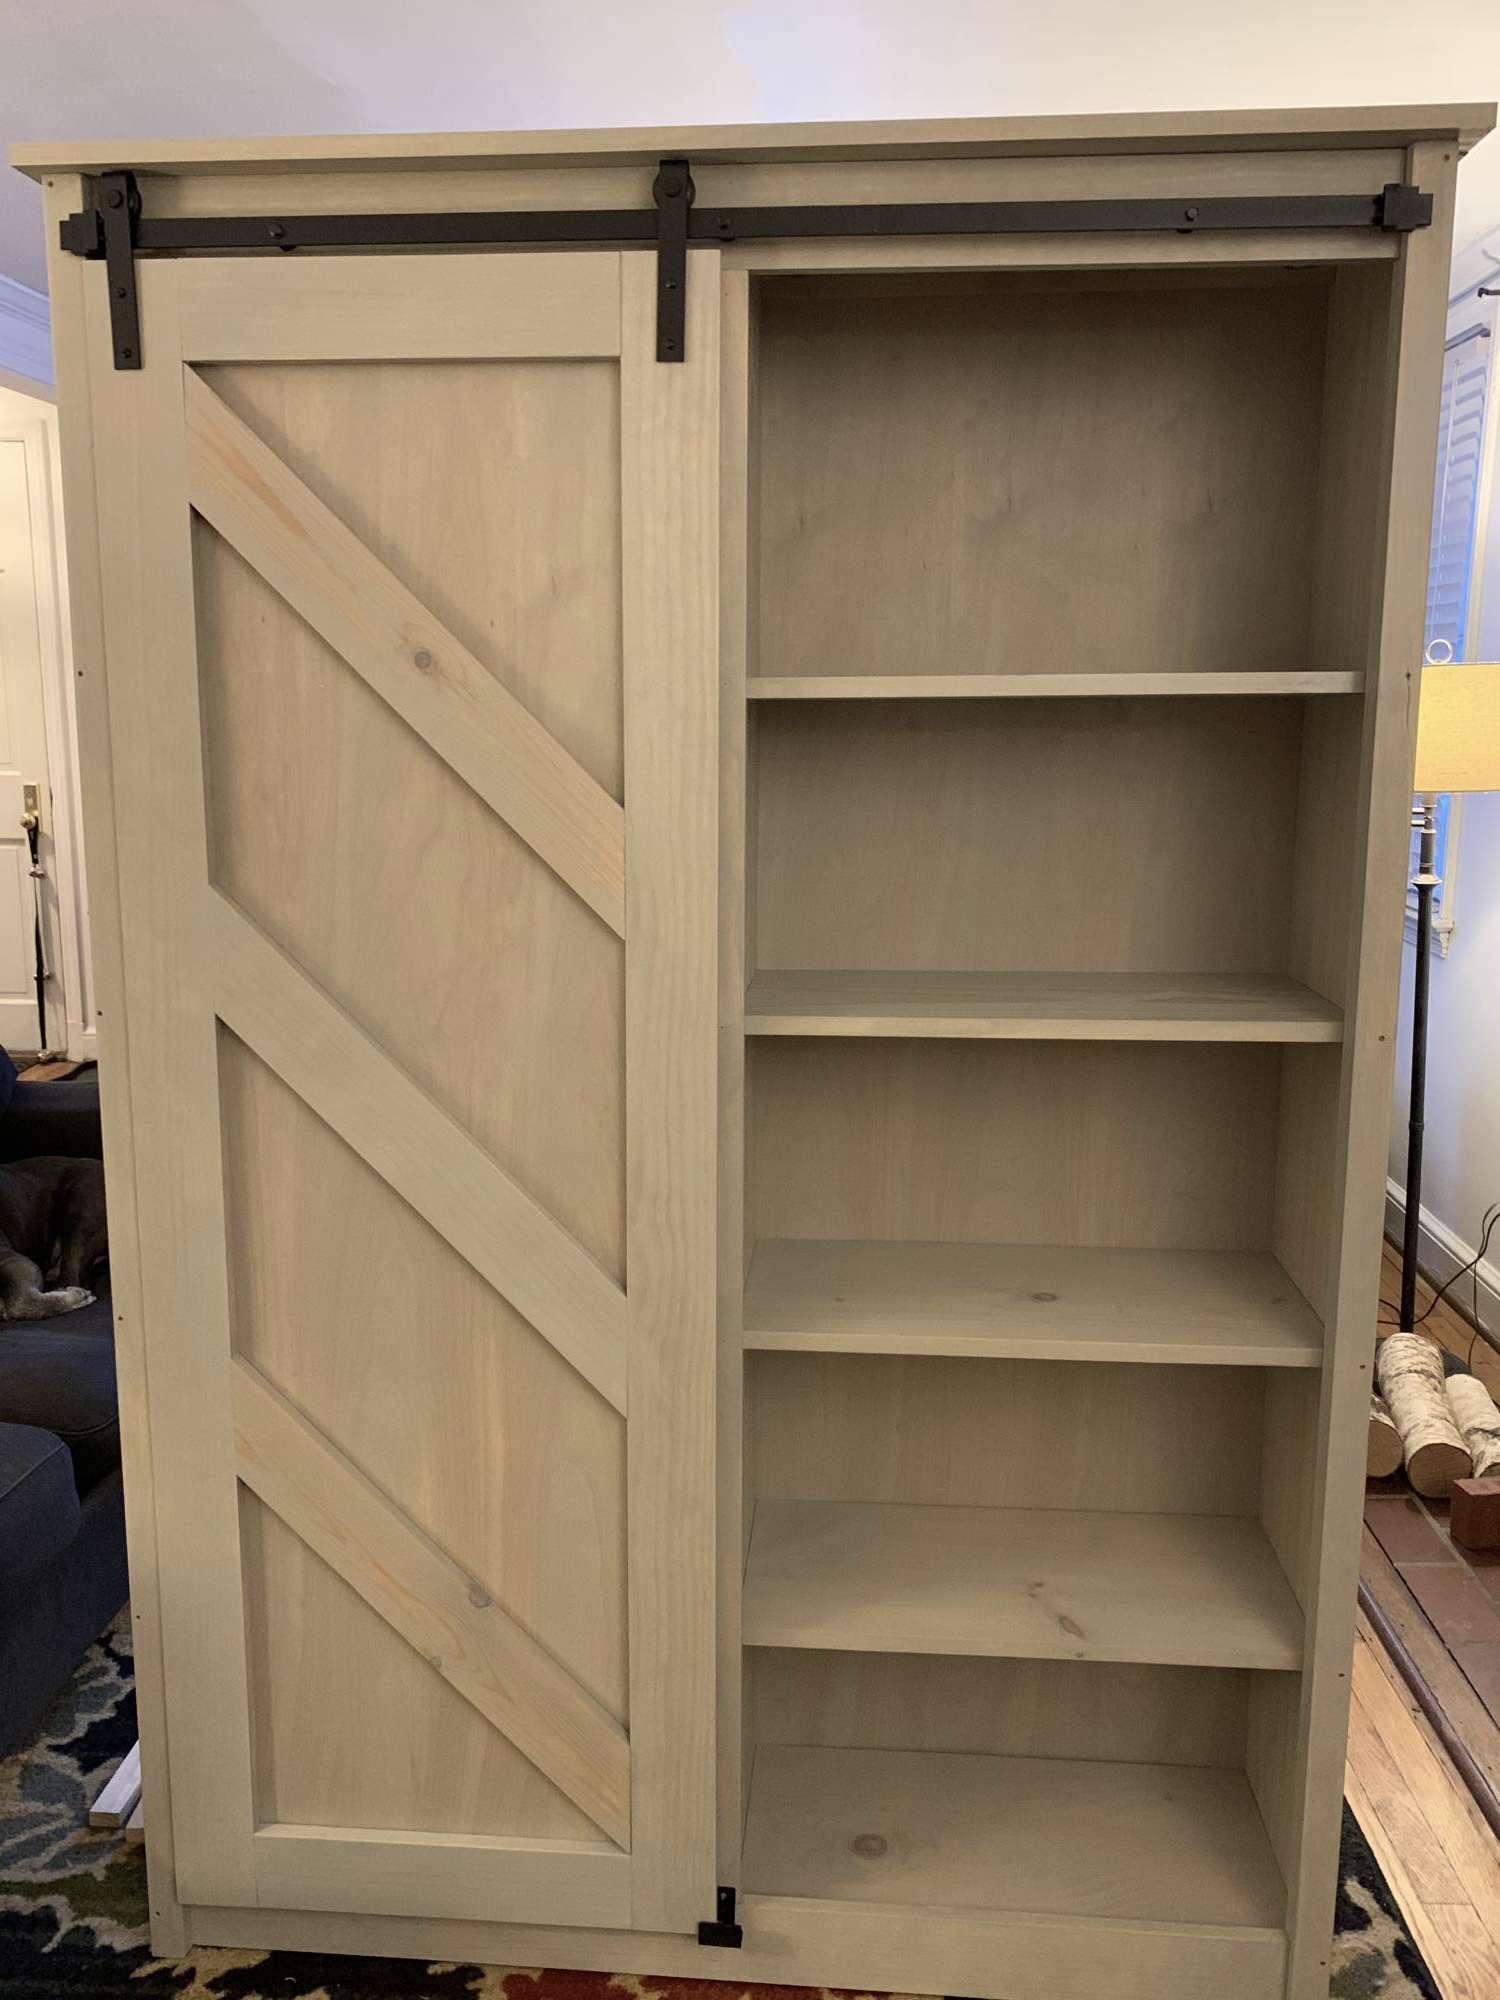
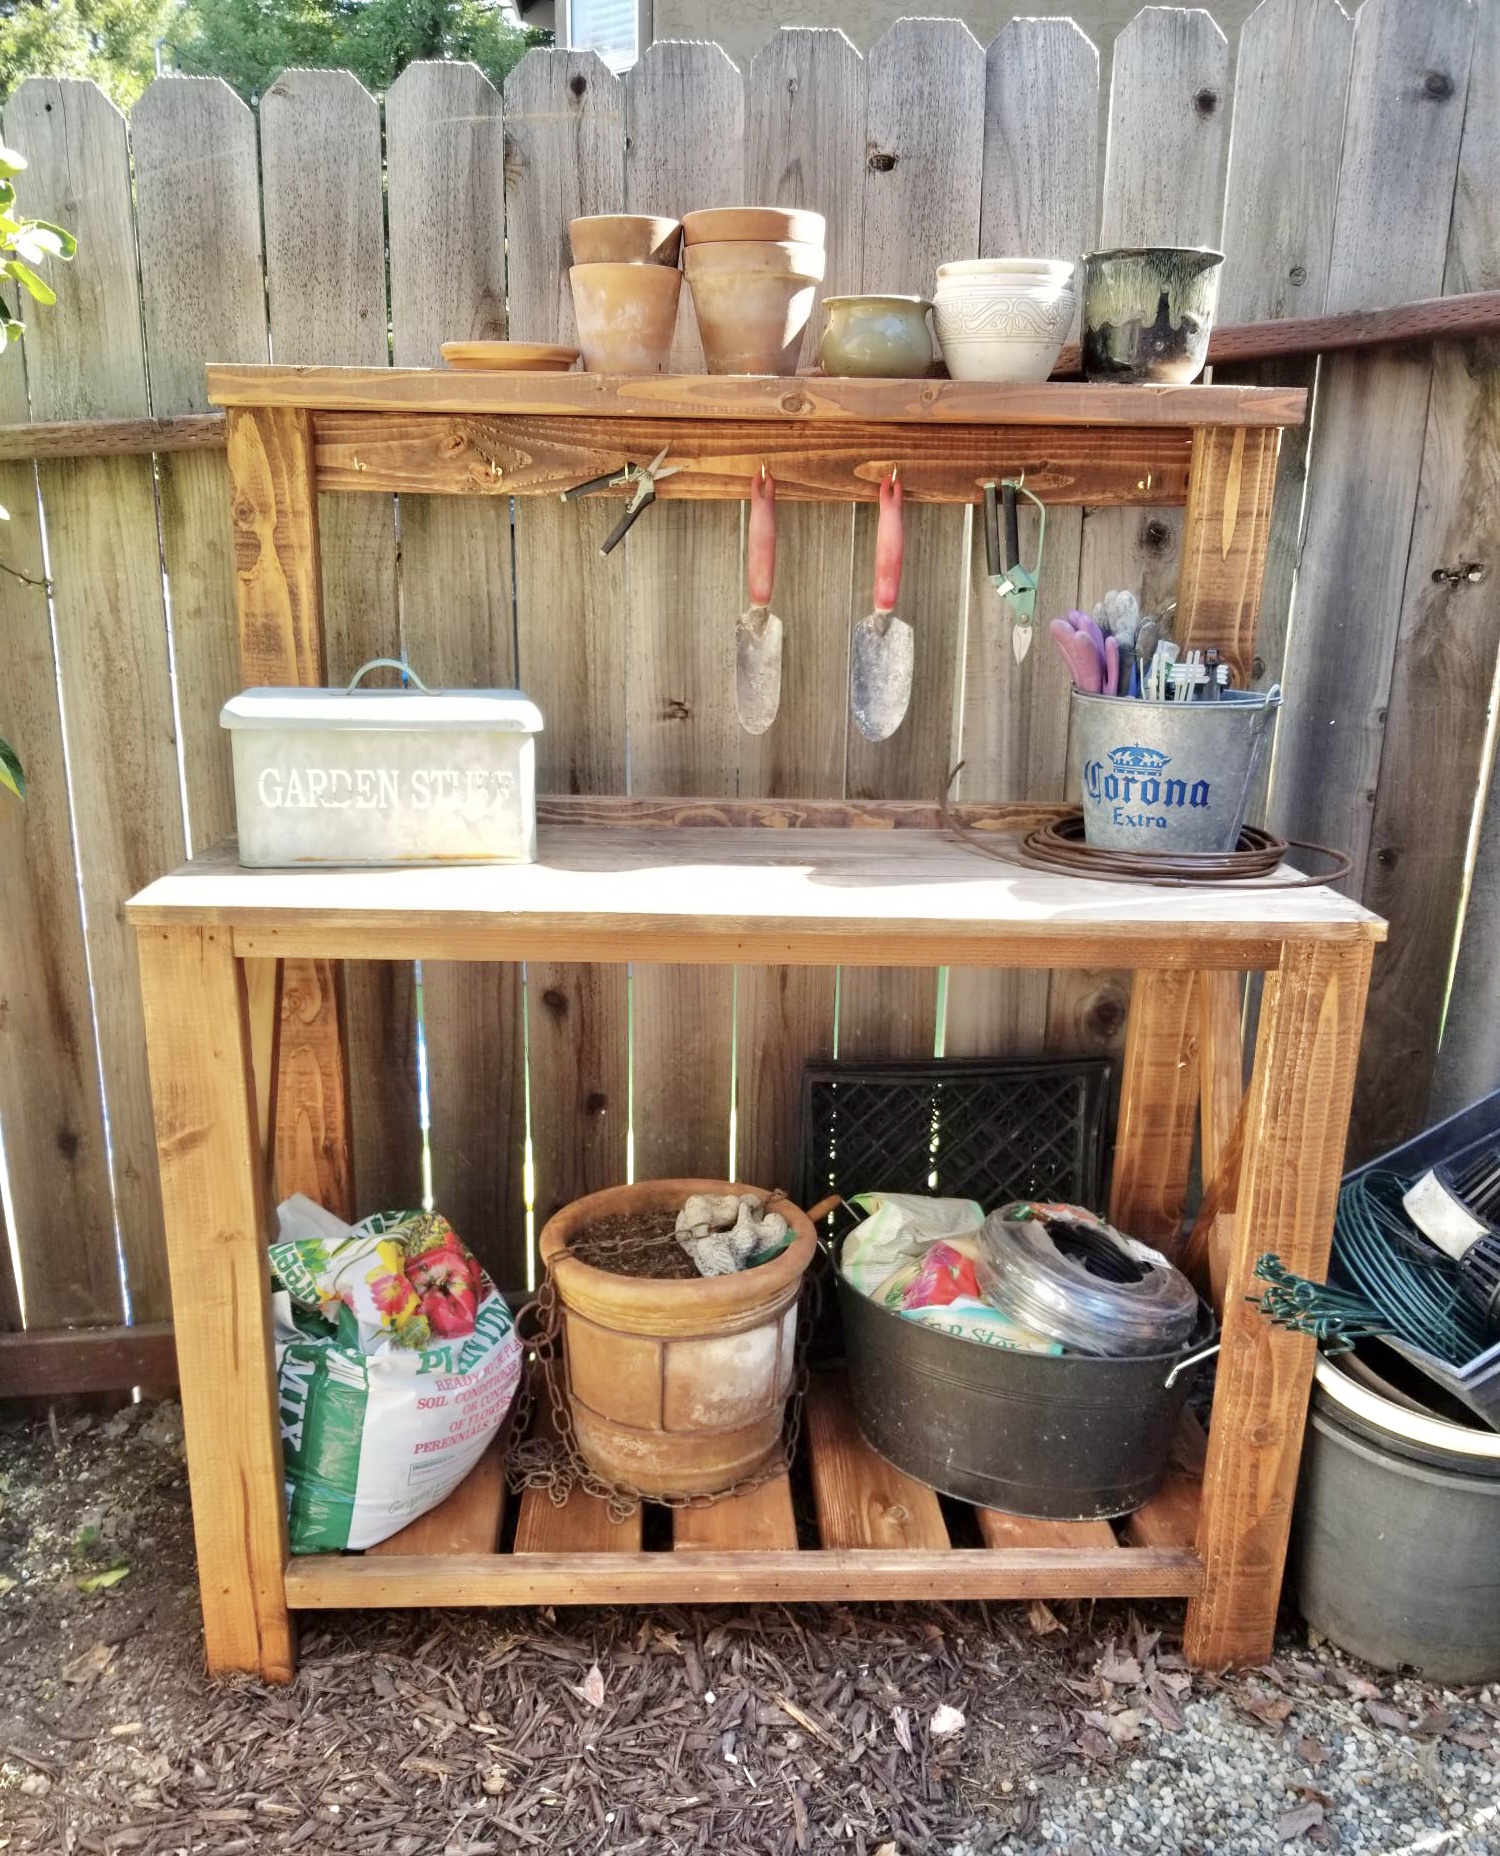
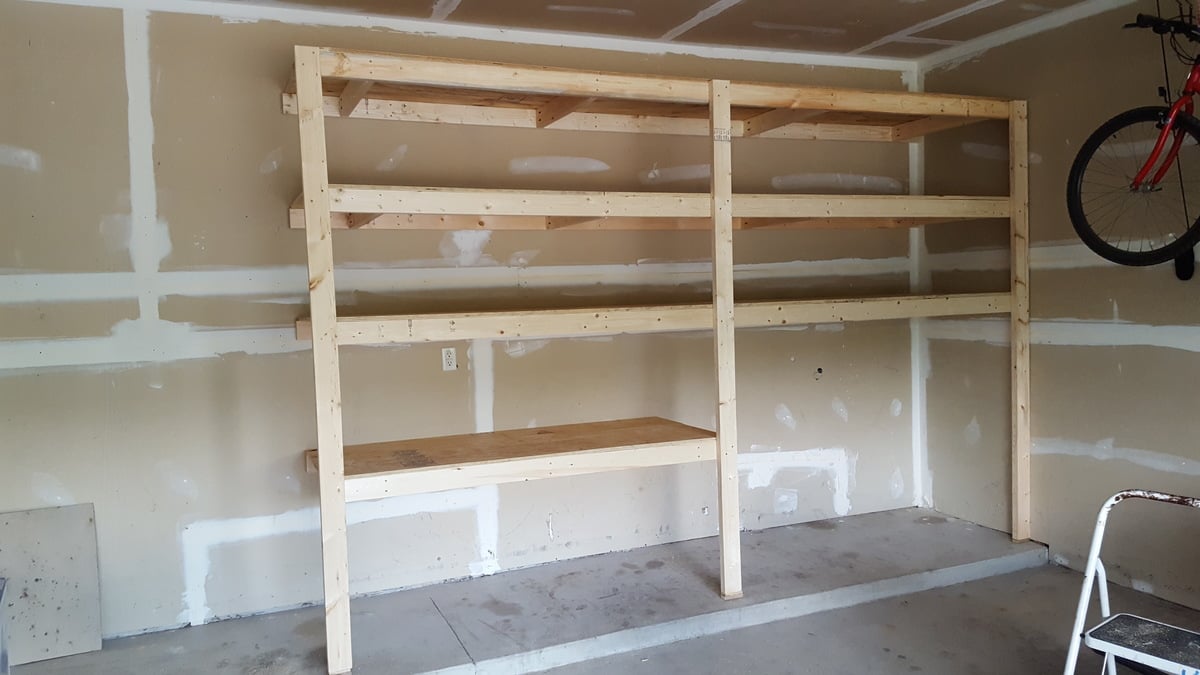
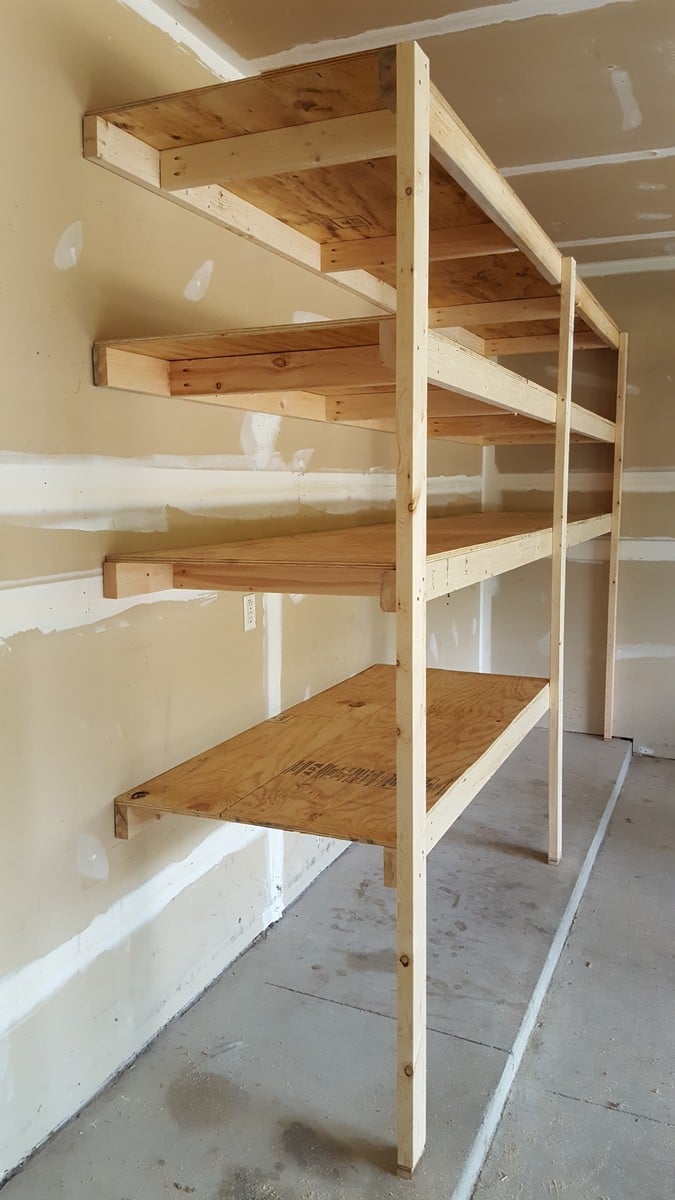
This took a lot of time and money but I like the way it looks. We have 4 kitchen cabinets and one drawer and no room for more so storage is tight.
My wife loves the X pattern of the Weatherly Sofa, but wanted the tilted back from the Simple White Outdoor Sofa. This was our best of both worlds effort!
Tue, 06/11/2019 - 05:25
Can you share where you got your cushions please?
My honey built this farmhouse potting bench in a few hours. I needed it to store all the junk that was laying on the ground. It's so cute!
I am a beginner diy'er and this was one of my first projects. Also it was my first time using the Kreg jig and I loved it! My shelving system was around 8 feet tall, 12 feet wide and 30 inches deep. I added some extra cleats to support my deeper shelves (30") and also used thicker (5/8") plywood. This was a fun and easy project to do! Thanks so much!
Easy build. Great and sturdy results.
Great build for beginners and for some learning experience with a Kreg Jig. Table looks great and bulky.
Sun, 08/11/2013 - 21:15
I was wondering the same thing myself about the 4x4's. Where I live the treated ones are about $7 and the untreated about $30. Also I have heard that you may have trouble staining or painting your treated 4x4's. I want to make a coffee table from one of your plans but I do not want to spend that much just on a 4x4. :/ Beautiful table though!
We built this for our daughter's 6th birthday! Love how it turned out :D As you can see we opted to leave the plywood backing off for the time being so she can use it as a doll house and play on both sides. When she grows out of the doll house phase we will either convert it to a book shelf, donate, or sell in a yard sale ... so many options!
I installed a half door to isolate our dog from the laminate flooring when he sleeps at night.
It was only $25 for the hollow core 6 panel door from HD, which got cut in half.
$25 for the passage knob.
$10 for top plate and trim
Less than $5 for the hinges.
Not having to replace the laminate flooring priceless!
Some Tips:
The $25 door is not prehung. Buy the $14 dollar irwin door jig to install the door "http://www.homedepot.ca/product/door-lock-installation-kit-carbon/904157" It will come in handy if you are remodeling and installing new doors to replace those old flat panel doors. You will also have to chisel out the hinges.
When installing and marking the hinge locations in the door frame shim the door a 1/4" off the floor.
Just made a set of your modern Adirondack Chairs. Fun and easy project. Finished with Benjamin Moore Arborcoat solid stain in Aruba Blue for a nice beachy look and weather protection. Added a cushion from Lowe’s and enjoy. Thanks for the great plans.
This is my first build. I thought making a work table would be the ideal first project. I'm very happy I came across Ana's Youtube channel and website. I made some rookie mistakes with the cut list. I t was my fault but a good learning experience. In the past I have dreaded any kind of woodworking project. I became very frustrated using the garage floor or some makeshift work table. This sores nicely in the garage and is very functional. I did add a handle on the side of the work table to carry it to the work site. I'm looking forward to many new projects.
For whatever reason, right before spring, Pier One had these $45 cushions on clearance for $11.13. It took us trips to 4 different stores to collect all the cushions, but we had a new patio set for our new house (minus the sofas). As such, I modified Ana's plans to accommodate the smaller size of the cushions (22x22). Then, I used the savings from the cushions to justify buying a new table saw. It took a while to buy and cut all the lumber, kreg-jig everything together, fill all the holes, sand, seal all the wood, etc., but the work was well worth it. Nearing completion of this project, I built the pictured modified cooler coffee table to ensure that no guest ever has to get up from their seat for any reason during a summer barbeque.
Tue, 06/10/2014 - 08:01
Thanks ILoveDIYing! It's funny because I noticed the modified rectangles daybed project that you posted last night, and based on your awesome job, I wondered to myself whether I tackled the right project. All the "X" cuts on the back of the weatherly couch get a little tedious, but it is well worth it after you finish. One piece of advice (which I picked up from other commenters) if you do build the weatherly (which I forgot to mention above) is to create a slight slope for slats underneath the seat cushions from front to back. Otherwise, the couch is a little too upright for comfort.
Tue, 07/15/2014 - 02:07
I actually built (2) 45" love seats similar to this design, a 90" daybed with same backrest design and a two-seat bench with table in between to create an outdoor sectional... Would love to share the pics but I don't see a way to attach the file?
Tue, 07/15/2014 - 02:10
I couldn't see how to add pics for brags so I made my profile pic the pic of the sectional I wanted to share... If I'm missing something on how to share the project pics can someone, heeeelp lol
Wed, 07/16/2014 - 13:40
Jose, from the small picture you posted, your new white weatherly's look great! To post a brag, way down on the right-hand column, near your account info, there is a link to "Contribute a brag post." When you follow the link, there is a form that allows you to enter info about the project, link to the plans, attach photos, etc. Good luck!
It took us awhile but we built these white cabinets from scratch. It turned out great and looks better in person. Thank you for your articles!
I modified the plans for the farmhouse console table to create a laundry room table. I changed the shelf height and used 2x4s running the entire length for the shelf.
This was my first build from your site! Farmhouse bench.
I was a little confused with the miter saw instructions "bevel cut at a 10 degree angle off center". I had to google to figure out what you meant. In the end the bench looks awsome and I feel very empowered with my tools.
(still need to stain the finished project, bought all the wood and built in 1 day)
Thank you Ana for sharing your plans!! I love your site and I love my Kreg Jig!
Vicki
(Canada)
Wed, 04/15/2020 - 11:38
It looks great and rock solid. I can't find a plan for it. Could you please help me?
I've been wanting to buy or make a sandbox for my son for a couple of years now. Since seeing this on Ana White I knew I had to make it. My son is 4 yo and I didn't think the 4' square sandbox would be big enough for him, so I made it bigger. Ours is 6' square. Materials: 4@1x8x6' 12@1x6x6' 2x4 - used leftovers from another project 8 hinges 4 handles decking screws Cut lengths: 2@1x8 cut to 71.5 (long sides of the box) 2@1x8 cut to 70.5 (short sides of the box) did not cut the 1x6 boards (top planks) - actually designed the other boards to fit their length to prevent cutting (saving time) (note that original plan uses 1x4 planks - I used 1x6s so I could use the same number of planks but cover a larger area) 4@2x4 cut to 11.5 (arm rests) 4@2x4 cut to 18.5 (back supports) followed instructions for assembly otherwise. At my husbands suggestion we put the handles on the sides and can easily open from either side - prevents having to lean over to the middle to open (back saver) I finished the project in 4 hours including clean up and a couple of small breaks. This is my first Ana White project. It was a lot of fun to build and I hope my son will enjoy it for years to come!
Sat, 09/01/2012 - 20:59
Wow, this is just what I need! I've been wanting to make a sandbox for under the playhouse but the other plan was too small. This would be great for the little guys. Thanks!
Ive been looking for a sewing table to fit my space. but found none for less than $500 and they were quite small. I found a post at quiltedcupcake.com that linked me to another blog, linking me here. I modified the plan to be about 2 feet wide and cut a hole to fit my sewing machine. There is a support in the bottom to hold my machine level with the tabletop. When I make this in the future, I will splurge on a fine hardwood. This plan was easy to build and looks great! Just what I was looking for :D
Sat, 09/15/2012 - 16:38
Thank you! This project was very easy to build and would be very easy to make in a smaller size. I'm so glad I did it, free motion quilting is so much easier with this table.
Wed, 08/26/2020 - 07:13
Good morning Ana,
Where can i get the plans for this table.
Sun, 09/16/2012 - 10:11
Now, I've just got to make it! I love to free motion quilt and that would make it easier. With each baby I've had my quilting space has diminished (of course it's worth it) but now I think I will reclaim some space ;)
Tue, 02/26/2013 - 14:14
Cannot seem to find the plans for this project. Please post them.
In reply to Plans Please by SinKitty71
Tue, 02/26/2013 - 17:40
I used the plans for the narrow farmhouse table (search in the plans tab) and made a few modifications for my sewing machine.
Thu, 06/20/2013 - 12:27
What size boards did you use for the top of the table?
The design plan from the https://www.ana-white.com/woodworking-projects/2x4-modern-adirondack-ch… worked out really well and with tiny modifications to the dimensions i was able to build this in a couple of days. All the wood used was discards on a construction site plus a neighbor discarding a dismantled old fence. Added my footstool which was fairly straight-froward as well. My wife made a few cushions at home for it and its super comfy Really happy with the way the whole thing worked out. Thanks Ana
Jenny from www.birdsandsoap.com became my hero when I saw her sweet pea garden bunk bed plans on here! I love these storage stairs and everything else about the bed. I decided to build the whole works. Here are the storage stairs. I added the last couple photos to show what my girls and I did with the scraps from the cut out hearts. We made a fishing game out of it... used screws in the "fish" to make them magnetic and we just used fridge magnets for the end of the fishing pole. Pretty fun! We'll get to making more fish and painting them later... right now I gotta finish this awesome bed house! (I just wanted to share that to let everyone know how creative I can be... normally I'm just a big style biter off ana white and Jenny from birds and soap and Pinterest lol... I bet if you went in my house right after Jennys house they would look pretty identical. I also made her version of the farmhouse storage bed, what can I say? She's got good taste!) YEAH!
Mon, 12/31/2012 - 08:50
Where did you find the plans for the stairs? I can't find them on this website or the Birds and Soap website.
Mon, 12/31/2012 - 08:51
Where did you find the plans for the storage stairs? I can't find them on Ana White's site or the Birds and Soap site.
In reply to Where did you find the plans by HollykmB (not verified)
Mon, 12/31/2012 - 22:28
This link should take you there... http://ana-white.com/2012/09/plans/sweet-pea-garden-bunk-bed-storage-st…
Hope that helps. Good Luck!
Love your site. The 8’ pony wall I recently made was a great plan. I’m also going to build the outdoor storage plan you have. Thanks for your creativity!
This was based on the "Small Kitchen Island" Plans but needed to put 2 - 33 Gal Trash cans in. I used Select Square edged Pine. The depth remained the same as the plans but the width changed dramatically (52" wide). I also increased the height to match the other furniture (3' High). I added 4 - 1 X 2's to the top of the cabinet to secure the top.
This was so much fun to do! Very easy and I added some personal touches. I made the lower level an enclosed sandbox area with a chalk board on the back wall. On the outside of the back wall, I added a "ball wall" that my kids love. I enclosed the bottom sandbox with plastic "chicken wire" to keep the cats out. :)
Thu, 11/22/2012 - 13:05
This is an awesome build. love the colours too, could you share them with us, including the roof colour. Thanku
Thu, 11/22/2012 - 15:34
Thanks! Glad you like it!
The paint was from Dunn Edwards: Roof was "Louisiana Mud", playhouse walls were "Drifting" and then the white was a snow white from Lowe's.
The slide and accessories were also from Lowe's.
Tue, 04/15/2014 - 09:35
I LOVE this! This is exactly what I'd like to build. Do you have plans you can share with us? I think I'd also like to add a couple of swings on one of the sides too. Thanks so much!
In reply to Love this! by m7hennen
Sun, 04/27/2014 - 08:39
I know I messed with the dimensions a bit but I don't remember exactly. I made the playhouse larger (deeper and taller than original plans) . I also cut the roof line on the deck side for more room. I put aluminum over the wood on the roof and then painted. The Ball Wall was made out of plastic gutter pieces that I painted and we used practice rubber golf balls to throw into them. I hope that helps! We sold that house, so I can't go out and measure it :)
In reply to Plans for Playhouse by Dawnybb
Thu, 05/28/2020 - 15:32
You may not get this as this is an old post. Did you dig post holes? I have older kids and I am thinking about building a plan like this but at a 6ft height. Wondered how much it moves around when there are a bunch of kids on there. The house I will build is also 6 ft heigh.
I am loving my new garage shelves. They were my first woodworking project and very easy to do! I left the bottom right side open to fit my outdoor table and chairs in the winter (I live in Michigan). I also used thicker plywood than plan because my shelves are a bit deeper.
Comments
BmoreITguy
Wed, 04/22/2020 - 06:00
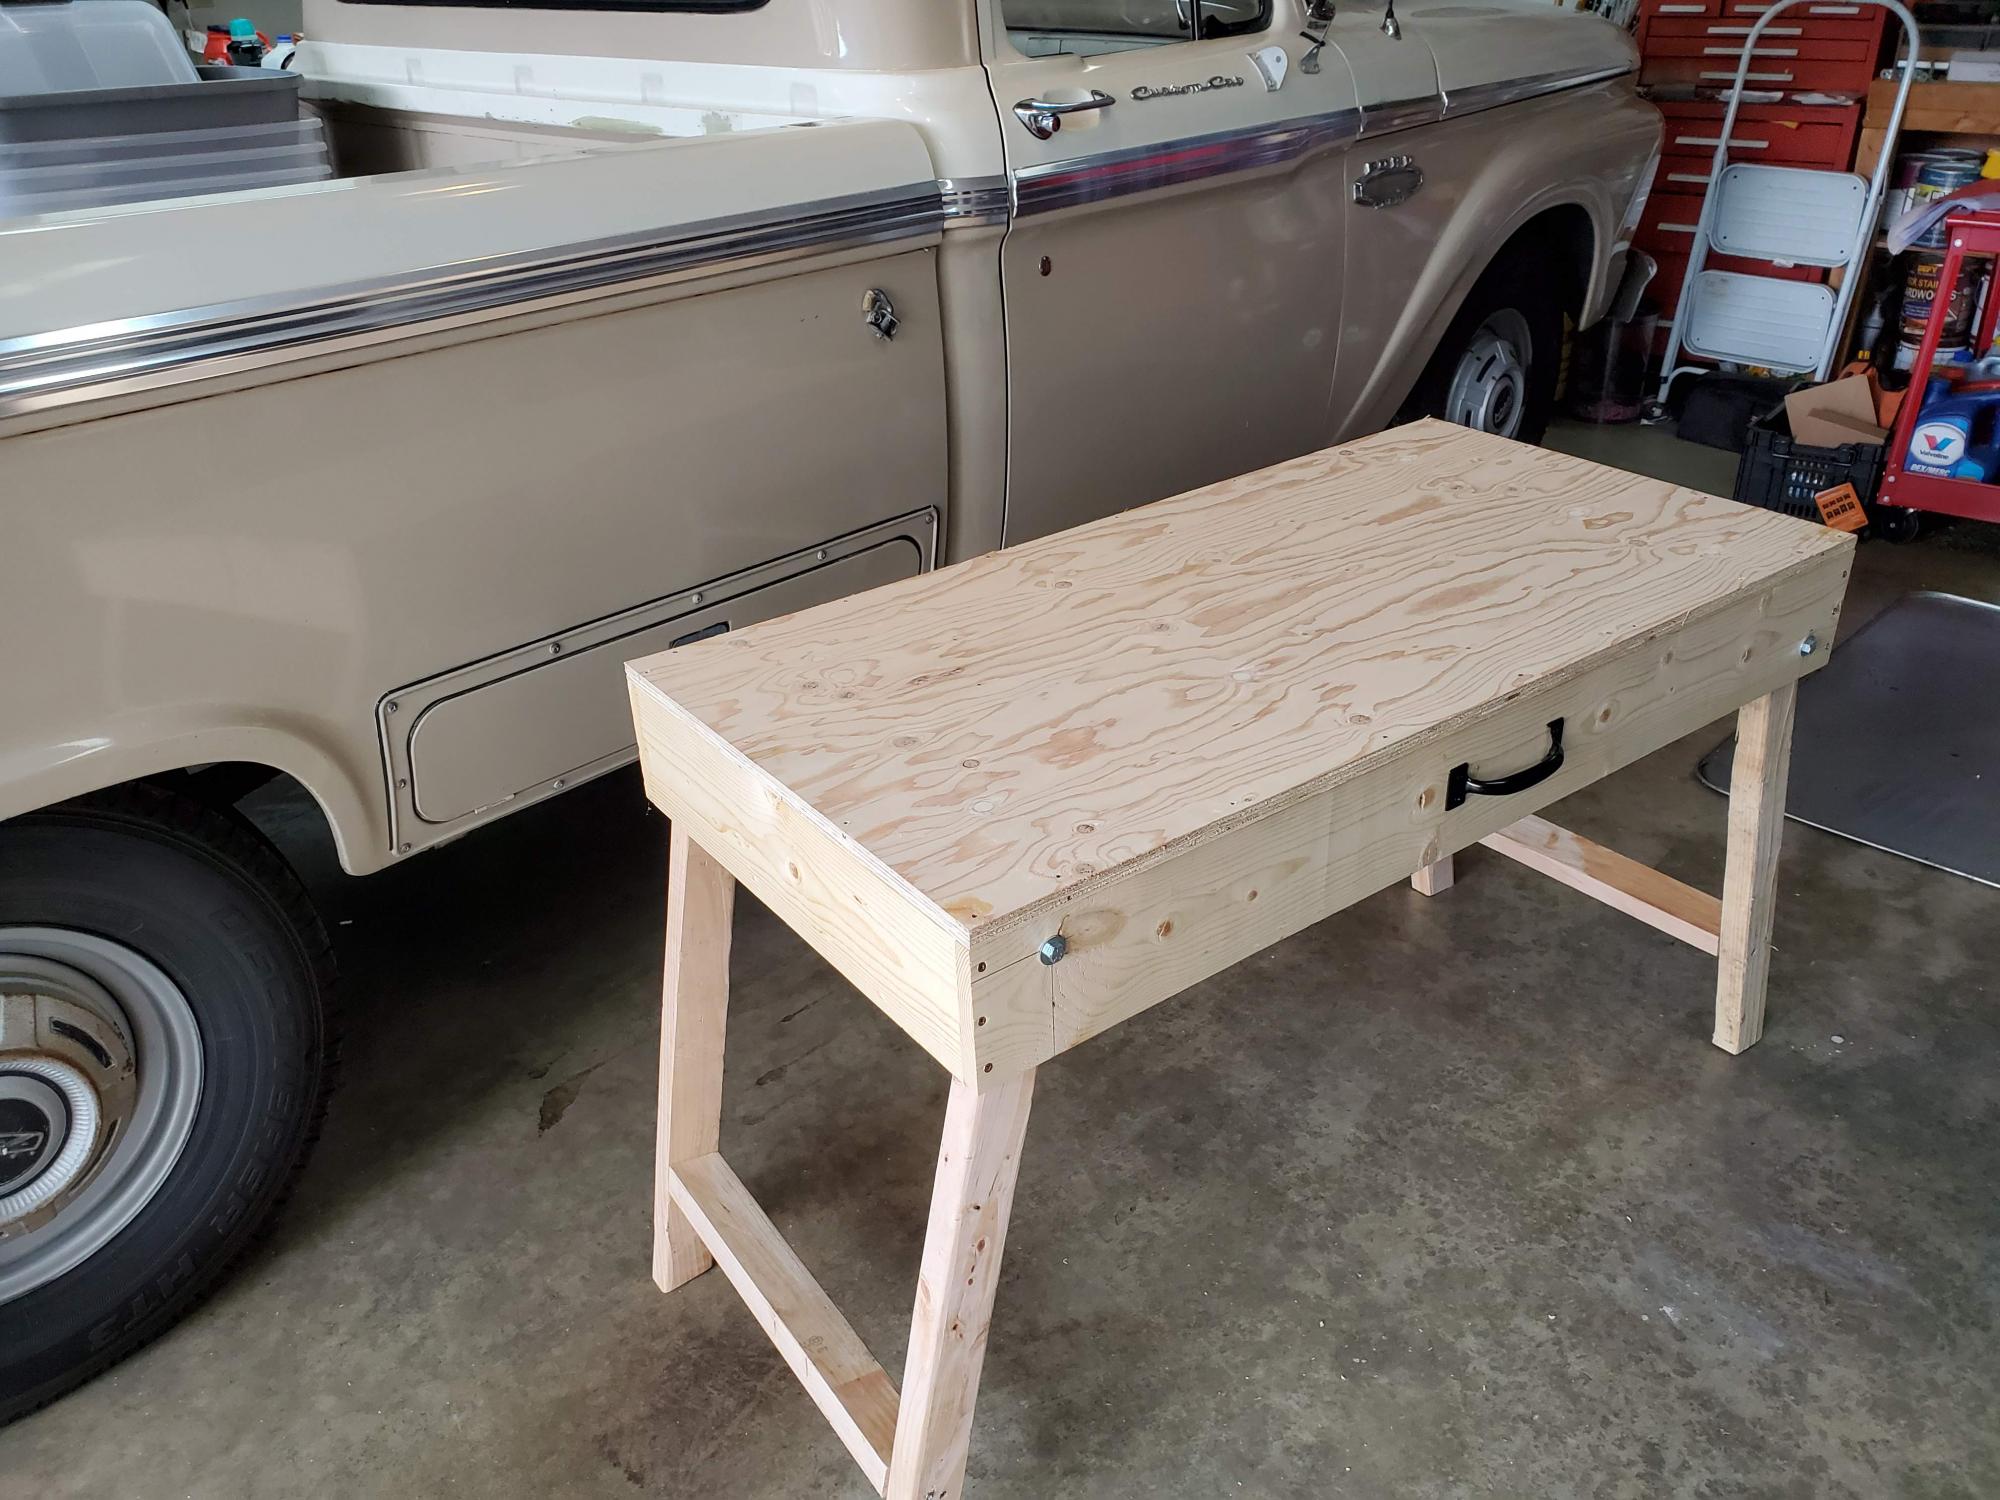
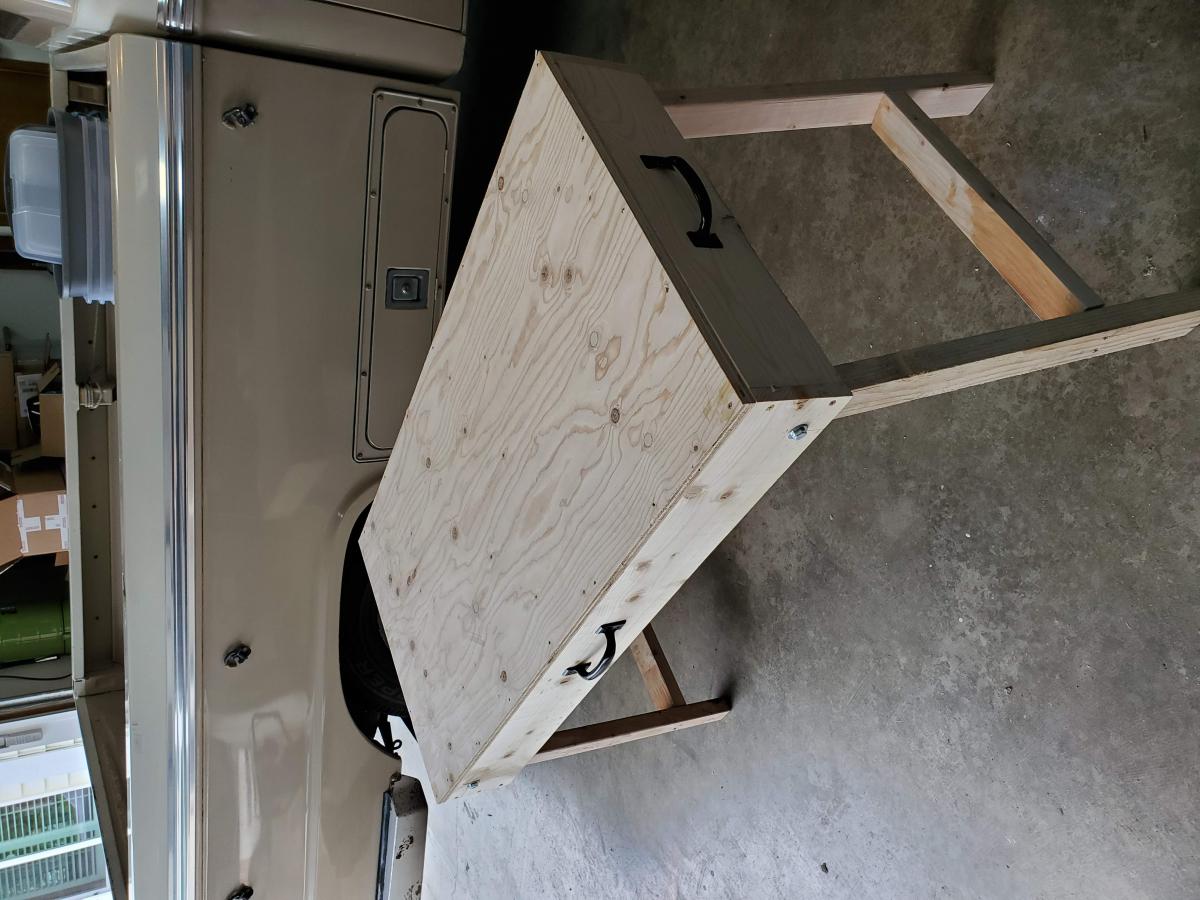
Grrr
Why is my picture sideways? Ana, one of the most frustrating things with this build was the mobile version of your site. Very laggy, typing lags, pages crash in the middle of typing or viewing and persistent ads are a nightmare
Ana White Admin
Wed, 01/12/2022 - 13:02
Amazing!
This is stunning, way to go!