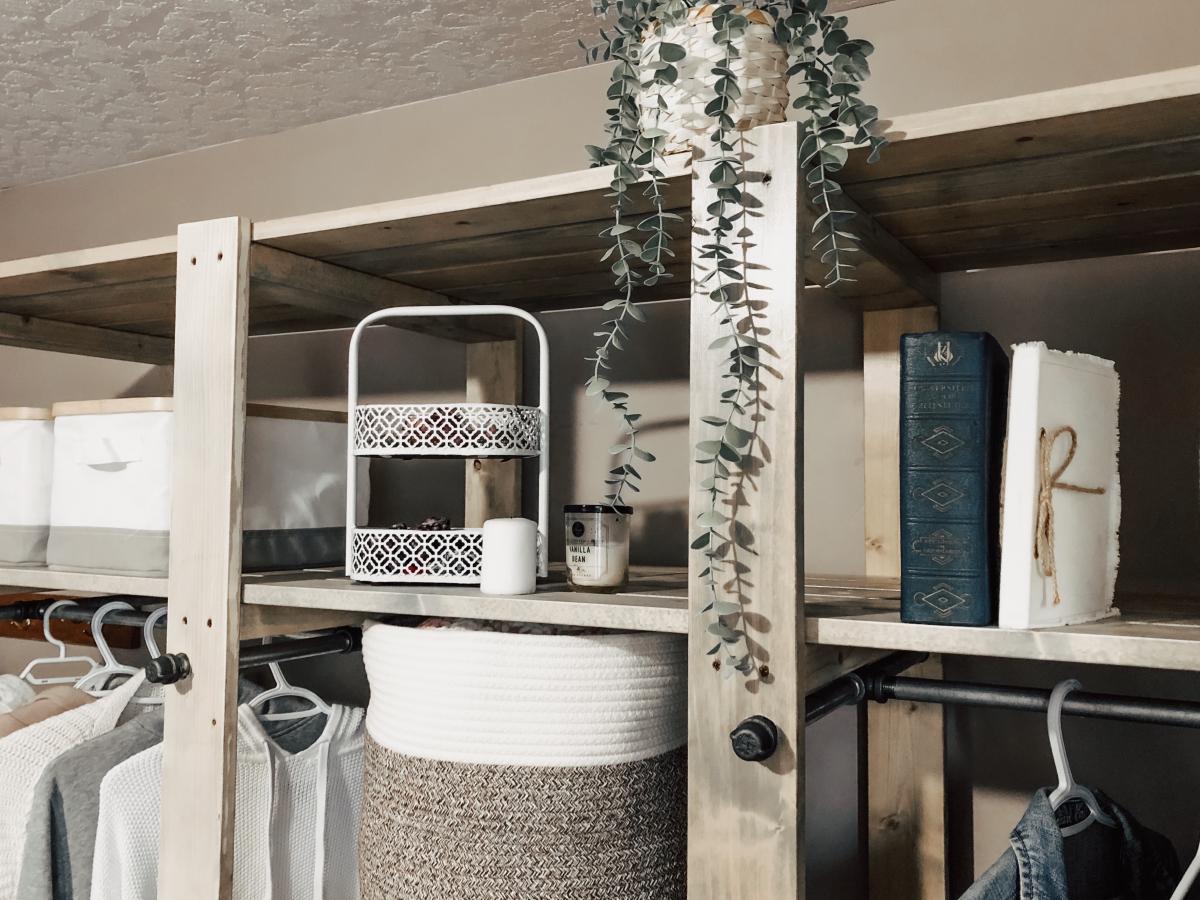
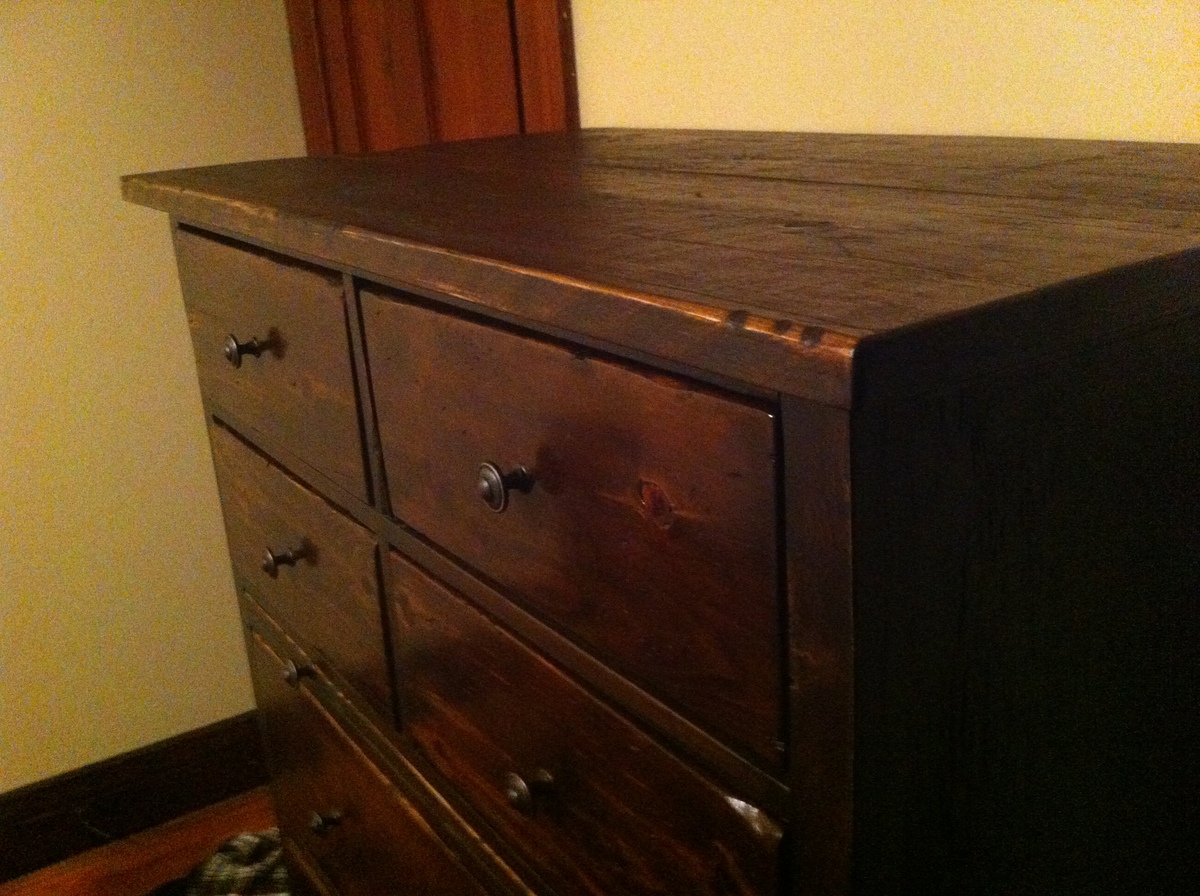
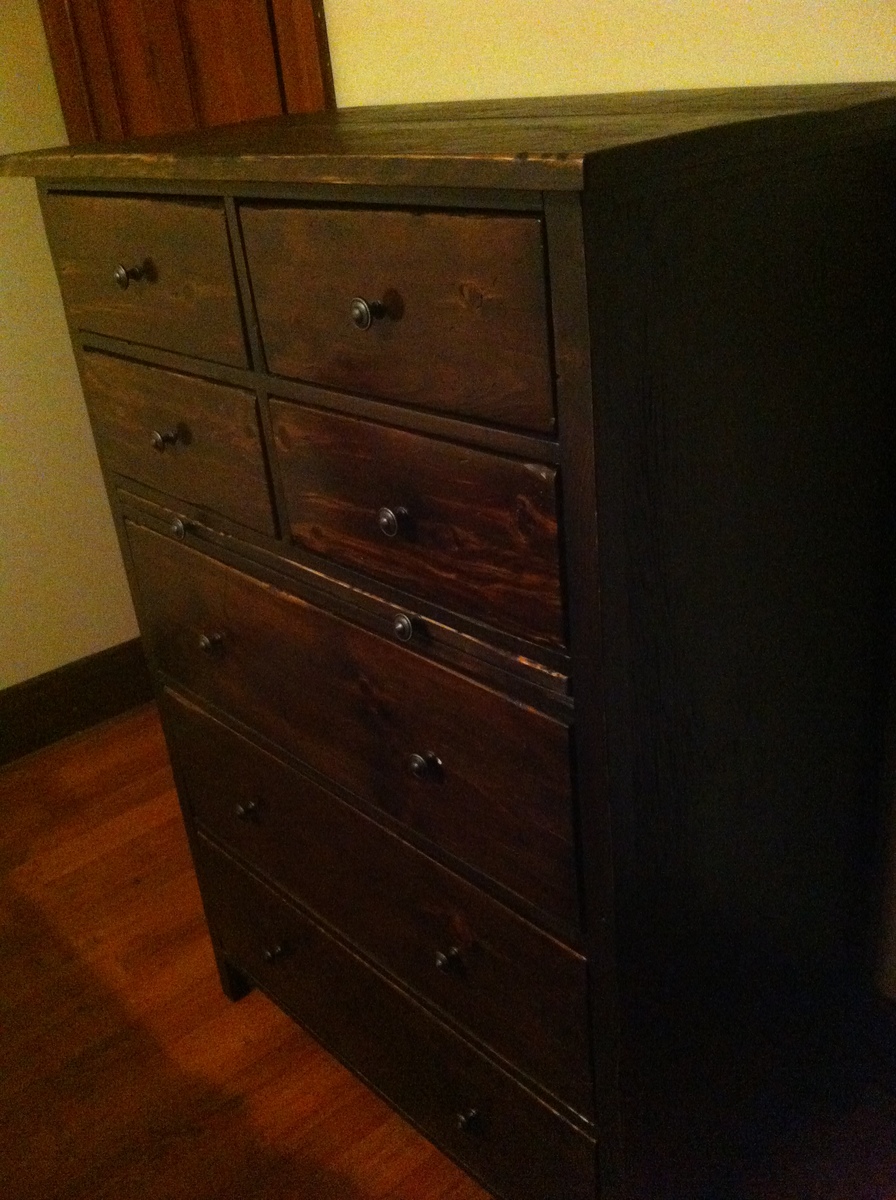
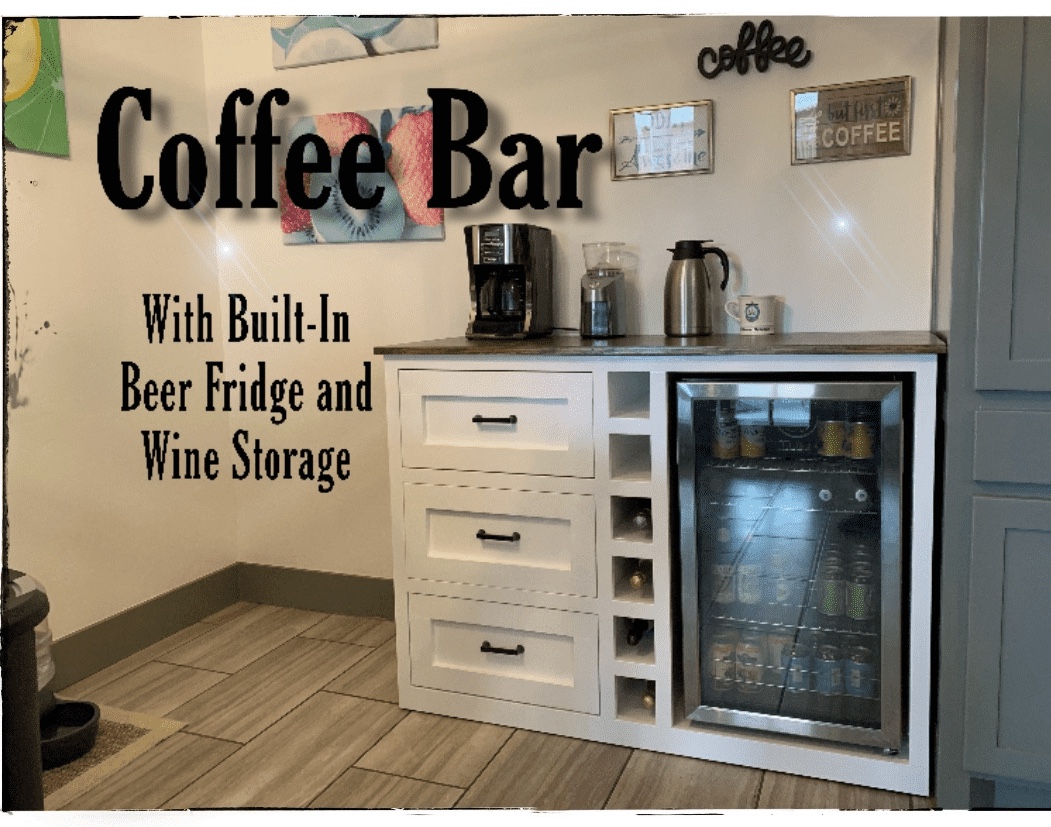
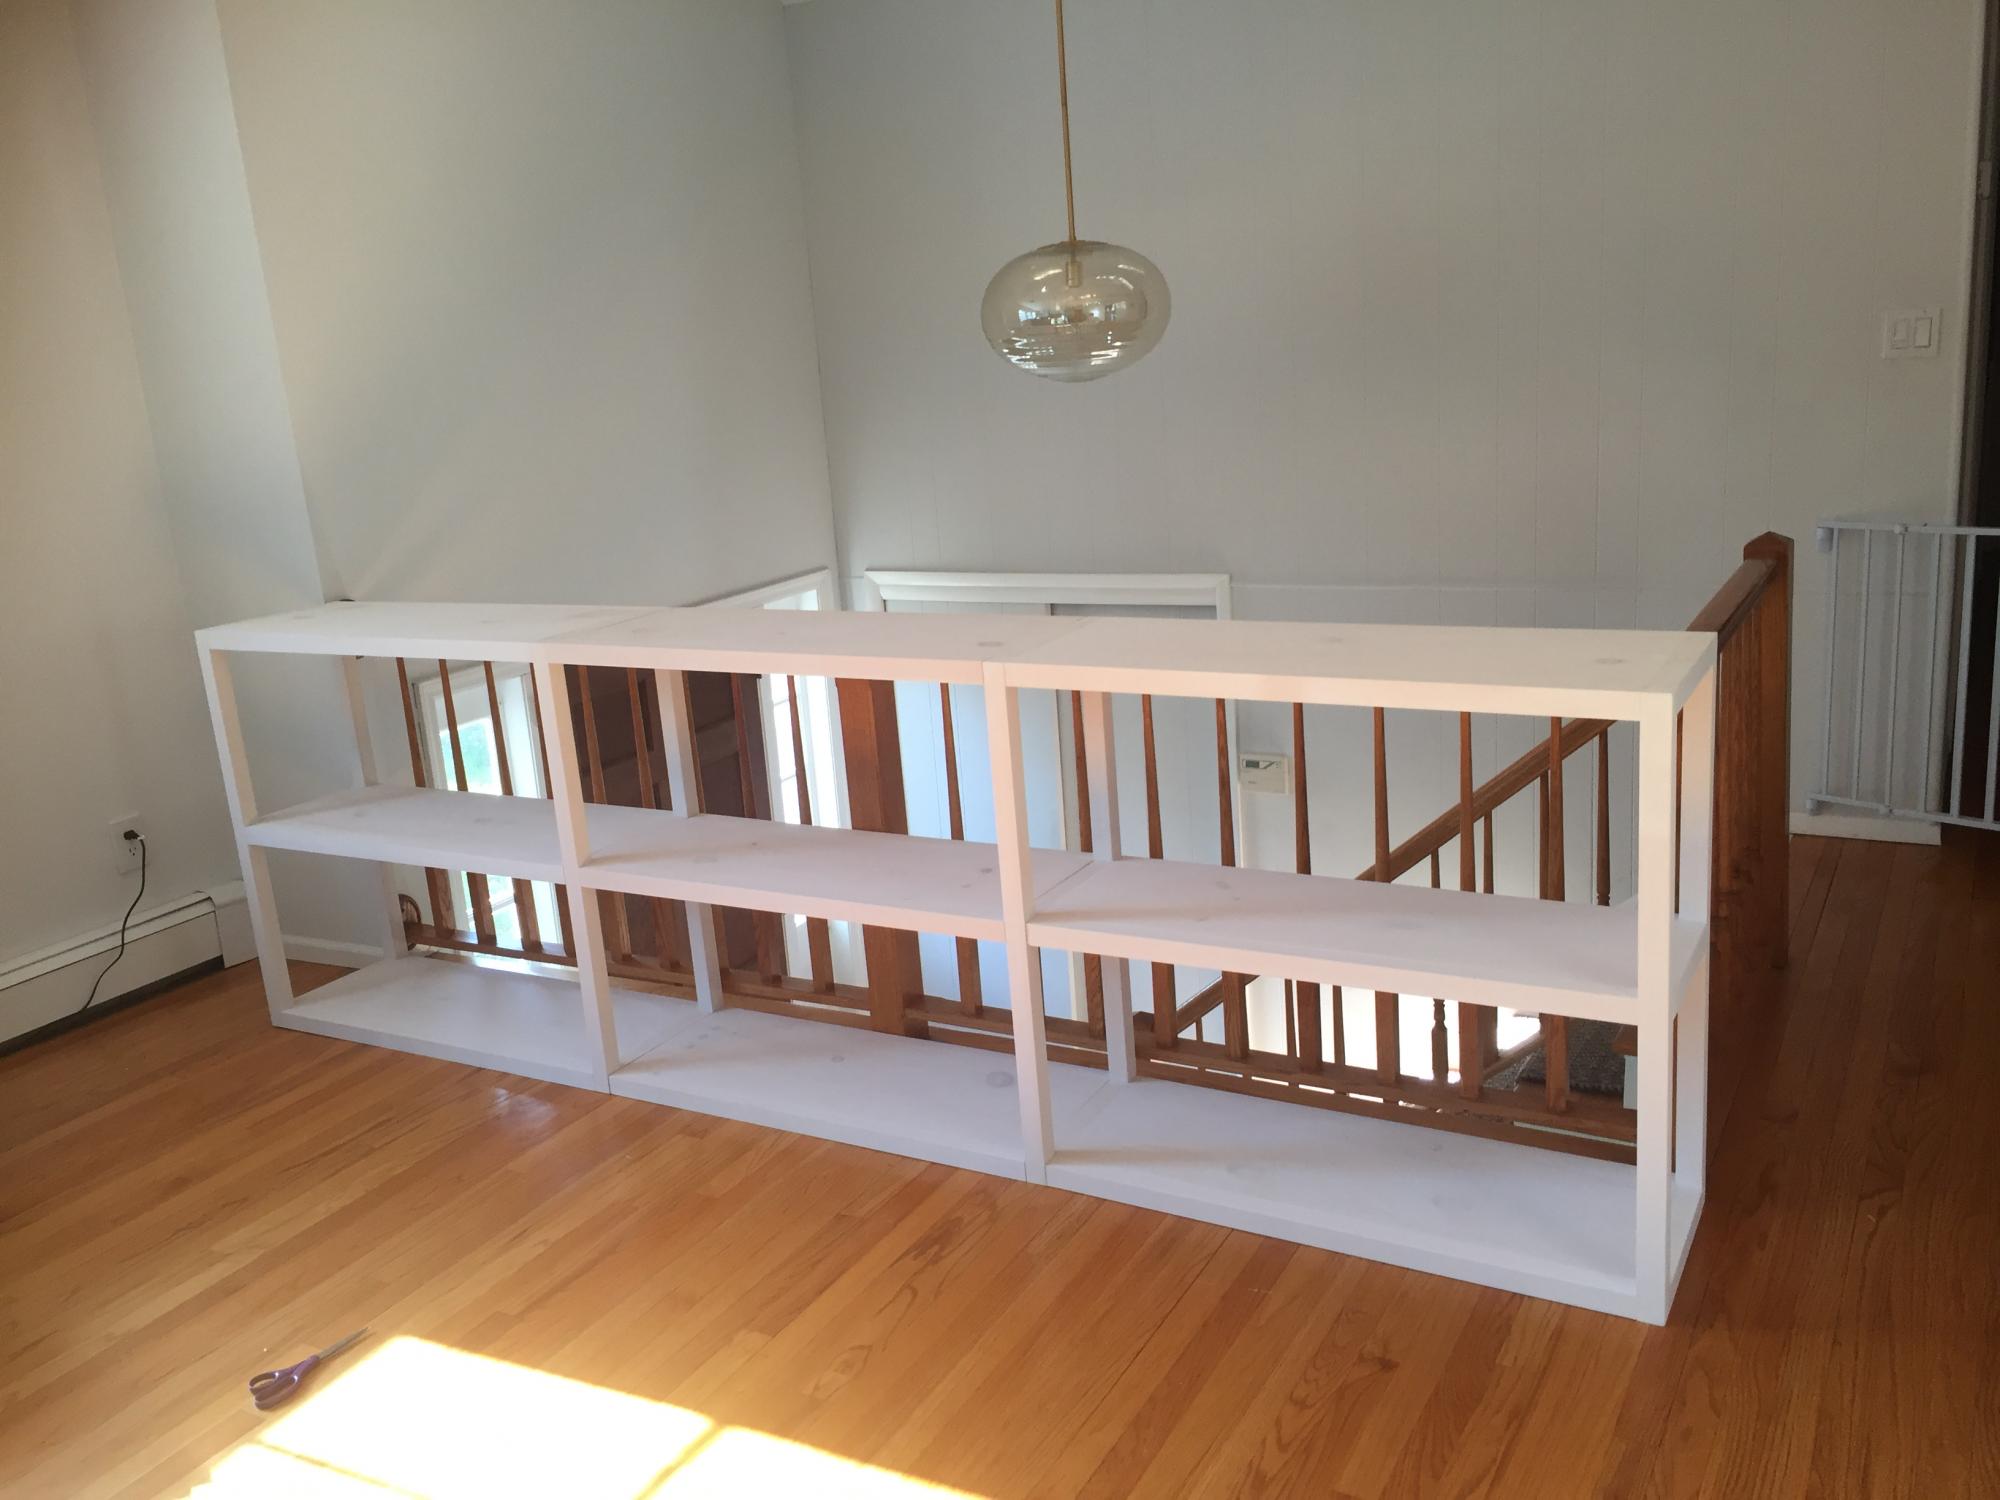
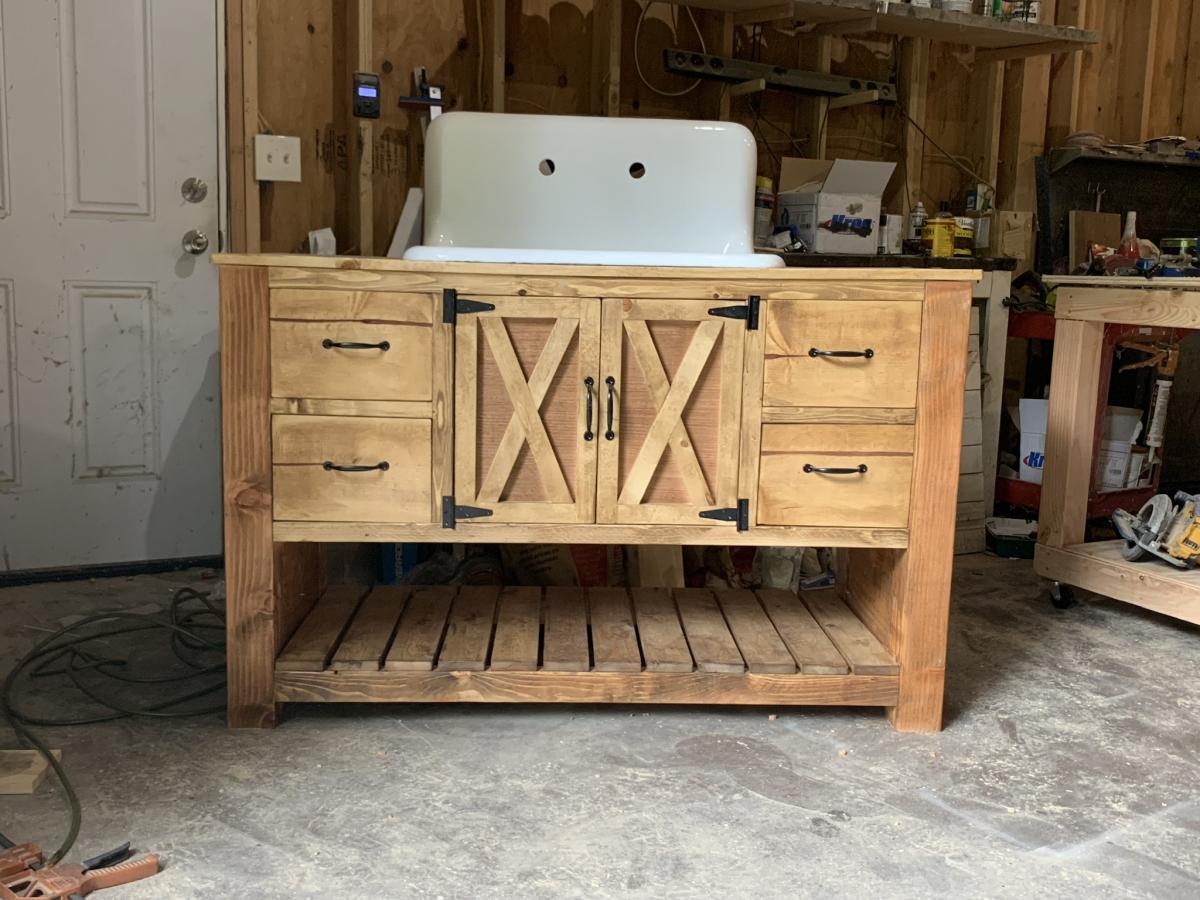
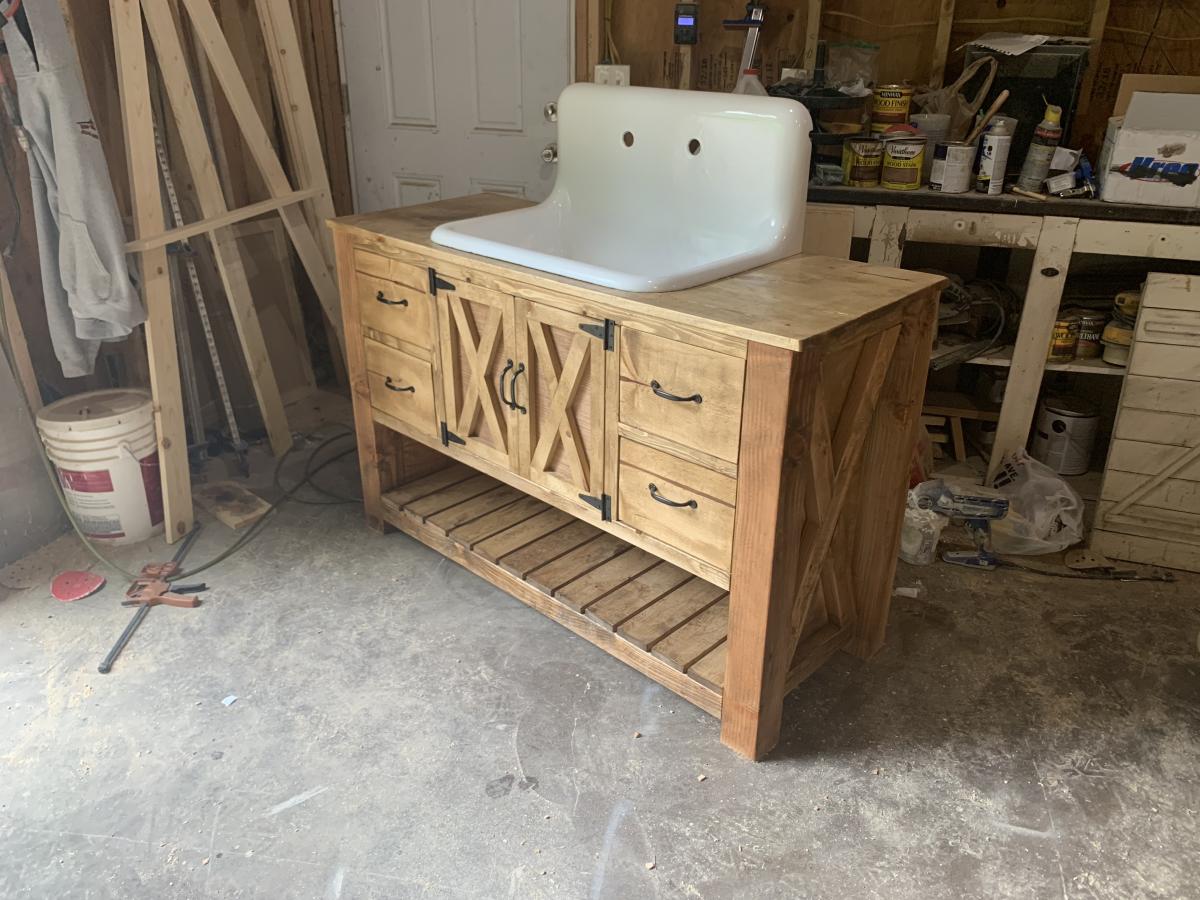
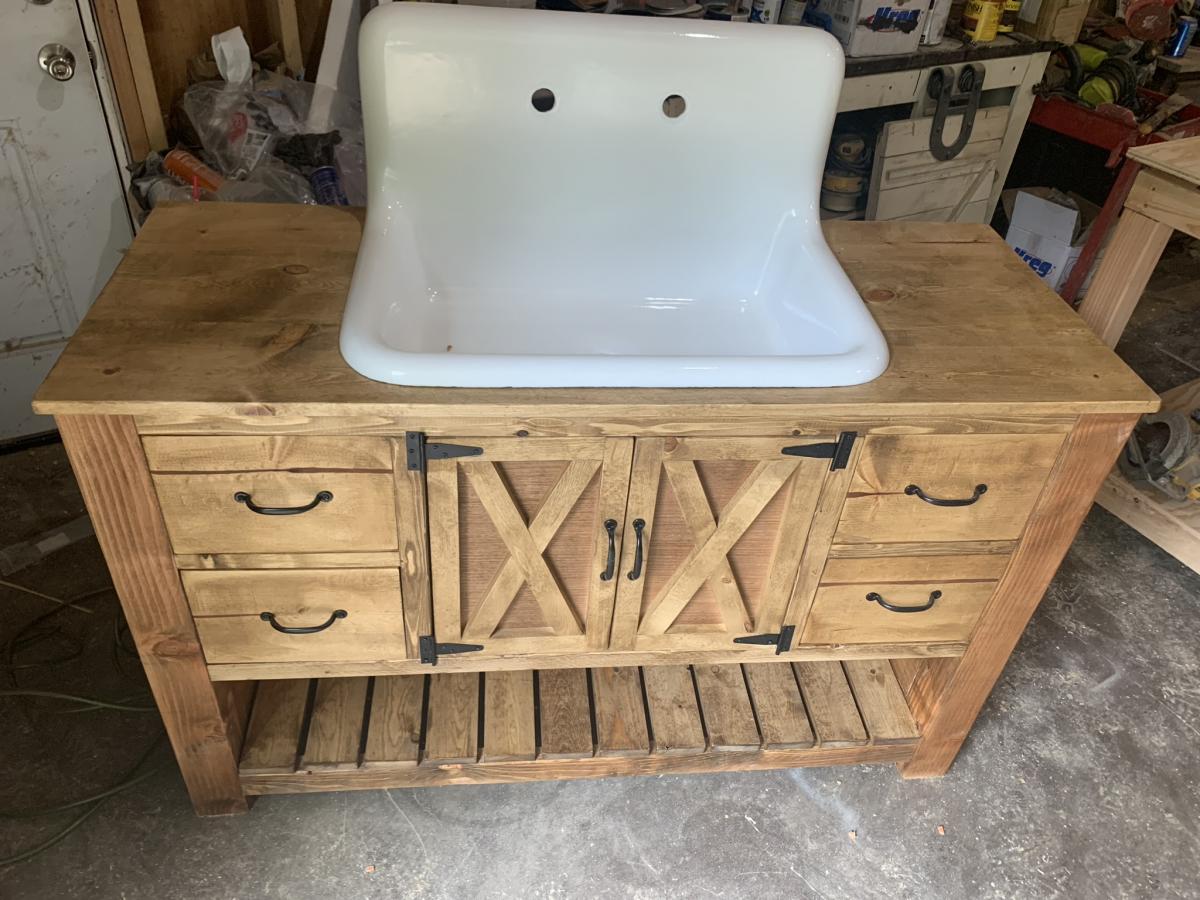
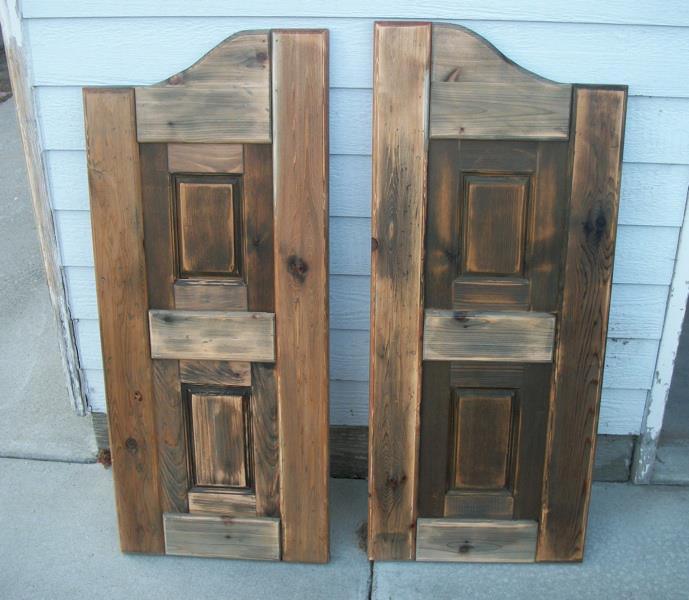
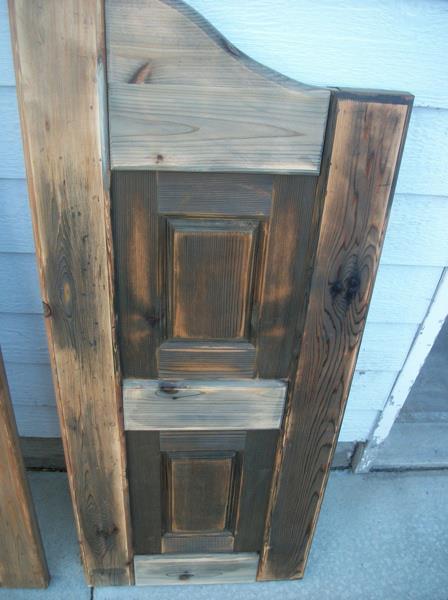
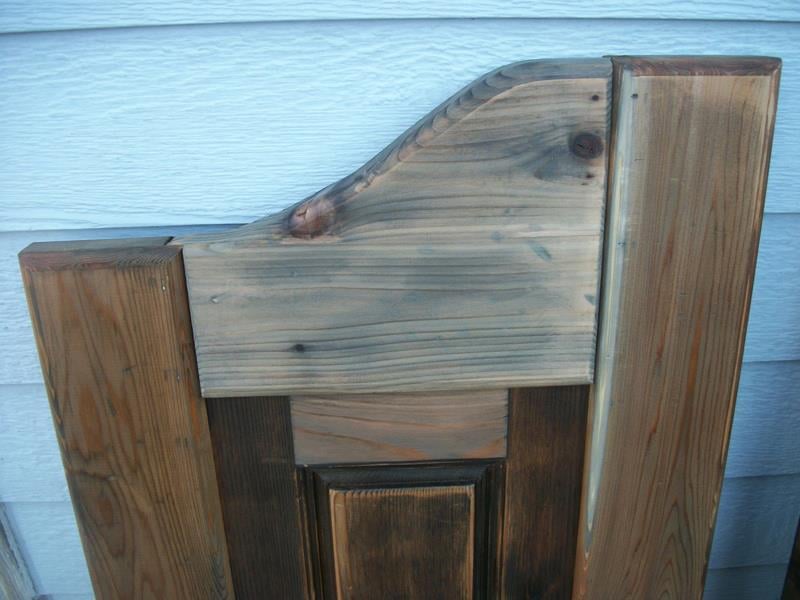
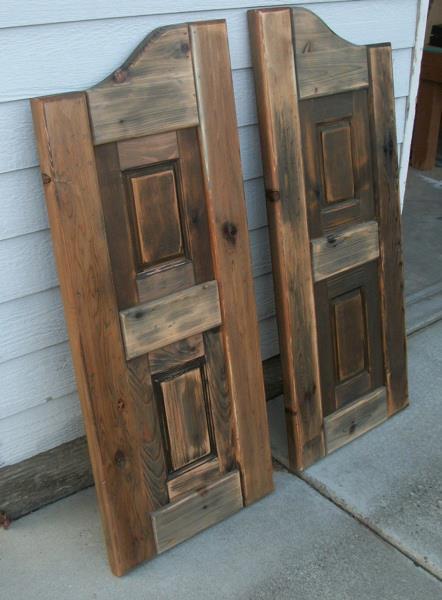
Freestanding closet
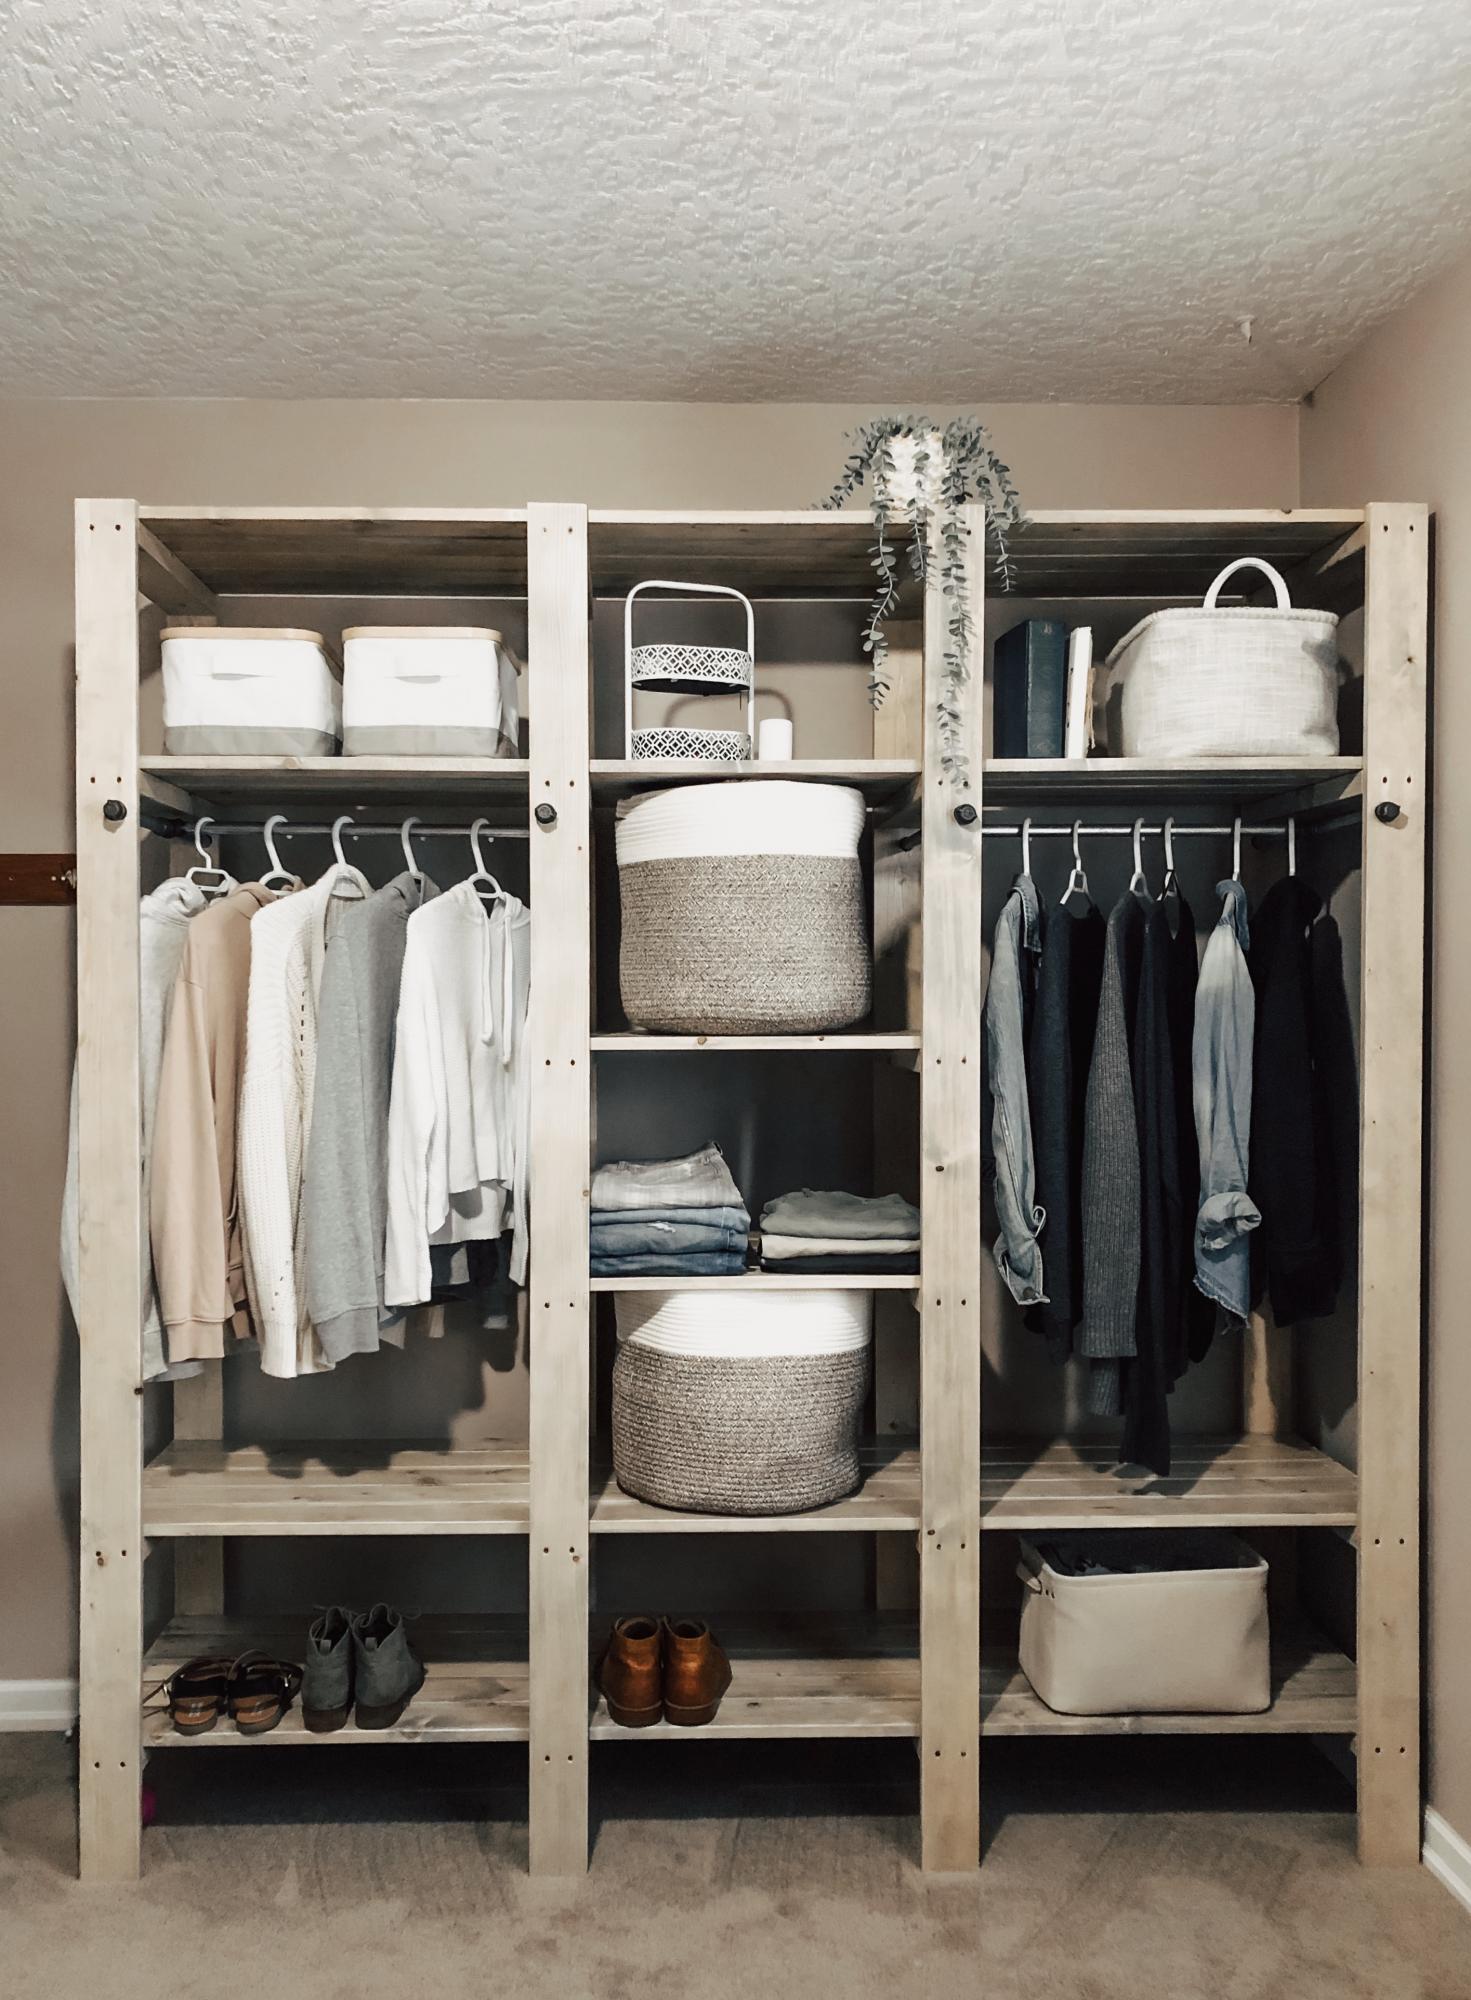
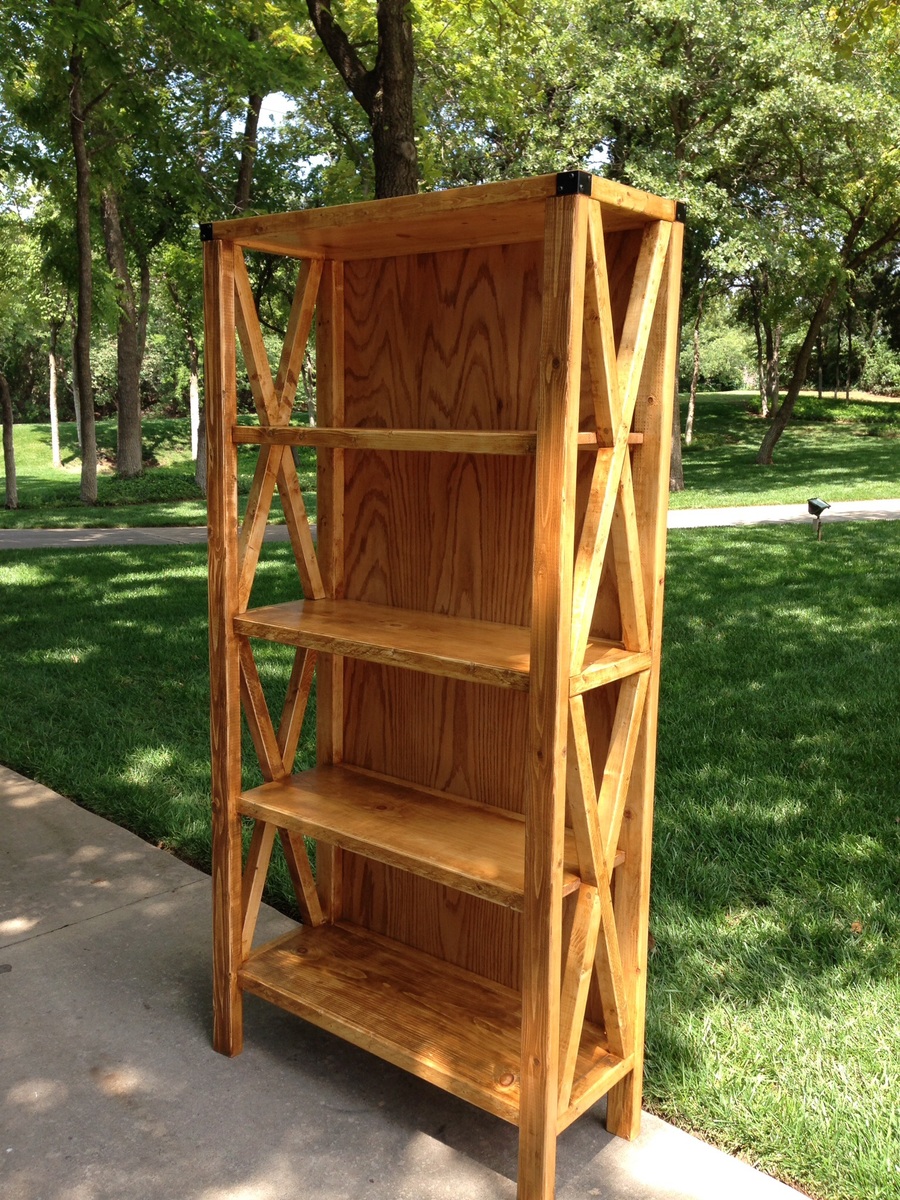
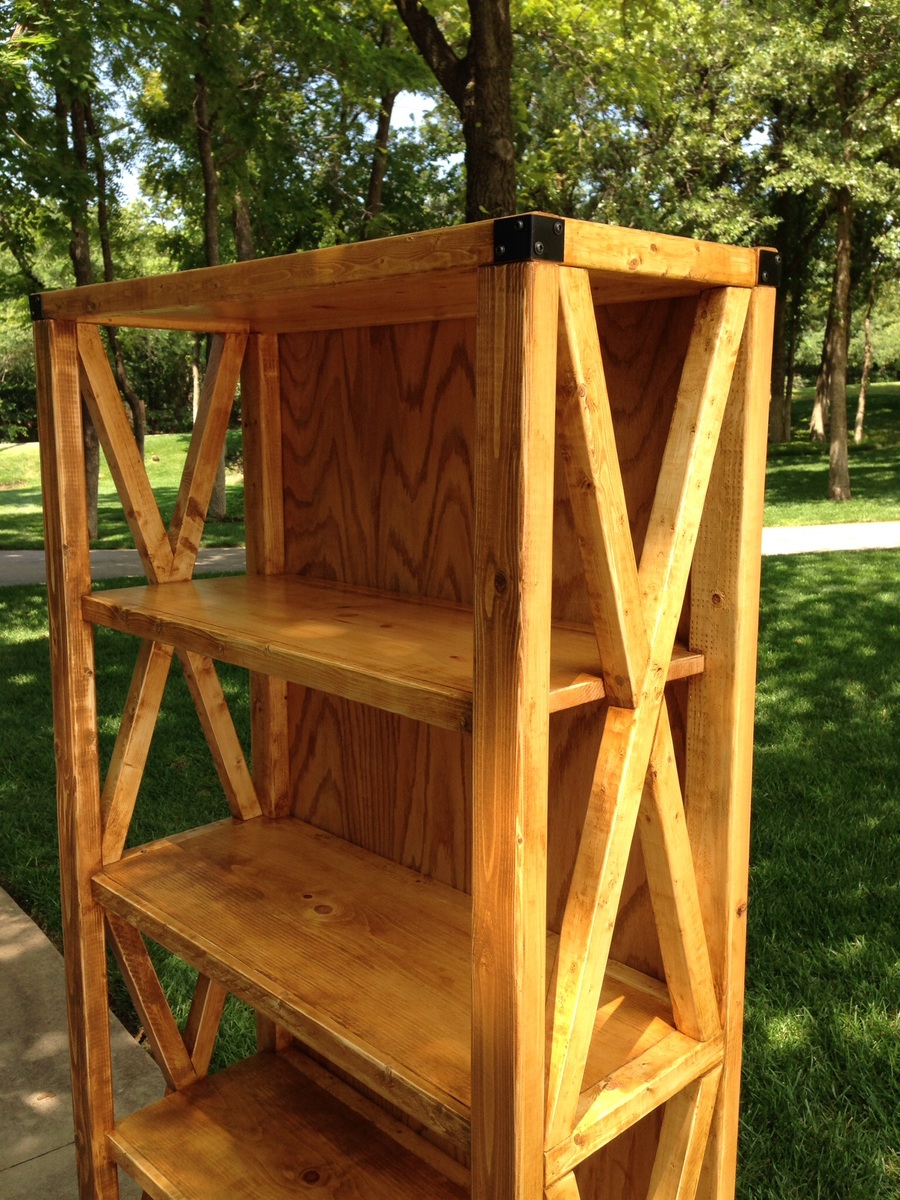
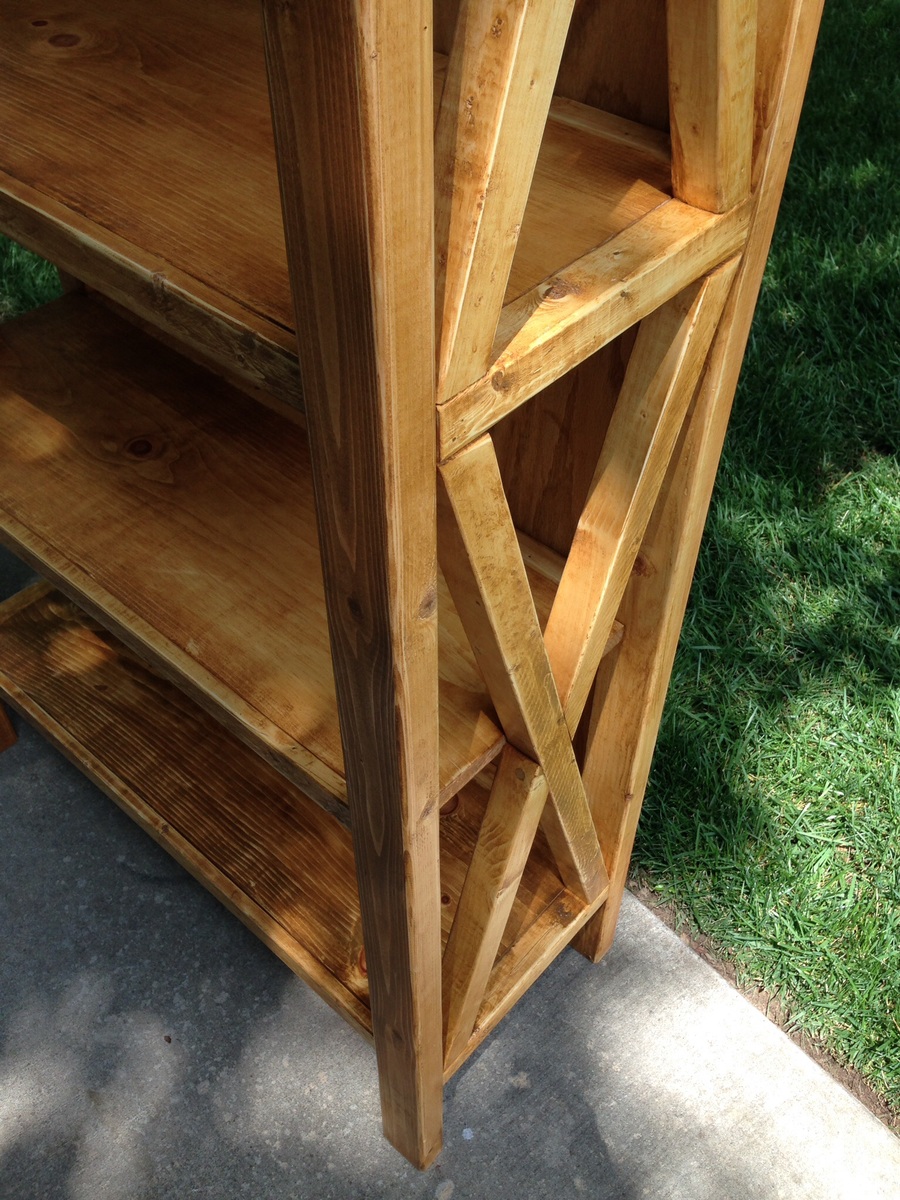
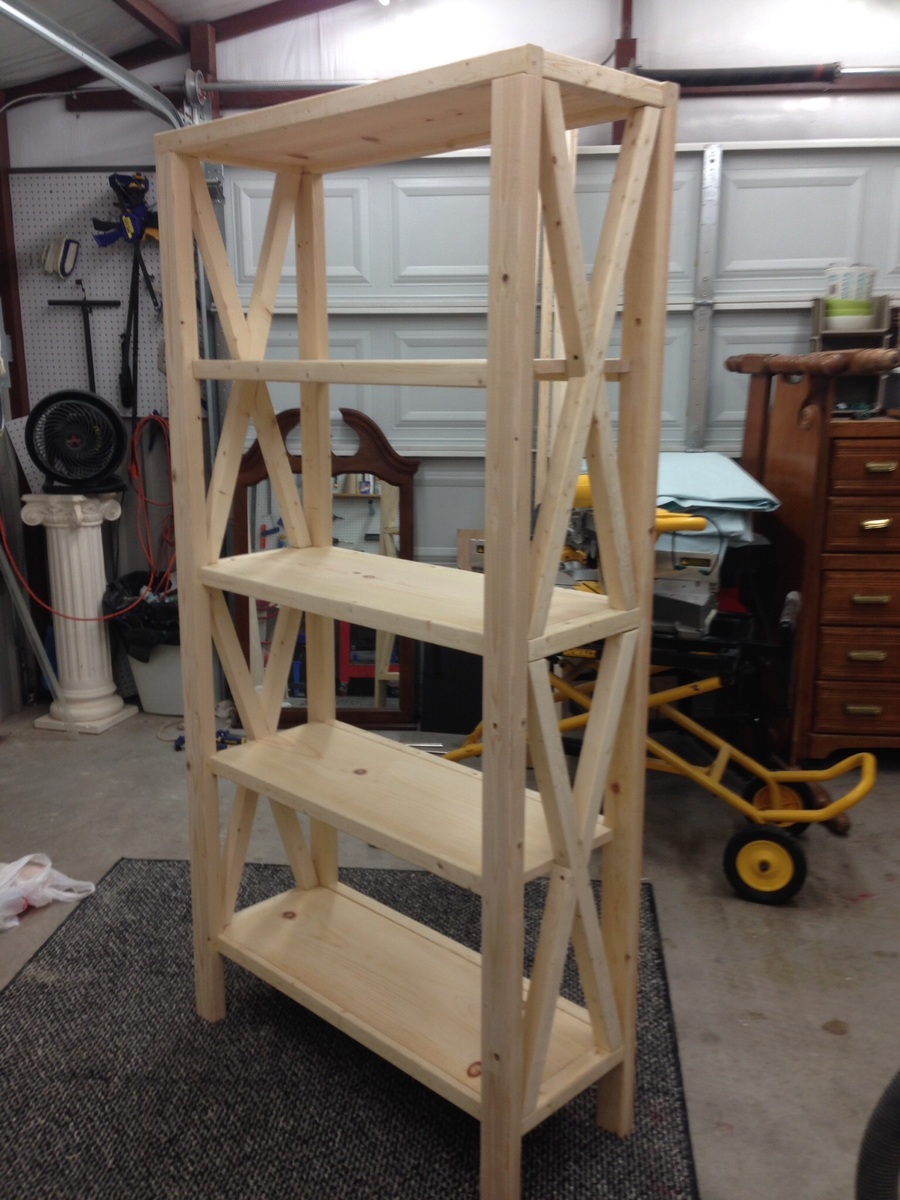
I’ve been searching for a free standing closet for so long!! I stumbled across these plans a few months ago and asked my hubby and brother if they would be up for a little project and boy, did they ever do an amazing job!! I am so happy with this. We ended up making ours a little bit shorter to fit in our room and adjusting some of the other plans. The rods were cut a little short, but everything still worked out beautifully. Thank you for these plans! <3
Built from Plan(s)
Estimated Cost
$250
Estimated Time Investment
Week Long Project (20 Hours or More)
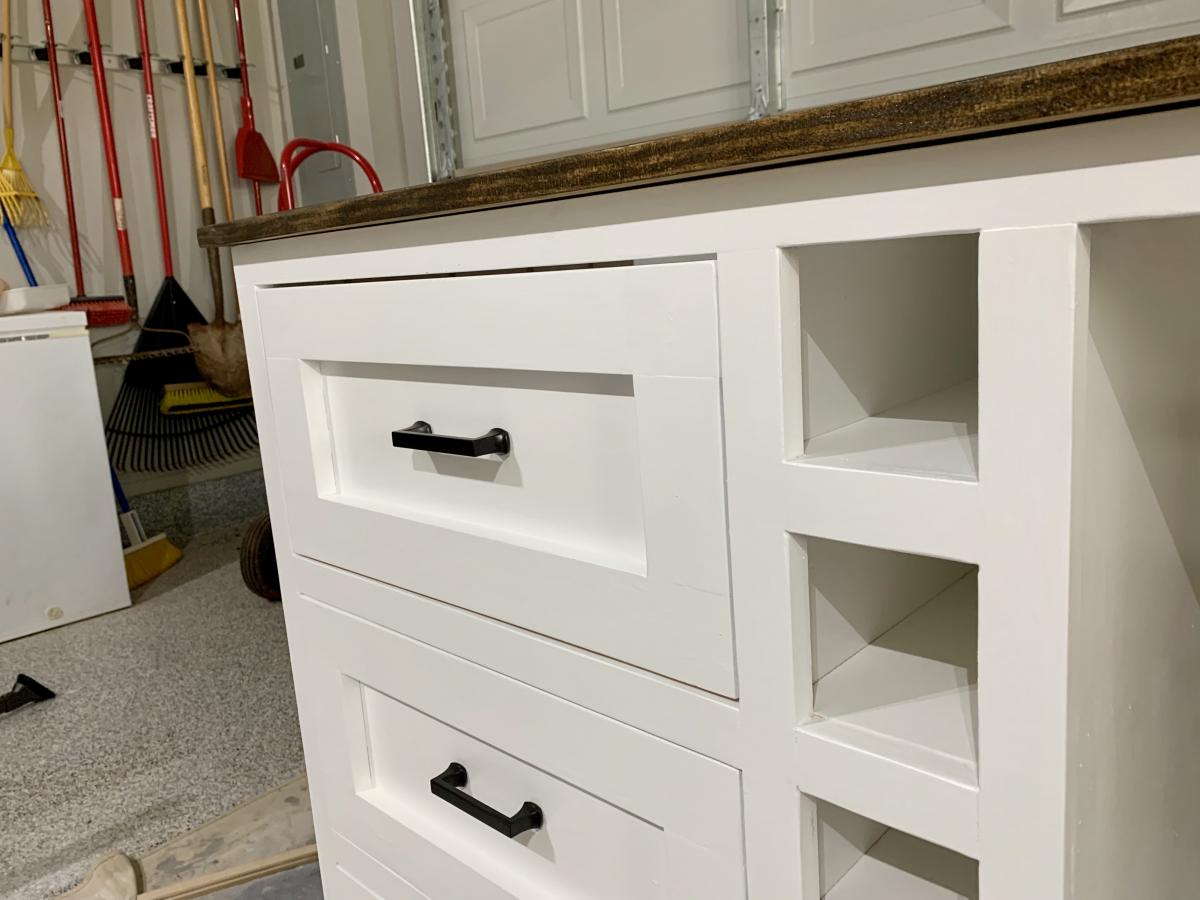
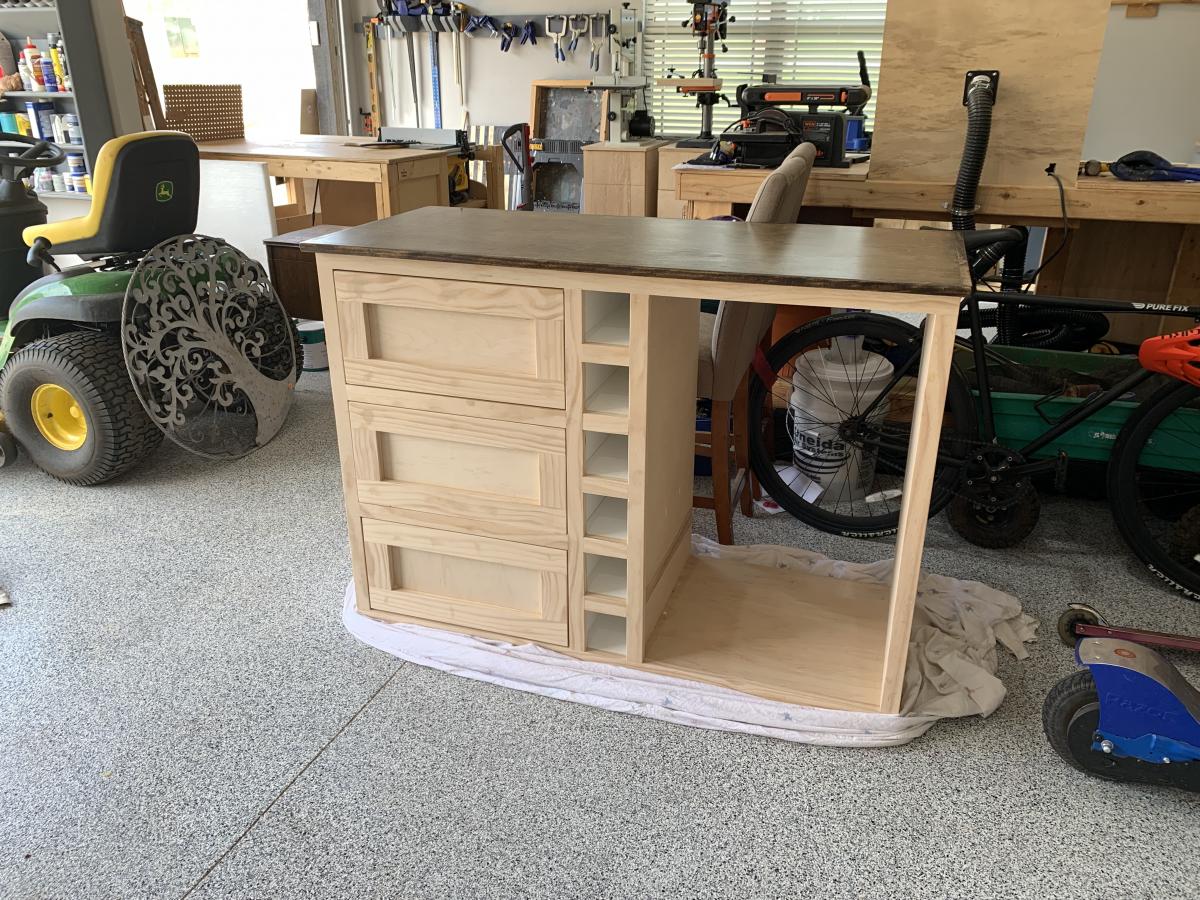
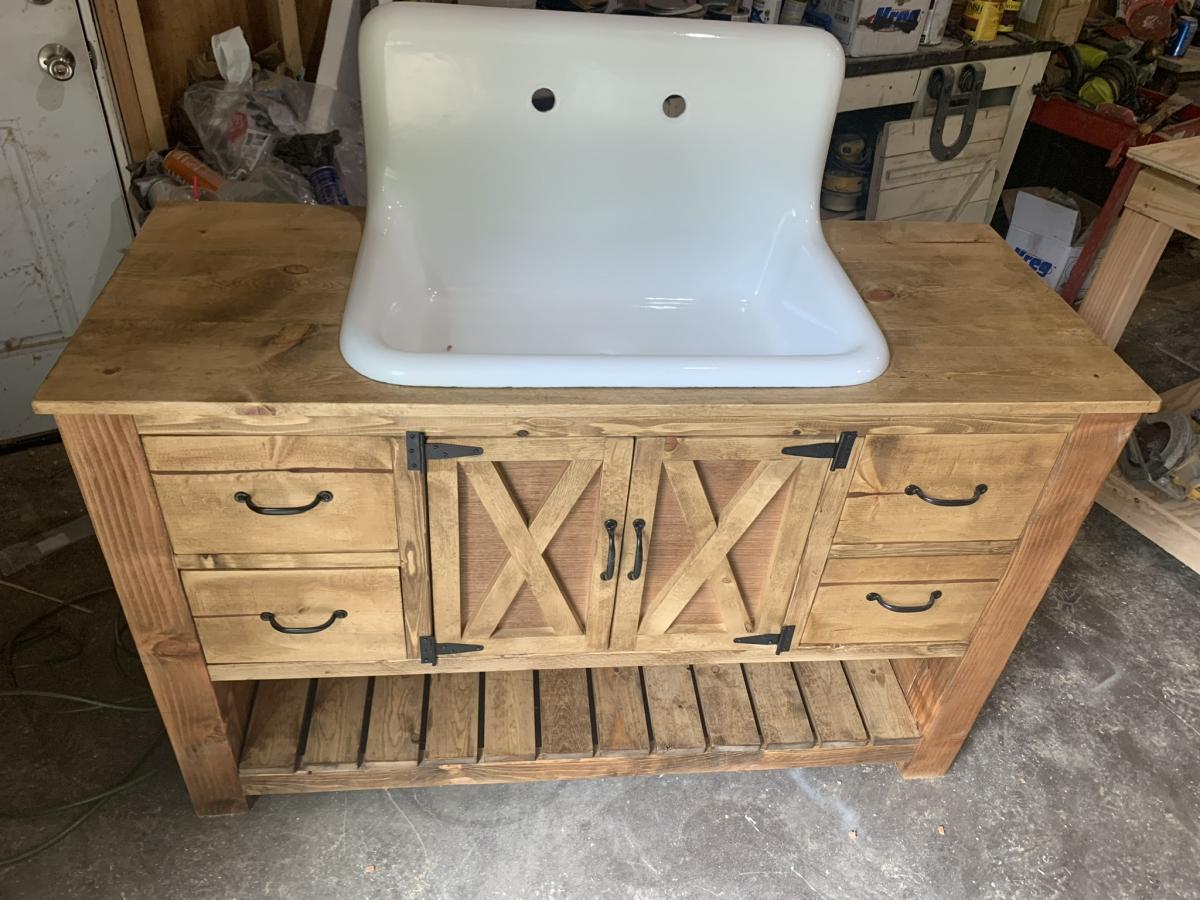
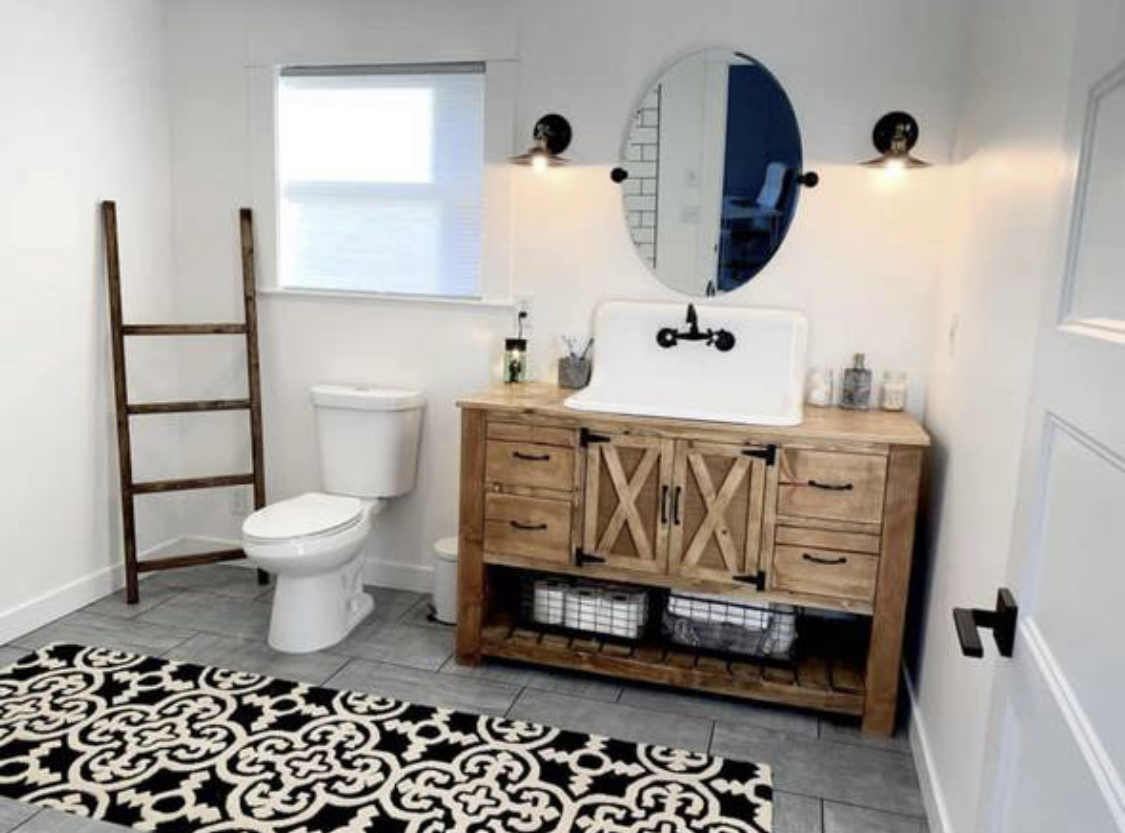
Finish Used
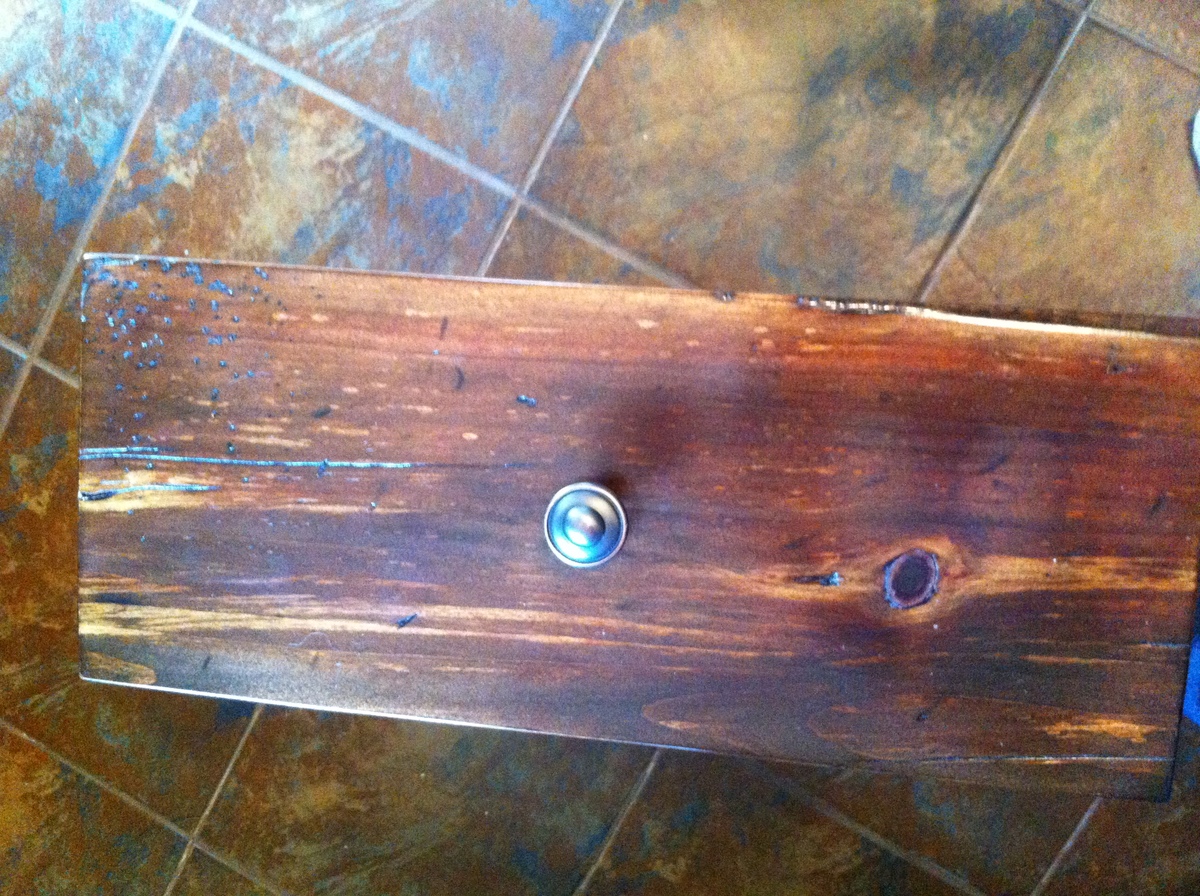
MINWAX weathered oak, MINWAX one coat polyurethane.
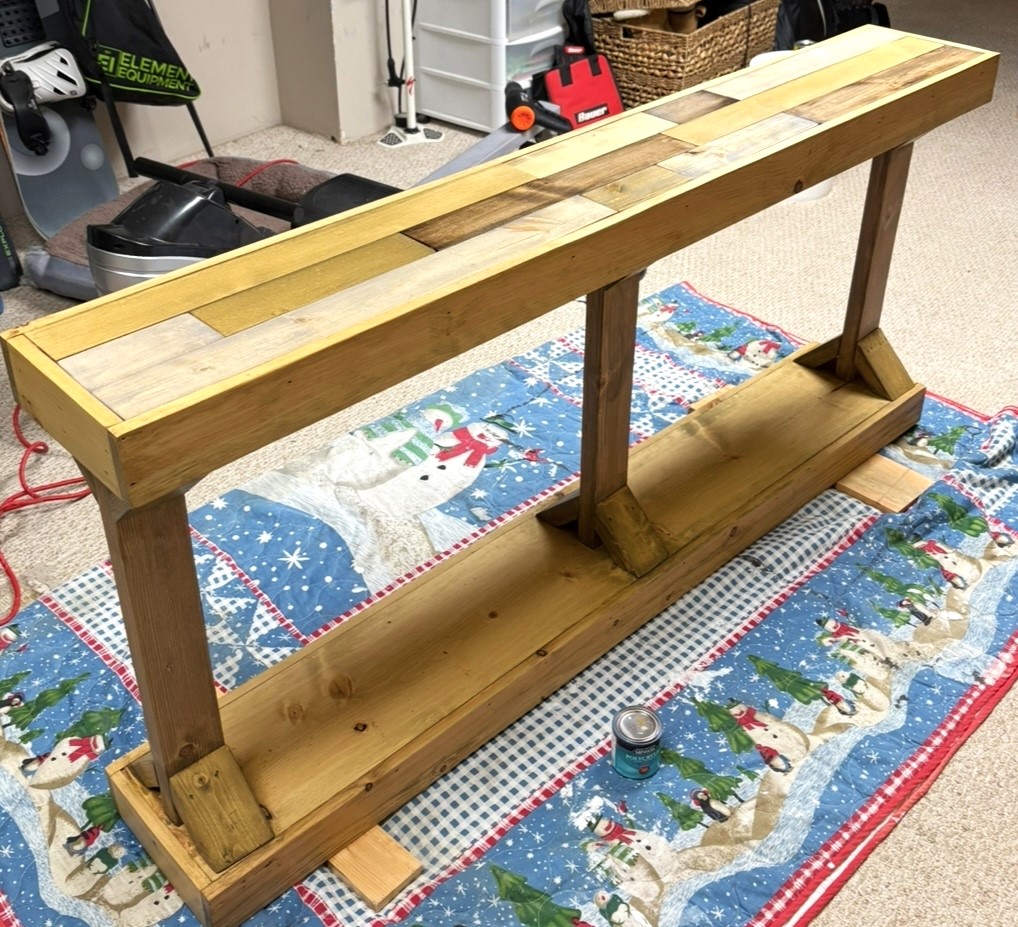
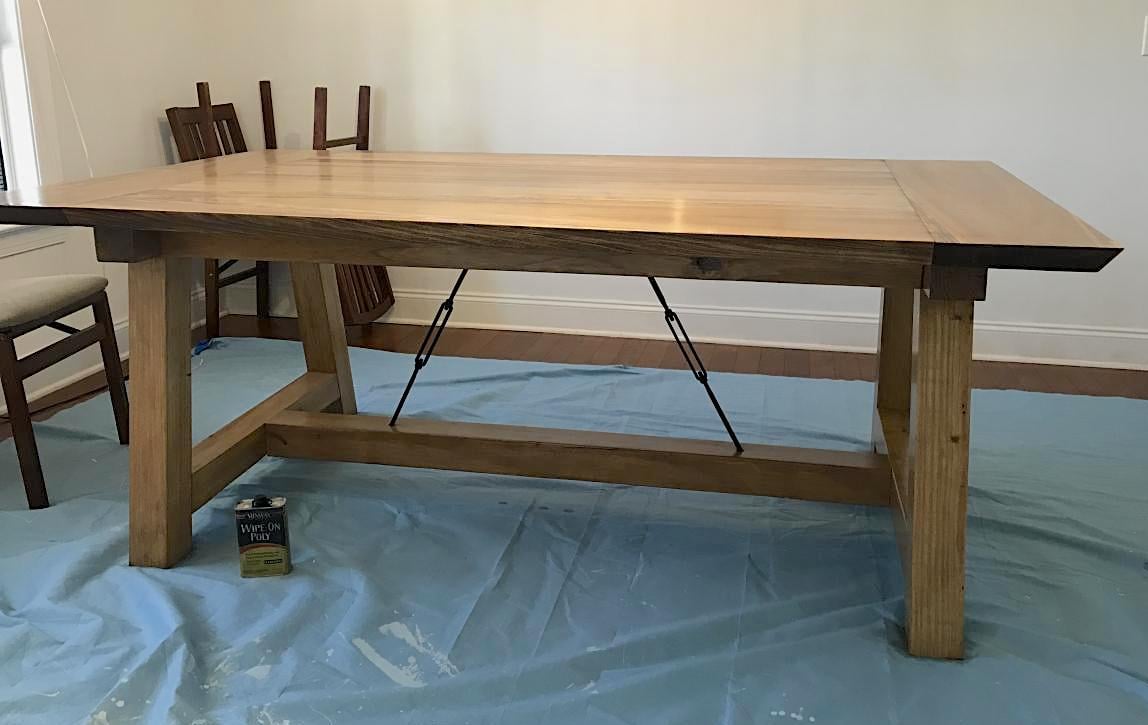
We stained outside and the smell definitely lingered a few days once it was inside. I’d recommend staining with a less smelly stain, maybe water based?
We sanded down the rough edges and then finished it off with the protective layer.
We stained outside and the smell definitely lingered a few days once it was inside. I’d recommend staining with a less smelly stain, maybe water based?
We sanded down the rough edges and then finished it off with the protective layer.


Comments
Ana White Admin
Sat, 09/12/2020 - 11:14
Love this project!
Thanks for sharing, we chose this as our Brag Post of the Day on Facebook!