Modern Outdoor Chair
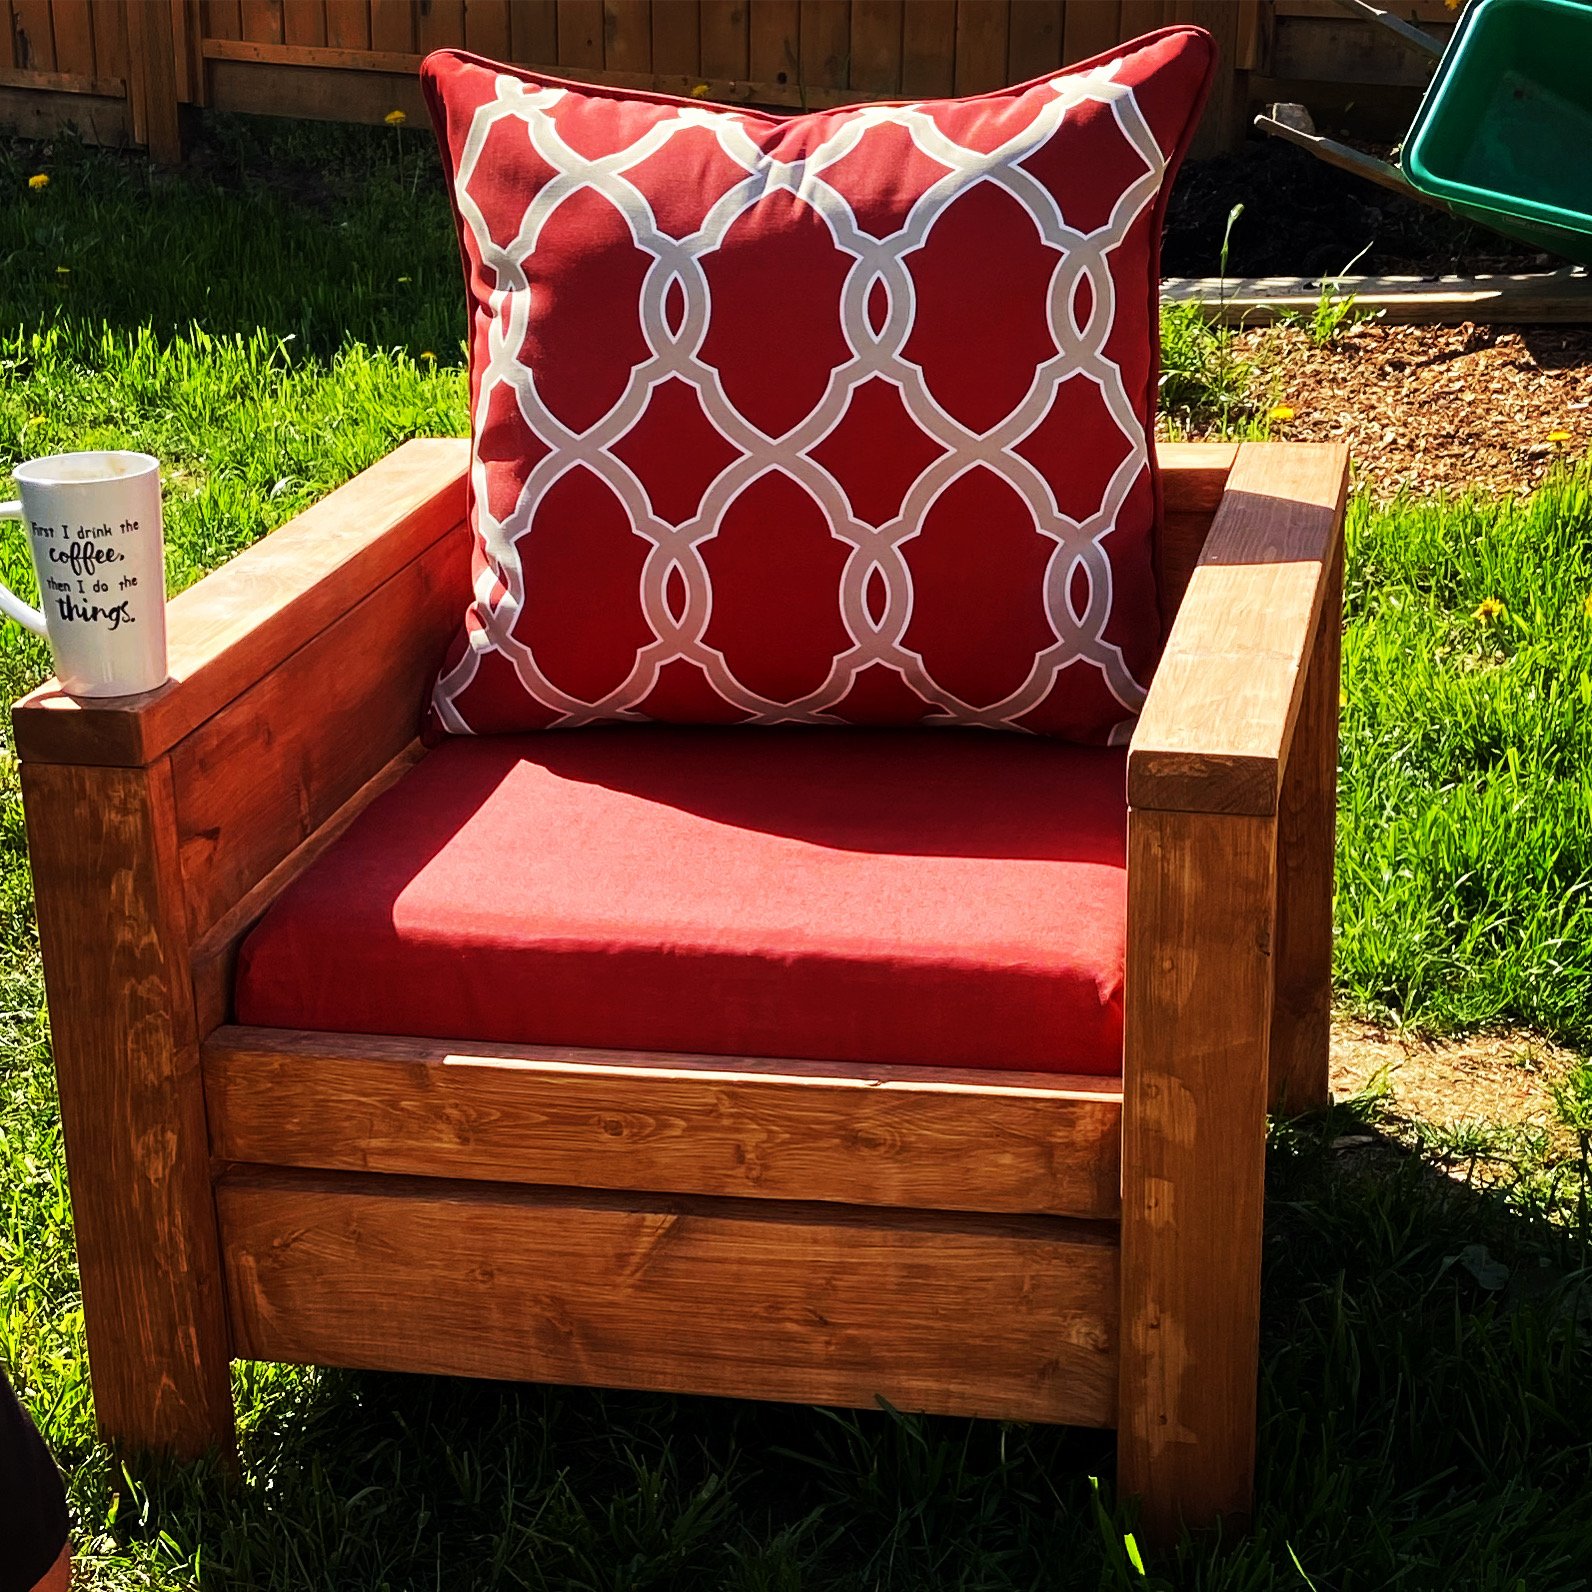
This is my first project. I loved how easy it was and I loved my husband’s reaction to the completed project.
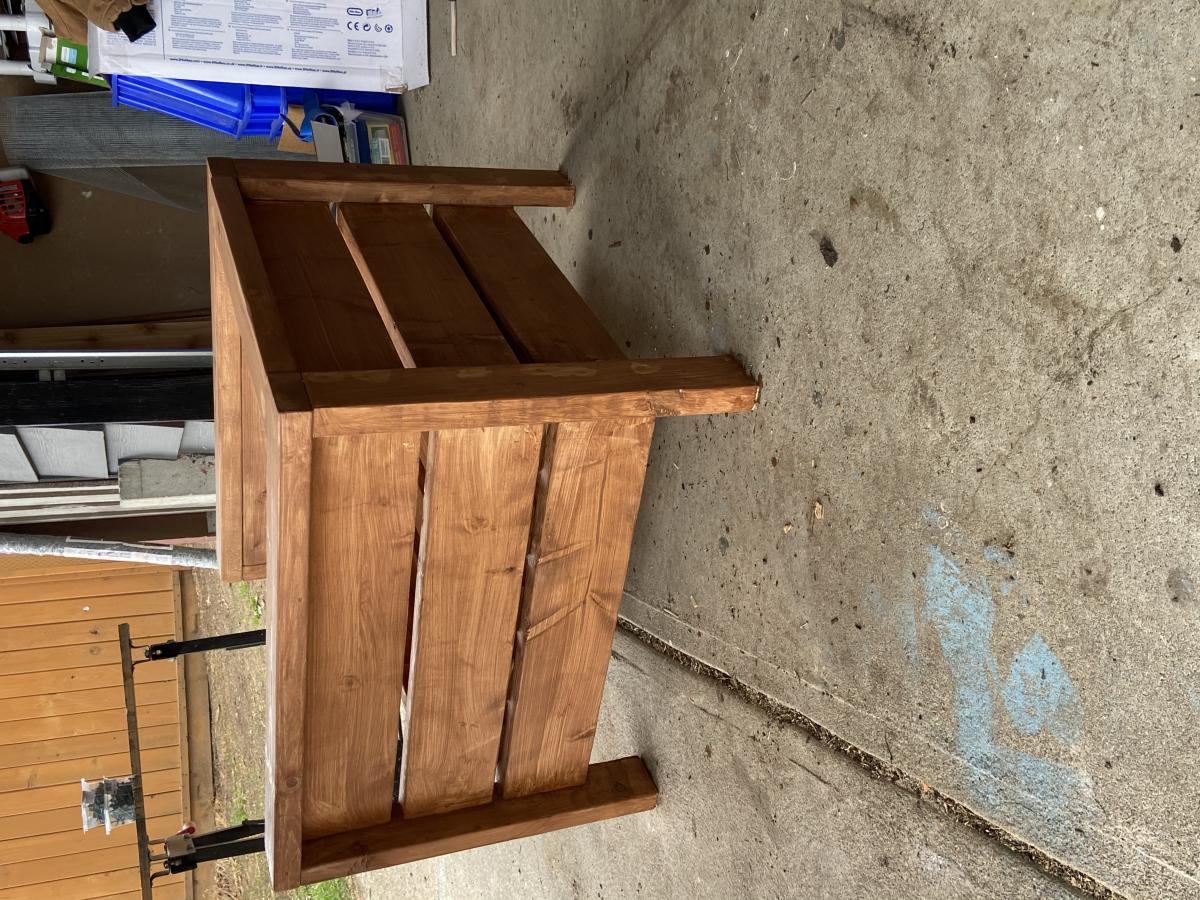
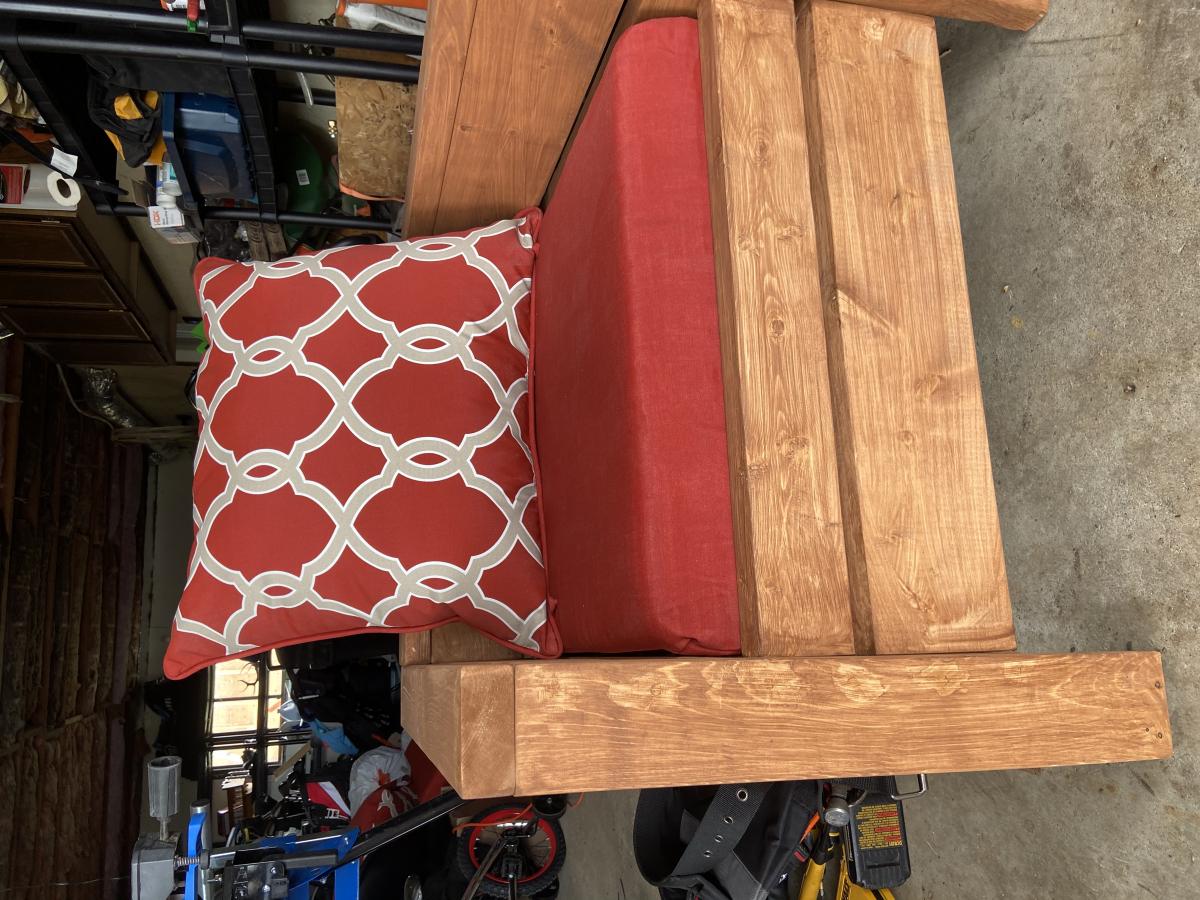

This is my first project. I loved how easy it was and I loved my husband’s reaction to the completed project.


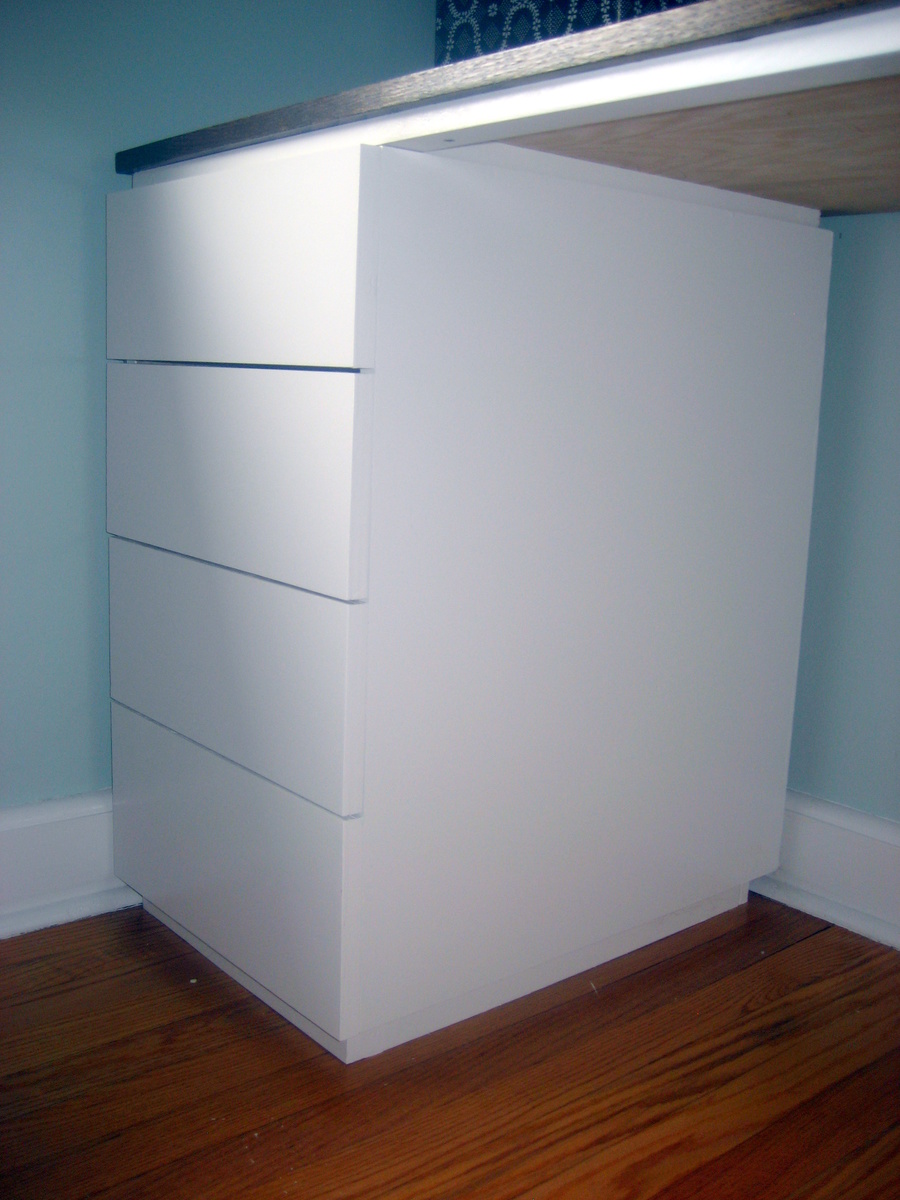
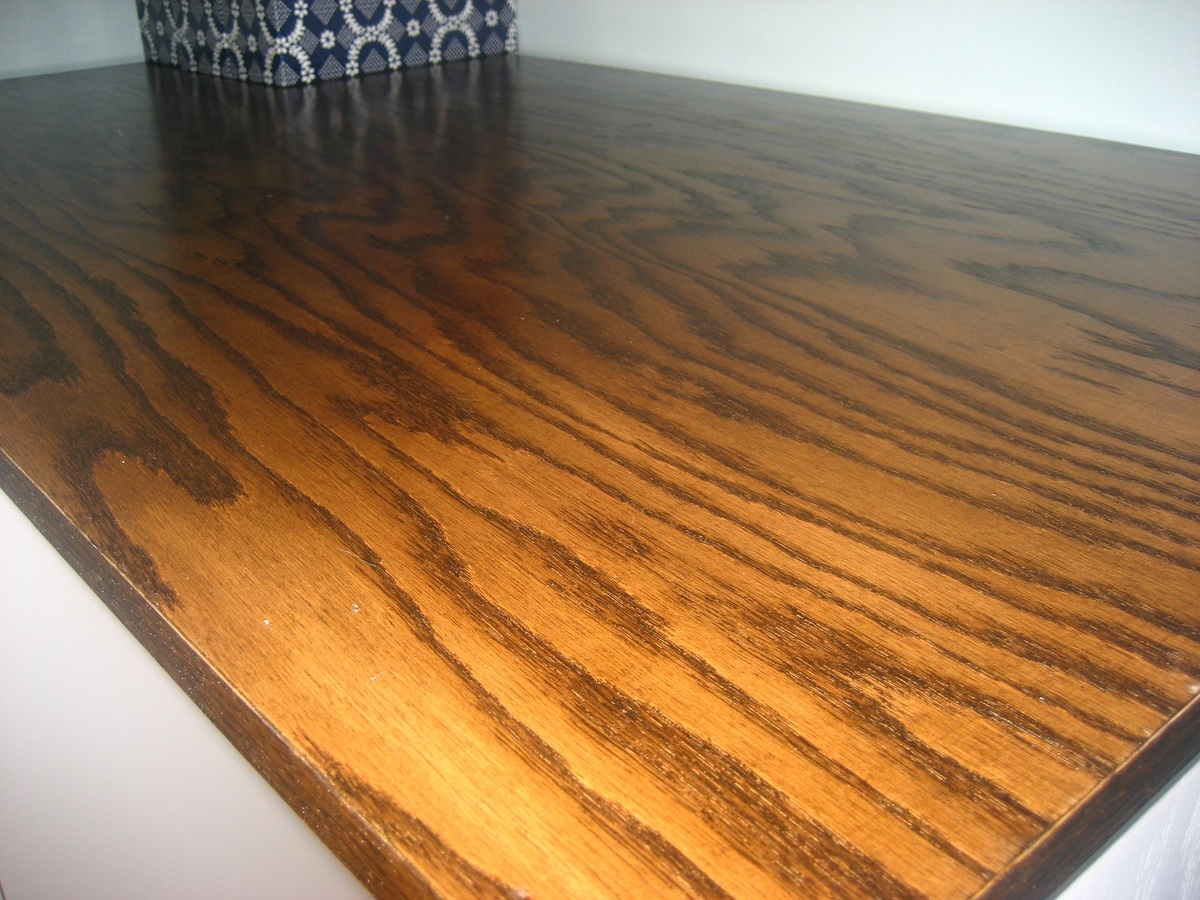
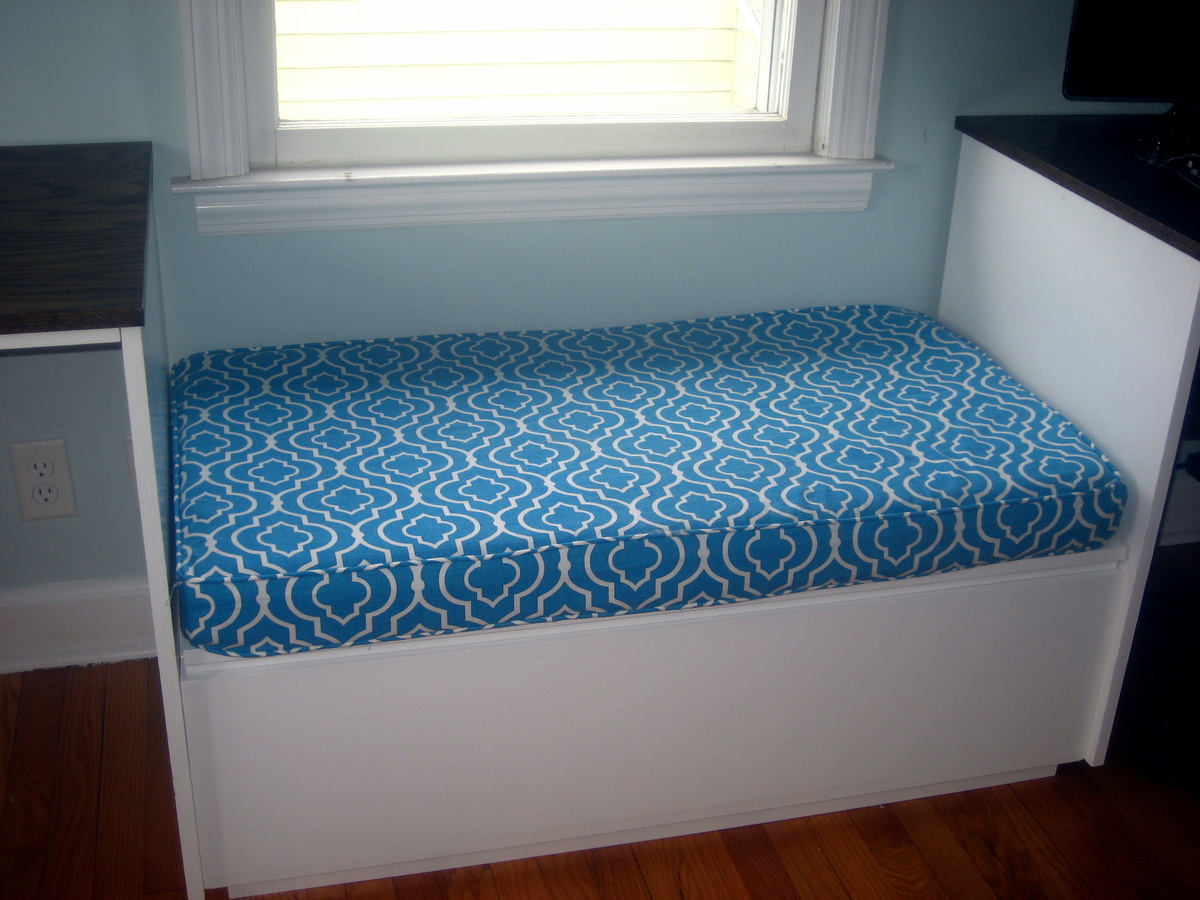
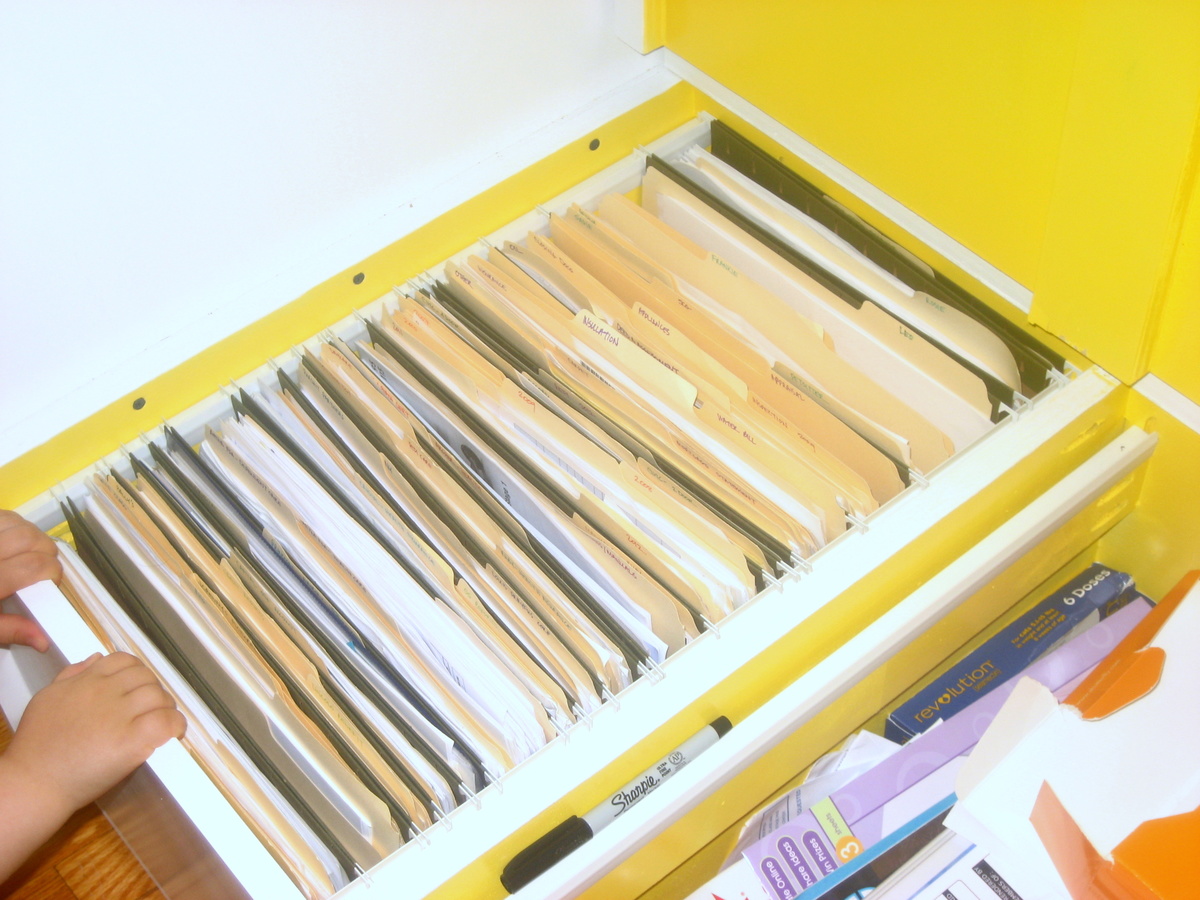
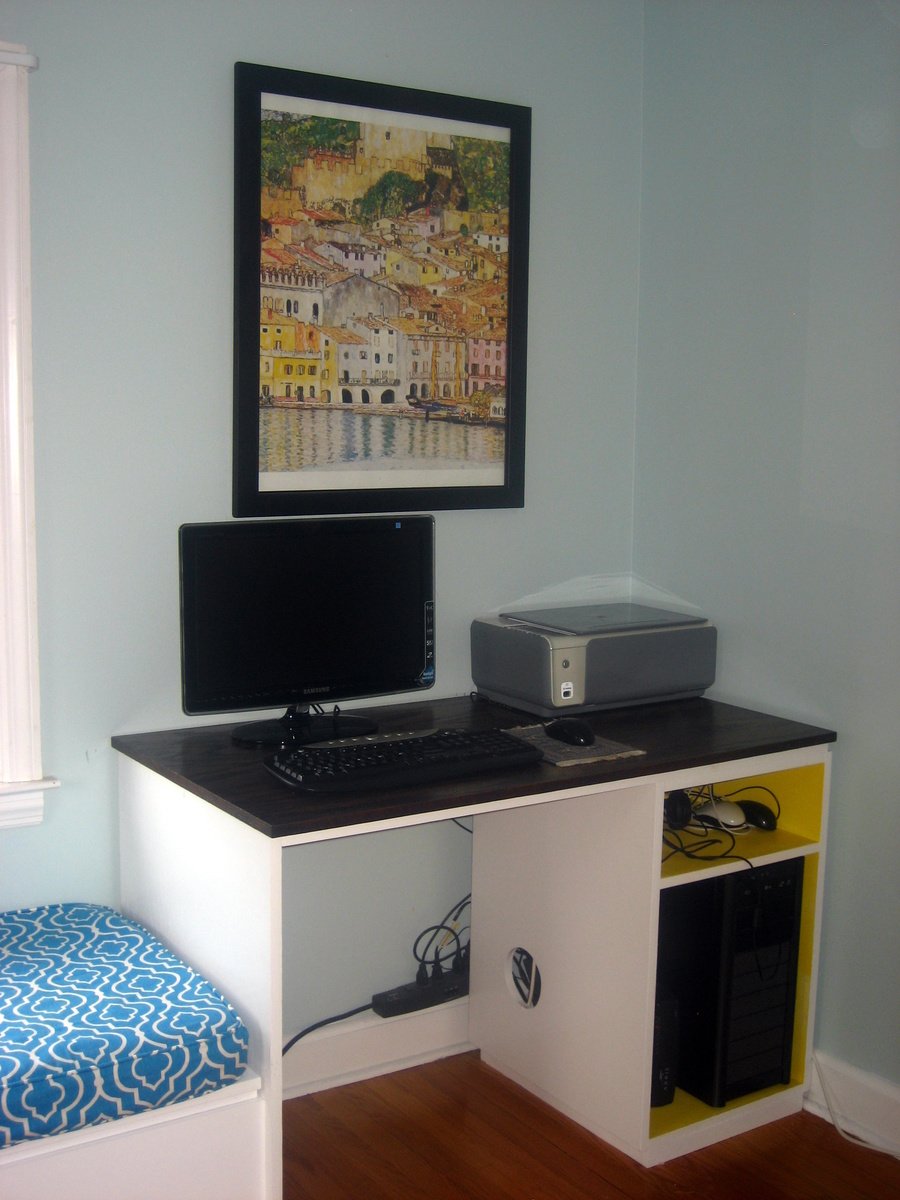
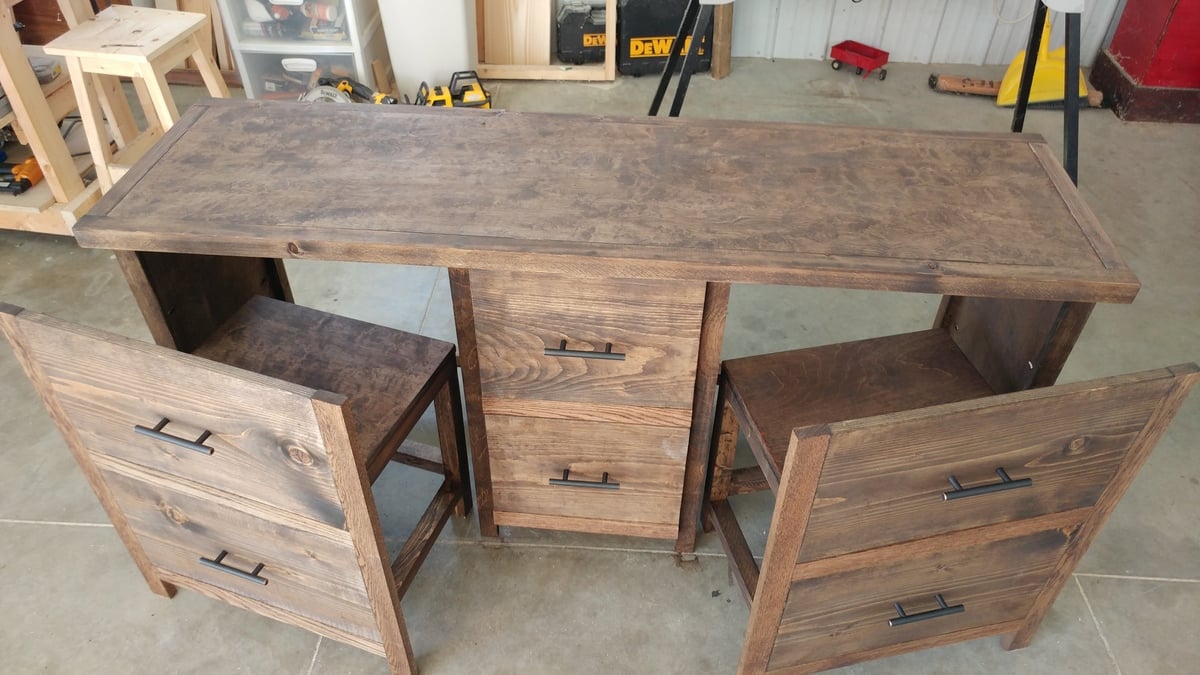
We built a double desk based off of the eco-office desk plans. We made various modifications and still haven't decided how we're going to attach the door the cabinet on the right. The window seat has the same style as the other pieces but is totally our own invention - it has three rows of filing inside!
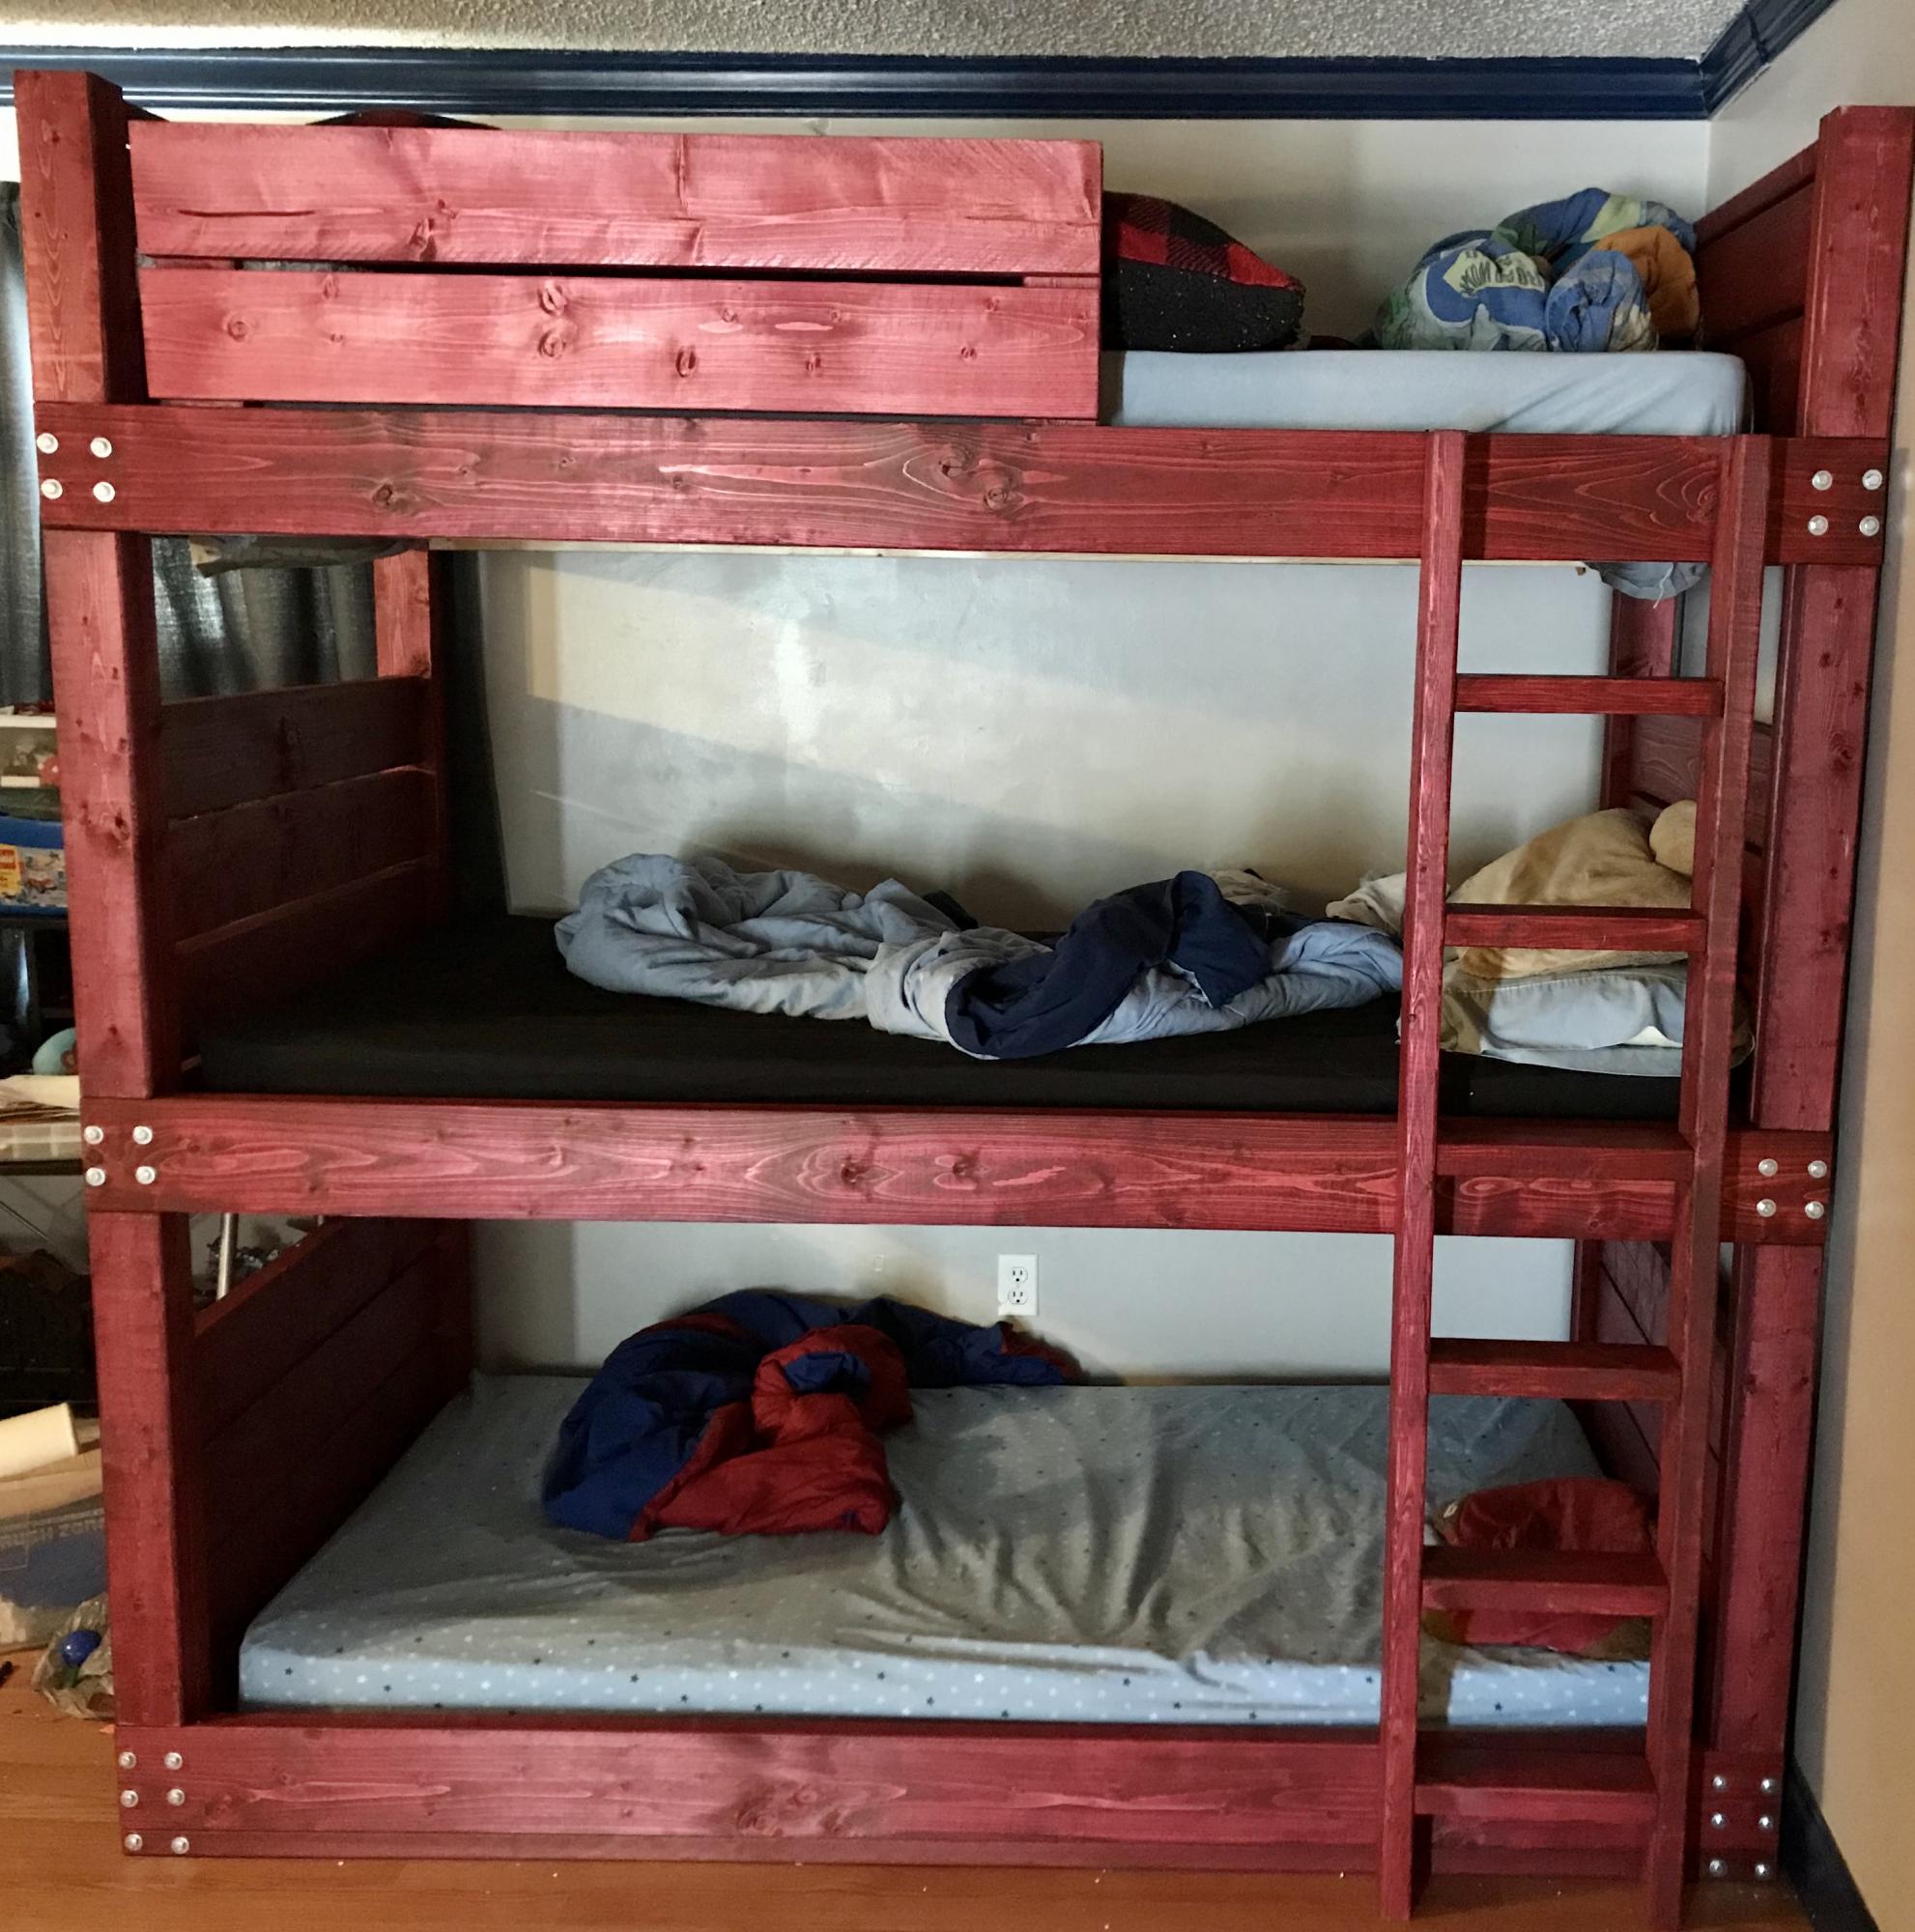
Our four boys matching double bunk beds recently succumbed to being used abused by four boys for 12 or so years, and I have always wanted to make them a pair of triple bunk beds for when friends come over. The broken pieces of a bed that had survived numerous military moves finally gave me the jump start I needed to finally get this job done. After about a day of measuring, pondering, and configuring, I came up with what I thought were good dimensions for the project. I increased the height of the corner posts to seven feet to allow for a higher top bunk, and squished the bunks a little tighter together as well. This ended up giving me a 26” gap between the bunks. When I build the next one, I will cut this down to 24” between each and give a little room room to the top bunk. Trial and error I guess. I added a 2x2 all the way around the bottom because although I wanted it very low, I didn’t want anyone feeling like they were sleeping on the ground, but I also didn’t want some 1” or 2” gap below the bottom bunk for balls, cars, and LEGOs to be lost. The guardrail was shortened a little based on what wood I had left at the end. The ladder I decided to build upright/no angle, which necessitated that I fashion the ladder myself out of some strip of metal that I think is meant for some sort of roofing purpose. Oh well, it worked. I wanted to do this because the bed is meant to be able to be disassembled, and if I had simply screwed the ladder to the bed, it would have gone against the “disassemble-bility” of the project. Last thing to note, the barn red staining was quite messy and a huge time investment, so although I stated it took 10-20 hours, probably 12 of the 20 hours was in the staining. We are all thrilled with the look of it though, so I guess it was worth it in the end. I hope this project was worth the read. Enjoy!
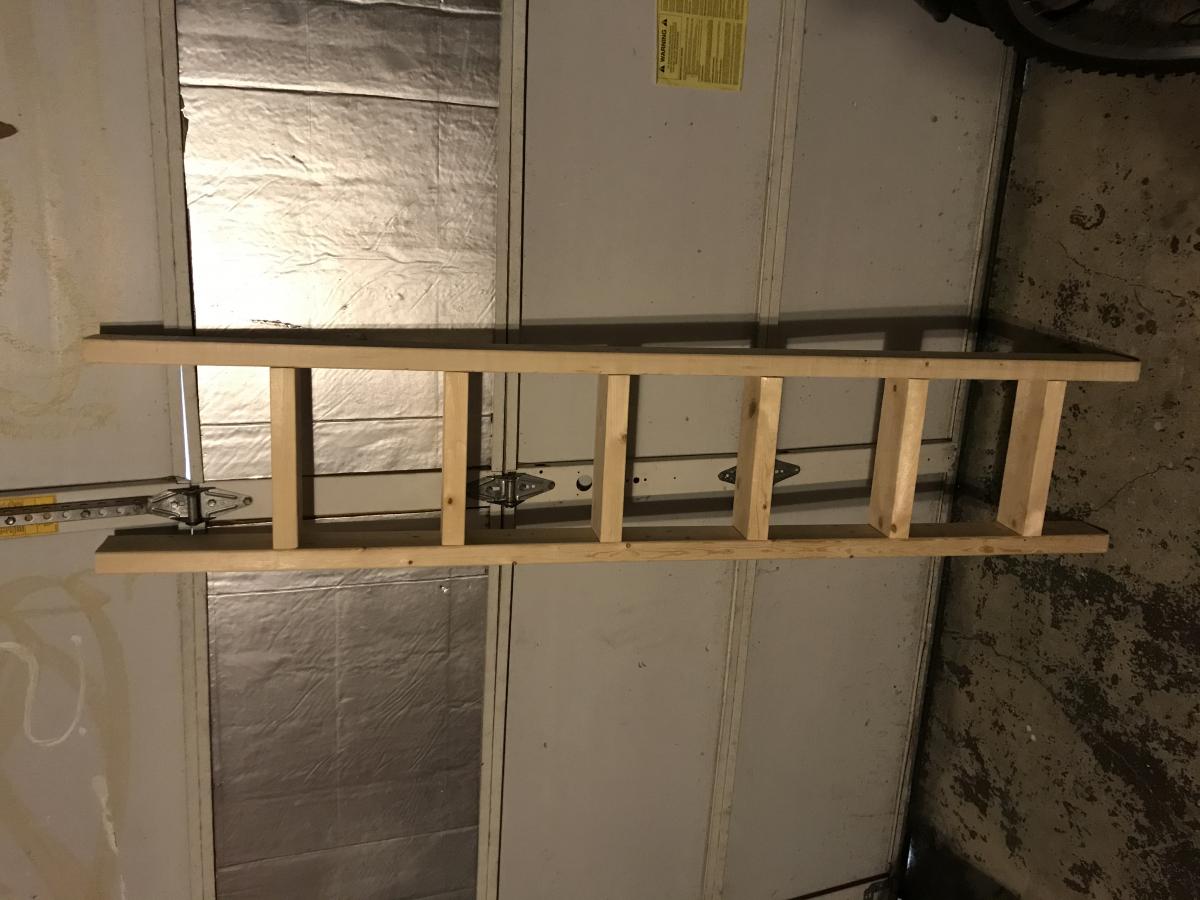

We loved this greenhouse plan from AnaWhite and wanted to be able to grow in 3 seasons so we modified the design to include humidity & temperature control & 18" deep elevated cedar beds inside with 4x4 posts for support and trellis option. We added electricity in order to have a lighted workspace and the ability to put in a circulating fan to control mold and fungus. We added 2 work tables (2x2') on the inside of the door left and right side door in order to do seed trays & store supplies. This was a wonderful project for my husband and my plants inside are doing incredibly well compared to my outside garden beds here in zone 5. Products used:
Foundation
We had a landscape company come and scape/dig a platform and then fill/compact with crushed rock
My husband then used rebar driven into a 4x4 frame in order to secure the frame to the ground and create a base upon which to build the greenhouse
Active ventilation
AC Infinity Cloudline T8 Inline duct fan
Air king range hood wall cap 8" on the bottom outside of the greenhouse wall for air intake + flex 8" duct to the fan itself
Shelter logic autovent automatic shelter vent kits (1 on each side of the front wall) in order to allow air intake from the bottom back of the greenhouse under the elevated beds to flow to the front of the greenhouse and out
Circulating fan- Hurricane wall mount fan 16" - this fan has 3 speeds with tilt function and small mounting bracket
Soil - sourced 3 yards of 50/50 loam/compost from local landscaping supply
60% loam
30% organic compost
10% organic topsoil + perlite
Soil beds
-cedar frame 2 feet wide along sides, 3 feet wide on the back wall
-galvanized metal roofing with holes drilled into it for drainage
-landscape cloth lined


Wed, 09/09/2020 - 13:09
Thanks for that update! I was wondering how to vent this project, as Green houses need the ventilation. Good to know dollar amount also. Great photos.
Wed, 09/09/2020 - 13:09
Thanks for that update! I was wondering how to vent this project, as Green houses need the ventilation. Good to know dollar amount also. Great photos.
Wed, 09/09/2020 - 13:09
Thanks for that update! I was wondering how to vent this project, as Green houses need the ventilation. Good to know dollar amount also. Great photos.
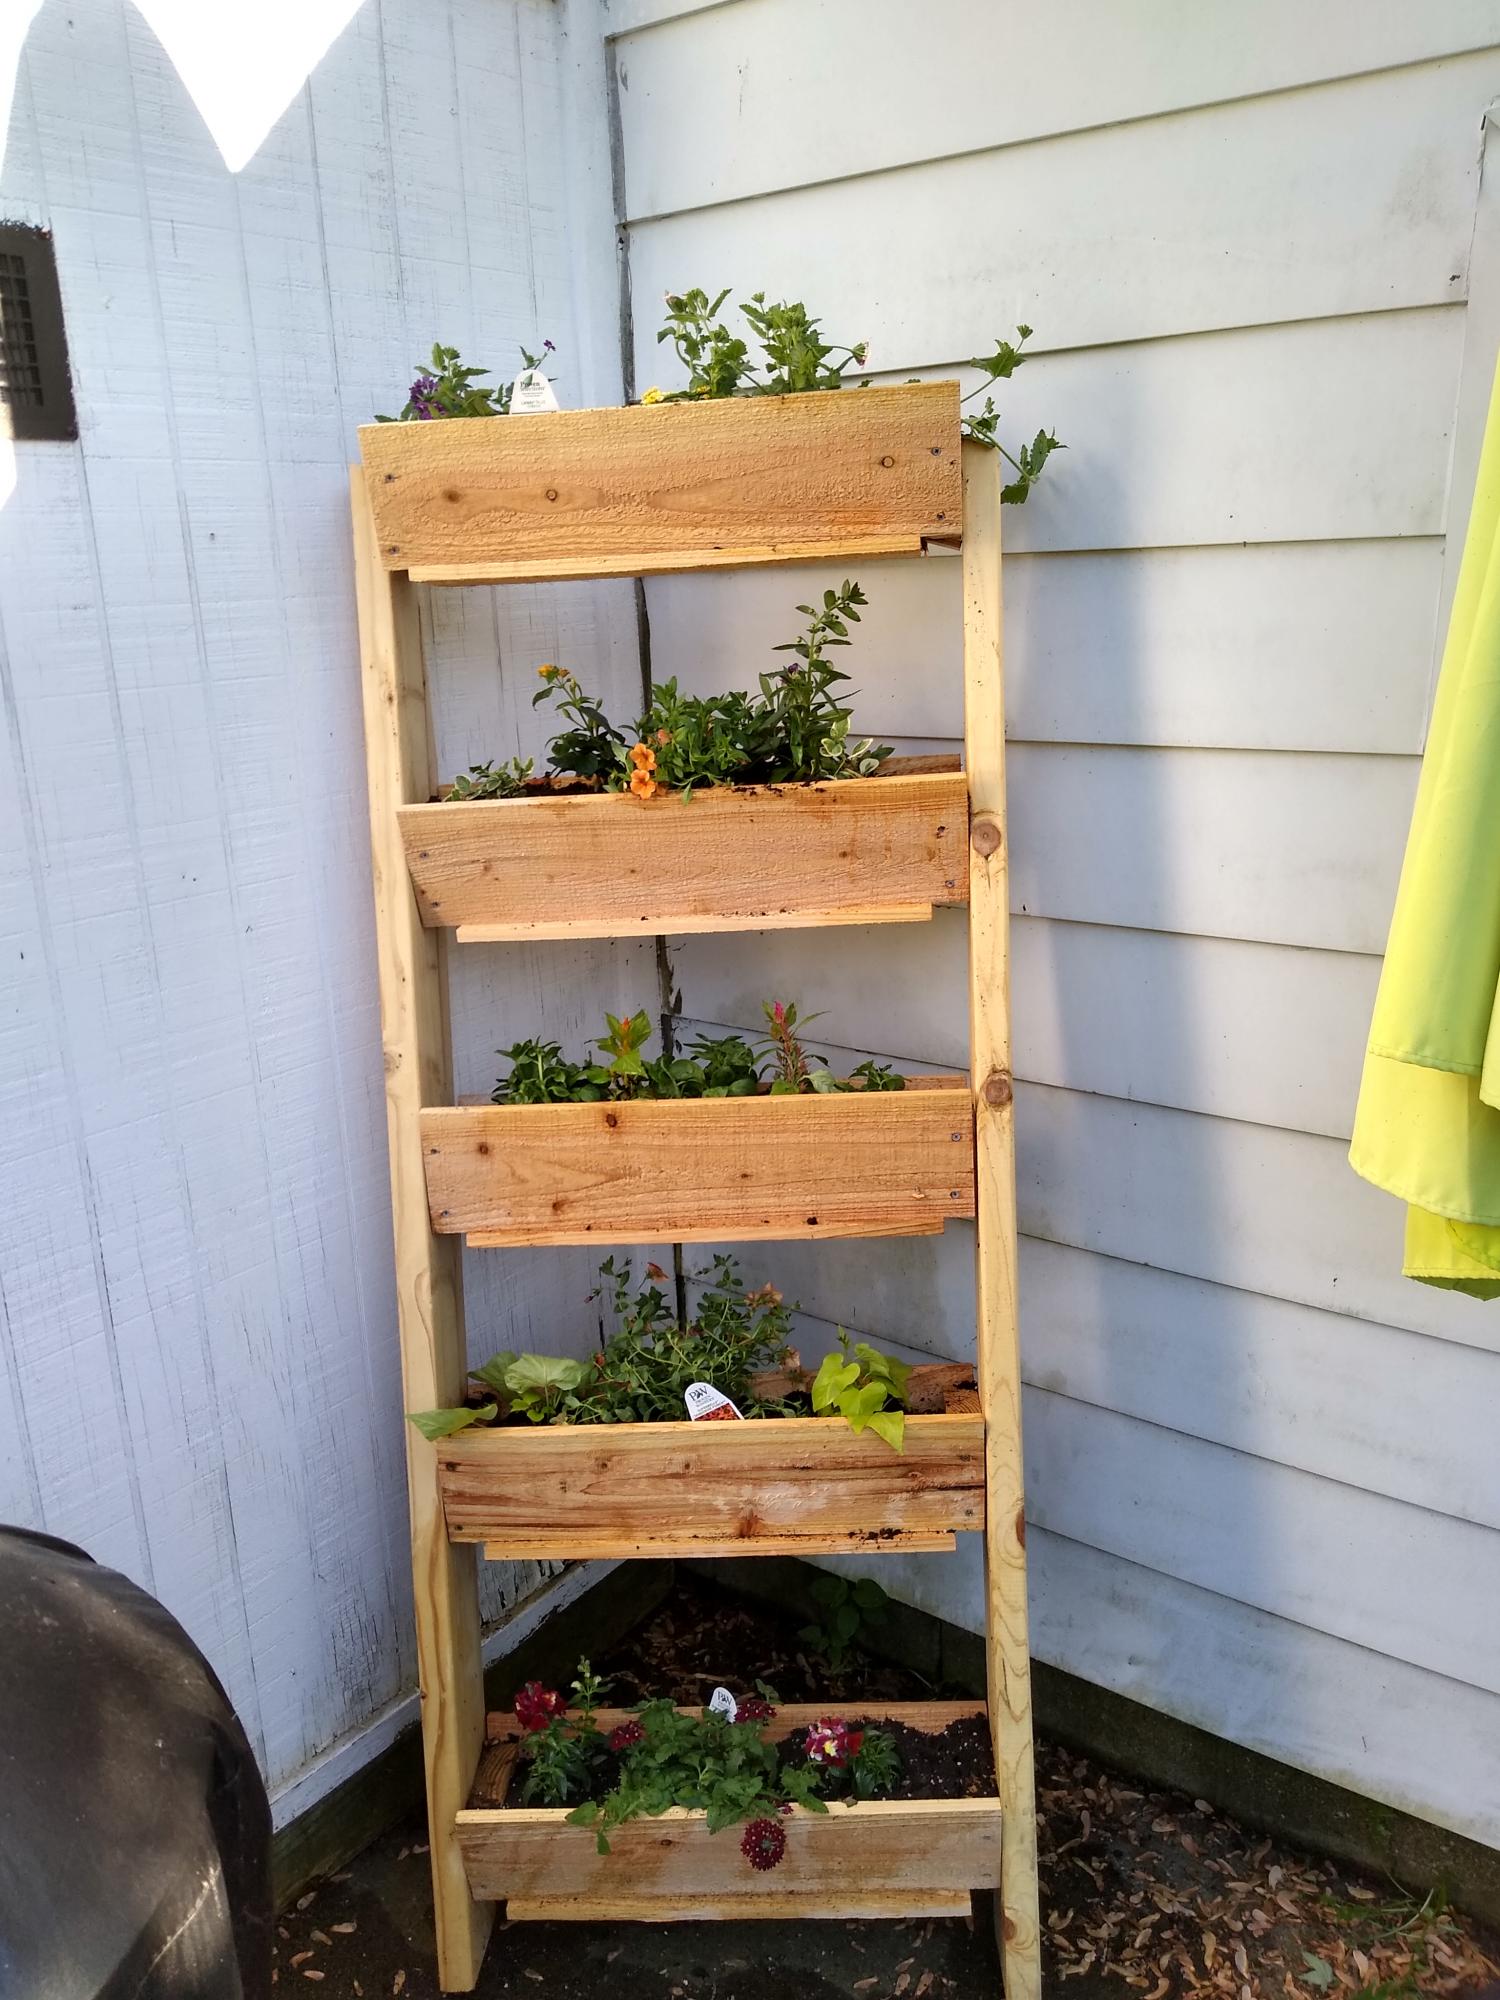
Flower box ! Easy to do.
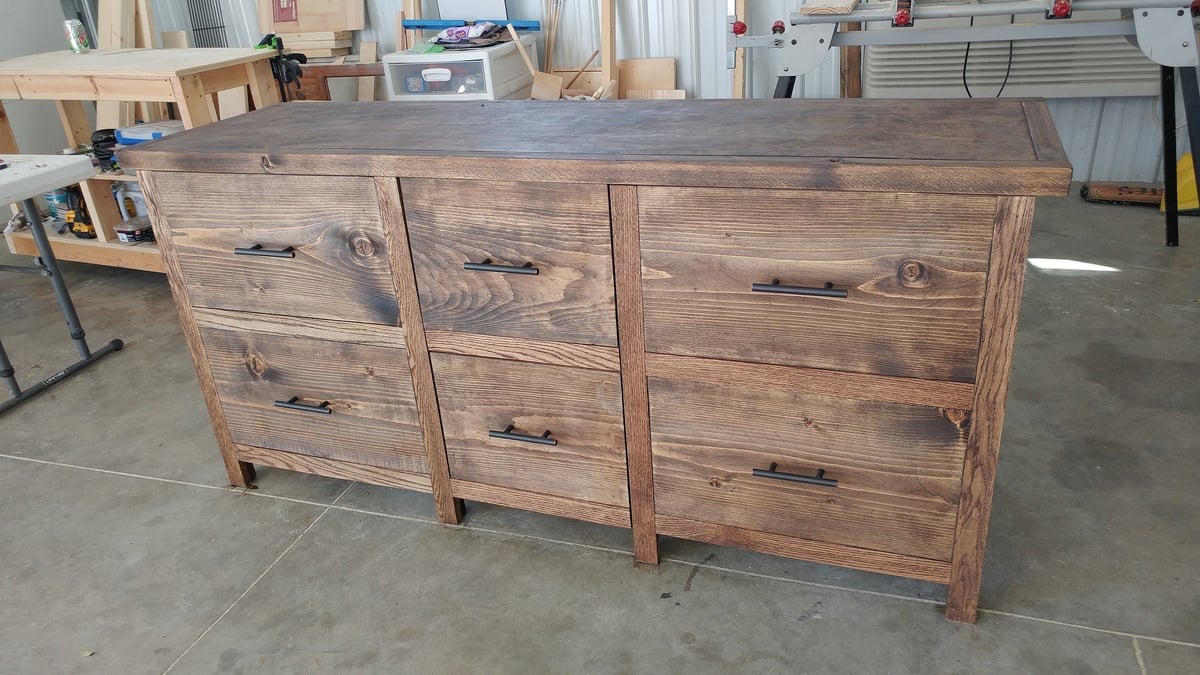
I shrunk the size and dumbed down the plans to fit my skill level.

Mon, 10/10/2016 - 09:08
I love what you did! It looks so great! I prefer this style, which is more simplistic than the other. Great work!!
Mon, 10/10/2016 - 10:28
Love how this turned out - the simpler drawers is just as (if not more) beautiful!
Tue, 10/11/2016 - 14:56
Thanks! I wish I would of set up an account before I posted so I could get notifications. I honestly didn't think anyone would notice it :)
Tue, 10/11/2016 - 14:58
I am so excited that people noticed this :) Is there any way of putting this under my account? I didnt make an account until today and I would like to get notifications. I have my project on my facebook page and can prove that I made it with other pictures. Thanks!
Mon, 01/20/2020 - 07:44
I would love to see this in a farm-house (rather than rustic) aesthetic along with drawers under the seats for extra storage. Maybe on casters with a fold up extension on the other side? So many ideas running through my head with this!
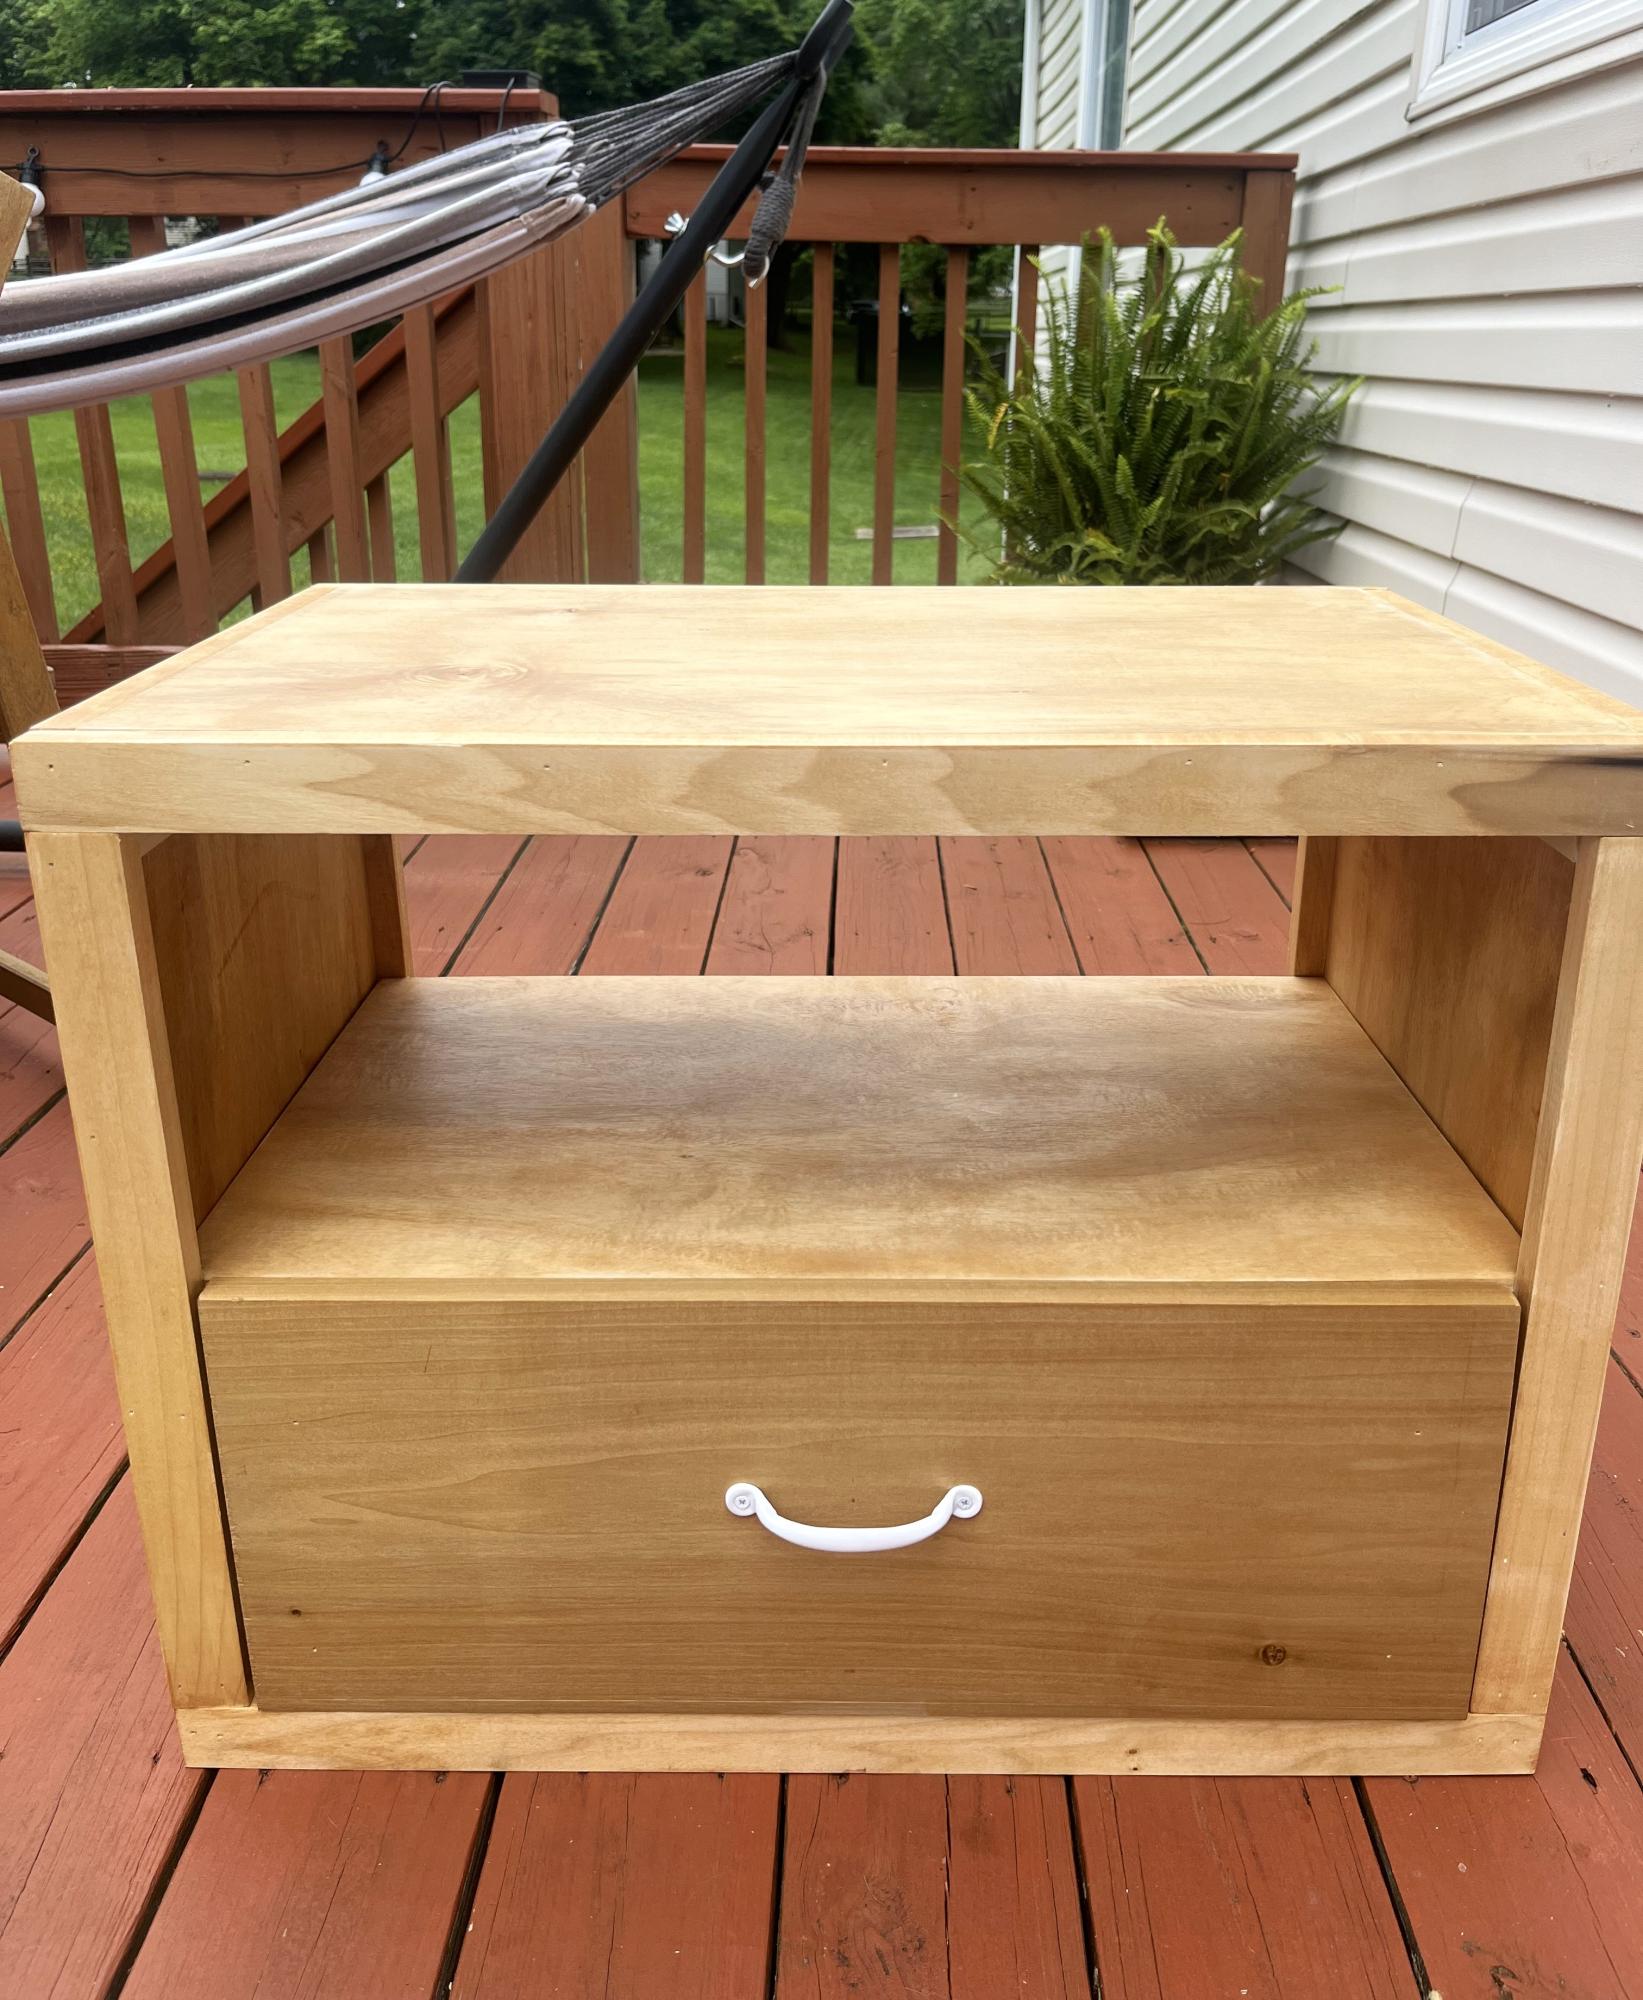
First time woodworker so it’s not the prettiest thing but looks good!
Gabe
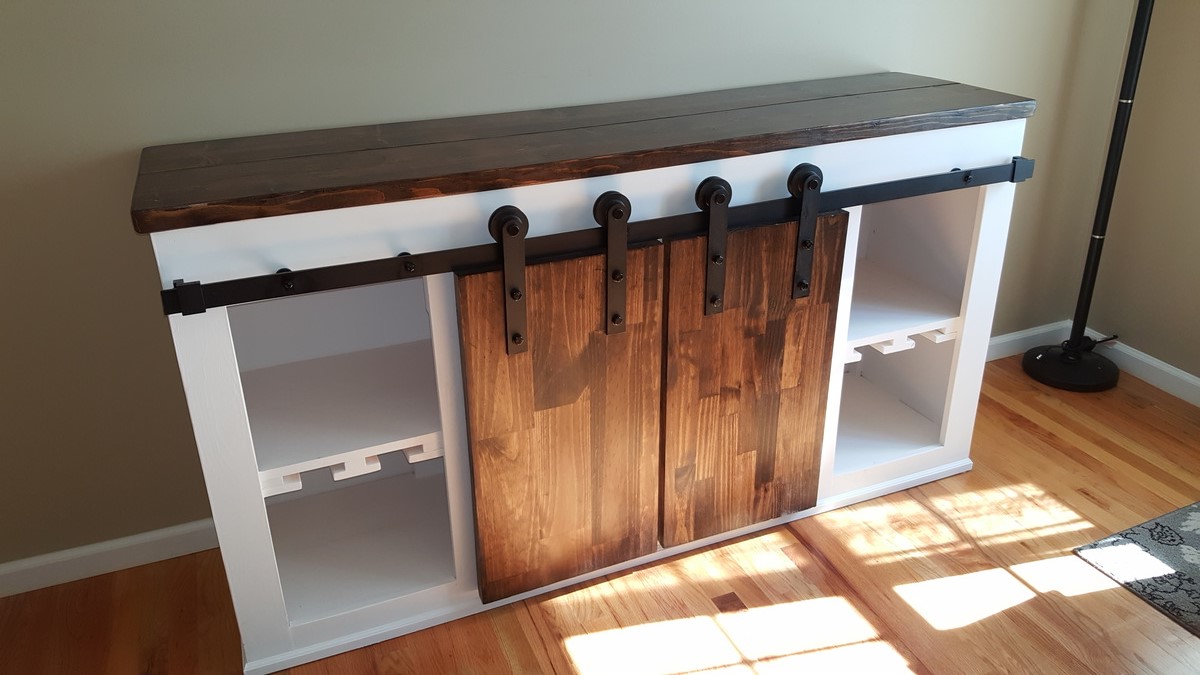
72L x 18W x 36H
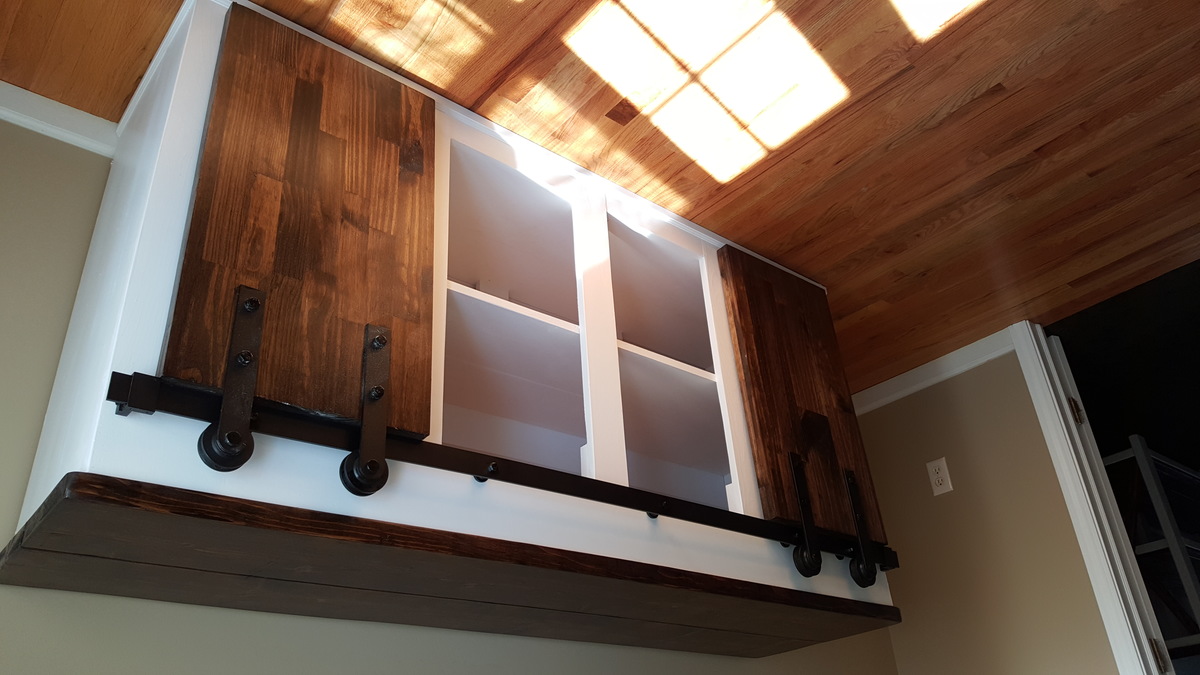
Took be about 2.5 weeks to build this bed, working evenings and a couple full days on the weekend. I HIGHLY recommend getting a Kreg Jig. It made life so much easier.
To go from a queen to a king, simply add 16" to all of the width pieces. All of the length pieces will be the same for a queen and king.
I added one 2x2 support beam down the middle of the bed, with two 16 3/4 inch legs attached to it, for added support. I screwed the slats into all 3 of the 2x2 support beams.
The drawers are the trickiest part. Make sure you follow the plan in order, waiting to install the drawers until after you have screwed the storage bins to the headboard and footboard.

Loved these easy to follow plans and love our outdoor living room!

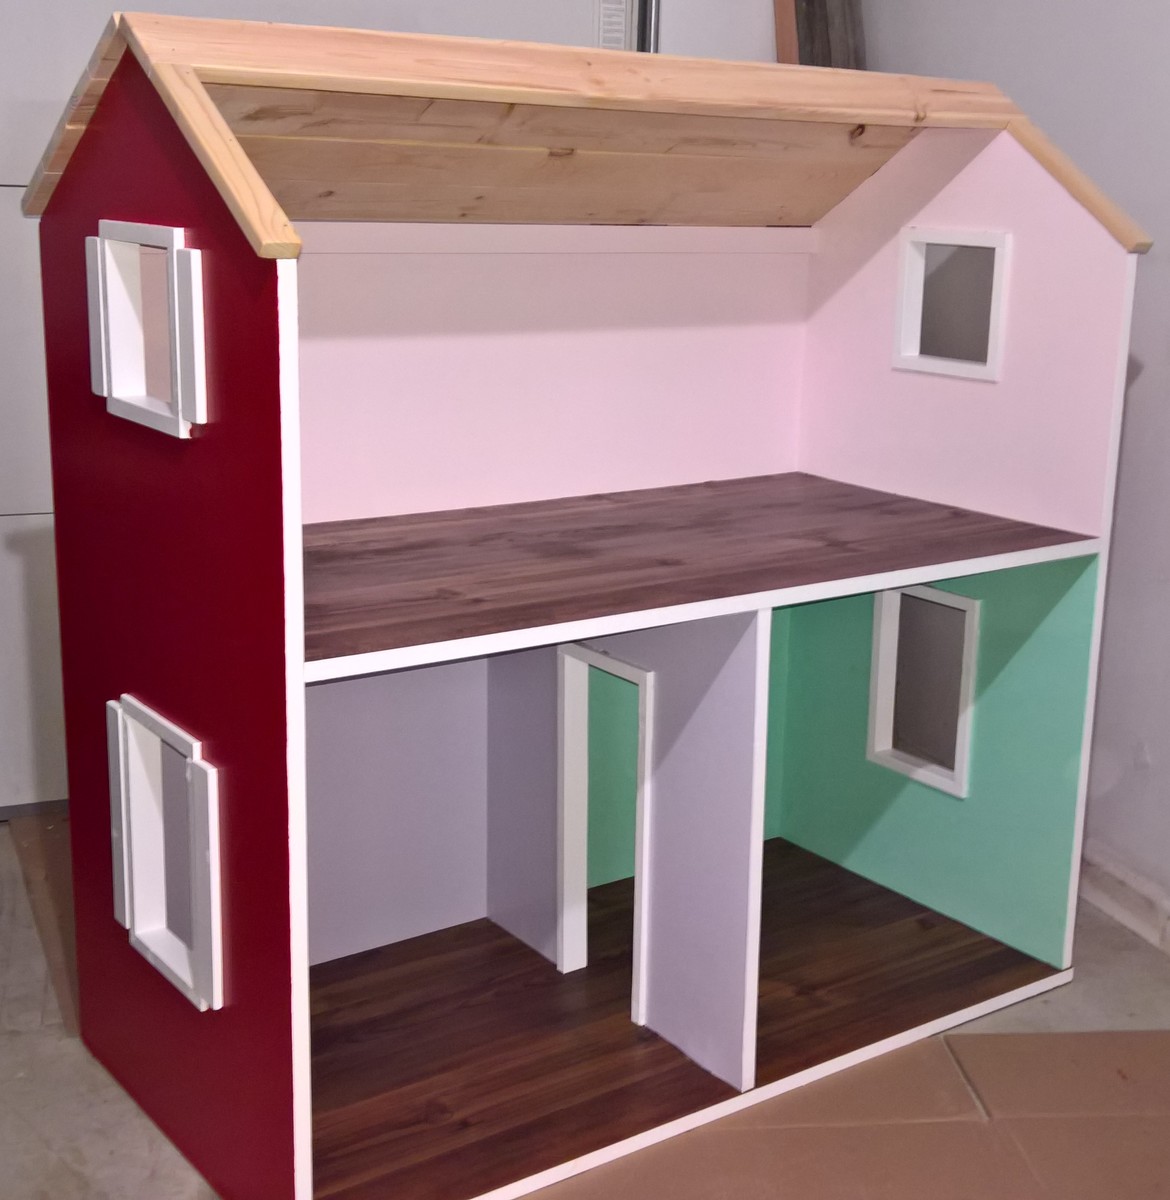
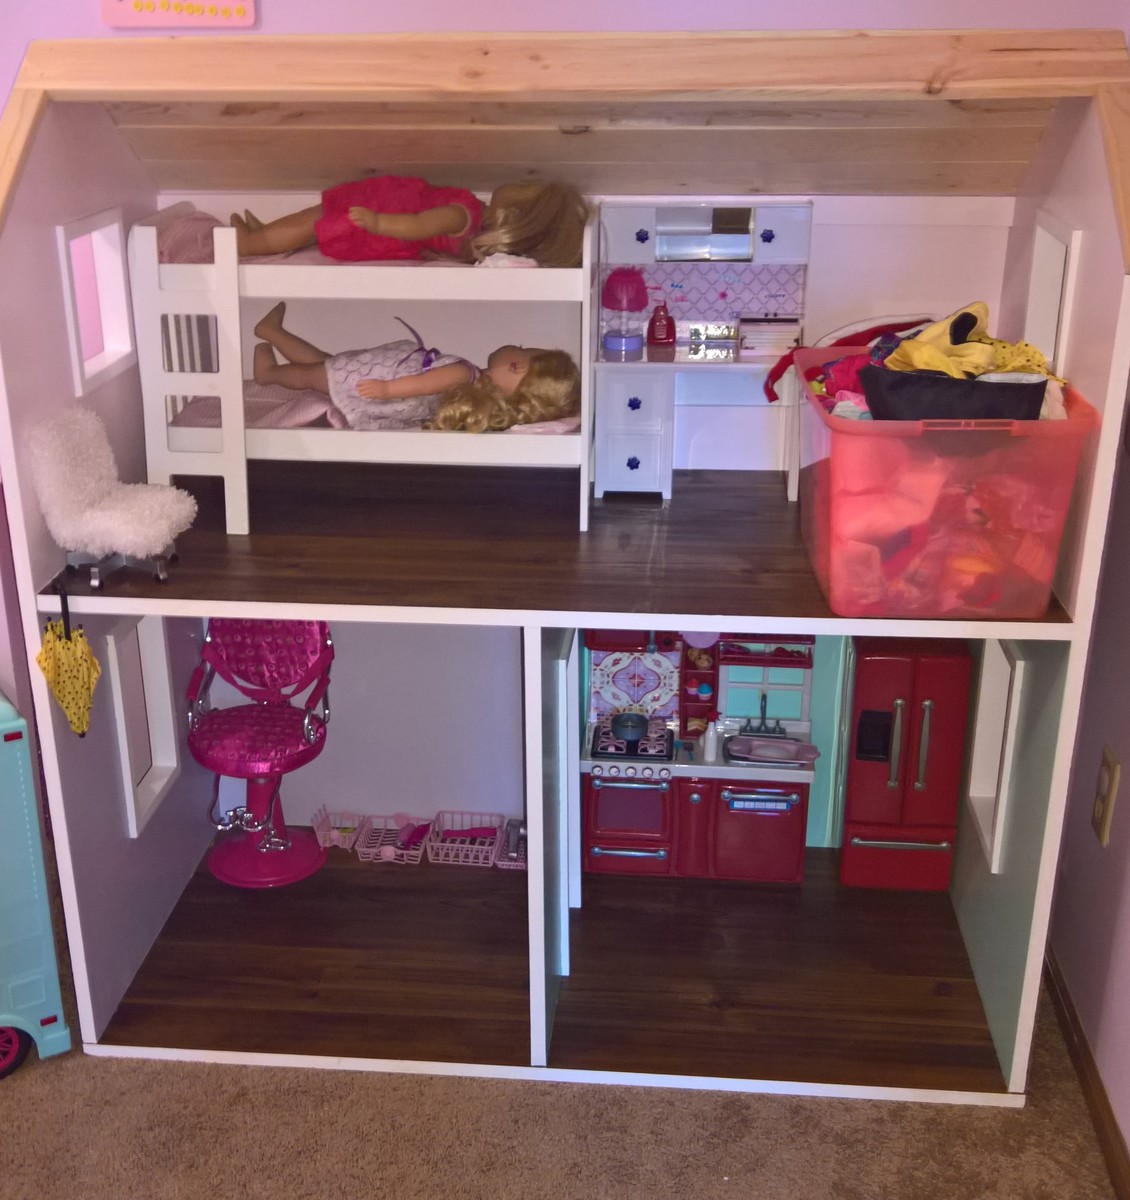
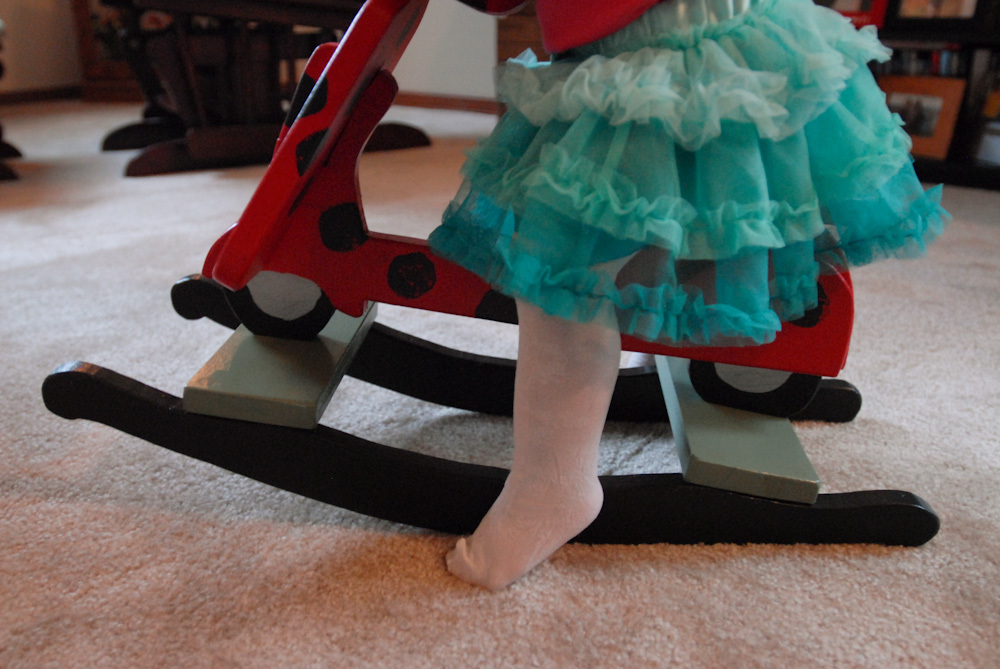
I built this as a christmas present for my daughter. Three stories was a bit too large, so I modified the plans a bit and cut out the bottom floor.
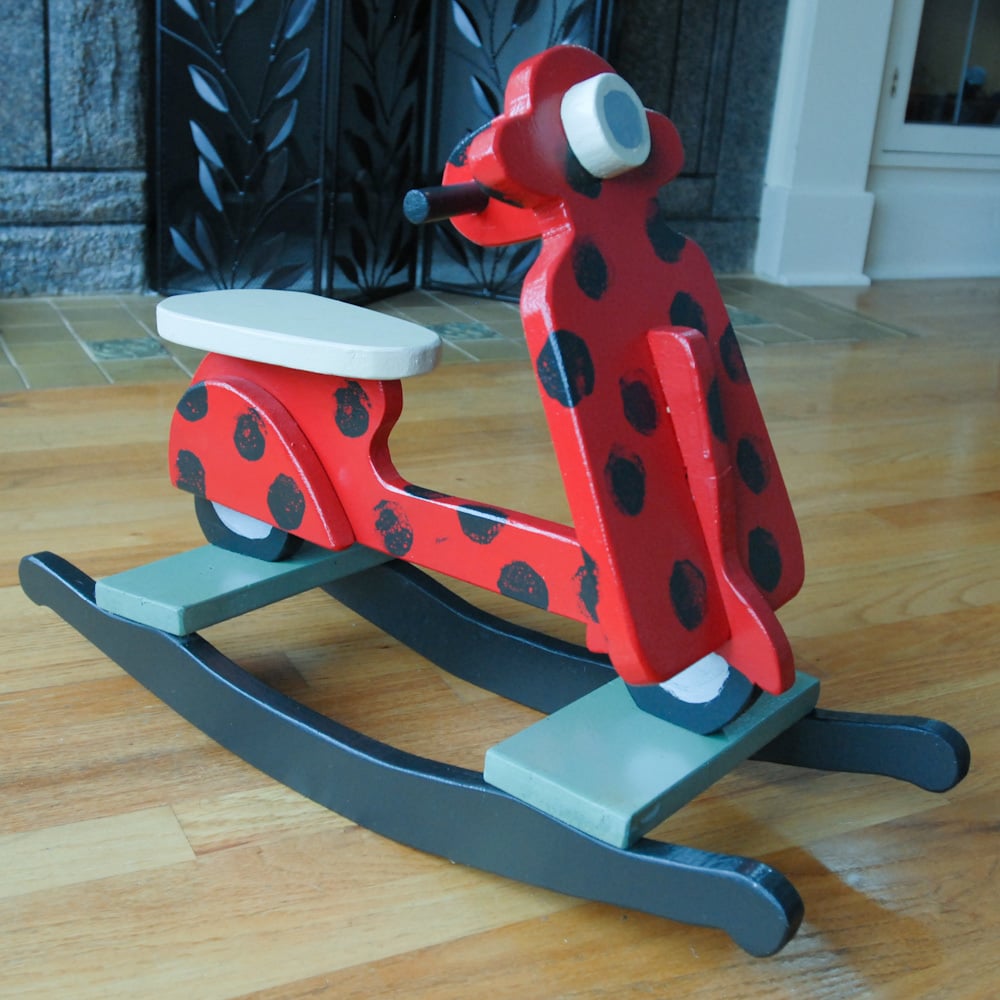
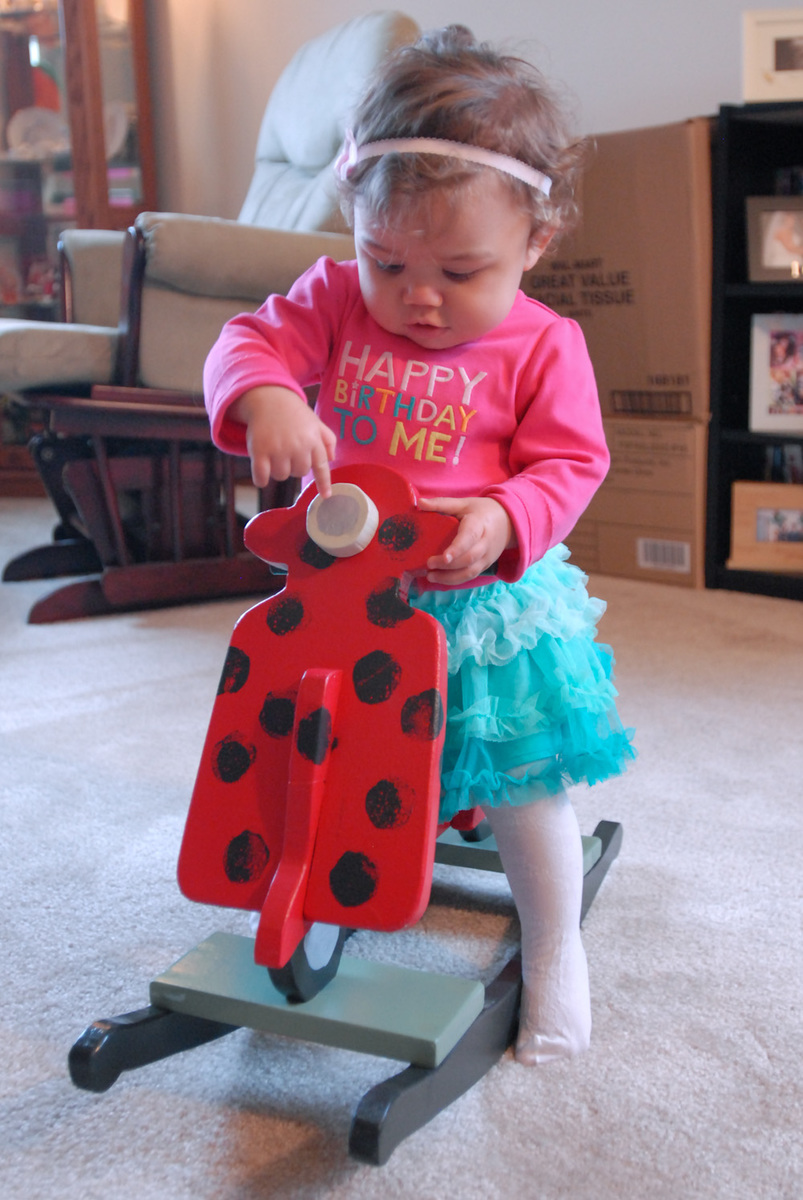
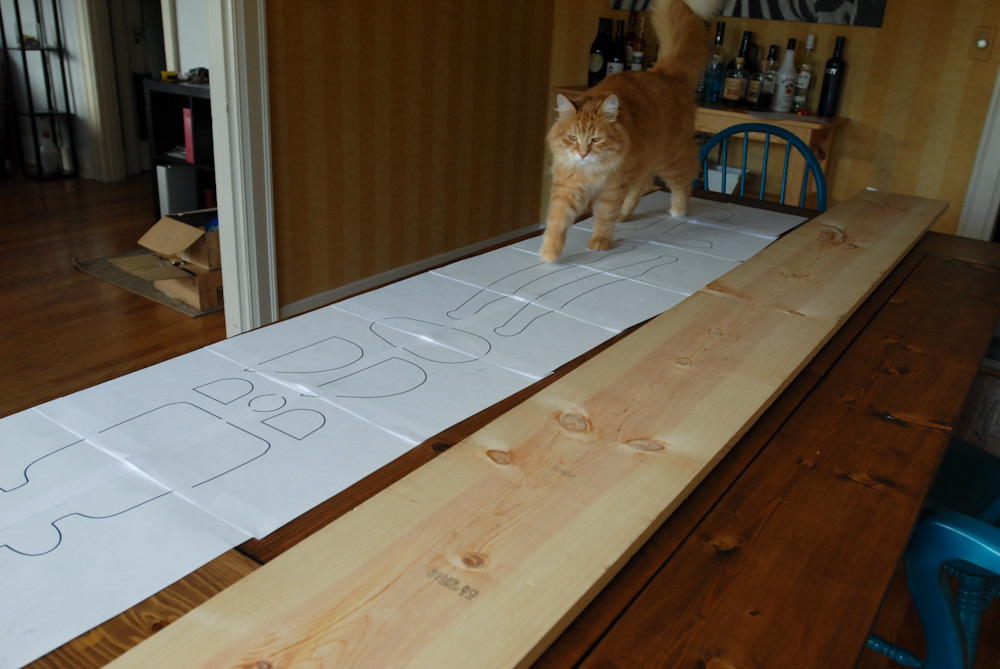
There were some parts missing from the plans. I wrote out what I did to build this rocker on my website.
http://www.domesticated-engineer.com/1/post/2012/12/ladybug-moped-rocke…
Make sure to use hard wood! My rocker broke within the first hour. Wood glue fixed it but it gave me a good scare!
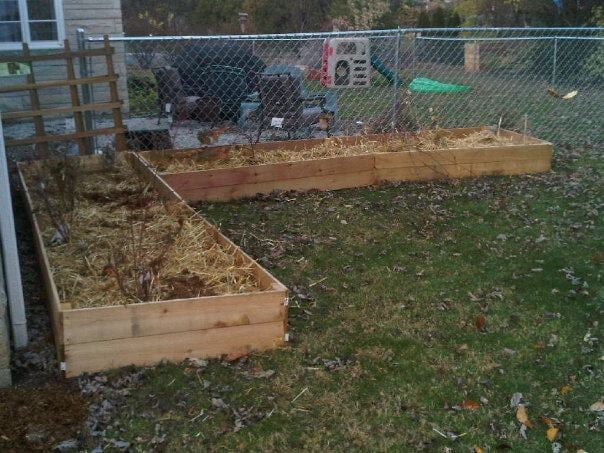
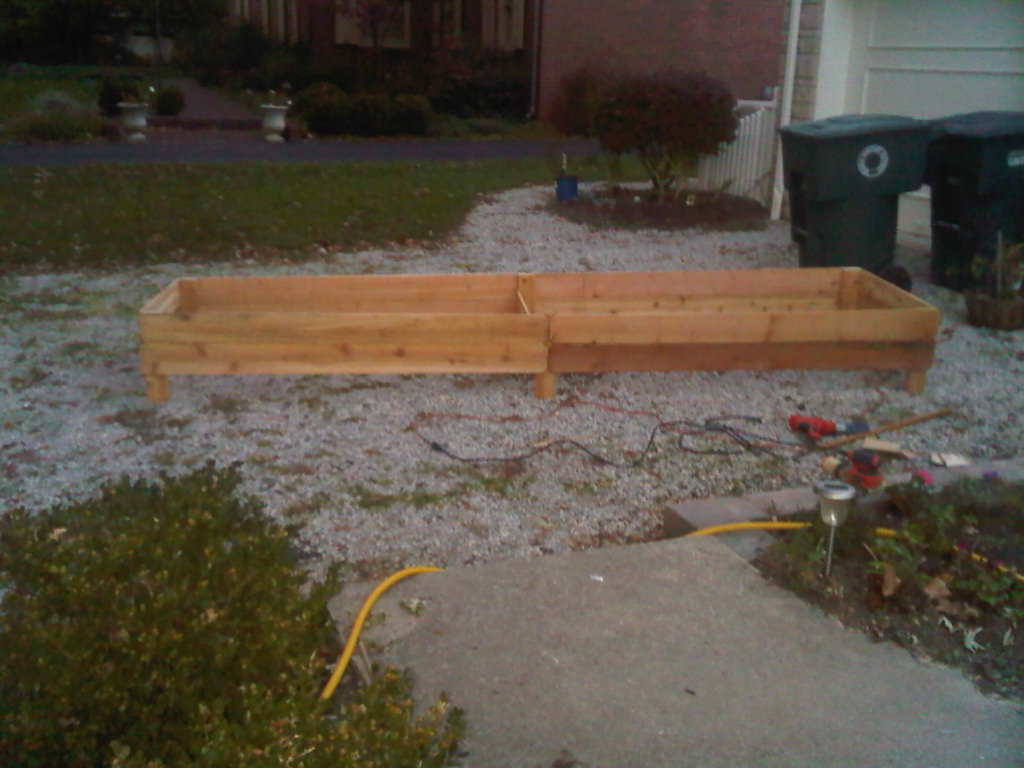
I used the same cedar fence boards, but for a large berry patch made with minimal cuts. The end boards are 1/2 the length of the long side boards. I made them 2 fence widths high - about 11 inches. Each bed is nearly 12 feet long. I joined the dogeared ends of 2 boards in the center, making a diamond cut out pattern that looked good. In order to support the tall sides, I used cedar 2x4x8 boards. Use 18-24 inch posts on each corner and at the center joint. I cut an additional board in half, affixing it to the center posts, to brace the long sides and add stability. Each box is approximately 3 feet wide, 12 feet long, and 11 inches tall. You'll need 8 fence posts for the long sides, 2 for the short sides, and 1/2 for the brace - you could use a different piece of wood for this, but the cedar fence posts are such a deal. You'll also need approximately 9 feet of cedar 2x4 for the corner posts - I bought 8 foot lengths and cut each into 2 foot posts for stability. The cost was around I'll add 2x4 posts in the spring and put a trellis behind the raspberries. If the birds start to steal my blueberries, I'll add metal or wooden corner posts that will support fruit netting. We're planting strawberries around the base of the larger fruit bushes. The 11 inch sides should keep rabbits from invading. If they are persistent, I'll add a few inches of chicken wire around the top edge. This made the equivalent square footage of 4 of Ana's original $10 beds.
Fri, 12/07/2012 - 17:57
This was similar to the construction I used for a compost bin - will post that next!
Sun, 12/09/2012 - 10:40
I'm putting together several L-shaped raised beds out of 6x6s with the internal walls being 2x6s. This gives me encouragement. I really like the look of this! Thanks.
Sun, 12/09/2012 - 10:42
I'm putting together several L-shaped raised beds out of 6x6s with the internal walls being 2x6s. This gives me encouragement. I really like the look of this! Thanks.
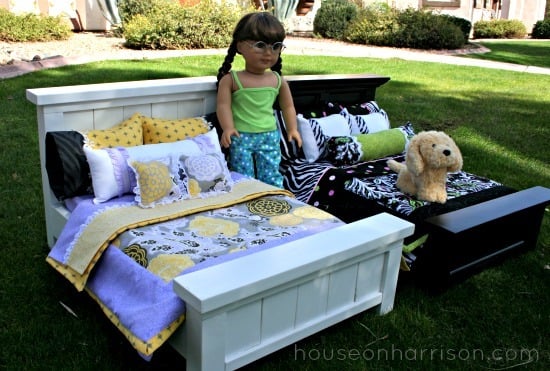
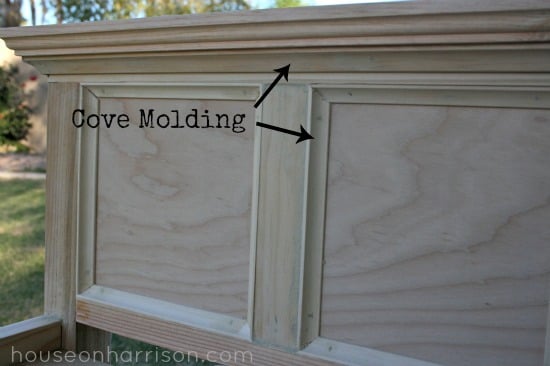
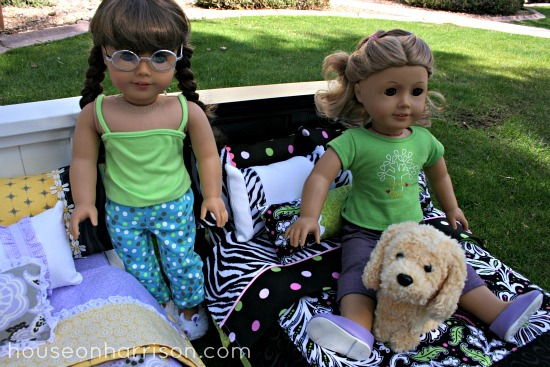
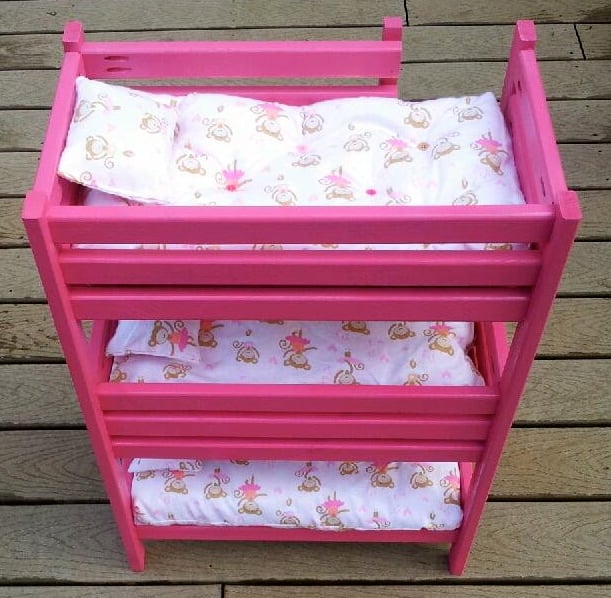
I made these two American Girl doll beds for my nieces. For one bed, I followed Ana's plans exactly. For the other, I used plywood and cove molding in place of the 1x3 slats.
You can find more details about the build and finish I used on my blog.
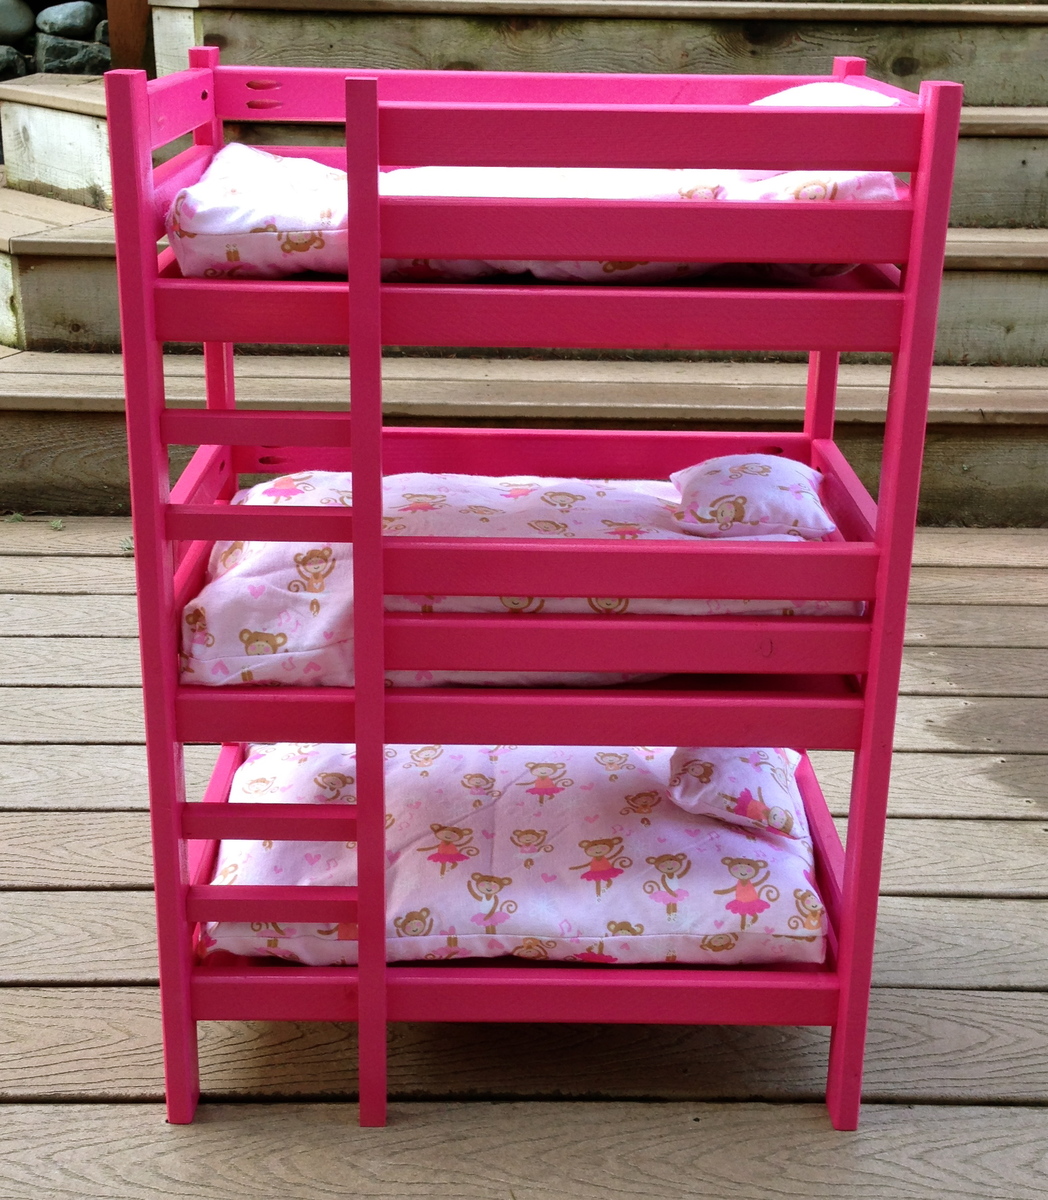
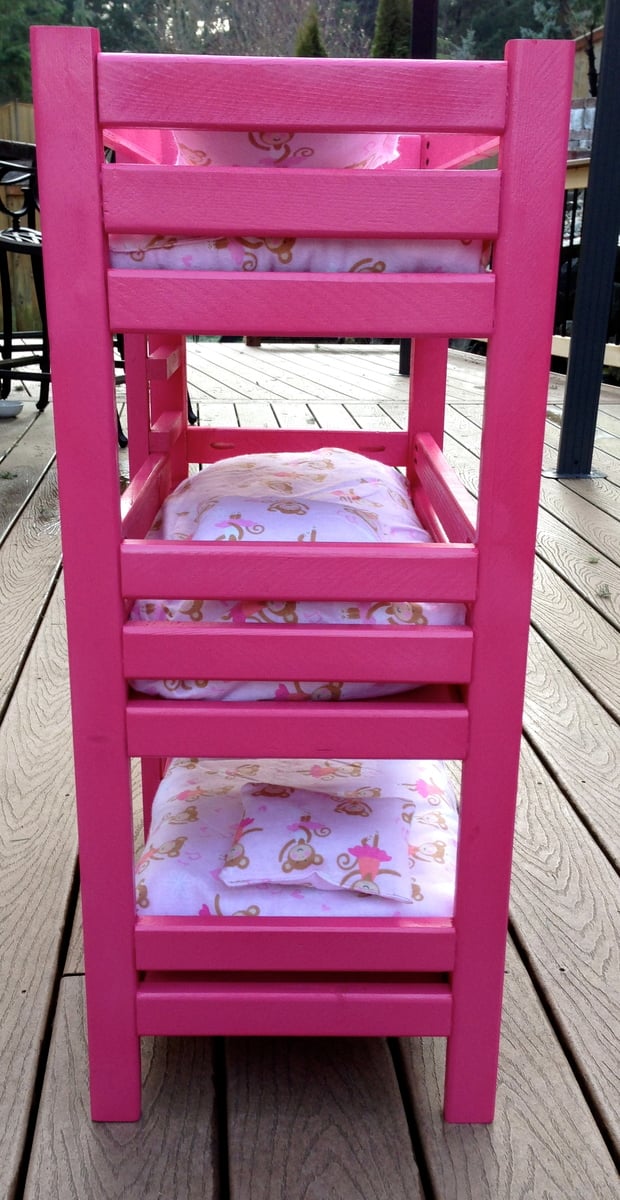
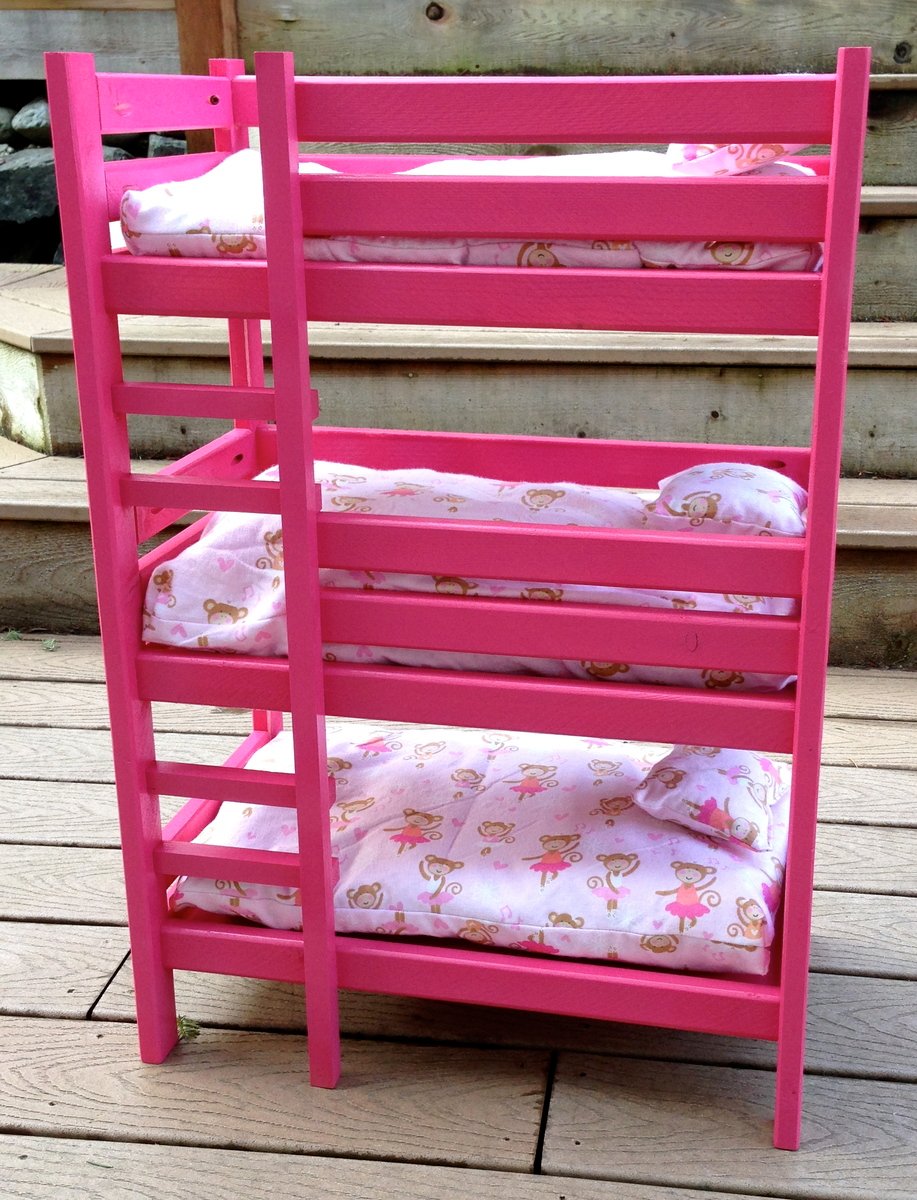
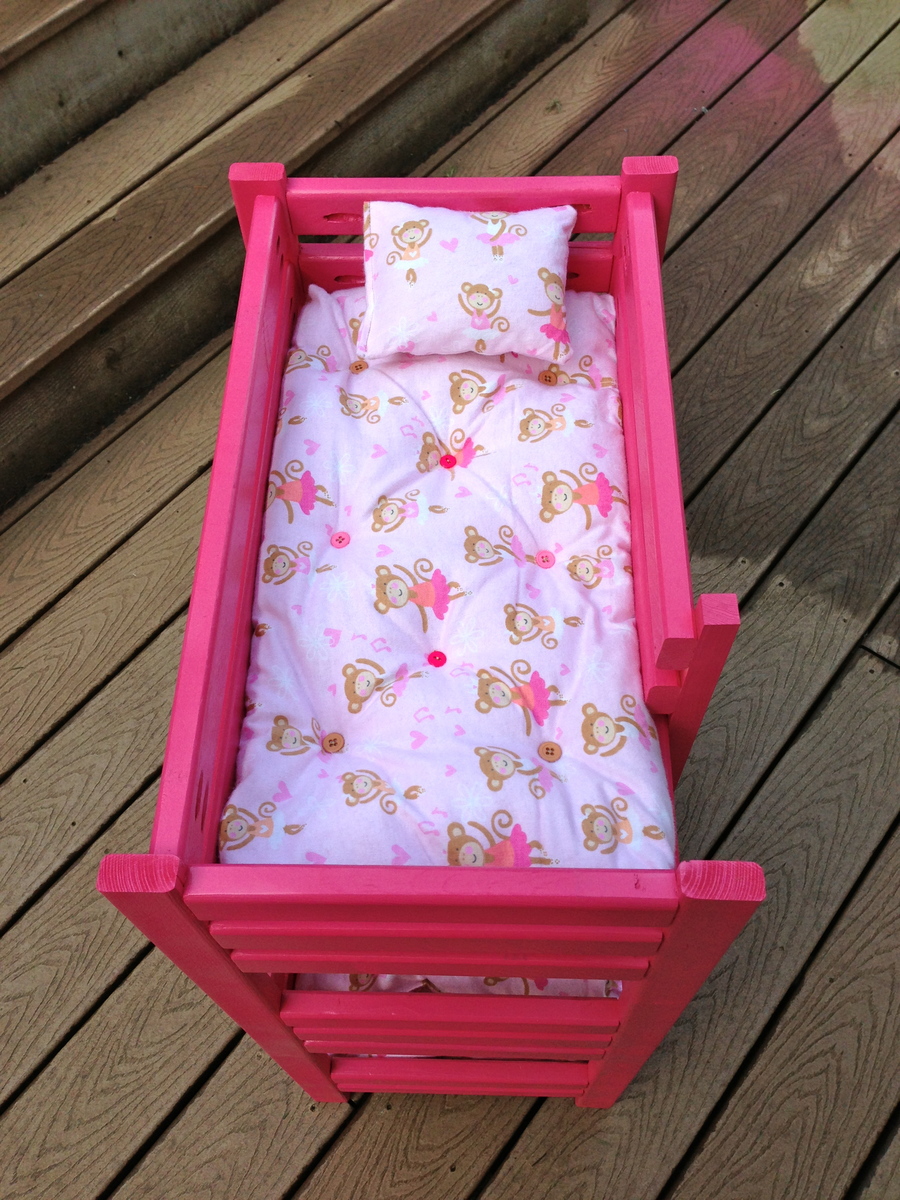
My friend's 7 year old daughter custom ordered this bunk bed! She asked for a bunk bed for her 3 dolls and she even picked the color! I had a lot of fun building it and learned a lot in the process. As usual, finishing took longest. Lucky for me, my hubby likes spray painting :-)
Wed, 02/17/2016 - 17:41
Can you please post the plans for this bunk bed. I want to make it for my daughter to play with her dolls with.
Thank you
Brett
About This Project
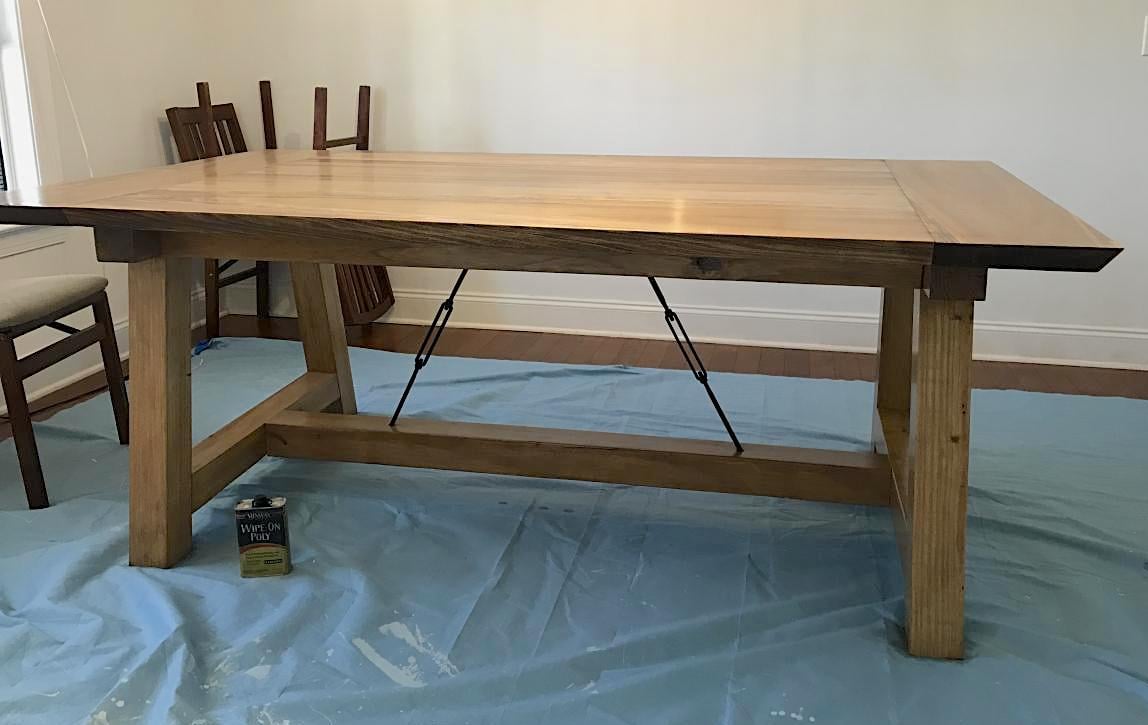
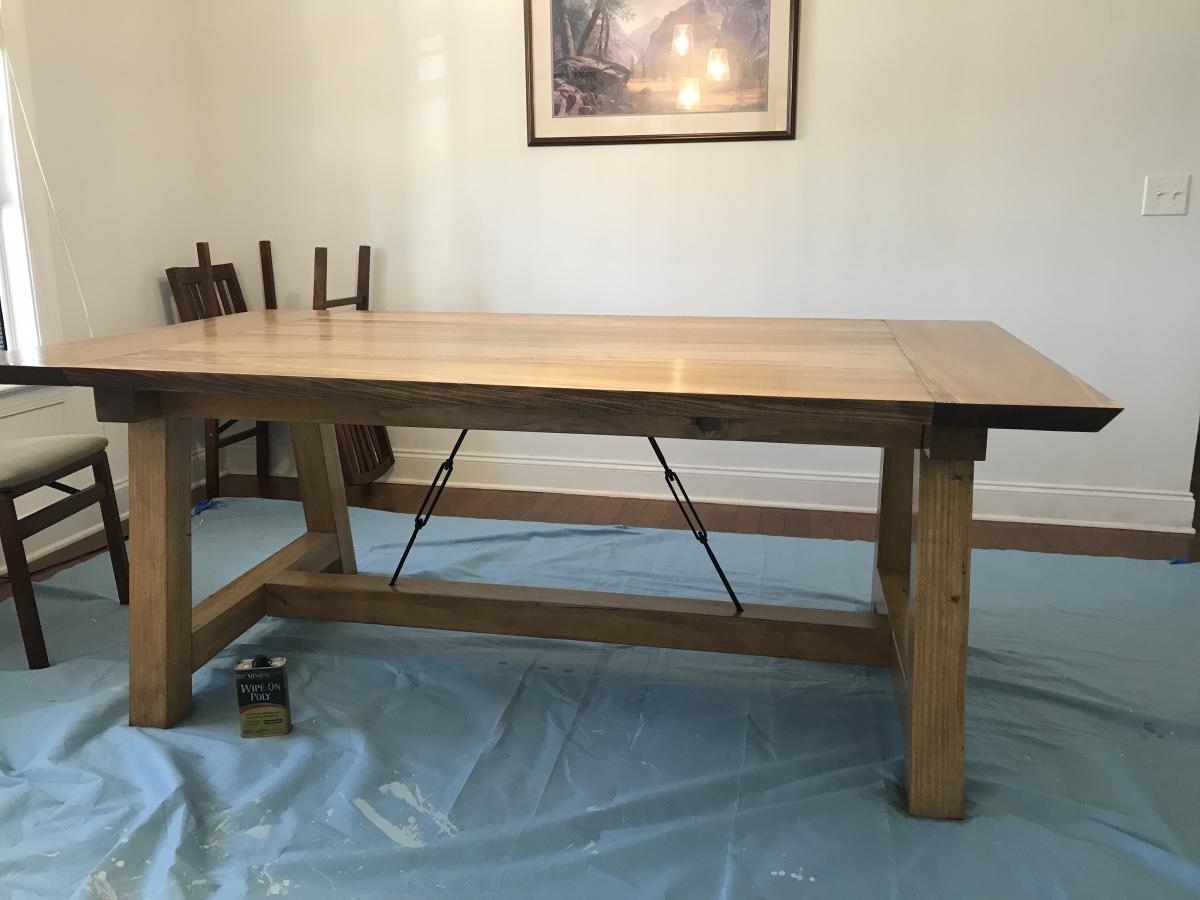
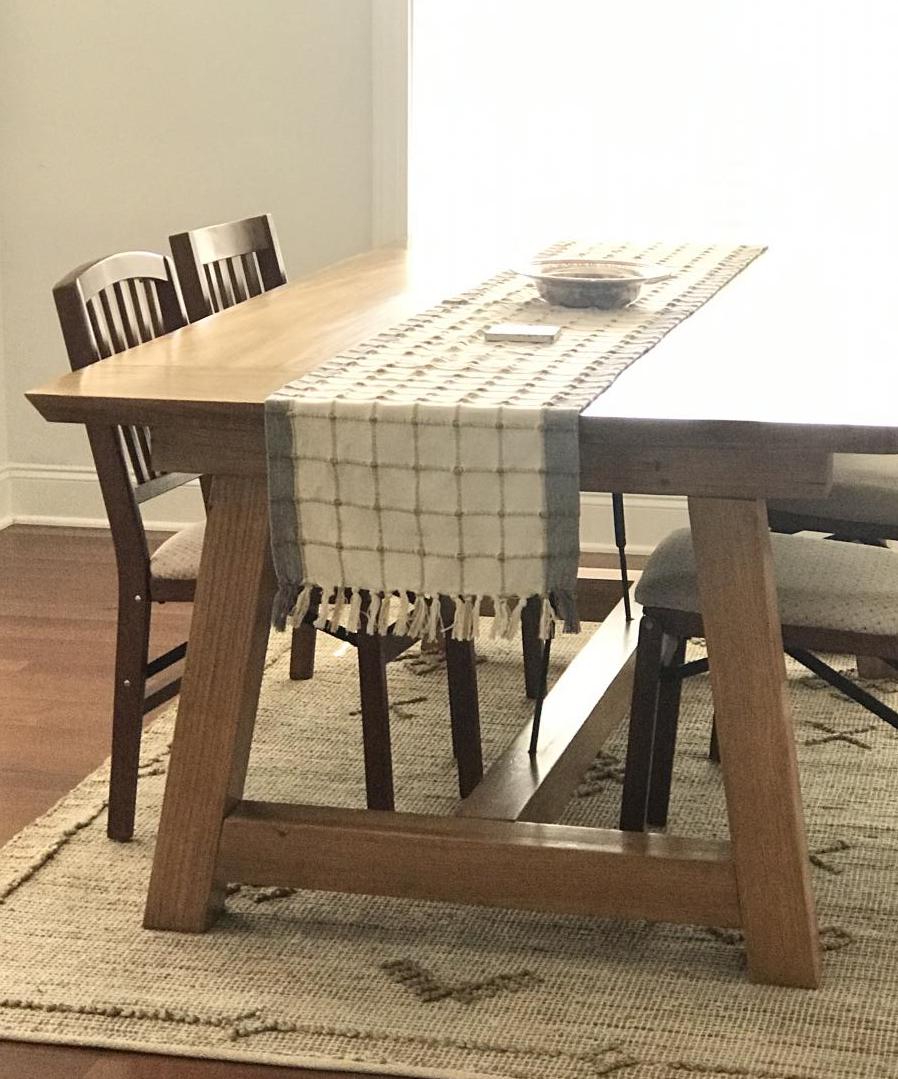
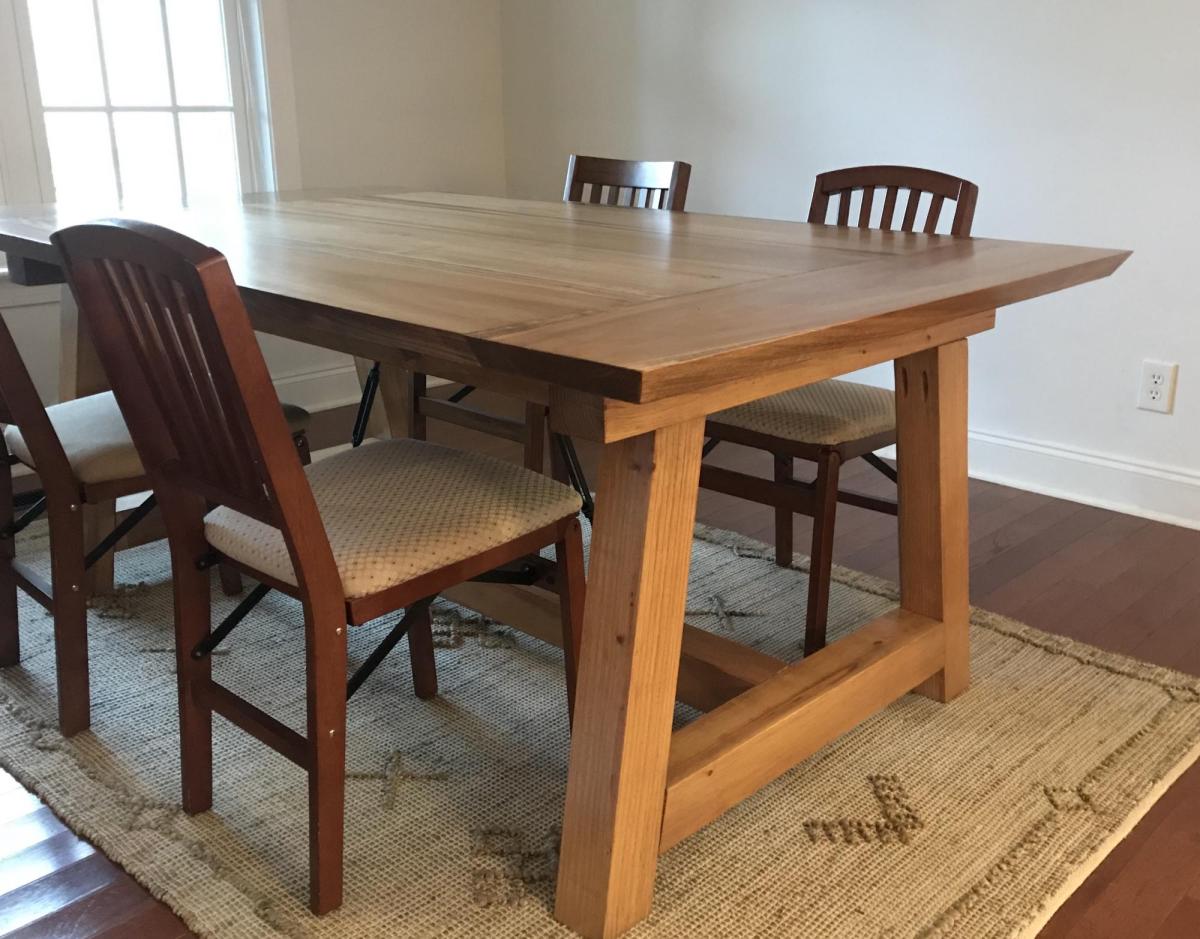
My hubby and I used the tressle table plans to make this awesome table. We changed it up, adding the turnbuckles like a Pottery Barn table that we wanted. I think this turned out way better!
We used yellow pine for the lower portion and poplar for the top.
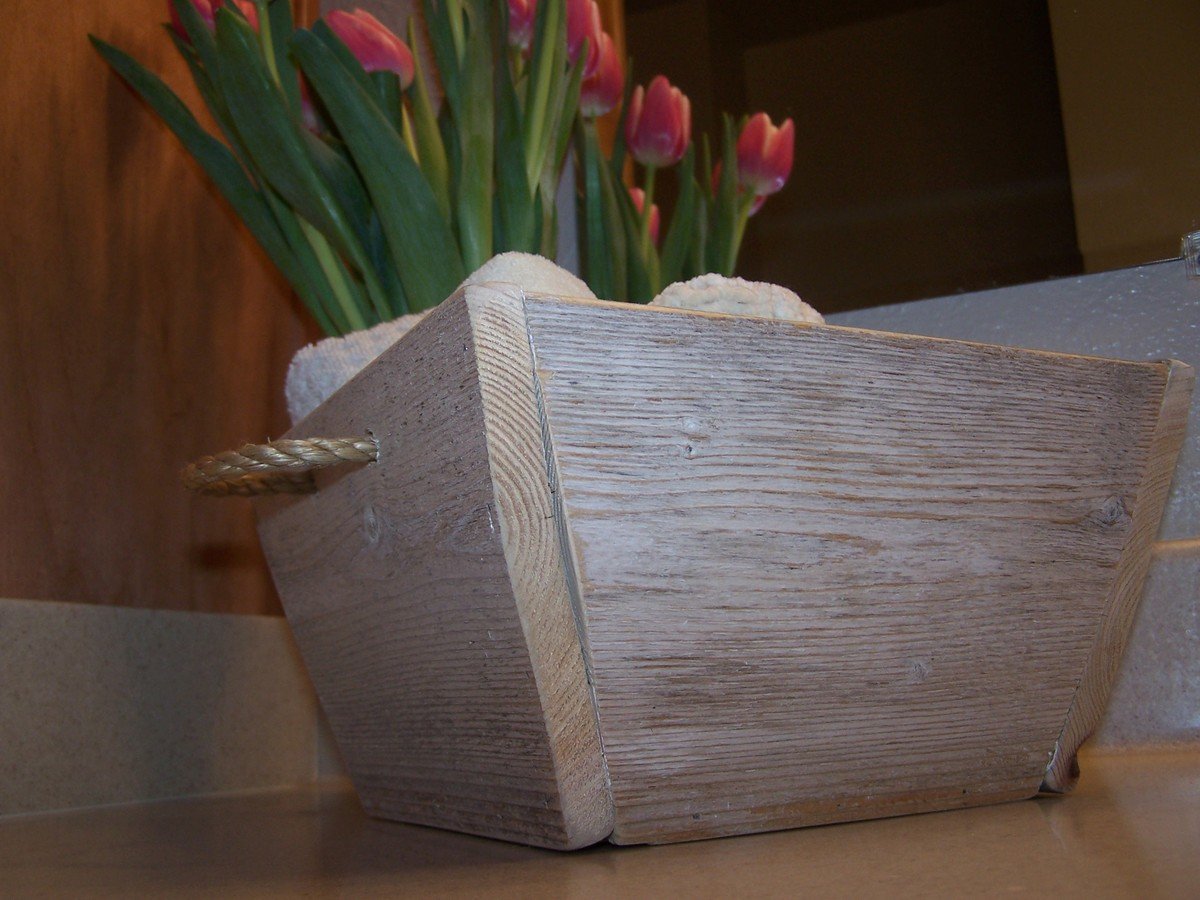
I was so excited when I saw the plan for this! I love making crates out of wood. It was quick and easy and I already had a cedar fence post! It was less than 30 minutes start to finish! For more pictures check out my blog post. Thanks Ana!
my first project, the second went a lot easier. We are still waiting on the doors to dry to hang them but the girls are excited for their horses to have a place to sleep.
Sun, 01/11/2015 - 01:49
That's so cool! I love it, and thanks for sharing!
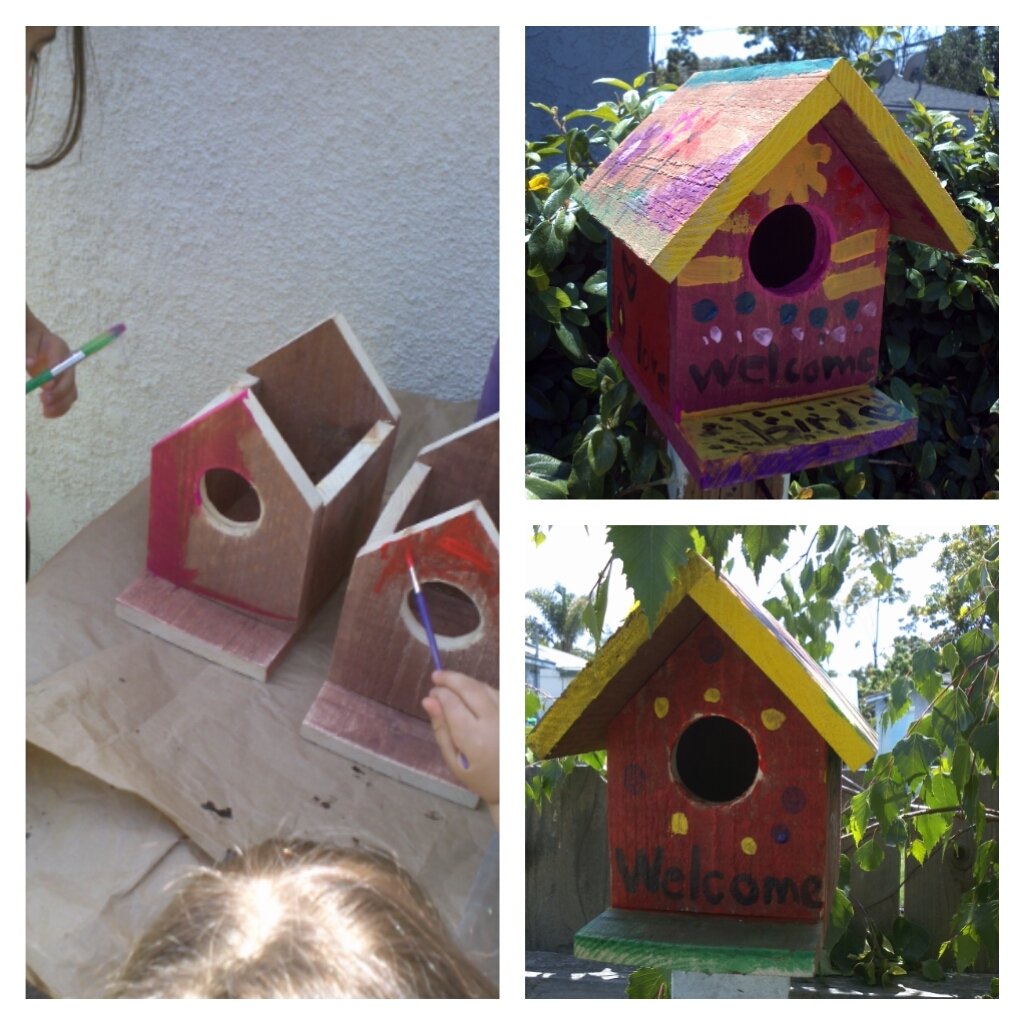
My two daughters really enjoyed helping daddy make these birdhouses but most of the loved painting them.
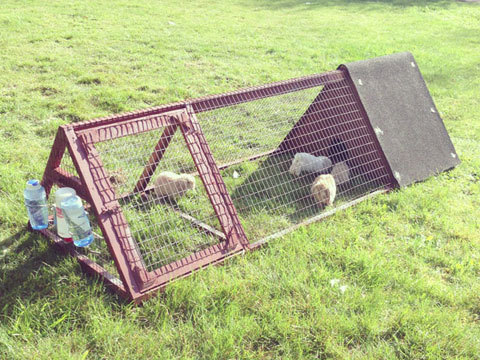
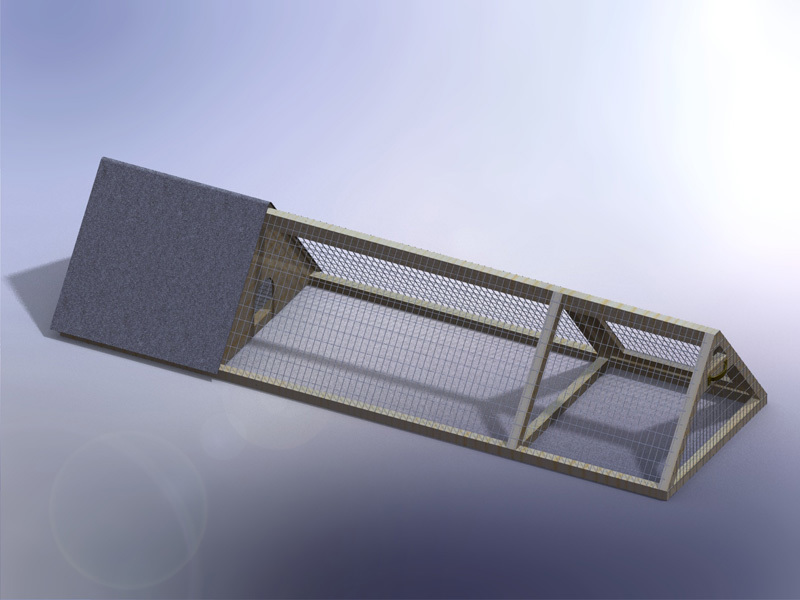
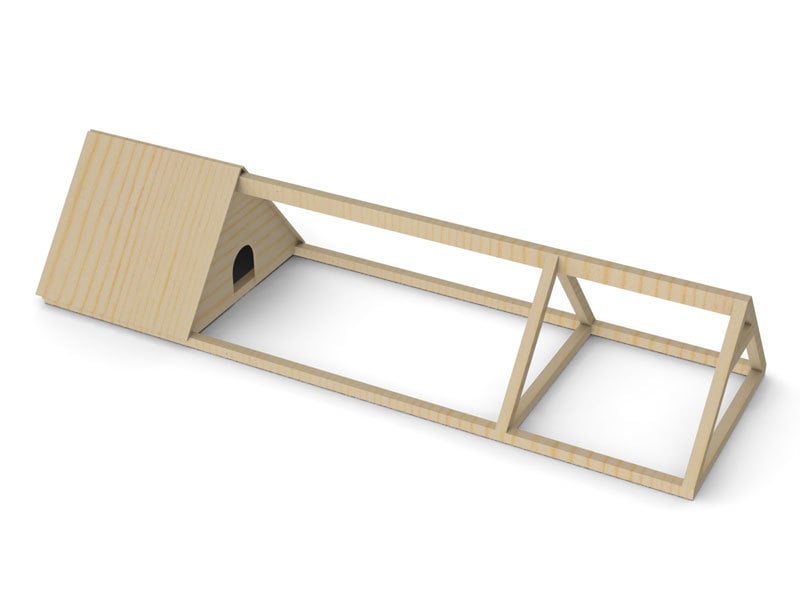
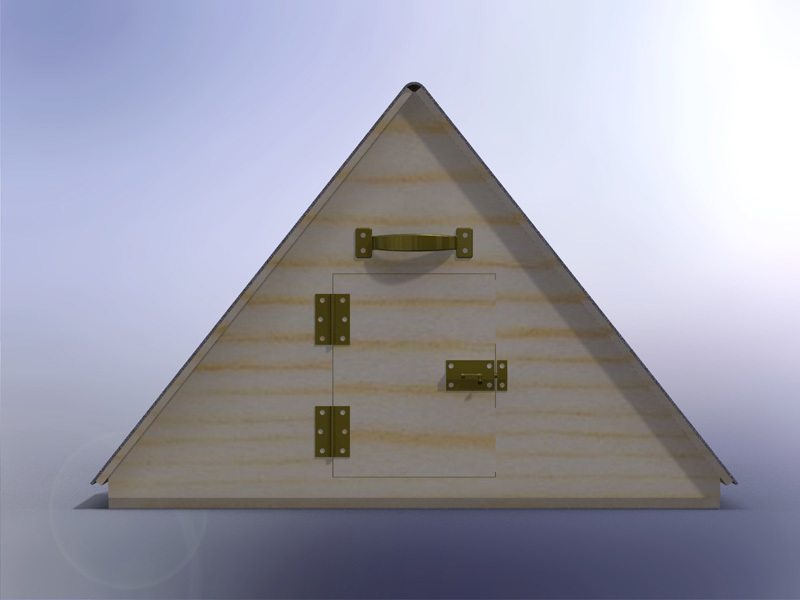
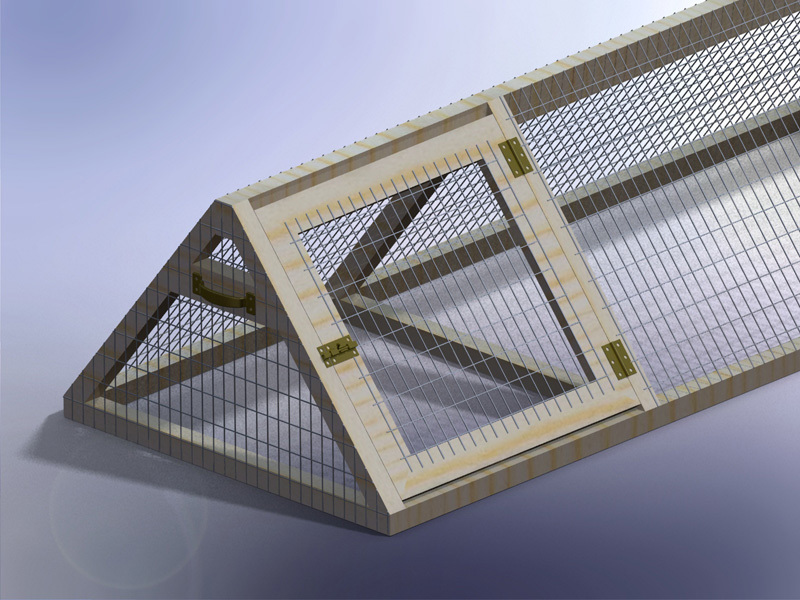
This is a rabbit hutch I created for my kids 5 rabbits. The thing that makes this hutch really nice is if you have a large lawn you can just move the hutch a little bit every day and the lawn gets mowed, fertilized and you don't have to worry about cleaning up all the rabbit droppings. I also mounted a rabbit feeder on the inside of the house door to keep the food dry, which has worked really well.
Here is a short blog of all the steps in its construction:
http://design.medeek.com/gallery/RH3080_COPALIS_2013/RH3080_COPALIS_201…
Sun, 05/05/2013 - 01:52
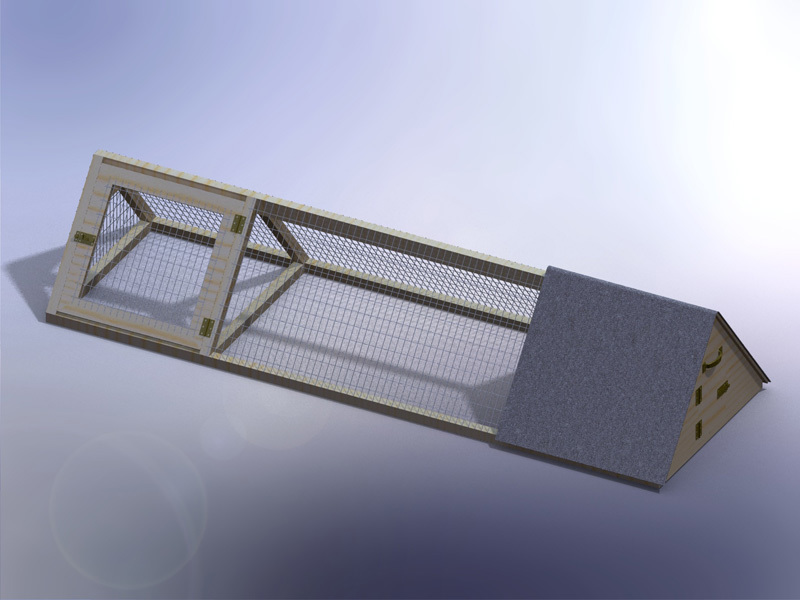
I apologize I haven't got the completed planset up for this project yet but I will try to get it up in the next couple of weeks as well as a very complete materials list. You will need to go to a farm/feed store to get the correct 1"x2" wire and 1/2"x1" wire for the floor. Do not go to Home Depot and use the cow wire they have or the hardware cloth for the floor, neither of which are the correct choice. Home Depot has the lumber but not the wire. If you have any questions or even improvements to my design I would be interested in hearing from you.
Sun, 09/13/2015 - 19:18
Finally got around to uploading the plans. I still need to create a material list for this plan but the basics are there now. We've had rabbits in it for about a year but recently we've tried some guinea pigs and it works great for that as well. The guinea pigs can pretty much live off just the grass and dandelions but you do need to move it daily to give them plenty to eat.