Cabinet Style Farmhouse Nightstand
Bedroom DIY Suite
Paul Burdine
Bedroom DIY Suite
Paul Burdine
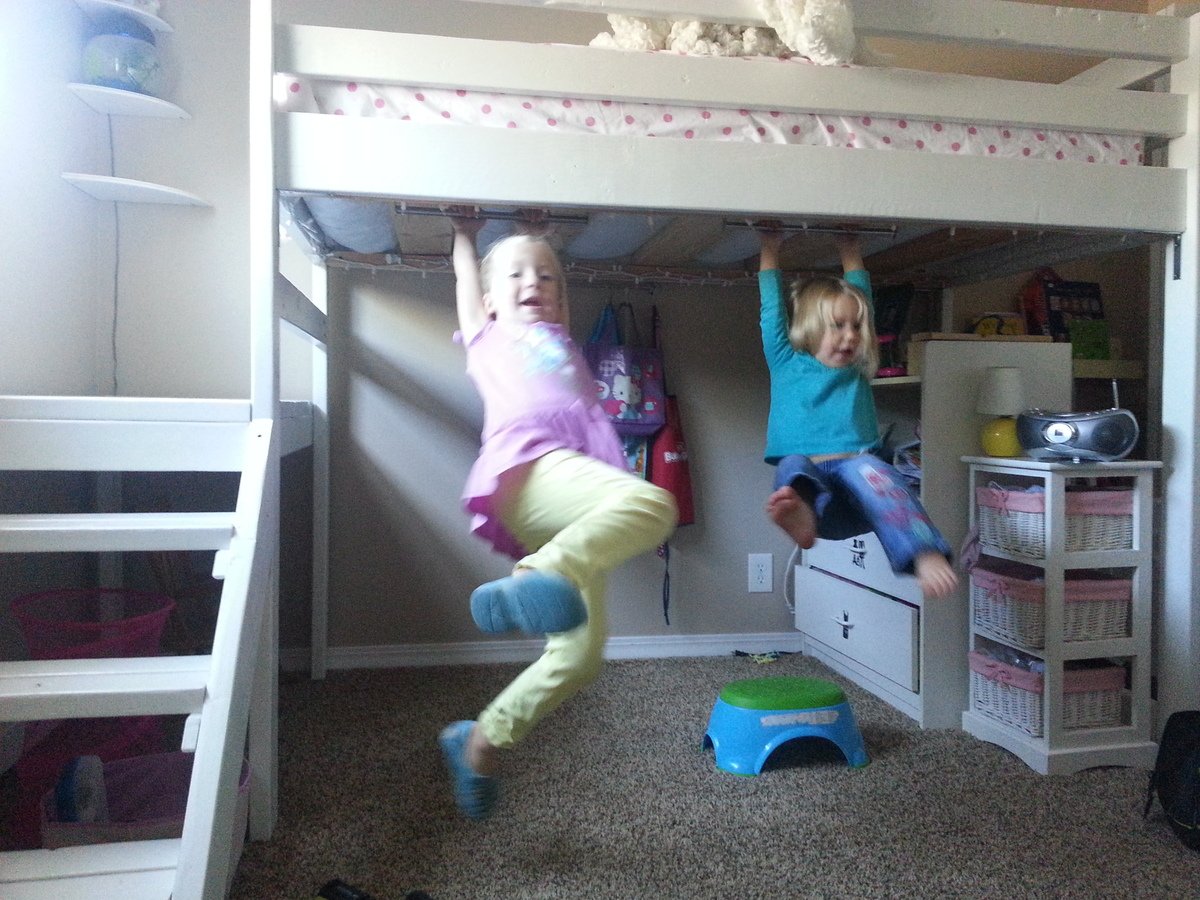
We added some fun features to this project that our little girls LOVE. For more information and pictures visit: http://bit.ly/1feQ4se for full details! Hope you like it :)
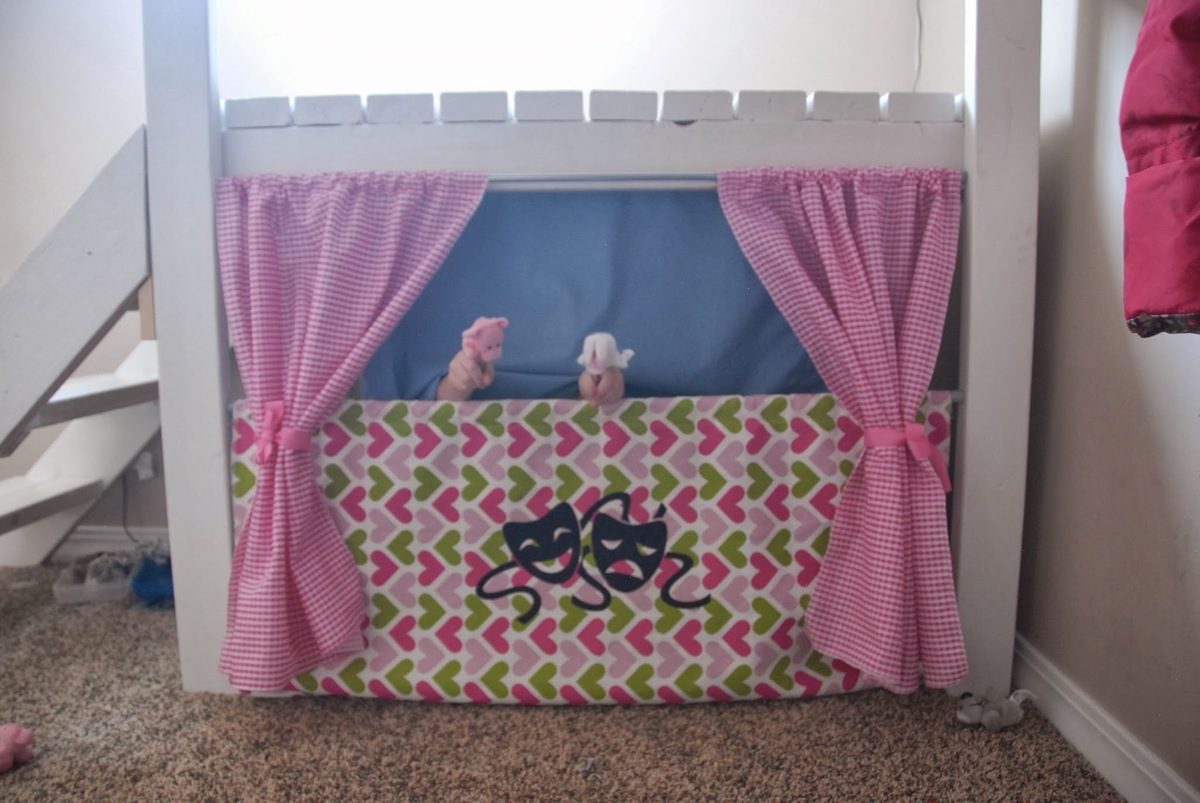
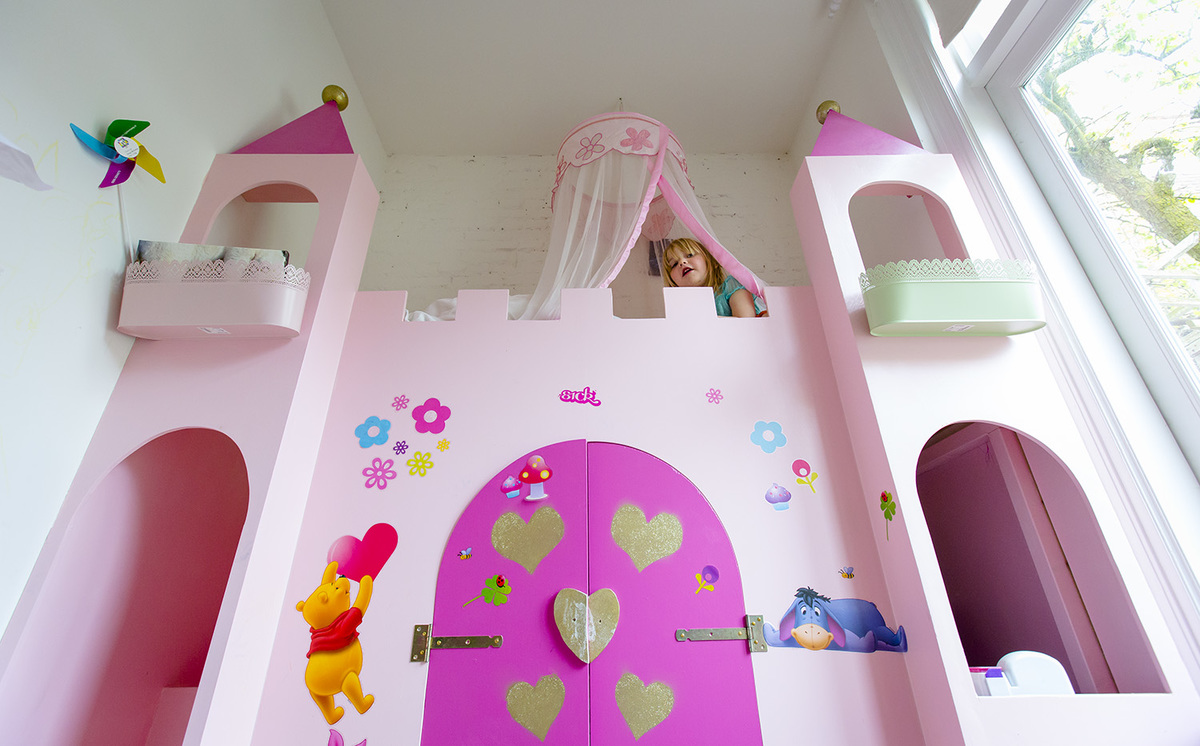
The plan for this great castle bed on this blog inspired me to make this castle bed for my daughter Elise. I basically just followed this plan and adjusted it to my own idea:
http://www.ana-white.com/2011/10/plans/castle-loft-bed
Thanks very much for all the great ideas!
Bart
The Netherlands
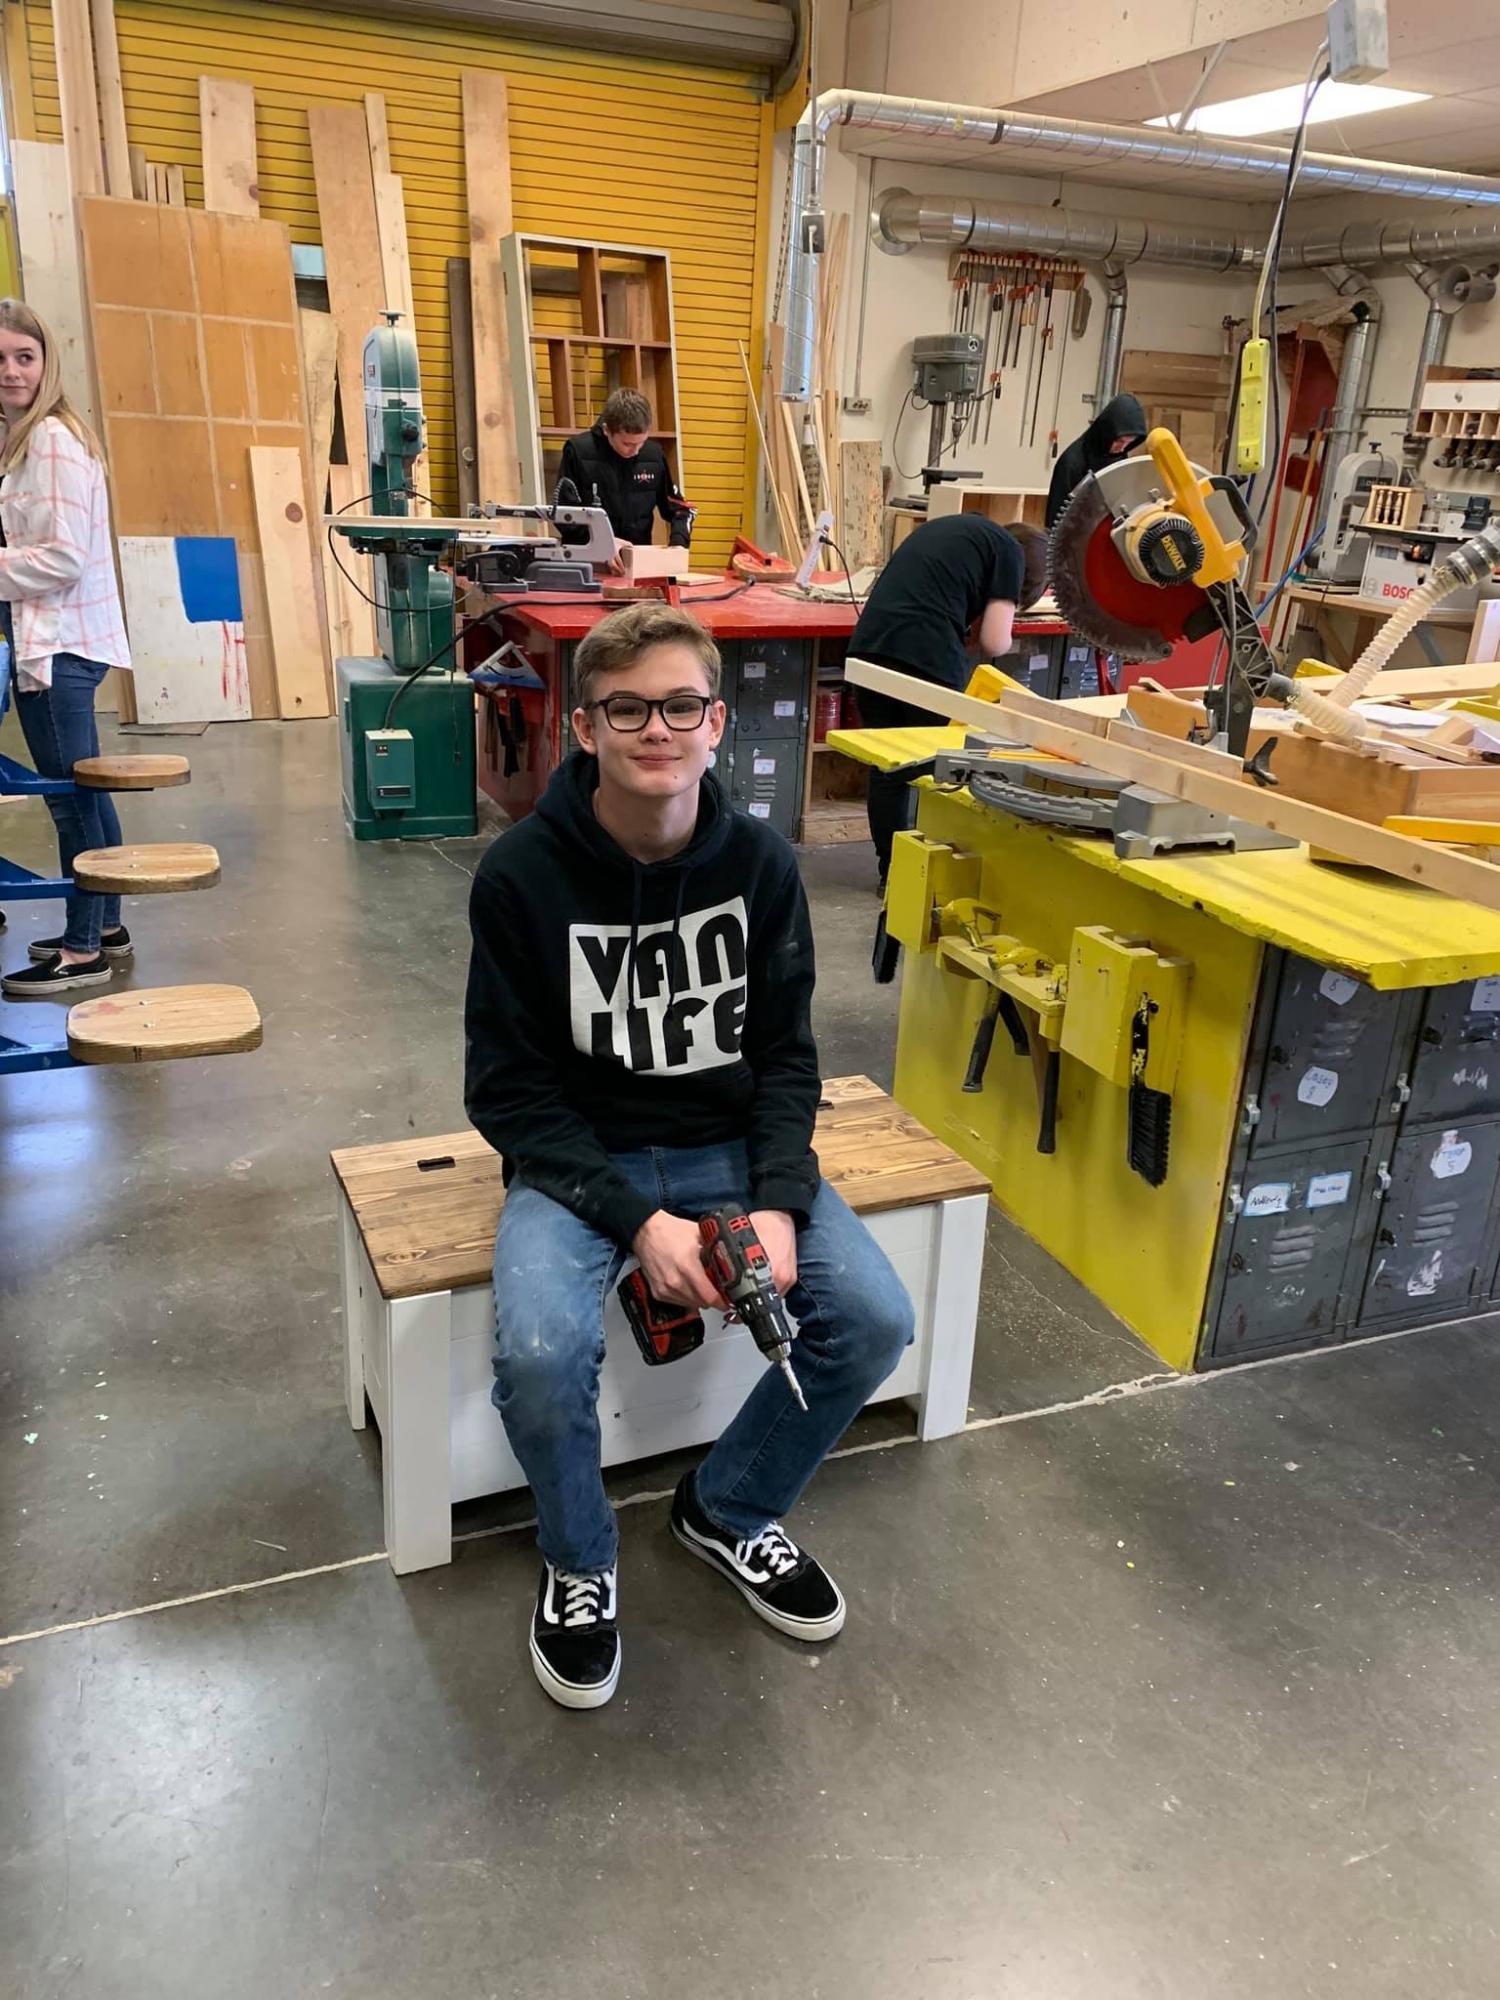
At Sunridge Middle School, we design and build our own projects at the end of second semester. As class sizes have grown ( the class is quite popular) helping design up to 60 projects becomes quite difficult. That’s where you come in! You have designed some awesome projects and the kids are able to find a perfect fit, with your variety. Some doubt the ability of 14 year olds, but given the space, opportunity, support, and your plans, we can do anything!
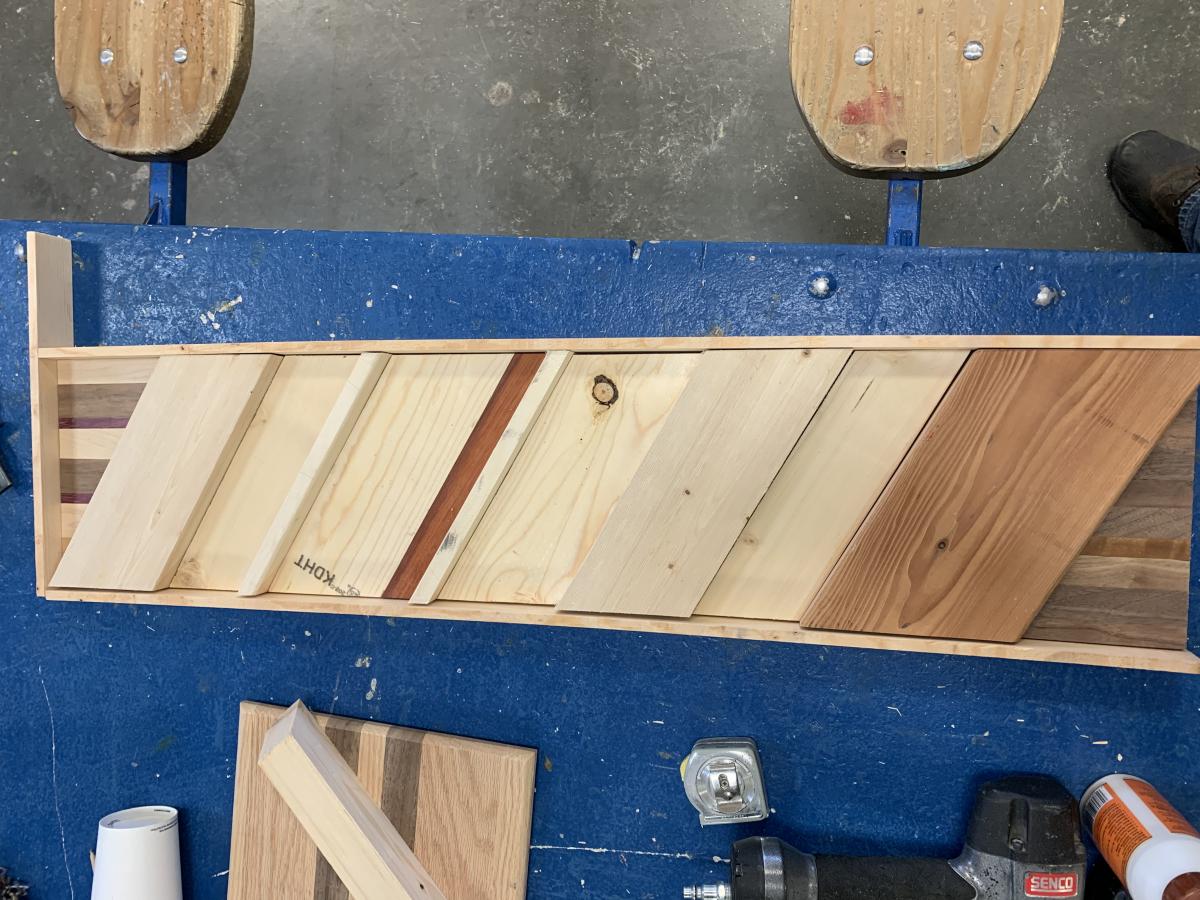
Mon, 01/27/2020 - 13:22
Thank you so much for sharing - you made my day!
I'm so glad to see the Farmhouse toy box, that is one of my favorite plans!
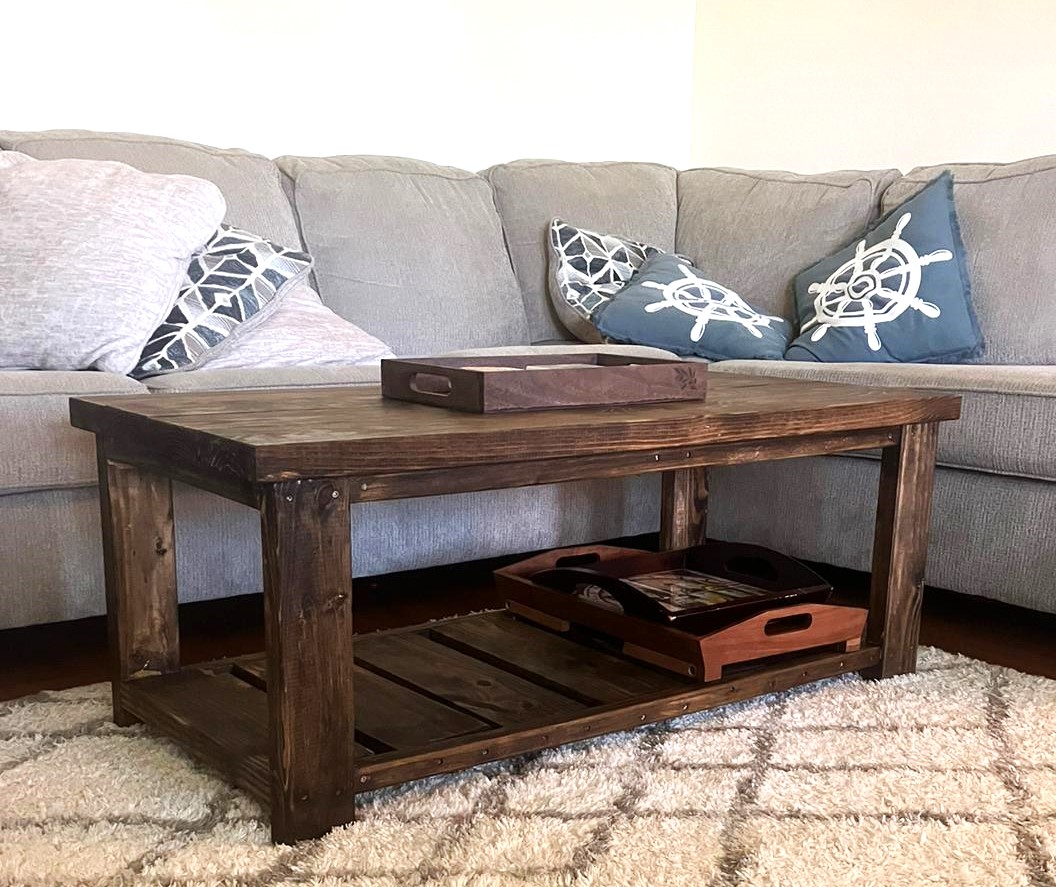
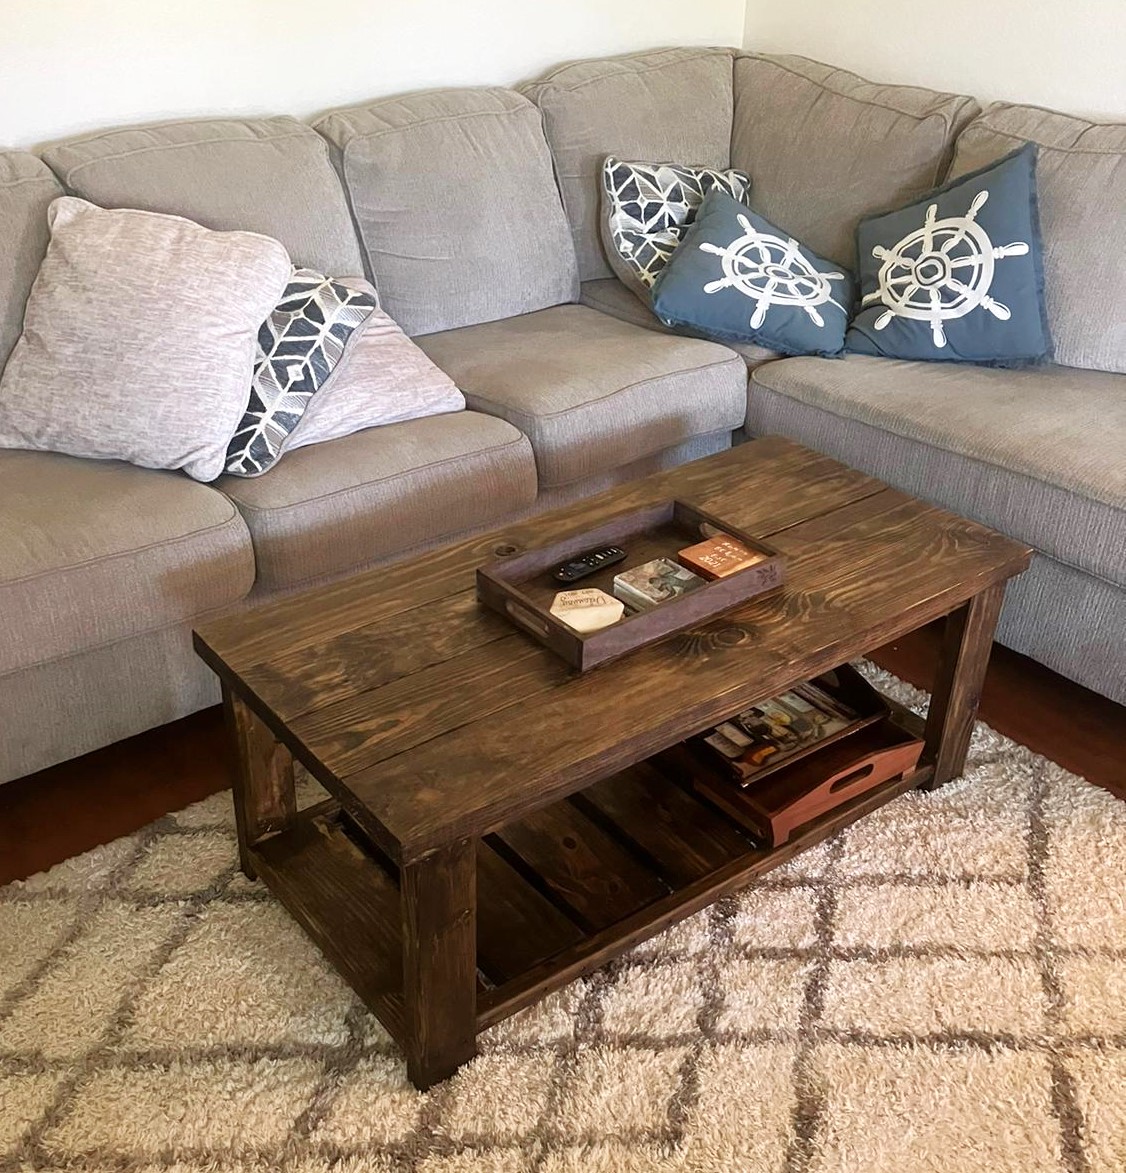
My husband and I (with some help from a friend at various points) built this coffee table and are so pleased with the final product! It was so manageable thanks to the already-made plans for it, and it had given us confidence to try out more plans on this website. We are so excited!!
Laura
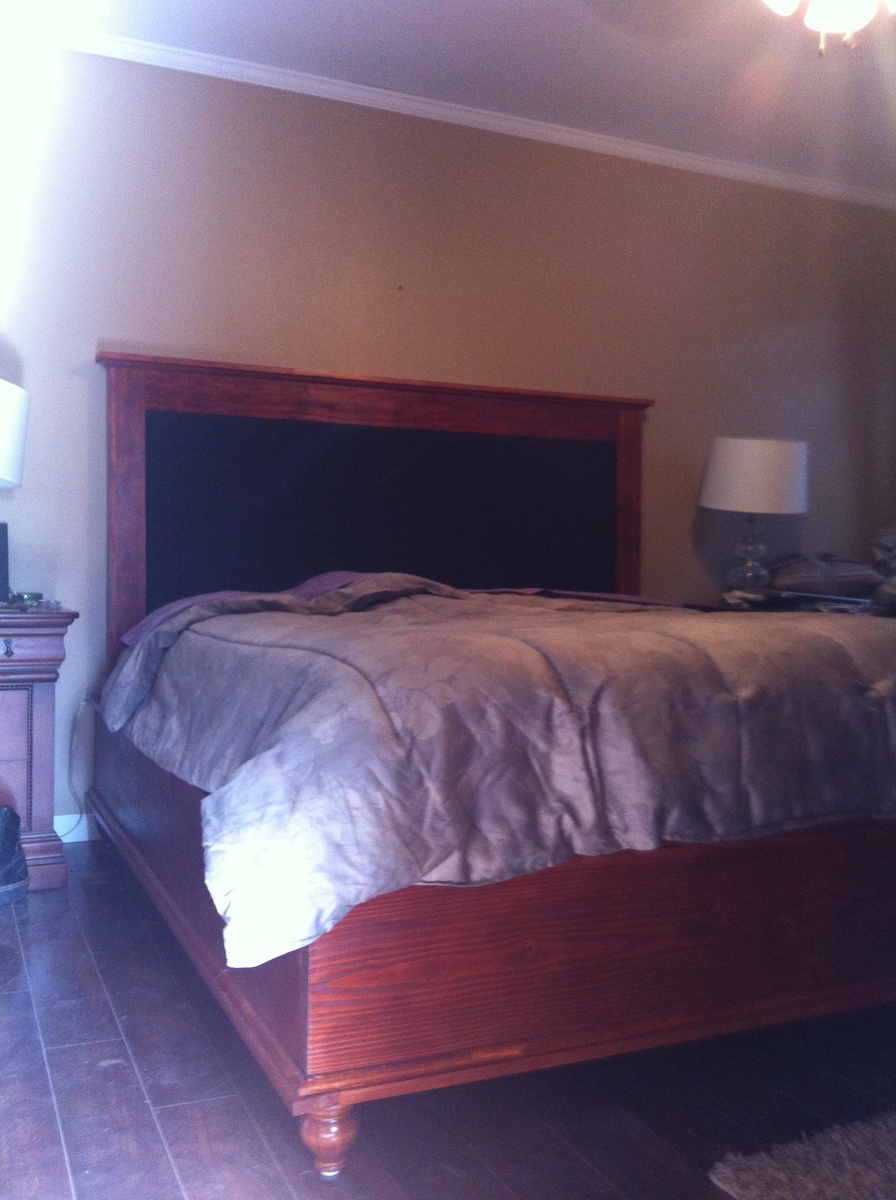
I took the plans from the Chestwick platform bed and headboard and built it using King size bed dimensions. For the box of the bed, I used 2 x 12's instead of 2x8's. It seemed more substantial for a king bed, and this way, I didn't need to use a box spring.
Sat, 04/28/2012 - 22:17
I want to stain something that color just because it's called "Gunstock." This is such a neat bed, looks good with the heavier bottom, especially on a king size bed.
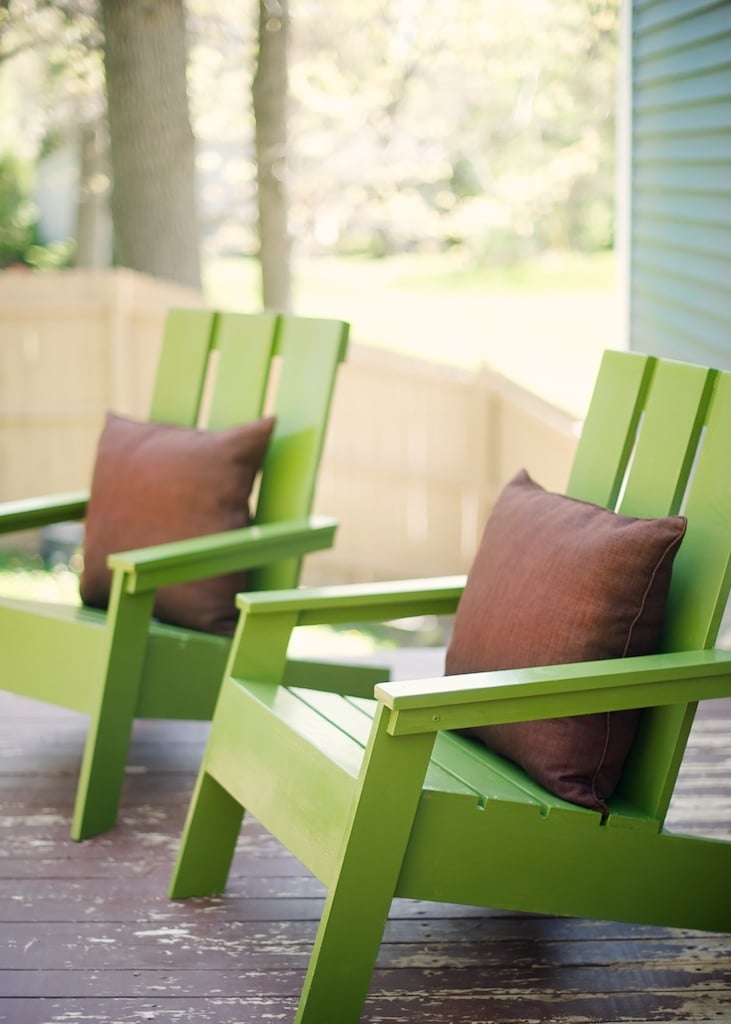
We love how these modified 3-panel adirondack chairs turned out! The pillows were from Costco- $15 for a two pack.
Sun, 05/06/2012 - 14:25
Love these! Did you use 1x8s for the back instead of 1x4's?
Sun, 06/16/2013 - 16:13
Is it possible to get the plans for these chairs??
-c
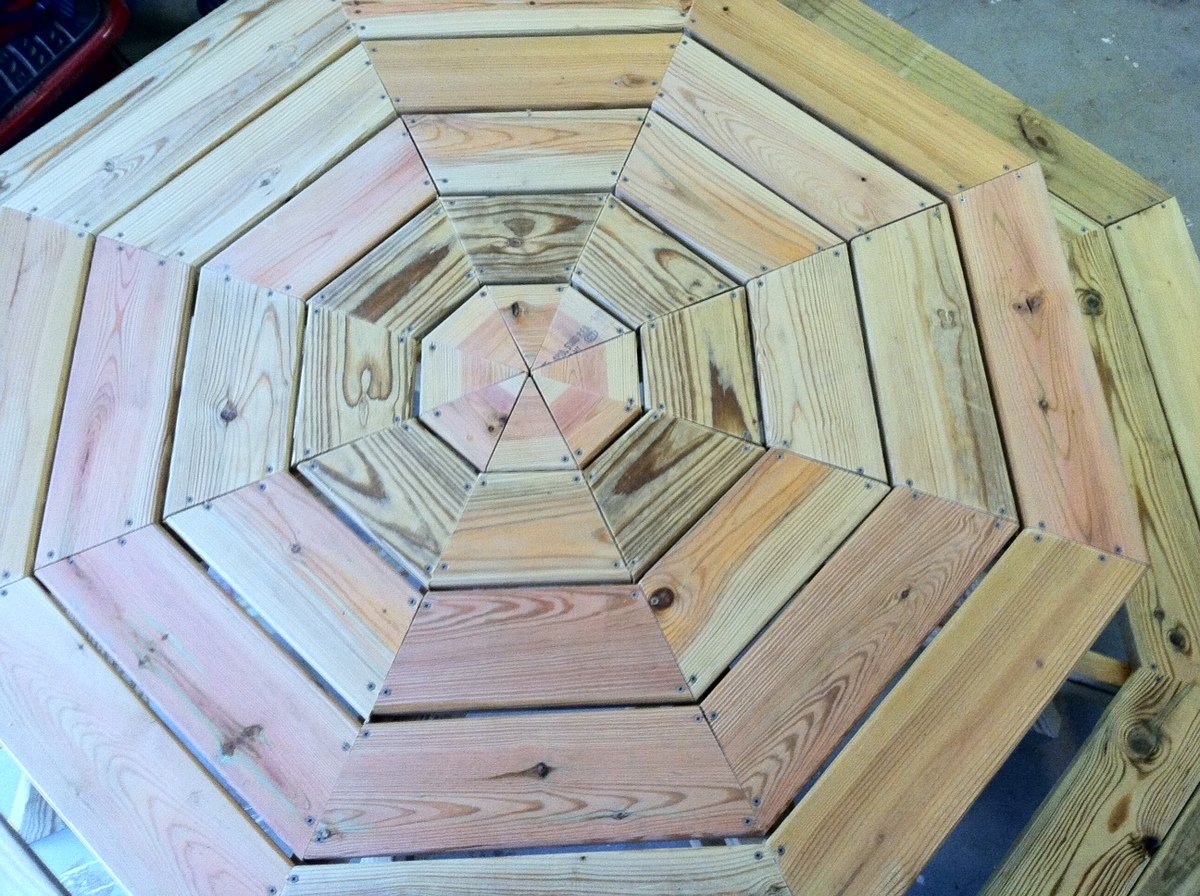
My son and I had a blast building this table last October. I have been meaning to write and thank you for the great plans. We took the suggestion of staggering the legs for better access and it turned out great. I also used deck boards for the top to help reduce weight and they were already slightly curved on the sides which made sanding easier. Thank you!
My cost includes a nice Kreg Jig set up (approx $100)
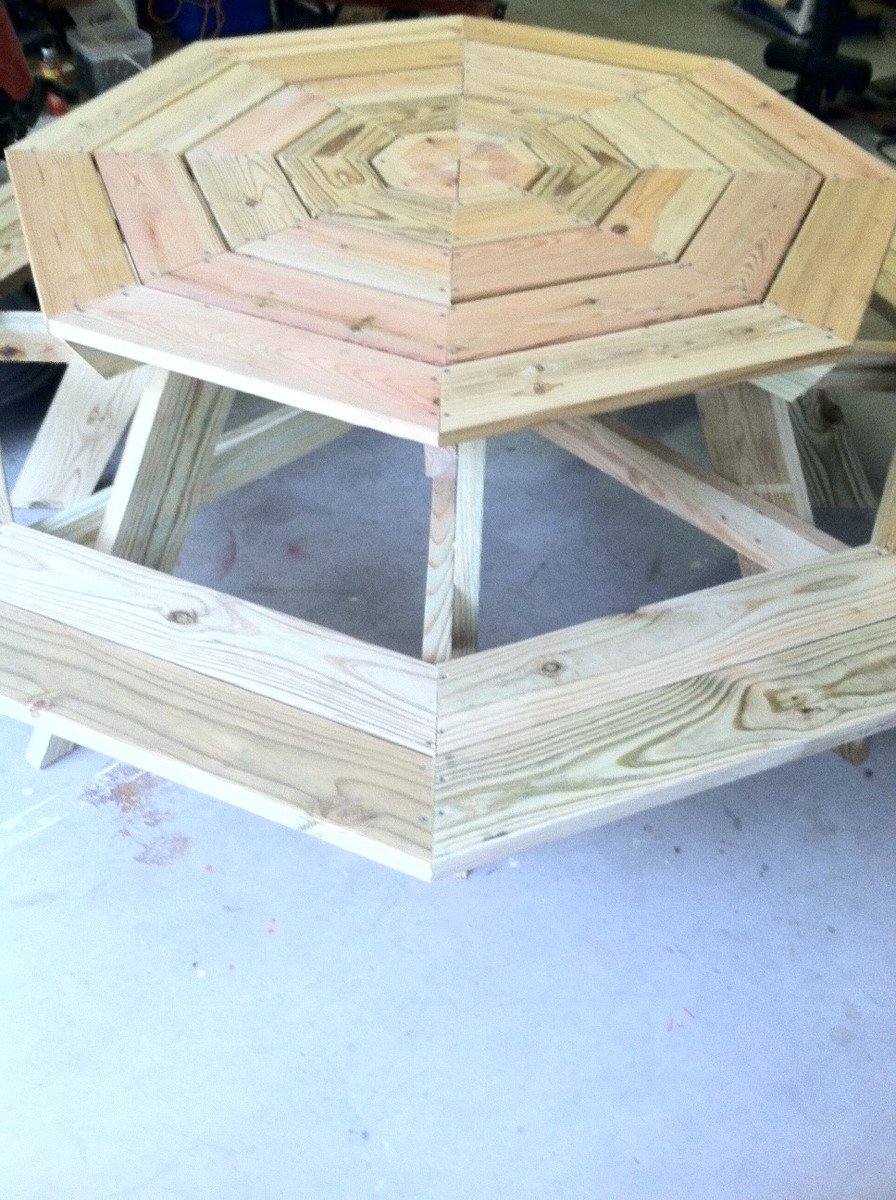
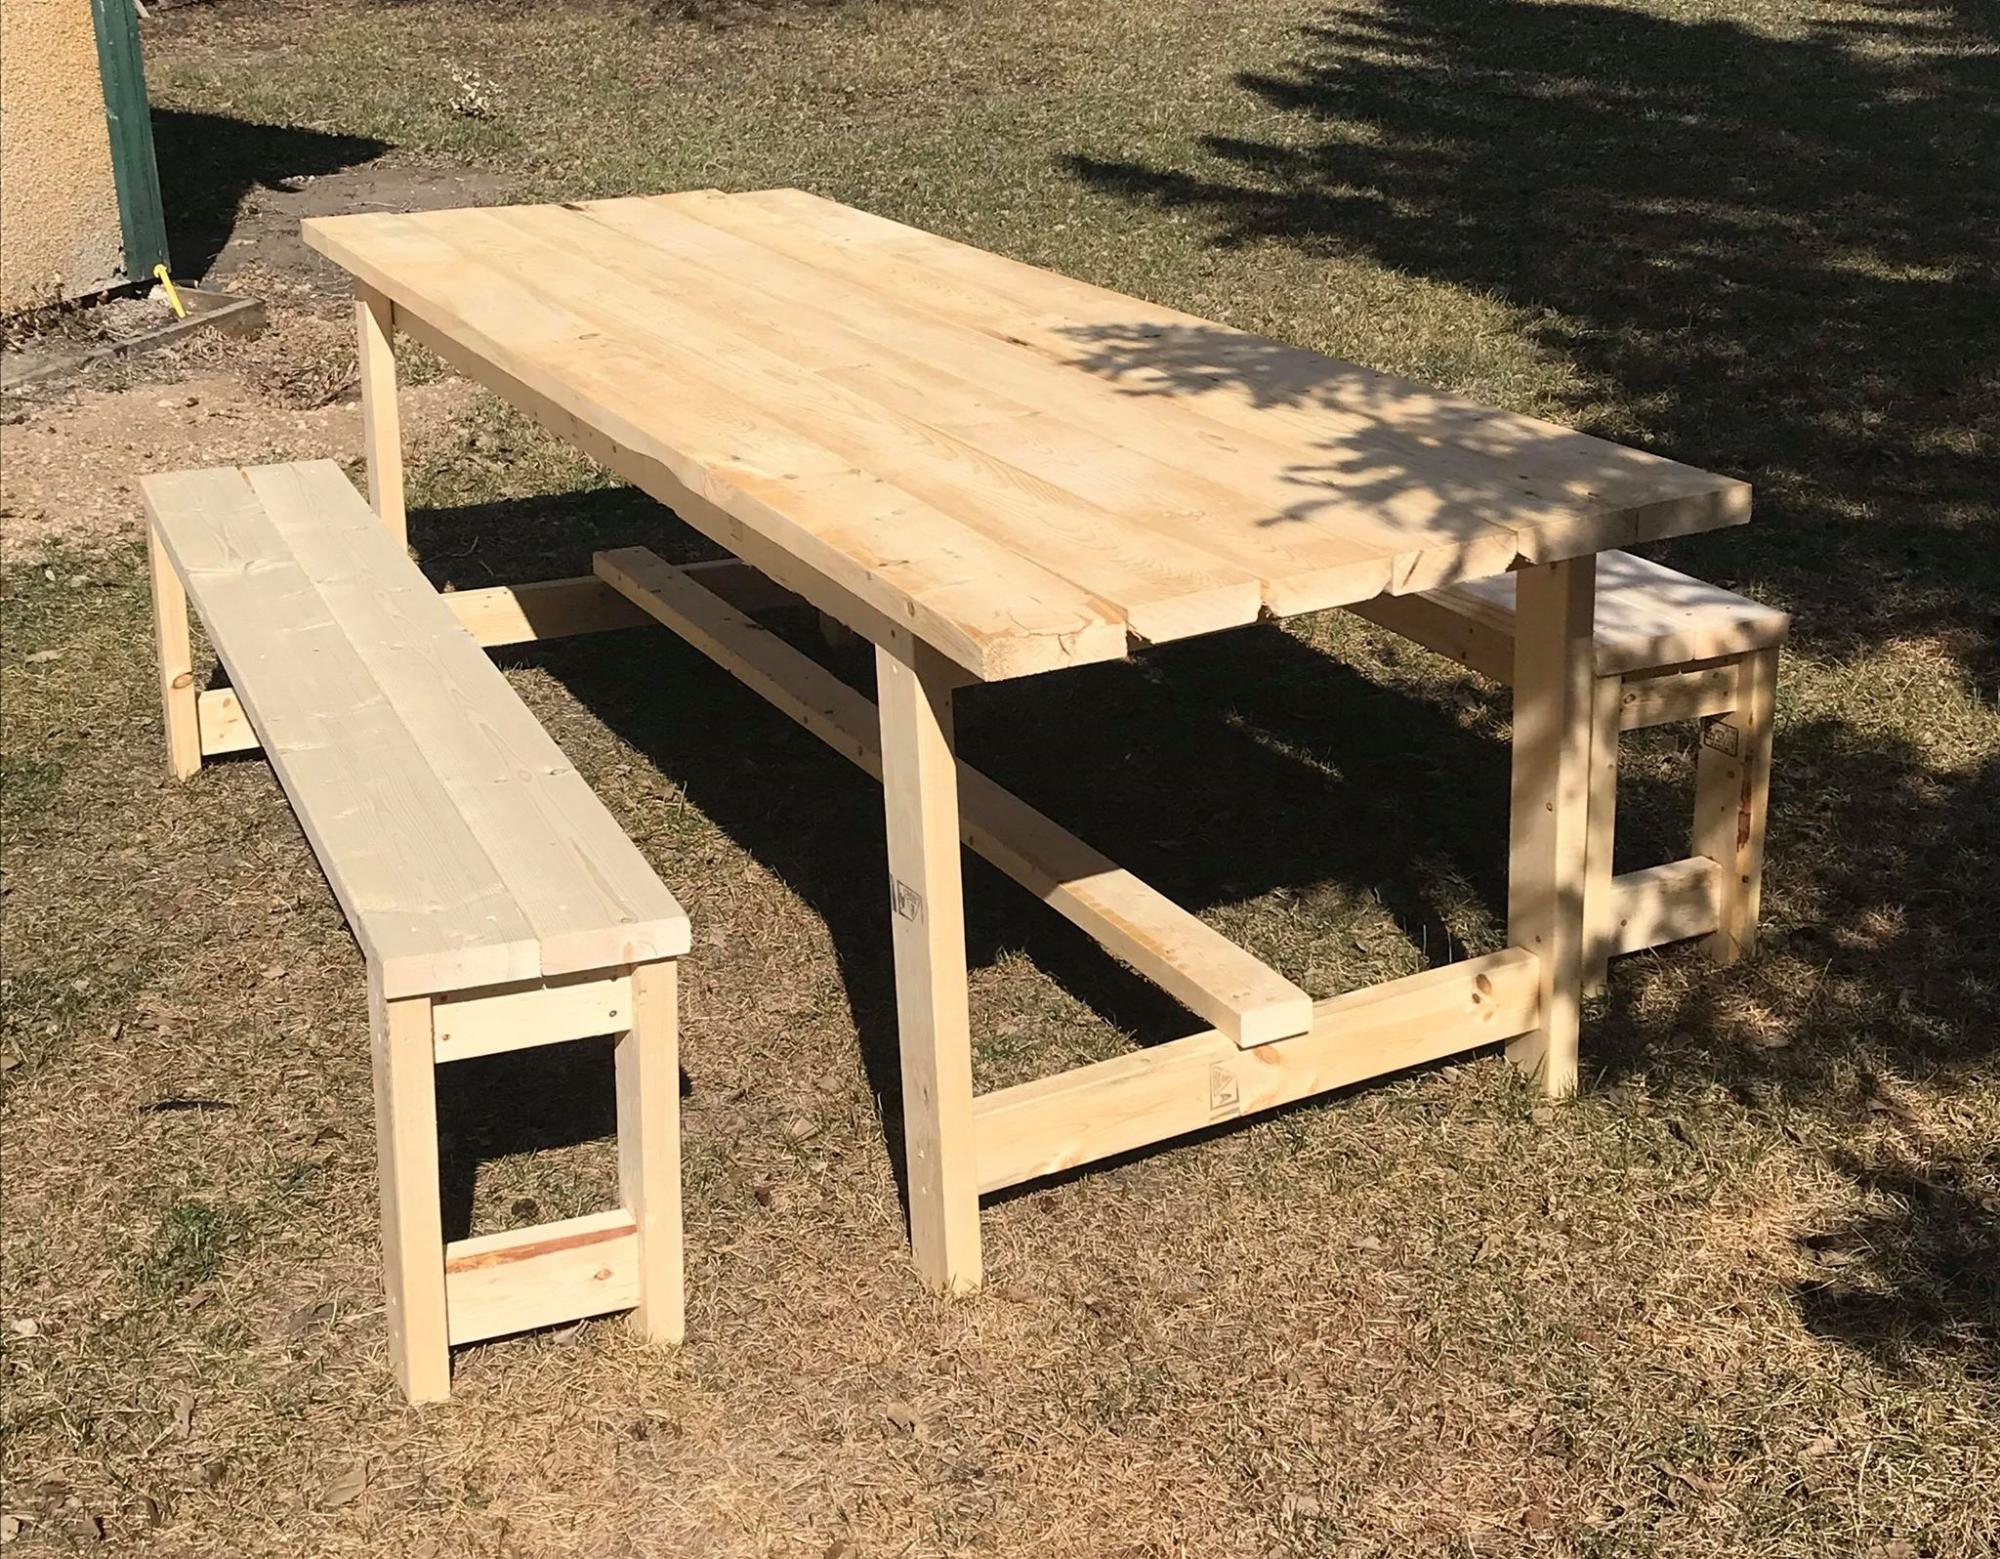
This was my first time building anything! The plans were so easy to follow along! Once I master some things like this, I can work on fine tuning things a bit more so I can build some more intricate plans. Thanks so much for your website! My kids are loving the BBQ's outside at the table!
Tue, 06/02/2020 - 15:09
re the farm table. your cut list calls for 8 2 x 4 at 28 1/2 inches but the plan actually only needs 4 of them. The pics do not show you doubling the 2 x 4s for legs. Am I missing something.
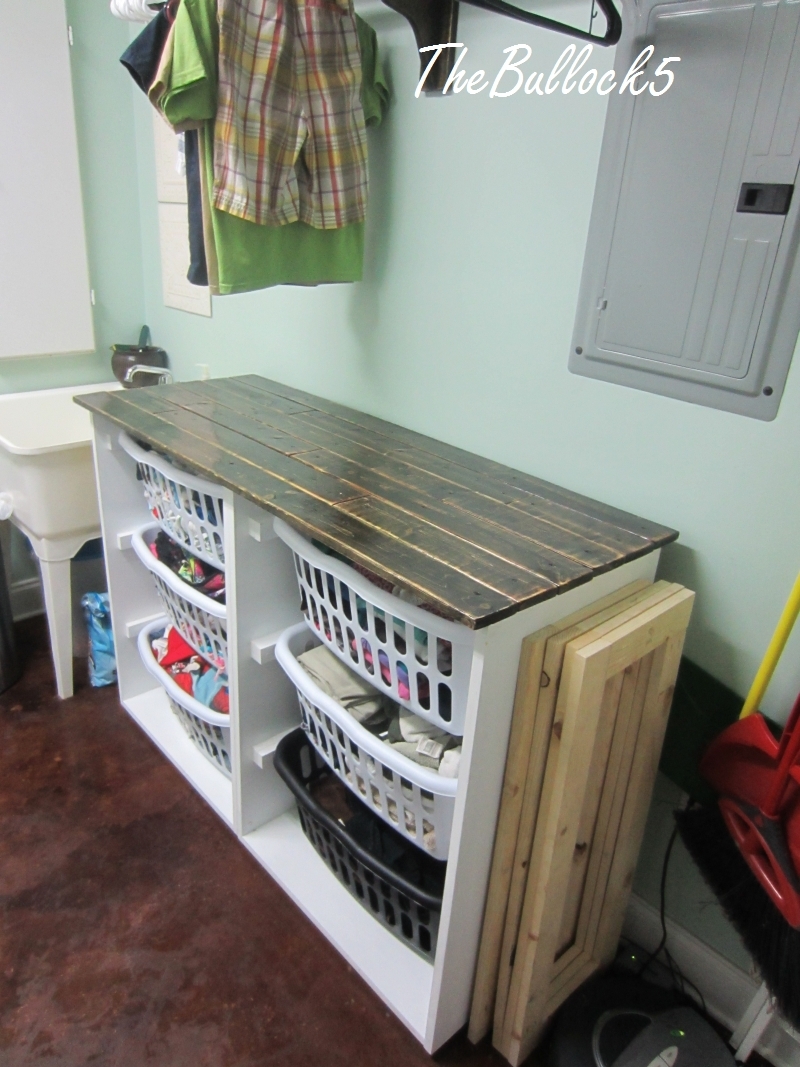
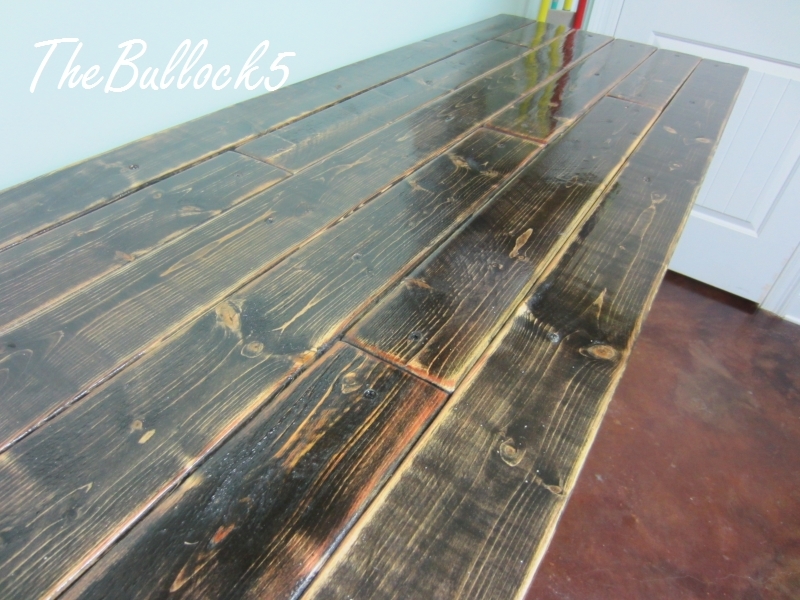
more details on my blog. I built 2 of the laundry dressers. adjusted the placement of my baskets due to restrictions in the overall height of my unit (I have a ironing board cabinet built into 1 wall that I still wanted to be able to open and use :) I used MDF, but it was a bear to work with and next time I would spend the extra $$ on birch. i painte the bottom in a semi gloss. and plan to add the doors (which will have a beadboard backing) they will be painted white with a dark walnut glaze. The top and shelf /brackets are all done in a distressed finish with ebony and mahogany stain mixed then 2 coats of poly very sturdy even filled!
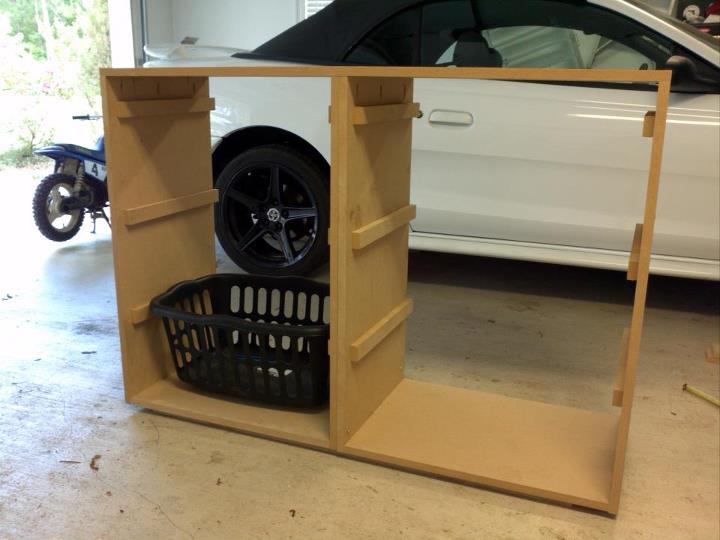
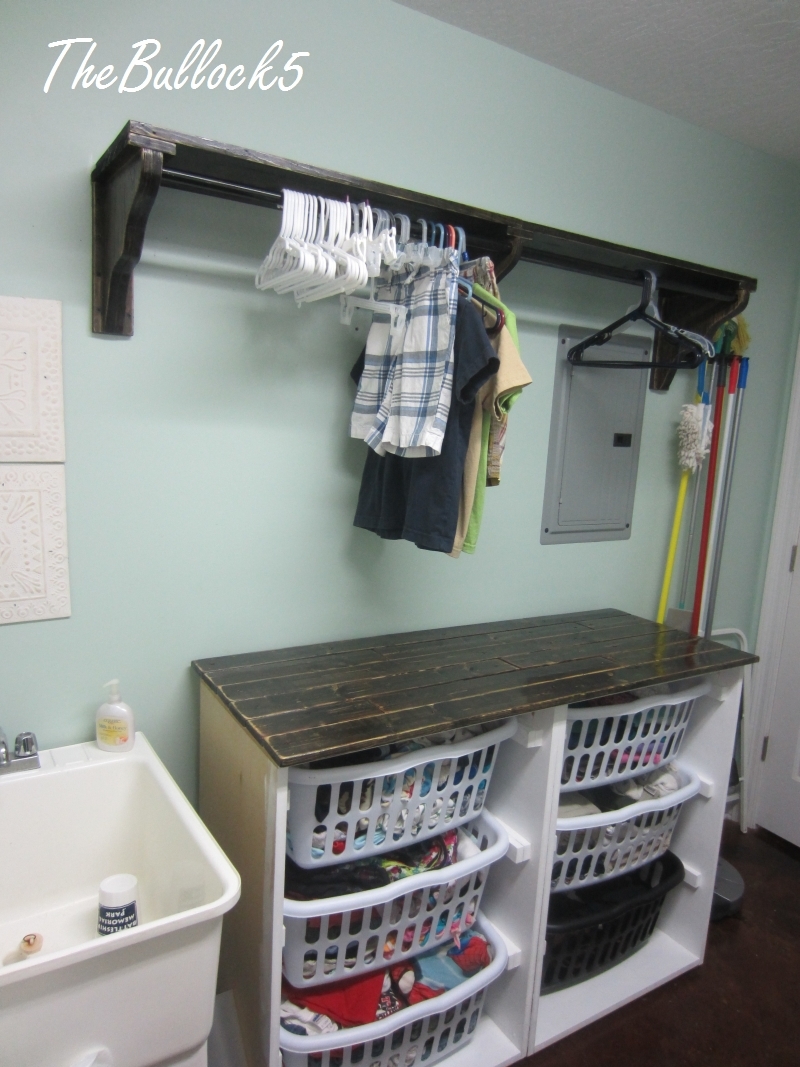
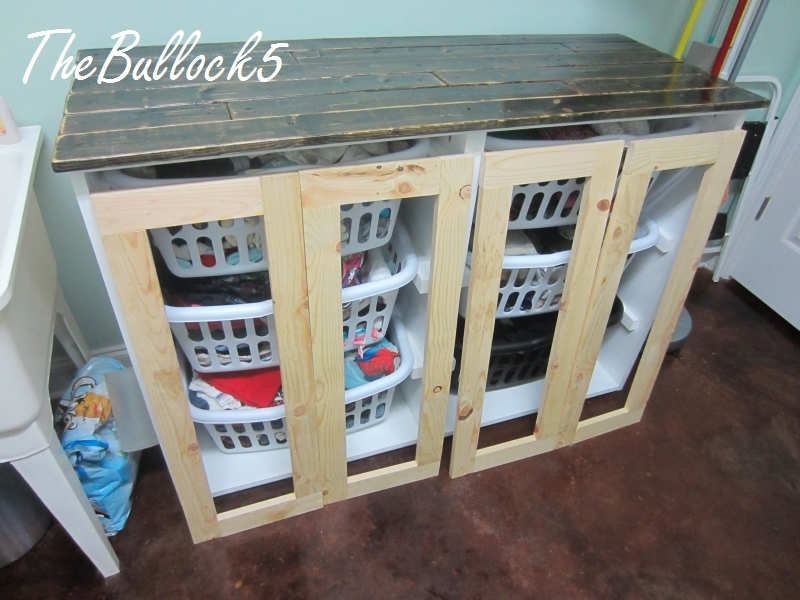
Fri, 06/26/2015 - 00:00
I have been wanting to make the laundry basket dresser but am holding off because we are moving. What color did you us on the walls, I love it.
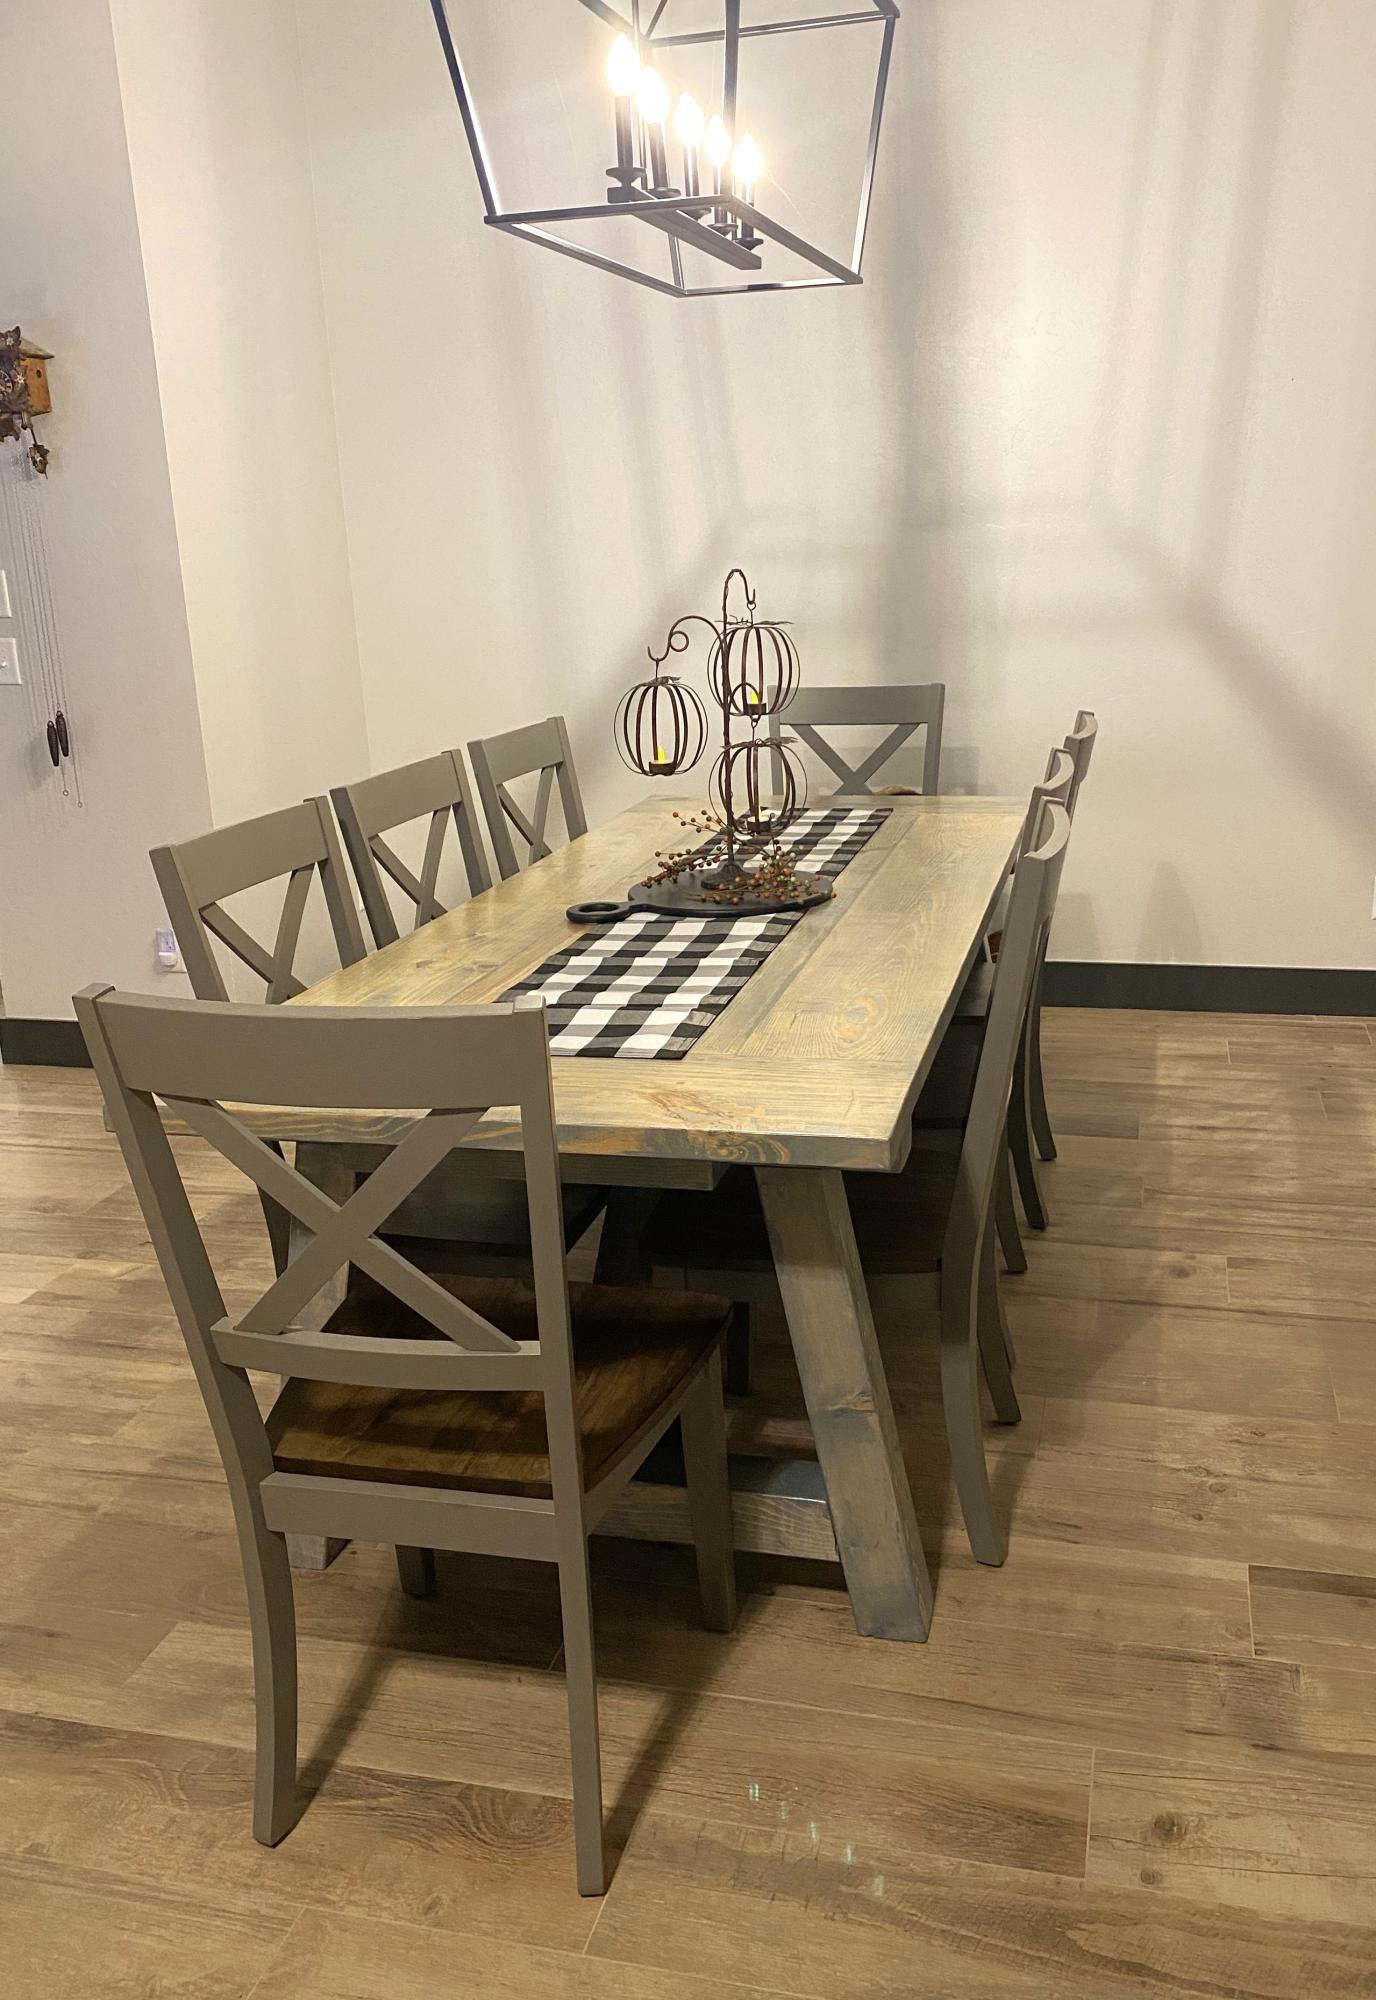
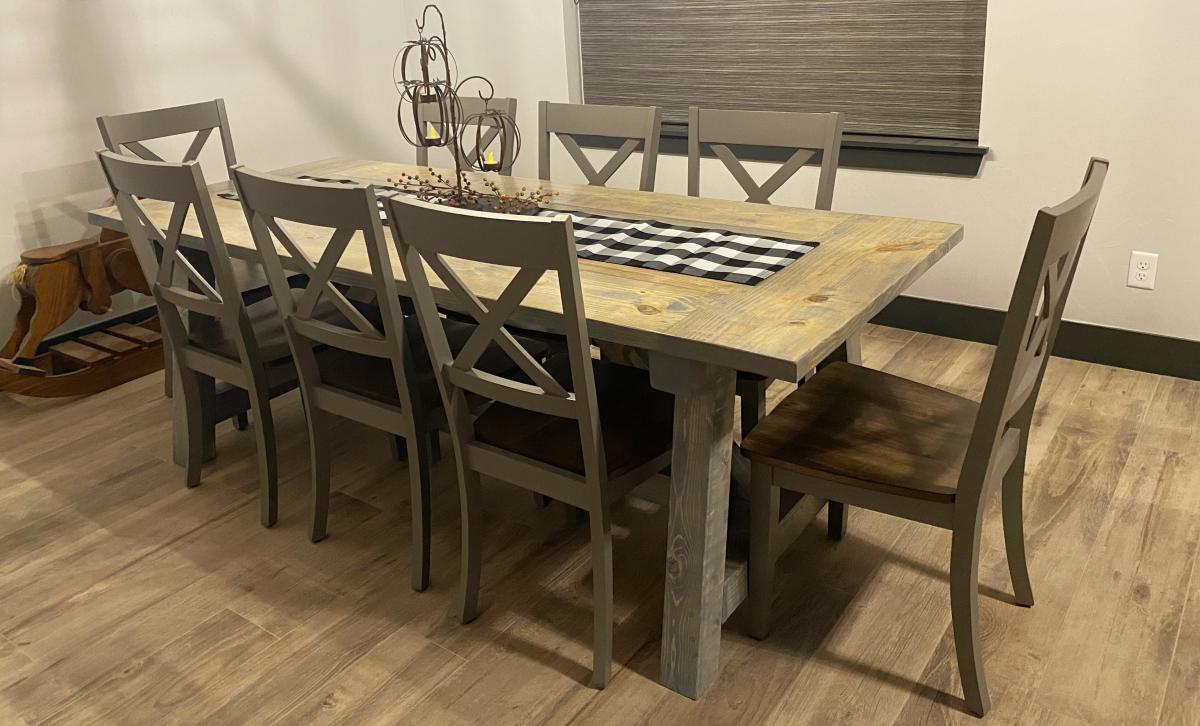
Our 4x4 Truss Beam Table made by my husband for our new house. Stain is Minwax slate gel stain.
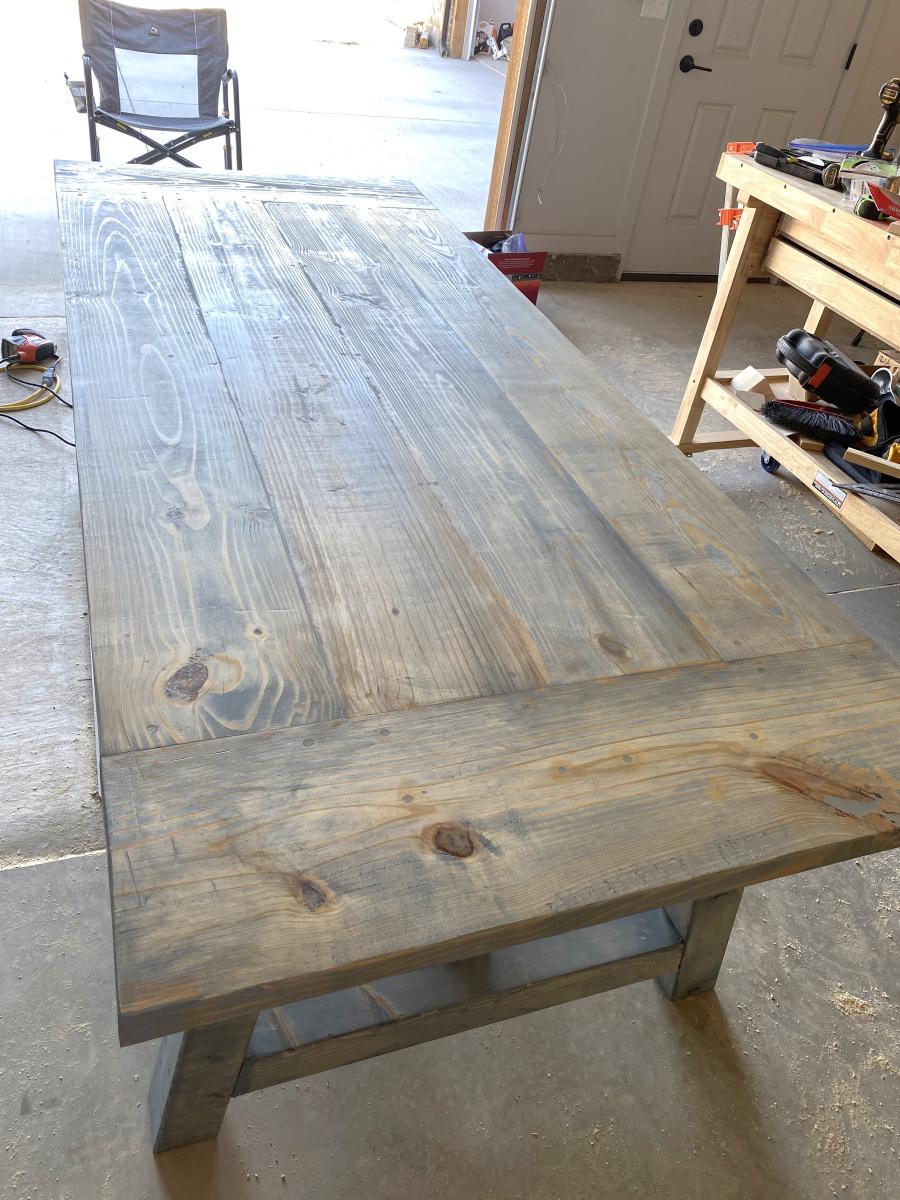

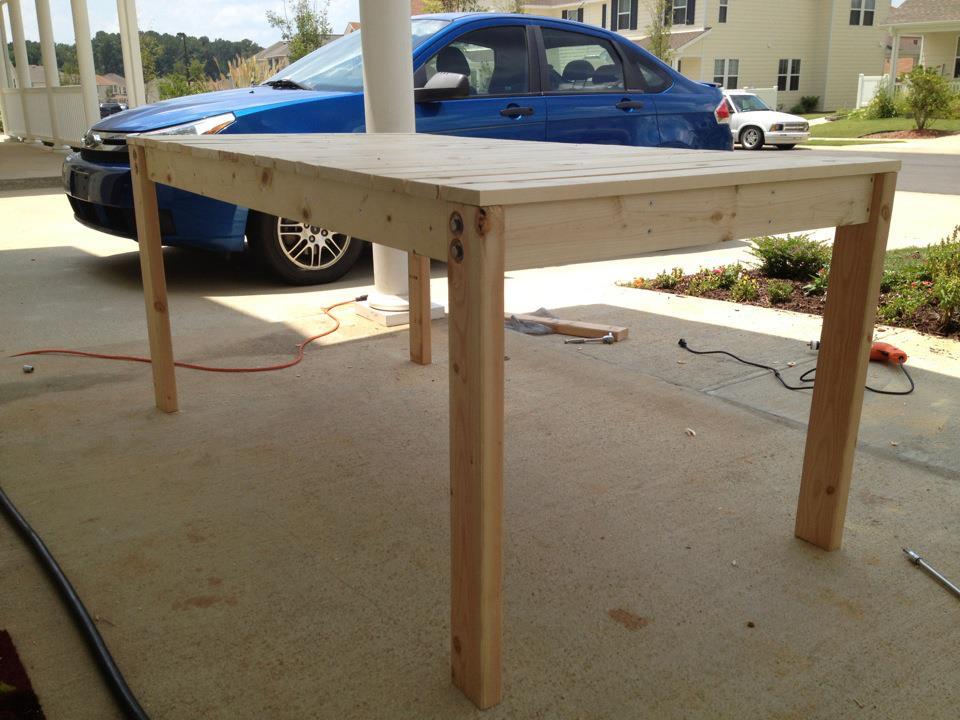
Followed the directions for the simple outdoor dining table. Mine is still unfinished. Plan to paint and primer it white. There were some errors in the plans. Do not screw the top framing together with butt joints and still expect to be able to put the leg bolts through. They will hit each other. It was only a real problem for me on one of the legs but if I had knownthere would be a problem I would have found another way from the start.
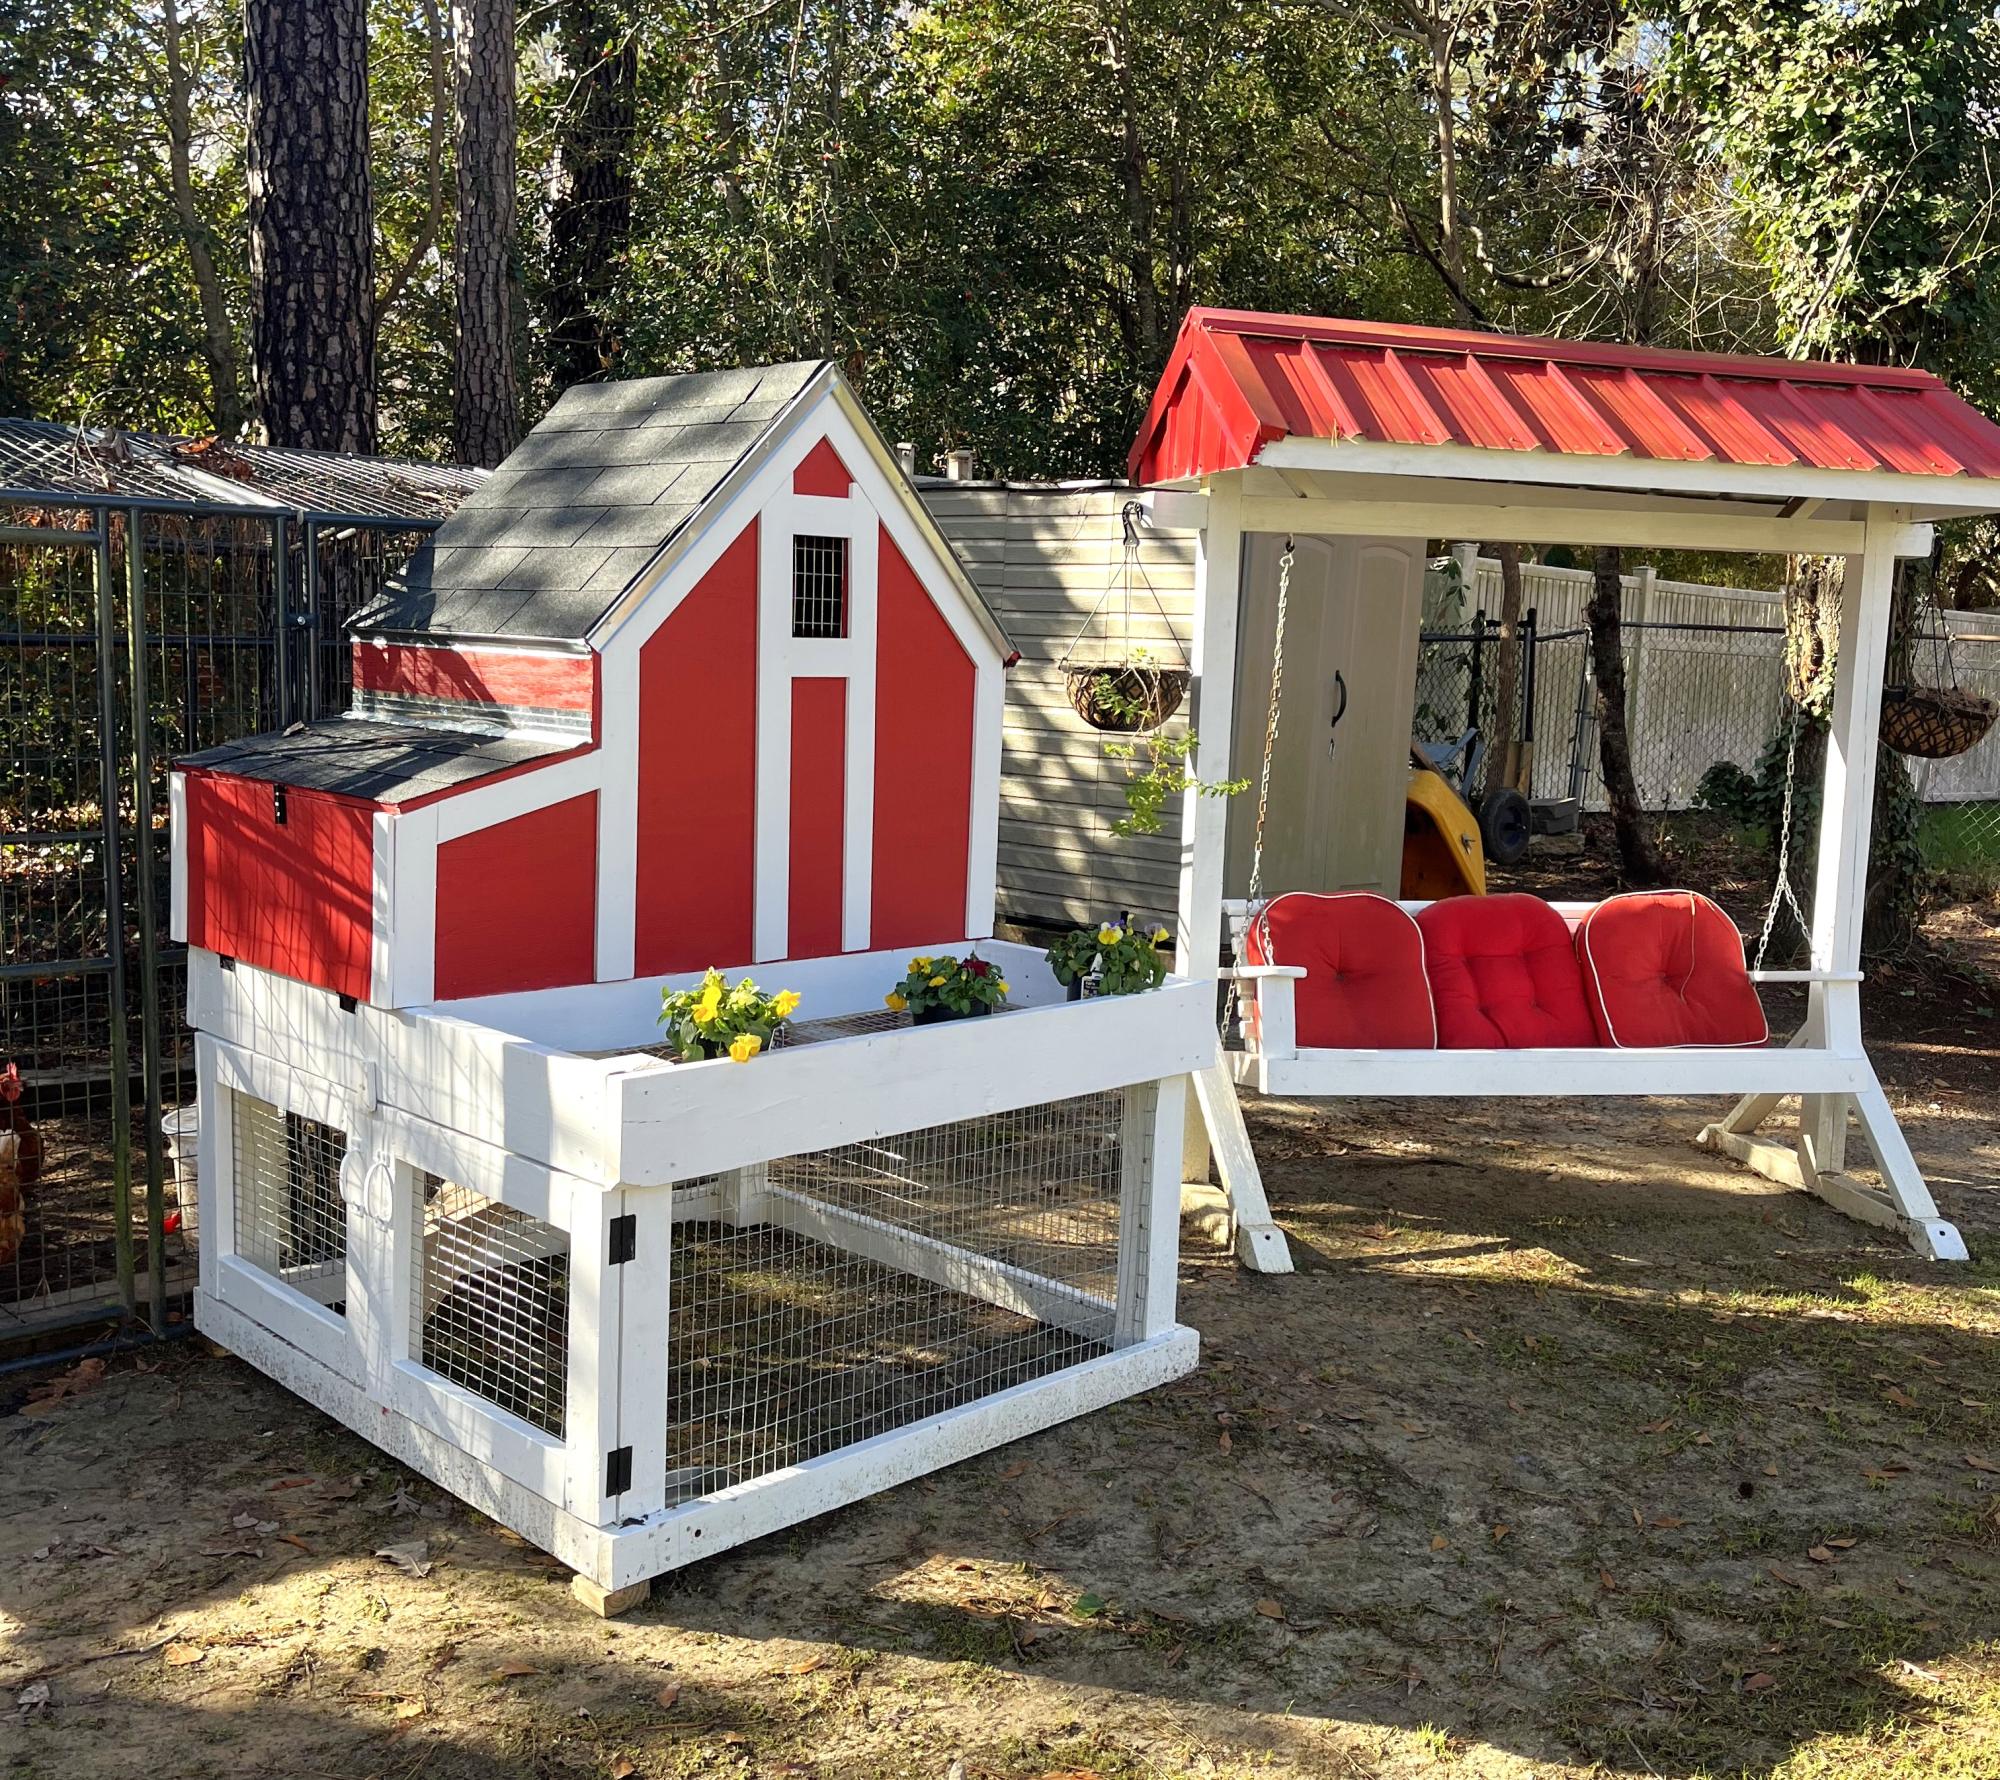
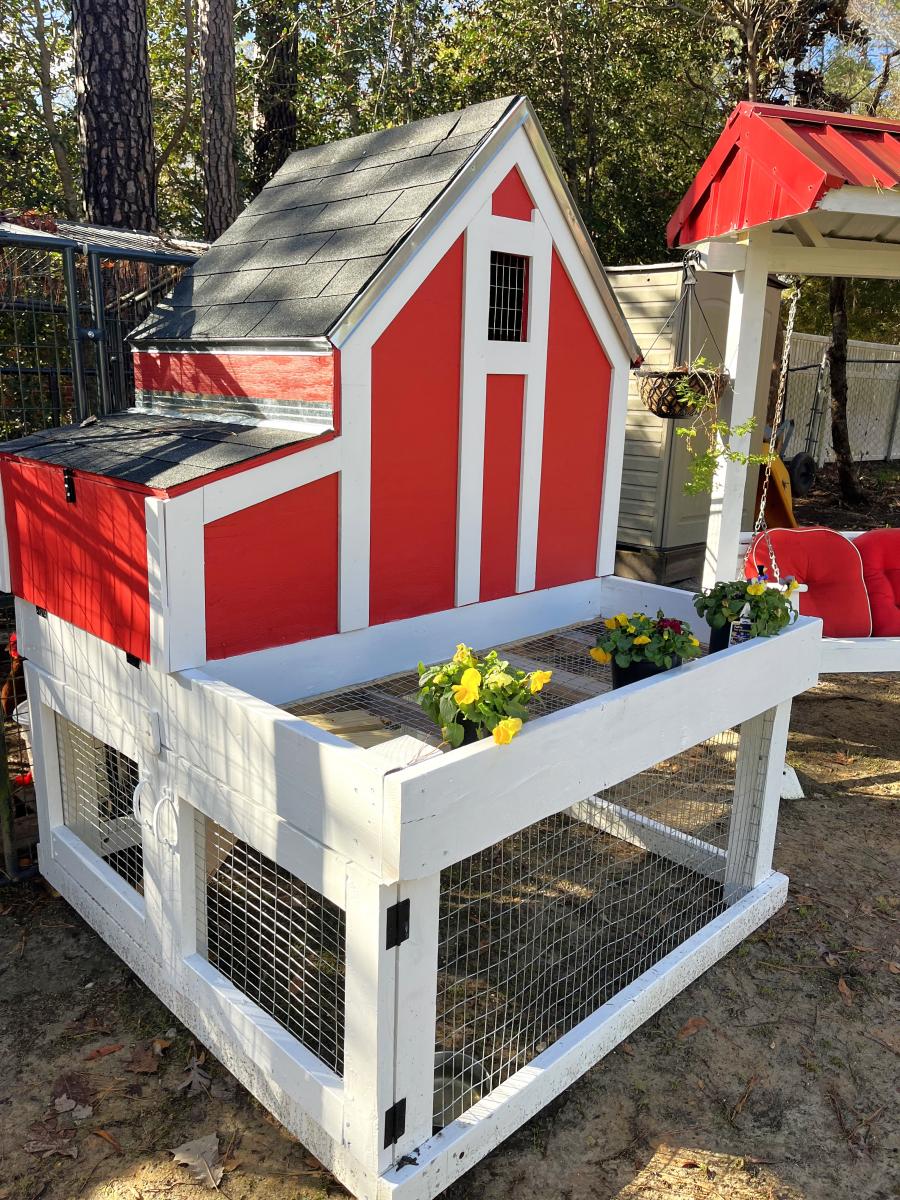
I moved into a new house and needed a new chicken coop. I am retired and not a woodworker but these plans were easy to build. Thanks Ana.
Doug Lamm

Custom built-in desk and bookshelves. We combined plans for a massive desk with bookshelves. Working from home, I needed to maximize my storage space but wanted to create beauty and function at the same time. I love the finished results! I admire my new desk everyday I "go to work."

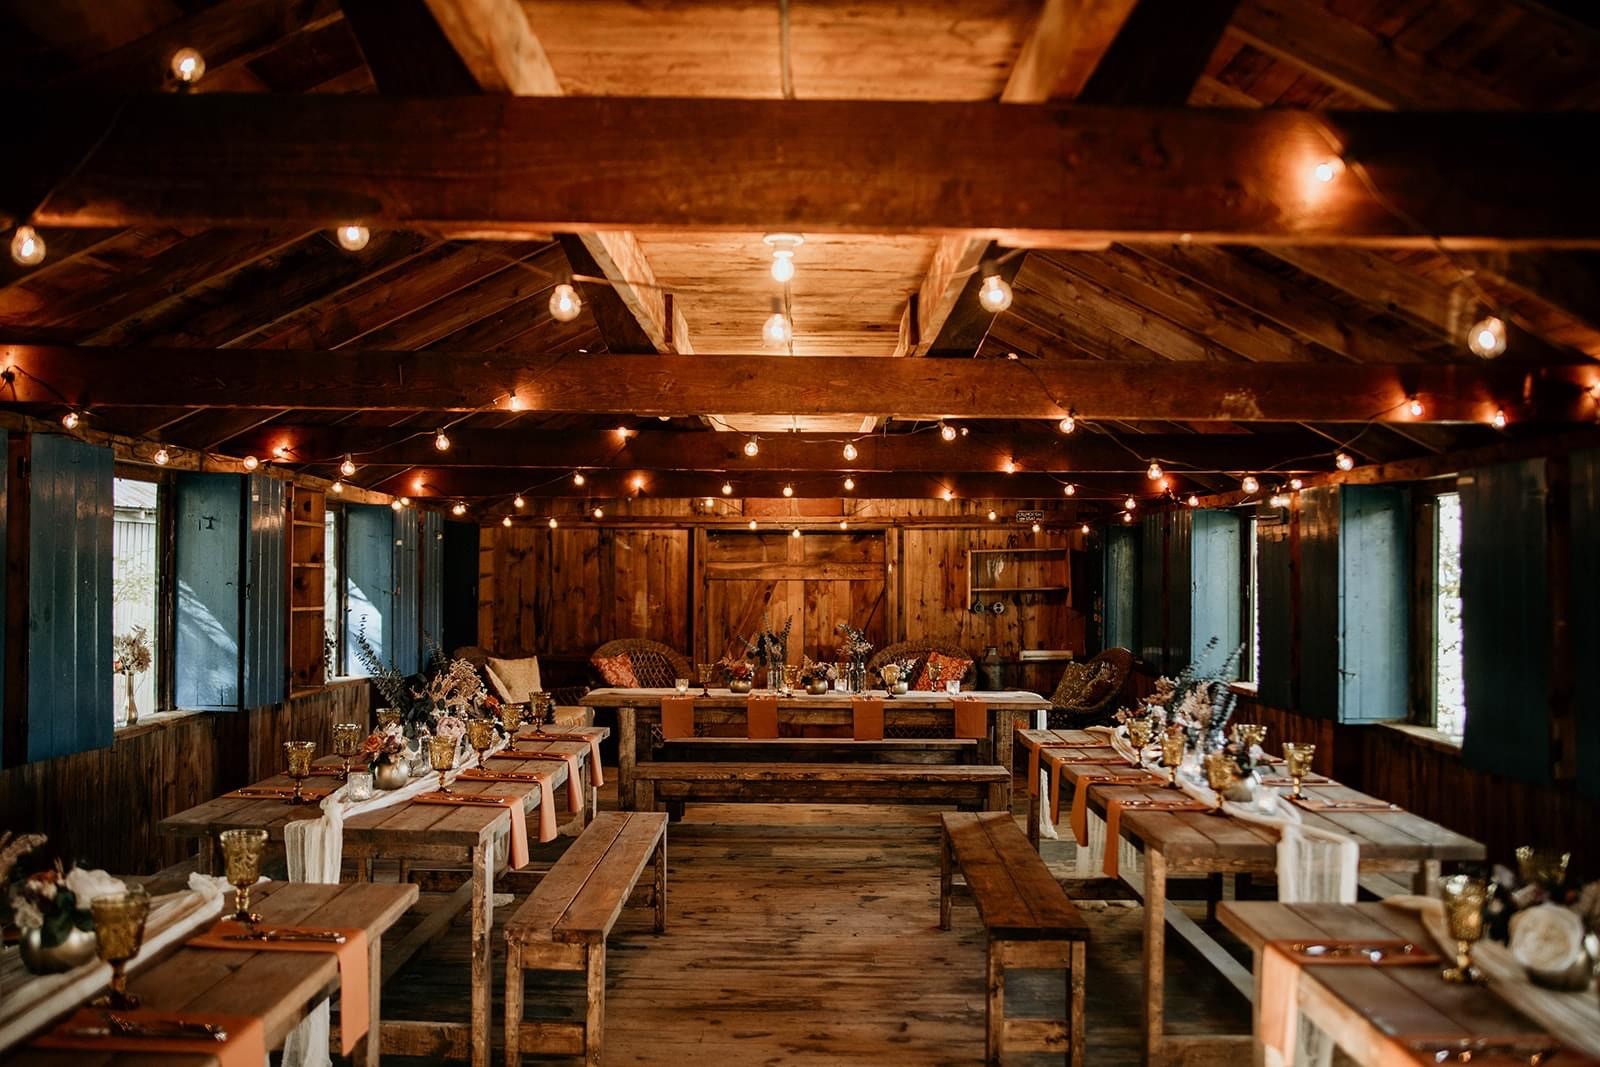
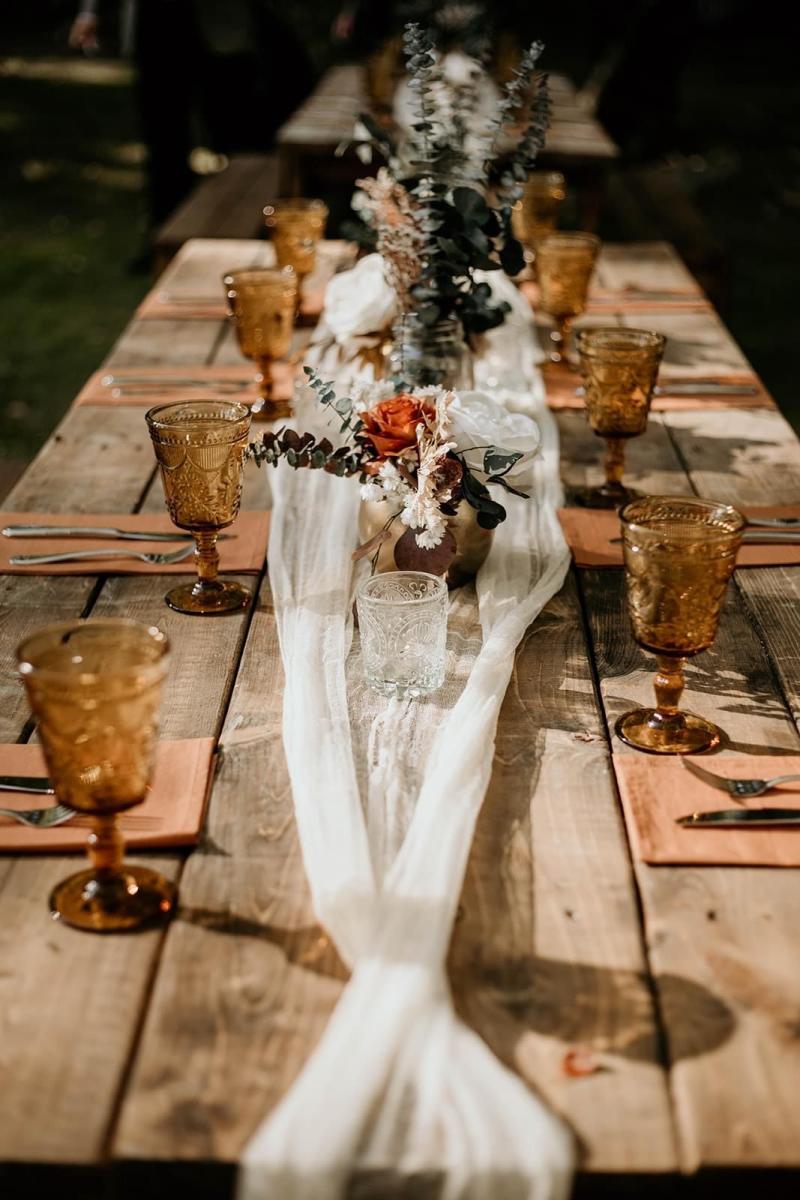
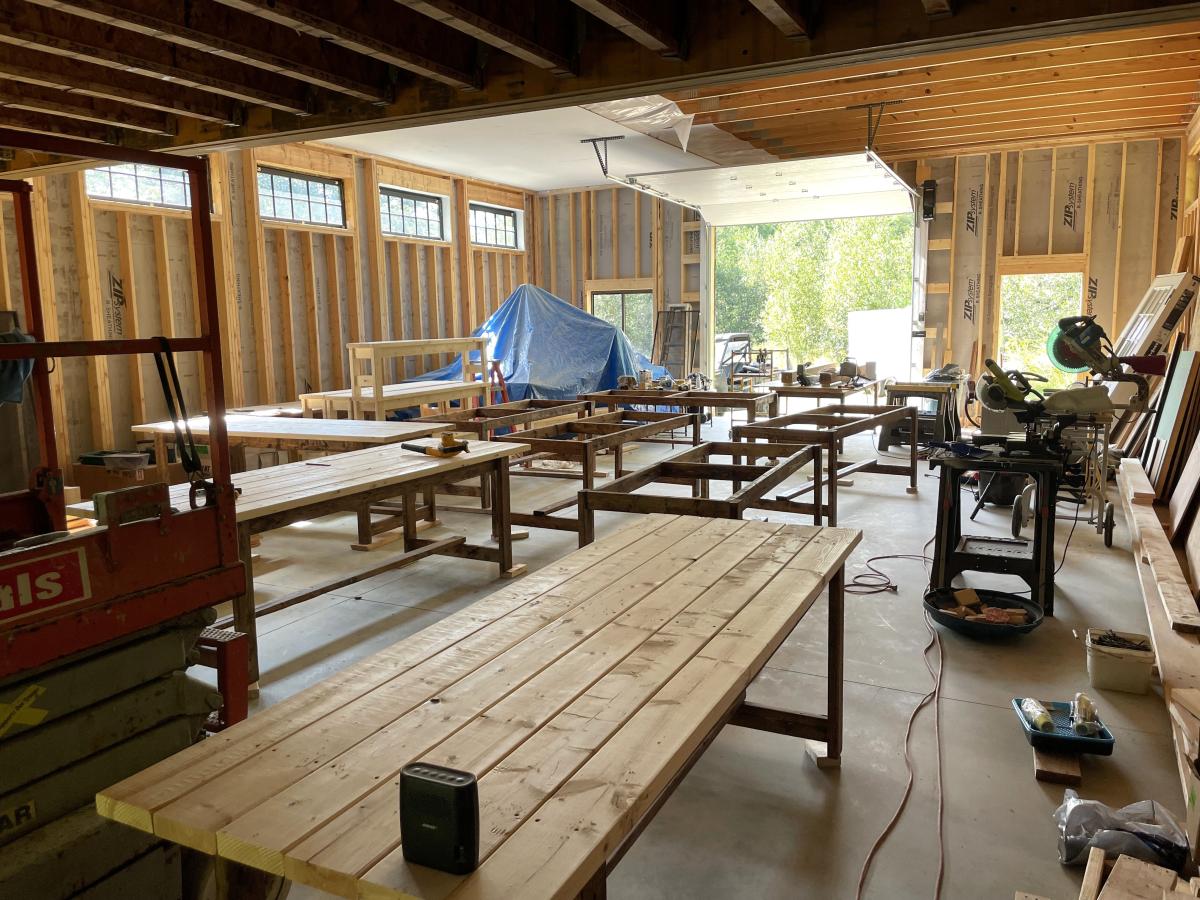
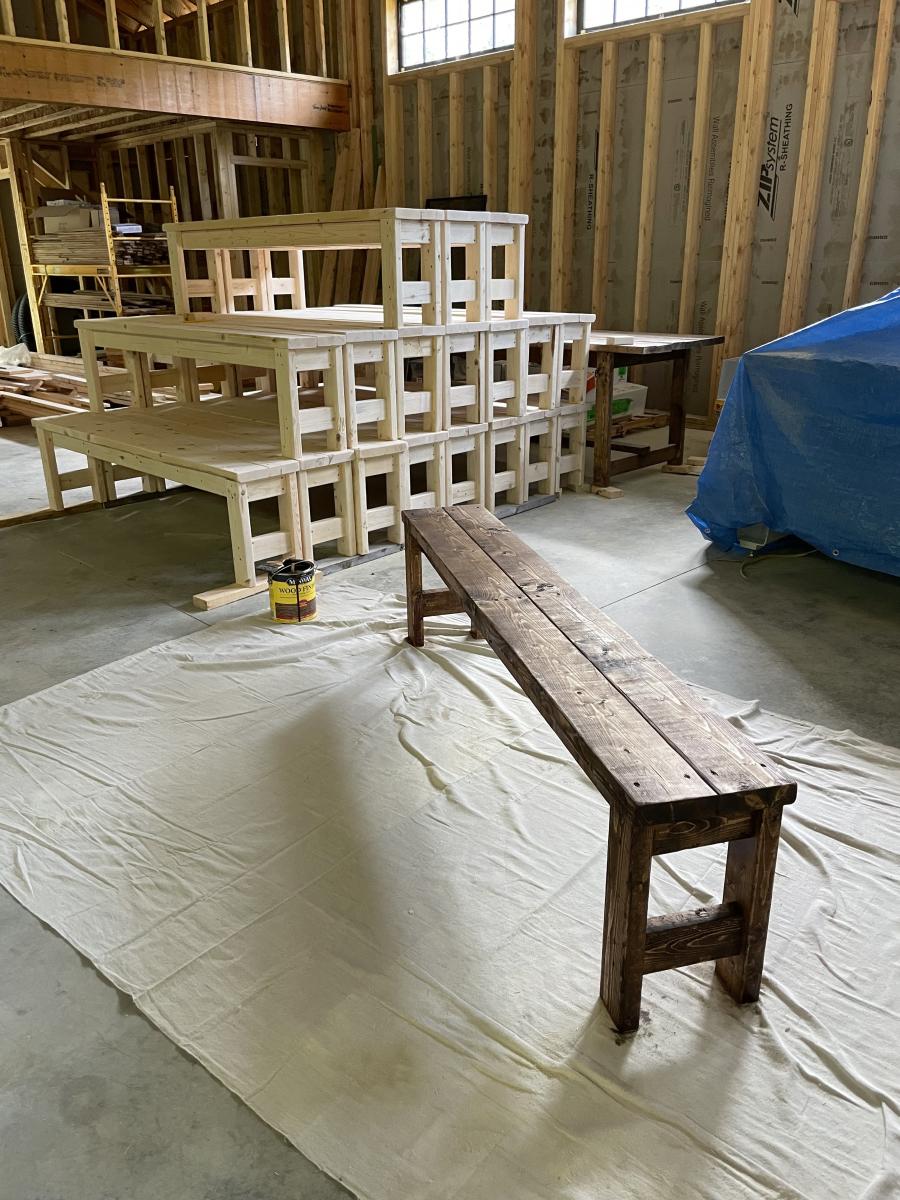
We made these tables and benches for my daughter’s wedding. They made setup for dinner just what she wanted!
Cindy Prescott
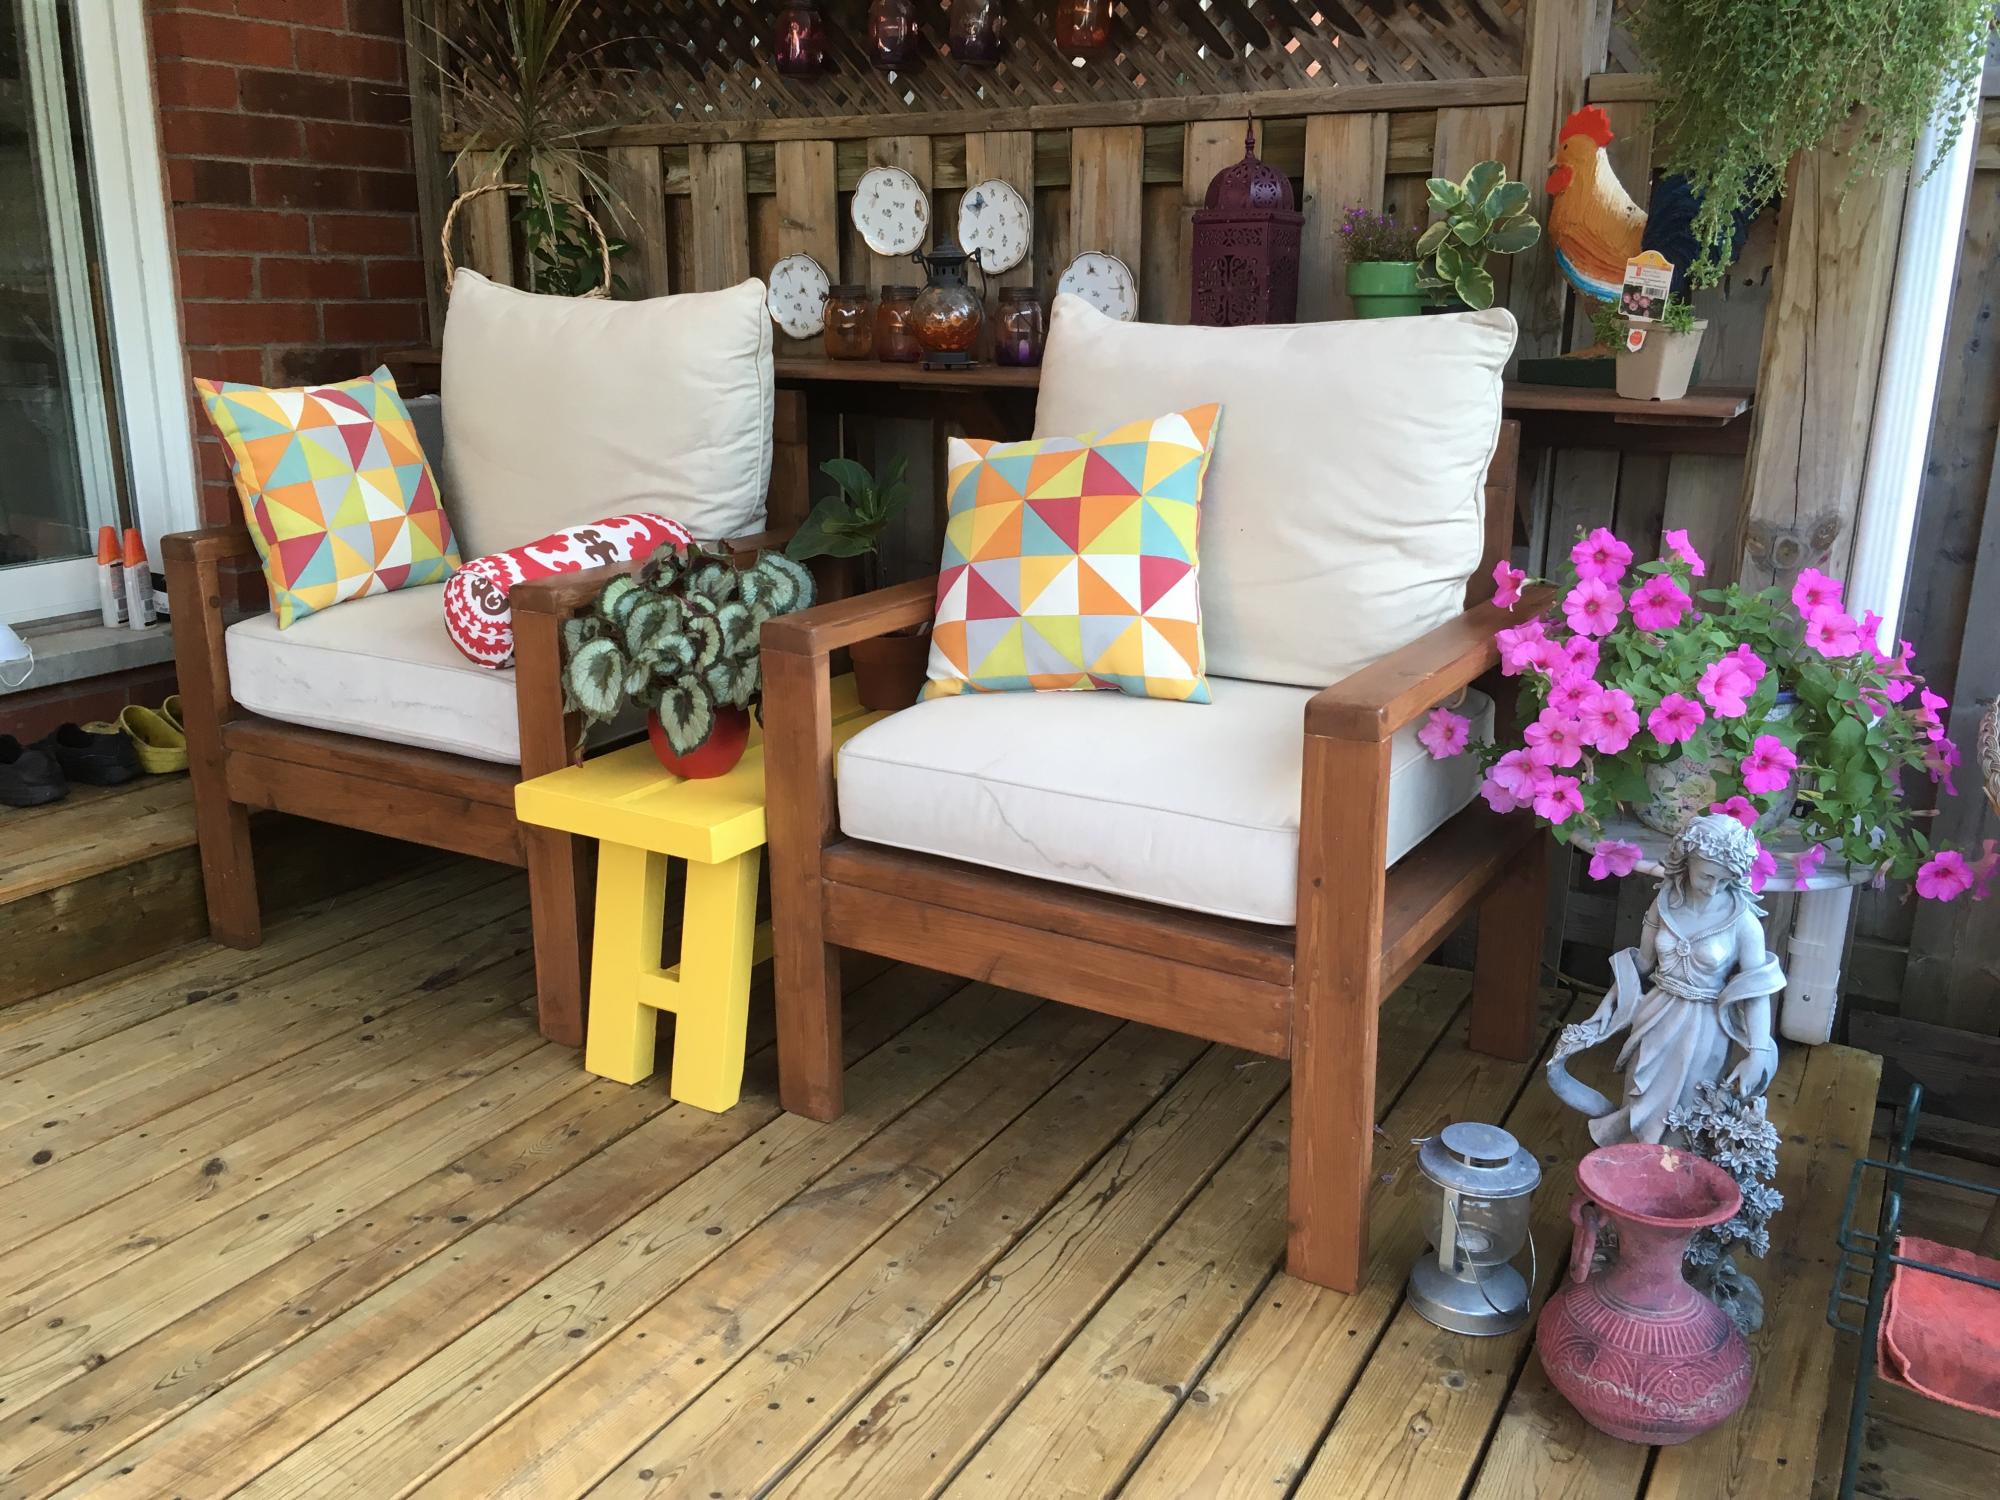
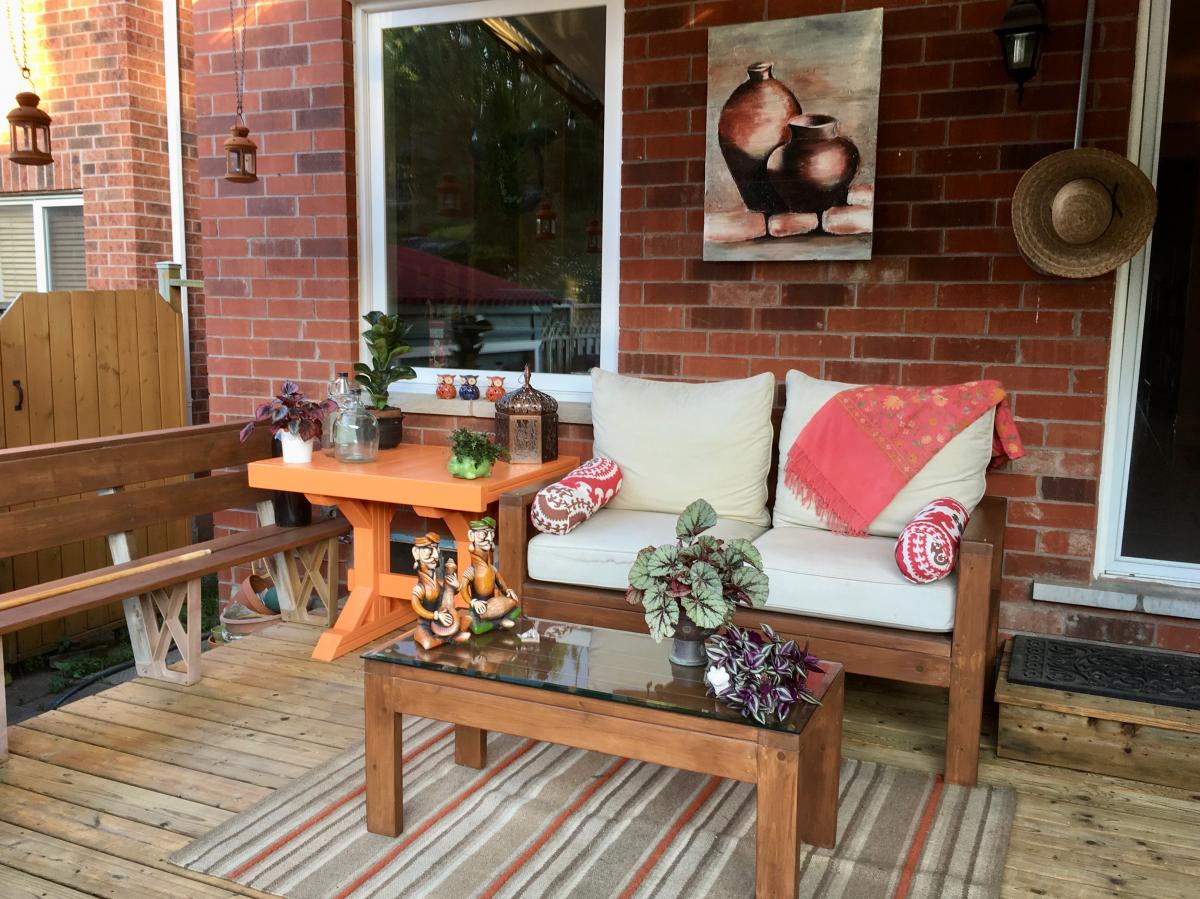
Someone on my street had thrown out 2 couches. The cushions were in perfect condition. So I built chairs and fit the cushions! I built a matching coffee table to fit a glass I had. To finish the space, I added a table to have my morning breakfast.
Mon, 11/01/2021 - 10:09
That's a steal! It looks like a very relaxing spot to hang out, thank you for sharing~
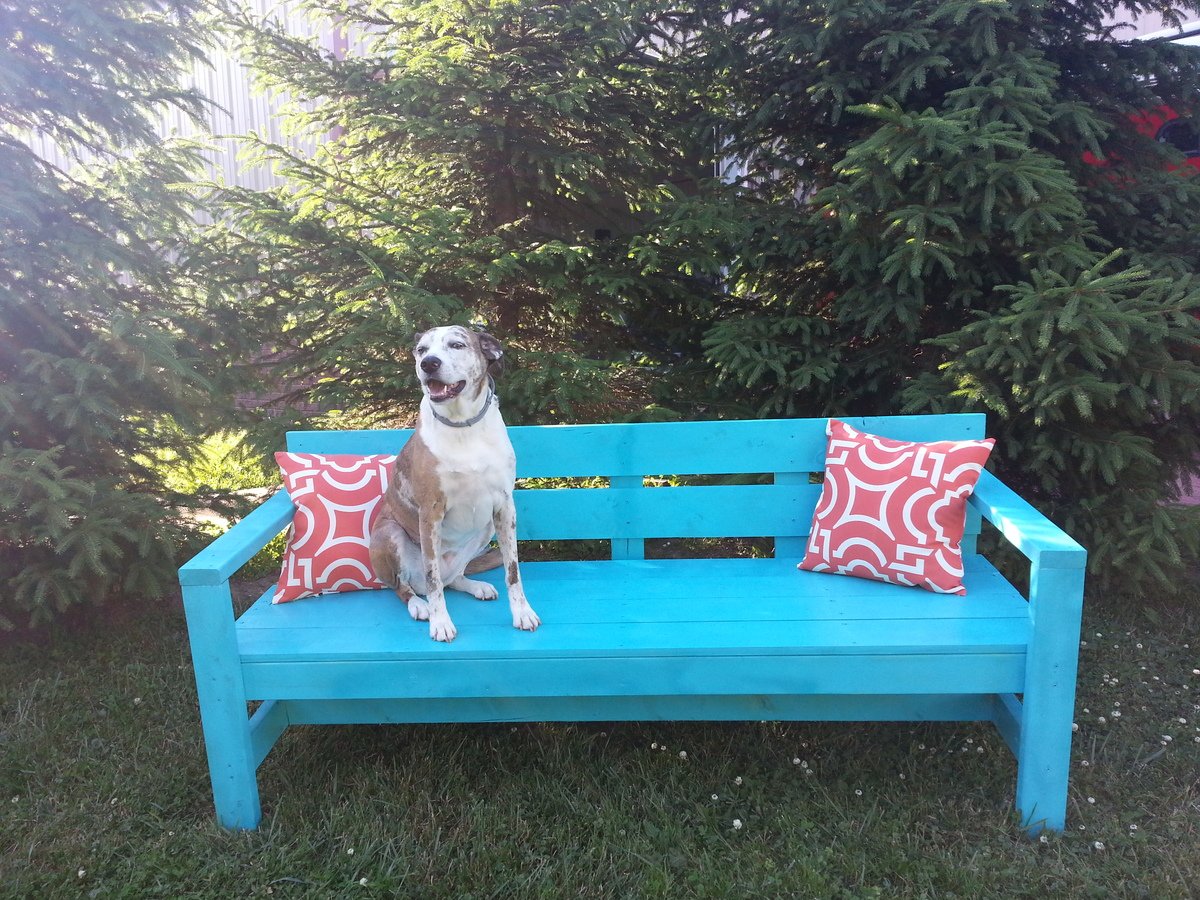
This was my wife and I's first Ana White project. We are now hooked, and loved spending time together building something we will enjoy for years, and our dog mindy of course was the first to test our beautiful bench out!
Thanks Ana,
Steve & Courtney
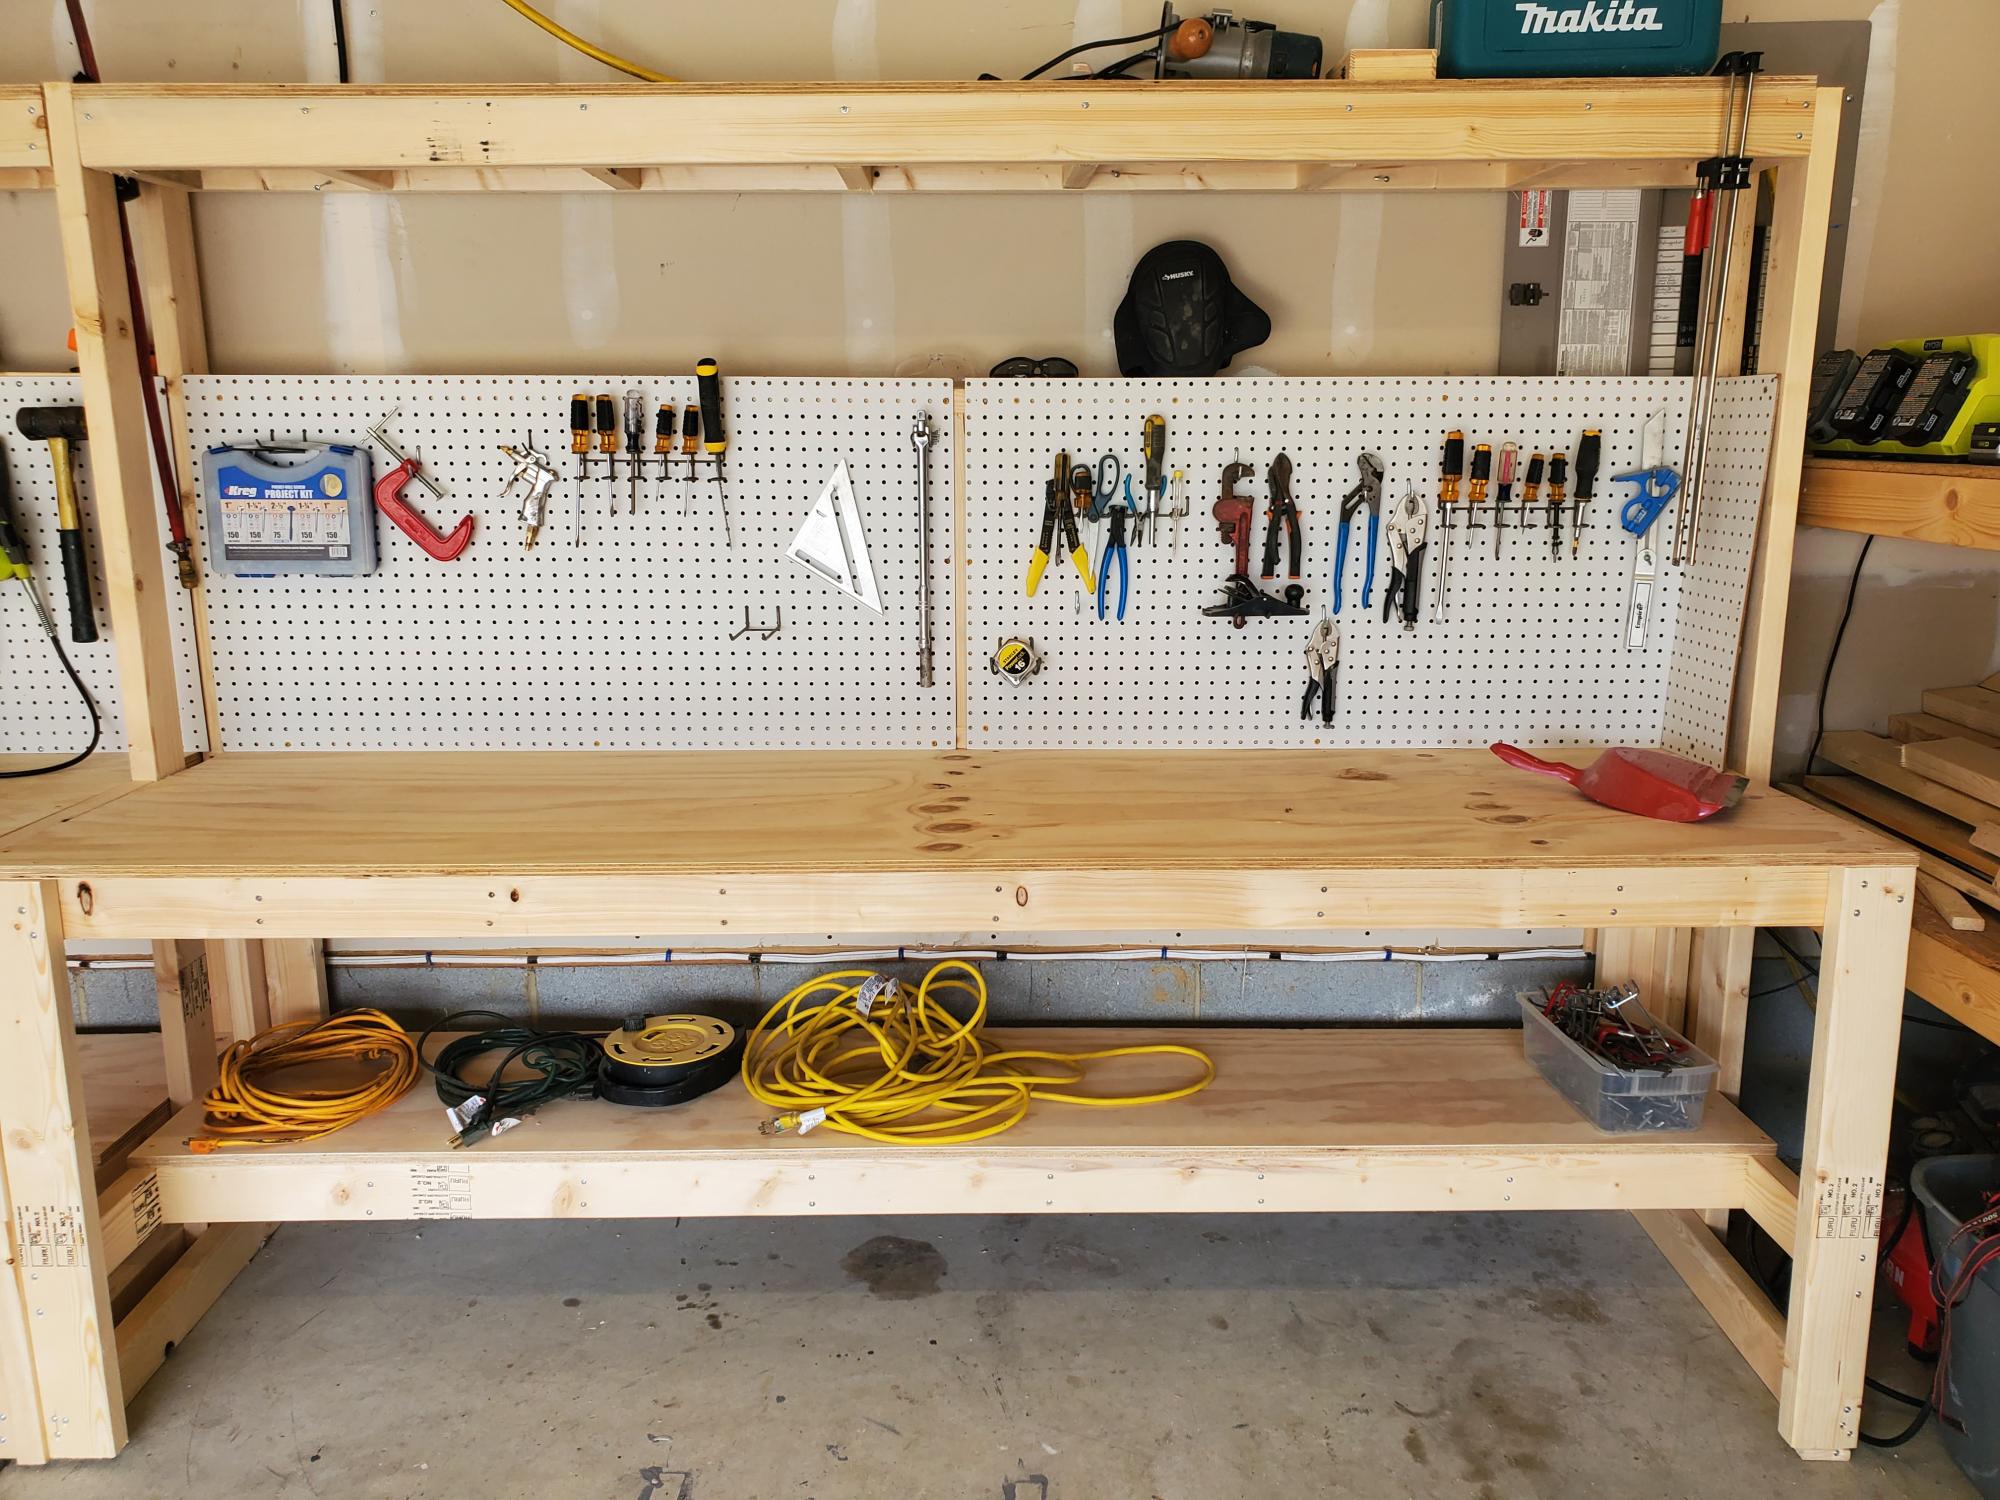
I made a workbench for my garage it was pretty easy. I also made an instructional youtube video if you want to learn how to make it. #diy #workbench #bench
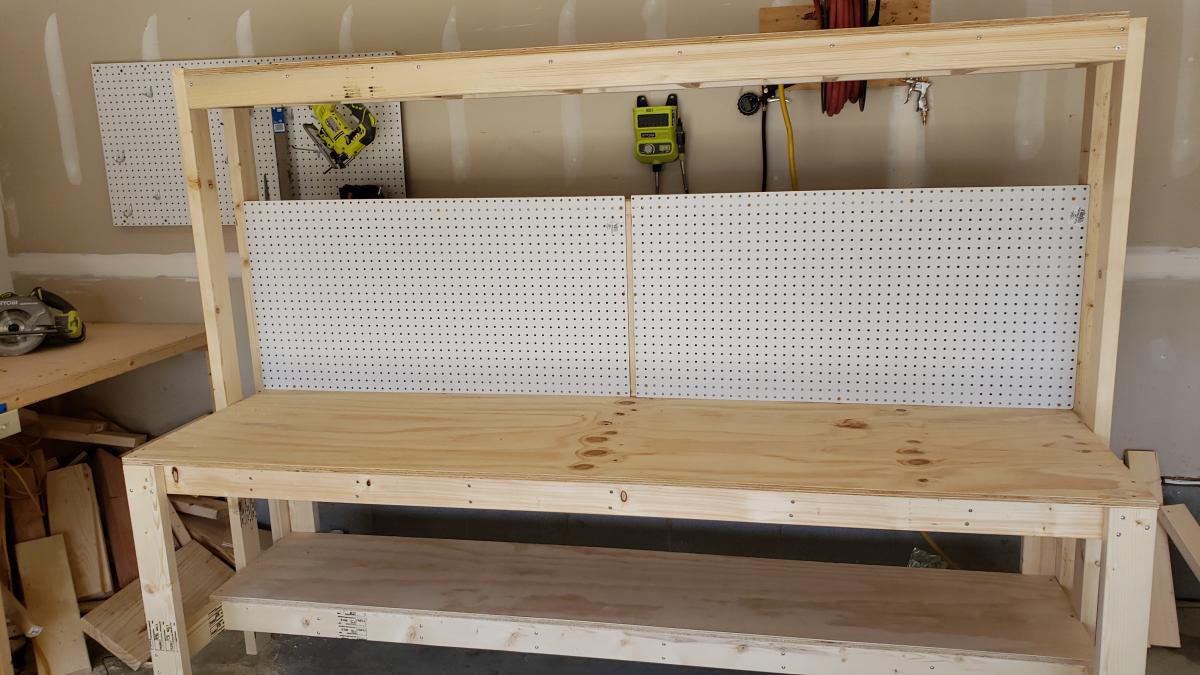
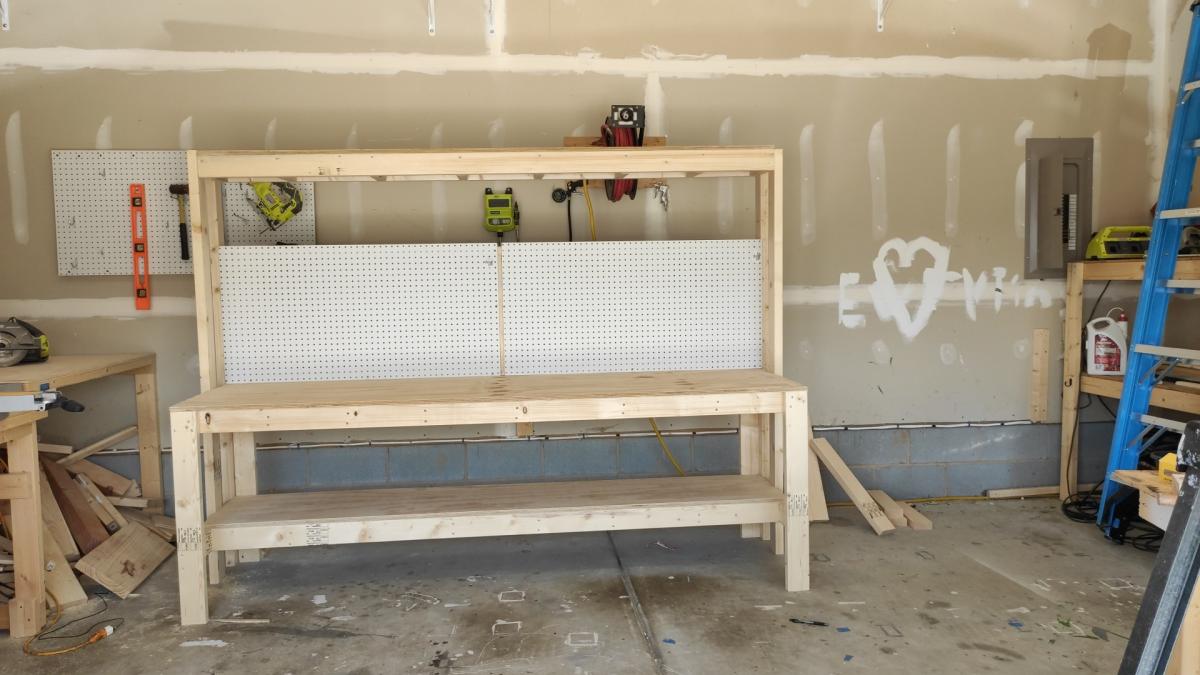
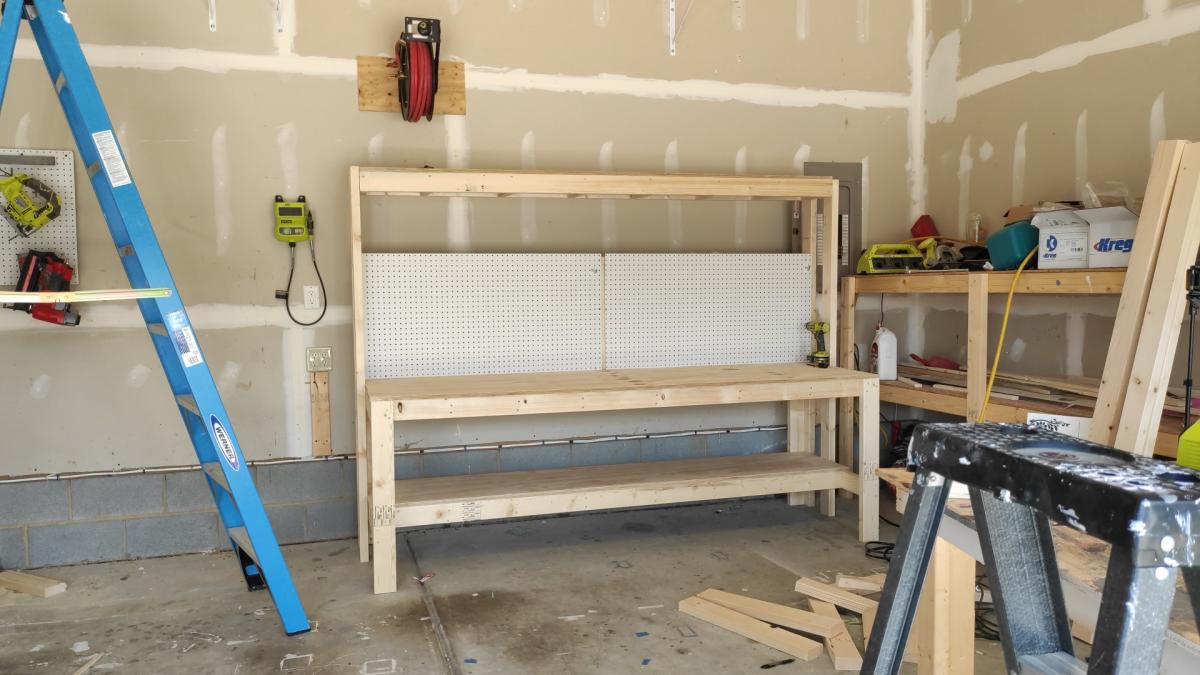
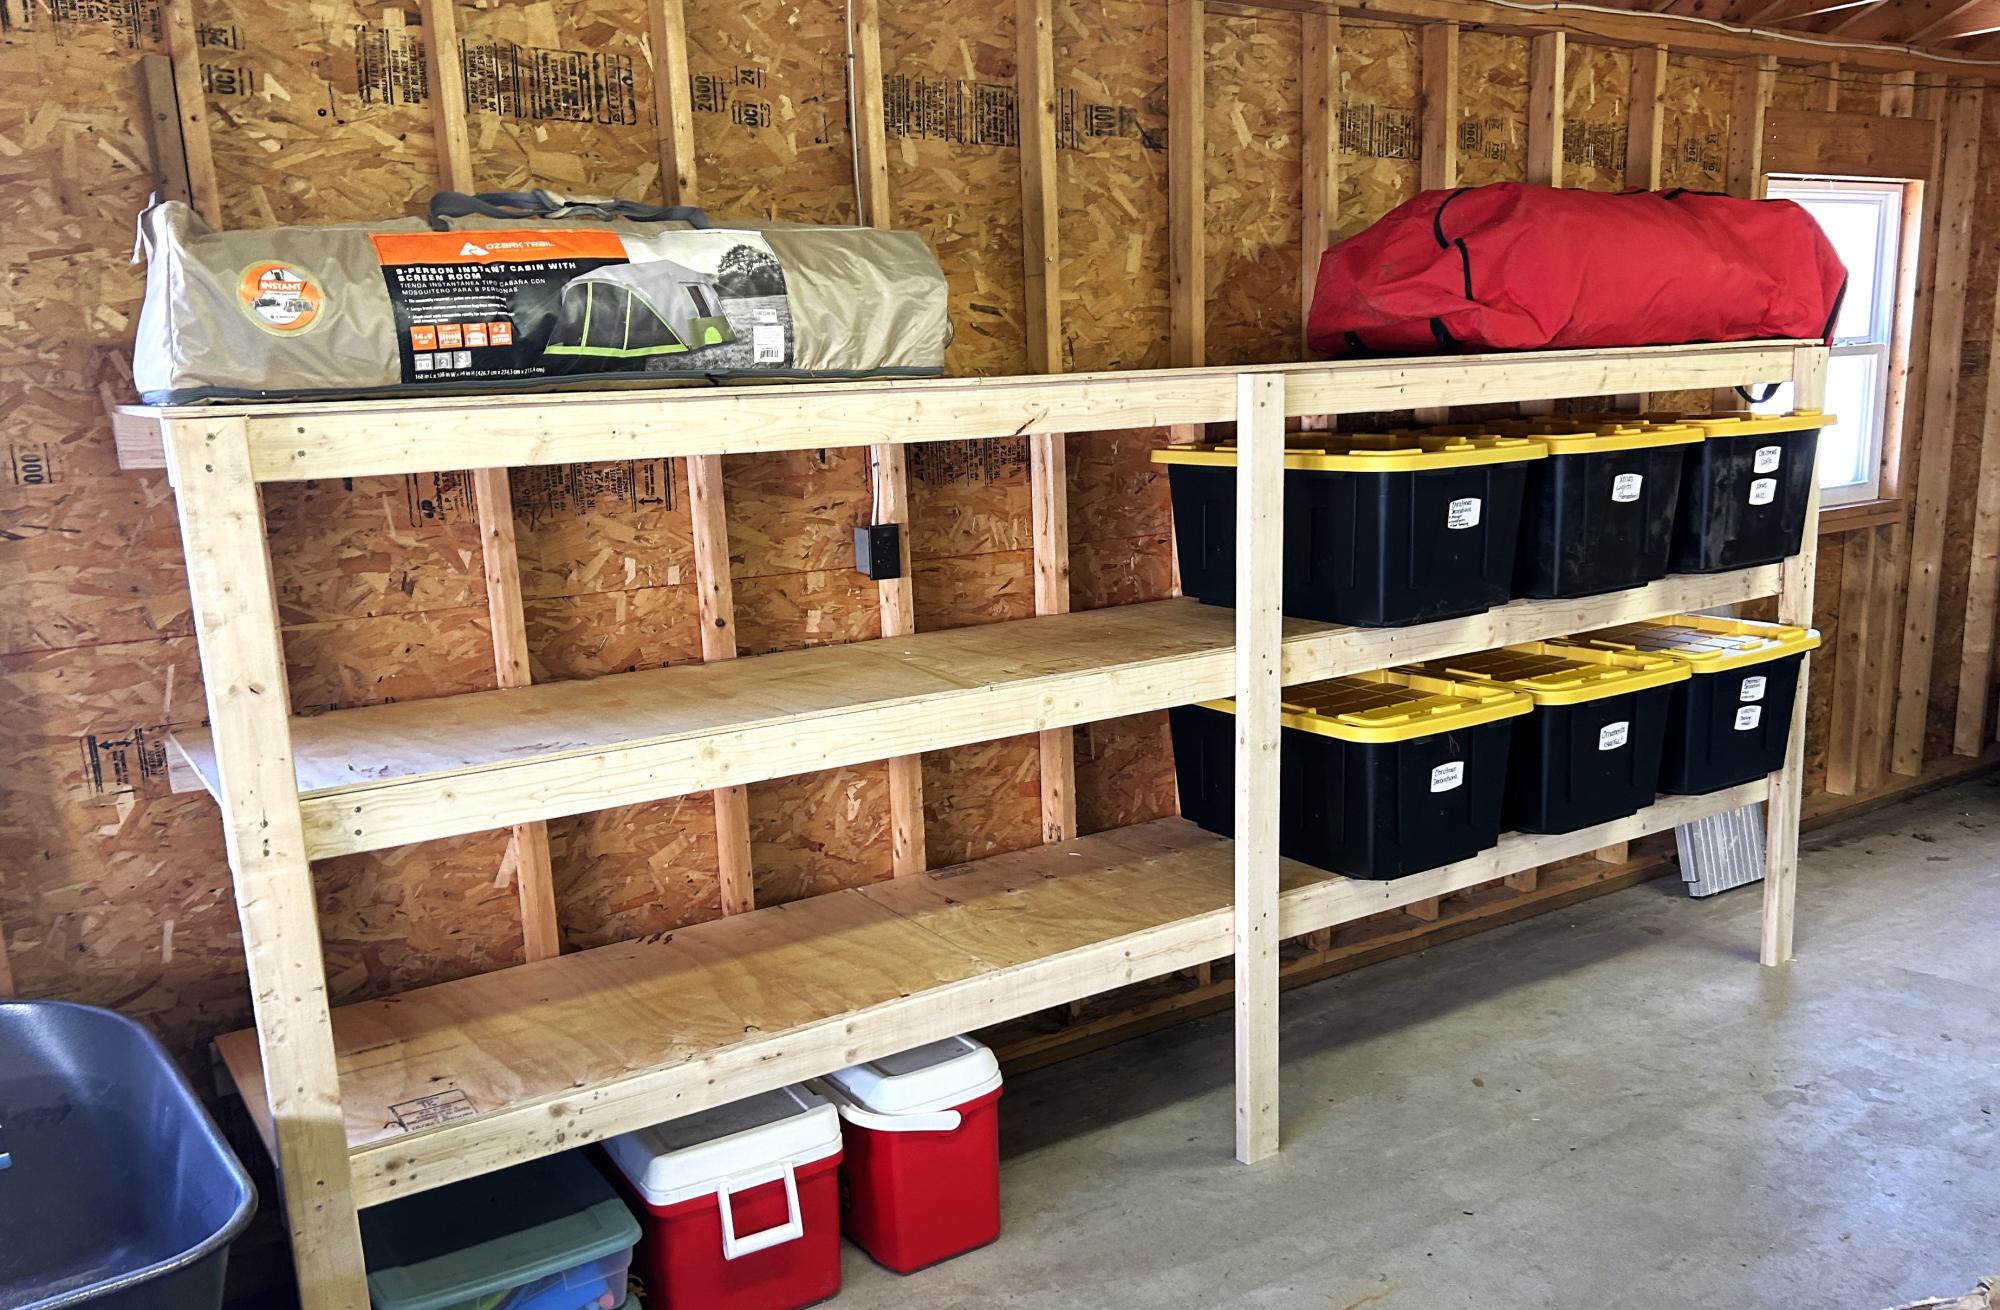
This was my second project (first was a work bench) and it came out great.
W. Knight
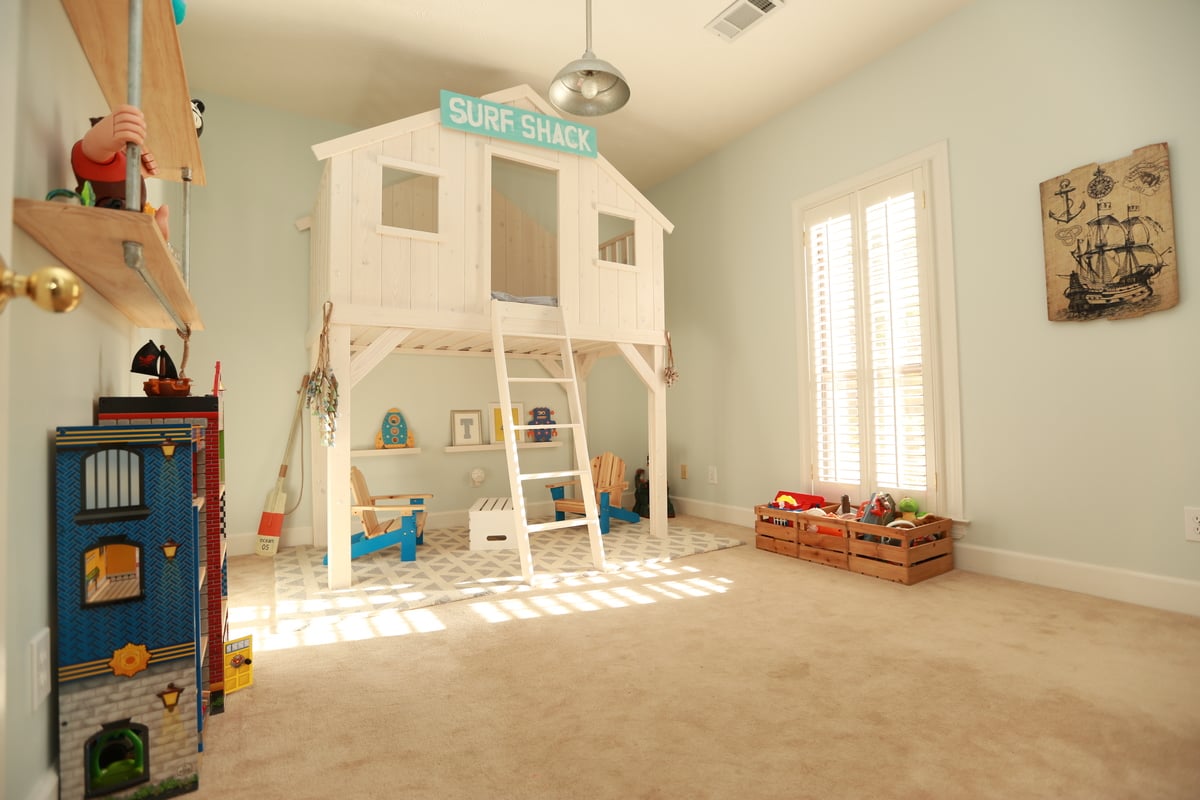
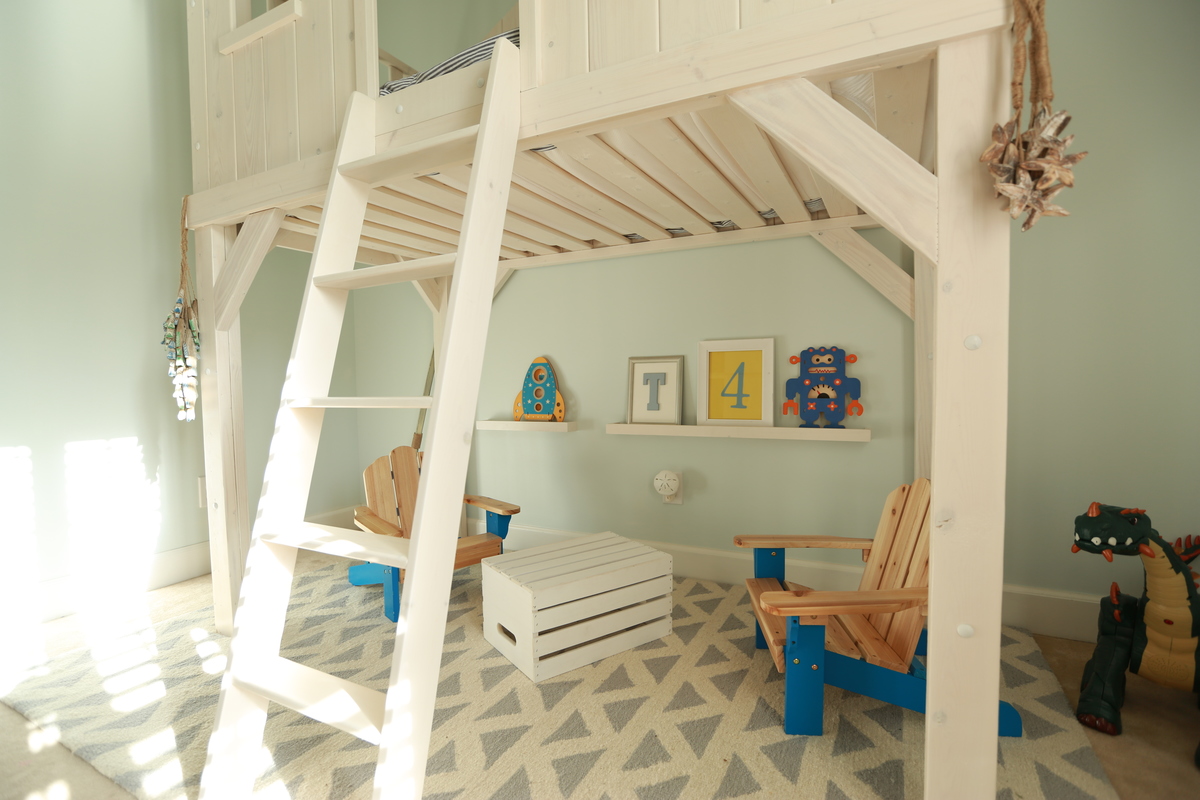
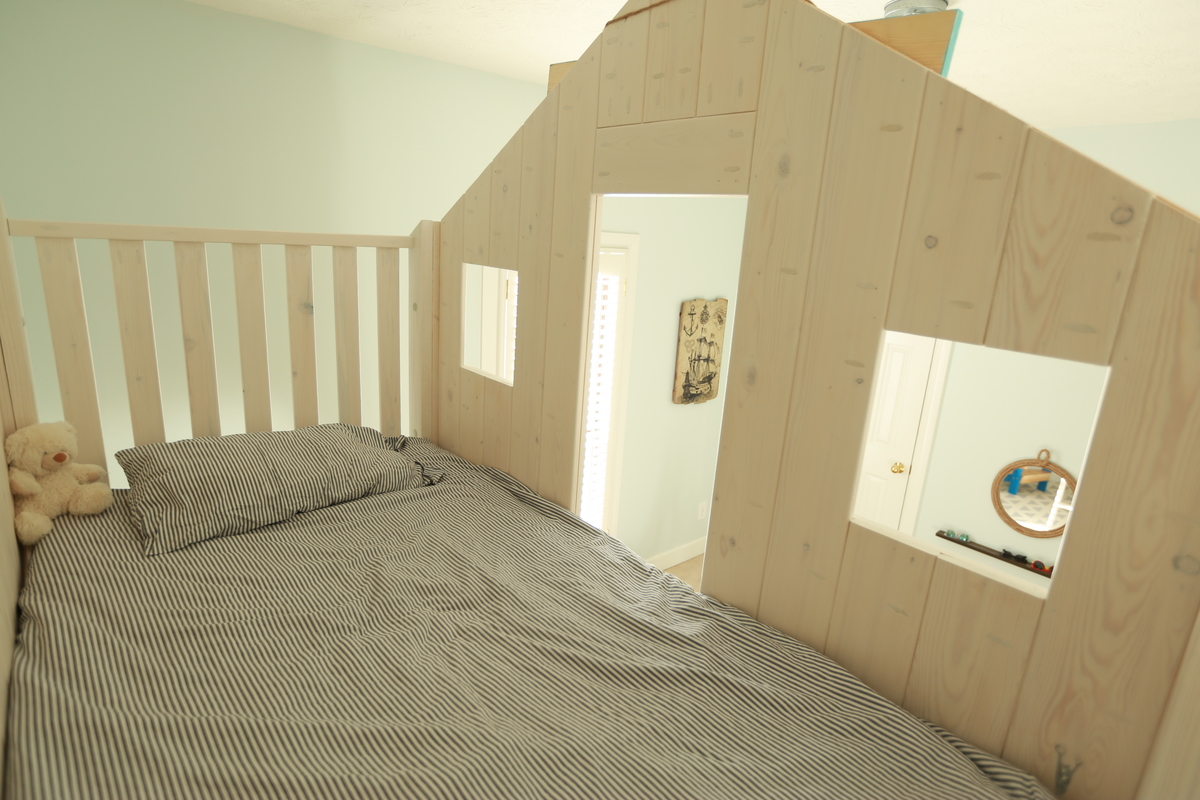
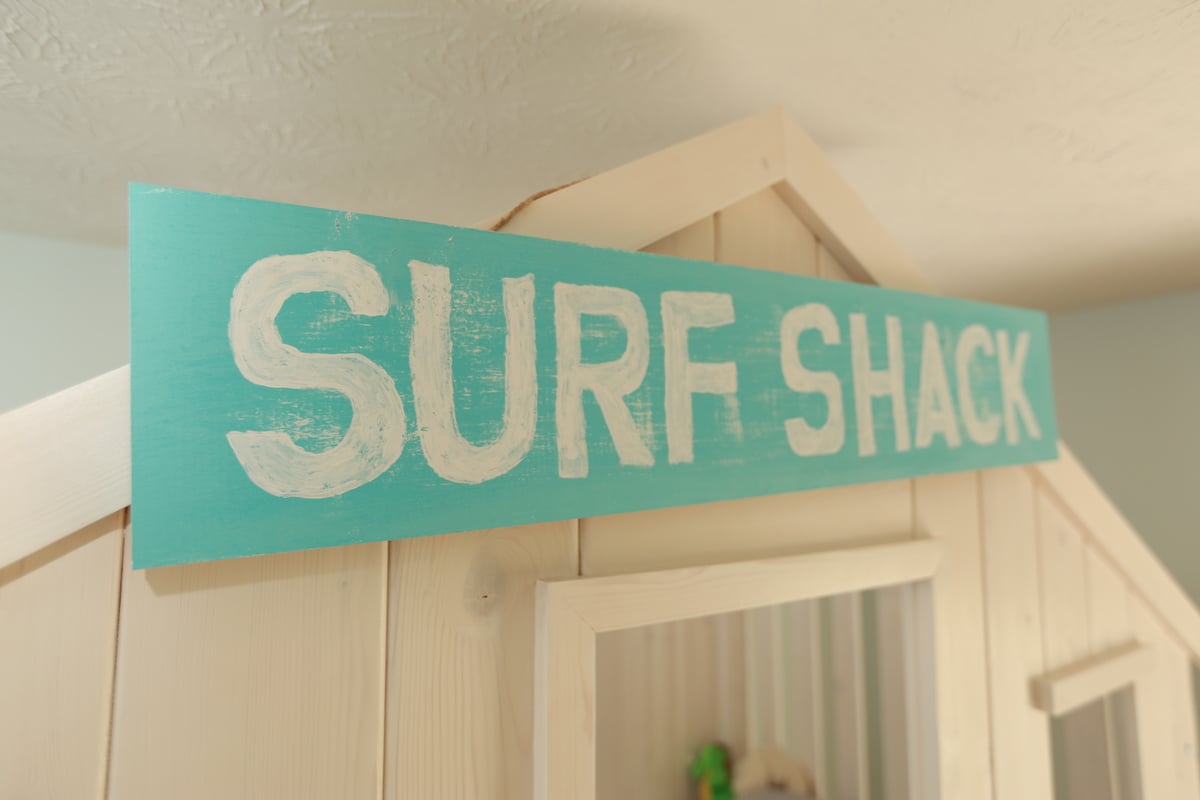
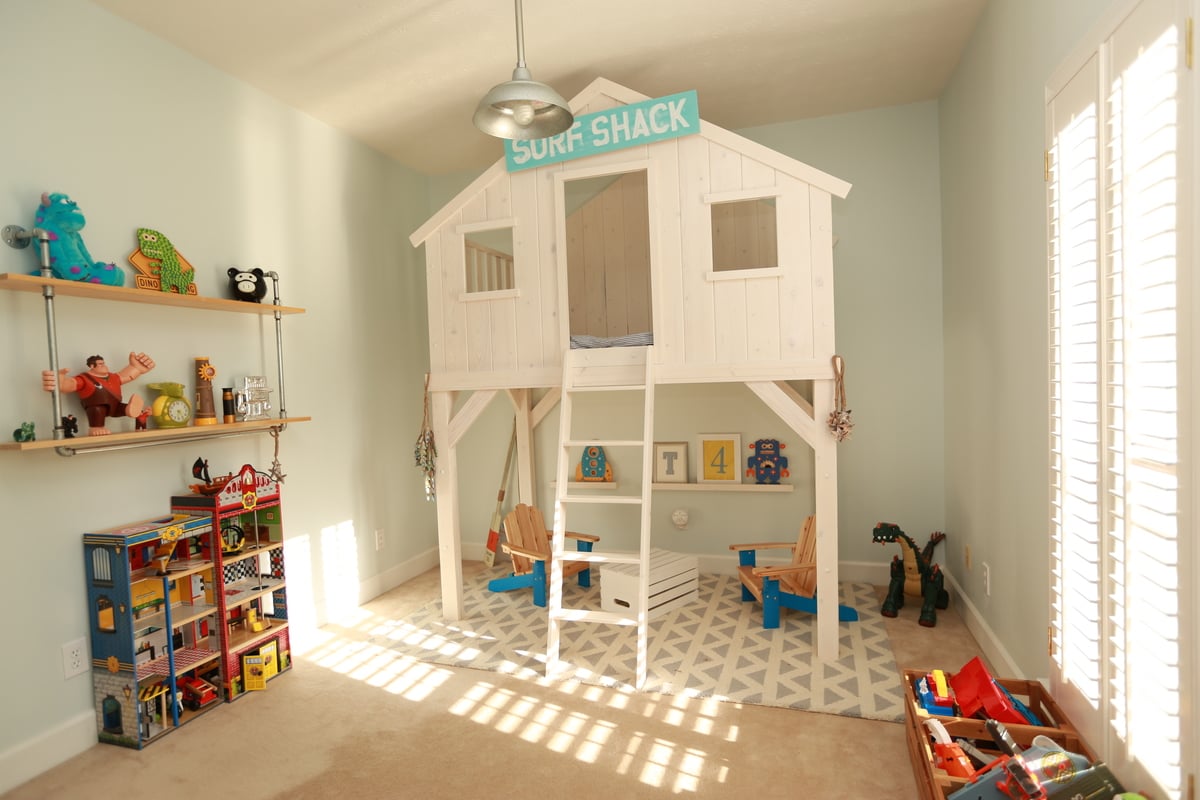
Customized version of the clubhouse bed that is so popular! We went the extra mile on the finishing touches to ensure an awesome bed for our little guy! We made the bed taller for more space underneath and polished up the finished product to create a higher end look. Care was taken to precisely sand all areas of the bed for a smooth finish and polished look. All pocket-holes are filled with plugs and sanded smooth on the inside of the bed for an overall finished product. No shortcuts taken! We went the extra mile and painted the carriage bolts so they would blend in with the whitewash finish and also recessed the nut on the back of the legs for safety and added a cap so they are not visible. Top of the bed, above the door, is filled in and a custom ladder finishes off the look. We went with smaller lumber to build the ladder and it is perfect!! We are over the moon with this project and will be building more items as fast as we can. Also, the sign, under-bed shelves, and industrial shelves were built by my husband. He did an epic job creating this room!! We used better grade wood and spent a lot of time sanding to ensure a great bed in the end. We also went with a Benjamin Moore stain that was a little more expensive and took the time to finish the slats under the bed.
Mon, 02/22/2016 - 07:38
I love this bed! I was looking at the BM site and was wondering what exact stain did you use? there are 5 different opacities & I want to make sure I get the right one. Thanks!!
In reply to what benjamin moore stain? by jeawels
Fri, 08/19/2016 - 05:58
Did you ever figure out what stain was used on this particular bed? I love it.

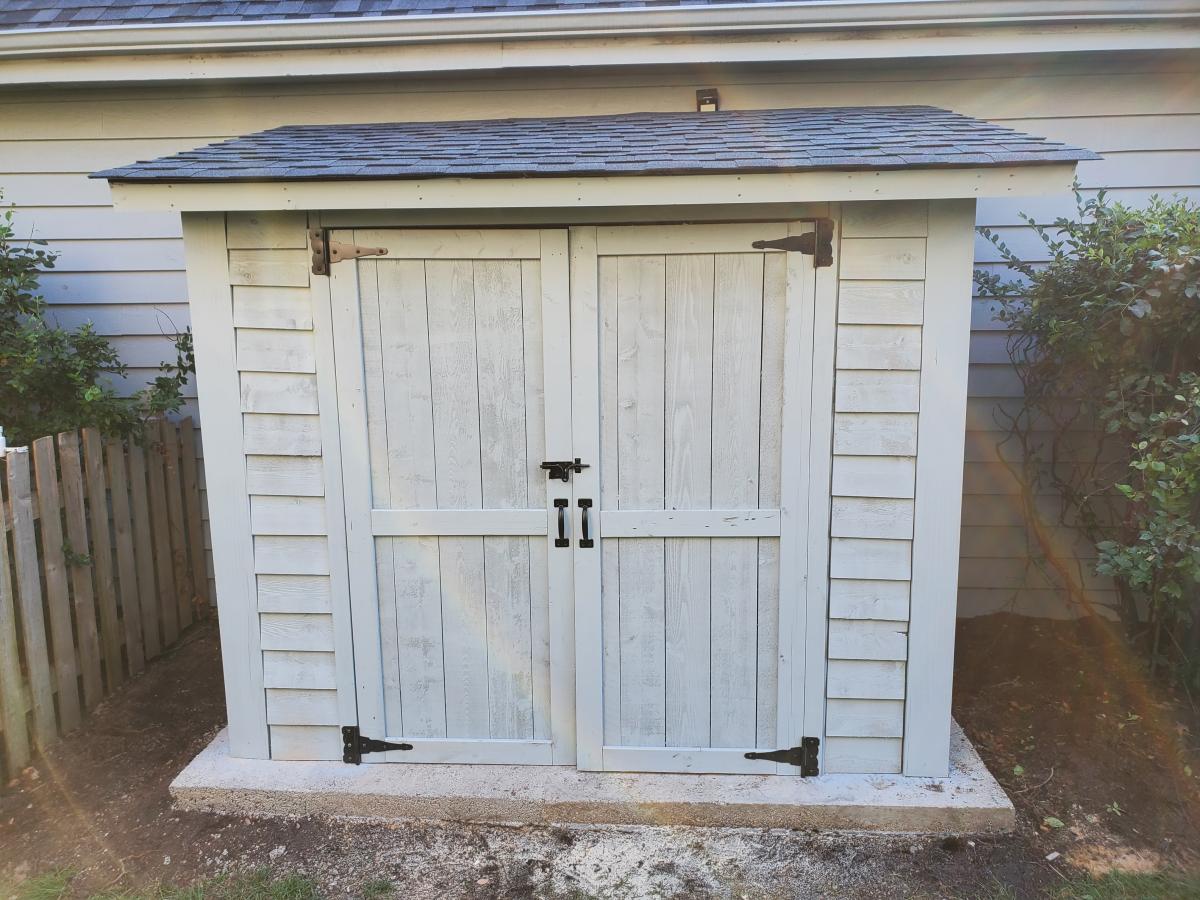
Thank you for the plans, shed turned out great! My association required me to match the siding color, roof color, and anchor to a concrete slab. So I poured 25 bags of 80lbs concrete to make a 9x5 slab. Redid the plans for an 8x4 shed, built the frame with 2x4s and not 2x2's, installed flashing, ice/water shield + felt + matching shingles since I'm near Chicago, and used a flexio finishing sprayer to paint the shed. Saved some $ by using 2 Redwood Grain Fiber siding panels for $22 each at HD.
All in all very happy with my shed and all my dangerous yard tools and woodworking tools can be put away from my toddler.
