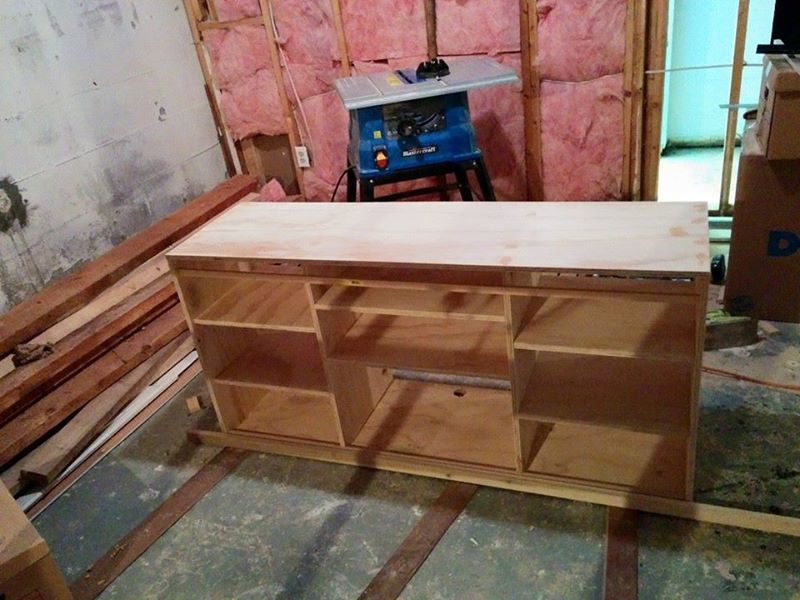
Jelly Cupboard Armoire
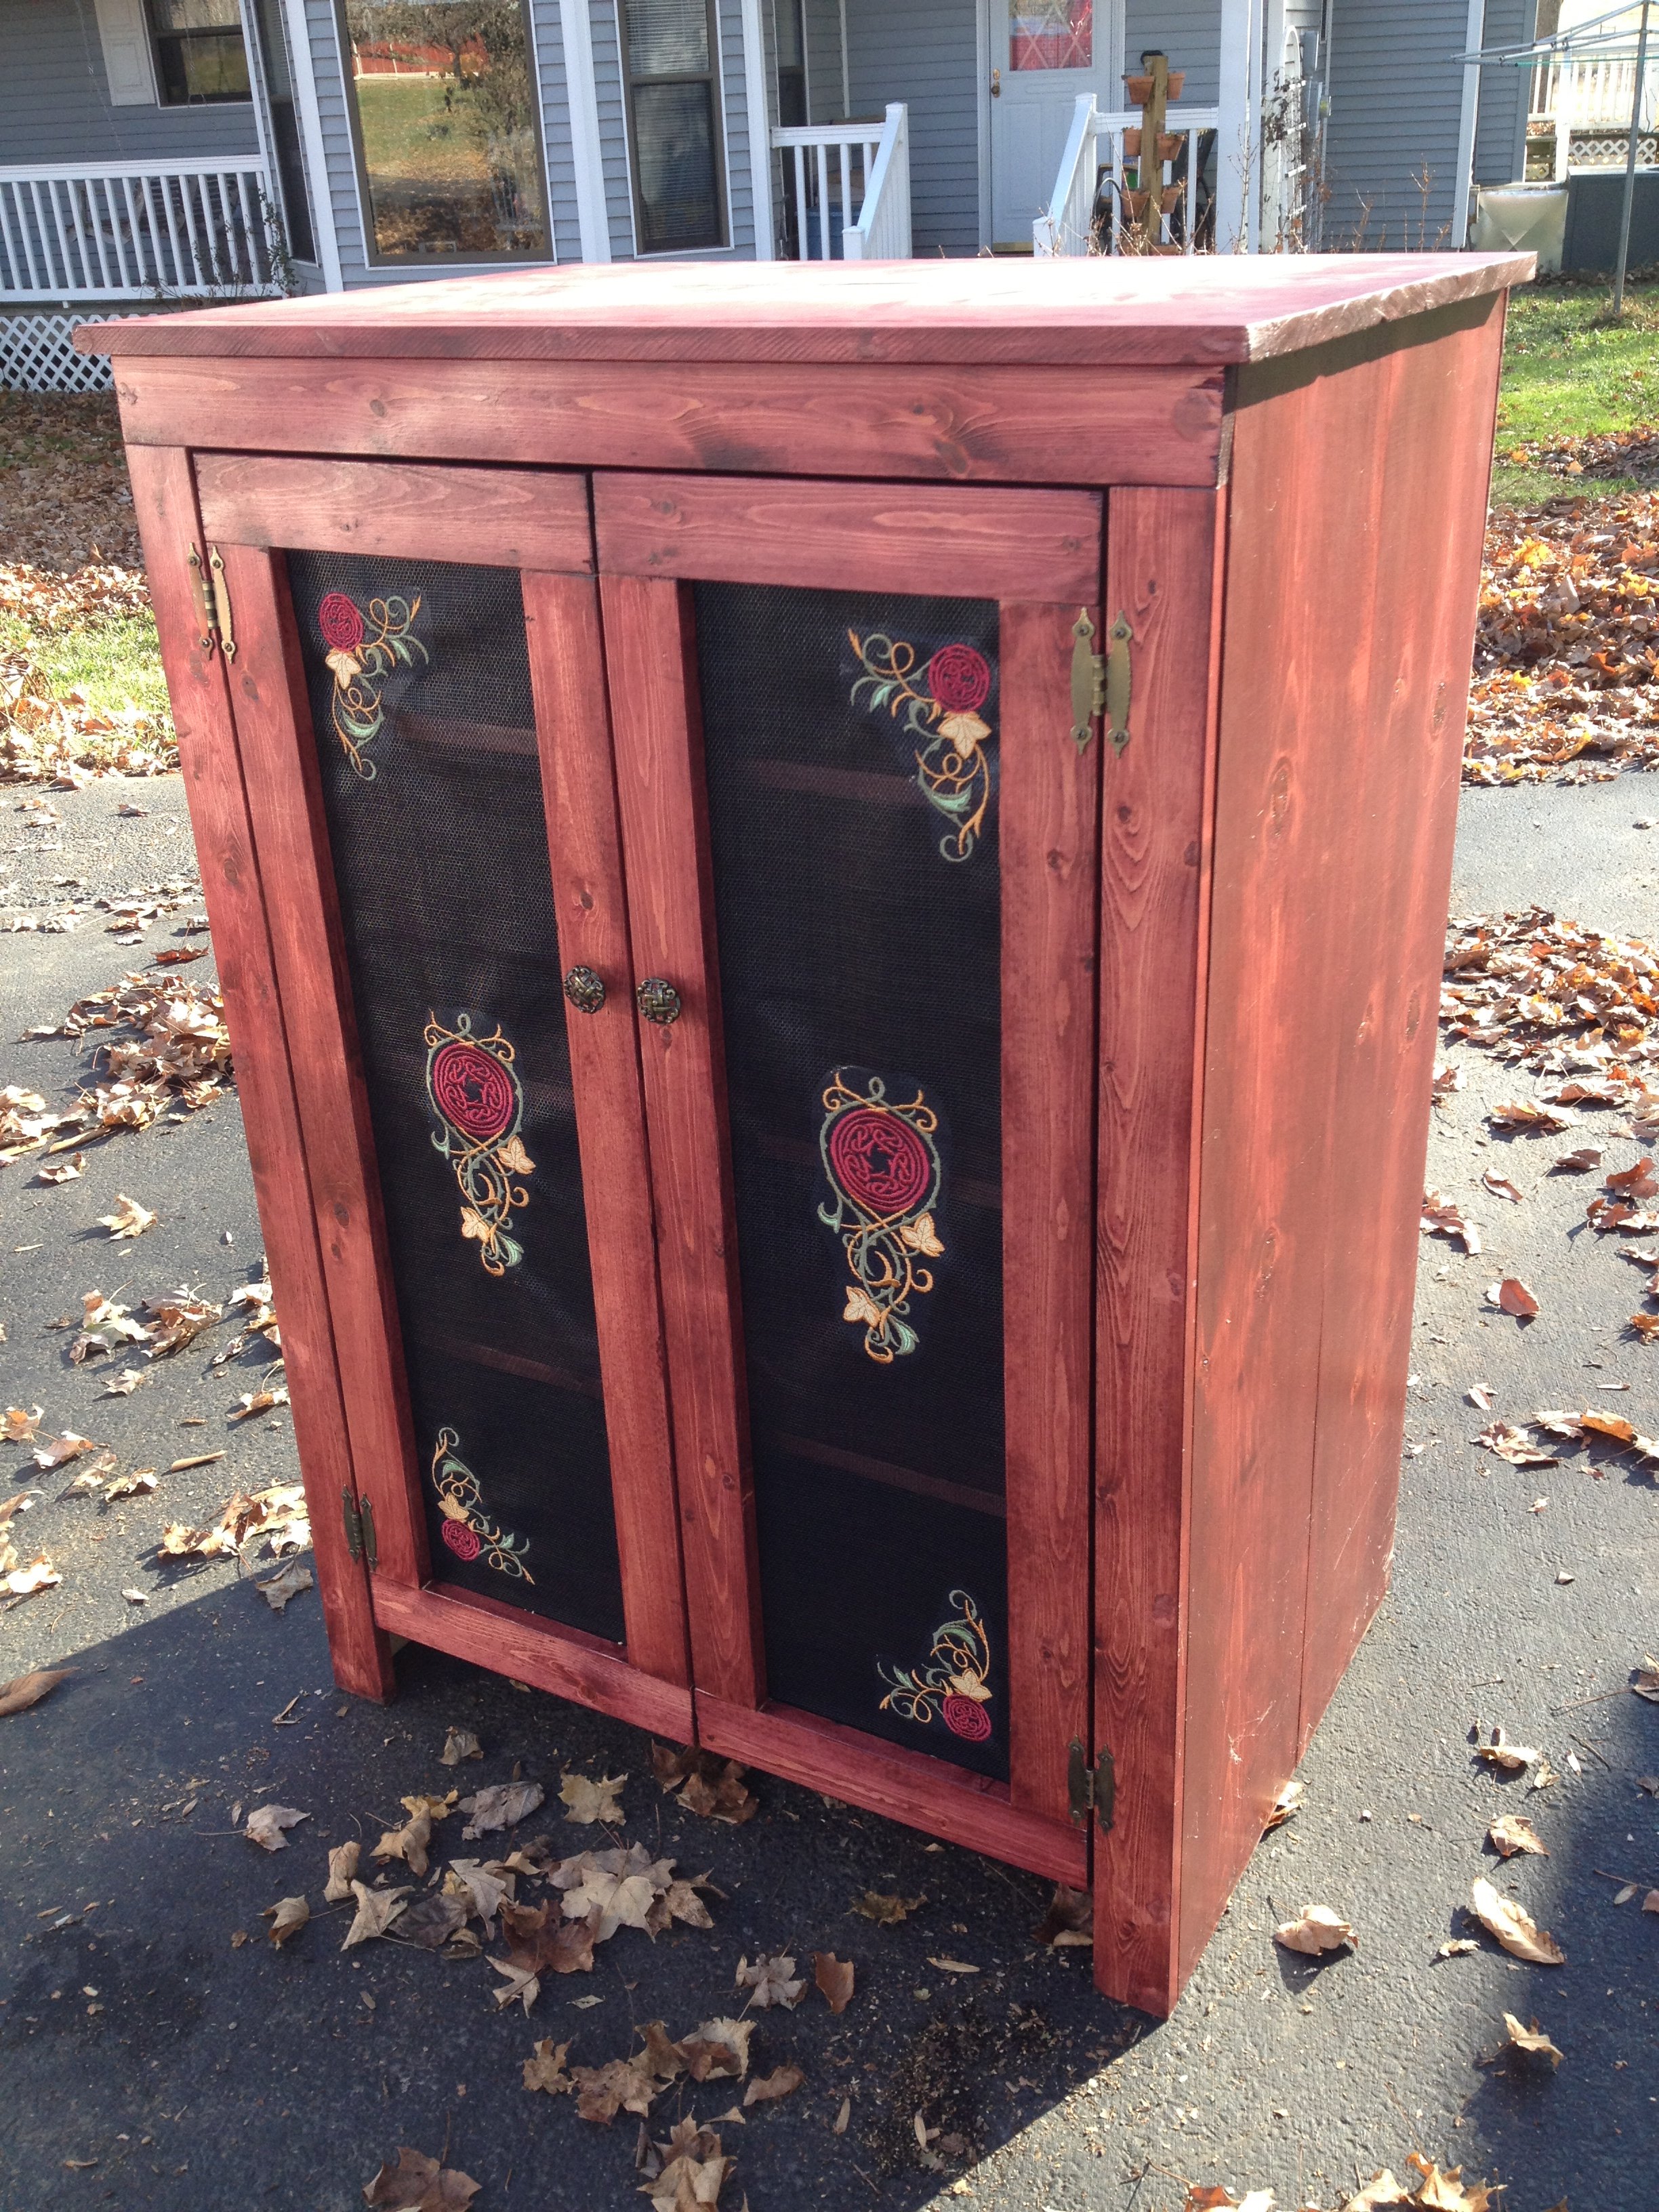
This is my first solo and most ambitious project. I only had some help with getting the doors hung. I combined my long-time love of machine embroidery and my new found love of woodworking to create the doors on this project and really make it something special. I'm going to be using this piece in place of a chest of drawers in my bedroom.
Built from Plan(s)
Estimated Cost
About $150
Estimated Time Investment
Week Long Project (20 Hours or More)
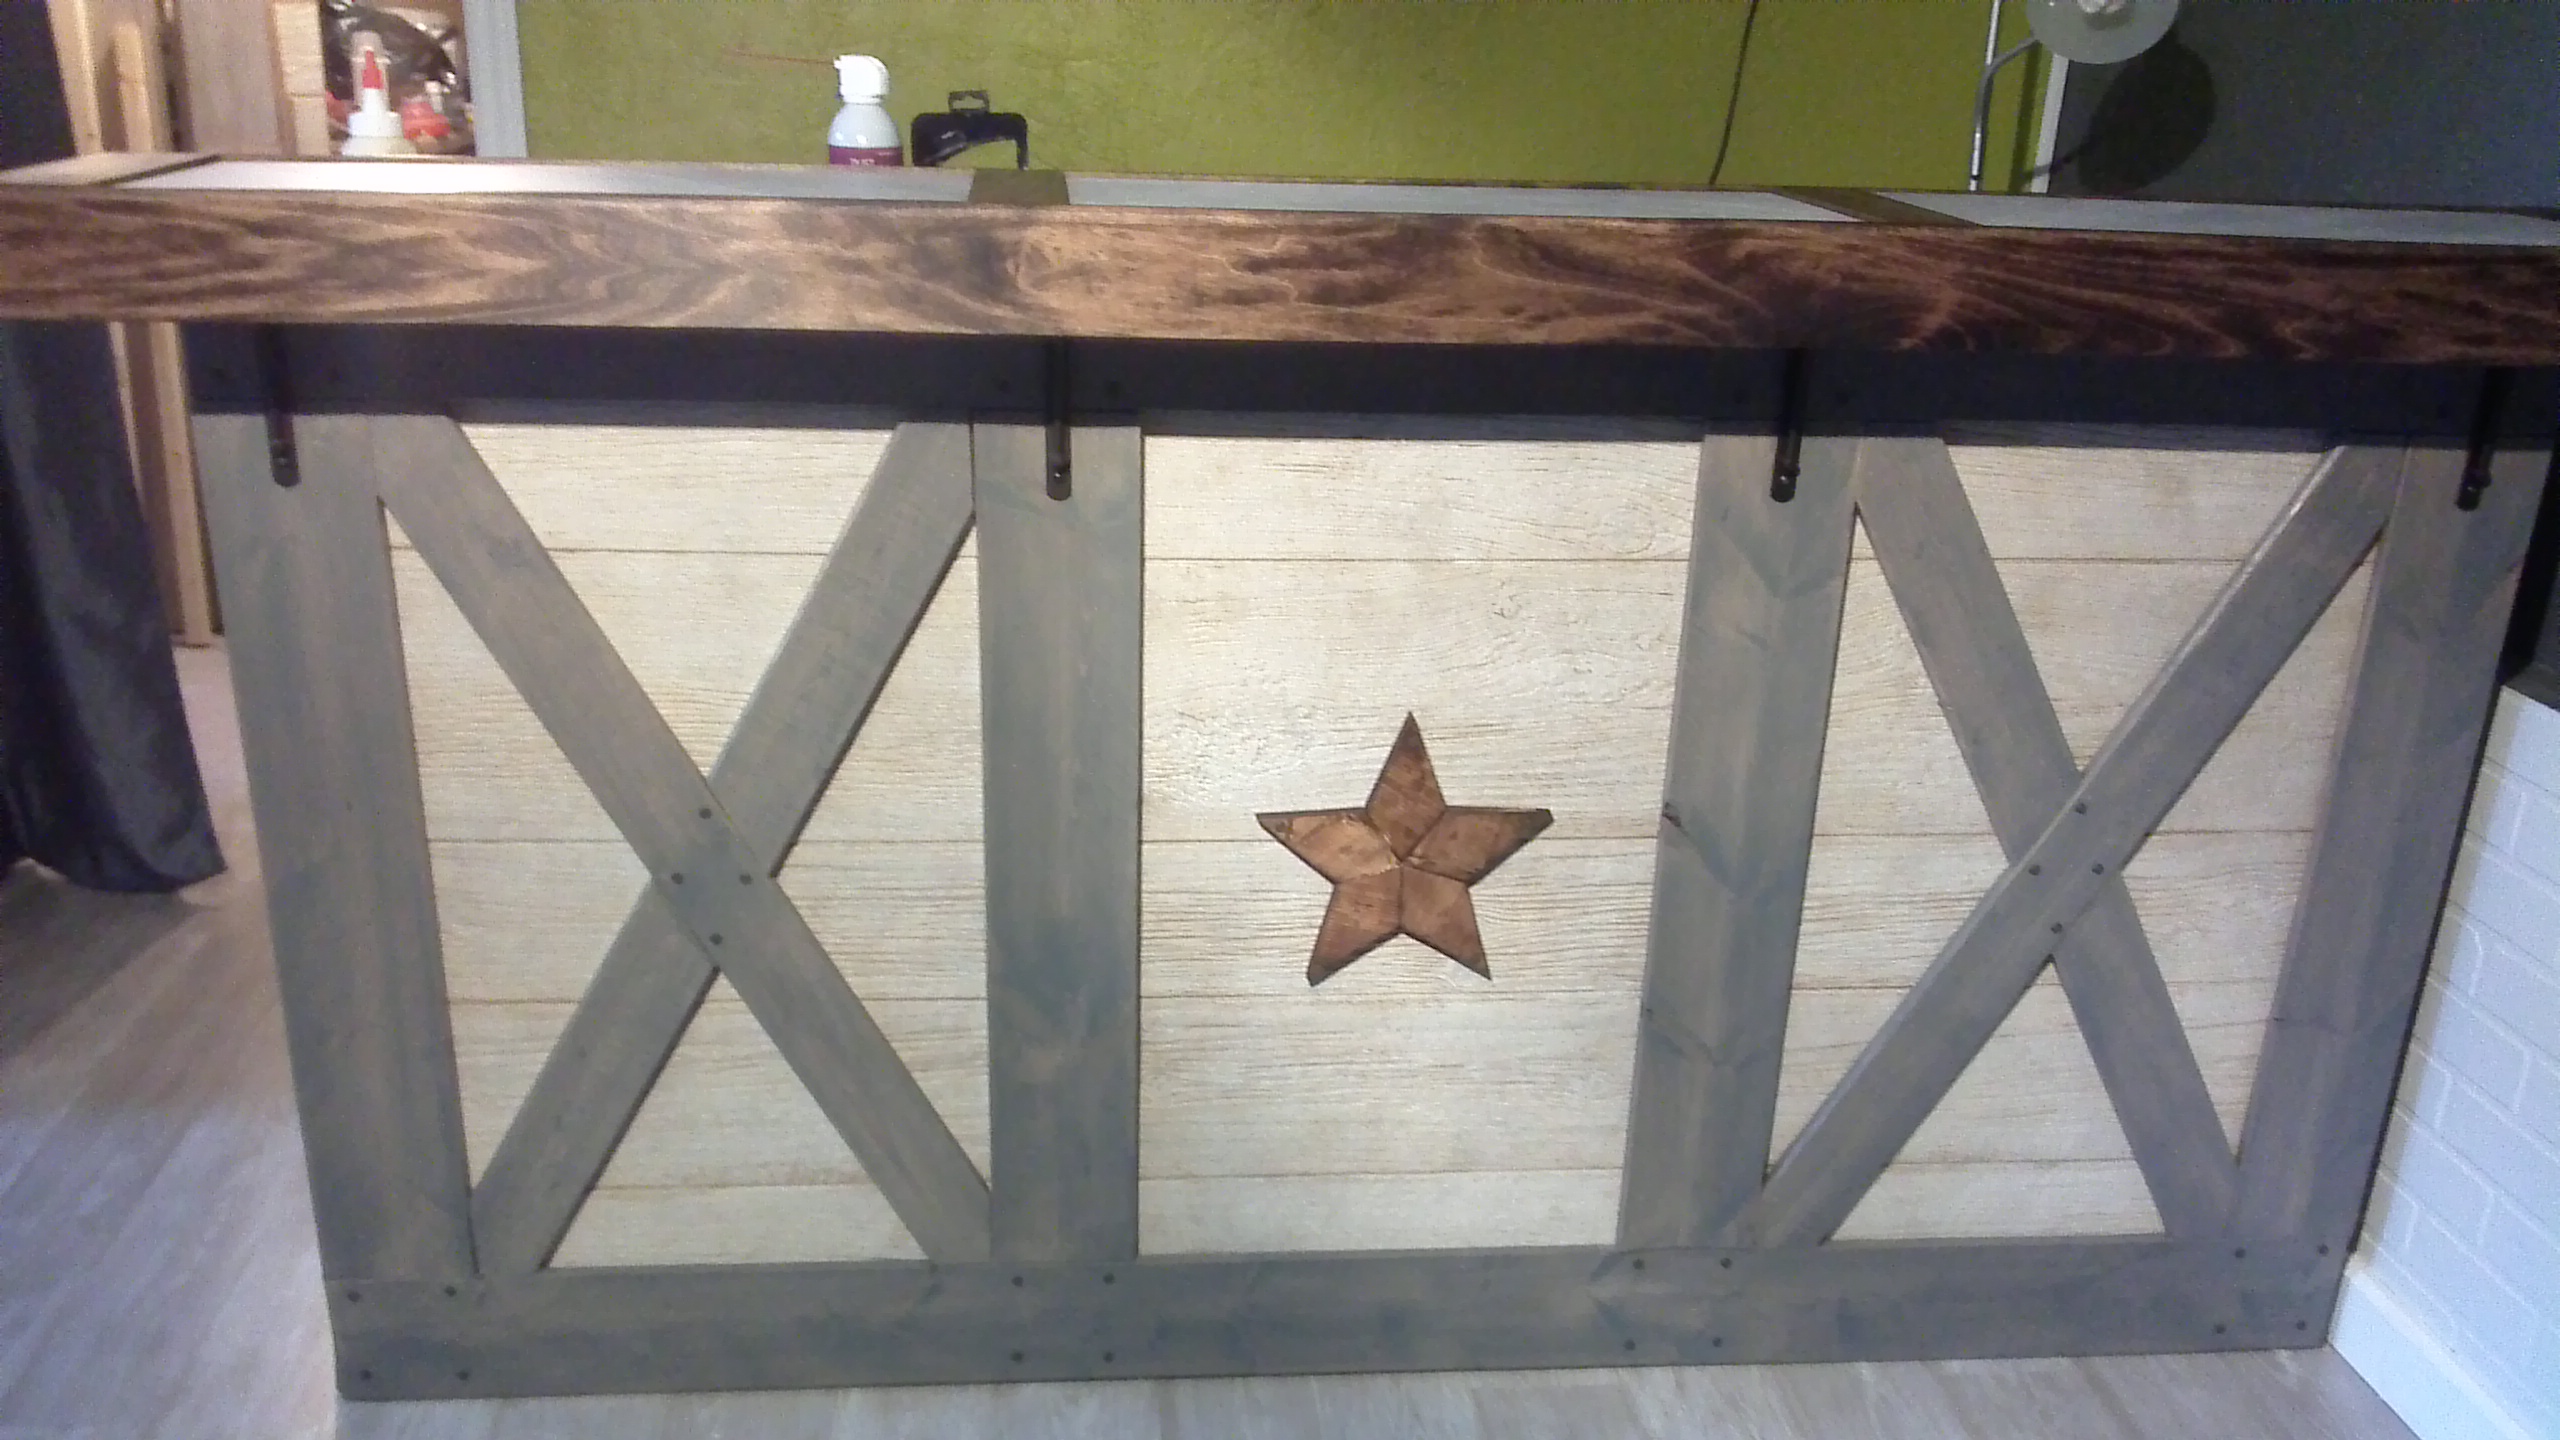
Finish Used
Rustoleum Ultimate Wood Stain in Cabernet and several coats of Rustoleum Interior Ultimate Polyurethane
Recommended Skill Level
Intermediate


Comments
JoanneS
Fri, 12/12/2014 - 13:21
Awesome project!
What an awesome project! Love the finish, and the design on the doors. How did you do the door panels? They're lovely!
Fallmark18
Fri, 12/12/2014 - 14:53
Thanks!
Thanks so much for the compliment! The door panels are made of replacement storm door screen. I used my embroidery/sewing machine to embroider the design onto the screen.
Ana White
Mon, 12/15/2014 - 12:13
Wow that is really awesome!
Wow that is really awesome! I love the stain and the way that this turned out!
Fallmark18
Tue, 12/16/2014 - 09:25
Thanks!
I'm so glad people like it. Everything I know about building I've learned from your site!