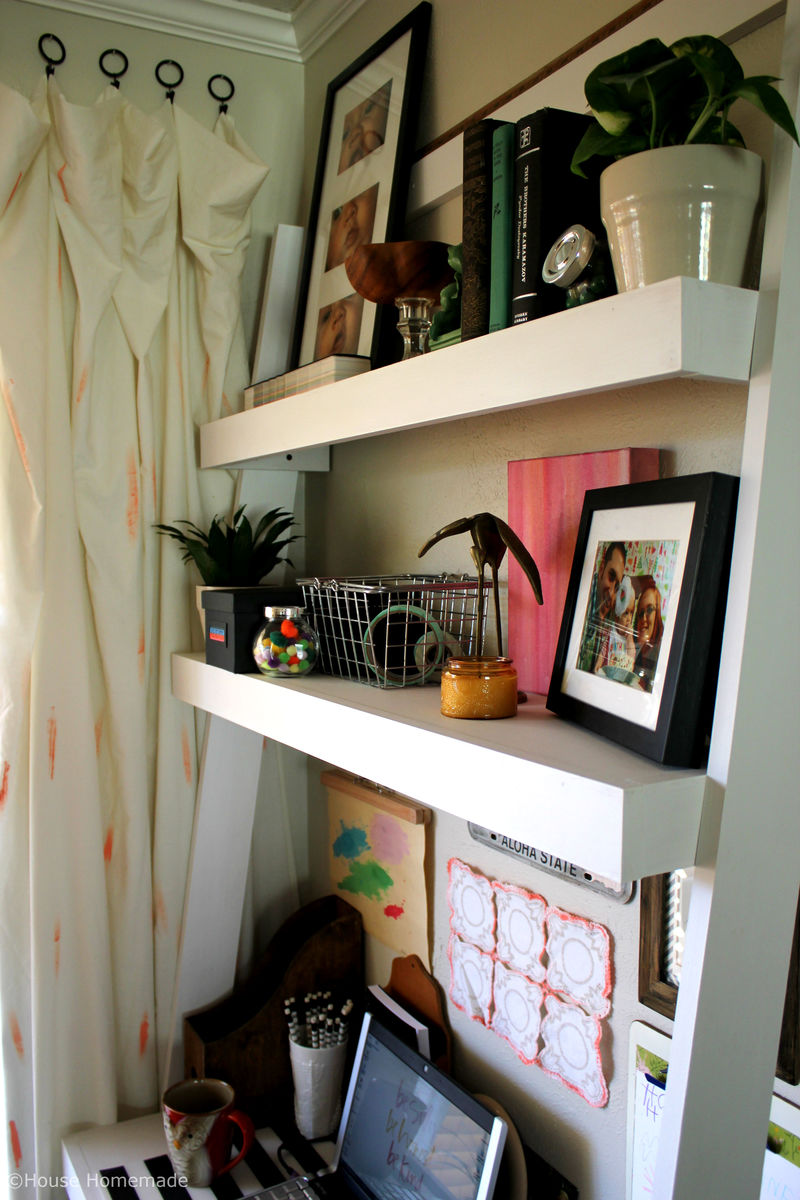
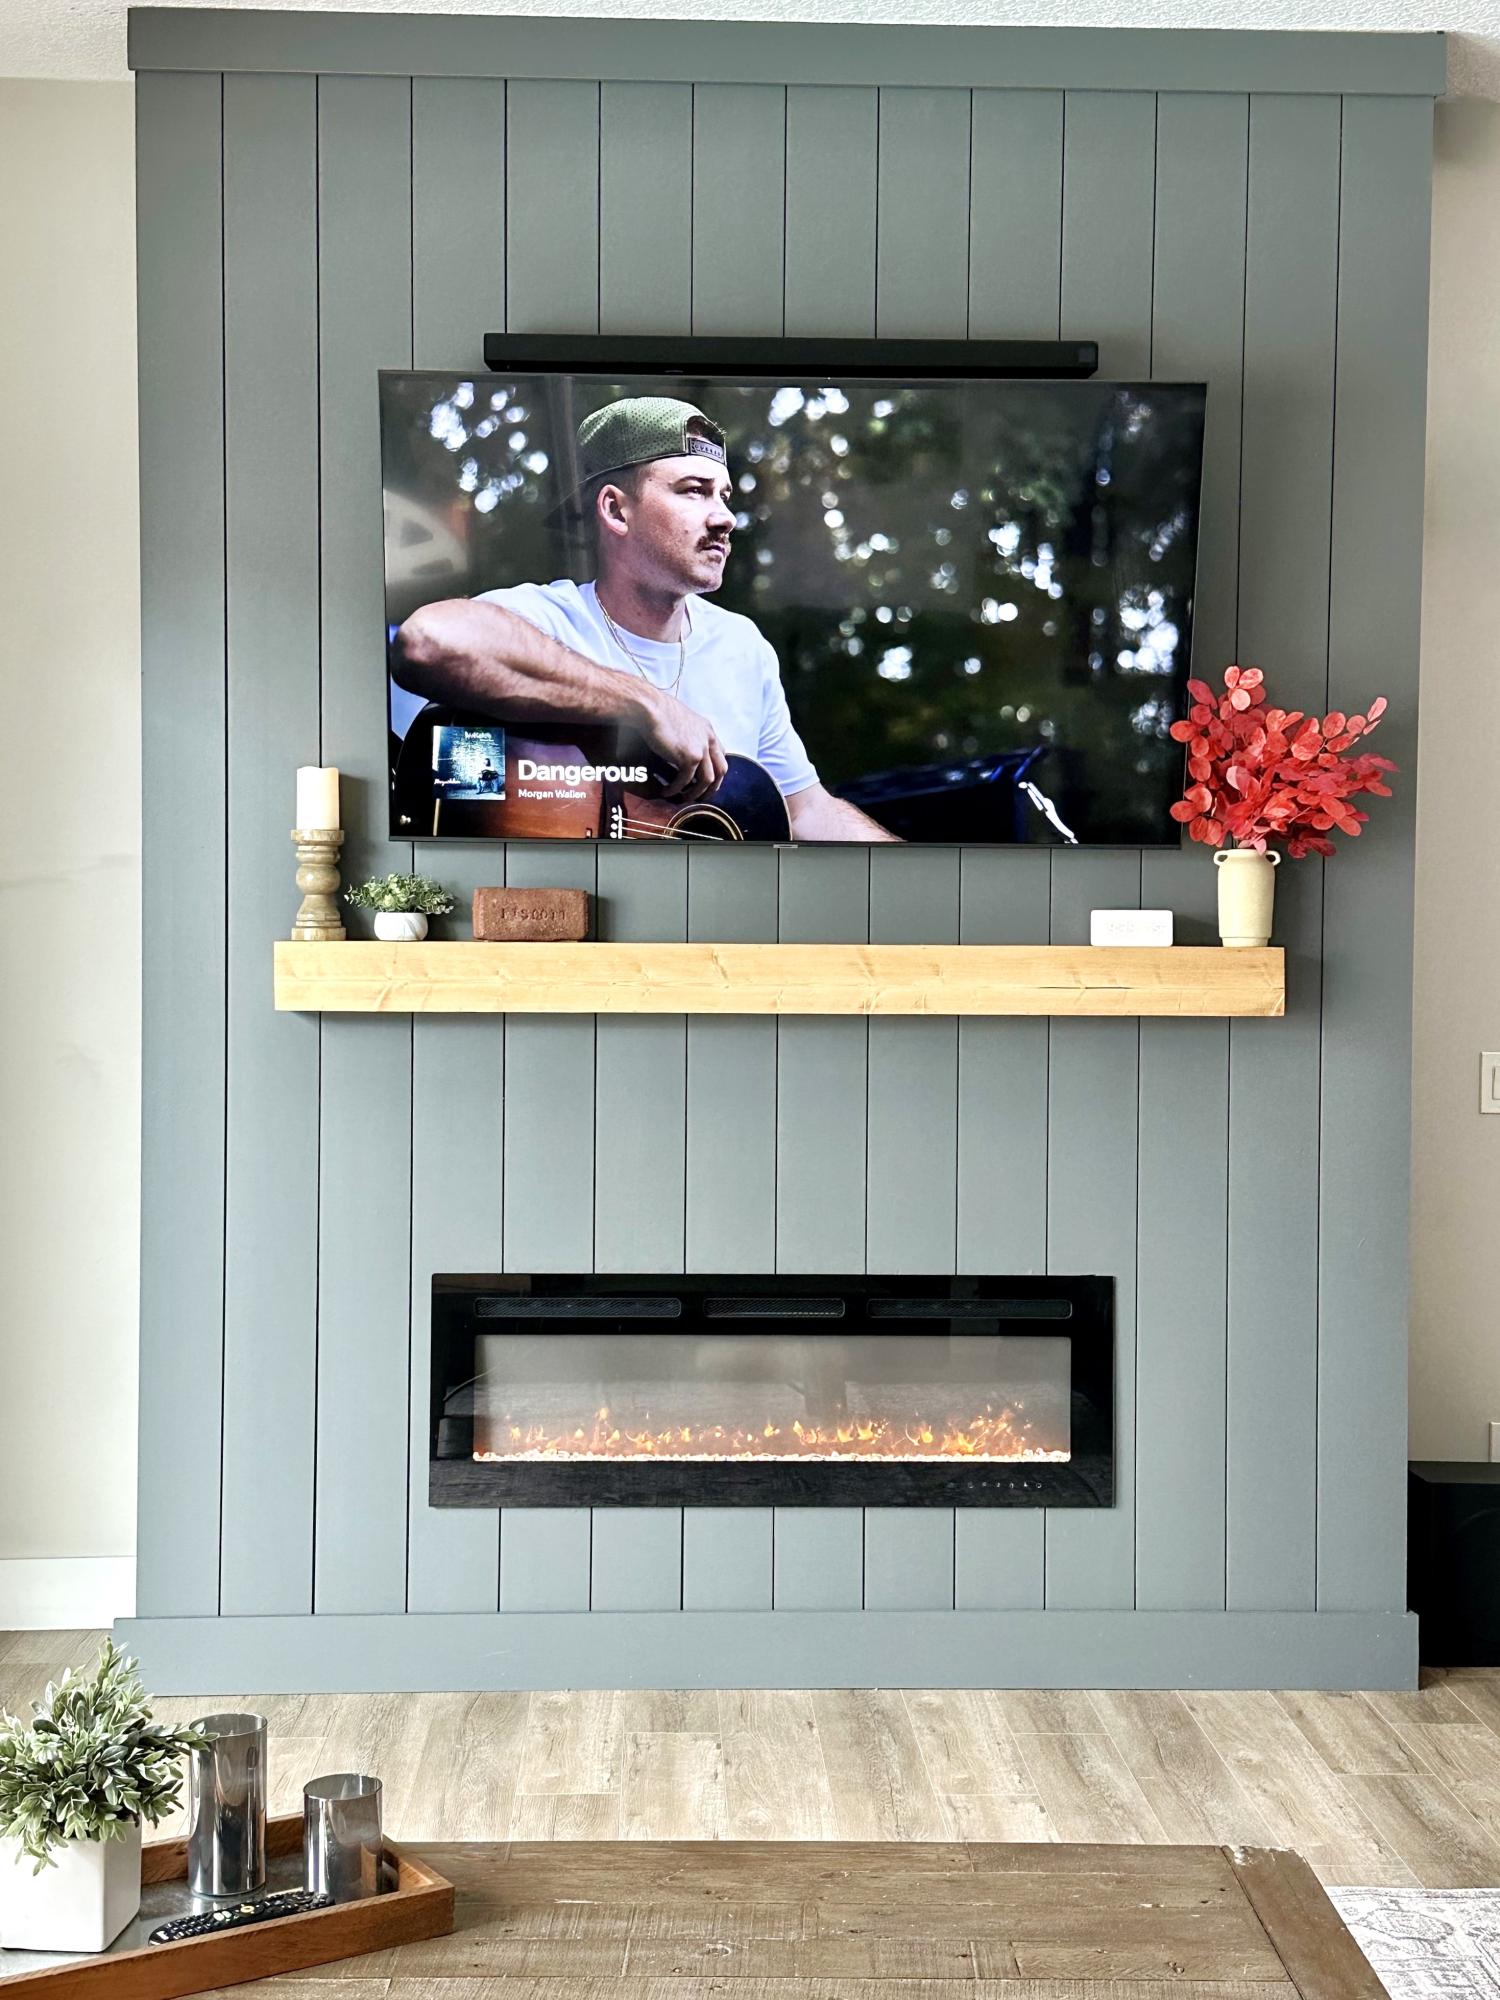
Picture ledge
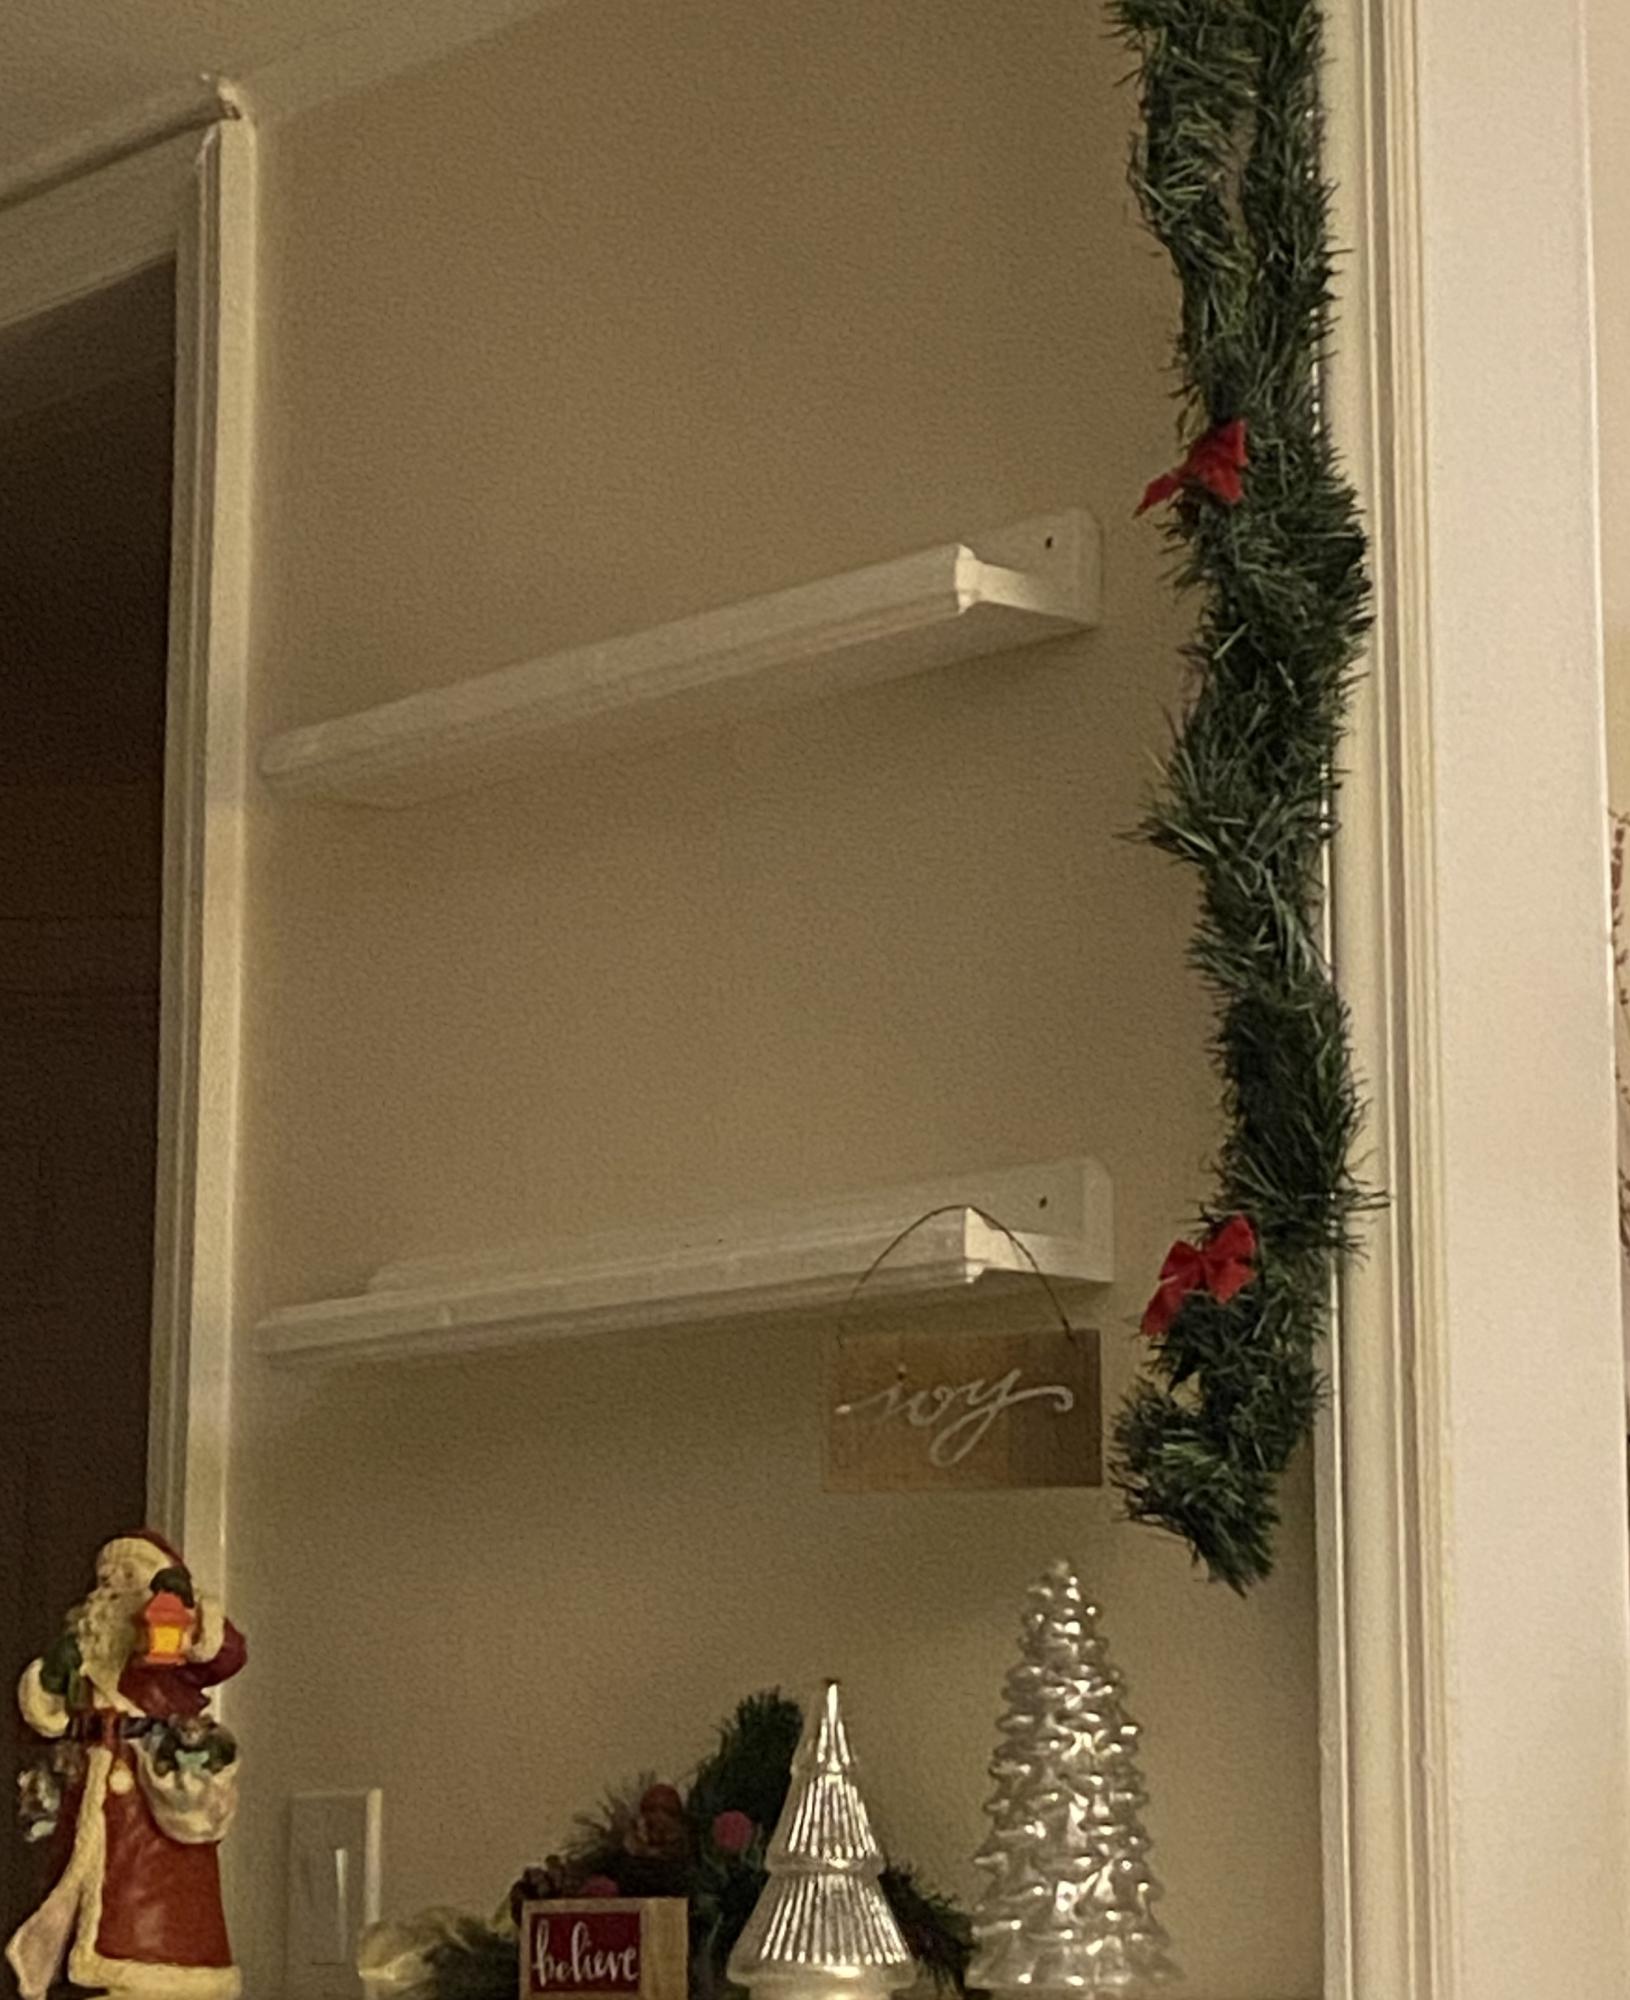
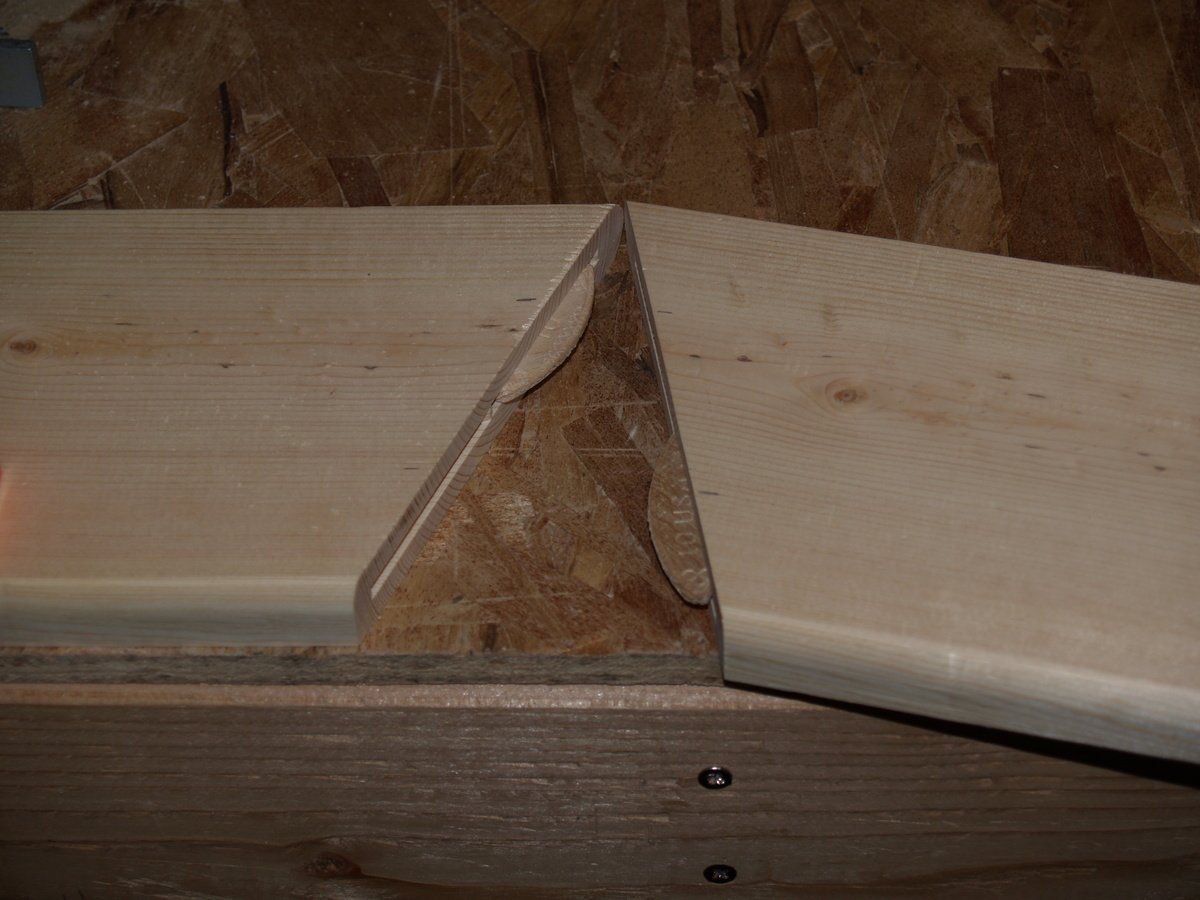
I used my router and router Ed the edges. Love this!!
Built from Plan(s)
I used my router and router Ed the edges. Love this!!
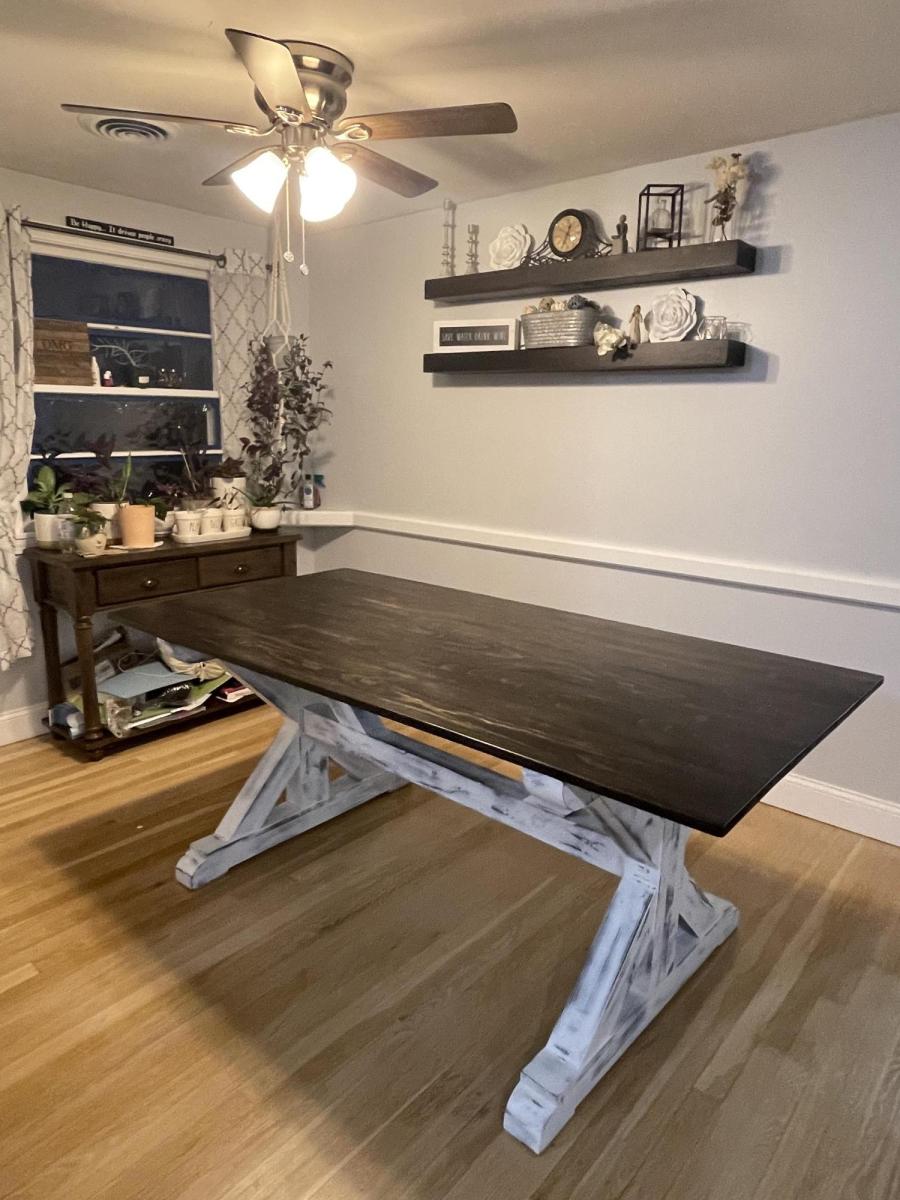
A farmhouse table I built based on one of your inspiration projects! All by hand and chiseled myself 😍

Thu, 12/29/2022 - 11:13
Thank you for sharing, such a beautiful handmade piece!
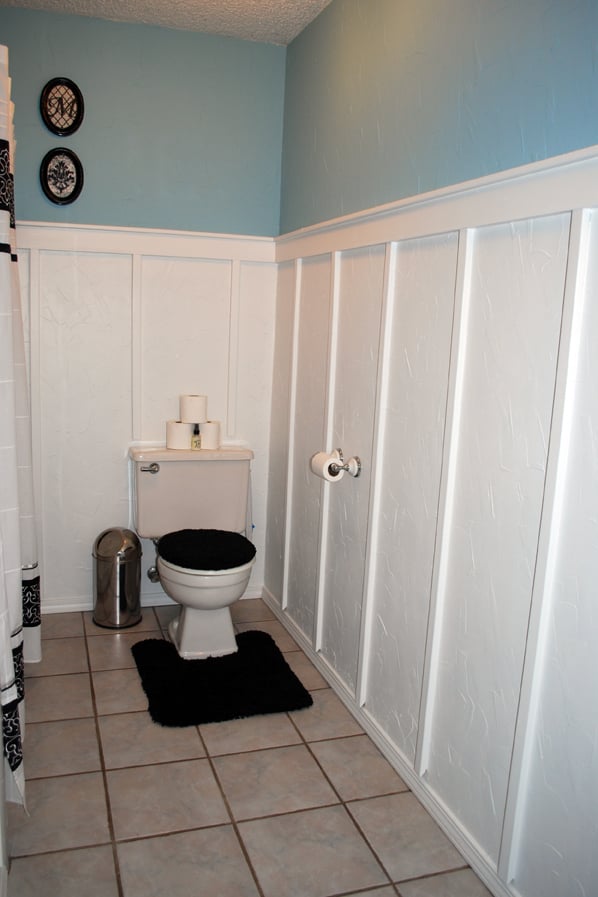
My first project with raw wood and power tools! All I have is a circular saw and electric sander, but it went really well. It took about 3 days because I couldn't work straight through (silly life and all it's appointments!). Thanks for laying out all the prep work with your instructions, Ana!! My next project is a cubby shelf for towels.


Tue, 10/11/2011 - 21:29
What a nice change! Great job. You should be proud of yourself!
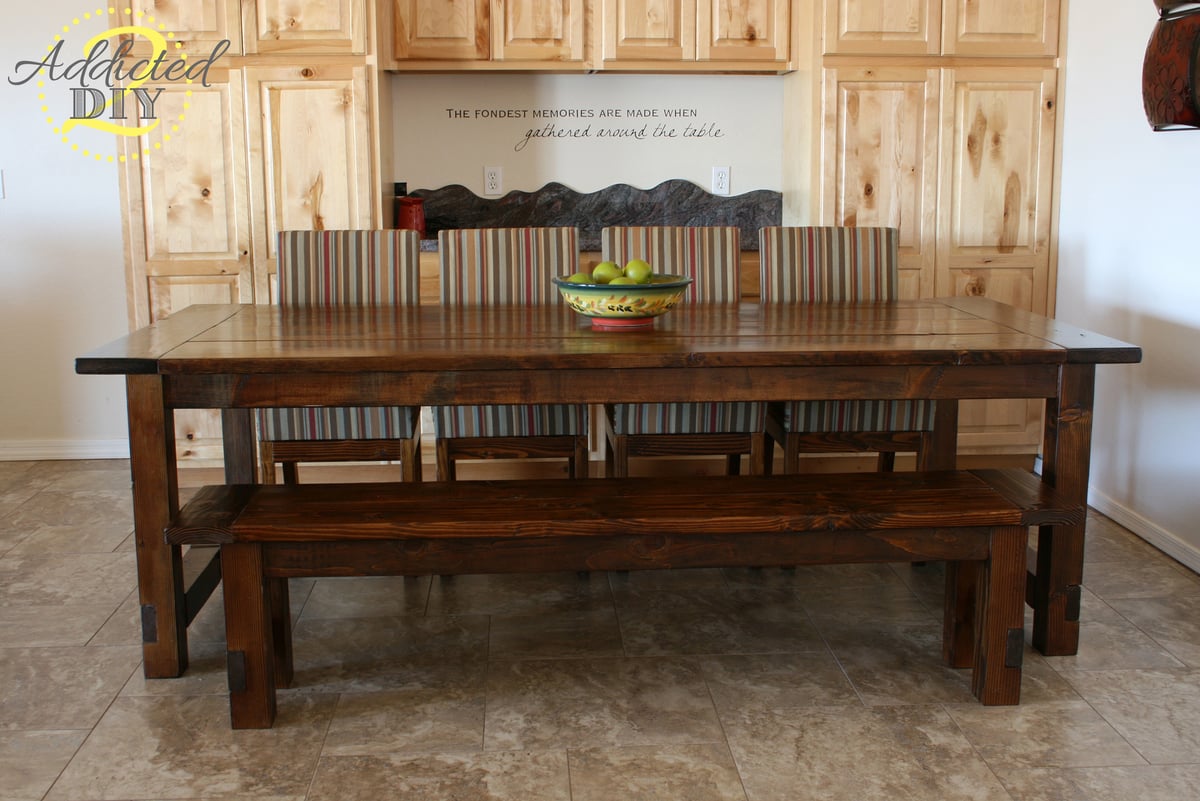
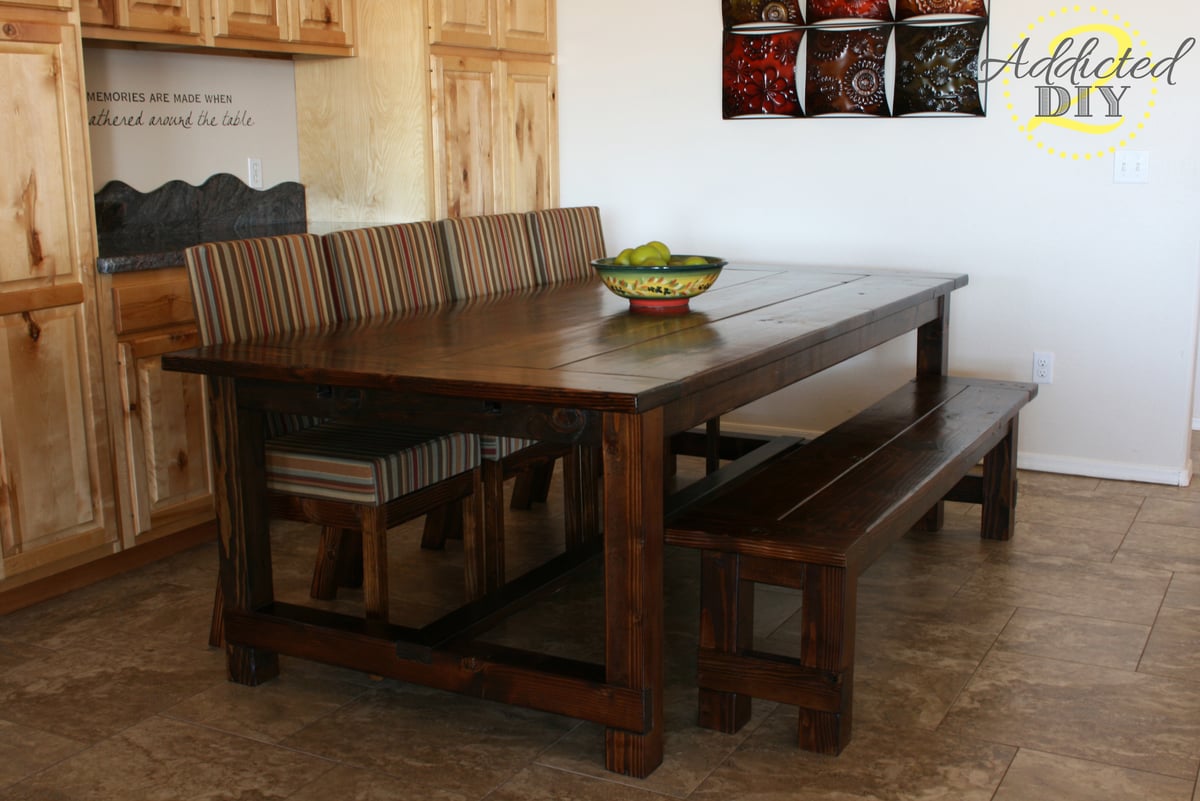
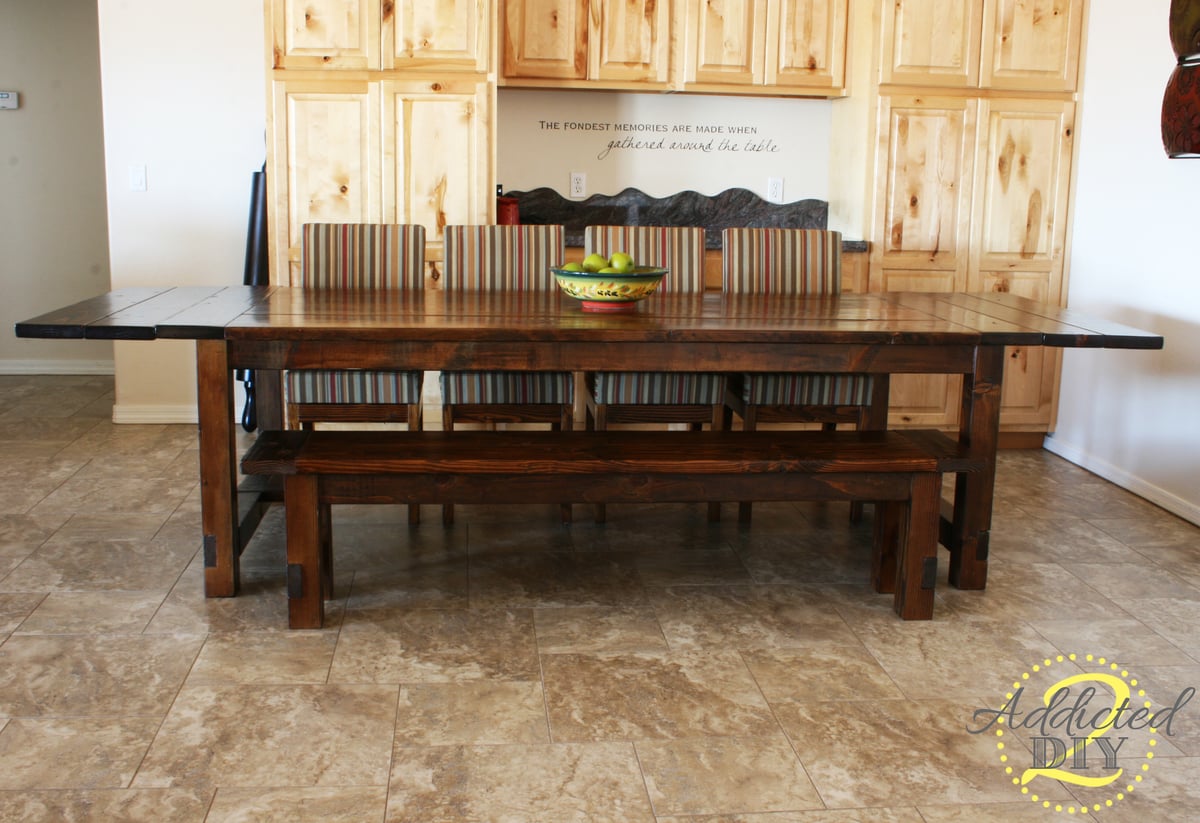
We built this farmhouse table a few months ago and absolutely love it. We modified the plans a bit based on another brag post and went with a replica of the Restoration Hardware table. I also built the chairs for the table based on the Parsons chair plans


Tue, 11/05/2013 - 17:59
Really nice job! This was quite an accomplishment, especially given that you guys did additional chairs (that look fantastic). Also, great job documenting on your blog.
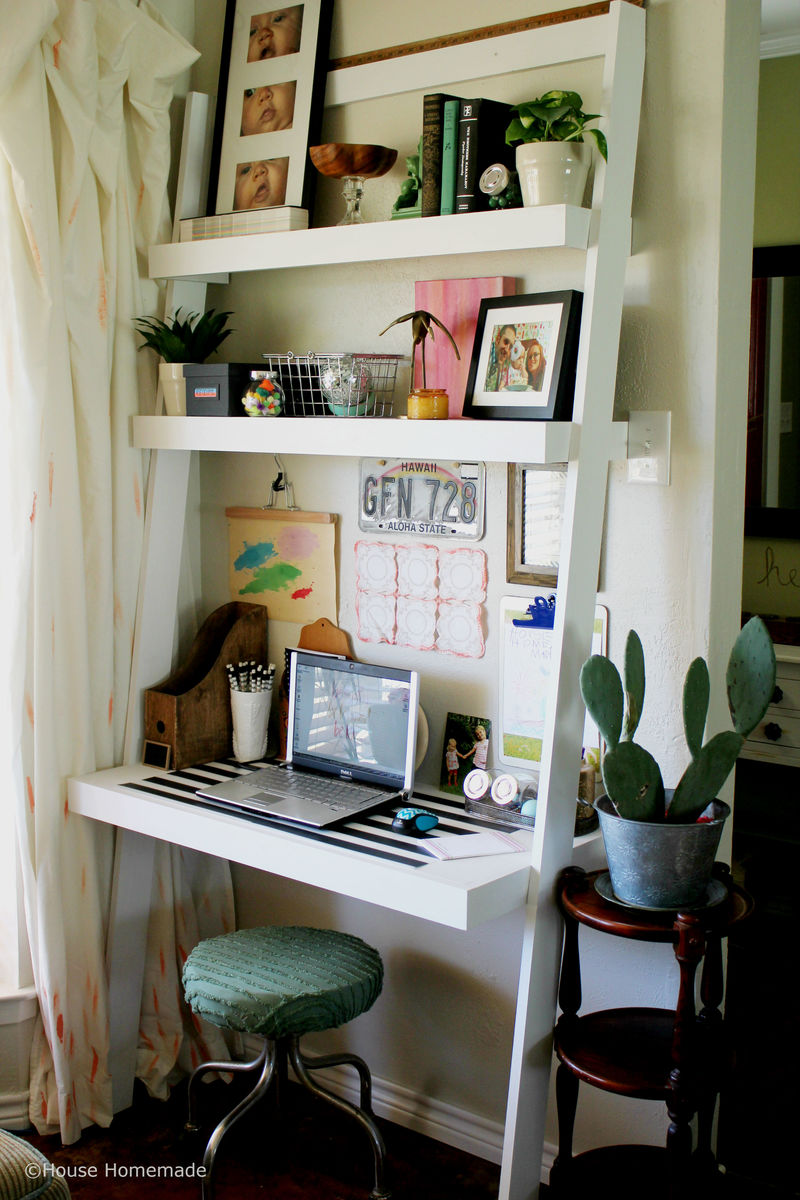
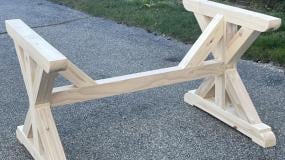
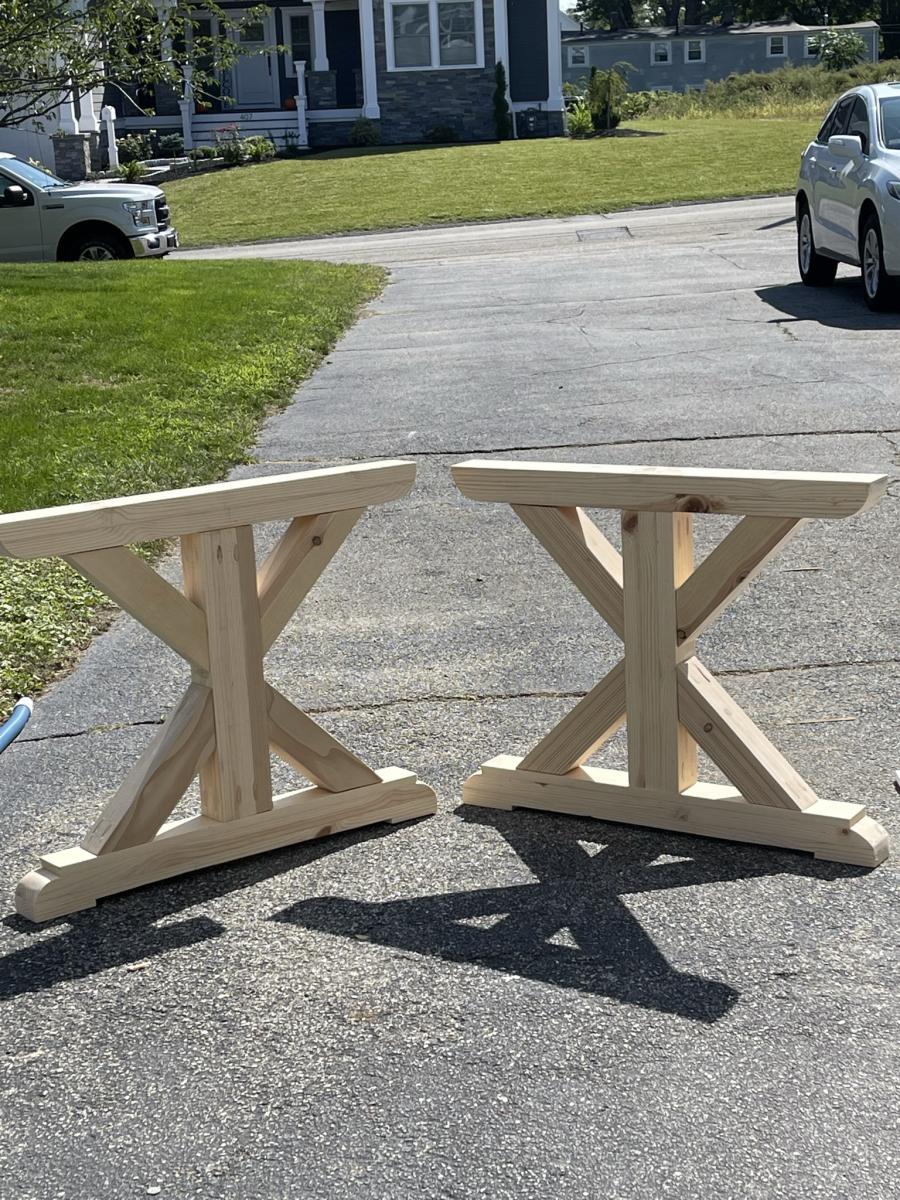
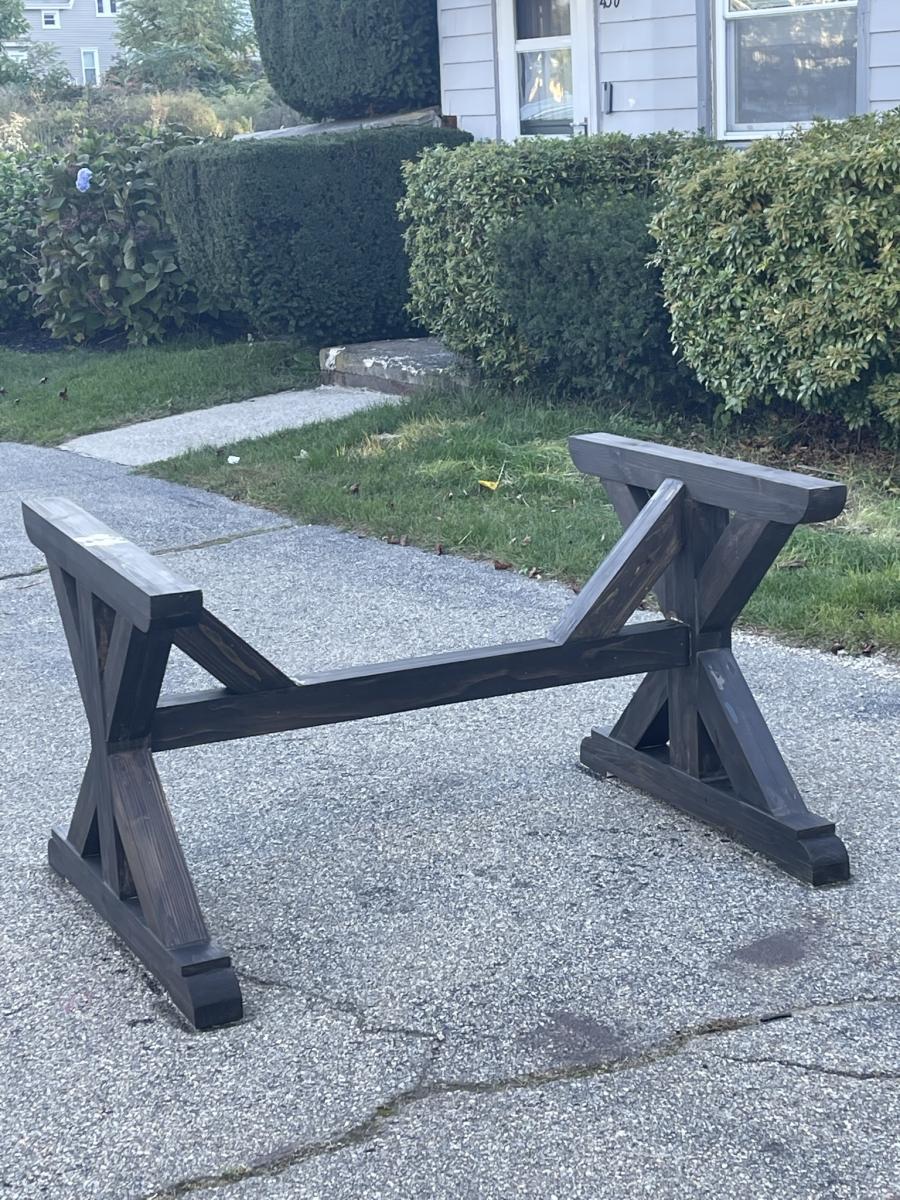
We had a great time making this desk! I was so thankful for the inspiration and now I have a new favorite spot in our home.
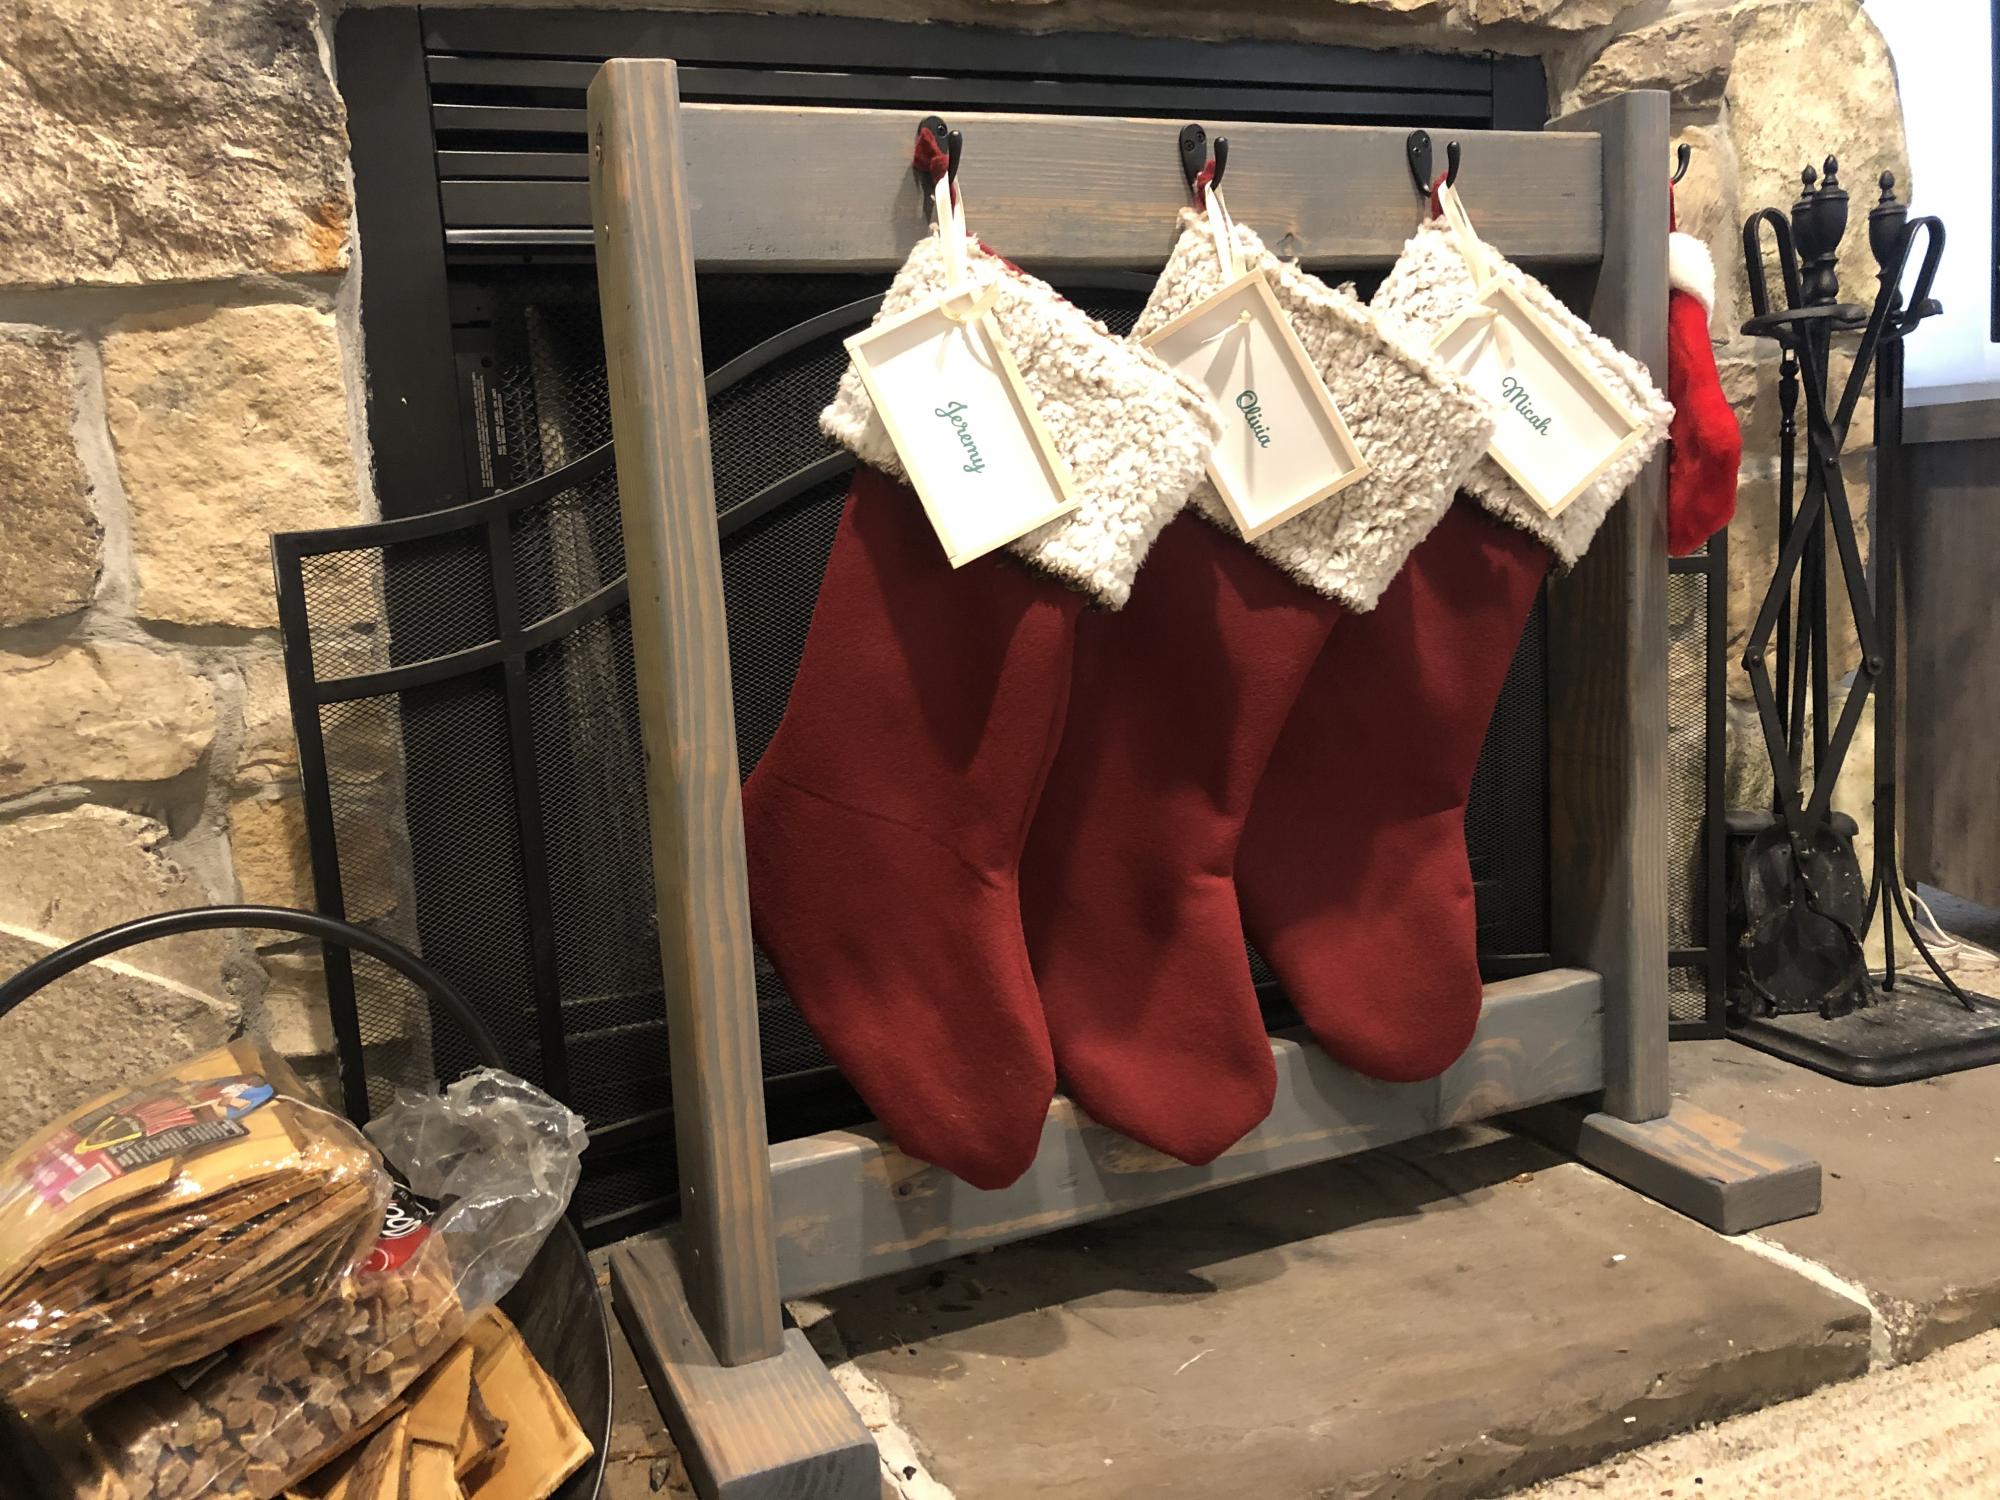
We usually place our stockings on the mantle. Last year, a full stocking fell down and toppled some of our nativity.
This year we used up some of our scrap pieces to build the stocking holder. We also made the stockings.
Absolutely love it! Super easy to scale down to our family of three (+one on the end for our dog 😂). It’ll be nice to double as a winter coat drying rack.

*I did not have any plans to work from*
the cost really depends on how much you can get your wood for. I had a lot left over from previous projects, so $500 is only a low guess.
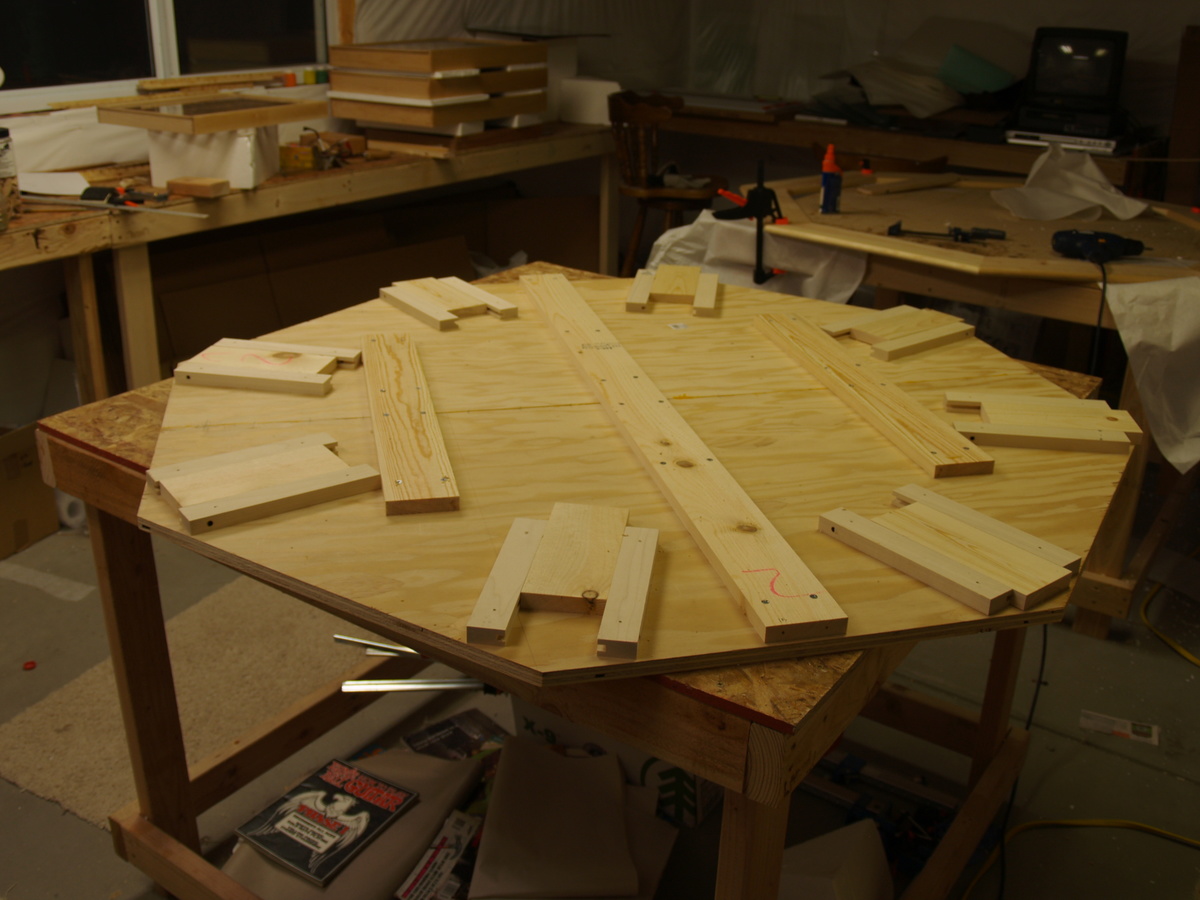
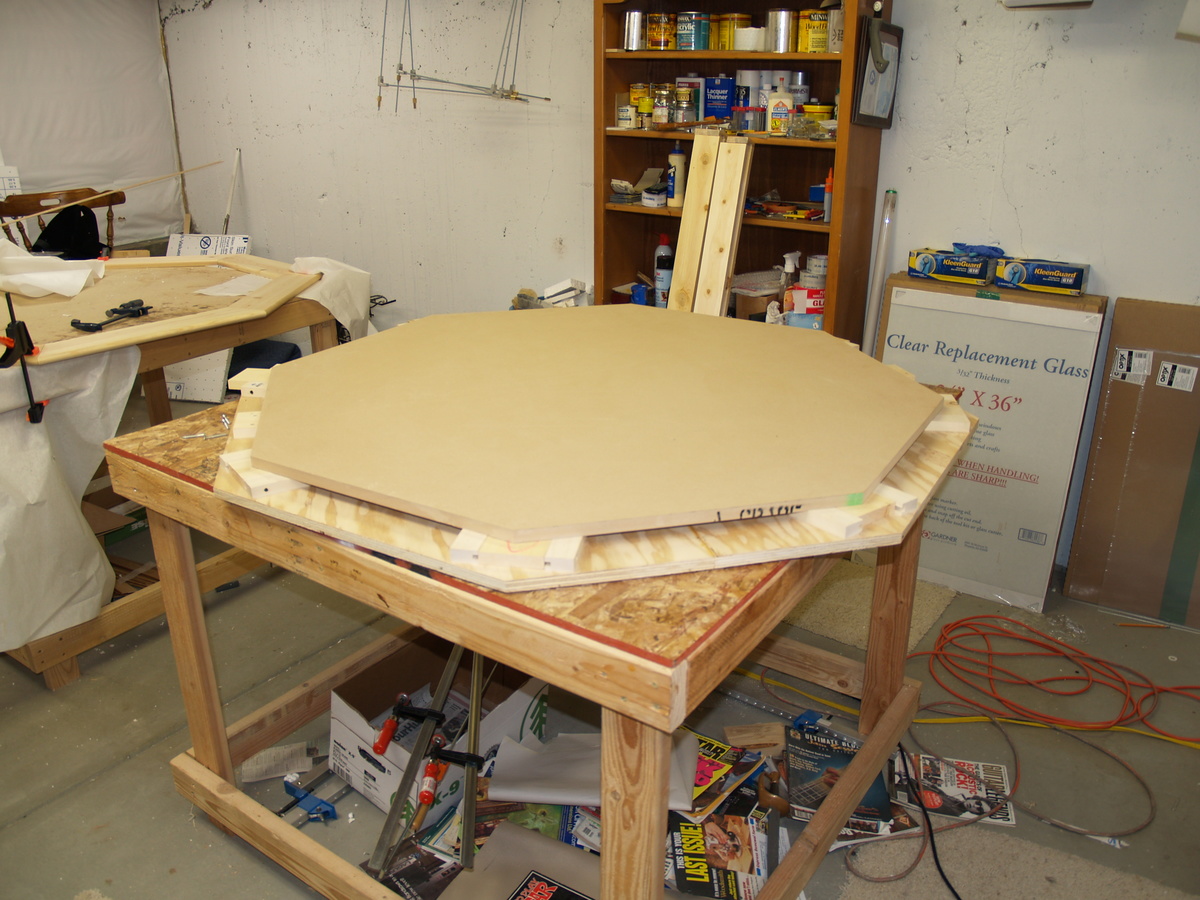
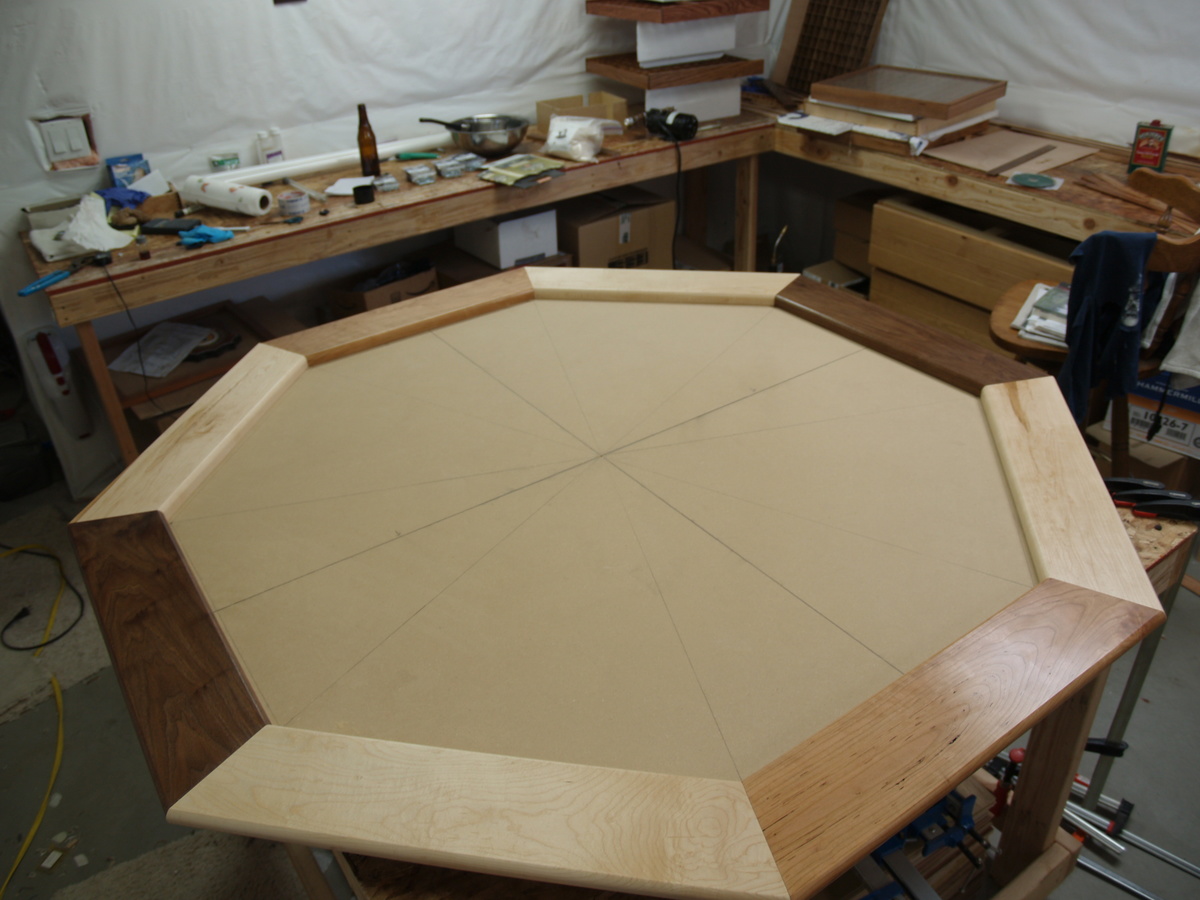
This is the second of 3 poker tables built.
Each side is 24"
the table measures 58" across
Some of the accompanying photos of the build were from my first table, but thought they might help.
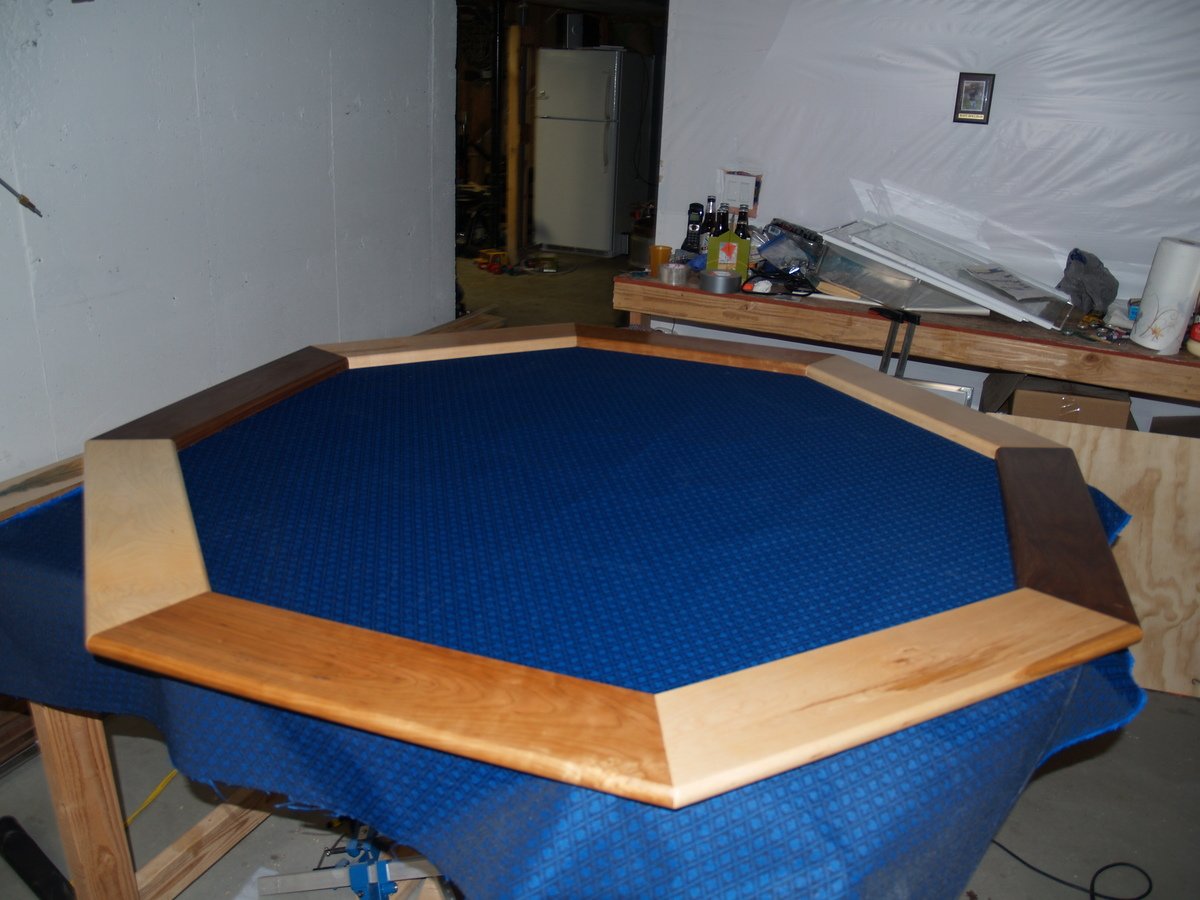
I purchased a foam pad and "speed cloth" from a local poker supply store. The slide away bev. holders are kept in place with rare earth magnets
If you need any specifics, I'll try to help
Sun, 04/22/2012 - 20:59
I love this! This table is perfect for home games. Please post the plans.
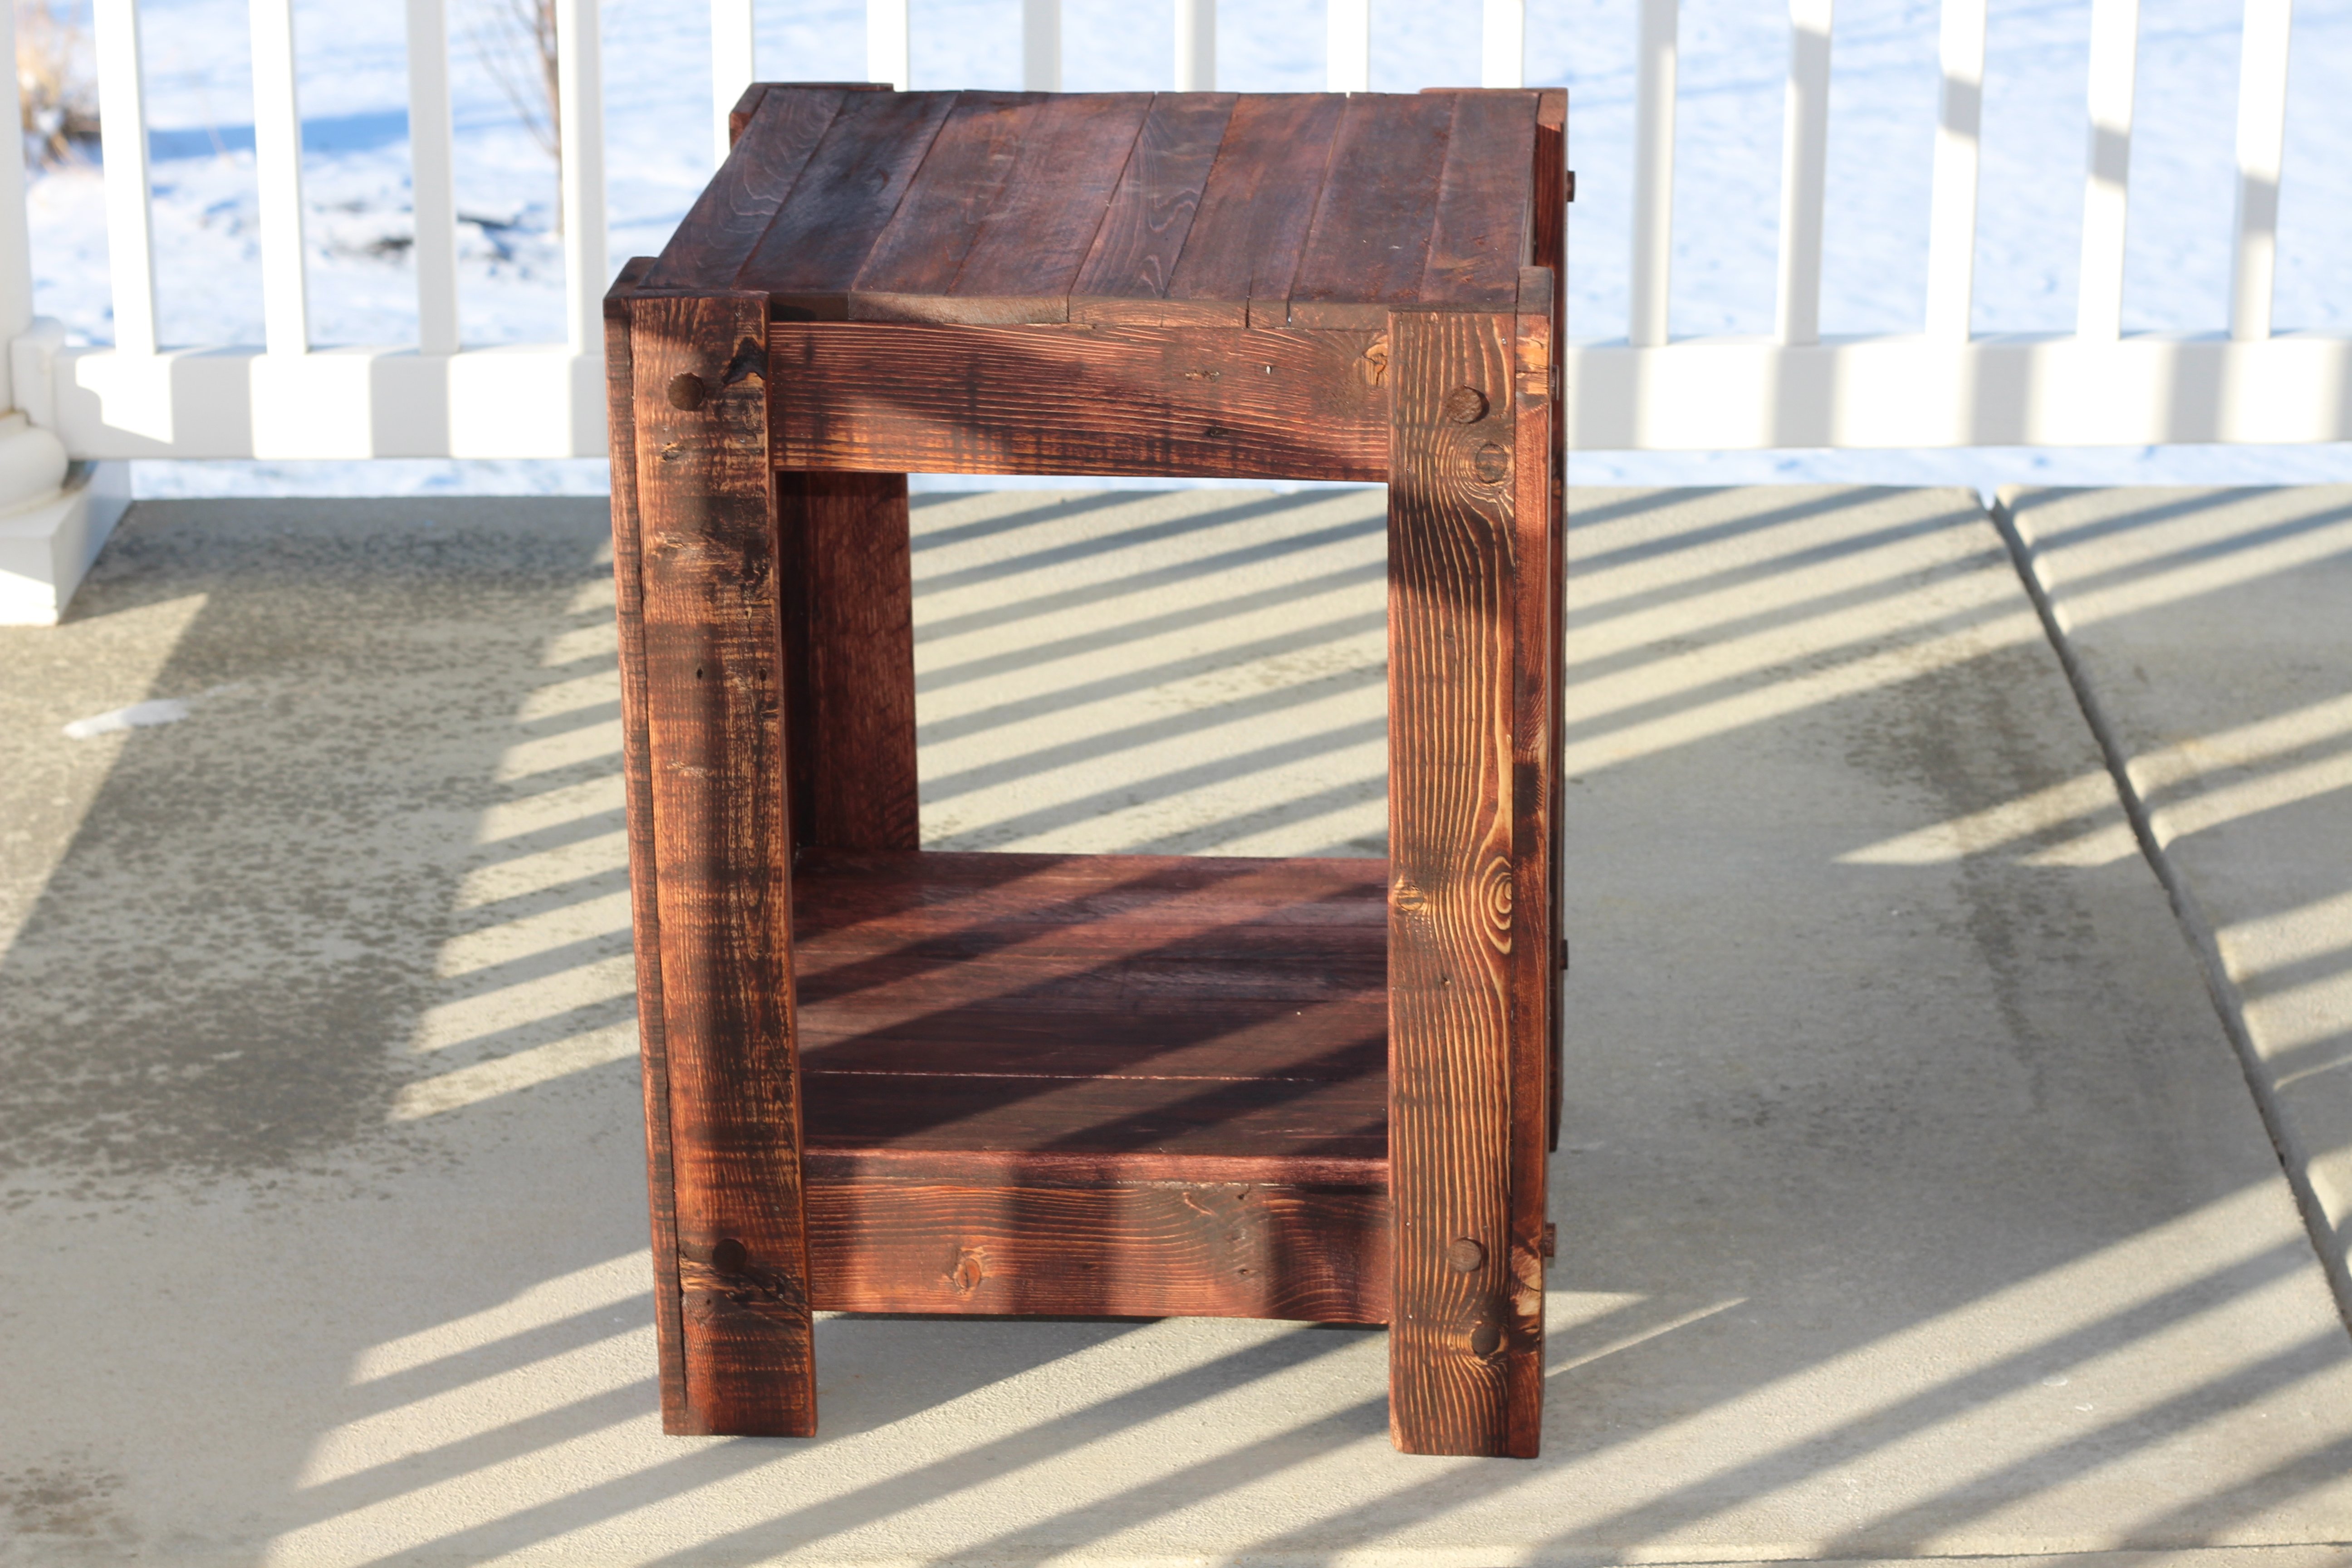
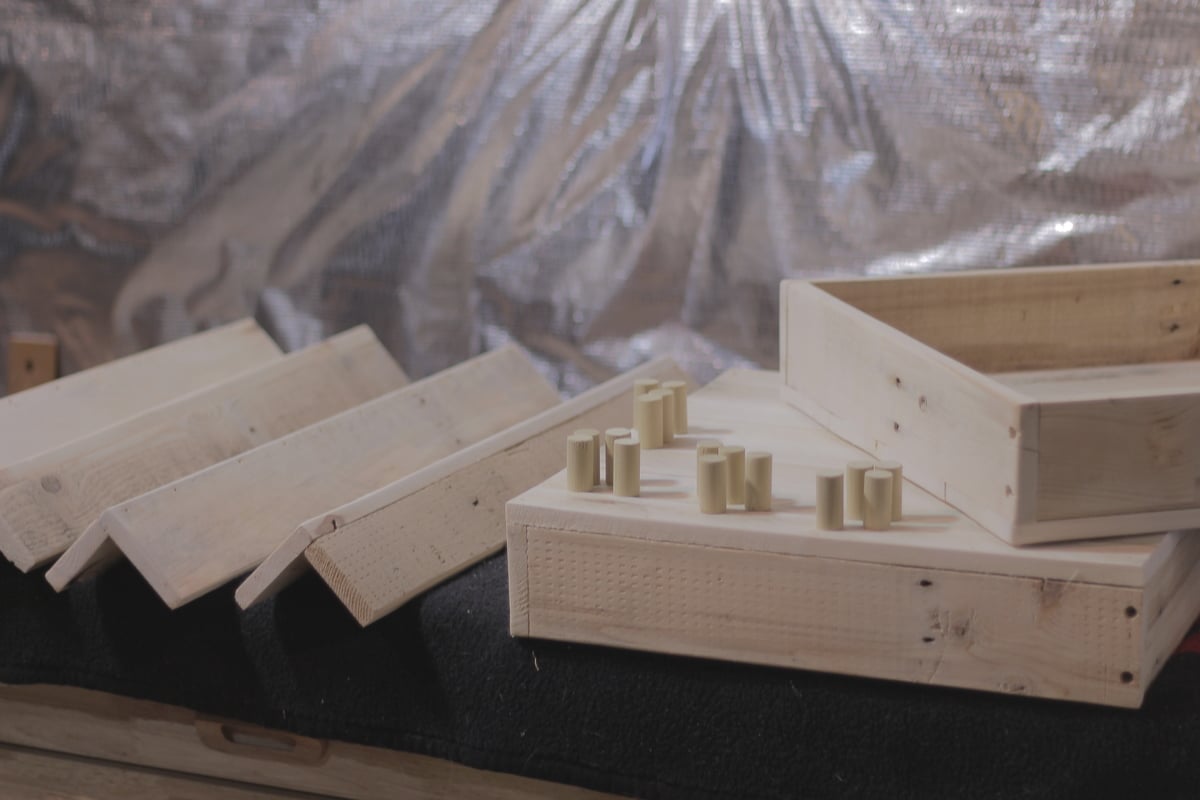
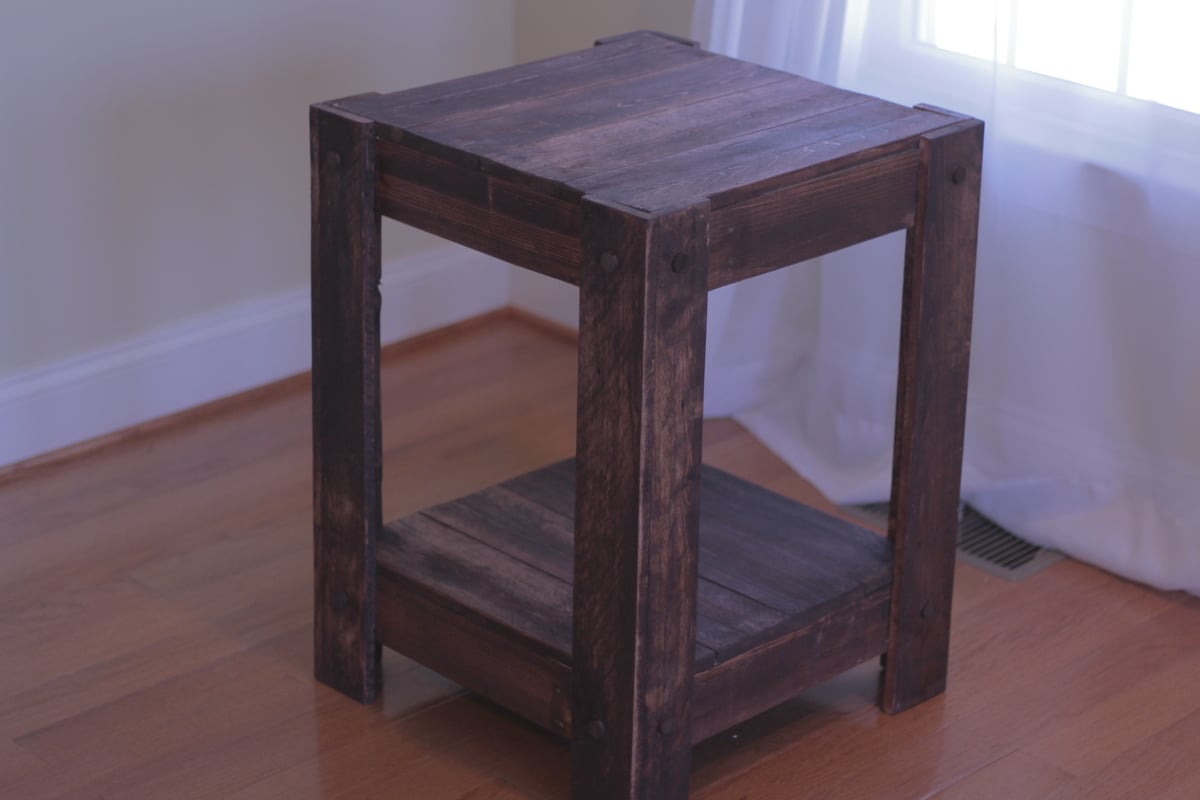
Building an outside side table out of scrap pallets.
Video of the build:
https://www.youtube.com/watch?v=kVAYXVGiL_8
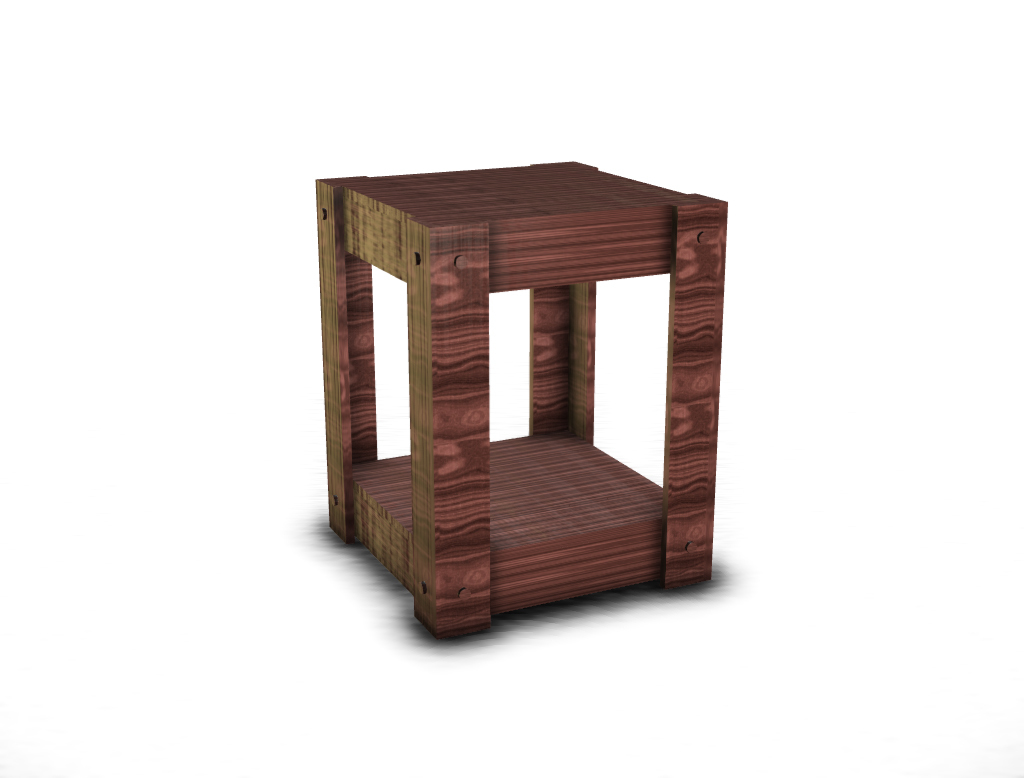
Drawing File
https://googledrive.com/host/0B21TbB8gGNQbX2dlNGdxR0NuOE0/end_table.pdf
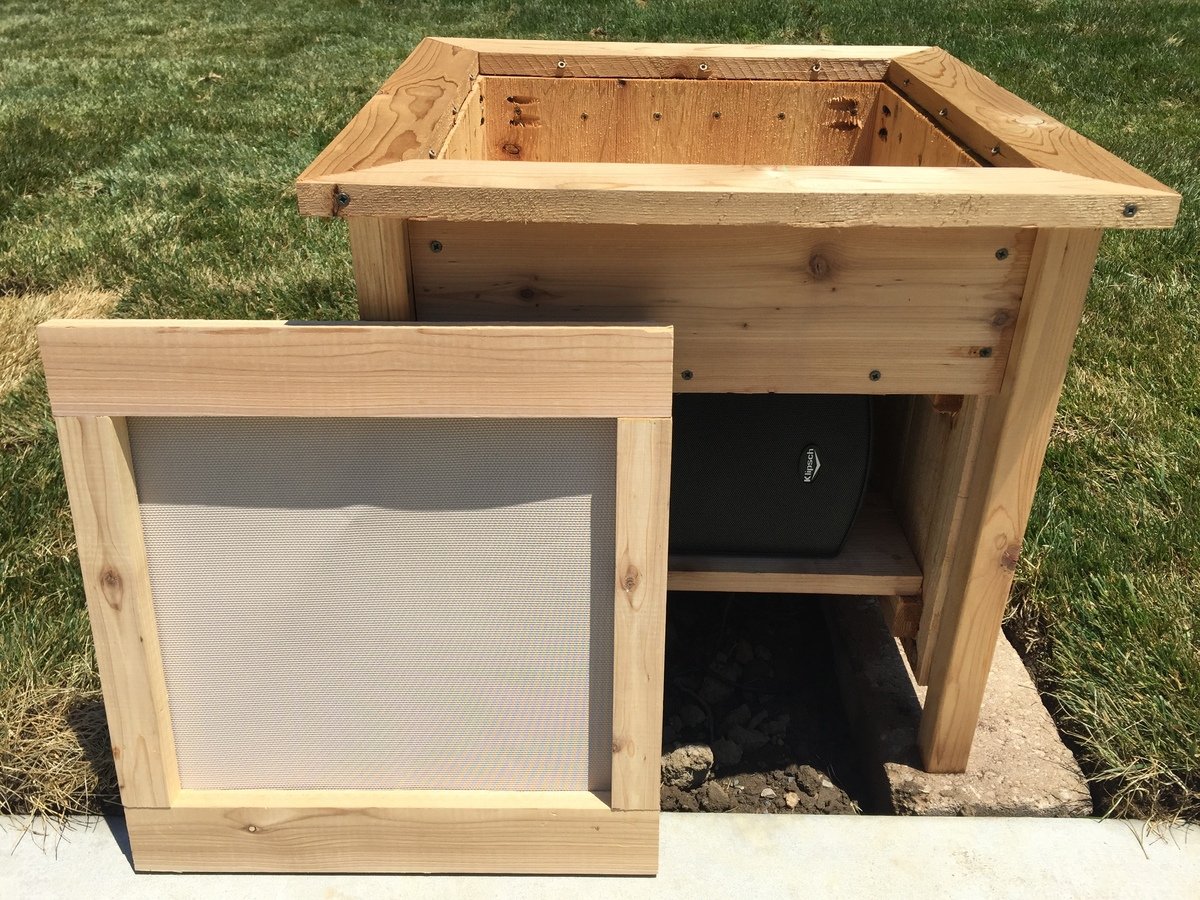
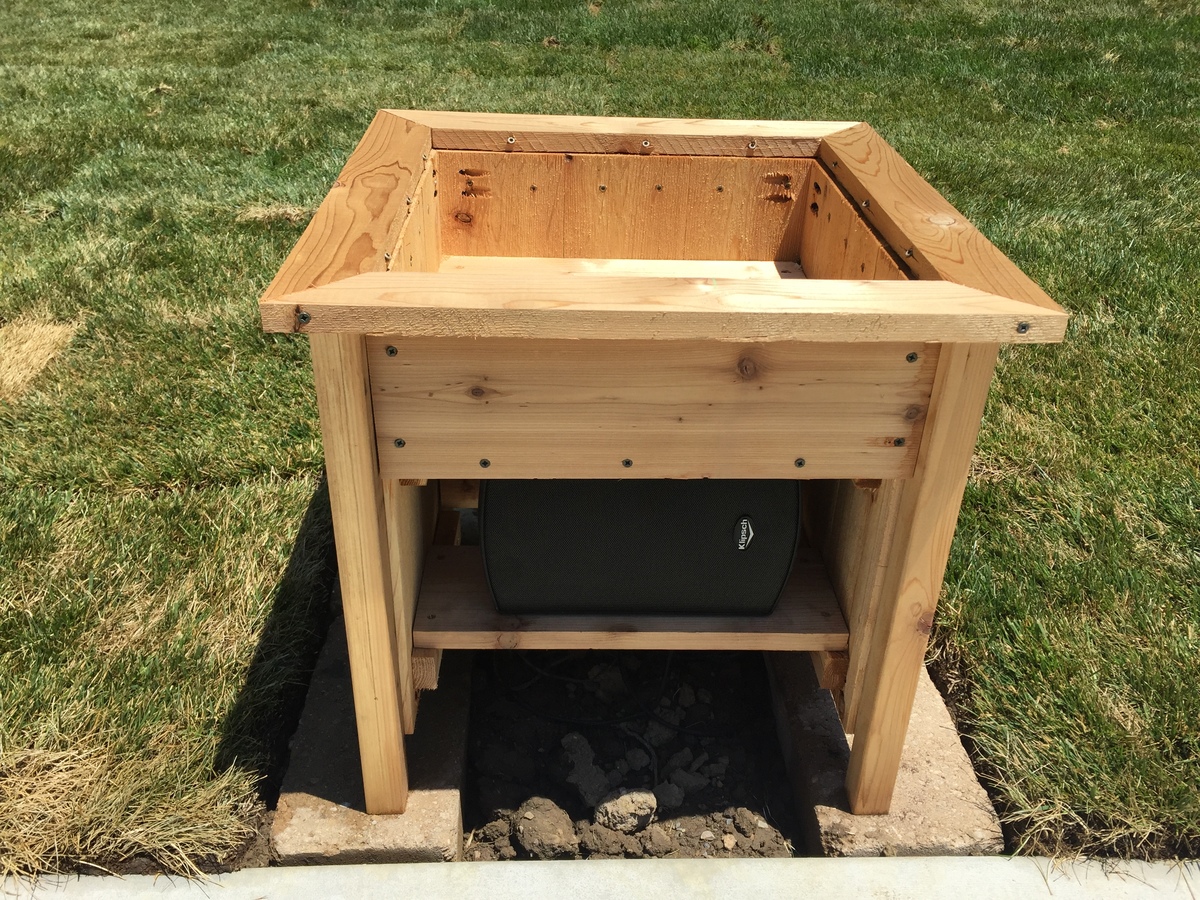
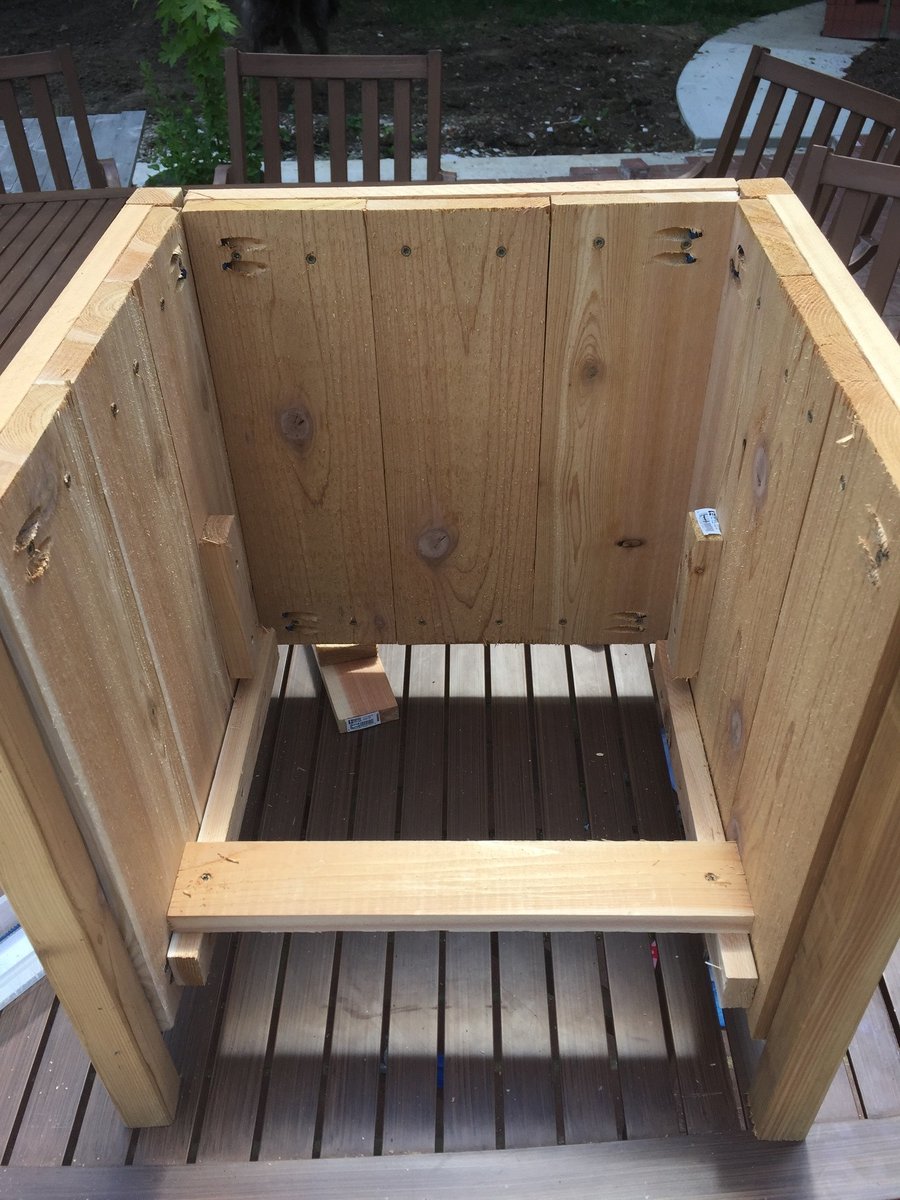
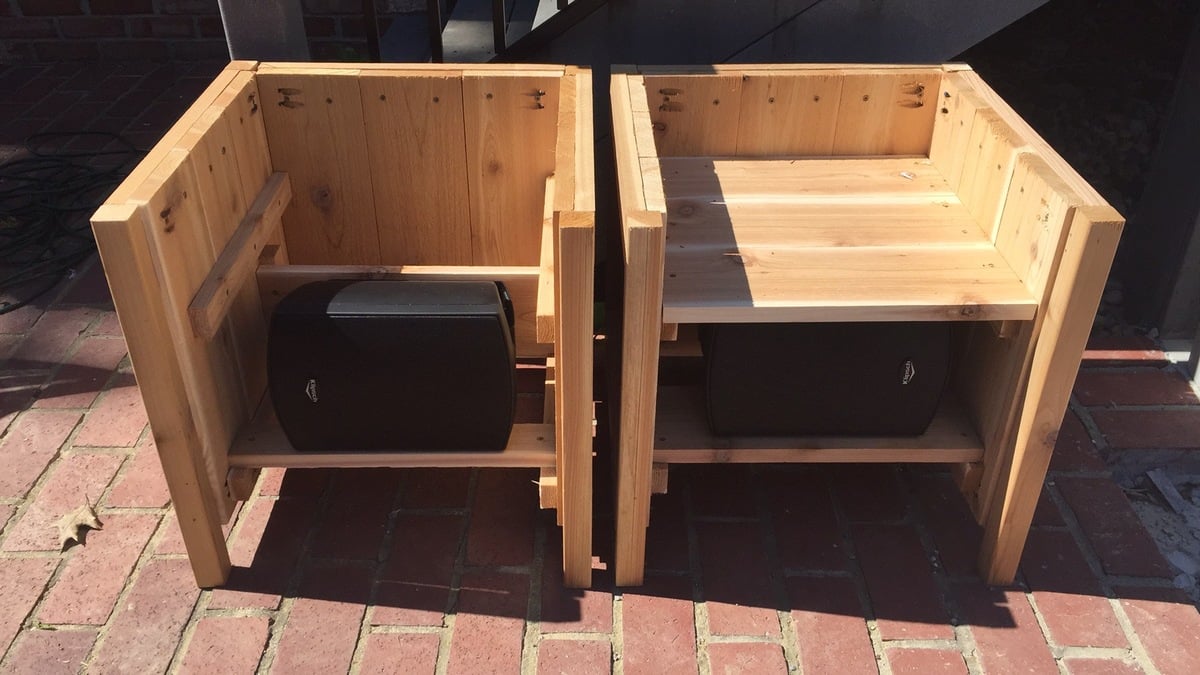
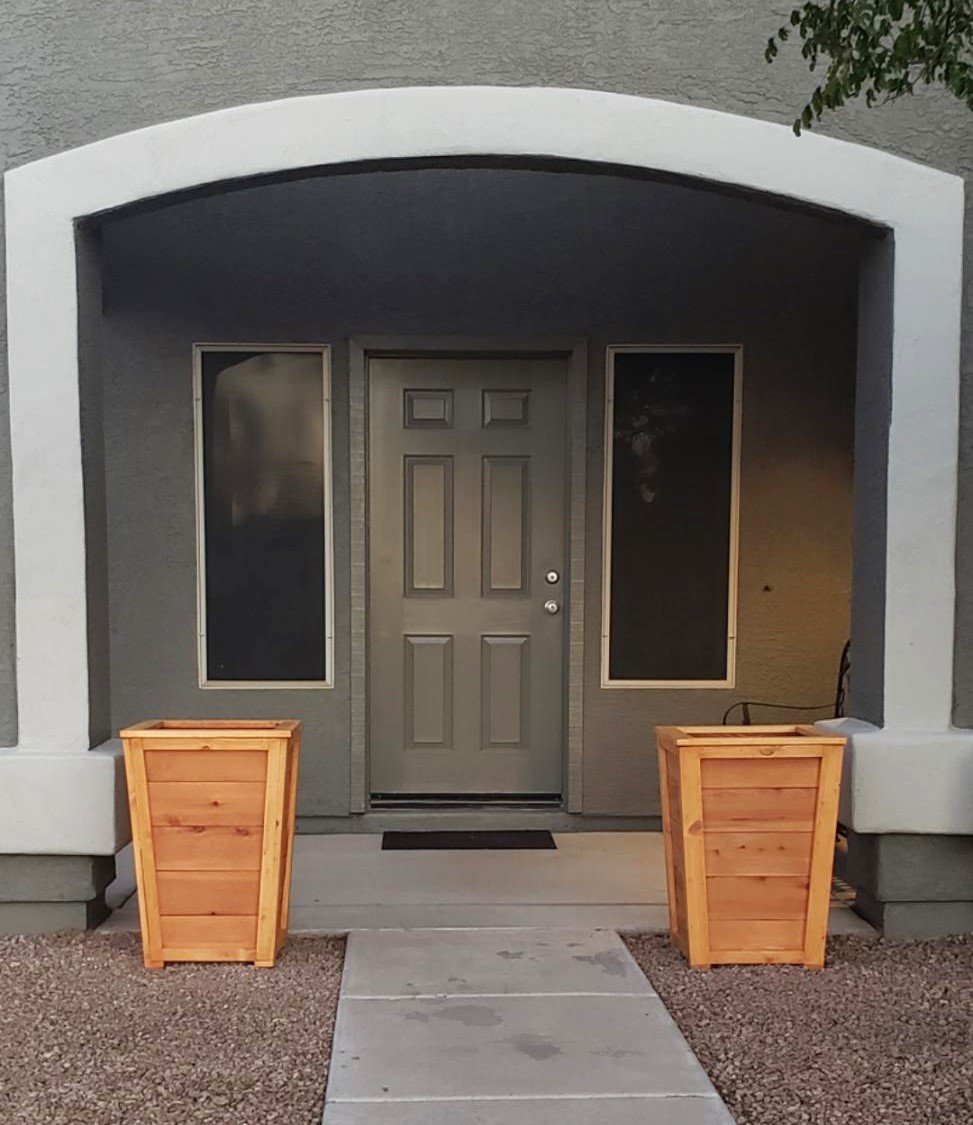
We just put in a pool and I needed something to hide a pair of outdoor speakers. I used Klipsh AW-525 speakers.
Basically I raised the bottom of the planter enough to fit the speaker under and had to add a few framing pieces to secure the speaker mount to. The mount attaches to a vertical board and the weight rests on a horizontal board. The wiring comes up from below.
The front panel uses vinyl mesh from Sailrite.com to hide the speaker but allow sound out. Imm planning to hang it with magnets if it doesn't distort sound too much.
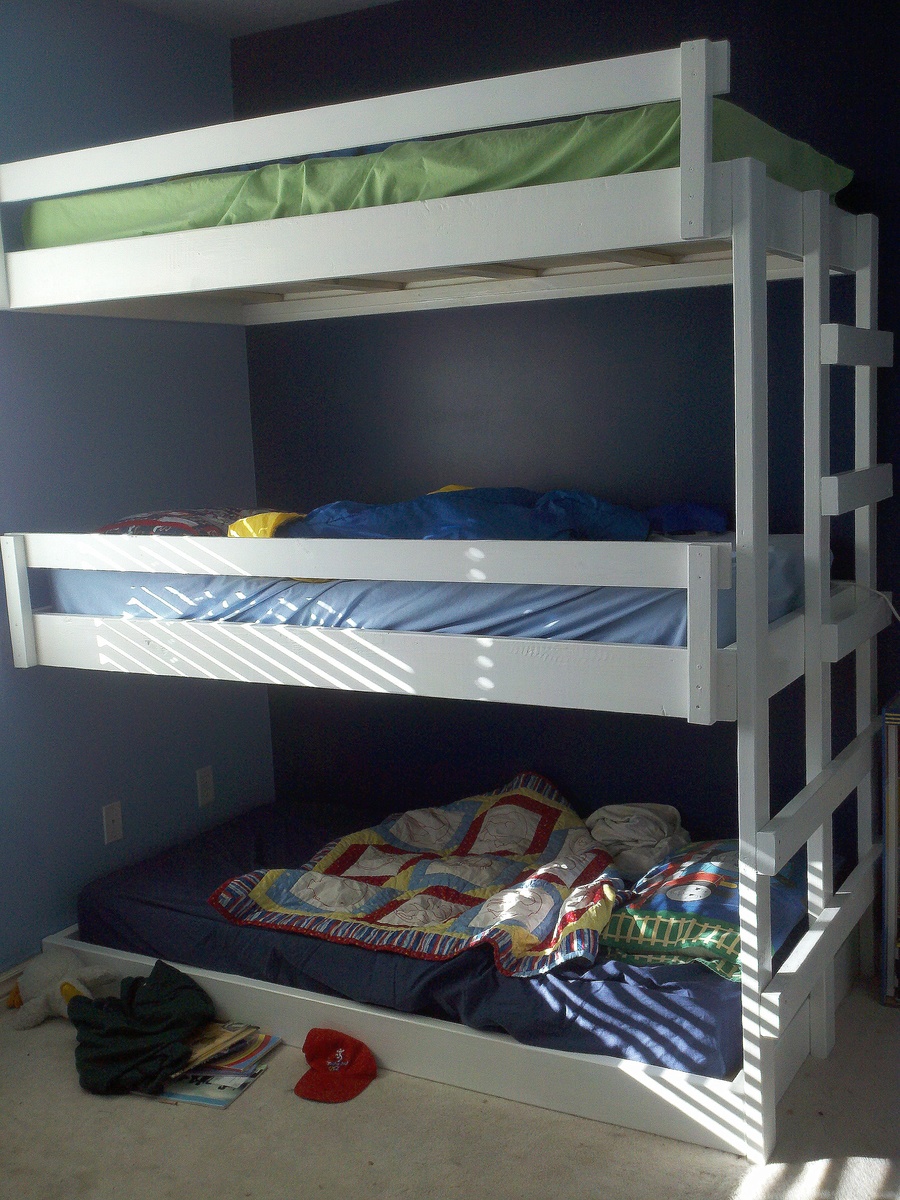
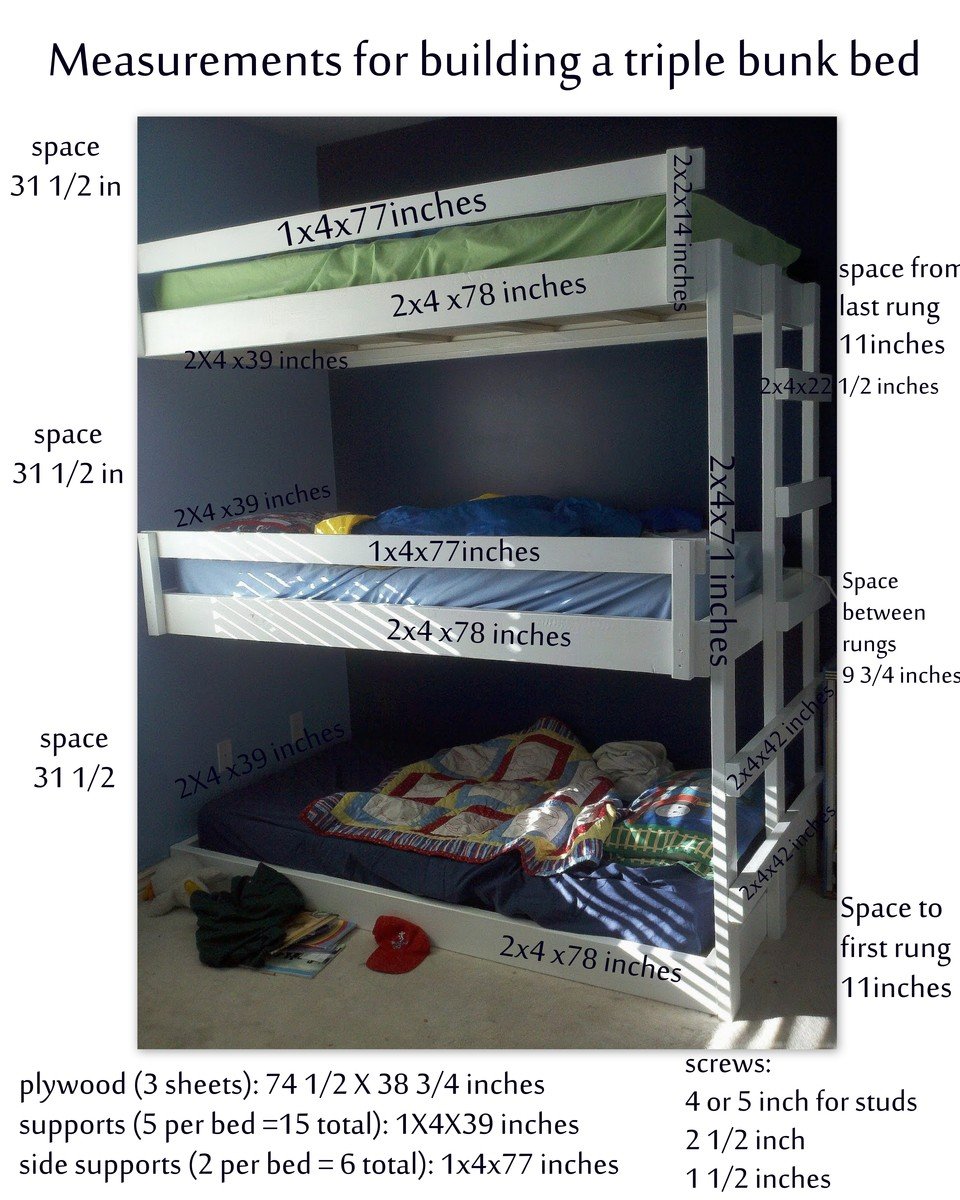
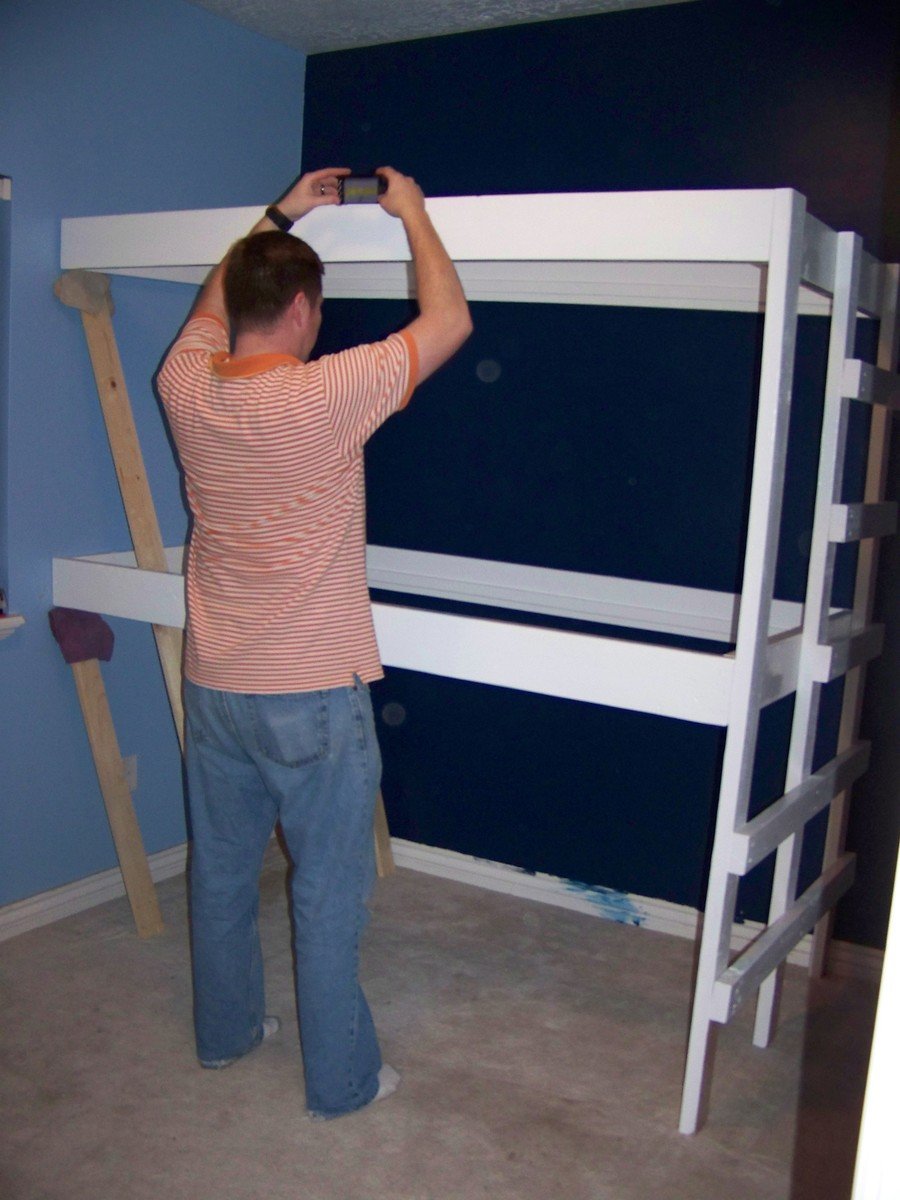
More info on these Triple Bunk Bed Plans on my blog: http://myhomedonemyway.blogspot.com/2013/03/triple-bunk-bed-finished.ht…)
1. Build the Bed Frames: (I will explain the process for one bed...do it three times if you want three beds)
2. Add Side Supports: ( Also do this step three times for three beds. We did it later but would be easier to do now)
3. Add Roll Guard: (do twice...once for each top bunk. We did this later but can be done now)
4. Build Ladder:
5. Paint desired color (you don't have to paint the sides that will be screwed into the wall).
6. Install into the wall in desired bedroom
7. Add Supports (do three times for three beds)
8. Add Plywood (do three times for three beds) 9. Finish


Mon, 04/28/2014 - 13:28
I hope you all enjoy these triple bunk bed plans. The instructions should be easy to follow to make your own!

In reply to Easy Built in Triple Bunk Bed Plans by myhomedonemyway
Sun, 01/22/2017 - 11:06
Thank you so much for sharing your plans! This is great, well built, but still easy to do!

We really loved the plans that were given. The space that we had to utilize was smaller than the pallet so we had to take ours apart and cut each board and rebuild. We LOVE it and were so glad we found these plans. They helped tremendously and transformed our little corner from somewhere the kids just stacked book to a nice family library.

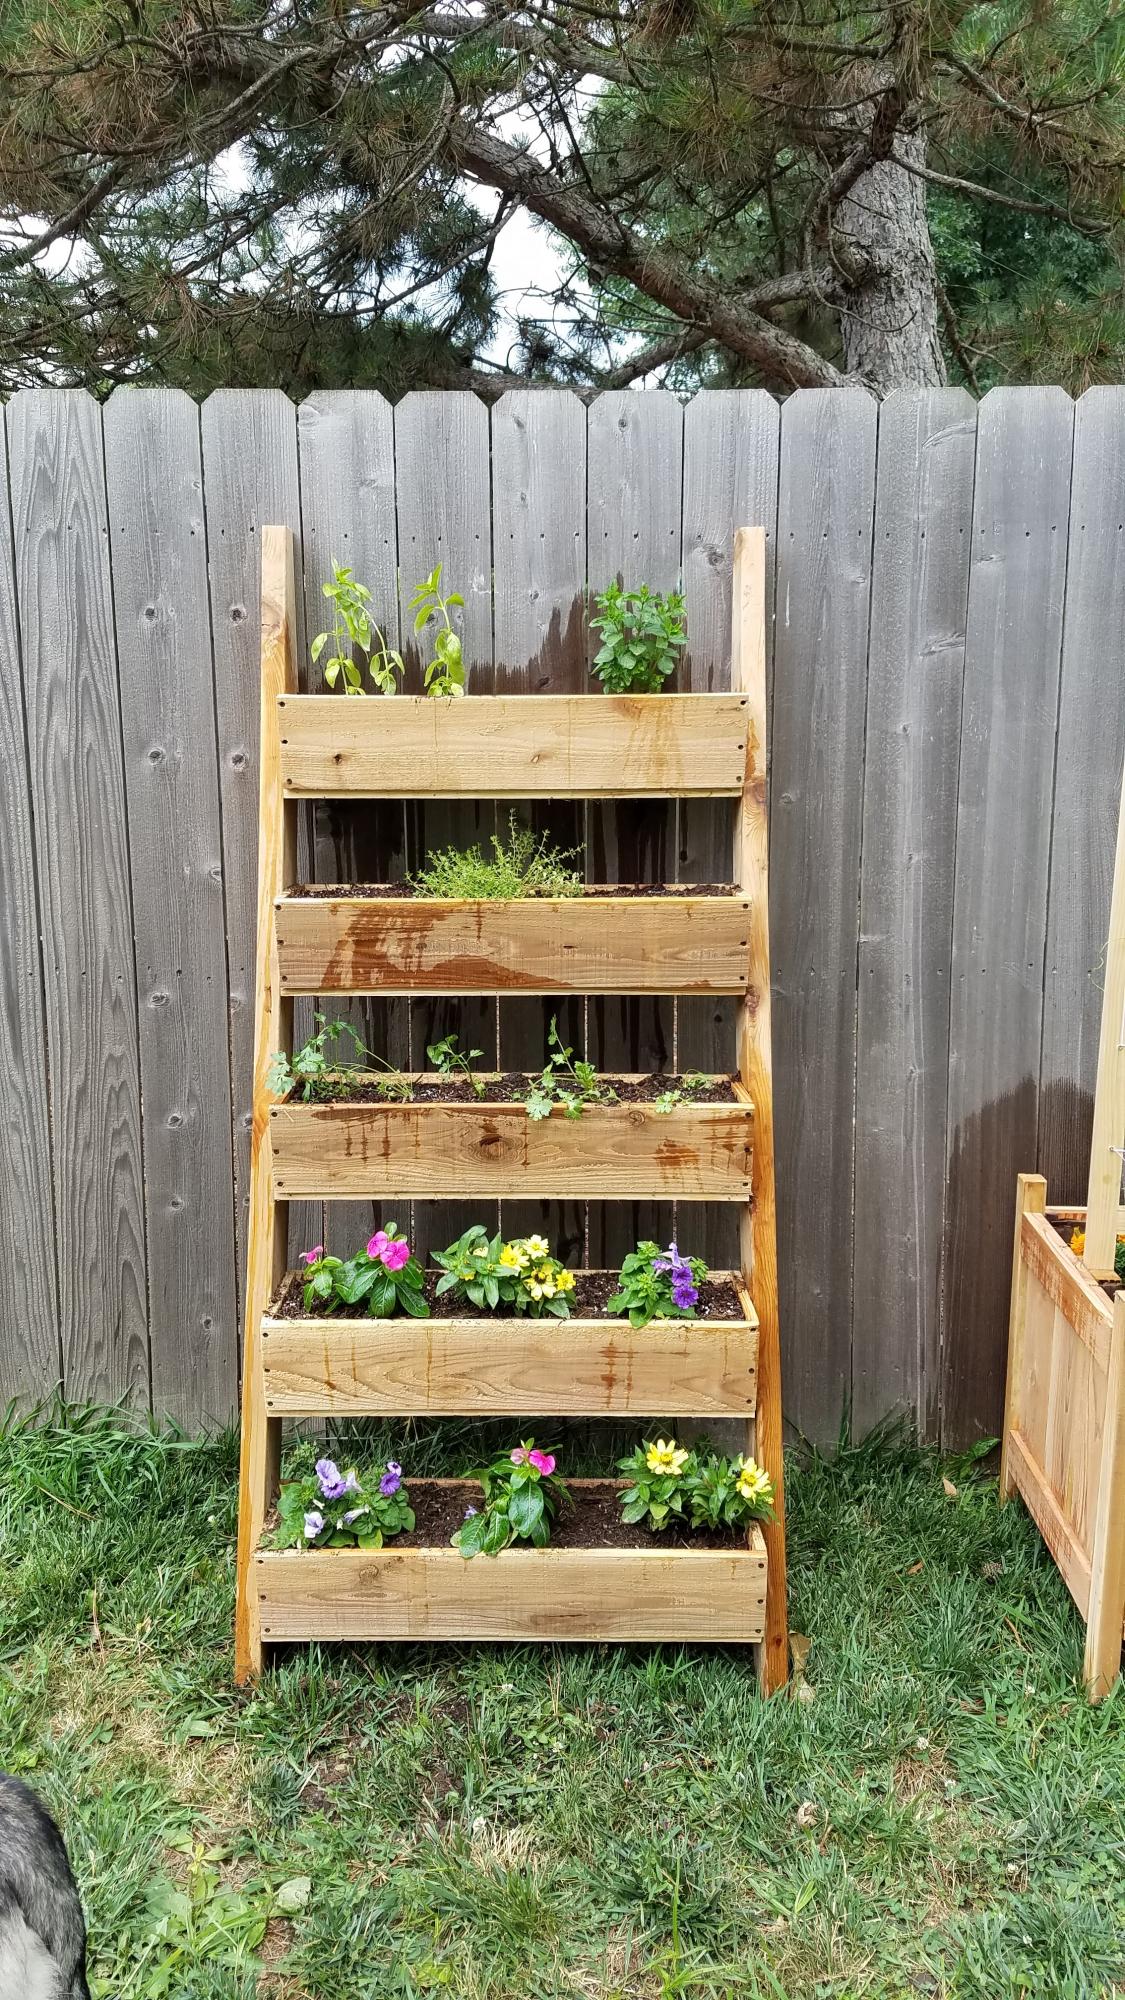
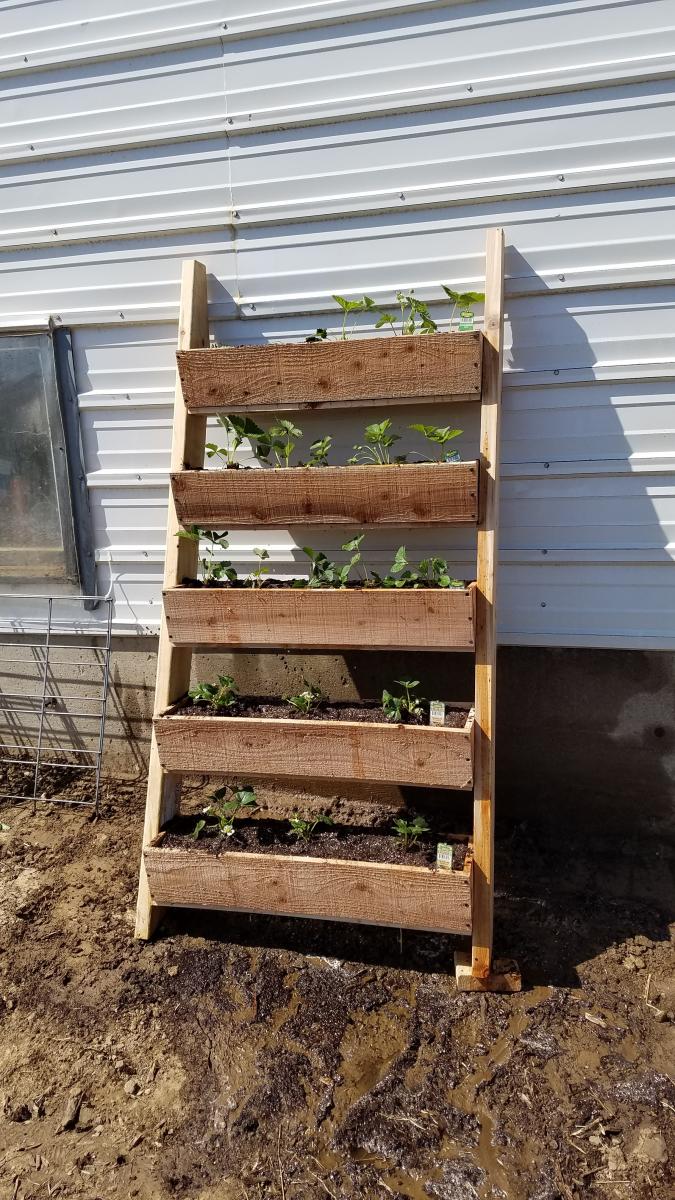
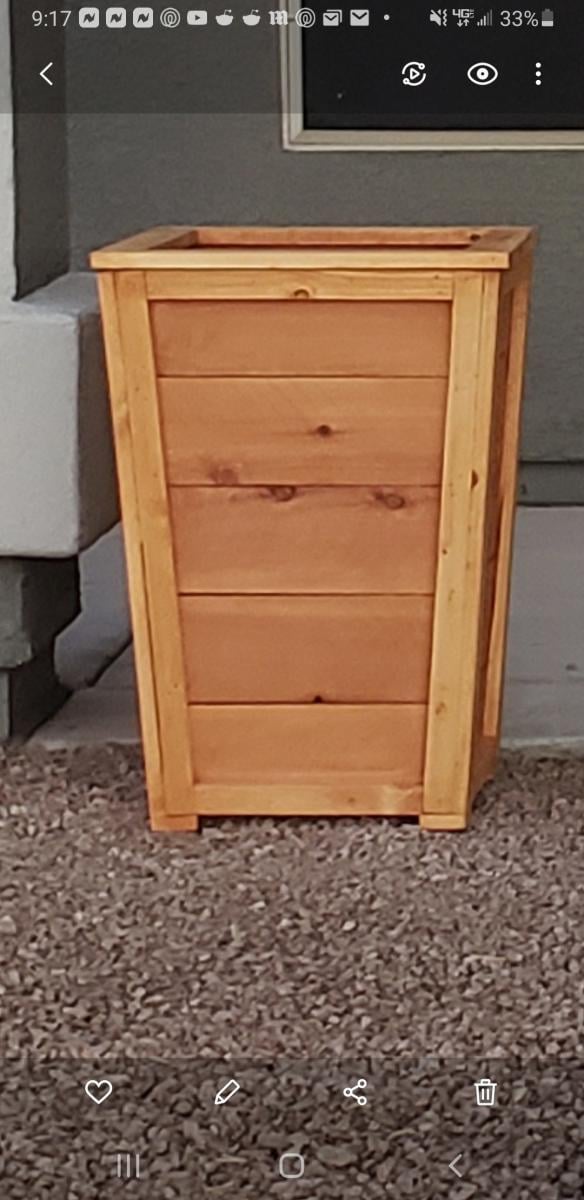
Made two of these this spring. One for strawberry plants, and one for herbs and flowers. Made according to plans.
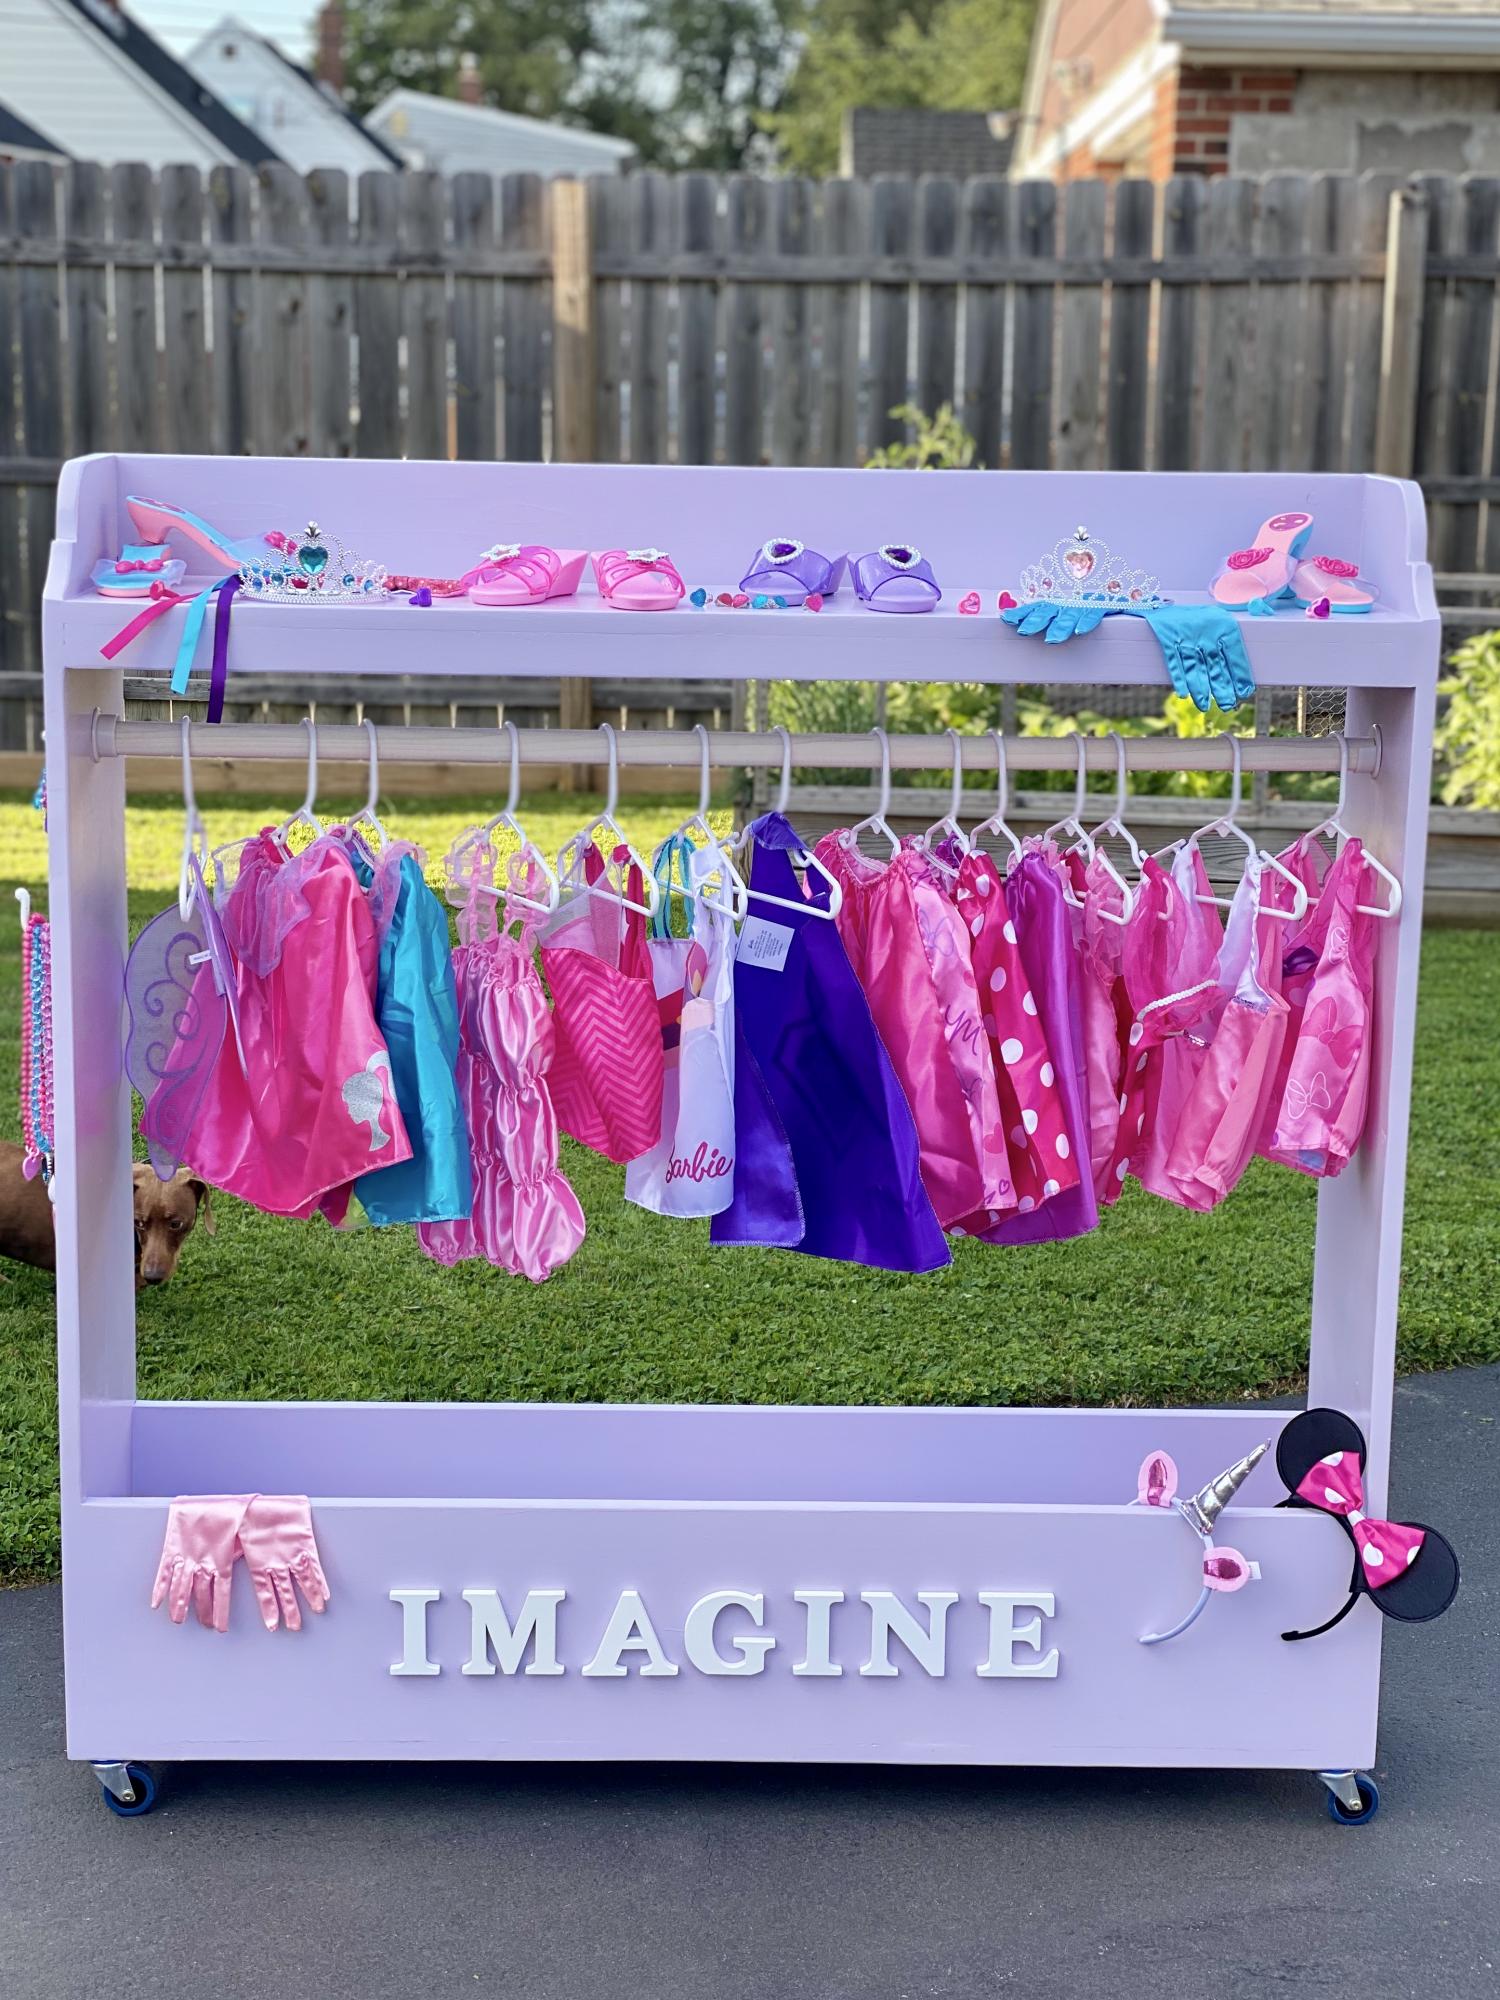
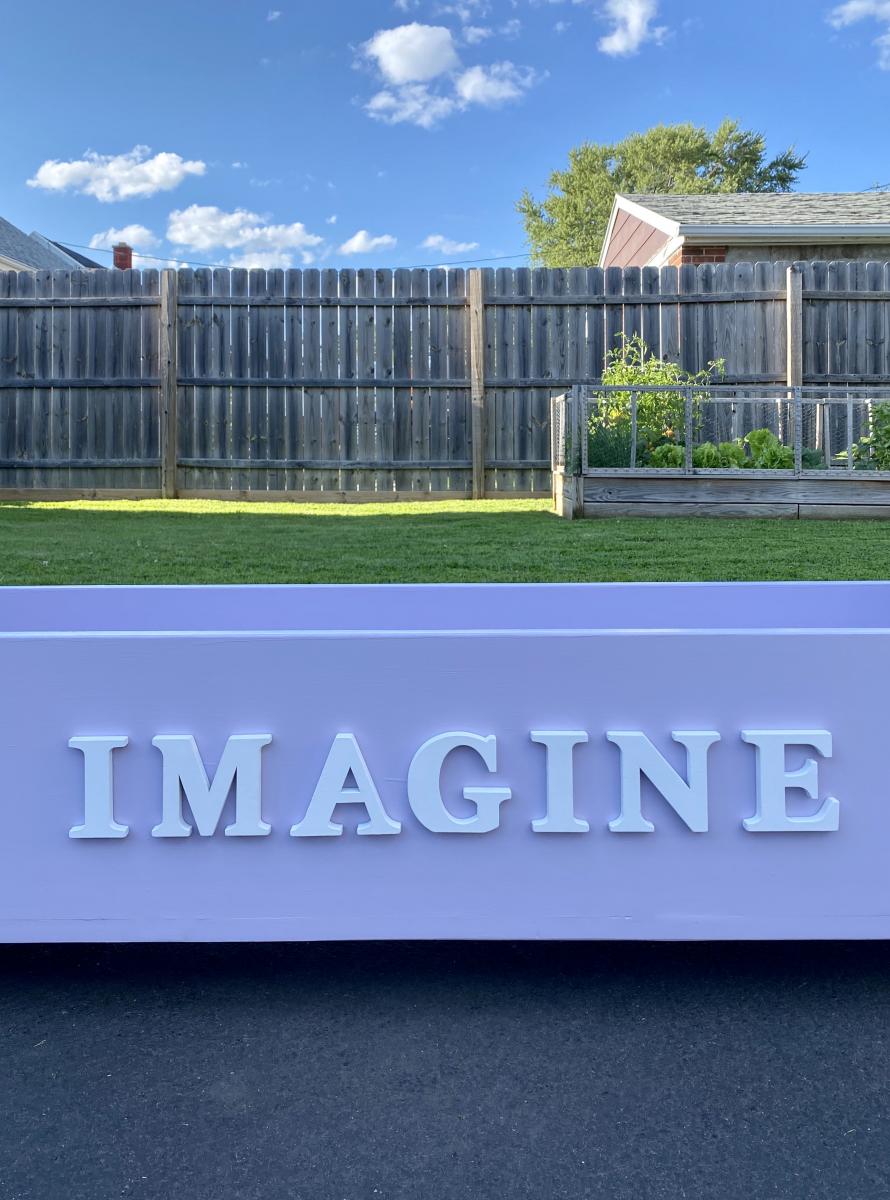
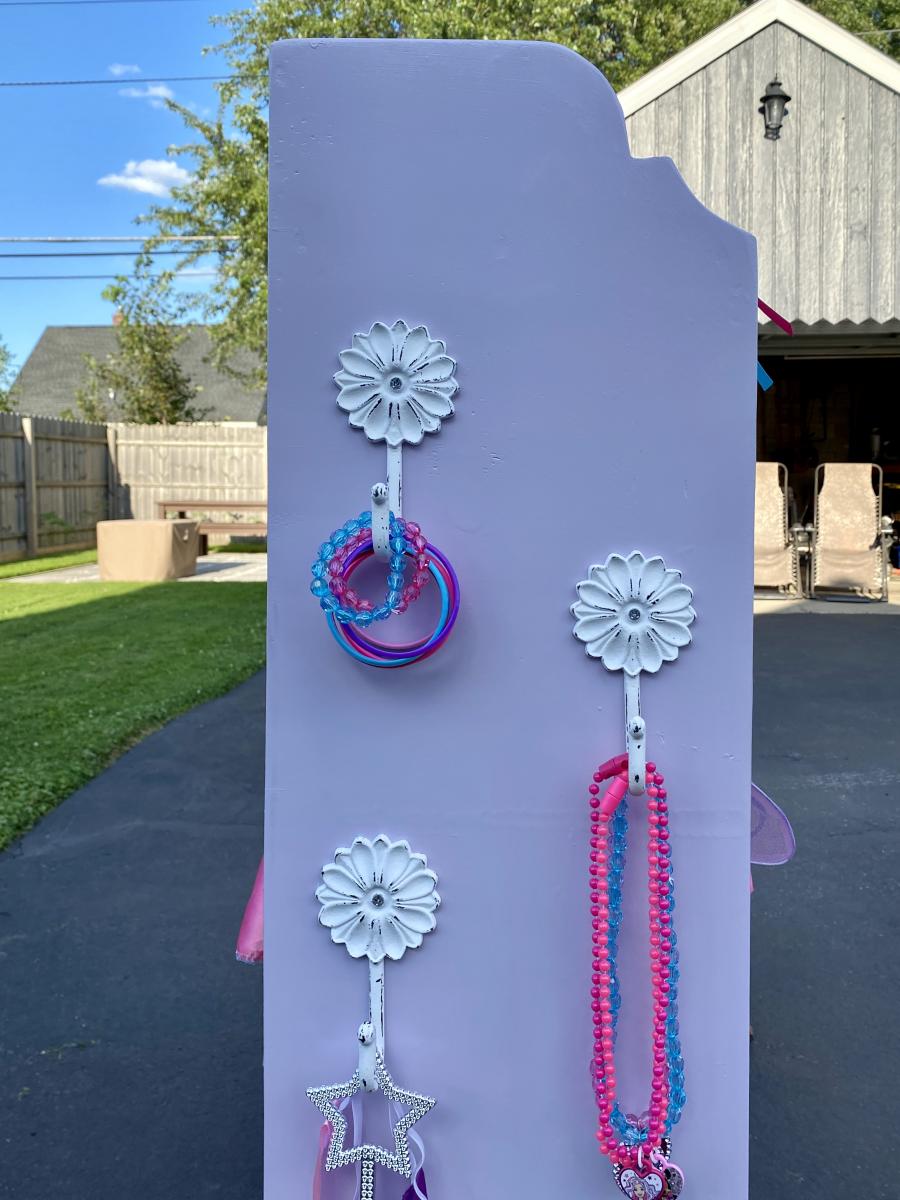
We made this adorable dress up center for my niece’s 3rd birthday. Peyton and her sister Ava will be able to use this gift for years to come! It’s strong and sturdy and built to last. The cart itself is quite large and will hold loads of dress up costumes. Can’t wait to give it to the birthday girl this weekend!
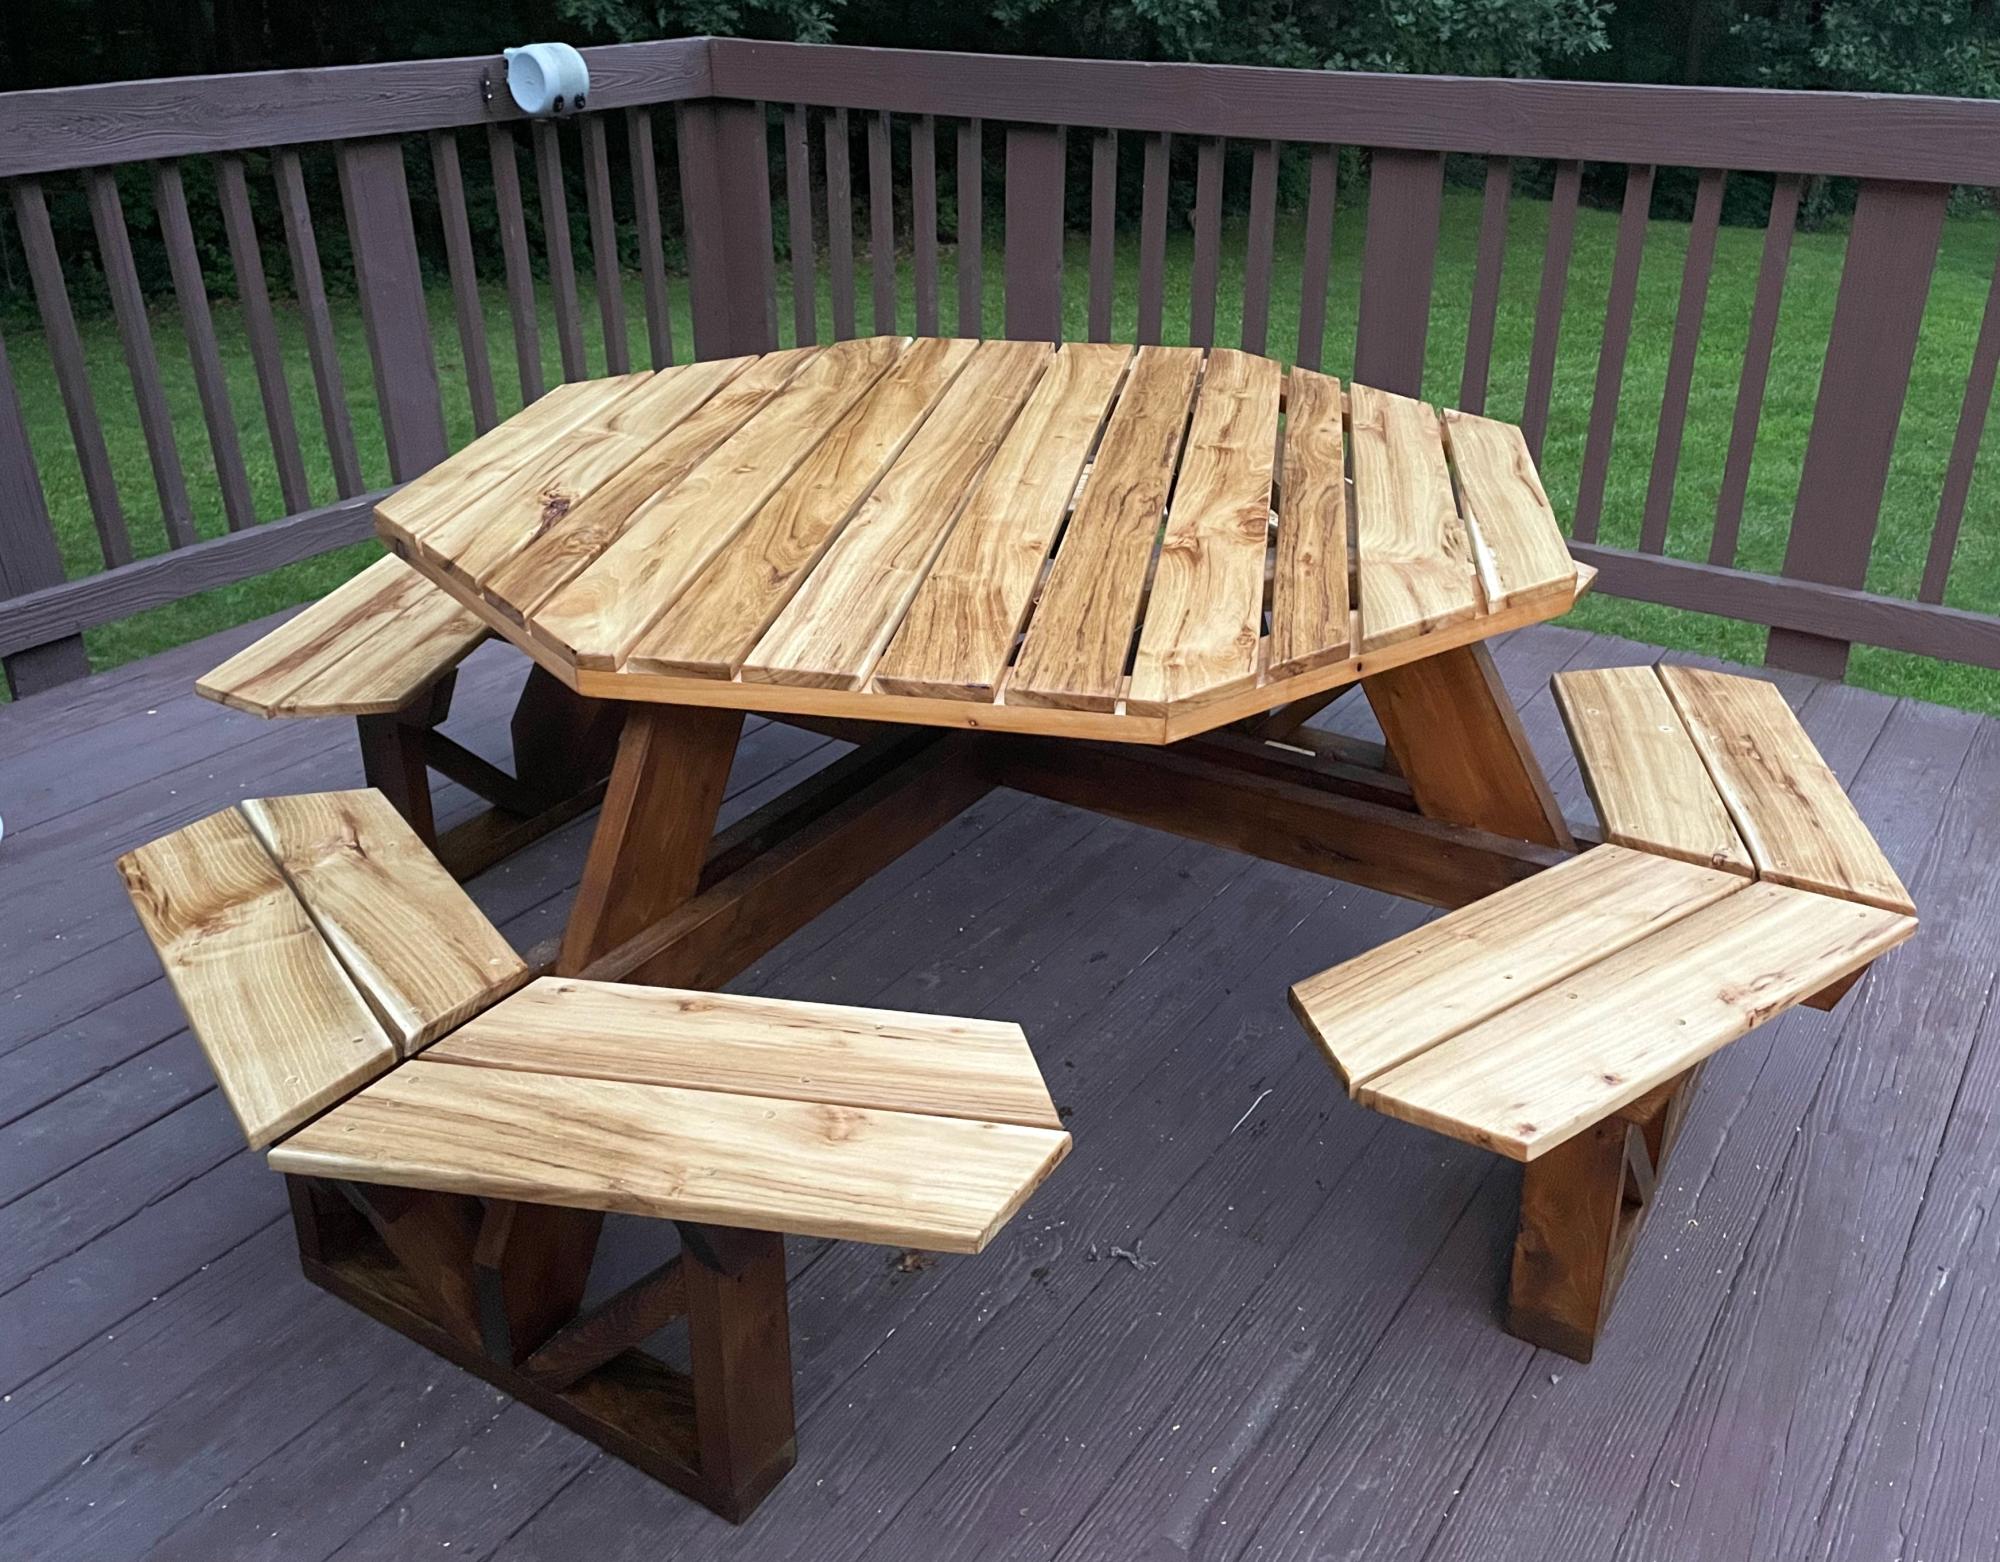
Cedar base with black locust table top and seats.
Built some cabinets from scratch for my daughter this summer. This is the finished product. -
Robert zsmith

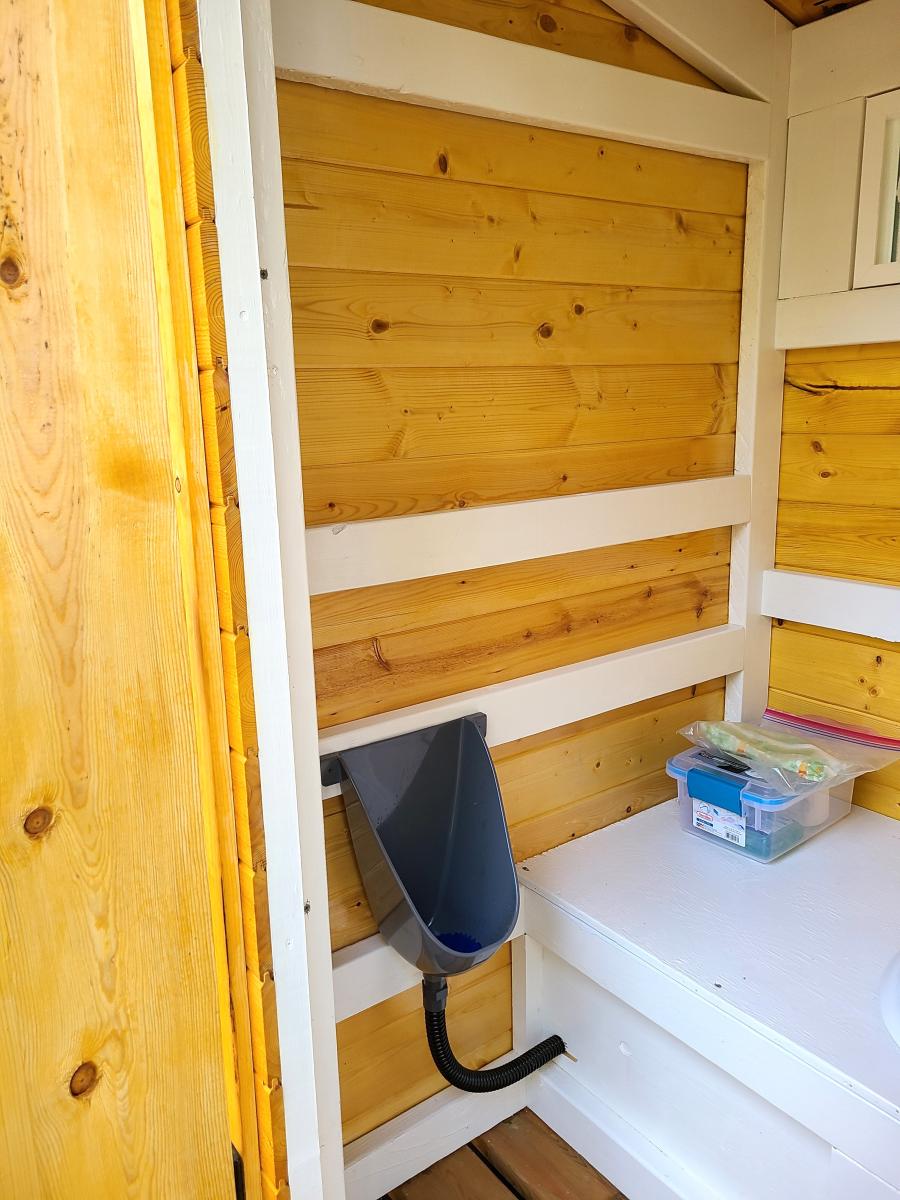
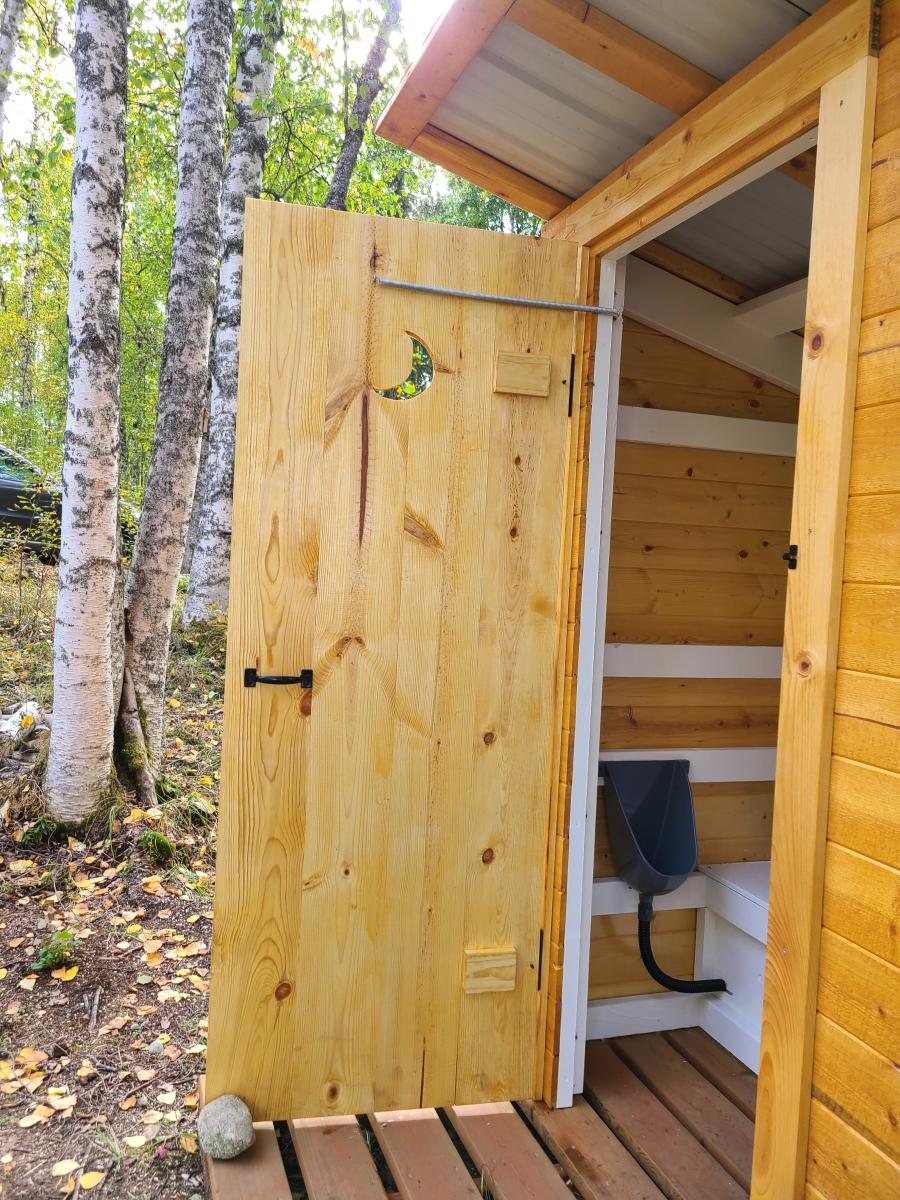
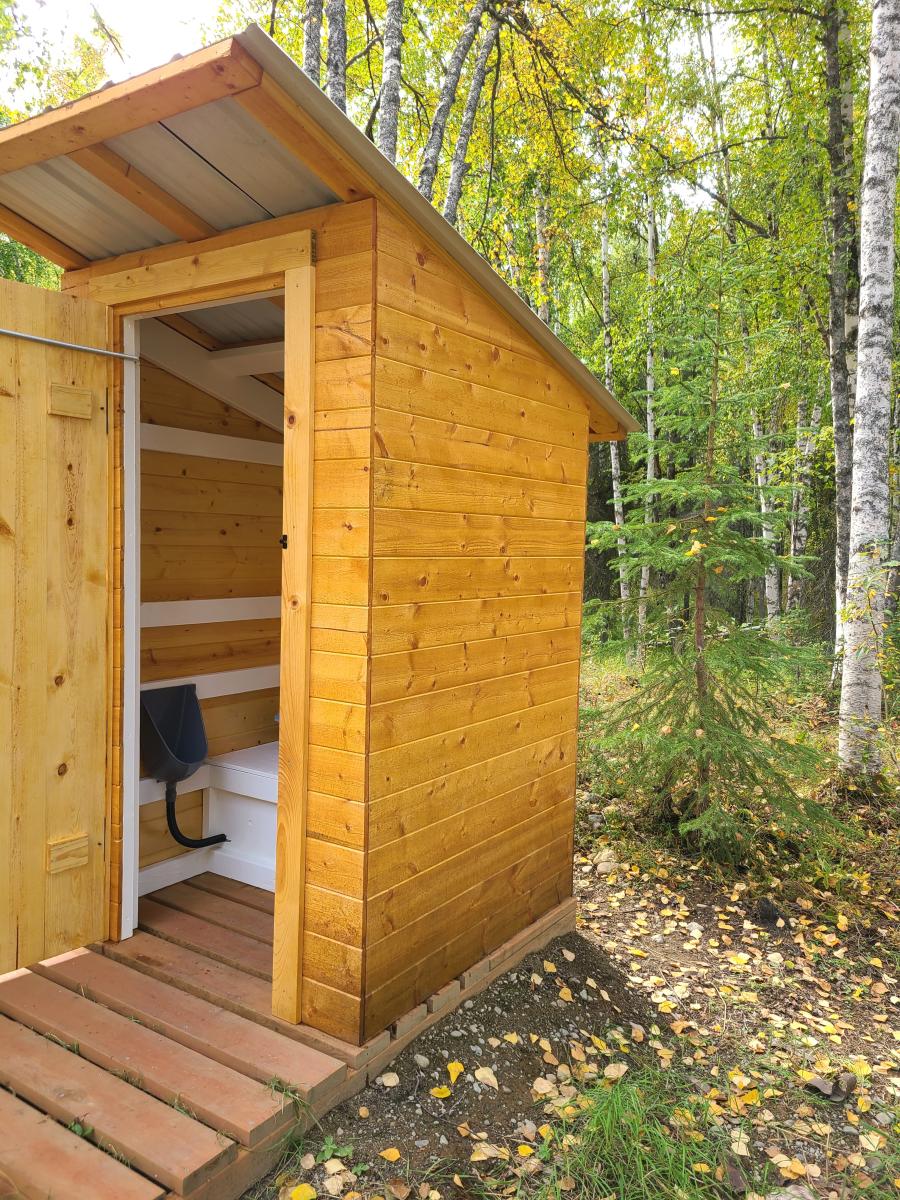
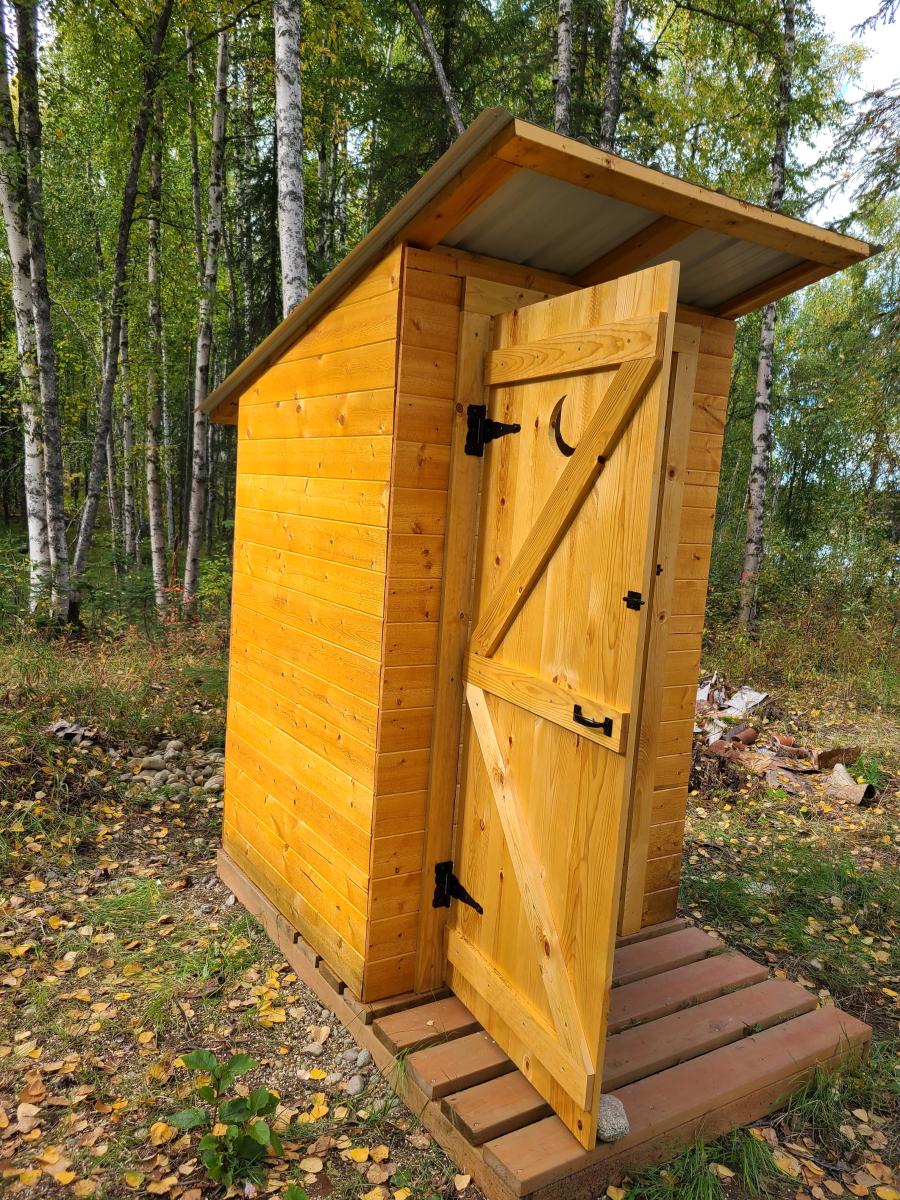
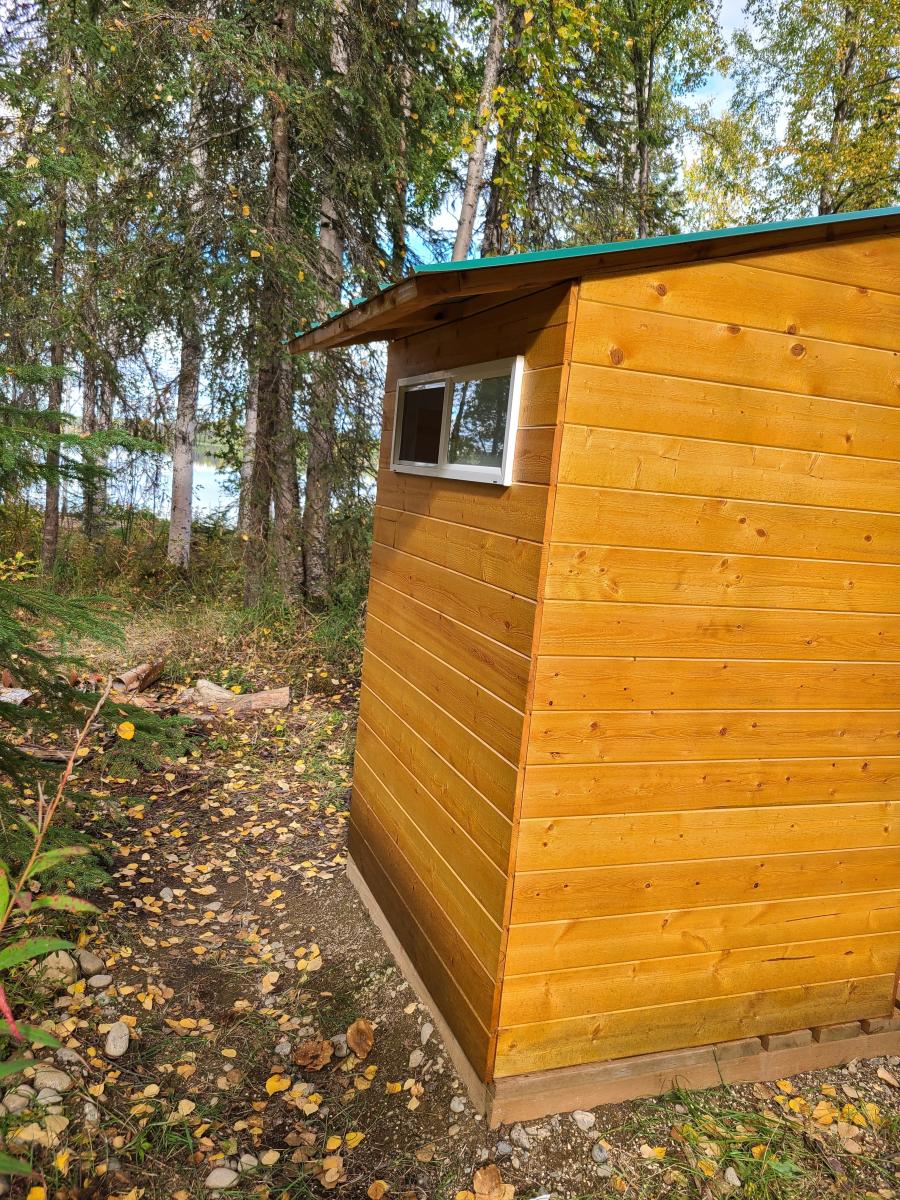
We took the Simple Outhouse plans and built what my 10 year old dubbed a "luxurious" outhouse for our property in Willow, AK. Slight modification to the door and roof, and we added a frosted window in the back. Love how it turned out!
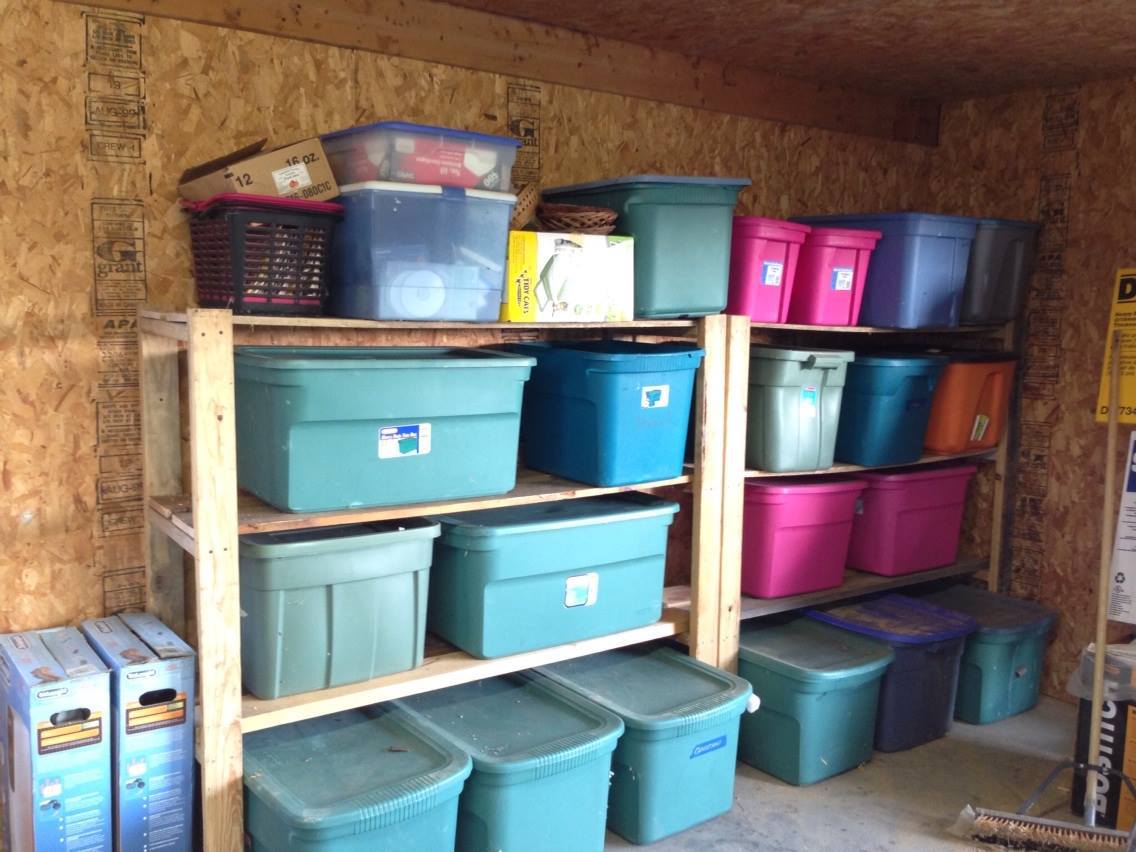
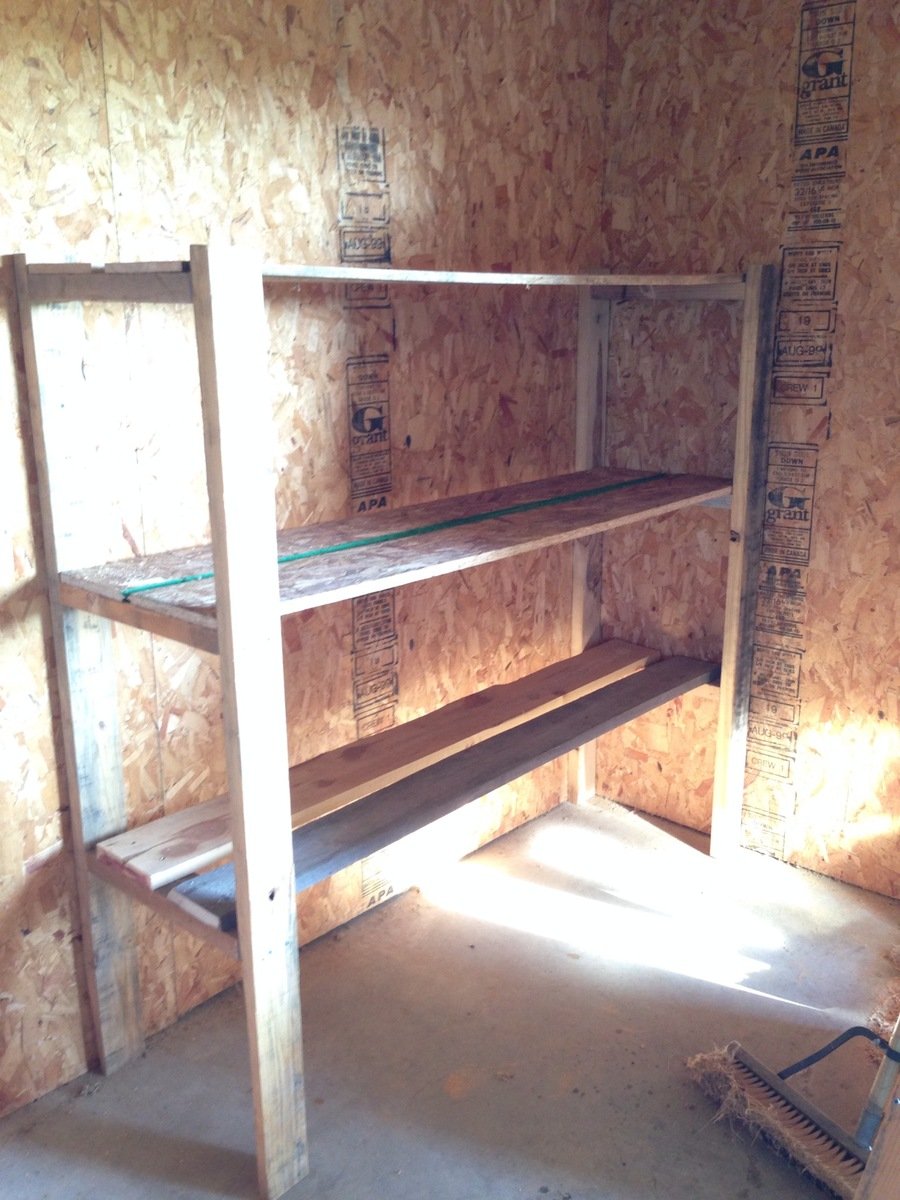
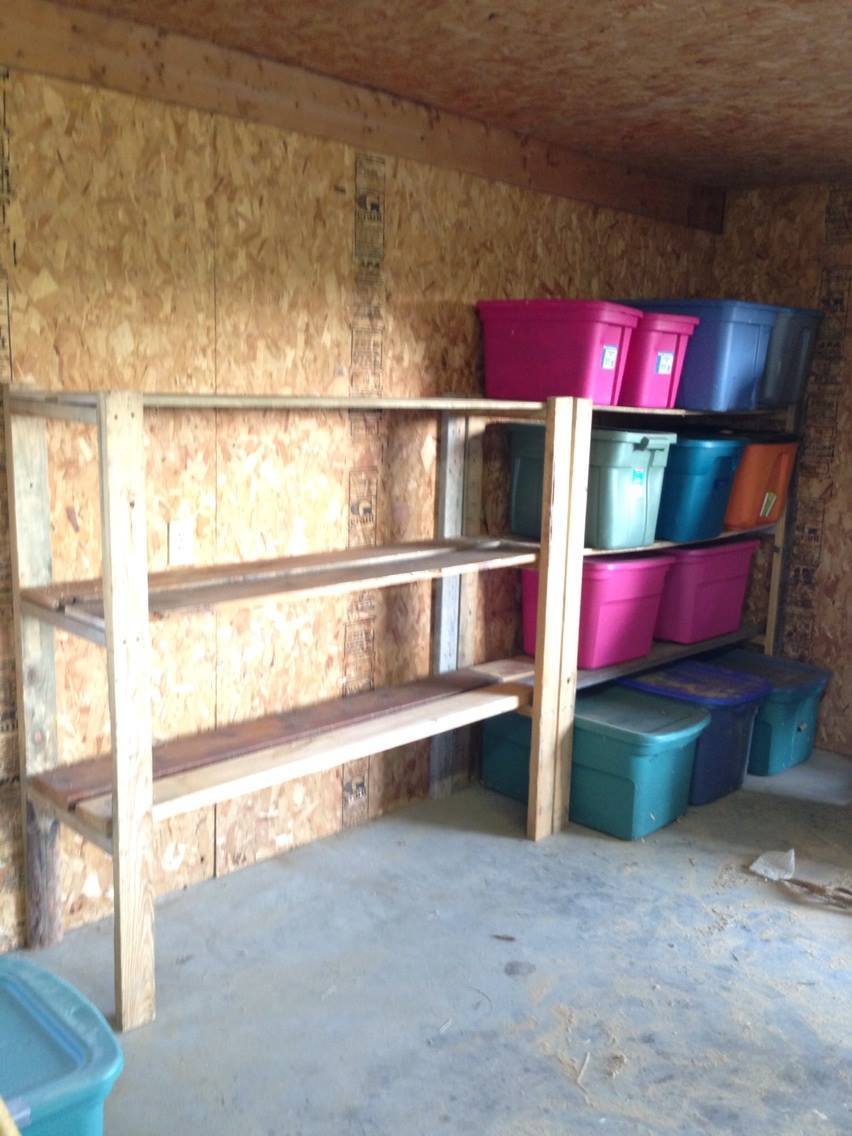
My daughter and I used these easy plans to build these two shelving units for the garage. We altered the plan slightly.The sizes that I used were determined by the lumber I had available as we used rescued lumber for this project. The height on each is 5' (tallest 2x4's we had) and the length is 64". All I had for 2x4's were 48" pieces so we used some other rescued lumber for the shelves. We used whatever we had. So they are made from misc lumber. The 2x material made for the strongest shelves. Depth is 17" as in original plans.
We added additional brackets for support under a couple of the shelves. We also attached to the wall to avoid tipping. I absolutely love these. So useful. No more unstacking each tote to find out what's in the bottom one. I LOVE IT! Thanks for the plans.
We completed these in one afternoon.

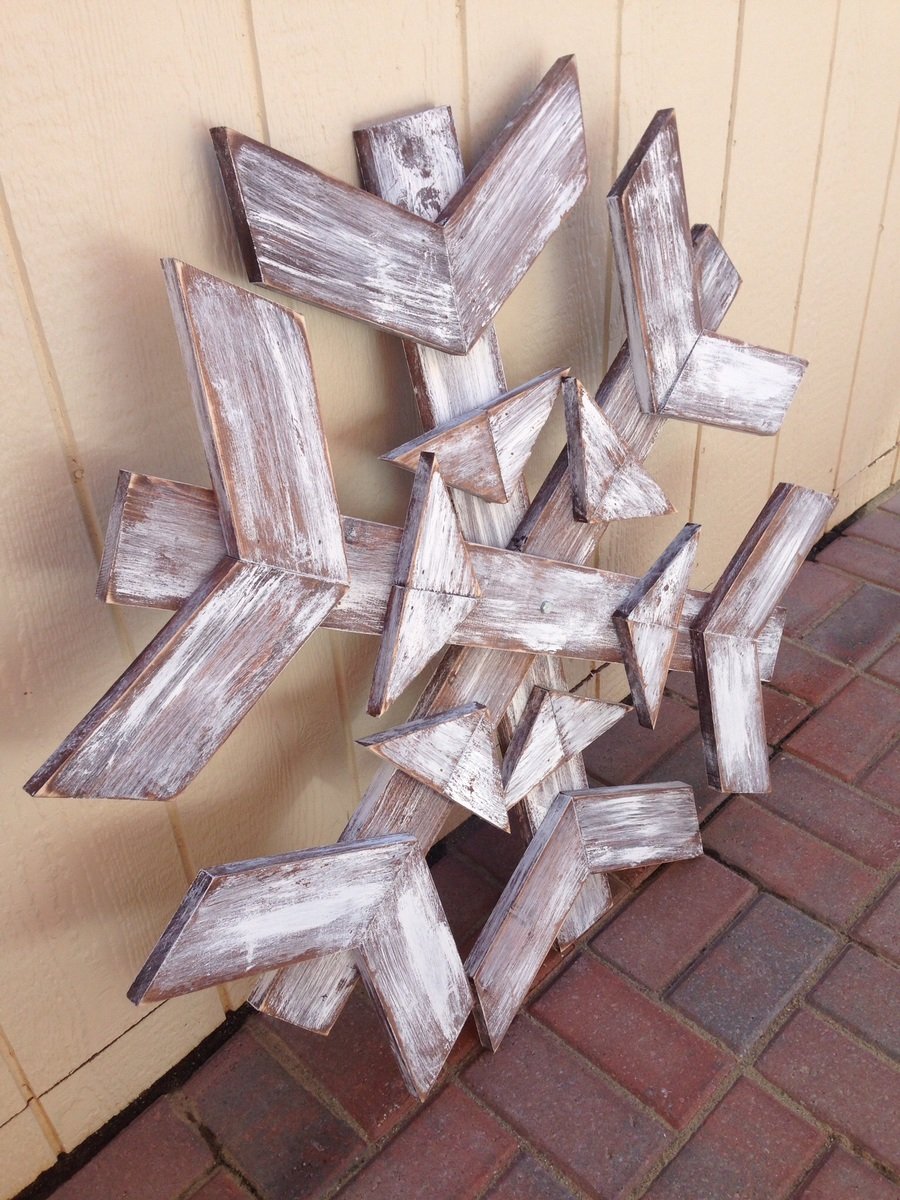
Made this snowflake for my front porch for the holidays. Easy build and inexpensive.

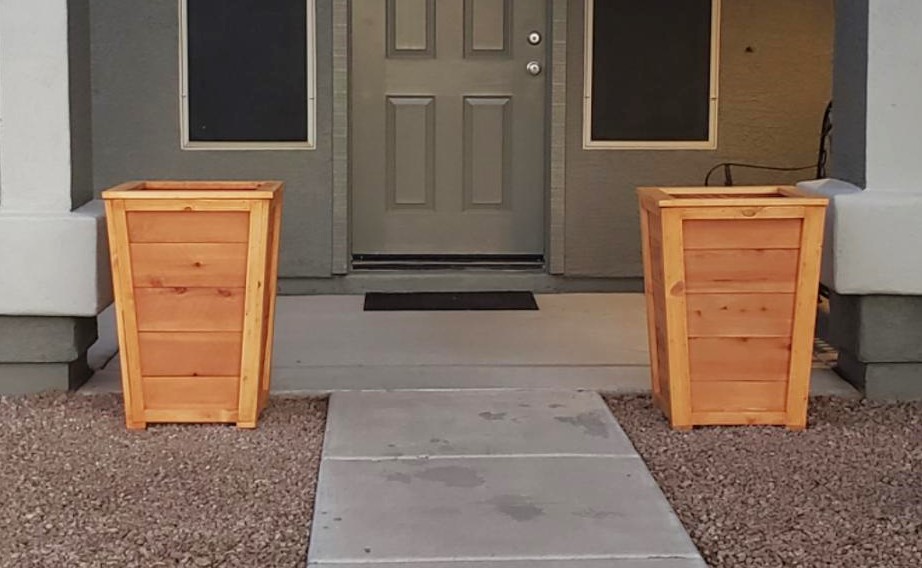
Followed your plan but added extra 1 x 2 trim to the sides, feet made from 1 × 3 and 1x 3 trim around the top
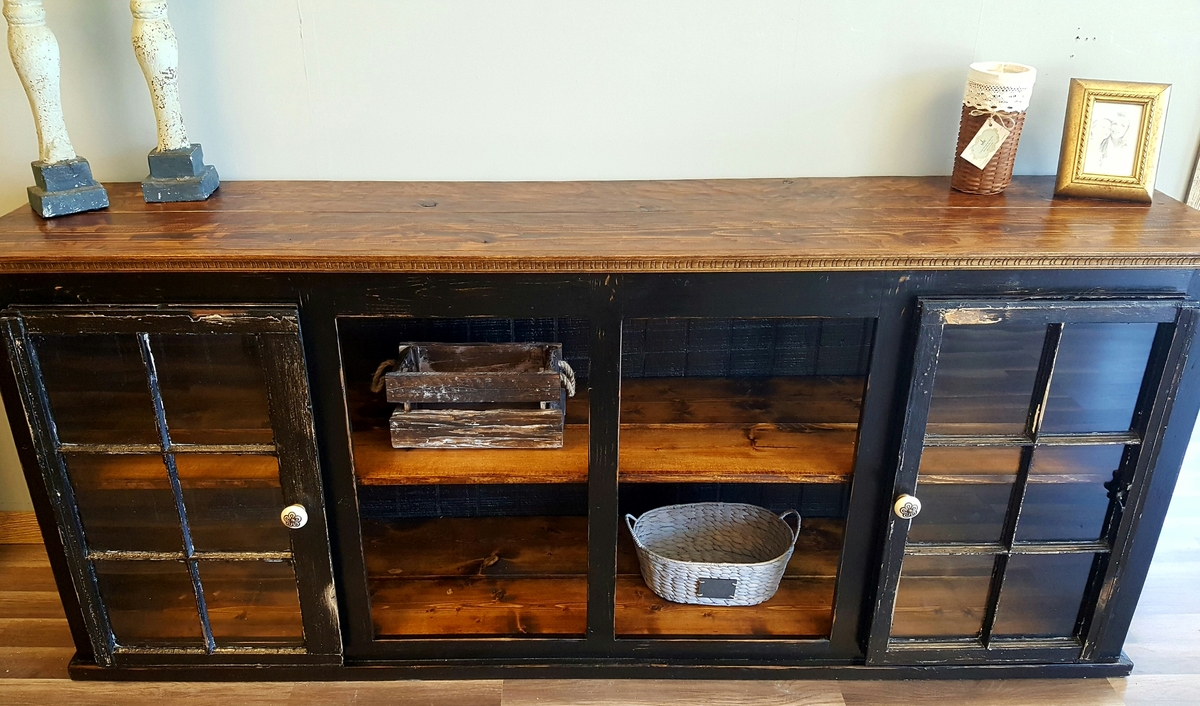
I took a different direction on the doors instead of using the barn doors I used old wooden windows in place of them.

Comments
Ana White Admin
Fri, 12/02/2022 - 08:31
Wonderful shelves!
Thanks for sharing, it looks great!