Kitchen Island Trolley
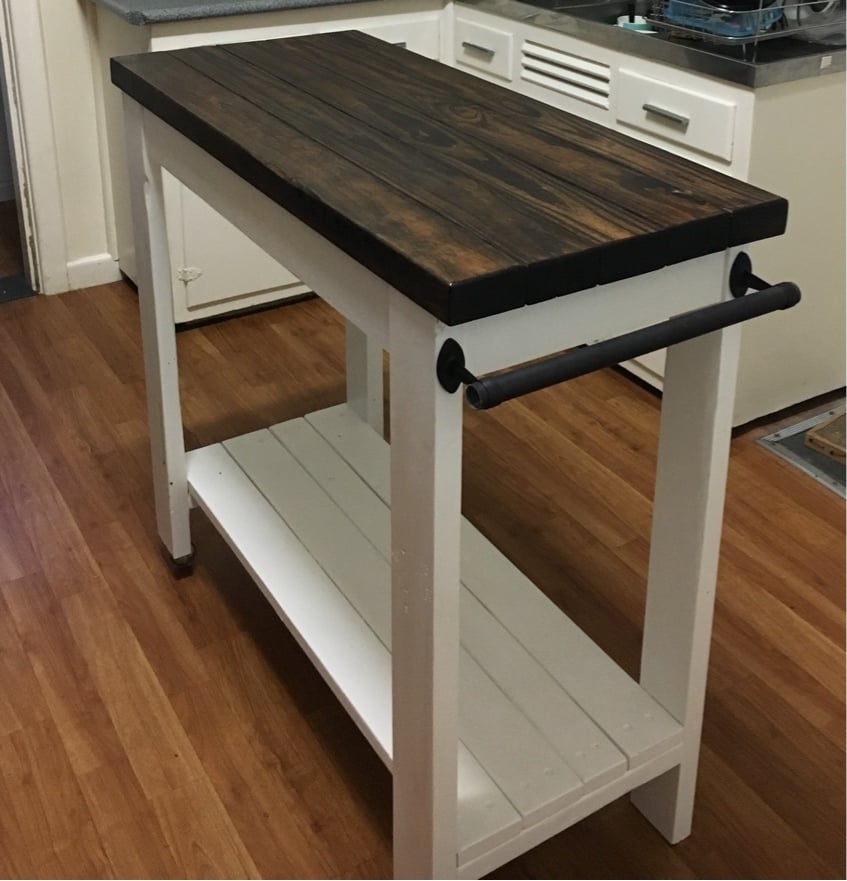
Base was made from recycled timber and the top was made with new pine.
The rails were made from curtain rails.
One end has wheels for easy moving.

Base was made from recycled timber and the top was made with new pine.
The rails were made from curtain rails.
One end has wheels for easy moving.
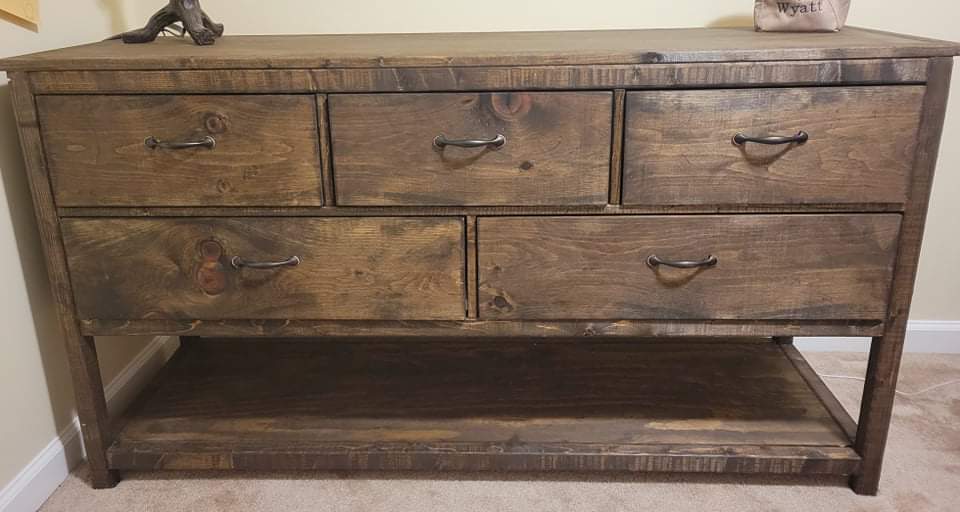
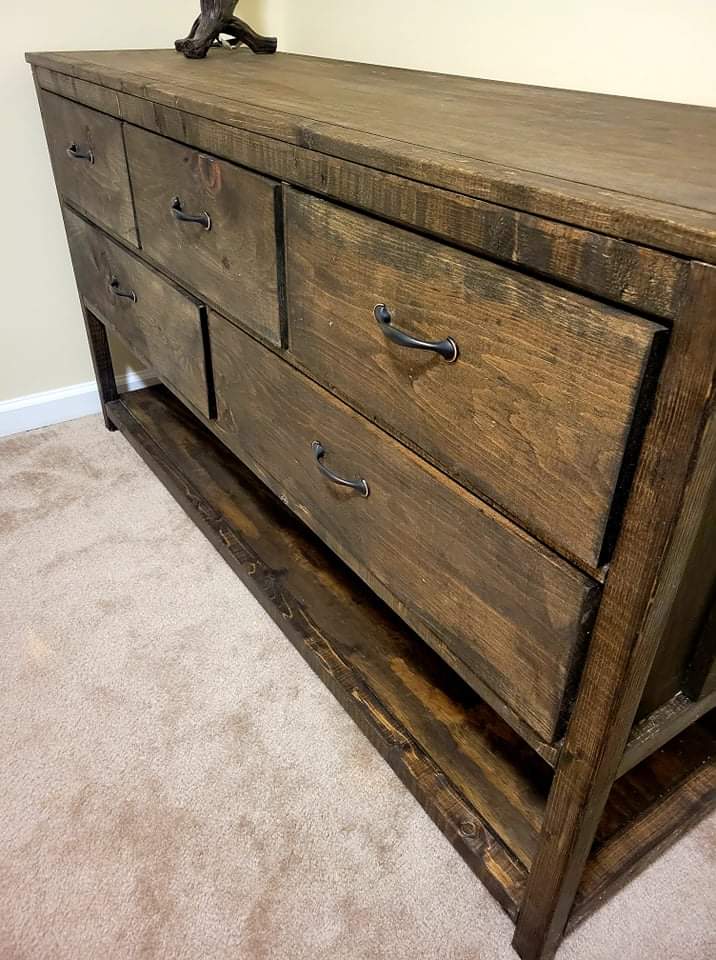
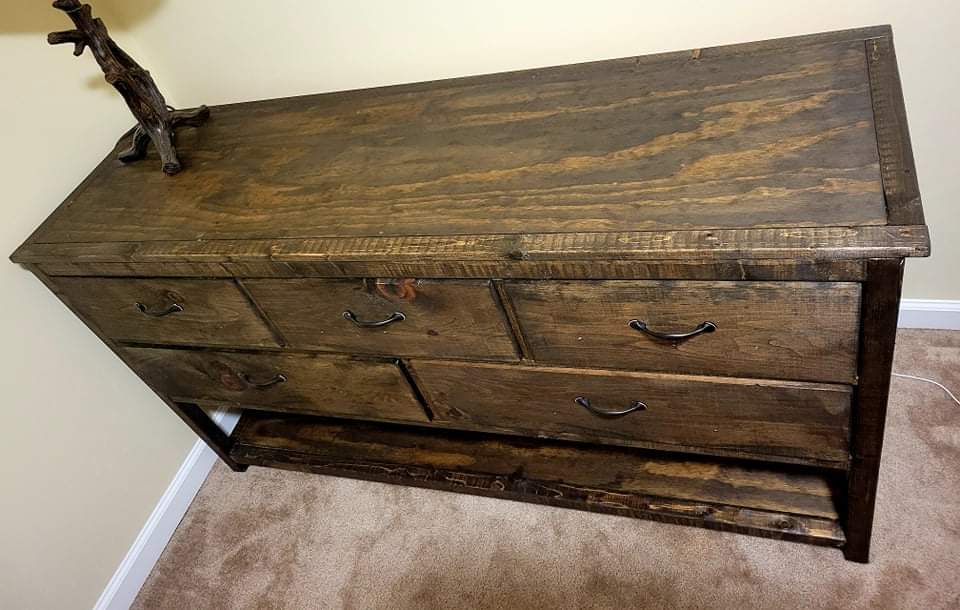
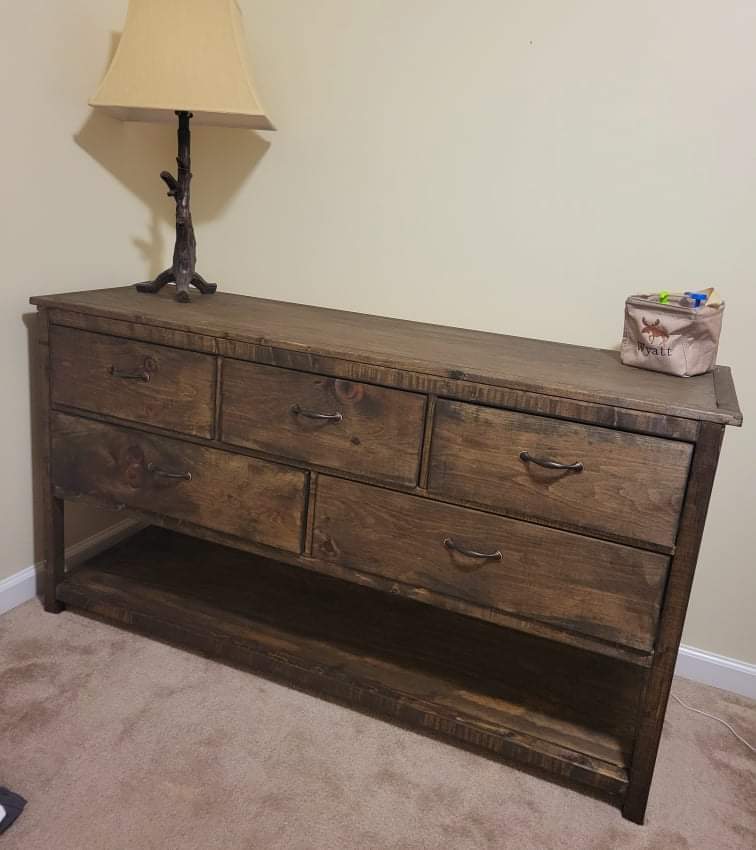
We found ourselves in need of upgrading our 4 year-olds dresser situation. This dresser answered the call and then some. We really like that it's short enough that he can access the top, and wide enough that the risk of it tipping over is fairly non-existent.
Jacobean finish to match his bed.
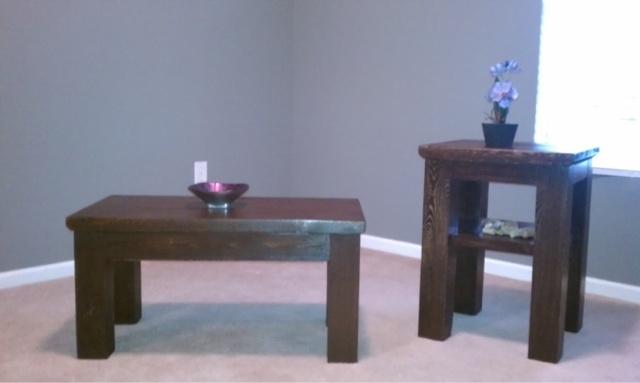
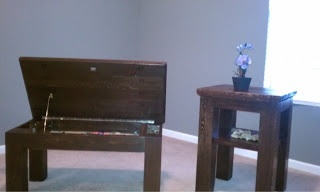
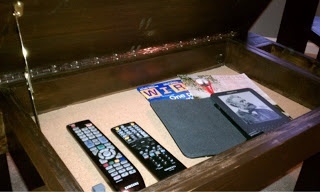
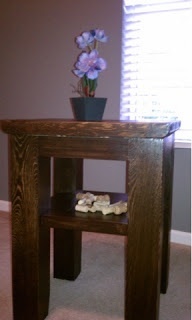
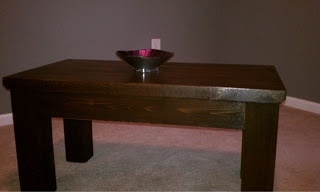
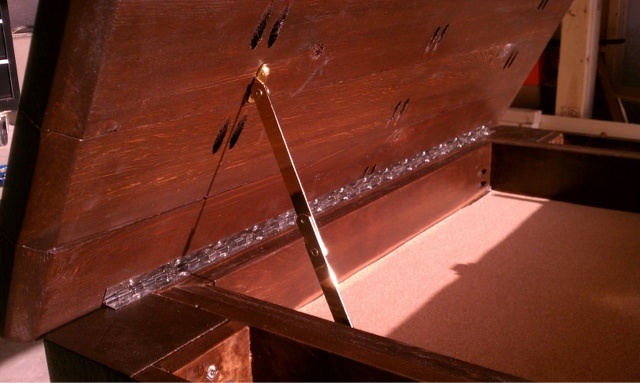
This table was built from my existing plan of a modified tryde coffee table. This was built with hidden flip-top storage and a matching side table. I hope you like it
Mon, 05/06/2013 - 06:44
Thank you. It was a bit challenging but overall it came out ok

My Grandson will be born any day now so I want to create a cozy environment for him. We still haven't put the bed up or added any of the decorations, but at least the changing table is finished  . Painted walls, added new flooring, still have to customize the closet, but with Ana's help that will be a snap. I would have never gotten the courage to do some of the builds I've done without Ana's site. Thank You Ana!!!

Farm style computer table. Simplistic so the design does not naturally attract your attention, but once you notice it, you notice the beautiful details.
Of note, make sure you sand ALL corners before calling the project complete. Otherwise you'll be banging your knees and bleeding all the time.

Thanks to Ana-White's easy coffee table plans I was able to build what I could not find for a decent price. Keep the plans coming!
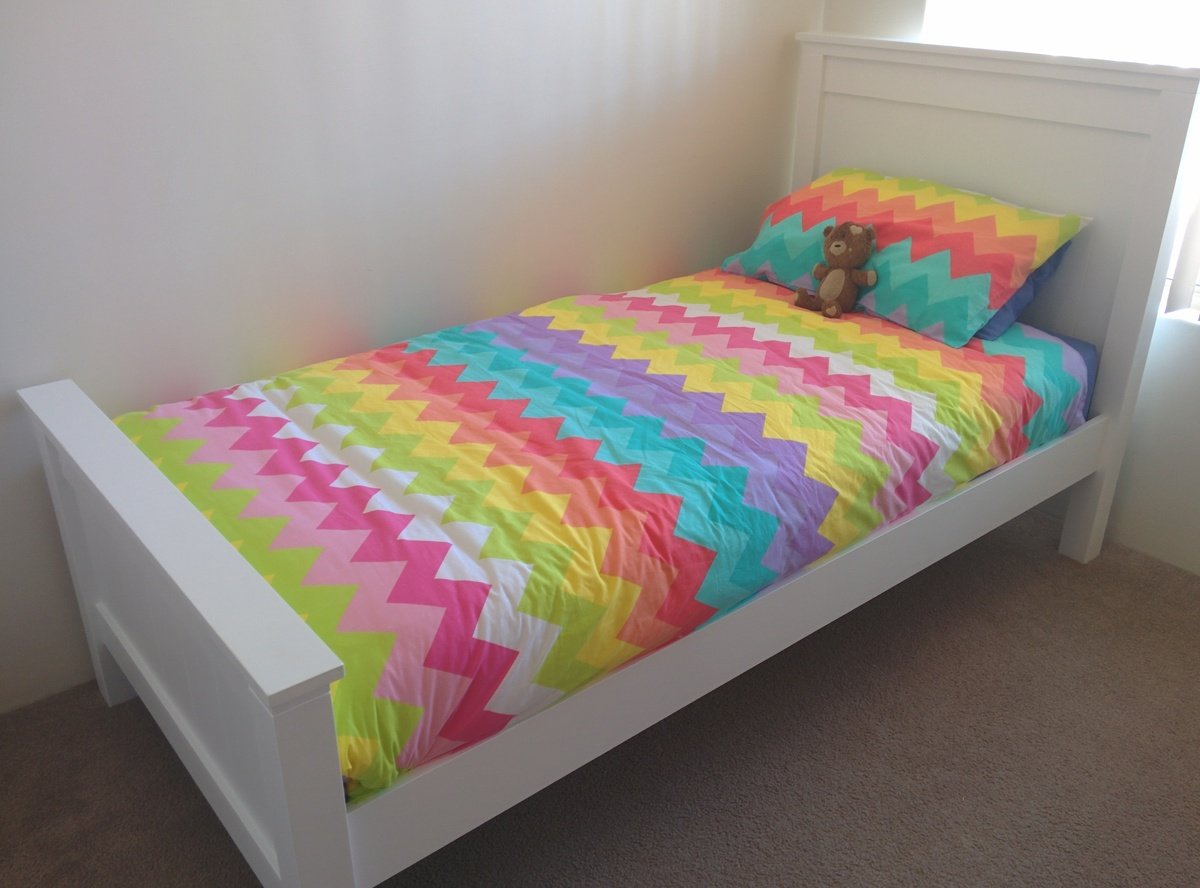
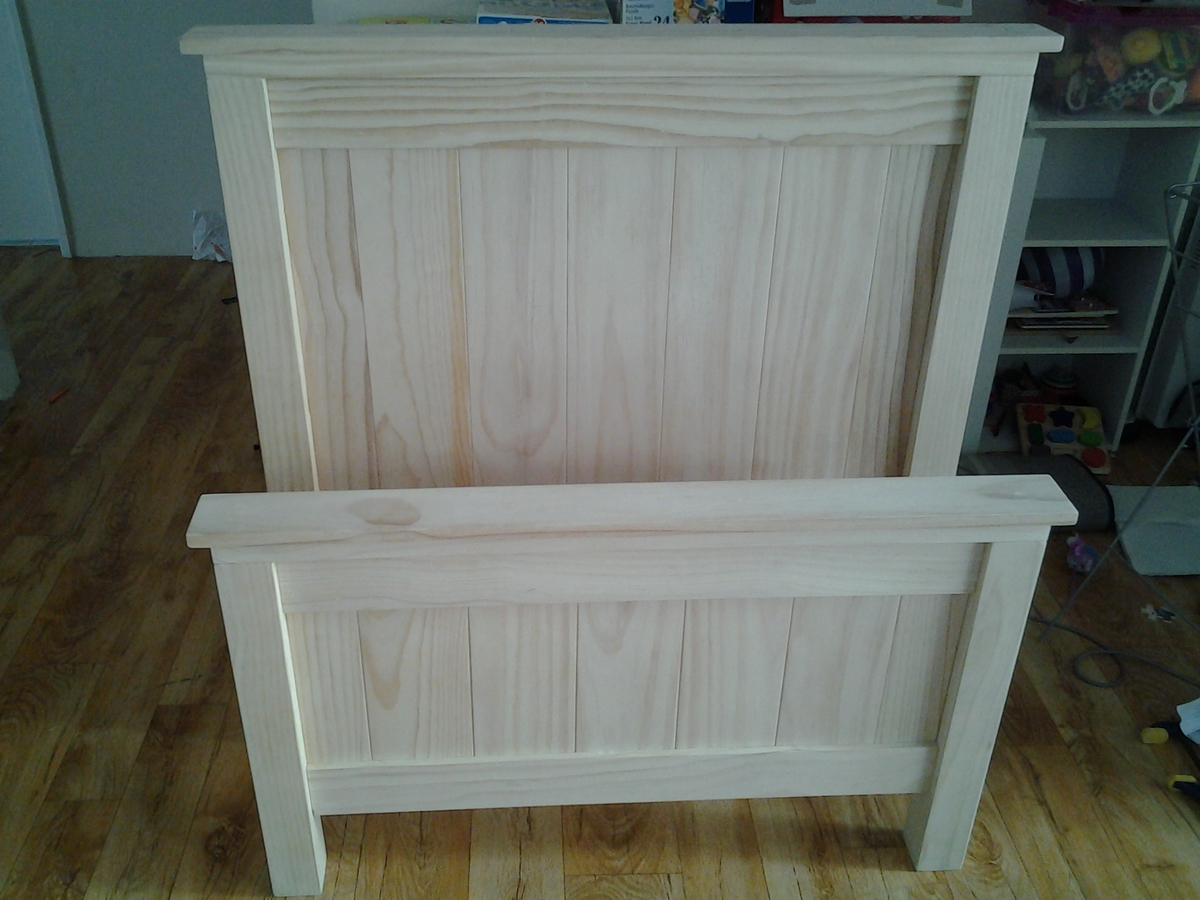
Finally our 3 year old is out of her cot. Her long awaited bed finally got made! It took about 3 days to build (working around naptimes and school runs) and another week to paint it. I modified the plans slightly, using 70mm posts (instead of 90mm). I used 19x140mm for the rails so that more of the mattress was exposed (so we don't hit the rails when we sit on the edge of the bed) and also took quite a bit off the height of the headboard. I used bed brackets which made joining the rails very easy. Very impressed with how it turned out. The plans were really easy to follow and easily modified to suit our needs. A matching doll bed is in the works and her older siblings are also putting their orders in...
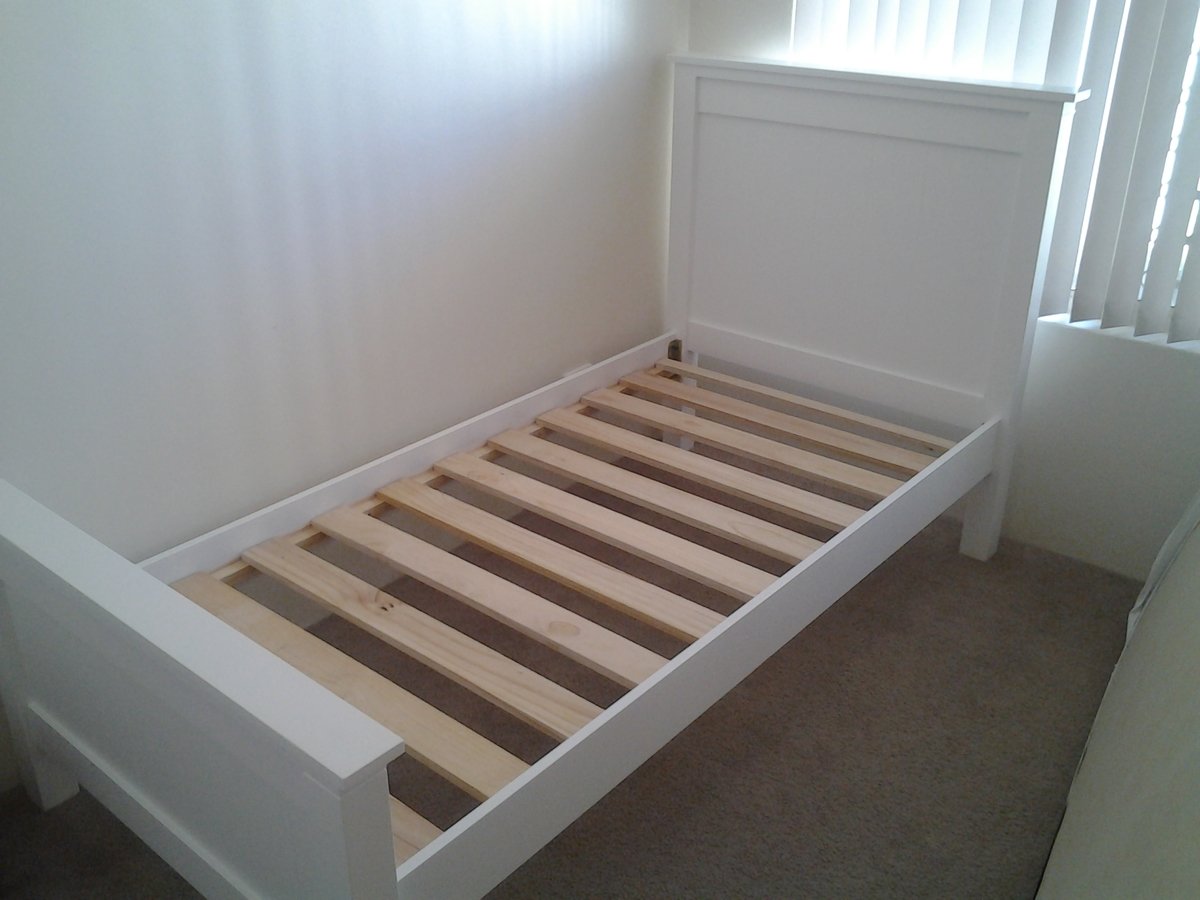
Mon, 08/03/2015 - 17:16
we made a toddler size bed a few years ago recreating this farmhouse plan, and are wanting to make the regular twin size now. I LOVE your changes. Any chance you could post a picture 1) a close up of the bracket (I'm wanting to do the same), and 2) how it looked from the inside, but pointing to the footboard? I want to copy YOUR bed! :D
Cheers!
Mon, 08/03/2015 - 17:31
also, how high/low does the bottom of the plank sit on the headboard? I see it's different than the plans (I prefer yours)
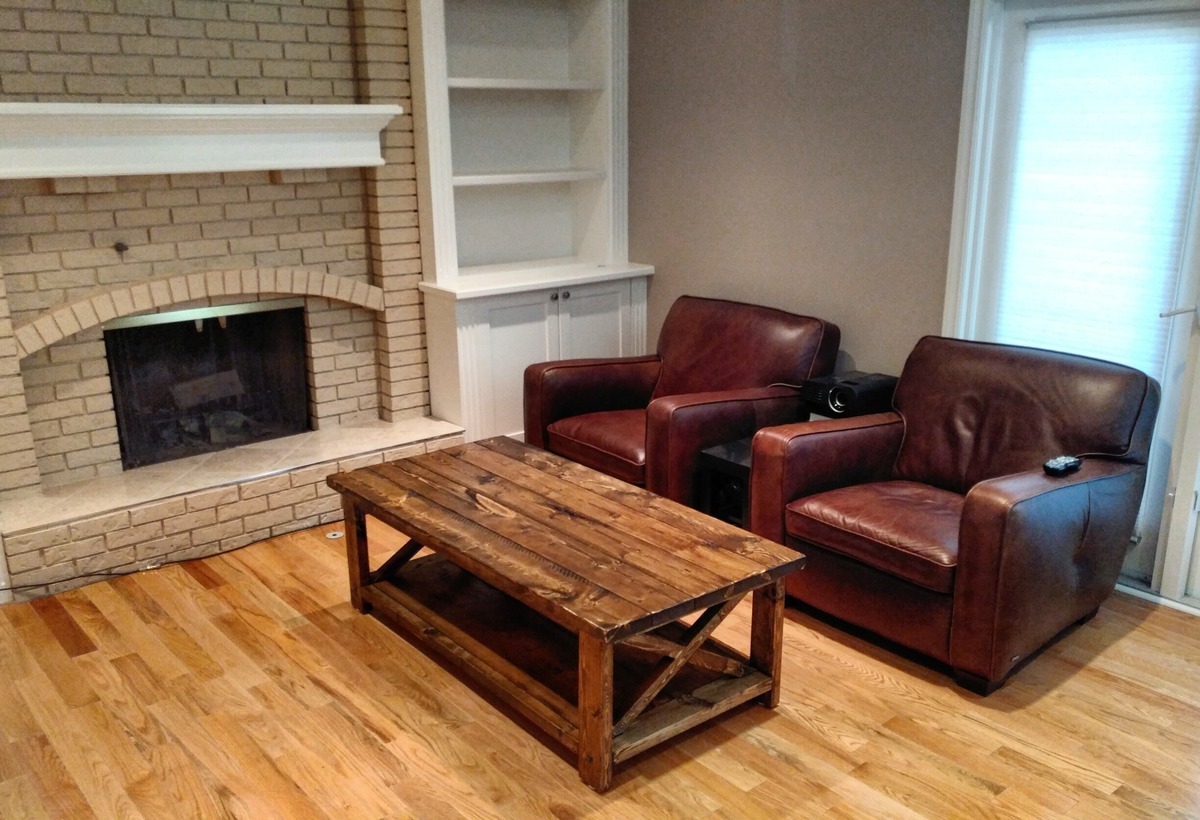
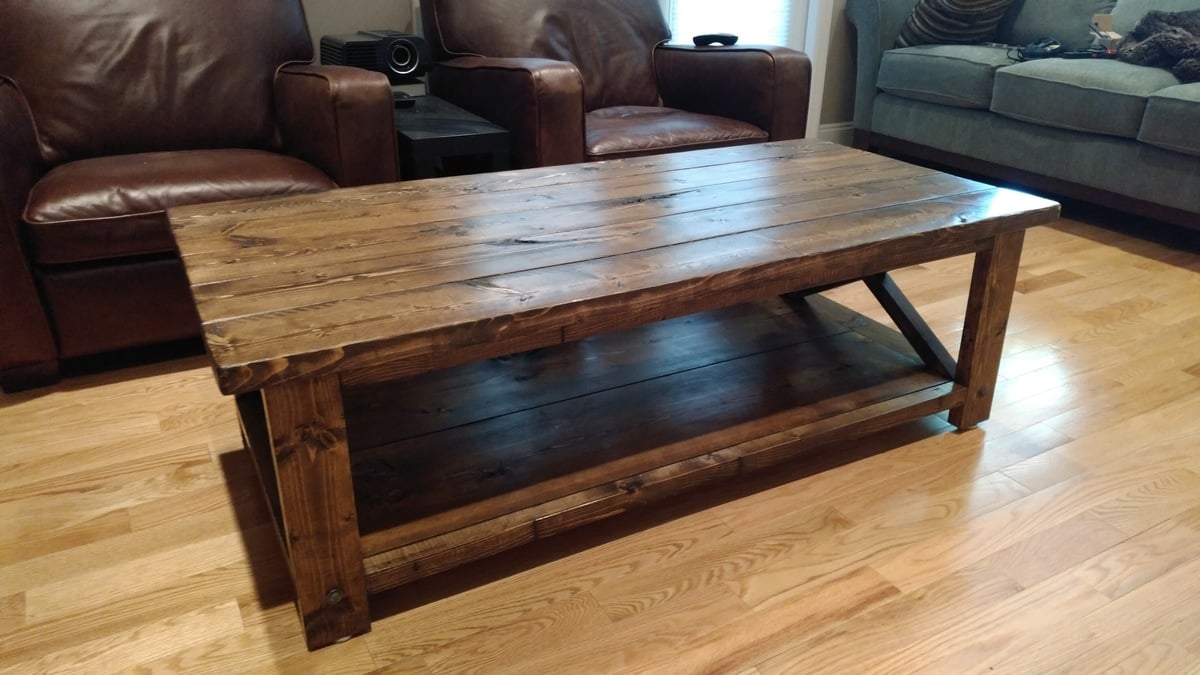
This was my first ever DIY project and I have to say I even impressed myself!
I modified the plans slightly as I wanted a longer version of this table. Despite lengthening the table, I found a way to use less wood. Instead of the 5 - 2x6 studs suggested, I bought 3 - 2x6x10s. To accomodate the longer tabletop, I needed to extend the side trim and 1x12, but at 58" top length, these cuts were 47", meaning no extra wood was required (just a little less room for error).
I also used 3/4" cedar strips to mount the 1x12 since I do not have a pocket hole tool (see last photo).
For the finish, I applied Minwax wood conditioner, Dark Walnut for 14 minutes, then Classic Grey on top of the still wet walnut stain for another 10 minutes, followed by two coats of the Fast-Drying Satin Poly.
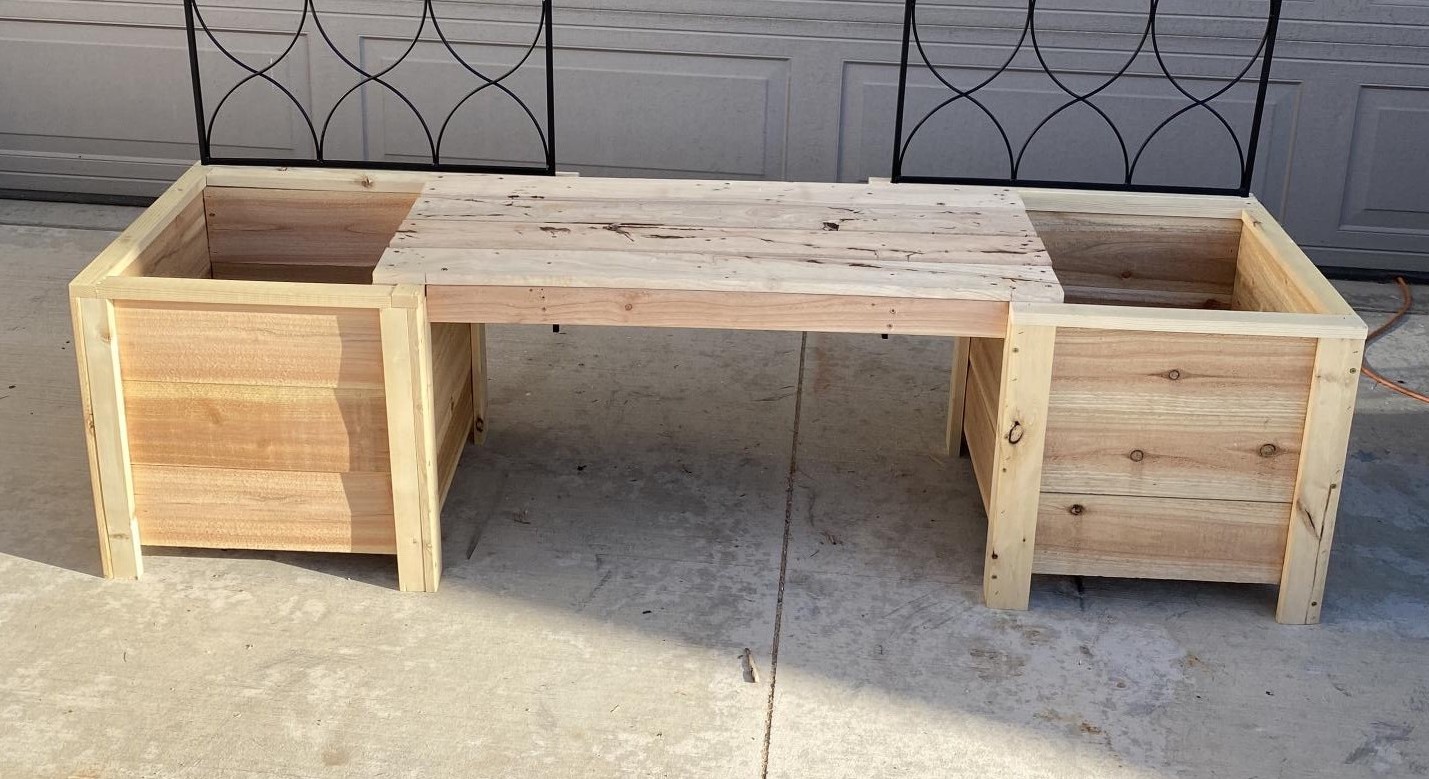
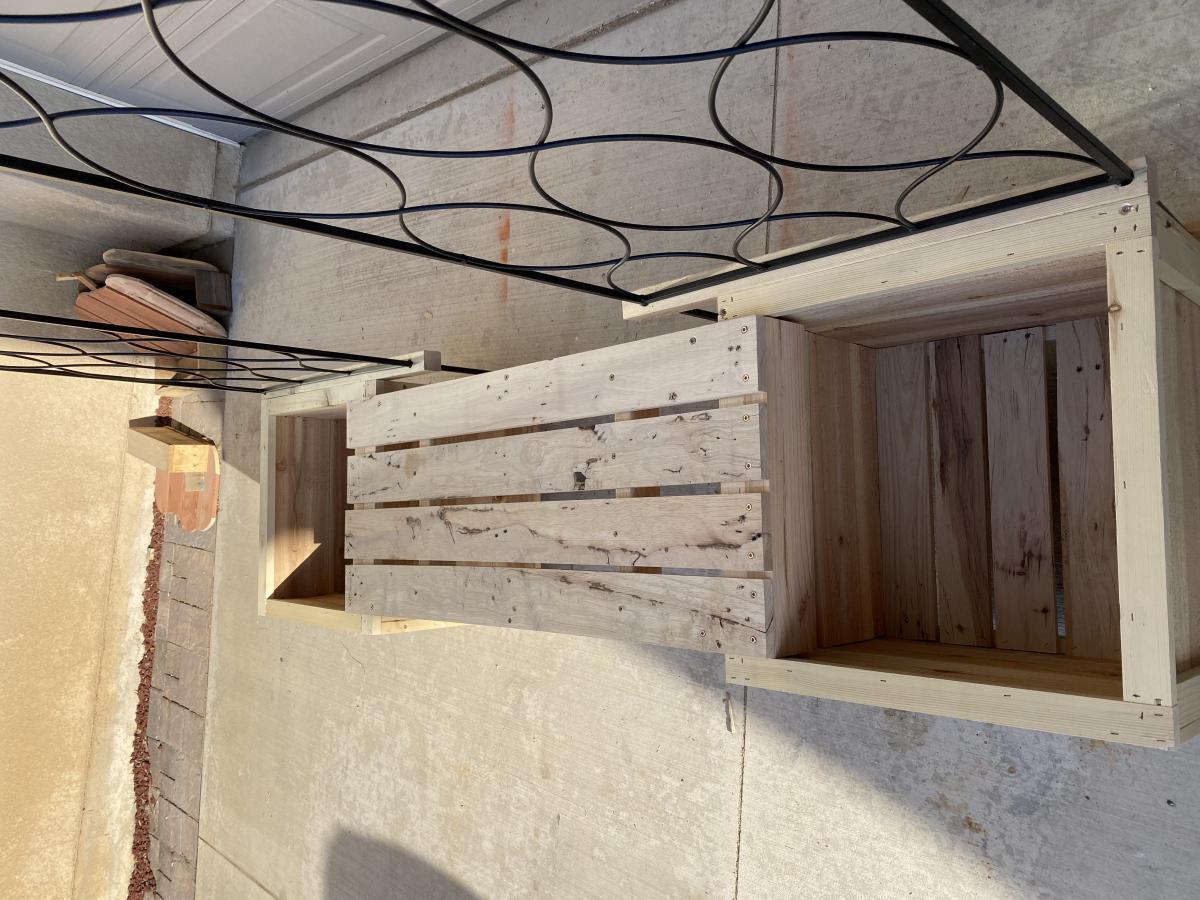
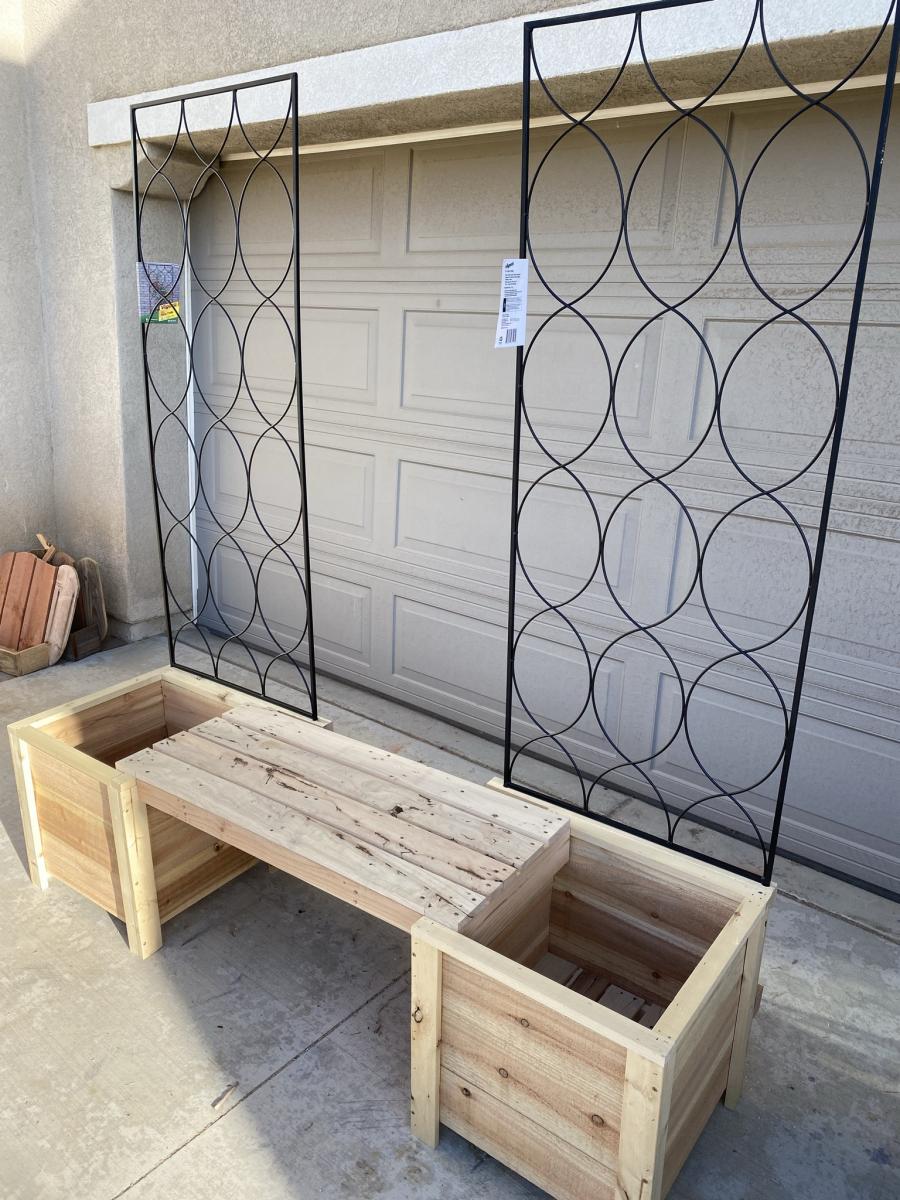
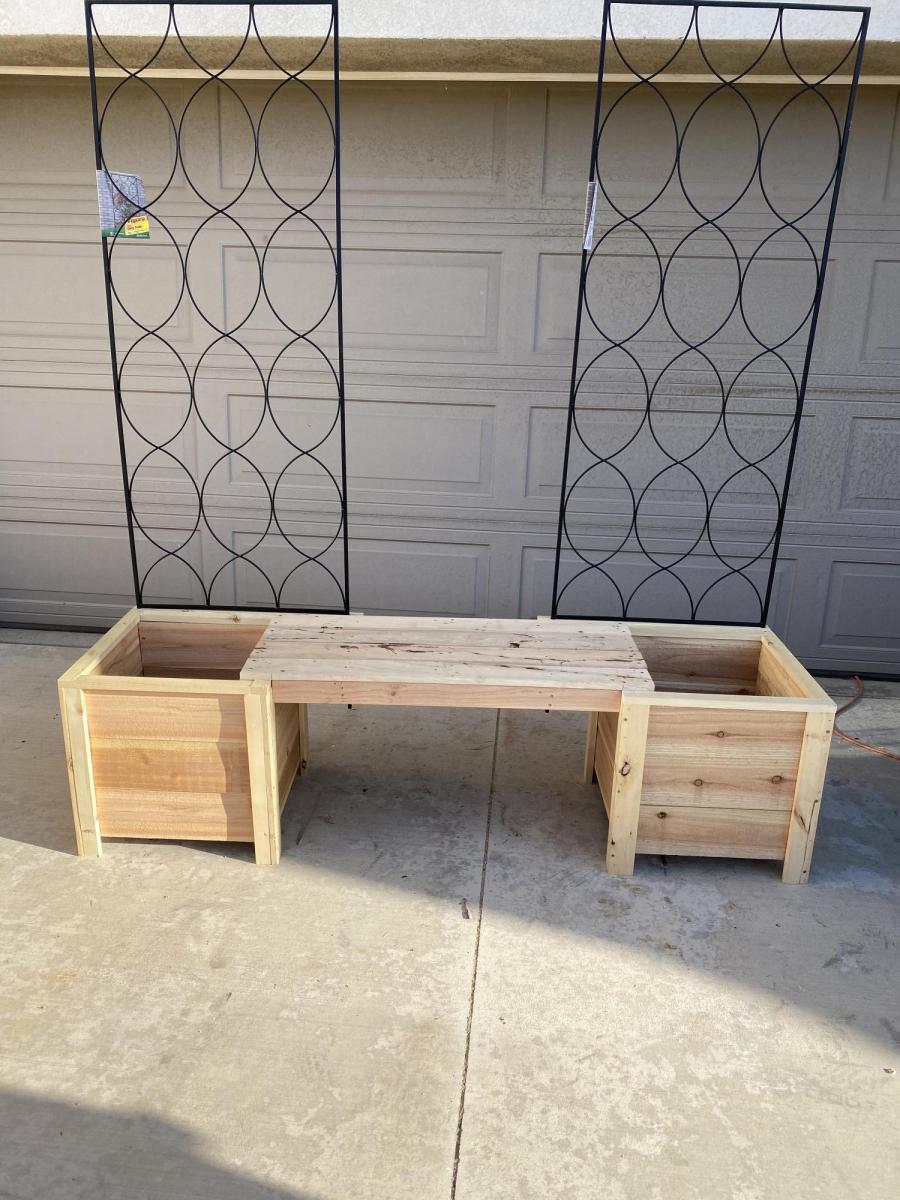
I made the boxes from plans, but added bench and trellis from my own design.
I wanted a gift for my mom. Something special and unique I think she would really like. Once on a guest post Ana posted a jewelry holder using a board, and some mismatched knobs.
My mom likes to garden. She works so hard on her back yard, and spends a lot of her time there. How could I make this outside proof? A few Pinterest finds later I found my answer: Water Spigots.
Voila! This is what we came up with.
** It's not going to hang by a string. It will be attached to her fence. This is just for picture purposes.
http://www.countryliving.com/homes/makeovers/fast-makeover-projects?src…

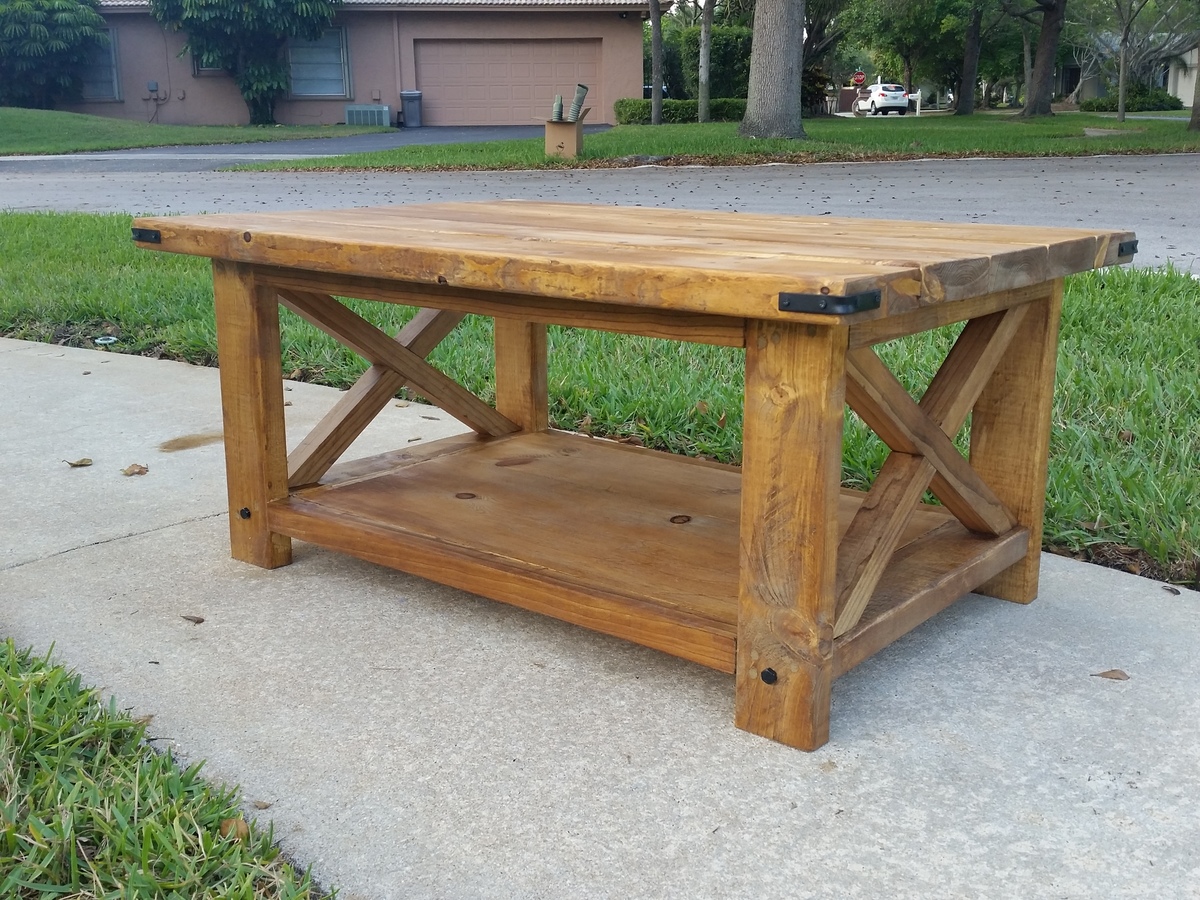
Thanks for the plans. Love the table
Great Plans! Thank you so much. My first go at a piece of "fine" furniture and I couldn't be happier with how it turned out.
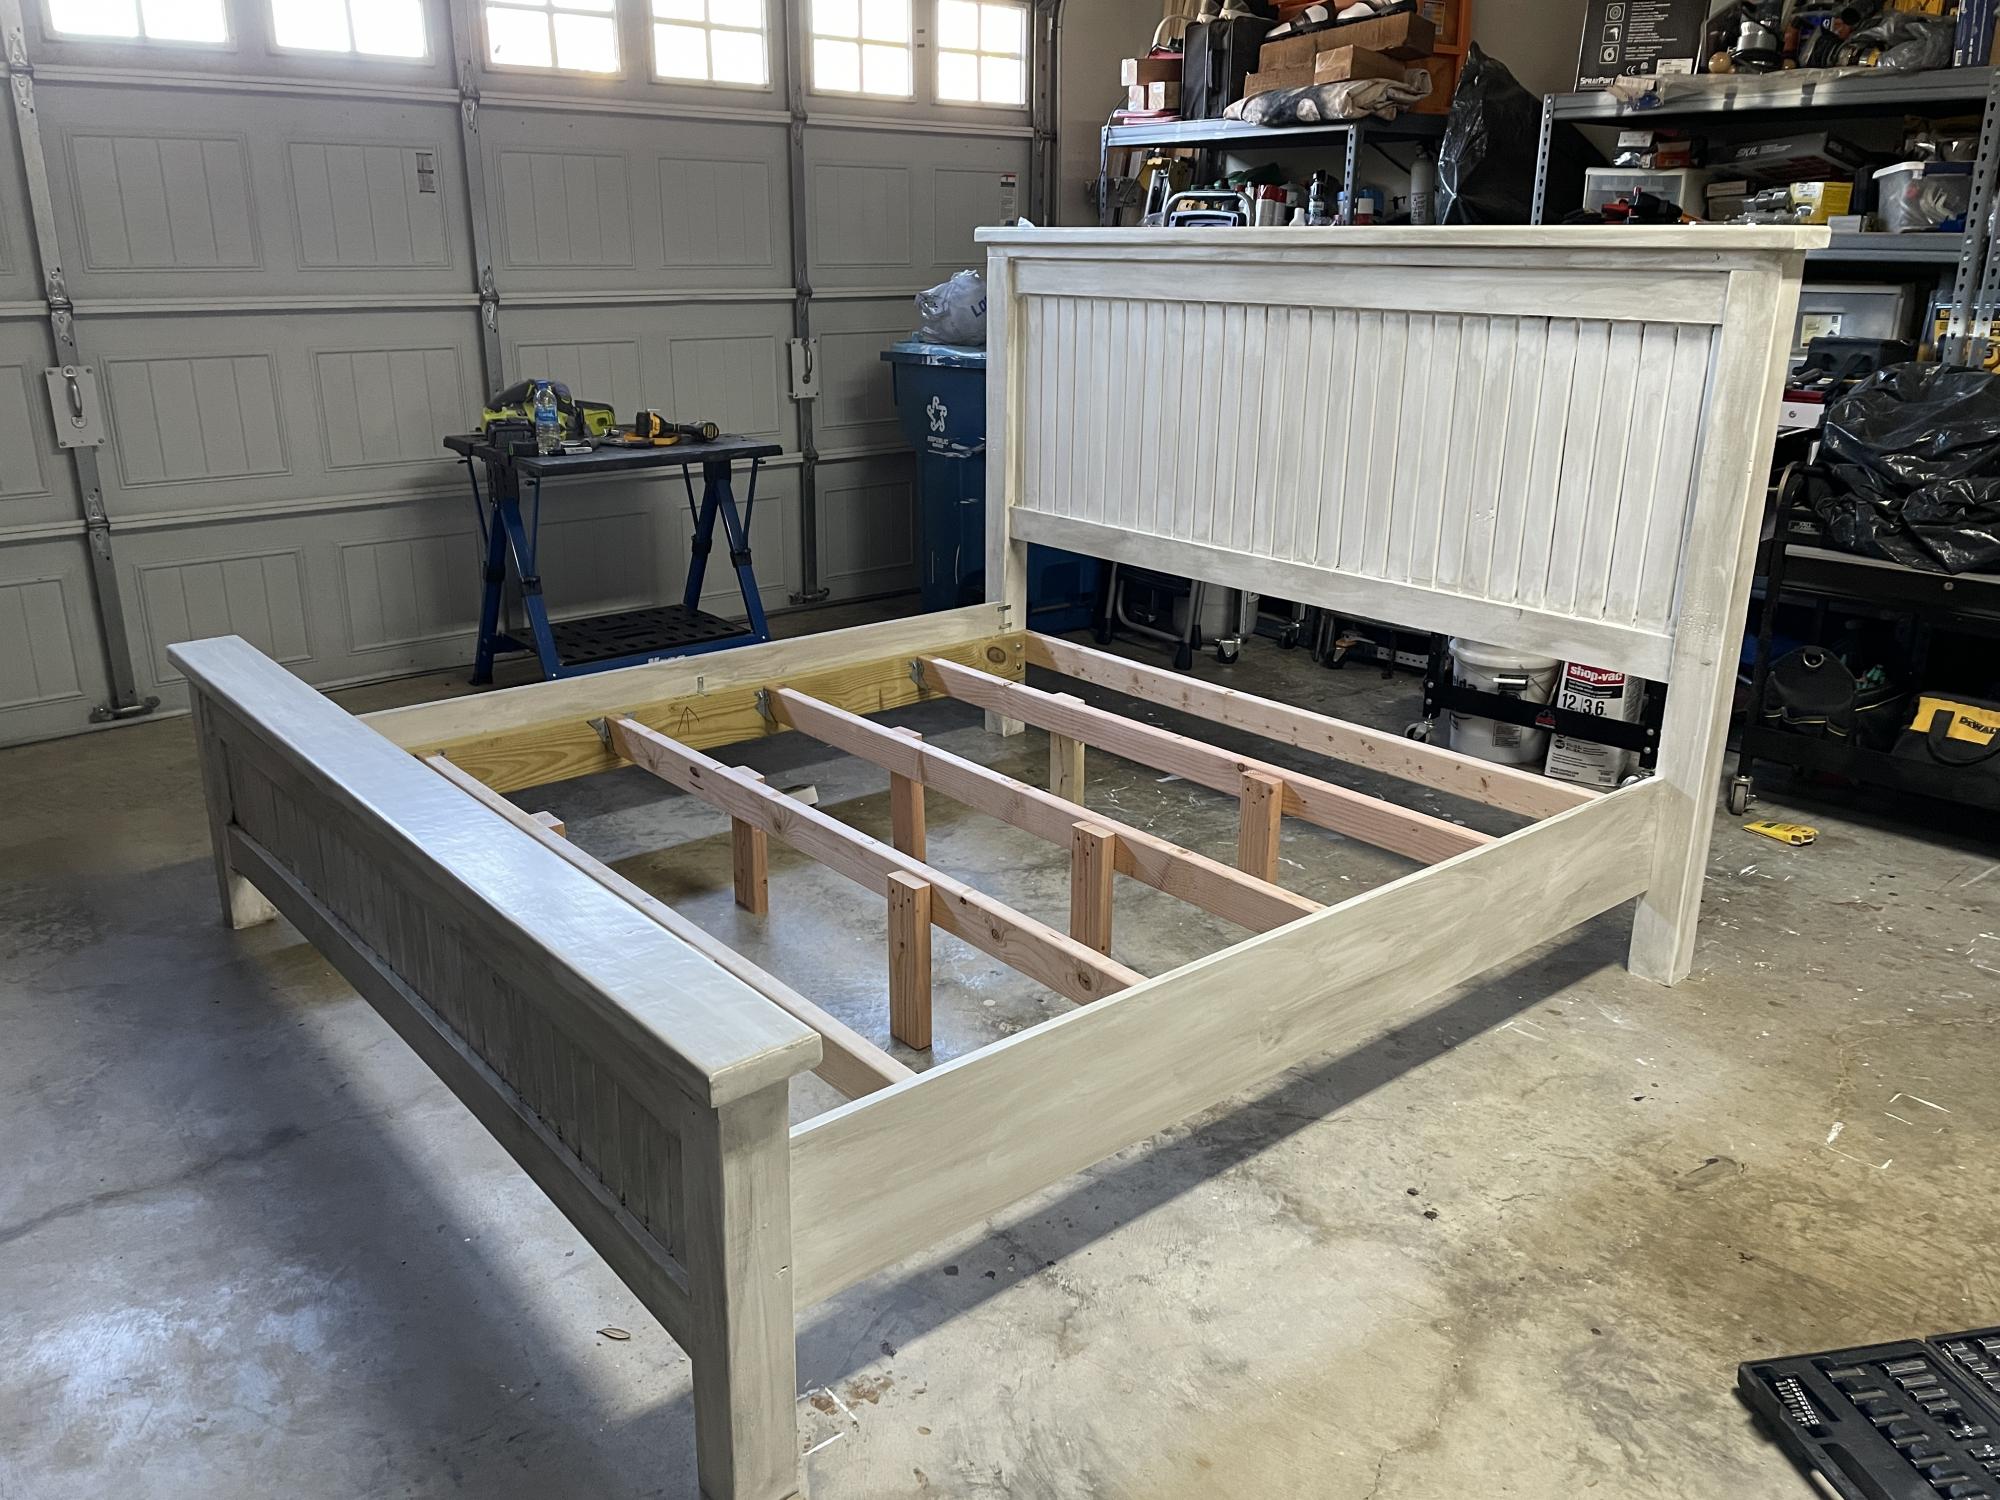
Used single V-Groove on the head and footboard.
Modified the bed slats to be easily removed
Modified the sideboards for easy removal.

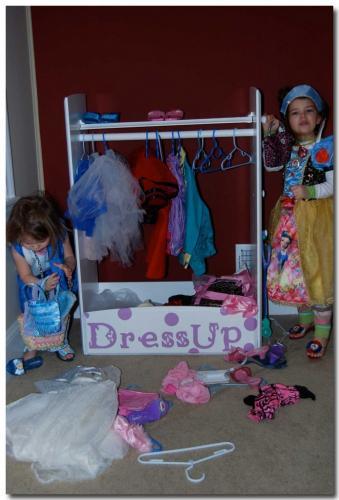
I used by kids baby armoire that was headed to the trash, and turned it into a dress-up center for my 3-year olds birthday gift. The best part is it was virtually free! The only thing I purchased was the pole. It was a lot of hit and miss, measuring, re-measuring, pulling nails out – but – it worked!! And it is awesome – and it only cost me a few bucks!!! As you can tell from the last pictures I took a lot of time getting it ready – and you can tell from the last picture it didn’t take them long to mess it up.
The best part was that the girls were so excited. Hayden – the birthday girl – looked at it with her eye’s wide open – walked slowly too it – looked at me and said “Mommy – It’s beautiful!” It was the sweetest most heart warming thing! I love that now my kids look at something and either ask me to make it – or did I make it.
Love for you to see all the before and after pictures over at my blog: http://mycreativeescapes.blogspot.com/2011/02/dress-up-center.html



Made from entryway console plans and got the concrete top idea from DIY Pete's web and found a cool way to faux finish top with concrete stain I bought at sherwin Williams. Used a buff color dye added to top when mixing concrete
We modified the plans from the outdoor sectional to fit a single 22x24 pillow. We also made it a little longer and added back slats to provide some additional support. I guess it looks a bit like a hybrid between the outdoor sectional and an adirondack chair. Really easy build. I think it took about 3 hours to cut, sand, and build, and then a few coats of stain and spar urathane and we were ready to go!
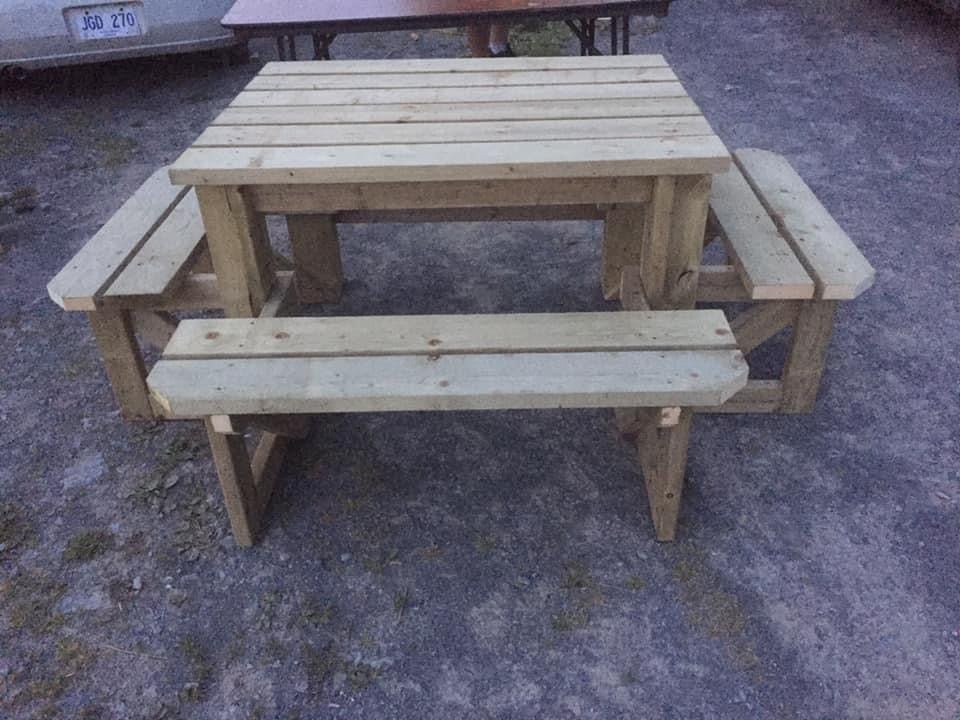
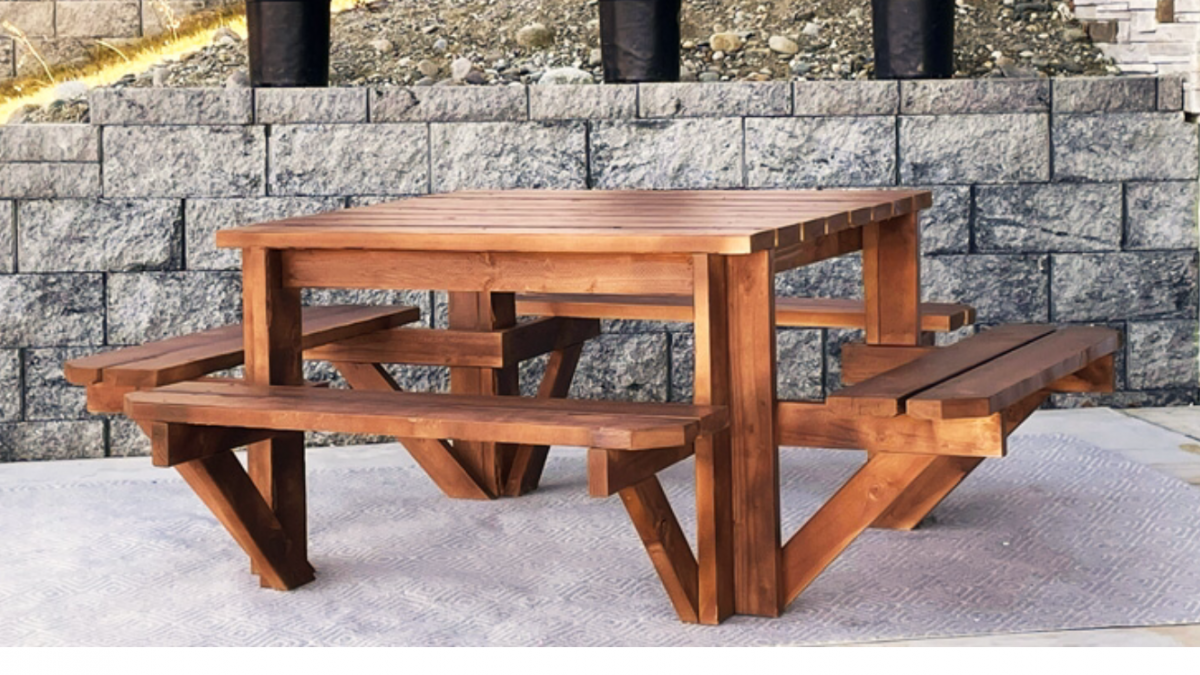
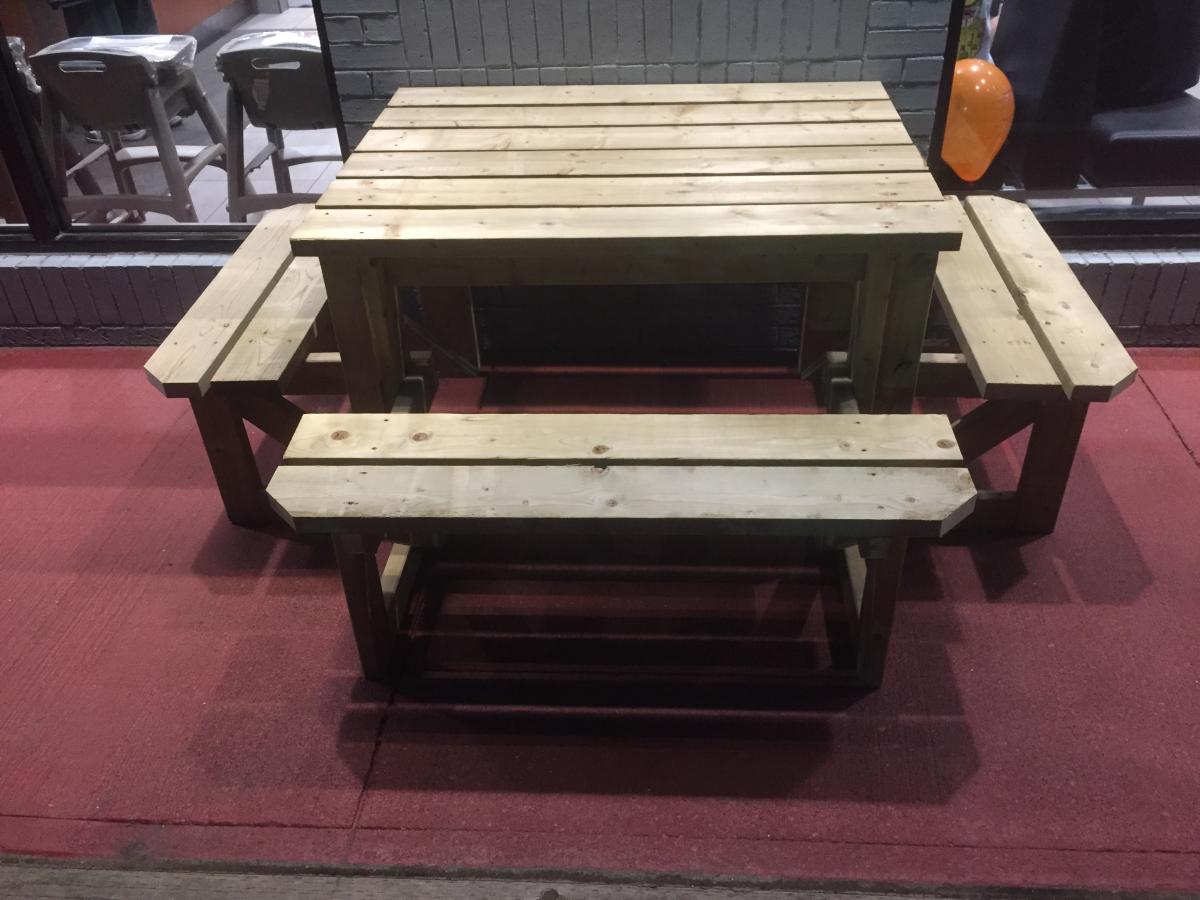
We built 2 of these tables for the McDonald’s in our area for the front of their building. With a few modifications to fit the space. We made the top of the table a foot smaller so it’s 3 x 4 feet. We also put extra bracing on the legs so the table would not tip over if one person was to sit on it. I love this table and will be making one for myself
When I was given a stack of MDF sheets from a friend, I knew this was the desk I wanted to build with it first! We recently moved into my husband's grandmother's house, and have been making some improvements. We took out the dark old built in, and I replaced it with three 4' long gallery shelves, and the Parson's Desk modified to 4' long. It fits perfectly in my space, and looks so chic and modern against our teal walls. It's the perfect craft nook and workspace! I added a mason jar pendant light I DIY'd from the IKEA bulb kit, and also sewed a reversible runner to match my handmade duvet cover. The fabric is Deer Valley, from Free Spirit. I also had the glass top from the original desk cut down at Lowe's for free, and it's a perfect fit.
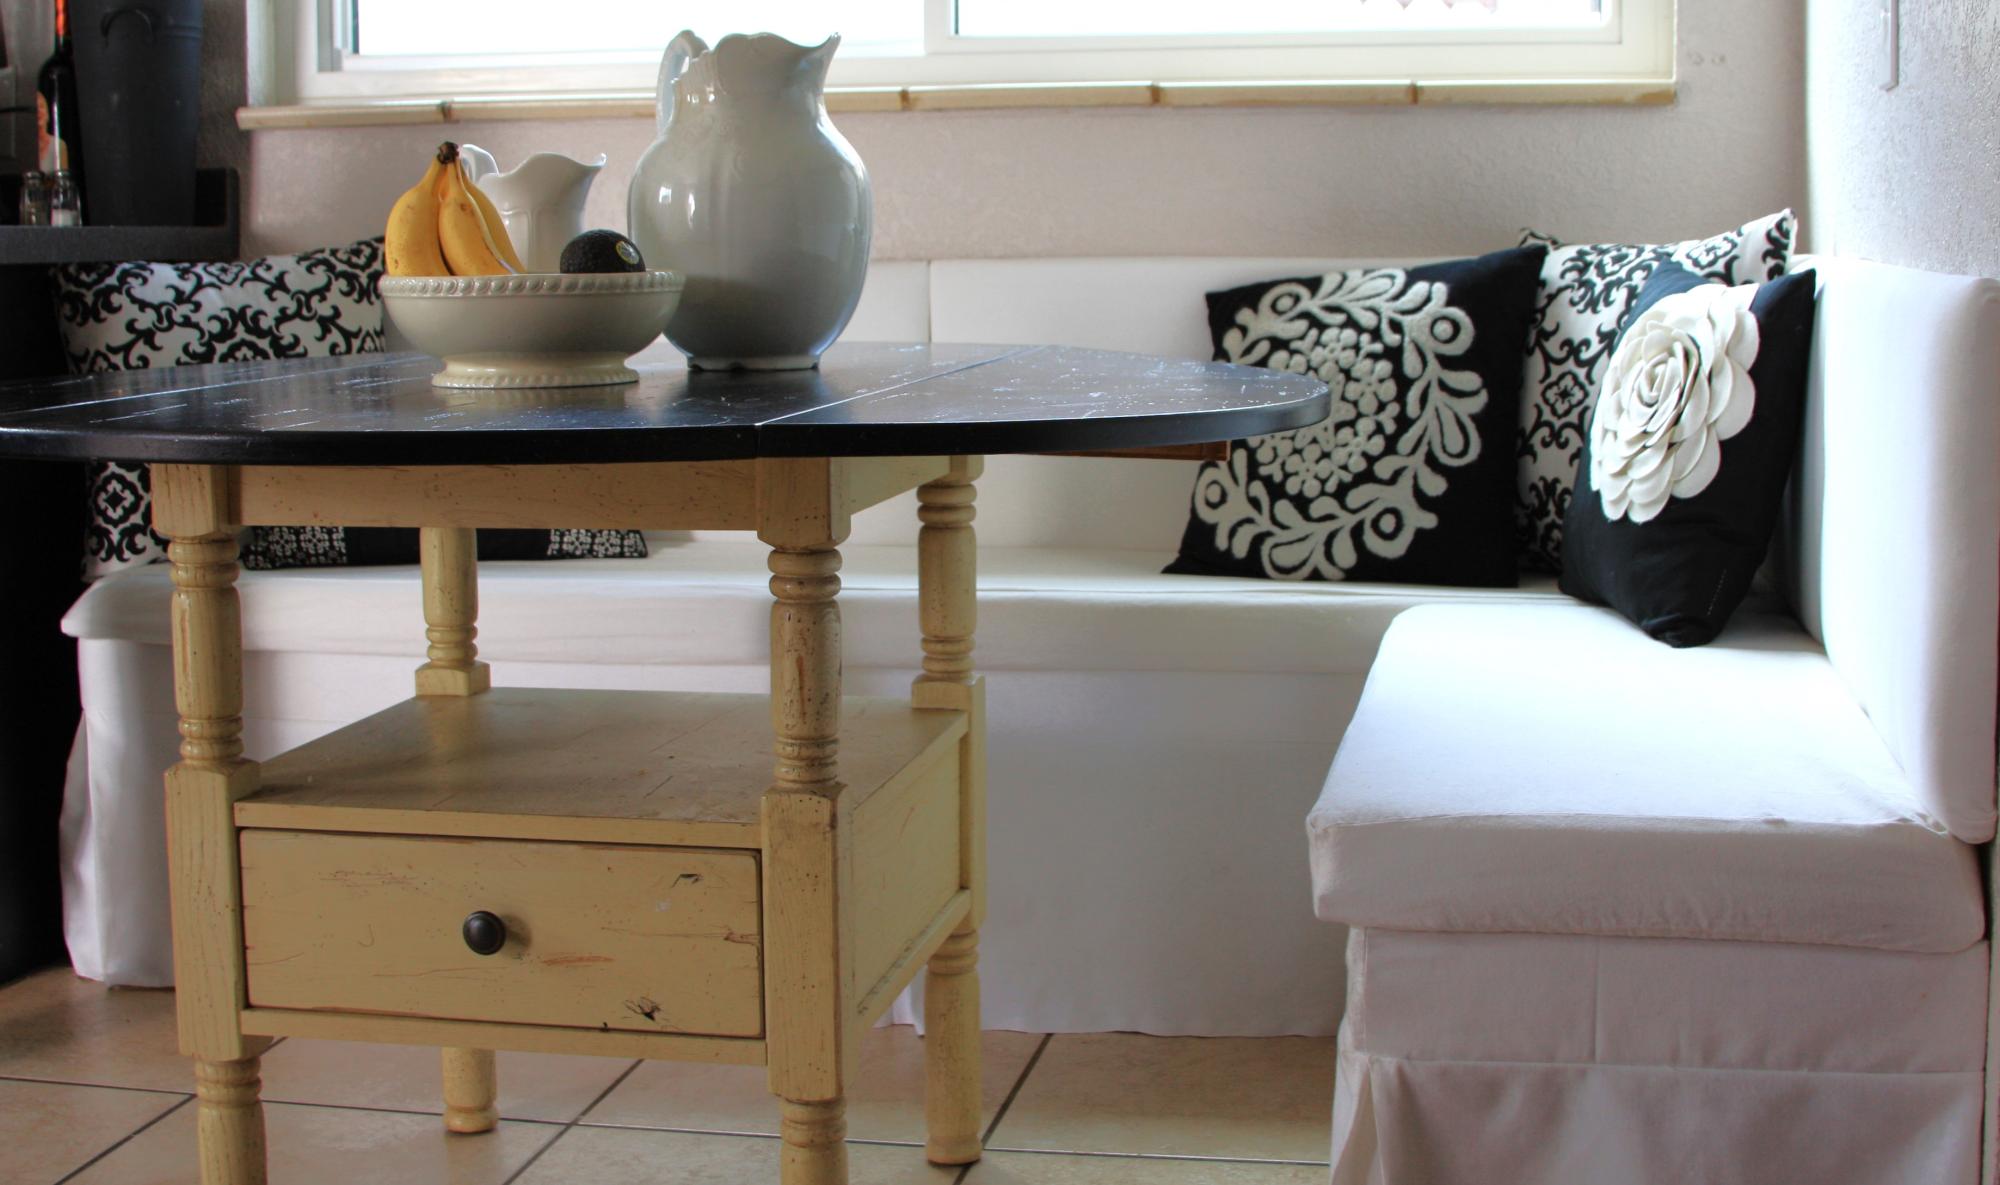
This project was amazingly simple and fun, and I love the outcome!
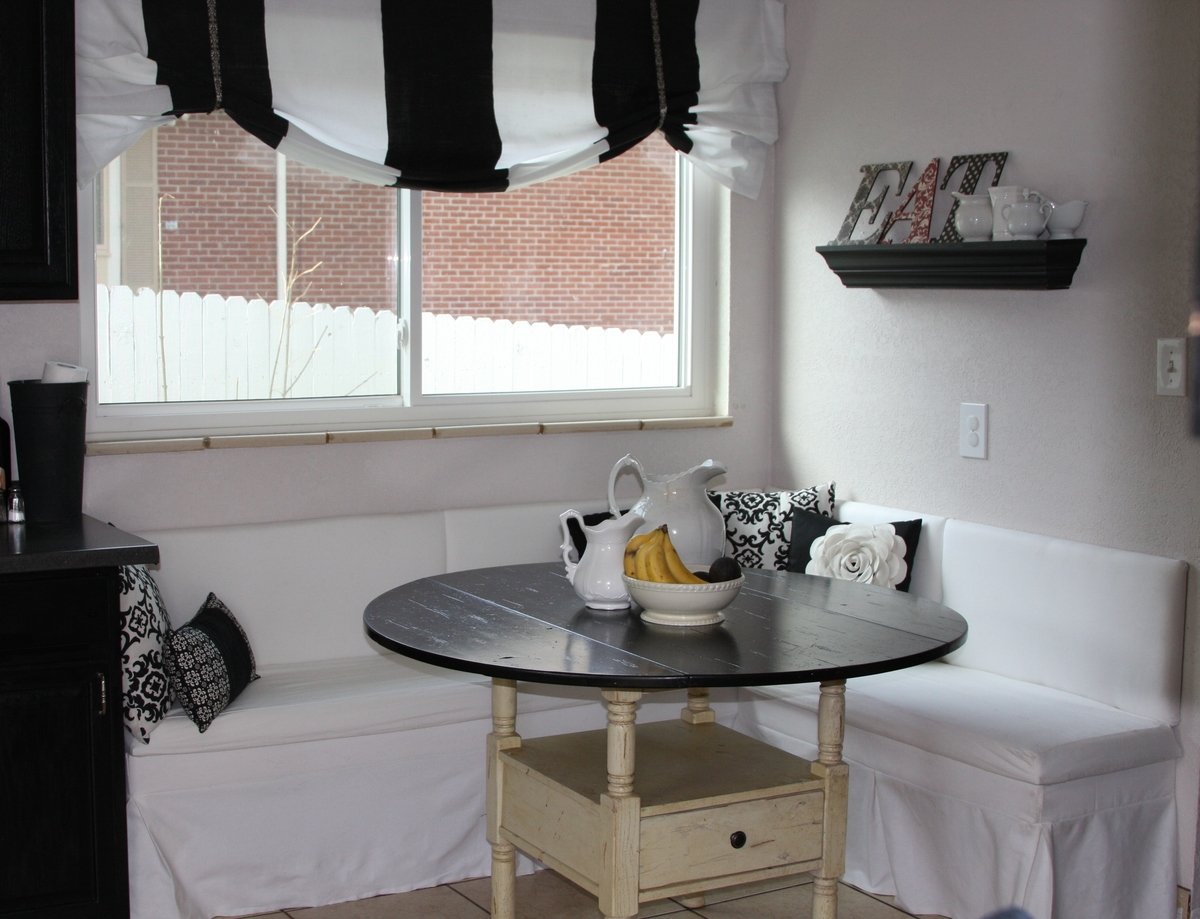
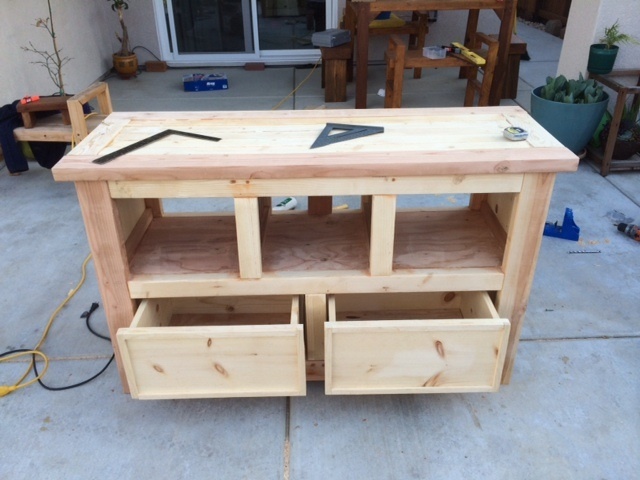
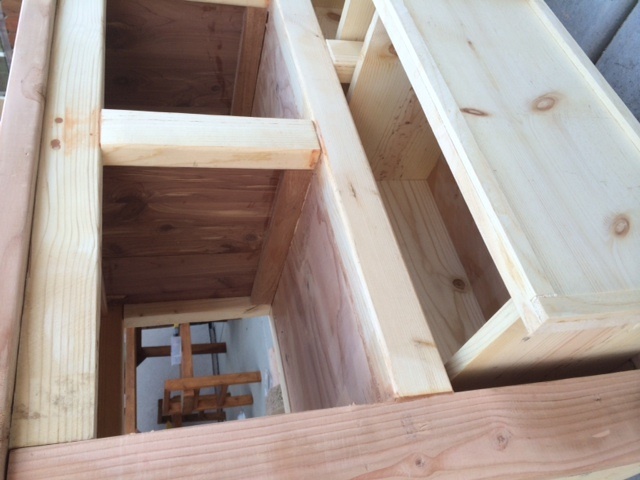
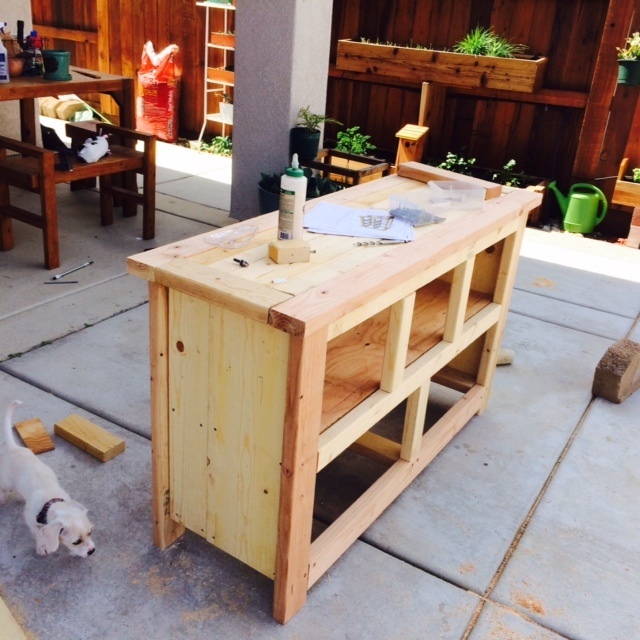
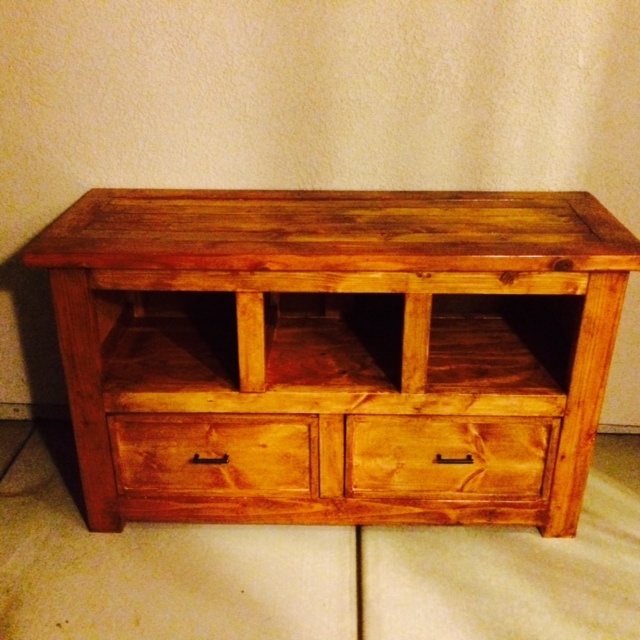
I've made mostly from 2x3 and 2x4. I made the drawer using scrap plywood I have laying around. The project is not finsihed. I will probably use watco danish oil through all wood.
Fri, 04/03/2015 - 16:47
This is beautiful and well made. Exactly what I need in my shop or even in my kitchen! It looks great!
Tue, 04/14/2015 - 07:25
It takes strong ppl to move this table though :) heavy and sturdy
Sat, 04/25/2015 - 16:15
I really like what you did here. When I first looked at it, I thought it would be a great piece for my little section of the garage I am calling my "shop".
Comments
Ana White
Sat, 07/22/2017 - 13:38
Amazing! I love the two tone
Amazing! I love the two tone finish!
In reply to Amazing! I love the two tone by Ana White
naomi
Thu, 09/07/2017 - 05:50
Thank you :)
Thank you :)
sis2795
Wed, 07/31/2019 - 16:58
Cost
I don’t understand the cost for this. The wood is going to cost significantly more than $20. Am I an idiot and don’t know where to get the wood from??? How does that equal out to $20?
In reply to Cost by sis2795
naomi
Sun, 08/11/2019 - 22:41
Cost
Hi,
All of the base was made from free pallet Wood and the timber top was one line length of new timber which cost about $8 and the wheels I had in the shed and the curtain rail was a couple of dollars from Bunnings. The paint and stain I already had.
I hope this helps. 😀