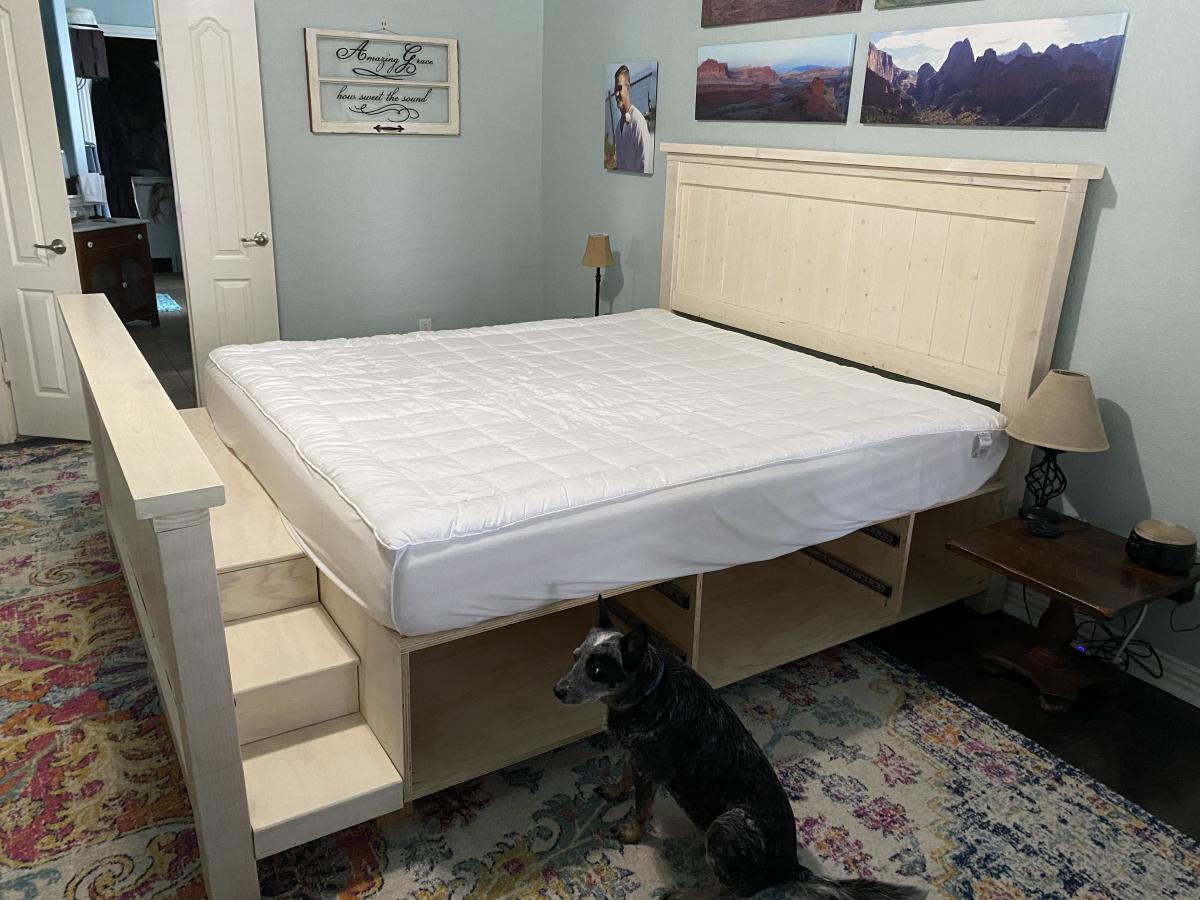
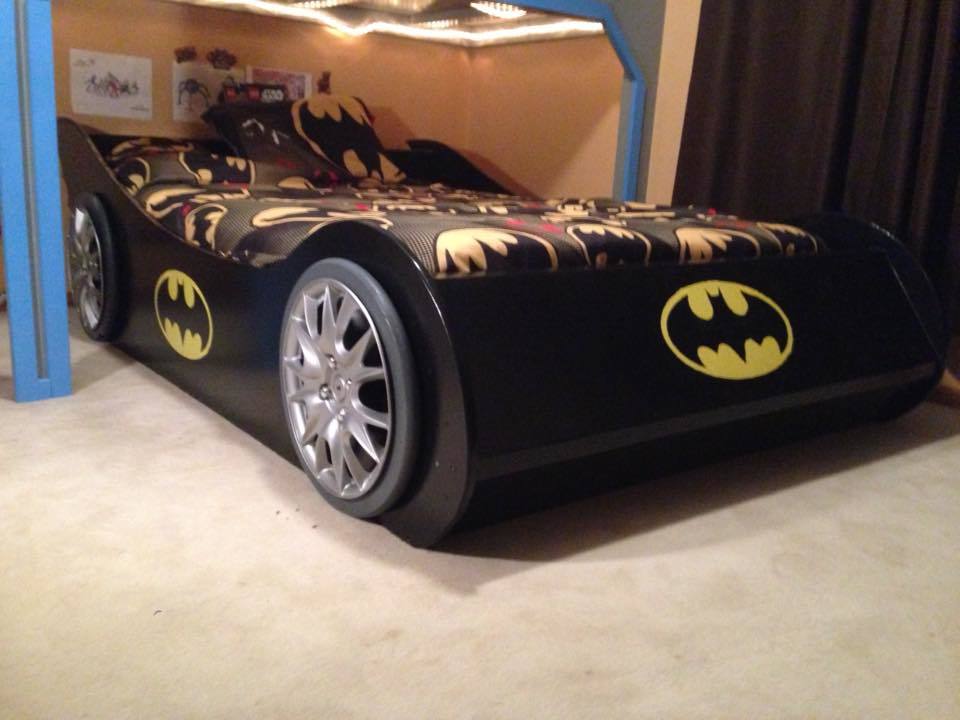
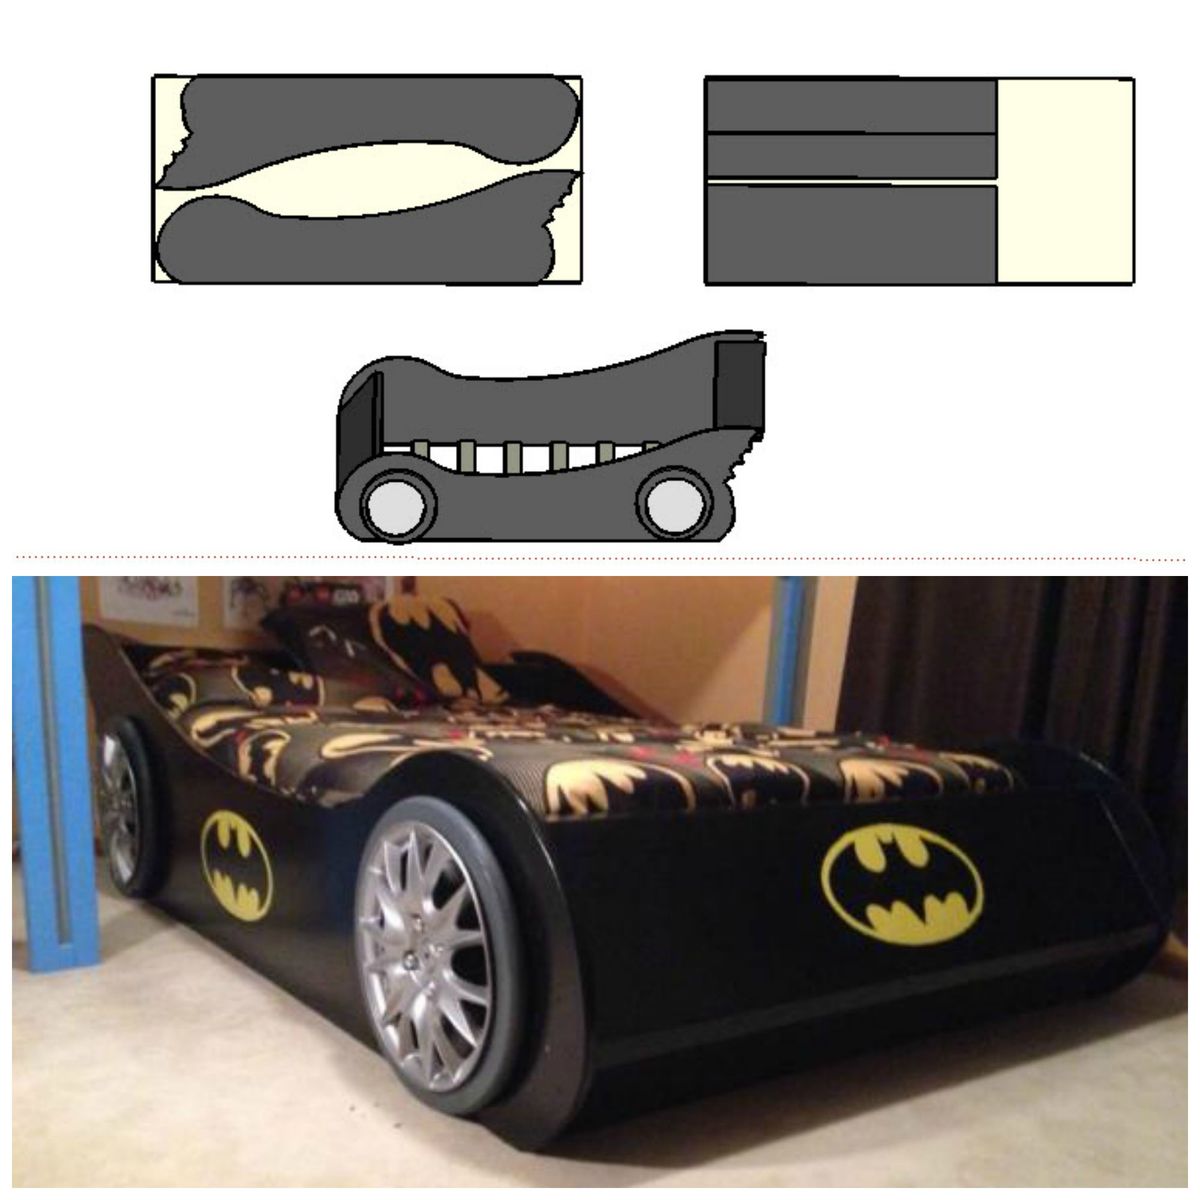
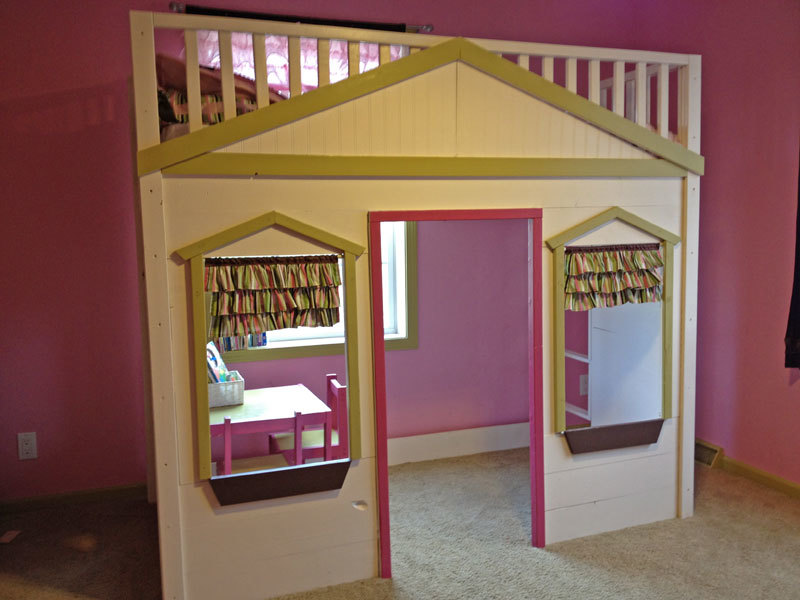
Engine 23 Fire Truck Bed
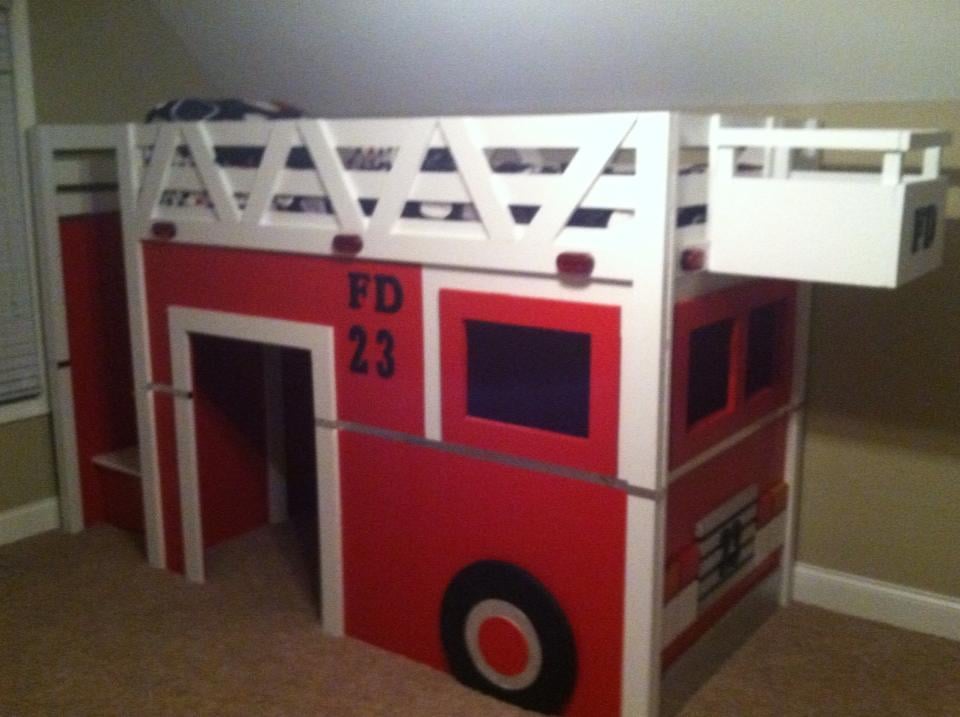
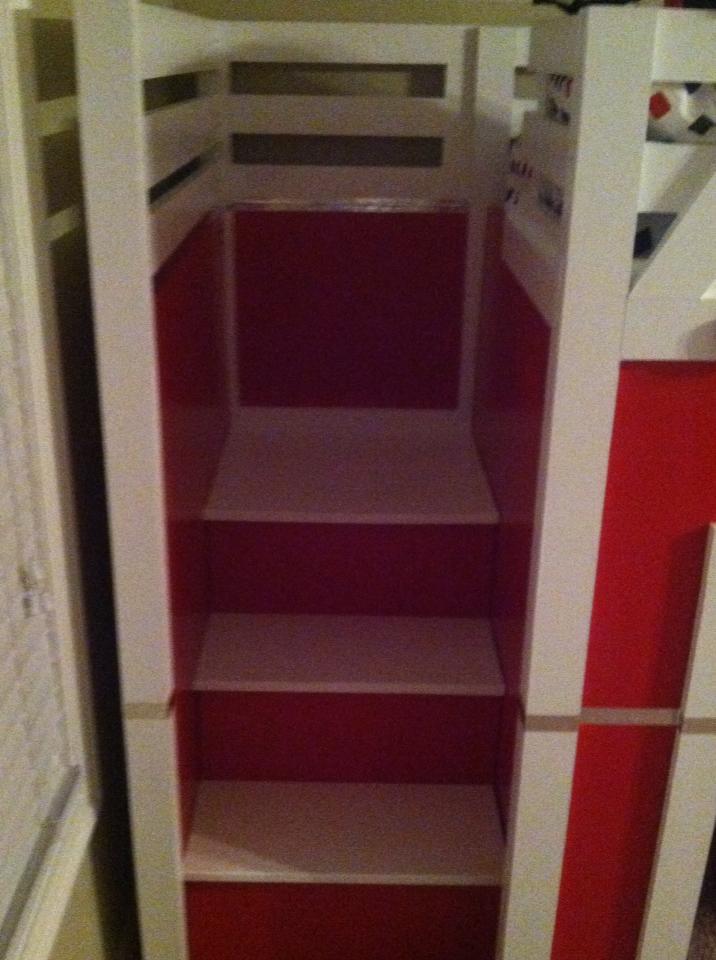
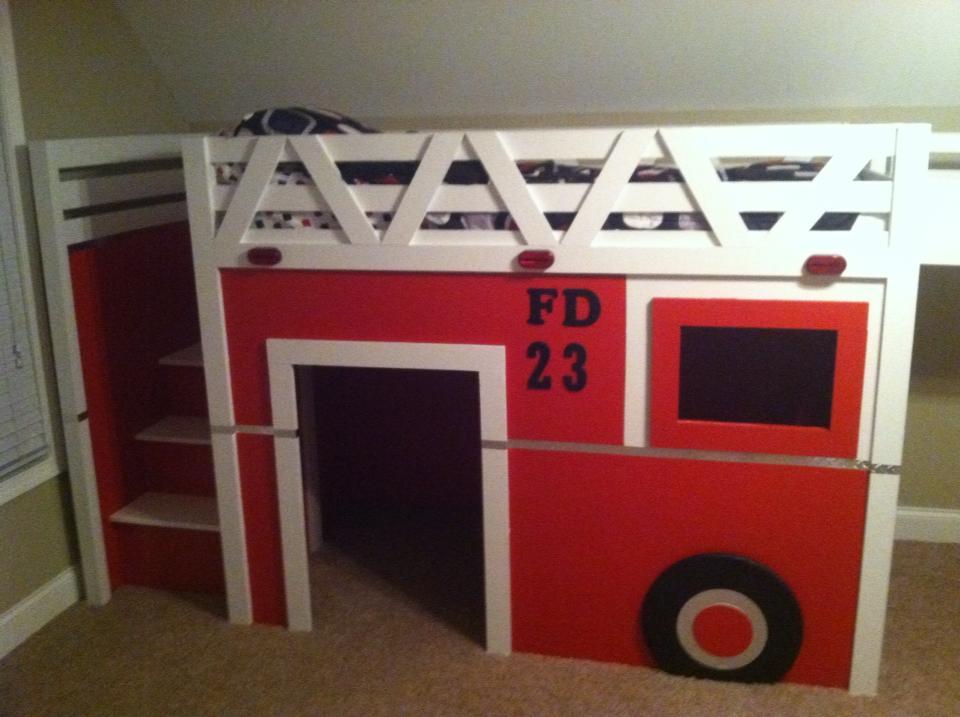
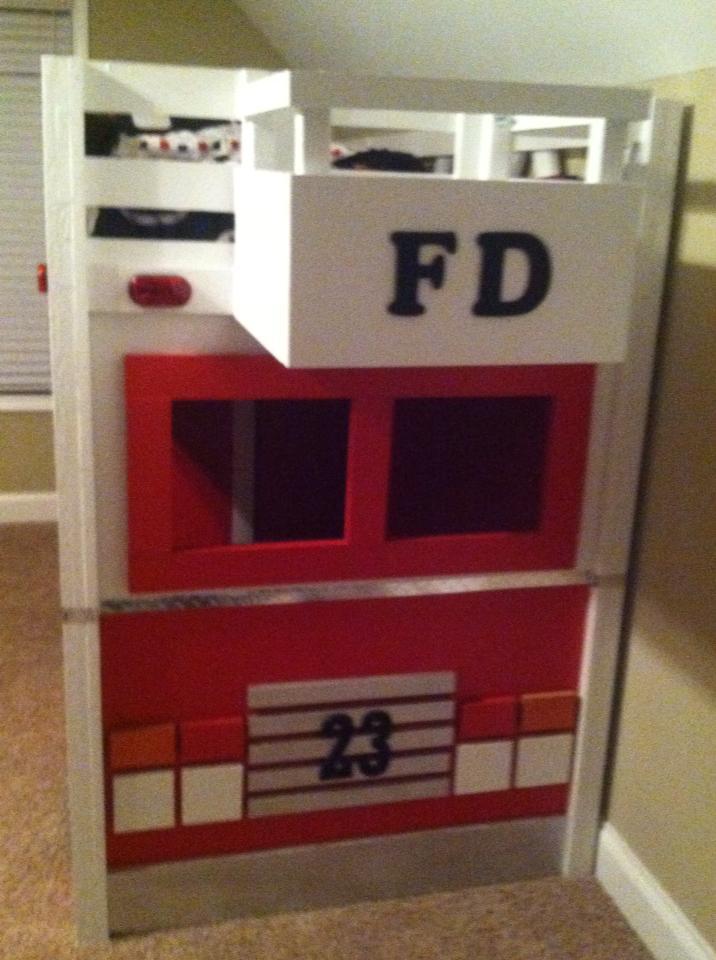
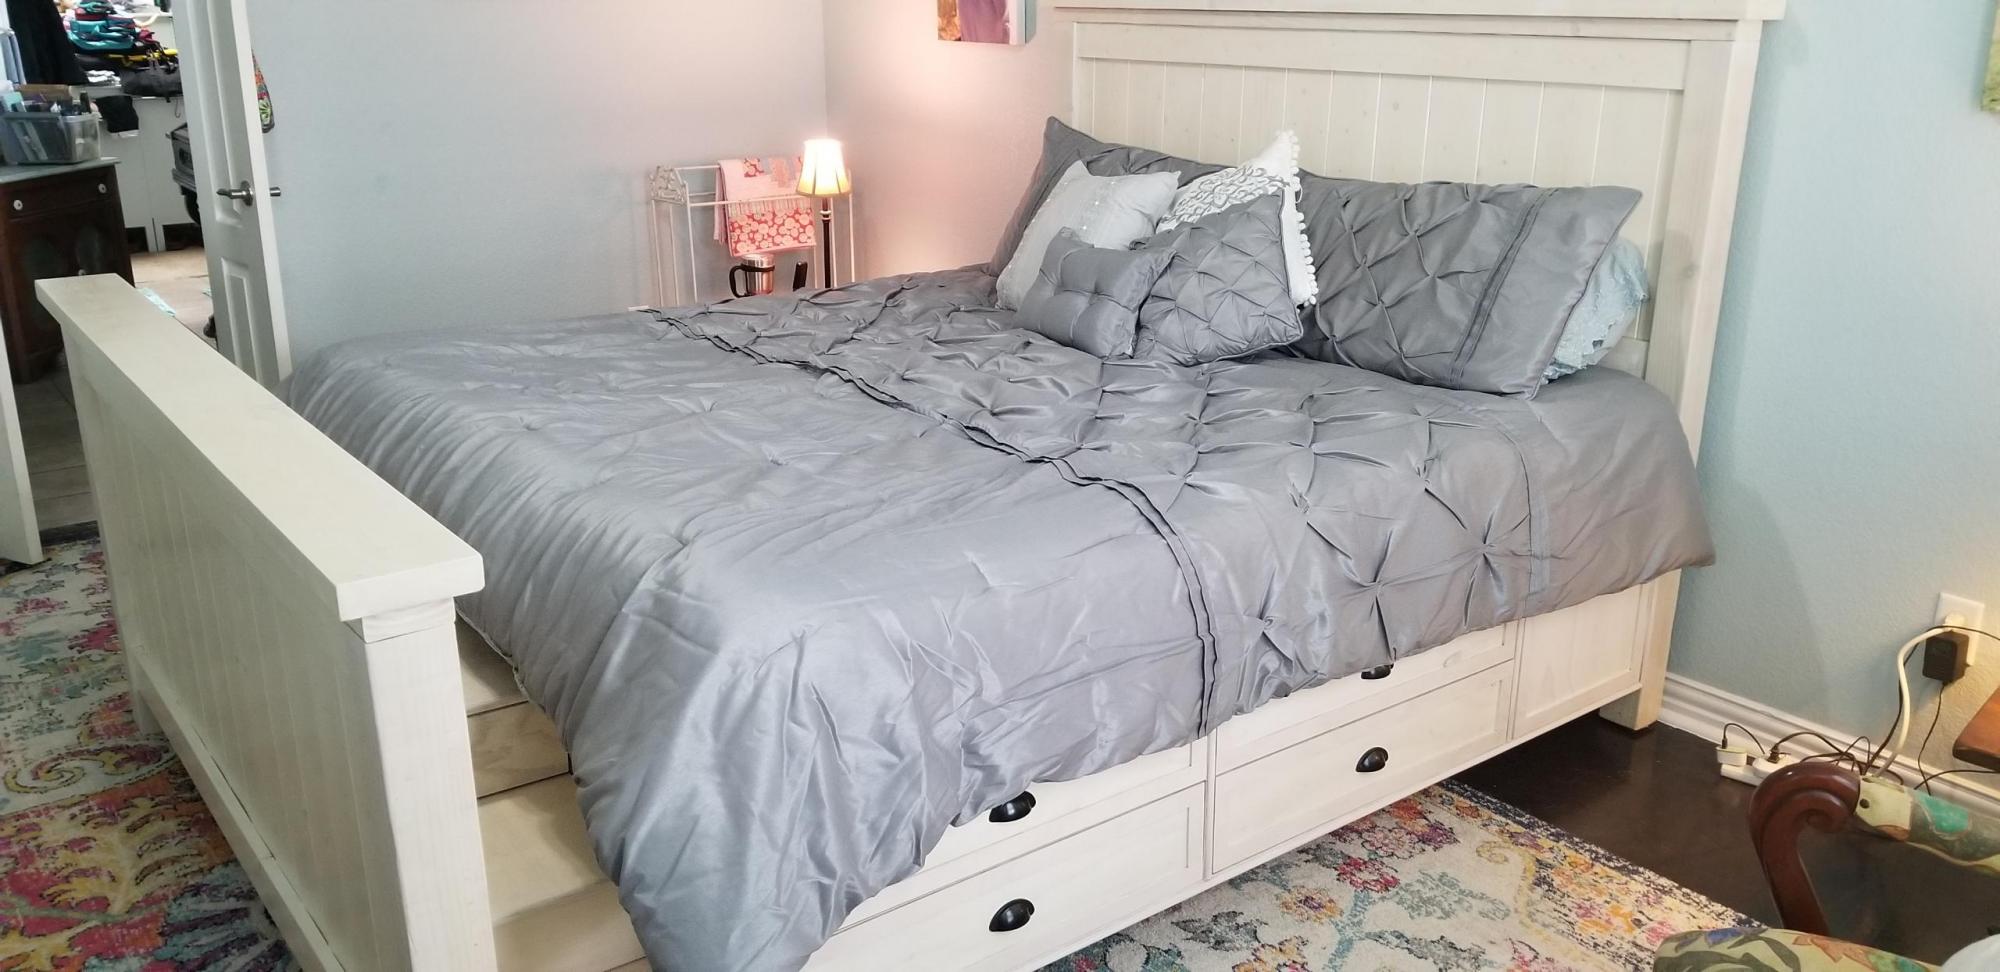
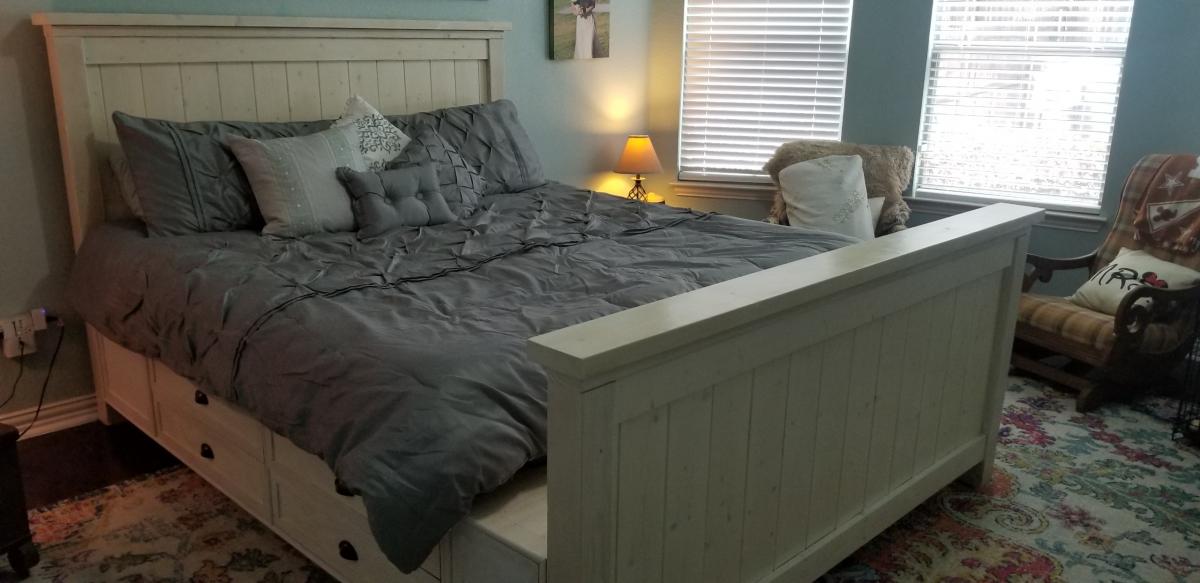
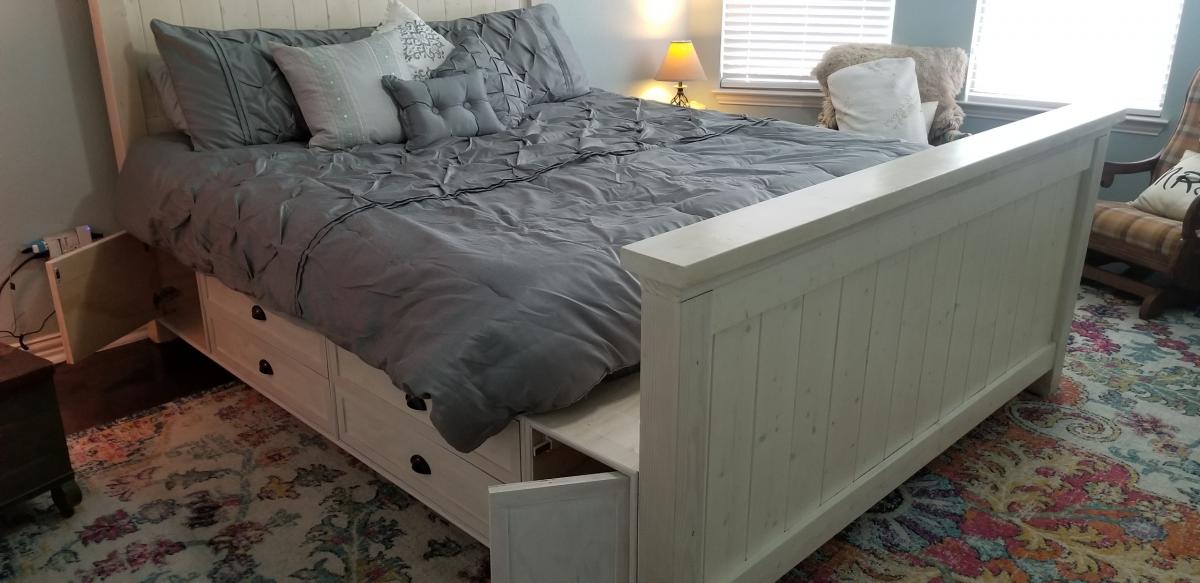
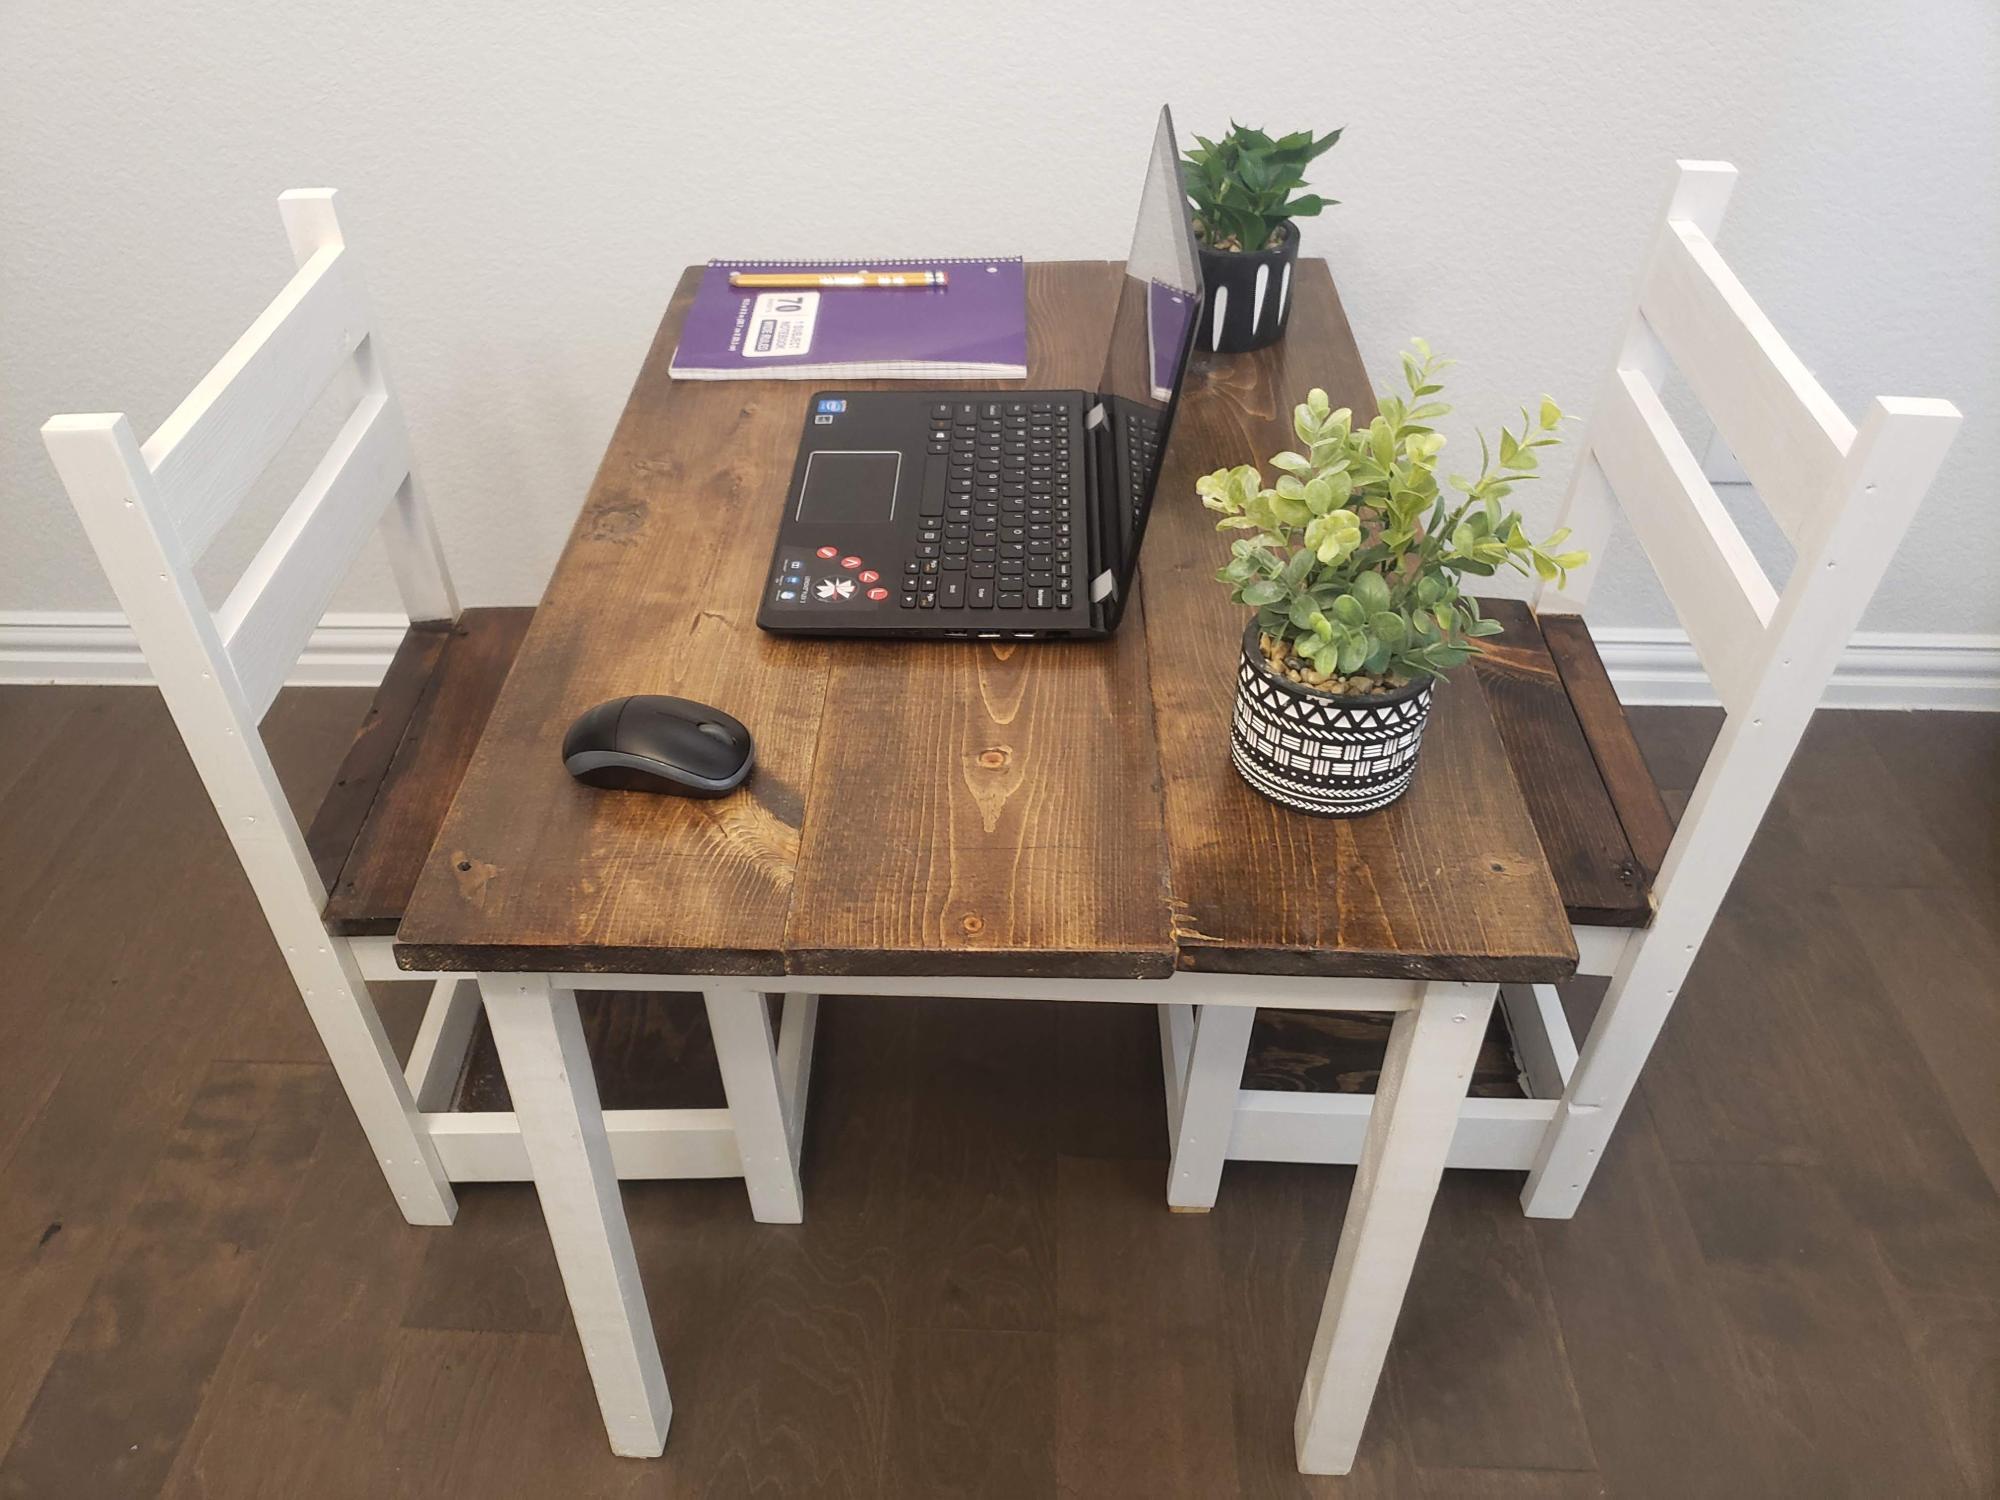
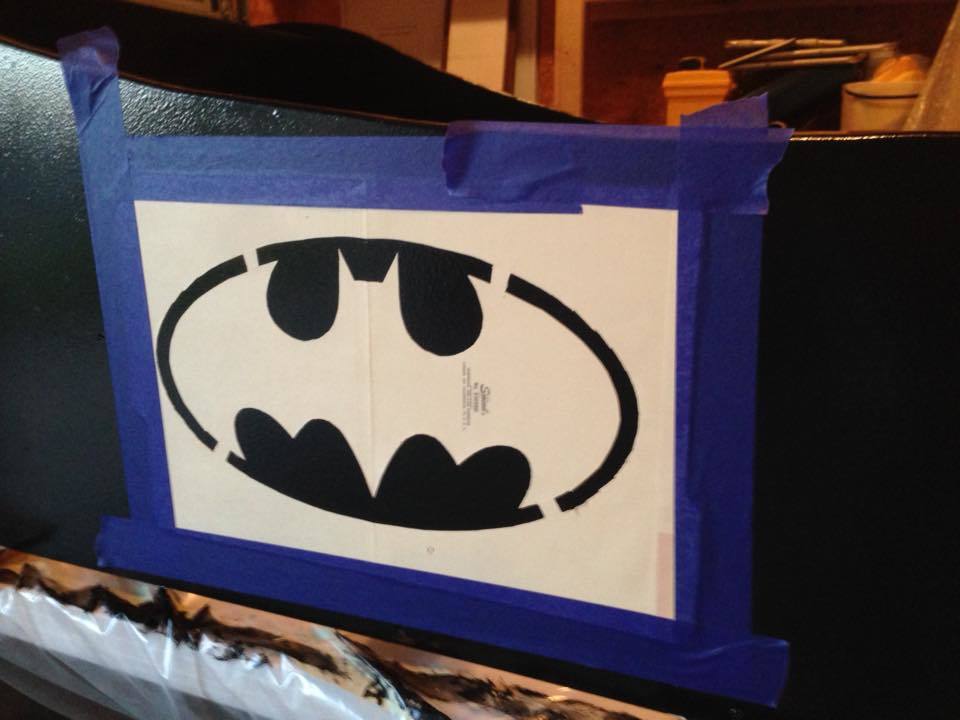
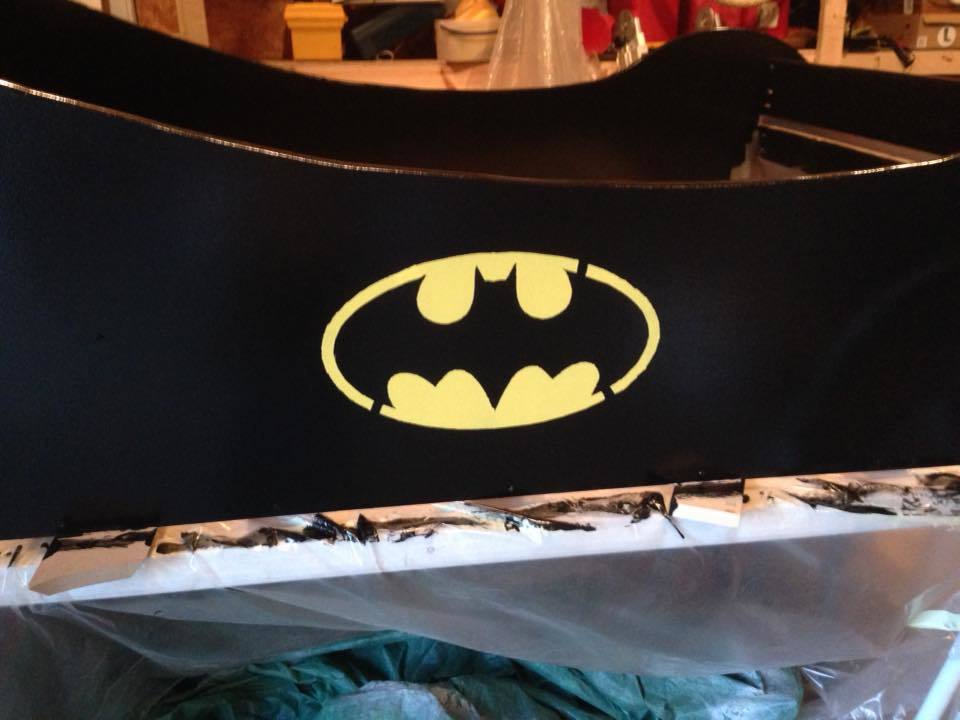
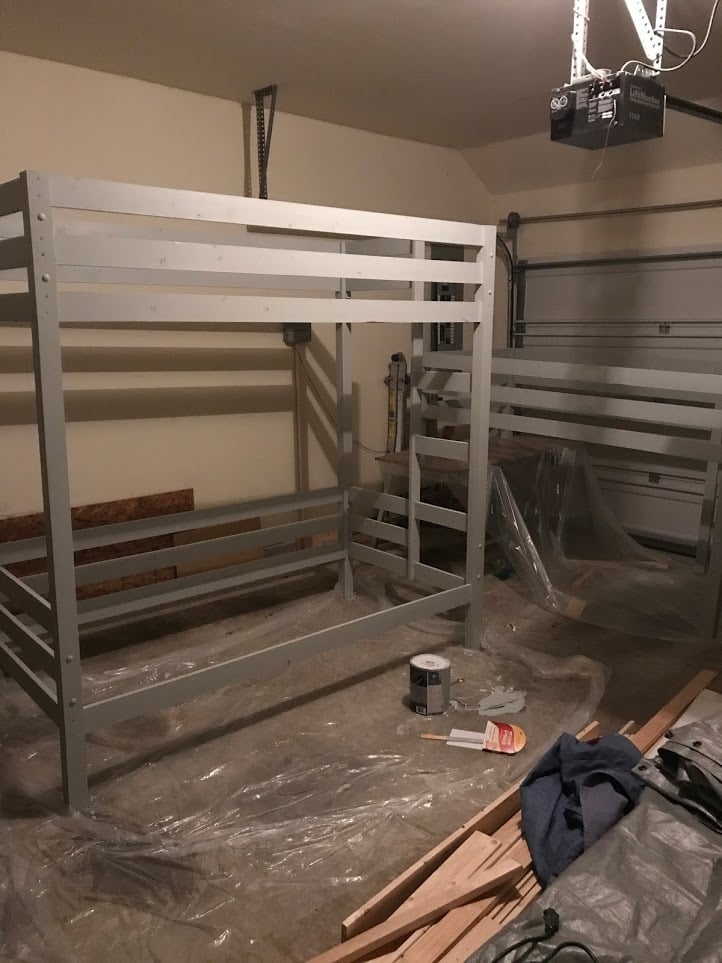
I have always been interested in some kind of projects and just to see what I can do with my hands. I am a father of 3 and hardly have the time to sit down must less pull off a huge project but I set aside some time and worked on this late at night after the kiddos went to bed. I came across this site when my wife was on pintrest one night and have been hooked ever since. I was at work one day and saw all these different projects that I wanted to do and that's when I ran across this bed and I could not wait to start working on it. I called my wife and sent pictures of the plans and said meet me at Lowes we got a project to work on lol. I had a blast working on this and yes I did run into a few problems here and there but overall it came out great. When I went in I originally was going to follow plans to a T but decided that I would make changes here and there as I went. Due to height contstrictions in my son's room I lowered the overall height by two inches which worked out perfect. I did build the steps but I also made the back where it would come apart for east movement. I only used actual pine boards on the steps and the rest is 3/4" MDF board. I ripped everything on a table saw to exact width and length and drilled all my holes with a Kreg Jig. Alot of people are afraid to use MDF but believe me I could shake that bed as hard as I can and it doesn't even budge one bit. It is heavy duty built for a monkey child like I have. The project overall took around 30 hours from start to finish. My only suggestion would be to paint every step of the way instead of waiting to paint until the end like I did. If you have any questions about the build feel free to ask and I will help out the best I can. Thanks Ana for the plans and thanks to atouchofarkansas for the original inspiration for you guys have gave my son years worth of enjoyment. Can't wait for the next project to start.


Comments
ACM
Sun, 02/17/2013 - 04:42
Amazing!
It looks custom to the space! Excellent painting too.
Pam the Goatherd
Mon, 02/18/2013 - 11:09
Great work!
Great work!