I tried to replicate the original post on this site (which is awesome by the way!) I did make a few changes so this might help others:
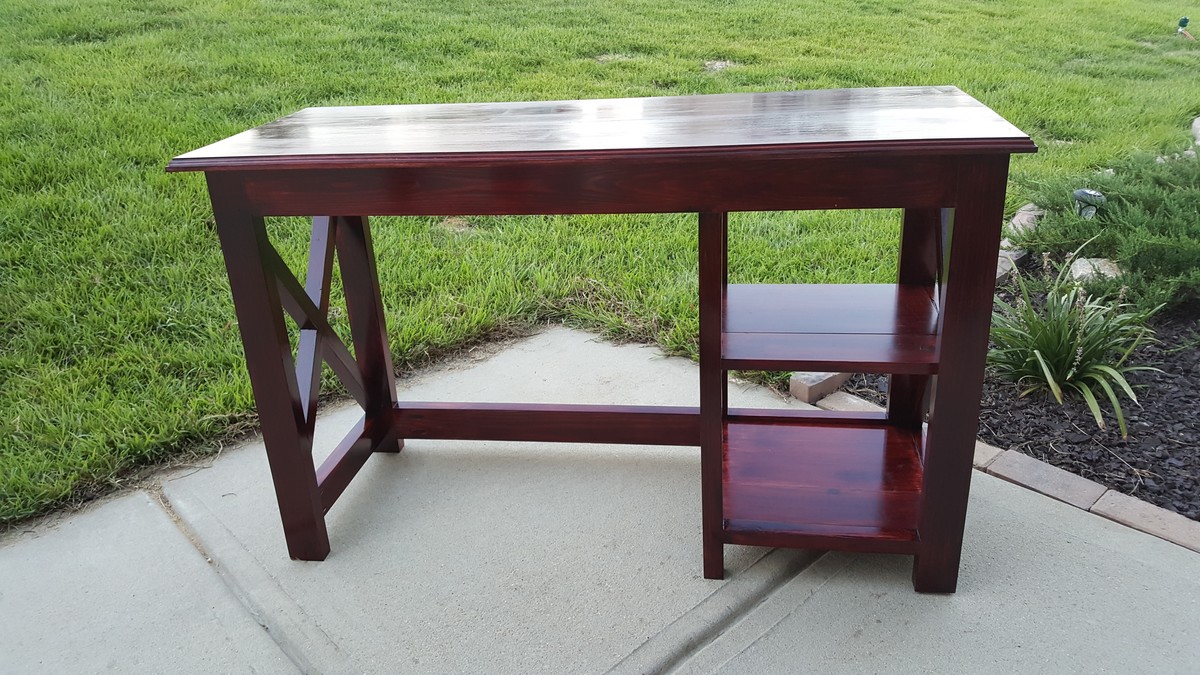
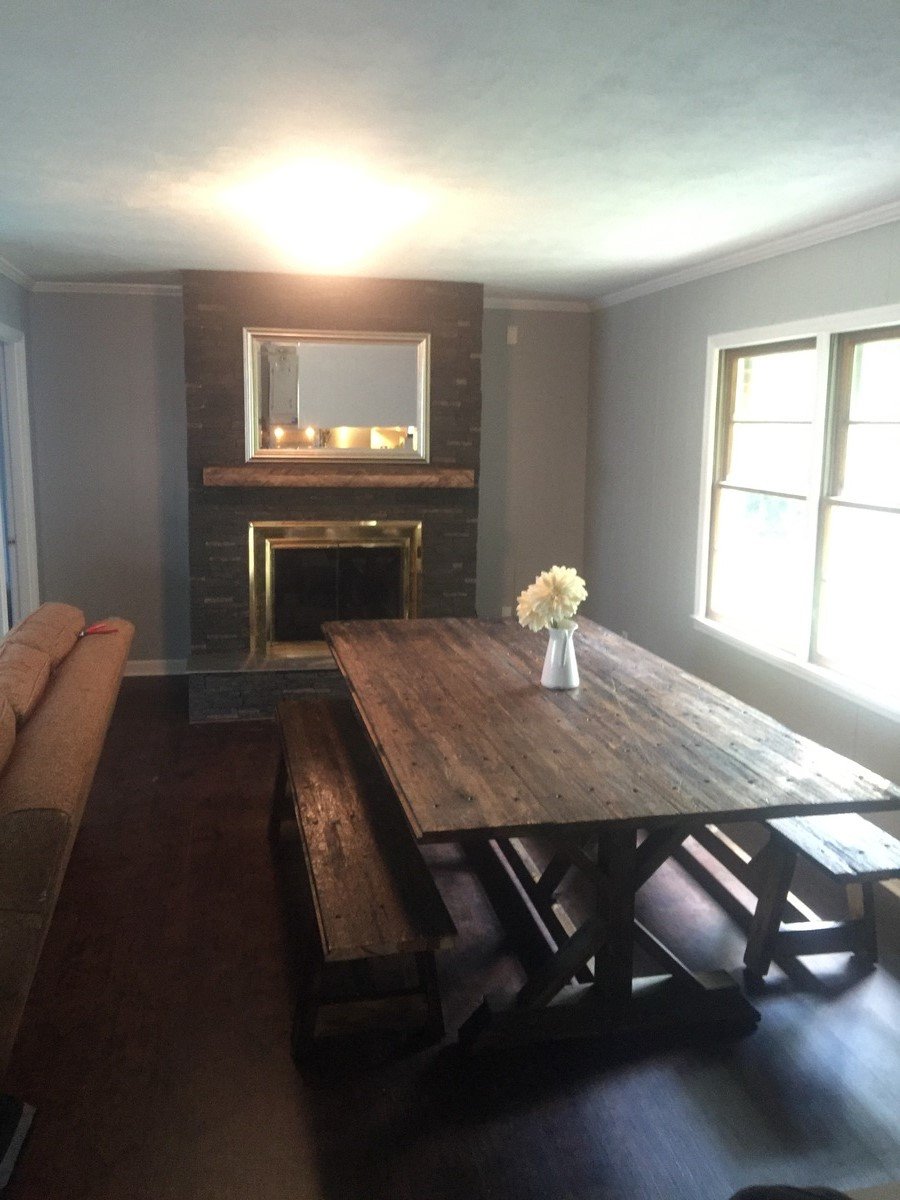
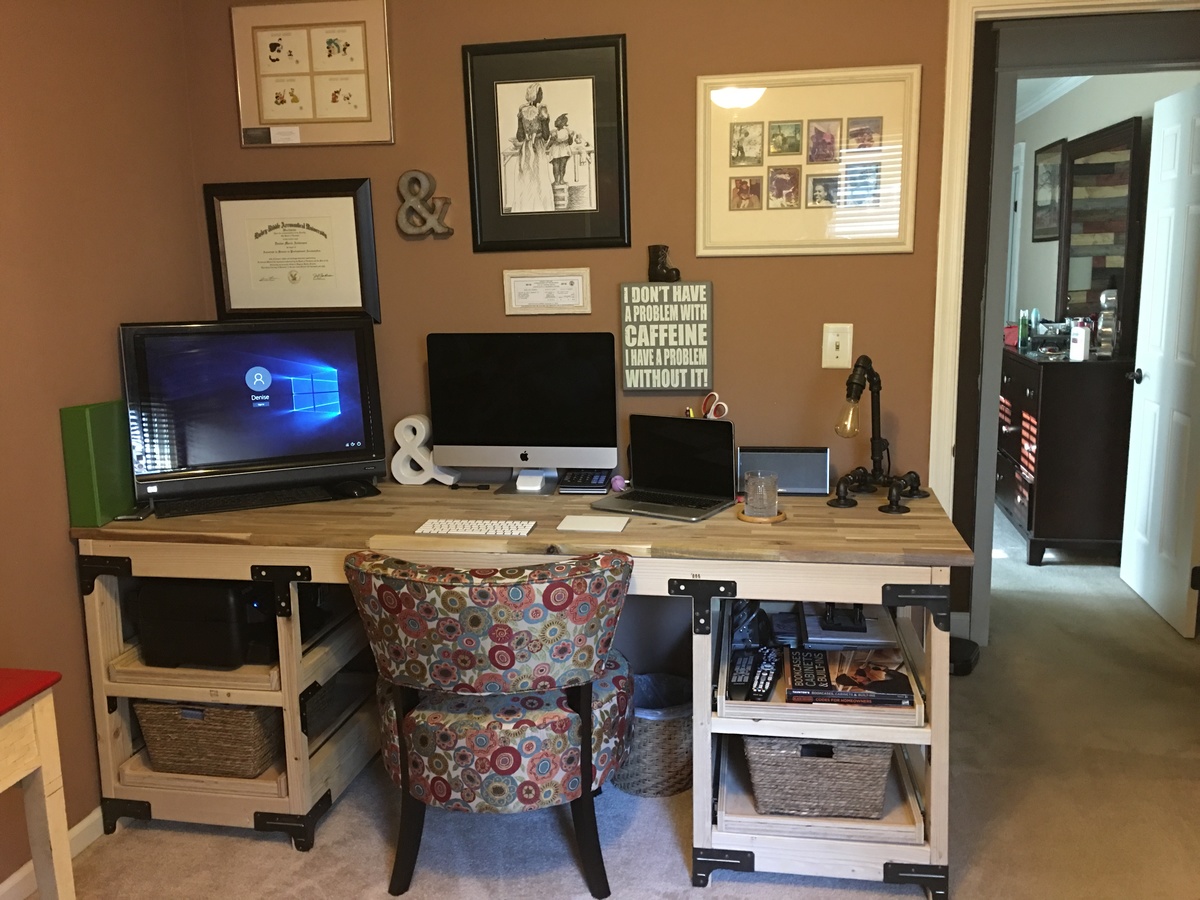
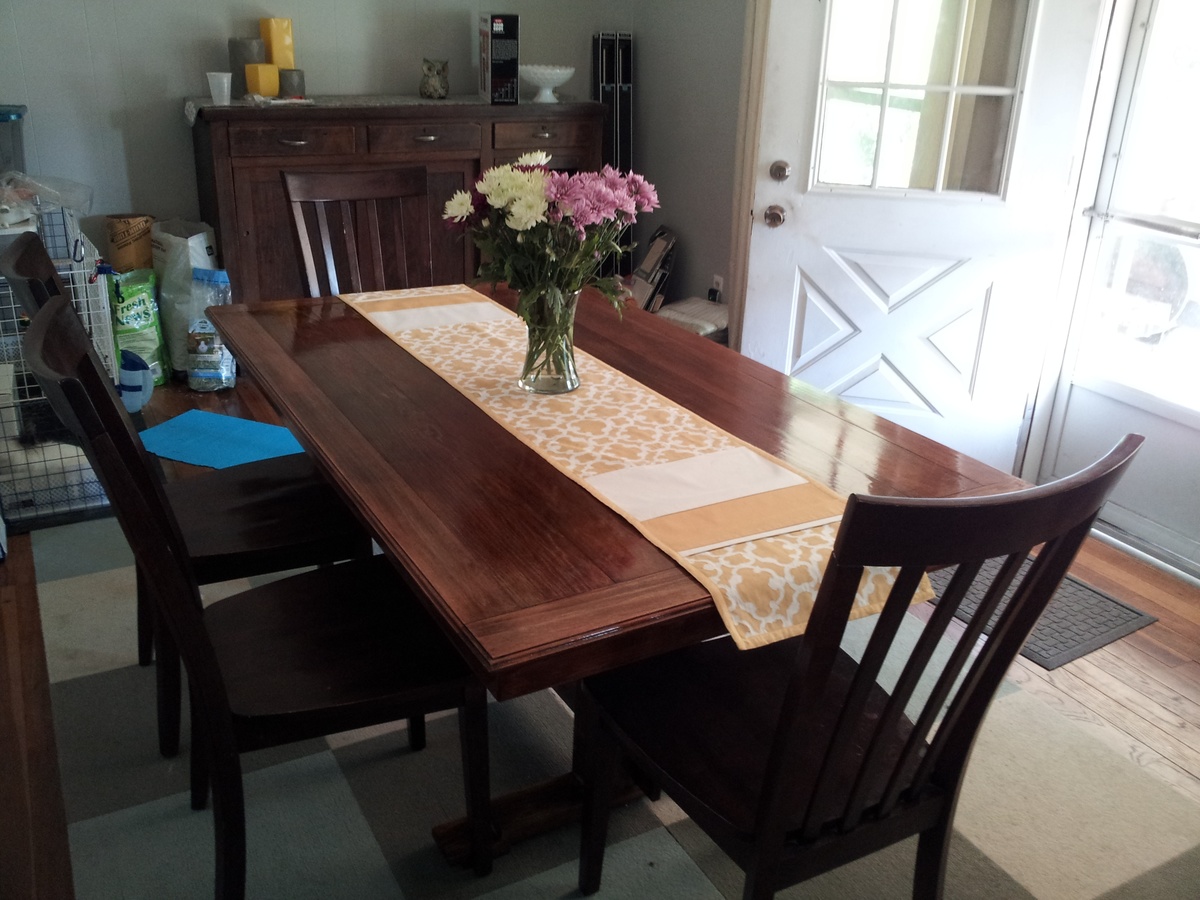
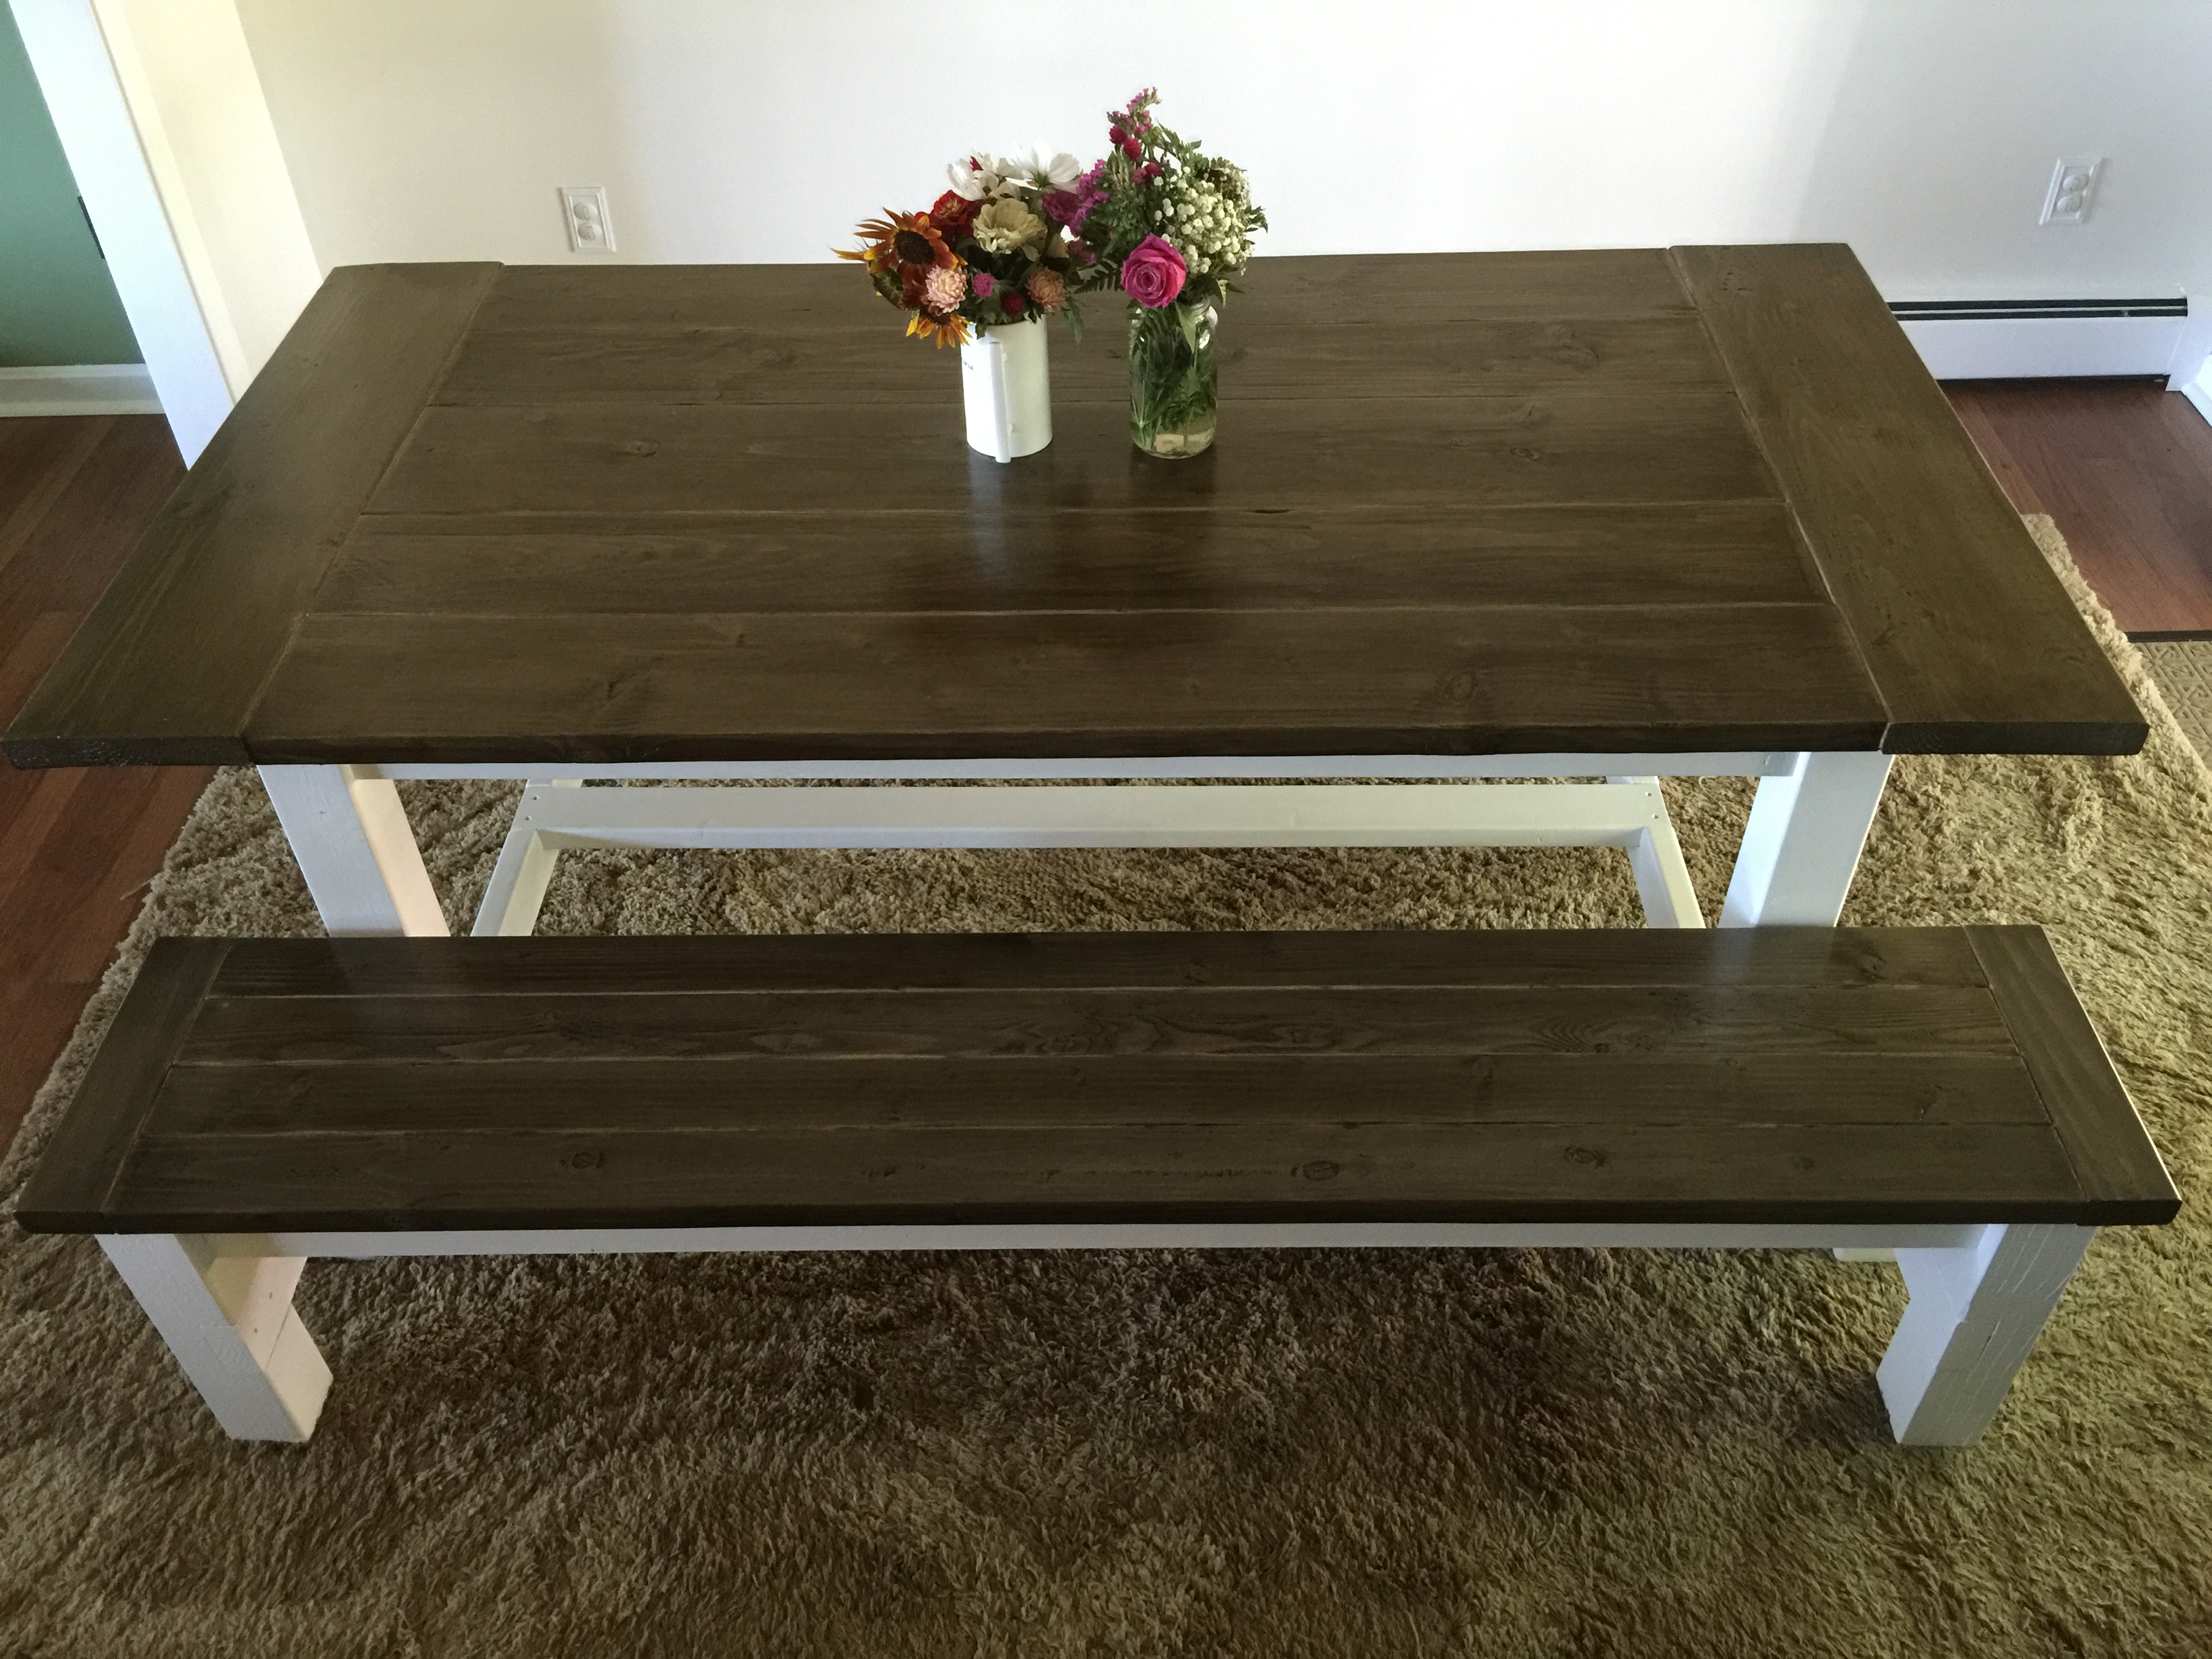
1. Made total table length 72" to fit our dining room.
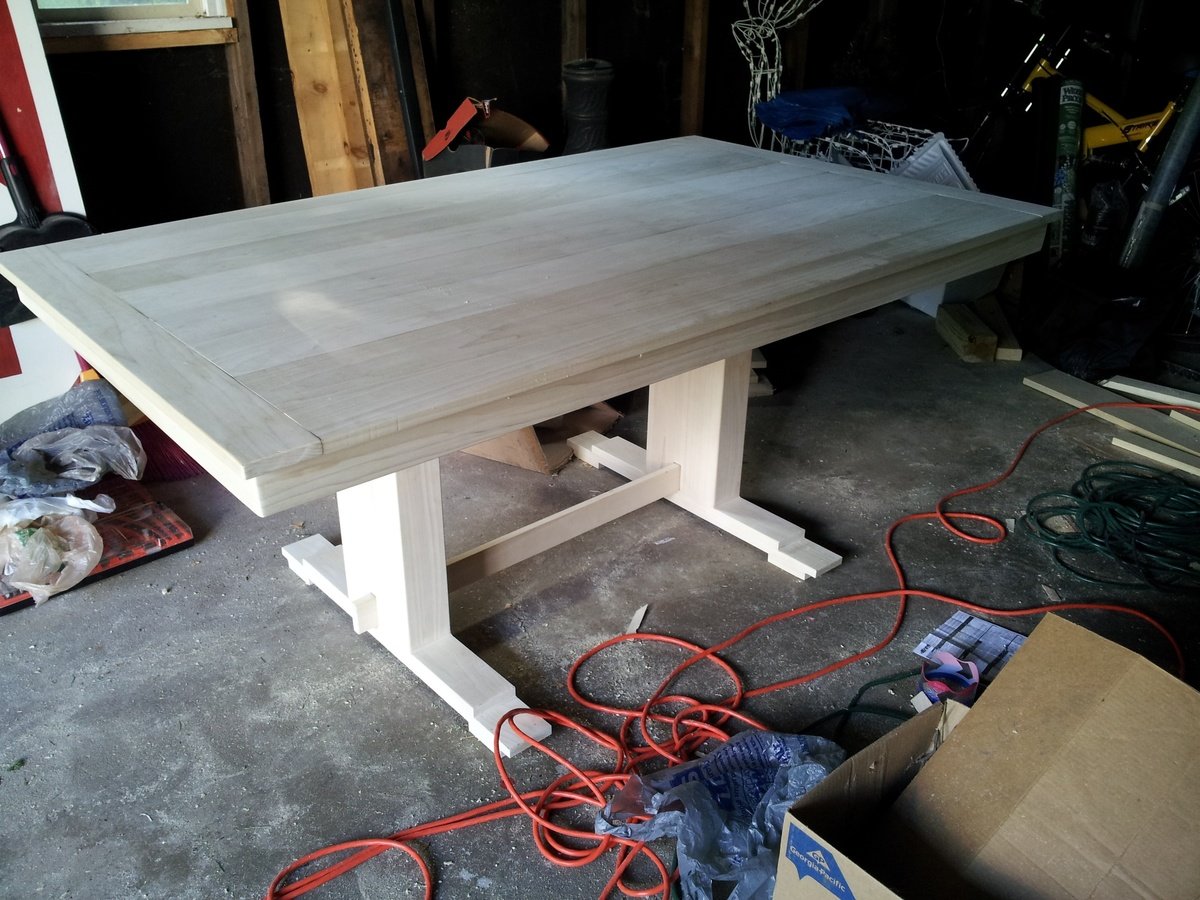
2. Flipped the stretcher boards towards the inside part of the table for more leg room while sitting on either end of the table
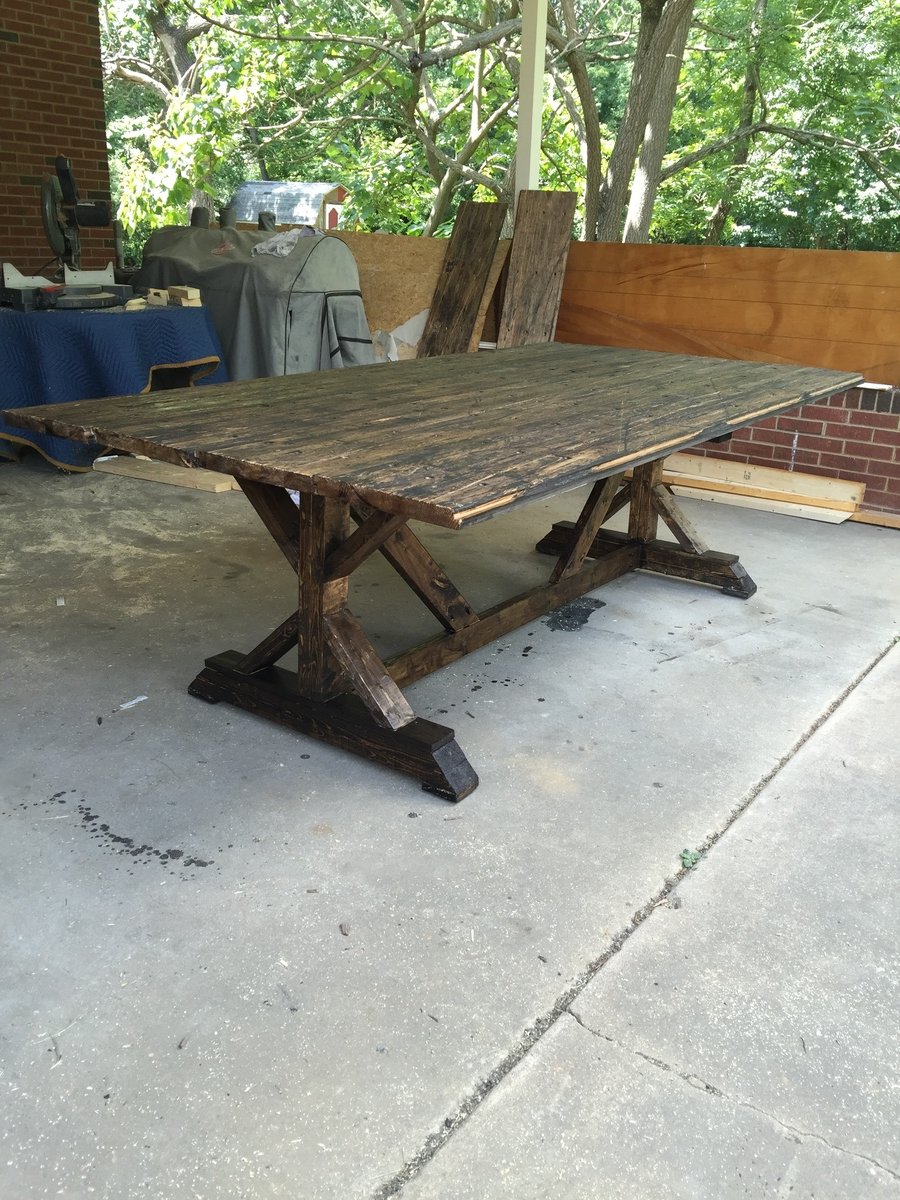
3. 2 inch pocket hole screws to attach table top to the frame (instead of 2 1/2 inch so they wouldn't go through the table top)
4. Two 2x10s (instead of 2x8s) for the breadboards. For extra support, I used four 3 inch metal brackets (purchased at Lowes) that I painted white and attached under each breadboard (8 total brackets used- 4 under each side)
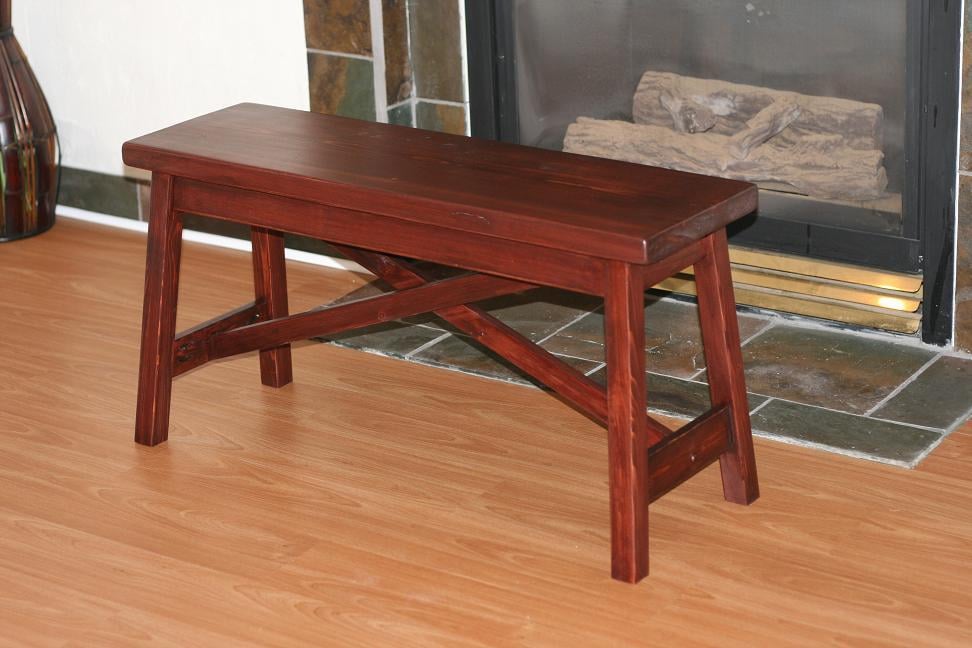
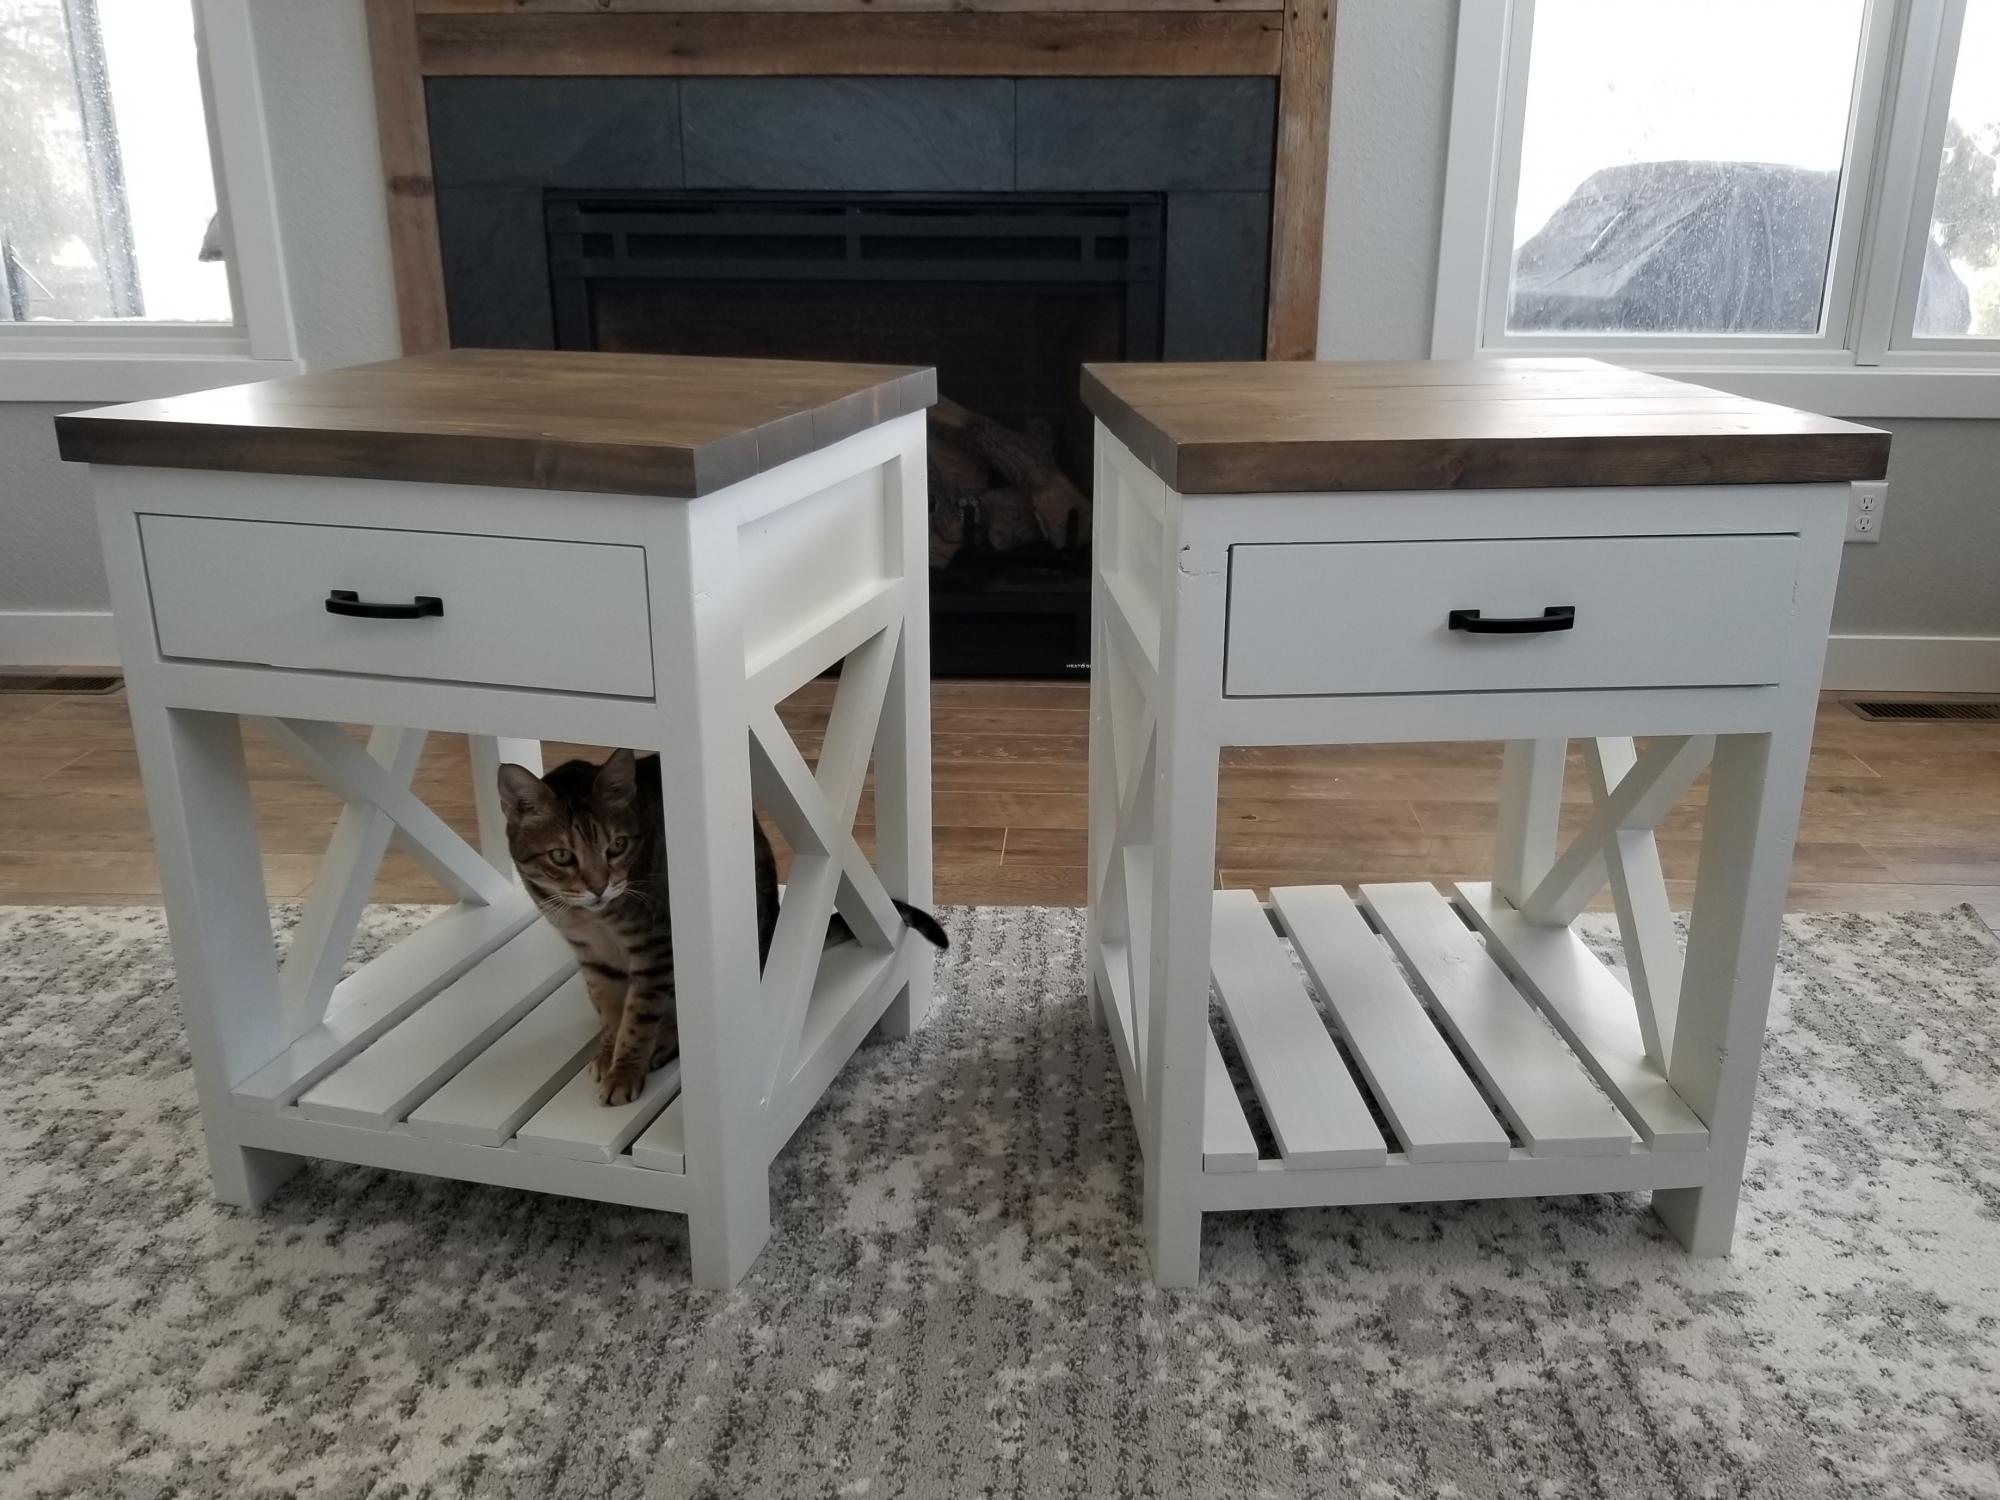
5. Olympic brand latex white eggshell paint for the legs/apron for the table and bench. I then applied 3 coats of Minwax Polycrylic Matte (water based) to help protect the water based paint.
6. To help with the gaps between the boards that create the table top (I have two kids so you can imagine the crumbs!), I used Dap white caulk in between the boards and wiped away the excess. I then proceeded with the Rust-Oleum chalked ultra matte white paint (using 1:1 ratio of water and paint) to create that lighter foundation for the next step.
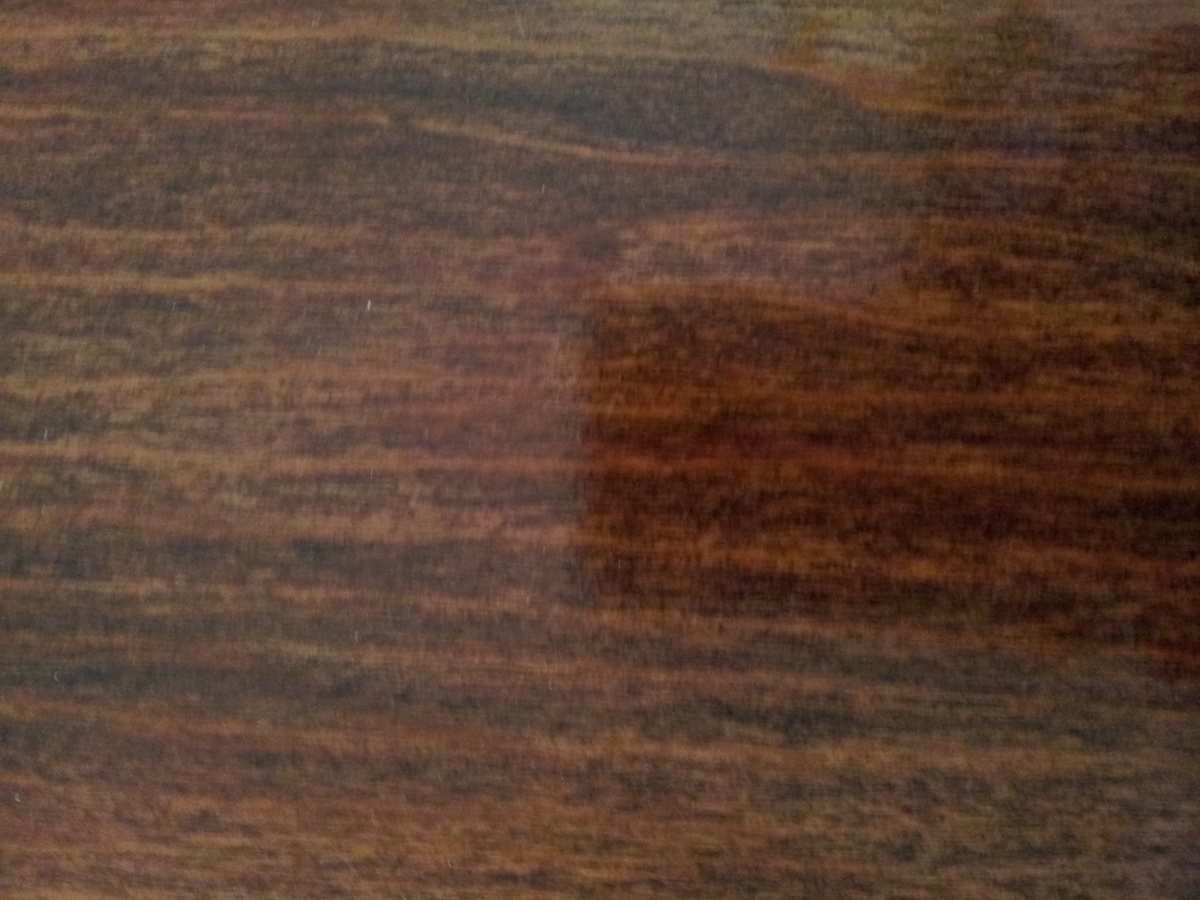
7. After using the Minwax Dark walnut stain 2716 (one coat), I used 3 coats of Minwax Fast Drying Polyurethane clear satin to finish and loved the result.