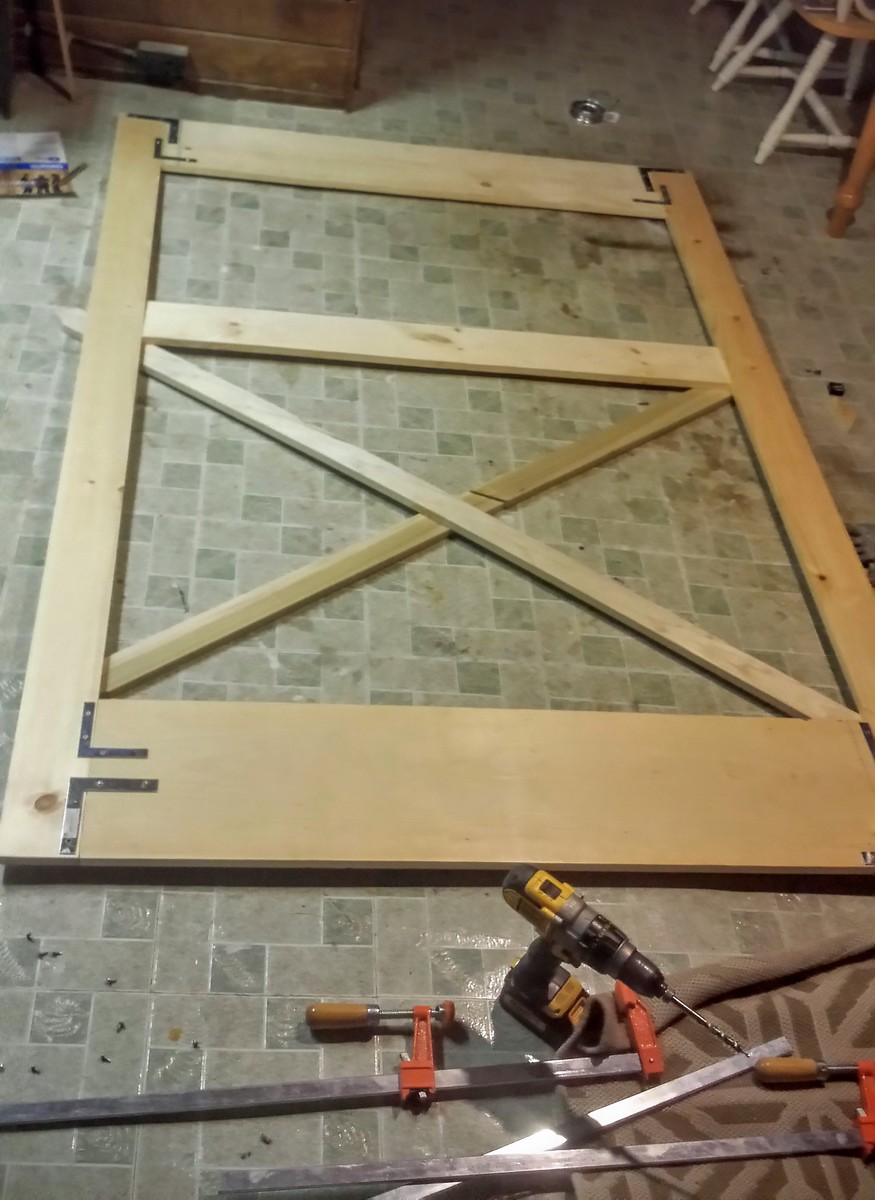
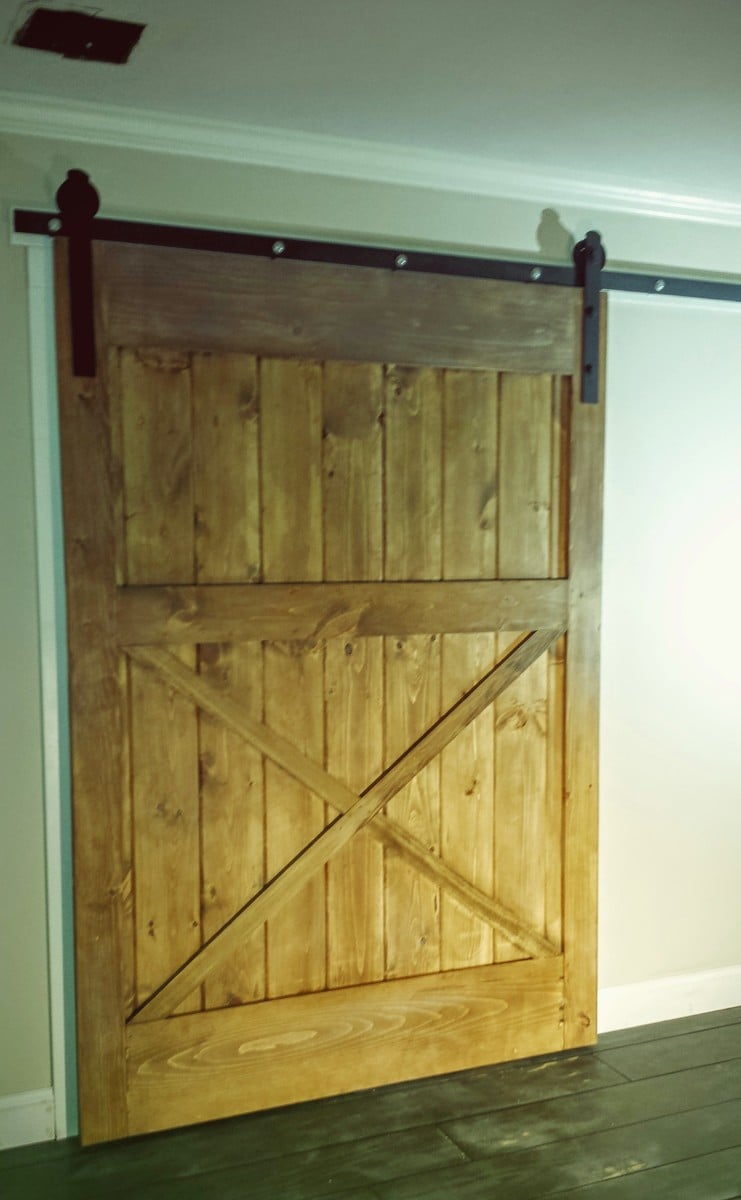
Modified L Shaped Desk
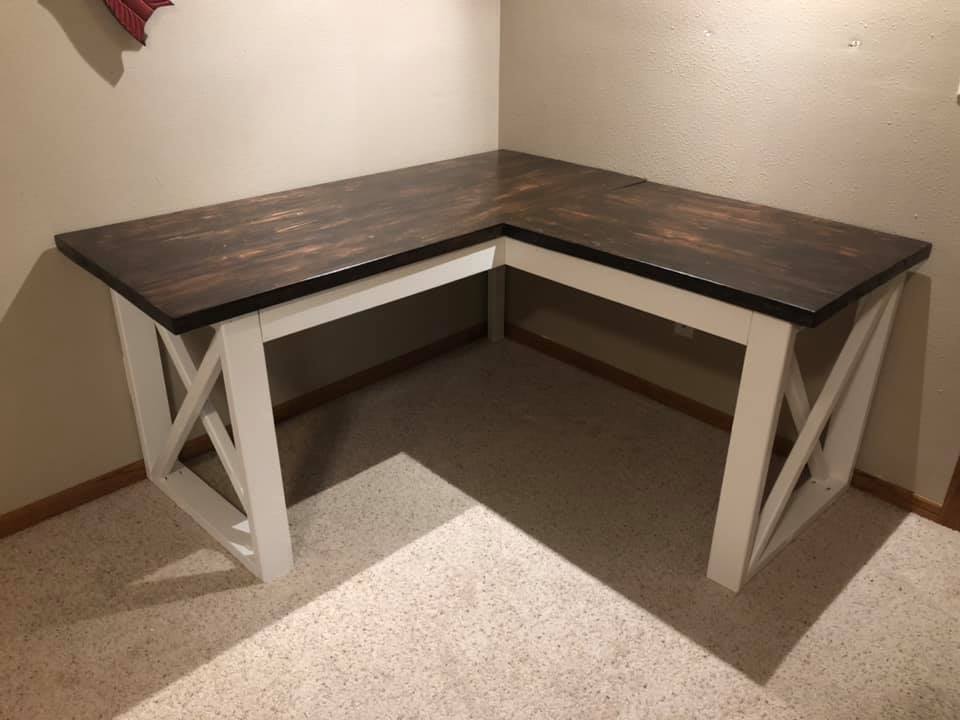
This was my first woodworking project in a couple years. I modified the size to make it about 60" on each side. Now that I am working from home now due to COVID-19 for the foreseeable future this has been perfect to use in order to have two monitors and enough room on the sides for other work.
Built from Plan(s)
Estimated Cost
70
Recommended Skill Level
Beginner


Comments
tay6694
Sun, 05/31/2020 - 19:39
Looks awesome! What stain…
Looks awesome! What stain did you use for the top?
patriciatruel
Mon, 12/14/2020 - 14:08
can you tell me how you…
can you tell me how you attached the two desk together? I have a lady wanting me to build an L shaped Fancy X desk, but I'm not sure how to attach without it sagging.
joshuanicholas207
Mon, 11/11/2024 - 07:54
Cambridge Heating and Cooling
Cambridge Heating and Cooling company gas furnace and air condition in Scarborough, Toronto, Hamilton, Mississauga, Brampton, Kitchener Etobicoke HVAC installation and repair services Cambridge Heating and Cooling provides full-service HVAC solutions to provide year-round comfort in your house or place of business. We handle every facet of HVAC, from the installation of brand-new heating and cooling systems to professional maintenance and repair.