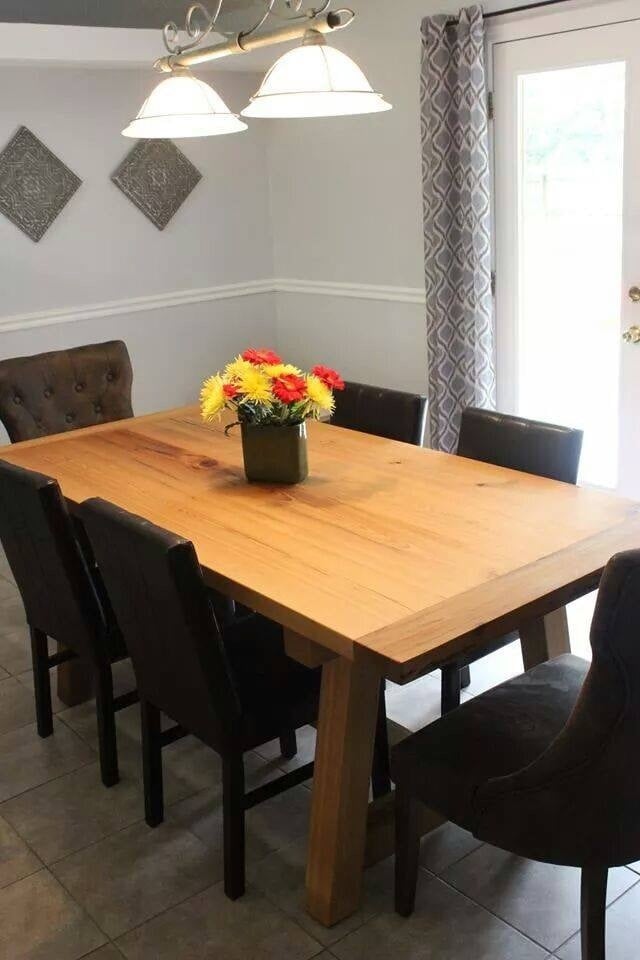
Florida Cypress Truss Beam Farmhouse Table
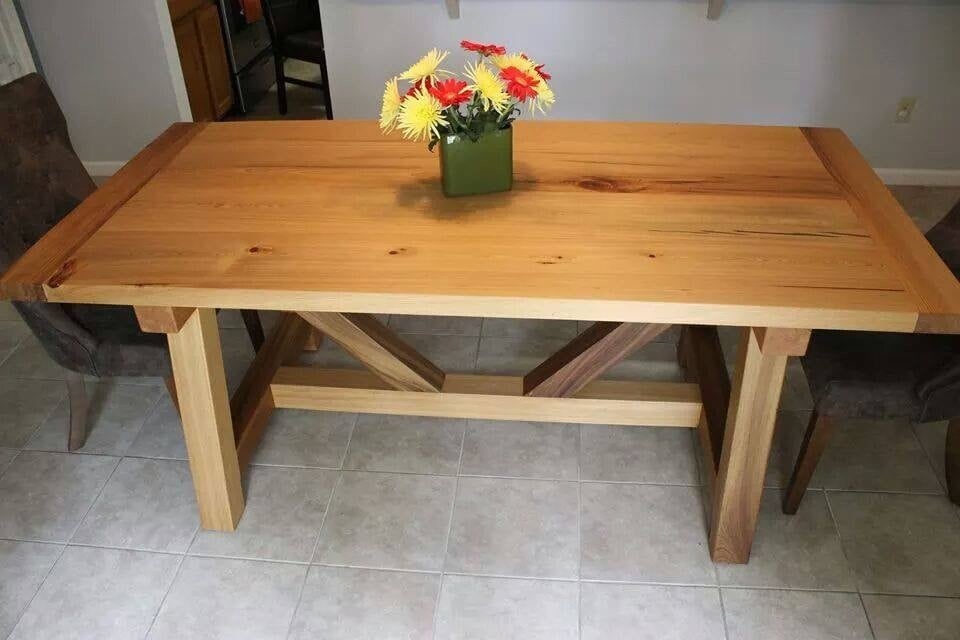
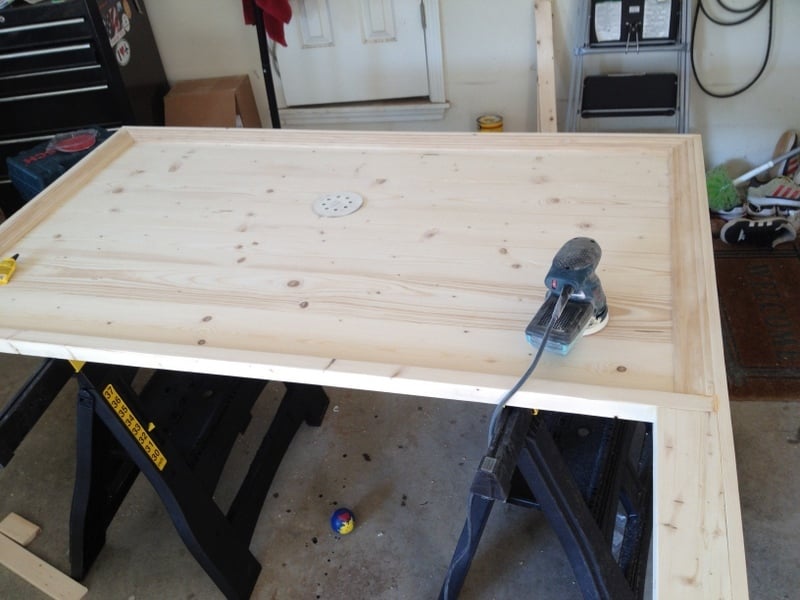
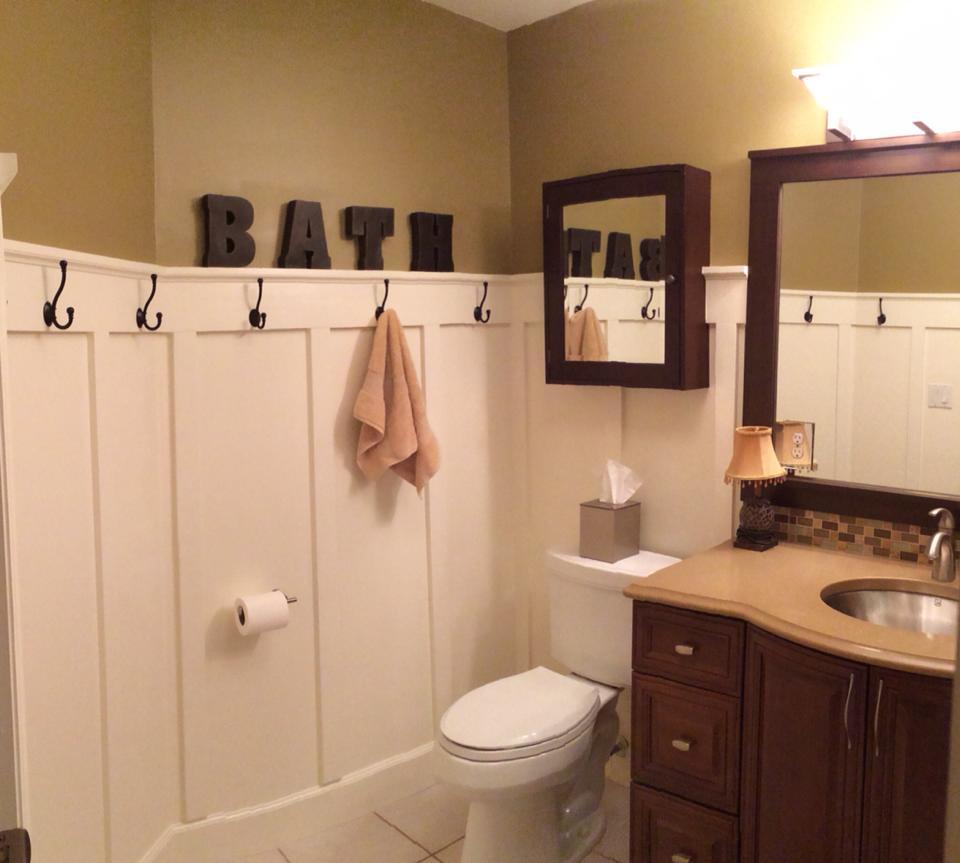
Here's my take on the Truss Beam Farmhouse Table using native Florida Cypress which was cut to size from raw logs at a local cypress mill. Thanks so much for the inspiration and plans. My wife loves it and it looks great in our first home.
I finished it with Odies Oil and a combination of Odies Oil and Odies Butter for the table top to preserve the natural beauty of the wood while protecting it from food and liquids.
I probably spent $600 in all but I got a killer deal on the wood which should have cost around $800-$900. I would guess that if I were to try to buy a table like this one out of the same wood, it would have easily cost over $3,000.
Built from Plan(s)
Estimated Cost
$600
Estimated Time Investment
Week Long Project (20 Hours or More)
Finish Used
Odies Oil & Odies Wood Butter. Both are rub on applications.
Recommended Skill Level
Intermediate


Comments
spiceylg
Fri, 05/23/2014 - 11:07
Gorgeous
This table is on my must have build list. This is a beautiful build and that wood is gorgeous!!!
Jake'n'Leelo
Mon, 11/10/2014 - 08:16
Size
Hi! Your table looks amazing! Did you modify the size? If yes, what tabletop size did you end up going with? I am going to have to modify mine to fit my dining space but am concerned about how it will affect the truss beams.
In reply to Size by Jake'n'Leelo
Abesurfman
Wed, 01/07/2015 - 08:05
SIZE
I modified both the tabletop and the base.
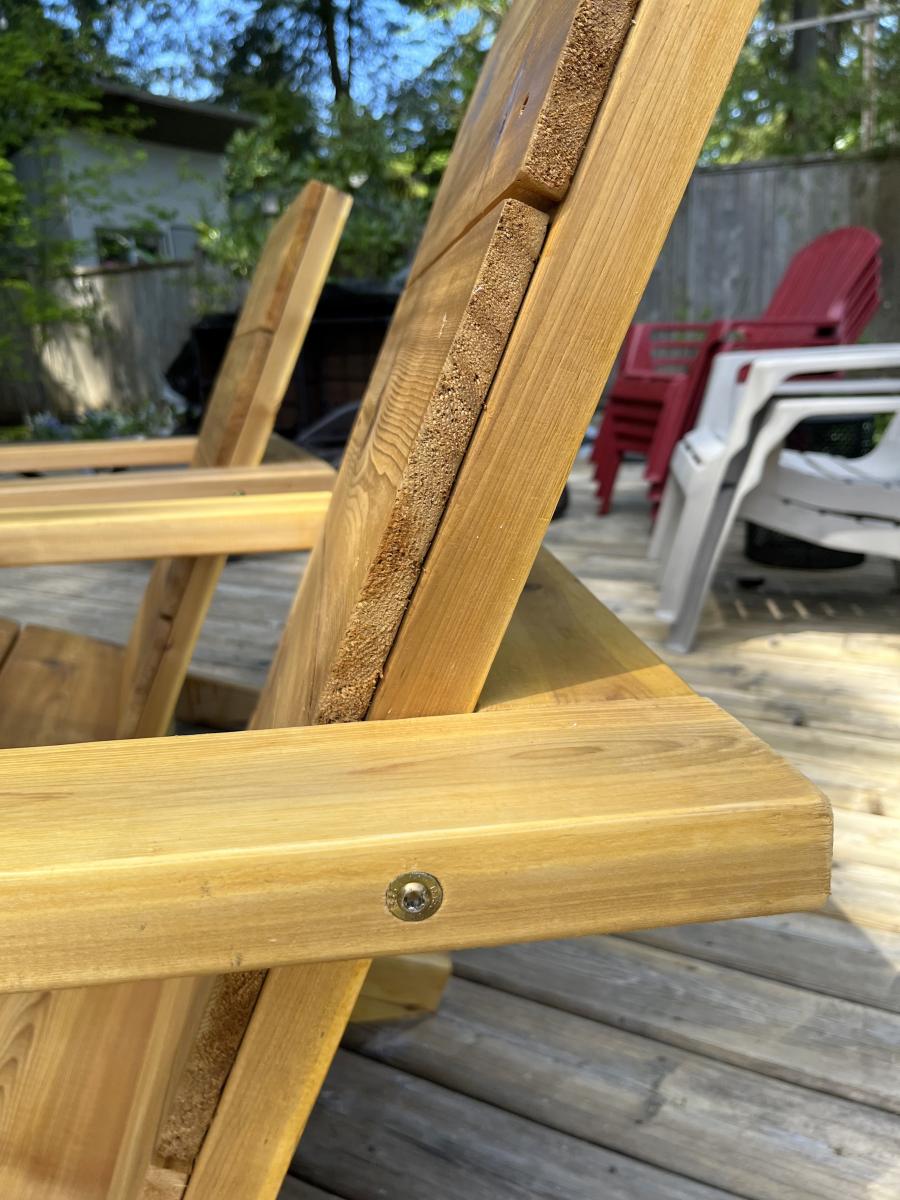
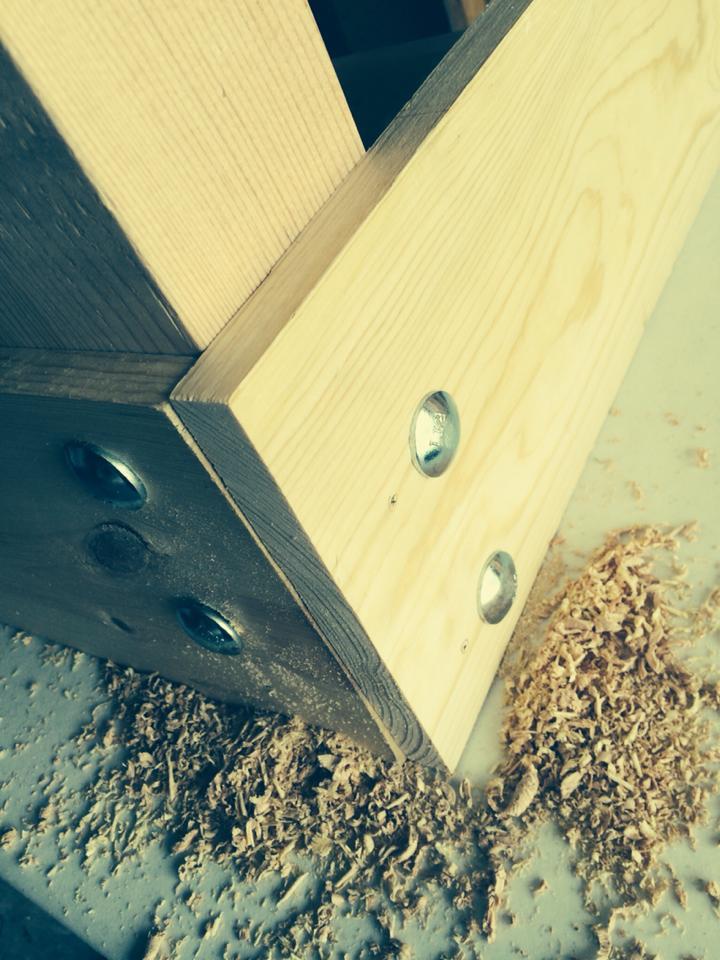
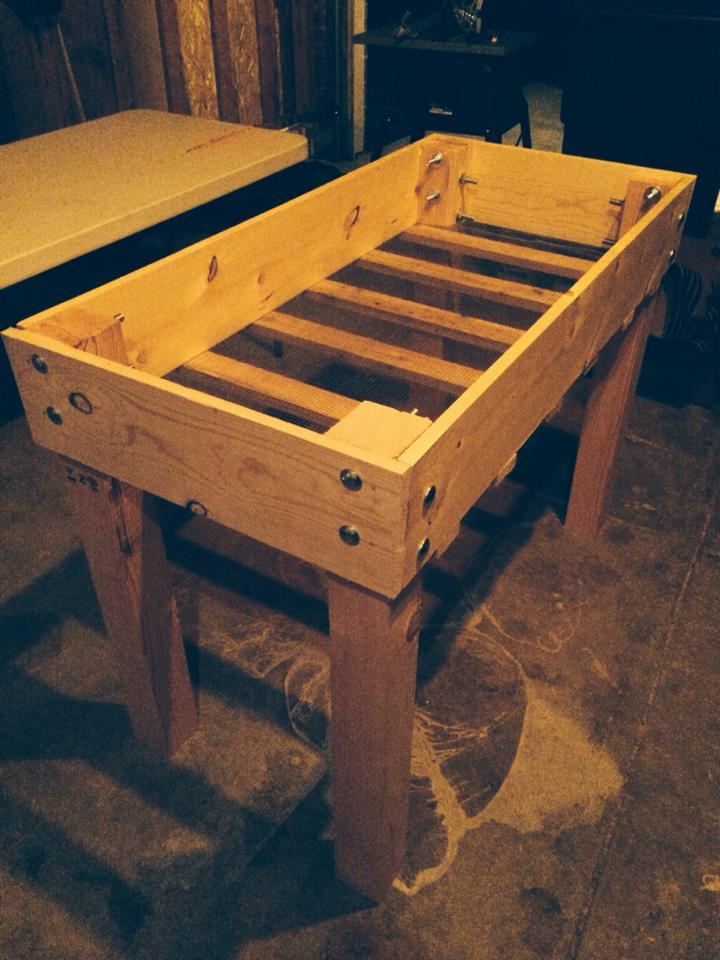
The final length of the top was about 69" (+ or - an inch or two). In the pics you'll notice the breadboard ends are half the original size. These pieces were pecky cypress and one of them was very pecky which would have made it difficult to join.
As for the base, because of how sturdy the table top joints are (pocket screws and wood glue) and the smaller breadboard ends, I decided it wouldn't matter if the table legs were directly bellow the breadboard end joints. I also preferred extra legroom clearance (tall people problems) so I made that the priority and adjusted the base for the desired legroom. Not sure the exact measurement but it looks like it was about 15" on each side. After almost a year of everyday use it seems that I was right, supper sturdy and going strong.
jefsocmw
Thu, 08/06/2015 - 10:19
Breadboard design
Your table looks awesome. I am preparing to make this also and during my research I have found comments over the concern with attaching the breadboard ends. Instead of pocket holes, the true woodworking suggestions are to use mortise and tenon joints with gaps to allow for expansion and contraction a described here, http://goo.gl/Or5HJM. What method did you use and how is it holding up? My goal is to build a table that will last and that looks professionally made our as close to it as I can get.