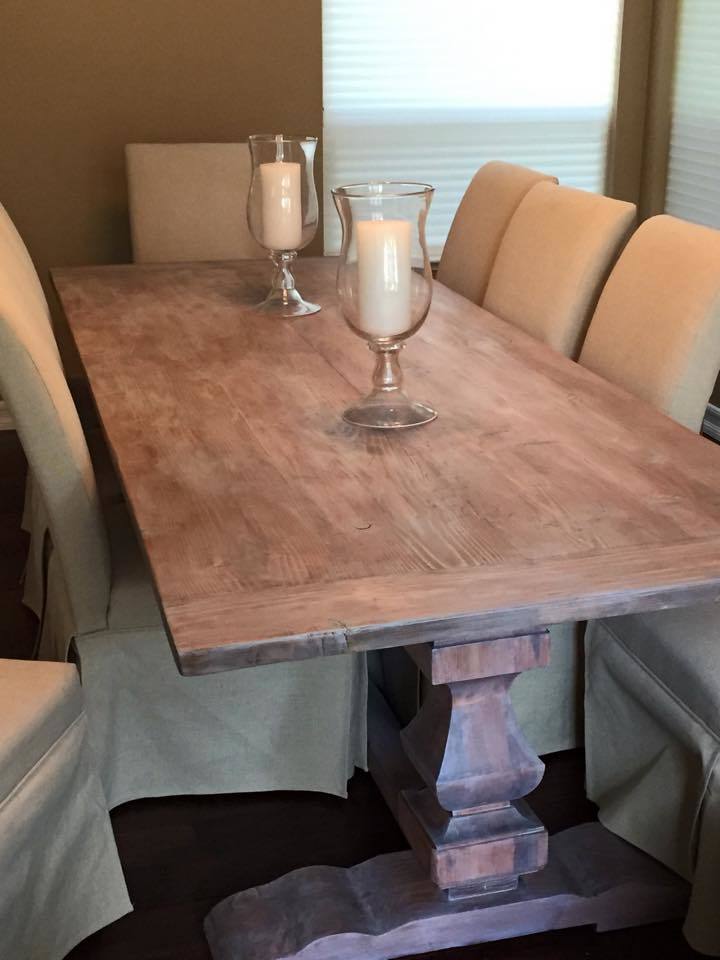
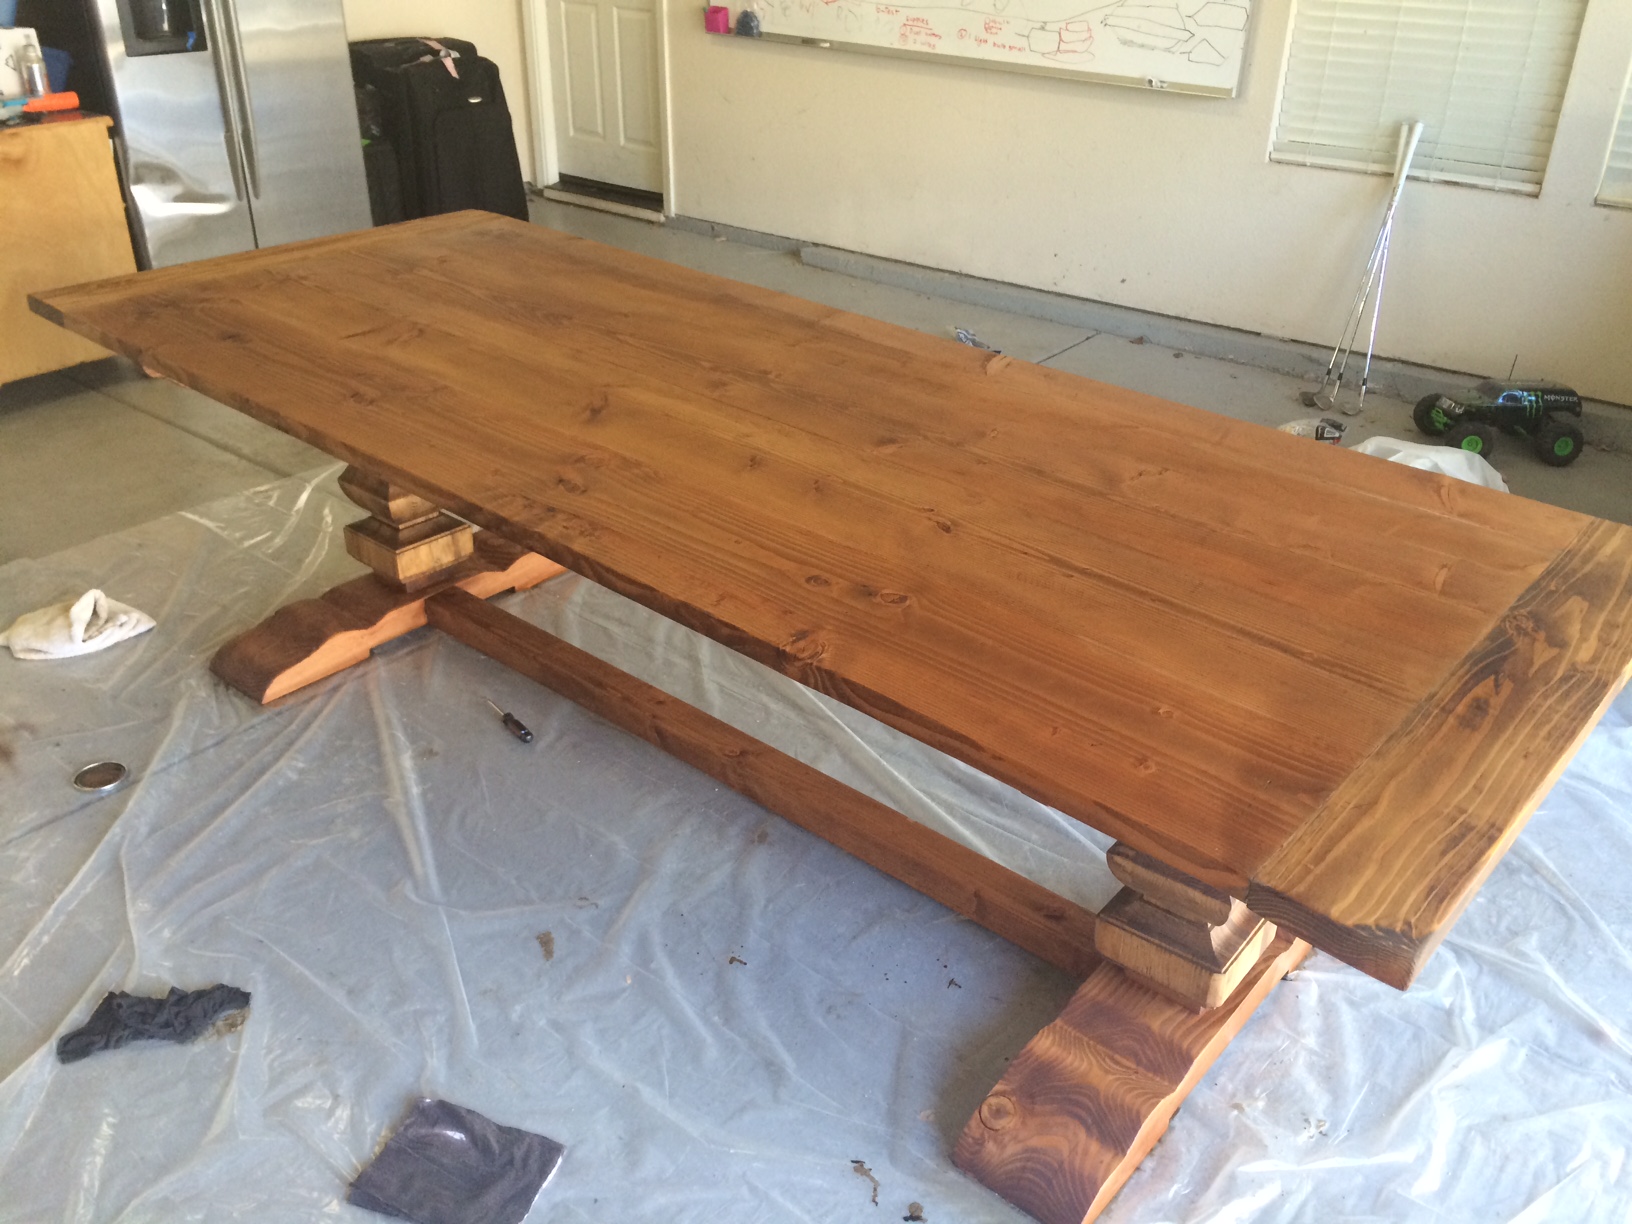
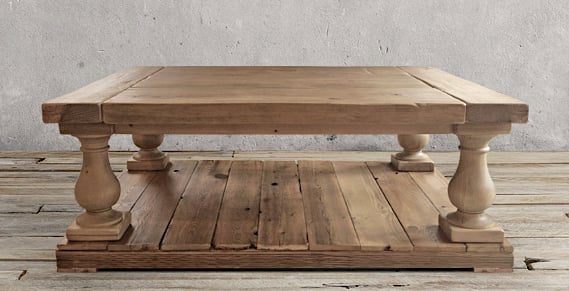
Was inspired to build this table after a visit to R.H. with my wife and realized a table this size and style would cost us about $3000.
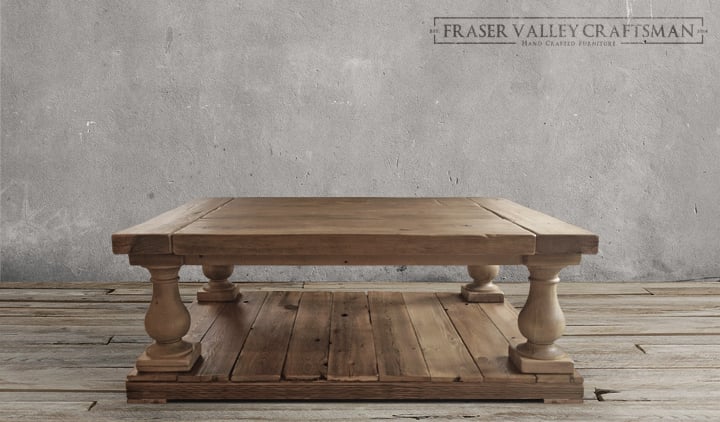
So I decided to build myselft. With a little help from Ana's plans and my own modifications, I think I got pretty close to the Restoration Hardware Trestle Table.
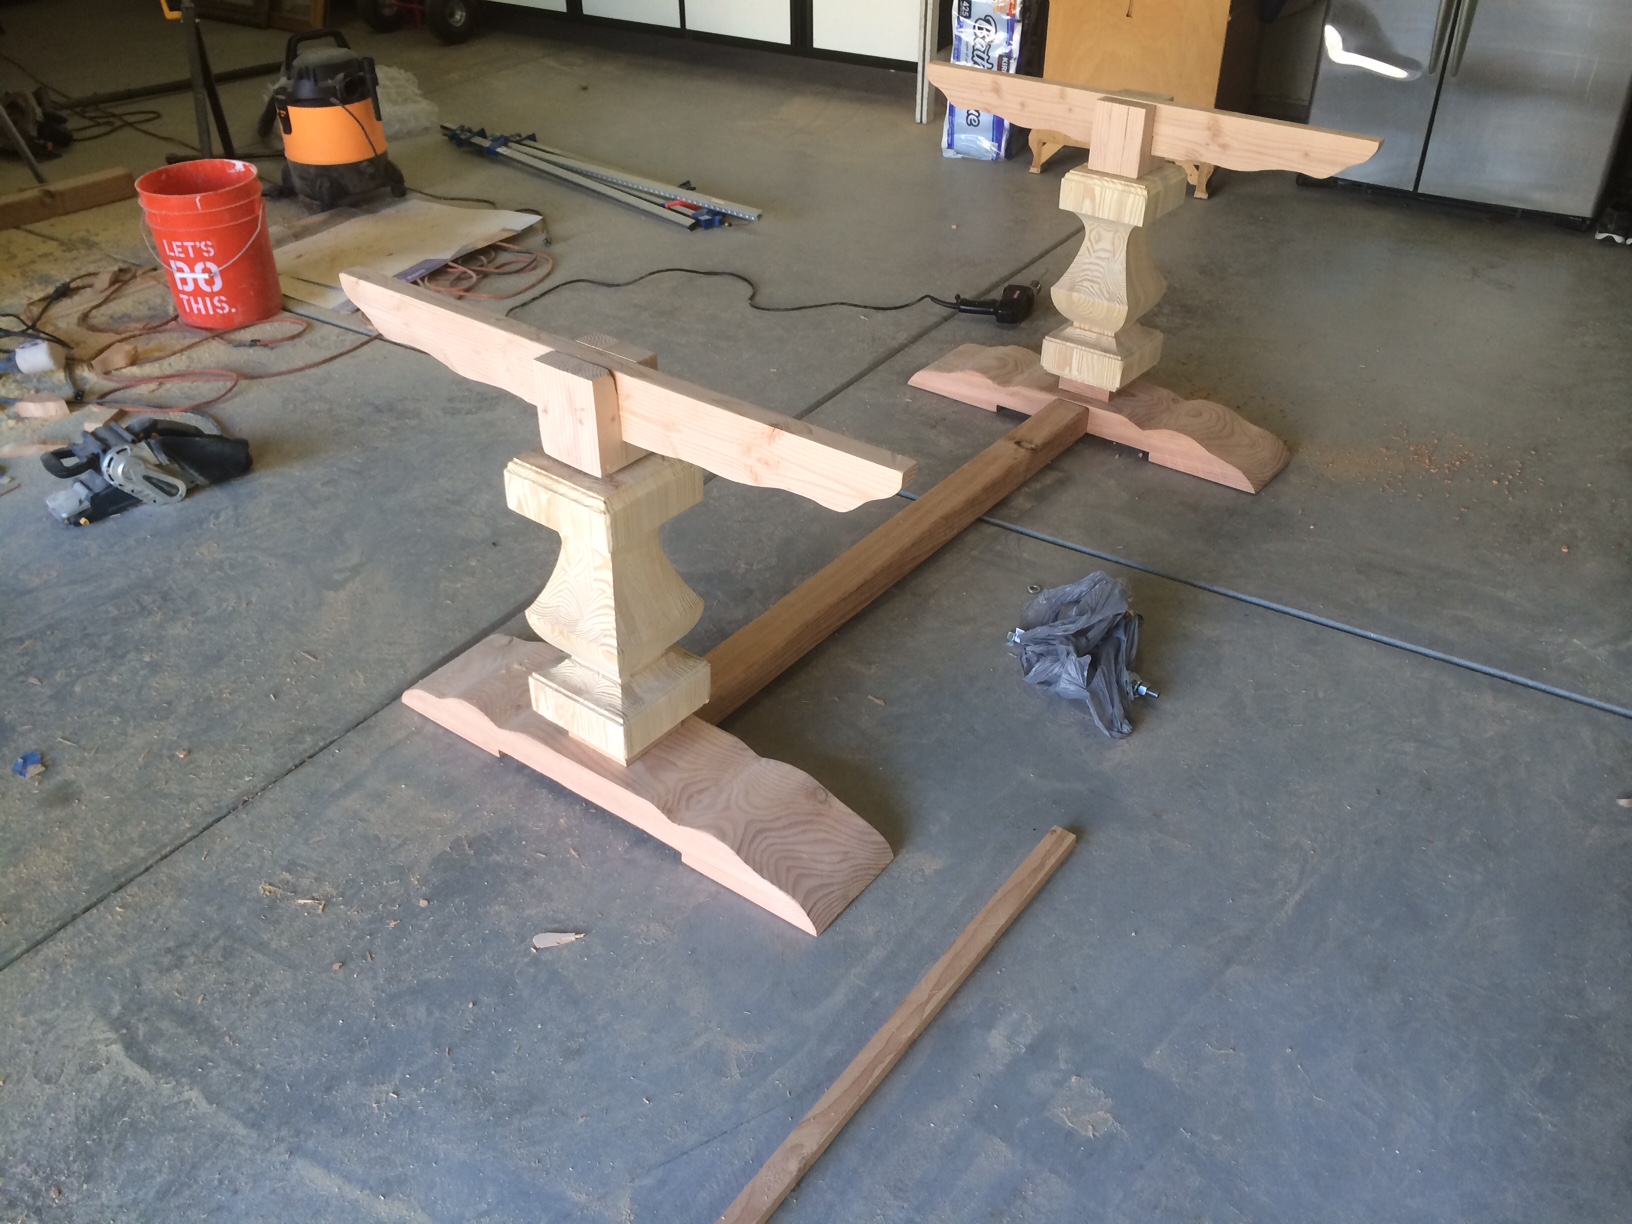
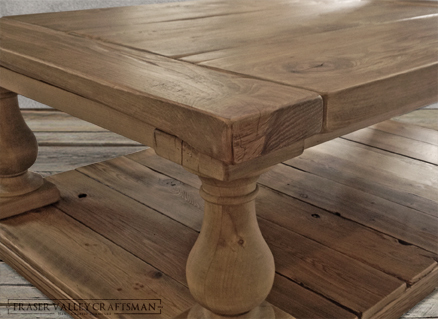
I bought the pedestals at Osbornewood.com and asked them not to drill the leg holes and ordered it in pine. That was the most expensive part of the table, about $380 a piece. The rest of it is Douglas Fir.
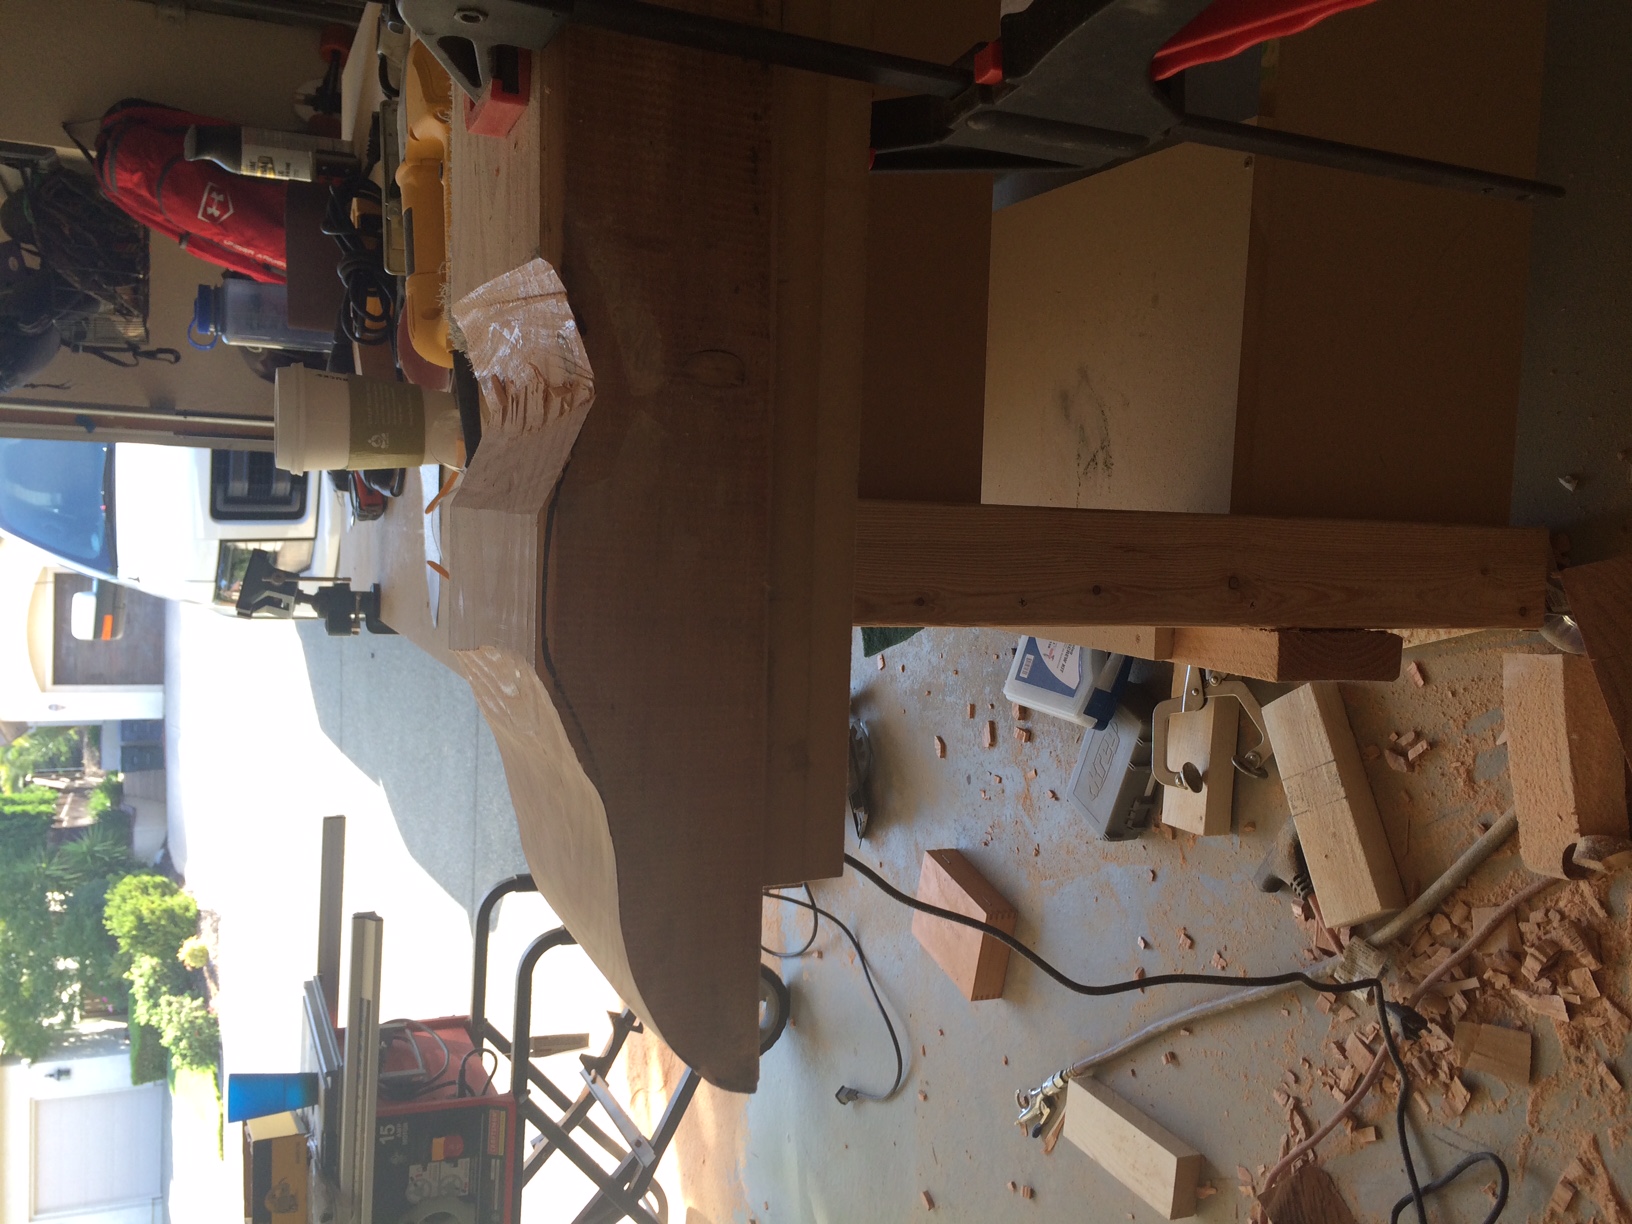
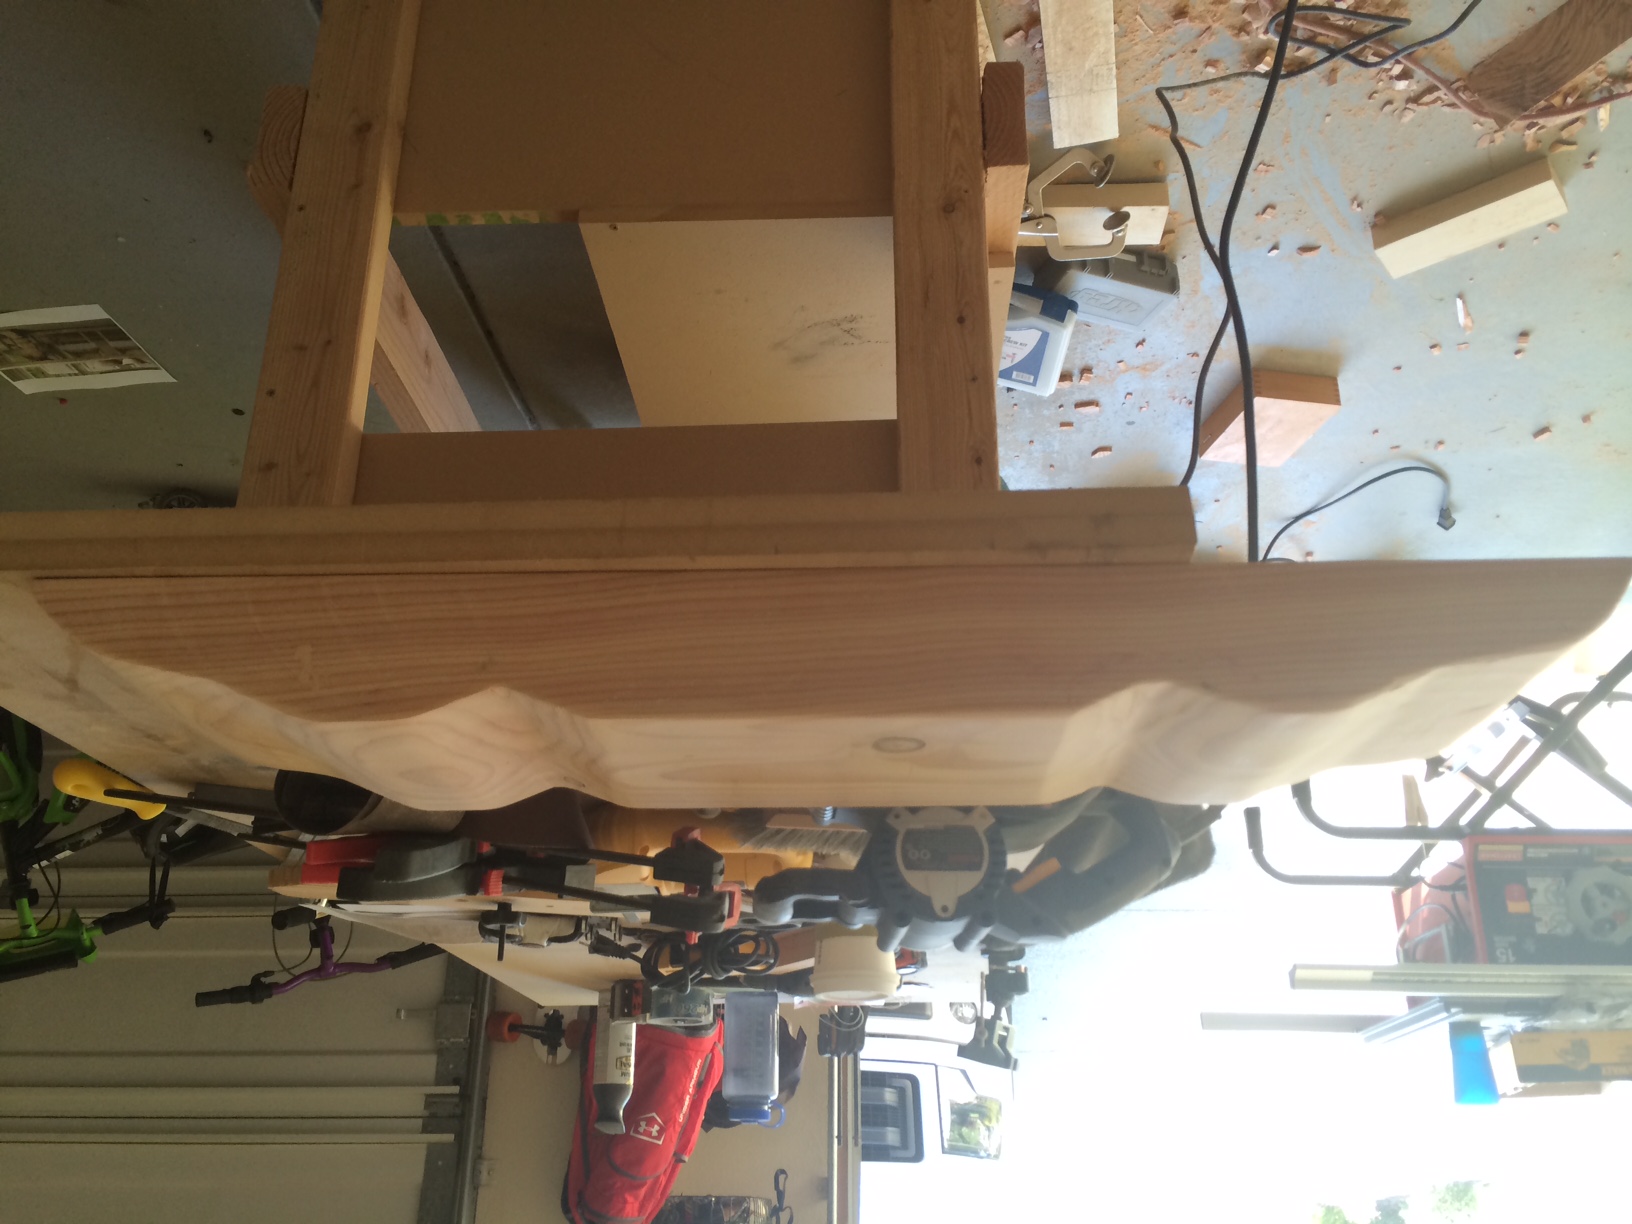
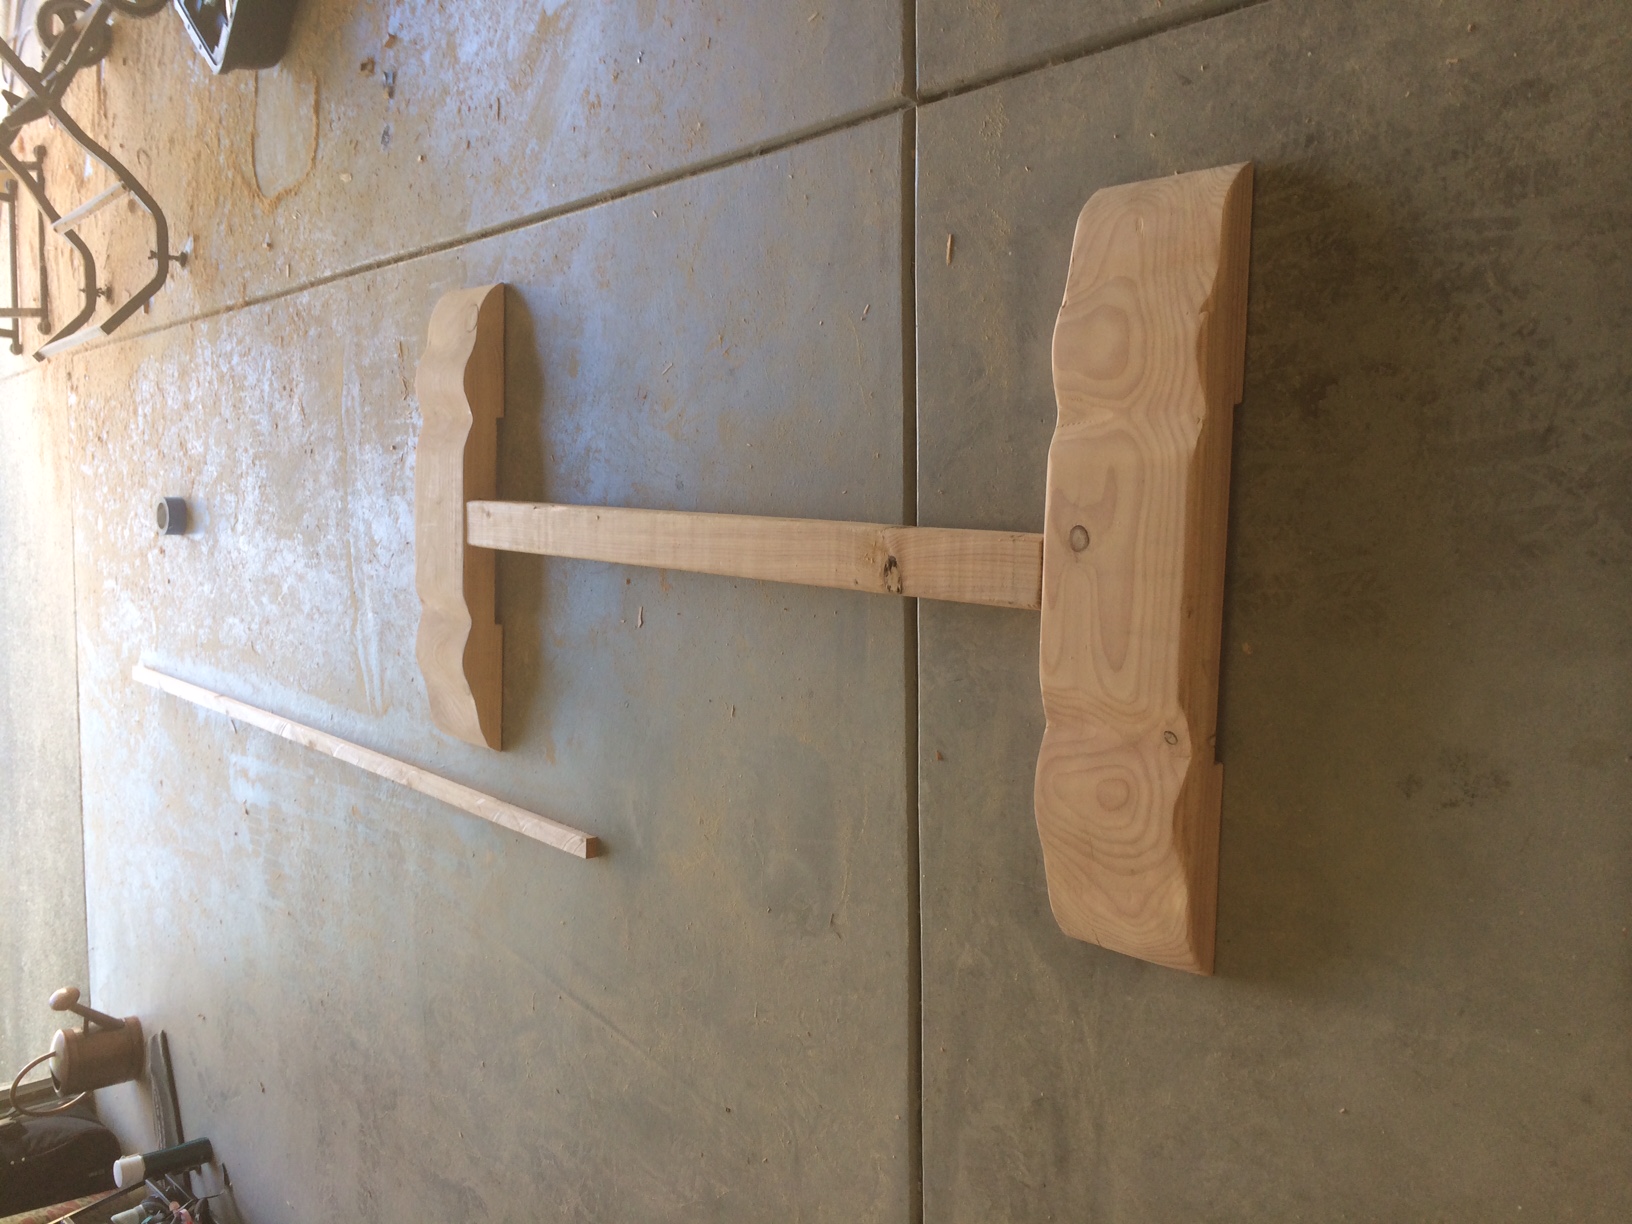
I created a template and shaped the feet myself out of 4X8 beams. I was able to use my jig saw and a Bosch 10" blade. I made the rough cut with it and then sanded the rest of the shape using my belt sander.
The pedestals have a hollow center and were too tall so I cut them down and created plugs and glued them into the pedestal. The bottom plug has a large threaded rod and is glued and bolted to the feet, and the top plug was used to create the horizontal supports for the table top. I too created a template for this and used a jigsaw to cut the shape.
I then used Minwax American English, then weathered oak, (Like in one of Ana's stain posts). I then wanted to give it that weathered/reclaimed wood look so I add a fair amount of the White Pickling stain. I wanted a little less of the red tones and more brown...I may sand and refinish it someday, but it is in the house for now and can't wait for our first dinner party.