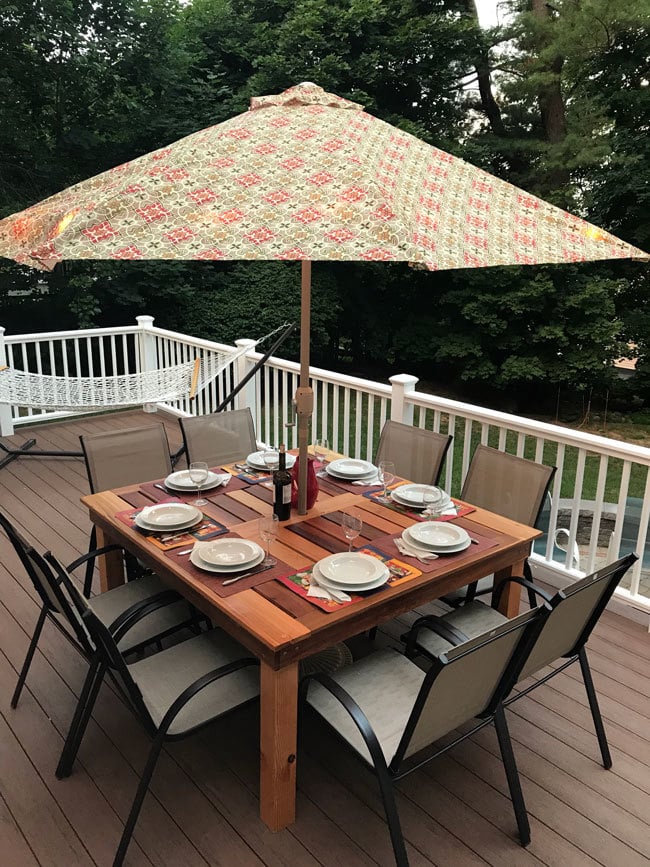
My $30 Closet Makeover!
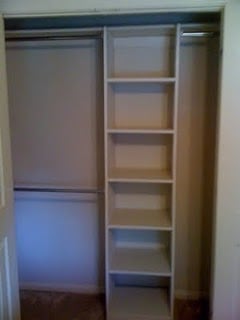
This project is closest to the Simple Closet Organizer, but I wanted to be able to re-use the existing components of the closet. The only purchased materials were one sheet of cabinet grade plywood and dowel rod holders (since I already had paint and screws).
Estimated Cost
$30
Estimated Time Investment
Afternoon Project (3-6 Hours)
Finish Used
sand, prime, sand, paint
Recommended Skill Level
Beginner


Comments
whitney_smith
Tue, 07/12/2011 - 09:06
This is on my very soon to do
This is on my very soon to do list. I actually drew up a sketch yesterday of my plan and the husband seems ready to start! Thanks for sharing yours!.