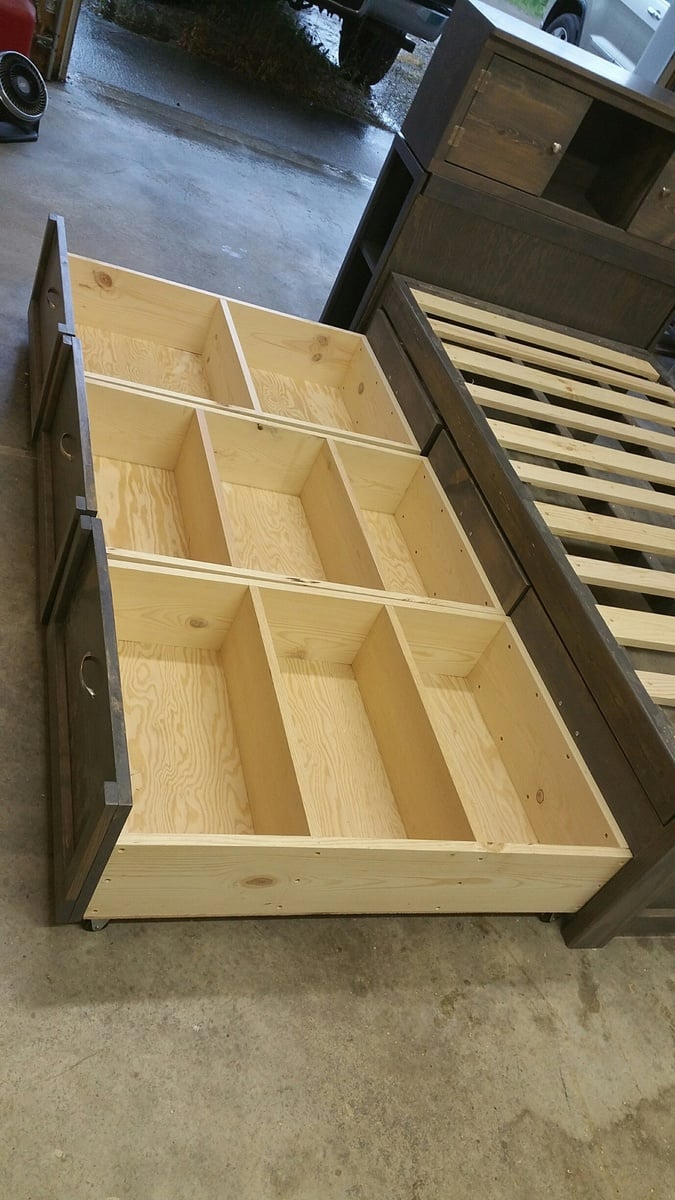
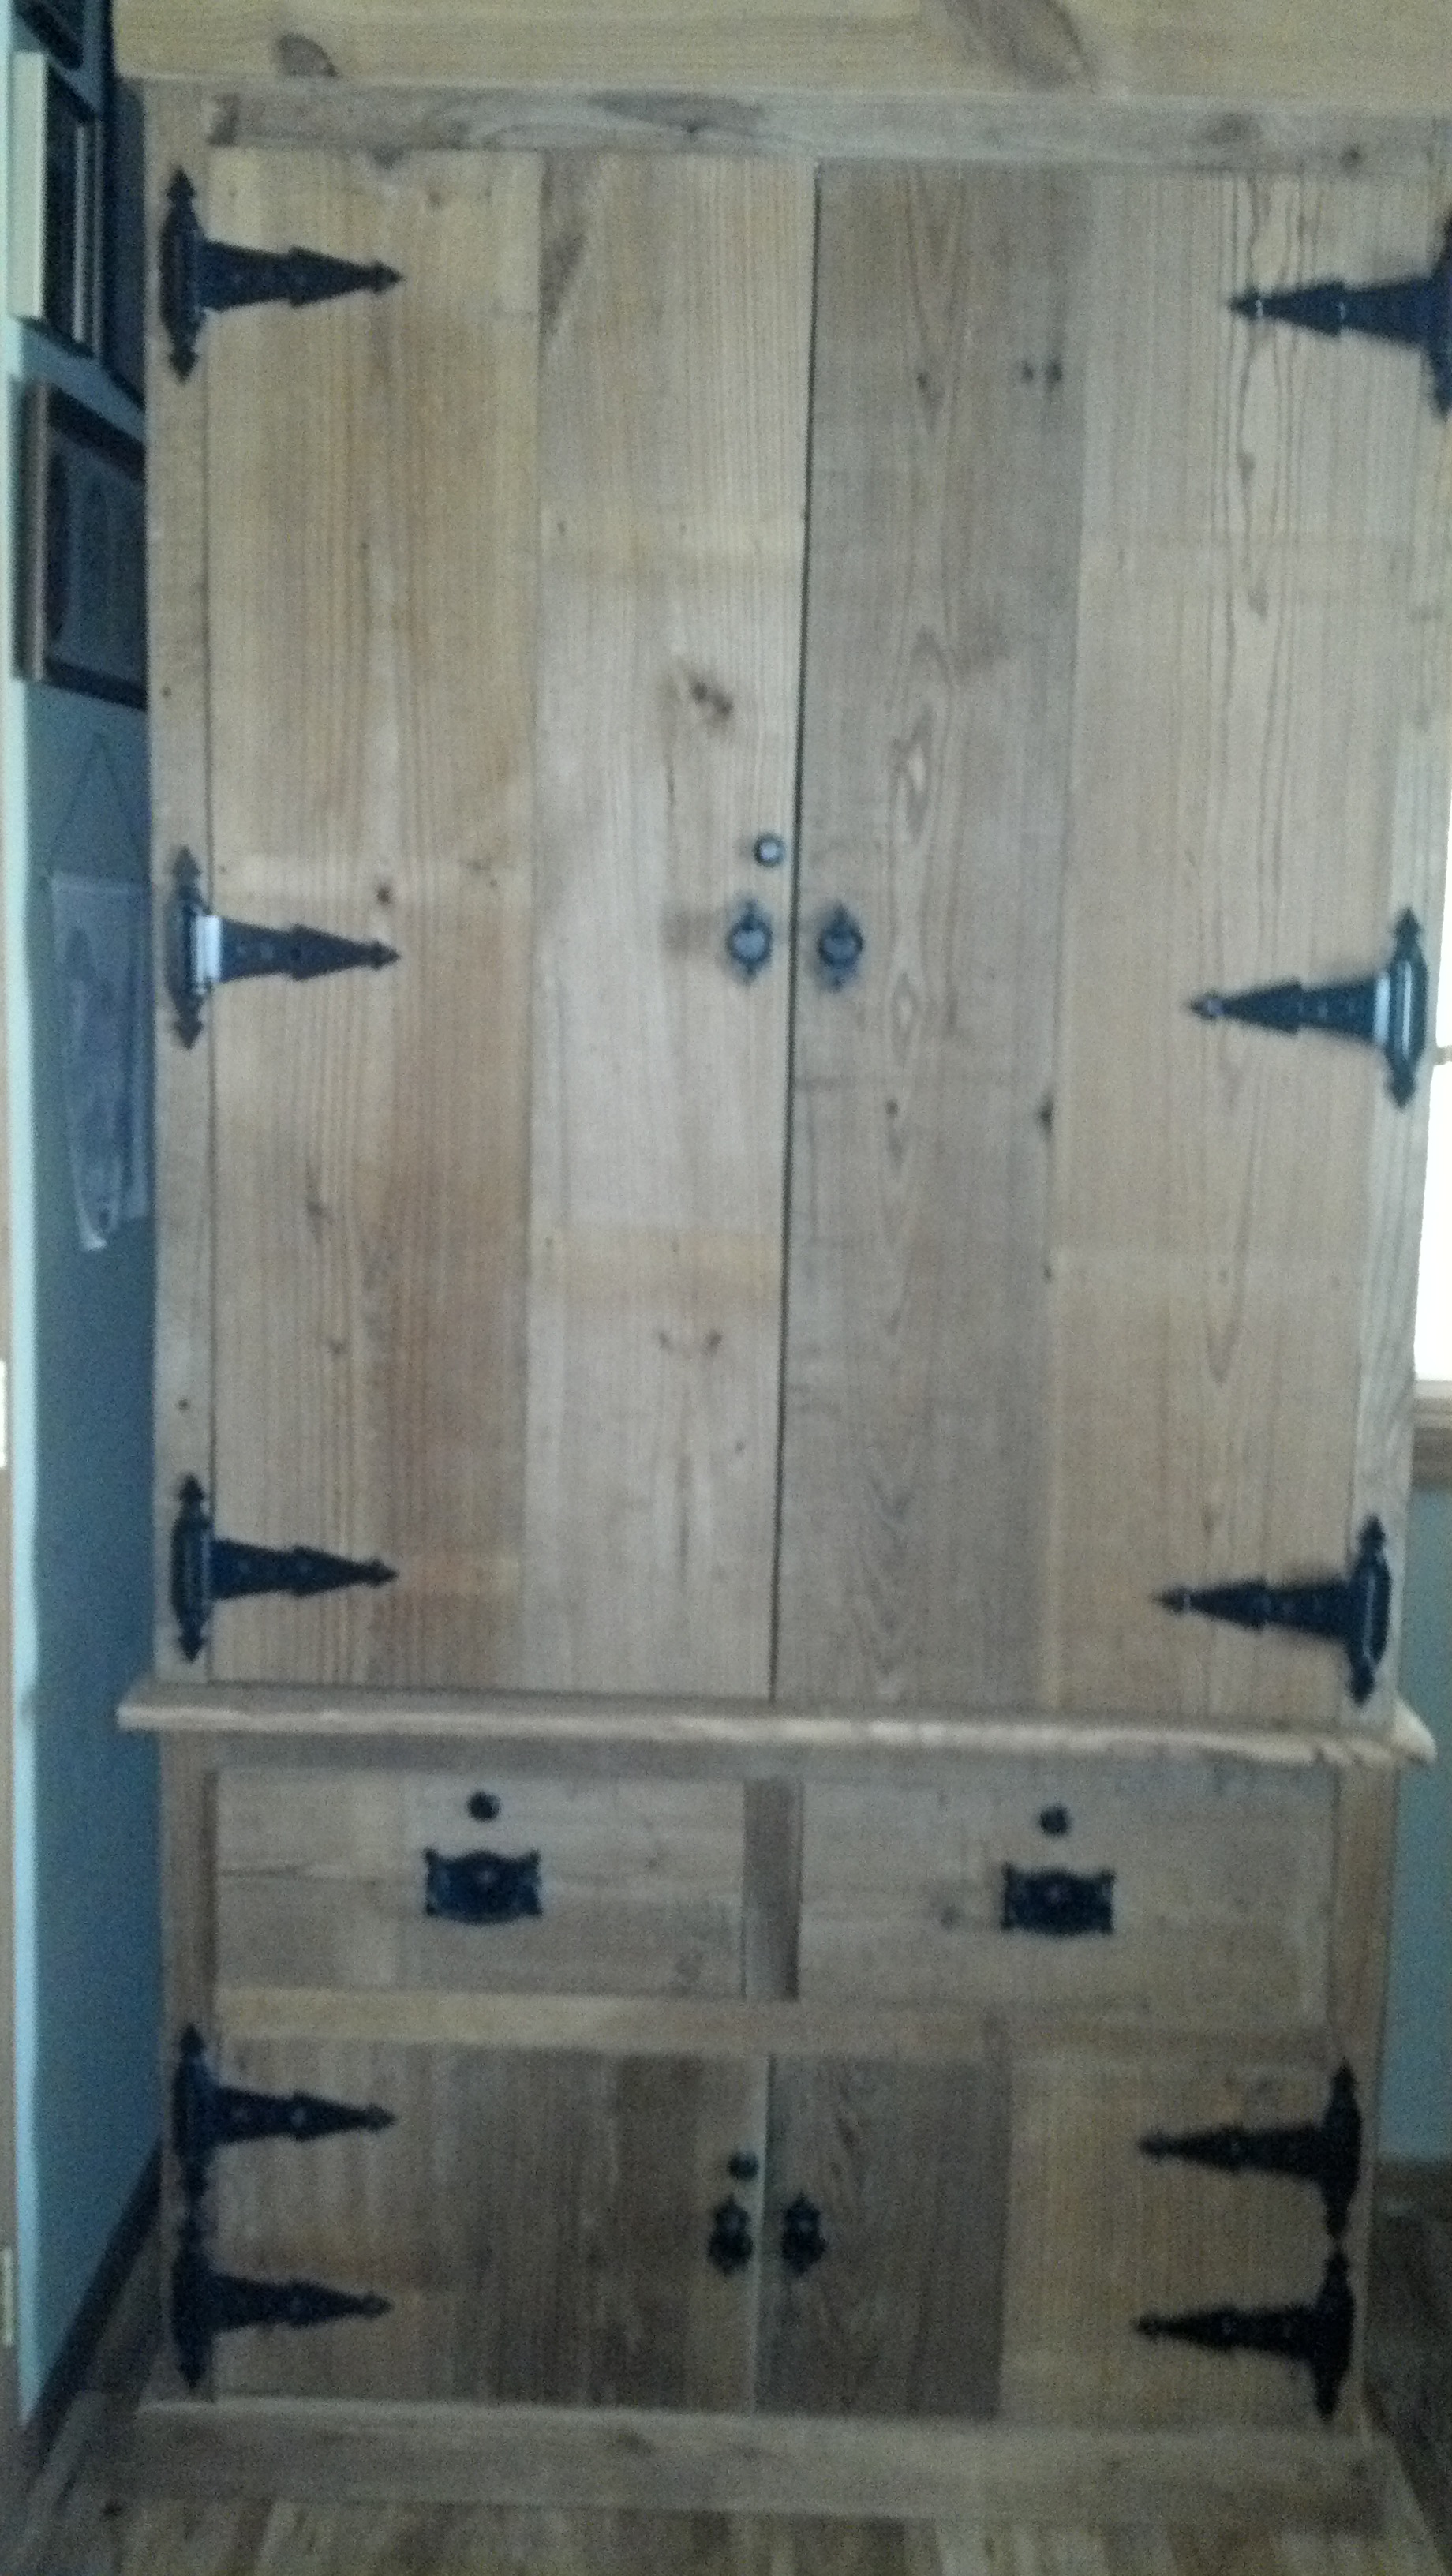
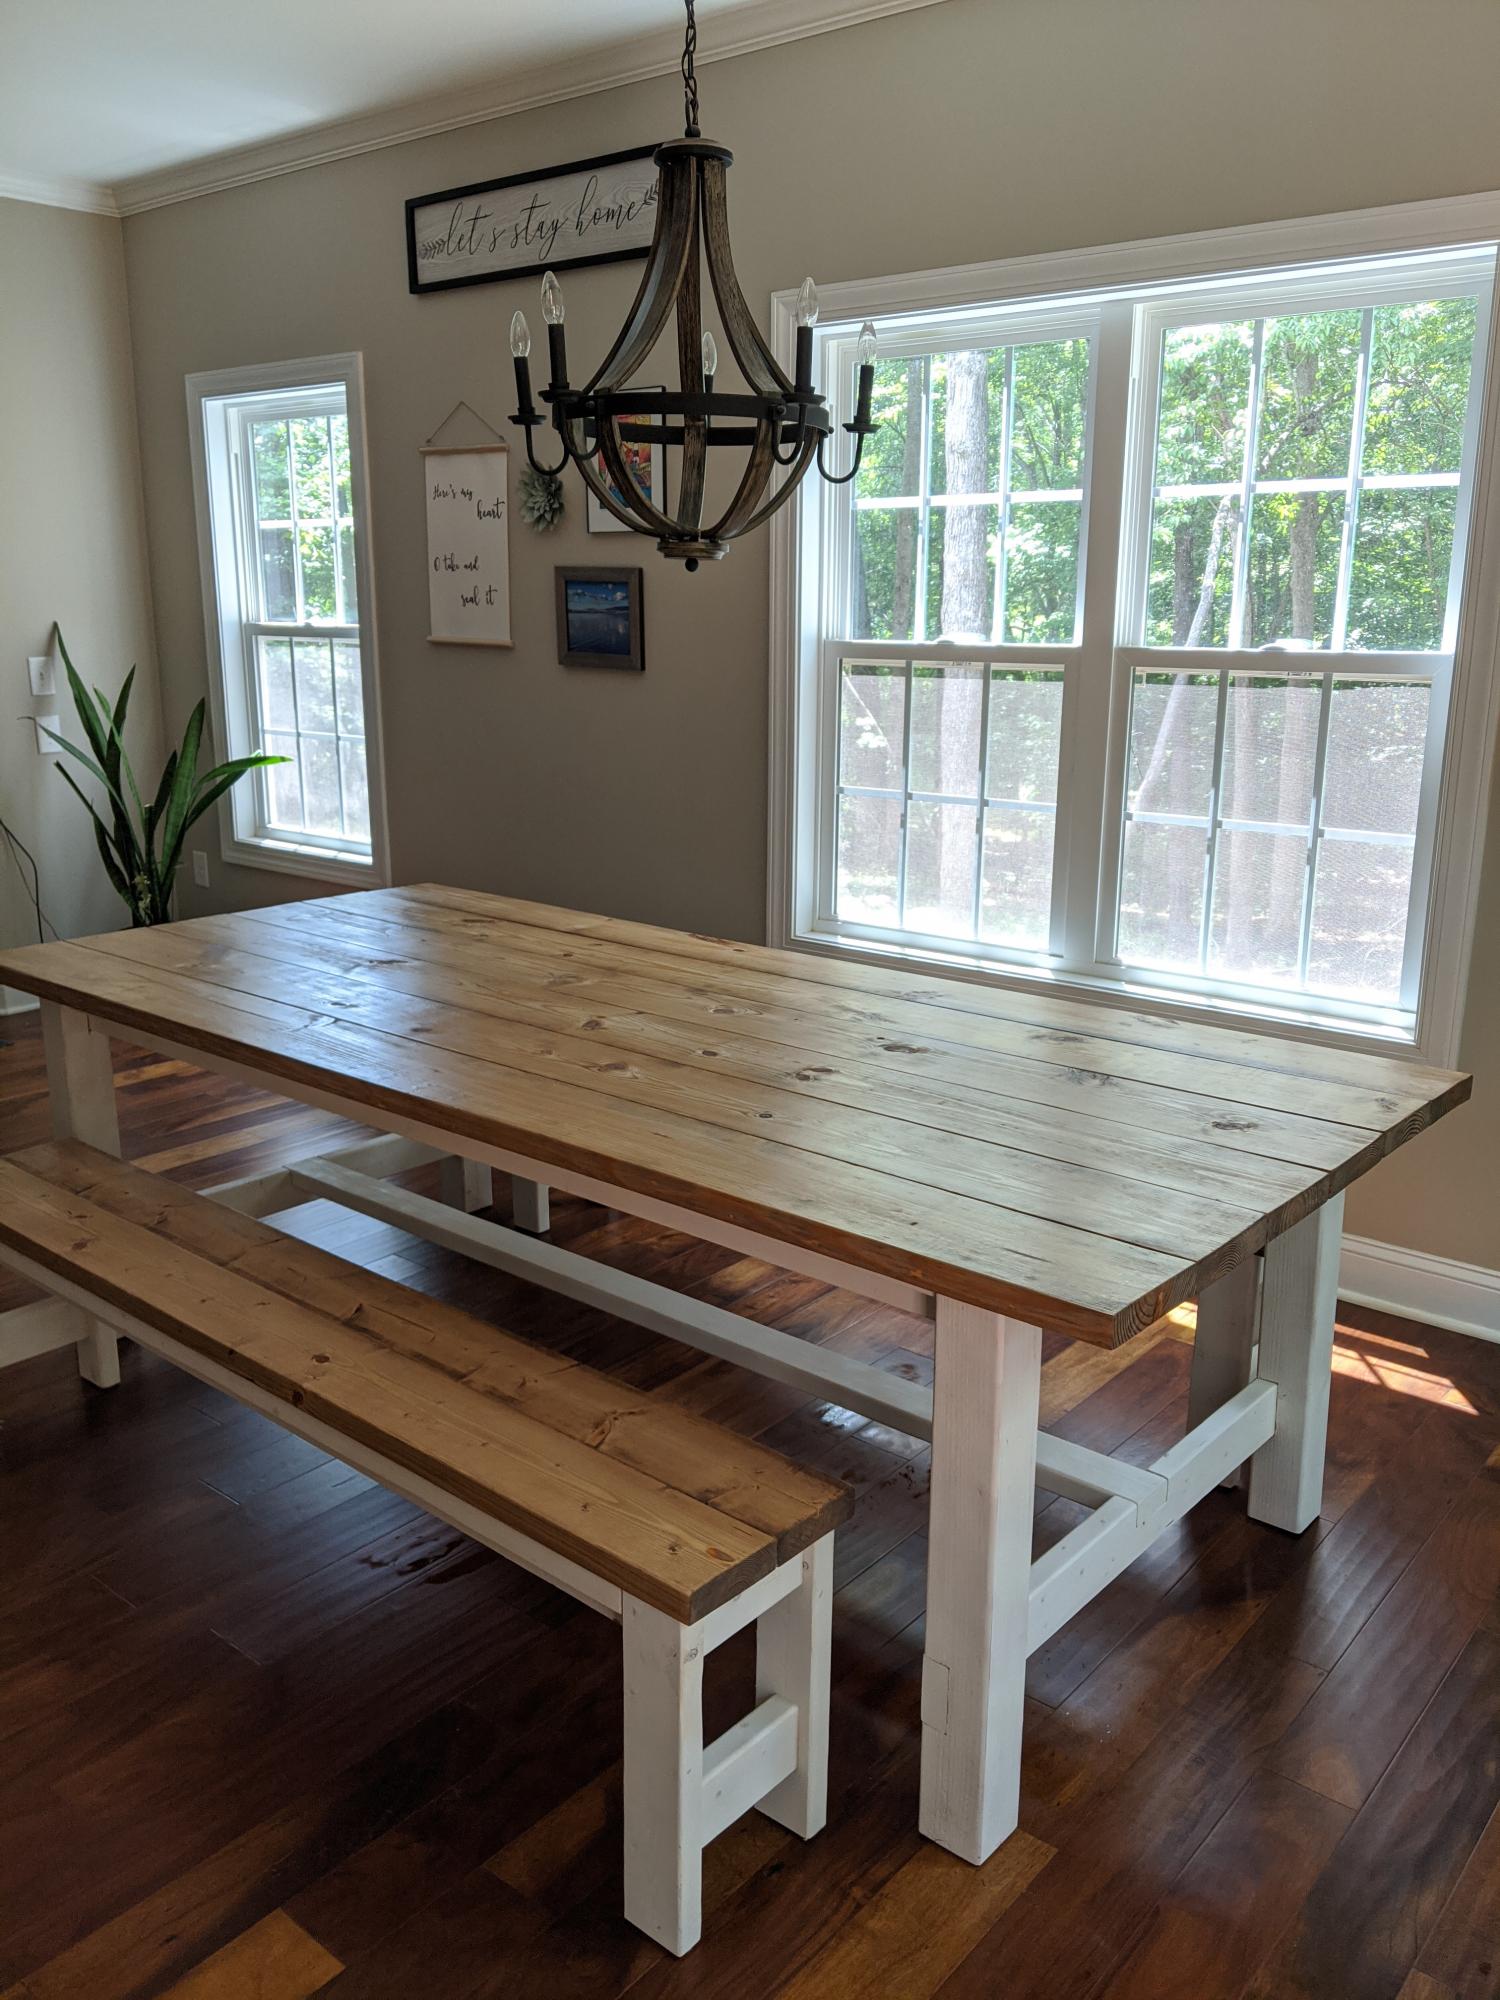
This project was a blast to make. And, it really is doable and a lot less time then you would think. And finishing it with milk-based paint is even more enjoyable. I used screws and a drill (pre-drill!) and it was wonderful.
Here's some advice for the plan:
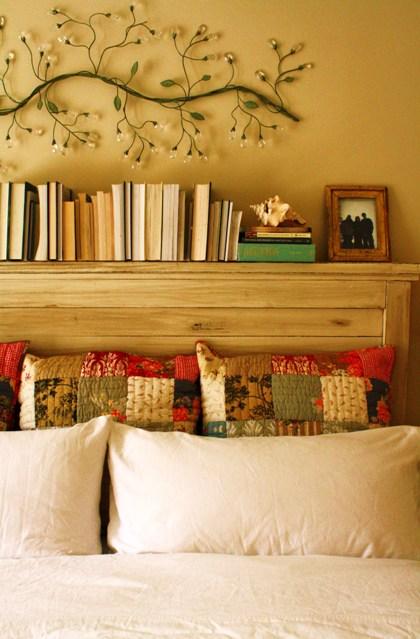
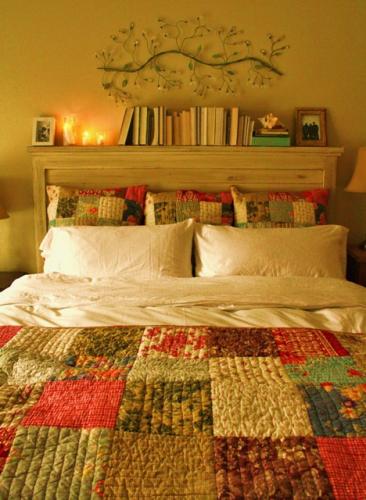
- Mount the back of the headboard with a piece of wood and use a metal support as shown here. Just make sure the board is wide enough to be level with your back trim, or else the metal support won't be even when you screw it down. And when you pre-drill this board, make sure you don't go all the way through, or else you will have holes through the front! It stunk to have to putty them all in, but thank heavens for putty.
- Although the instructions say to make your top 1 x 3" trim to fit in line with the top of the headboard, I made mine one inch longer on both sides, and then the 2 x 4" one inch longer to go on top of that 1 x 3" on both sides. That was just the look I wanted. Although you can get your wood pre-cut, I would recommend cutting it all yourself, especially since you will need these cut afterward once the rest of your headboard is put together.
- Ana's 'get started' tips are very helpful. Be sure to check them out first!
- Make sure, make sure, make sure you dry thoroughly between coats. Patience is a virtue.
Estimated Time Investment
Week Long Project (20 Hours or More)
Finish Used
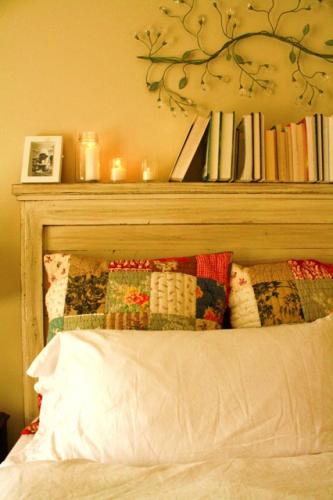
I distressed with milk-based paint... it always gives it such a unique look every time! Here's what I did:
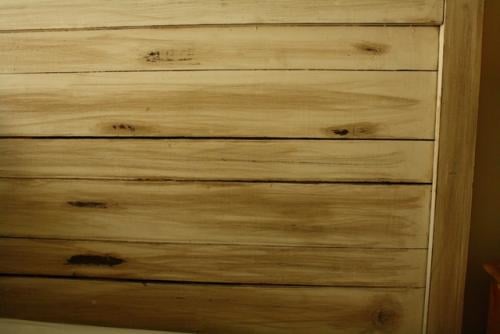
- Stain your wood with a foam brush that you can by essentially anywhere--craft stores, home improvement stores--going along the grain of the wood. Do this for all painting and staining. For a dark finish underneath, use a dark stain. I used Minwax in Dark walnut. Leave the stain on for at least 15 MINUTES before you wipe it with an old t-shirt or a lint-free rag, like the one you would use to polish your car.
-Buff with a crinkled brown paper bag. You won't need to do this too intensely, but make sure you're thorough.
- If you want some of those big, antiqued stain spots, take a candle and really rub certain spots, such as the knots and the edges of the wood. However, it can be easy to forget where you rubbed with the candle, so you might want to draw up a rough diagram of a headboard and mark an X where you rubbed the candle. Rubbing with the candle will make the spot of the paint come off much easier--you'll see how well it will come off when you sand. But I would hesitate from rubbing it too much, because it makes your paint 'peel off' eventually if you do it in excess.
- Paint your headboard, giving it at least thee coats. My first coat was really thin so during my first coat I went right ahead and painted it again right then. Then I did a second and third coat. Let it dry completely between your second and third coat. I waited at least eight hours between coats.
- Once it's dry, sand your headboard BY HAND with at least 100 grit sandpaper. If you want your piece to have a more distressed look all-around and not just in certain places, sand your piece after each coat of paint dries. Just rub with your hand smoothly in strokes, and you will see how easily the paint comes off, and how it will give you that distressed look like magic. I did this for my dresser and I loved the look. However, I did not use the candle-wax method because I sanded after each coat. If you wait until after the third coat to sand, you will have to work harder, but your paint will still come off and look distressed very nicely.
- Stain the top of your paint (I used the same dark dark walnut color). Immediately rub off the stain with an old t-shirt or a lint-free rag. Rub it down to get the desired look of your stain. If you choose to have it a little less antiqued, you can skip this step.
- Finish with a Polyacrylic topcoat. They are safe and it really gives a nice, finished (and less DIY) look.
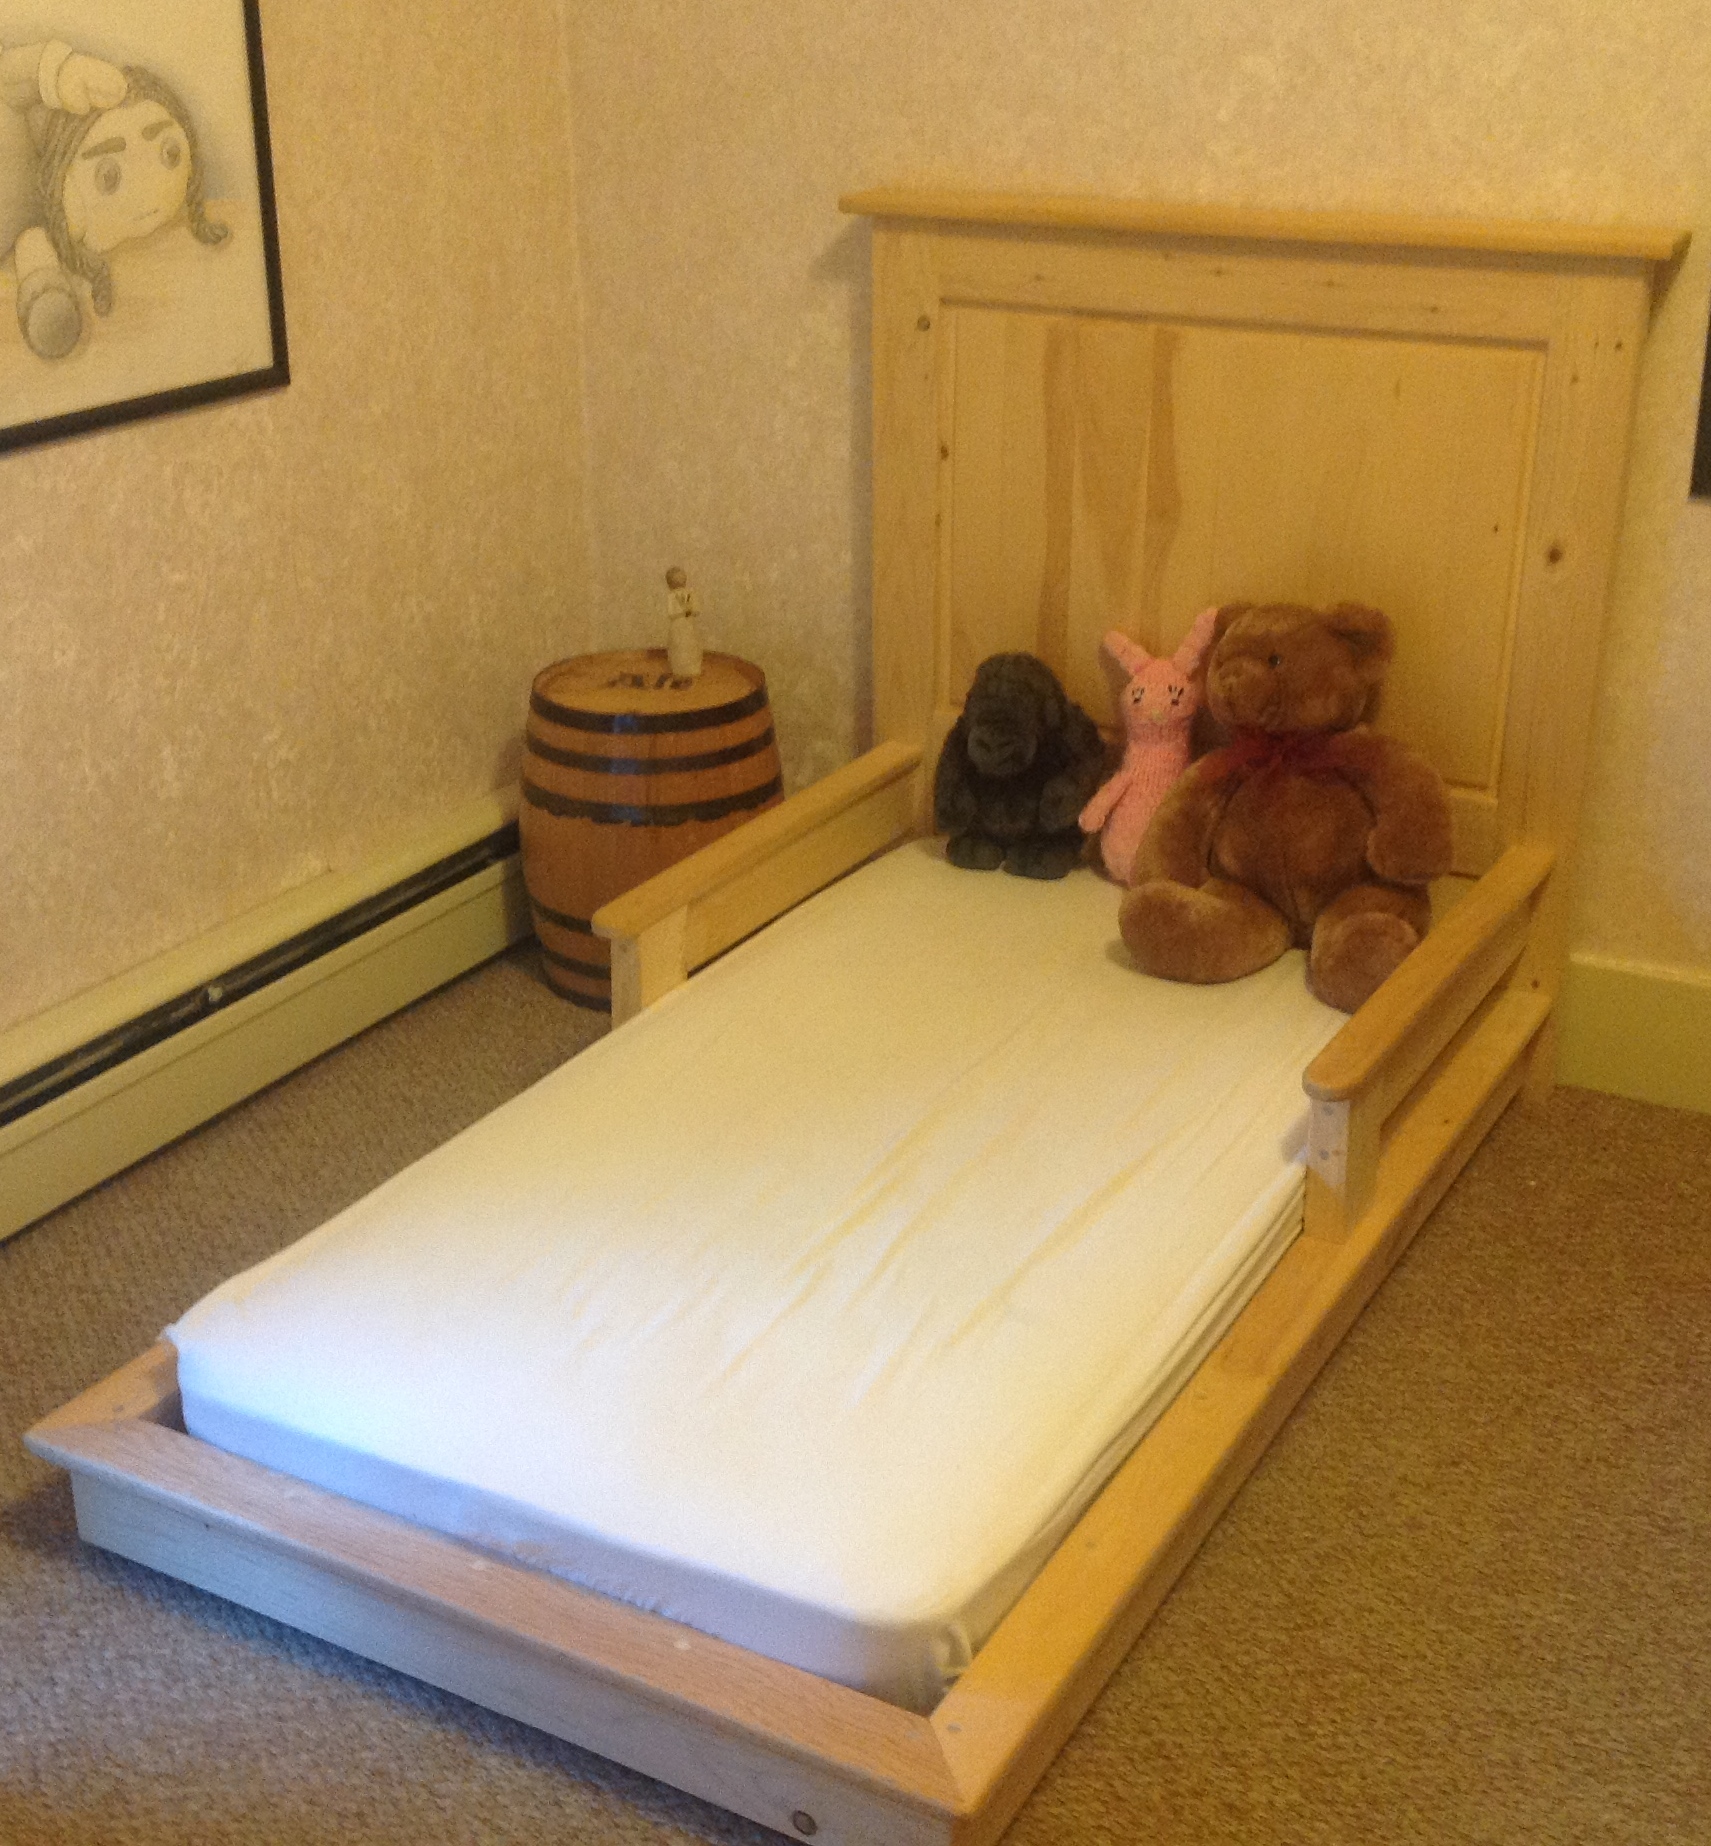
- Mount it with bolts on to your bed frame!
Recommended Skill Level
Starter Project


Comments
Ana White Admin
Sun, 03/28/2021 - 17:00
Pretty and functional!
Thank you for sharing, great mods to fit your space!