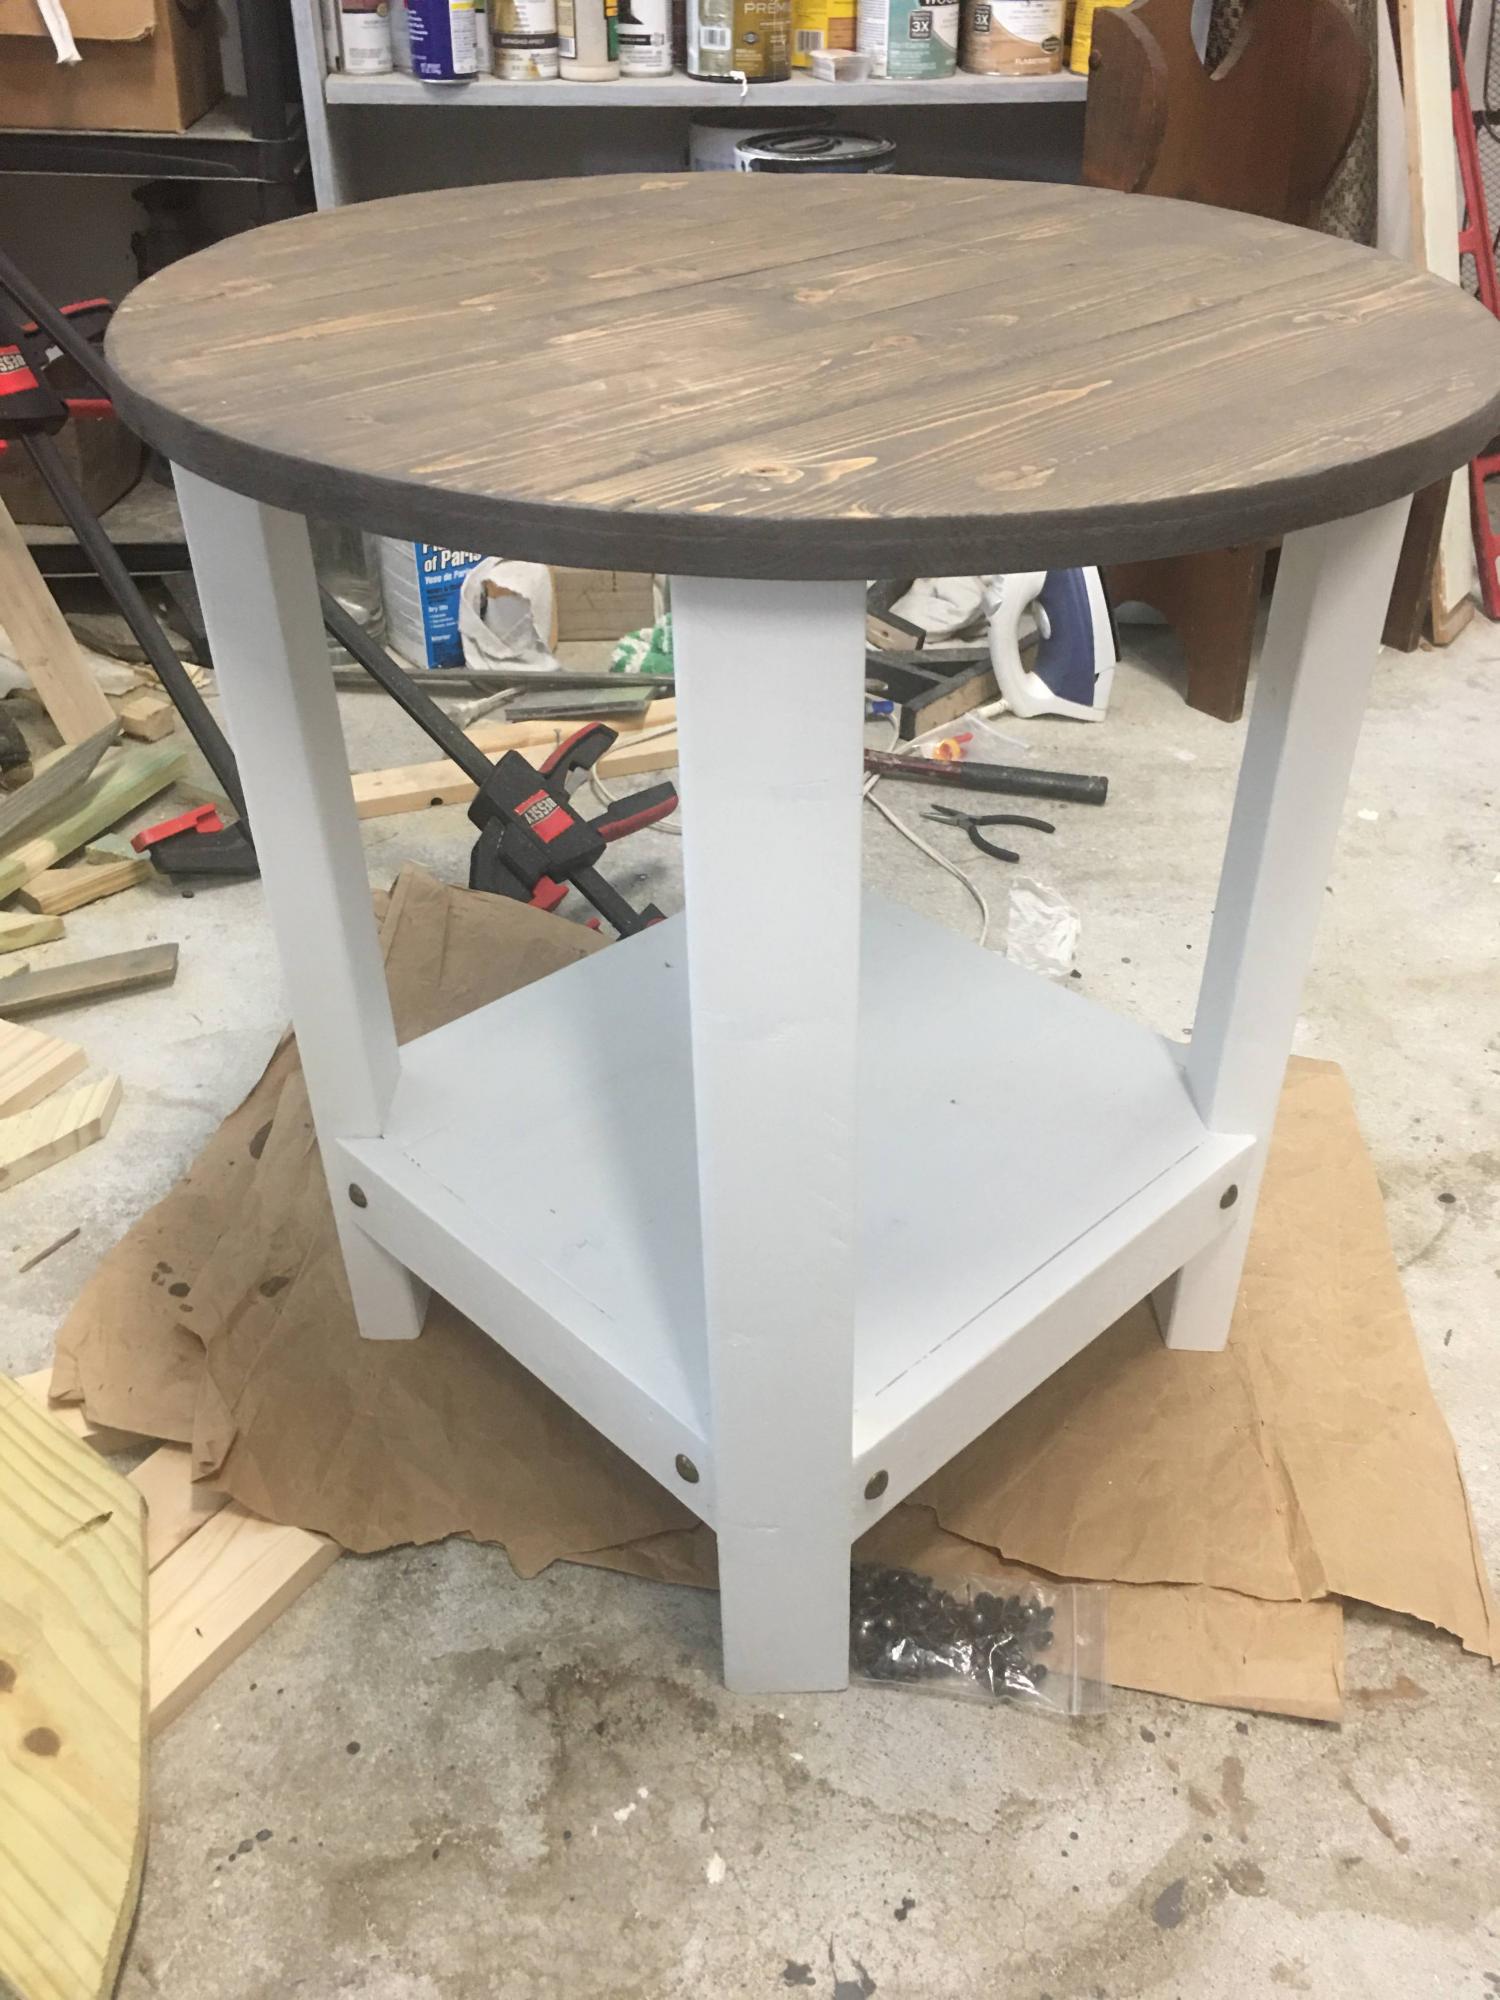
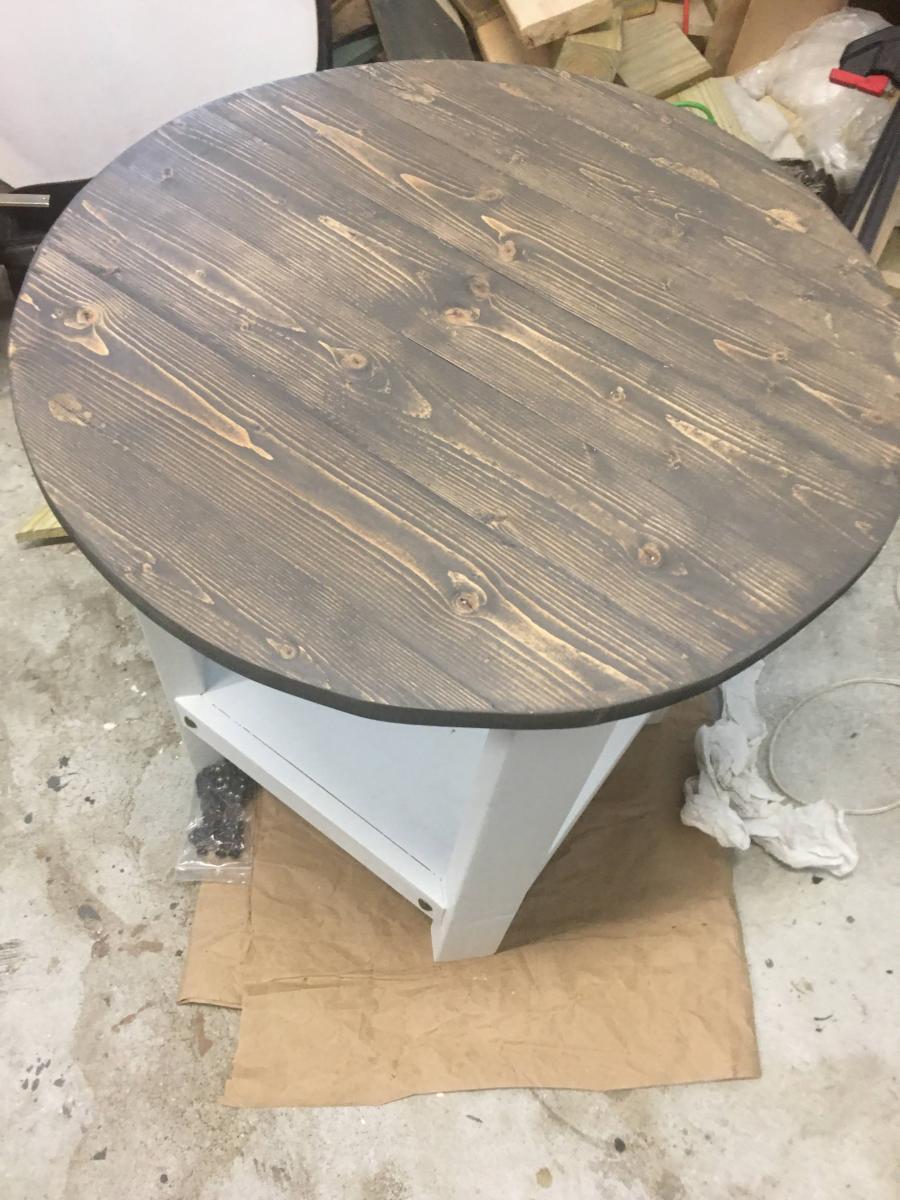
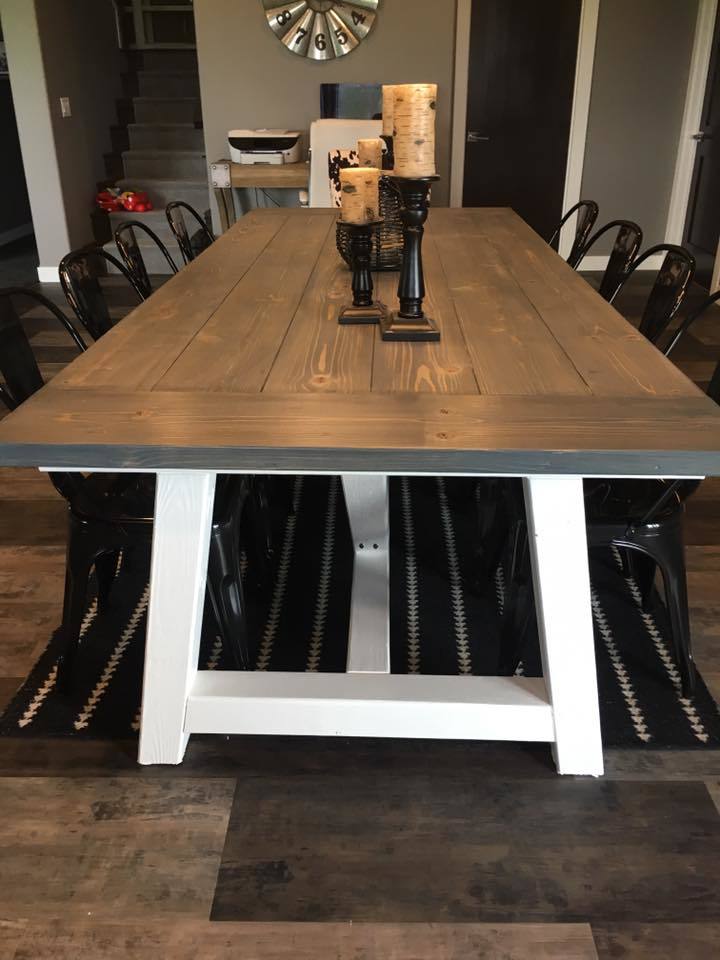
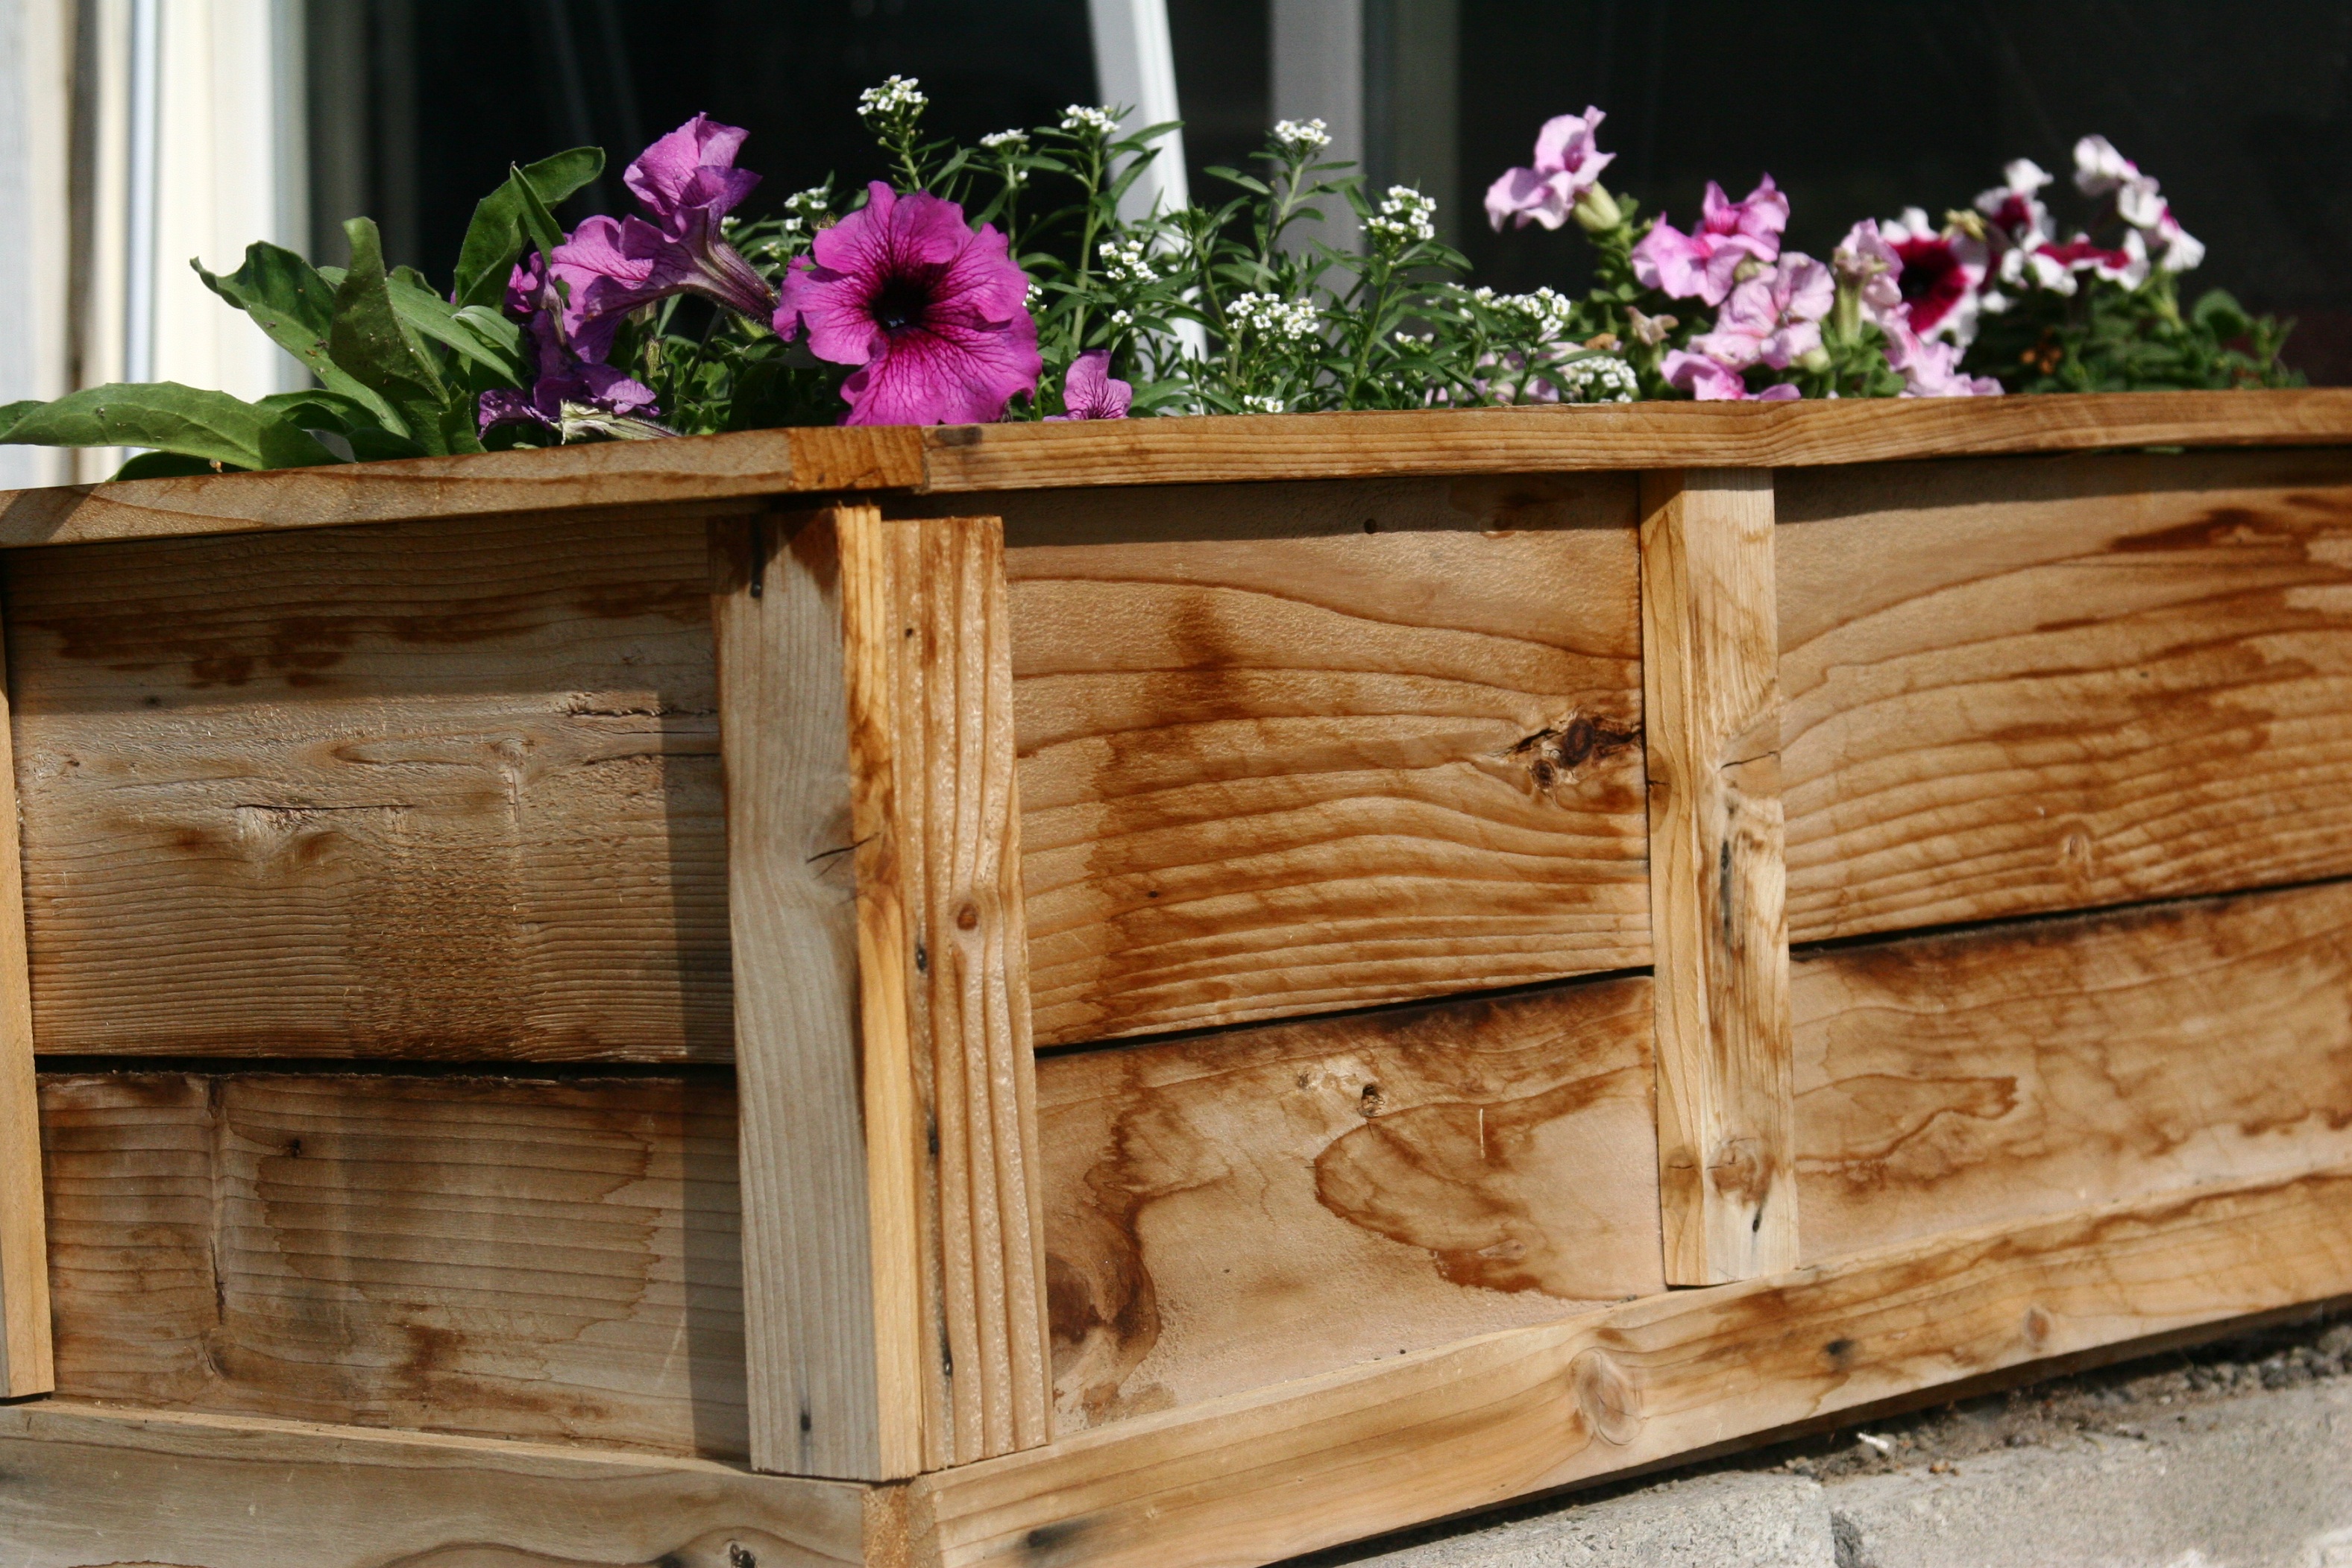
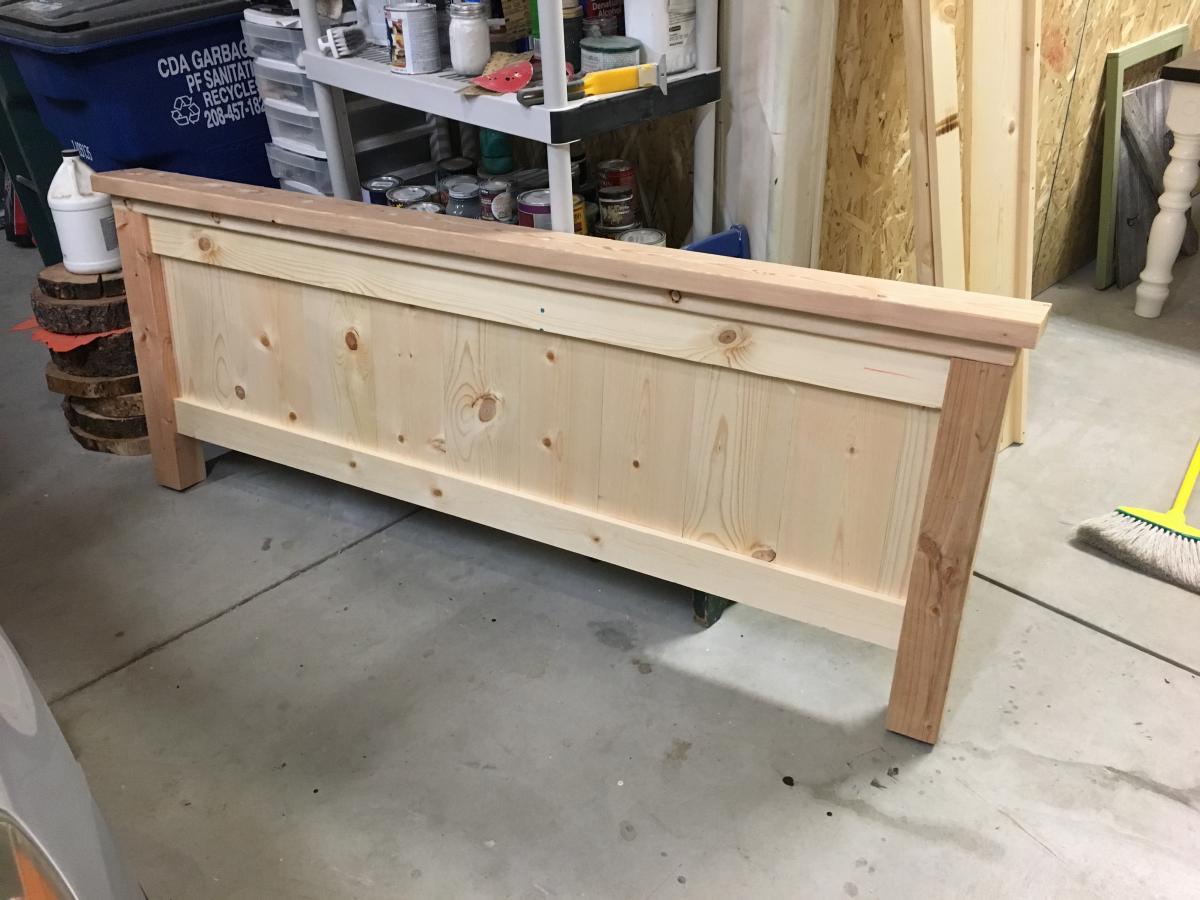
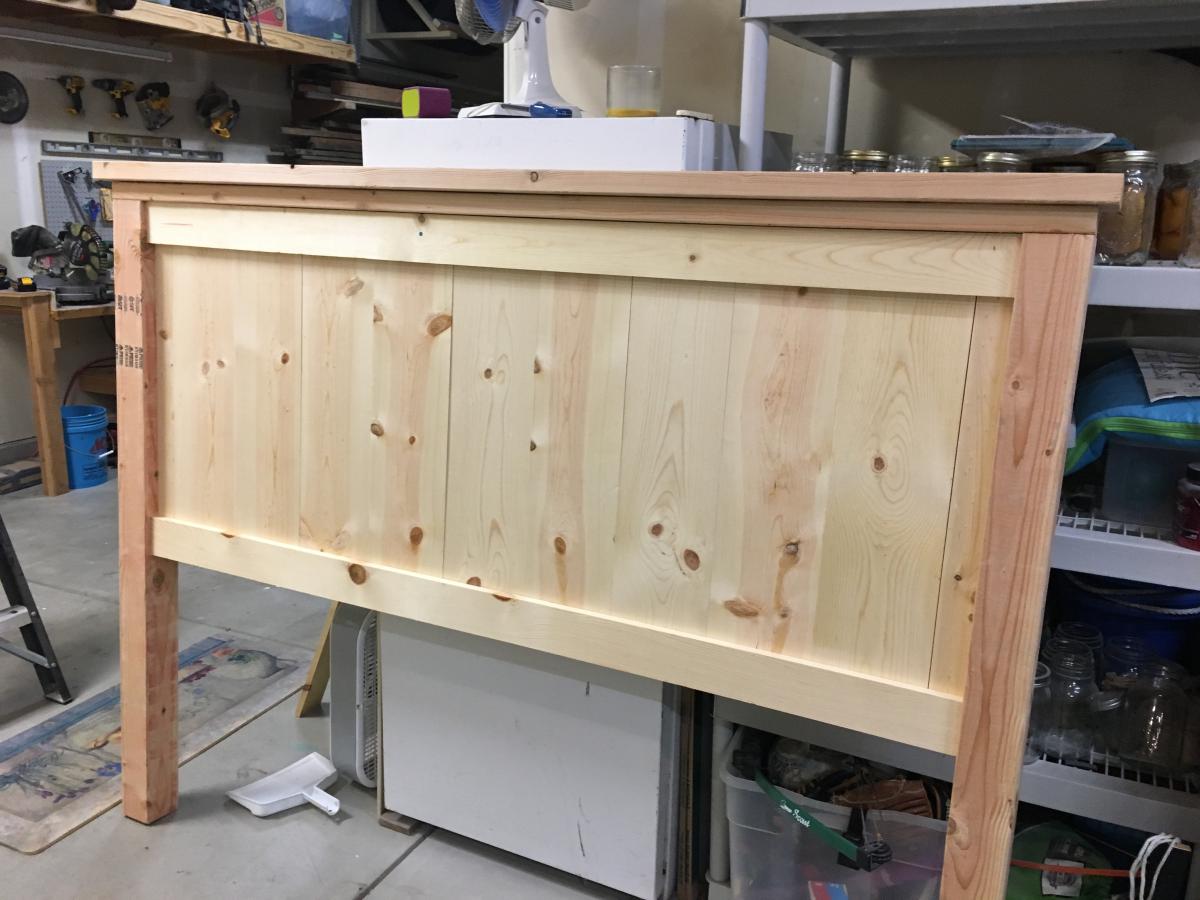
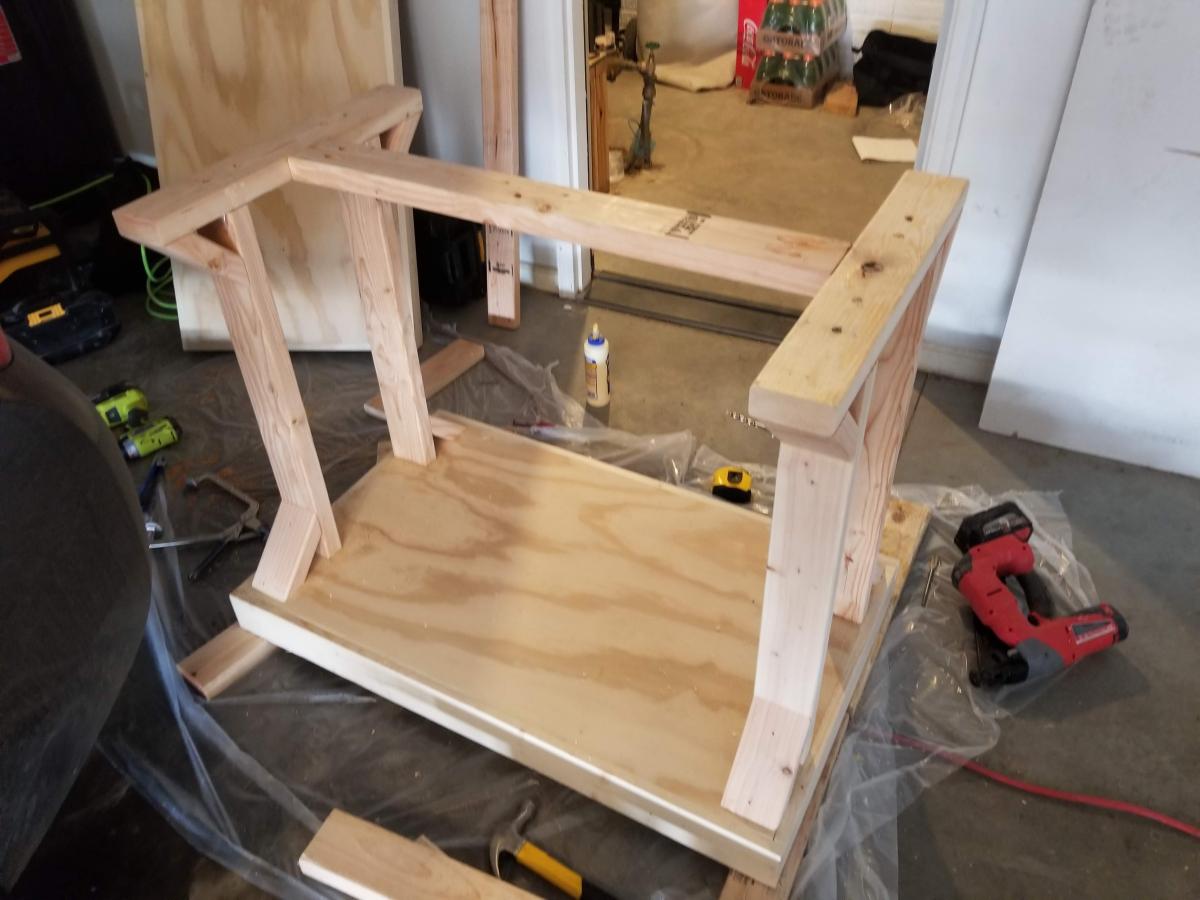
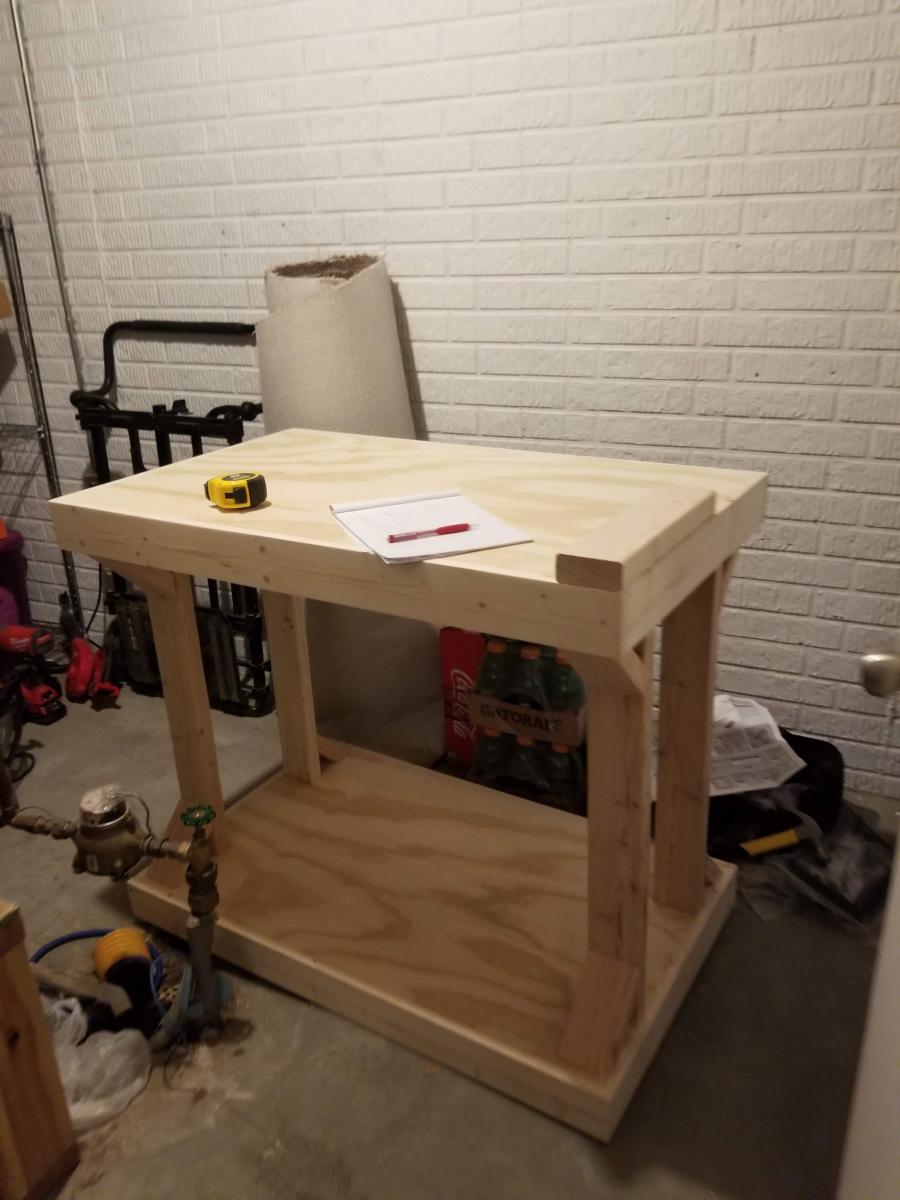
European farmhouse table
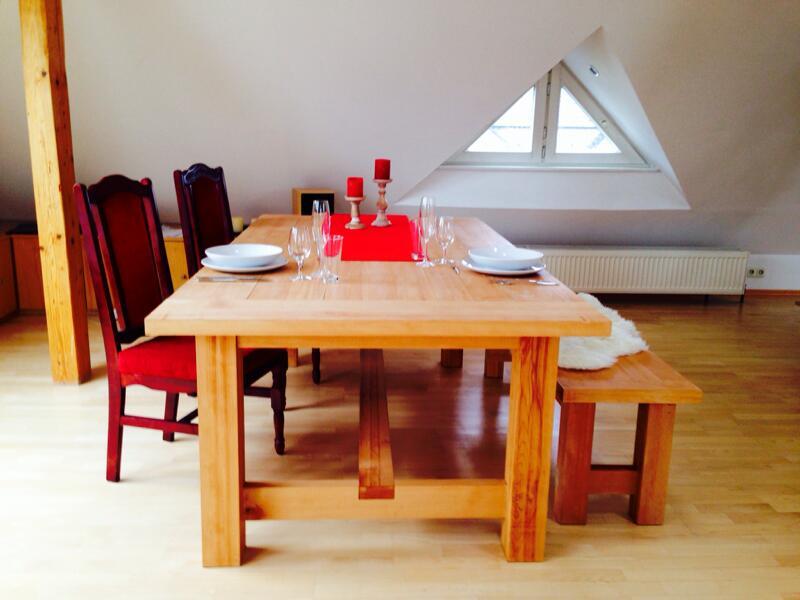
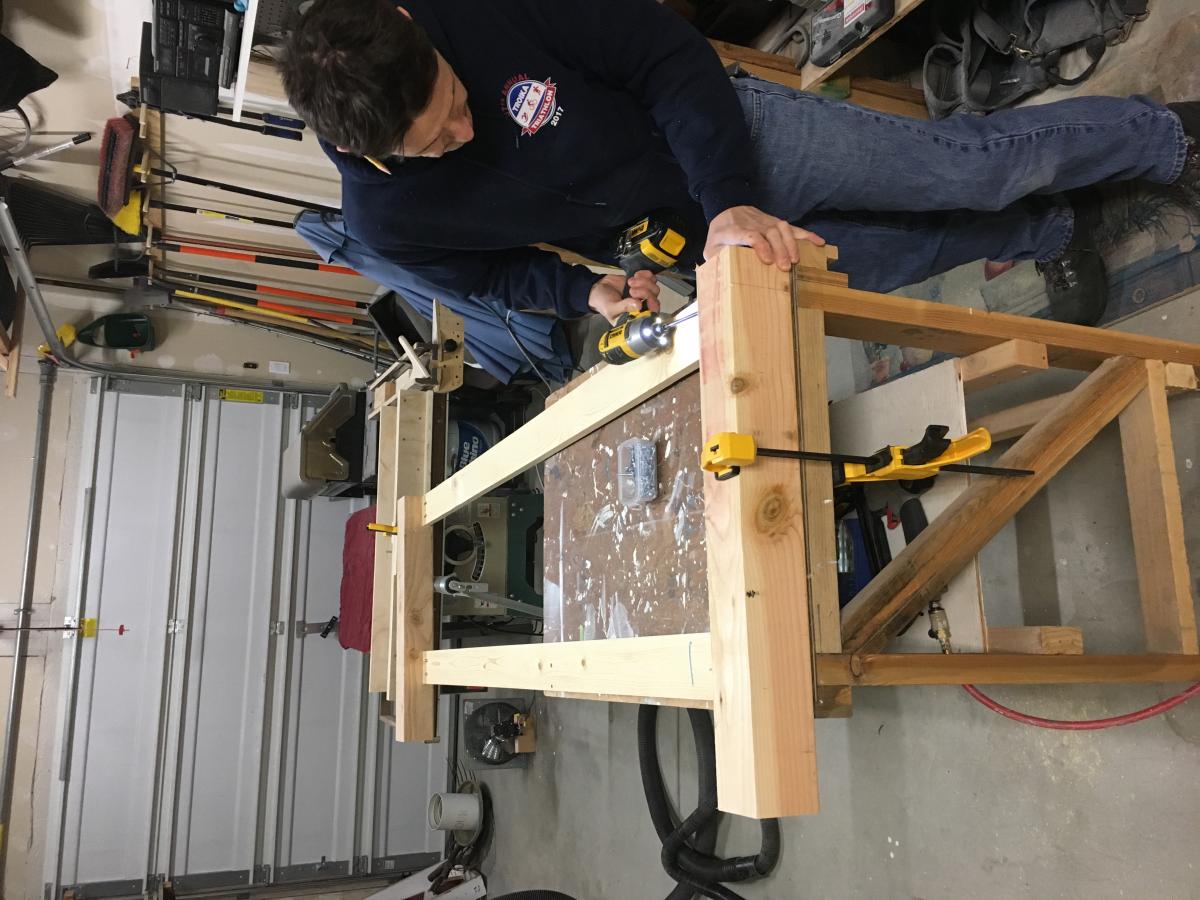
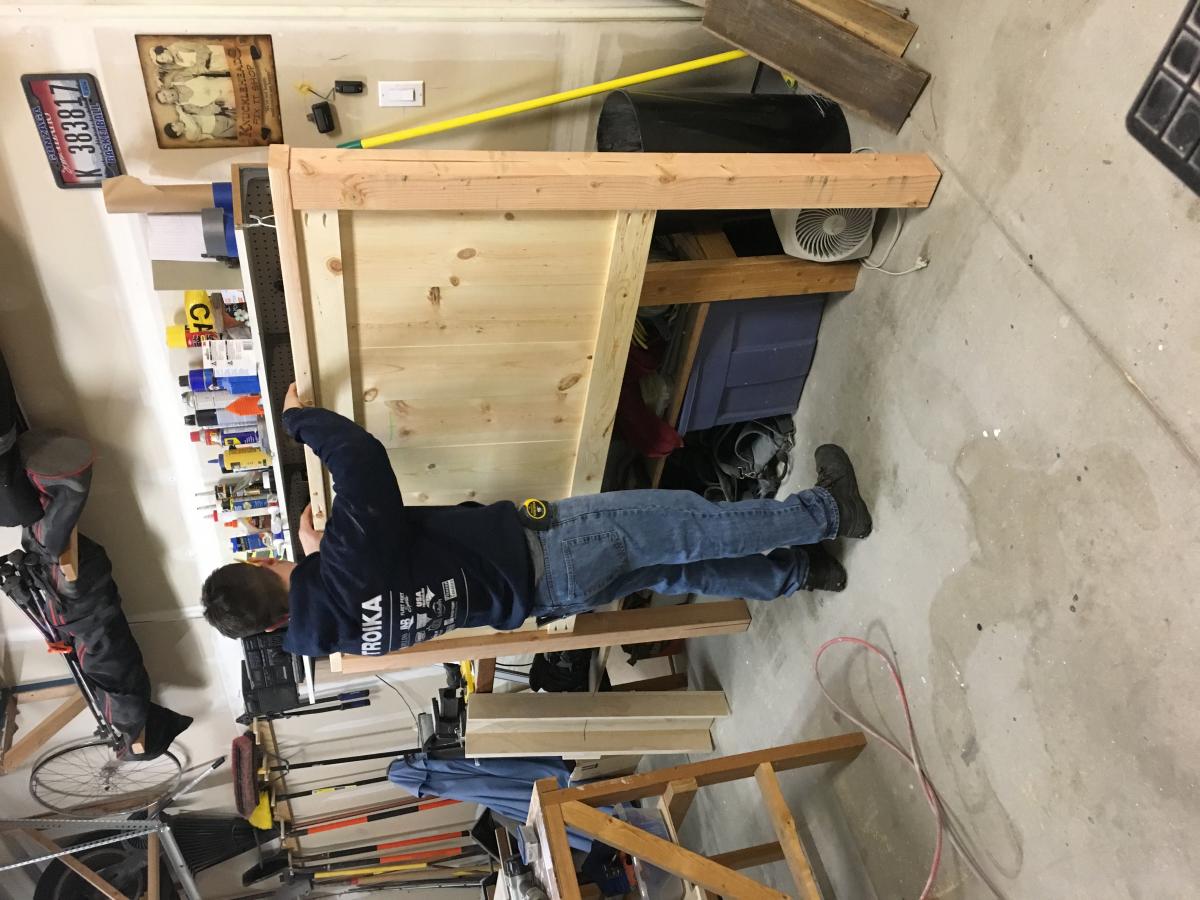
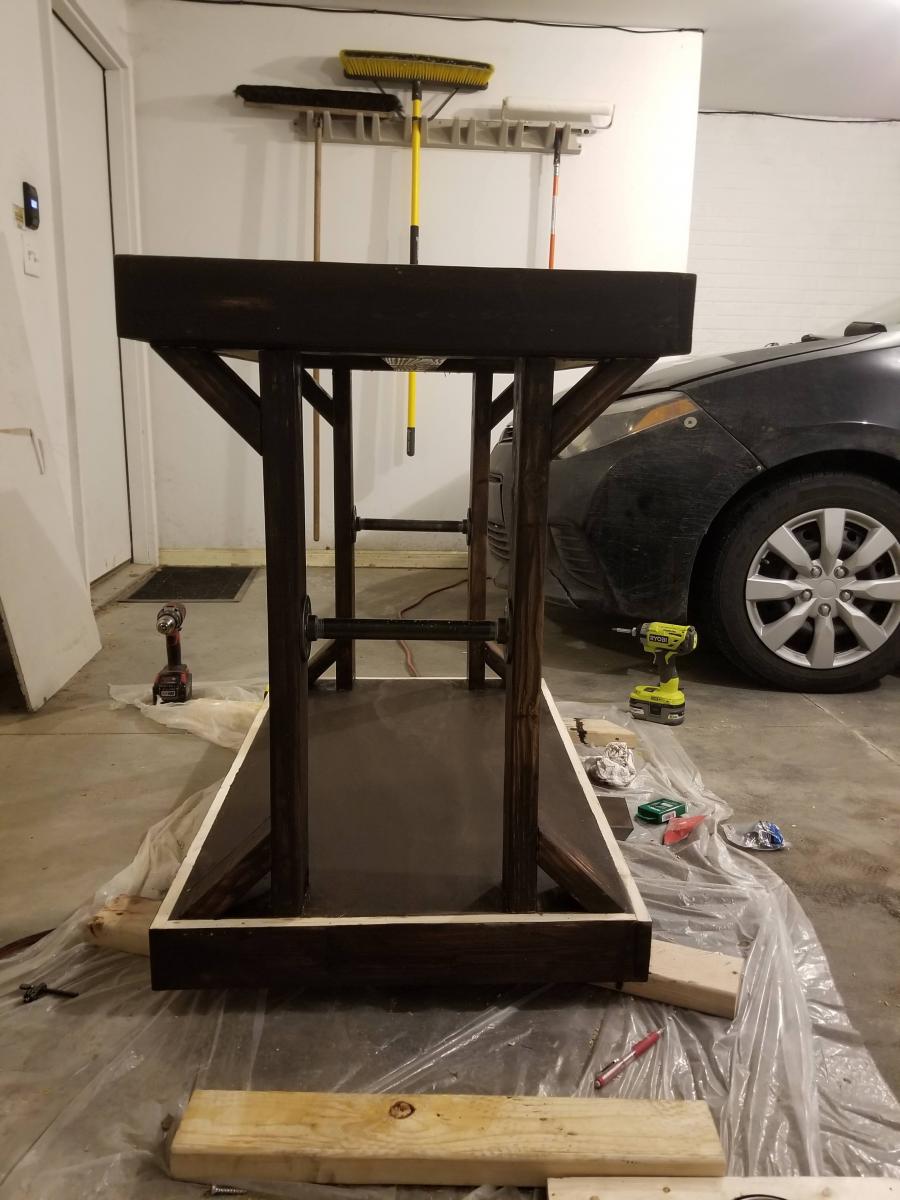
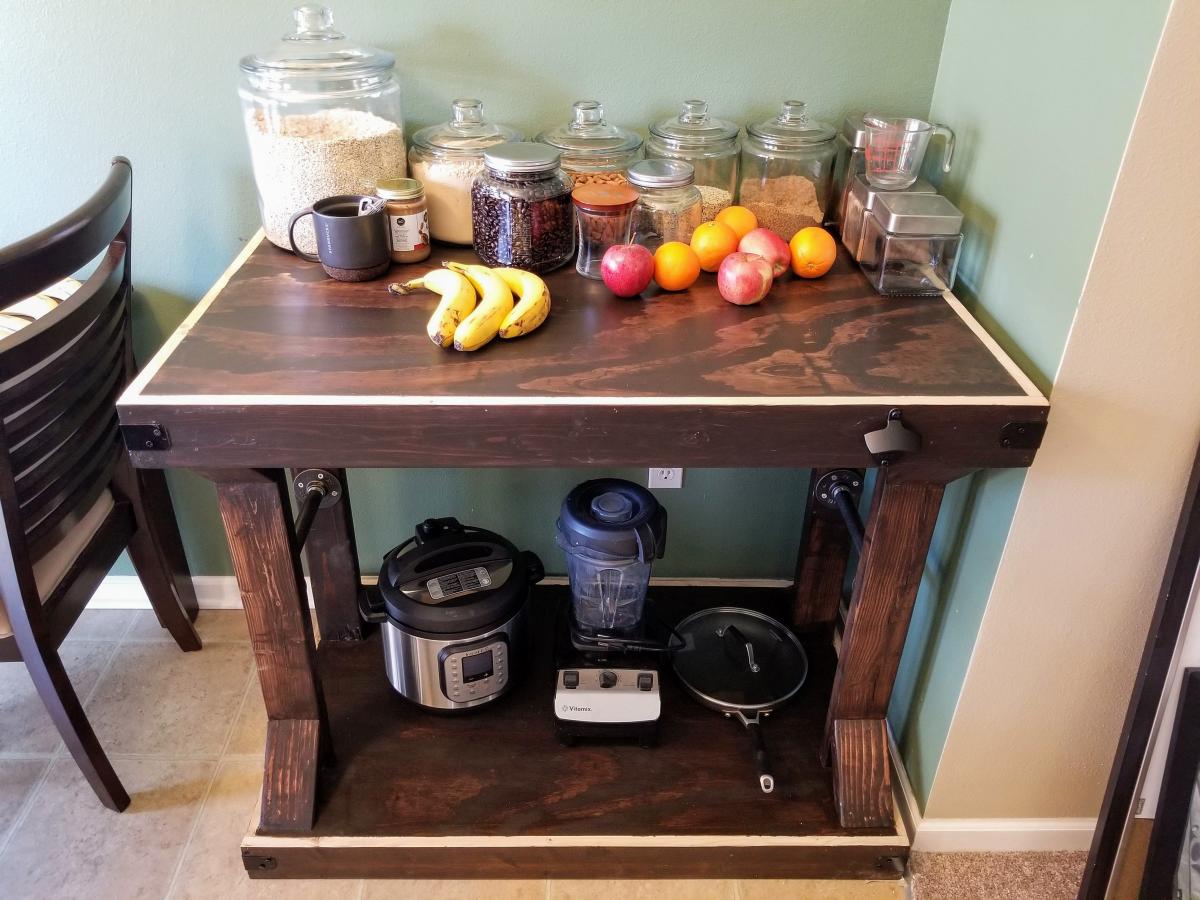
When I first saw the original plan on ana-white.com, I knew that this table and the bench would fit perfectly into my place. Since in europe we measure mostly in meters, I adapted the plan to a table top of 1,0 x 2,10 meters (or for 8 persons) and made the bench fit between the table legs. Luckily, a friend (he is a carpenter) could get me solid beech wood and helped me to get it into the right size (it took a weekend, since we started from raw tree trunks). Assembly was done in two days and I stained it twice afterwards (3 days, with rest ;) ).
Built from Plan(s)
Estimated Cost
400 Euros (~500 dollars)
Estimated Time Investment
Week Long Project (20 Hours or More)
Finish Used
Surface was just sanded, treated with hard oil and sanded again on the next day. You should repeat this procedure at least once a year.
Recommended Skill Level
Intermediate