Community Brag Posts

Small Cedar Fence Picket Storage Shed

Submitted by Pembat on Sun, 10/06/2013 - 20:37

Built this in a weekend, took about 1.5 days. I ended us using 2x4's instead of 2x2's, I think it resulted in a much stronger frame. I also built a base for it to sit on. I got pre-stained cedar fence boards, and overlapped them 1" instead of a 1/2". Pretty easy project, I ended up siding the back on the ground, installing it, and then adding the side walls without the siding (just the framing), and then sided them in place. The doors work perfectly. I took my total inside dimension between walls, made sure the opening was square, and then divided that by two to get the width of each door. I then took another 1/4" off that, so each door had an additional 1/8" gap, it worked perfectly. When I set the doors, I put them on a piece of roofing closed as I screwed in the hinges, and then opened them and removed the roofing. I opted to run the door siding horizontal to use up a bunch of waste wood. I'm happy with the outcome. I also found some 6" self starting lag bolts and lagged through the back of the shed into studs (through the siding) into the garage behind it.

Estimated Time Investment
Weekend Project (10-20 Hours)
Recommended Skill Level
Intermediate

Faux fireplace mantel

Submitted by Anonymous (not verified) on Sat, 02/11/2023 - 06:14

Took the faux mantel a step further and created a faux brick interior by cutting into the wall and building a simple wooden "hearth" to rest the candles on. I've had many people over to my house and they all thought that this was a real (although out of commission) fireplace. Faux brick panels were purchased on Amazon which comes in a plastic-y kind of material. Not quite styrofoam, but some type of foam that is easy to work with. Came in a white color, but I simply rubbed it with shades of beige and gray paint to achieve the look I wanted.
Comments

Dress Up Storage & Puppet Theater

This is a great way to double up on space & creativity! My dad and I built this dress up storage/puppet theater for my daughters using Ana White's plans with added inspiration from The Picky Apple's post about their own top shelf and theater hacks - you can view it here: http://www.thepickyapple.com/blog/2011/03/24/dress-up-storage-bin-and-p…. We added hinges and magnetic catches to the front so that the storage center can be turned around and opened to lay flat for access to the puppet theater.


Estimated Cost
$50
Estimated Time Investment
Day Project (6-9 Hours)
Finish Used
primer then two coats of Valspar semi-gloss (in some pink I can't for the life of me remember or find the chip for!)
Recommended Skill Level
Beginner

Comments

tua16273

Sun, 10/04/2015 - 12:44

Hi, I read you tweaked the plan and then did not know the dimensions of anything in the beginning. Have you gotten them since?

Garage shelving unit

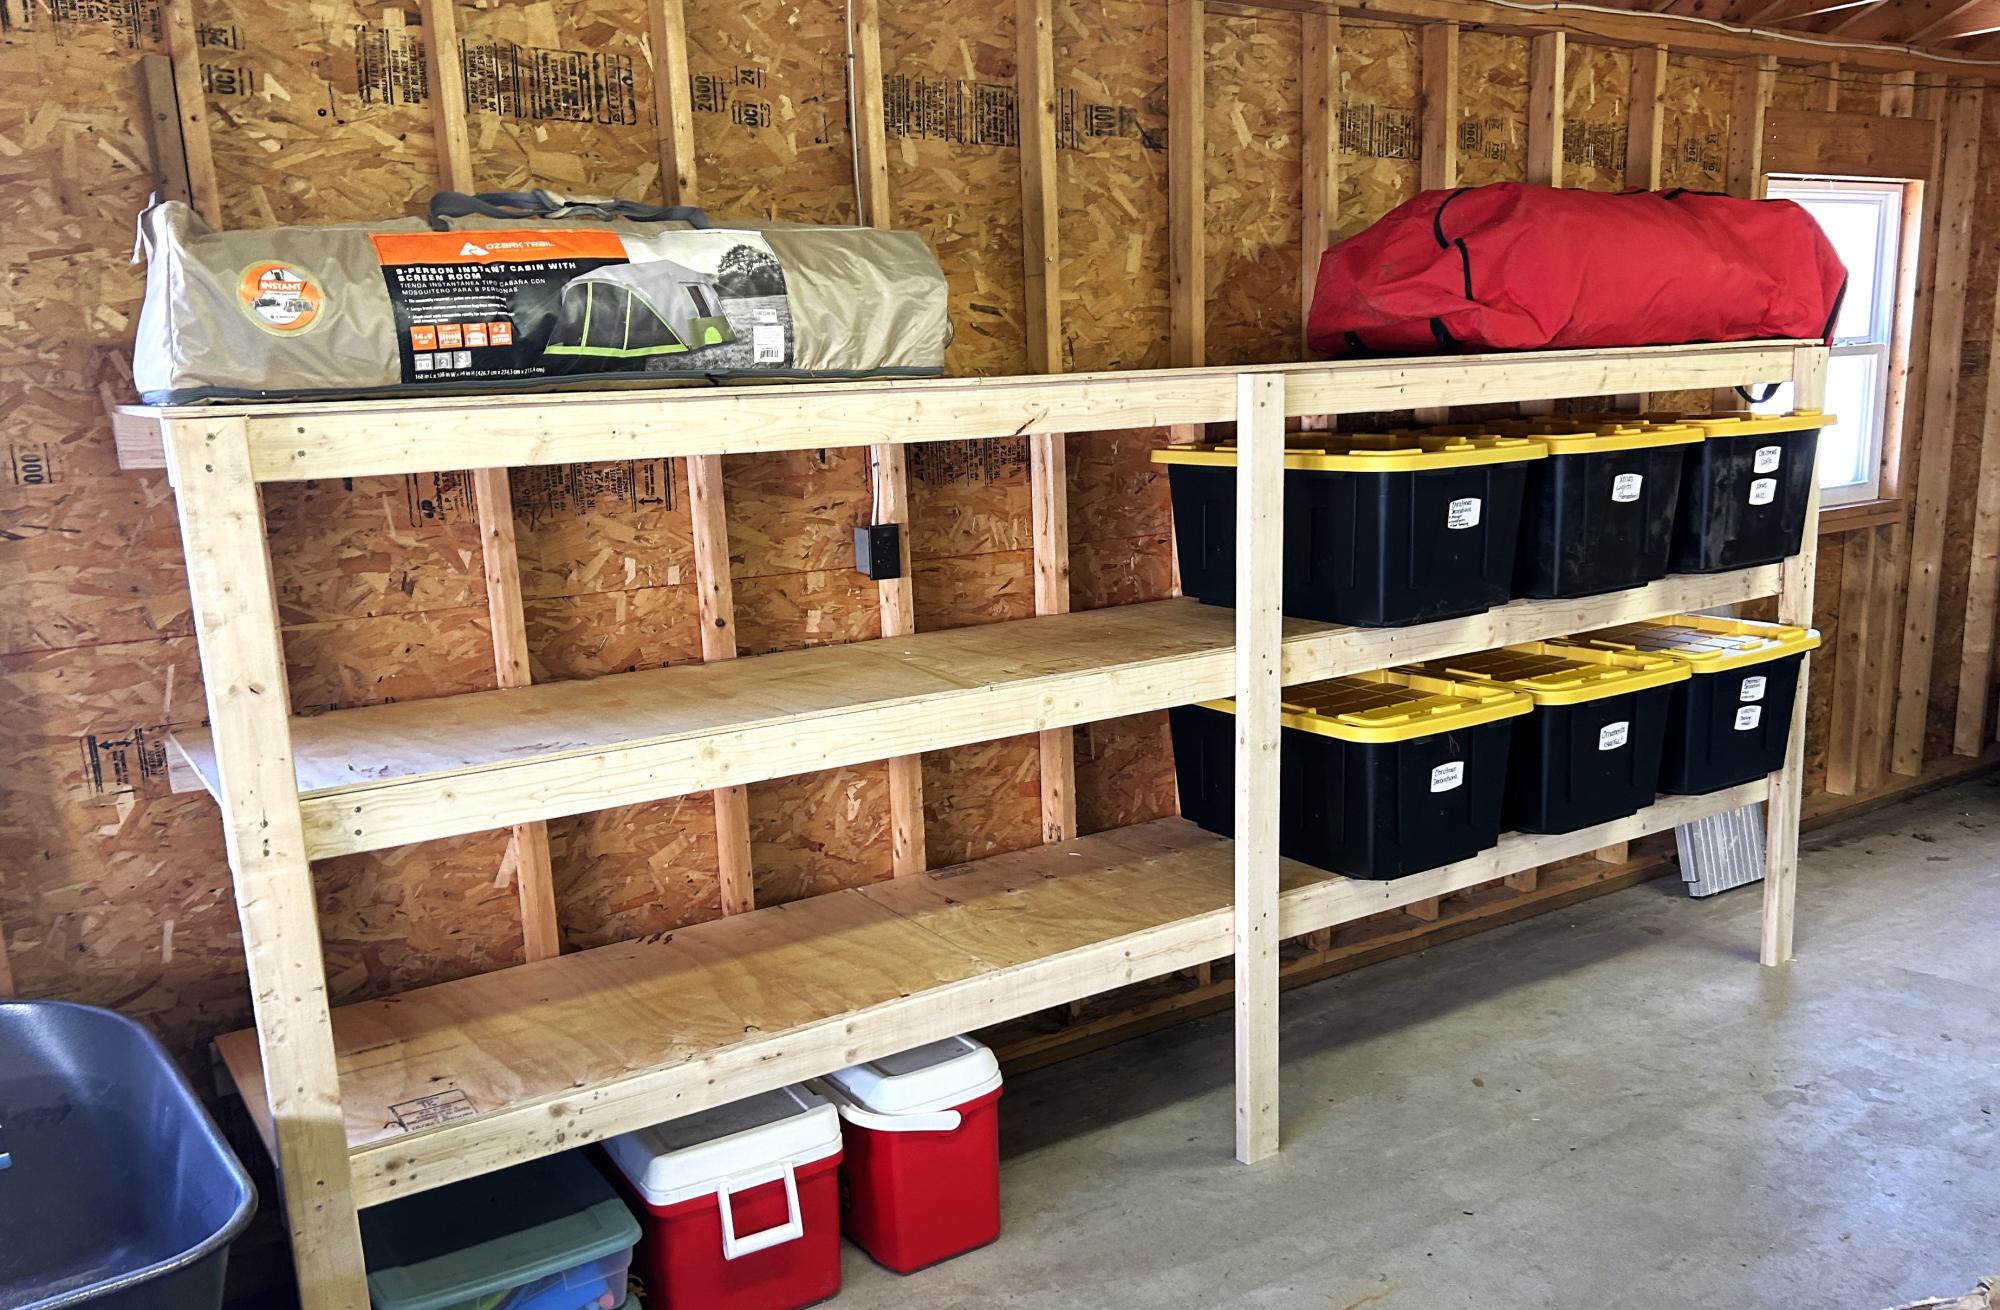
We made this peace 12 feet long, the hardest part was to find straight boards at home depot and adjust the feet because of an uneven garage floor. It was my first big project and hubby helped so I can't take all the credits :)

Estimated Cost
$126
Estimated Time Investment
Afternoon Project (3-6 Hours)
Finish Used
Unfinished
Recommended Skill Level
Beginner

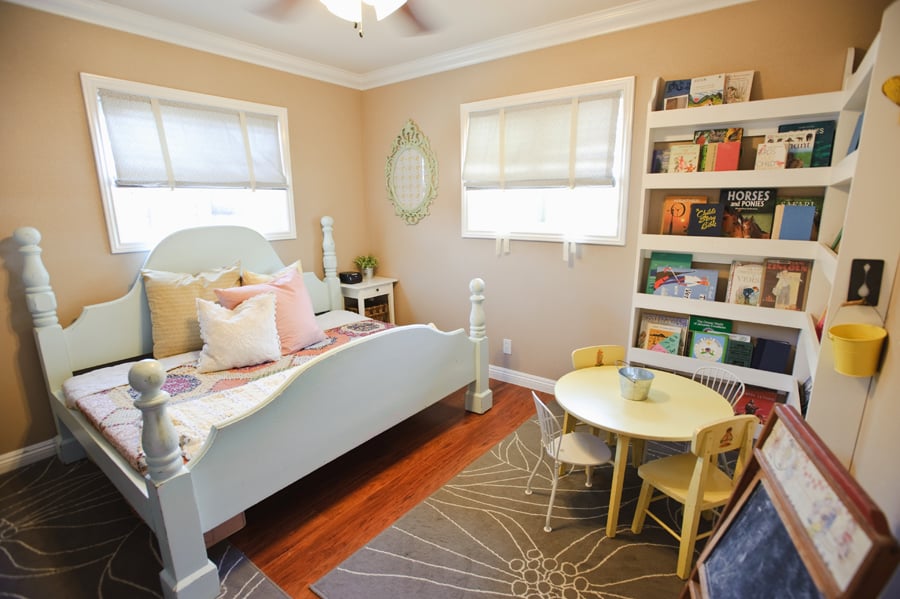
Book Ledges { $10 Ledge Plan }

Submitted by Shorty on Fri, 10/25/2013 - 14:58

We used a pocket hole jig to build the ledges (to practice using our pocket hole jig), and loved how easy it was to put these together. We made each ledge 32" so we only had to use 1 1x2 and 2 1x4.

Turns out these ledges work perfectly to "house" or baby's books (and a couple of our own in the mean time). Love this build –and so much cheaper than buying (or building) a bookshelf!

Built from Plan(s)
Estimated Cost
$20
Estimated Time Investment
Afternoon Project (3-6 Hours)
Finish Used
Behr's Swiss Coffee in Satin
Recommended Skill Level
Starter Project

DIY Farmhouse King Size Bed

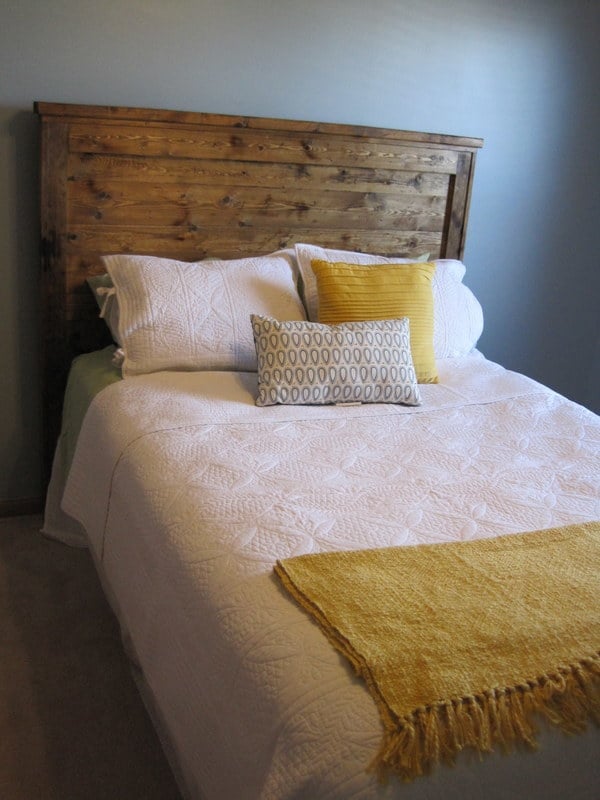
Ever since we moved into our current home, our master bedroom headboard has been at the top of our my project list. I knew I wanted a beautiful farmhouse style headboard. What I didn’t want was the heavy retail price tag. I searched high and low at places like Target, Wayfair, Amazon and even Walmart without finding an affordable option for us.
There is this perfect vantage point of our bedroom from the glider in my son’s room. I remember staring at that empty wall space above our bed for years, it felt like, while rocking our son to sleep. Just willing a headboard to appear. I wanted it so bad I could taste it. Something about looking at that same view, night after night, and waiting, waiting, waiting for it to happen just makes me appreciate it so much more now that it’s here, as so often happens in life.

This project inevitably got put on hold over the years after one thing or another got in the way. Either we didn’t have the time to devote to it, or we always had something else to put our money into. Untilllll I stumbled across Ana White’s Farmhouse Headboard Plans.

Built from Plan(s)
Estimated Cost
~ $200
Estimated Time Investment
Weekend Project (10-20 Hours)
Finish Used
Valspar off the shelf white in semi gloss applied with paint sprayer in several, thin coats with sanding in between.
Recommended Skill Level
Intermediate

Liquor Cabinet from Benchmark Storage/Media Unit

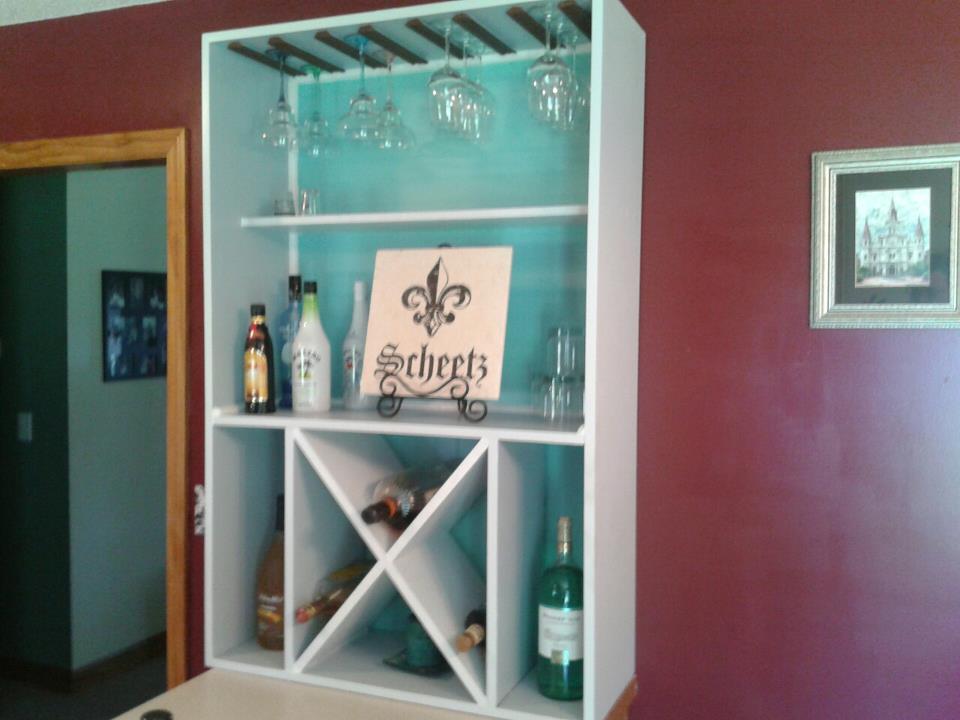
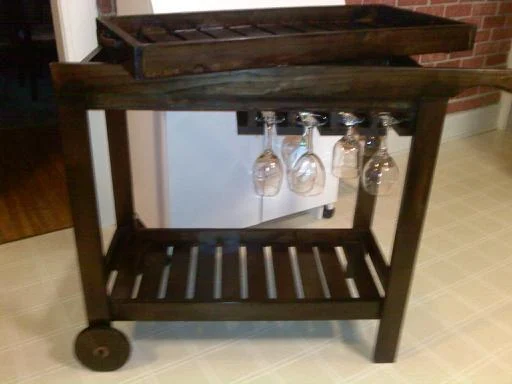
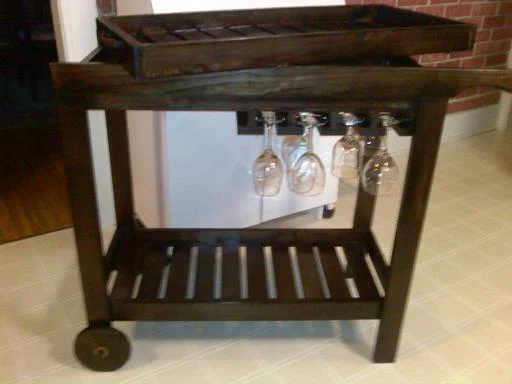
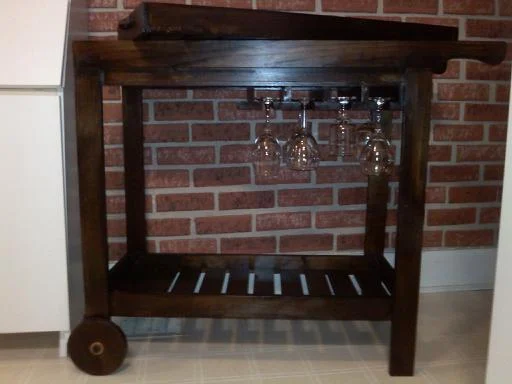
Hallelujah!! Finally, somewhere to store all our alcohol-related necessities :) We adapted Ana's Benchmark Storage Unit to work as a liquor cabinet. We kept the basic design the same, but added some stemware storage across the top (a feature we loved in a Crate and Barrel liquor cabinet that was $$$$$) and some decorative molding to bulk it up a little bit. We lovvvvvve it! Thanks Ana!

PS: everyone please check out our blog for more details on this and other projects!

http://strawbridgestuff.com

Estimated Cost
$100 (using paint and supplies on hand)
Estimated Time Investment
Week Long Project (20 Hours or More)
Finish Used
White semi-gloss paint followed by a thin coat of Minwax stain (Ebony) wiped off immediately after applying (more details on our blog)
Recommended Skill Level
Intermediate

Comments

Restoration Hardware inspired Maison bed tutorial and finish. Starting with Ana's platform base.

I have wanted a Restoration Hardware bed for so long. Now I have "one" but for way less and we did it all ourselves. starting with Ana's platform bed plans we build on it and walk through the process and even the custom 3 part finish. for a full tutorial please see my blog. http://imperfectlyimaginable.blogspot.com/2013/11/restoration-hardware-…

would love to hear from you and see any projects that are completed.

Estimated Cost
under 400 I think the lumber cost me 175 or so
Finish Used
custom 3 step finish please see blog for tutorial
Recommended Skill Level
Beginner

Fancy X Farm Table

Submitted by lrnjlange on Mon, 12/16/2013 - 08:58

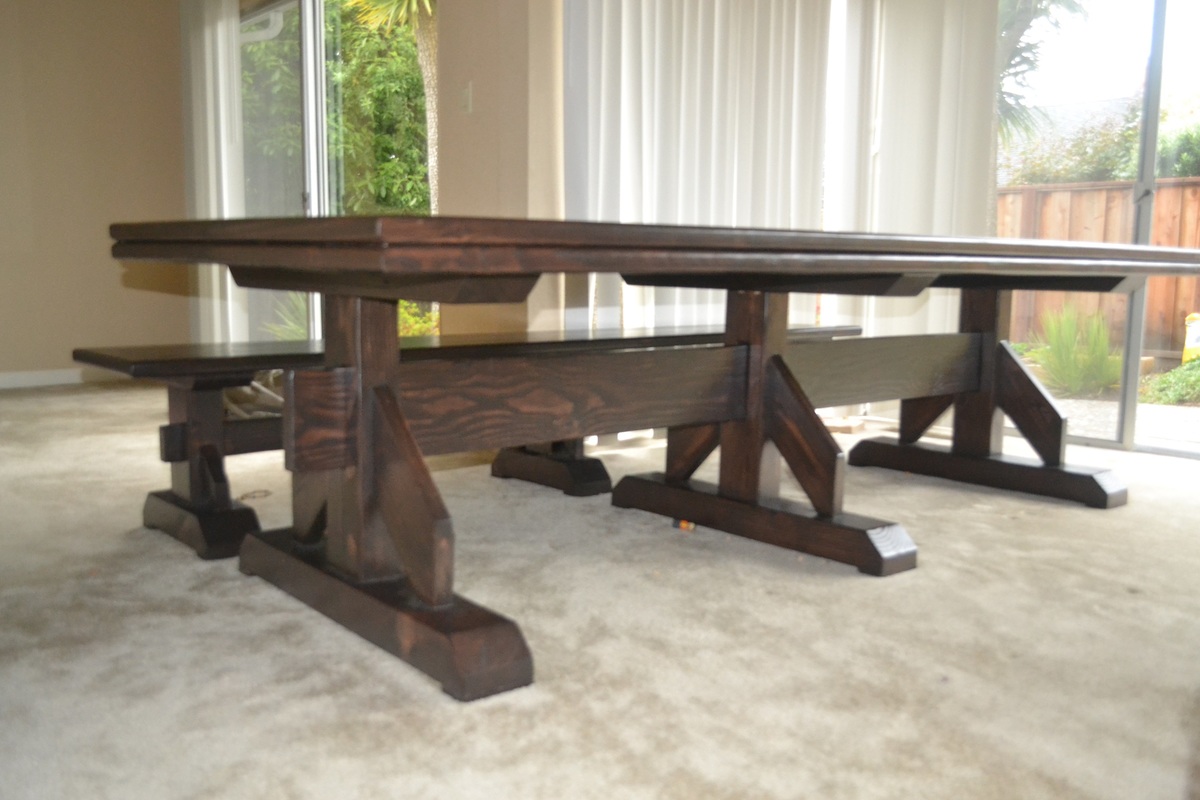
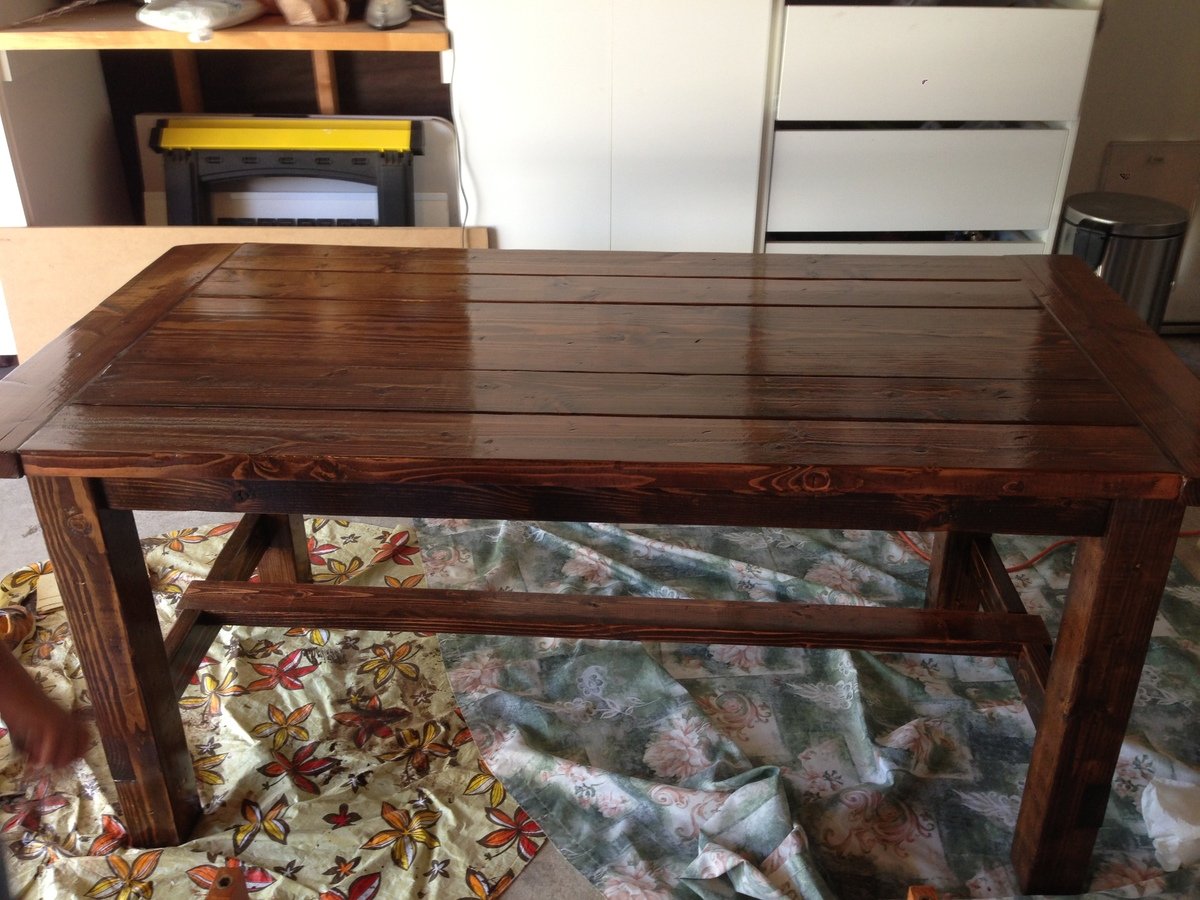
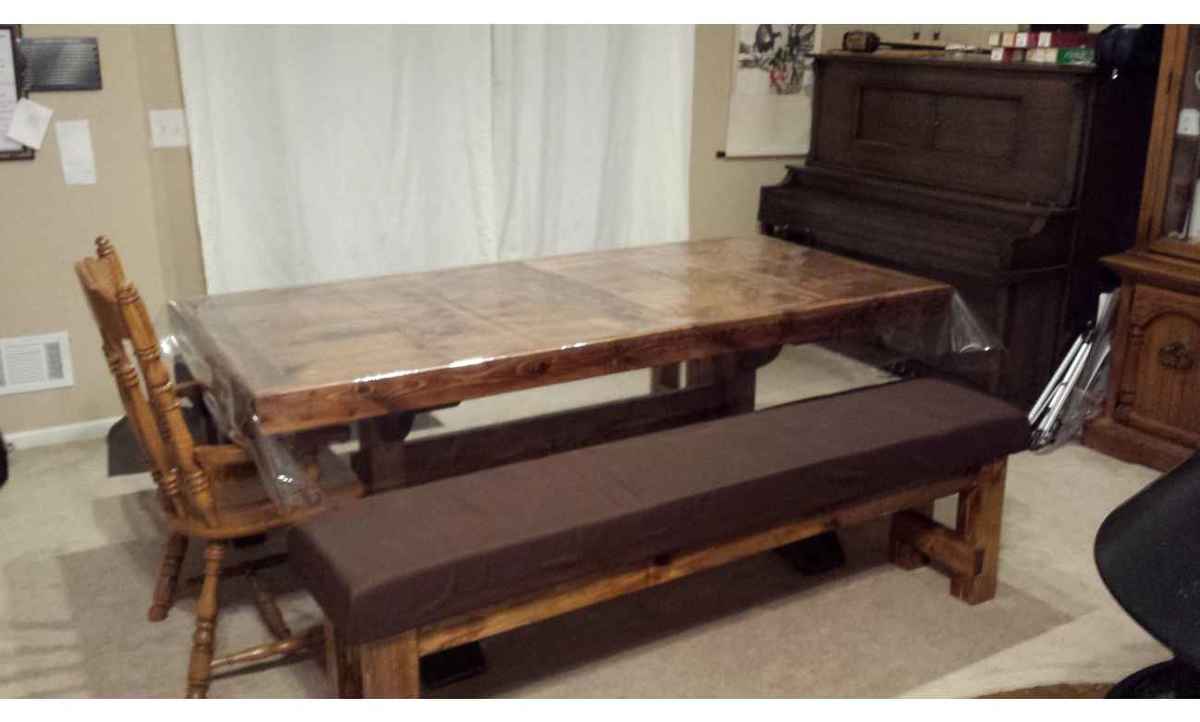
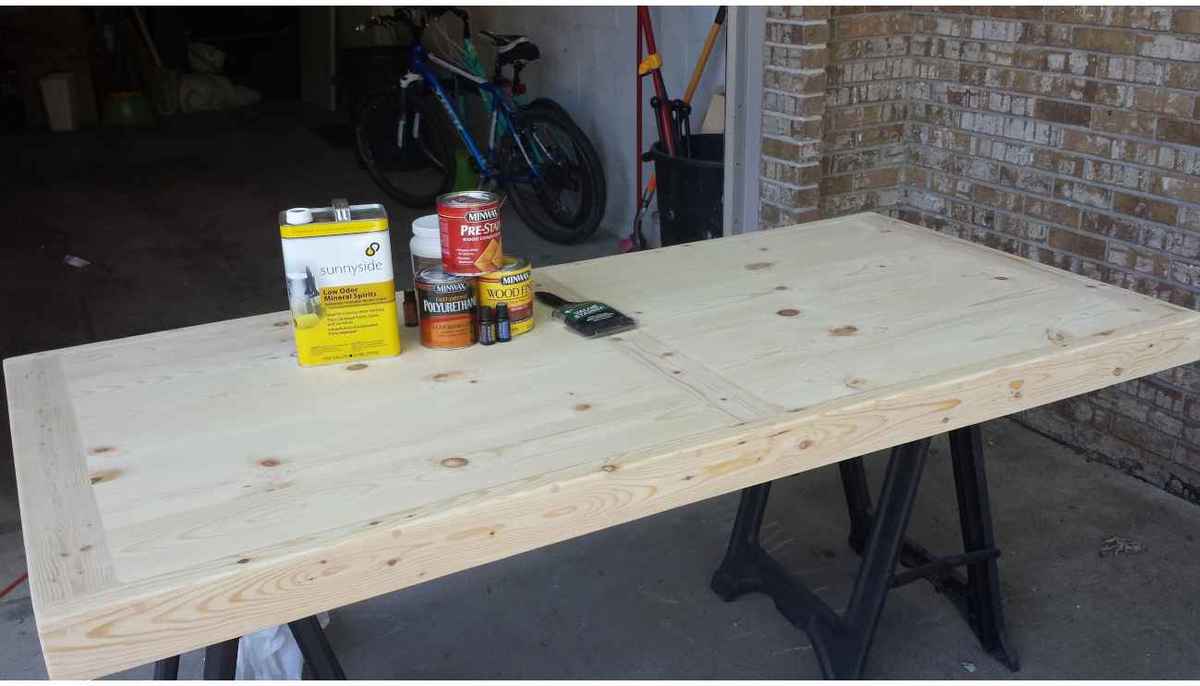
My husband and I built this together. Once we figured out how to use a Kreg Jig it was sooo easy!! I stained the top in English Chestnut and then chalk painted the based.

Built from Plan(s)
Estimated Cost
$100
Estimated Time Investment
Weekend Project (10-20 Hours)
Recommended Skill Level
Beginner

Comments

Double kitchen island with butcher block top

Submitted by bhoppy on Wed, 01/01/2014 - 11:58

I started on the project when I went home for Thanksgiving and finished up the drawers when I was home for Christmas. I live about 7 hours from my family. I took a few tools with me (kreg jig and drill) but borrowed a circular saw and miter saw for all the cuts. It was difficult working on it because it was fairly cold and my dad only has a carport. Which is why it took longer. My step-mom says she wants to paint it maybe with some milk paint. She also did not want the center shelf as she wanted a place for taller items.

The butcher block top was $299. It comes from lumber liquidators in 25" by 96". My dad had about 2 feet cut off the length. Ikea also sells butcher block tops for roughly half the price I think, but they were out of stock in both Atlanta and Charlotte.

I also made the small kitchen island before and this one went much more smoothly. Having the extra set of hands was awesome and made for a wonderful memory as I built it with my father:-)

Built from Plan(s)
Estimated Cost
$400
Estimated Time Investment
Week Long Project (20 Hours or More)
Finish Used
None yet
Recommended Skill Level
Intermediate

Comments

Ana White

Thu, 08/15/2019 - 12:14

This is amazing Stephanie!!!!  I can't believe I didn't see this sooner.  

We are going to feature your photo with the plans - thank you so much for sharing a brag post!  Hope you are well!

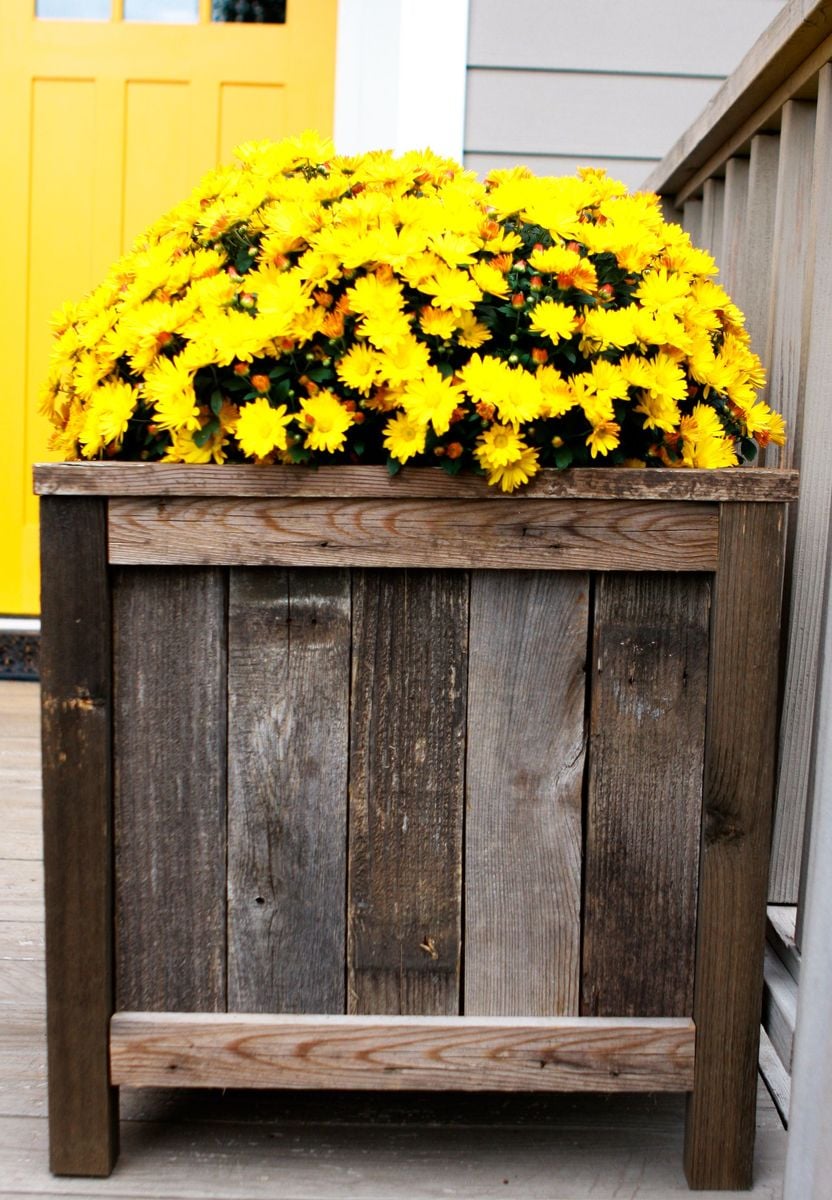
DIY Raised Garden Planter on Casters

Submitted by Anonymous (not verified) on Sat, 07/15/2023 - 09:47

I saw your raised garden box and decided to make it for my wife so she could garden on our deck due to medical problems. She absolutely loved it.

The only thing I did different was I added casters to the legs so it can be moved easily on the deck.

Thank you very much for the idea and plans. We really enjoy them.
 

John Sterzick

Rolling Workbench with "Drill Holders"

Submitted by Joni on Sun, 03/18/2012 - 11:03

Given that I work out of my garage, I desperately needed a rolling workbench in order to roll out, make the sawdust mess, and roll back in. I had already made Michaela's island for another purpose inside my house, and I loved the sturdiness of the 4x4 posts as legs. I had industrial-type locking castors, but they only screwed in with a threaded post. Thanks to my engineer dad, he determined the best way to attach a screw-in castor to the bottom of the 4x4 (and did all that work for me!).

The size is modified from Michaela's original plan to include a 3 1/2" overhang all the way around for easy clamping (and top is 6' x 2.5'). I also cut a 2' piece of PVC pipe into 3 sections and attached for my drill storage. I put full-extension glides on the drawers and made some dividers from scrap wood.

Built from Plan(s)
Estimated Time Investment
Week Long Project (20 Hours or More)
Finish Used
4 coats of Spar Urethane
Recommended Skill Level
Intermediate

Comments

birdsandsoap

Sun, 03/18/2012 - 13:29

This is beautiful. If anything you create ON this table looks nearly as beautiful as the table itself, you have found a new profession. Good job!

Horse Stable

Submitted by Anonymous (not verified) on Sat, 11/30/2019 - 14:06

Loved creating the Ana White Horse Stable with a few additions! I added planters and twinkle lights for my girl!

Estimated Cost
$55
Estimated Time Investment
Afternoon Project (3-6 Hours)
Finish Used
Fusion Mineral Paint and Minwax Stain
Recommended Skill Level
Beginner

Oliver Couldn't Wait!

Submitted by mtrotman on Sun, 01/19/2014 - 04:17

This was a fun, easy project. The main modification I made was to use 1 x 6 boards for the bench tops.

I also used my Kreg Jig extensively for this project. There are no visible screws on the tabletop or bench tops.

My grandson Oliver couldn't wait for me to put a finish on it. He had to try it out while snacking on his great-grandmother's pumpkin bread.

Built from Plan(s)
Estimated Cost
$35 but I already had screws and glue.
Estimated Time Investment
Afternoon Project (3-6 Hours)
Finish Used
TBD
Recommended Skill Level
Beginner

Coffee Table

I learned from other project fails to sand down the boards as I go. So my hubby cut the lumber and handed each board to me and I sanded down the boards with 120 grit sand paper followed by a finishing sanding block. Luckily the lumber that we purchased was not super rough so I hand sanded everything down. Once each board was mostly sanded down we put it all together.

Since my hubby countersunk the screws I applied standard wood filler and sanded it once it was dry (about 2 hrs later). I then applied wood conditioner and about 30 minutes later, followed by 1 coat of stain and 1 coat of polyurethane finish. Once the polyurethane was dry I sanded it down one more time with the fine sanding block so it was perfectly smooth.

I must confess: this was the second time I built a coffee table from this plan. The first time I built it I did a HORRIBLE job with the sanding & staining. When my husband and I first built from this plan it took us about 8 hours to build it. The second time it took us 3 hours.

Built from Plan(s)
Estimated Cost
The lumber was about $35 and I splurged on some much needed staining items (cloths, masks, more brushes, etc.). I spent a total of about $75 on everything.
Estimated Time Investment
Afternoon Project (3-6 Hours)
Finish Used
Wood conditioner, Varathane dark walnut wood stain (1 coat, applied a heavy coat with brush and wiped excess stain with a rag about 3-5 minutes after initial application), and finished with Minwax fast-drying polyurethane clear satin (1 coat).
Recommended Skill Level
Beginner

Full over Full Bunk Bed

Full over Full bunk beds. Adjusted for Full from a twin measurement. only 1" off floor for more head room.extra rail bar coverage upstairs for my daughter who rolls out of bed regularly.

Built from Plan(s)
Estimated Cost
used common board mix and a few premium cuts. Pine was more costly. @$250
Estimated Time Investment
Weekend Project (10-20 Hours)
Finish Used
White primer/paint
Recommended Skill Level
Beginner

Comments

bjerfr

Sat, 07/11/2020 - 10:12

What measurements did you use to adjust to a full size?

Dress up center

Submitted by jim7sf on Fri, 02/07/2020 - 11:44

 I Purchased Kitchen cabinet handles to use for the ribbon so that the girls could put their bows on there I also got 1 inch wheels 2 of them with breaks on them from amazon. Between the vinyl letters and added bonus I spent about 110$

Estimated Cost
110$
Estimated Time Investment
Afternoon Project (3-6 Hours)
Recommended Skill Level
Beginner

Hall Tree Modified

Submitted by Anonymous (not verified) on Mon, 10/02/2023 - 10:29

My variation of the hall closet. Dark stained bench and top shelf, it is taller (5'6") and skinnier (30") and doesn't include the venerated X's.

Jeffrey Knotts of Black Boots Woodworks

Built from Plan(s)

blue loft bed for 8 year old

we have finished my sons room, it has taken us nearly a year but this bed looks fantastic and is much sturdier than the ones you can buy!!!

Built from Plan(s)
Estimated Cost
£200 GBP
Estimated Time Investment
Week Long Project (20 Hours or More)
Finish Used
PAINTED AND VARNISHED
Recommended Skill Level
Starter Project

Comments

Outdoor Sectional

Submitted by nikkiice on Sat, 05/28/2016 - 17:40

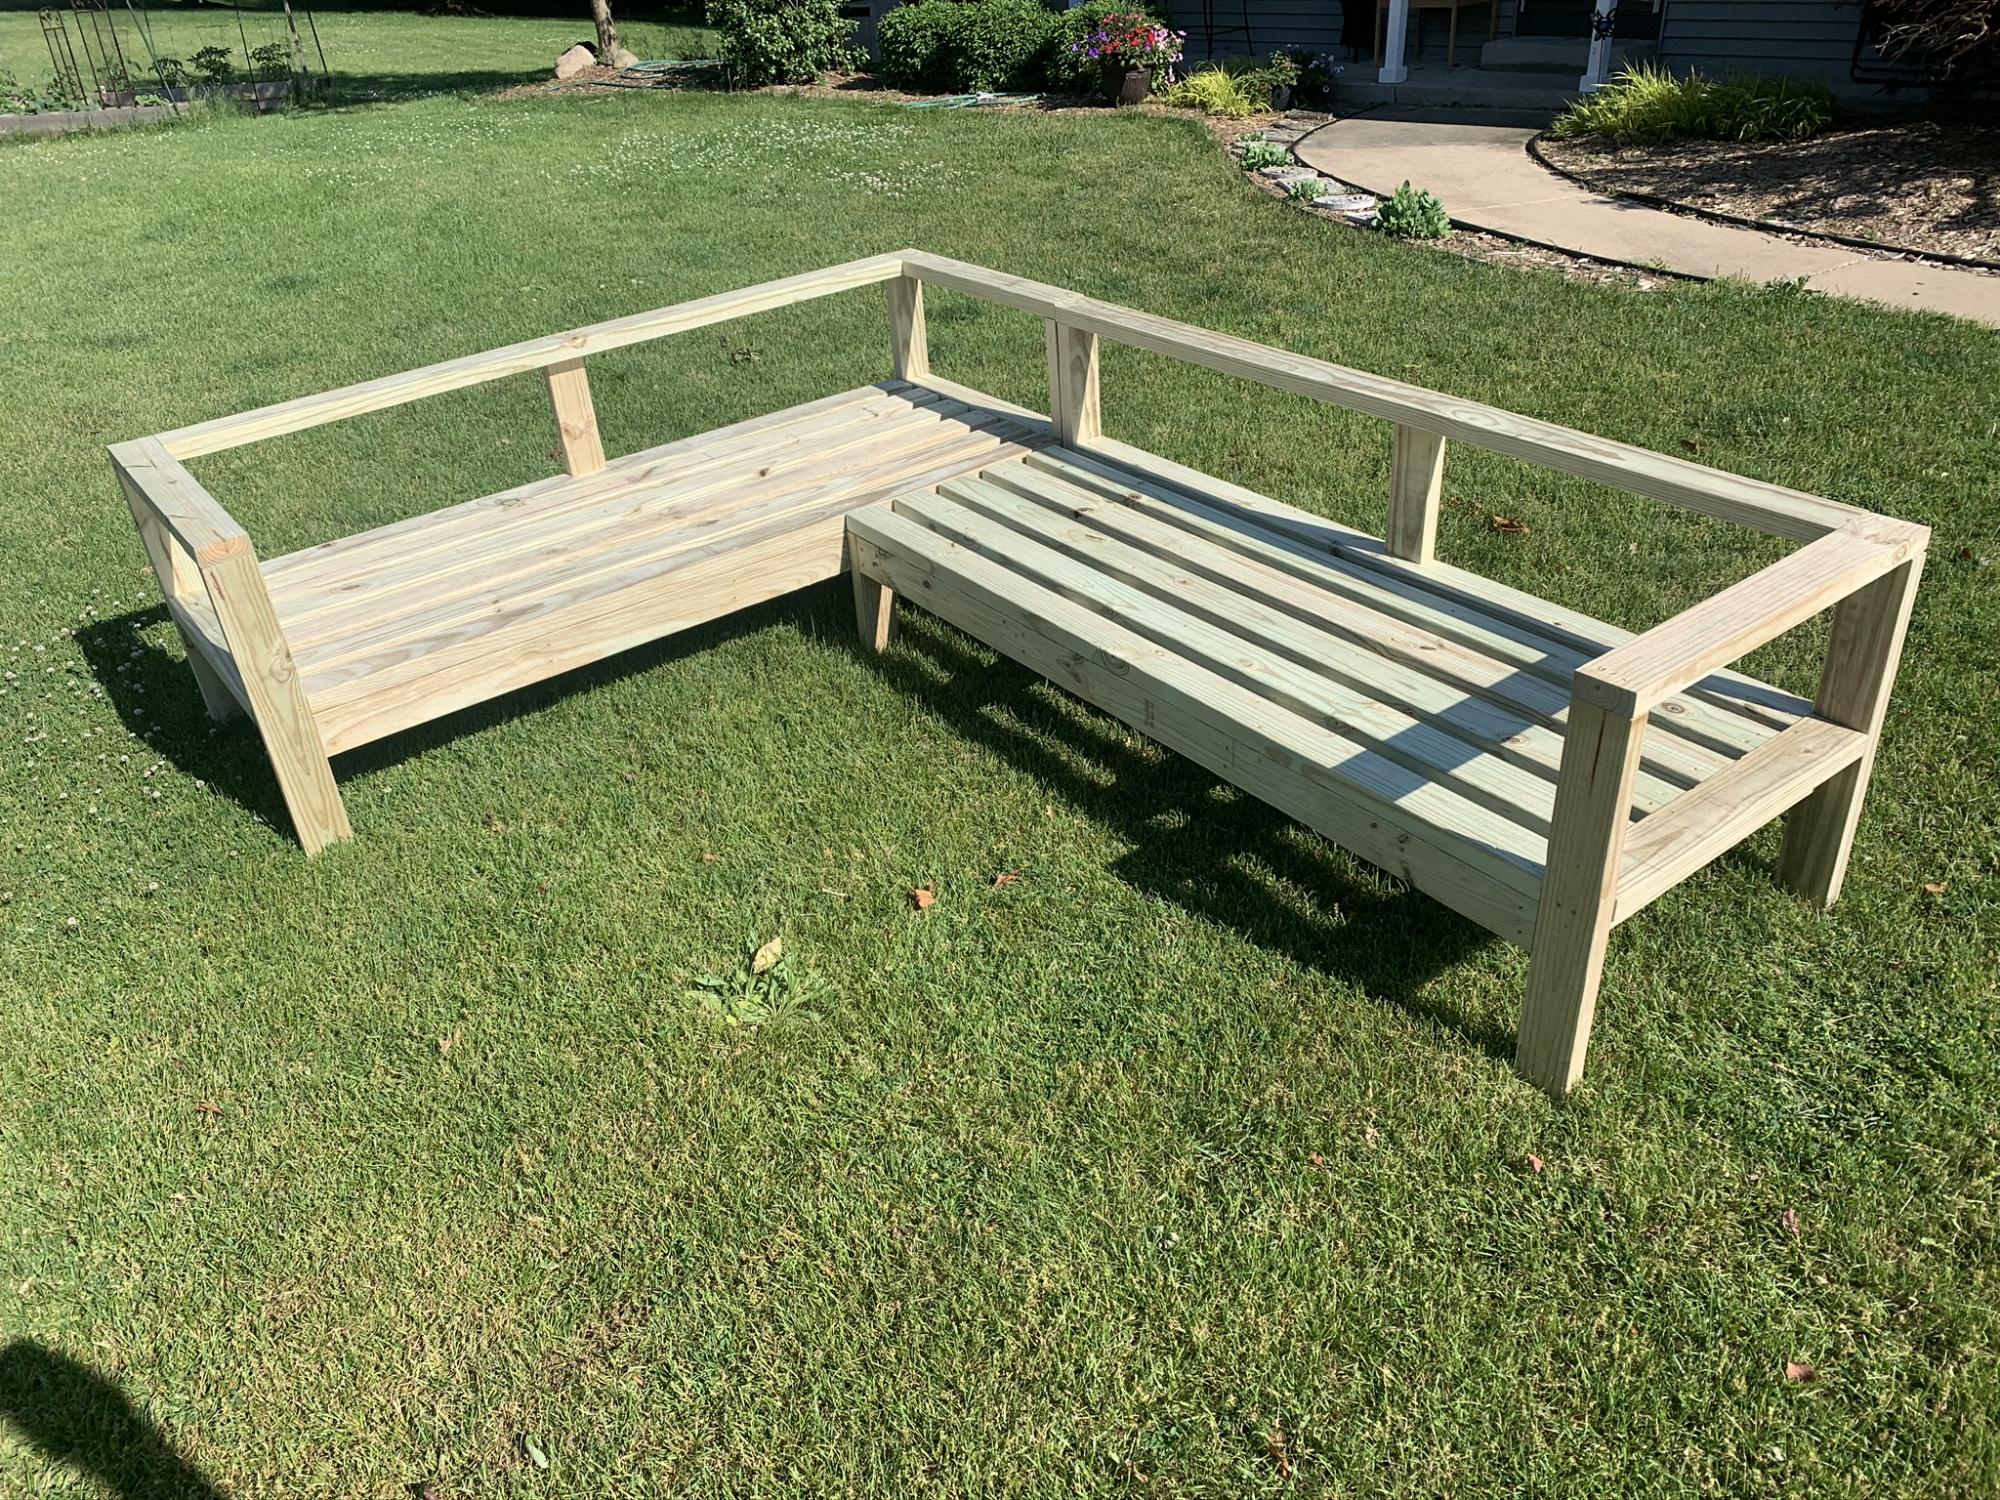
I had so much fun building this! I got a little creative with the corner section and decided to make it a table. I built a small hatch so that I could put in a container for ice and cold beer. When the hatch is not in use, the container can be removed and the hatch can be closed to provide more table space. I also added drink holders! 

Estimated Time Investment
Week Long Project (20 Hours or More)
Finish Used
none yet
Recommended Skill Level
Beginner
Back