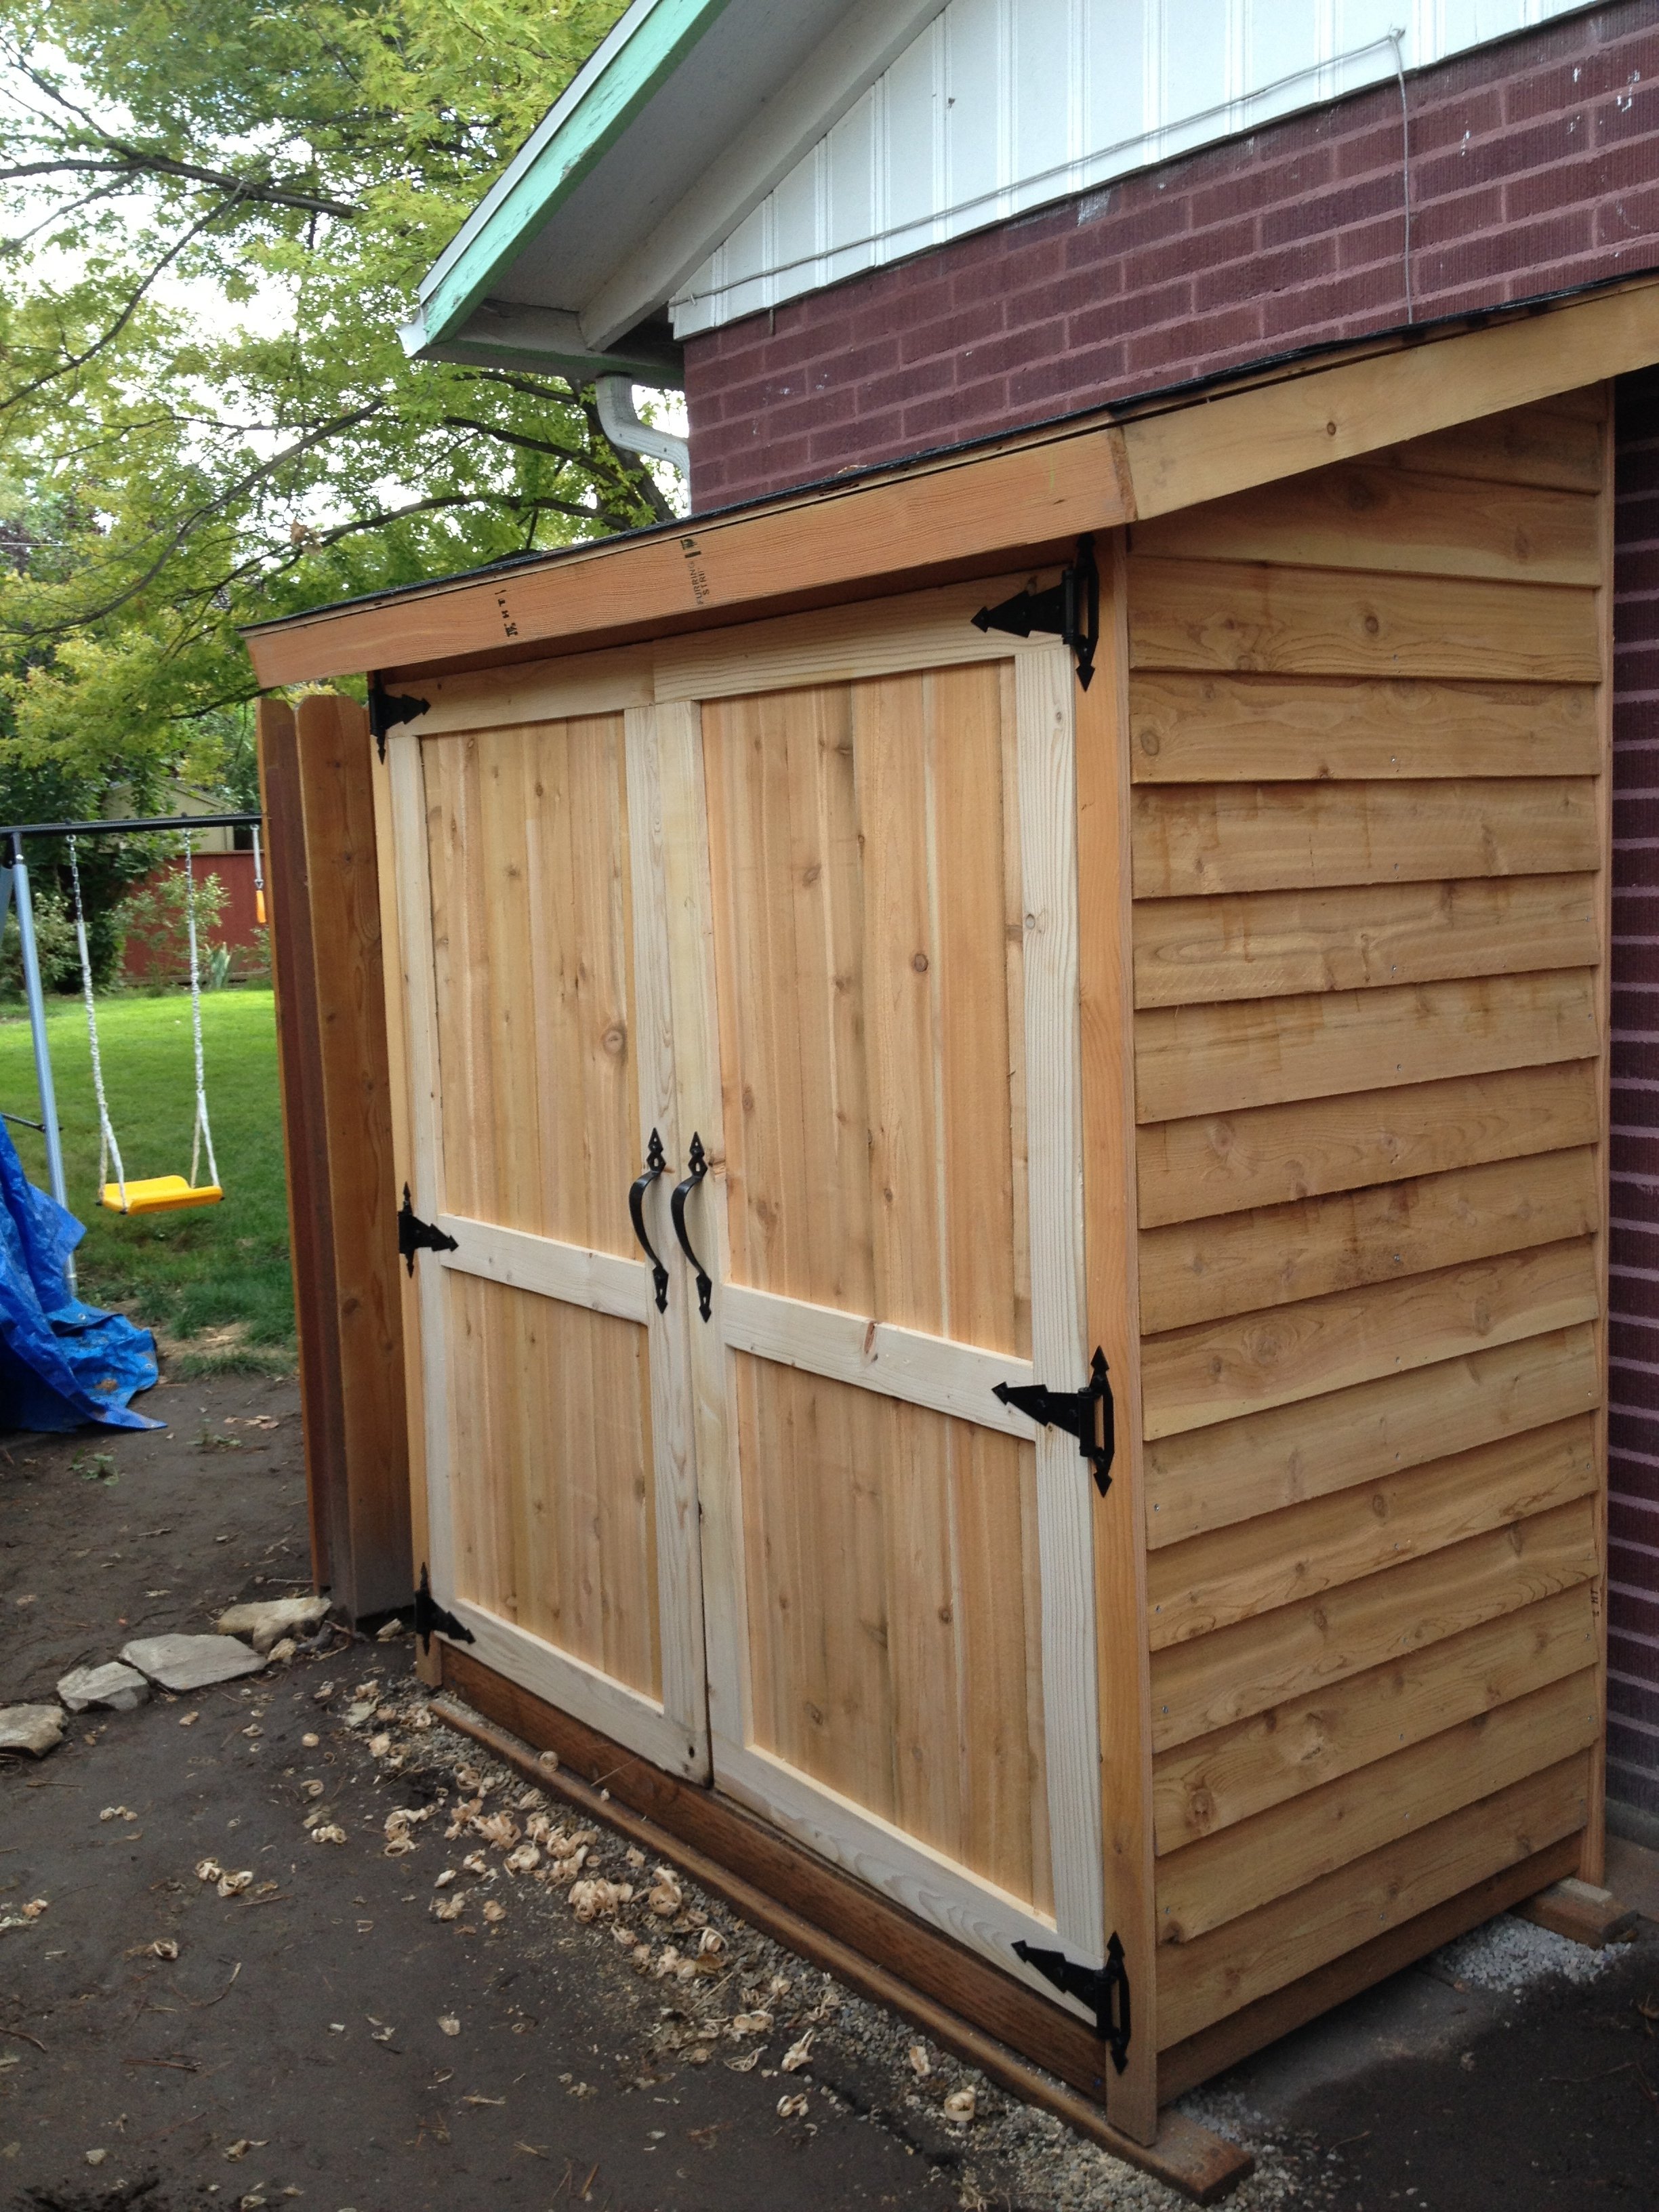
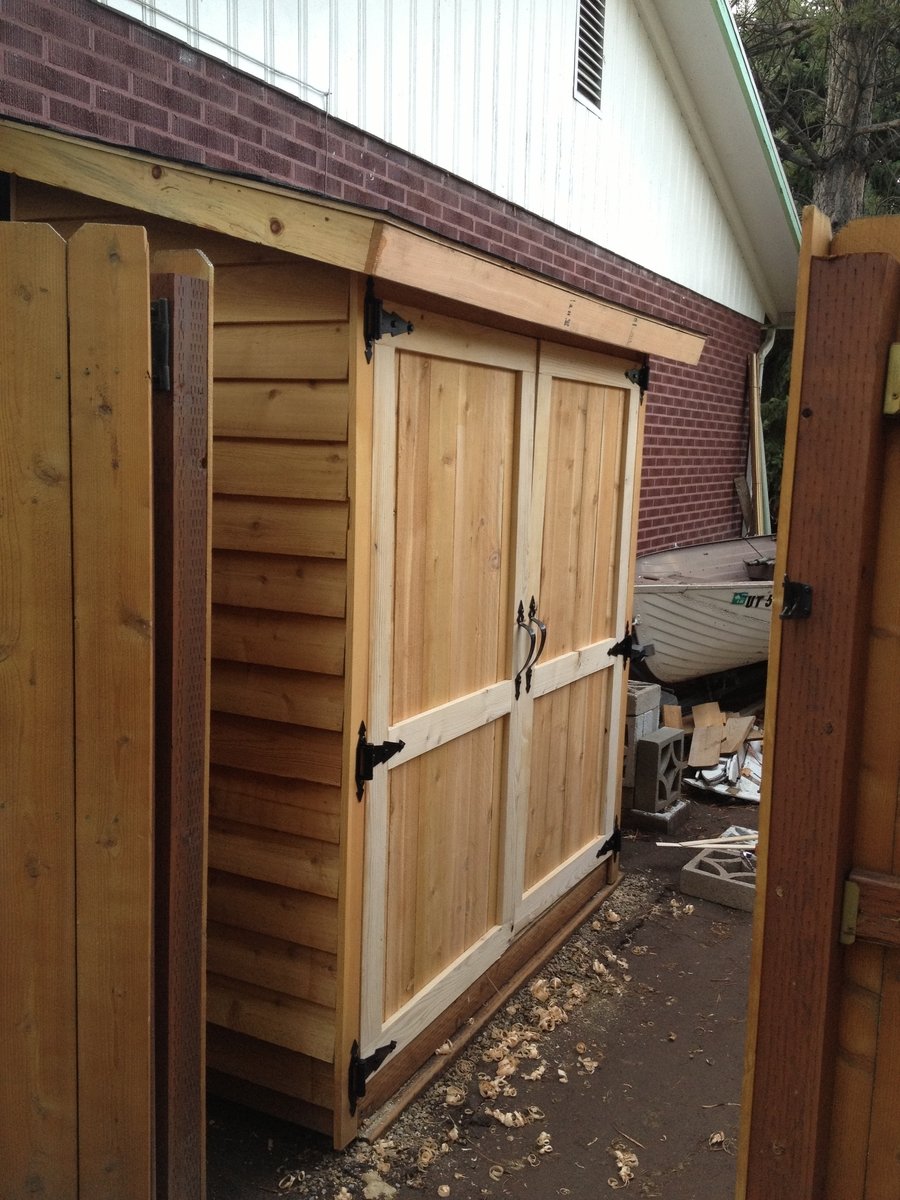
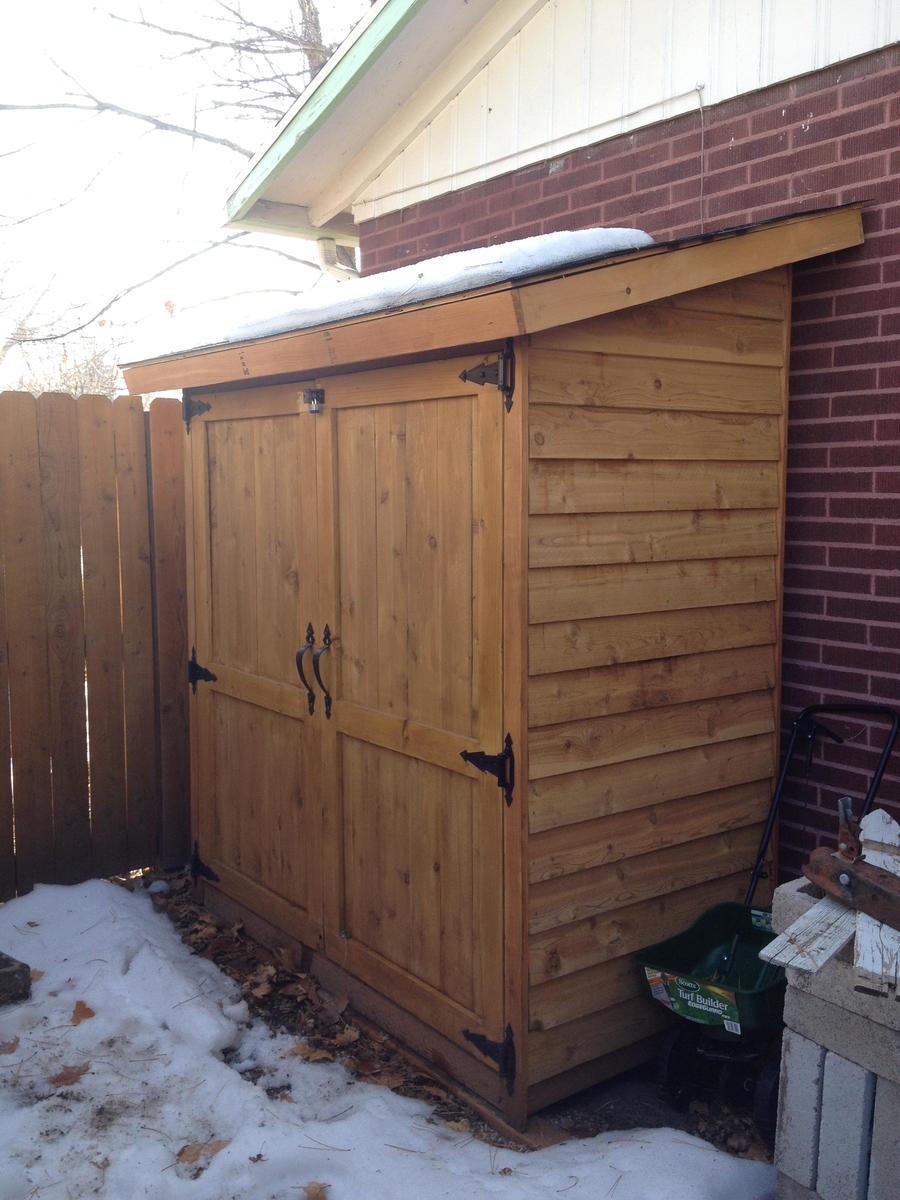
Community Brag Posts

Cedar Garden Shed

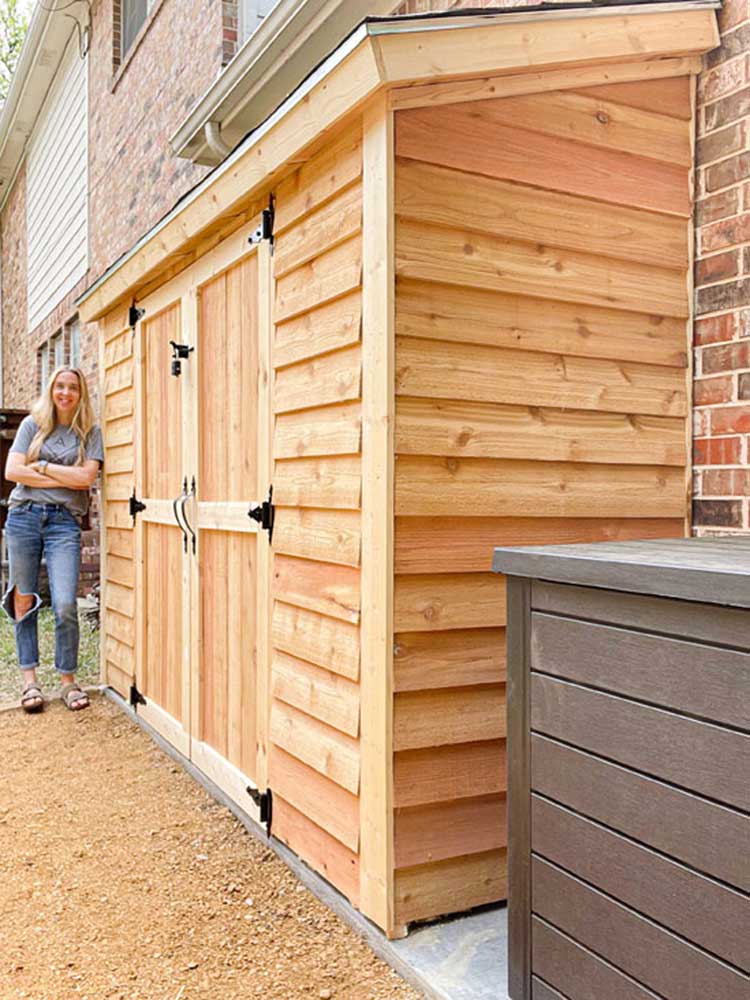
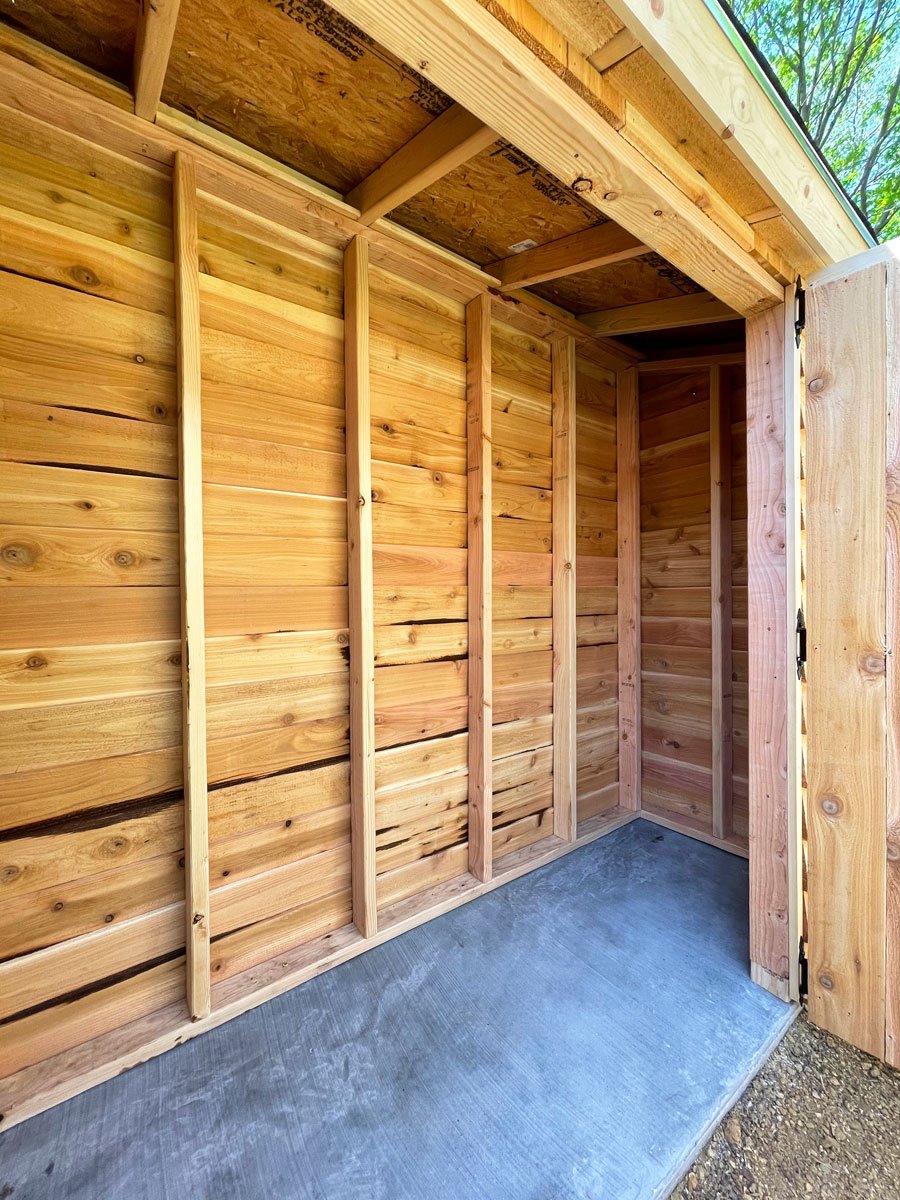
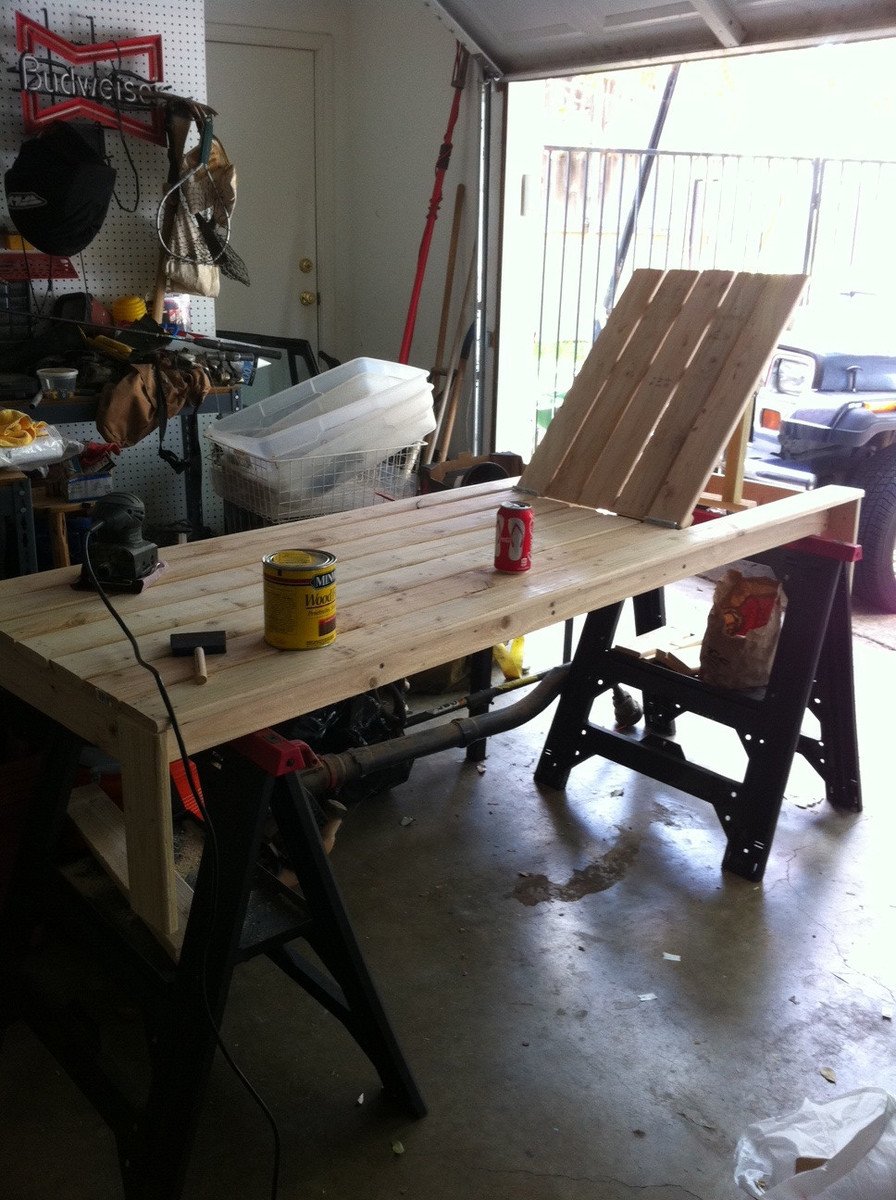
We needed a way to get all of the lawn & garden stuff out of our garage and organized. I found Ana's plans for the Small Cedar Shed & adjusted them to fit our space. We used 2x4s as our studs & added front walls on the sides. Our shed measures 9.5'x30". We had a concrete slab poured for our foundation. We are experienced DIYer's but had never taken on a project of this scale from scratch. This project was much easier than I was anticipating, and we were able to complete it in one weekend! Similar shed kits were way more expensive and not the size that we were looking for. Thank you so much for the inspiration!

Built from Plan(s)

Comments

Seasonal And Holiday

DIY Chaise Lounge Chairs

Submitted by jroubinek on Wed, 07/06/2011 - 10:44

This was my very first project to take on with Ana's plans. It took a little longer than I would have liked only because I got frustrated and put it to the side for a MONTH. I realized how important it was to pre-drill my holes and then got the motivation to get back to it. Once I got started again, it was finished in NO TIME! I still need to stain one of them, but I couldn't be happier with the result.

Estimated Cost
$60
Estimated Time Investment
Weekend Project (10-20 Hours)
Finish Used
I used Wood Conditioner to make sure I didn't have to worry about blotchiness. Then I used a paintbrush to apply Minwax's Dark Walnut stain.
Recommended Skill Level
Beginner

Comments

geophyrd

Sun, 07/31/2011 - 07:55

I'm right in the middle of building one of these. My problem is that the 2x4s specified are 2" thick...having to rip them down and that took a lot of guts. Did them all except the long boards. Going to do those later today (if I don't melt) and when my wife can give me a hand.

How did you rip them to size?

Also, did you use a router table to round the edges?

MichelleC

Fri, 07/20/2012 - 09:21

These look great! Geophyrd...do you mean 2x2's? You just use the ones straight from the store, also referred to as furring strips...that will save you a lot of time and stress rather than ripping down 2x4's. When the plans say 2x2's, they aren't going to actually be 2", and the plans don't say that they have to be 2". Ana writes the plans as simply as possible without us having to do complicated steps like ripping down boards thank goodness!

DIY Kids Art Table

I'm so excited Ana created plans for this table!  When I first came across it on Pottery Barn Kids it was love at first sight. :D  I built it over the weekend for my little toddler.  Unfortunately, he's too short for it, but he'll grow into soon enough. :)  (I secretly wished it was an art table appropriate for my height!)

It cost me about $75 to build.  I splurged and bought select pine boards for the project.  The art table was also my submission for September's Fab Furniture Flippin' Contest.  September's sponsor is General Finishes and the theme was geometry!

Now, I just need to build matching seats! I love the little stools Ana built; maybe I'll do something sorta like that. :)  


Thank you Ana for inspiring me to build!


Built from Plan(s)
Estimated Cost
$75
Estimated Time Investment
Weekend Project (10-20 Hours)
Finish Used
General Finishes Milk Paint (Snow White), Acrylic craft paints for the geometric pattern, ECOS Paints Woodshield in Pine Needles for the cubby stain, and ECOS Paints Gloss Varnish
Recommended Skill Level
Beginner

Comments

Sliding Pet/Baby Gate

Submitted by Anonymous (not verified) on Mon, 02/27/2023 - 20:13

We desperately needed a gate to keep our pets from accessing the rooms, with carpet, in our new home. We originally thought about building a full barn door but, the security system was in the way and it wouldn’t have allowed the light to pass through to our dark entryway anyway. We definitely wanted to steer away from the “barn door looking” gate we did at our last home and wanted to try something more timeless with the sprayed, black caning. We have a very eclectic style. Very vintage industrial, MCM, with pops of RH glam and a touch of BOHO. Sounds confusing but, I needed this gate to take the pressure off of trends we didn’t quite fit in and be easy to use for my teenager. The gate leads to her bed/bath and the guest rooms. The mechanism is not my design but, it’s brilliant, especially for the industrial element to our home. Took me close to 4 days from start to finish. Lost my Kreg jig in our move and was so thankful to a stranger-neighbor that willingly let me borrow his on the curiosity of what exactly I was building. NGL, it felt pretty good when he said how impressed he was with the build. 💞

Comments

Distressed Barnwood Frames

Submitted by cdswhite on Sun, 12/11/2011 - 19:56

My bigger version of the barnwood frames. They are about 35x31 inches. I used a nail gun for the first time and it sure did make this go faster! I found it was best to build the inside square first and then I cute each piece of the outside square as I went to the fit was as "perfect" as possible.

Estimated Cost
$11 for two (had all materials but the furring strips and black spray paint)
Estimated Time Investment
An Hour or Two (0-2 Hours)
Finish Used
Black spray paint, two coats of Behr Swiss Coffee, sanded and one coat of water-based poly.
Recommended Skill Level
Beginner

Entryway Table Shoe Rack Bench

Submitted by robinles on Tue, 05/16/2023 - 10:17

I adapted the plan for the Shoe Rack Bench to give it multiple levels and allow it to serve as an entryway table in addition to a shoe rack. I used 2 x 10's for the project.

Built from Plan(s)

Comments

Snowboard Display Rack

Submitted by LampAtFeet on Sun, 12/15/2019 - 13:49

My son wanted a way to display his snowboard, so I modified the pallet display rack plans to fit his snowboard. It's constructed with 2x4s for the sides and 1x4s and a 1x2 for everything else. The 2x4s have an angled notch cut out so the snowboard can slide in and out. I built a top and bottom shelf to display pictures, as well as provide storage. The hooks are great for hanging boots, gloves, etc.  He loves the way it came out.

Estimated Cost
$30
Estimated Time Investment
Afternoon Project (3-6 Hours)
Finish Used
Dark Walnut stain followed by a coat of wipe on polyurethane
Recommended Skill Level
Beginner

Comments

Extra Room for Little House

Submitted by masmith38 on Tue, 01/21/2014 - 13:57

I have a tiny house and for additional storage I've been drooling over building this for a good long time. I finally got some extra money that I could dedicate to it. Having to have a major surgery at the end of last summer I knew I couldn't do a garden because of how every day I didn't know how I would feel. I did know that I could work a little at a time when I felt I could and get as much done as possible on a shed. By the end of the summer I had an awesome shed thanks to Ana and her plans. I had to do my own research for the base and how to sit it on the ground. I chose to dig 2 trenches in the dirt, put small gravel in and put 2 pressure treated sleepers to rest my bottom deck on. I also primed the plywood floor to try and help with less moisture through the different cycles of the year. Checked on it last week to put the Christmas decorations away and dry as a bone inside and all looking as good as I had hoped on the outside.

Built from Plan(s)
Estimated Cost
$450-$500
Estimated Time Investment
Week Long Project (20 Hours or More)
Finish Used
Be sure to glue as you are attaching the cedar pickets or whatever material you use to the frame. I chose not to at first and my nail gun staples ended popping out. I went back and glued after the fact. Not a great use of time, but live and learn. I also used on the fir stripping, front and side pickets some 'natural' color BEHR wood treatment. It doesn't have to be removed or treated in order to apply another coat in the future. Gives the wood some good moisture and a tiny bit of color to help it not turn gray.
Recommended Skill Level
Intermediate

Comments

Bunny Hutch

My daughter got a bunny from her teacher (shaking fist in frustration) and I thought it would be a good opportunity to teach her some skills. I was inspired by the toy bunny hutch. When she finished she said, " I can make anything now" so mission accomplished!

Built from Plan(s)
Estimated Time Investment
Week Long Project (20 Hours or More)
Finish Used
Paint
Recommended Skill Level
Beginner

DIY Shed

Submitted by Anonymous (not verified) on Mon, 11/06/2023 - 11:07

8’ by 12’ shed with extra 15” of height. Thanks for the plans!

Built from Plan(s)

Cedar Ladder Planter

Submitted by Anonymous (not verified) on Wed, 07/13/2016 - 10:51

I followed the plan directions to a "T" and it worked out so well! This projects gives me joy everytime I walk up my front steps. Thanks!

Estimated Cost
$30
Estimated Time Investment
Weekend Project (10-20 Hours)
Recommended Skill Level
Beginner
Seasonal And Holiday

Modern adirondack chairs

Submitted by Anonymous (not verified) on Sat, 06/06/2020 - 12:16

I have built a number of Ana White projects and I just love this one. It was a COVID 19 self isolation project.

Thanks Ana!!

Michele from Canada

Comments

ozblack

Sat, 06/20/2020 - 13:46

Hi JennB,

These chairs were built out of cedar and stained with Minwax Wood Stain - Ebony color. Due to the whole COVID 19 situation I wasn't able to get 1 x 10s so I used 1 x 6s for the seat and back. I think they turned out pretty great!

Seasonal And Holiday

Indoor Playground slide fort

Submitted by Glenda544 on Wed, 05/28/2014 - 18:49

We wanted a place for the kids to play when the weather outside is unbearable. So, we modified the camp loft bunk bed plan to work in our game room. We have a pool table in the room and we didn't want it to interfere with any shots. Subsequently, we cut the width down to 24 inches and extended the length to 93 inches to fit in our space. Additionally, we pre-ordered a slide that had to be mounted at 48 inches and measured 71 inches in length. So, my husband framed it out so the planks that are meant to hold the mattress would sit right at 48 inches and we could mount the slide. This has been the best idea ever for our kids, because they can't get enough of sliding and swinging indoors.

Estimated Cost
$100 plus slide ($89), swings ($16 each) and handles ($4 for 2)
Estimated Time Investment
Weekend Project (10-20 Hours)
Finish Used
Hmm, I believe it was a gallon of Snow Fall finish with primer all in one from Home Depot. We used about 1/2 but have more projects planned.
Recommended Skill Level
Beginner

Comments

Planter steps

These steps turned out great!!! My in-laws were using some busted up pallets as a front porch so I knocked these out in a few hours. The blue stain looks really good and matches the other blue on various out-buildings. Very easy project and the plans available were spot on. Thanks Ana!!

Estimated Cost
$175
Estimated Time Investment
Day Project (6-9 Hours)
Finish Used
Stain
Recommended Skill Level
Starter Project
Seasonal And Holiday

Plant stand

I made 3 of these for a friend. 2 @ 16", 1 @ 20".

Built from Plan(s)
Estimated Cost
$40.00 for 3
Estimated Time Investment
Afternoon Project (3-6 Hours)
Finish Used
Shui sugi ban. Just burned and brushed off.
Recommended Skill Level
Beginner

Closet Shelves

So I was complaining to my wife that our one closet in our bedroom was becoming too cluttered. She asked me to build her one. I told her that if she found the one she wanted me to build, then I would build it. She found this one and so I built it for her. Let me just say that she is very happy with it and it came out very great. I did find a couple of shower curtain rods that were brown to used instead of the iron pipe. It made the whole project cost around $80.

Built from Plan(s)
Estimated Cost
$80
Estimated Time Investment
Weekend Project (10-20 Hours)
Recommended Skill Level
Beginner

Comments

Laundry Basket Shelf

Submitted by Anonymous (not verified) on Tue, 01/07/2025 - 08:05

Built this laundry basket storage/folding cart - after watching Ana White videos ❤️ I put swivel casters on it so I can roll it where I want it in our laundry room. This was my first time building anything! Thanks Ana for giving me the confidence to do it!! - Stephanie Minton on Facebook Community

Built from Plan(s)

Email Me
Free Plans

Get new plans sent right to your inbox for free!

    We won't send you spam. Unsubscribe at any time.