Community Brag Posts

Leaning Bathroom Ladder Shelf

Submitted by Jminor83 on Thu, 06/20/2019 - 10:53

My wife saw your post for this shelf and knew it would be perfect for our half-bathroom.  She showed it to me and I agreed.  I built it in a few hours one afternoon.  Stained and sealed a few days later and it fits perfectly.  Now we just need to wait (impatiently) for everything to cure so we can actually begin to use it.  We'll try and share another final photo when in full use.

Estimated Cost
Already had all supplies on hand. If I had to price it....
$5 for 2 2x4s (sides)
$10 for 1 1x10 (shelves - ripped to shorter widths as needed)
$6 for 3 1x2s
(+screws/nails/glue/stain/sealer)

Total $21
Estimated Time Investment
Afternoon Project (3-6 Hours)
Finish Used
One coat of stain, followed by two coats of polyethylene. Light sanding with sanding sponge to smooth everything out once dried. Going to wait a week for everything to cure before placing anything on the shelves.
Recommended Skill Level
Beginner

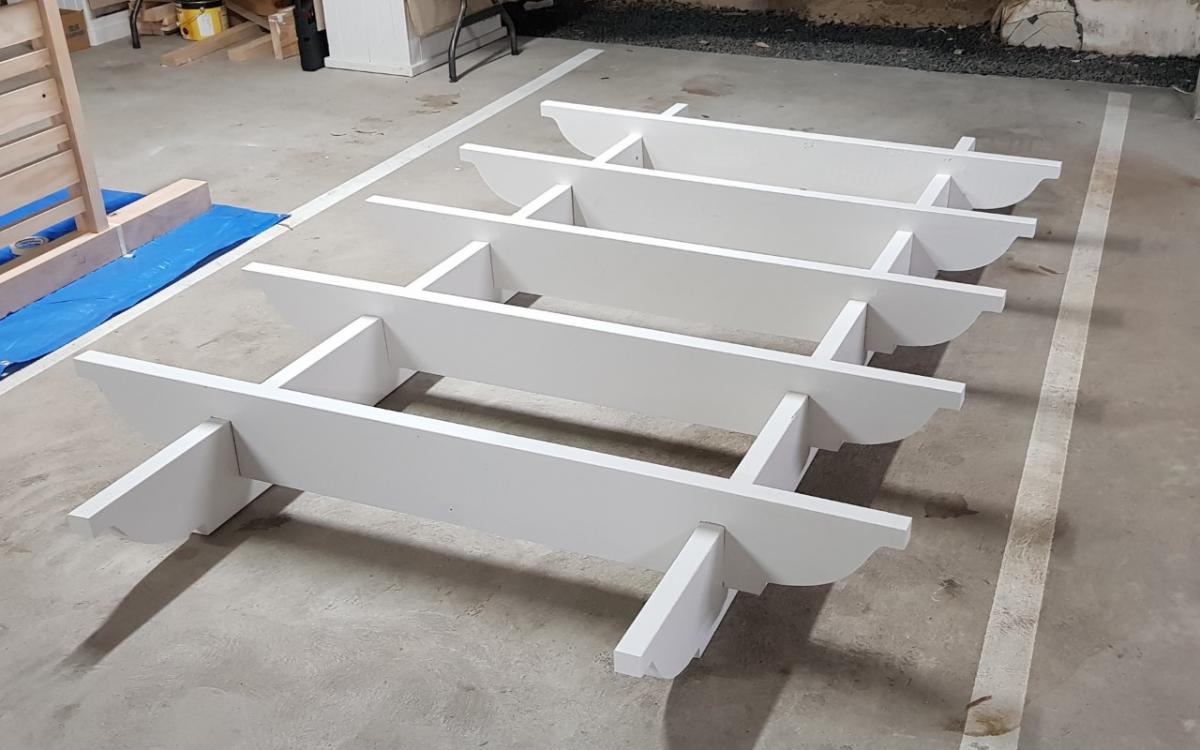
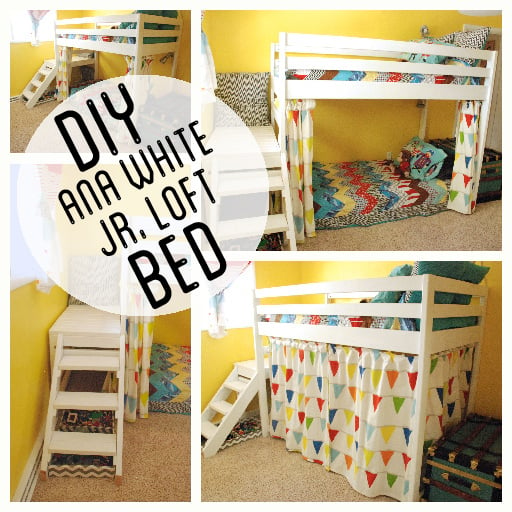
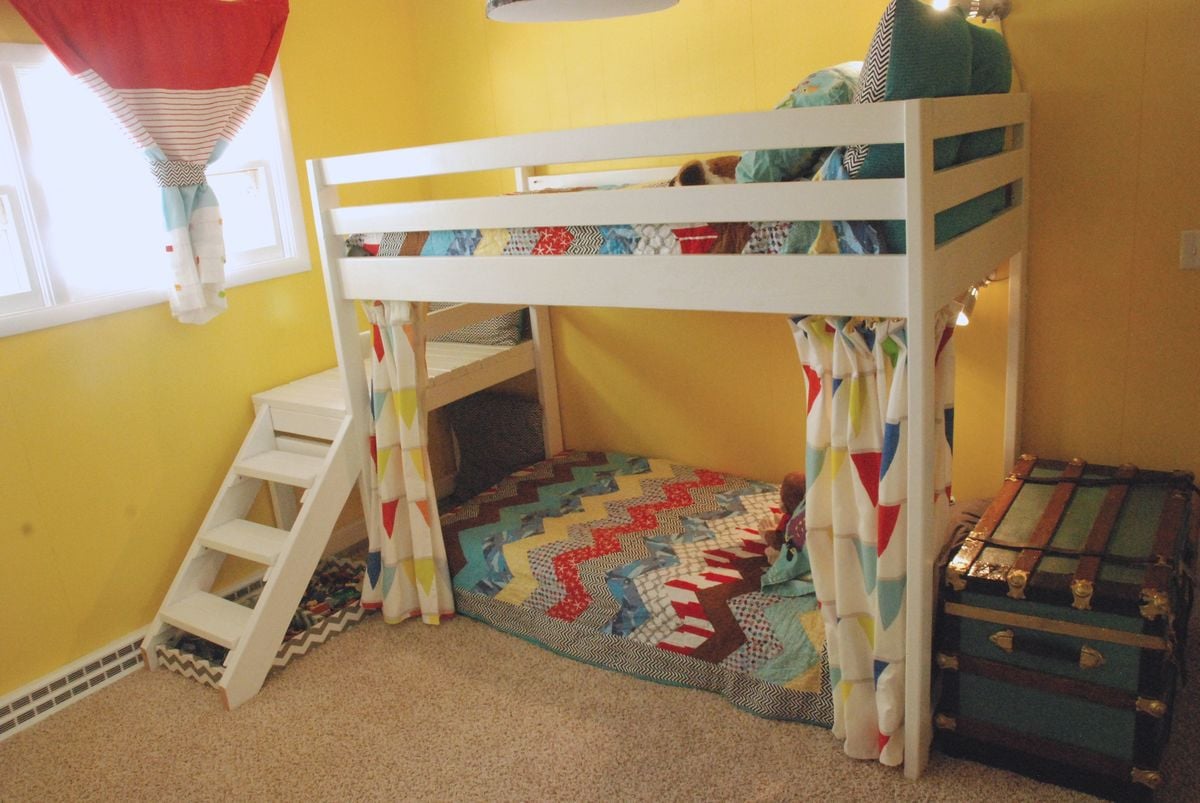
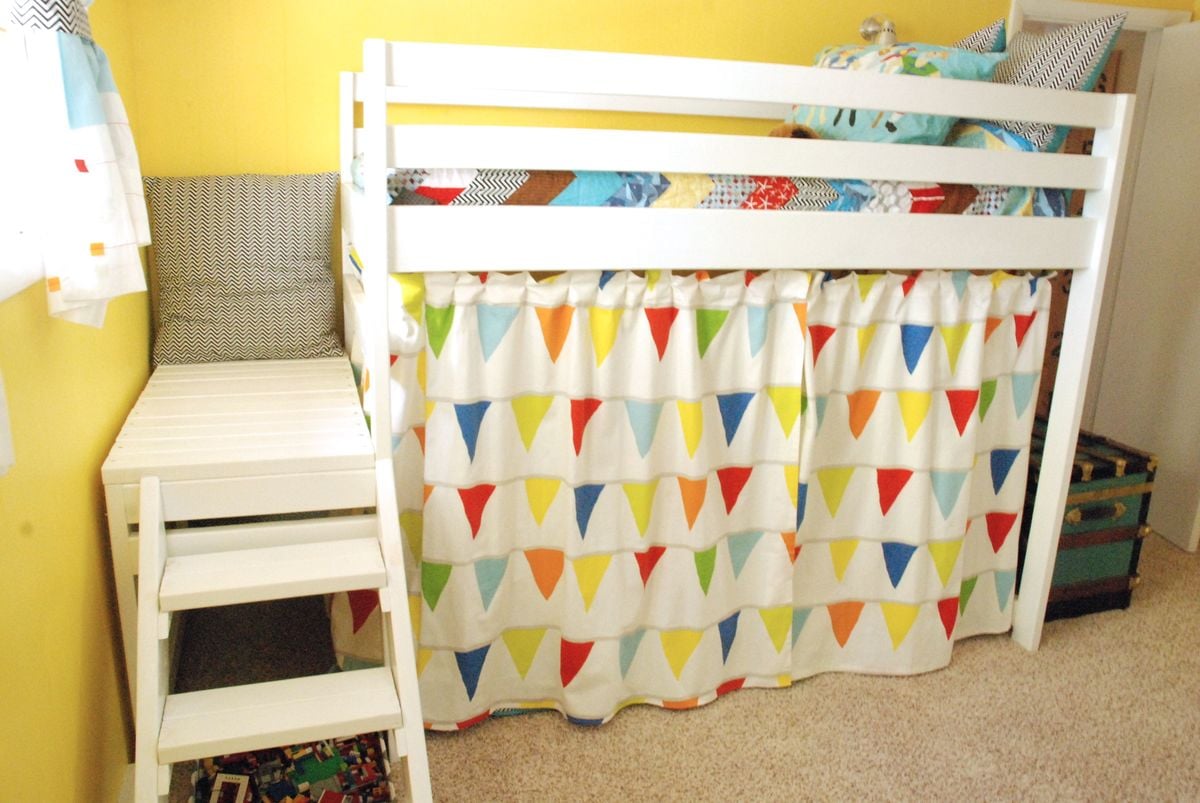
Full Size Loft

So I had an IKEA DELSEV single bed frame which i bought off someone who didn't need it anymore. Great sturdy bed for $25, but I wanted more space in my rental room, so I decided to go loft given the generous ceiling height. I did some research for ideas to convert my current bed, and found the perfect one at your site! I made modifications to your plans so that I would be able to walk underneath without having to slouch, and adjusted some measurements to integrate the IKEA bed frame. The project only cost me $38 worth of timber, screws were pinched (with permission!) from my landlord's stash, and this was the result after 3 days of cutting, sanding, partial assembly, staining and varnishing, and final assembly! The small tin of stain and varnish was originally for a wooden rack project for my vintage bicycle, and i managed to cover both rack and bed frame with the entire tin, down to the very last drop!
Estimated Cost
$38
Estimated Time Investment
Week Long Project (20 Hours or More)
Finish Used
British Paints Stain and Varnish, Maple Satin
Recommended Skill Level
Intermediate

Shiplap Bathroom - DIY Vanity

Submitted by Anonymous (not verified) on Tue, 10/11/2016 - 13:52

It had come time to renovate our powder room bathroom. We were on a tight budget so we decided to build our own vanity & add a little twist to it! We splurged on the granite countertop, vessel sink  and faucet. Thanks to Ana White we built our vanity for less than $10! The plans were easy to follow . . . .we are so proud of our wood vanity!  link to our blog: http://www.houseofrumours.com/shiplap-powder-room-diy-vanity/
 

Estimated Cost
$10
Estimated Time Investment
Afternoon Project (3-6 Hours)
Finish Used
none. slightly sanded and used wood oil.
Recommended Skill Level
Beginner

Wooden Sandbox with Convertible Bench / Cover

I make and sell kids picnic tables on craigslist and a buyer asked about making one of these. I took it on and found the plans on here very easy! I now list these on craigslist also and hope to sell more before the summer is over.

Built from Plan(s)
Estimated Cost
~$100
Estimated Time Investment
Afternoon Project (3-6 Hours)
Finish Used
none, until PT has dried
Recommended Skill Level
Beginner

Comments

Simple 2x4 Bench

Submitted by jennibee on Sun, 09/14/2014 - 17:03

I made this in an afternoon. Loved this project. It is made with 2x4's using a Kregs Jig and mitre saw (plus additional tools like a drill and square).  This was my frist time using the Kregs Jig and I am sold!!

The free plans were taken from another website. They are very detailed and there is even a video (I recommend it as he gives a great tip for making sure the back stays equal/level to each other before putting the back on). Even though you can build this by yourself, I did have help for the heavier sides once they were assembled.  I plan to build the additional side table soon and finish them both with sanding and staining when the weather seems less iffy for rain.

If you are looking for a good beginner project that doesn't take forever or have complicated steps, this is your project.

Built from Plan(s)
Estimated Cost
Around $50
Estimated Time Investment
Afternoon Project (3-6 Hours)
Recommended Skill Level
Beginner

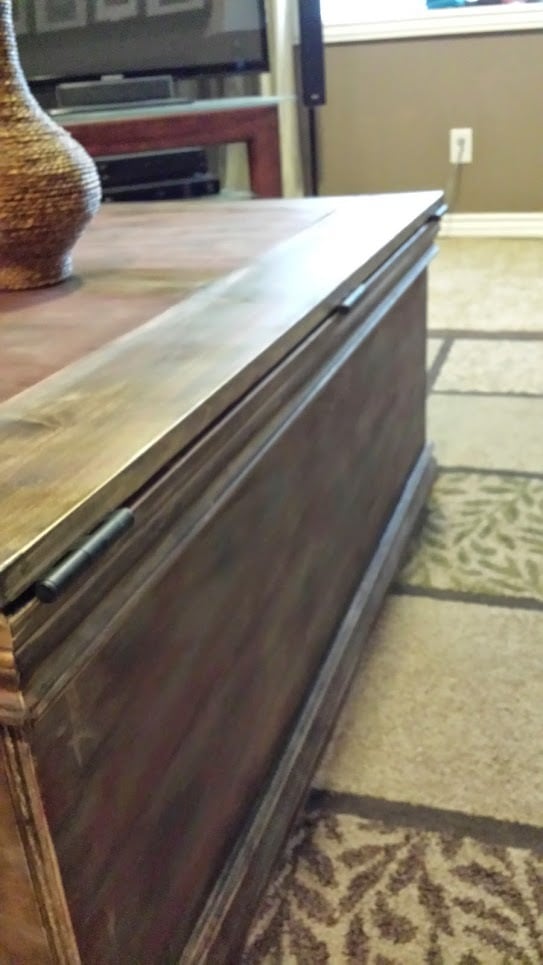
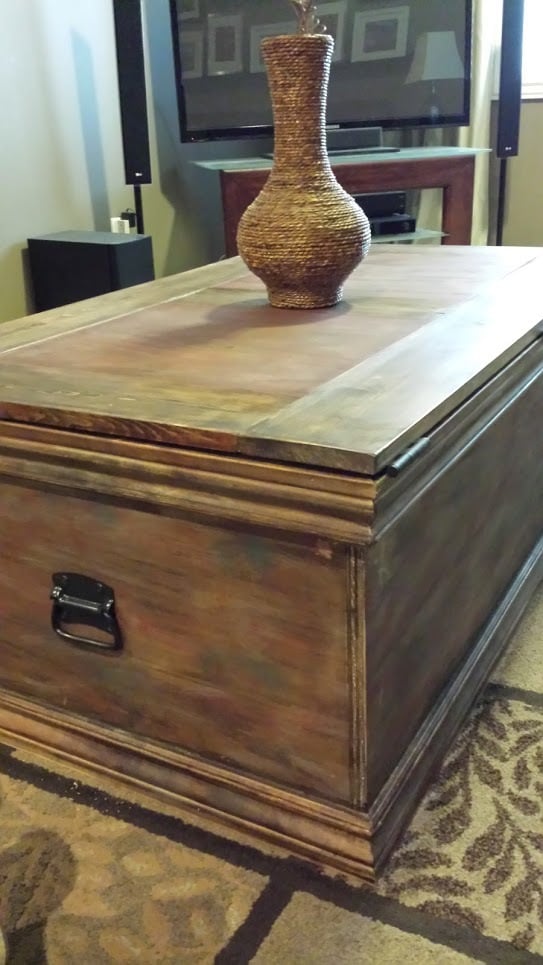
Cedar Chest

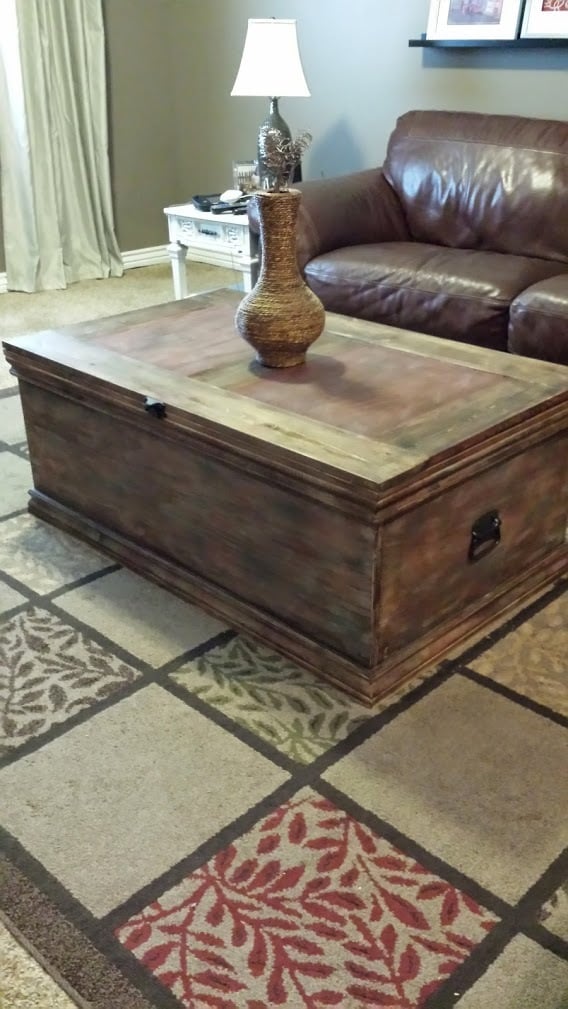
We have considered buying a cedar-lined chest to store blankets, towels, etc. for many years.  However, we couldn’t find one that came close to matching the Knotty Pine bedroom set that we had in our master suite. 

Hence, our design criteria was quite simple; match the bedroom set and have a chest sturdy enough to support our Beagles as they peer at the squirrels outside the window.

We used plans / ideas from several different chest designs which were readily available on the internet.  Most of those plans were using hard woods such as oak.  Those plans called for a hard wood framing with ¼” oak plywood for the panels.  Since we needed to use Knotty Pine to match the bedroom set, we used 1” Knotty Pine for framing and Knotty Pine ¾ ply w/ Kreg Screws and copious glue to strengthen the construct.  We finished it off with locally available 3/8” cedar T.G. planks.  It is very heavy and very strong!  This project was done entirely w/ Kreg Screws and no router rabbeting for the panels.

We learned the following while doing this project:

·      When using soft woods, always put the power sander on the wood before you start the sander.  Otherwise, you can get scratching / sander burns that don’t present themselves until staining begins.

·      While very strong, ¾” plywood is very heavy!

·      When using plywood, it is recommended that you stain both the visible and non-visible sides of each piece where glue is not to be applied.  Otherwise the chance for delaminating increases dramatically.

60 hours work and $350 to build.   

Estimated Cost
$350.00
Estimated Time Investment
Week Long Project (20 Hours or More)
Finish Used
Minwax stain and hand-rubbed varnish.
Recommended Skill Level
Intermediate

Comments

Square picnic table

Submitted by Anonymous (not verified) on Sat, 05/08/2021 - 14:13

Followed Anna White’s plans except I beveled all the edges and flooded the table leg bottoms with penetrating epoxy sealer. The table looks great!

Built from Plan(s)
Estimated Cost
$425
Estimated Time Investment
Weekend Project (10-20 Hours)
Finish Used
2 coats exterior semi-transparent sealer (Padre)
Recommended Skill Level
Intermediate

Comments

Greenhouse build

Submitted by Anonymous (not verified) on Tue, 06/06/2017 - 07:50

Looked everywhere for plans to build a G-House and kept coming back to this one...

Wanted to integrate 2 275 gallon IBC containers for thermal mass so I had to adjust the plans a little.

Stared off with clearing the land and putting down some 4x4 pressure treated timber as the base.. Found a good price on some 1" minus gravel so I went and got 2 truckloads for the interior.. adds to the themal mass as well... Bonus...

Once the gravel and timber were down, it was time to build structure.  The south wall is according to plan but the north side had to be extended to 60" tall to facilitate the containers.... Looks a little wonky but function was my primary concern.  Built all the base in my garage and moved them out.

Once I got all the peices outside, I 4" screwed them to the pressure treated lumber and ran 3' rebar thru the corners from some stability and wind protection.

Up went the front and back framing then onto the rafters..  The south side was a breeze as the plans were pretty exact... the north side on the other hand had to be measured and cut individually due to the plan modification.  Was a bit of a pain but went pretty well..

Rafters up and its time for some covering..  Decided to go with a combo of Solexx and SunTuf panels...price was comparable.

SunTuf panels went on really easily.. the solexx was a different story since it expands a tad when it gets hot..  Leaves sags and natural vents when overlapping but it all tightens back up when the temp comes back down.

Weve been hitting 90s this last week and its consistently 120+ inside so I decided to frame in a window.  Fans will be added on either side of hte window shortly and the door is being built.


Estimated Cost
$1000
Estimated Time Investment
Week Long Project (20 Hours or More)
Finish Used
Solexx and SunTuf
Recommended Skill Level
Intermediate

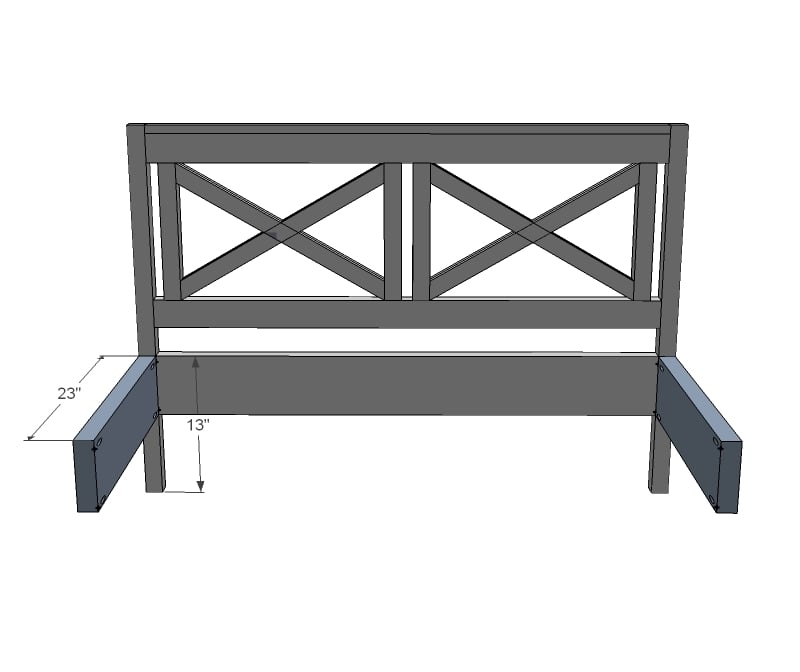
Headboard based on PB Oxford Storage Bed

Although I didn't build this from a plan I wanted to be sure and share it as it is because of my experience building from Ana's plans that I felt comfortable giving this a shot.

My in-laws were just updated their lake cabin and wanted a storage headboard as space is a premium and it will be the only furniture in the guest rooms. It is unique as it has shelves on either side which can pull out to function as a small night stand, perfect for cell phones, books etc. The back of the piece is tongue and groove knotty pine which for the more rustic look they wanted.

I will probably do things a little different when I build the next headboard but overall I am satisfied with the end result. I chose not to do a lower storage area, mainly to keep the cost down. It could be done very easily but this piece is already very heavy and that there is plenty of storage.

Estimated Time Investment
Weekend Project (10-20 Hours)
Finish Used
Special Walnut stain with semi-gloss Polycrylic. All of the wood was sanded and then I applied wood conditioner. One coat of the stain and three coats of the semi-gloss. I live in Minnesota and build it in my garage so I had to wait until this week when temperatures finally were warm enough to apply the finish.
Recommended Skill Level
Beginner

Comments

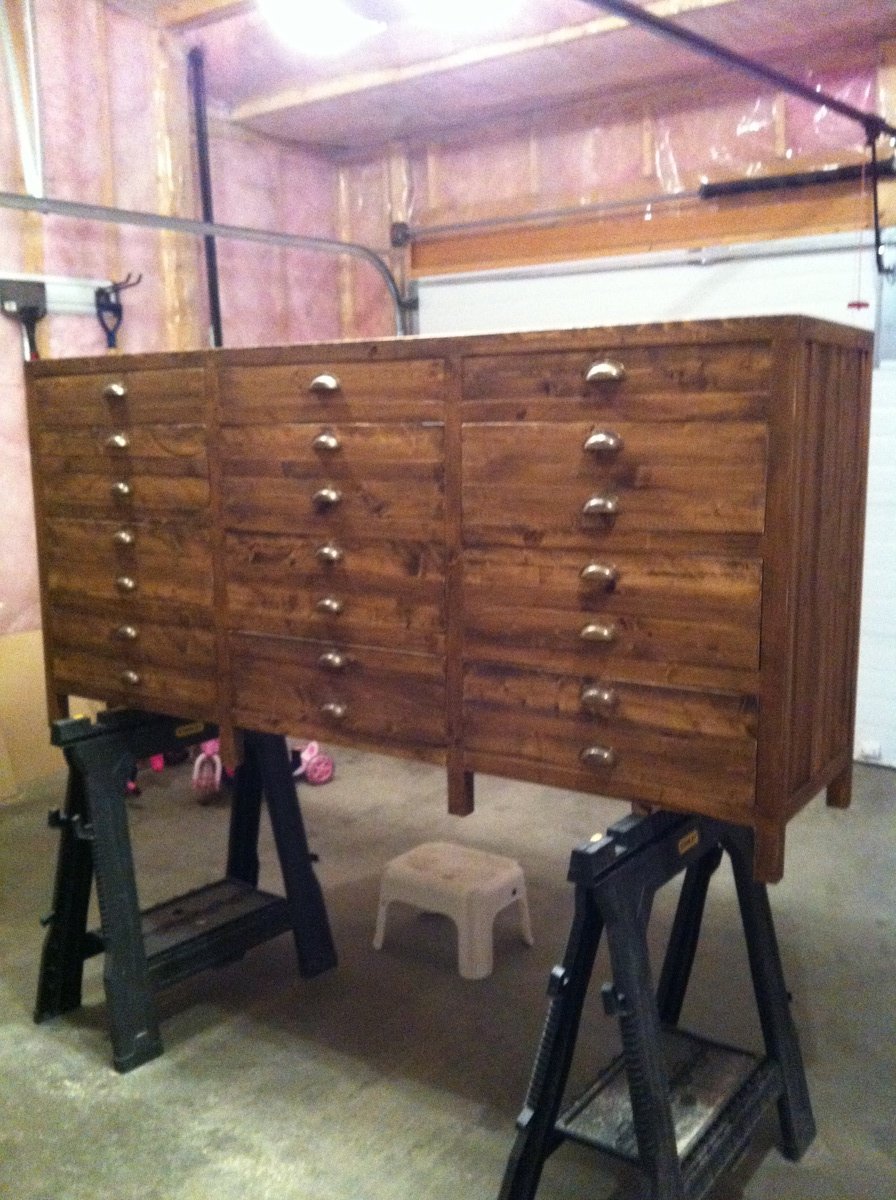
Secretary/Storage cabinet

Submitted by Kirch3333 on Mon, 11/02/2015 - 05:39

Inspired by the Tall Secretary with mail slots but with my own twist/needs incorporated in it. Finished with pure white satin paint.

Estimated Cost
$150
Estimated Time Investment
Week Long Project (20 Hours or More)
Finish Used
Pure white Behr satin enamel paint, finished with Varathane Matte Soft Touch Polyurethane
Recommended Skill Level
Intermediate

Coffee Bar Sideboard

Submitted by Anonymous (not verified) on Fri, 04/28/2023 - 05:48

I made this coffee bar from your plans making modifications to fit our space .It came out beautiful, I have made numerous pieces of furniture from your plans but this is my favorite . They plans are super easy to follow and modify to my needs .
Thank you Ana and keep up the good work!!

Comments

DIY Wooden Cooler Stand - Vintage Look

Got this idea from the blue cooler project - but decided to deck it out with vintage trimmings. Everyone who has seen it loves it! Very fun project.

Estimated Cost
70.00
Estimated Time Investment
Weekend Project (10-20 Hours)
Finish Used
Minwax Summer Oak - followed with polycryllc and johnson's furniture wax.
Recommended Skill Level
Intermediate

Comments

DIY everything

Tue, 02/04/2014 - 21:32

I'm in the process of building one out of this plan too except I'm trying to use pallet wood. I love how your cooler turned out so I hope you don't mind that I use the same Coke sign. Awesome job!

DIY Bar Cabinet

Submitted by Anonymous (not verified) on Mon, 02/24/2020 - 16:27

I bought this tv corner cabinet for $40. I spent many hours turning into my perfect bar cabinet. I built a custom lighted liquor display. I have posted photos of the transformation.

Estimated Cost
$1000
Estimated Time Investment
Week Long Project (20 Hours or More)
Finish Used
Benjamin Moore- hale navy
Recommended Skill Level
Intermediate

Comments

frendlygrl

Tue, 07/06/2021 - 19:04

So this is not your project? Because there isn't much information or a before and after picture. This gave me an idea for our home.

Open Seat Octagon Picnic Table

Submitted by Anonymous (not verified) on Mon, 05/13/2024 - 07:47

I had a lot of fun building this table! Ana's plan was easy to follow, even for a beginner like myself! The only thing it needs is exterior paint. I will definitely try another project from this site! Thank you Ana!

Vicky Shank

Needed a new Patio set after Hurricane Matthew destroyed mine.

Submitted by Anonymous (not verified) on Tue, 03/03/2020 - 18:00

Between my day job and daily chores I somehow managed to build this, make the stain with the vinegar/steel wool, and sew all the cushions in about a week and a half.  The hardest part for me was lifting the sofa onto the deck by myself after I built it.

I also made the chairs from this site (simple white outdoor chair) and the coffee table.

Thanks Ana and everyone for contributing your plans and for everyone posting their projects.  It helps me do it to.


Estimated Cost
for foam, wood, screws, sand paper pillow stuffing, waterproof fabric 400 bucks
Estimated Time Investment
Week Long Project (20 Hours or More)
Finish Used
steel wool/vinegar/coffee grounds and then UV flood protector
Recommended Skill Level
Beginner
Seasonal And Holiday

Drop Leaf Mobile Kitchen Island

Submitted by jkjackson on Sun, 03/14/2021 - 11:19

This was born out of the need for more counter space in our galley kitchen. We don't have the space to add an island. Especially around the holidays, it would be great to have extra space for making cookies, serving big meals, etc. I used Ana's Small Kitchen Island Prep Cart plans for inspiration. I adapted the dimensions to fit at the end of our counters when not in use and added a drop leaf to give us almost 4 additional feet of butcher block counter top when we need it. I used scrap lumber that I had for the cabinet and had an extra drawer handle that matches our kitchen cabinets but bought the butcher block, locking casters, drawer slide and hardware for the legs. Also, the weight of the butcher block makes it want to tip when it's away from the cabinet with the drop leaf down so I added a lead counter weight inside the drawer.

Estimated Cost
$150-200
Estimated Time Investment
Weekend Project (10-20 Hours)
Finish Used
Behr paint for the cabinet, food grade mineral oil and cutting board wax for the butcher block
Recommended Skill Level
Advanced

Comments

jkjackson

Sat, 07/24/2021 - 16:59

Sure! I used a 4 foot butcher block and cut it down. The horizontal part is 13 1/2" and the drop leaf part is 32 1/8" attached with a piano hinge. The legs need to be cut and hinged to fit when folded up. This one is made so that the drop leaf fits right under the overhang of the kitchen countertop that it is next to so it's snug against the cabinet and not an issue but, if you want it to be freestanding, the weight of the butcher block will pull it over if you don't weight the cabinet down with something as well. I got a 5 pound lead bar from Amazon in case we need to use it somewhere else. I hope that helps! Let me know if you have any other questions.

Modern Rustic Outdoor Sofa Inspired by RH Merida

Submitted by susanshamp on Sun, 04/01/2018 - 14:19

I was in love with the RH Merida set because of its clean lines and modern style. Also, the plan seemed simple enough that I could re-create it without a pattern. The only thing that I did not like about it is the lack of arms. I really like to have a place to put my arm or my beverage :) - so I added arms to the design.

Estimated Cost
$150
Estimated Time Investment
Day Project (6-9 Hours)
Finish Used
Natural
Recommended Skill Level
Intermediate

Comments

bogle

Wed, 05/20/2020 - 10:45

This is Awesome. I'm halfway in the middle as i thought I could complete without plans. Do you have any plans could share. Please....

Raised Wood Planters by Urban Wood Solutions

Planters build by Urban Wood Solutions

Comments

Back