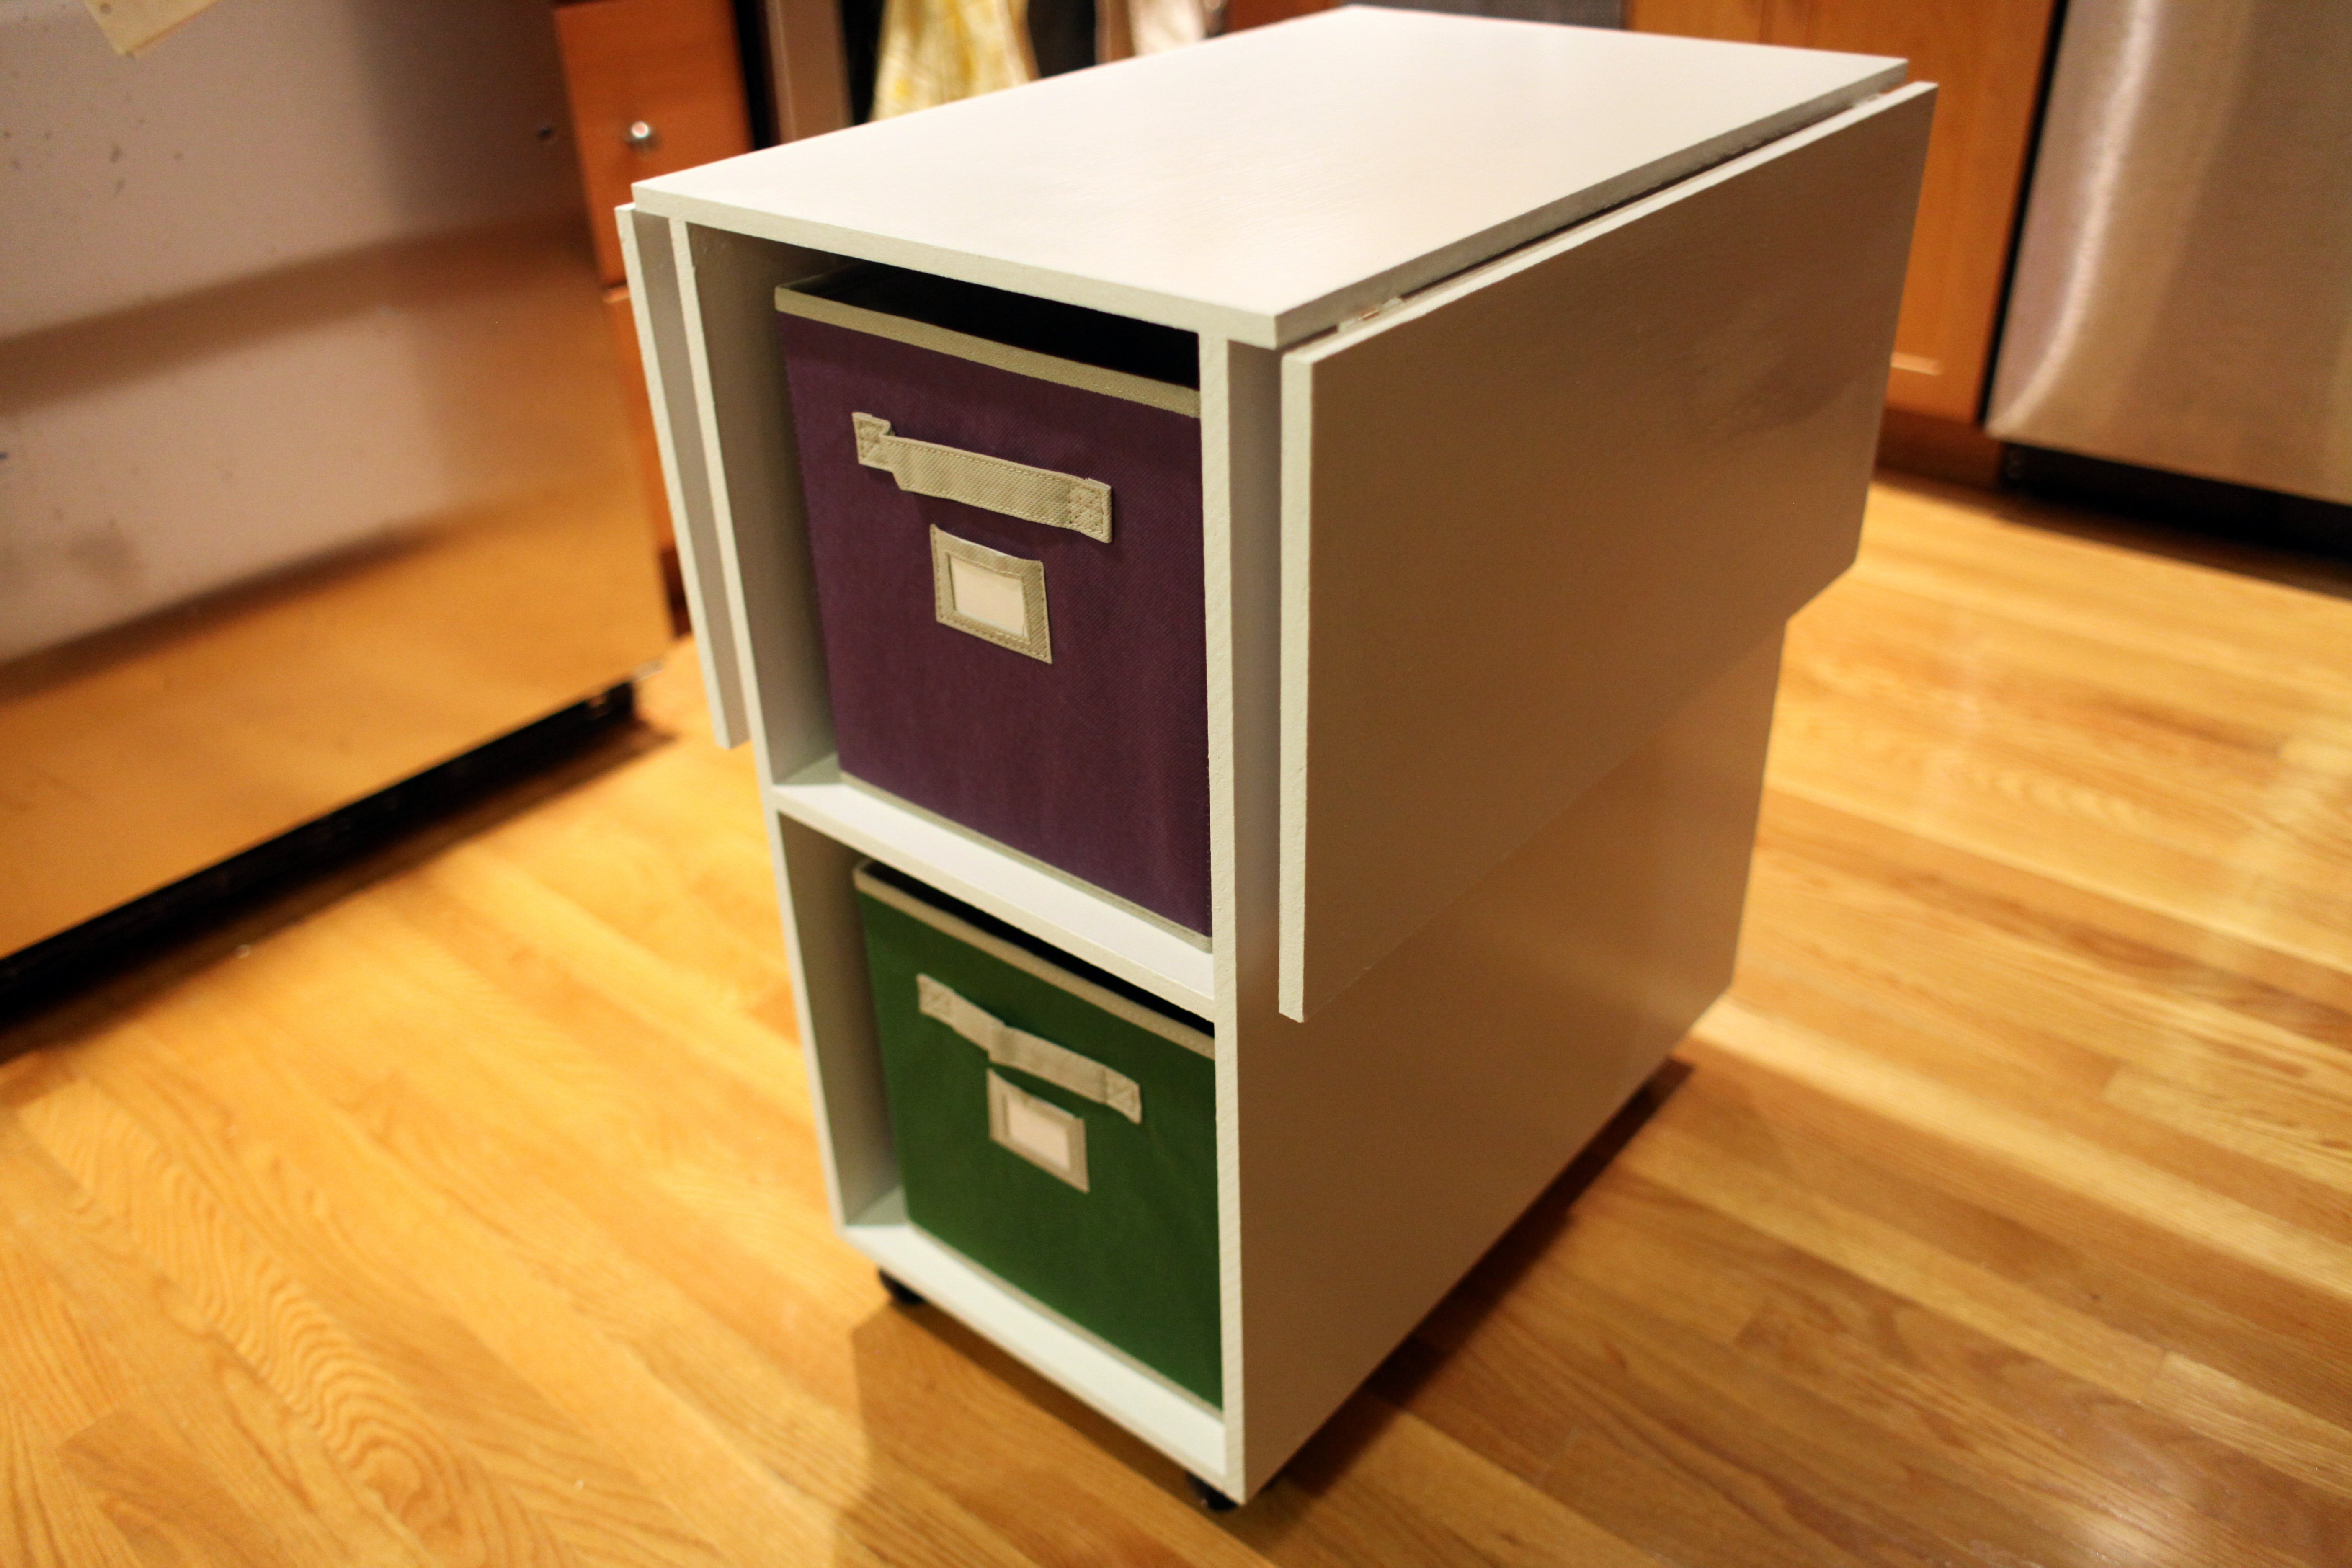
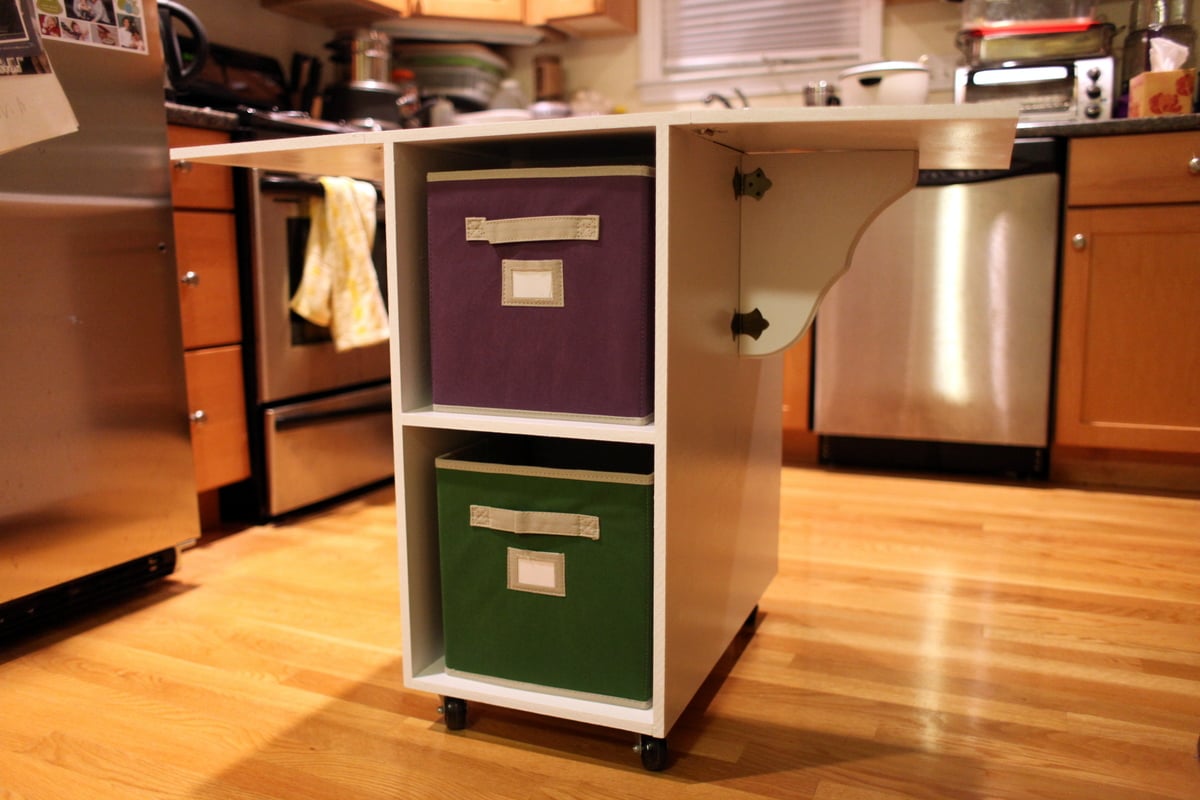
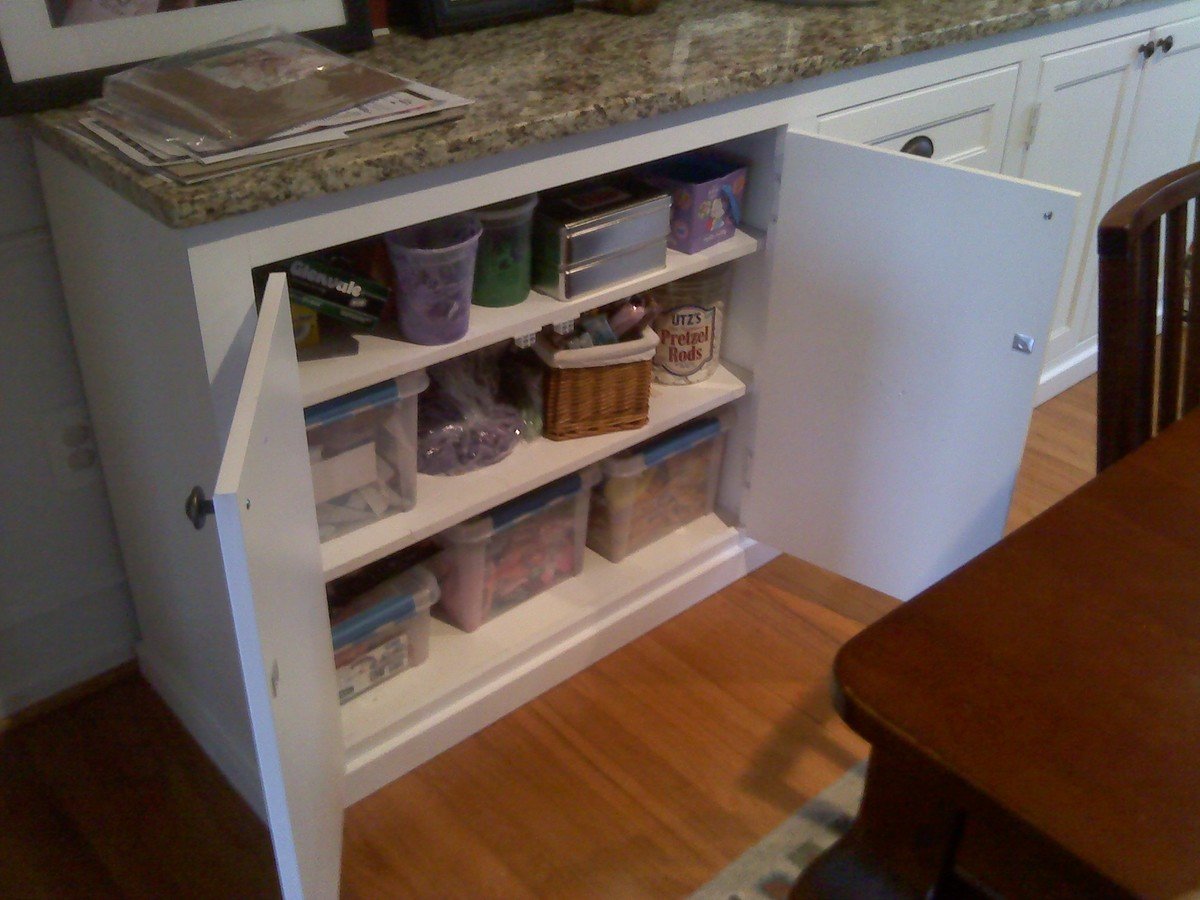
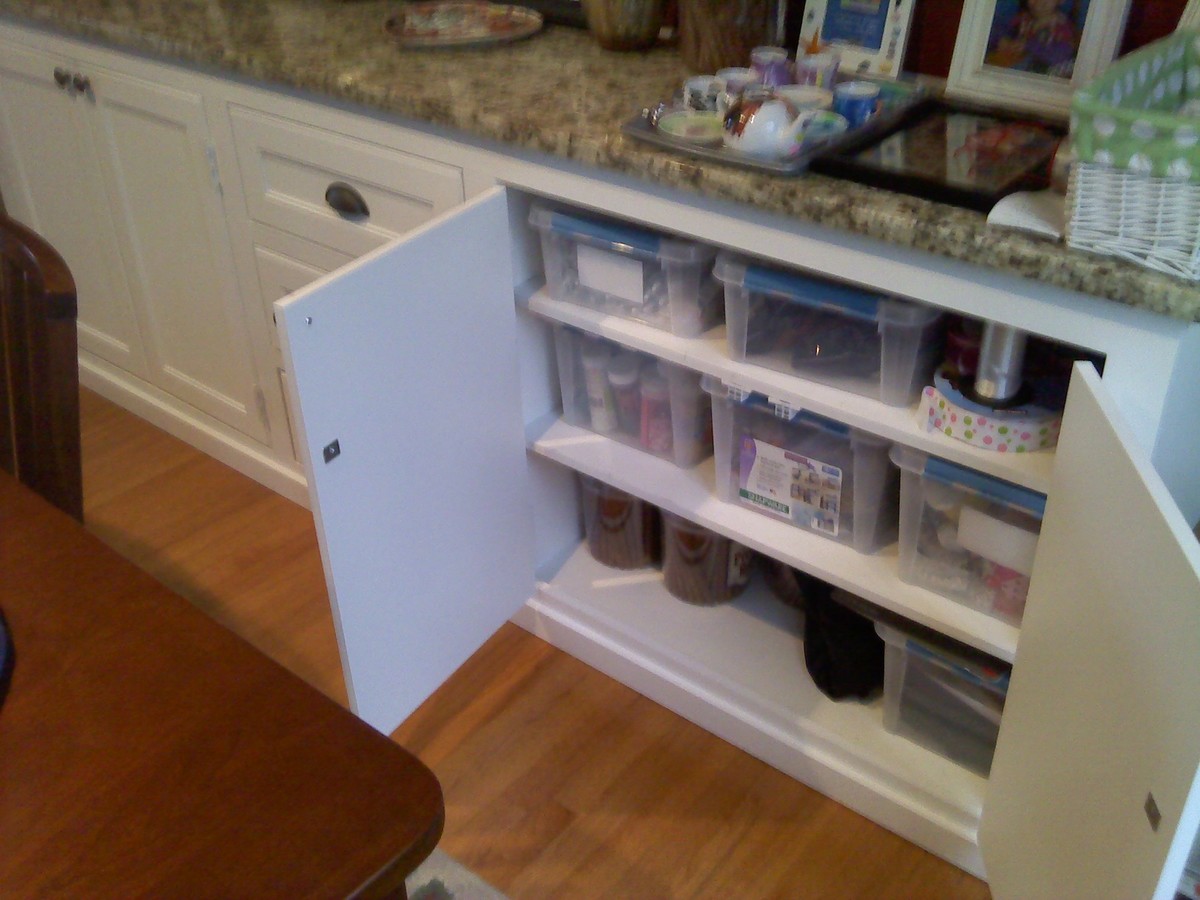
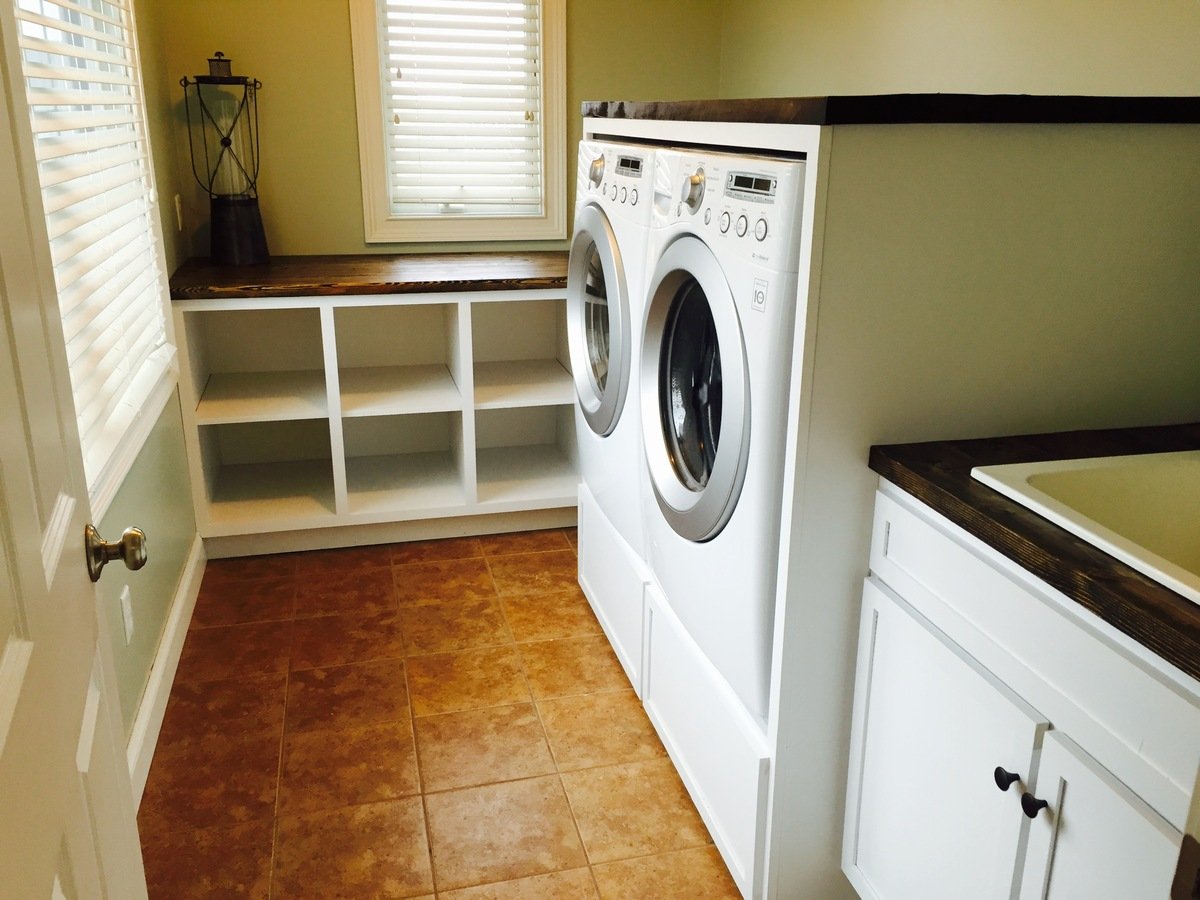
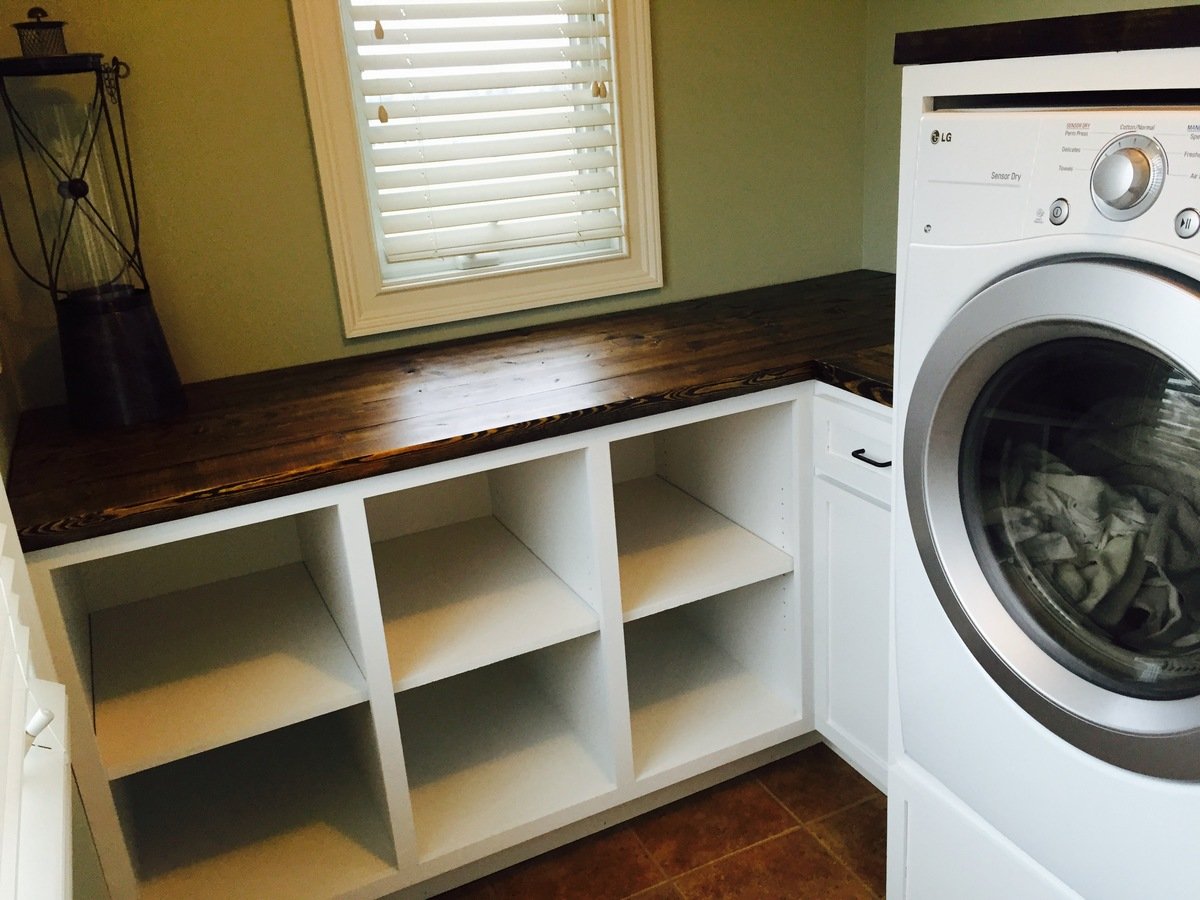
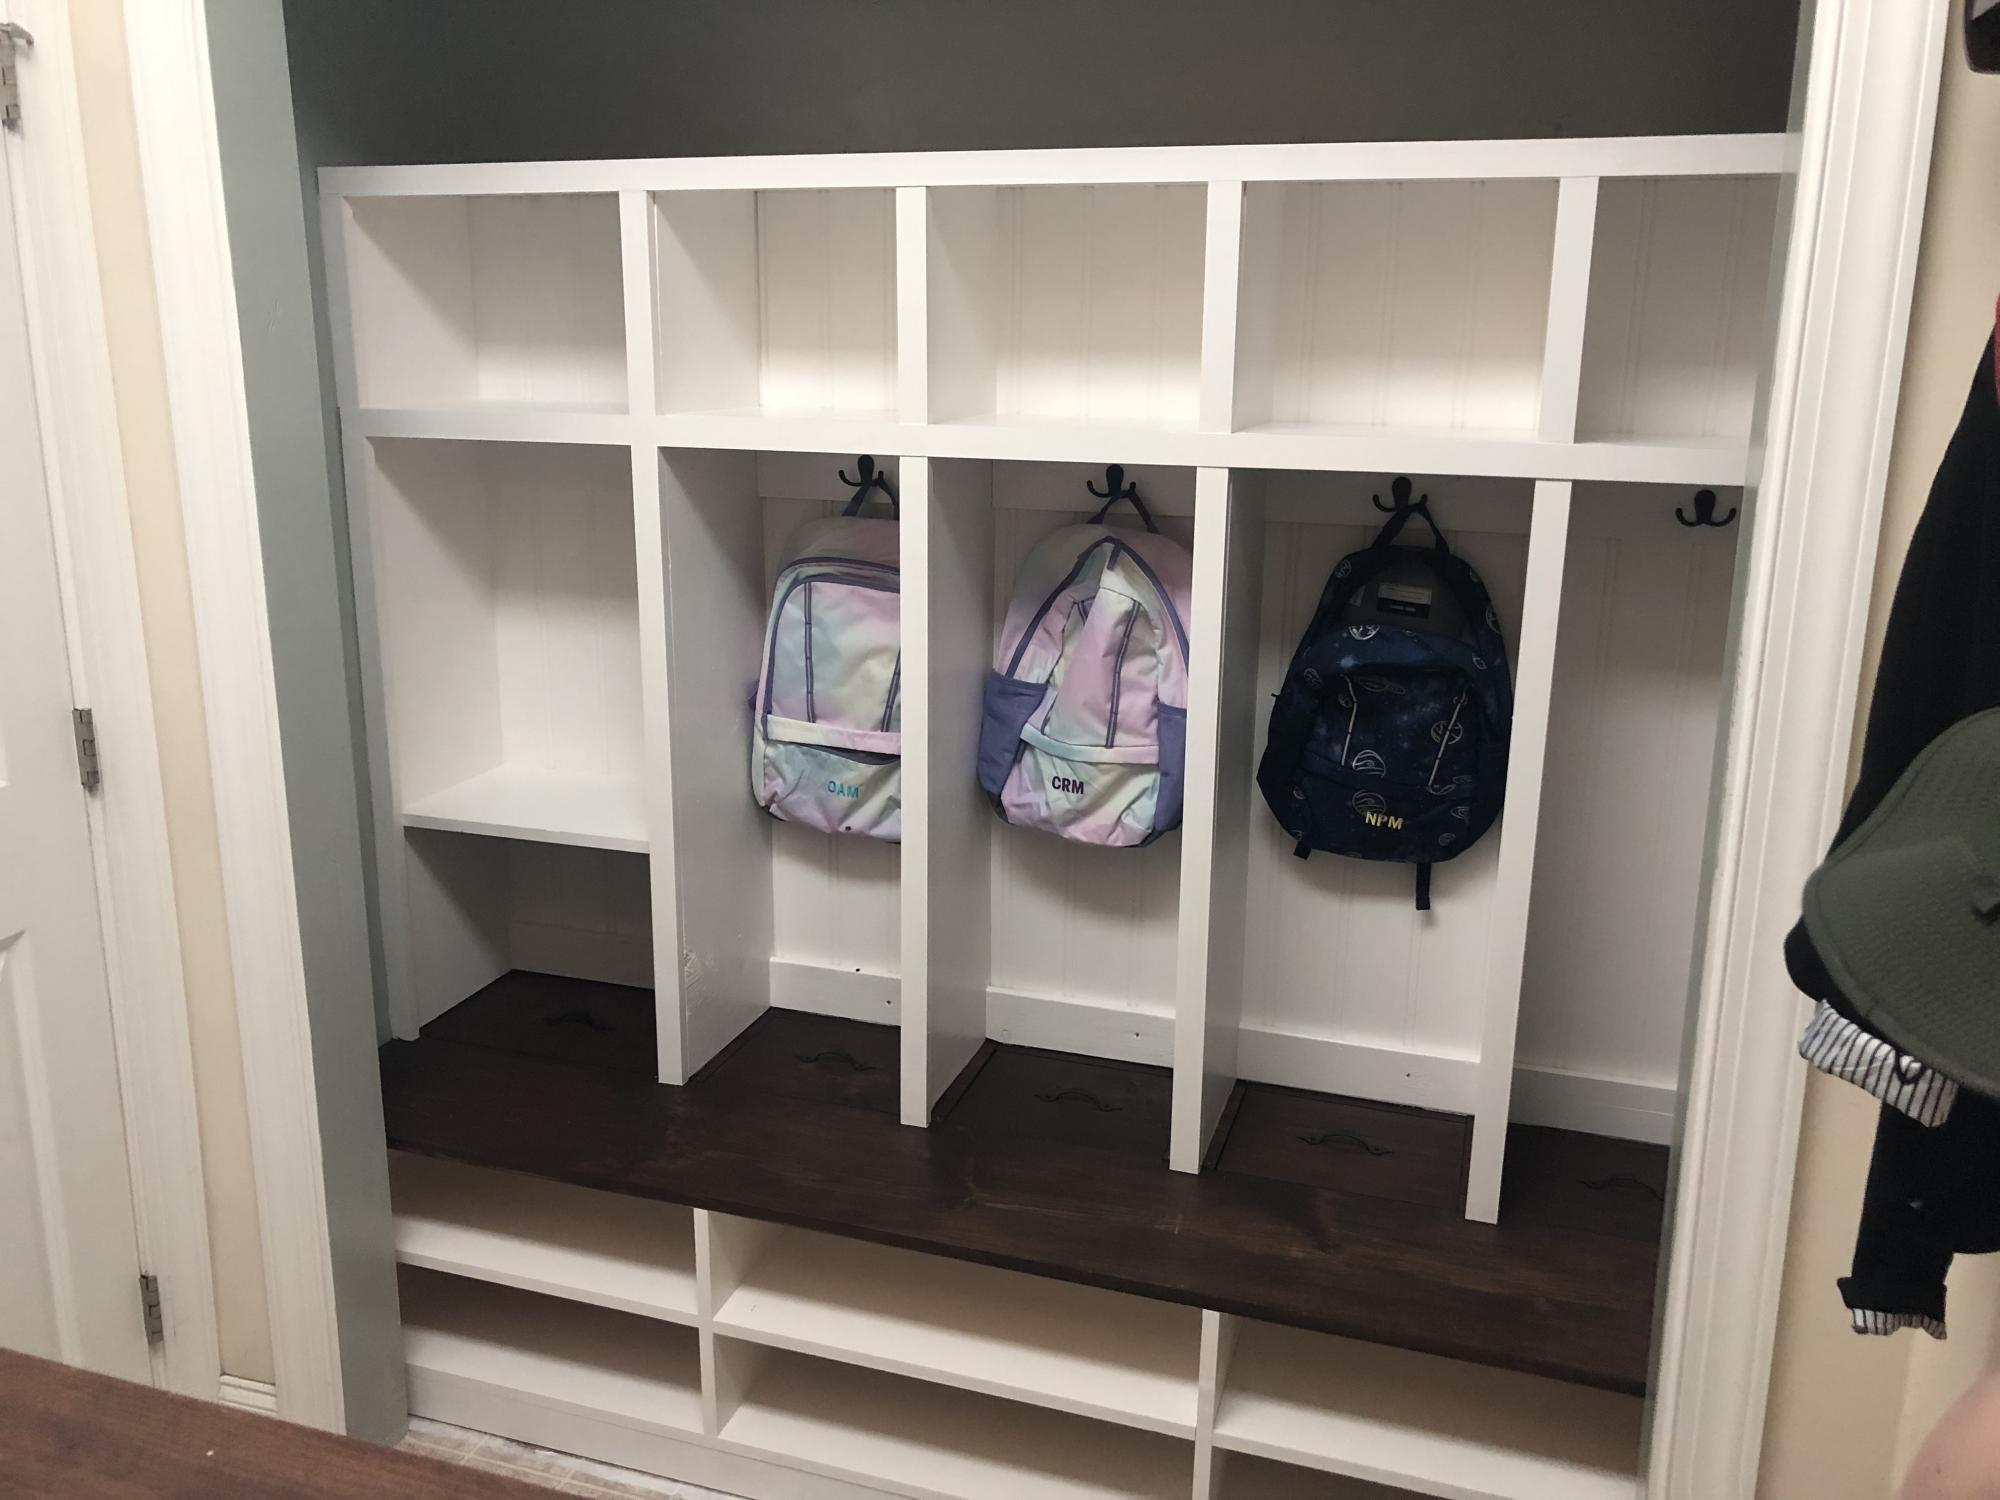
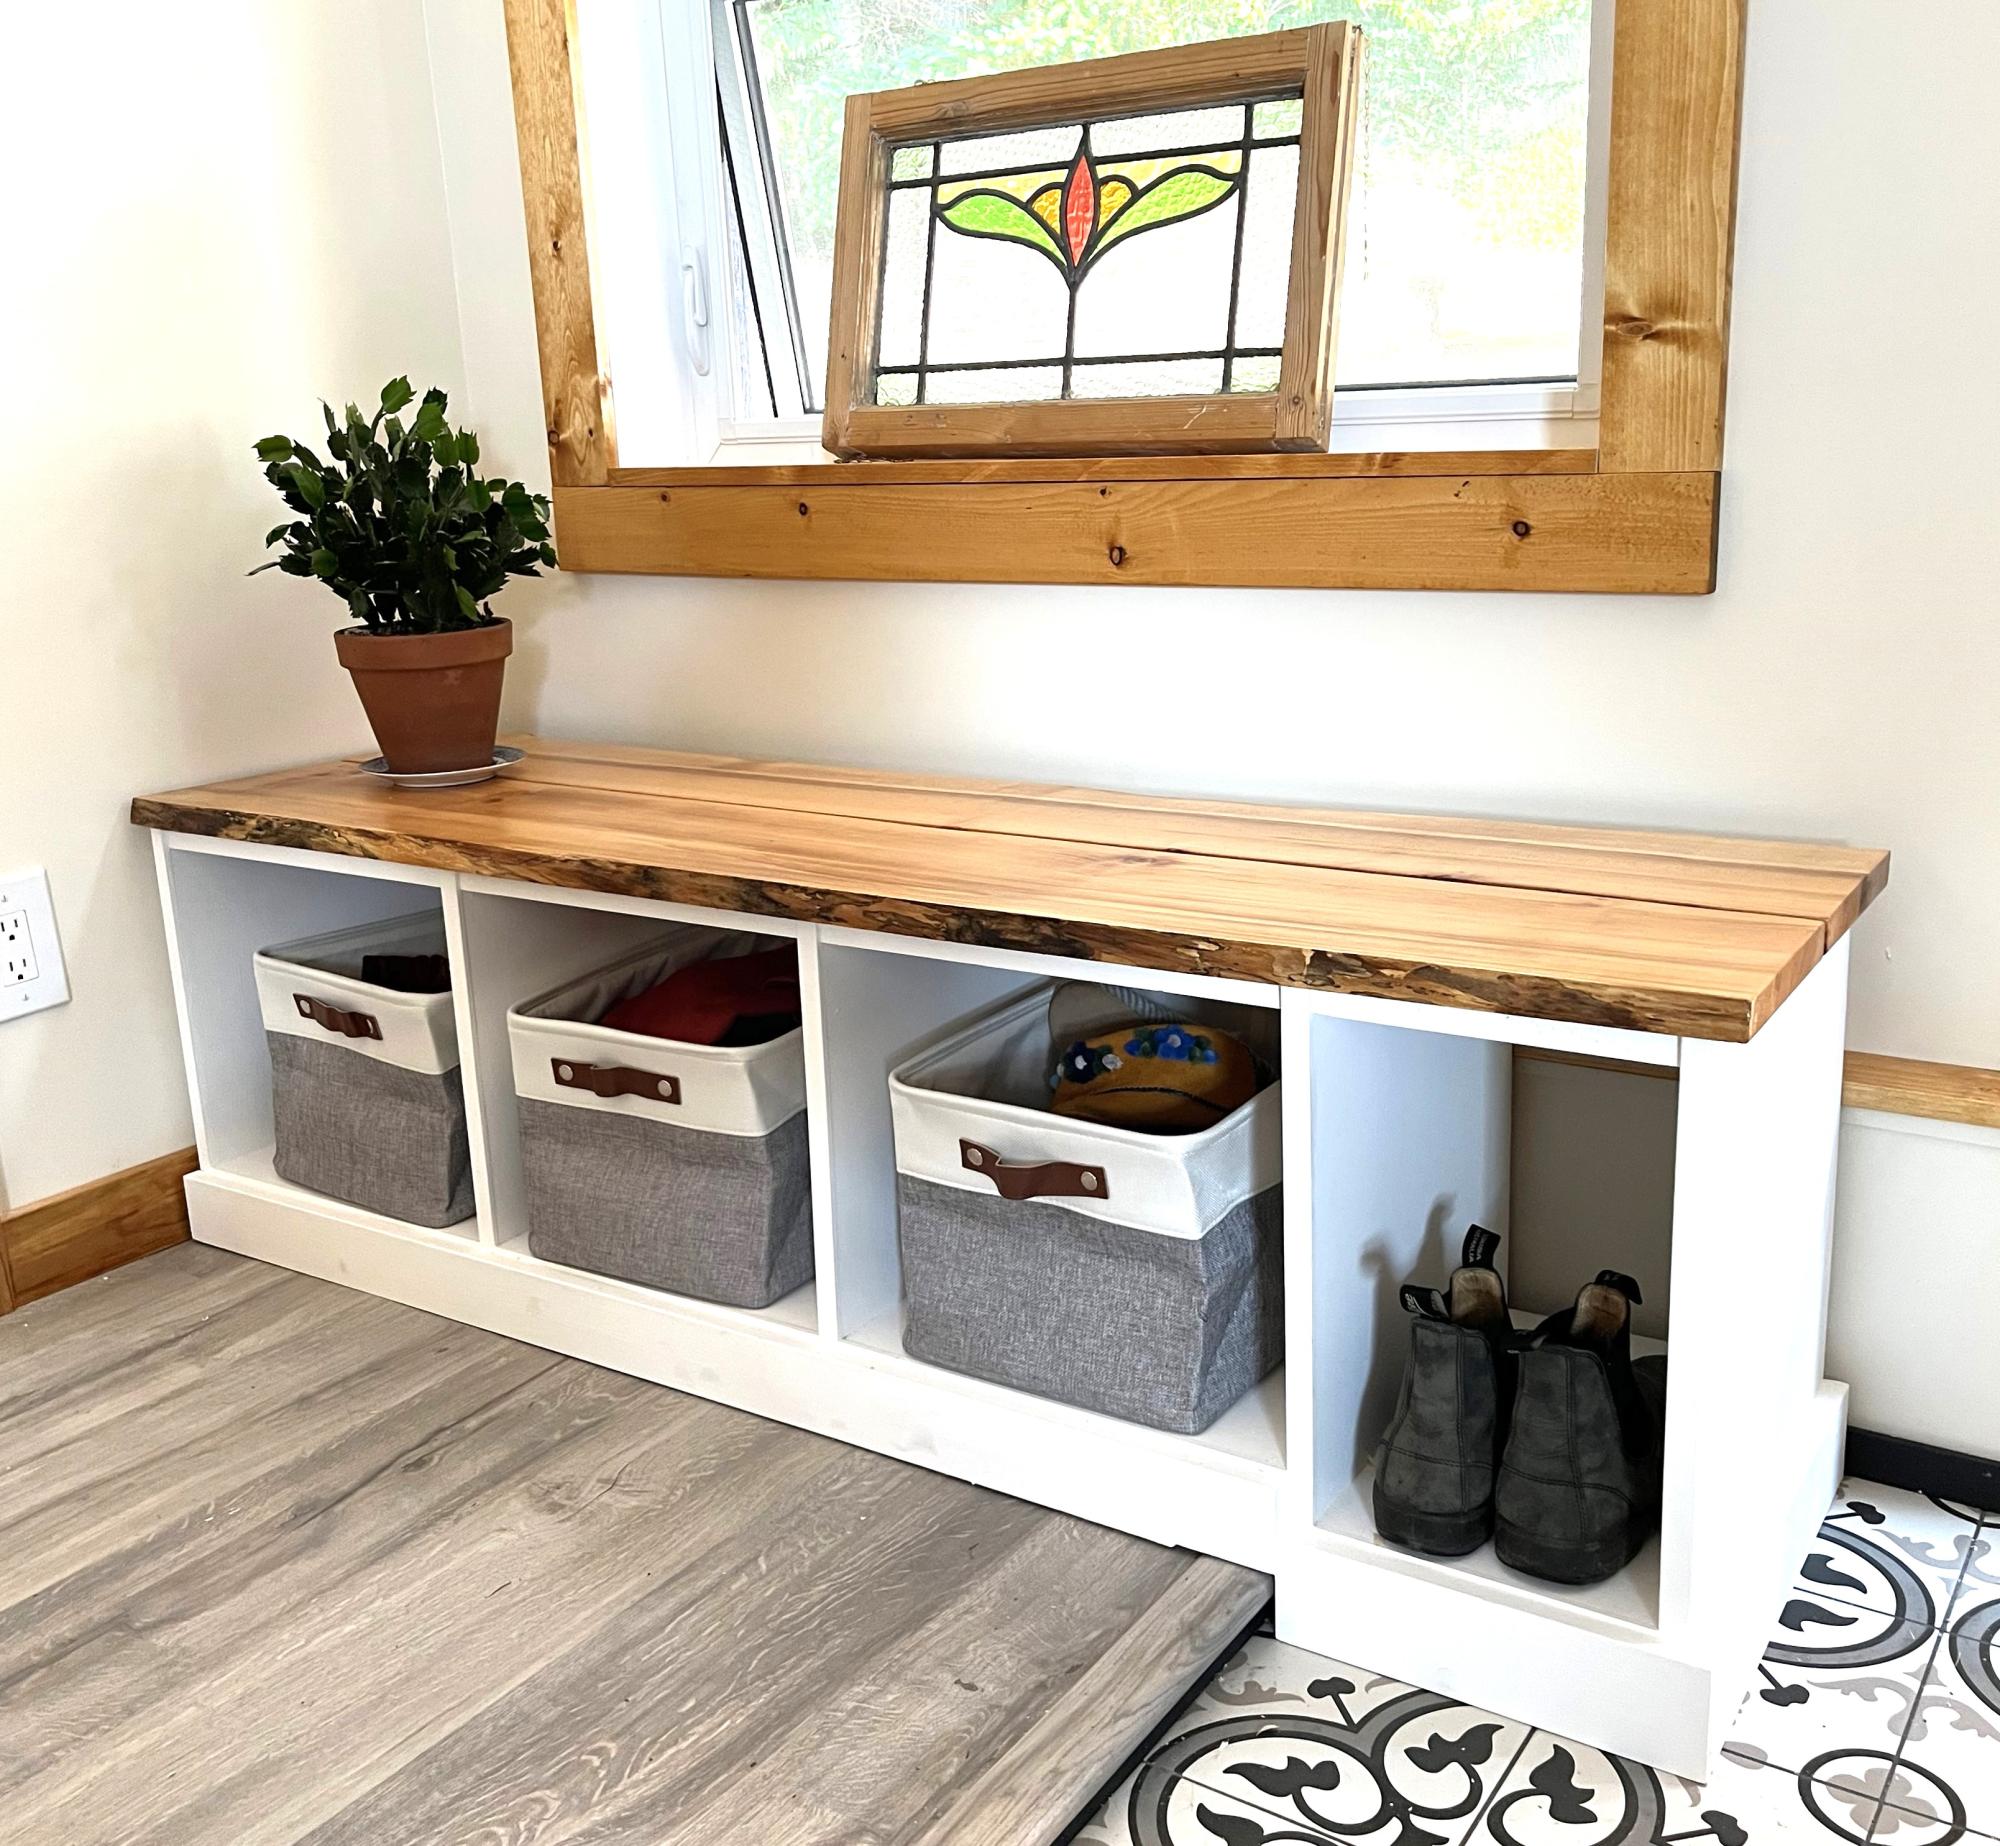
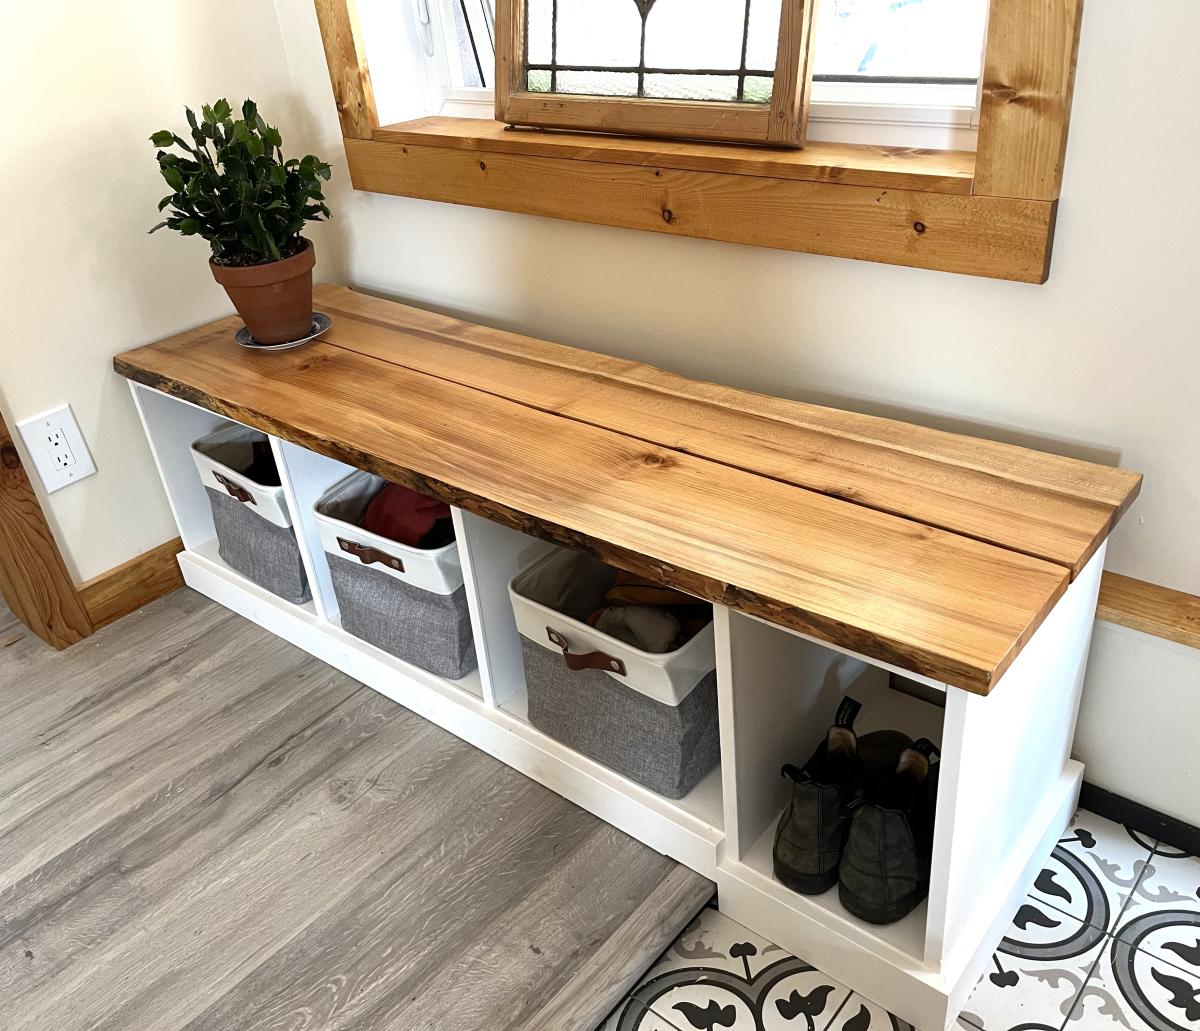
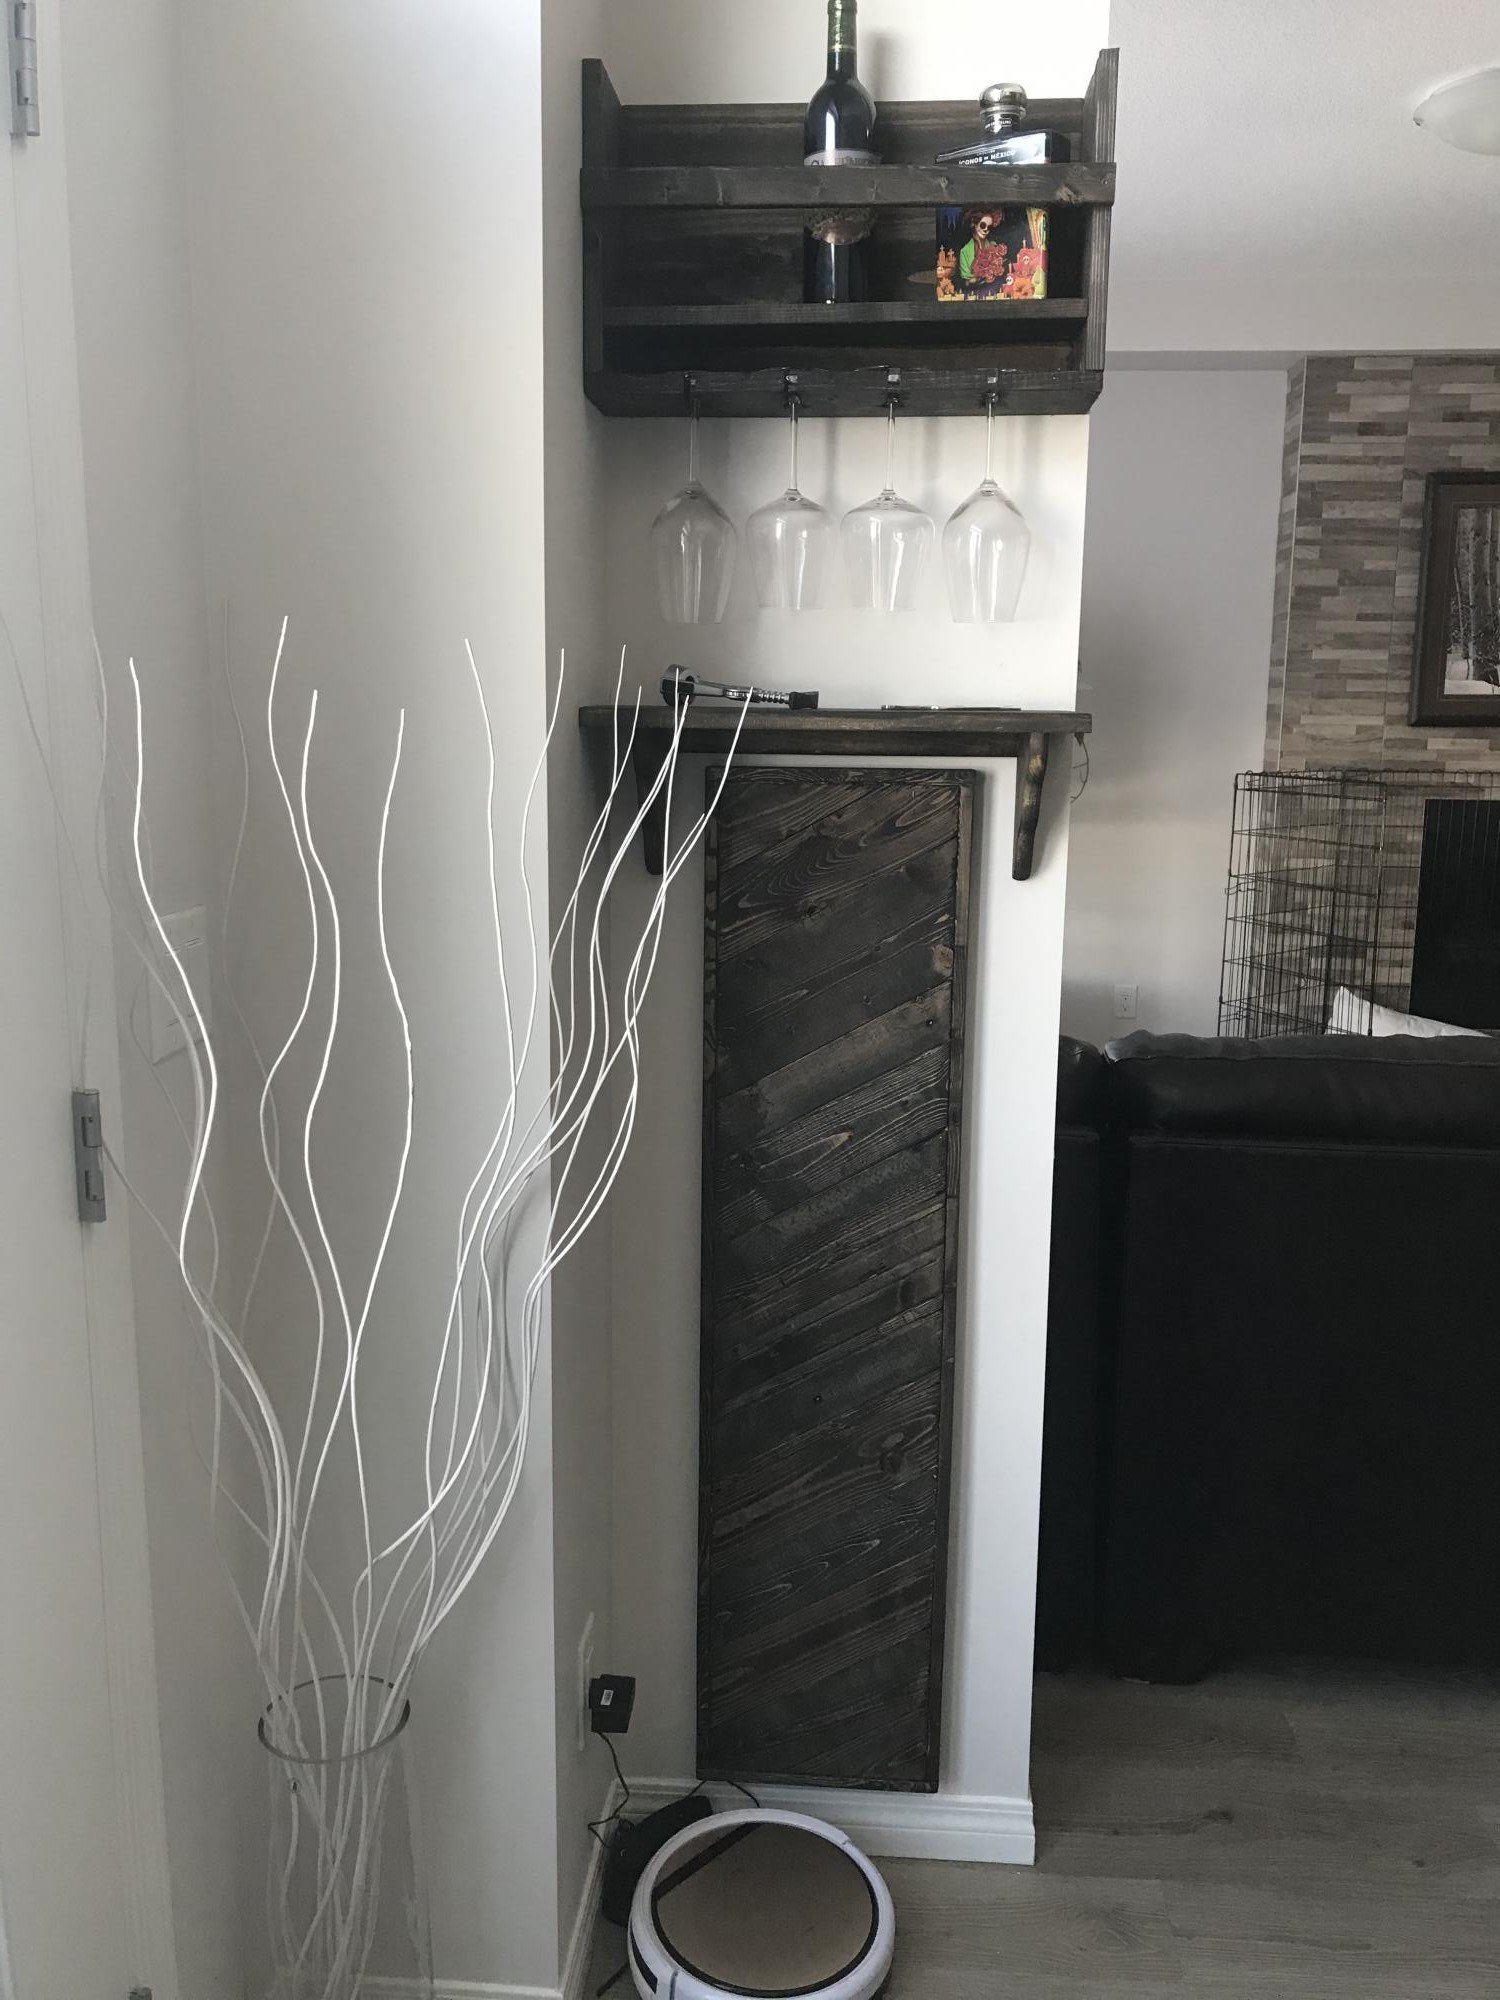
Entry shelf modified to a bathroom shelf
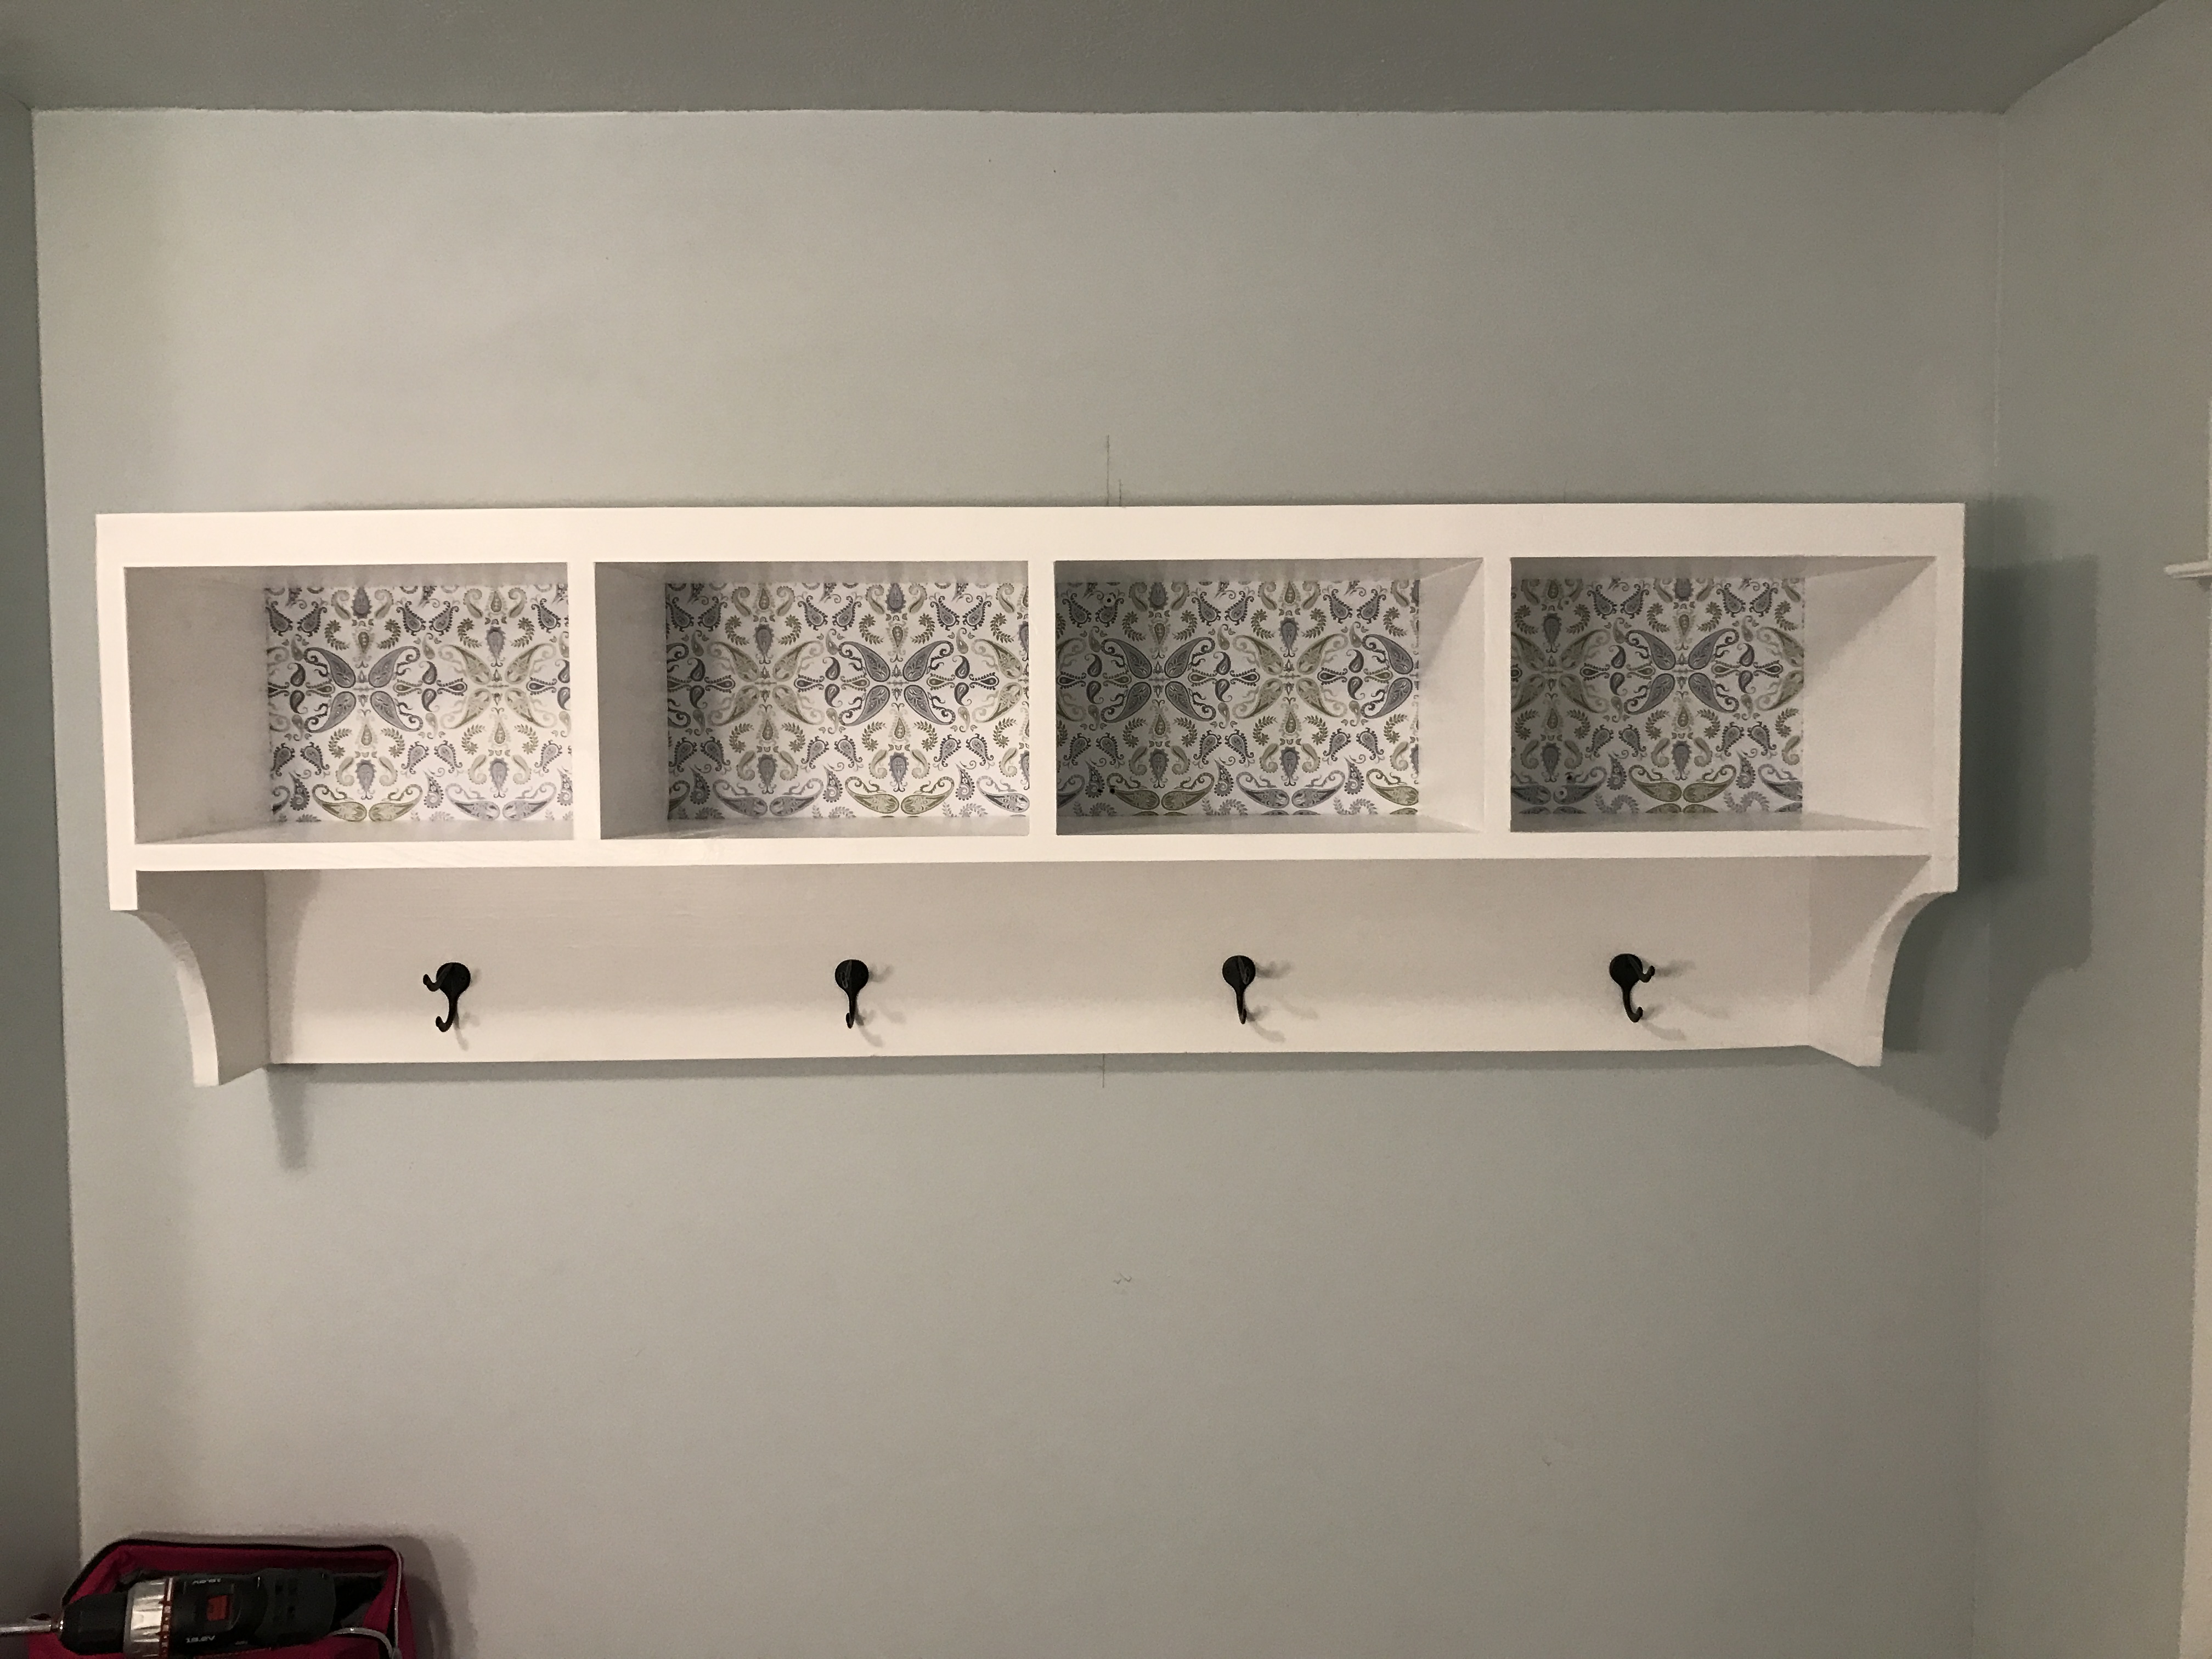
This was so fun, used contact paper on the back plywood and it turned out really well.
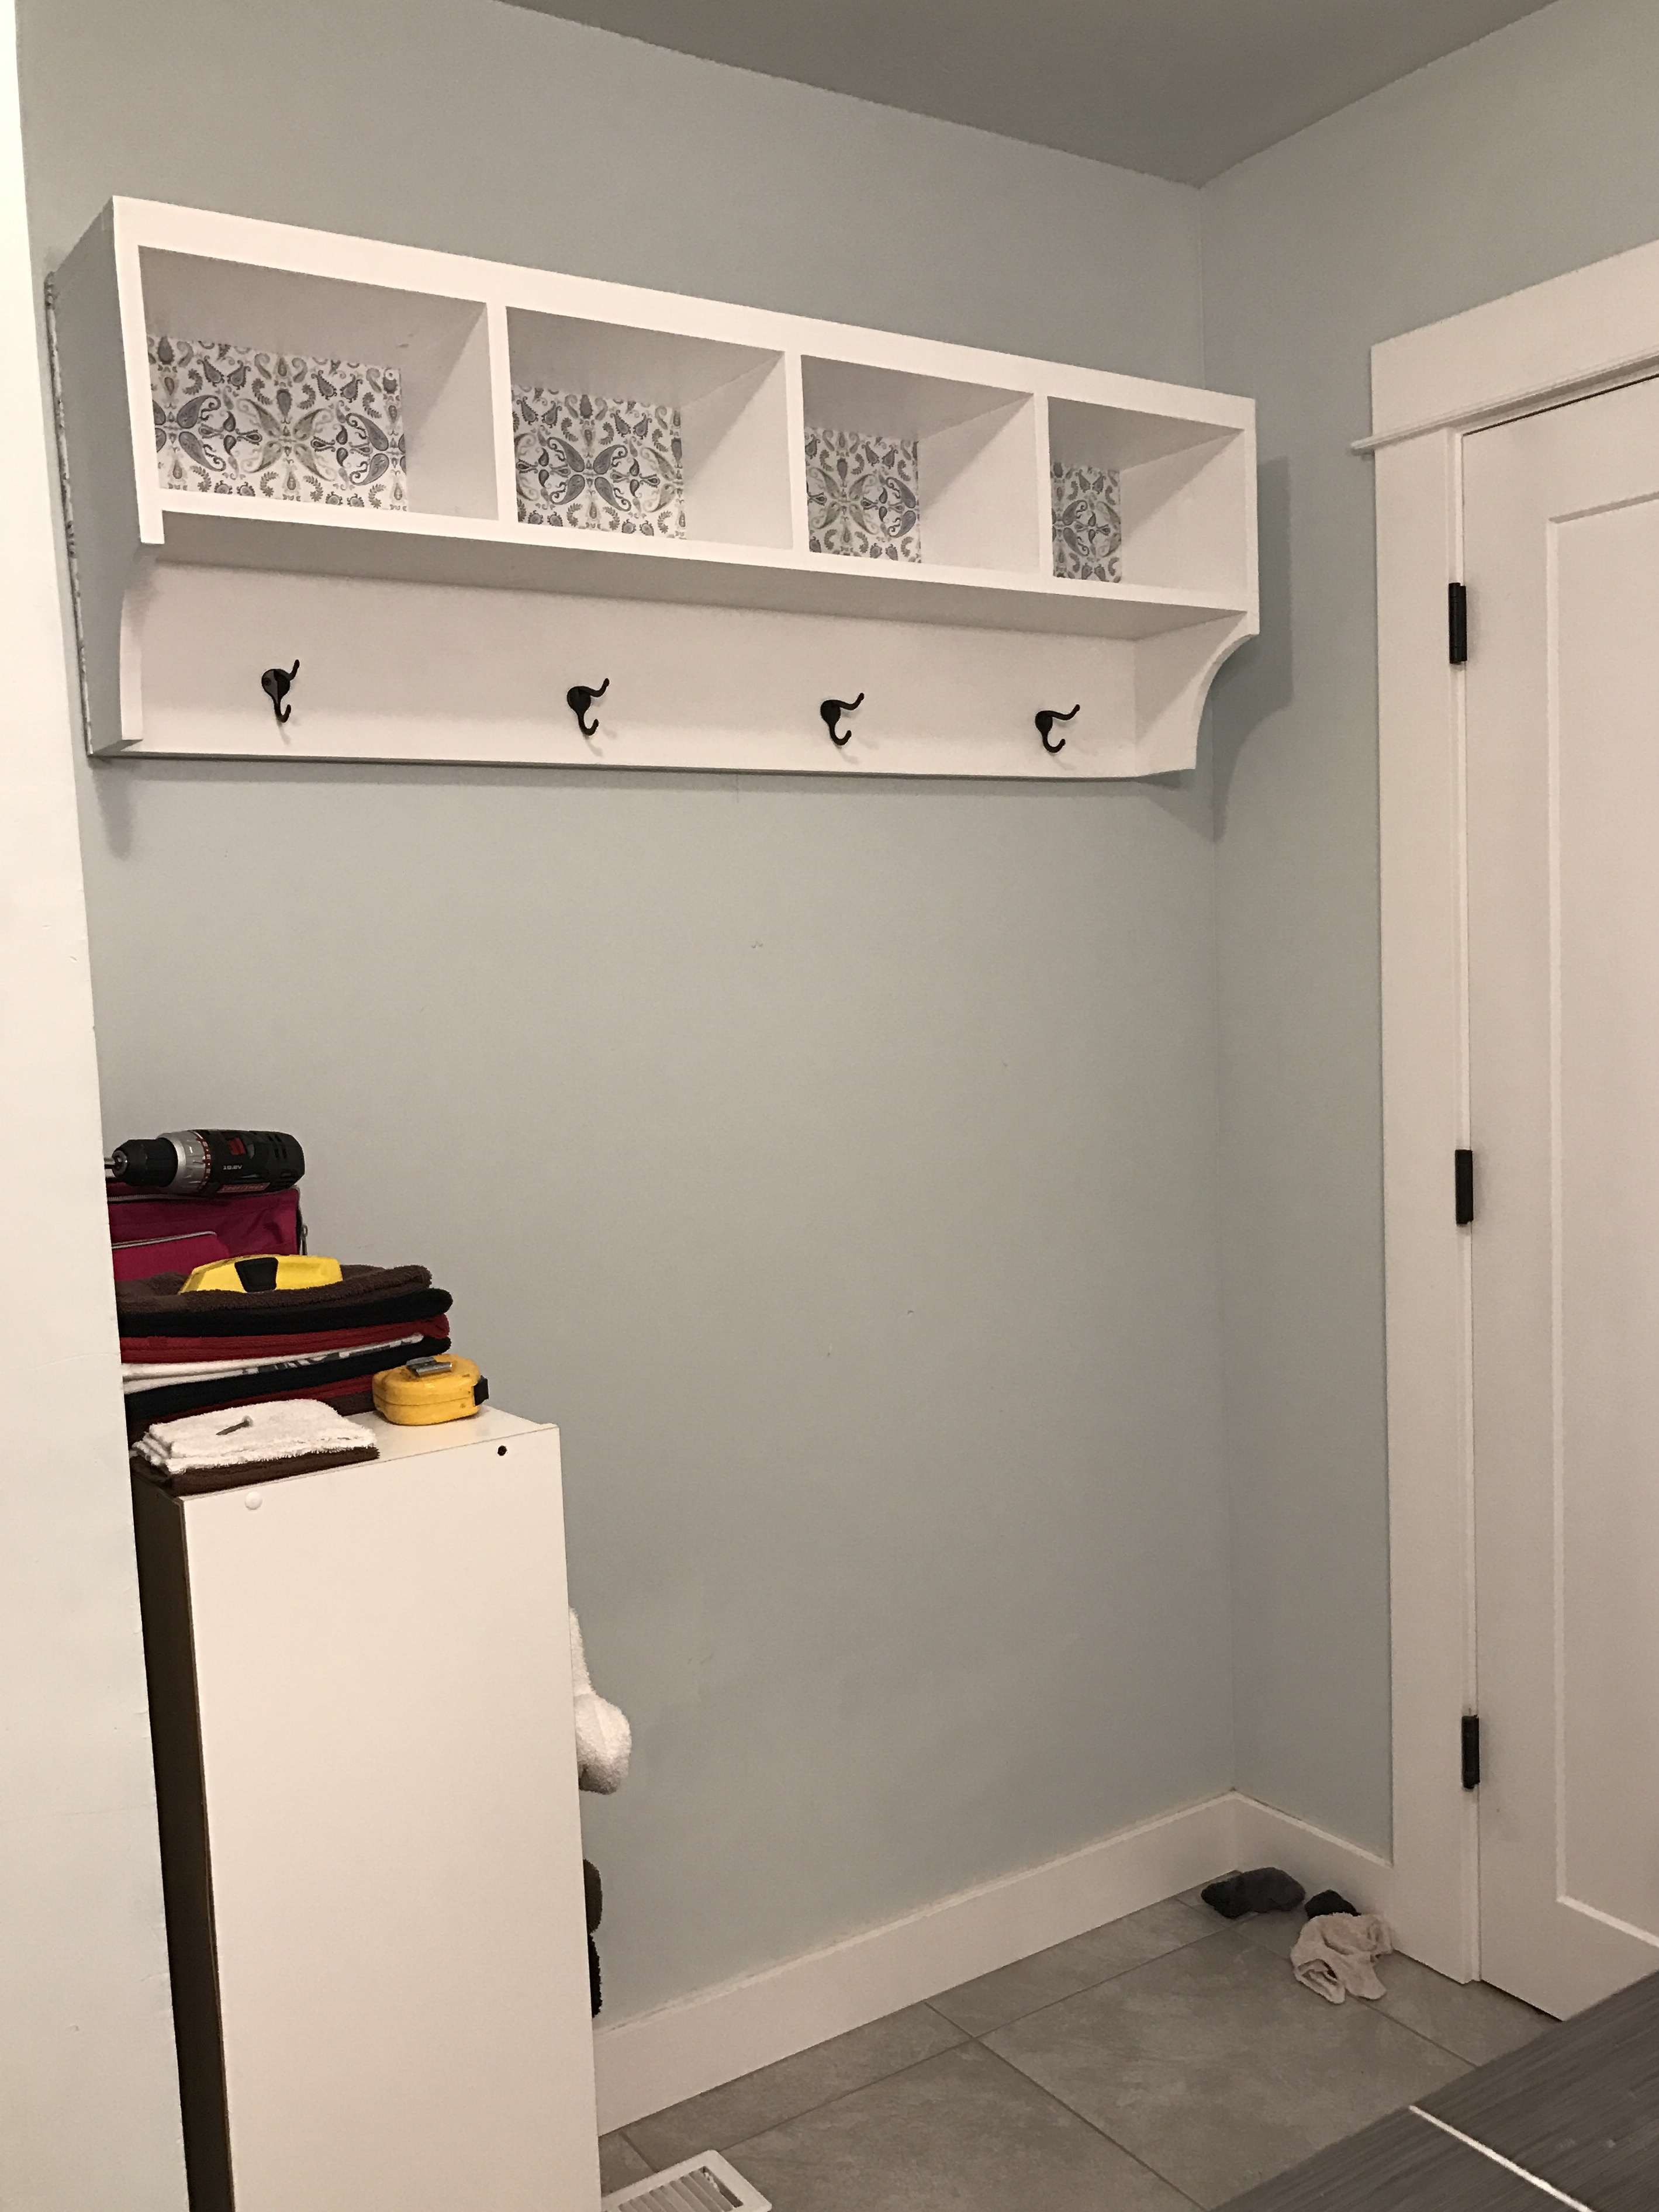
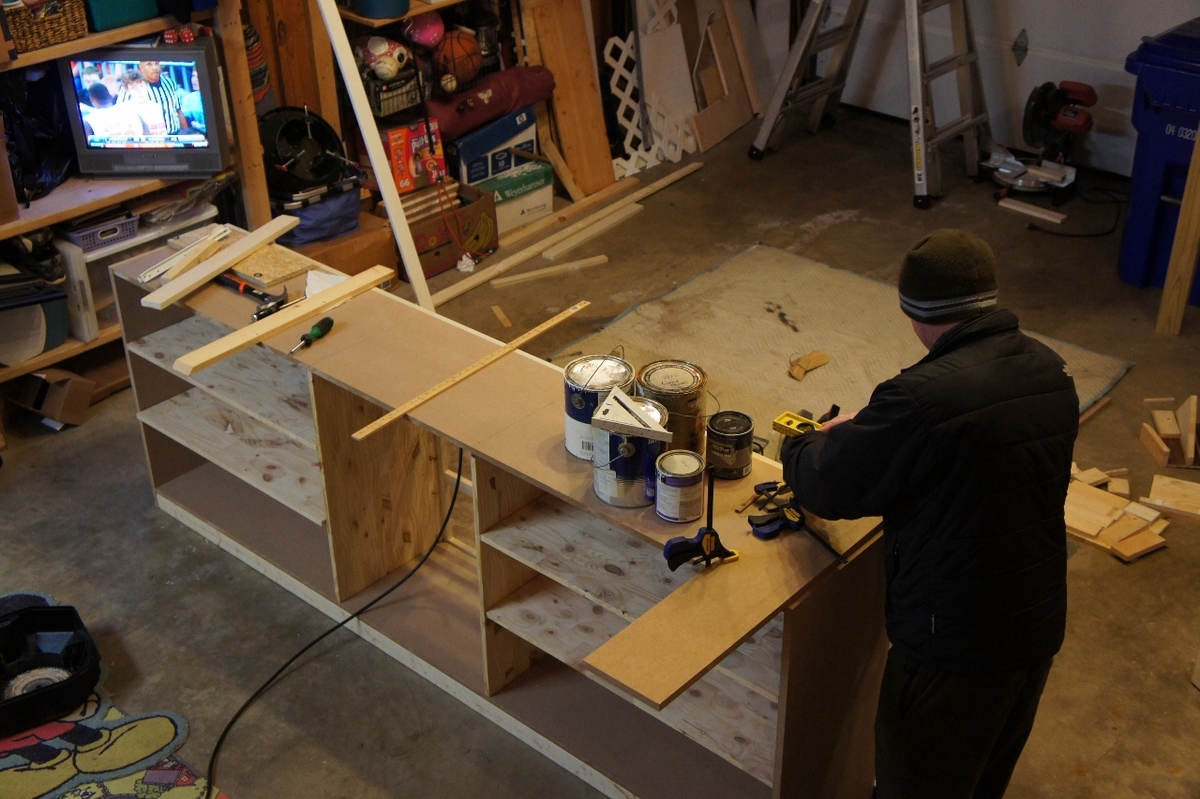
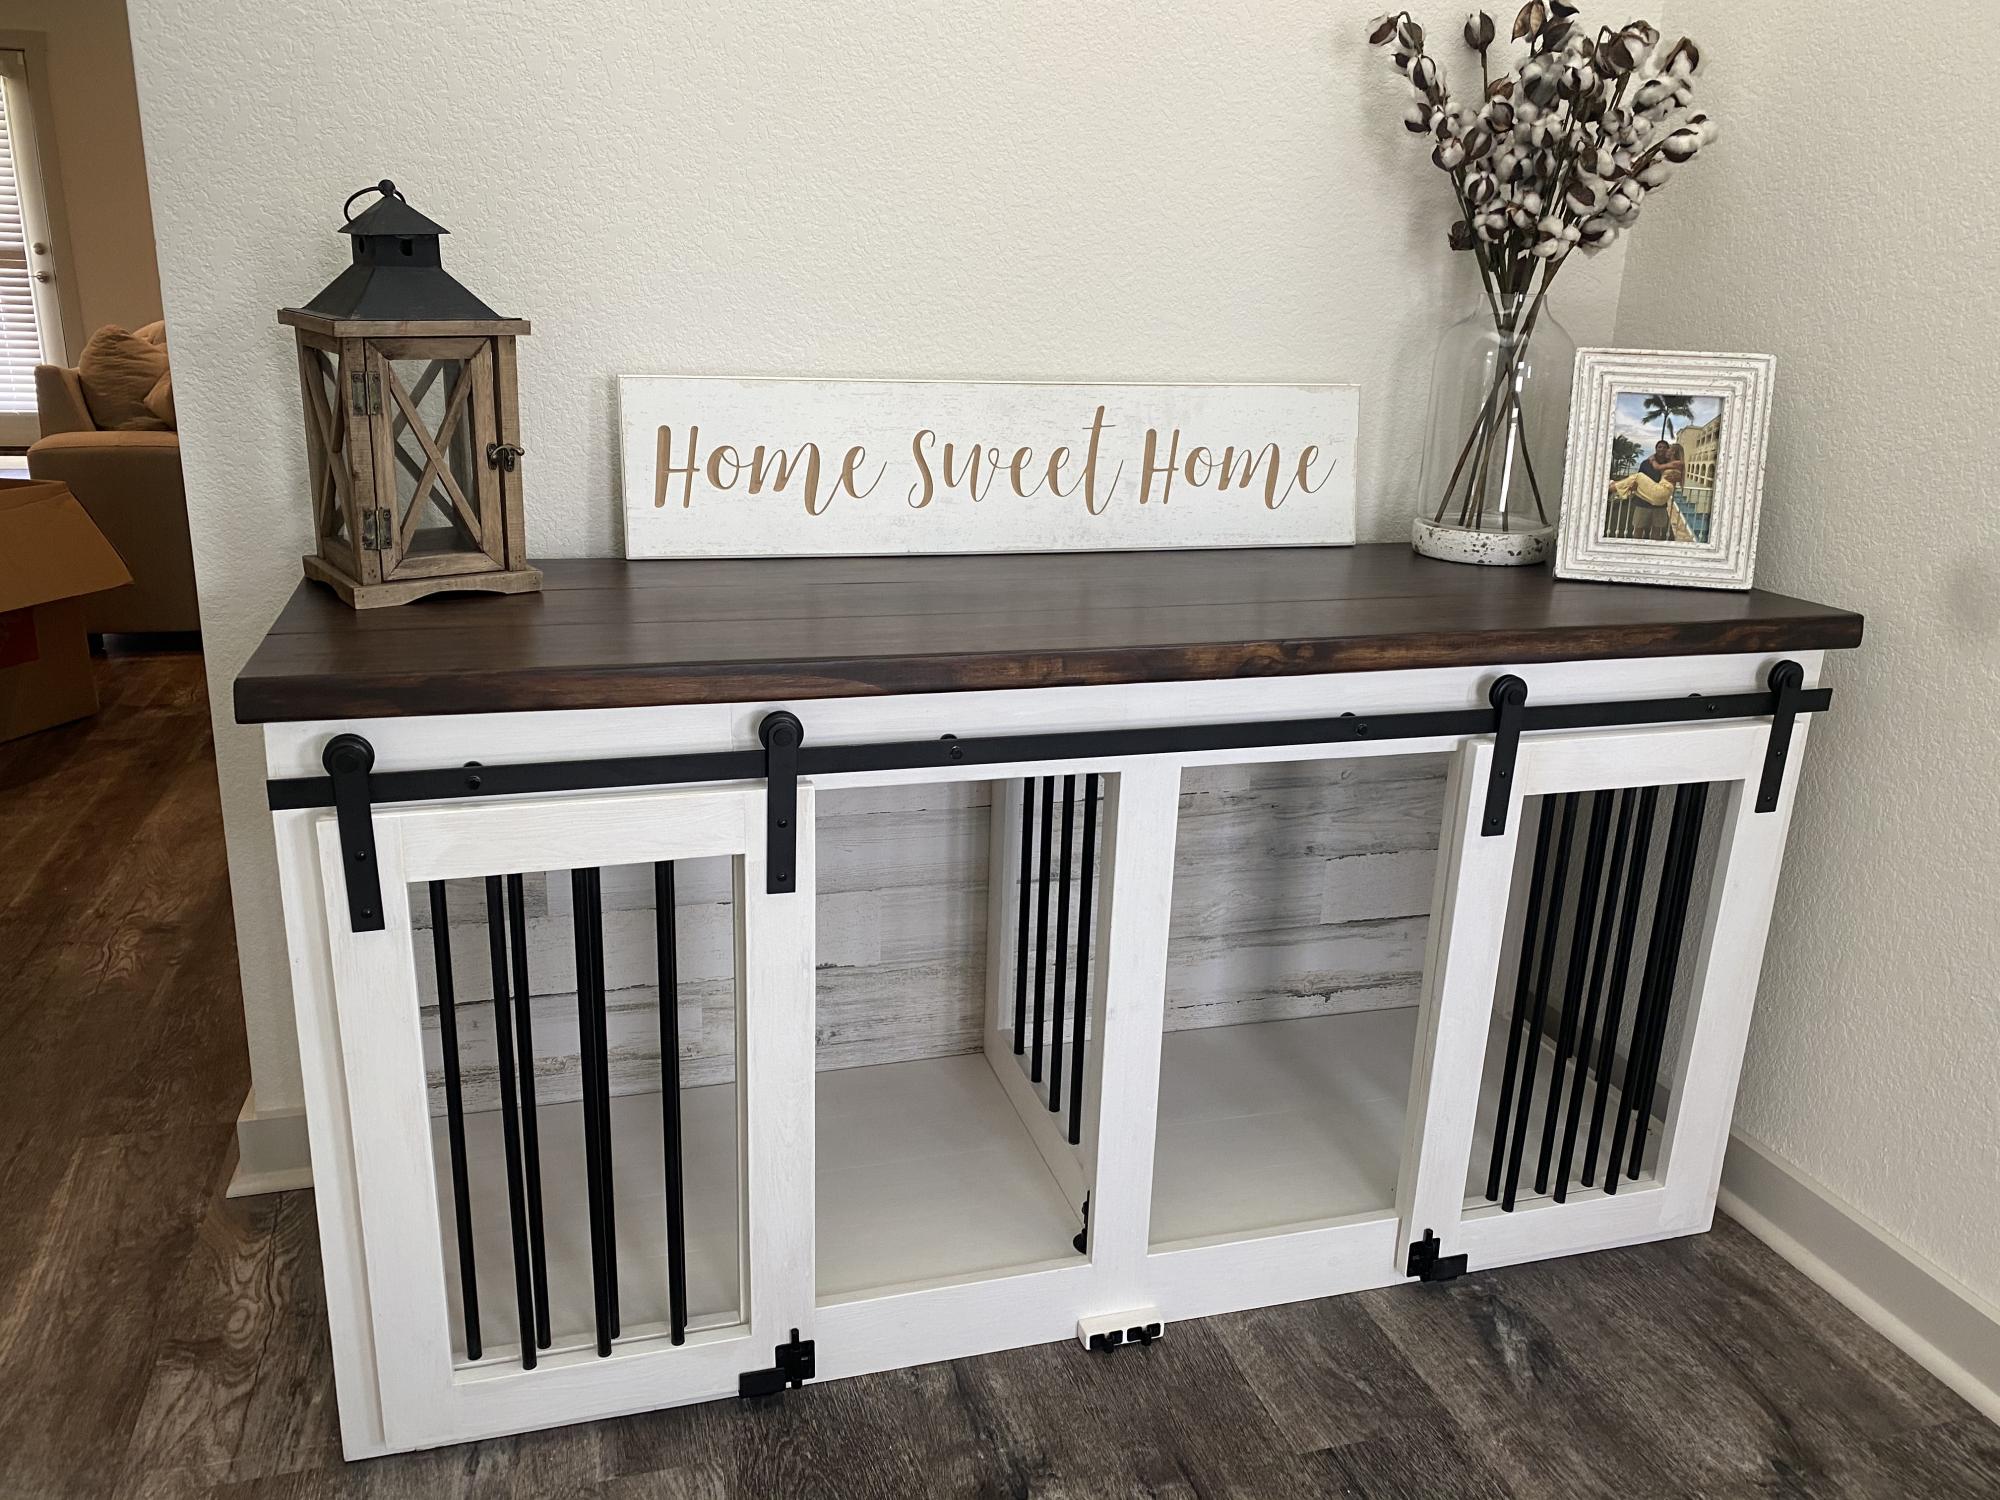
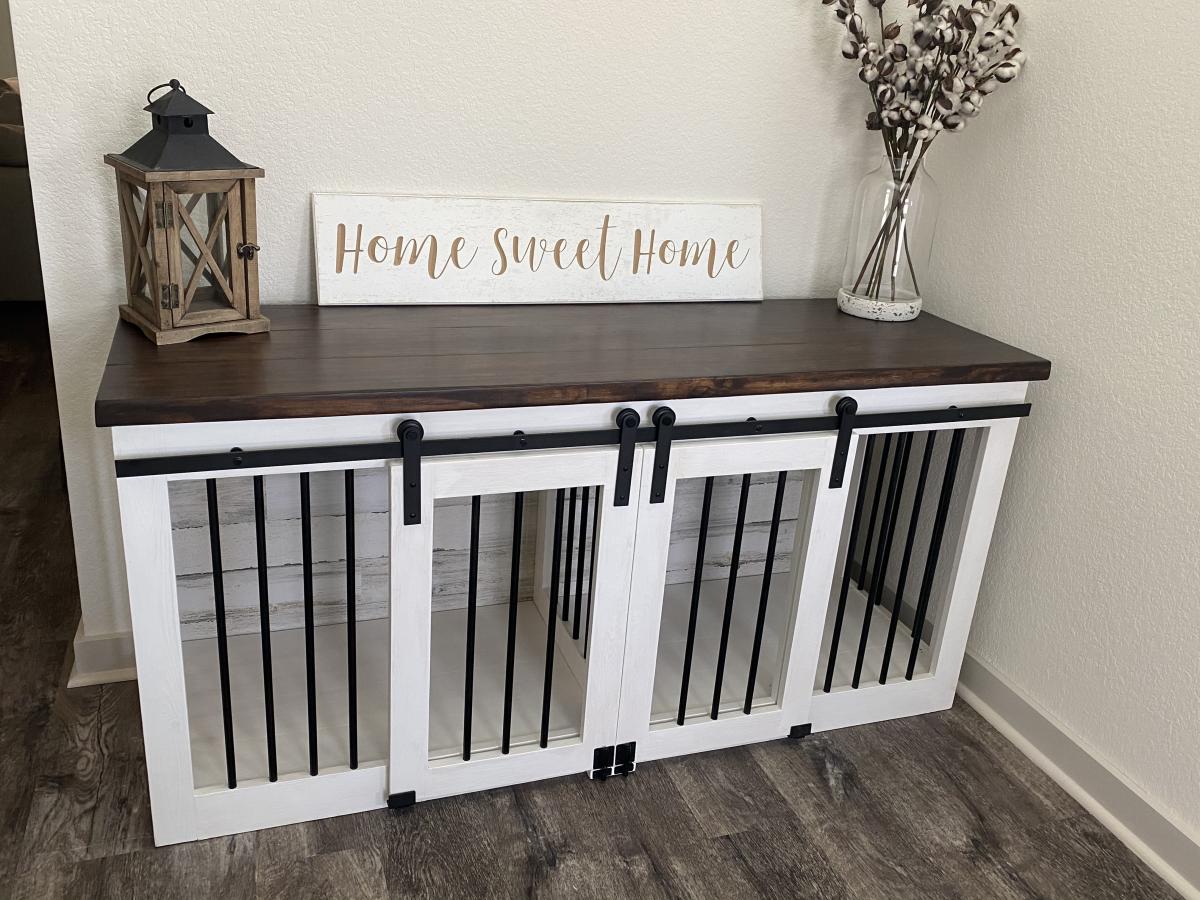
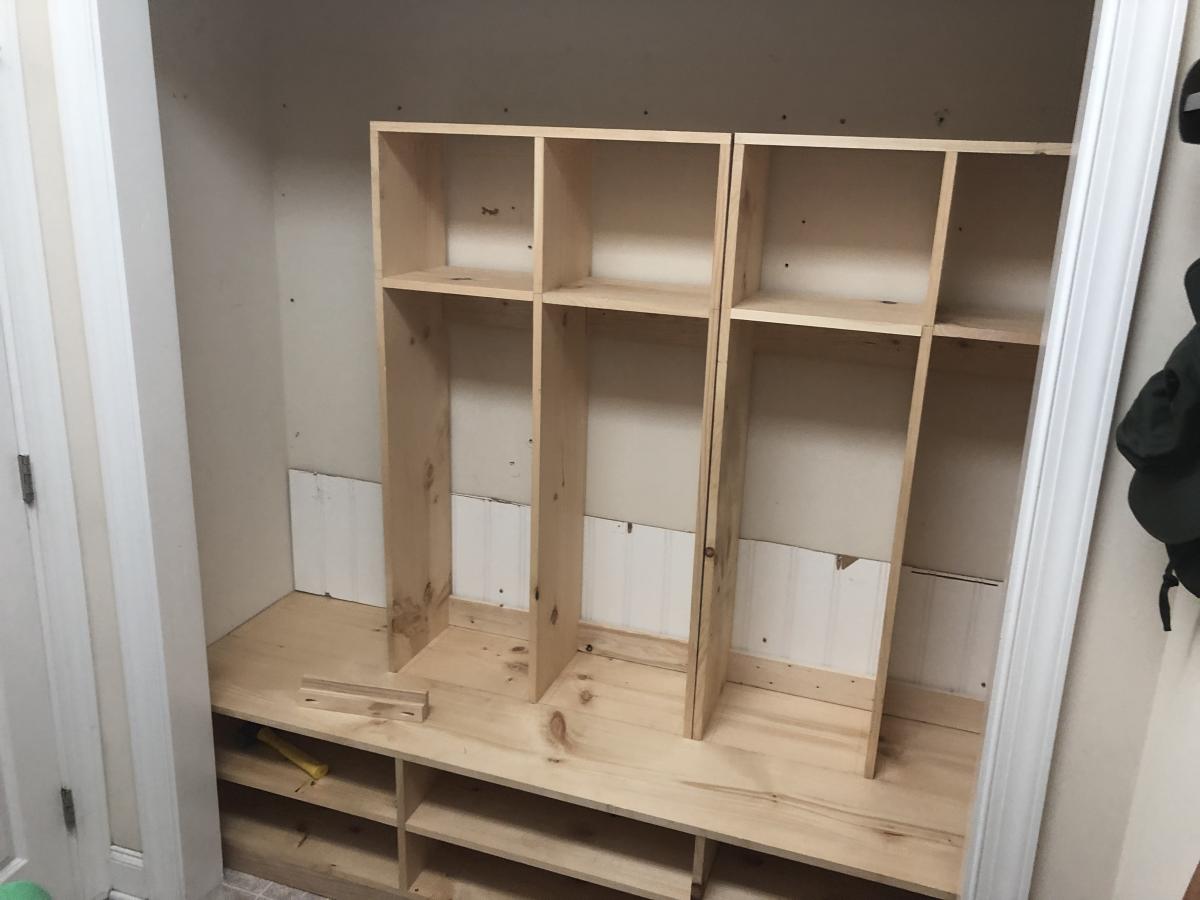
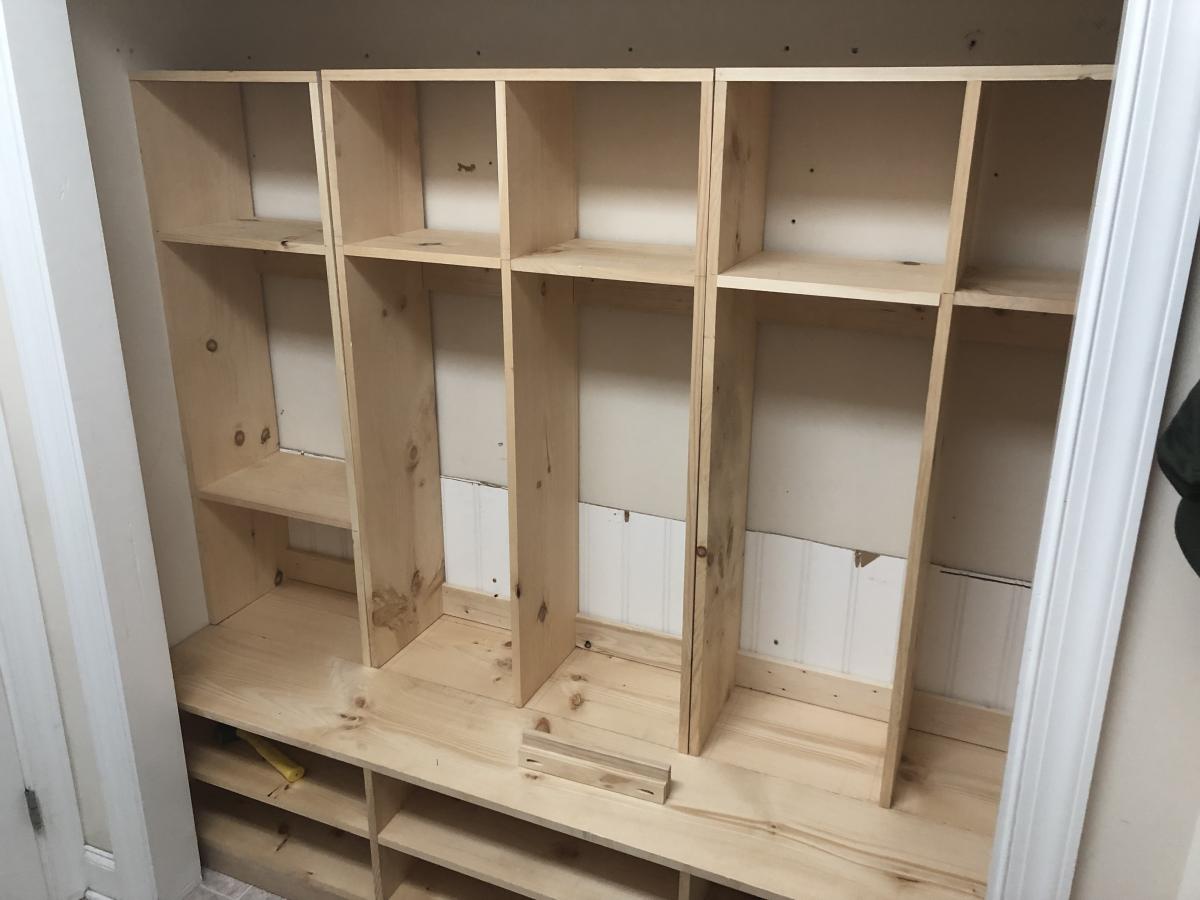
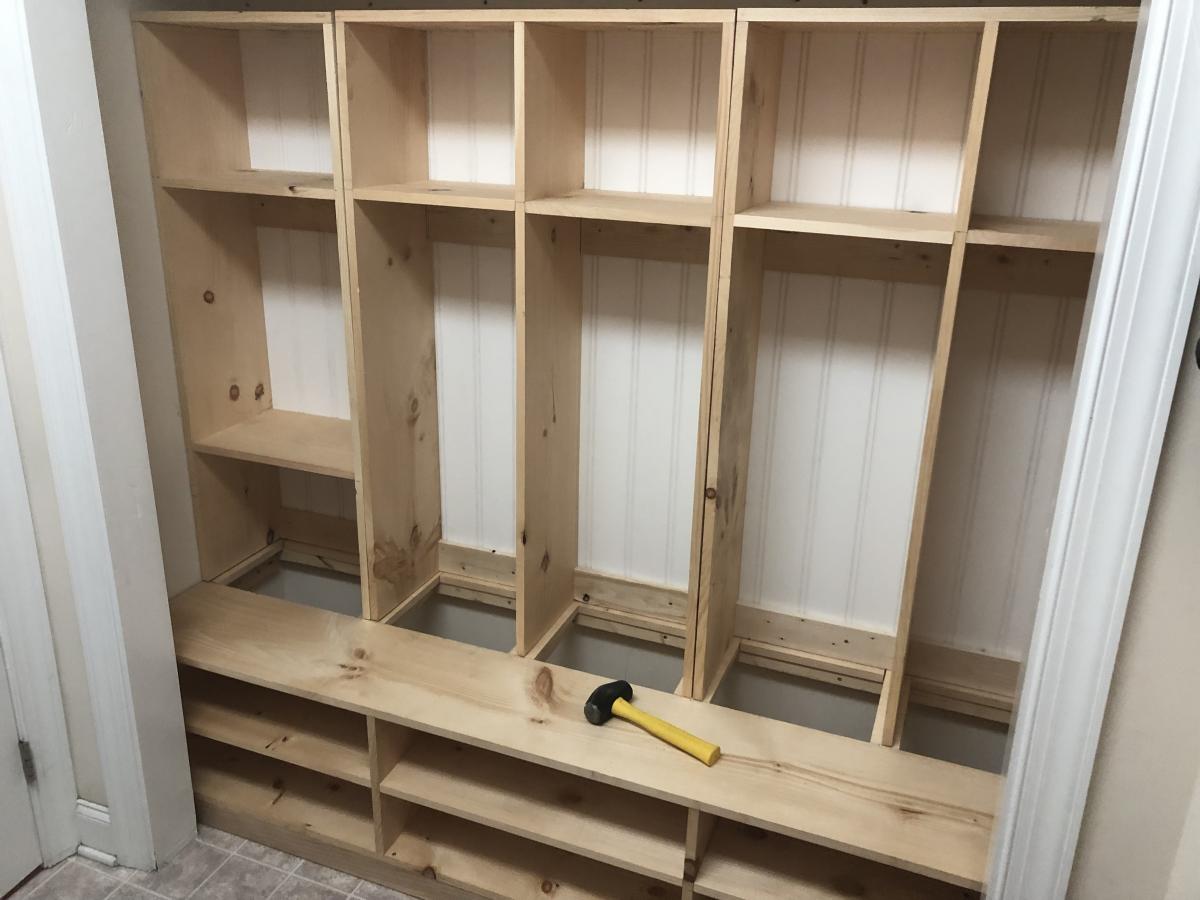
Built from Plan(s)
Estimated Cost
Less than $75
Estimated Time Investment
Weekend Project (10-20 Hours)
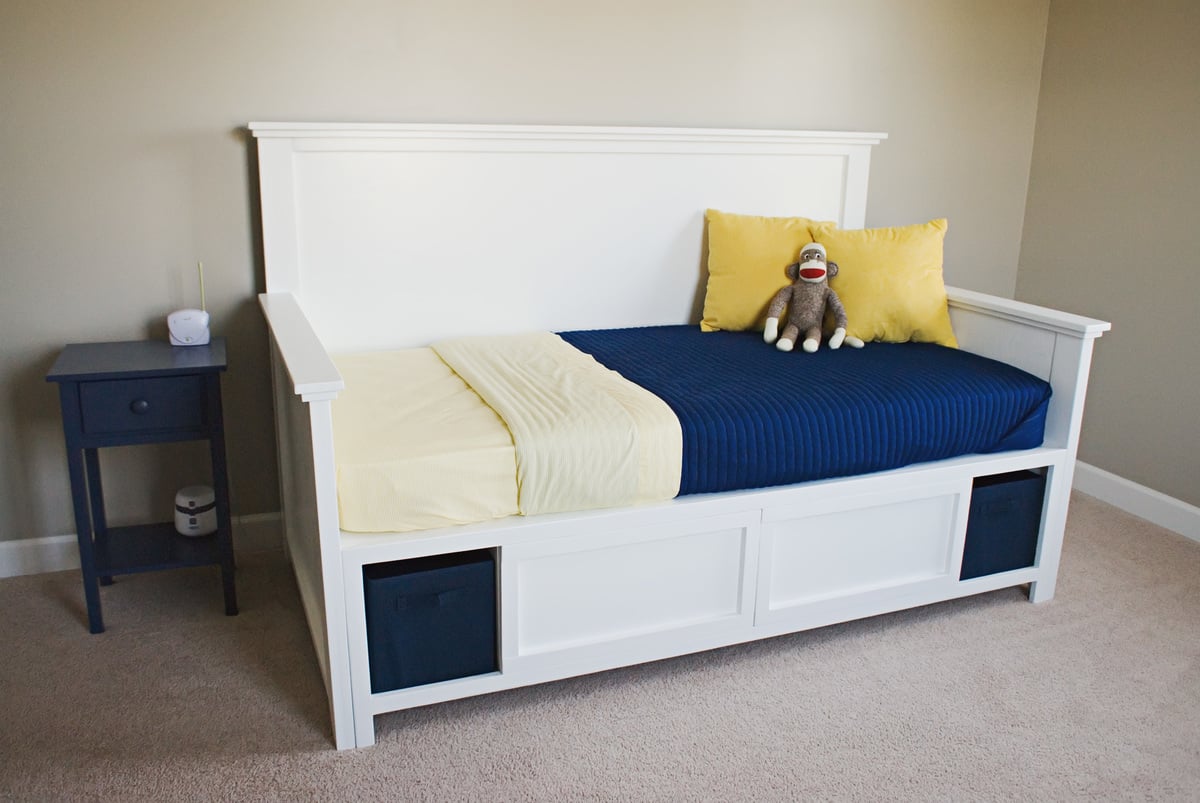
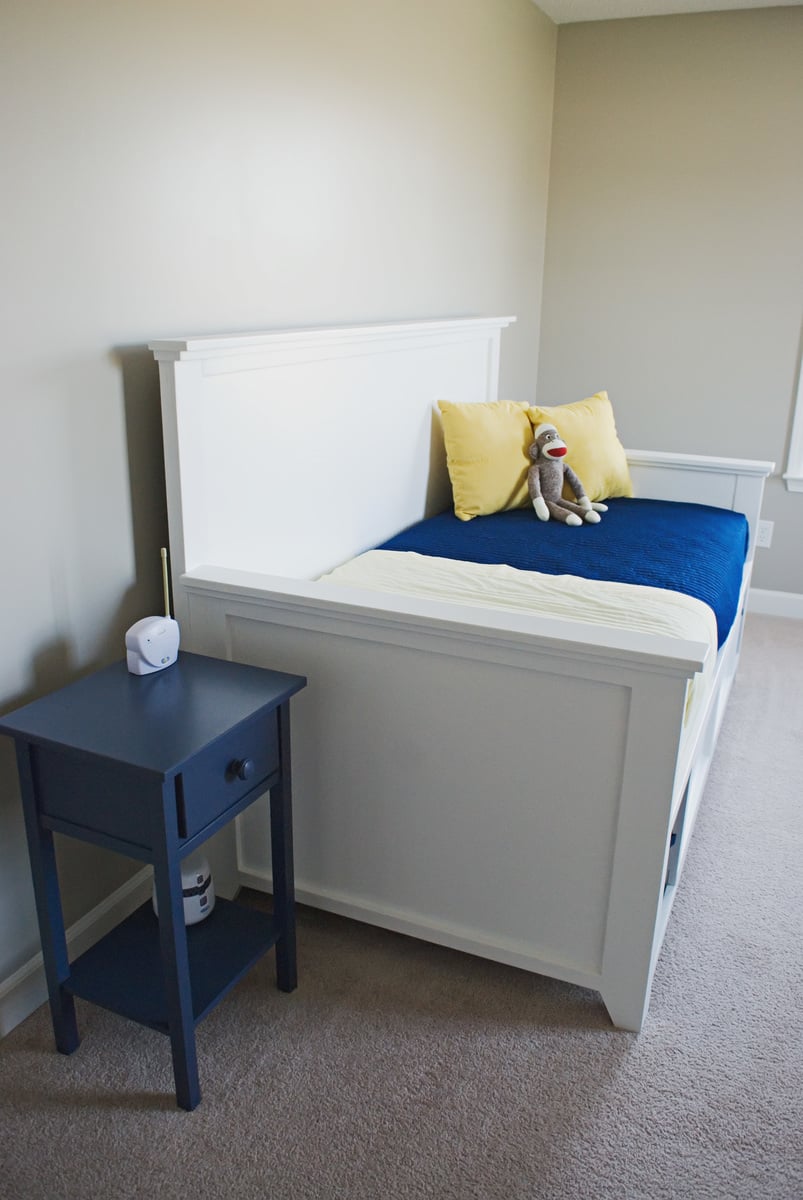
Finish Used
White satin paint from behr
I sanded between coats and used a fine bristle brush.
I sanded between coats and used a fine bristle brush.
Recommended Skill Level
Beginner