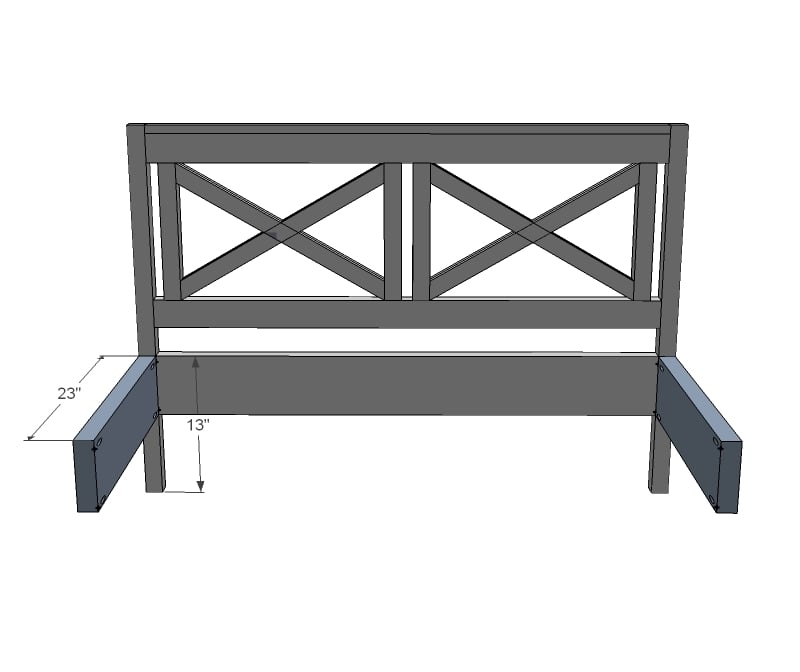
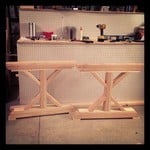
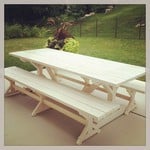
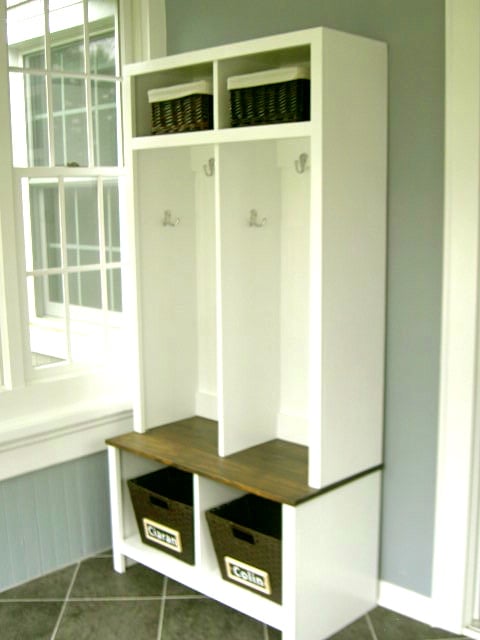
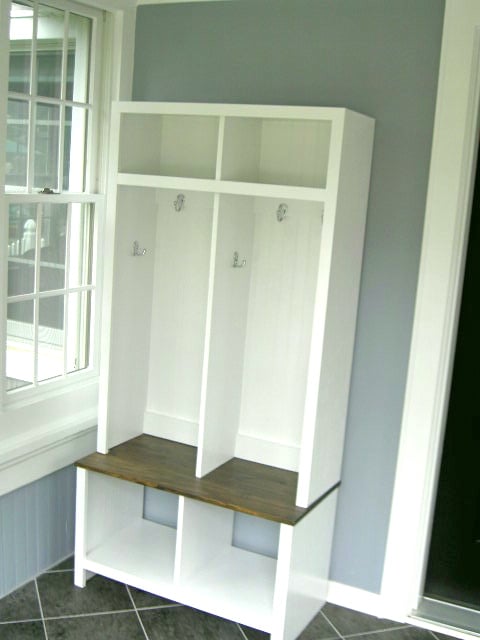
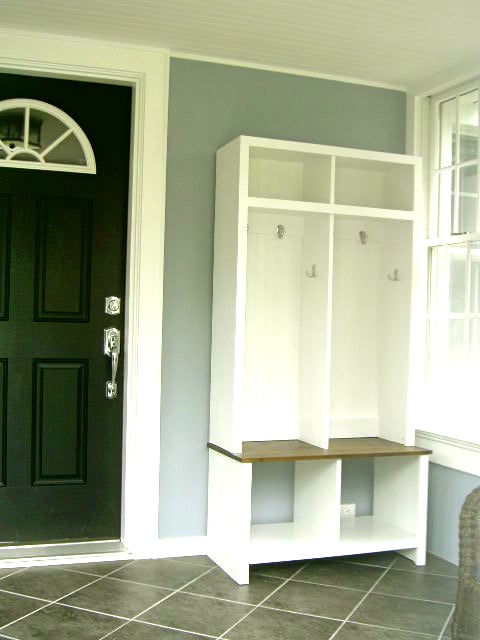
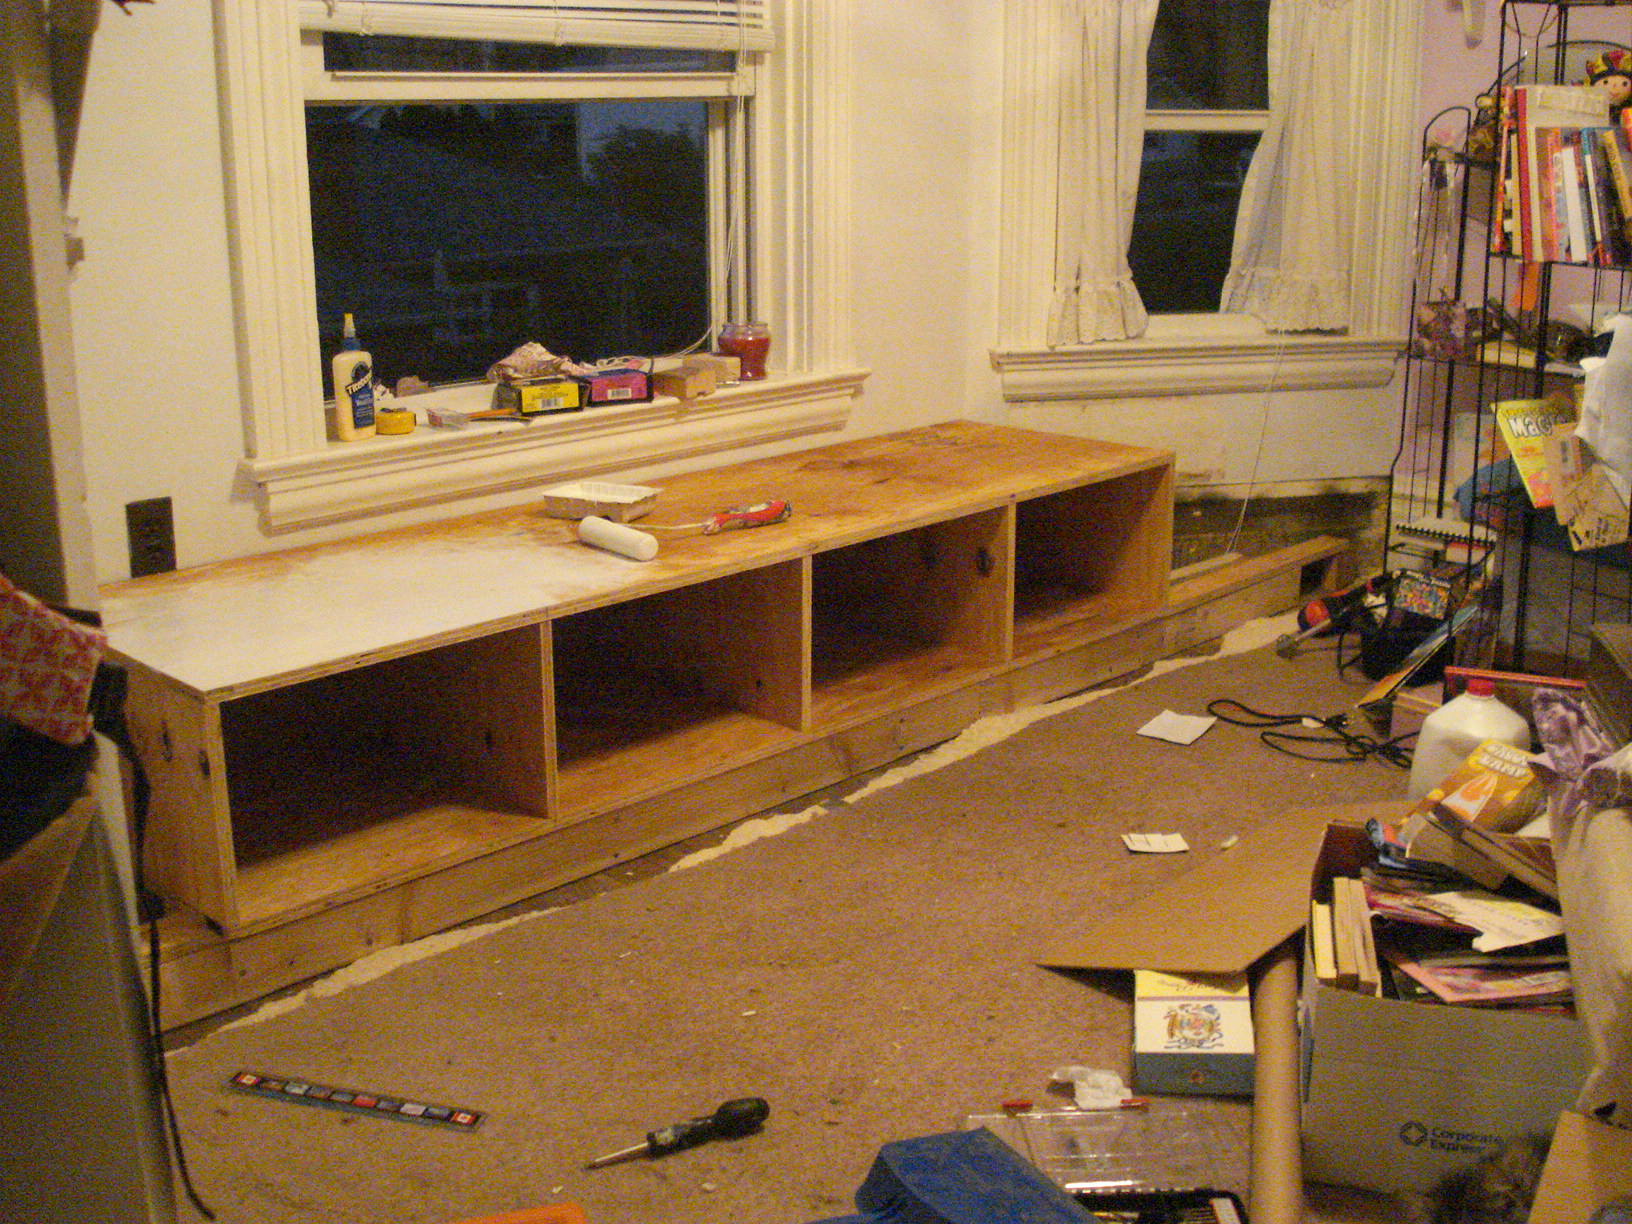
I was looking to make my foyer a bit more kid friendly while still being coze and practical. I came across the modern farm bench plans, and I knew it was the perfect fit!
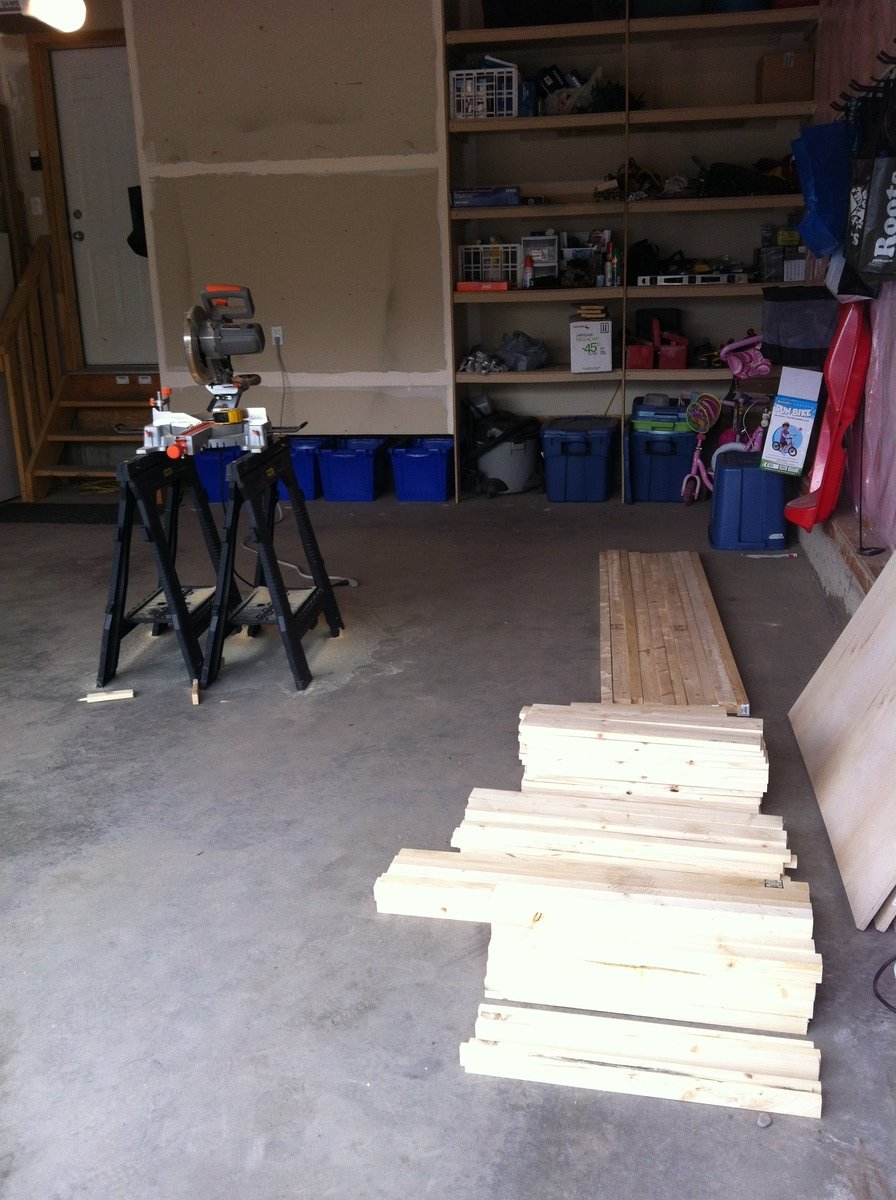
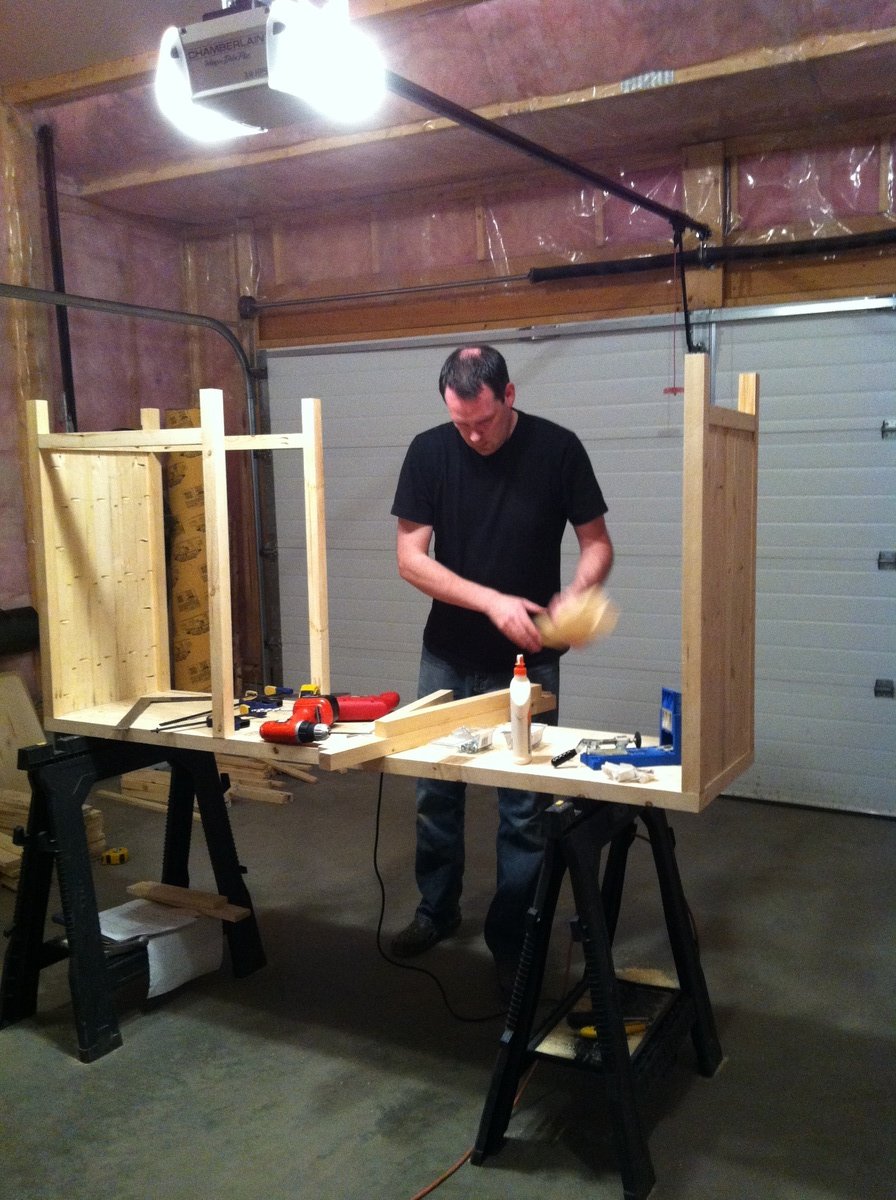
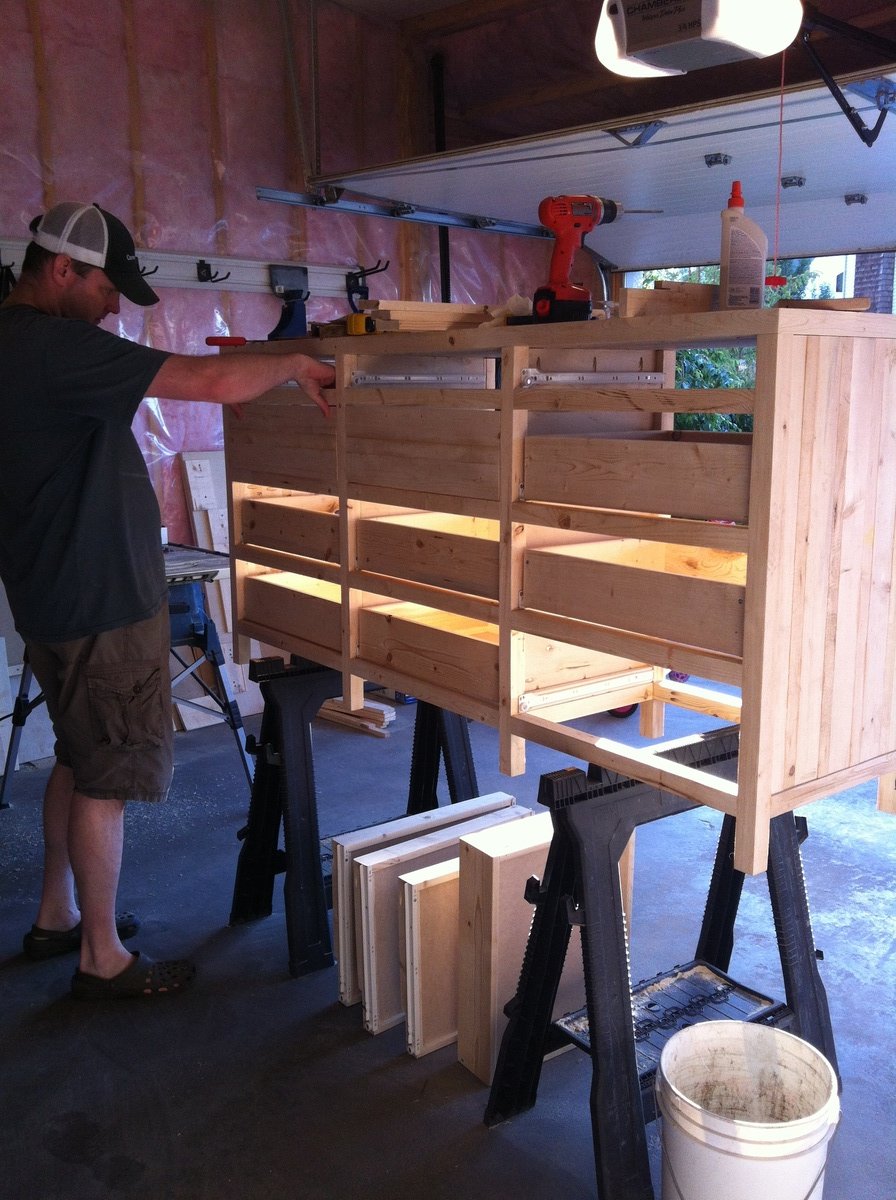
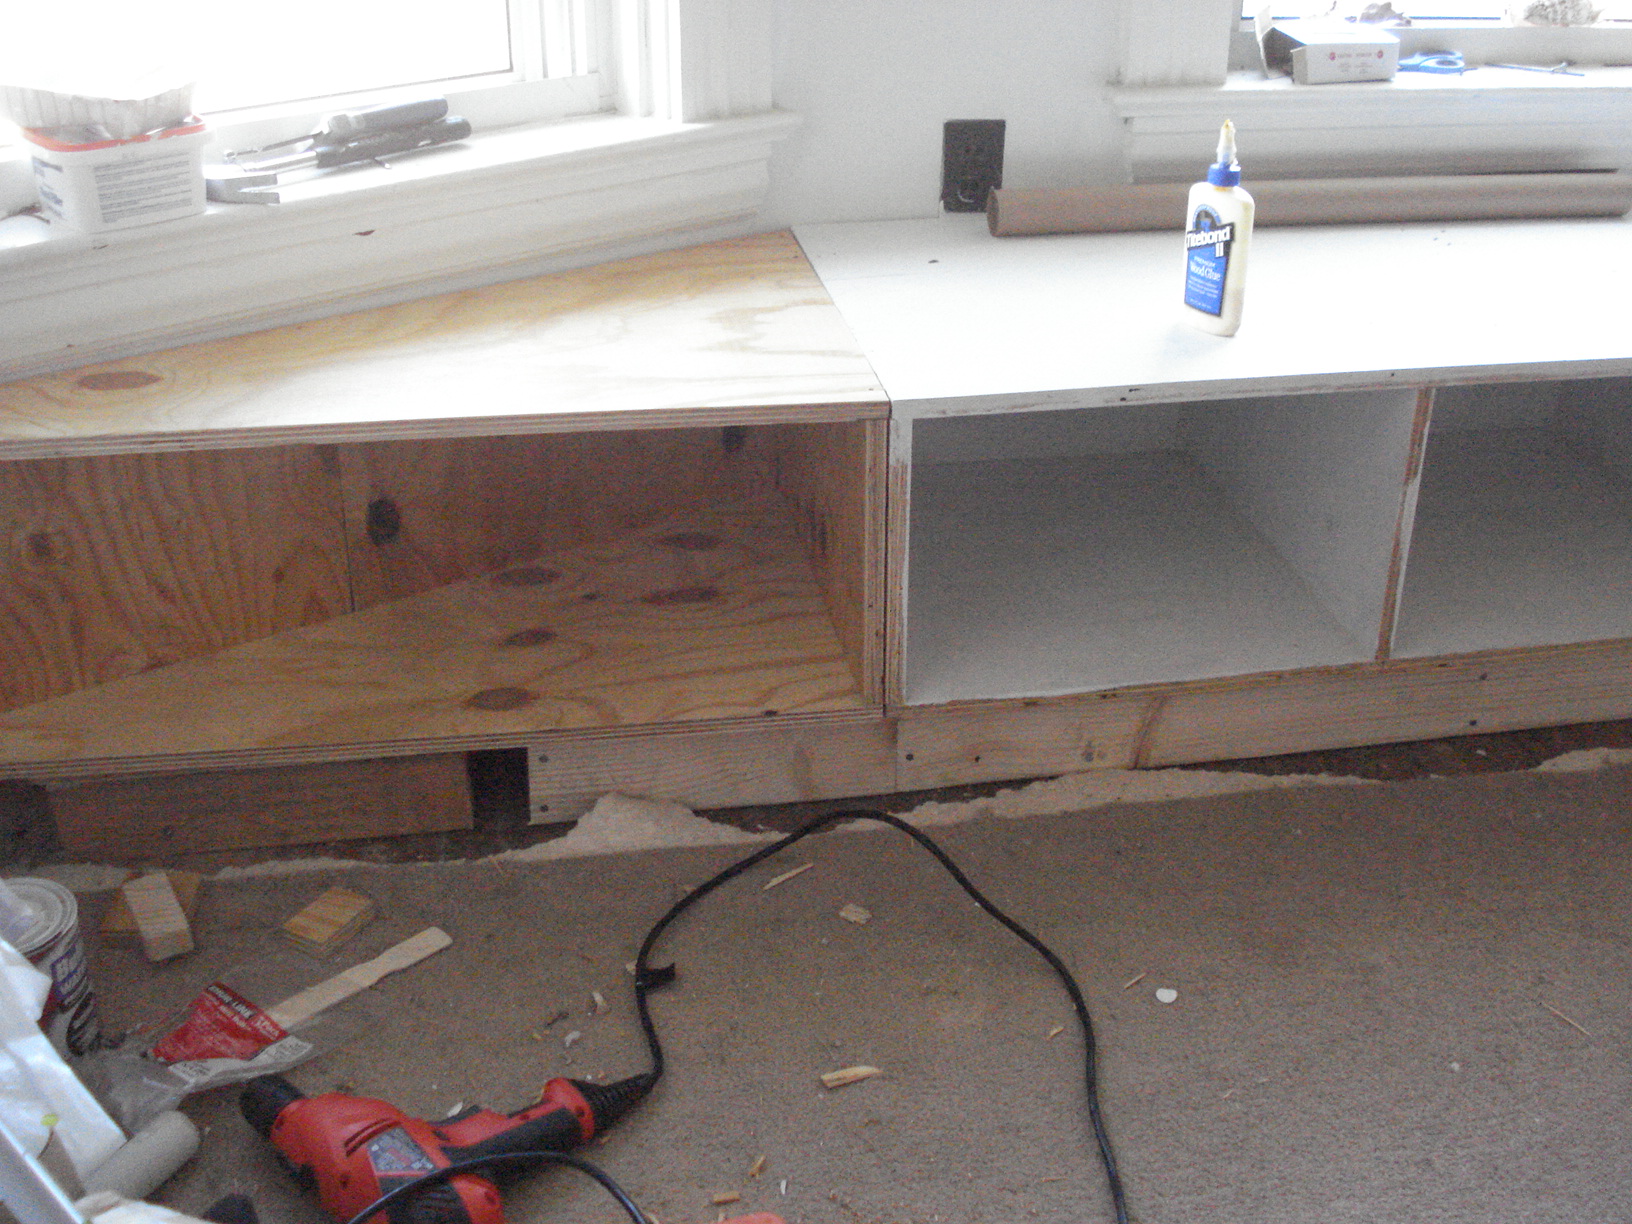
I have done a few other plans, but all with help. This project I started around 9 pm (after bedtime) one night, and by 11:30, it was completely built and stained. My son was climbing all over it by the next morning :)
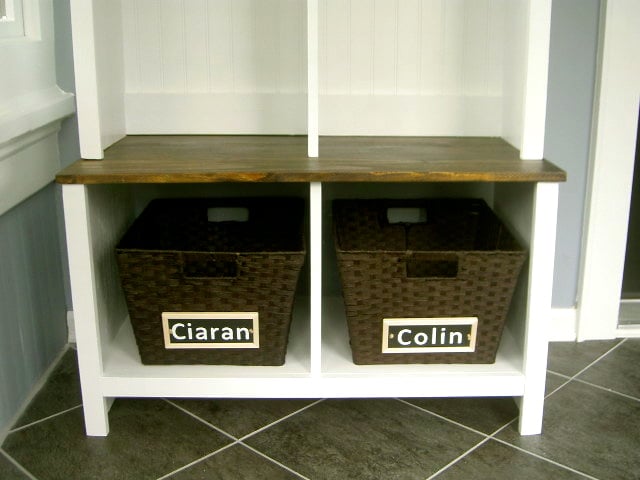
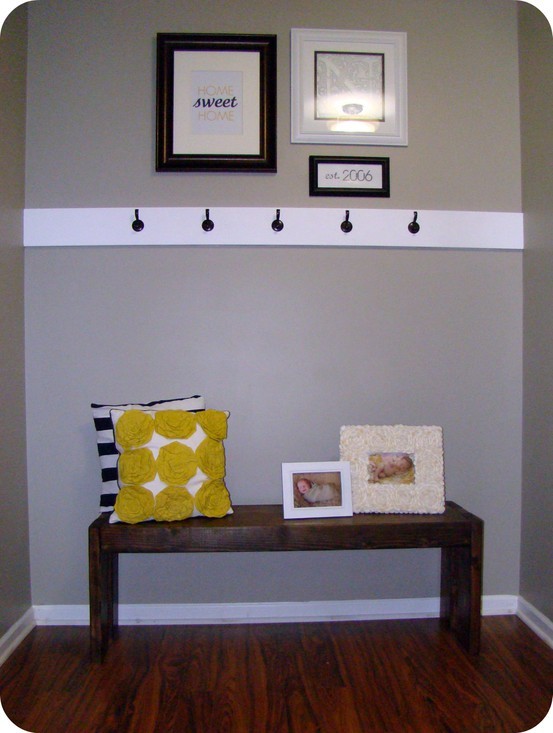
I love it - I think it adds the perfect bit of rustic charm to my foyer, while still giving my little guy a sturdy spot to get his shoes/coat on. I have since added baskets underneath for winter storage.
This will definitely not be my last build! Thanks Ana!
Estimated Time Investment
Afternoon Project (3-6 Hours)
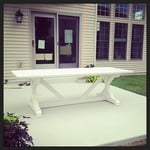
Finish Used
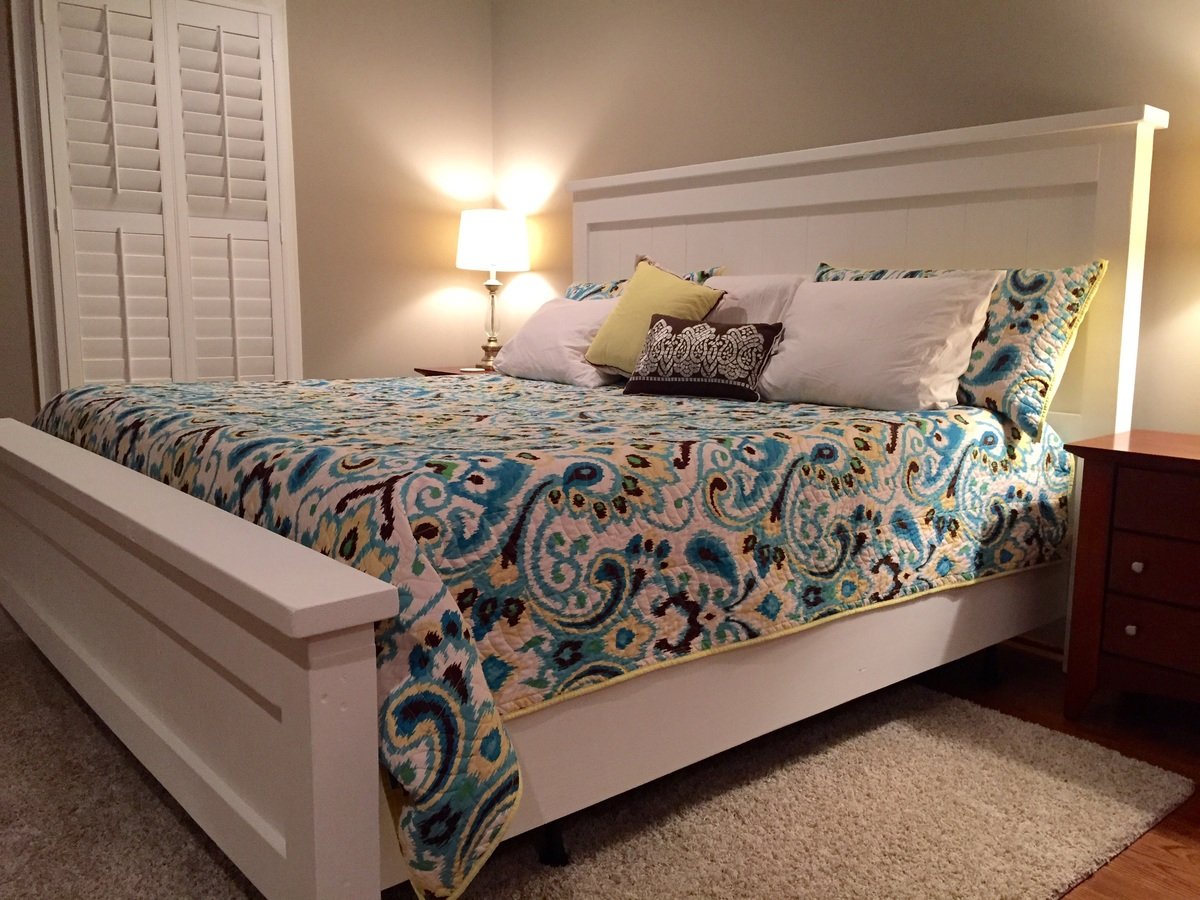
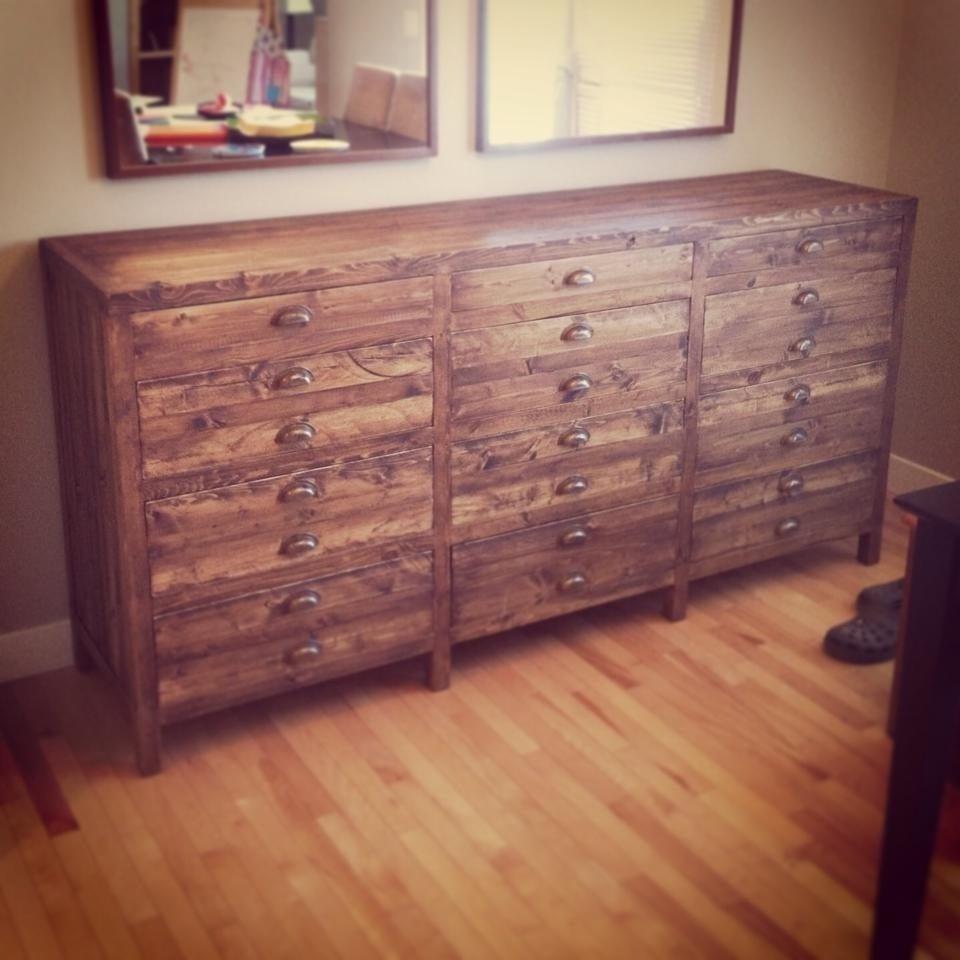
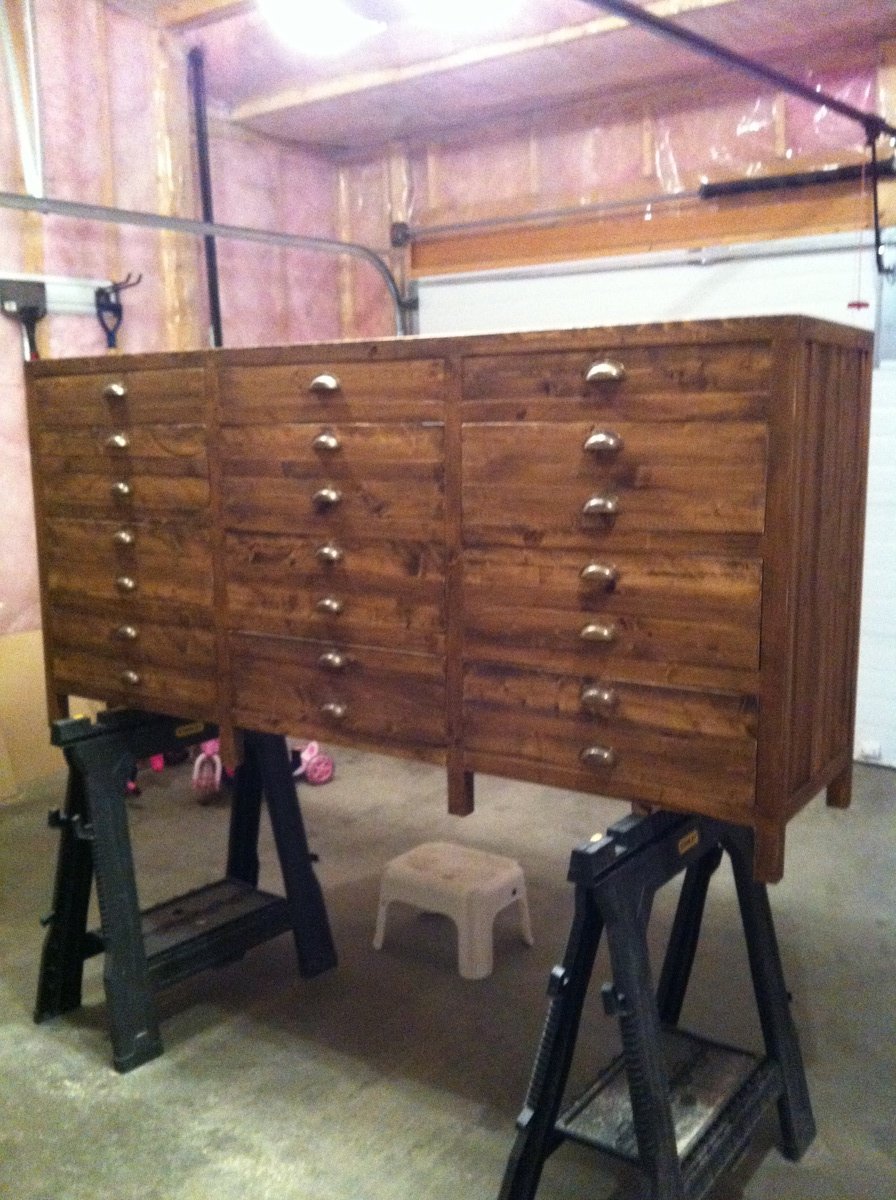
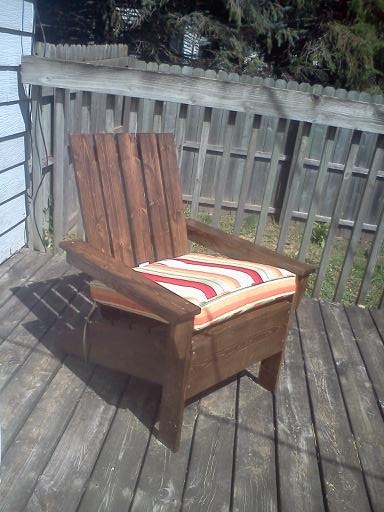
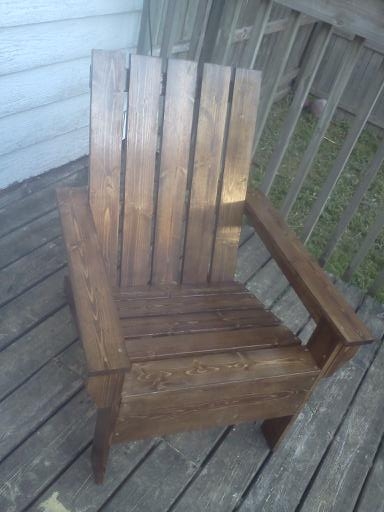
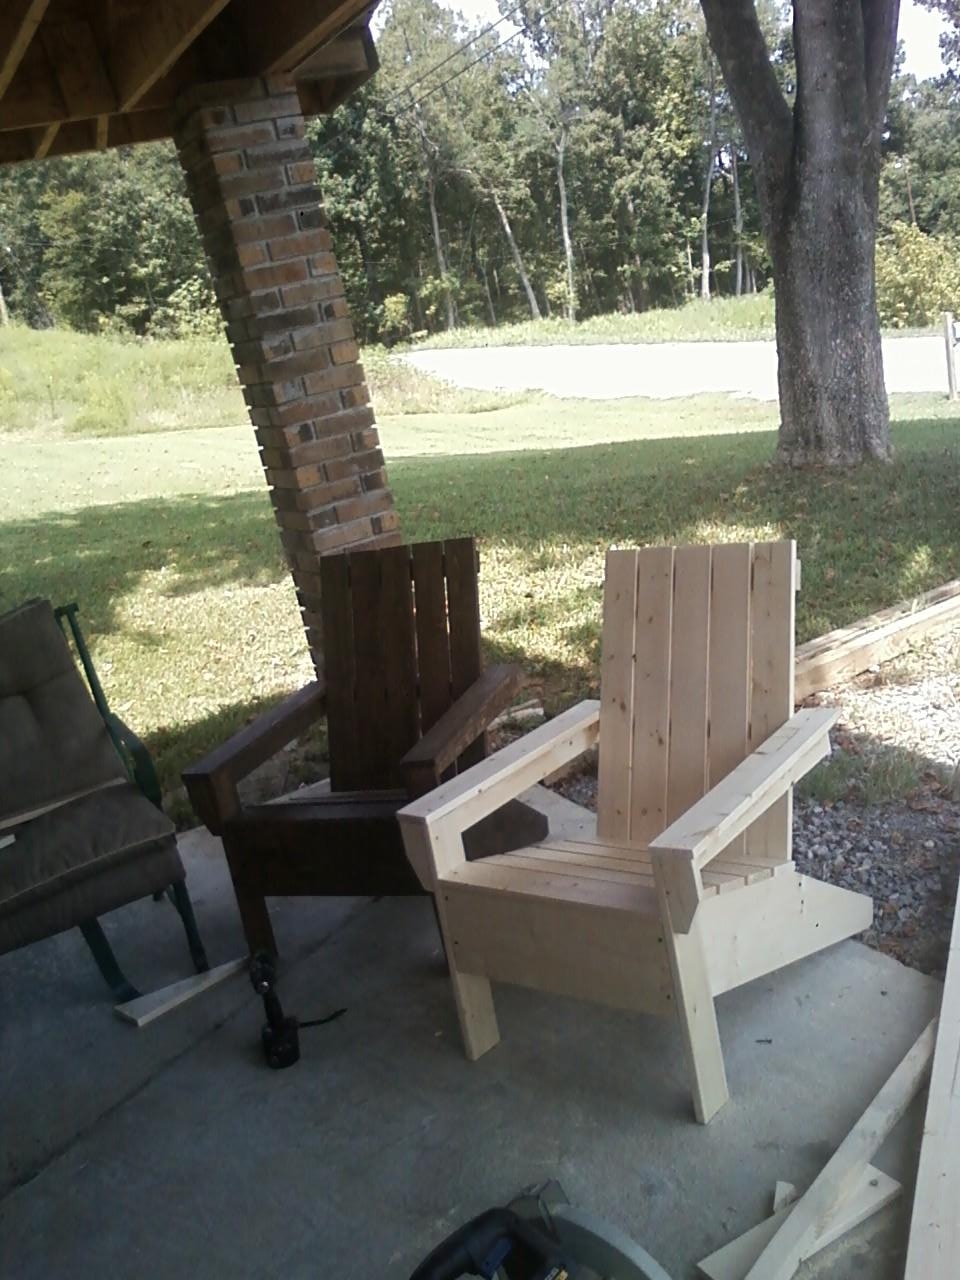
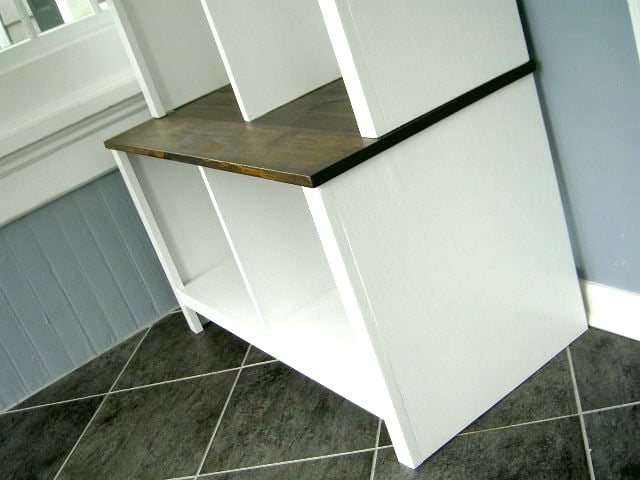
I stained using a mixture of both Kona and Dark Walnut stain from Rustoleum. It definitely wasn't a science - just slopped a little of each on, waited about 3 minutes, and wiped off.
I love the finish - rustic, but not too "country". The dark Kona stain definitely highlights the knots and grooves of the wood!
Recommended Skill Level
Beginner


Comments
Ana White
Mon, 04/06/2015 - 16:32
This is truly gorgeous!
This is truly gorgeous!
In reply to This is truly gorgeous! by Ana White
bzhayes
Tue, 04/28/2015 - 12:05
Thank you, Ana! Your comment
Thank you, Ana! Your comment means a lot to me! =-)
Linda7
Tue, 04/07/2015 - 21:21
NICE!!
This is indeed beautiful! Would you mind sharing where you found your handles? Any words of wisdom on the finish? Thank you!
In reply to NICE!! by Linda7
bzhayes
Tue, 04/28/2015 - 12:07
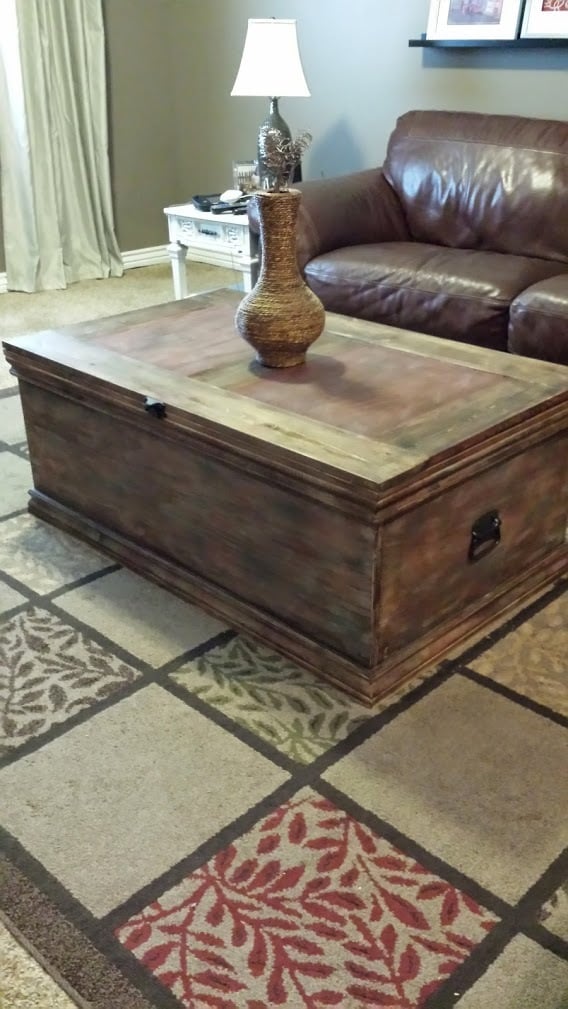
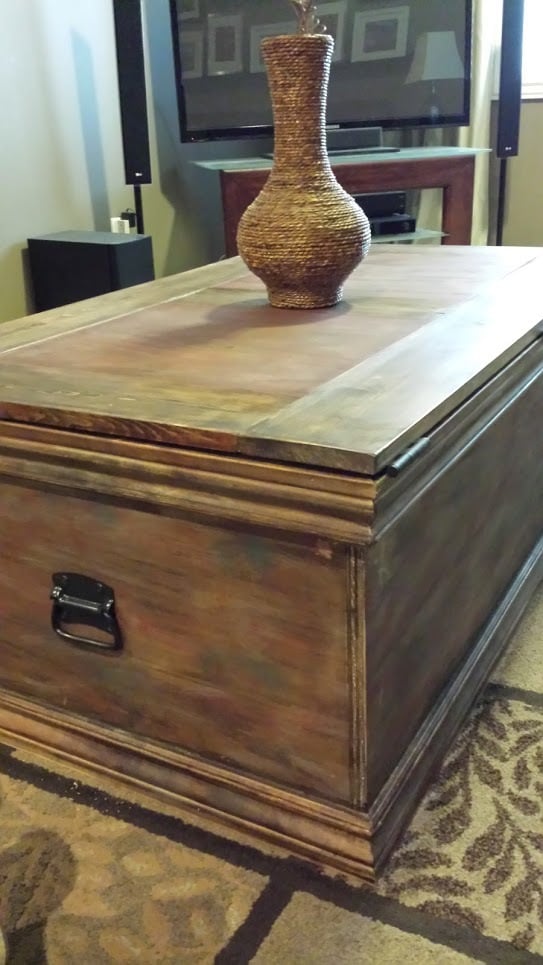
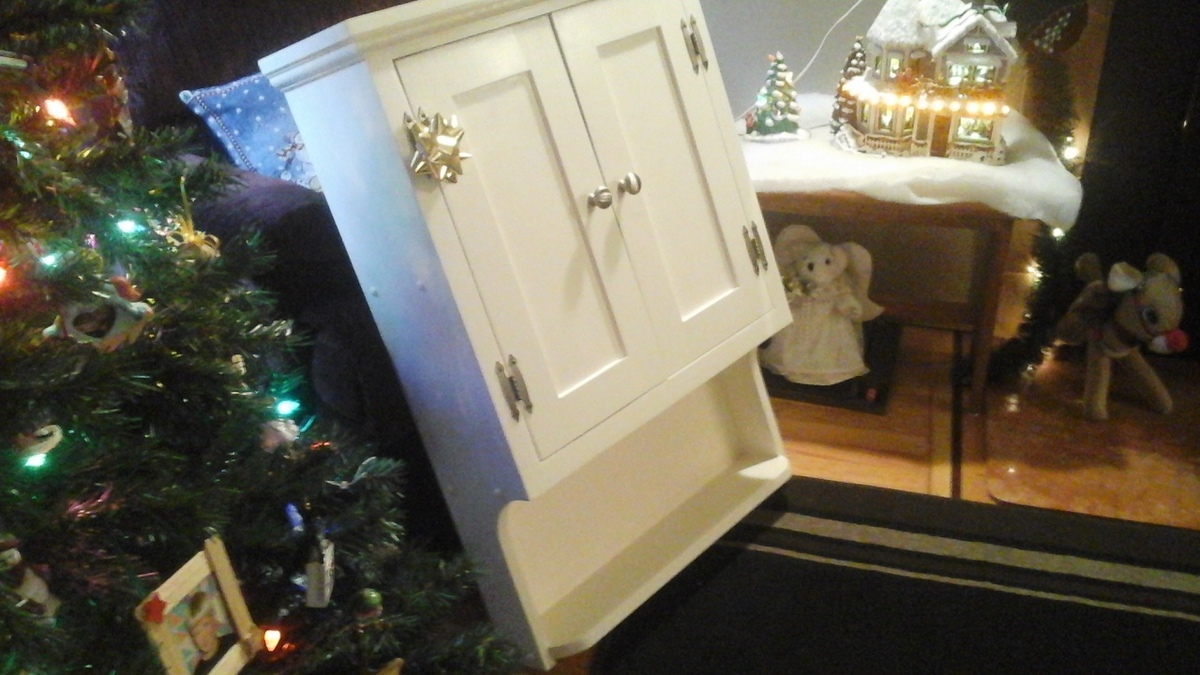
The handles are from Ace
The handles are from Ace hardware--I had to spray them antique bronze since they only had them in silver. I stained the trunk is dark walnut from minwax and then used diluted paint in barn red and teal to spread some color here and there. Finished with some polyurethane in satin (spray). That's it!
Linda7
Wed, 05/06/2015 - 17:39
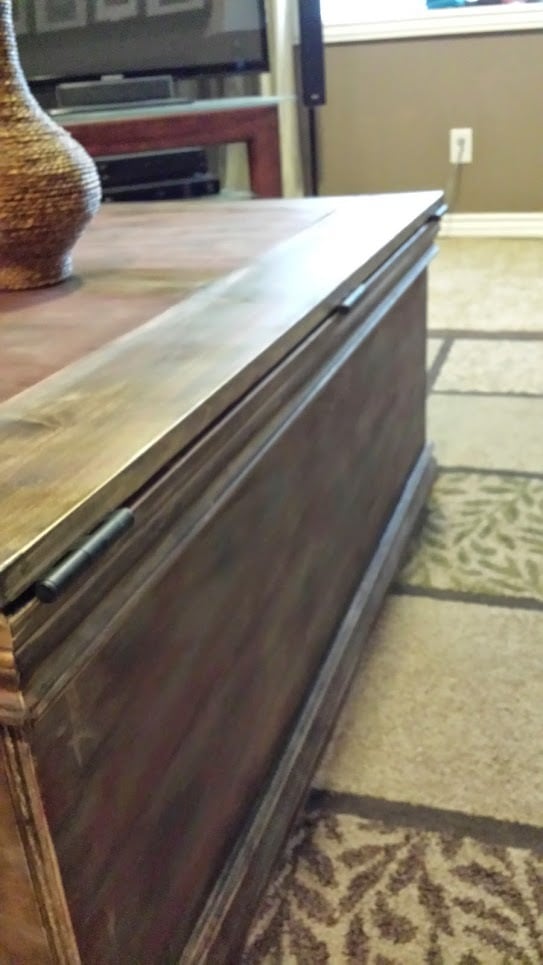
Hinges
Hi Beverly,
I just sent you another email, and then found your comments here. (I forgot we had communicated before. Old-timers disease! lol) Just checking on the hinges. Thanks, Linda
saomkinar
Tue, 12/25/2018 - 19:42
Hinges
I don't know if you will check the comments on this brag post since you posted almost 3 years ago, but I'm also curious about the hinges to use. I have watched some youtube videos that show how to chisel out a space for the hinge, but I know there must be an easier way and an easier hinge to put on this box.
Thanks so much ,
Apryl