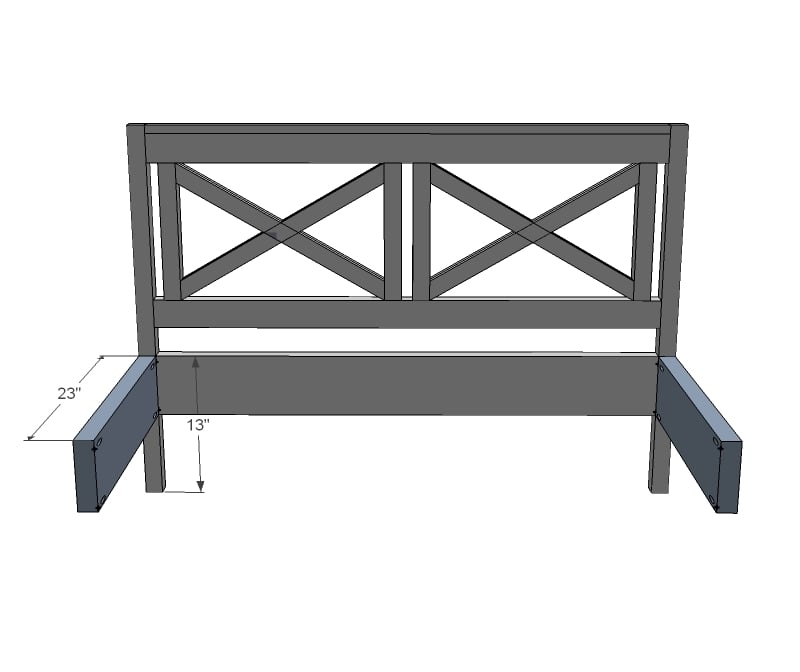
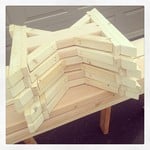
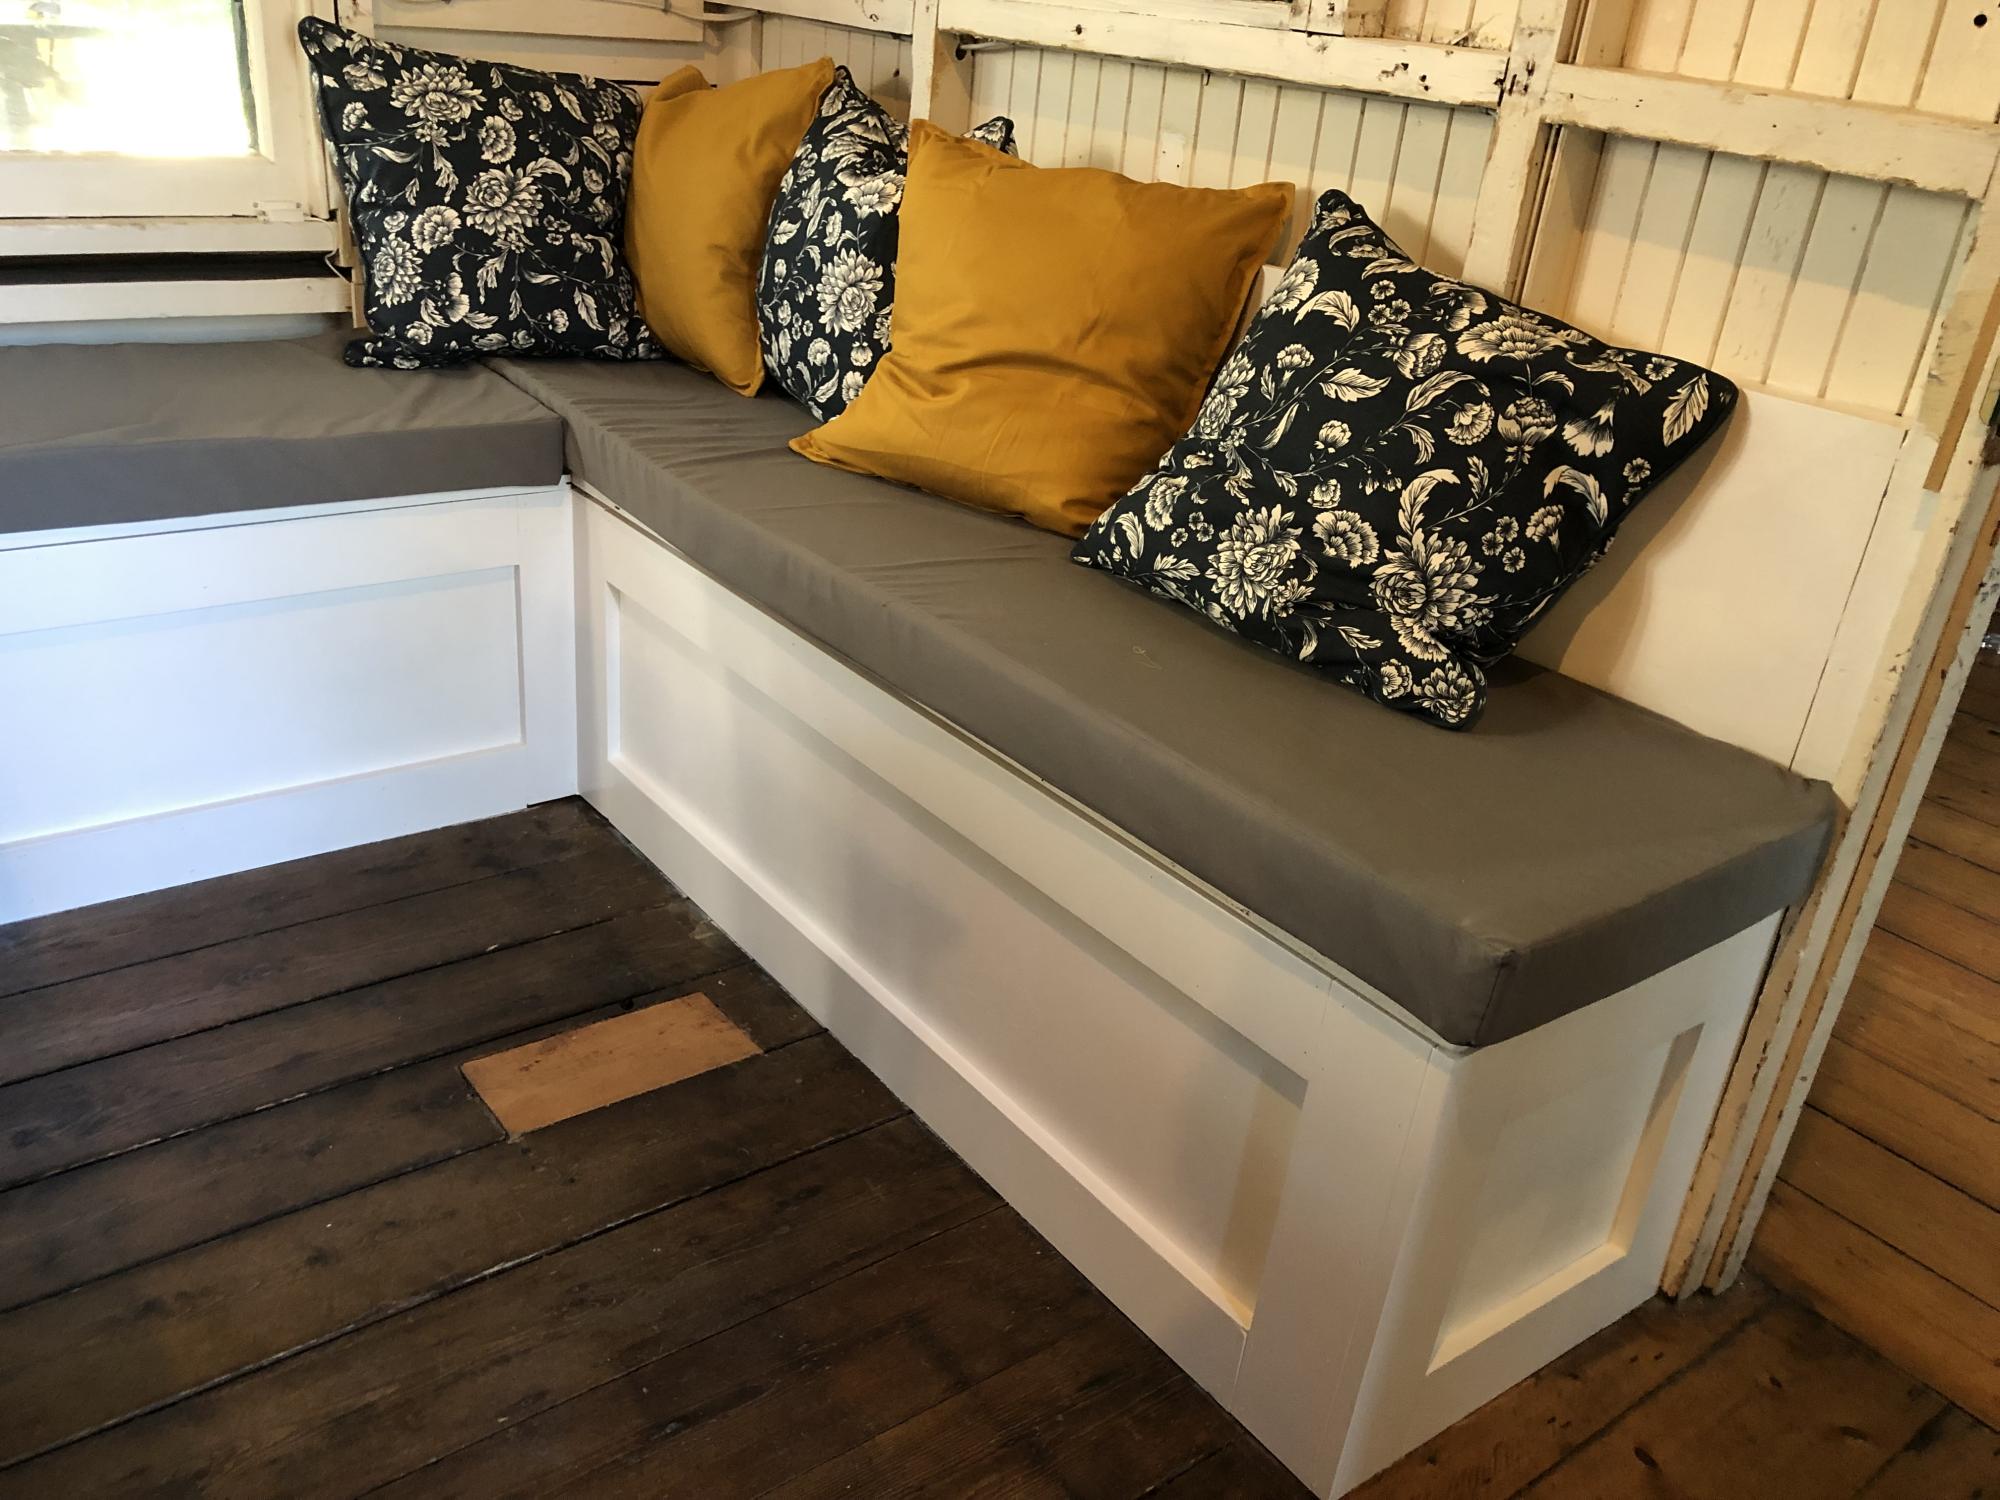
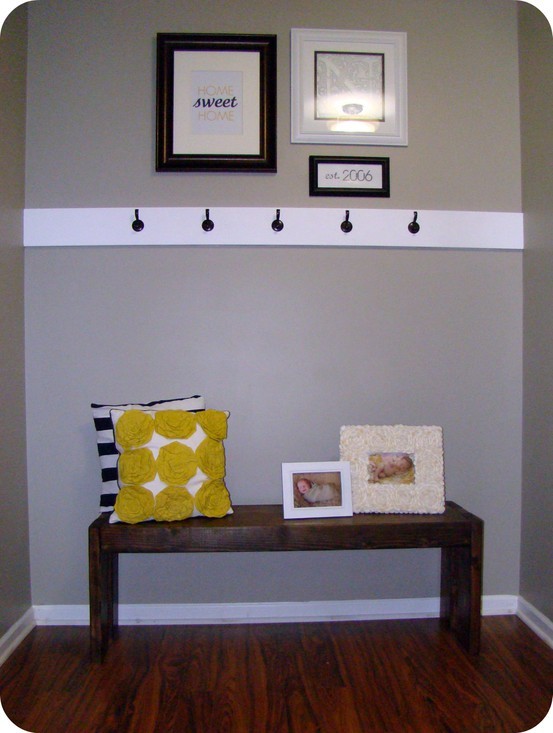
I was looking to make my foyer a bit more kid friendly while still being coze and practical. I came across the modern farm bench plans, and I knew it was the perfect fit!
I have done a few other plans, but all with help. This project I started around 9 pm (after bedtime) one night, and by 11:30, it was completely built and stained. My son was climbing all over it by the next morning :)
I love it - I think it adds the perfect bit of rustic charm to my foyer, while still giving my little guy a sturdy spot to get his shoes/coat on. I have since added baskets underneath for winter storage.
This will definitely not be my last build! Thanks Ana!
Estimated Time Investment
Afternoon Project (3-6 Hours)
Finish Used
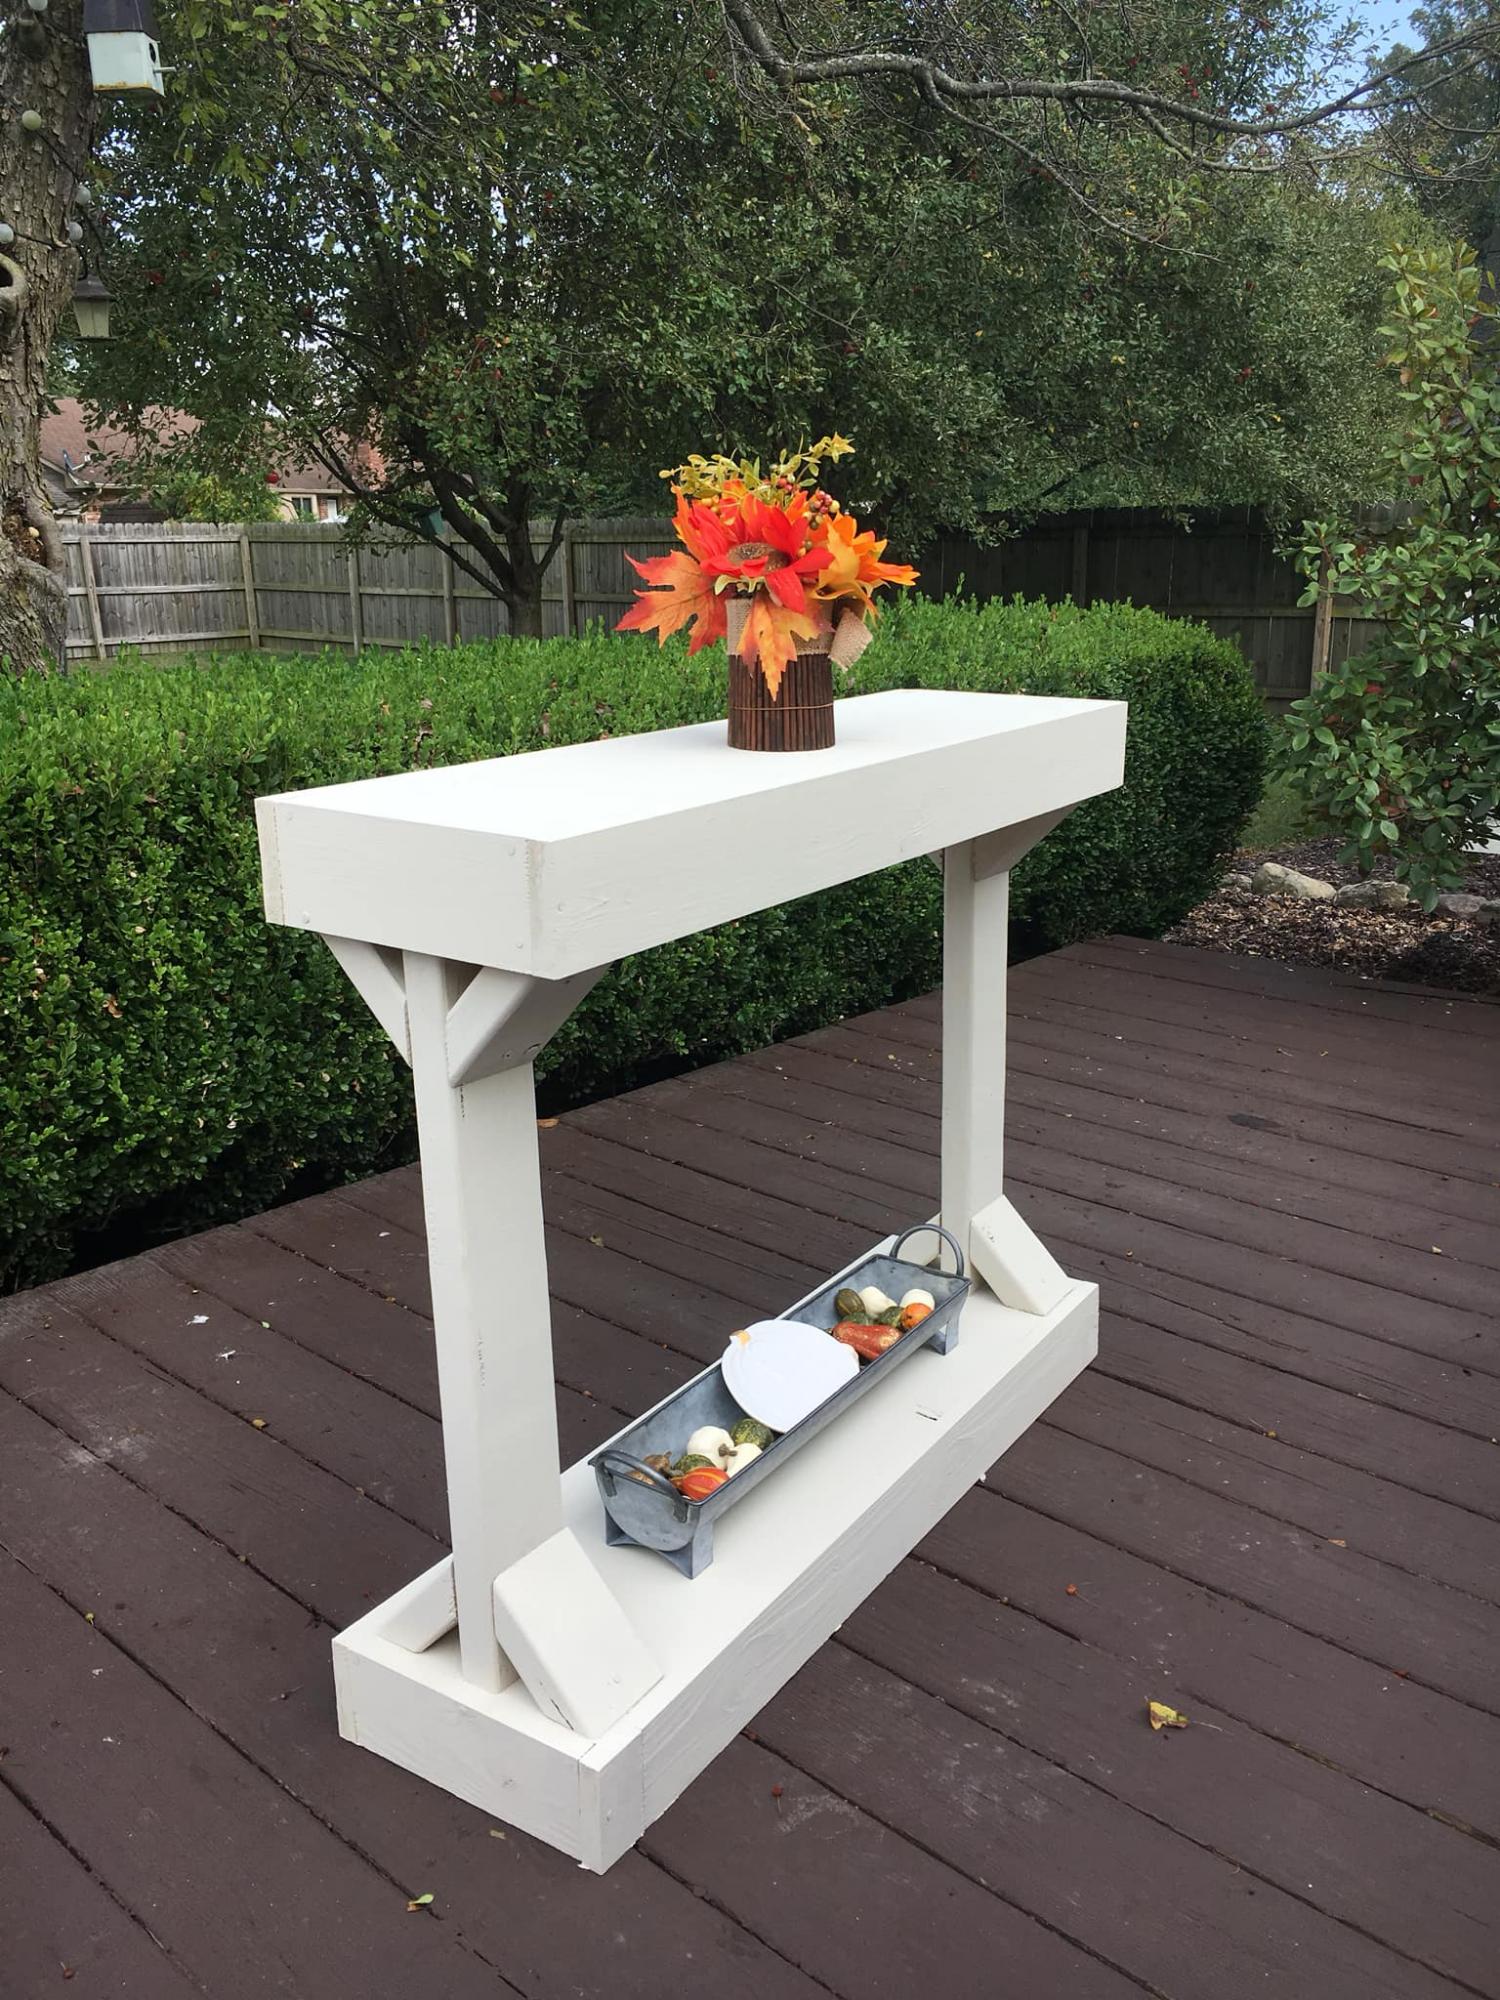
I stained using a mixture of both Kona and Dark Walnut stain from Rustoleum. It definitely wasn't a science - just slopped a little of each on, waited about 3 minutes, and wiped off.
I love the finish - rustic, but not too "country". The dark Kona stain definitely highlights the knots and grooves of the wood!
Recommended Skill Level
Beginner


Comments
RenoRustic
Wed, 05/27/2015 - 13:36
Very Nice!
Very Nice!
Gcomfort
Fri, 06/05/2015 - 08:12
Thanks!
Thanks!
new2this
Sun, 05/31/2015 - 01:31
Hi gcomfort I am in love with
Hi gcomfort I am in love with the top of your table! it is beautiful!! what wood did you use for to create the smooth surface?
Gcomfort
Fri, 06/05/2015 - 08:11
Thanks
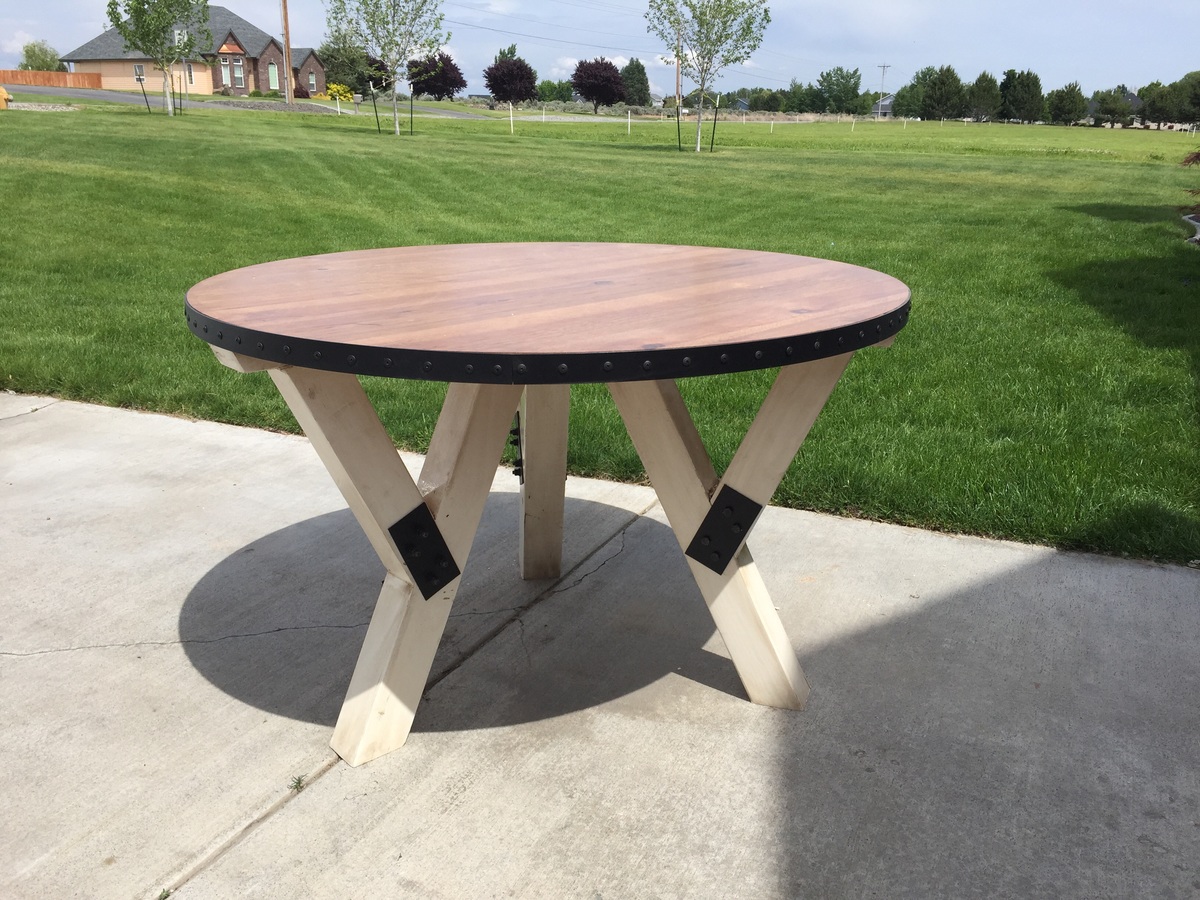
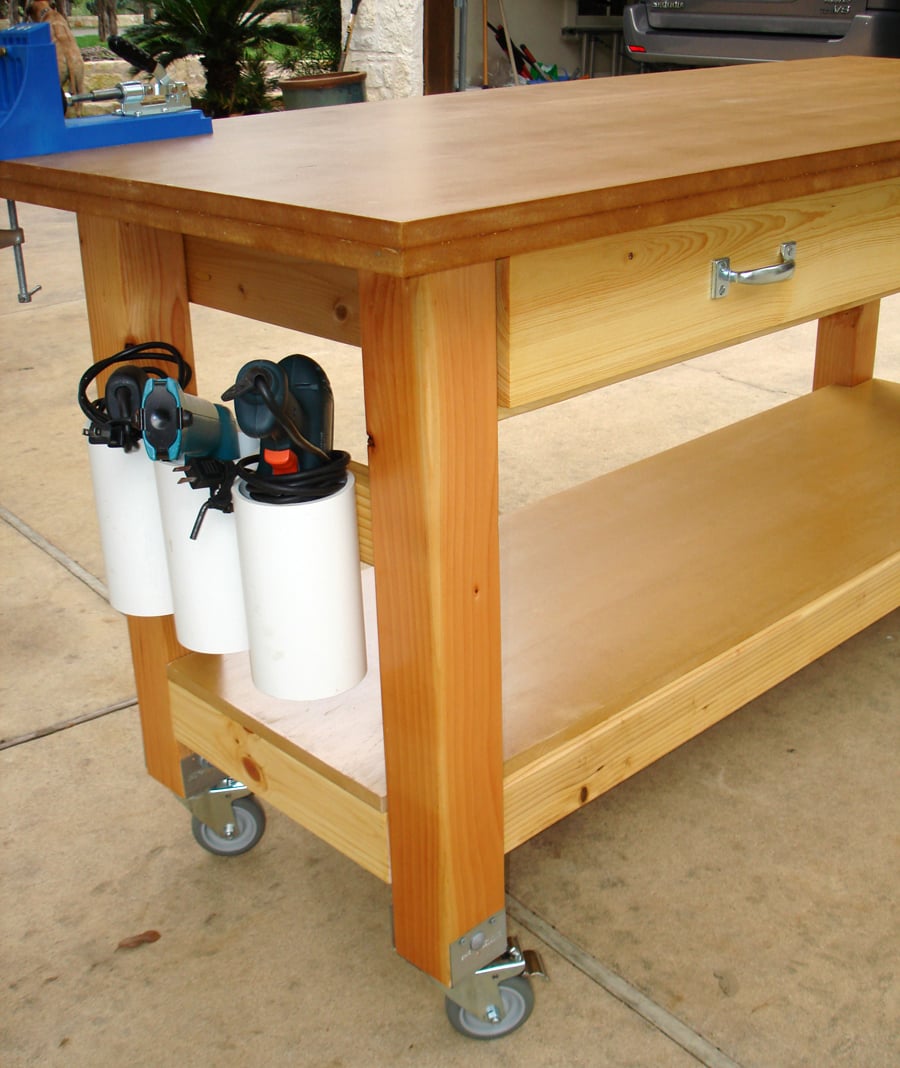
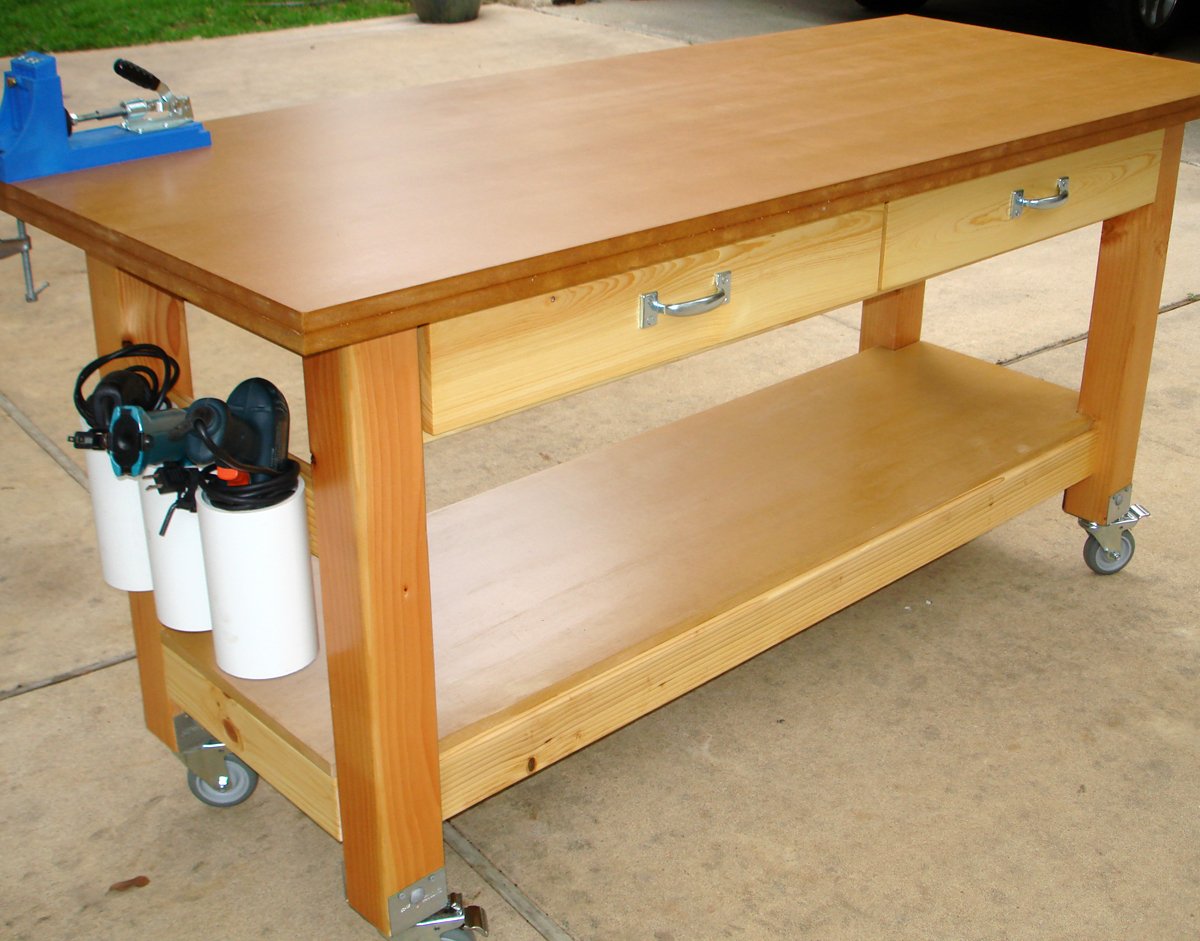
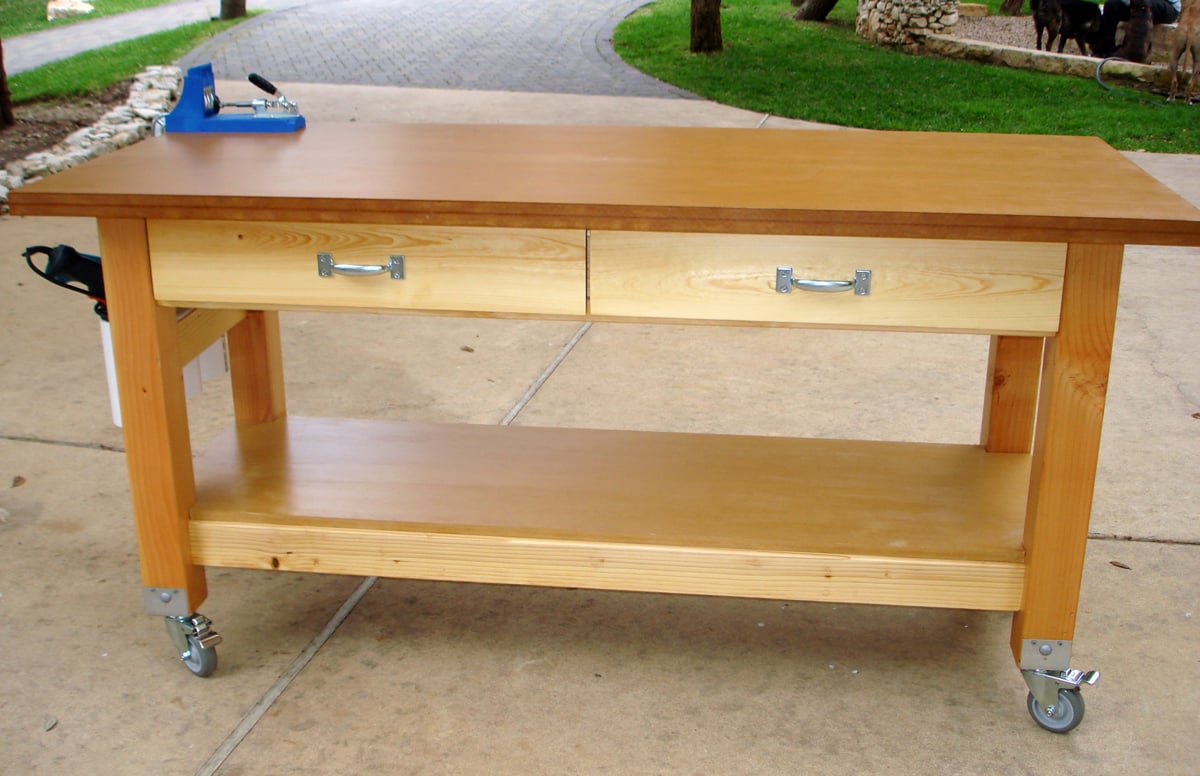
The table top is 1.5 inches thick made up of 2 layers of 3/4 inch think plywood. The top layer of the table top is hickory plywood (the top and bottom layers of the plywood are hickory). The base layer of the table top is 3/4 inch general plywood from Home Depot.
Thanks, again.
bcolligen
Sat, 08/29/2015 - 08:49
What is the metal accent?
I love this!!! Where did you buy the metal accent that goes around the perimeter of the table top? What is it?
Gcomfort
Sat, 09/05/2015 - 07:30
Thanks! I bought it from
Thanks! I bought it from Lowes. It's just 1.5in Wide aluminum painted black and connected with a bunch of black, flat headed screws.
Gcomfort
Sat, 09/05/2015 - 07:30
Thanks! I bought it from
Thanks! I bought it from Lowes. It's just 1.5in Wide aluminum painted black and connected with a bunch of black, flat headed screws.
bcolligen
Sat, 09/19/2015 - 11:18
Another Question
I actually looked at the hardware stores for something similar before you answered by comment. I wasn't able to find anything that I thought would work. Do you remember what the aluminum is used for in other jobs? Or what area you found it in?
A family member suggested using the metal stips that hold down the end of carpet, but it's not long enough for the table.
Thank you!
gp4eternity25
Sat, 10/12/2019 - 10:03
Chairs
How many chairs would fit with this table?