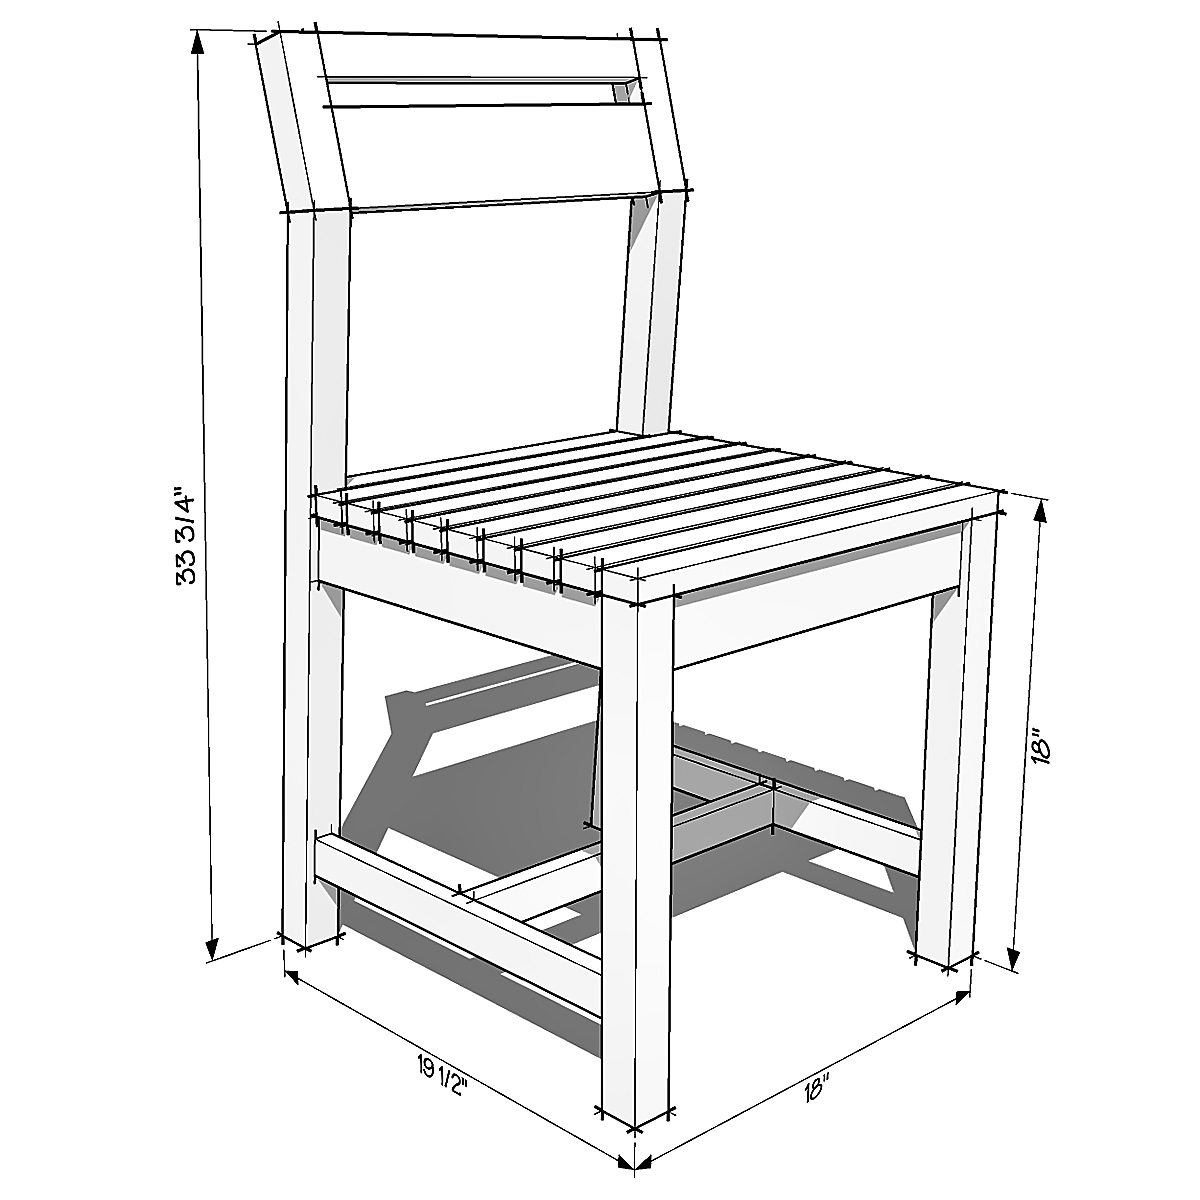
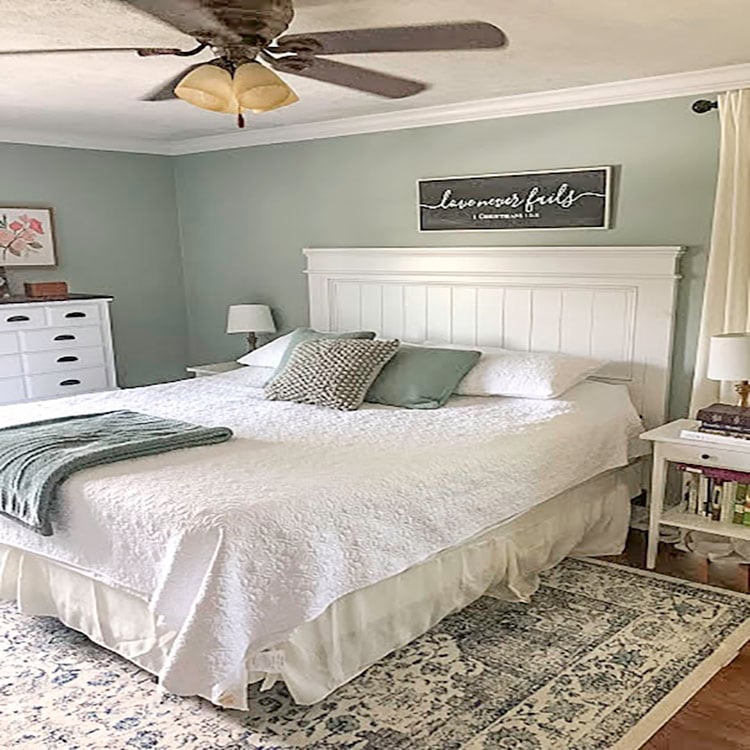
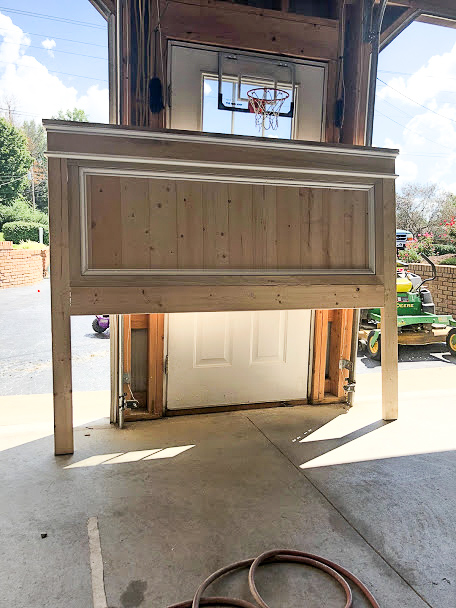
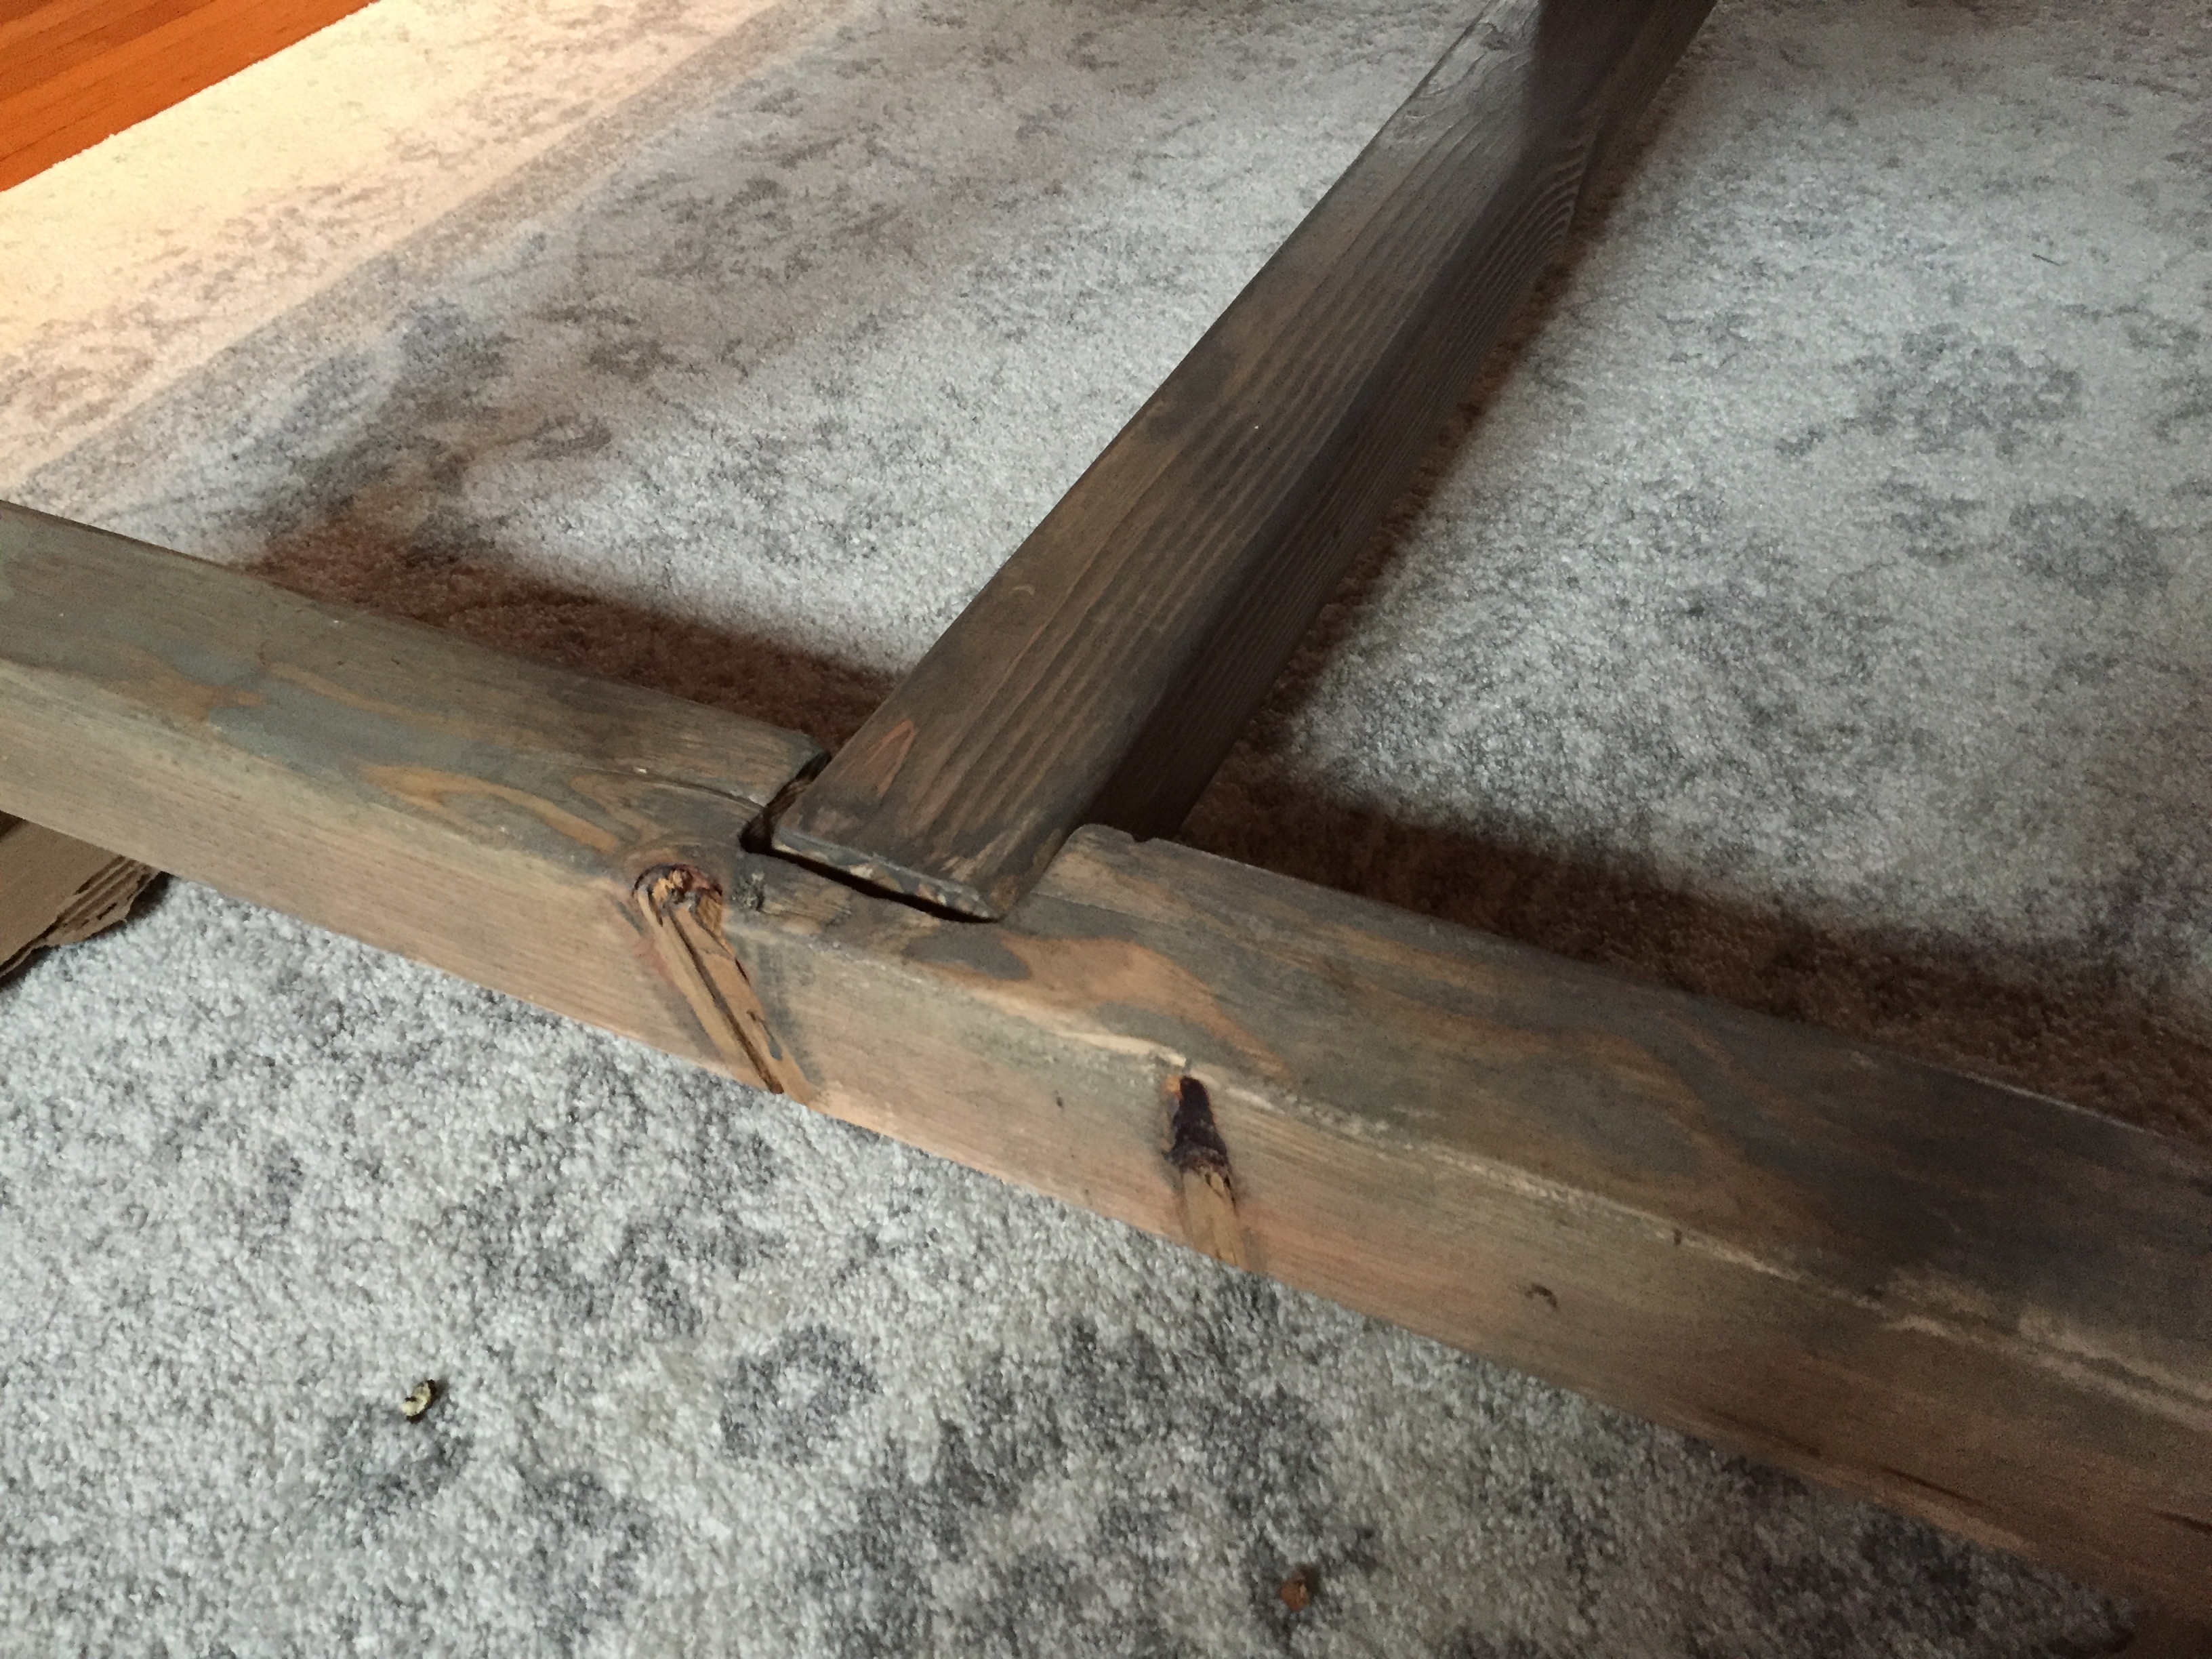
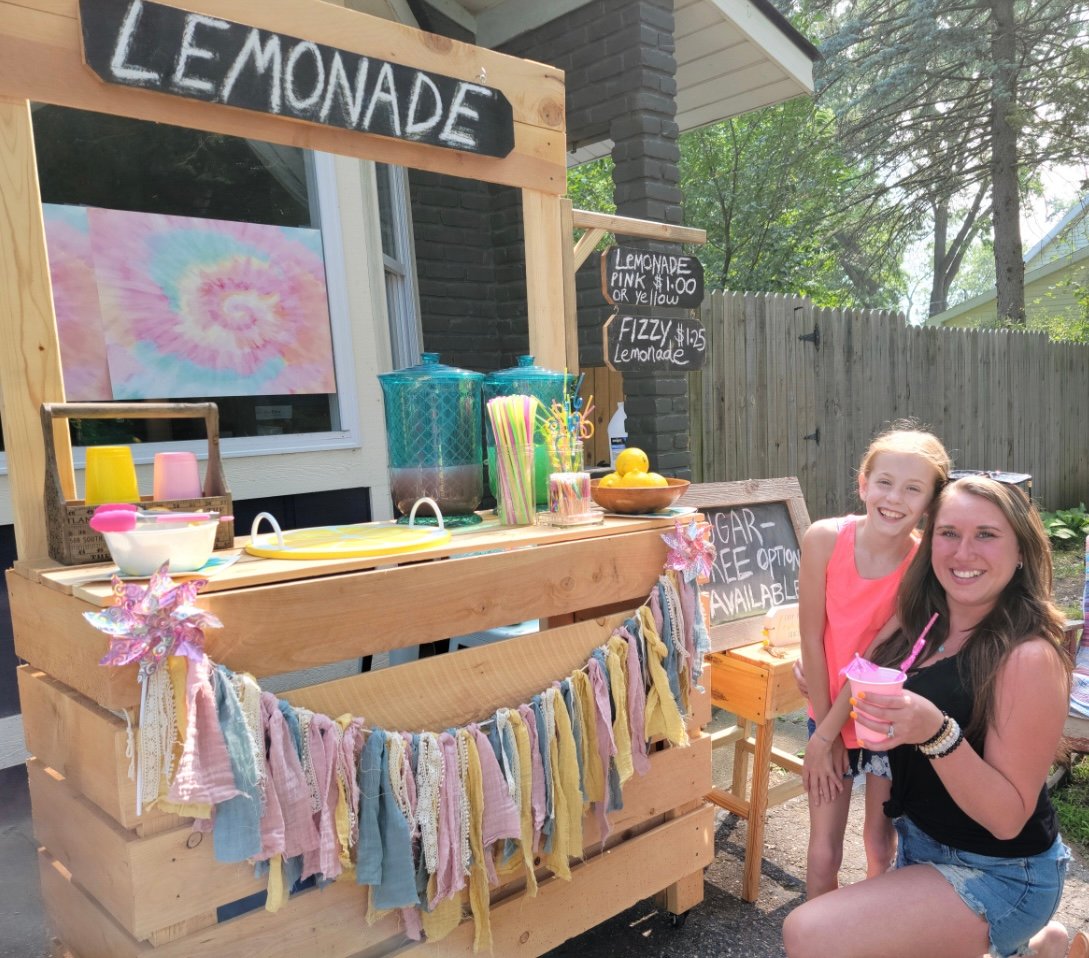
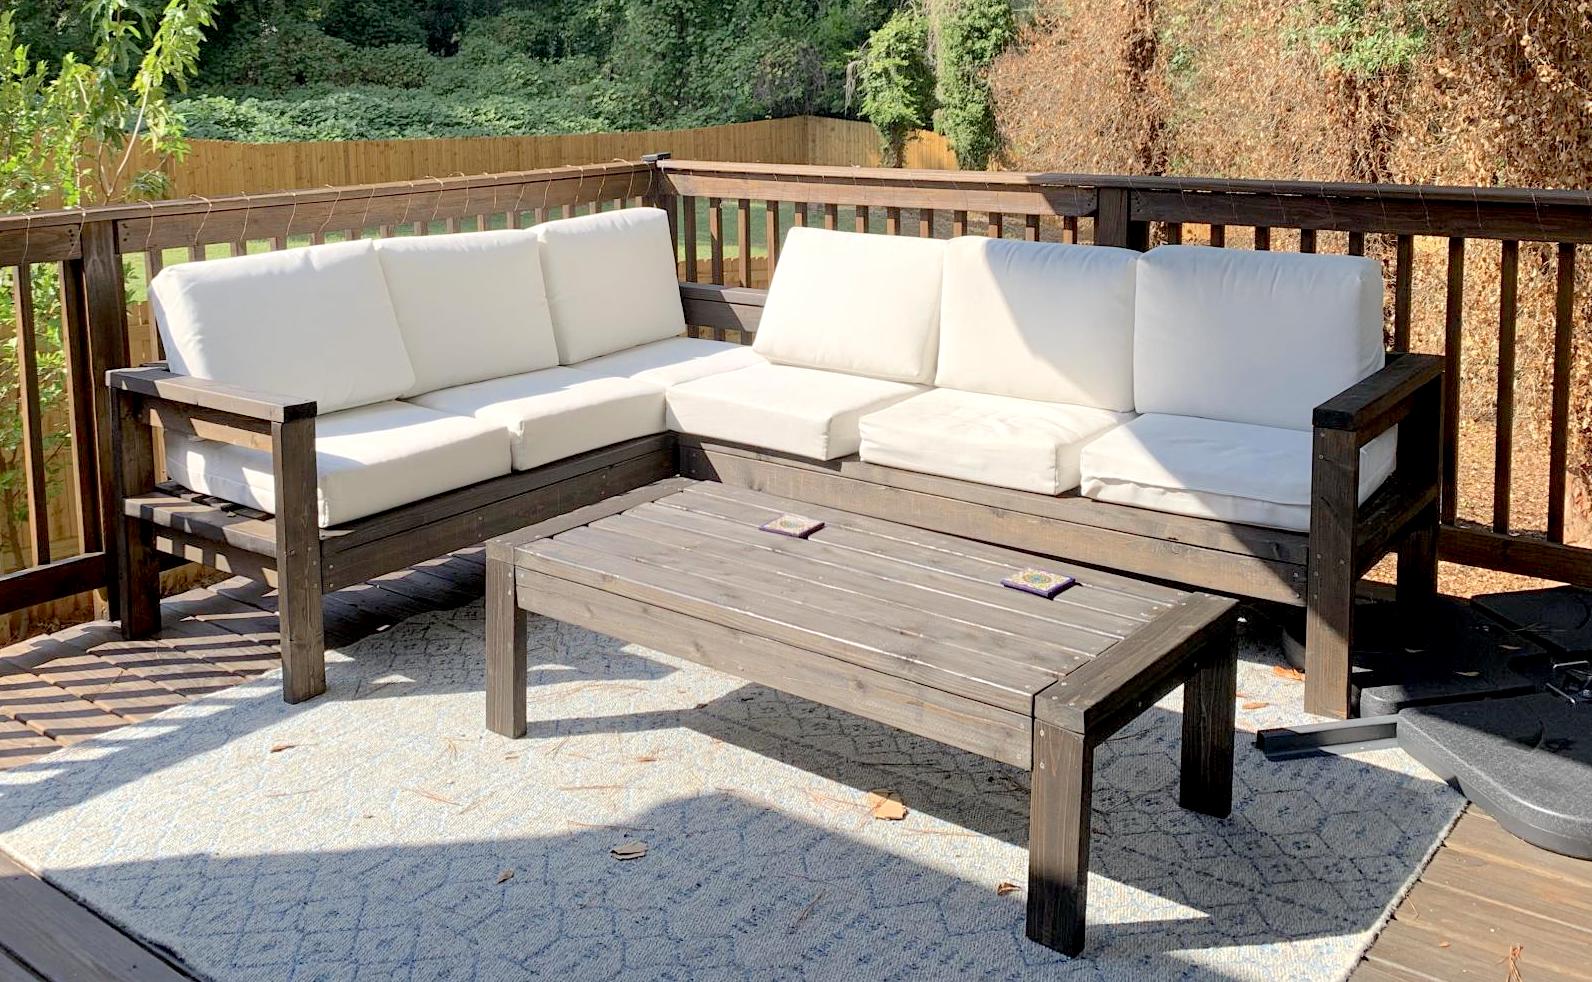
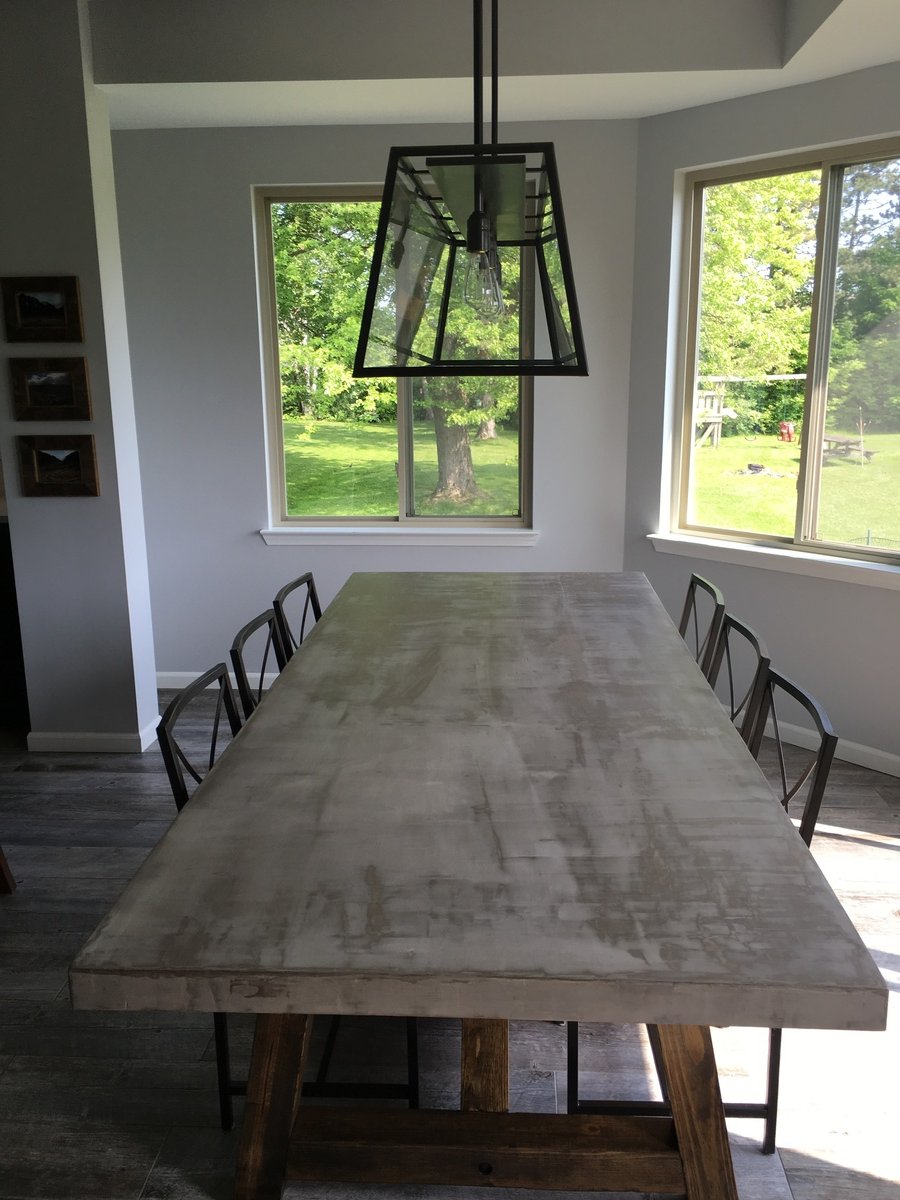
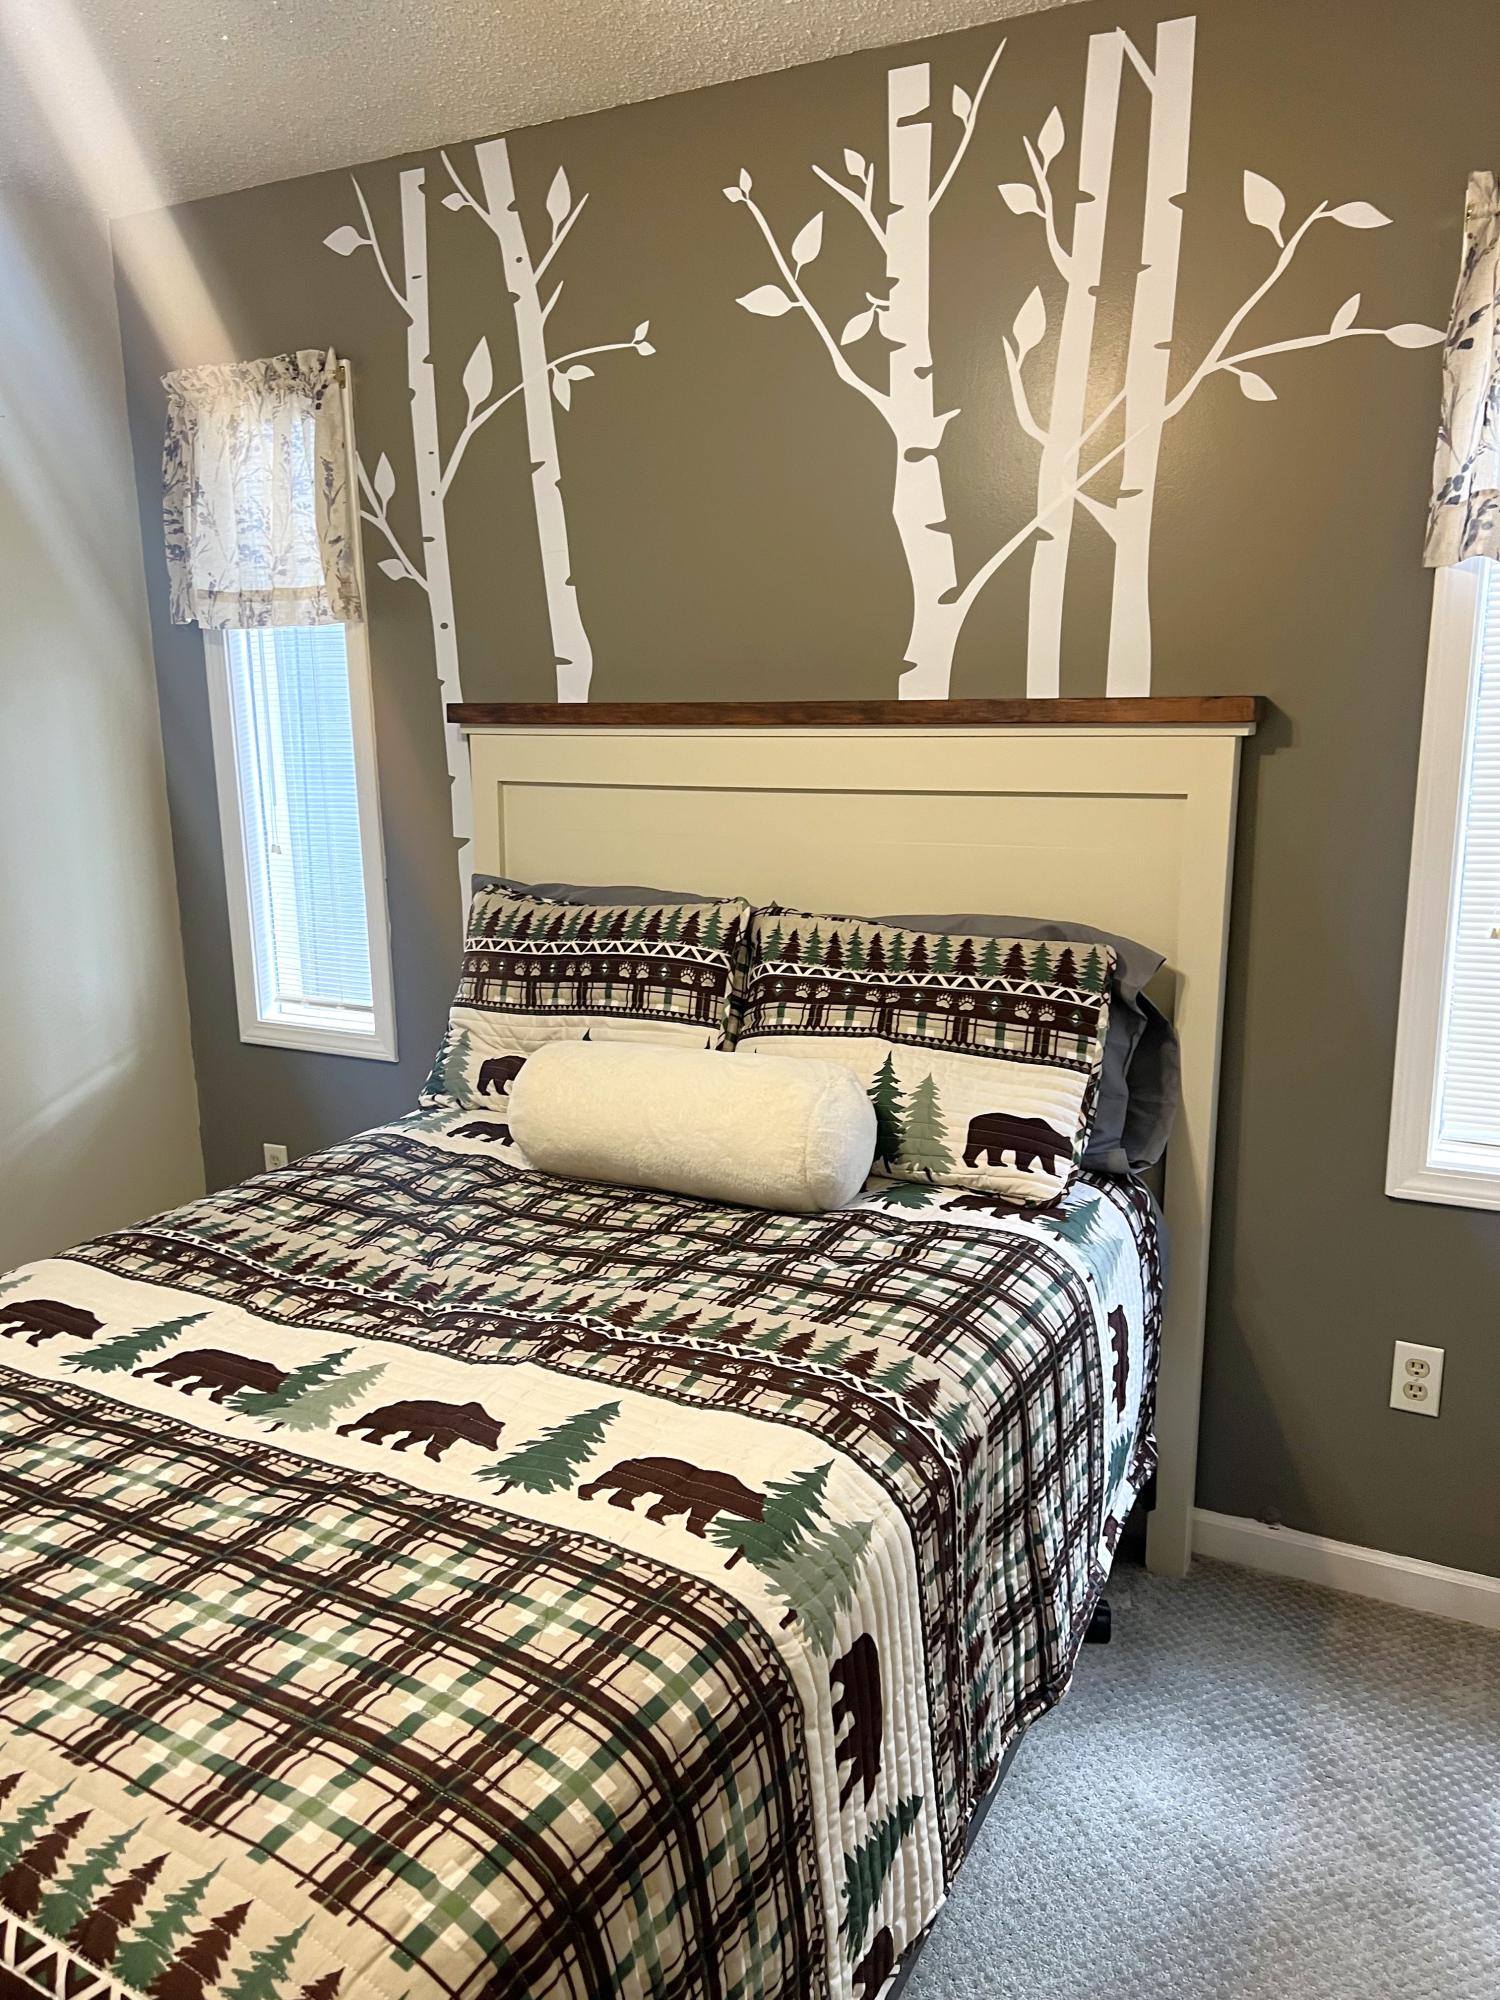
Ever since we moved into our current home, our master bedroom headboard has been at the top of our my project list. I knew I wanted a beautiful farmhouse style headboard. What I didn’t want was the heavy retail price tag. I searched high and low at places like Target, Wayfair, Amazon and even Walmart without finding an affordable option for us.
There is this perfect vantage point of our bedroom from the glider in my son’s room. I remember staring at that empty wall space above our bed for years, it felt like, while rocking our son to sleep. Just willing a headboard to appear. I wanted it so bad I could taste it. Something about looking at that same view, night after night, and waiting, waiting, waiting for it to happen just makes me appreciate it so much more now that it’s here, as so often happens in life.
This project inevitably got put on hold over the years after one thing or another got in the way. Either we didn’t have the time to devote to it, or we always had something else to put our money into. Untilllll I stumbled across Ana White’s Farmhouse Headboard Plans.


Comments
pamin
Wed, 11/02/2011 - 13:51
?
?
pamin
Wed, 11/02/2011 - 13:51
?
?
emmarosemc
Wed, 11/02/2011 - 15:49
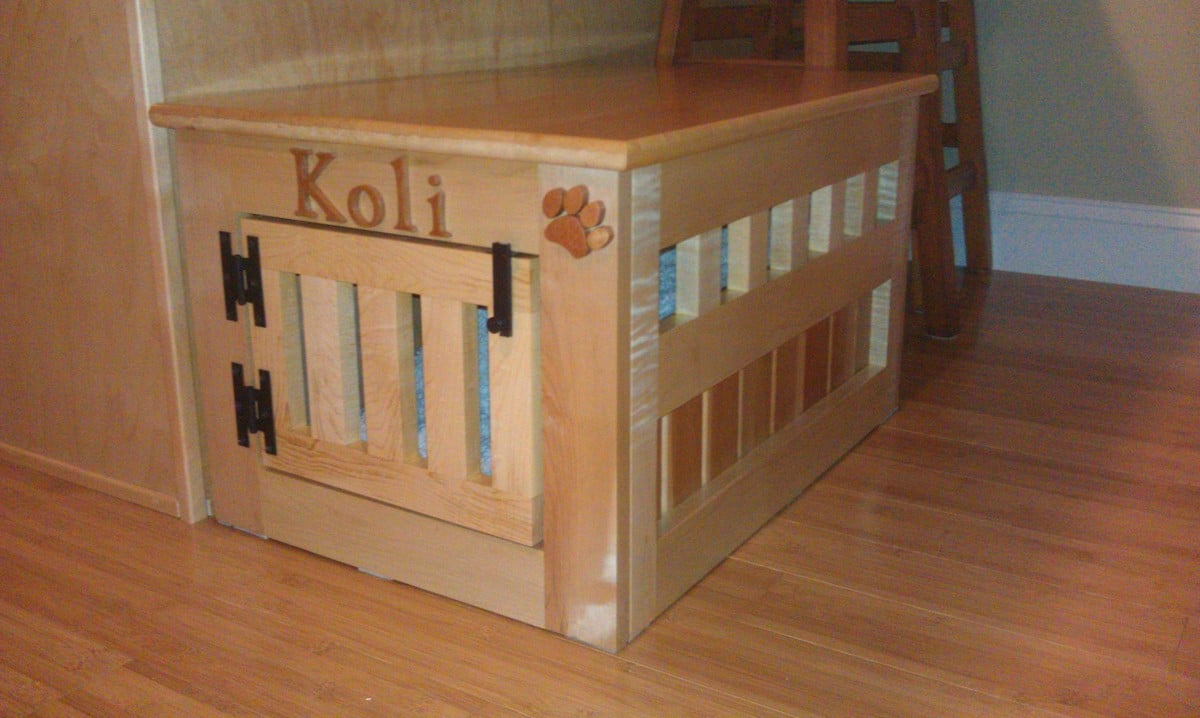
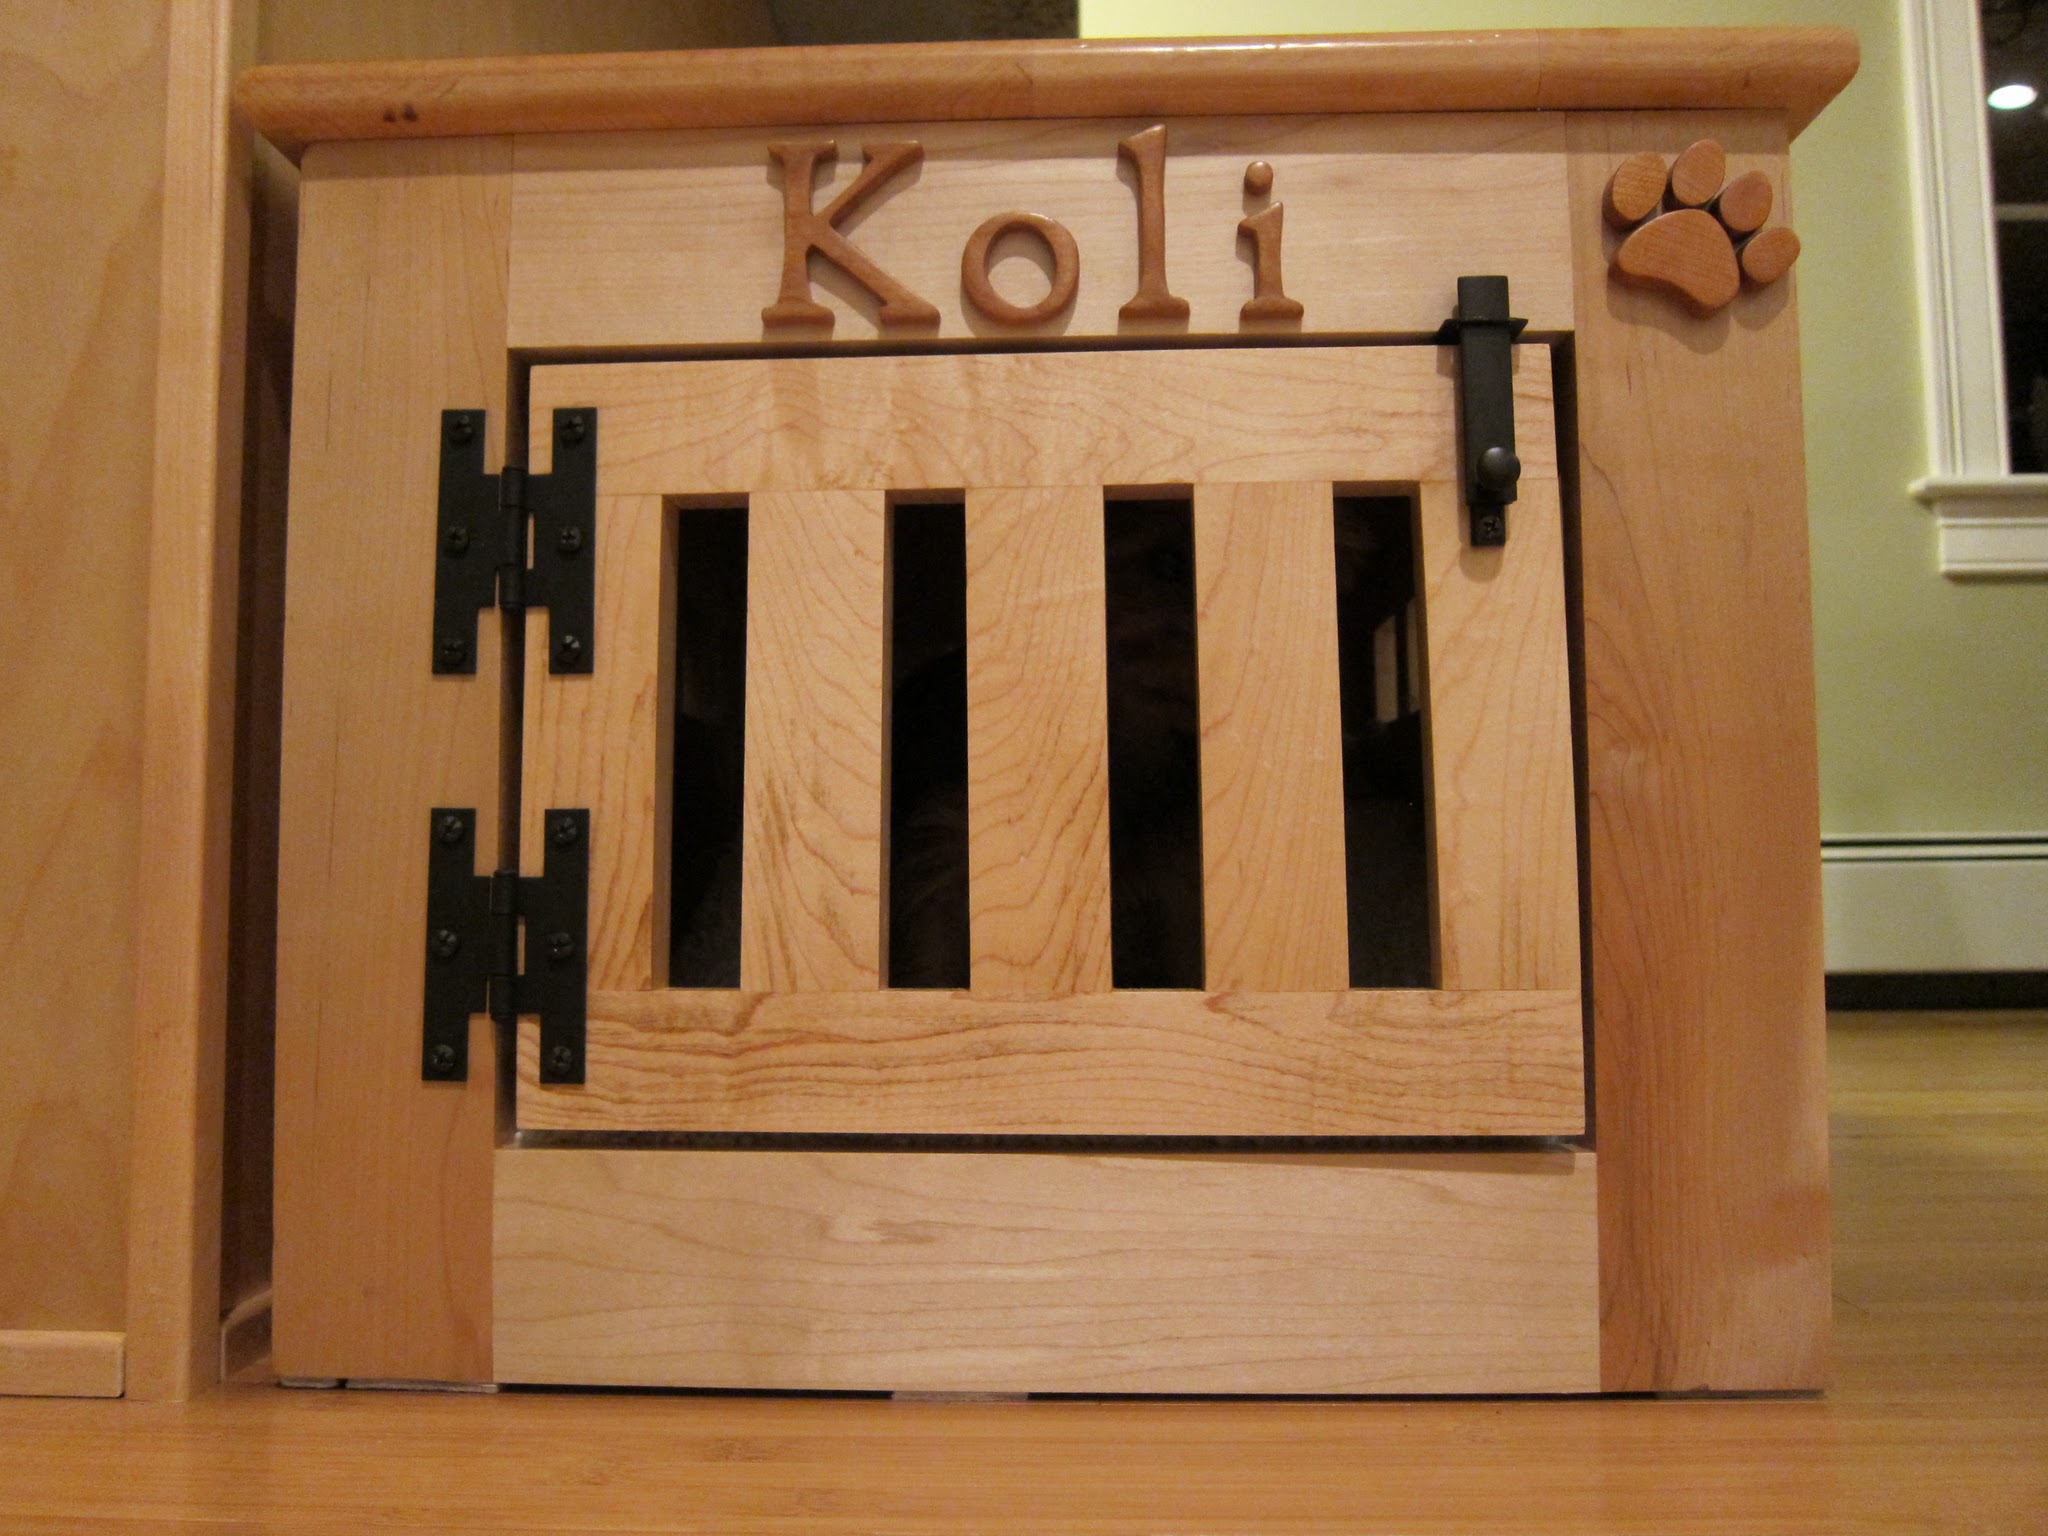
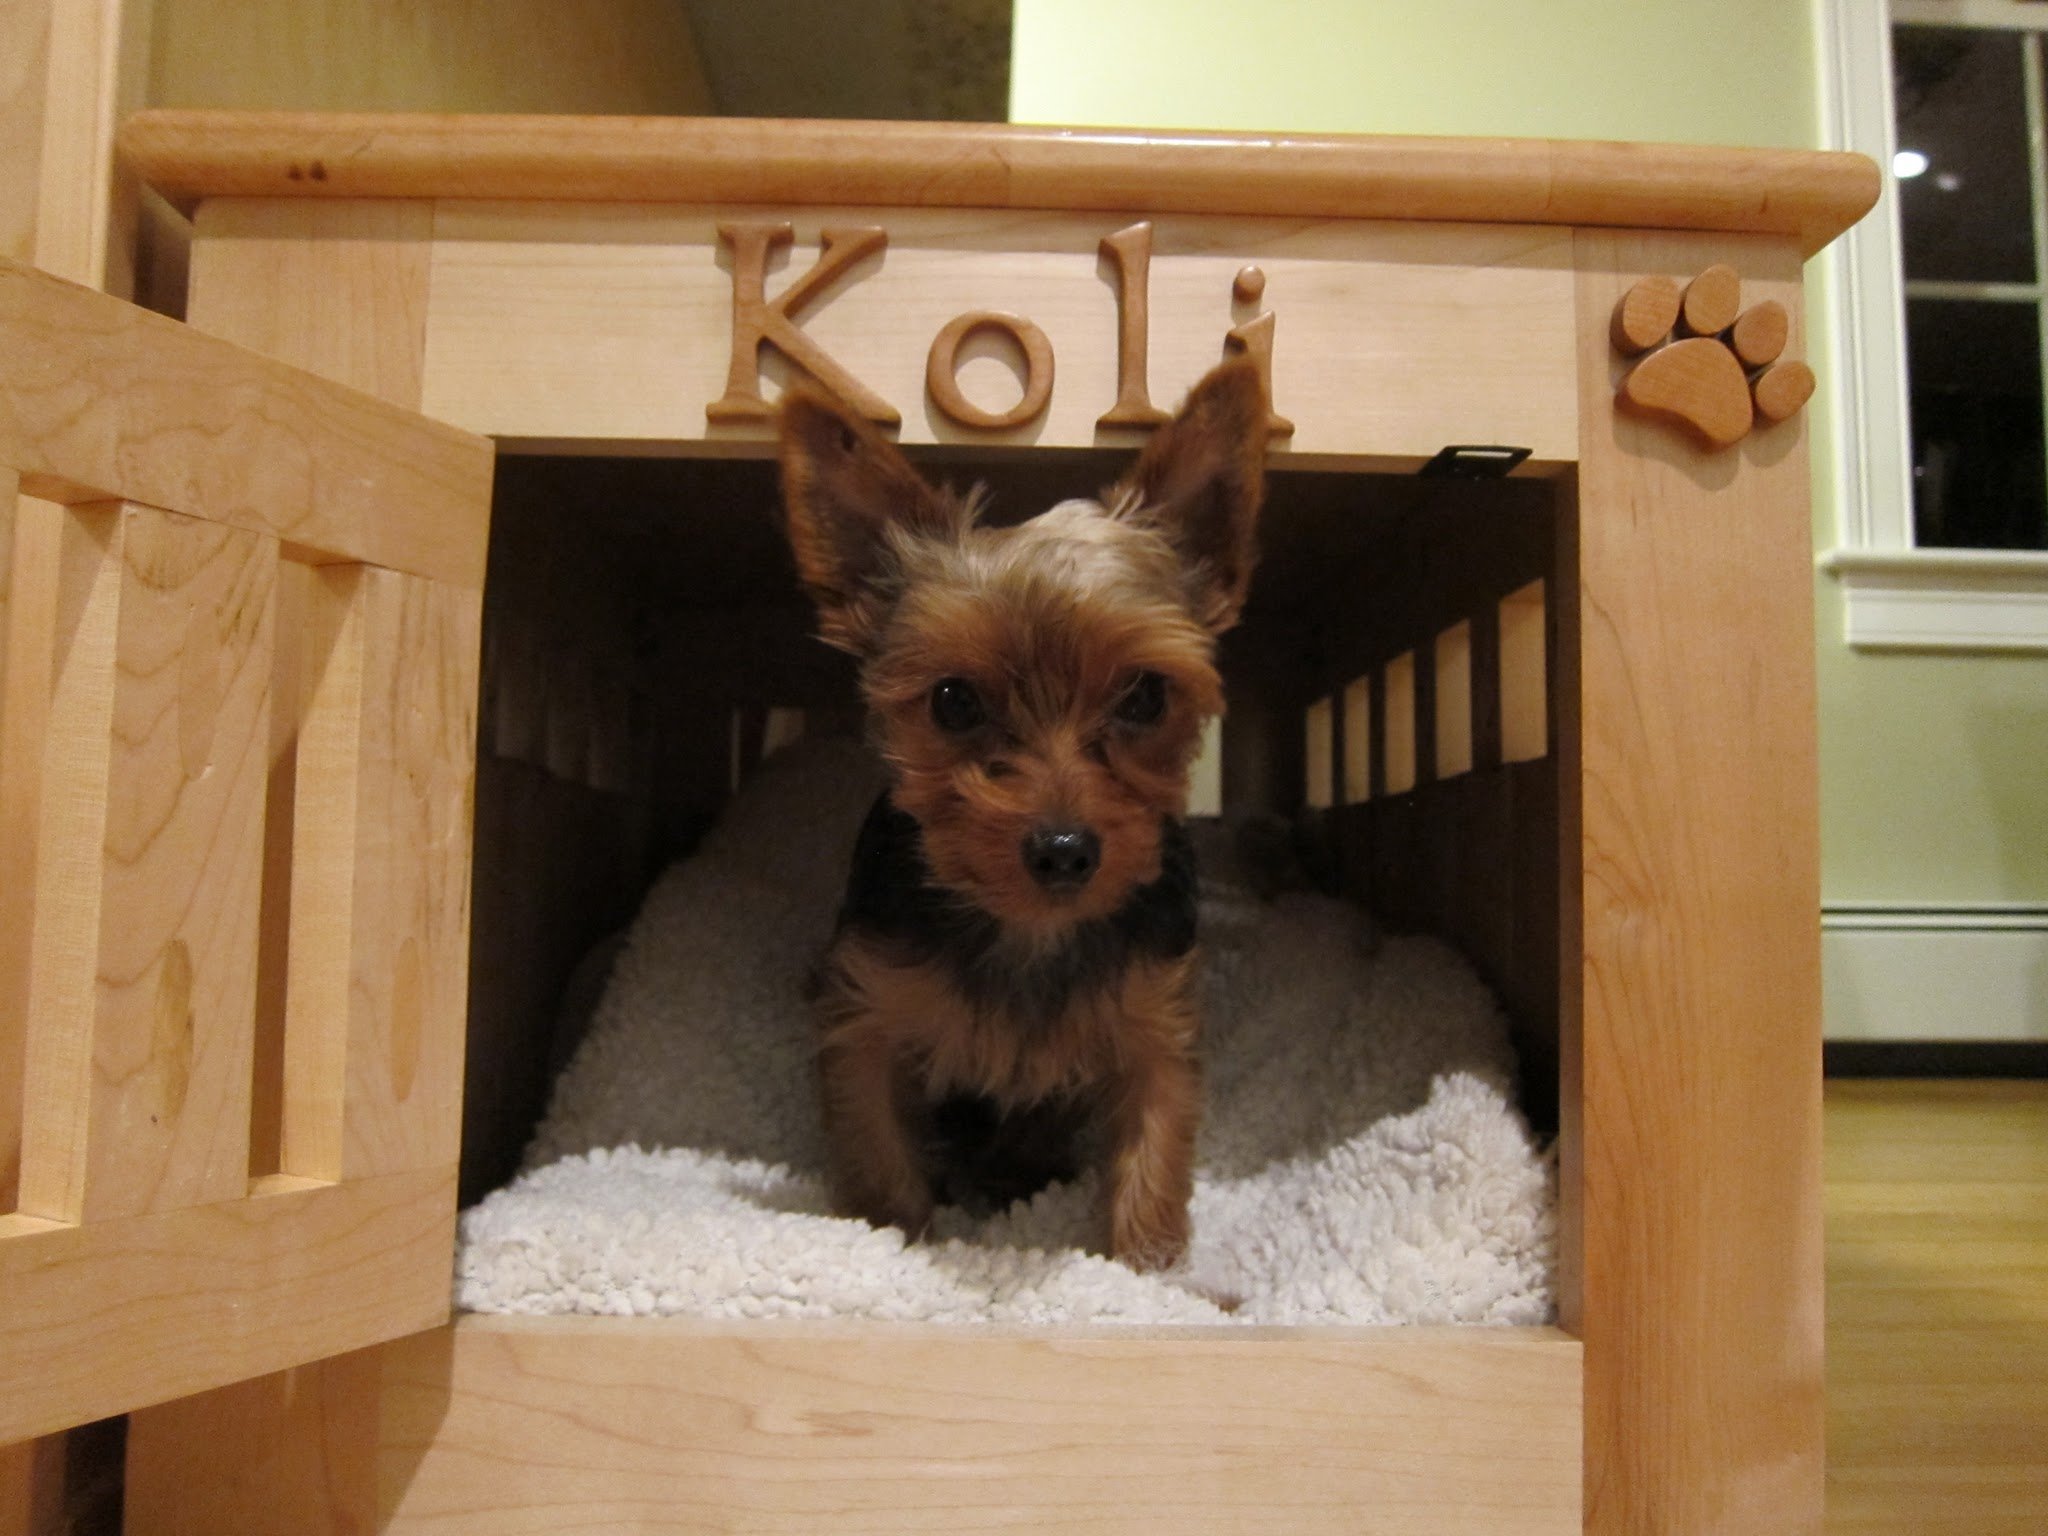
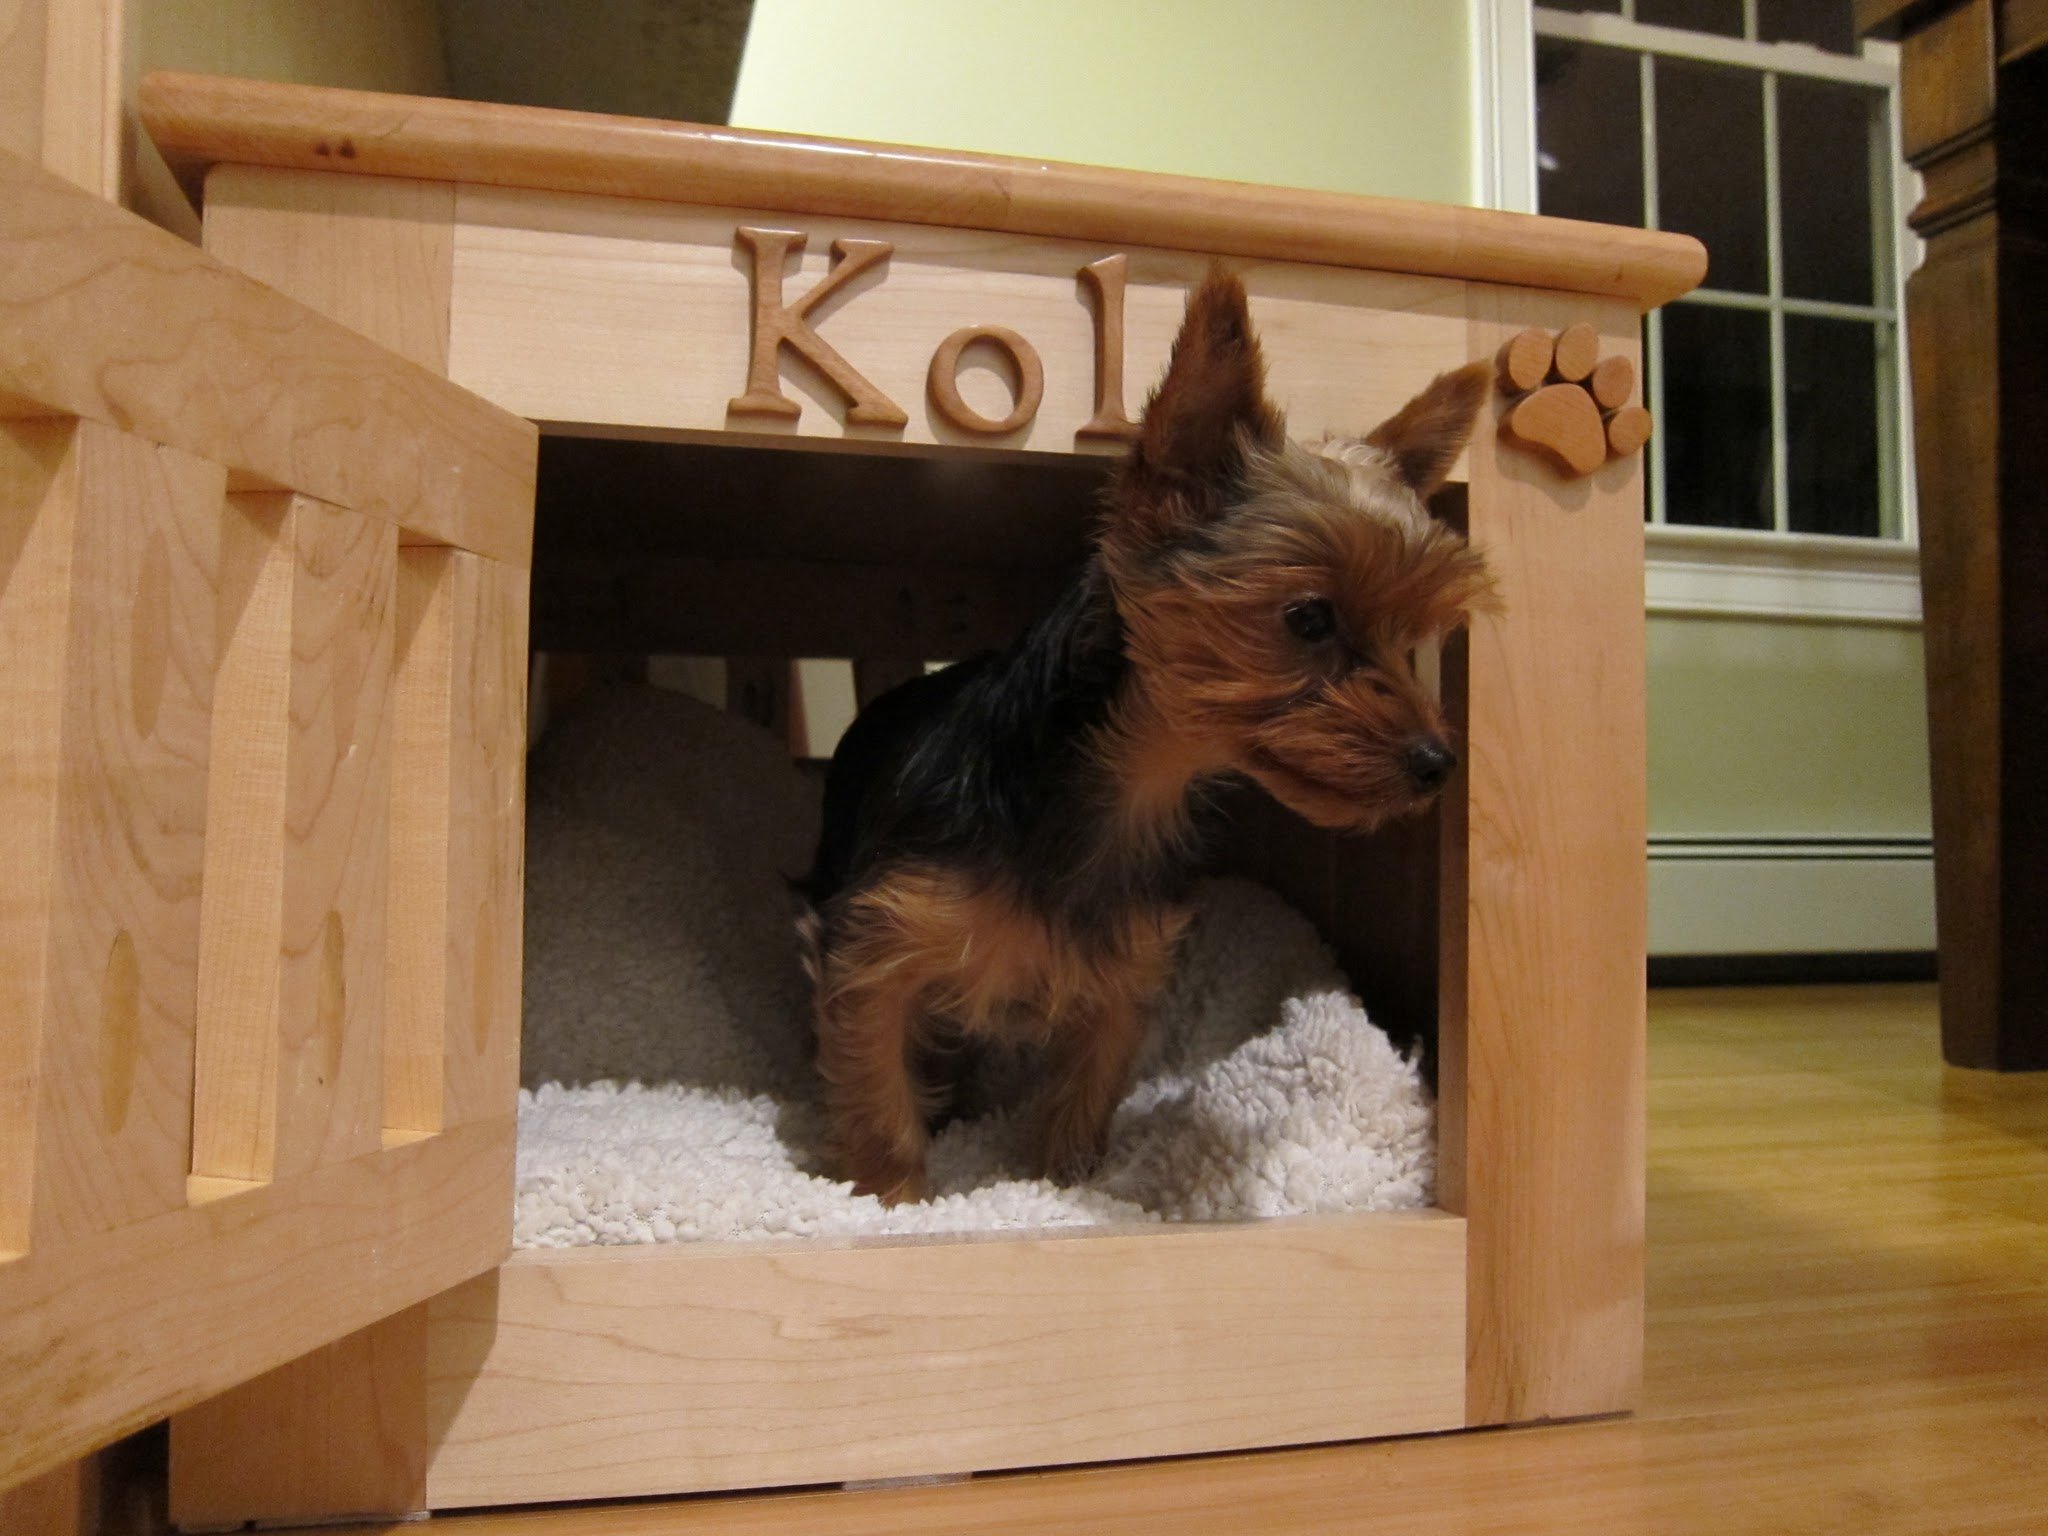
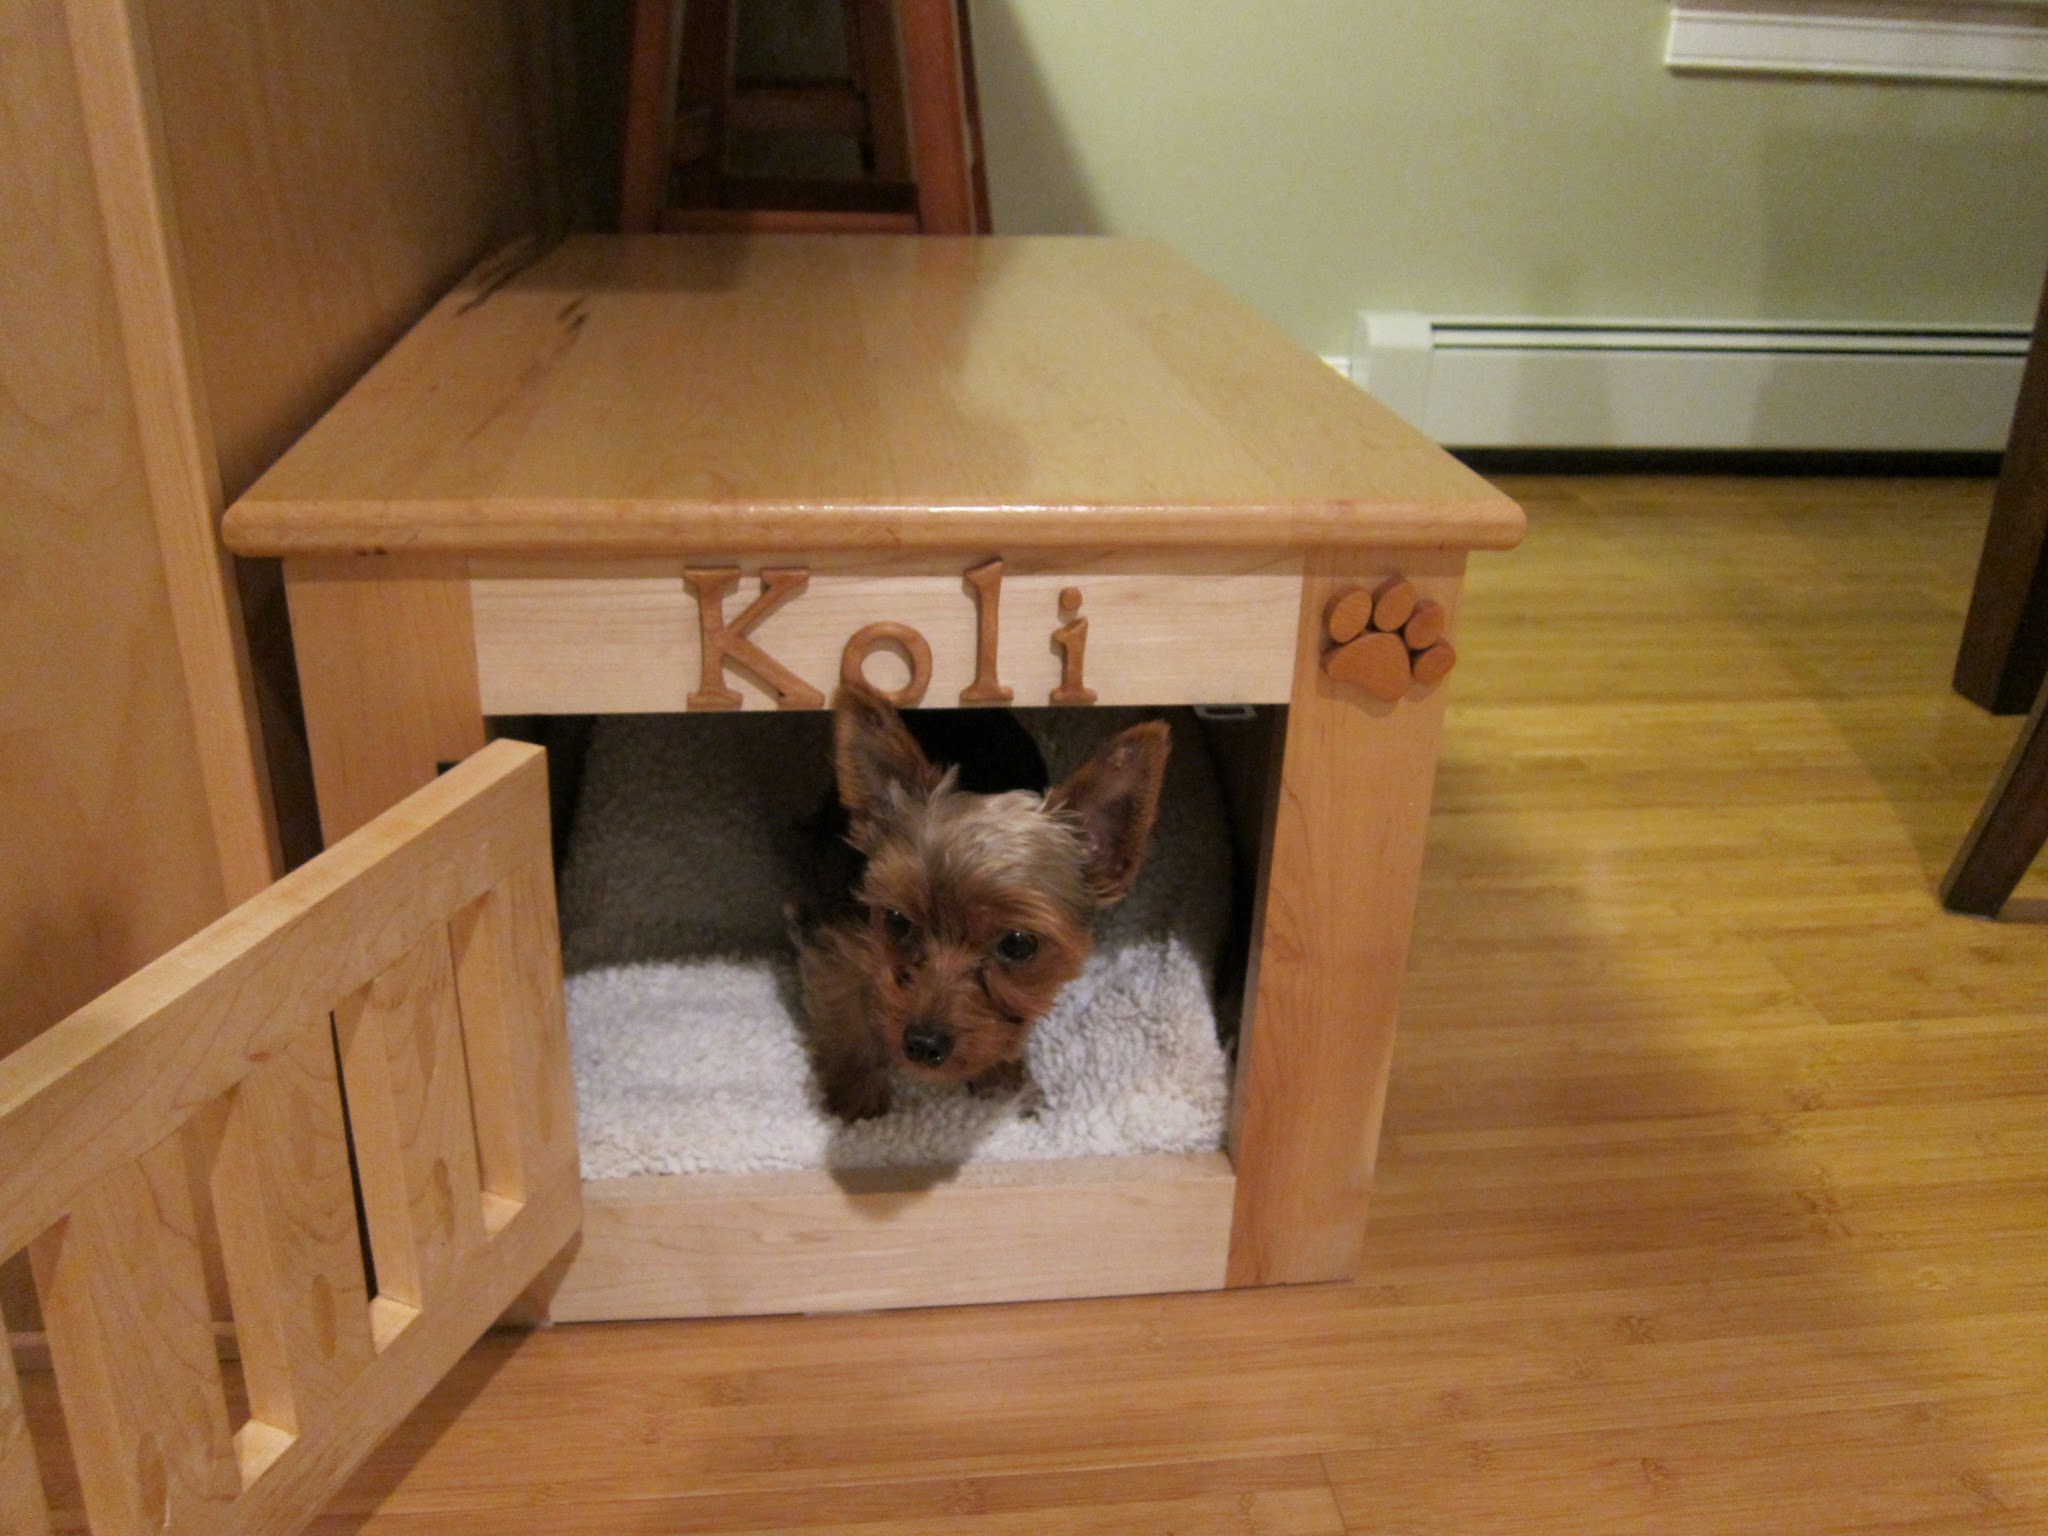
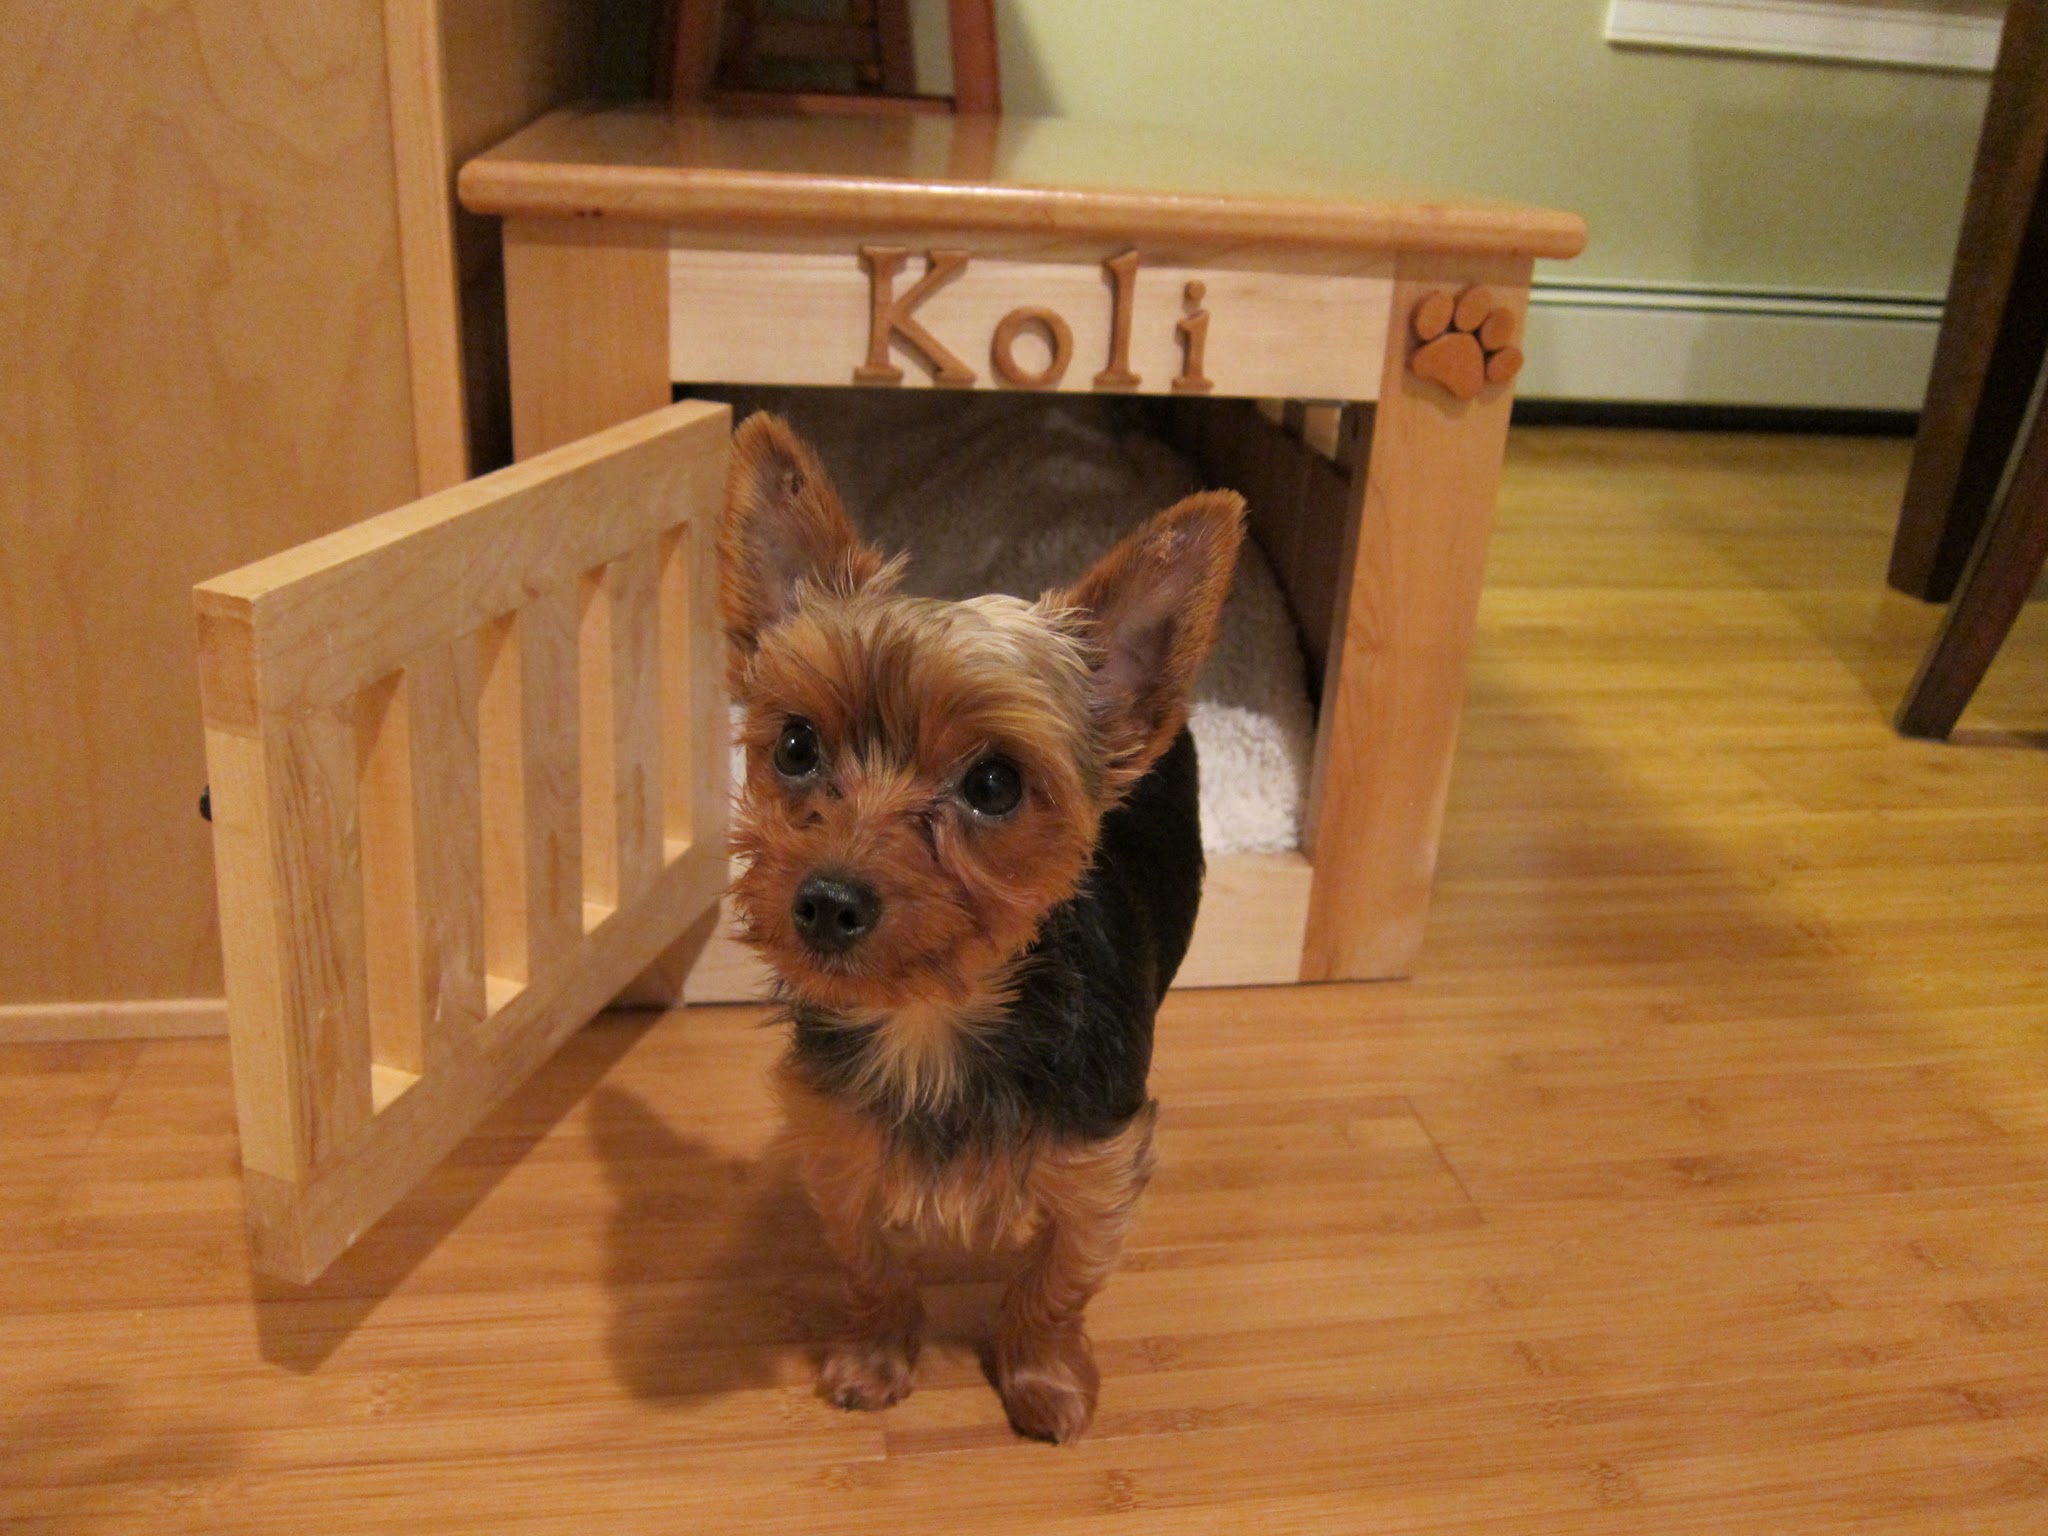
Oh my isnt that just the
Oh my isnt that just the cutest little puppy ever!
loniwolfe
Fri, 11/04/2011 - 21:46
Adorable! Both Koli and the
Adorable! Both Koli and the crate!
Cindy from Indiana (not verified)
Sun, 11/06/2011 - 16:07
Fabulous!
This really looks fabulous! Great job!
As a 'dog family', we always have rescues and visitors on board. This looks so much better than anything I've seen in stores and for less money, too.
I'm definitely adding this to my to-do list.
P.S. Your pup is adorable, too! ;-)
Ejade
Tue, 12/06/2011 - 16:44
LOVE IT!!!
I have 2 yorkies and would LOVE to make this for them, this is sooooo going on my todo list.
Koli is tooo cute as well!!!
Proud2busmc (not verified)
Sun, 07/22/2012 - 06:43
Wow!
This version looks great, how did you do the sides to make it look fancier? I love the personal touches on this crate!
Larryshandywife
Fri, 08/24/2012 - 21:16
PLANS?????????
Uh no plans?????????????????????