Swing and arbor
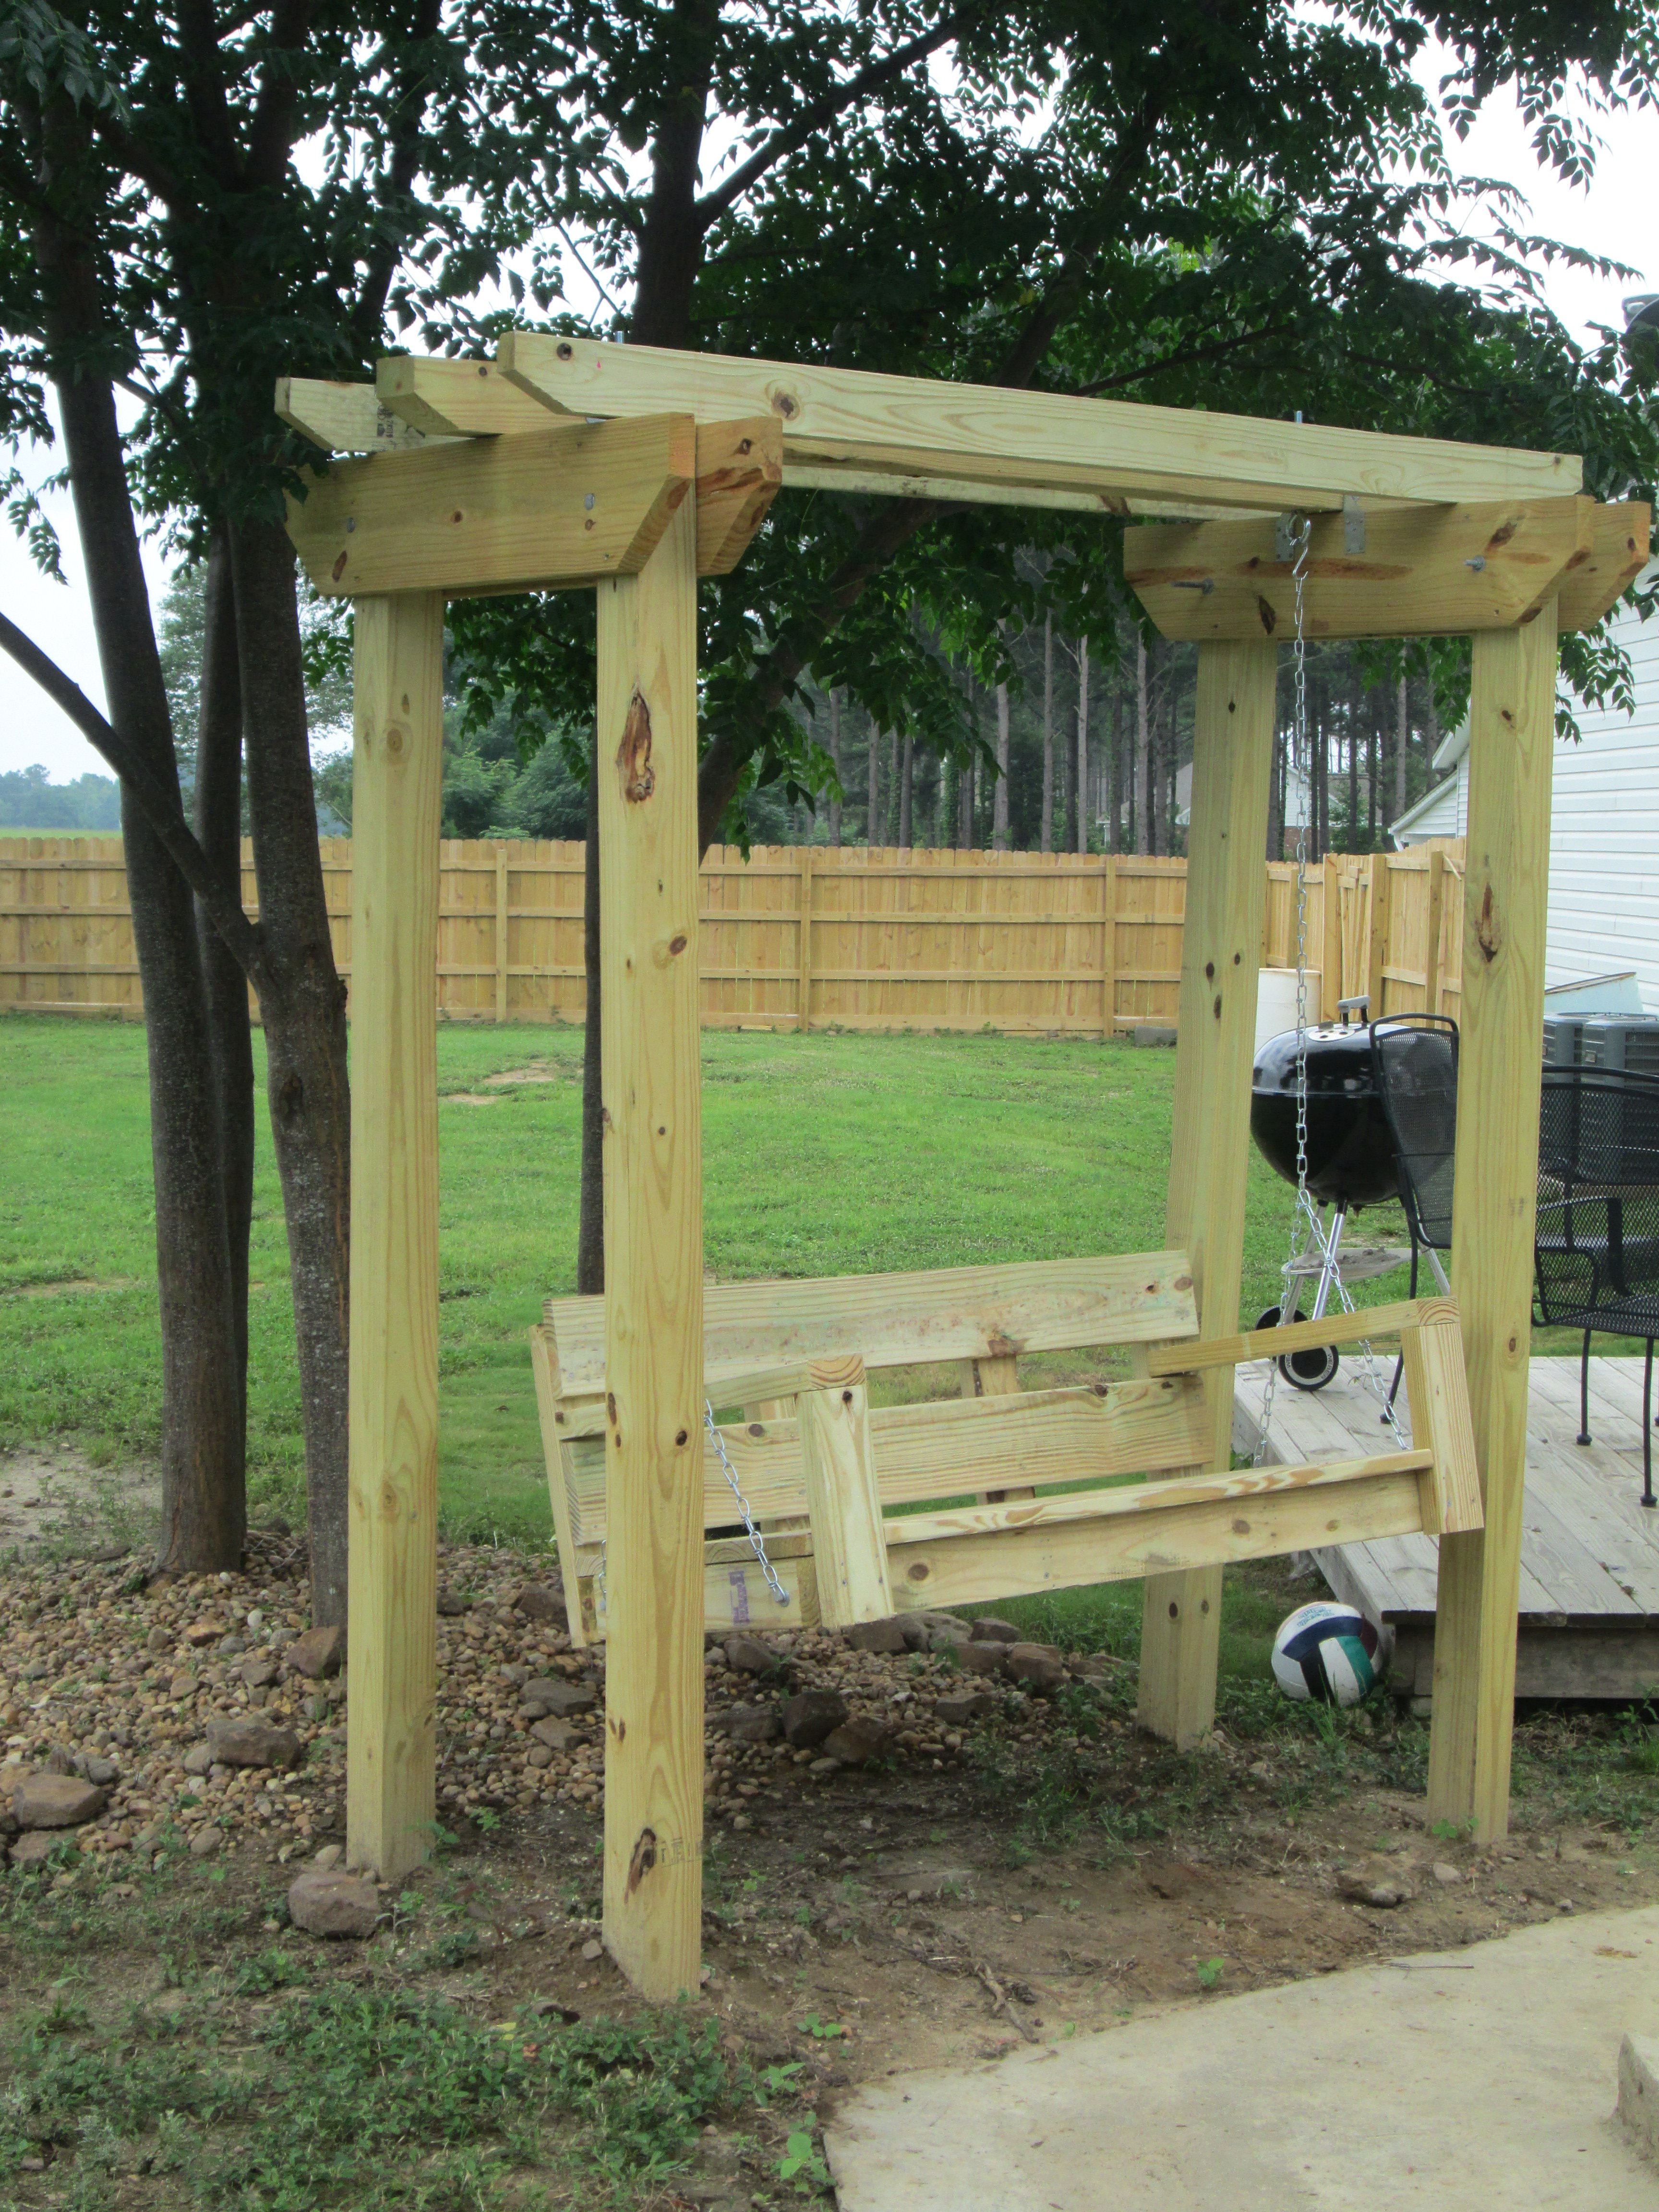
Weekend swing project
Built from Plan(s)
Recommended Skill Level
Beginner
Weekend swing project
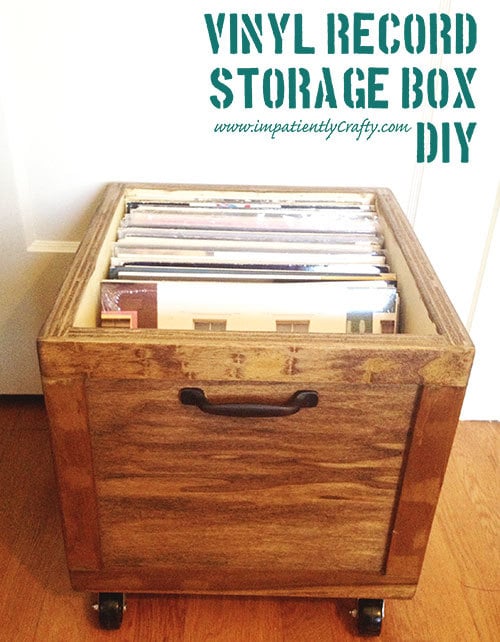
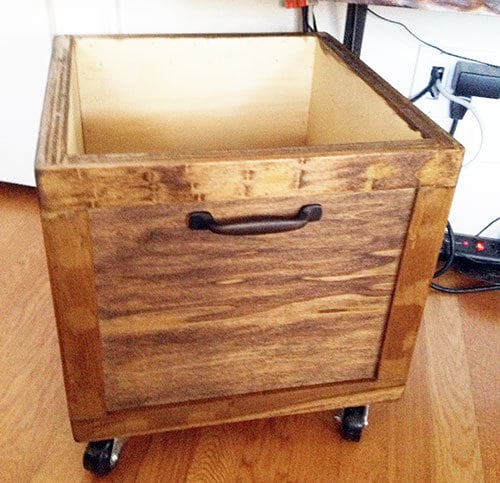
I have to say, there is something about listening to music on vinyl that just gives me the warm fuzzies! A little bit of crackle, fuzz and hum.. physically having to flip over the record to get to the next side, & listening to an album start to finish just has a nostalgic feel to me and I love it.
We’ve started quite the collection of LP’s and quickly found we needed some good storage for them. Since vinyl isn’t exactly the most popular form for listening to music, I just had to make my own.
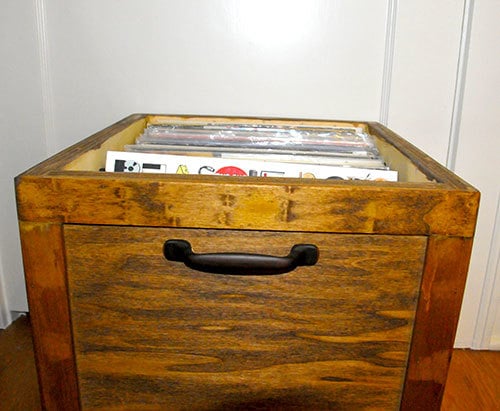
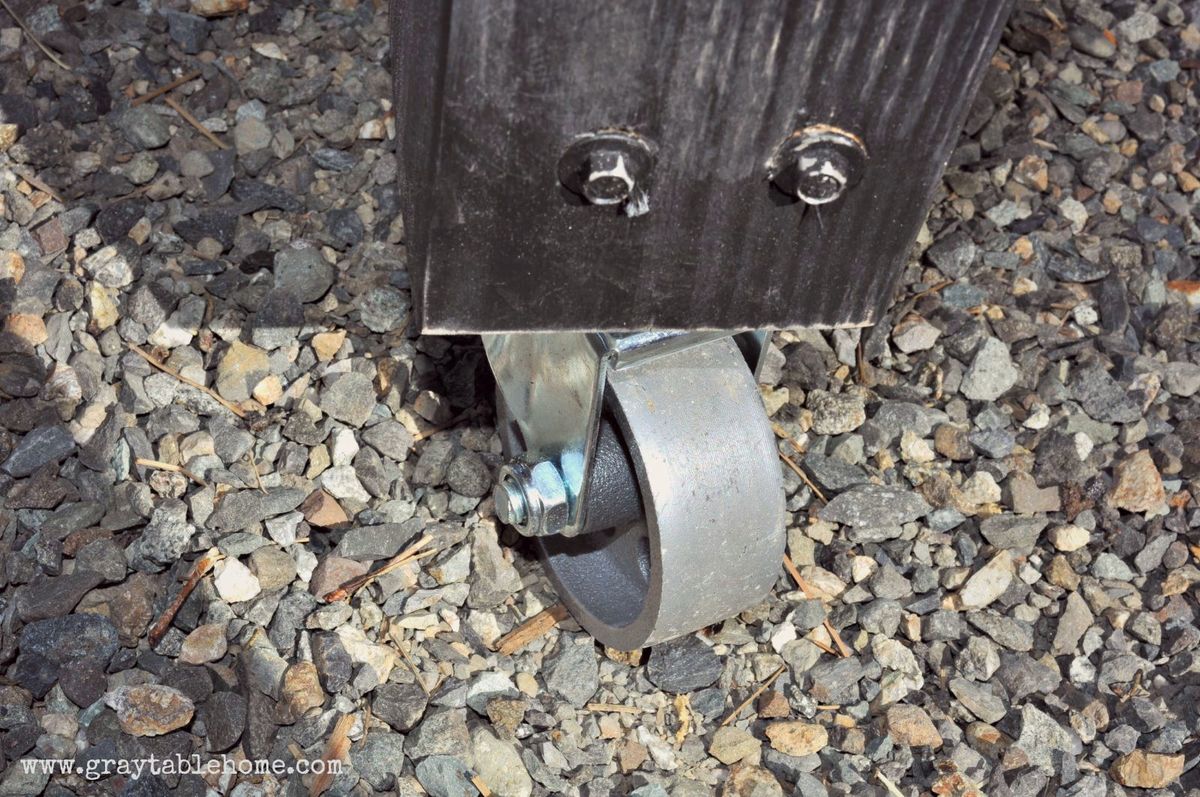
I knew it had to have 3 things.. size to fit, wheels and easy of searching through records.
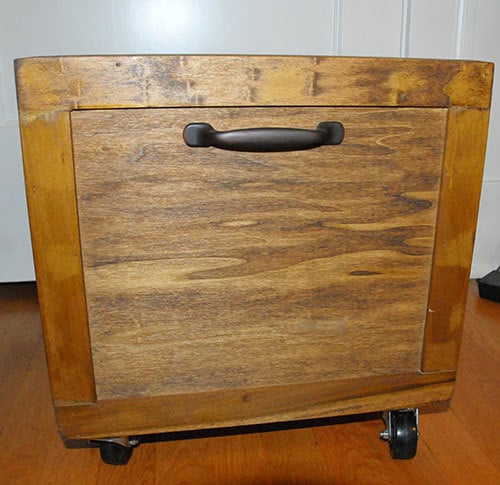
I had some scrap poplar plywood lying around, and just had to purchase some casters and furring strips to frame out the box. I even had an extra cabinet handle laying around to use.
I made it 12 inches wide by 16 inches deep, framed it out shaker style with furring strips and then stained it.. added casters and a handle ;)

Tue, 07/09/2013 - 10:59
I love how you appreciate vinyls and gives things you have on hand new purpose. This storage box is nicely done.
I looked at your blog and went straight to the Upcycle tab, since that's where my interest lies too. I love seeing a "pile of useless" restored to use. =D
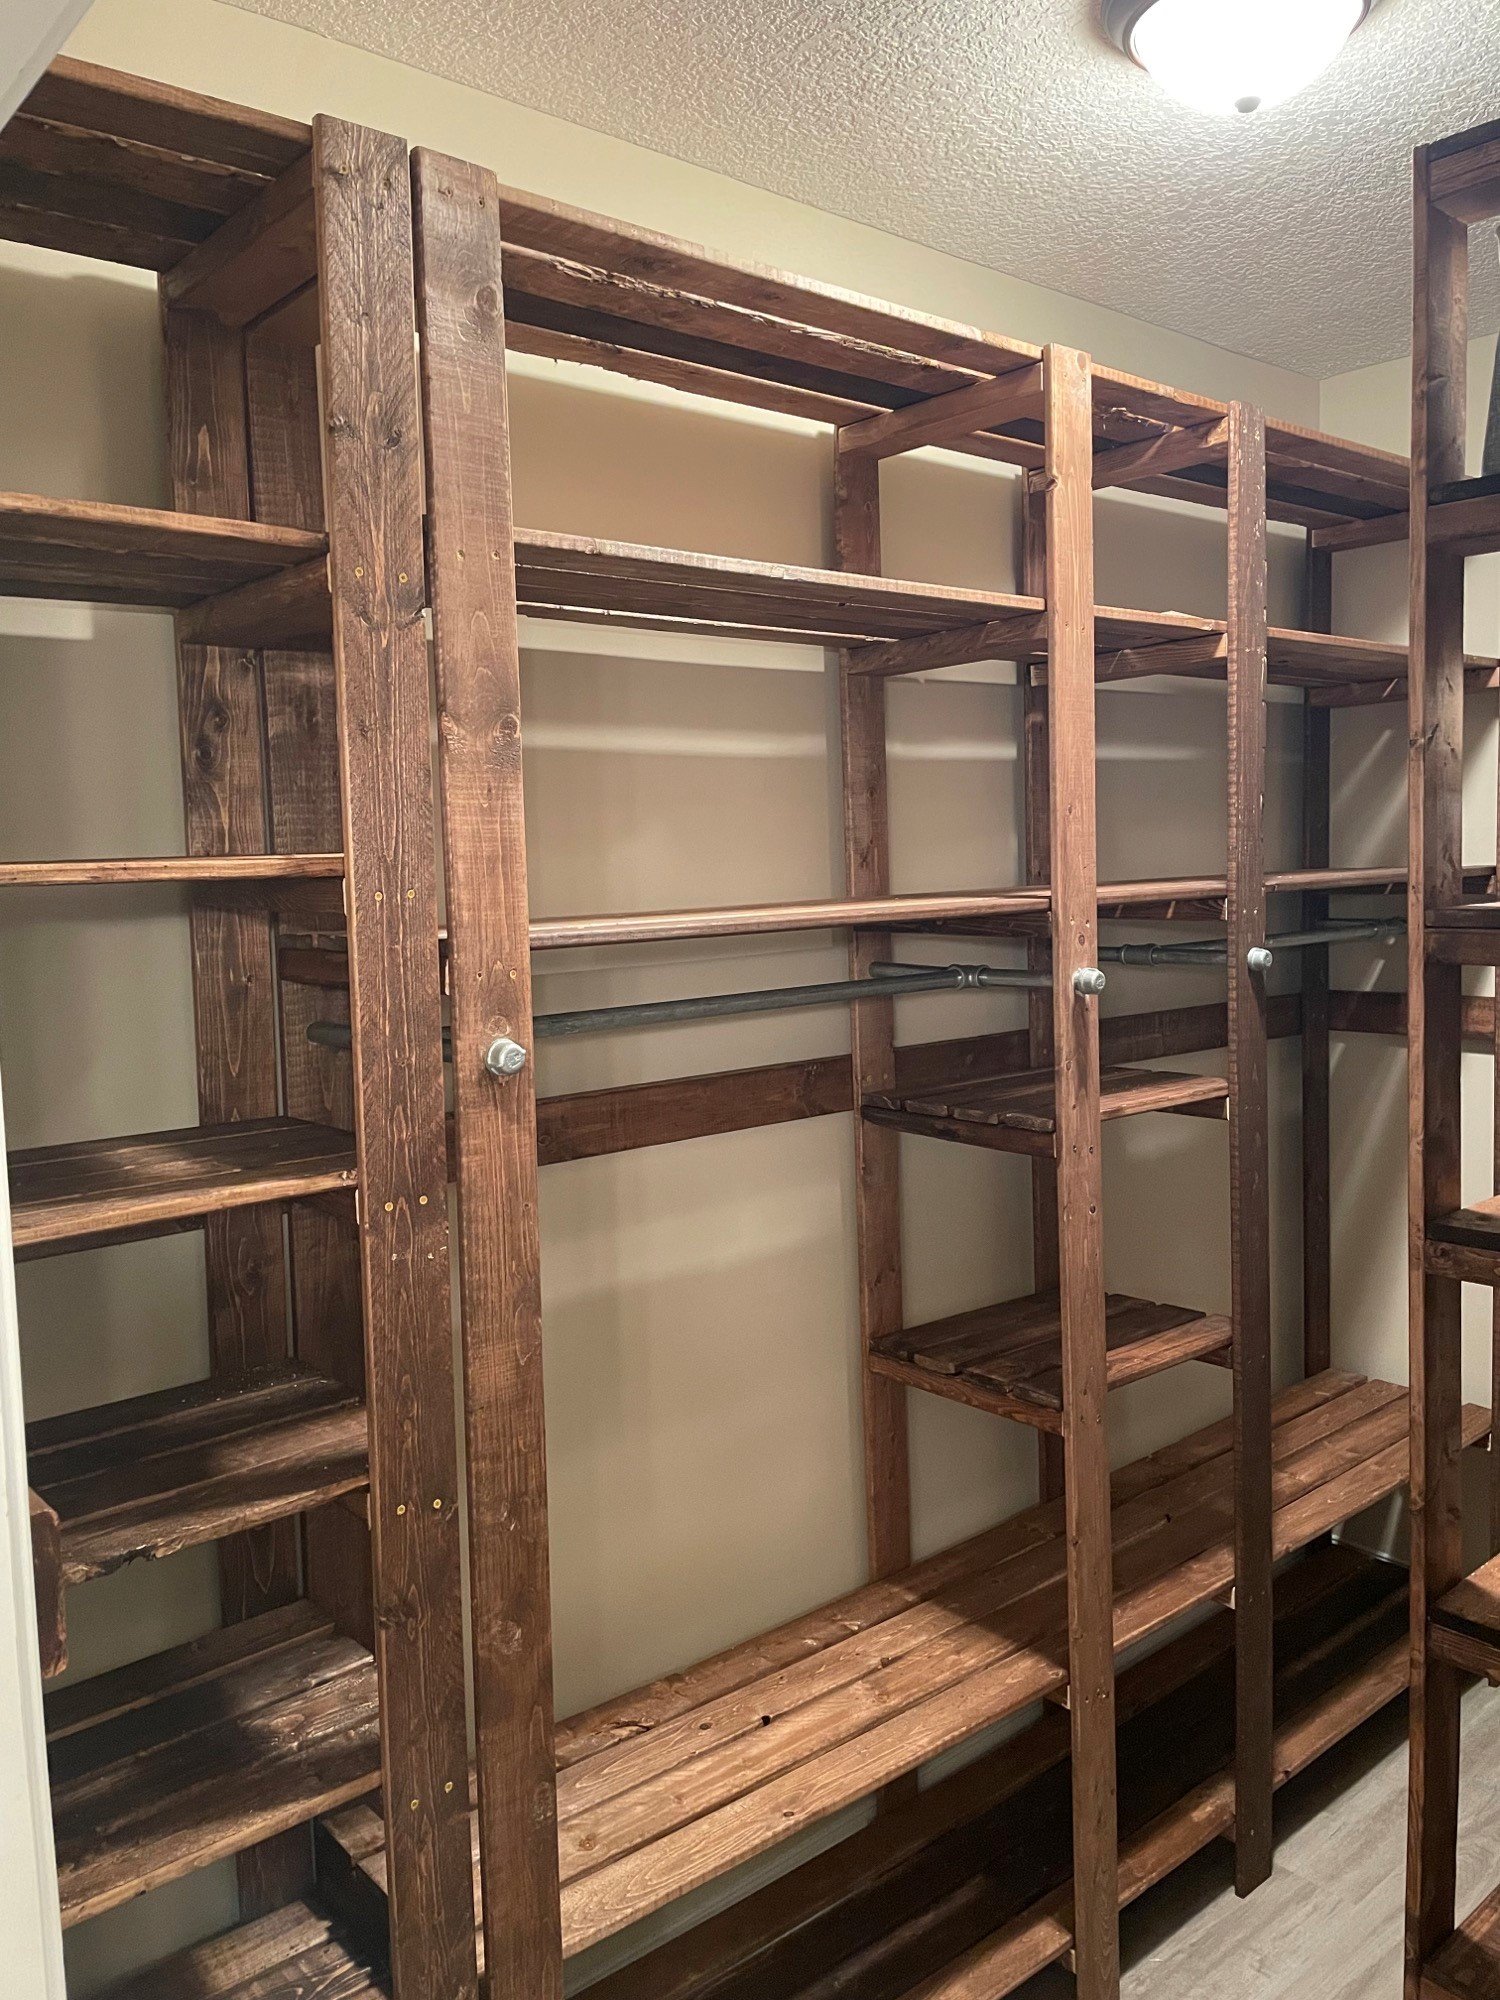
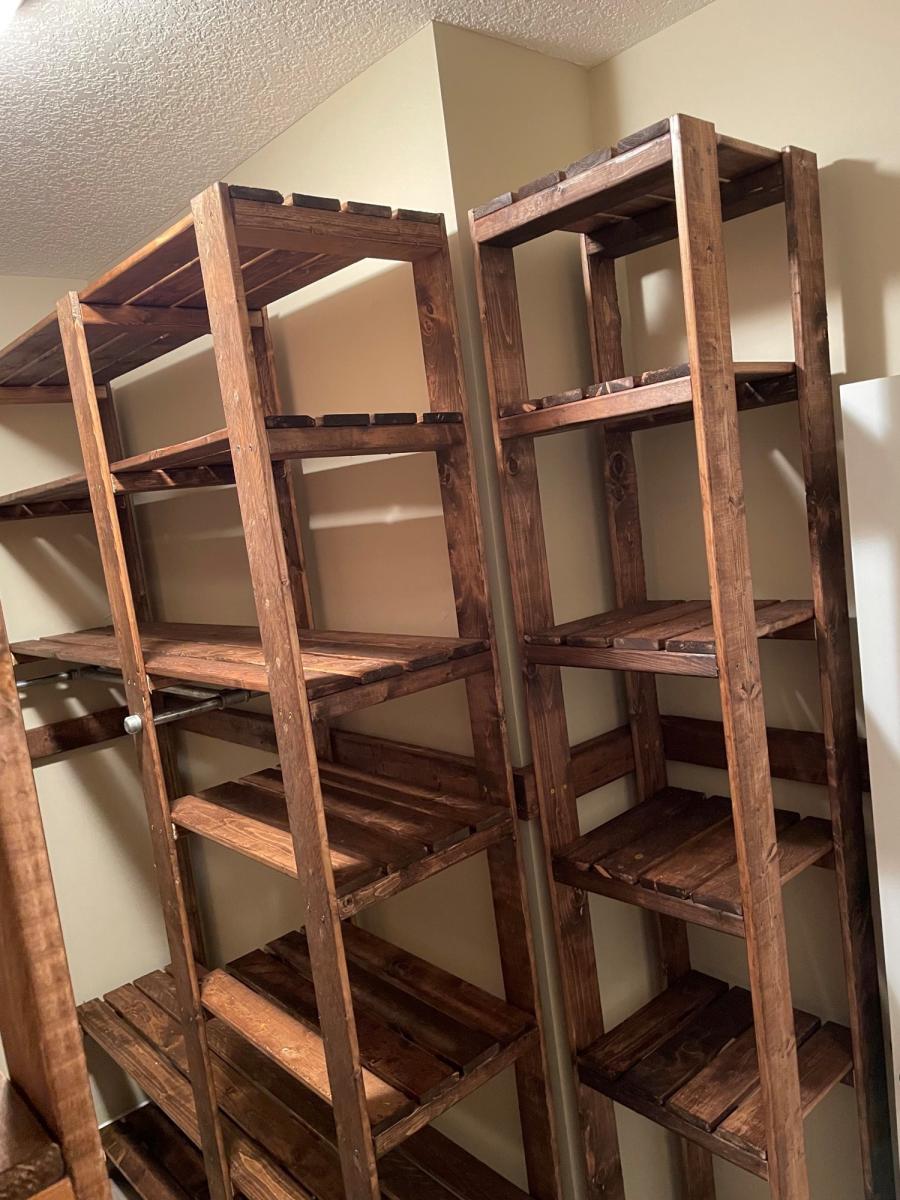
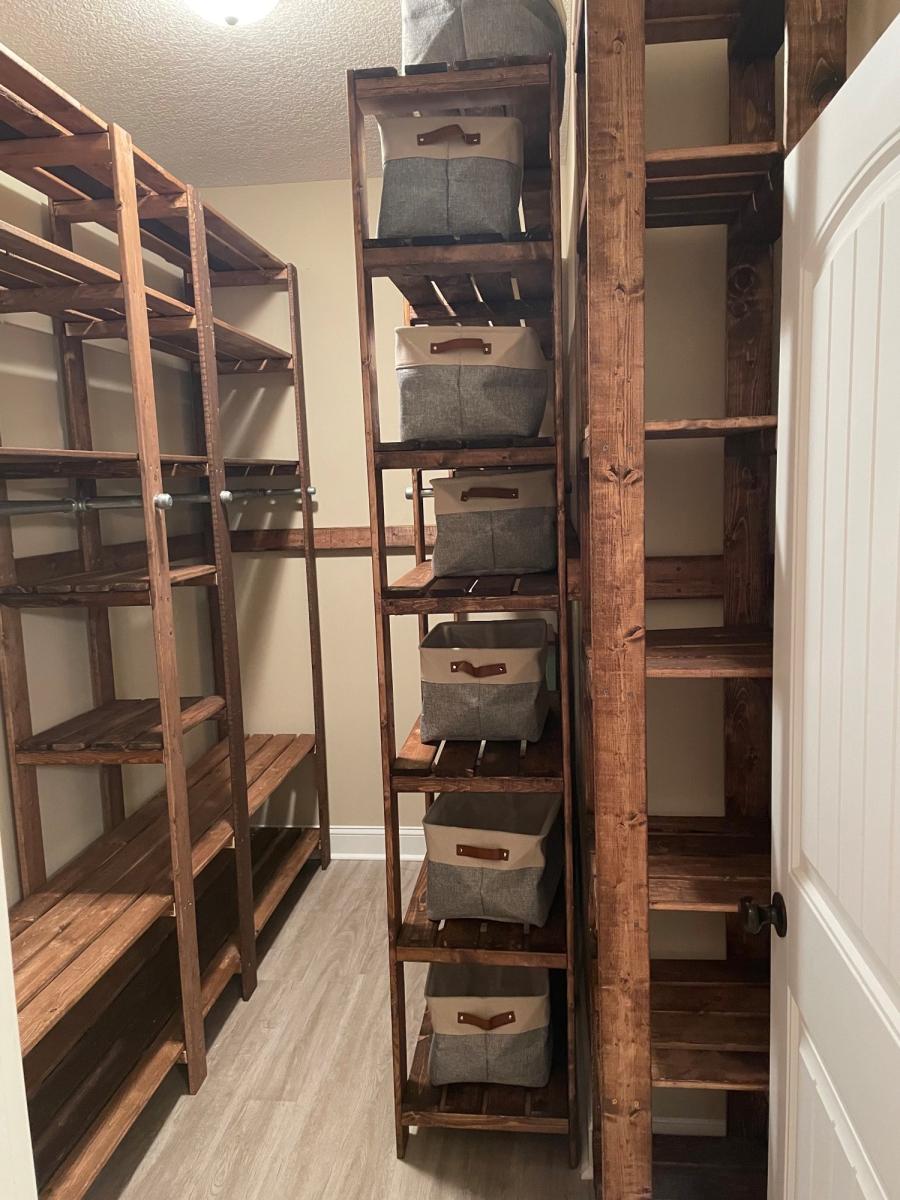
My closet system is four separate units that I butted up together and attached to the wall with a "decorative" 2x4 railing around the entirety of the closet. The main unit looks the closest to the real design but is 8 feet long and 8 feet tall to avoid extra cutting of boards. The smaller unit only has one area for hanging up clothes and is around 5 feet long which is just the length of the wall. I also built a unit for holding sheets and towels and another for my wife's shoes.
The plans are really easy to follow but I would suggest a few things:
-Do stain and boards before cutting; this would have been a nightmare otherwise.
-If you use the metal clothing rods (if I could go back in time I would have used wooden dowels) make sure that you put those in before you attach any boards between the support structures. I ended up having a 35 inch gap instead of a 36 inch gap and it killed my momentum.
-I made mine 8 feet tall because it was less to cut and then re-stain; time wise it probably was a scratch cause I had to build it in place and at the end it was very tight to work in the space.
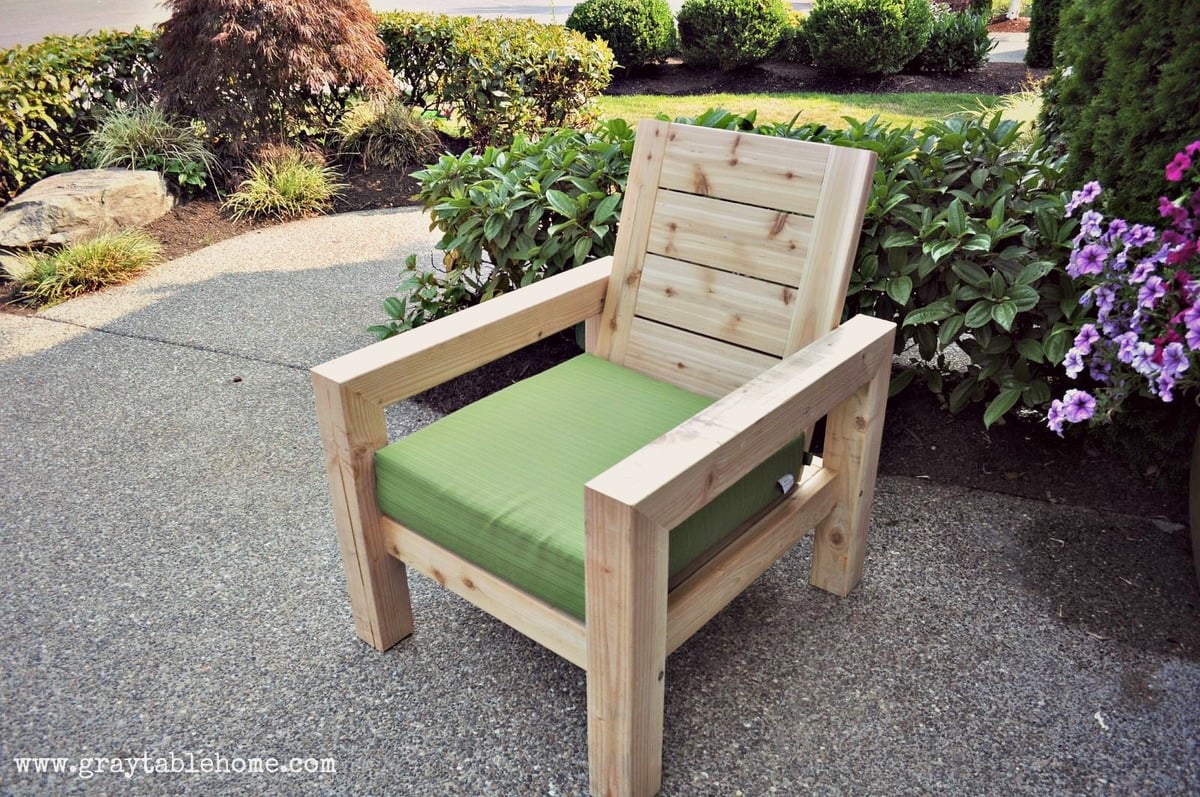
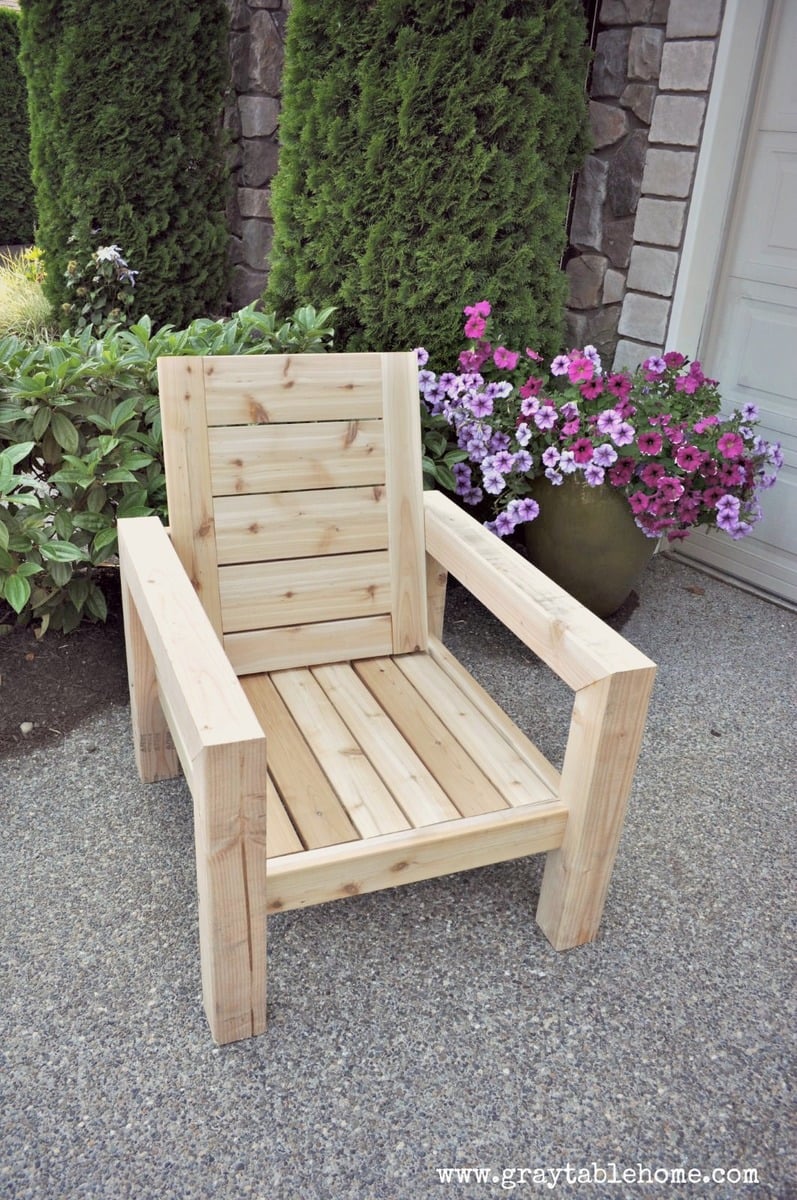
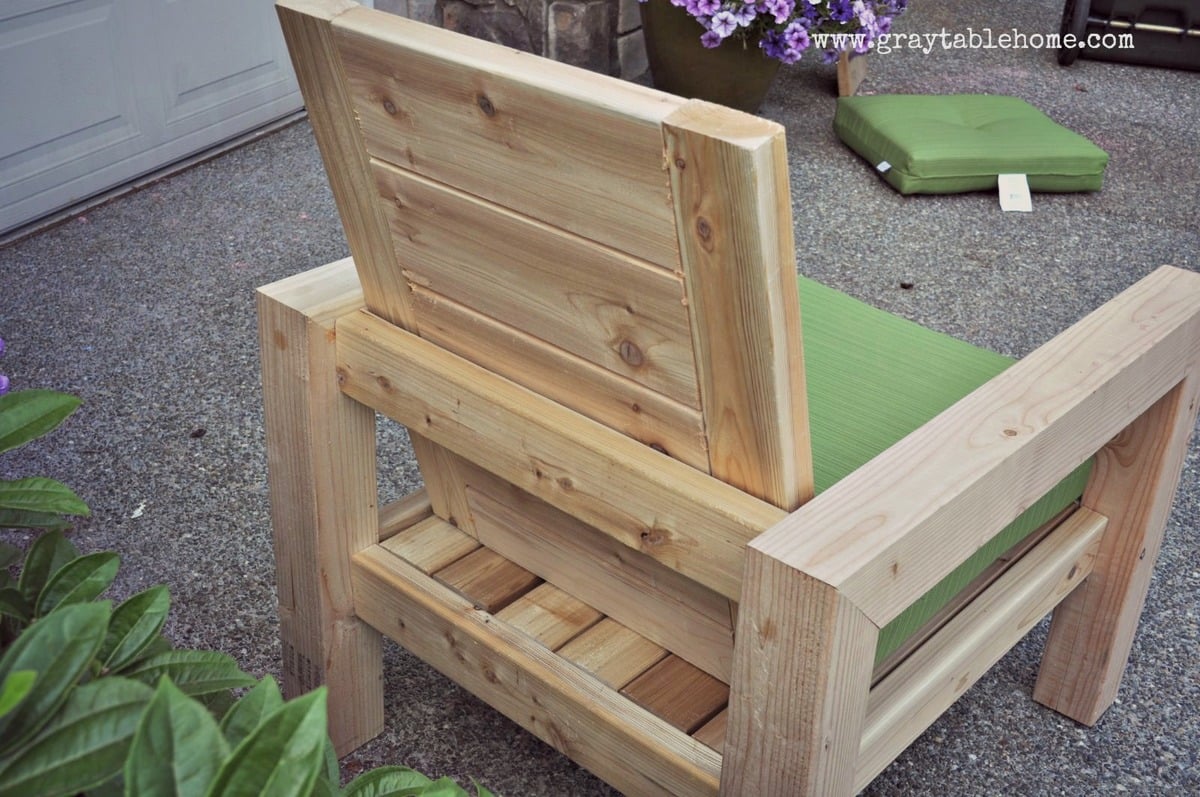
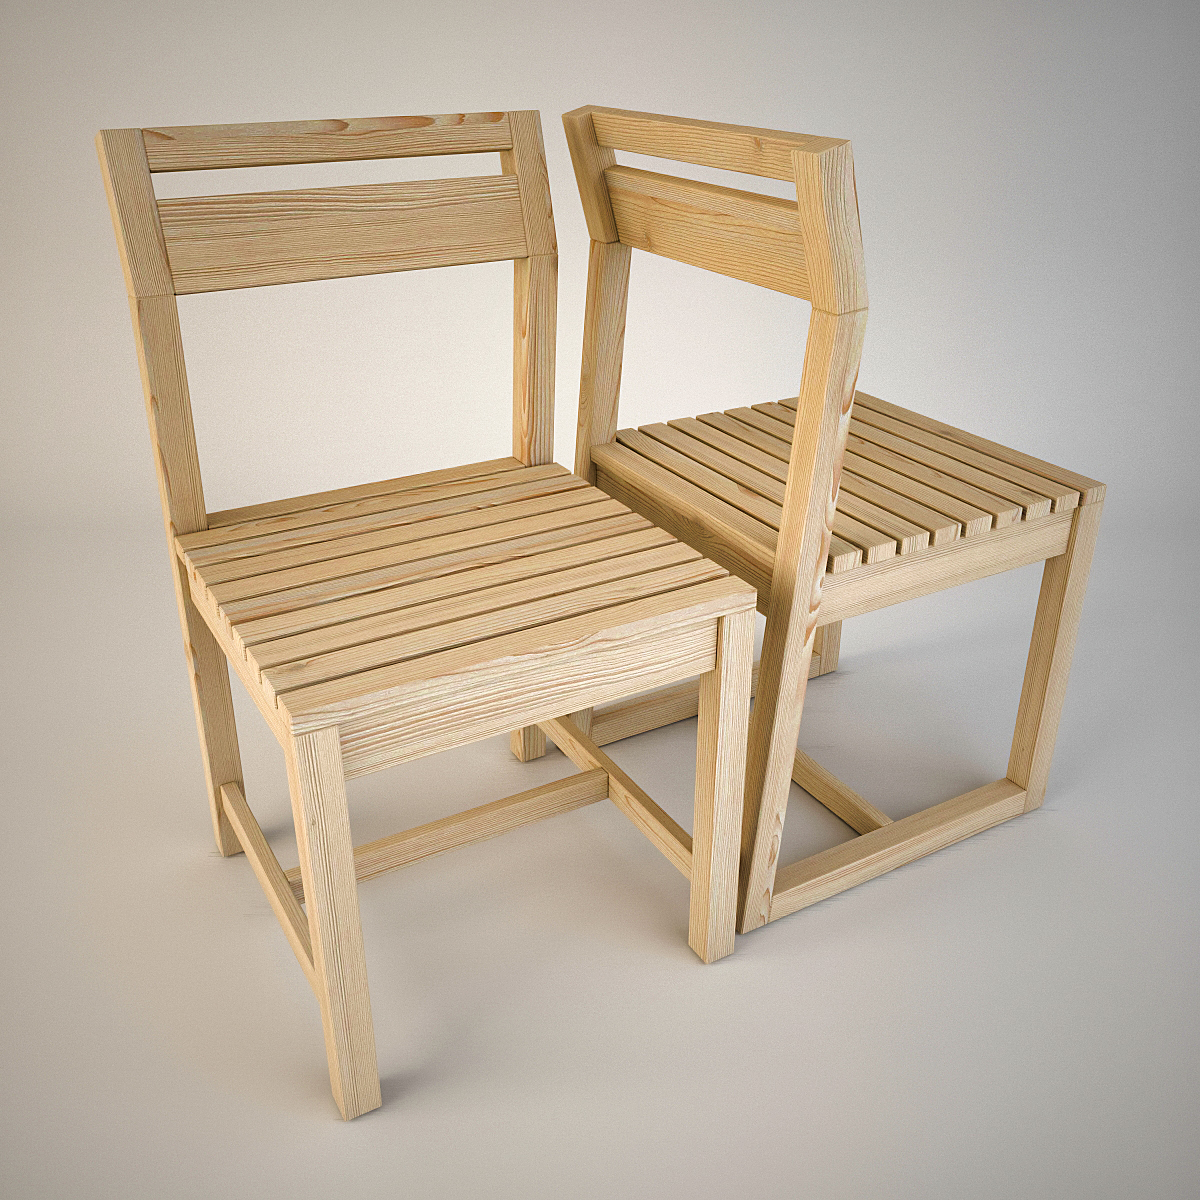
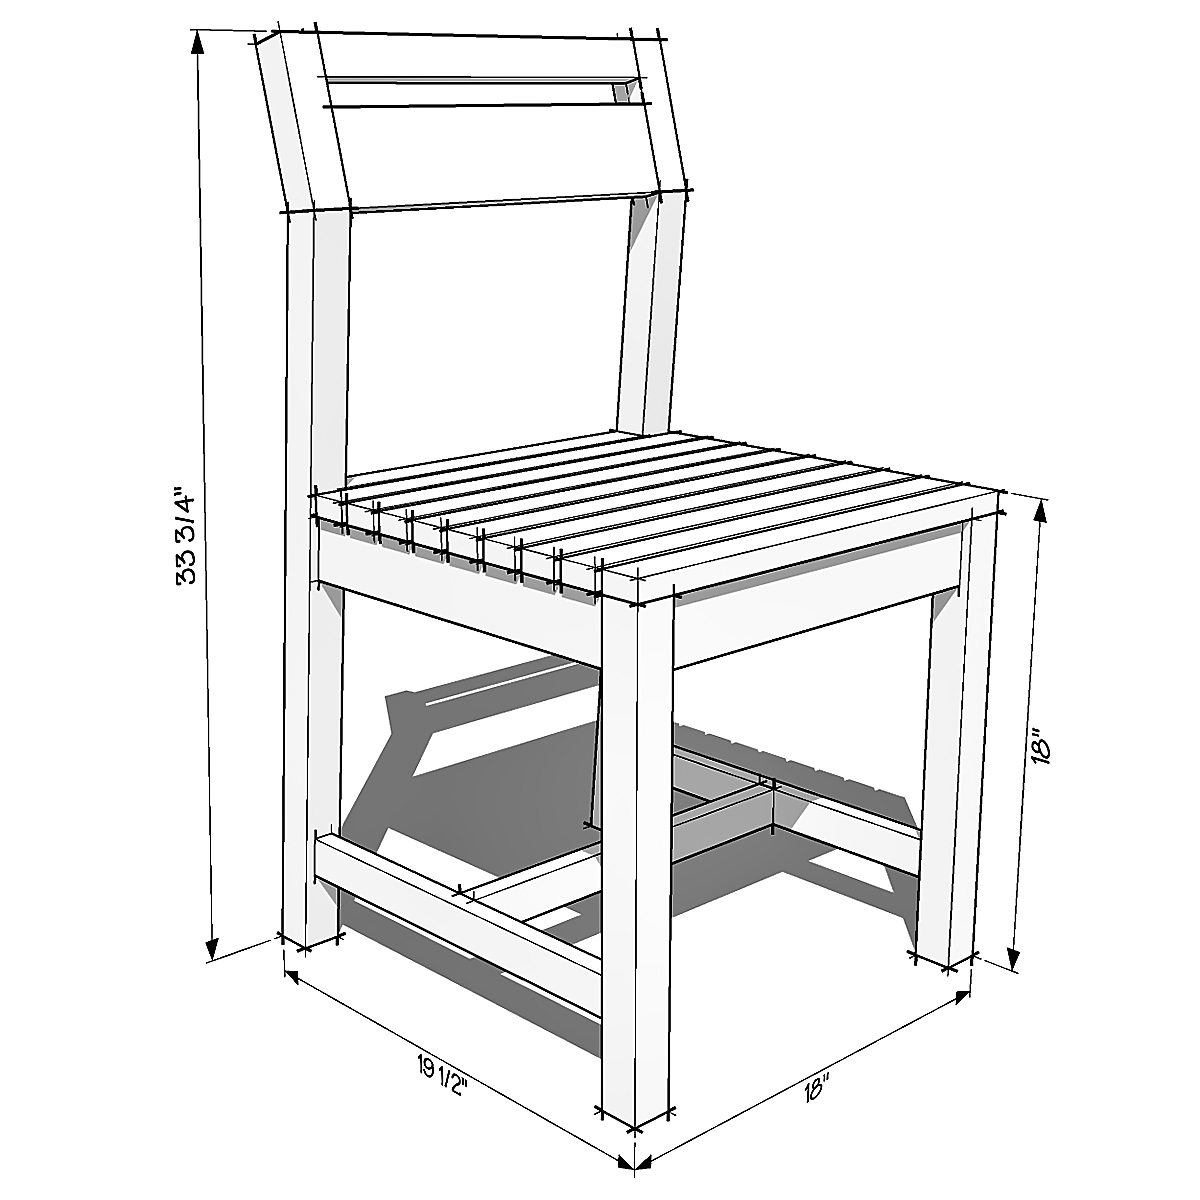
I made this outdoor chair by looking at a variety of plans and designs from Restoration Hardware and other stores. Check out more info on the project on my blog link. Thanks for looking!


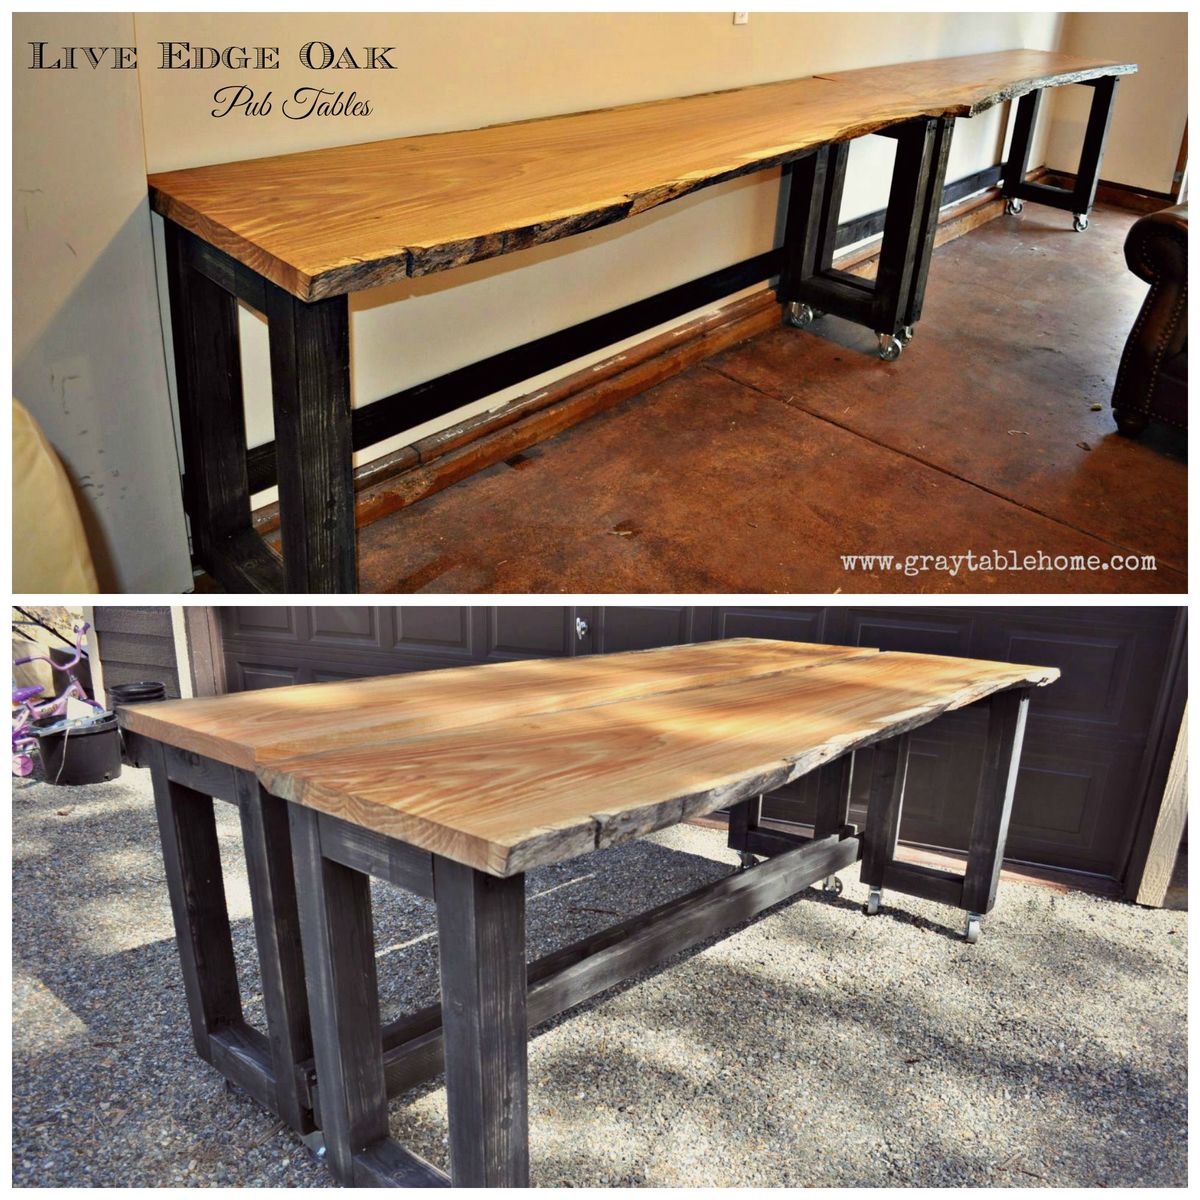
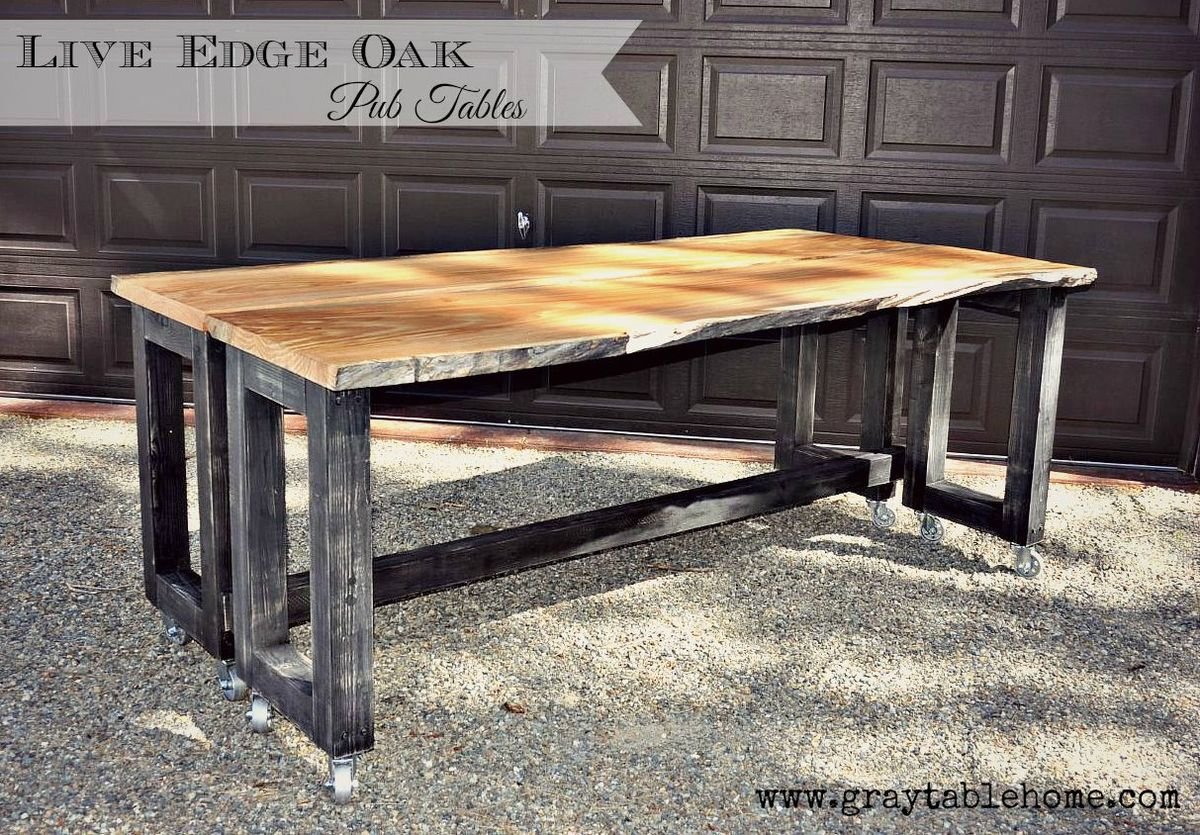
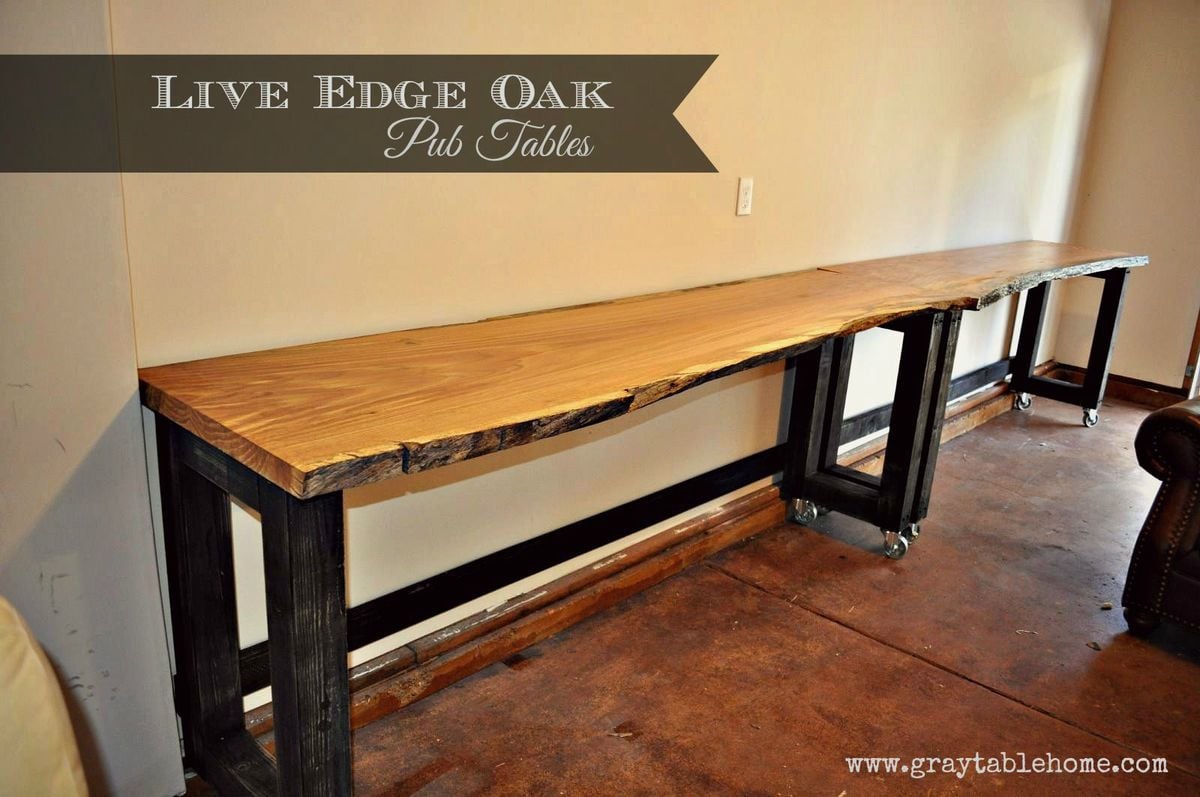
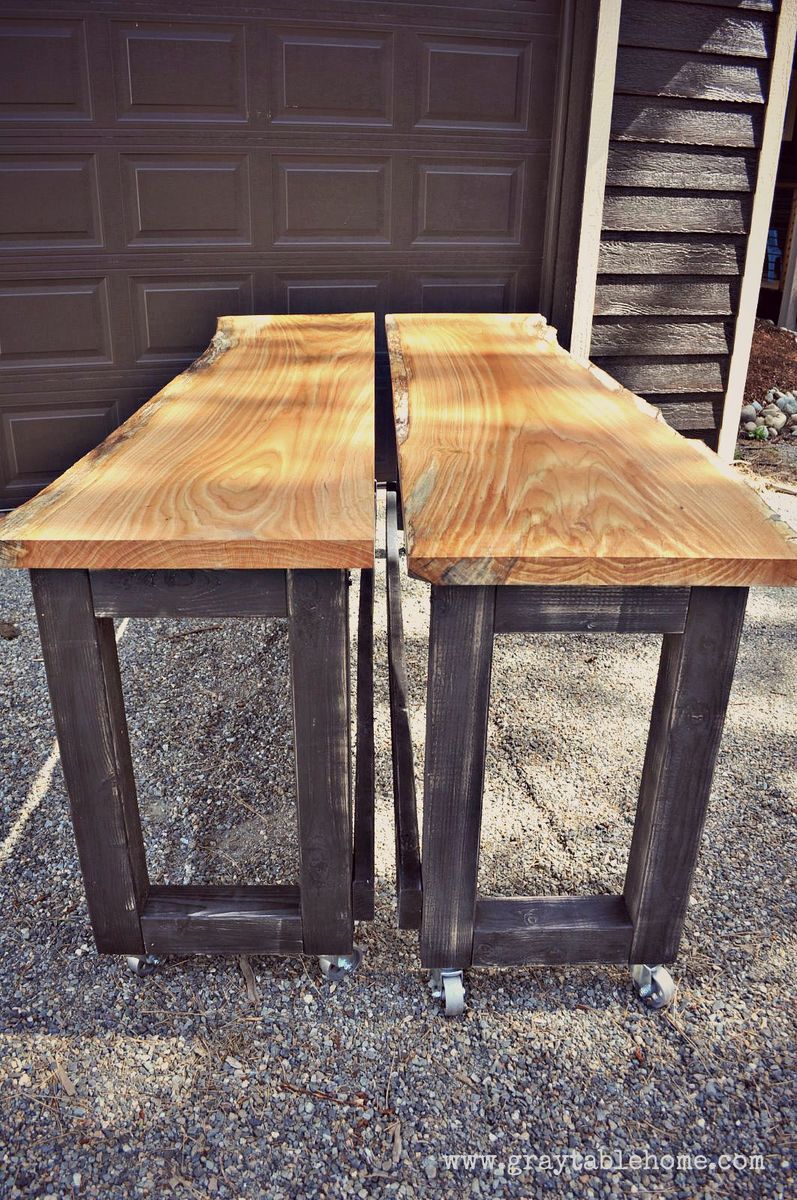
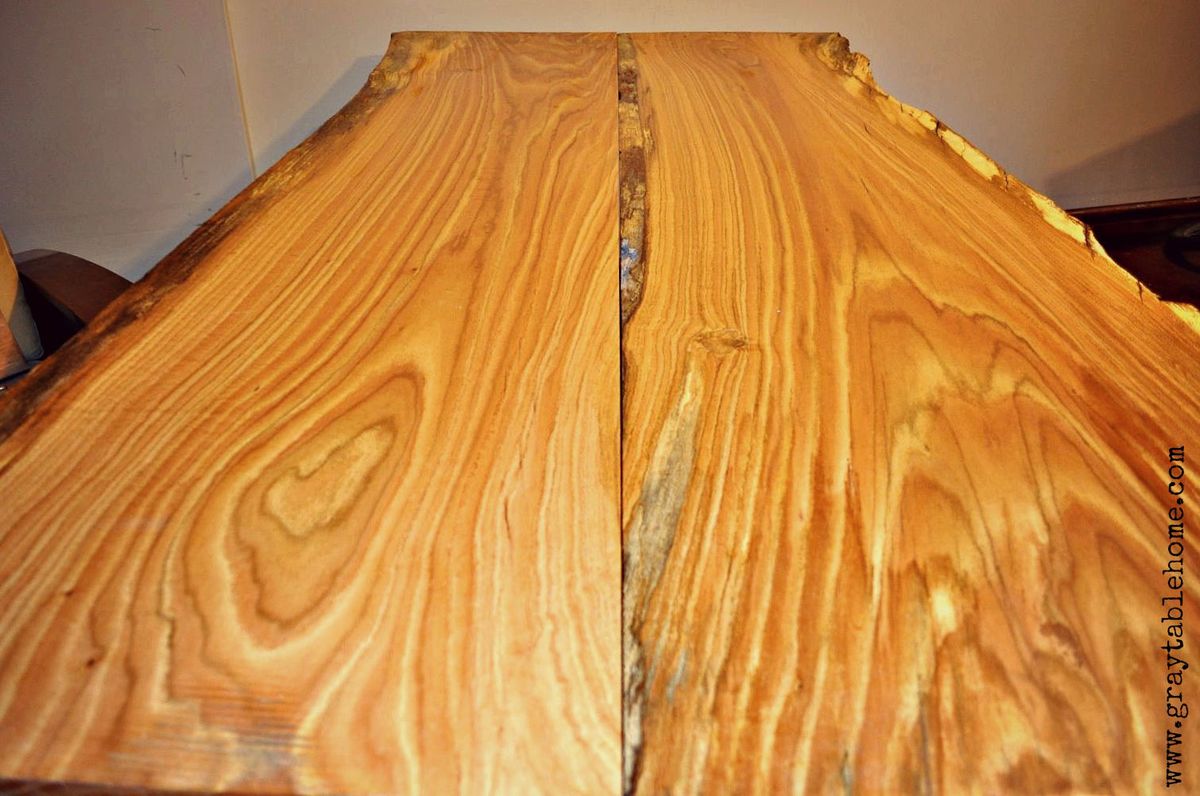
This rustic modern version of a pub table has multiple uses - it can rest along a wall to make a 16 foot long bar, or rolled together to form an 8 foot long pub table. It is standard counter height 36" and will accomodate seating for 8-10 counter stools. If you don't have live edge wood slabs, you can also use construction lumber (2x8s or 2x12s) to achieve similar dimensions and versatile use in a more cost effective way.
Fri, 07/31/2015 - 04:10
Awesome idea! I think I will have to try for a dining table version of this table. Do you happen to have a way to lock the 2 pieces together?
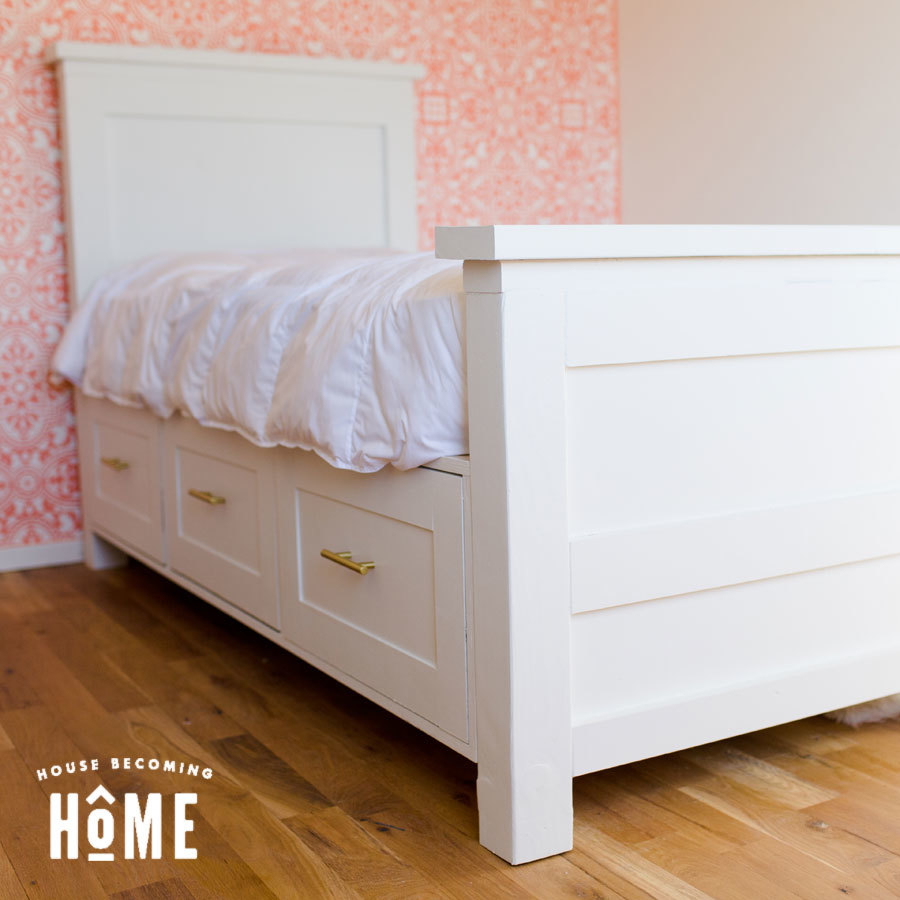
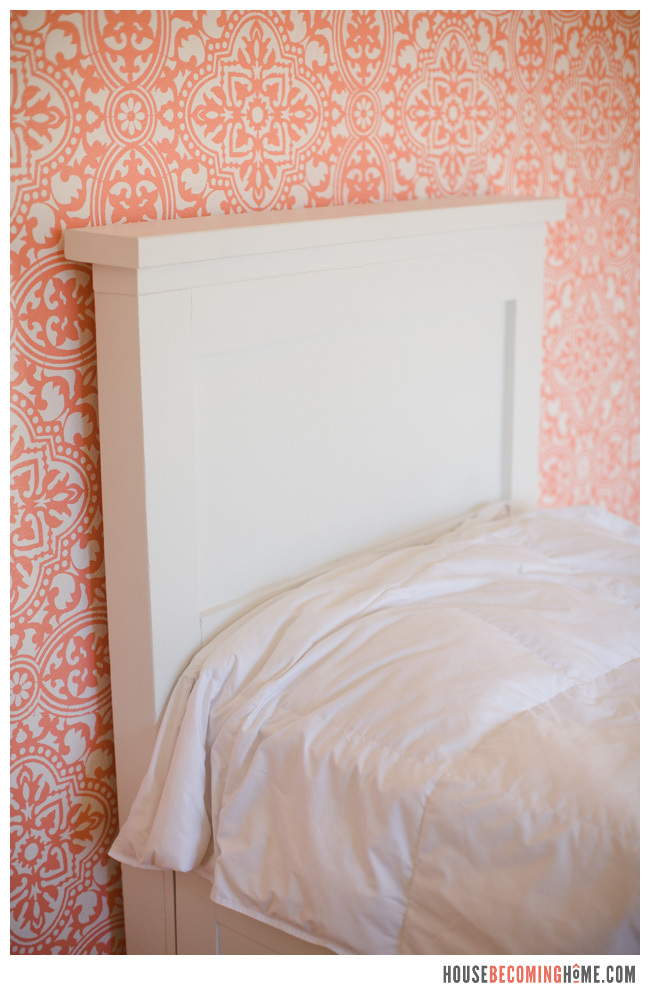
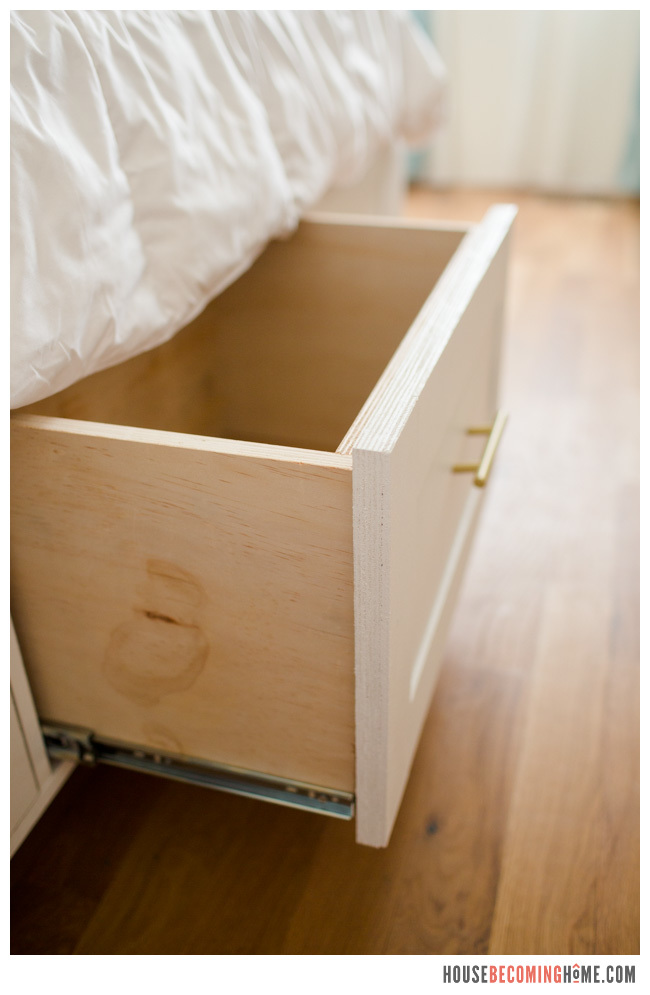
I built this twin bed with drawers for my daughter and I LOVE all the storage the drawers provide. I slightly modified the plans it was based off of--you can find more info and see details from the build on my blog House Becoming Home.
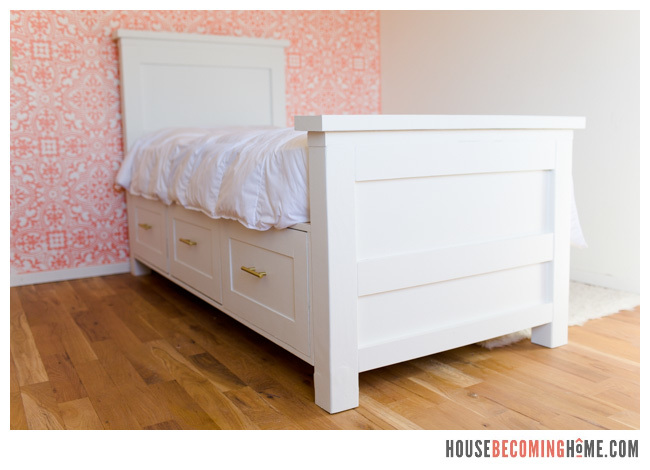
Love getting to watch my daughter play with stuff that i made her.

Wed, 12/26/2018 - 13:53
What a beautiful set! Thanks so much for building and sharing a brag post!
Thanks for the plans!
Wed, 10/19/2022 - 08:32
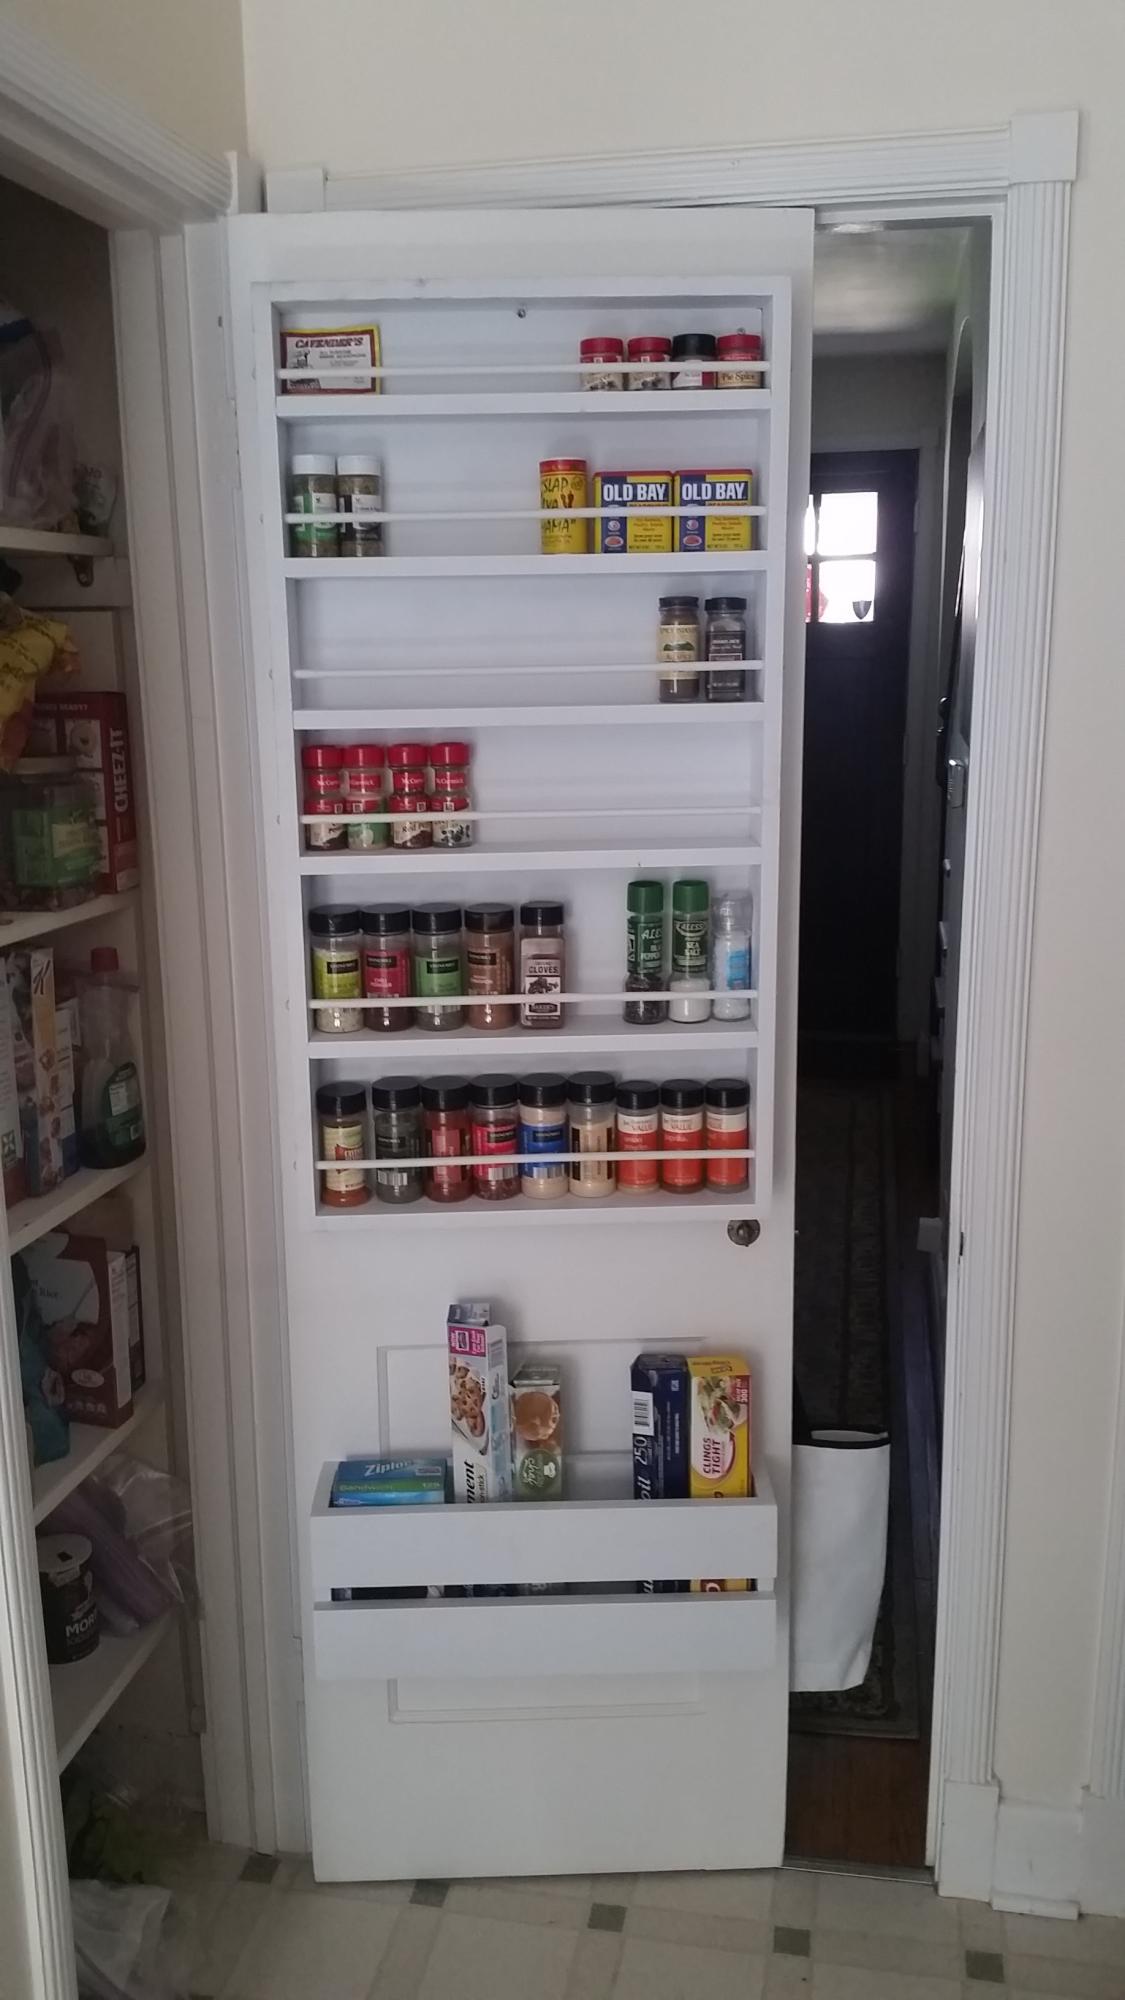
Looks great and perfect space saver and organizer!

Built it for our recently arrived baby !

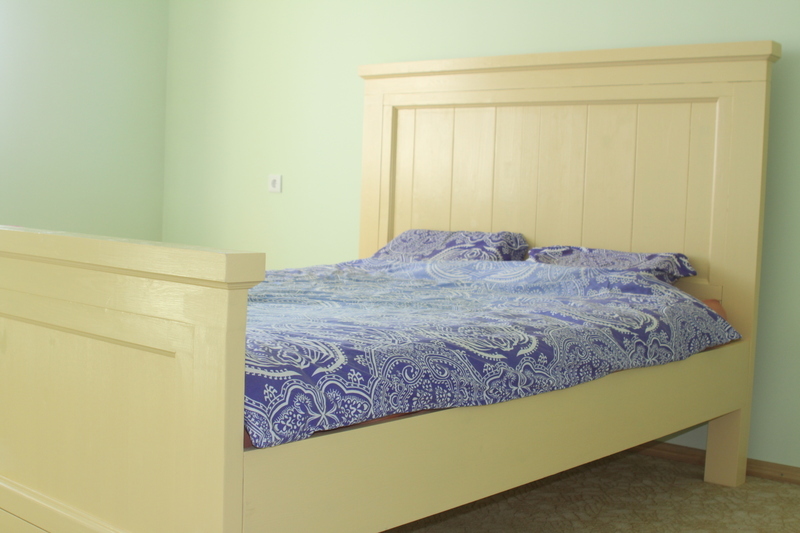
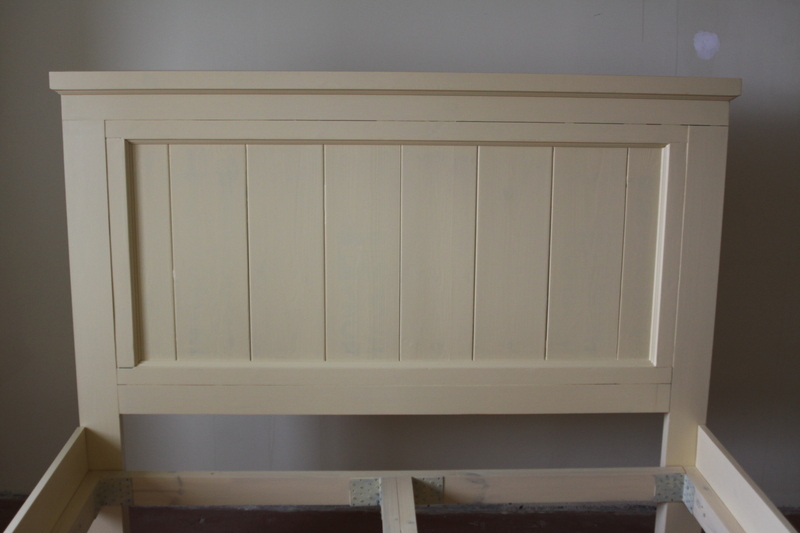
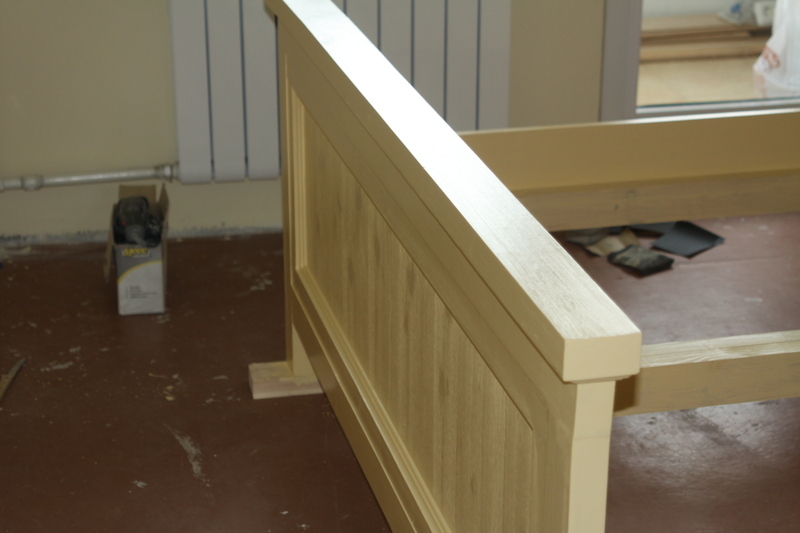
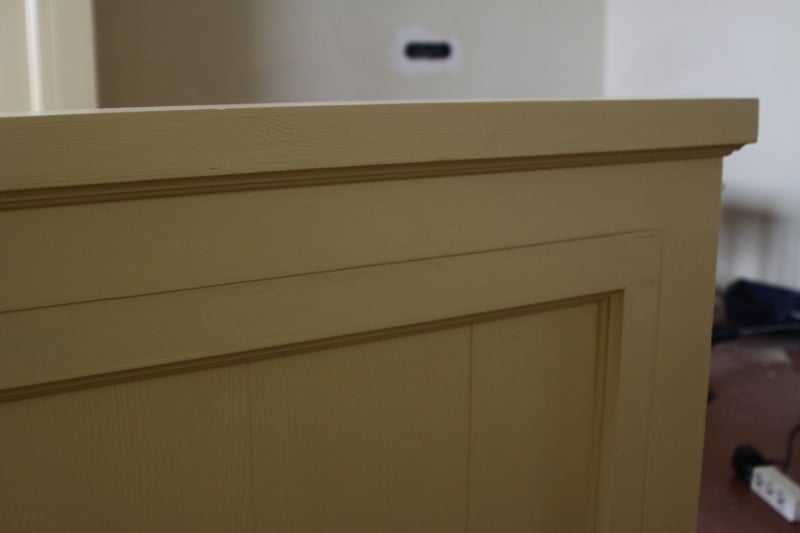
Modified Farmhouse style bad. Used lighter wood for headrest and footrest. Changed measurements for Lithuanian size of mattress (200x160cm). For headboard panel were used pallets wood so it was necessary to paint it right. Also Added some trims for decorating edges.


Sun, 09/29/2013 - 06:37
I wish I would have seen your plan before I built my bed. Your head and footboard bases make it a lot easier to attach the side rails. Paint color and texture look good too. Did you use a satin finish?
Sun, 09/29/2013 - 08:25
Thank you for your opinion.
I used glossy paint and its over. No final polishing or lacking ant the end if you asking this.
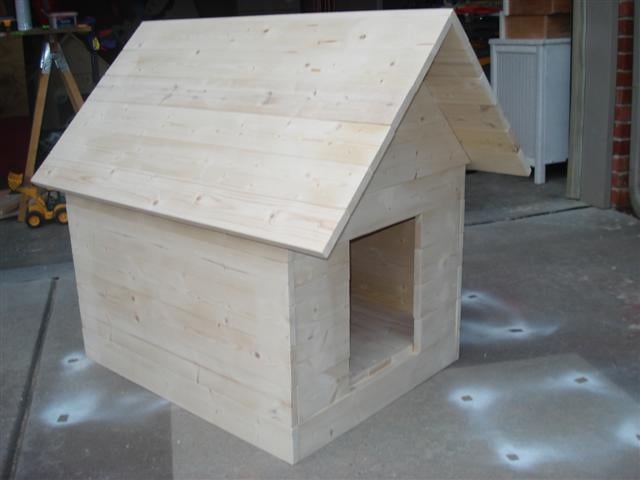
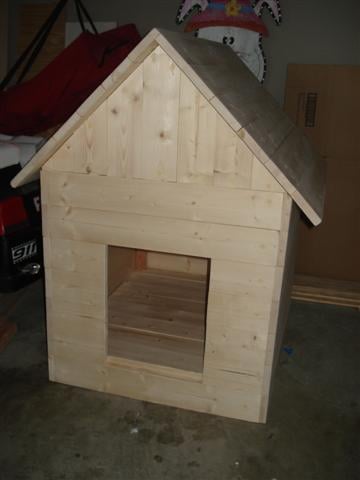
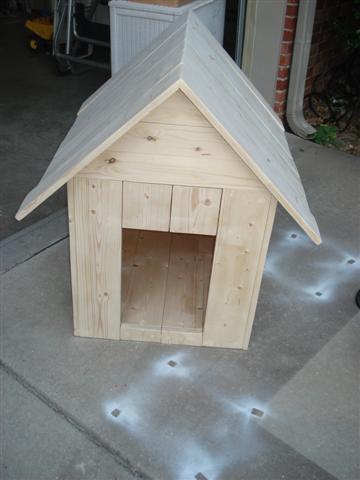
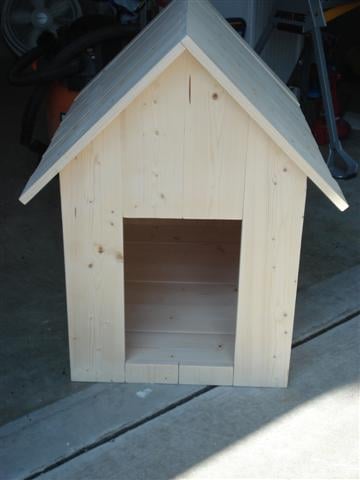
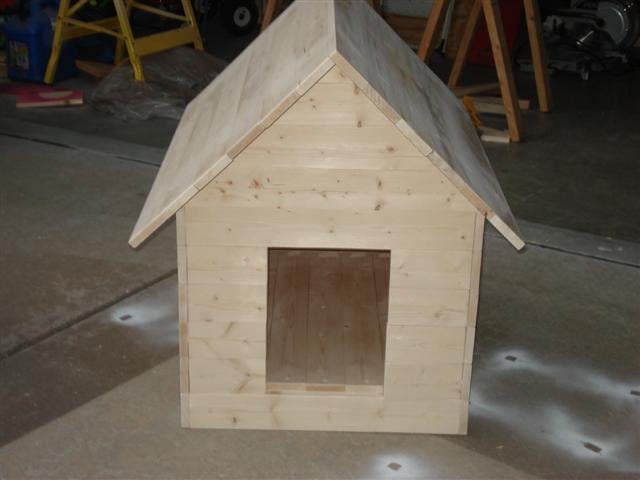
Our local Habitat for Humanity puts on an annual event where they get folks to restore discarded or worn down furniture and sell them at auction. My wife and I participated last year and this year I was asked to build 4 dog houses and then they were going to let local designers/decorators finish them out.
I figured it would be easy to find a good dog house plan, but I was wrong so I had to come up with my own designs. I did not want to use plywood becauase I wanted them to look good. So I used 1x4's and 1x6's. I built them all just a little bit different, but the same basic design on all 3. Since I am not very good with circular cuts, did not do any fancy 1/2 circle doorways!
There are "after" pictures on the Blog. Thanks for looking!
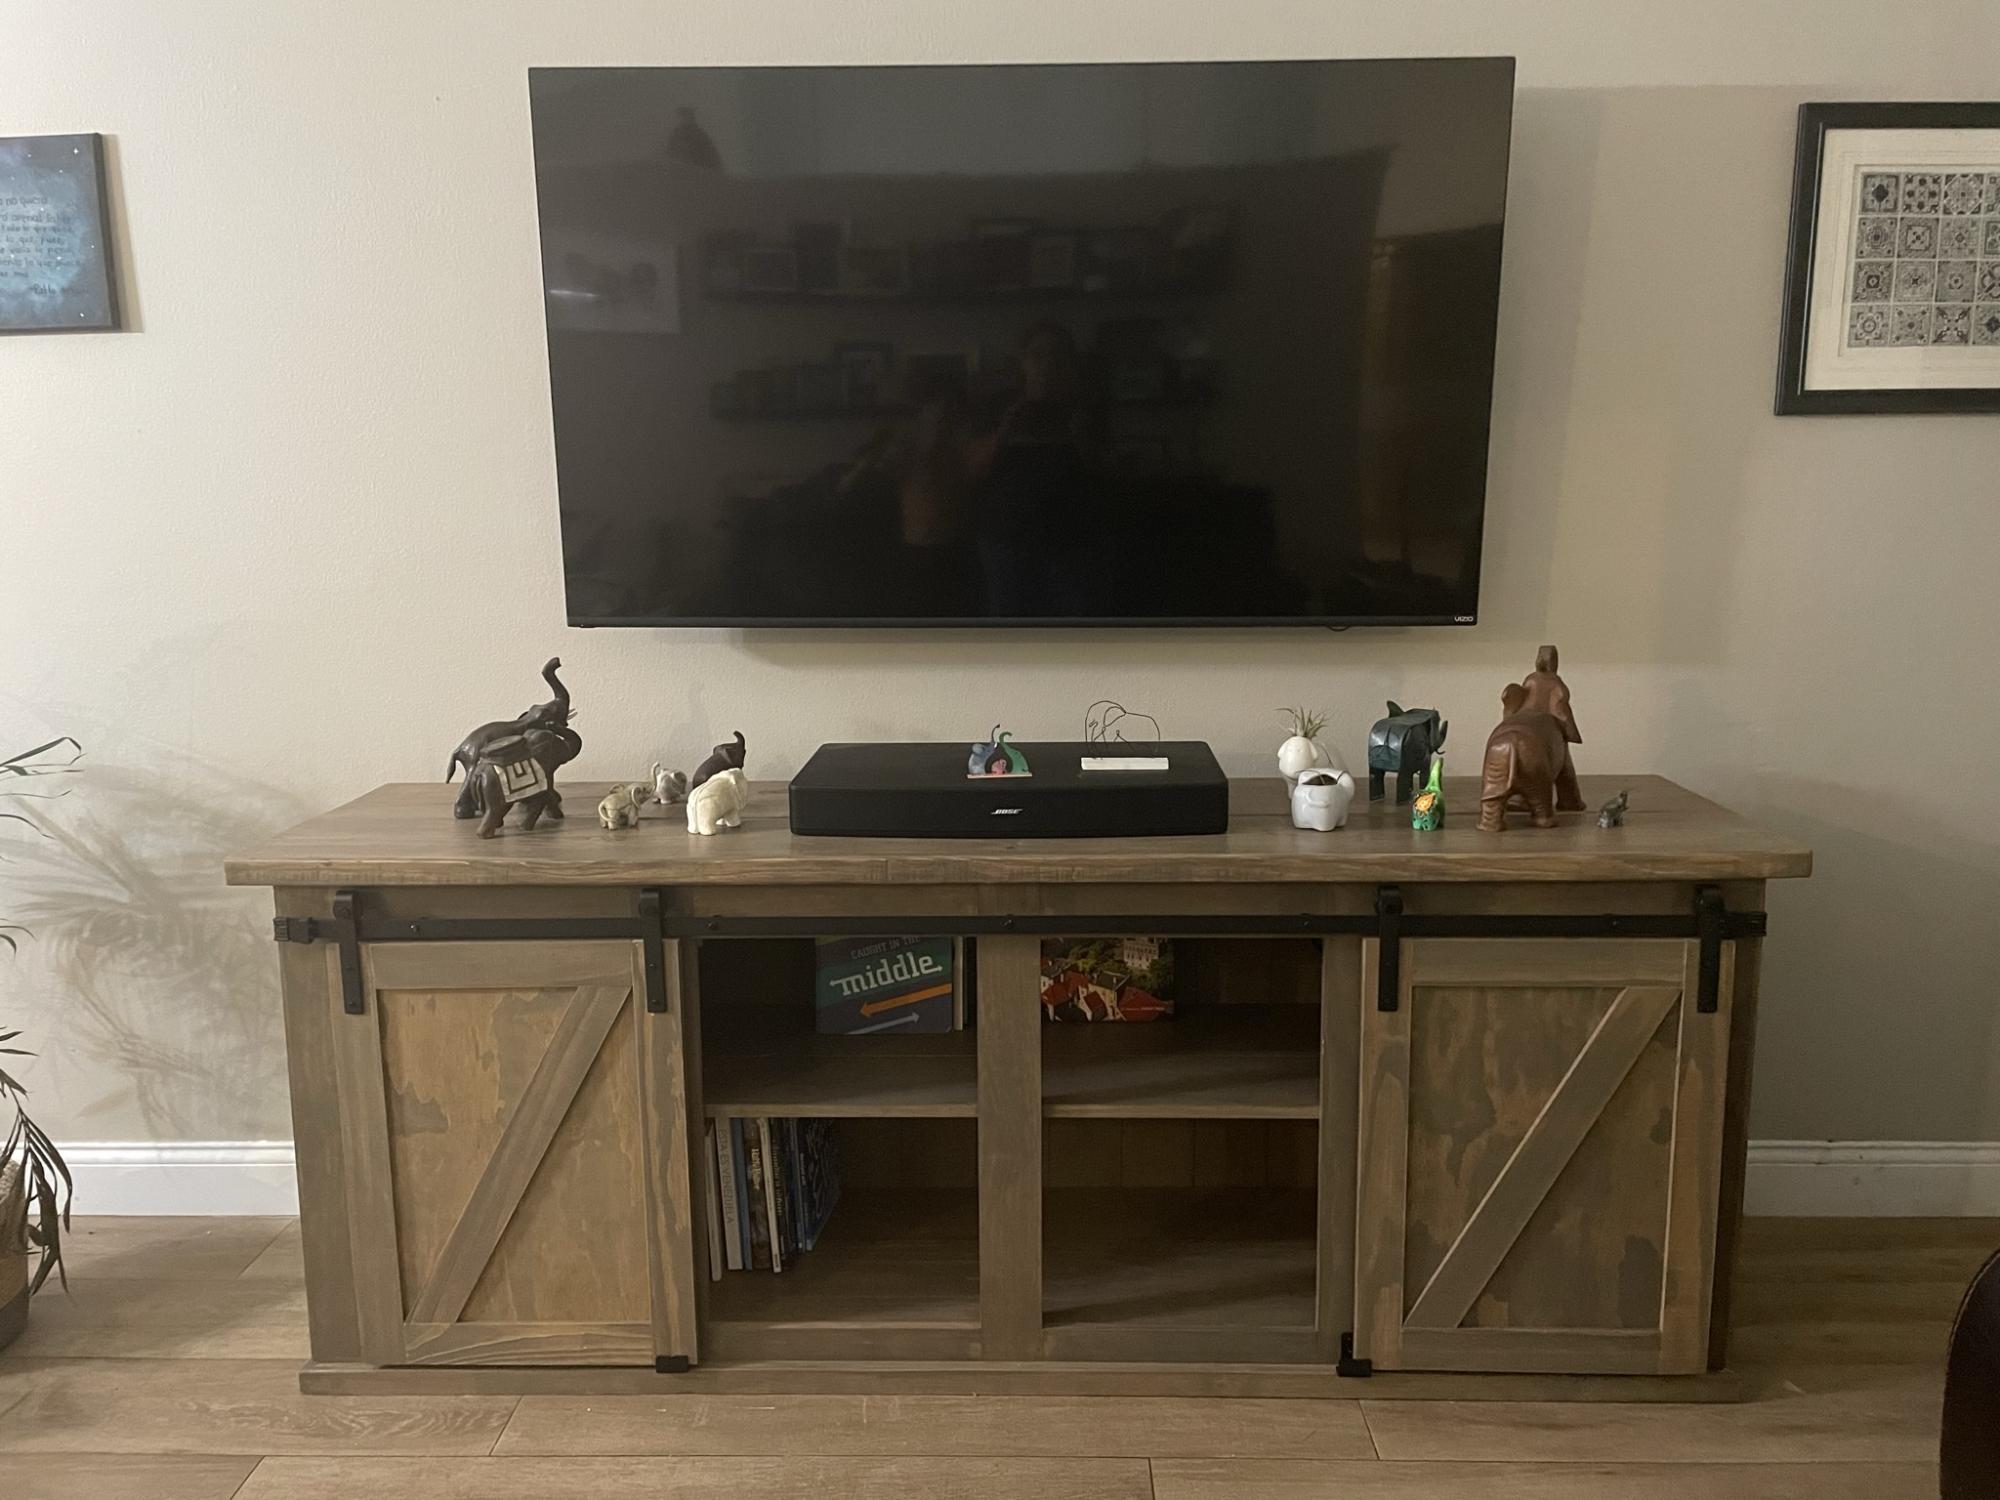
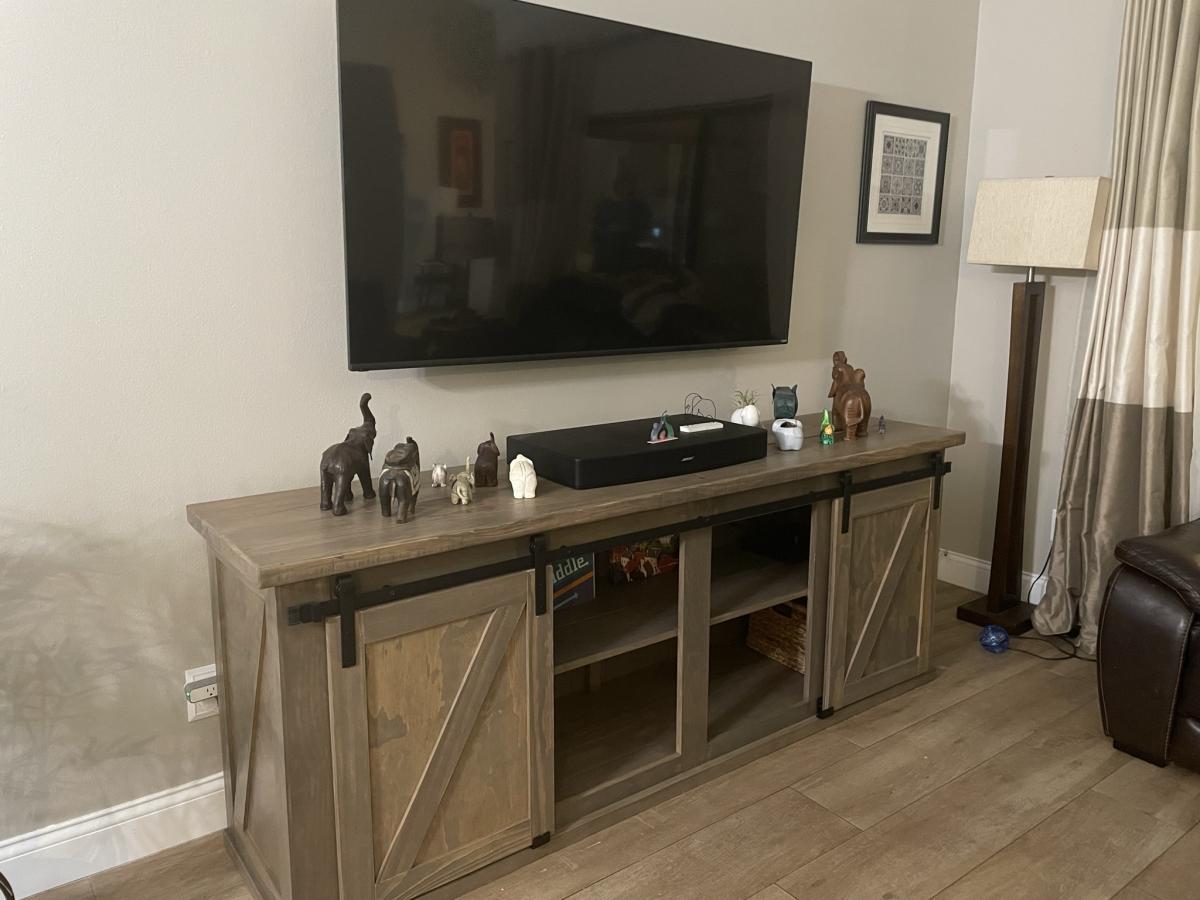
I built this TV console based on Ana’s plan and some modifications from The Turquoise home. Made it 6’ long and a bit lower to fit all my elephants below the TV.
It turned out beautiful and suuuper heavy.
Thank you Ana!
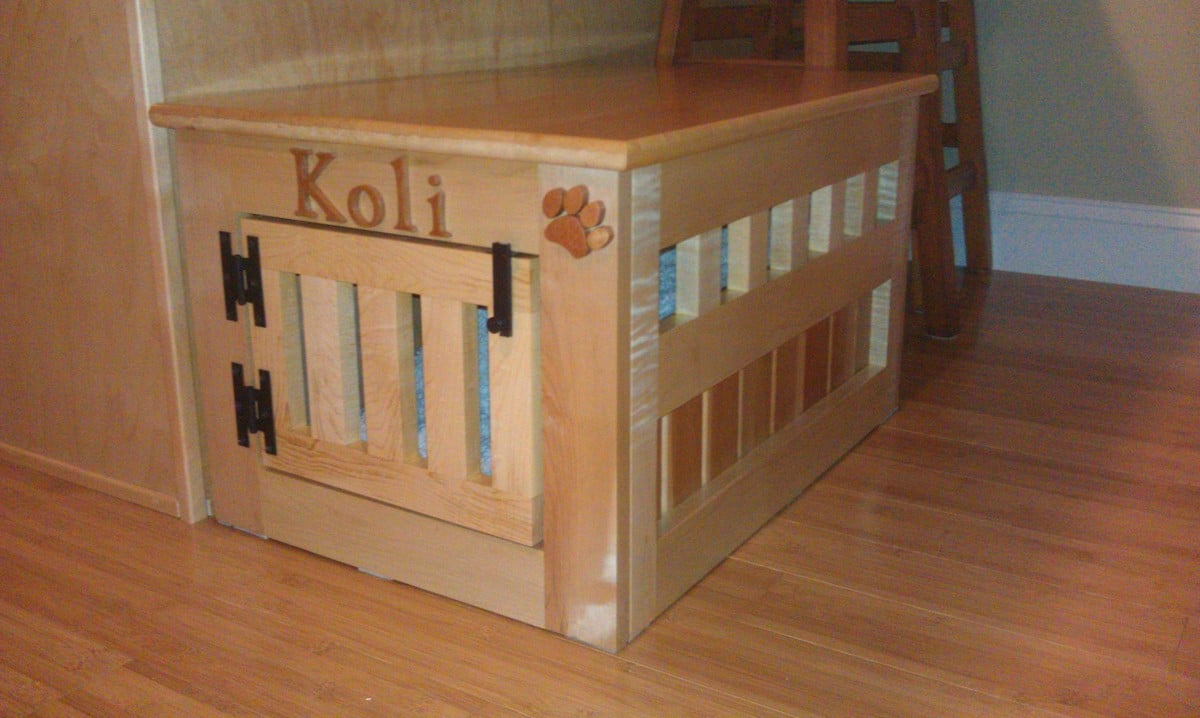
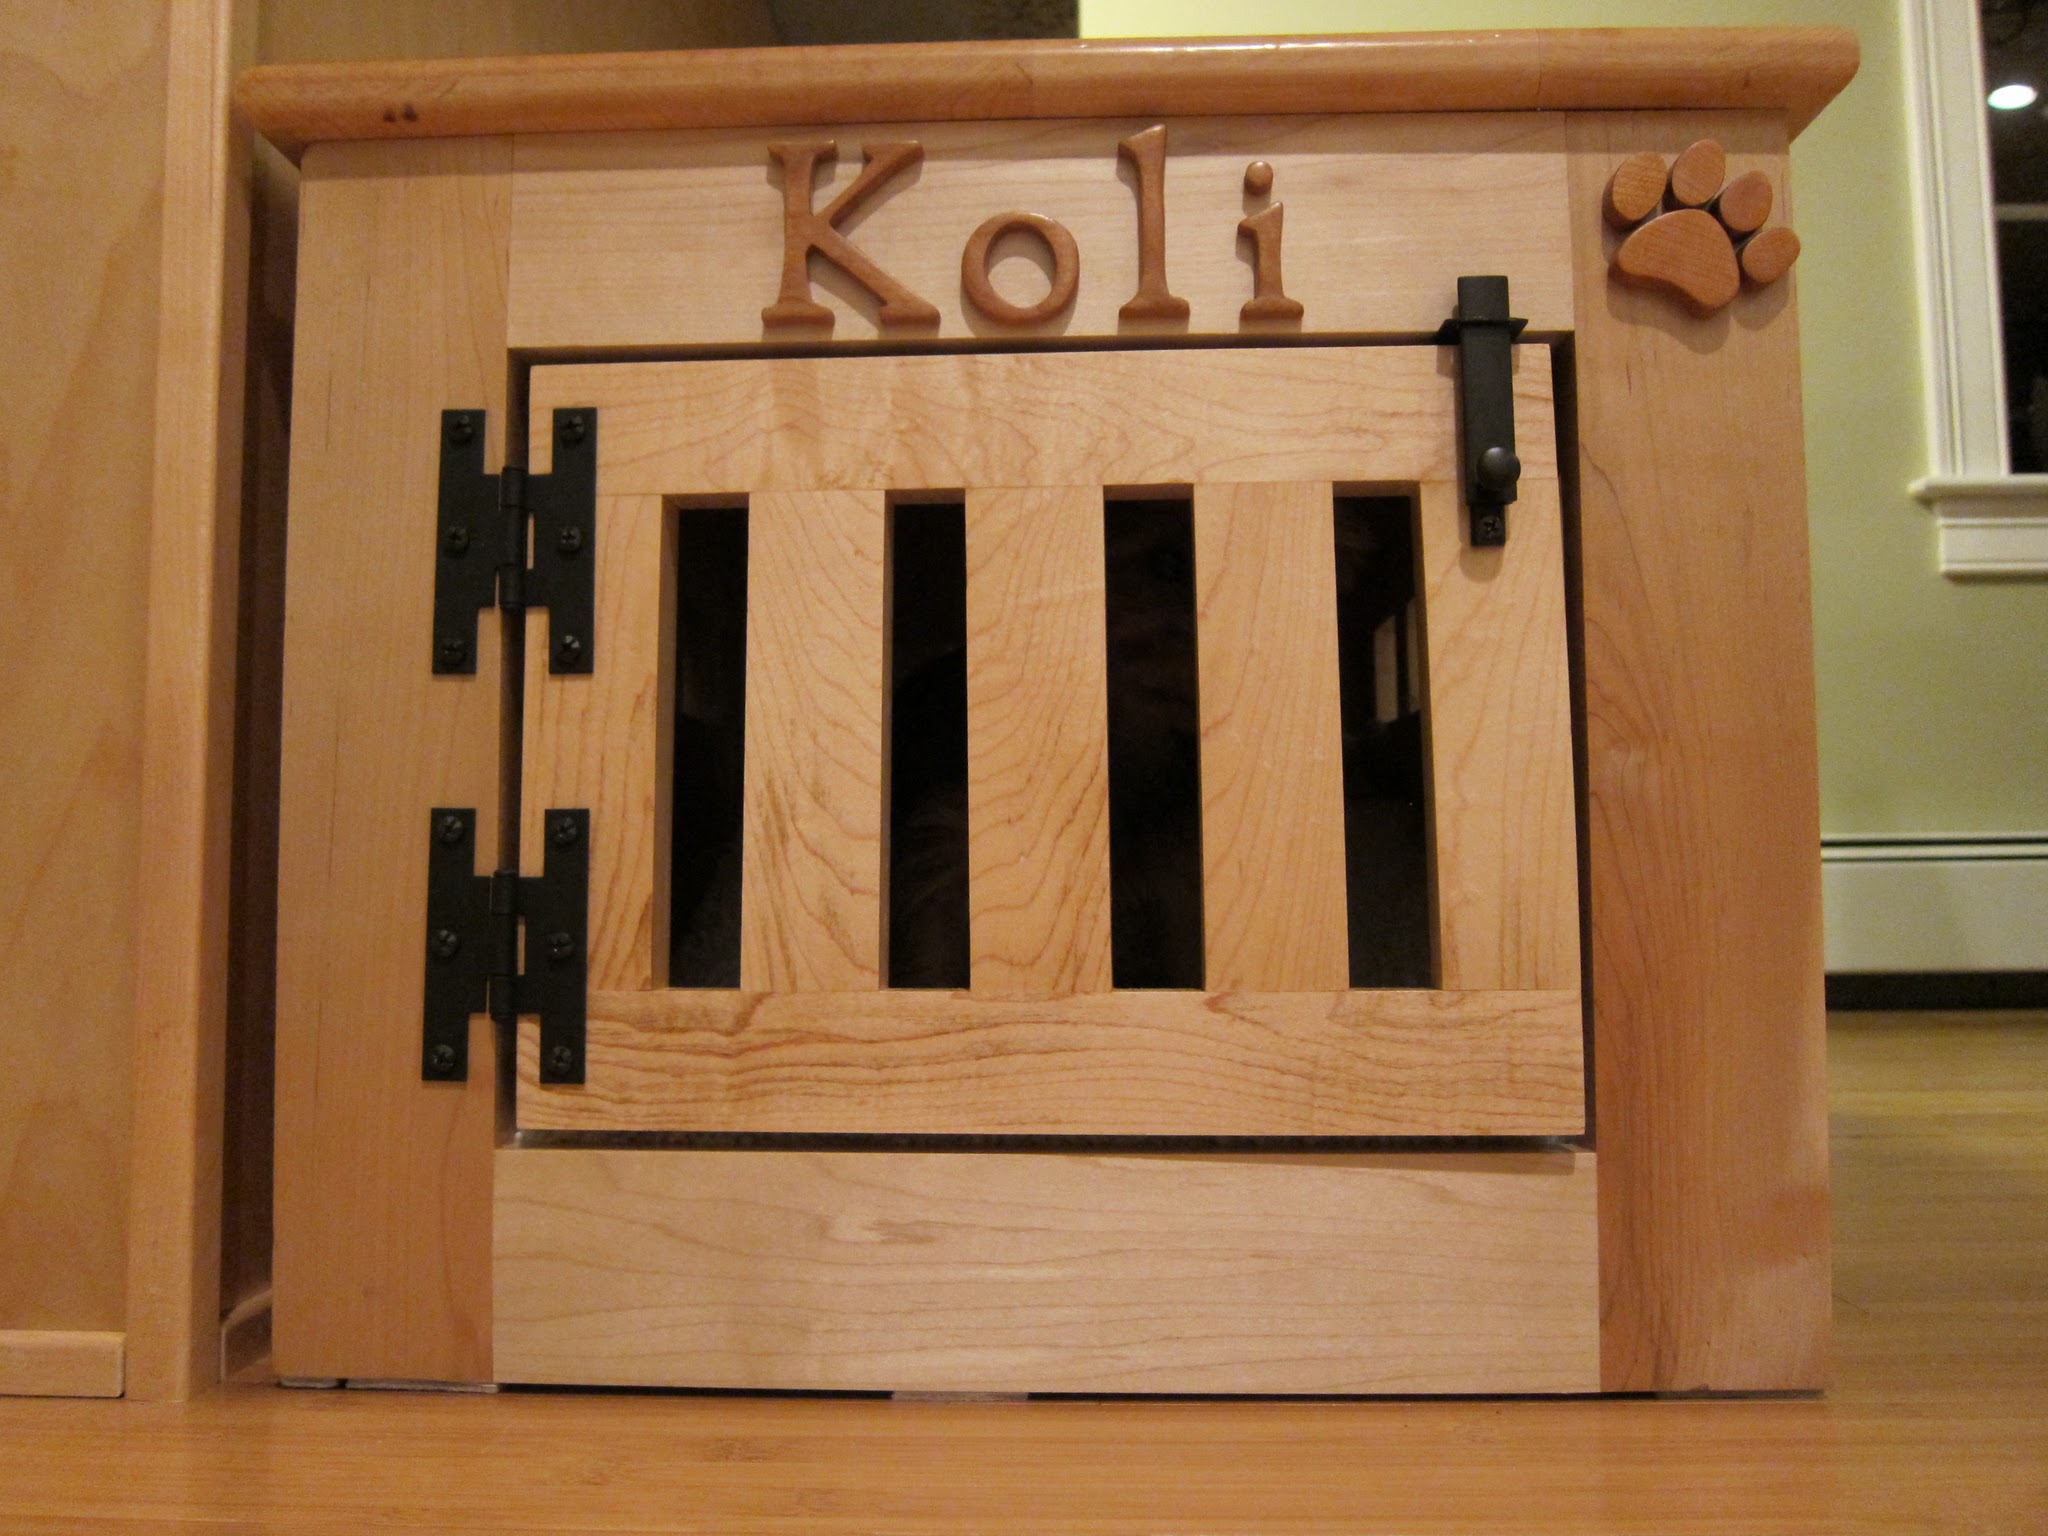
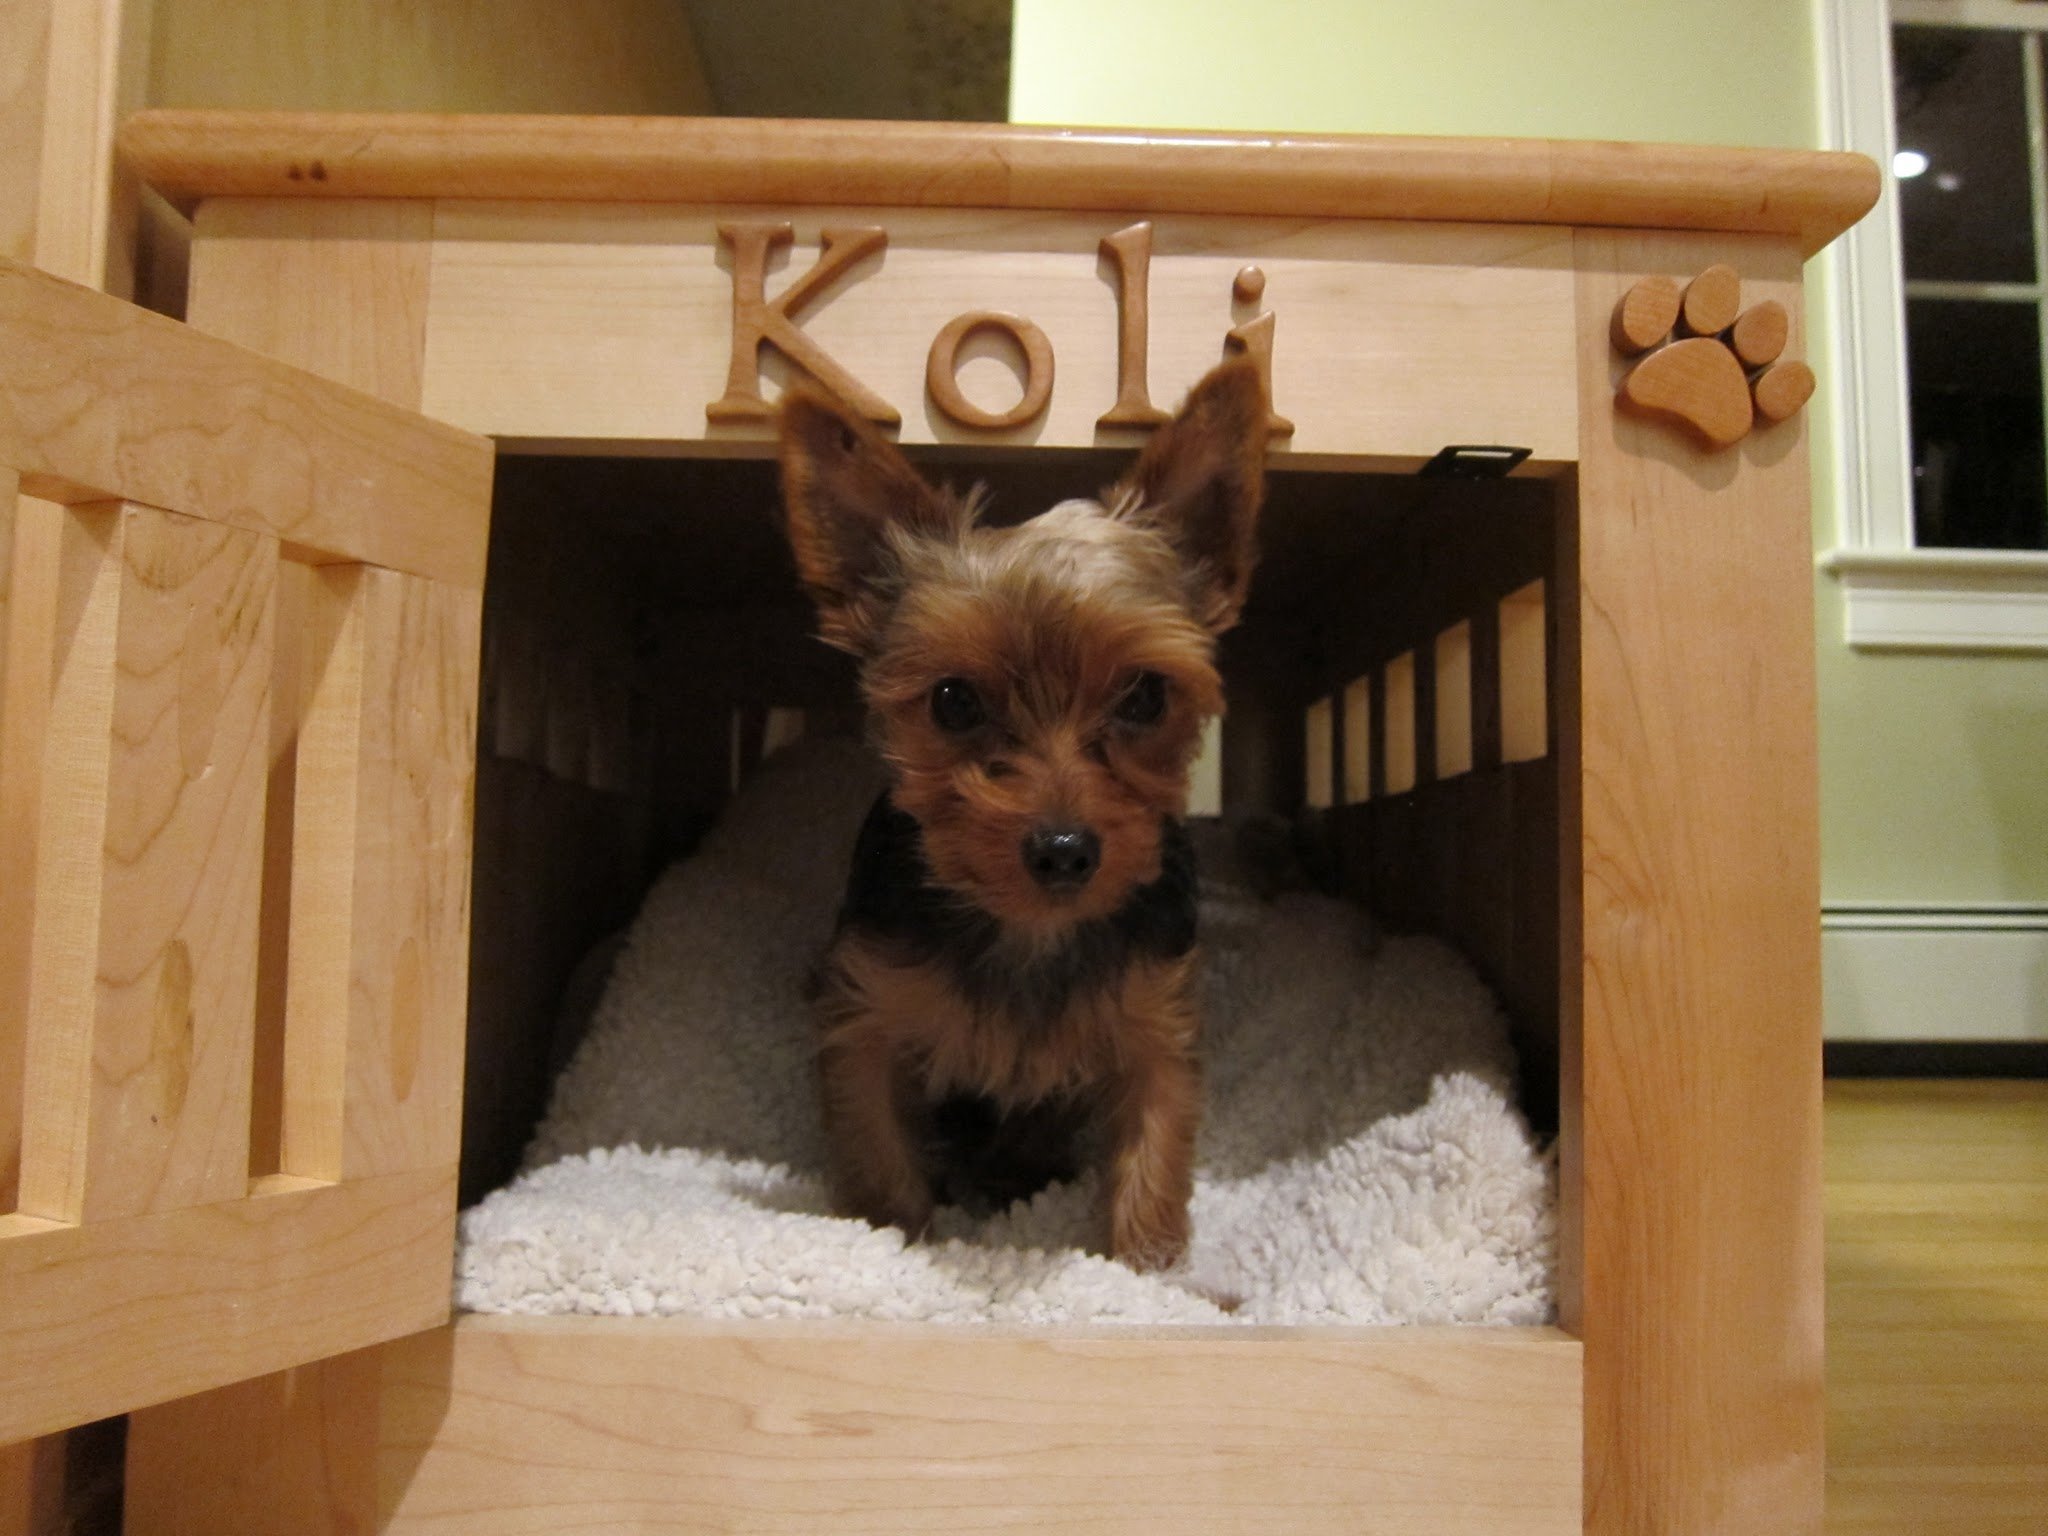
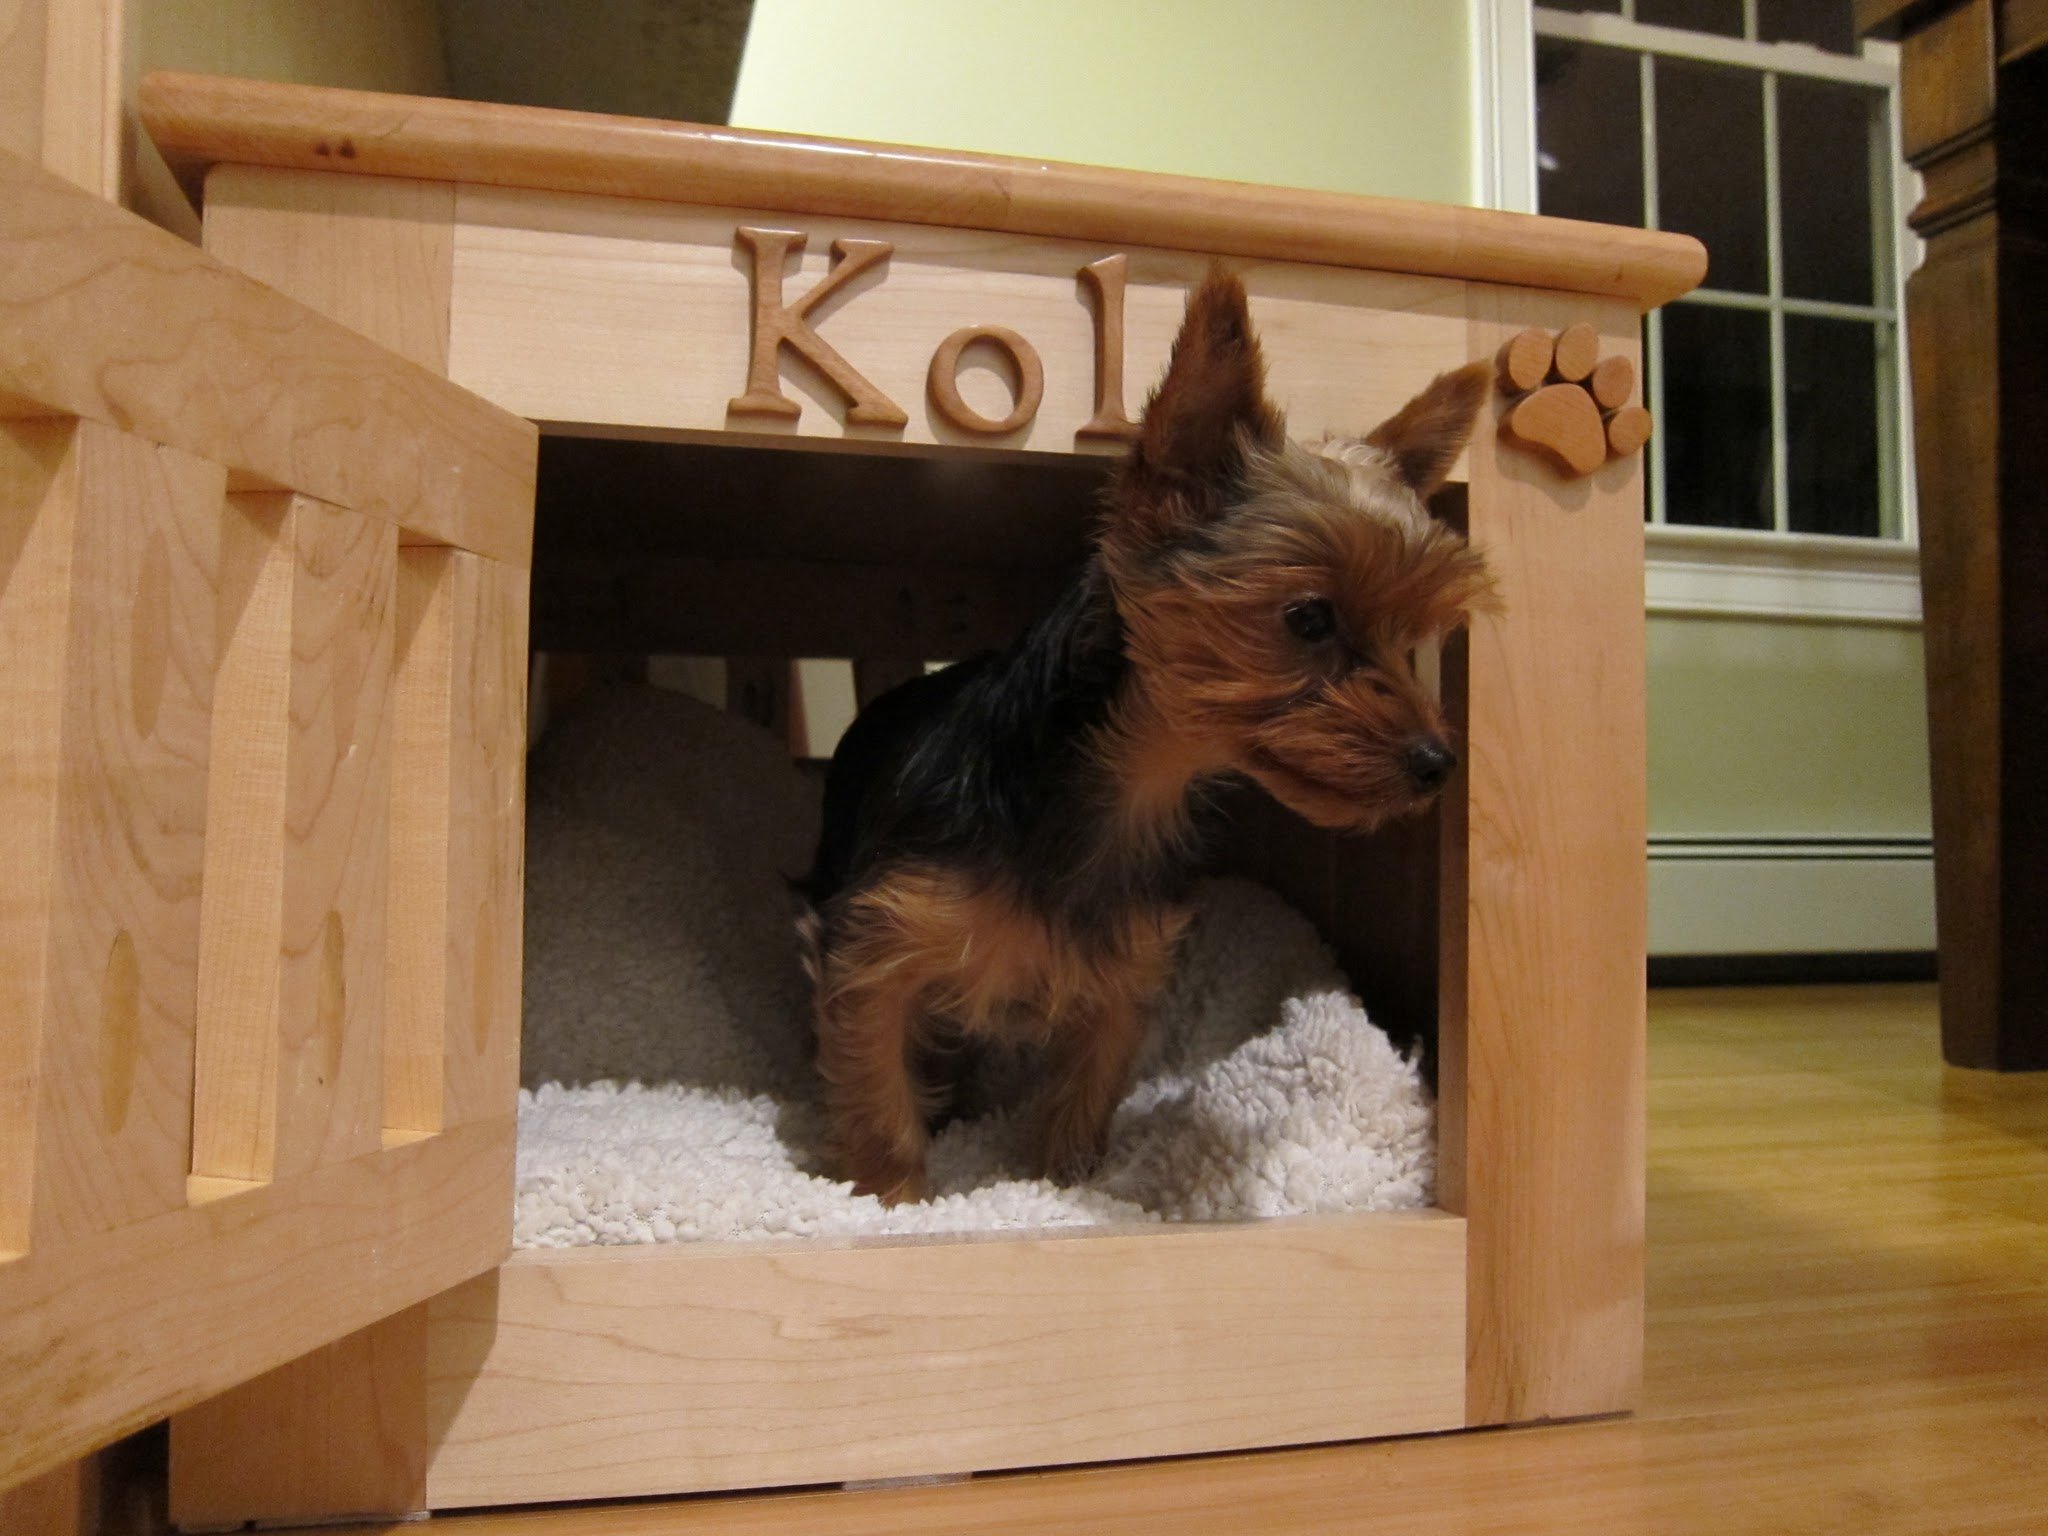
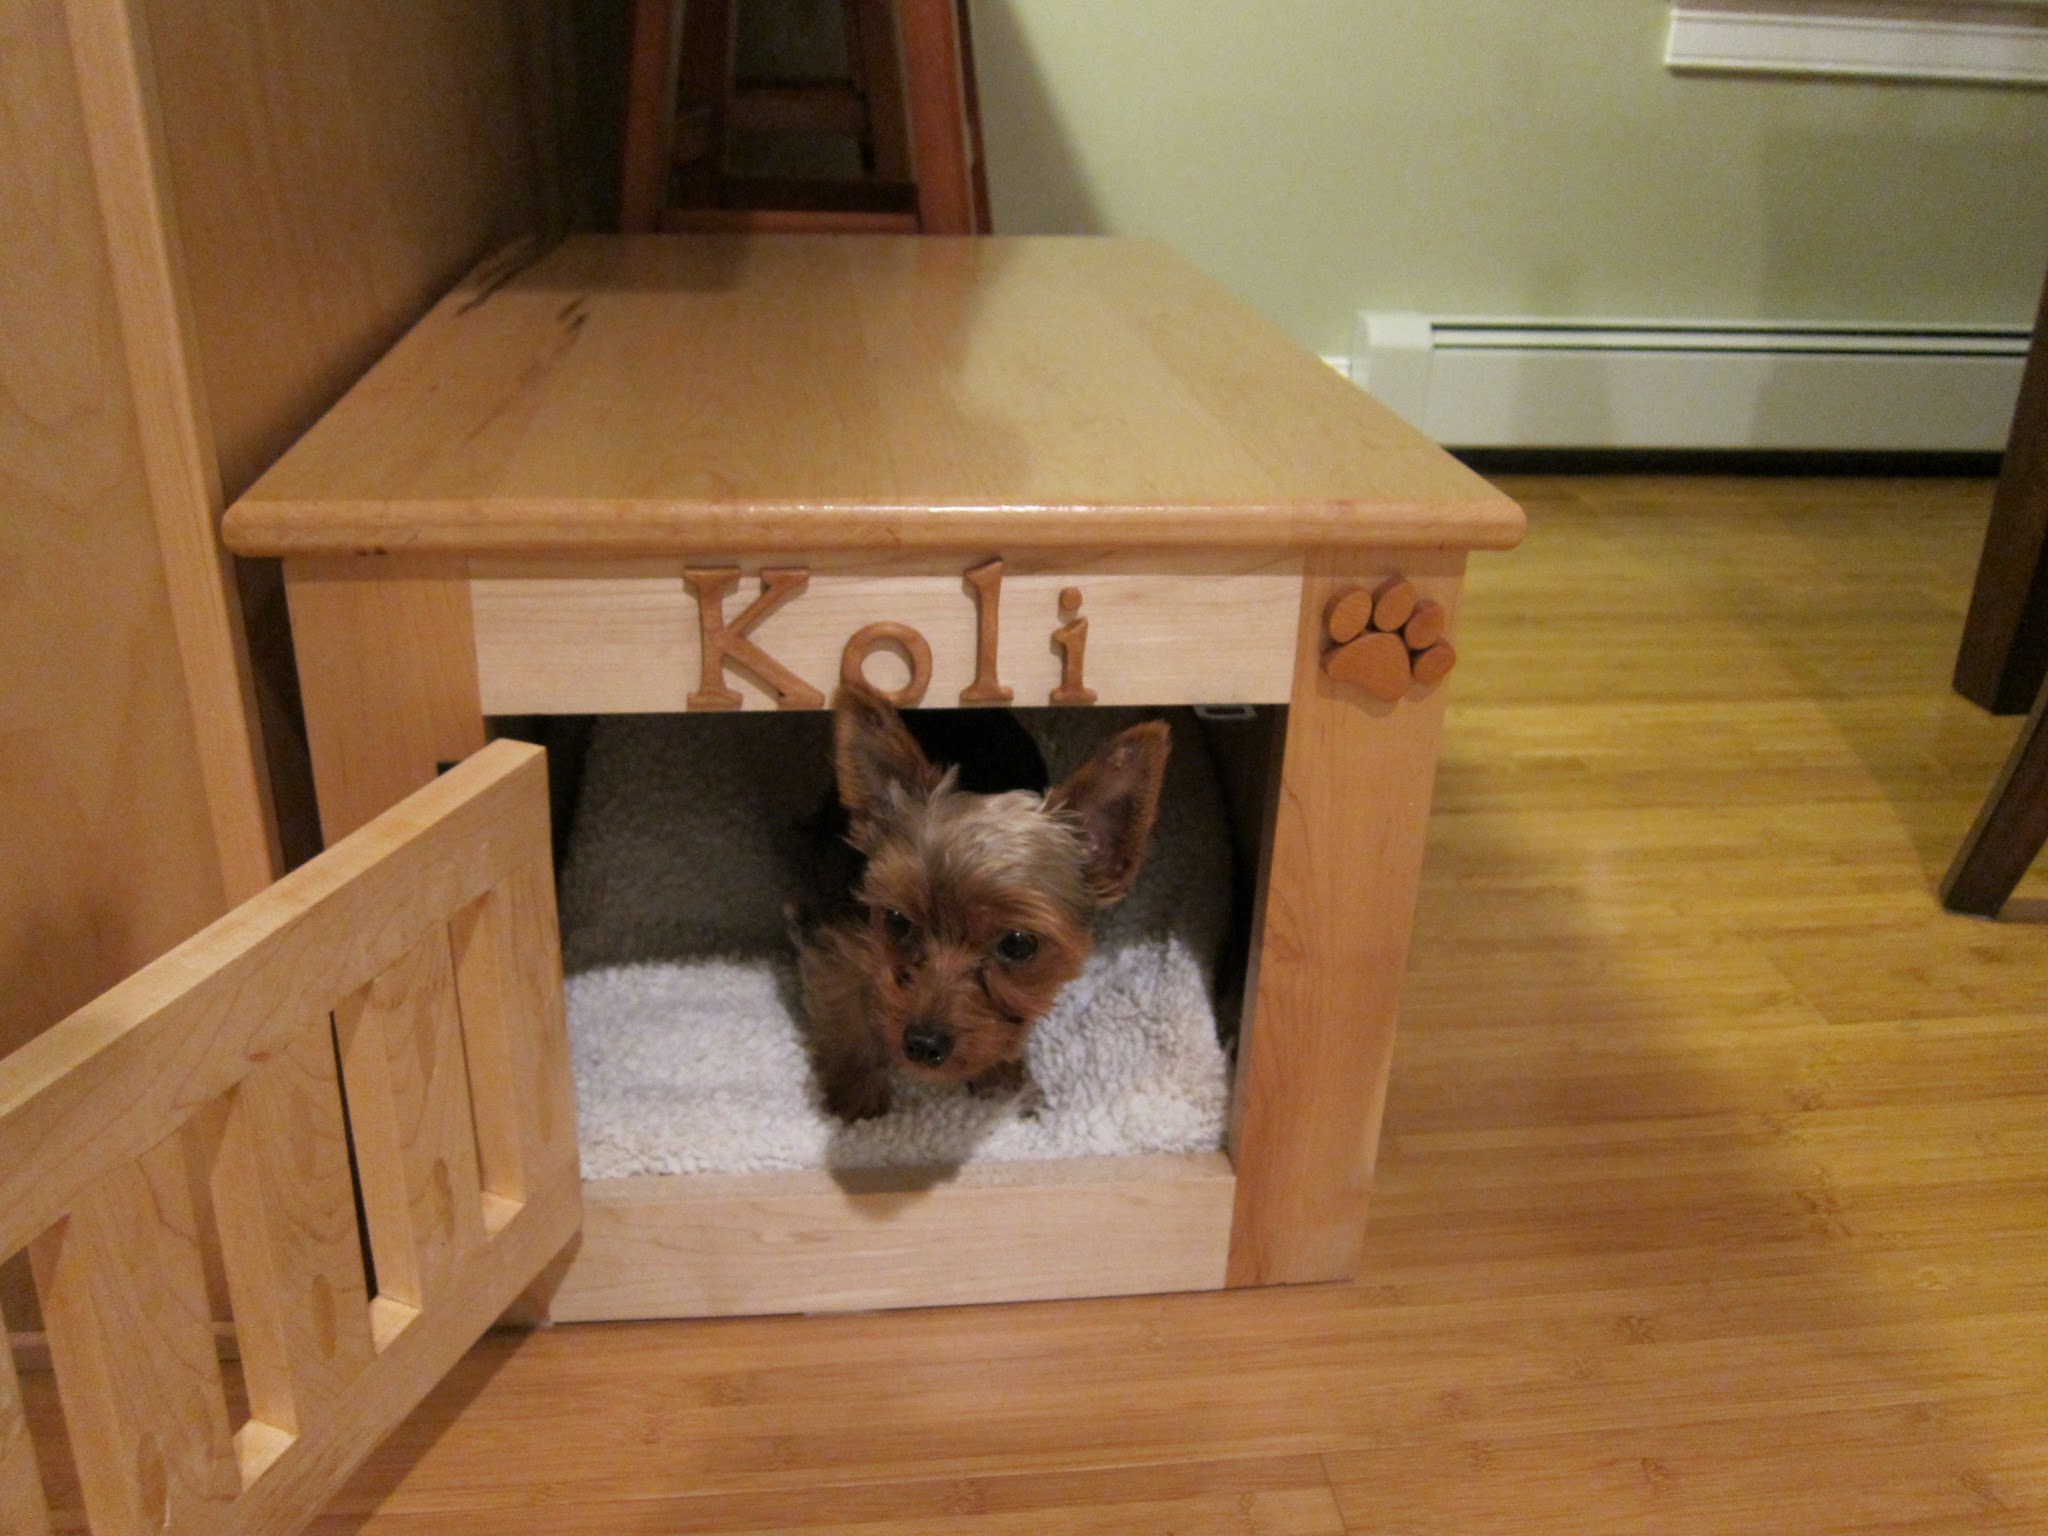
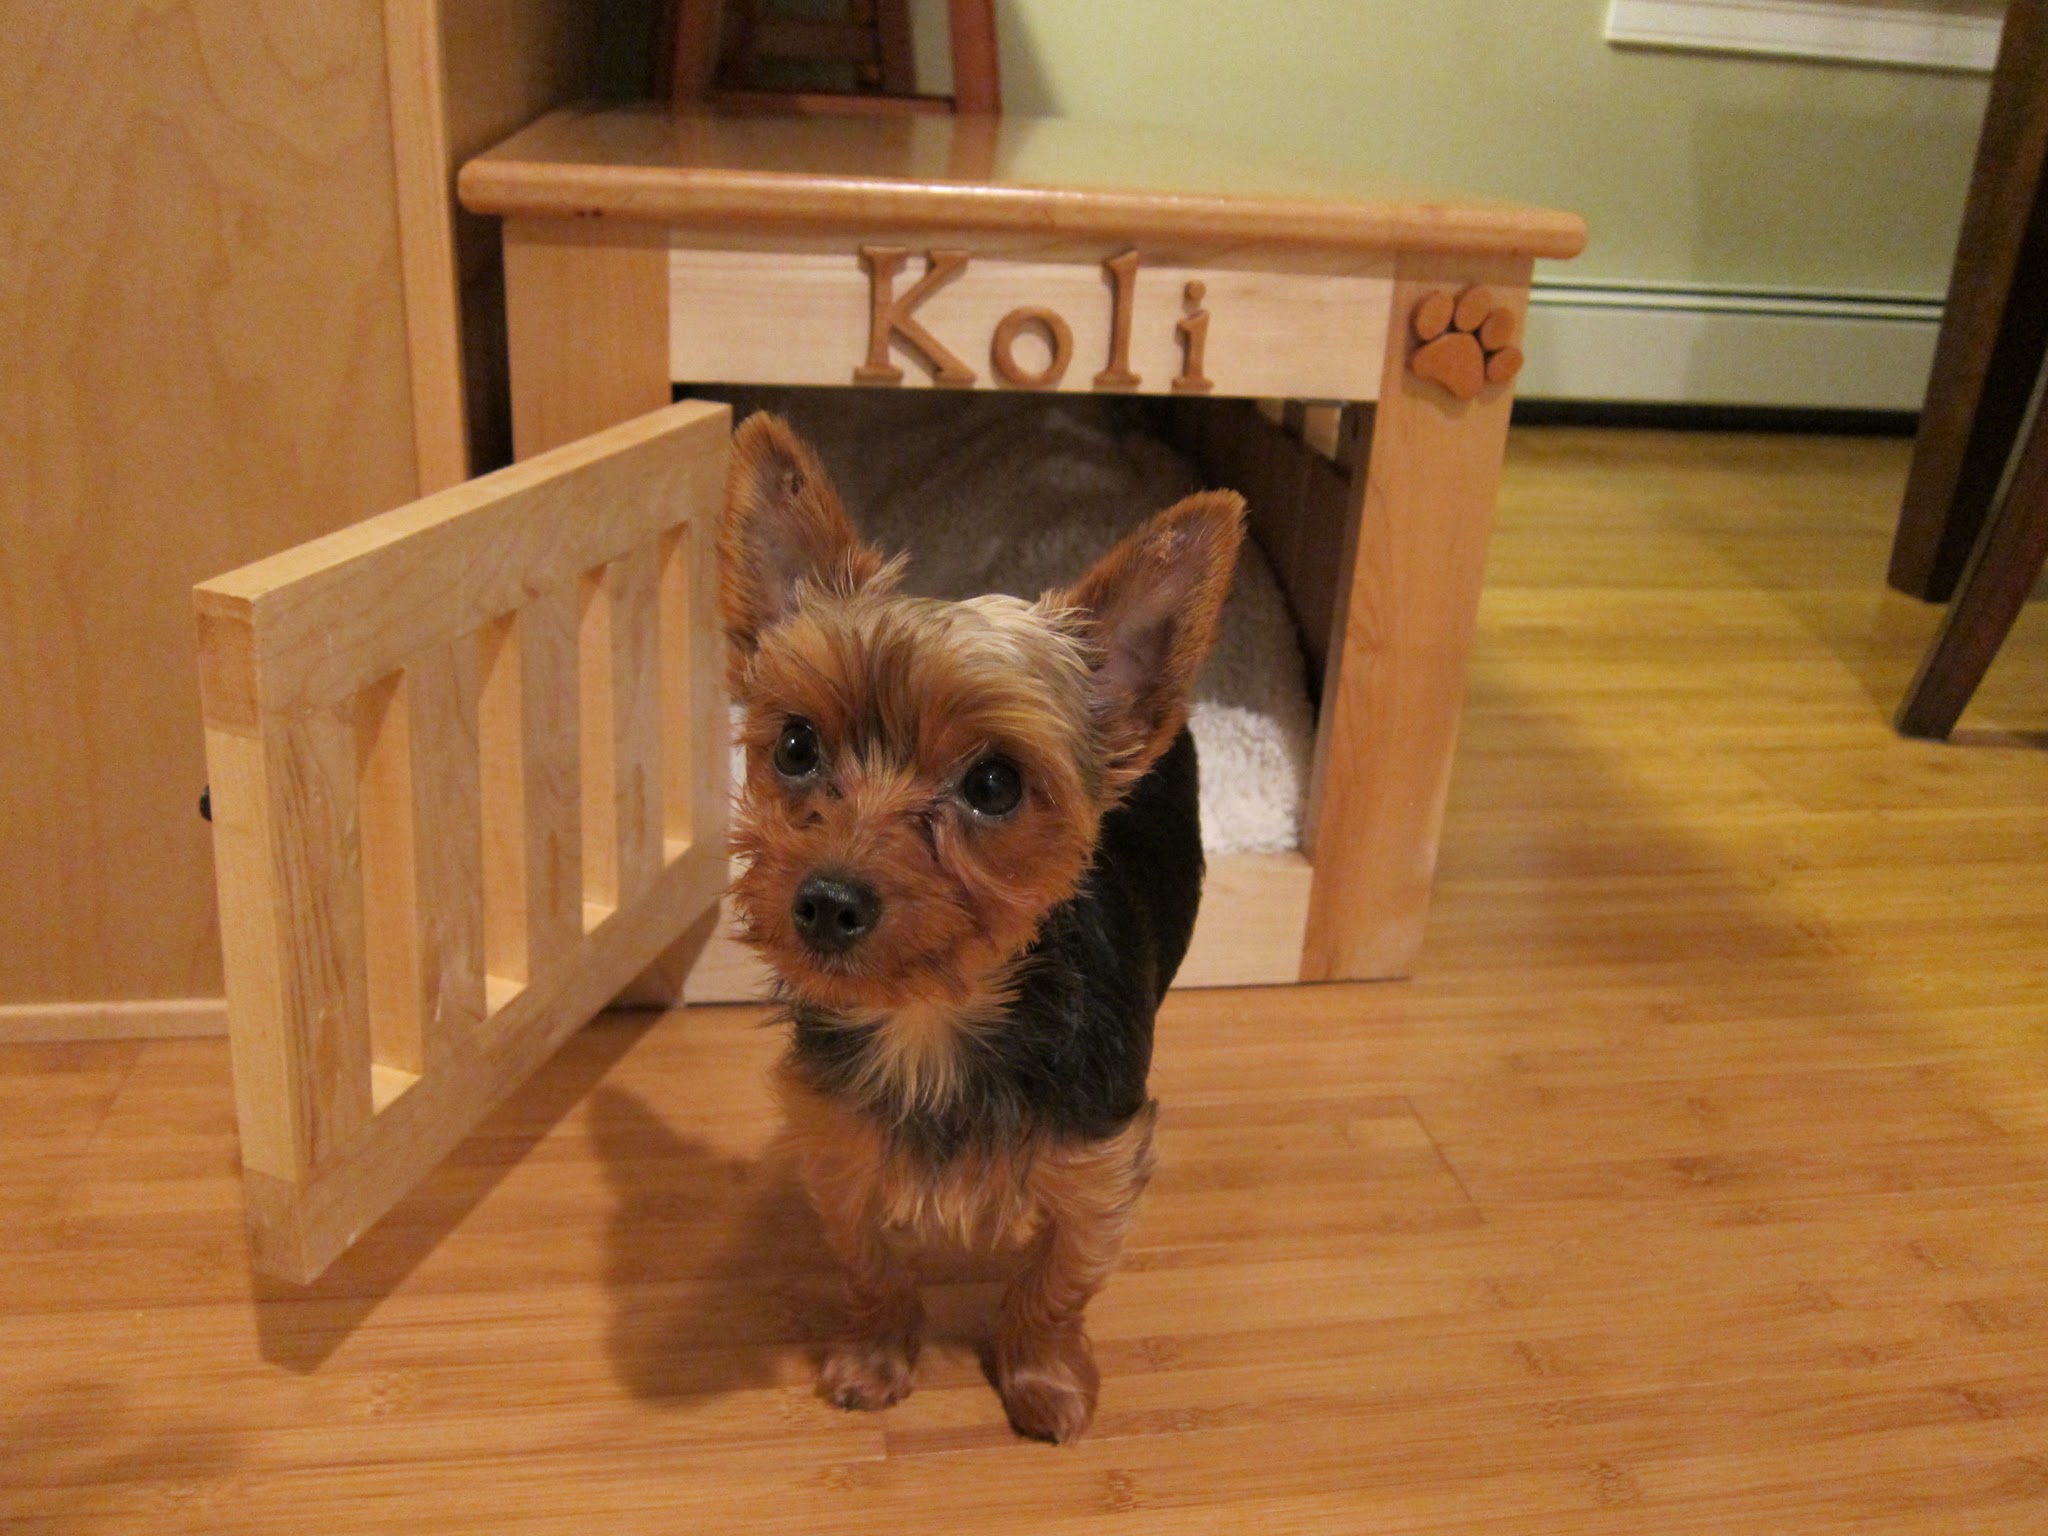
Smaller version of Ana's Dog Kennel. Took me about 3 weeks (working on weekends and few hours after work). Made from maple and cherry.
Sun, 11/06/2011 - 16:07
This really looks fabulous! Great job!
As a 'dog family', we always have rescues and visitors on board. This looks so much better than anything I've seen in stores and for less money, too.
I'm definitely adding this to my to-do list.
P.S. Your pup is adorable, too! ;-)
Tue, 12/06/2011 - 16:44
I have 2 yorkies and would LOVE to make this for them, this is sooooo going on my todo list.
Koli is tooo cute as well!!!

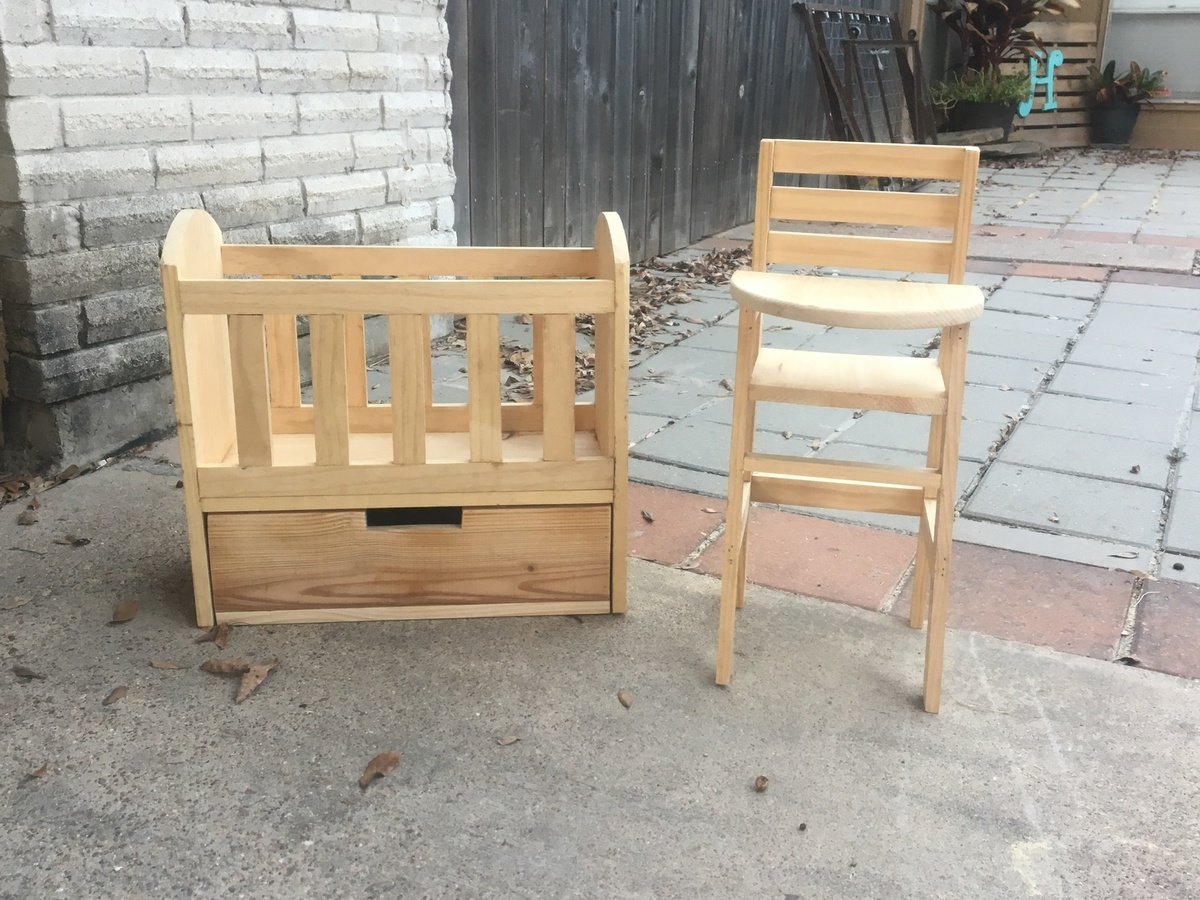
This project should have only taken me a few hours, but with a little one to take care of, I managed to make it take forever!
Super simple plan to follow - absolutely love how it turned out!


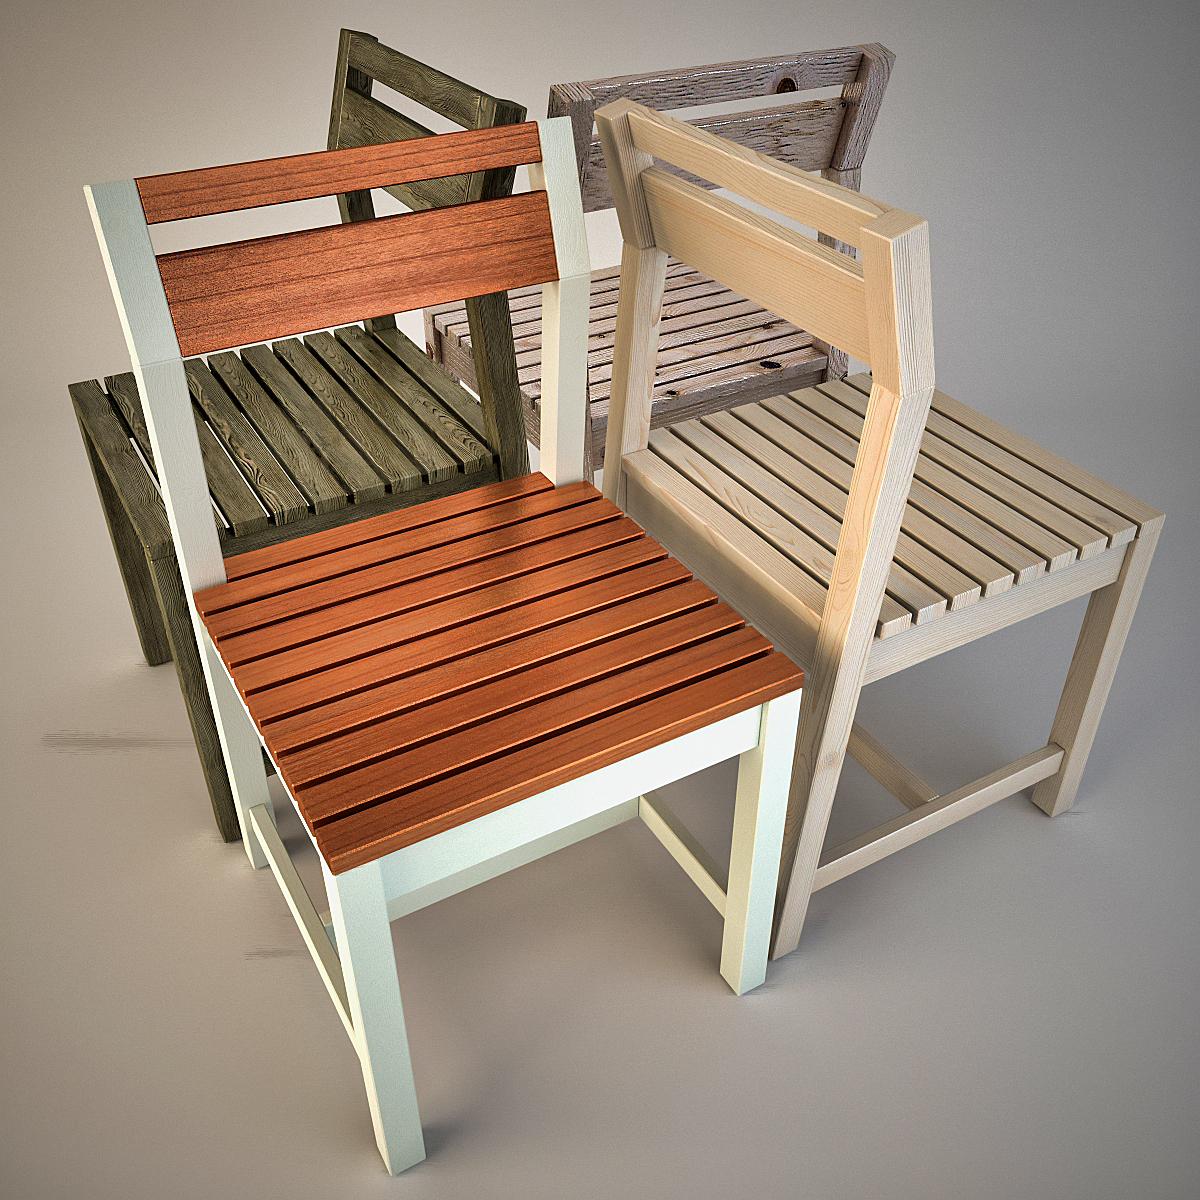
Hello Ana, I decided to modernize your project a little ...
This is 3DS MAX ... ;)
Thank you for your work ...
Regards, Serge...
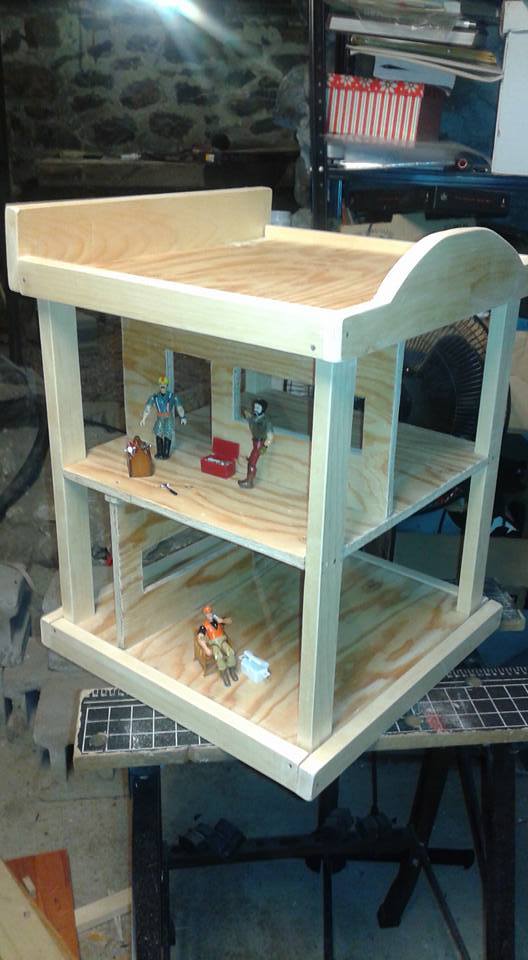
Action figure playset built from firehouse playset plans.
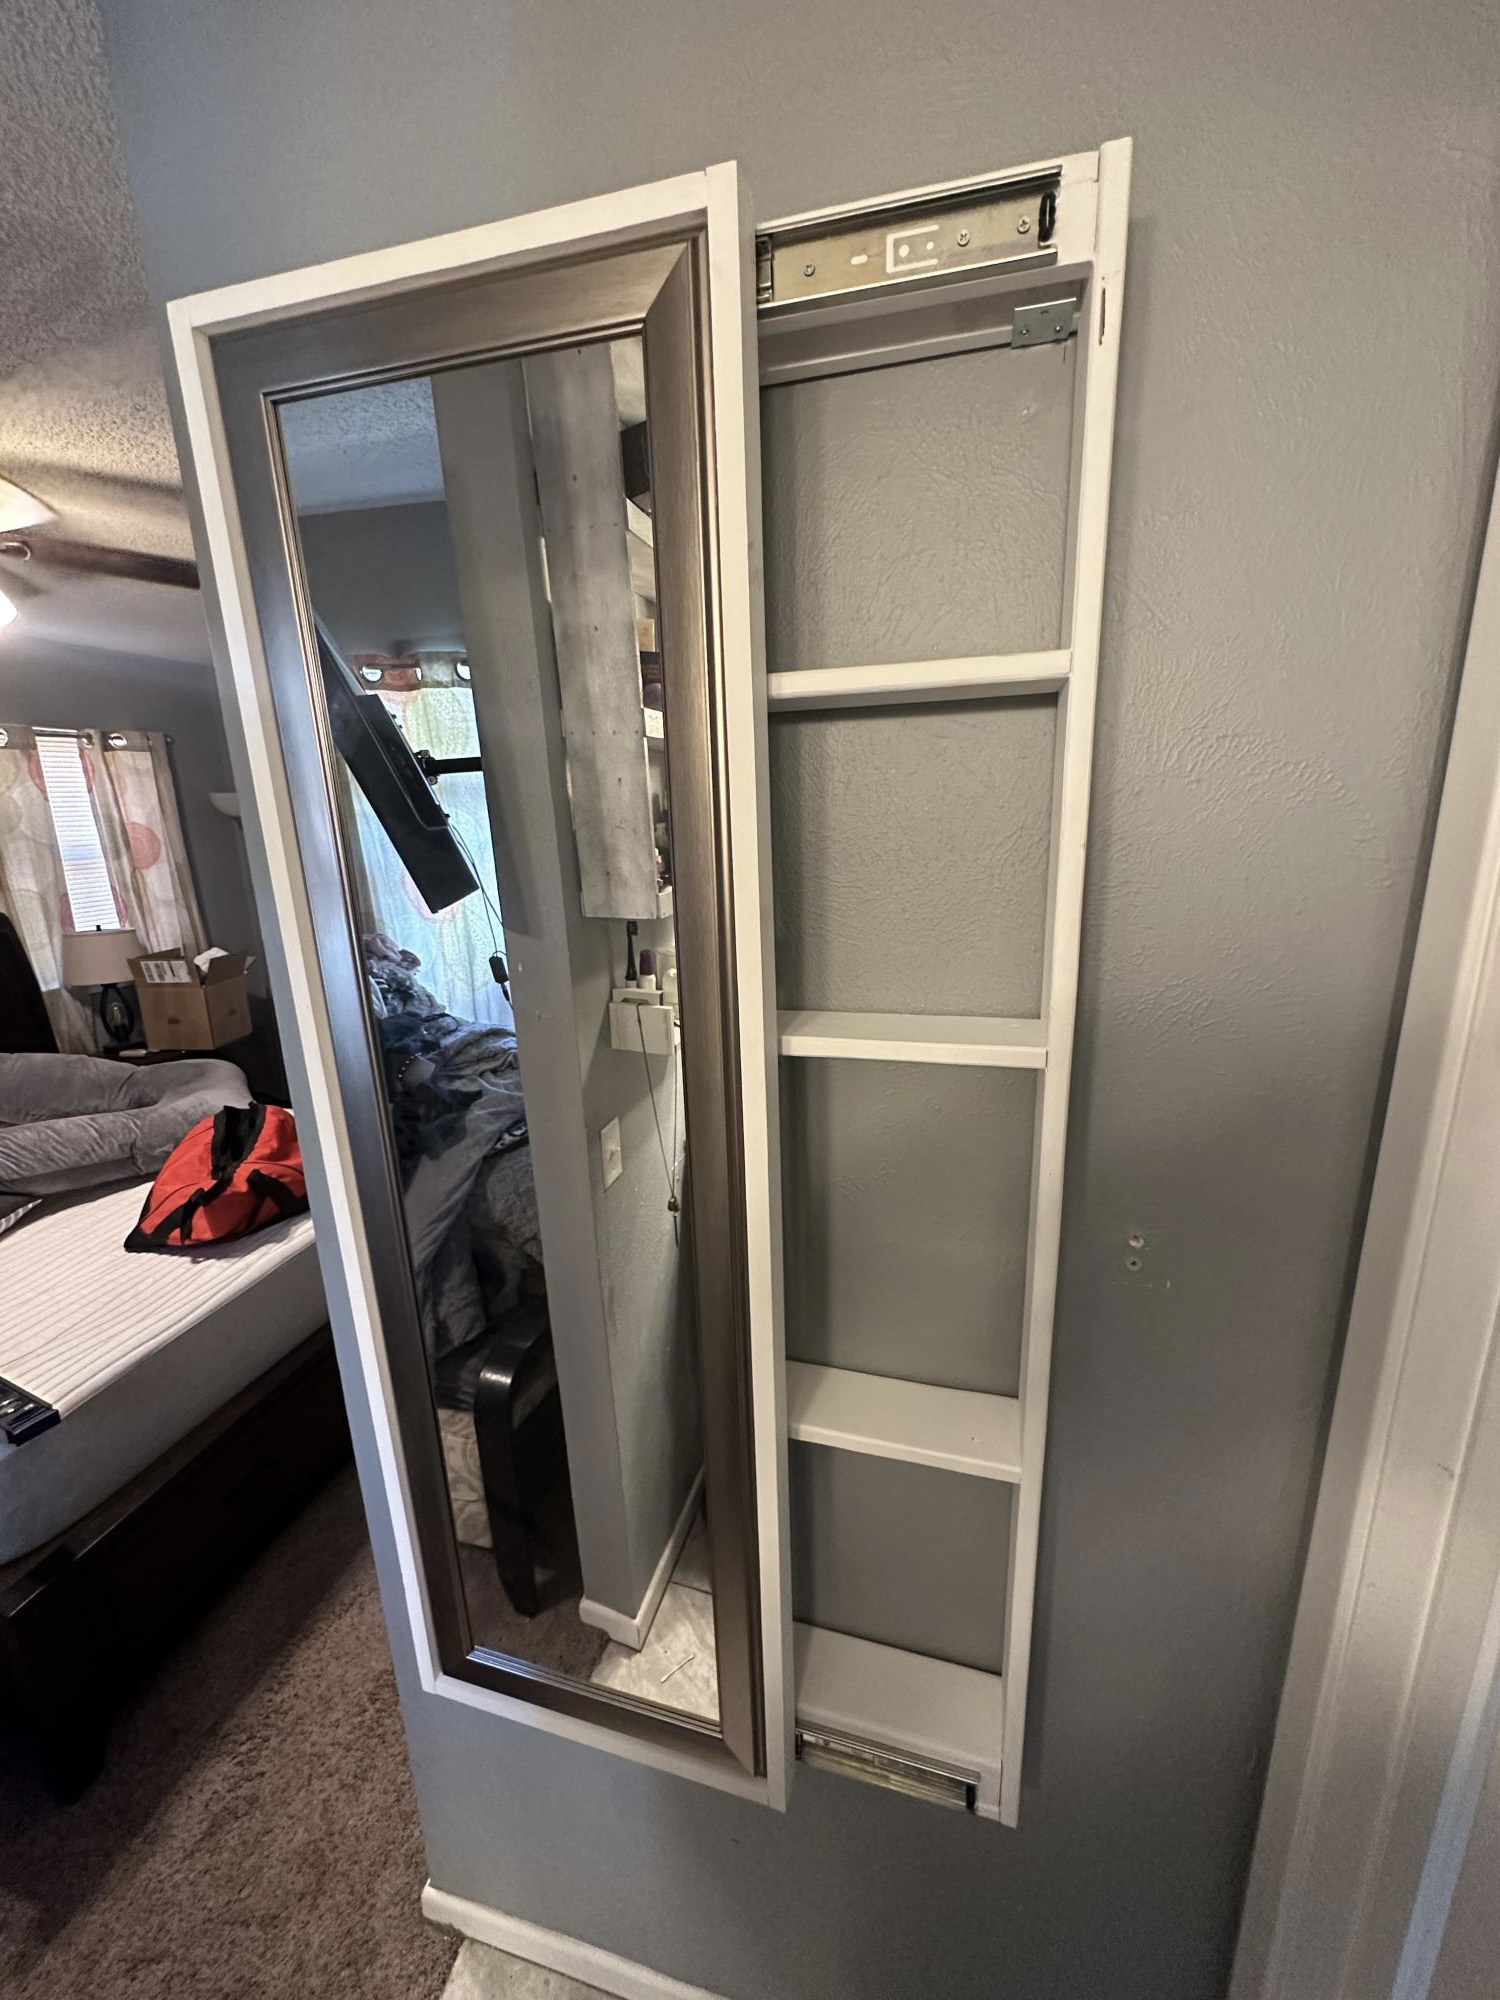
Built 2 of these for some friends. One of them plans on putting it in the wall! Loved the build and they love the product.
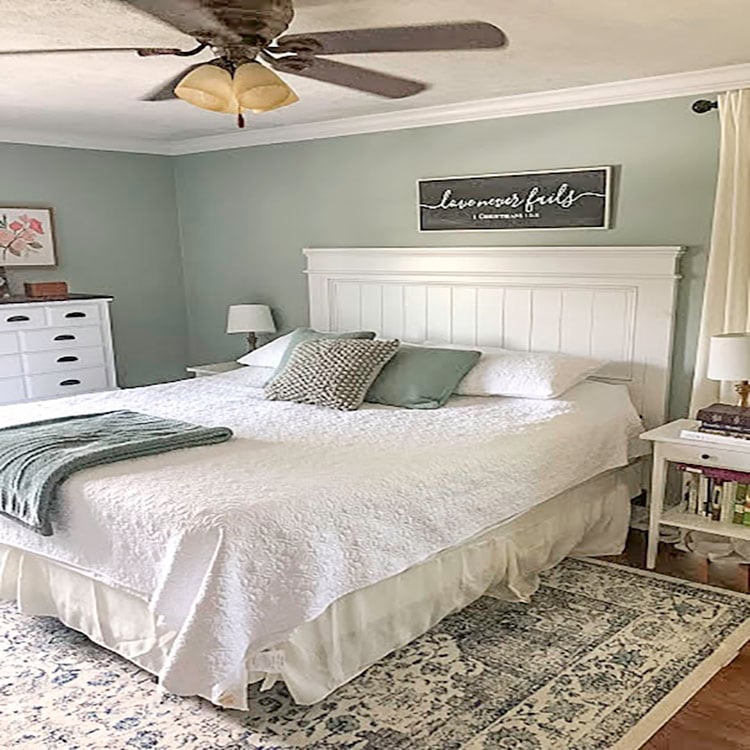
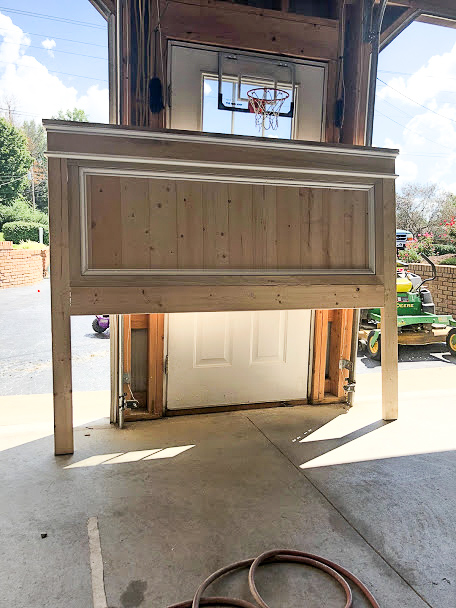
Ever since we moved into our current home, our master bedroom headboard has been at the top of our my project list. I knew I wanted a beautiful farmhouse style headboard. What I didn’t want was the heavy retail price tag. I searched high and low at places like Target, Wayfair, Amazon and even Walmart without finding an affordable option for us.
There is this perfect vantage point of our bedroom from the glider in my son’s room. I remember staring at that empty wall space above our bed for years, it felt like, while rocking our son to sleep. Just willing a headboard to appear. I wanted it so bad I could taste it. Something about looking at that same view, night after night, and waiting, waiting, waiting for it to happen just makes me appreciate it so much more now that it’s here, as so often happens in life.
This project inevitably got put on hold over the years after one thing or another got in the way. Either we didn’t have the time to devote to it, or we always had something else to put our money into. Untilllll I stumbled across Ana White’s Farmhouse Headboard Plans.
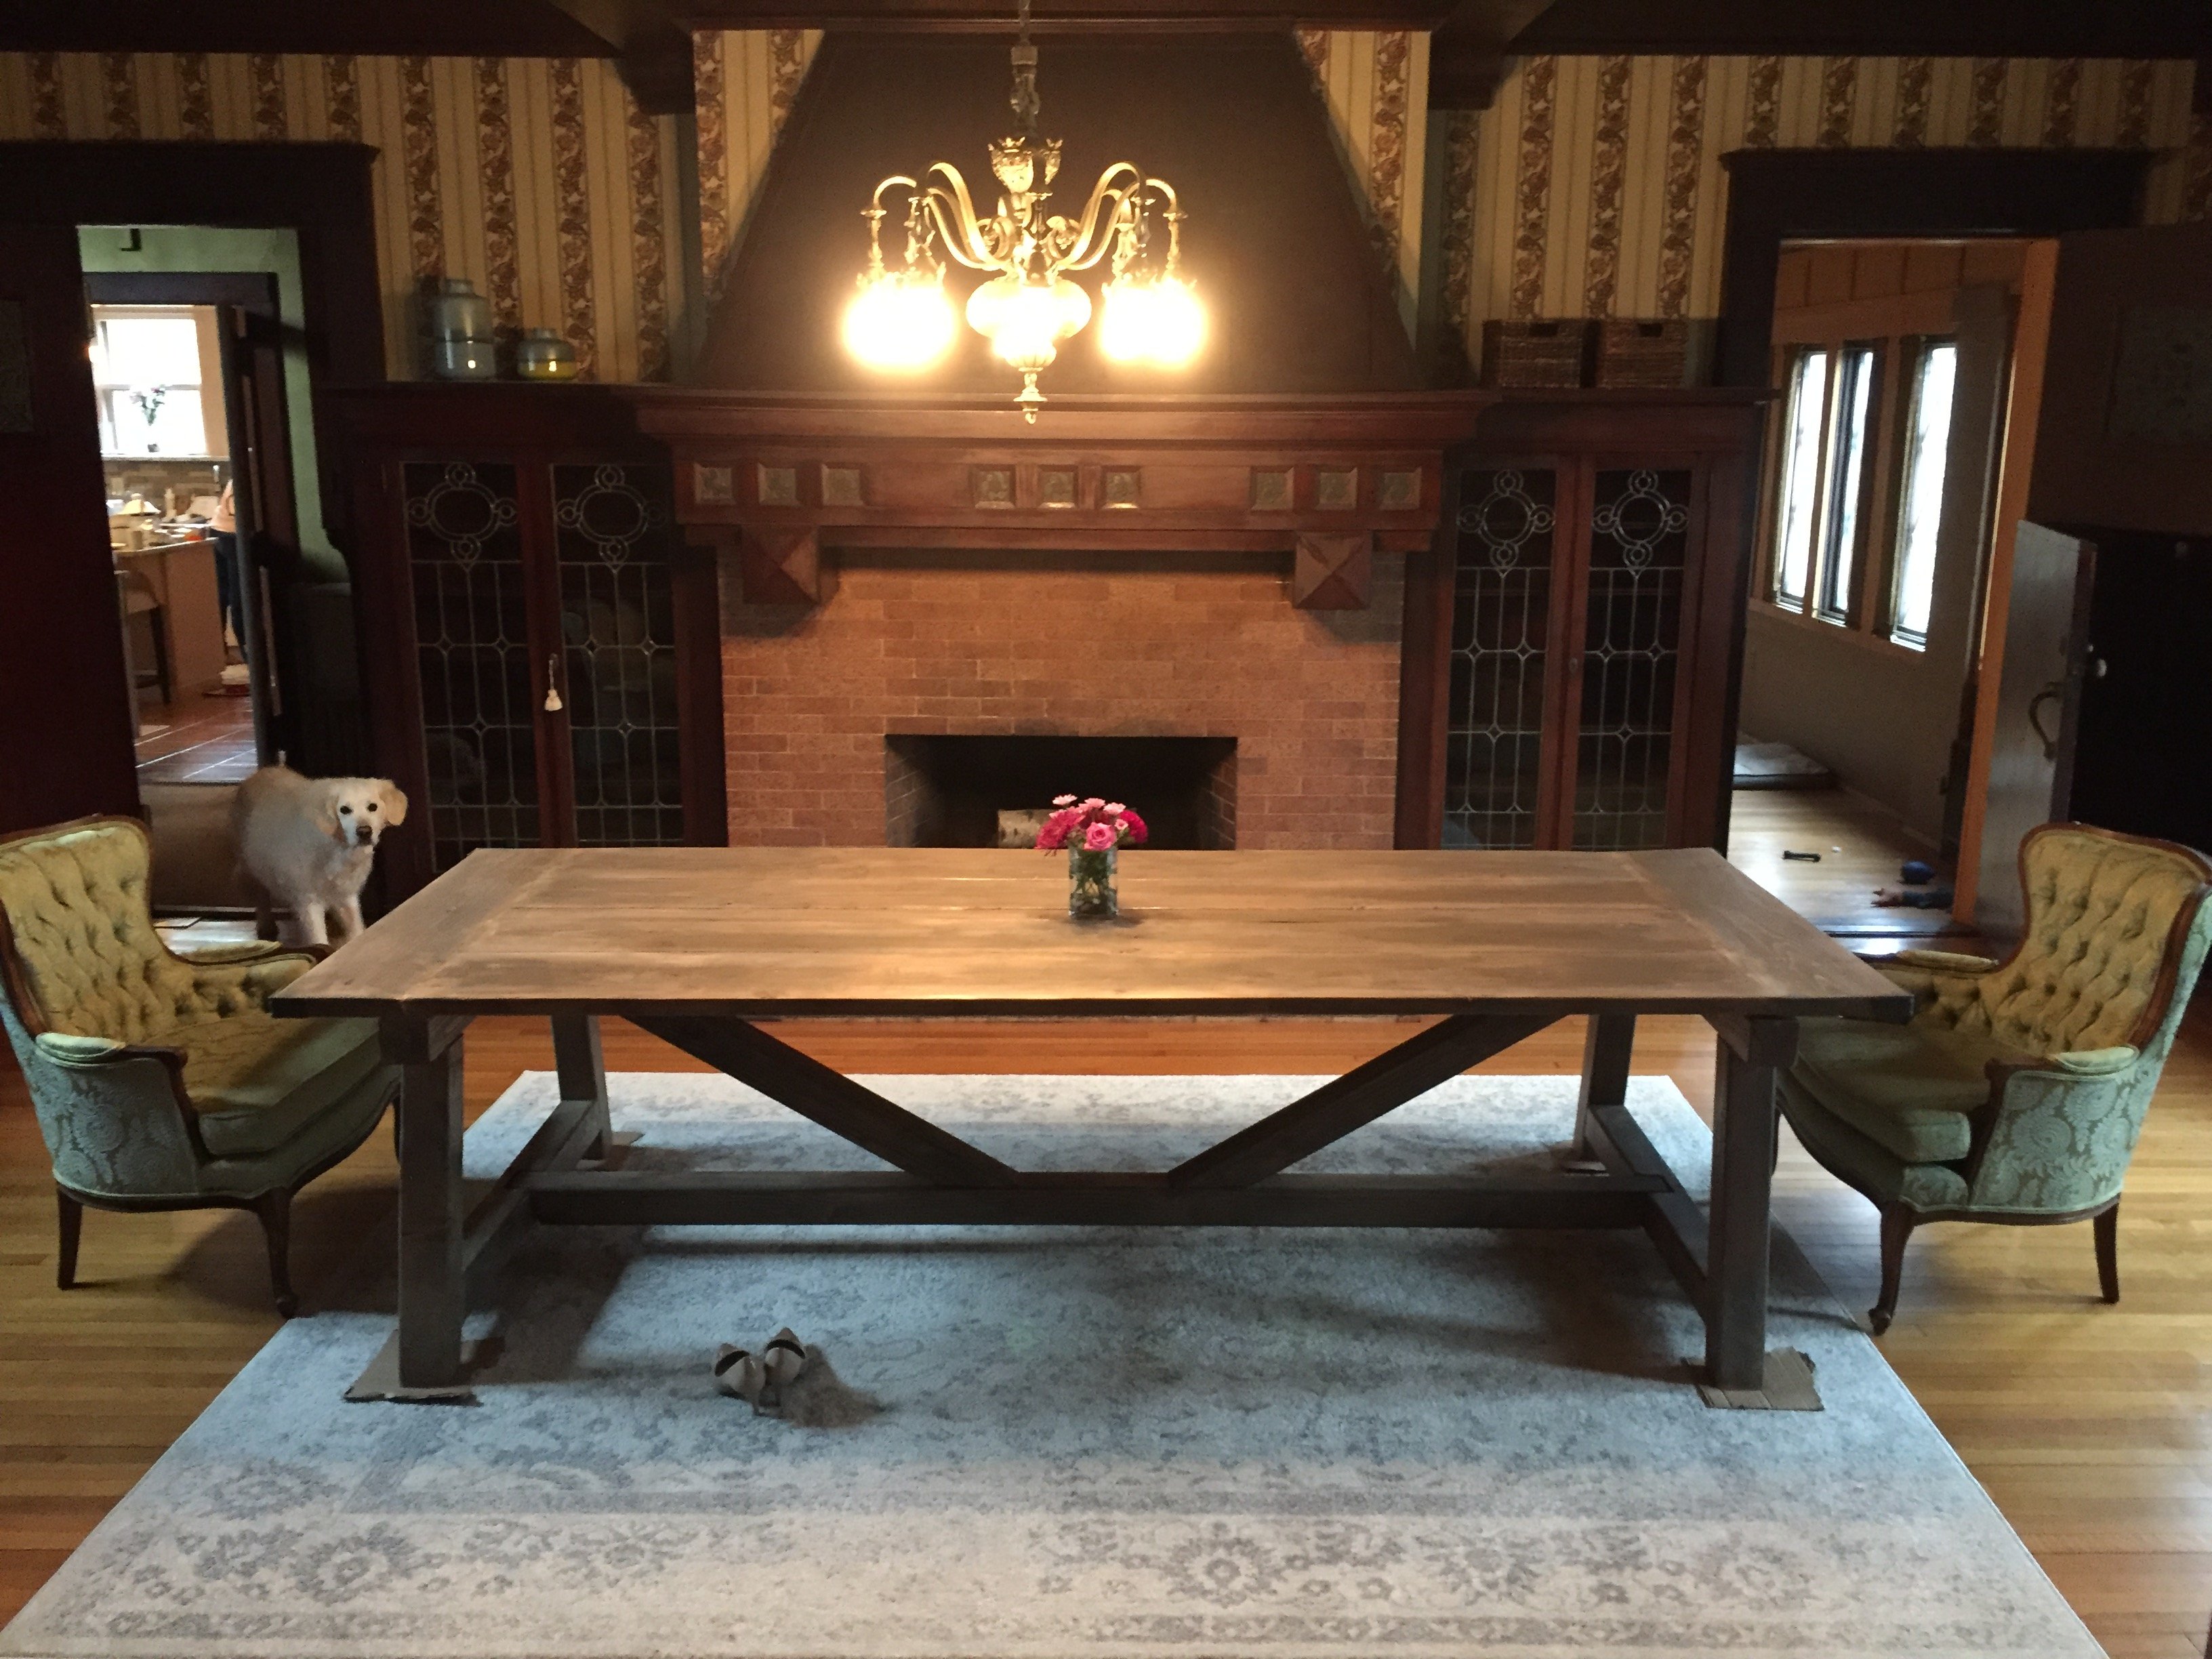
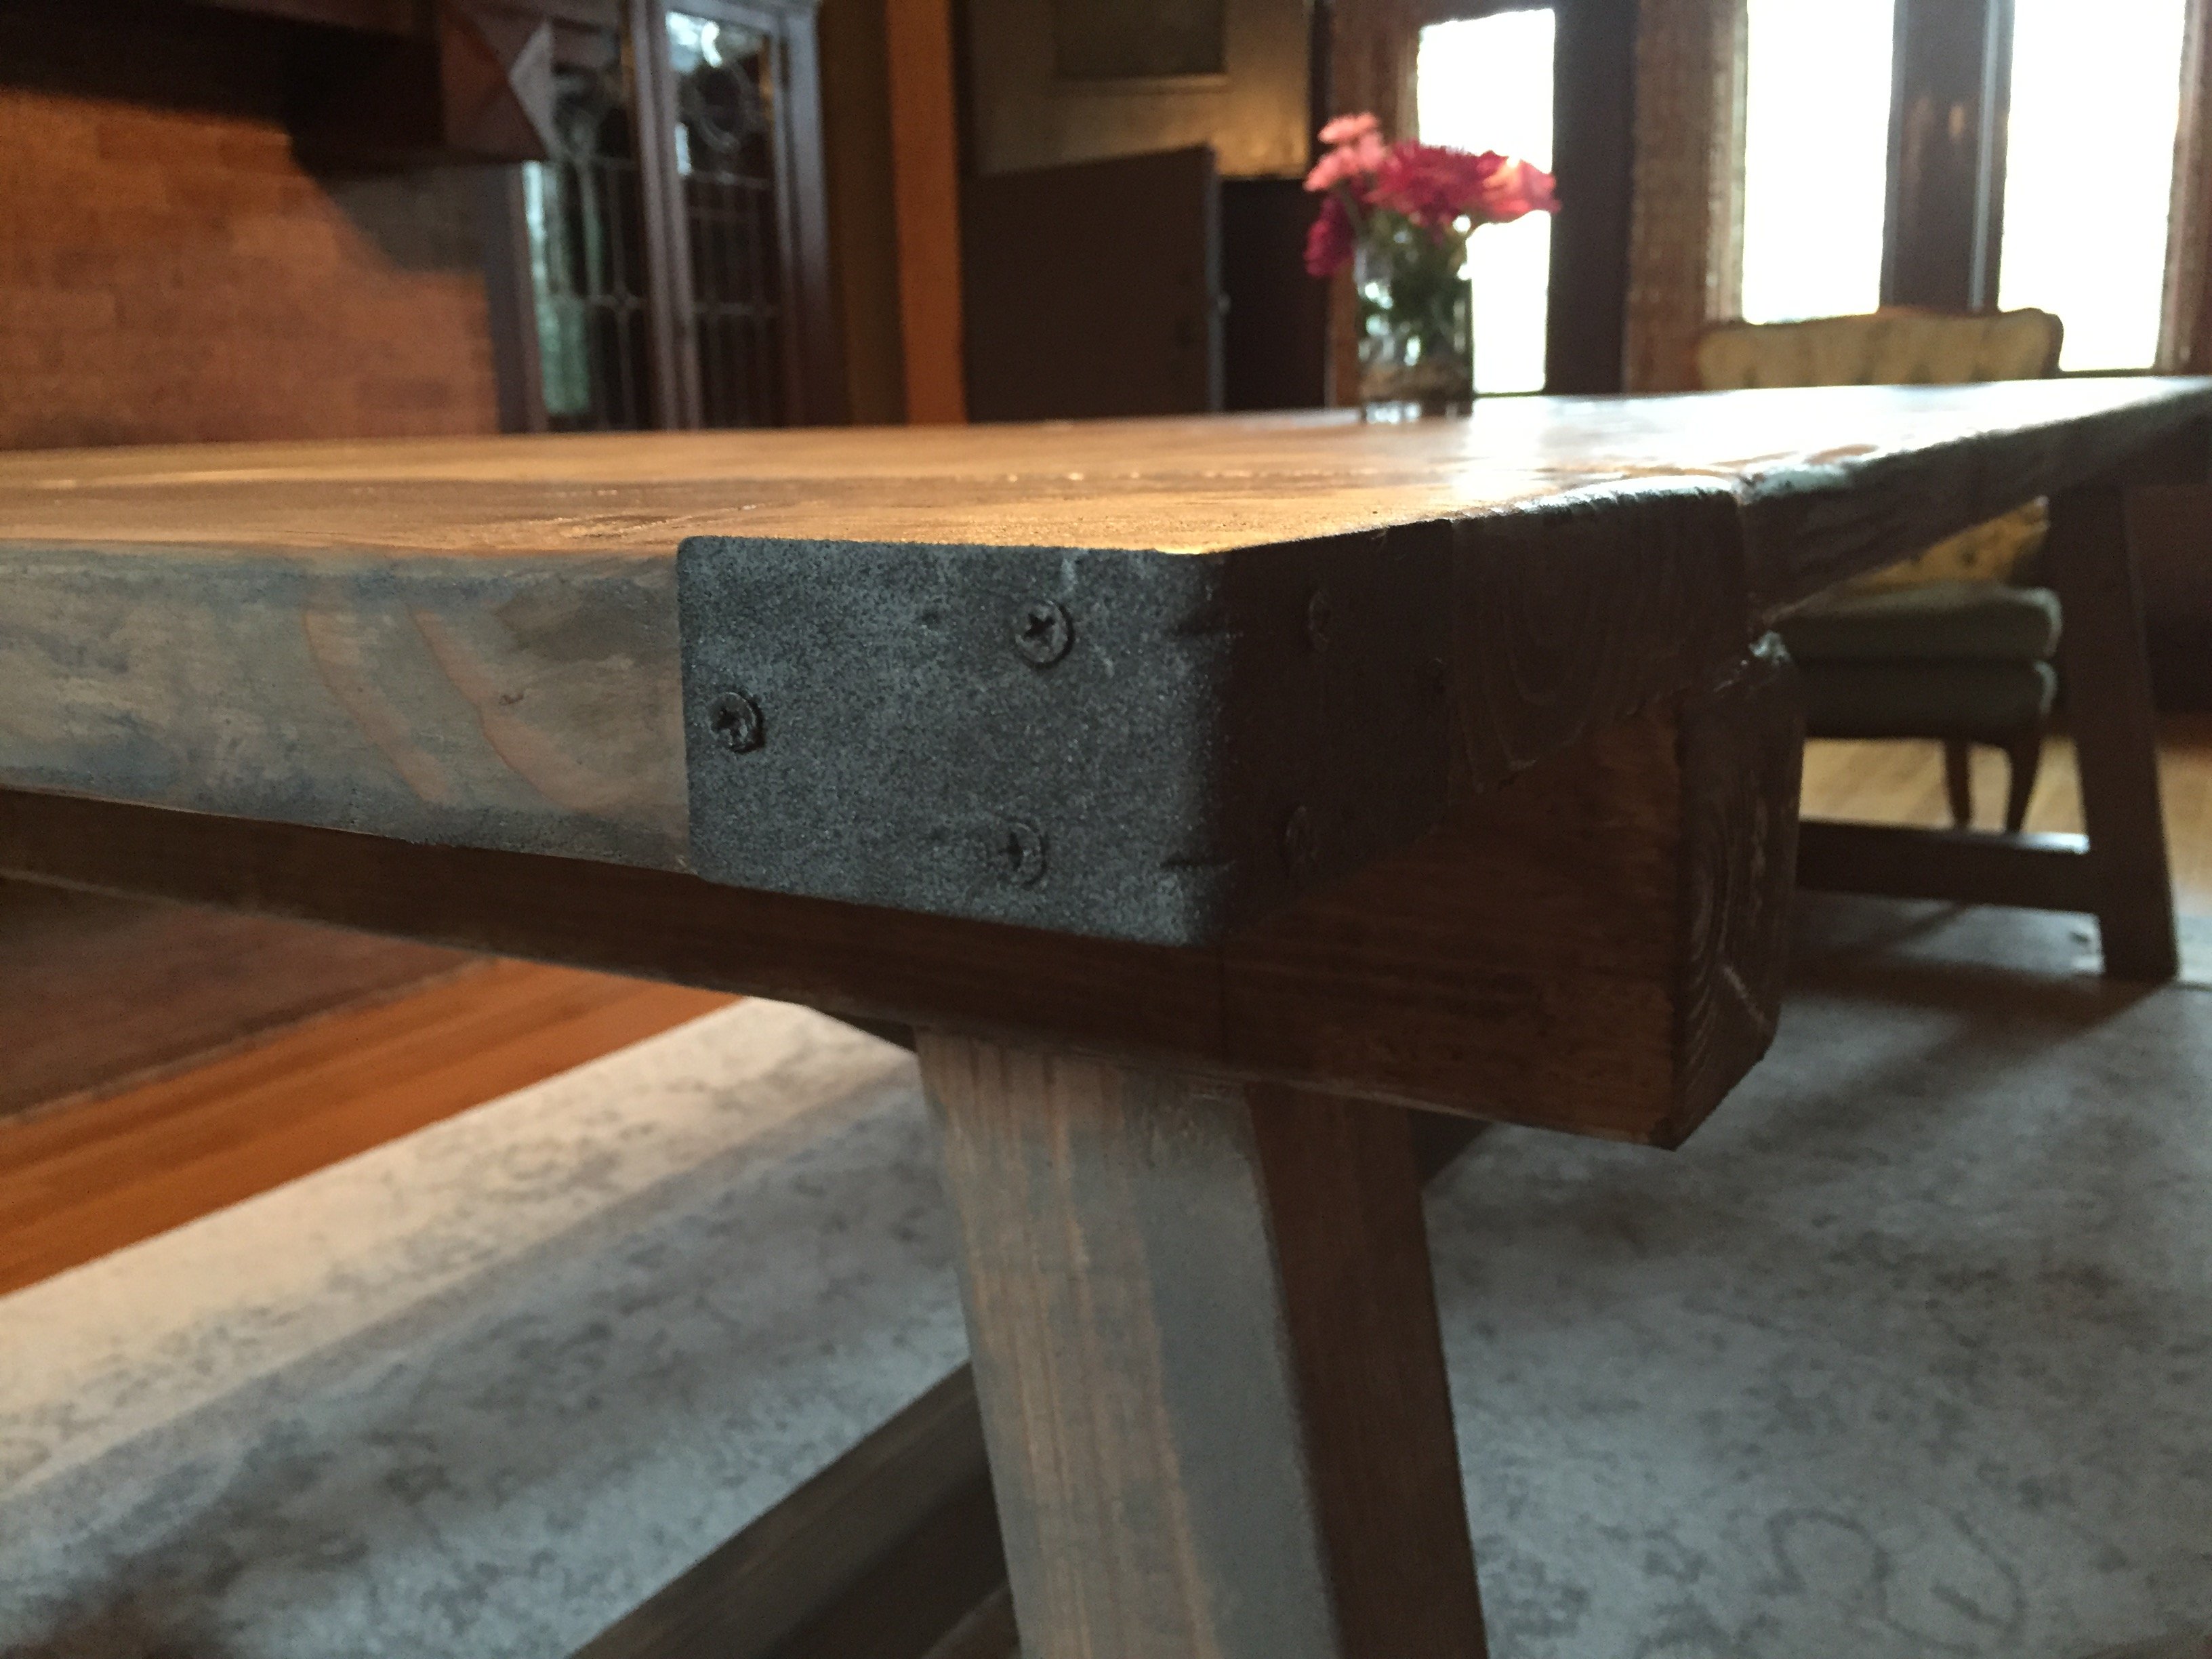
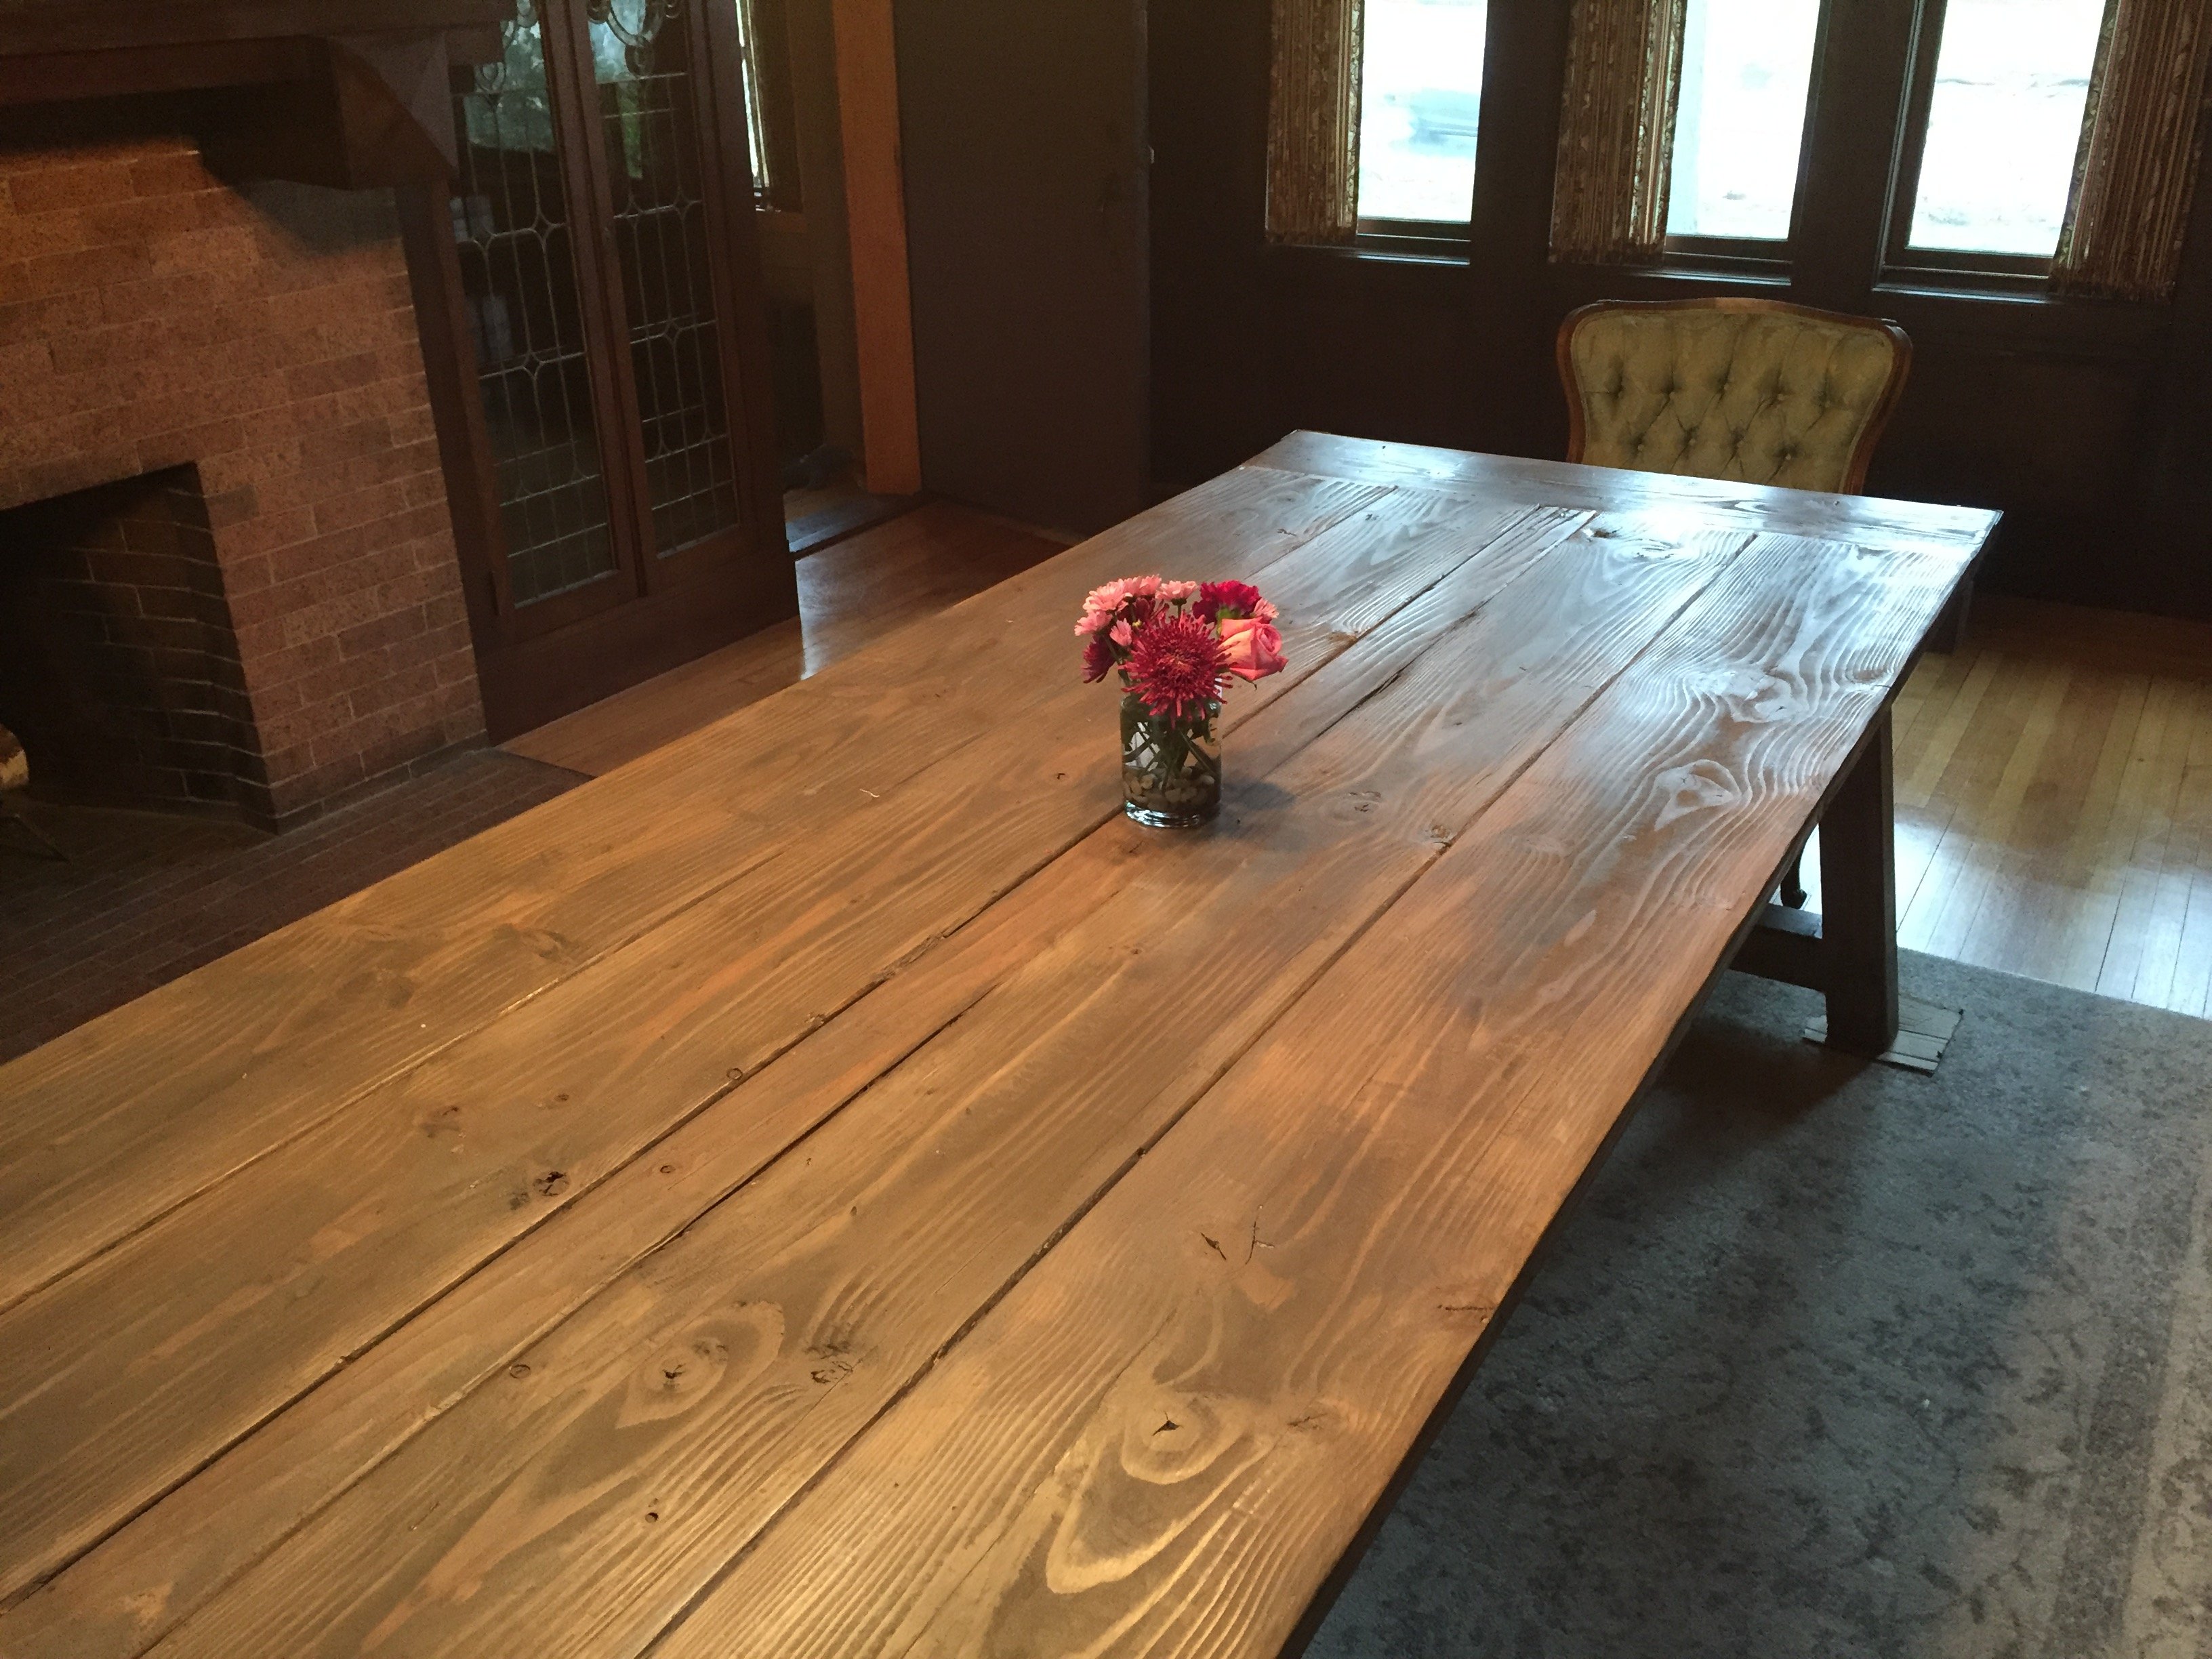
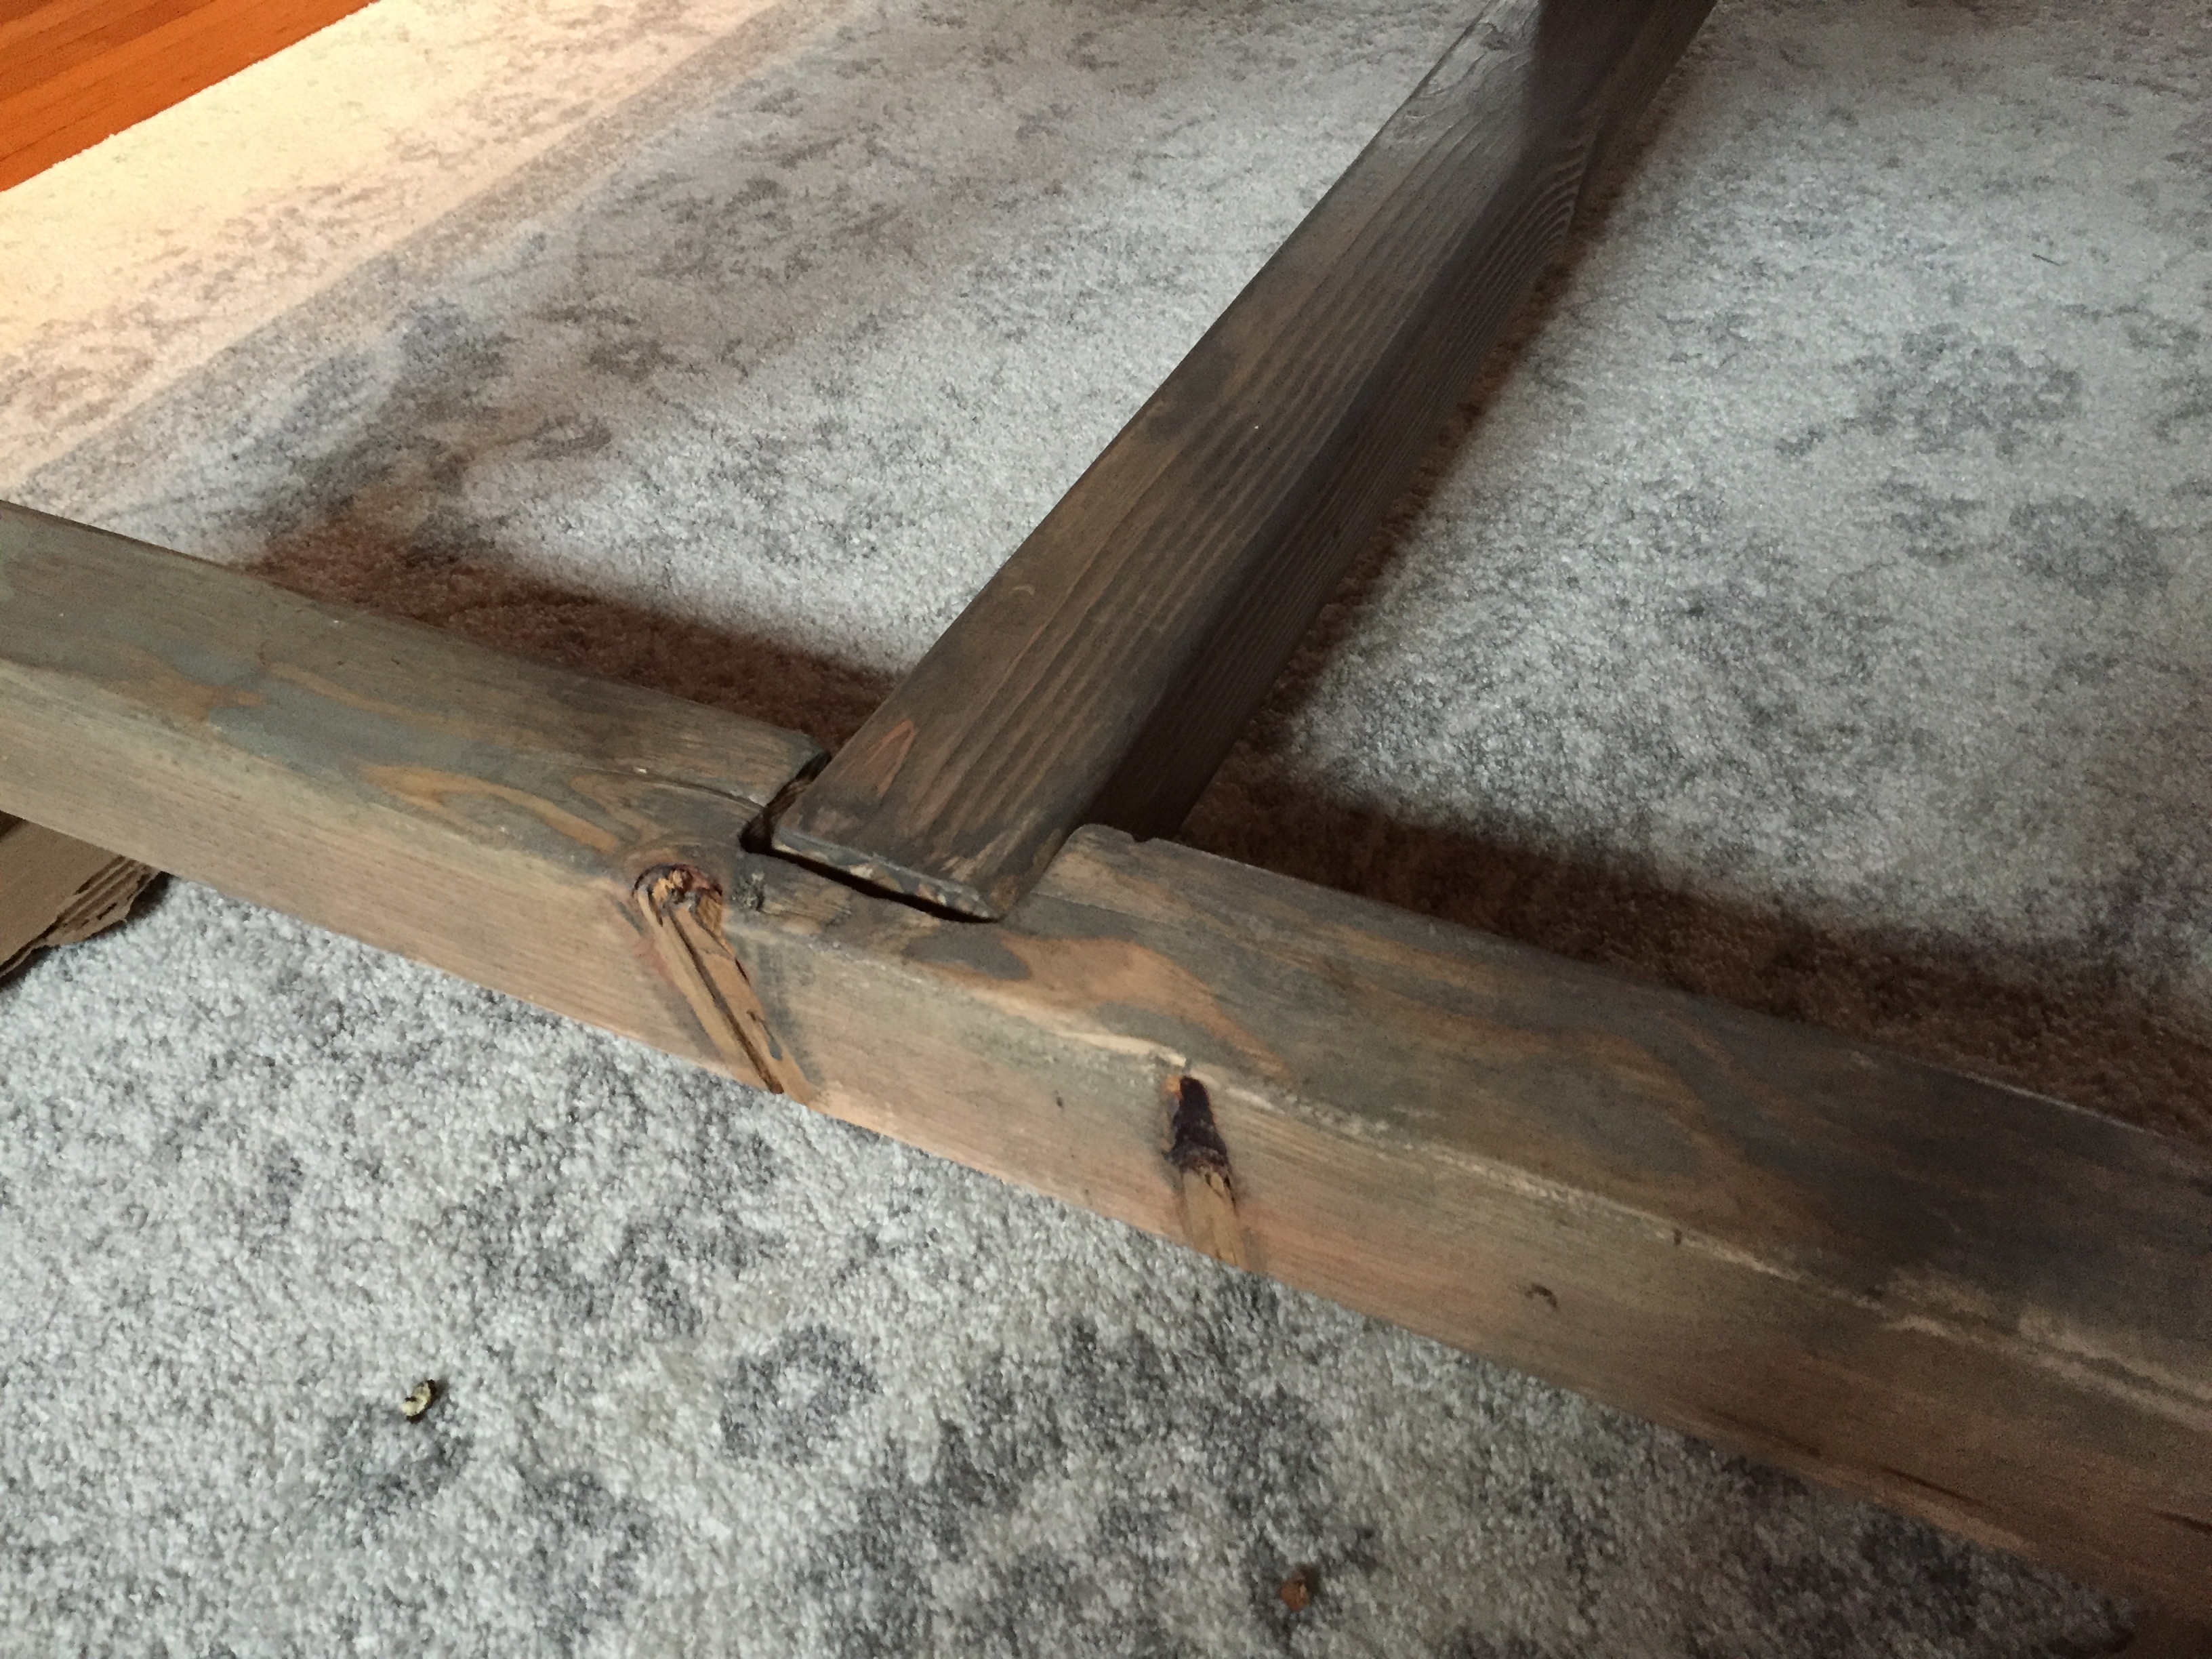
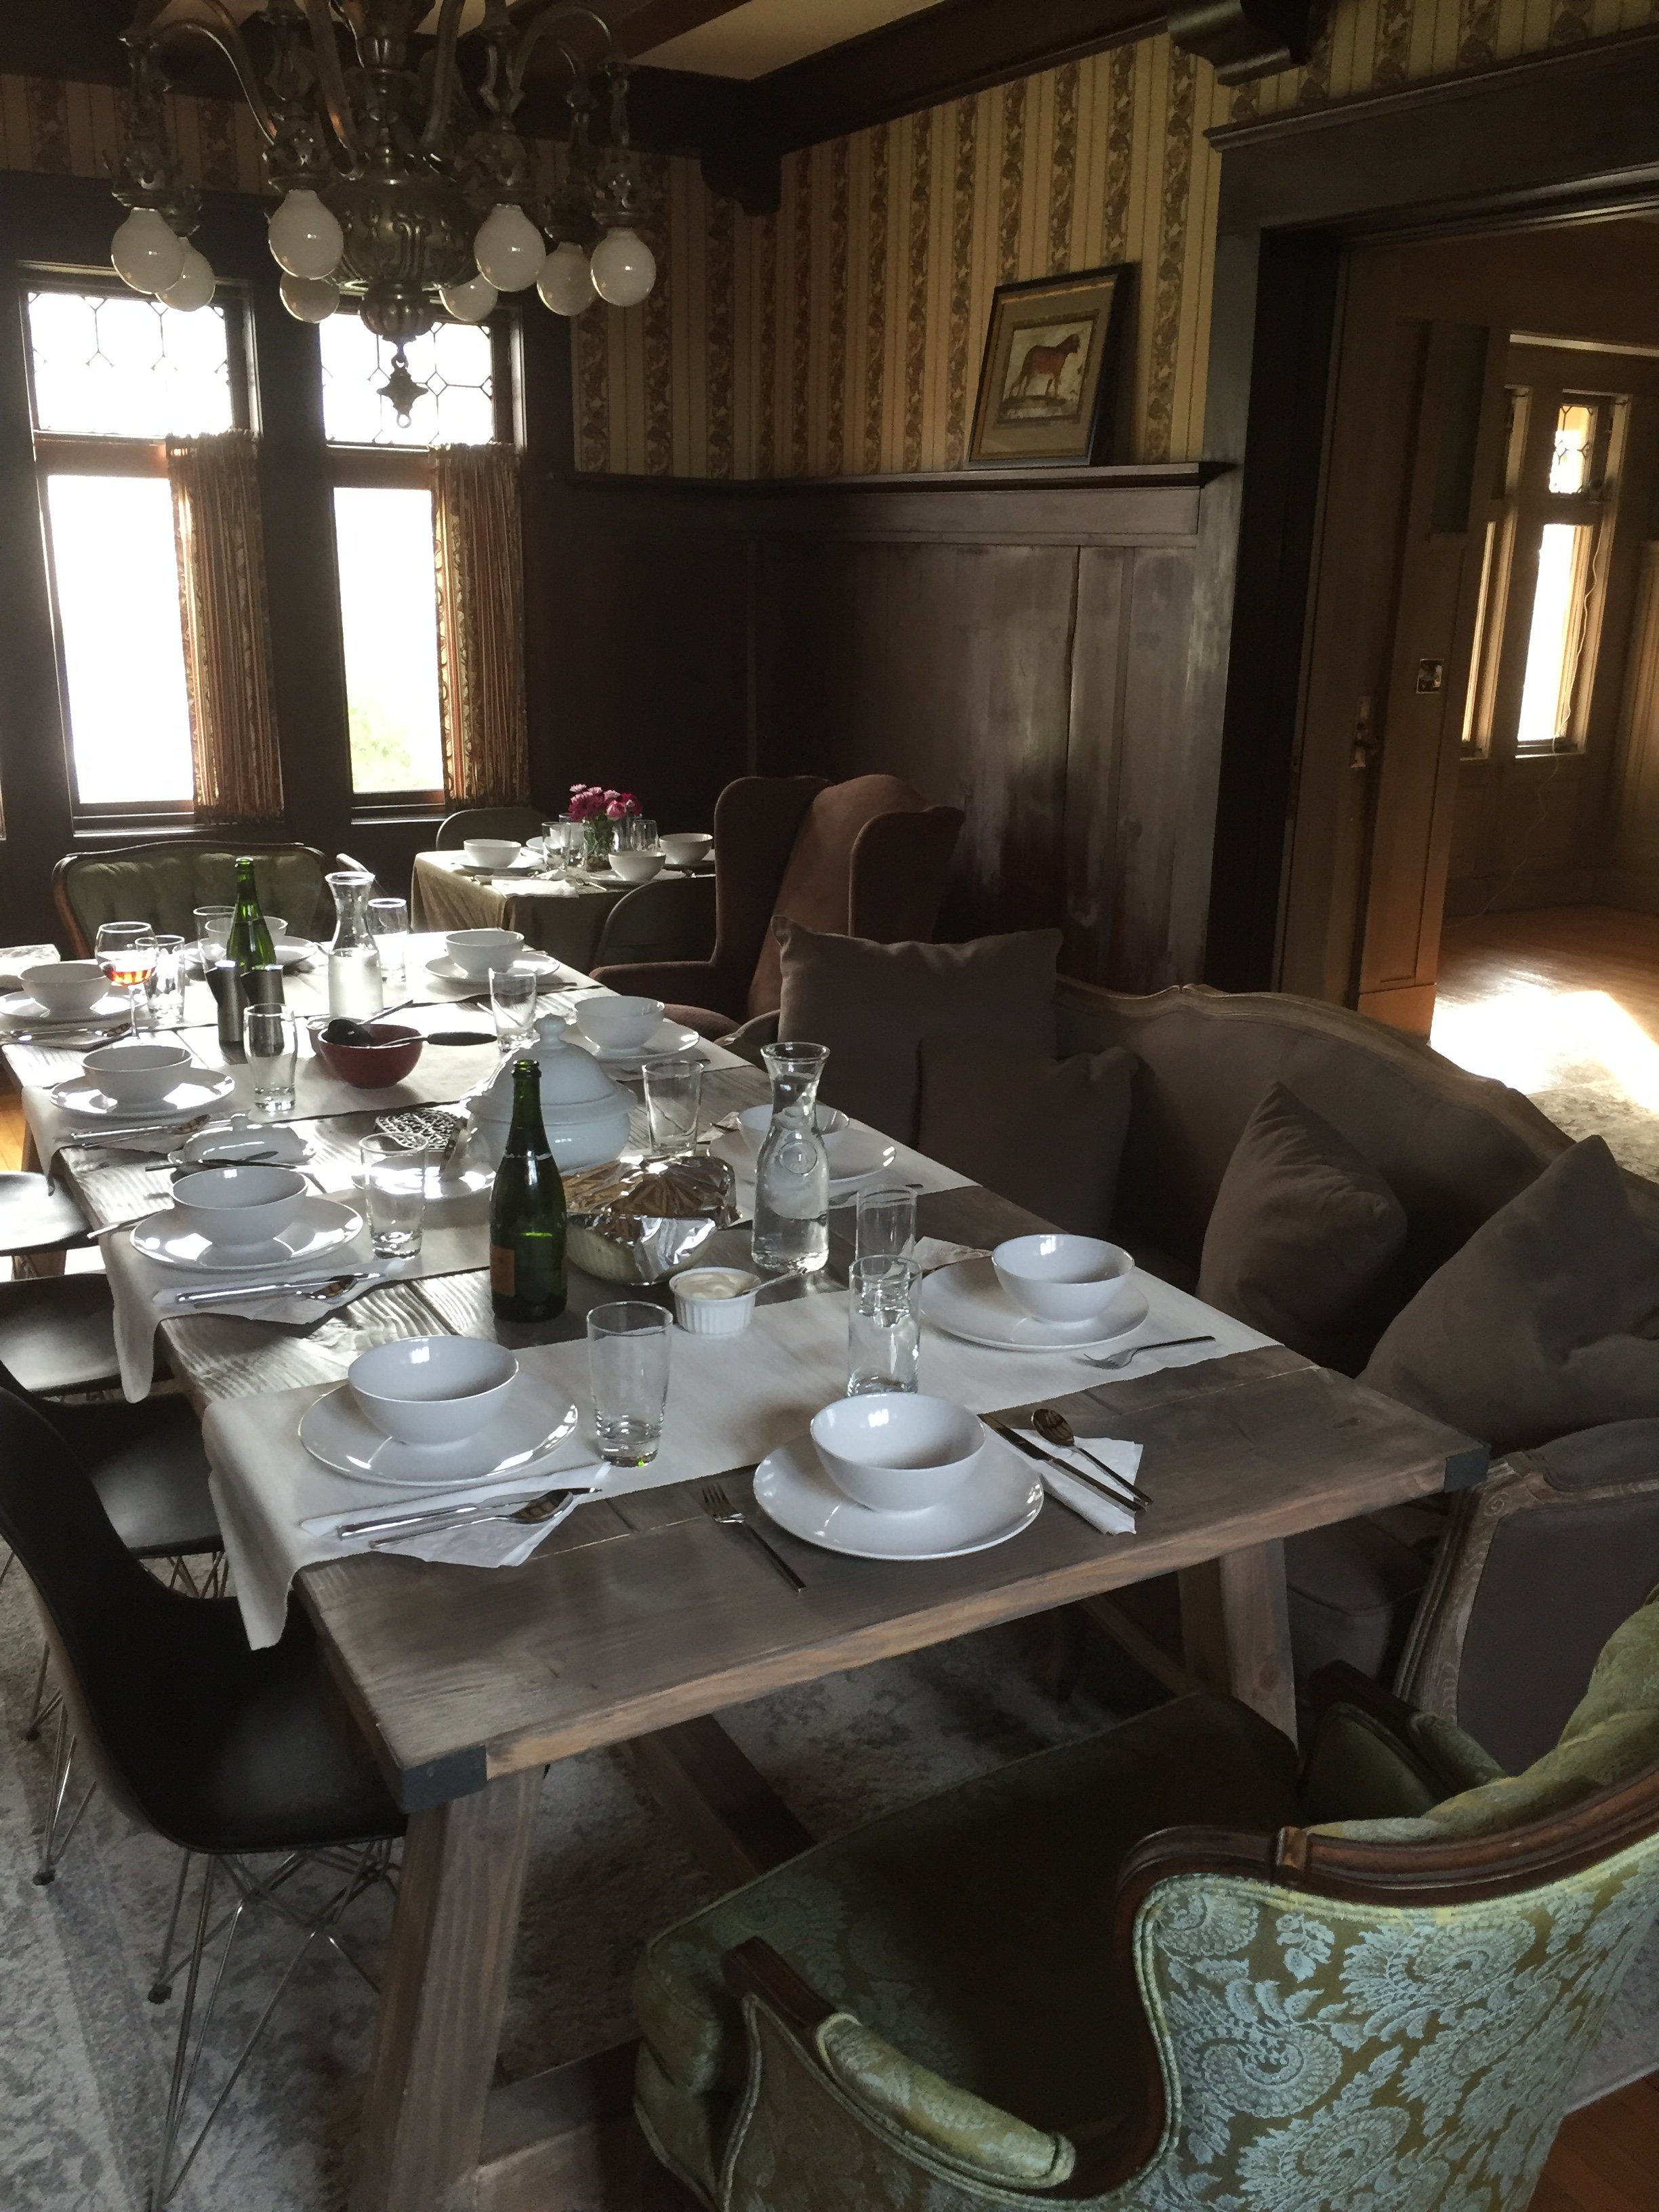
For our first Easter, my wife wanted to bring both our families together to celebrate in our new home. I've never done any woodworking before but the plans from Ana and Shanty2Chic allowed me to stretch my creativity. I got some awesome power tools from my father and started cutting away. 2 weeks later we were eating, drinking, and laughing over a 106" farmhouse style dining table. The materials were from the local home store and it was untreated lumber. Because of my inexperience I bought Prime Douglas Fir. The table took 4 of us to move from the detached garage to the living room. Who knew that wood was so heavy!!! Thanks to Ana and the girls at Shanty2Chic for some great tips. I relied on the pocket holes to attach the top boards but added a 4x4 in the middle for a feature piece to the table. The table top support beams are through tenon and mortise (I researched this on YouTube) but shimmed a bit since I didn't make them 100% perfect. The bottom 4x4 support is laid into the 4x4 on the leg support. Such fun, and am definitely looking to start more (perhaps with a lighter wood) projects soon. I'll continue to post any/all future projects.
Sat, 04/02/2016 - 16:18
...because these "first build" posts are amazing!! Great job!! Goes beautifully with your gorgeous home!
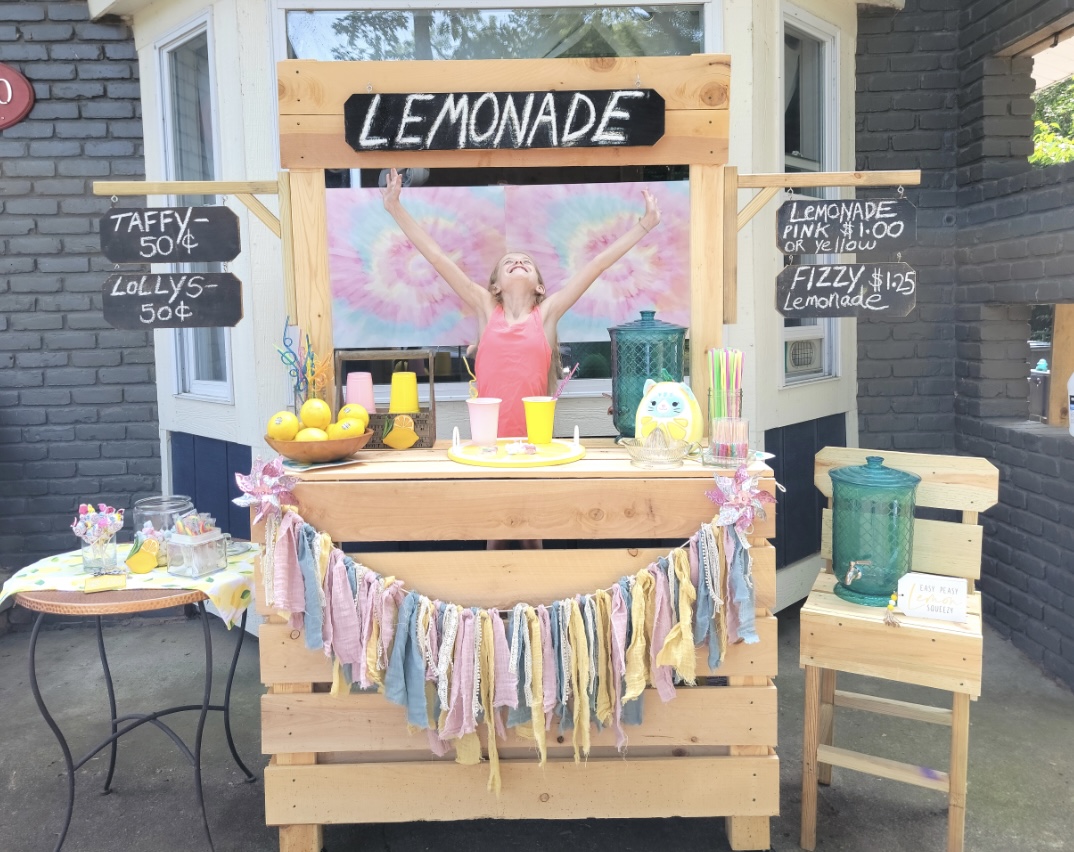
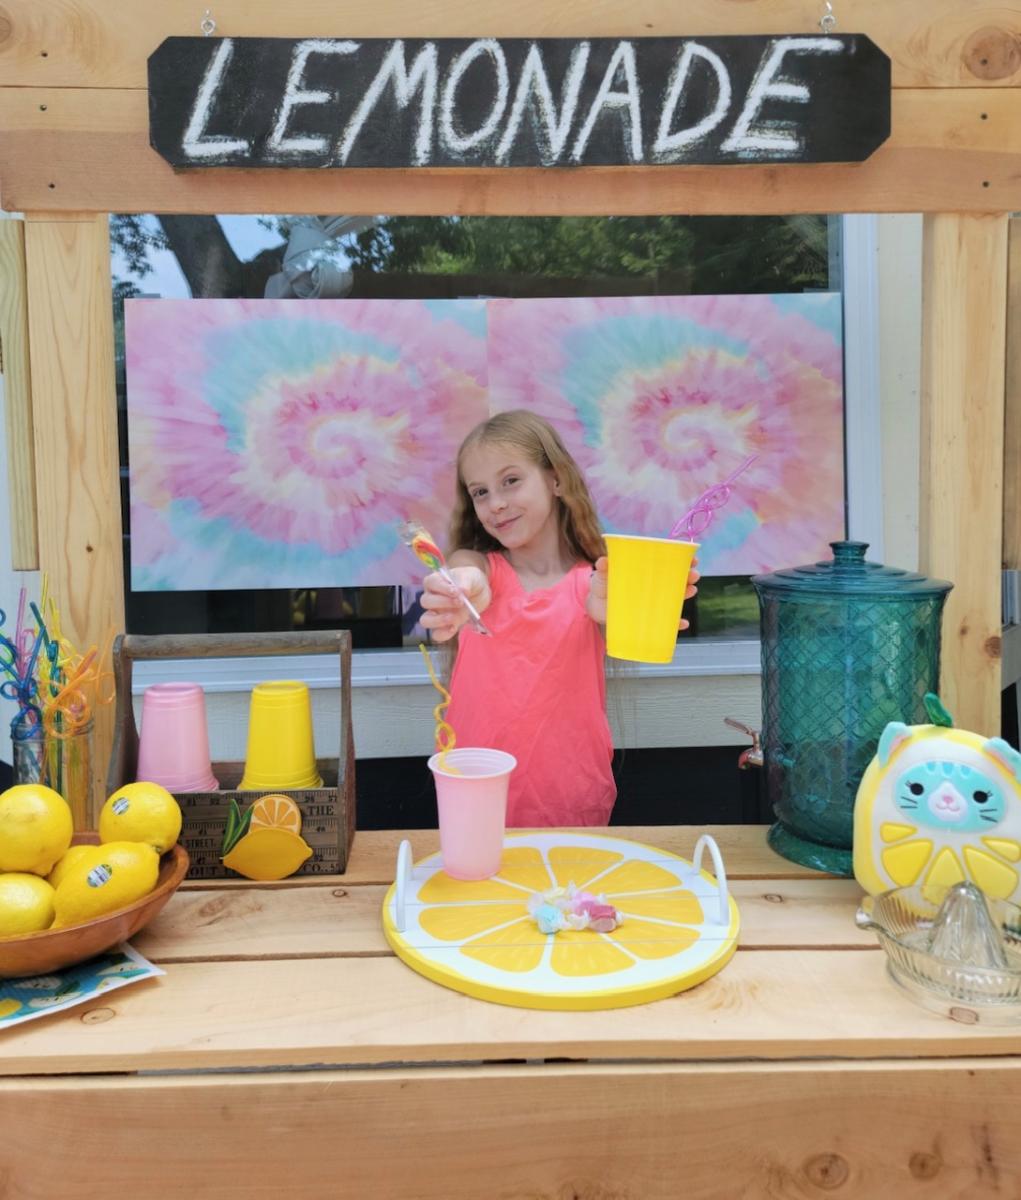
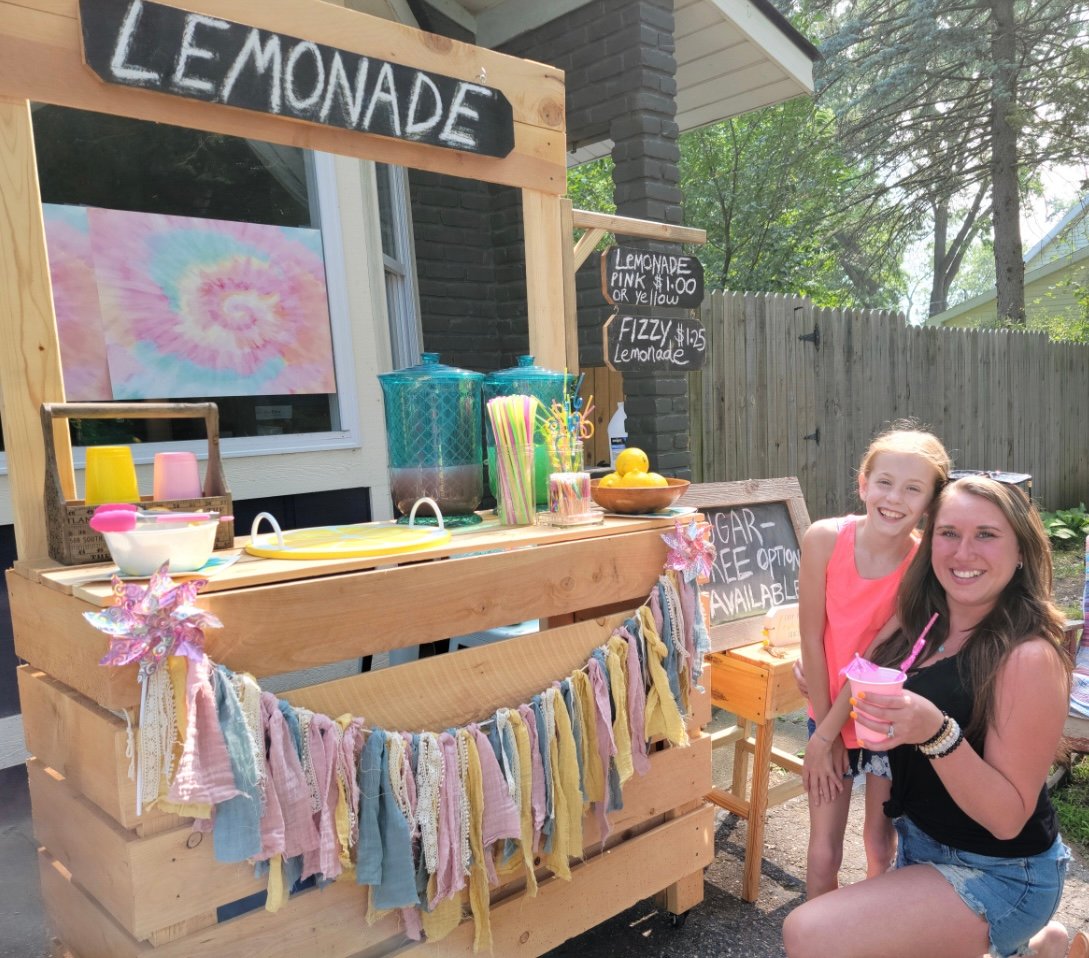
This is based on Ana's Lemonade Stand project- I made it taller and wider, added casters. It was a hit with the birthday girl and the customers!
Amy of The Navy House Goods Co. @thenavyhousegoodsco
Sun, 07/30/2023 - 15:47
Love your mods and the outcome is fantastic, thanks so much for sharing!
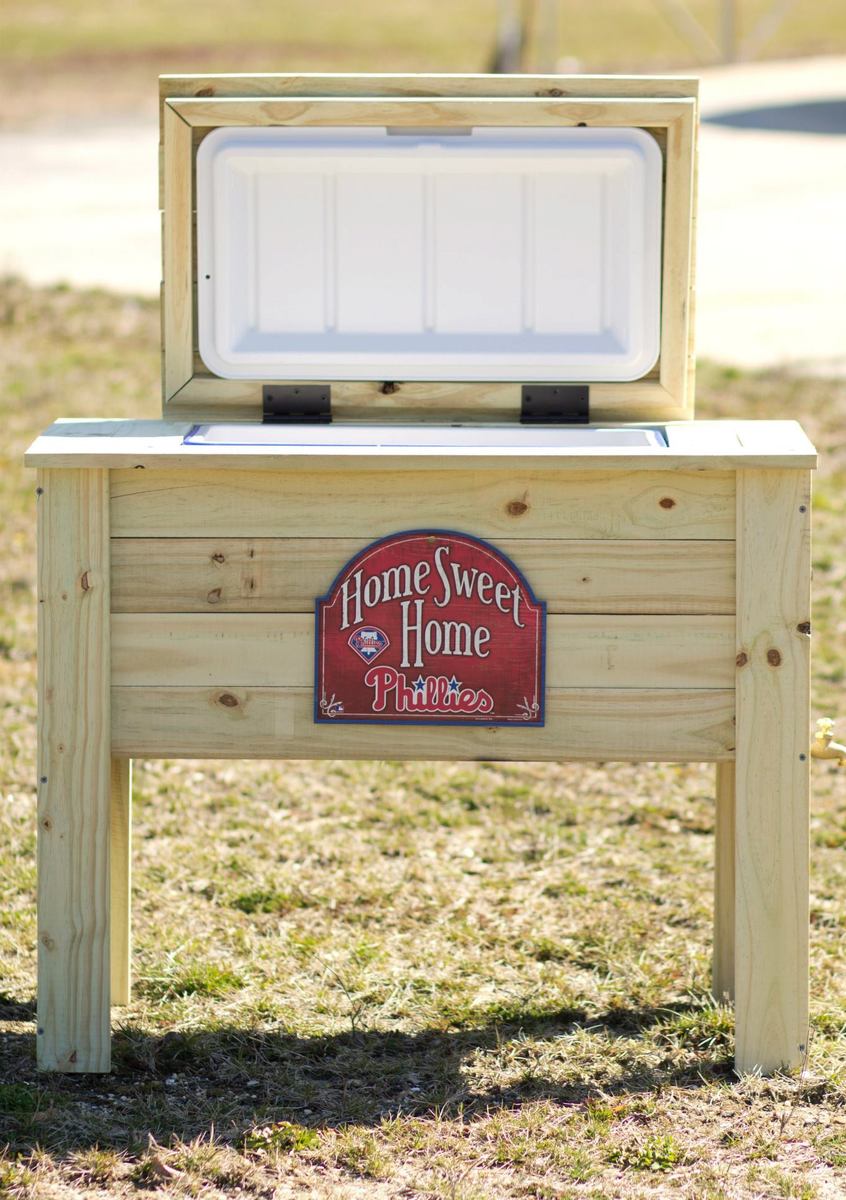
Philadelphia Phillies Outdoor Wood Cooler, I used a 48qt cooler and enclosed with pressured treated wood. I also ran plumbing from the spout and attached a brass faucet so it can be emptied when you want to. Three handles were also attached one each side to carry it and one on the lid so it can be opened.


Comments
dan.abbatacola…
Wed, 07/01/2015 - 11:26
Plans?!
Where can we find the plans for this Swing and Arbor project?
Thekellers68
Mon, 04/11/2016 - 18:19
Arbor
Where can I get the plans for the swing and arbor?
Ana White
Tue, 05/07/2019 - 10:42
We don't currently have this…
We don't currently have this plan available, although I'd be happy to draw it with the author's permission.
I have linked a few plans above that could be used to create this plan. Just make sure you bury the arbor uprights underground on concrete pier posts or similar (like building a fence)