Small Cedar Woodshed
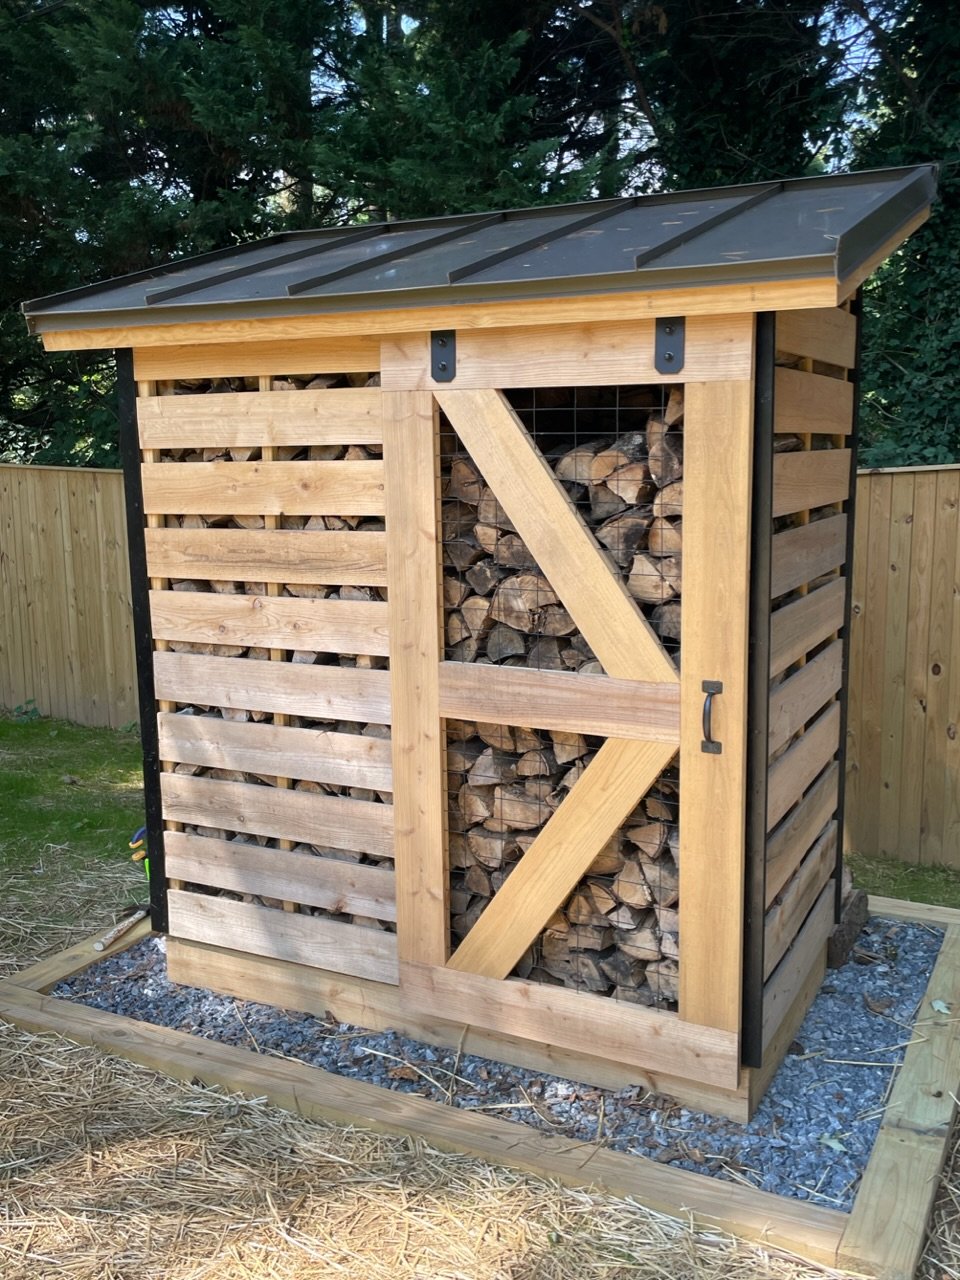
Spaced out the boards to allow airflow; did a sliding barn door and metal roof. Thanks for the plans!
Built from Plan(s)
Spaced out the boards to allow airflow; did a sliding barn door and metal roof. Thanks for the plans!

I made this Christmas tree shelf using the plans here.
I modified it by adding on two shelves so that it could accommodate the 6 hooks I needed for my family's stockings. I also hot glued a string of lights to the perimeter. This is serving as our Christmas tree due to space constraints, so I wanted it to be "fancier" and more like an actual tree.
I think I did ok for my first real build and my family seems to really like it.

Sun, 12/06/2015 - 18:37
You did awesome!!! It looks great and I love how you just made the tree larger to accommodate your needs. Great job! Love the lights!
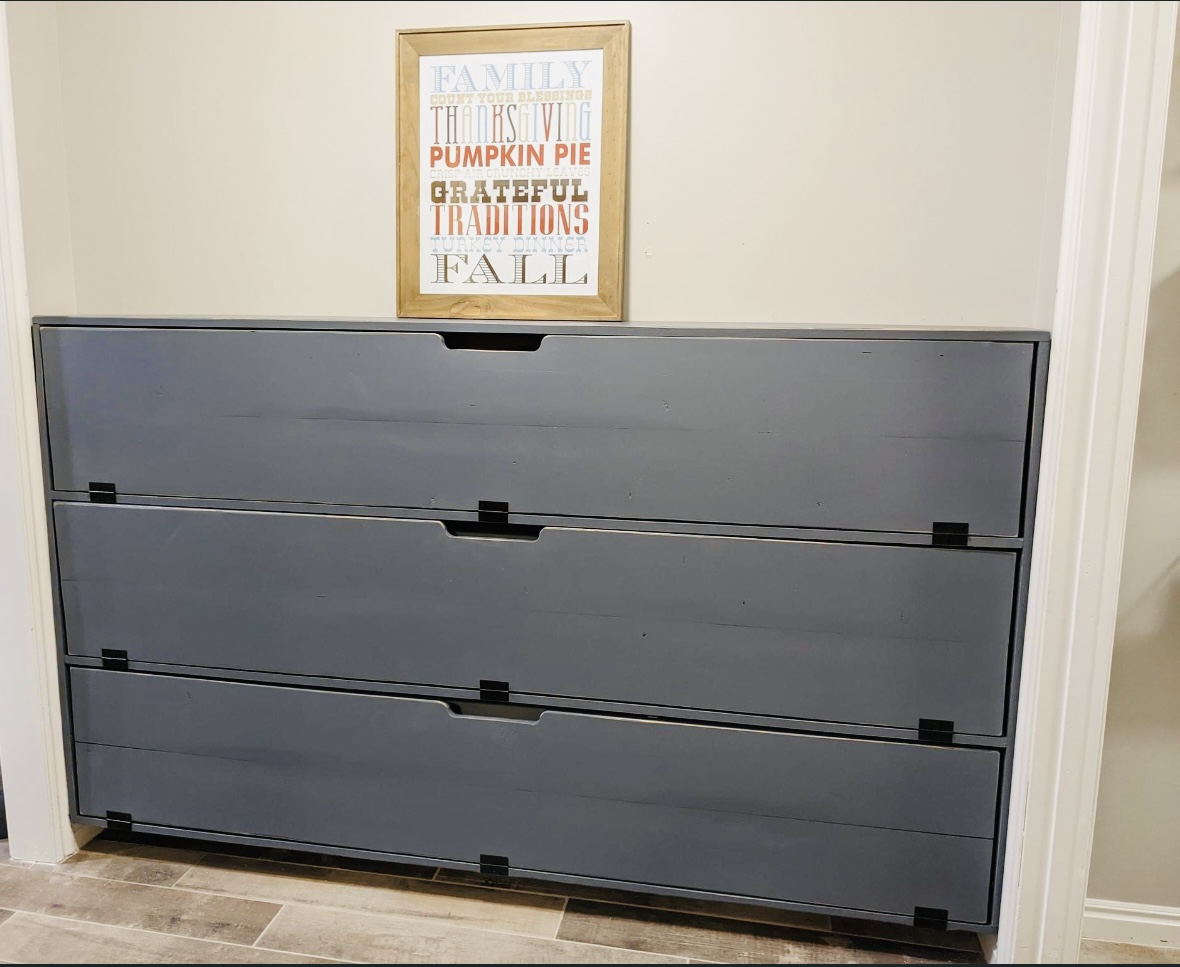
Modified the shoe dresser dimensions to fit the space.
Built by Janae
I'm a better plumber than a carpenter.
Made a this for my step-daughter and her husband for Christmas. Love your projects, and am learning to do everything on my own which is so empowering thank you for sharing and encouraging all us girls we can do it!
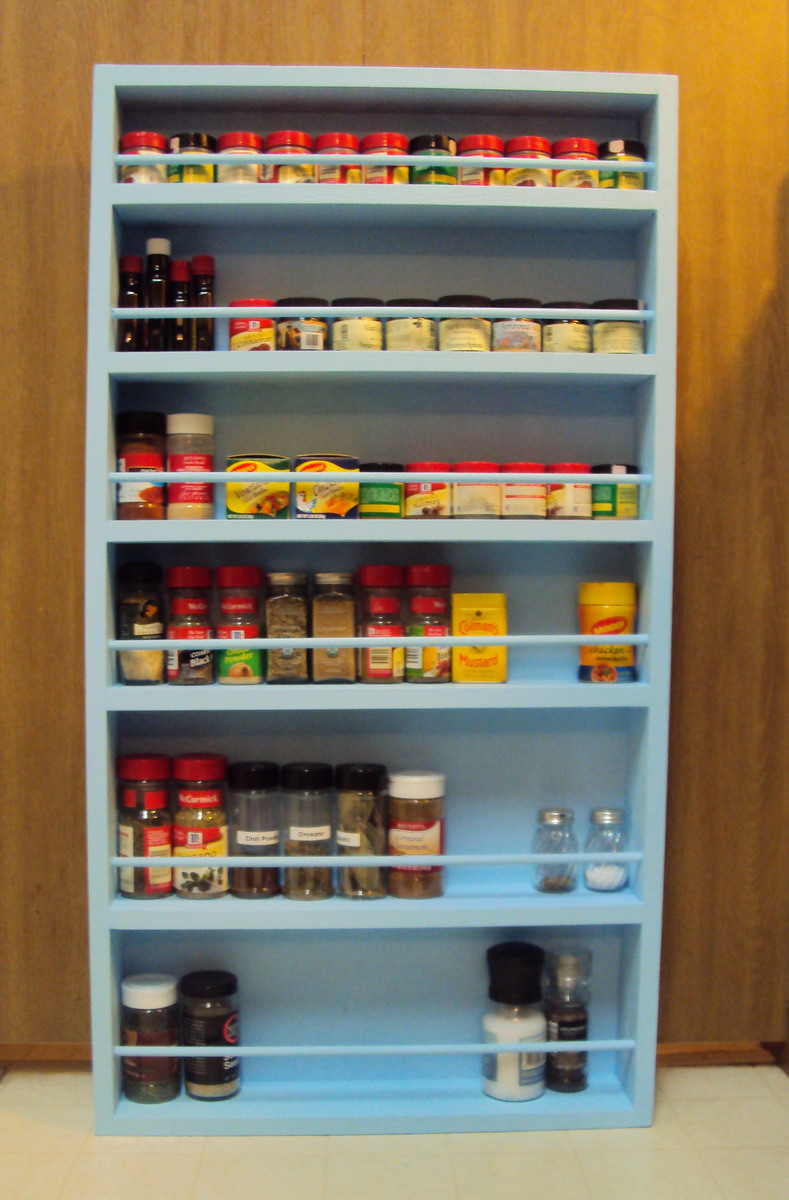
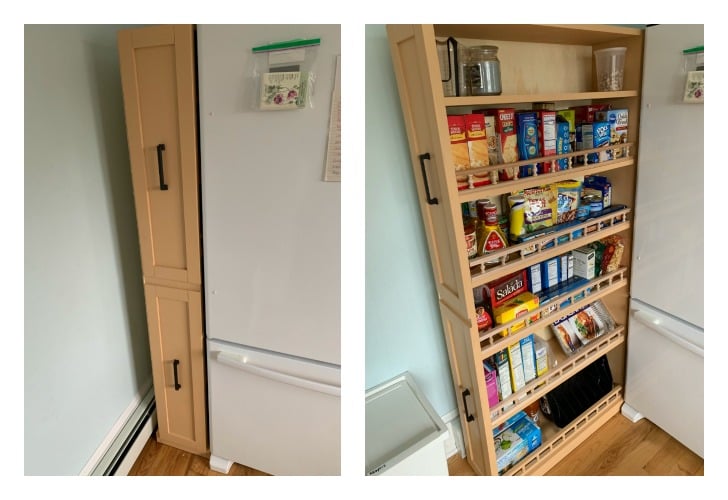
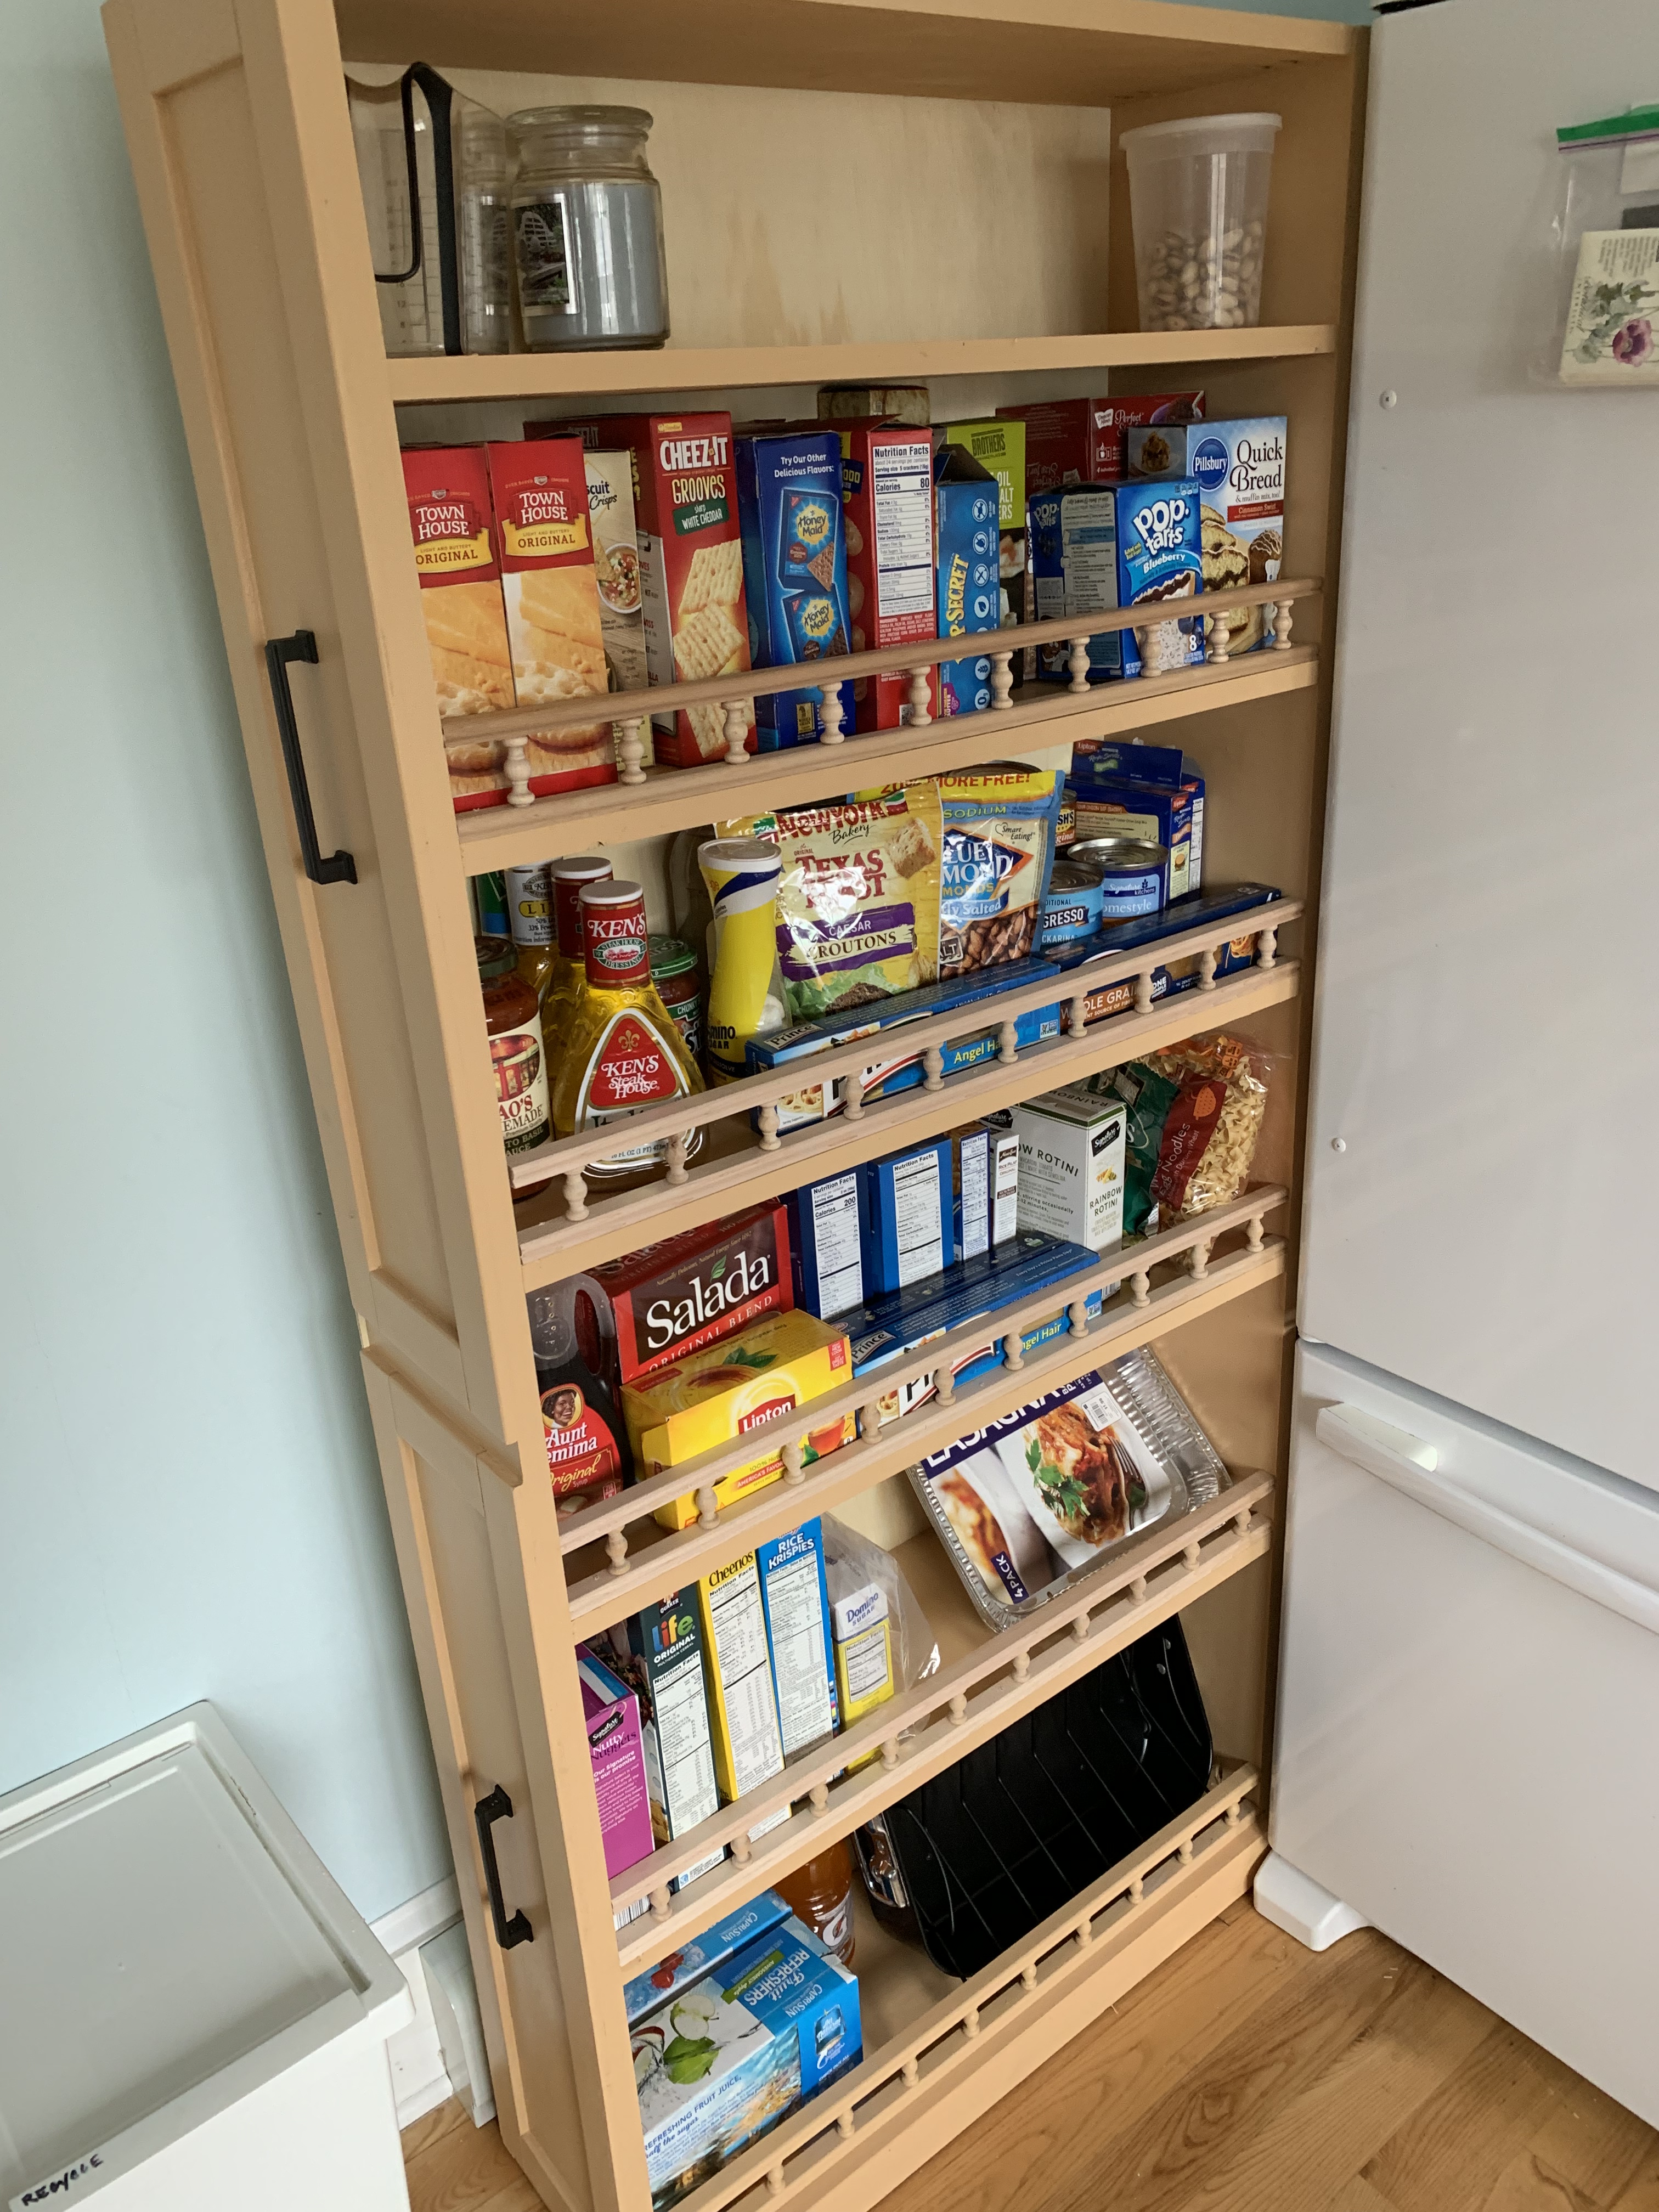
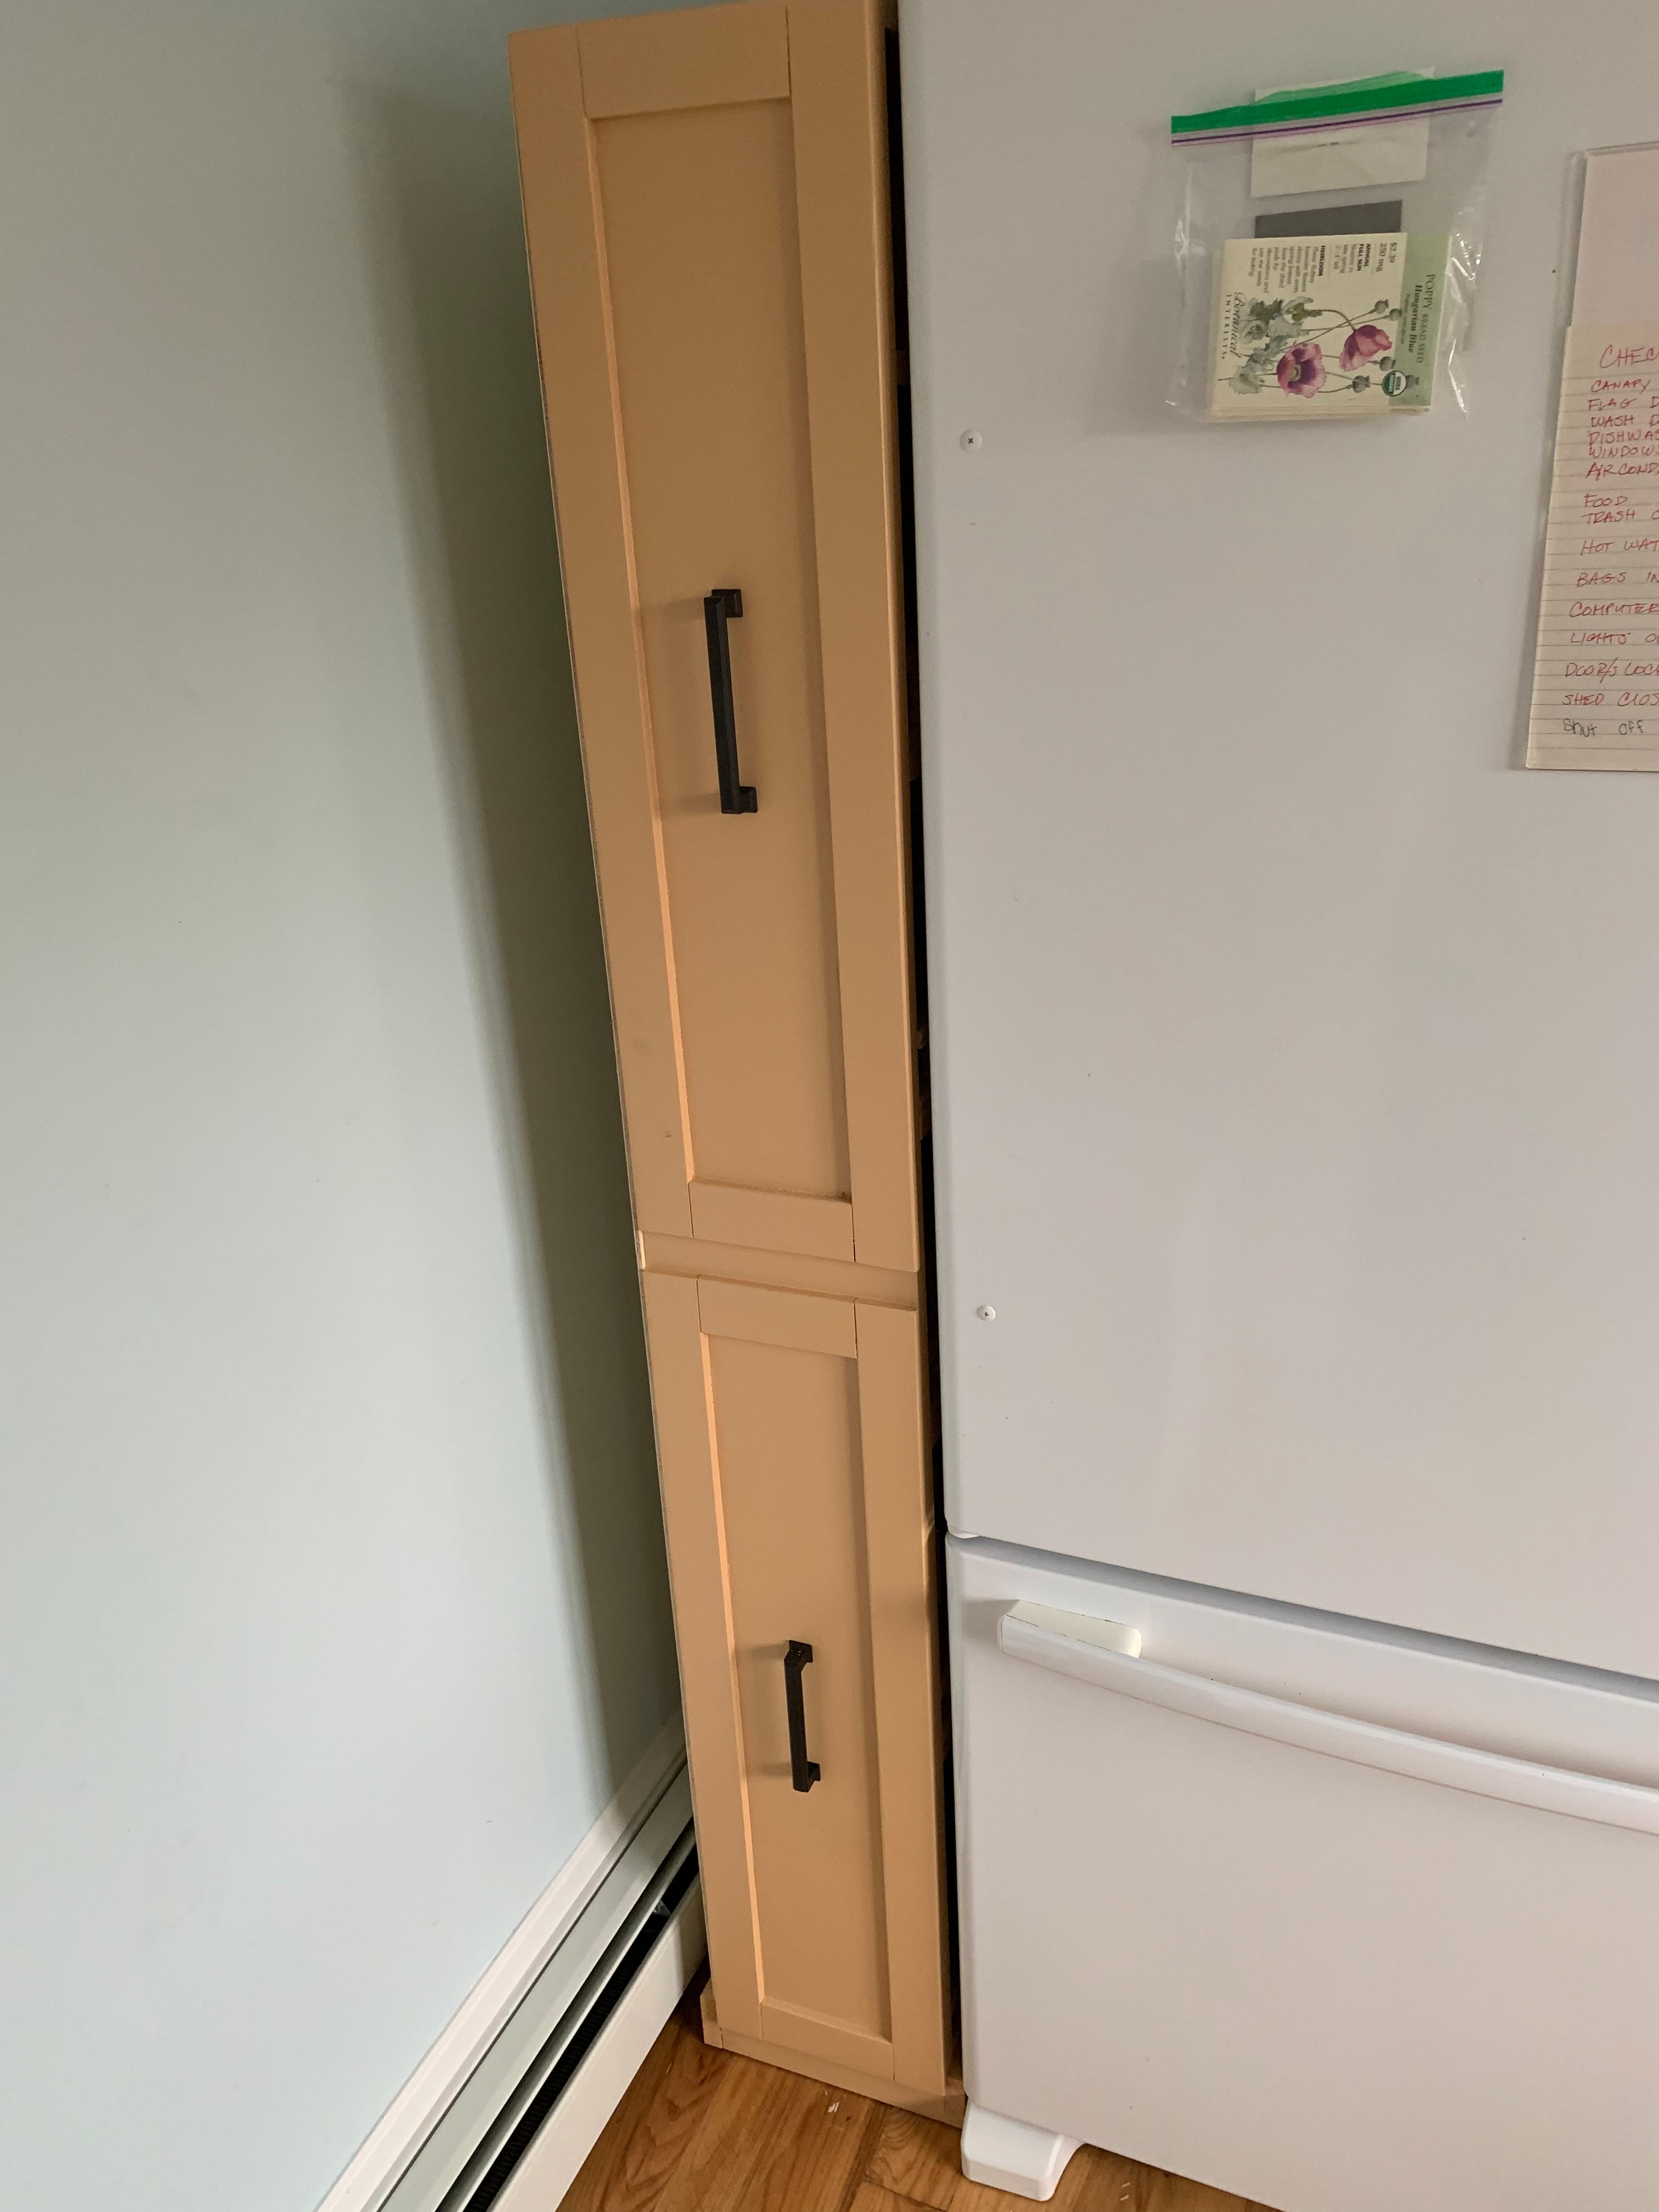
My husband and I worked together to build this spice rack with the plan from ana-white.com. The instructions were very clear and easy to follow.
As you can see from the photo, we haven't hung it on the wall just yet. We have a narrow galley kitchen in an apartment, and I won't be able to get a good photo of it once it's hung.
Thank you, Ana, for inspiring us! We have picked out several more plans to build.
Sarah Hughes
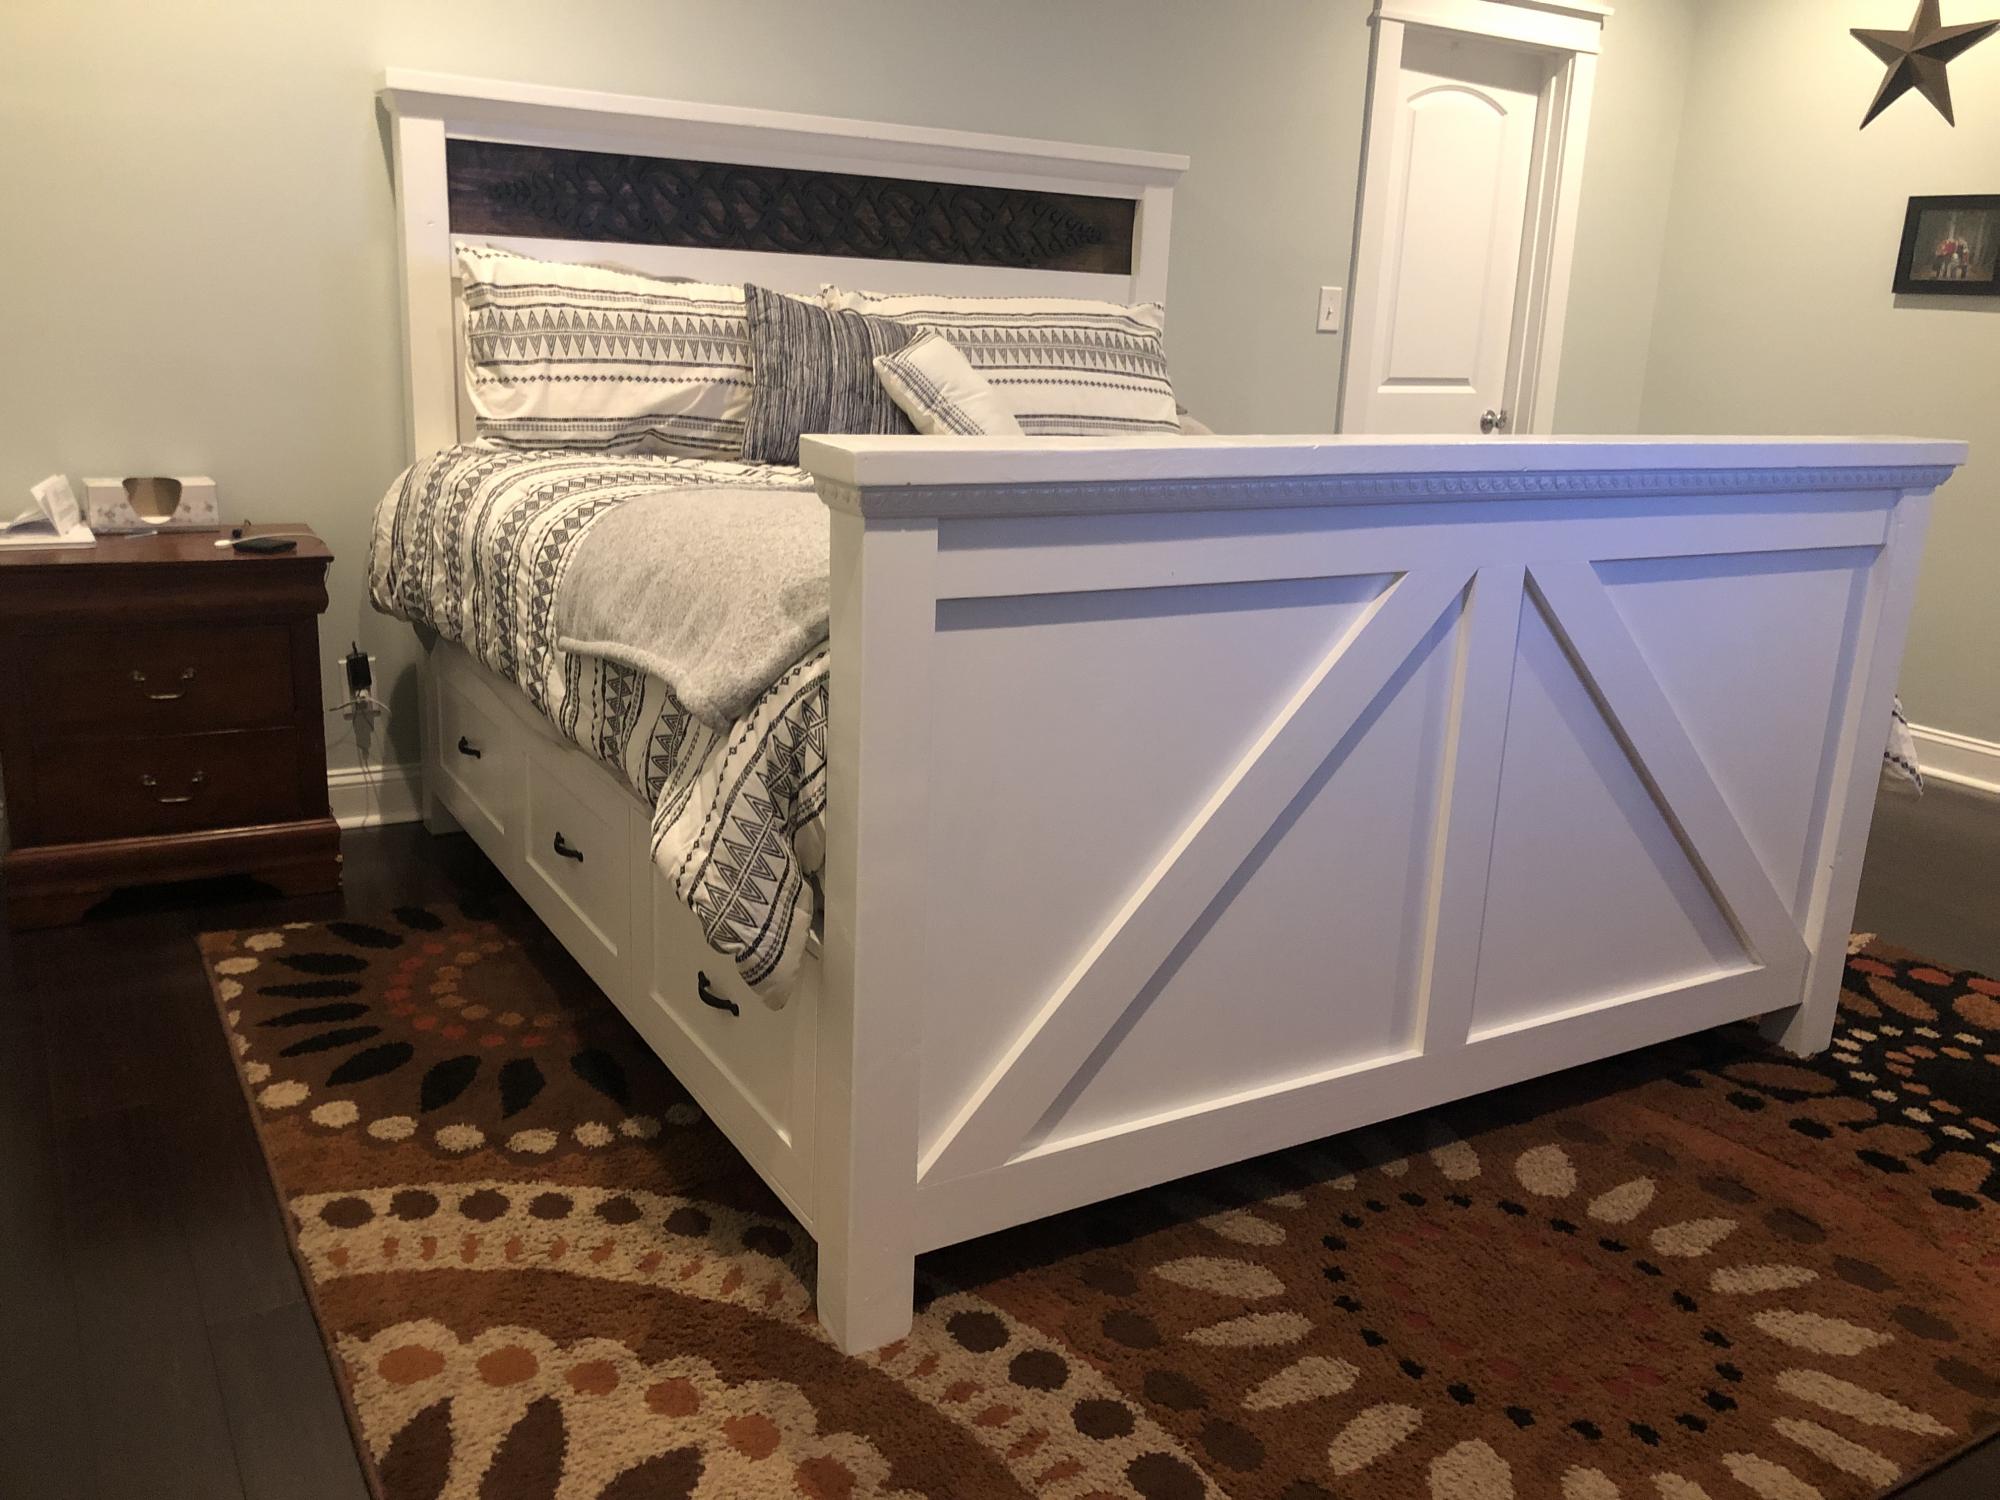
I built this in a full size. Took some time to adjust all the measurements. I used cheap lumber since I was painting it and it cost a little over $350. Then I spent another $75 because I screwed up measurements. :). This was only the 3rd thing I ever built, so I think I did alright. The plans were great! Watched several videos on YouTube about squaring drawers and that helped.
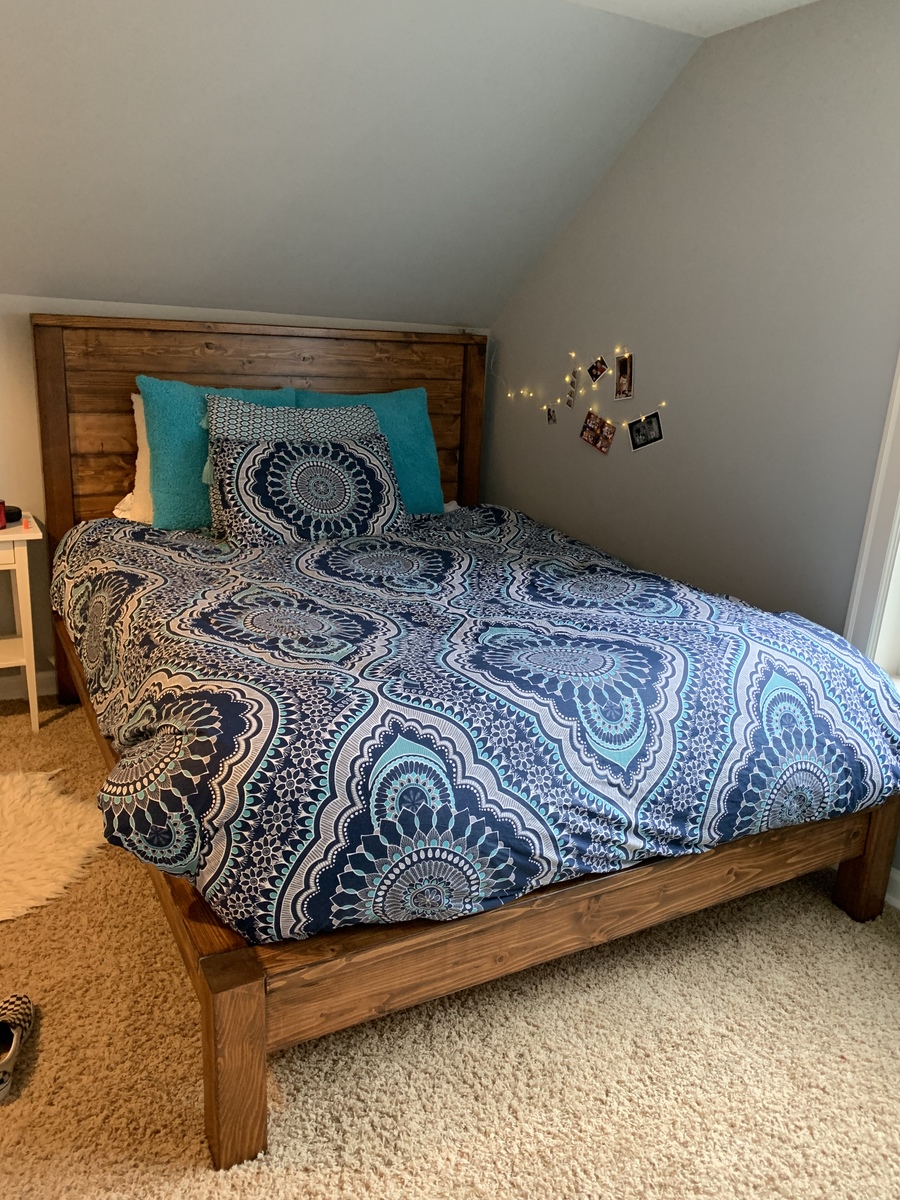
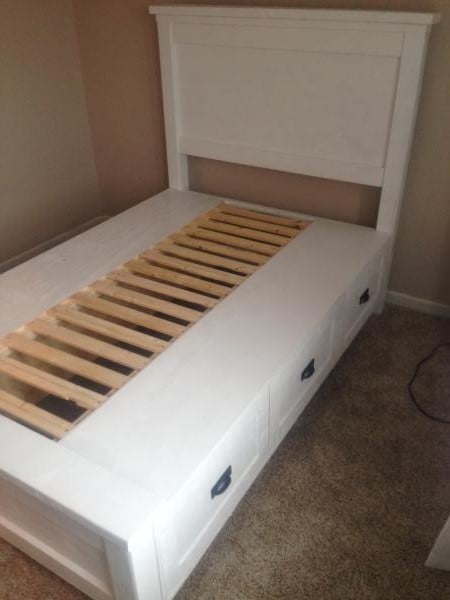
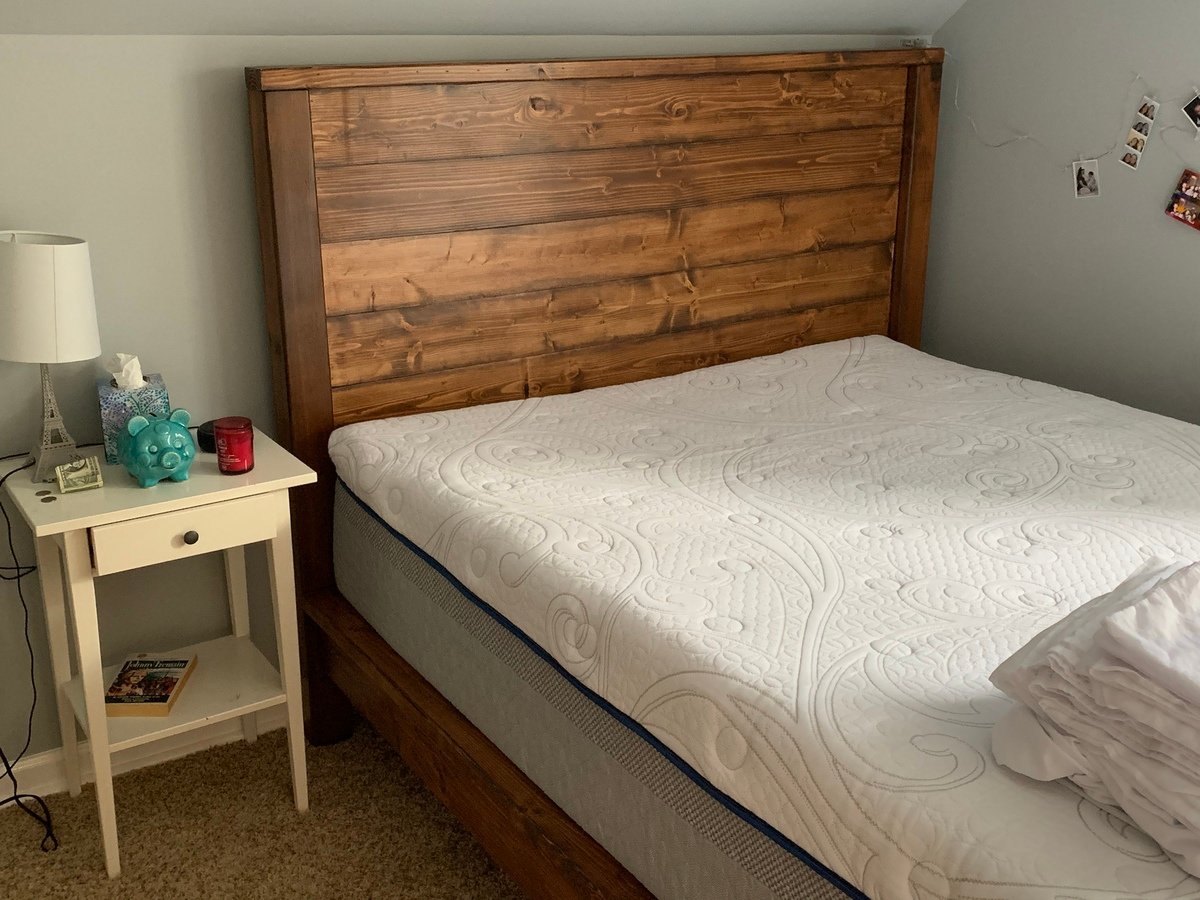
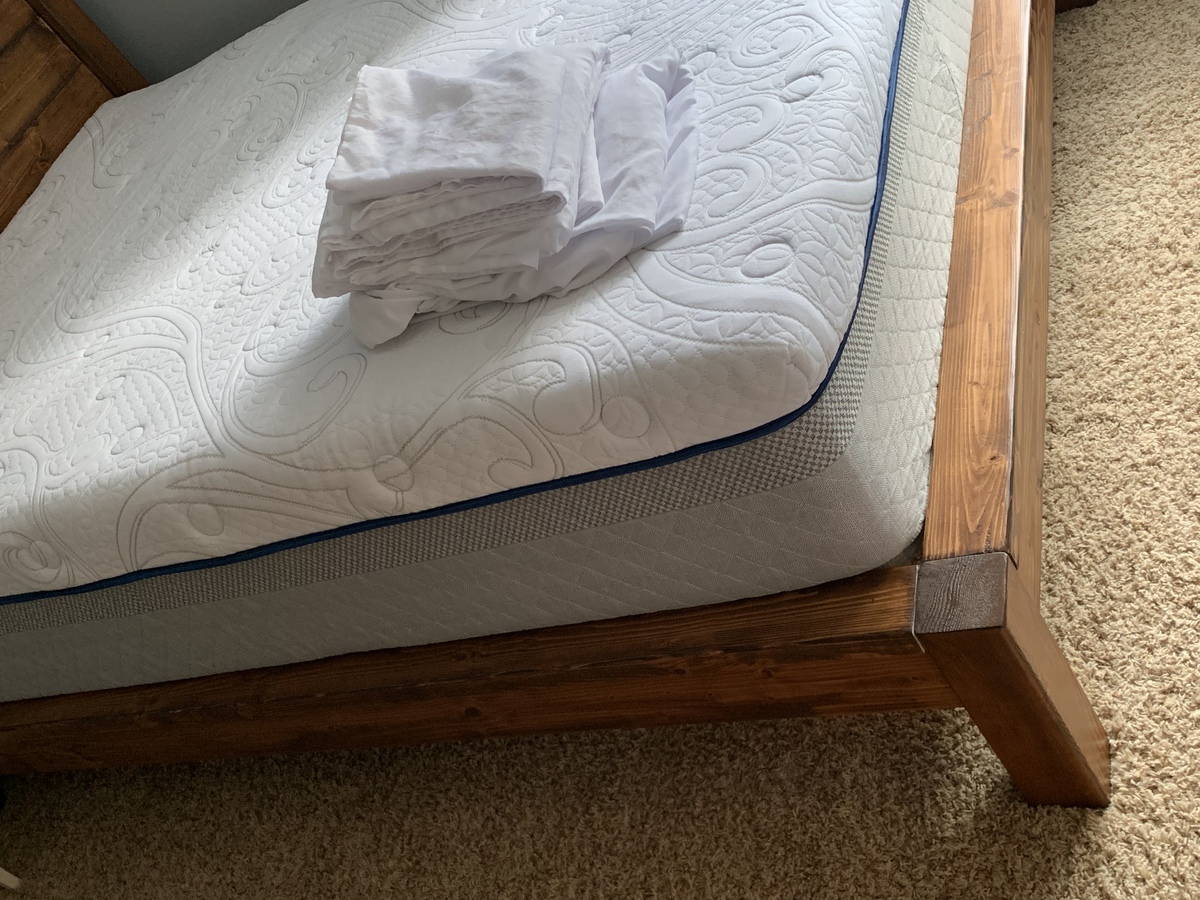
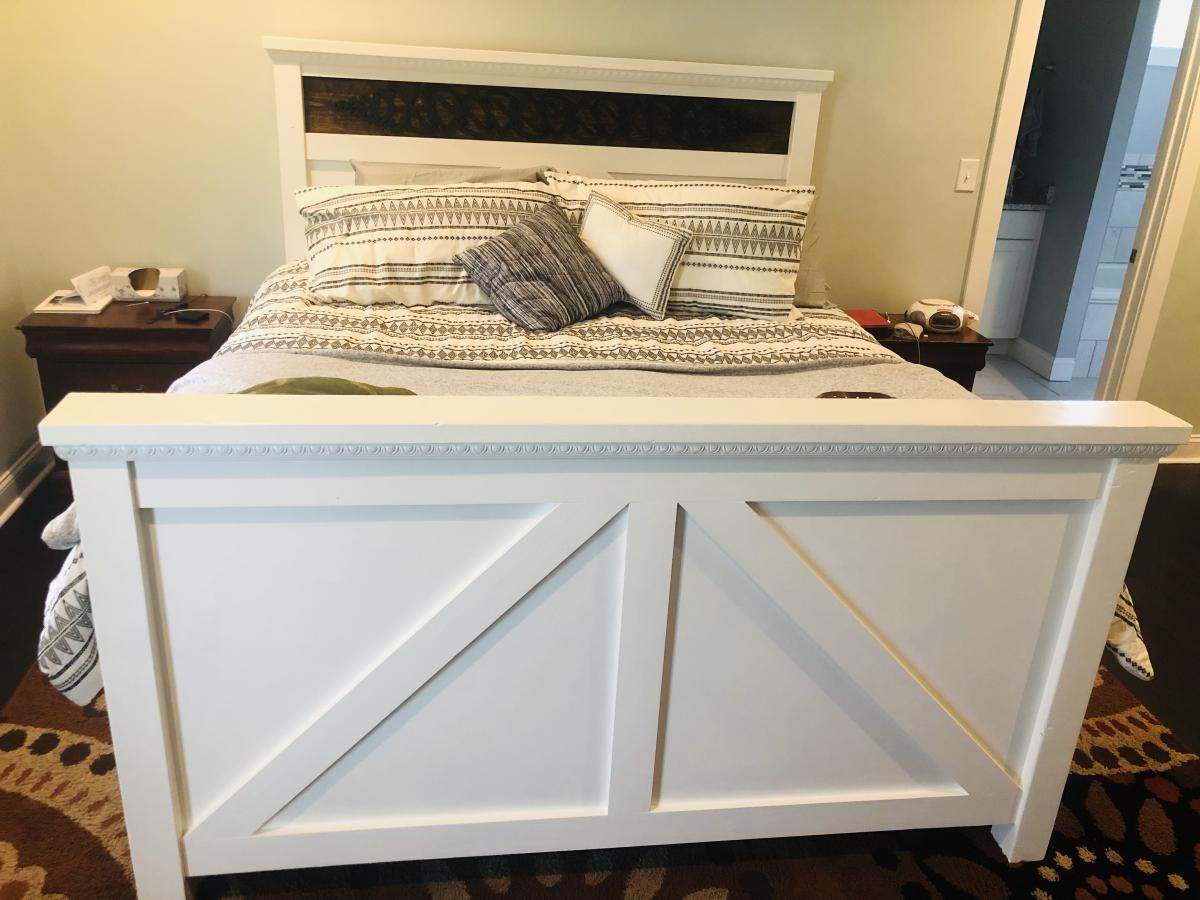
I made this as part of a room makeover for my teenager. It was my second furniture project, the first being Ana’s original farmhouse bed. This was my first project with the Kreg jig and I watched a great YouTube video by shanty2chic to learn the basics of pocket holes. This was also my first staining project and I love the results. My daughter loved it so much she had me stain her closet doors to match! The lumber for the bed was only $120, I spent an additional $80 on wood and screws for the slats to support the mattress, my new kreg jig came with enough screws to make the bed frame. I spent another $80 on wood conditioner, stain and poly since she didn’t like the first stain (Briarsmoke, which I will definitely use on another project).
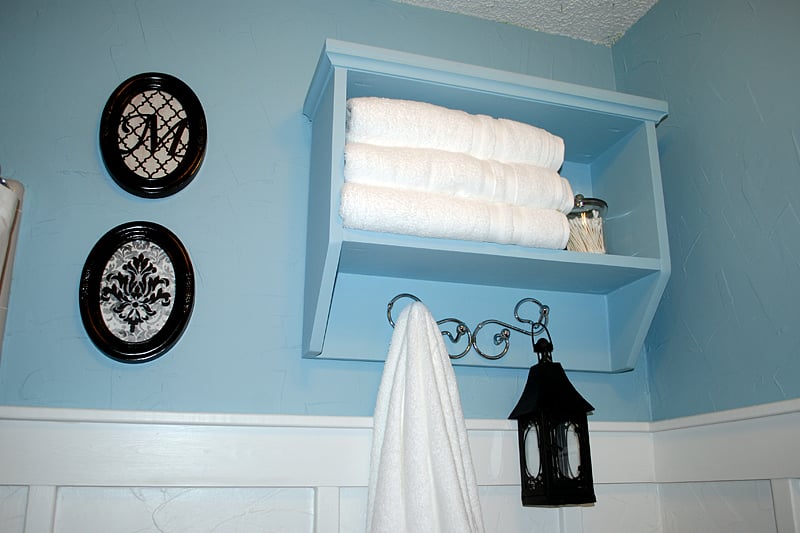
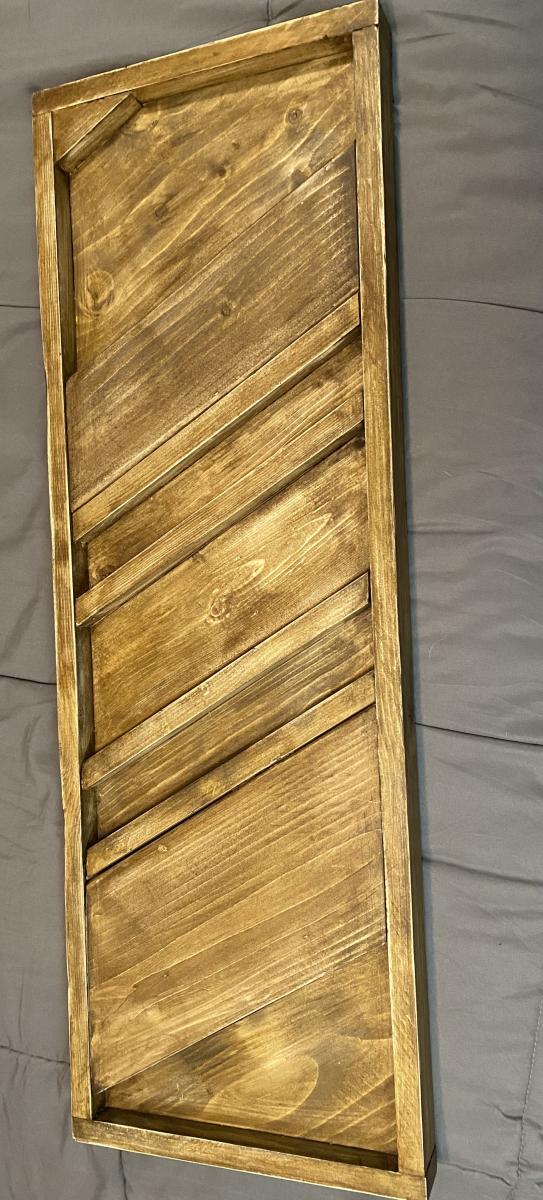
To finish off my bathroom remodel I built the Martina wall shelf. I reused the metal hook that was previously on my wall before the board and batten treatment. It fit perfectly in the space under the shelf meant for hooks. I wish I had measured out my towels and storage needs. I could have actually stored more if I had adjusted the plans to make the shelf a little deeper and a couple inches wider. Overall, I'm very pleased! The Kreg Jig is a fun little tool, too!
Fri, 11/04/2011 - 07:24
How did you attach the shelf to the wall?? Thanks!
Made my wife happy!
Mon, 05/06/2019 - 10:22
Hi Mike this is a fantastic project! Just fabulous!

Completed Modern Craft Table! We tweaked the plans a bit because I was looking for a larger table top. The top now measures 48" x 76". We simply did this by adding an extra set of cubbies to the other side of the shelves. Absolutely LOVE how this turned out! All I need now is 4 counter height stools built and lots of shelves to complete my craft room! Will be sure to post those once they are completed!
Thu, 11/17/2011 - 01:10
Darn I was so excited to see you craft table! I apologize that your brag post did not show images. If you can send me images at knockoffwood(at)gmail.com I'd be happy to post. Thanks so much for submitting a brag post. Ana
Sun, 03/04/2012 - 07:31
I LOVE LOVE LOVE your craft table. I want one! Looks like my husband wil have to get busy! Thanks for sharing!
Kristina
Houston, TX
Tue, 05/29/2012 - 00:05
This is great!! I am planning something similar, but what is your idea or the plan you used for the middle support to keep it from sagging over time? My idea is to run another cubby in the middle from side to side. What do you think?
Mon, 01/21/2013 - 09:54
I love the modern craft table, just what I have been looking for, do you share instructions, dimensions, etc.? thanks, Laura
Thu, 05/12/2016 - 15:14
I'm loving this and would love to have FIL build it for me but the plans look like its for the regular modern craft table but not the tweaked? Also is there support for the middle? Can you send me a link for the tweaked supply list please, can't seem to find it. Love what you do!
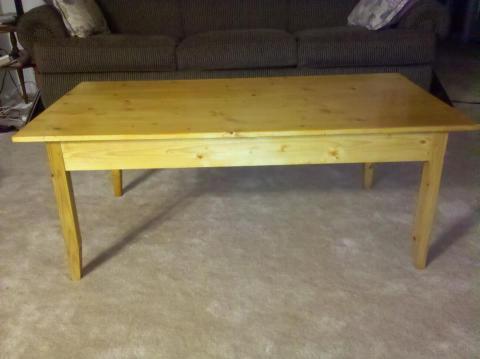
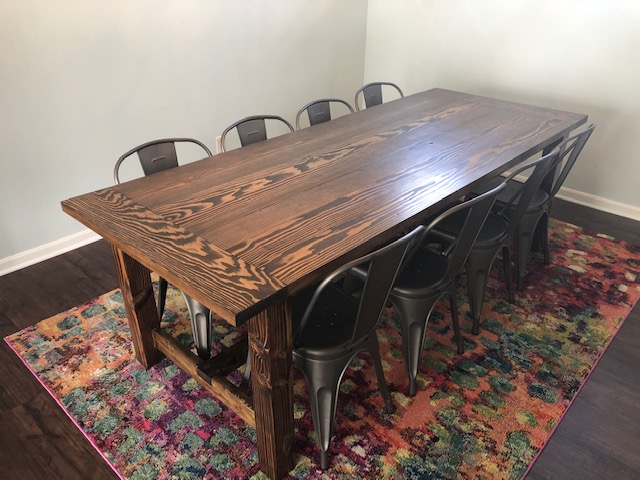
I built that table for a friend using primarily hand tools. The only power tools were a table saw to rip the legs from a scrap 2x12 from another project, and a drill for draw-bore holes.
The table is made from pine, so that it is light enough for a woman of small stature to carry it up to a third-floor apartment. The frame is made with mortise and tenon joinery for strength, and the joints are draw-bored to make sure it doesn't fall apart in our lifetime.
The top is a glued-up panel from five other boards. This was my first panel glue up, so it was a little bit exciting in the same way that a kitchen fire is exciting. The surface has a rustic texture, made by planing it smooth with a cambered jack plane. The texture isn't visible under normal lighting, but with a raking light you can see it. It's very interesting to run your fingers over this table because of the texture from the plane, and the strong grain of the white pine.
Still need to stain but this was my very first project and it turned out well! The directions are very easy to follow and I am very happy with it!
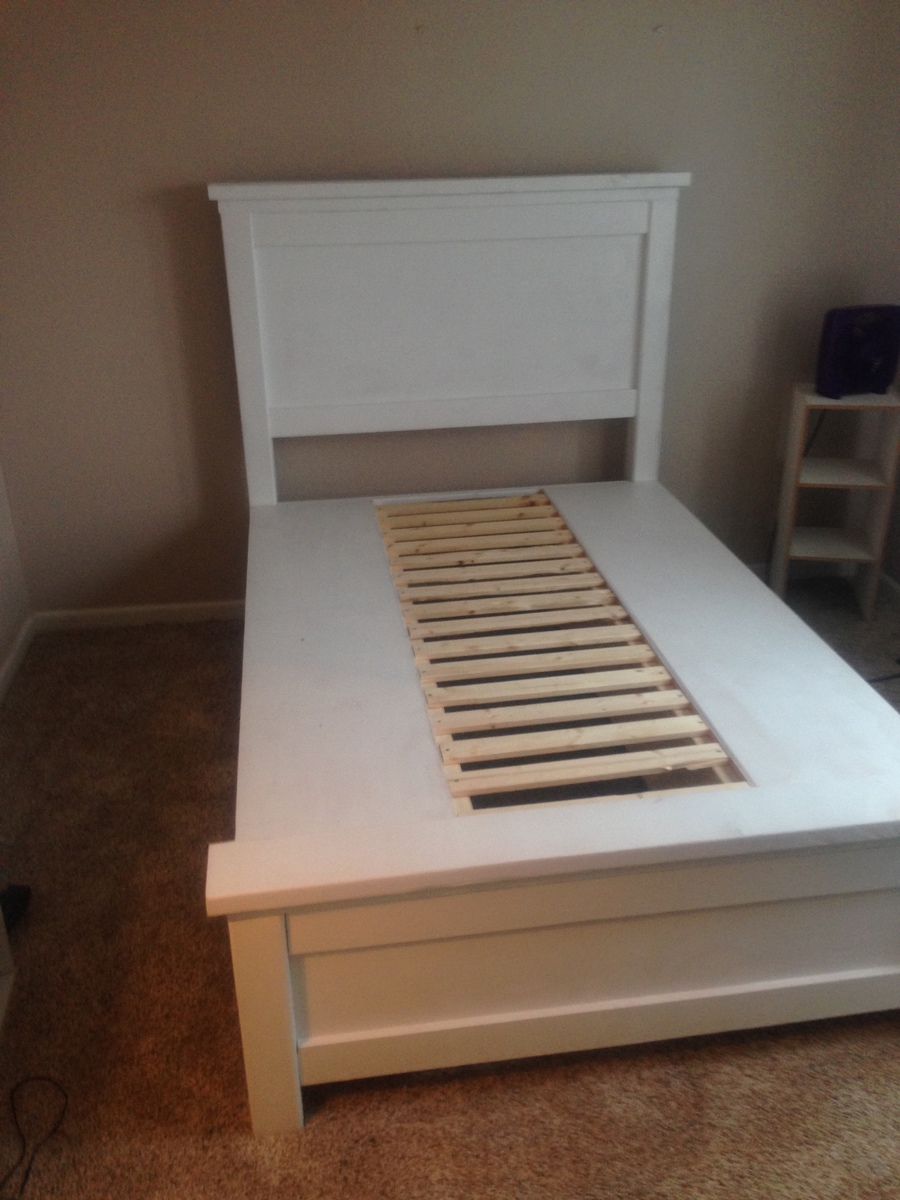
After a successful attempt at Ana’s farmhouse desk I decided to make a bed for my wife... needless to say I think she likes it! Thanks to Ana and Pretty Handy Girl’s plans! (This is my 3rd woodworking project)
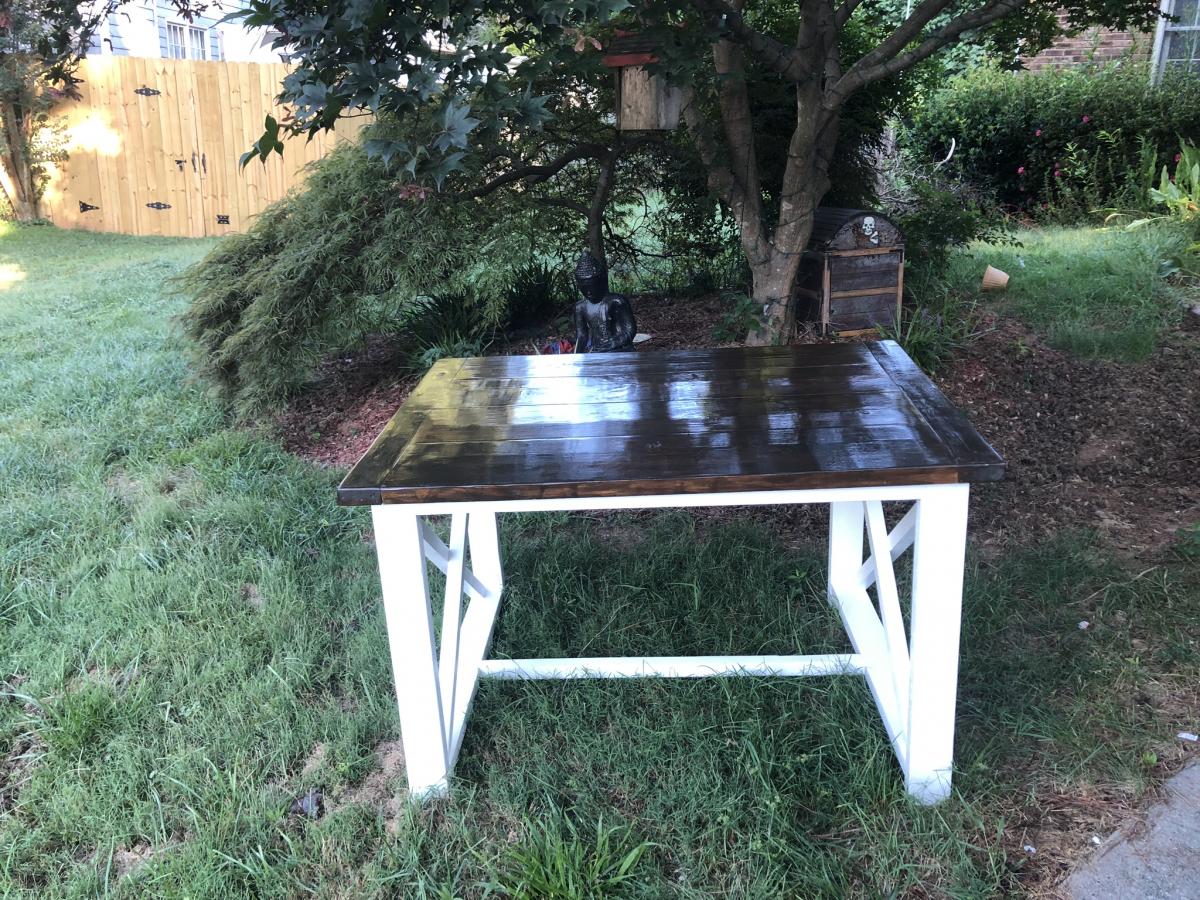
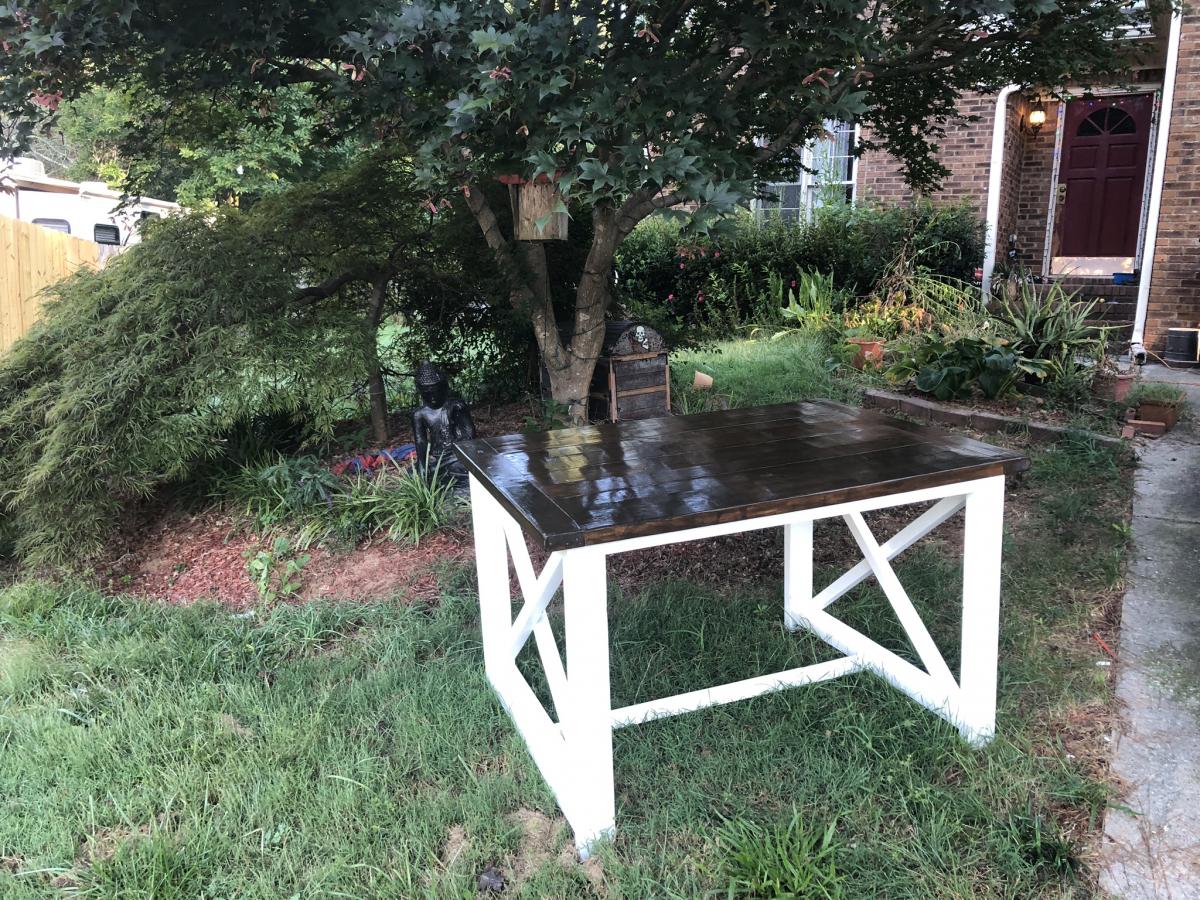
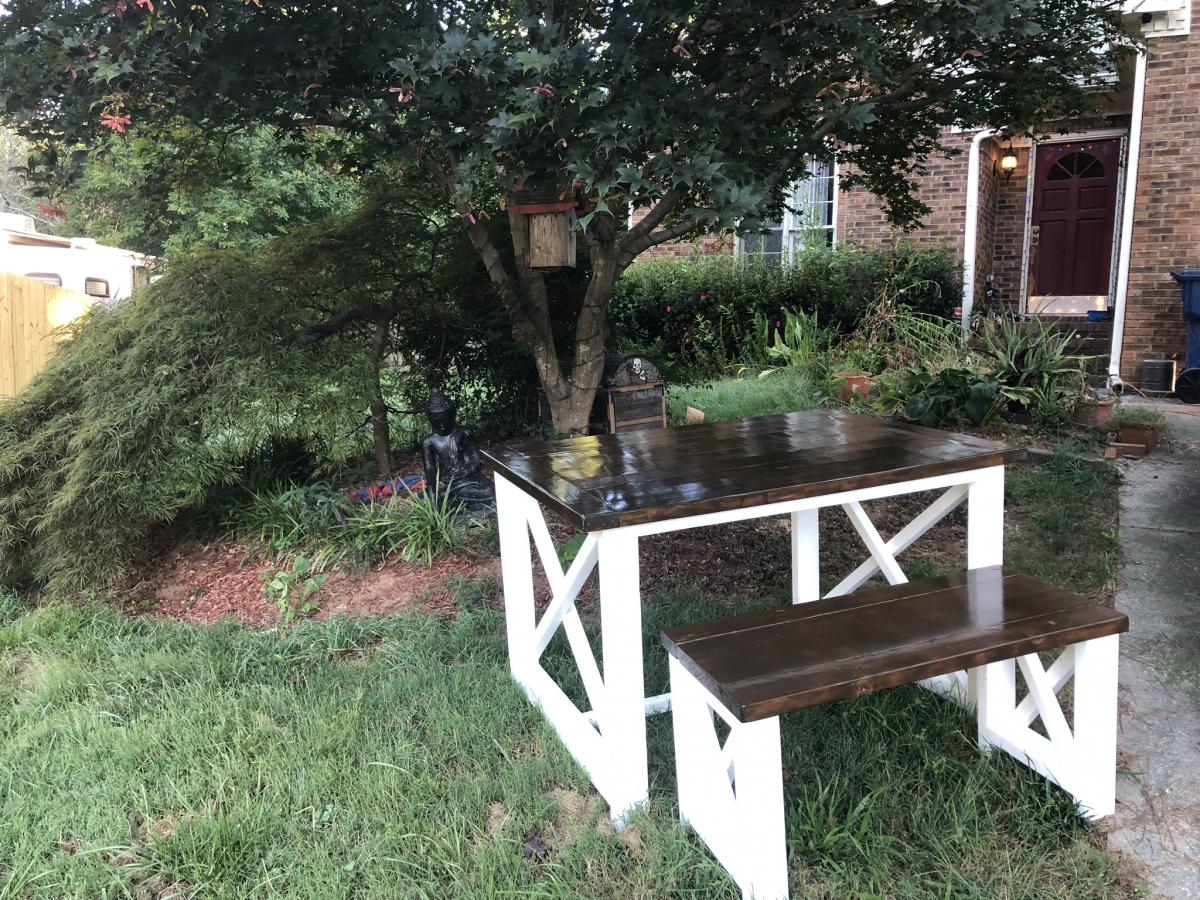
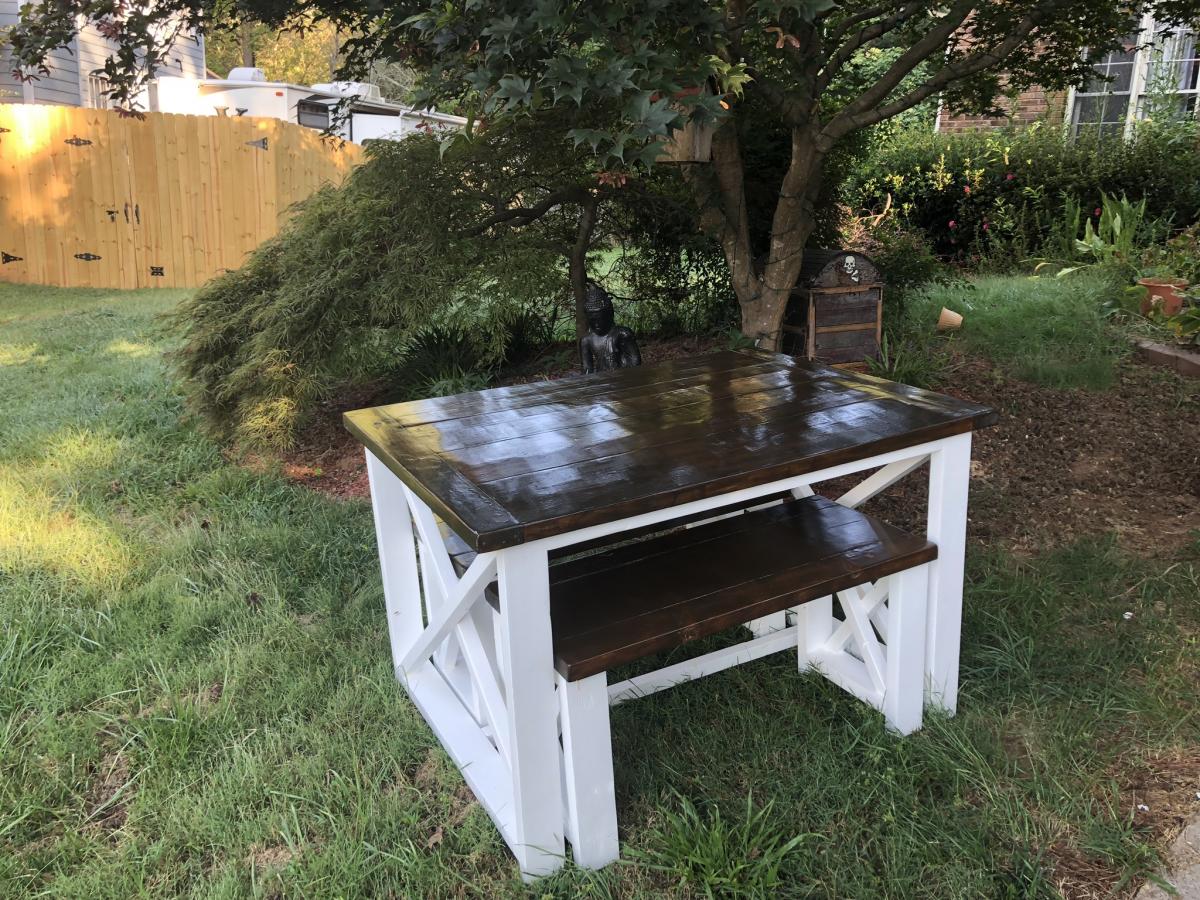
I am embarrassed to admit, but we had been using a 8ft plastic folding table with a table cloth and folding chairs for TWO YEARS prior to this build. I had struggled to find a table that was large enough and that I actually liked. I was so fed up that we decided to build this table. It was a huge learning curve because we had never build anything before. BUT IT IS DOABLE and FUN!
Tue, 09/03/2019 - 17:46
What a beautiful table! Thanks for sharing and encouraging others!
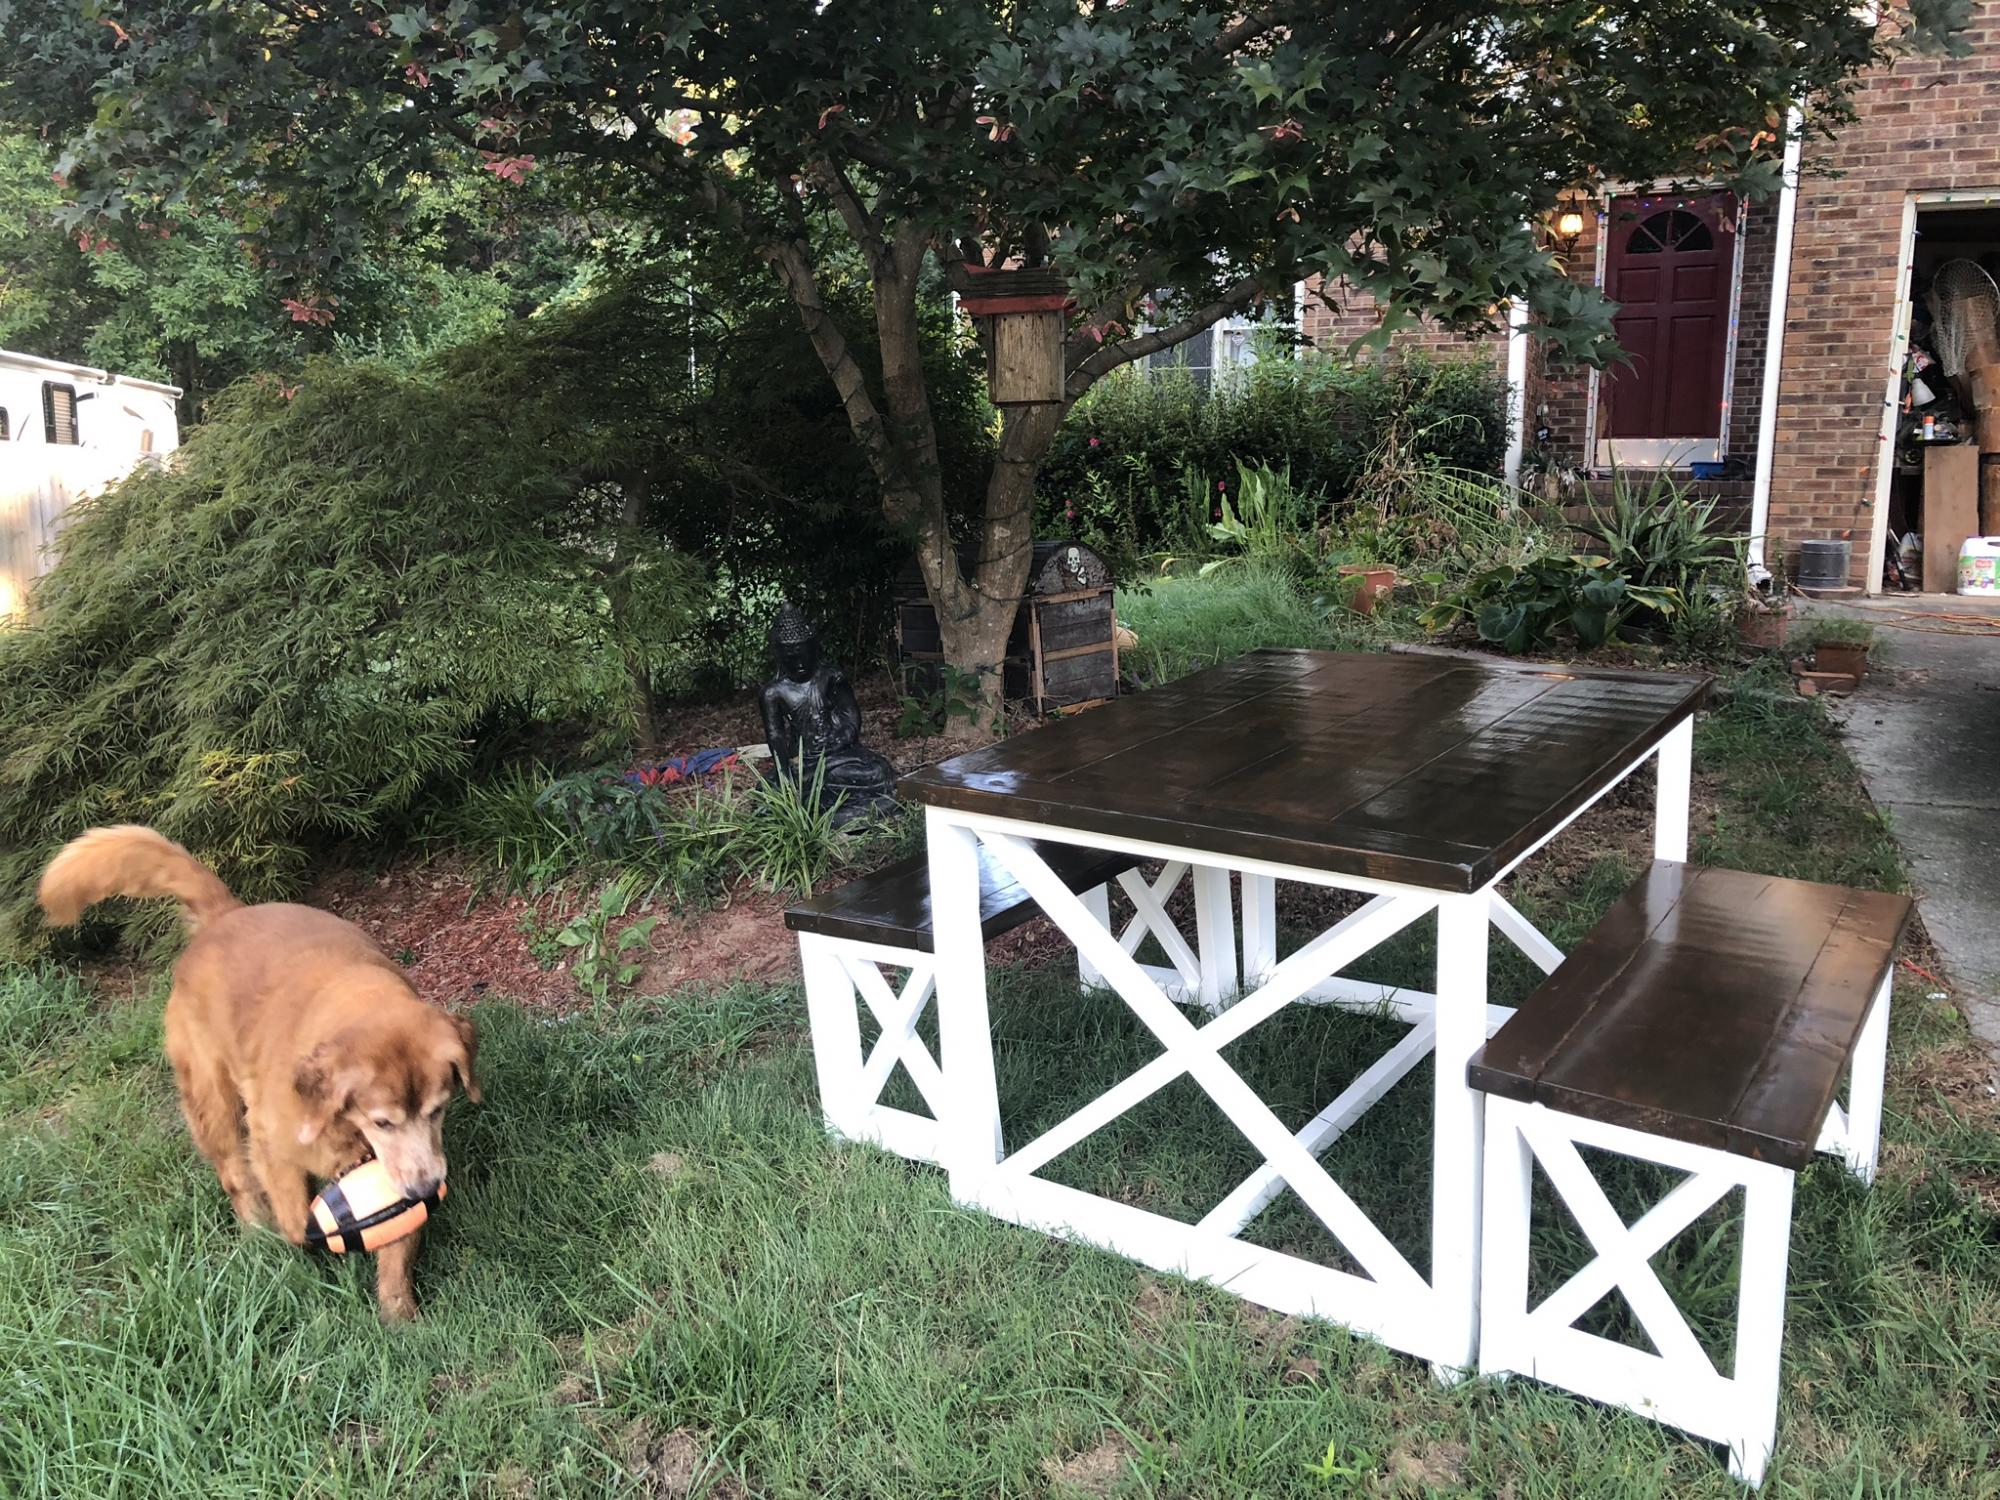
Farmhouse Breakfast Table inspired by the x coffee table

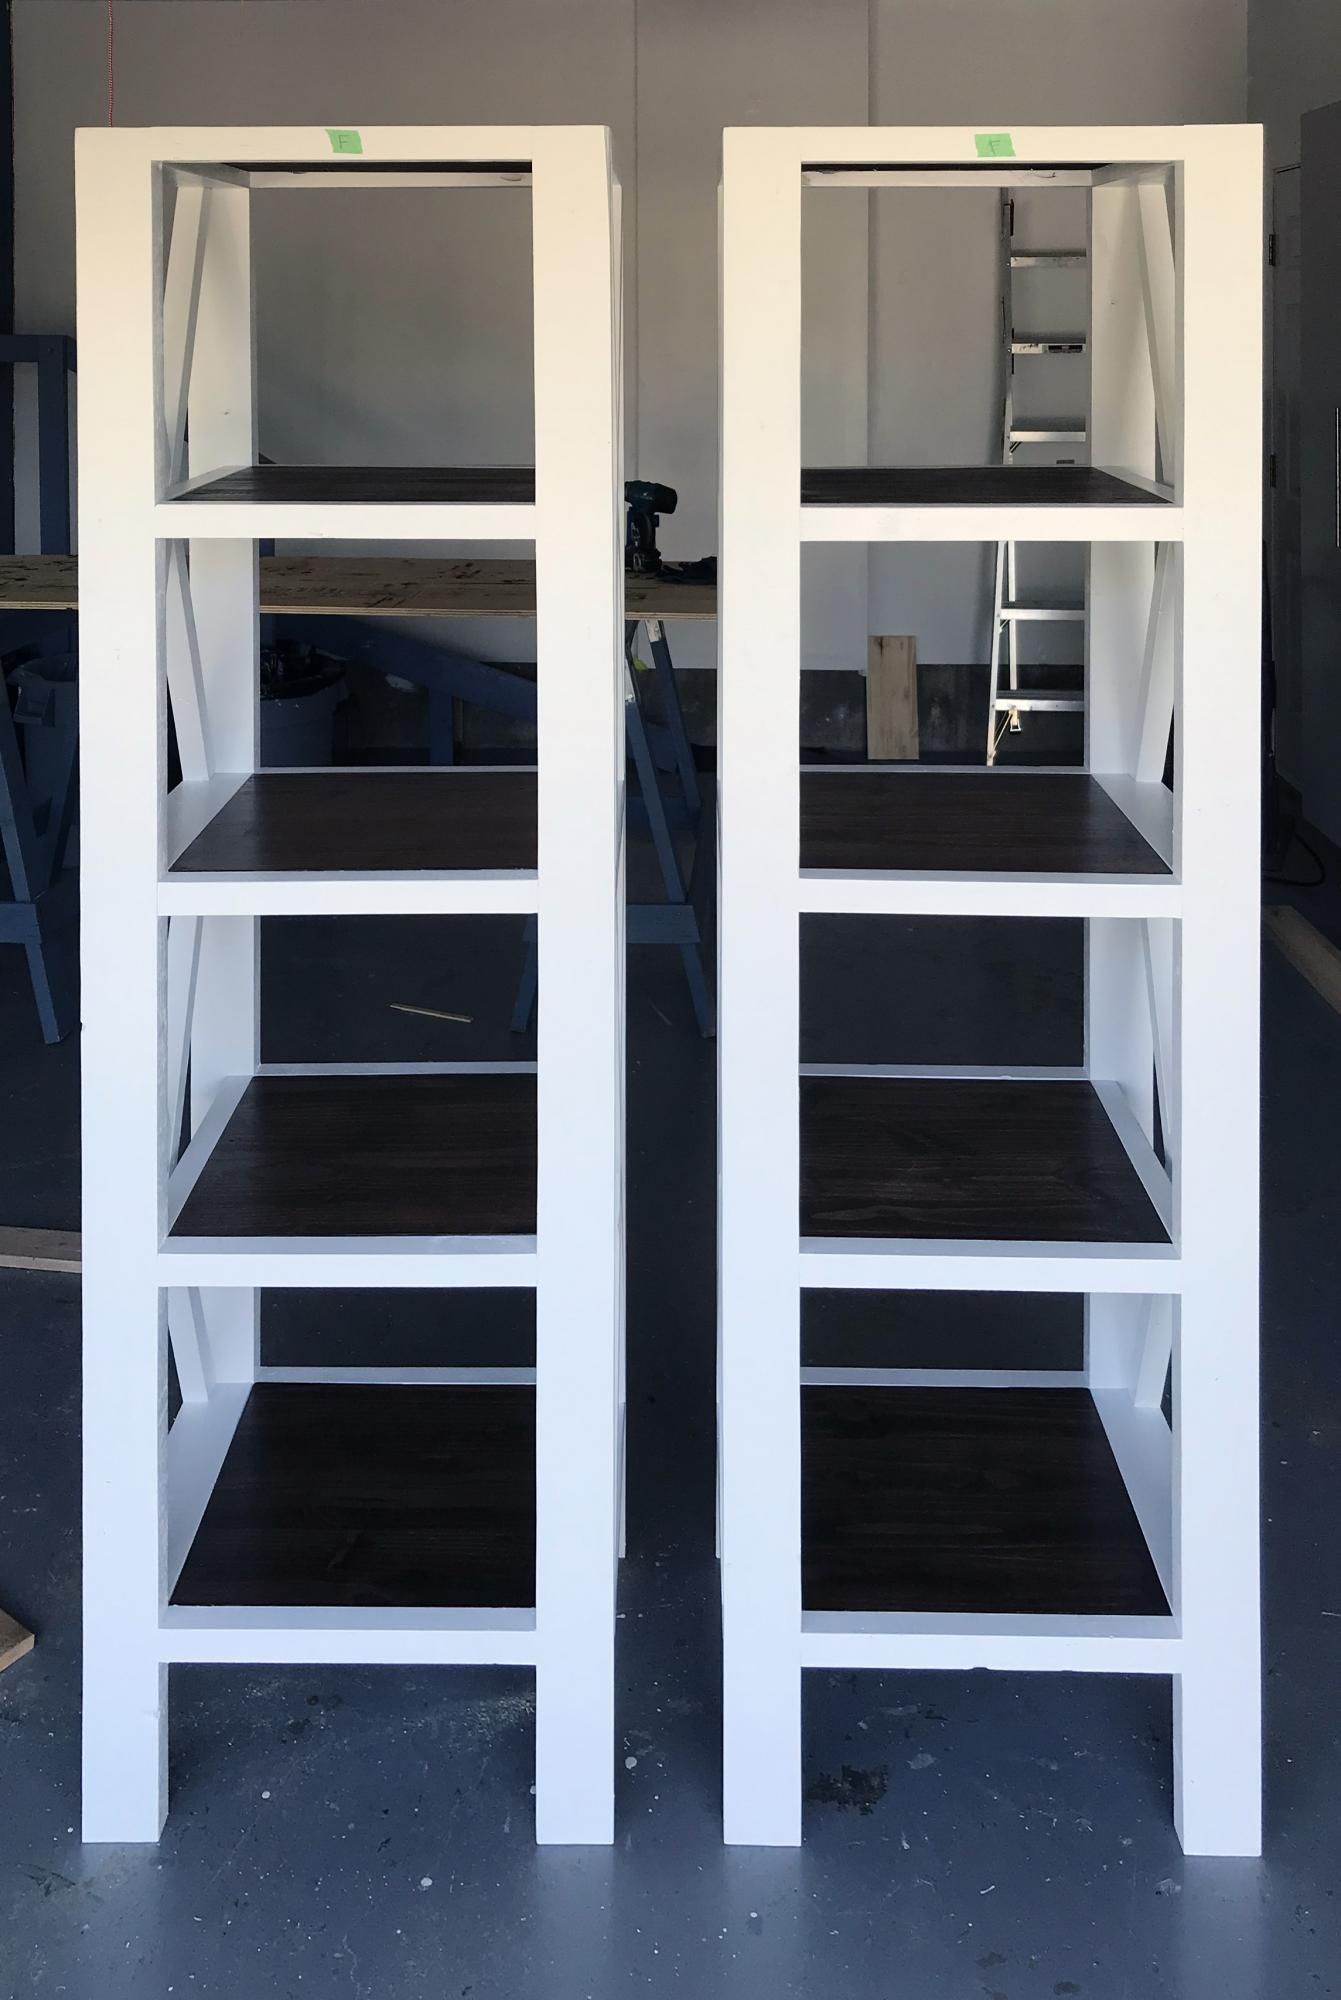
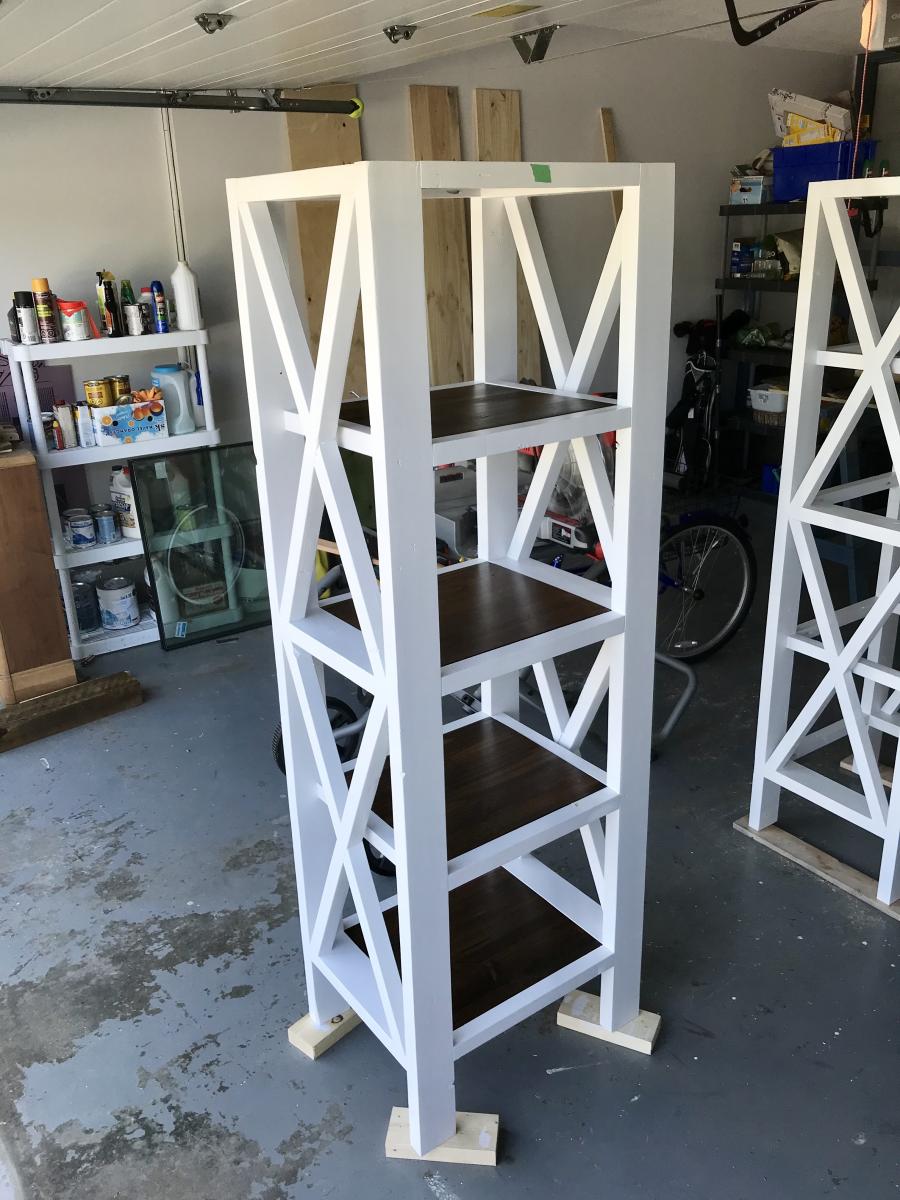
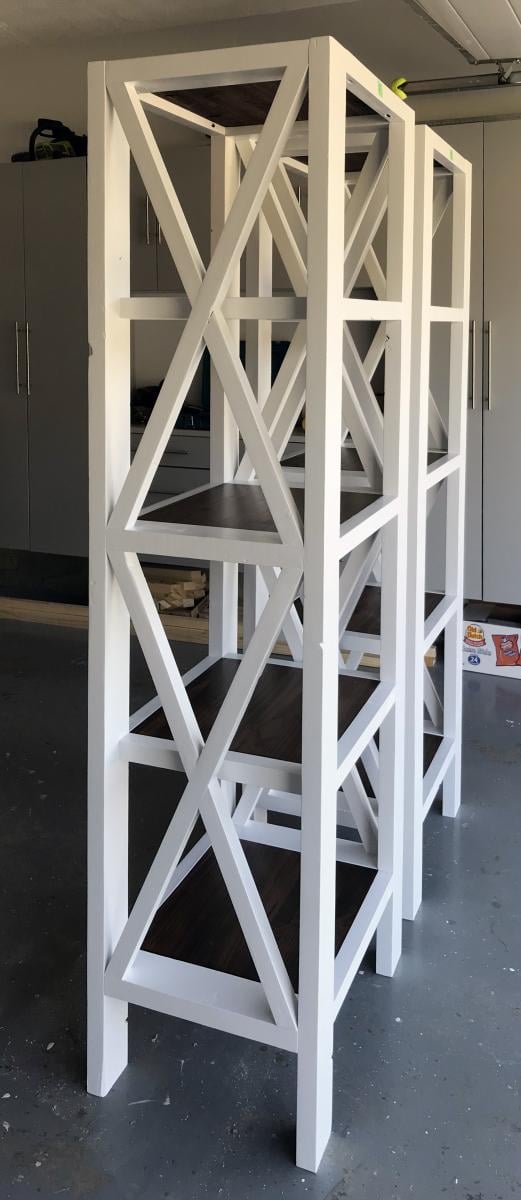
A friend wanted these bookshelves to match the Farmhouse X Desk but she wanted them narrow so they would fit in a small office. This was a very challenging and at times frustrating build getting everything to fit and getting the X's correct but in the end they turned out very well.
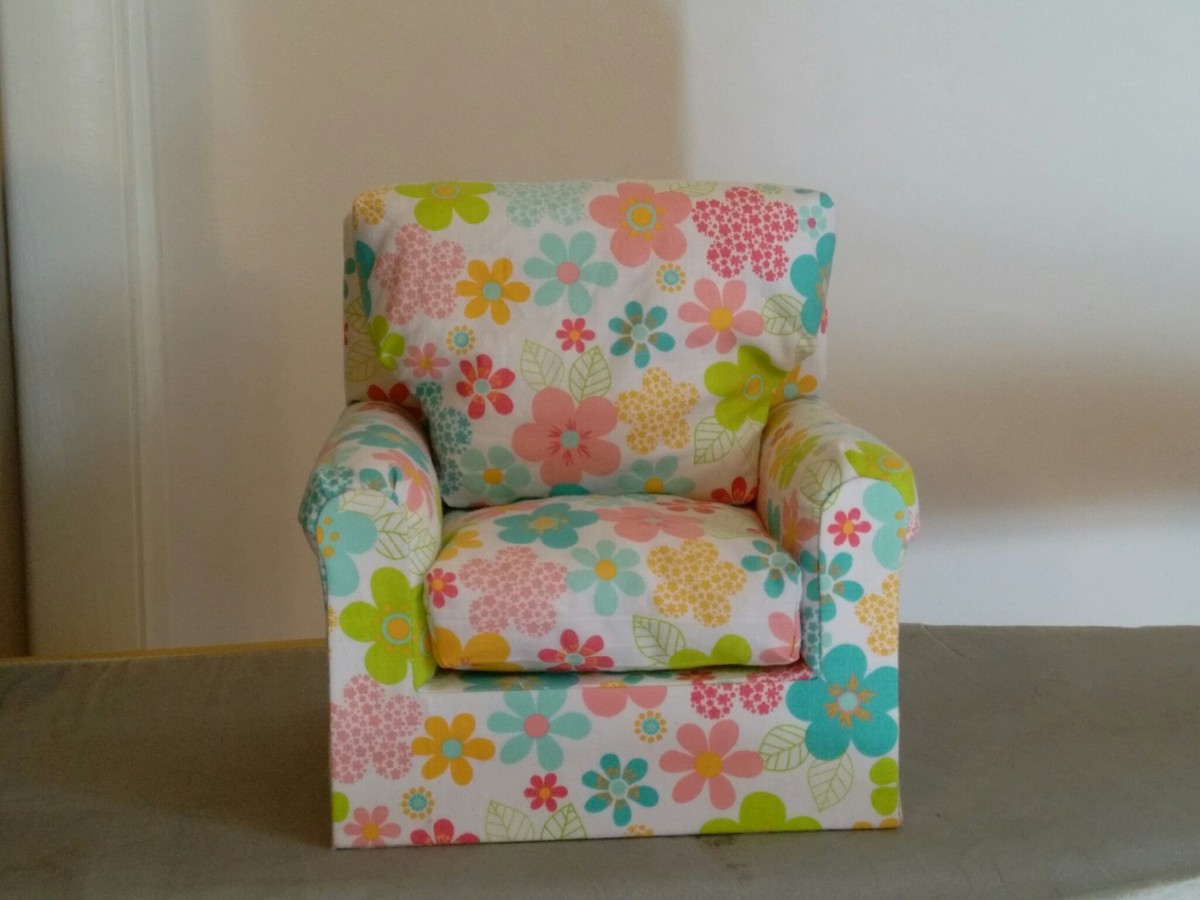
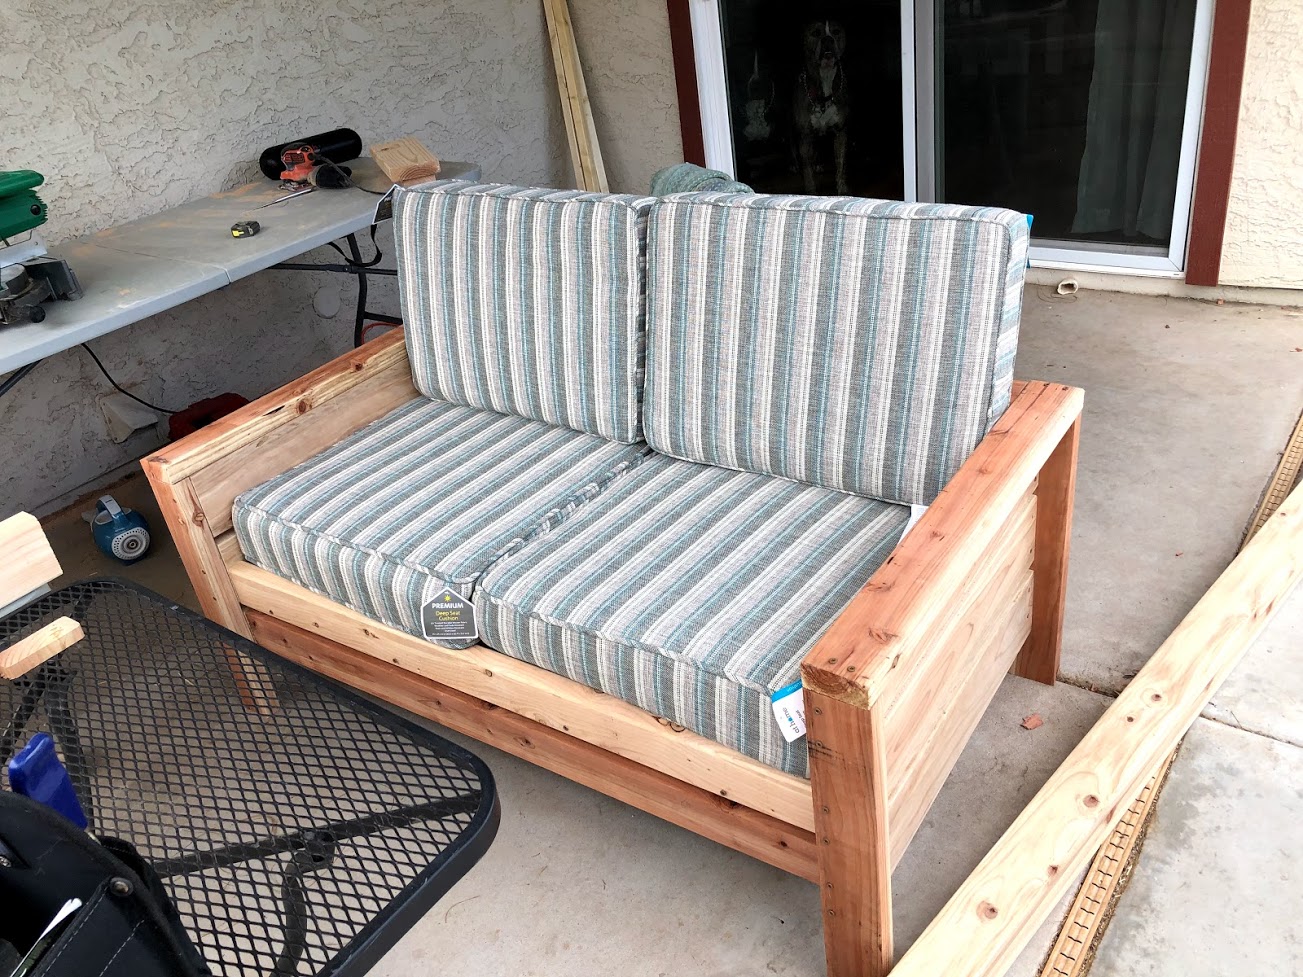
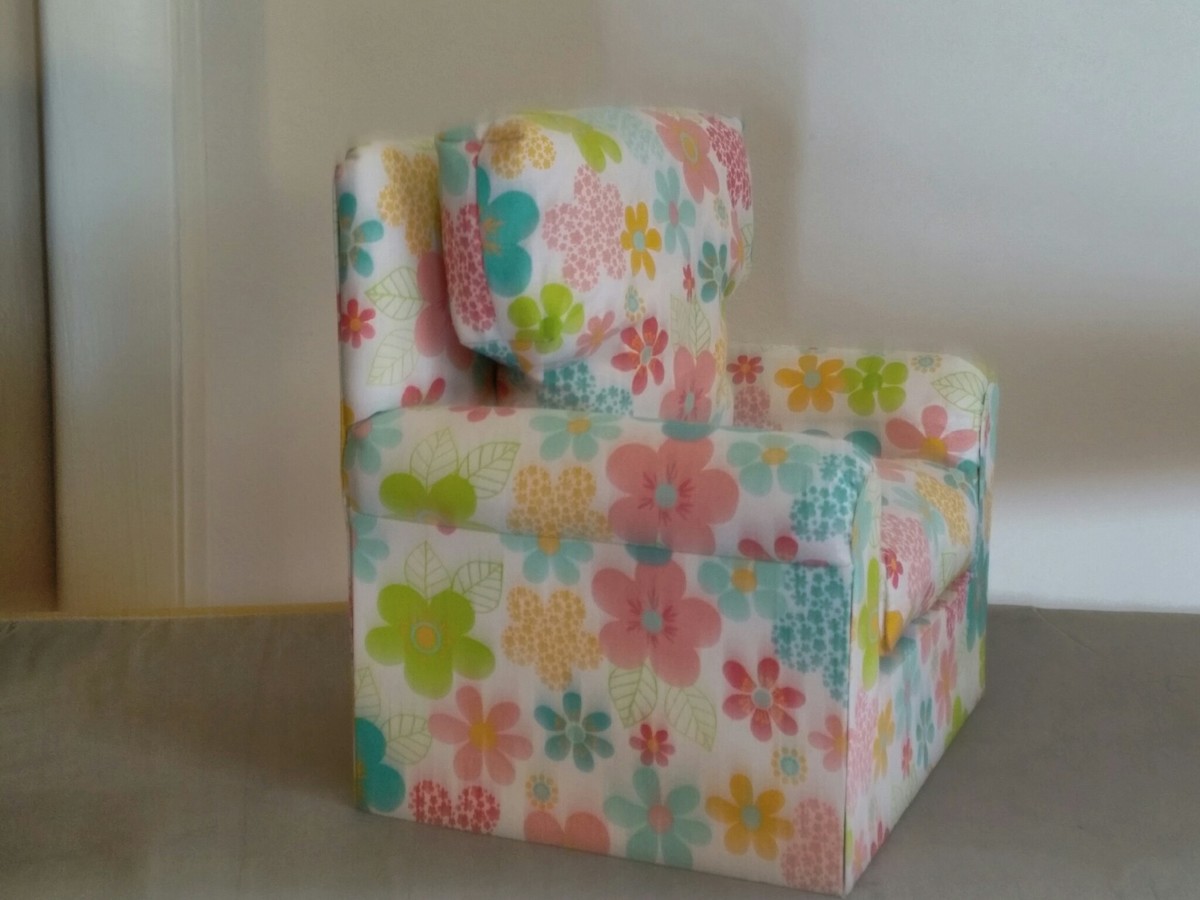
I used the pattern and instructions on how to re-size from http://1inchminisbykris.blogspot.com.es/2013/01/chair-upholstering-tutt…. I then built the base using 1x1 and part of a wood closet rod I had left over and drawer bottom material from Home Depot. I know those descriptions are not super informative but it's just materials I had around the house. Once the base was built I used Ana's instructions from the doll mattress tutorial to sew the bottom and back cushions. Unfortunately, I don't have pictures from the build but I intend to make her a couch when I have time so hopefully I can add some pictures of that to give an idea of what the frame looks like.


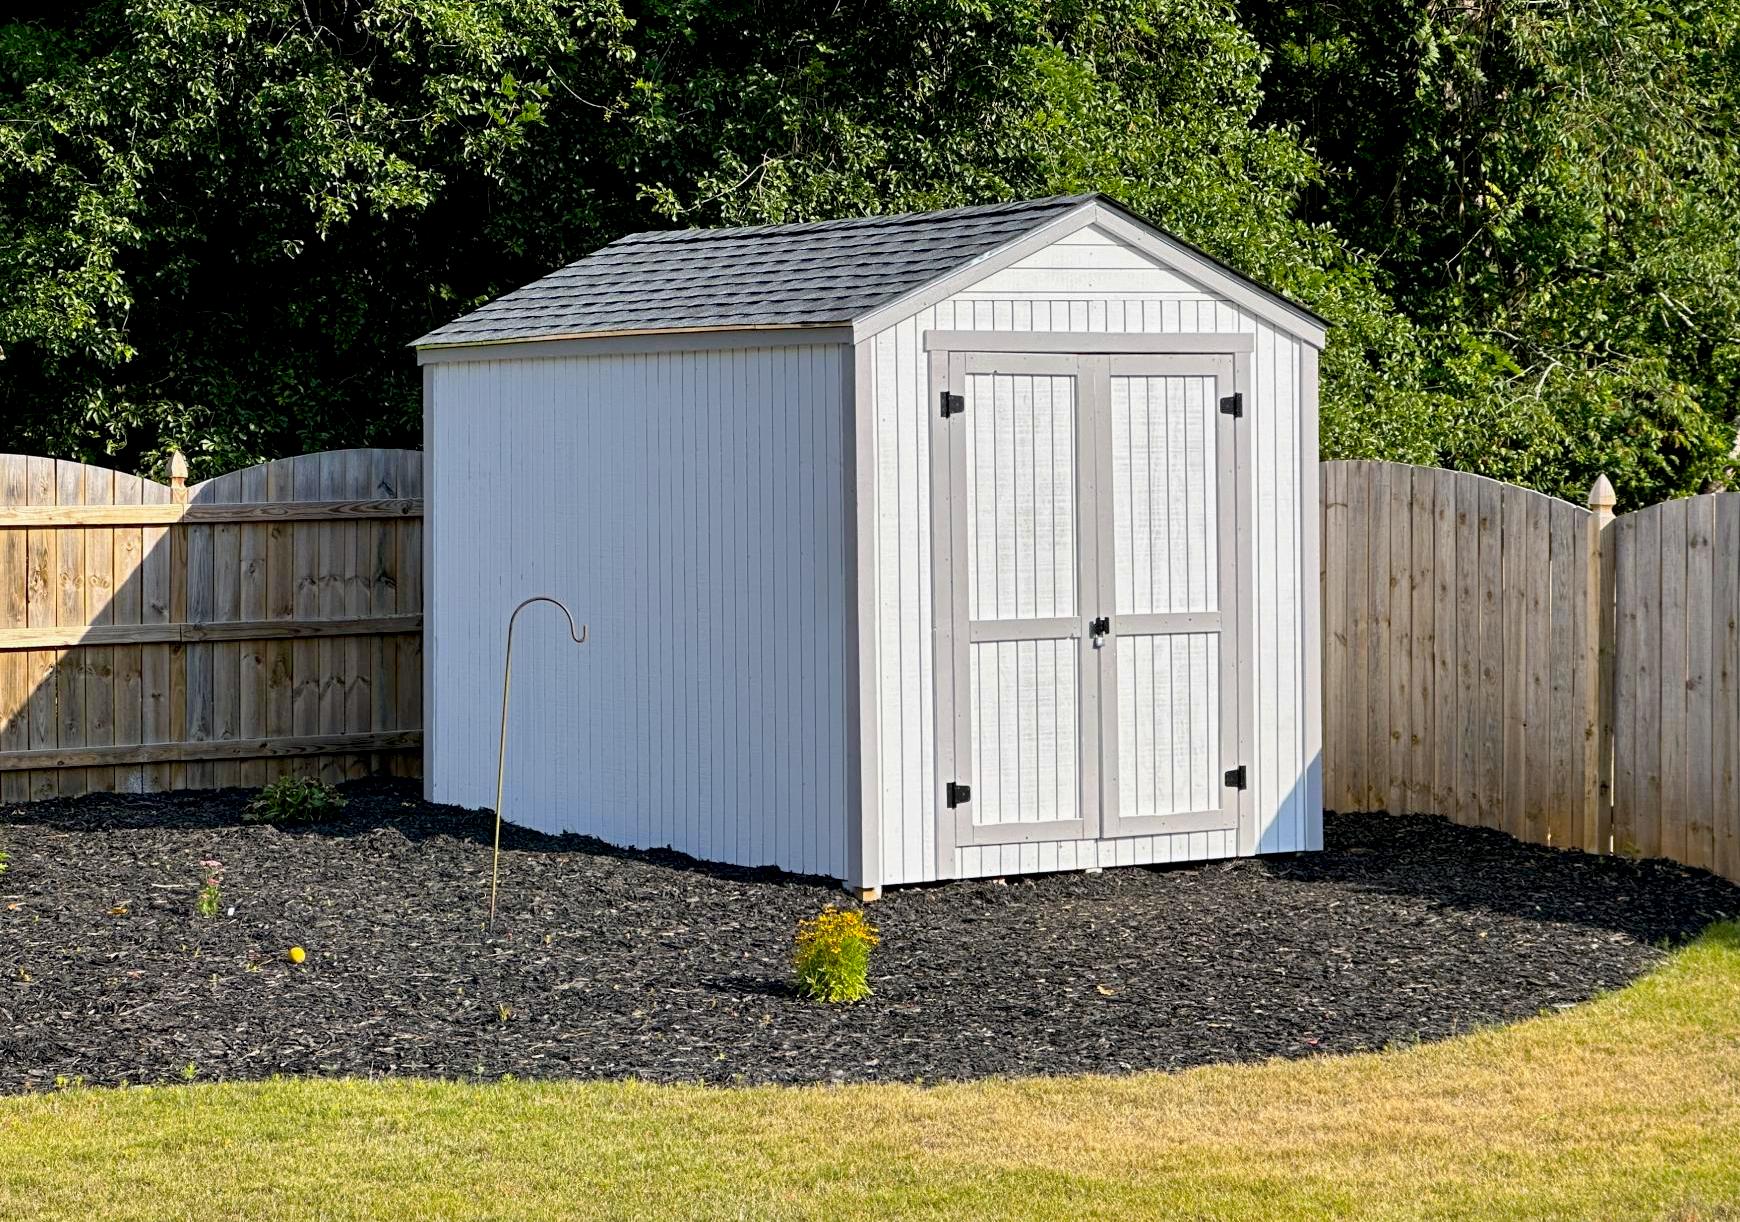
My new garden shed built from your premium plans! I'm 62, never built a shed before, and worked mostly alone. My sons helped with some of the wall and roof sheathing. In the end, I did everything except for the shingling. I painted it to match my house main color and trim.
The video is very helpful - I watched it several times. My major change to the plans was using Simpson Strong Ties and hurricane ties to secure the rafters to the ridge pole and the top plates. Otherwise, I used all other methods. I recommend cutting the front wall sheathing before cutting the panels for the doors. I do not have a trim saw and thought my standard circular saw was too heavy for me to make the cuts like Jacob did.
Tue, 06/13/2023 - 13:57
Really impressive, thank you so much for sharing and good for you to just go for it!!!
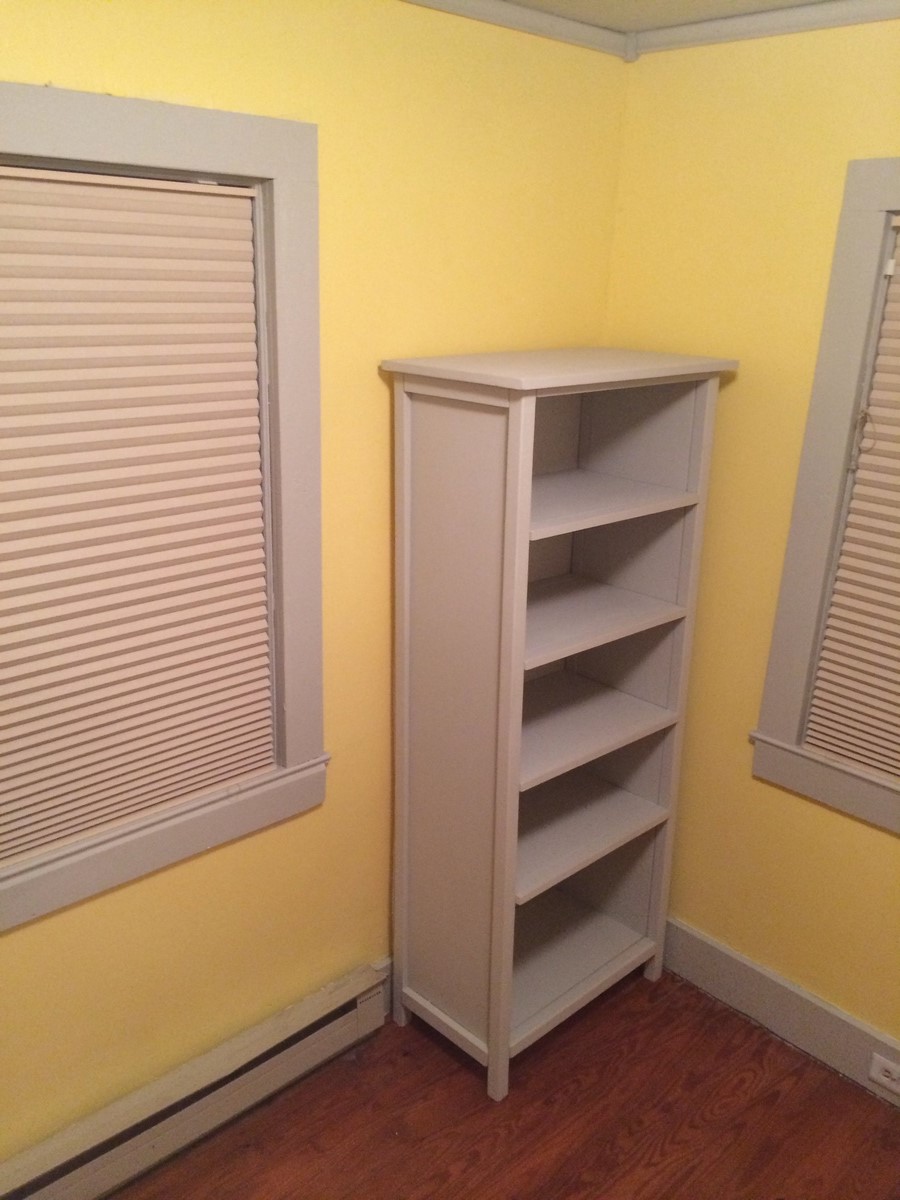
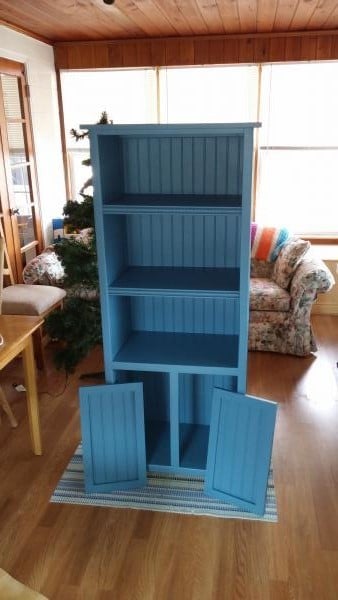
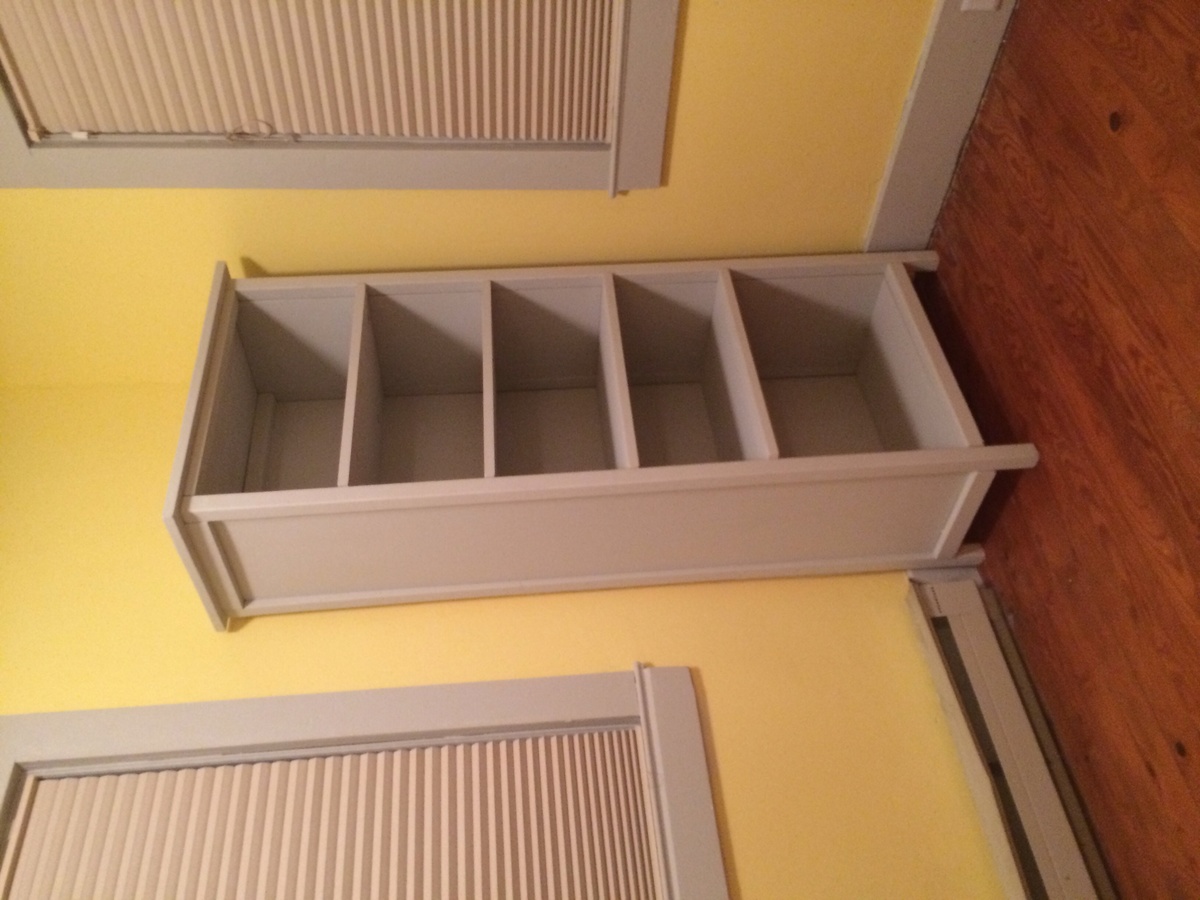
Great, simple bookshelf for our nursery


Comments
Ana White Admin
Wed, 10/19/2022 - 08:23
Outstanding!
This is totally awesome, way to think outside the box! Thanks for sharing.