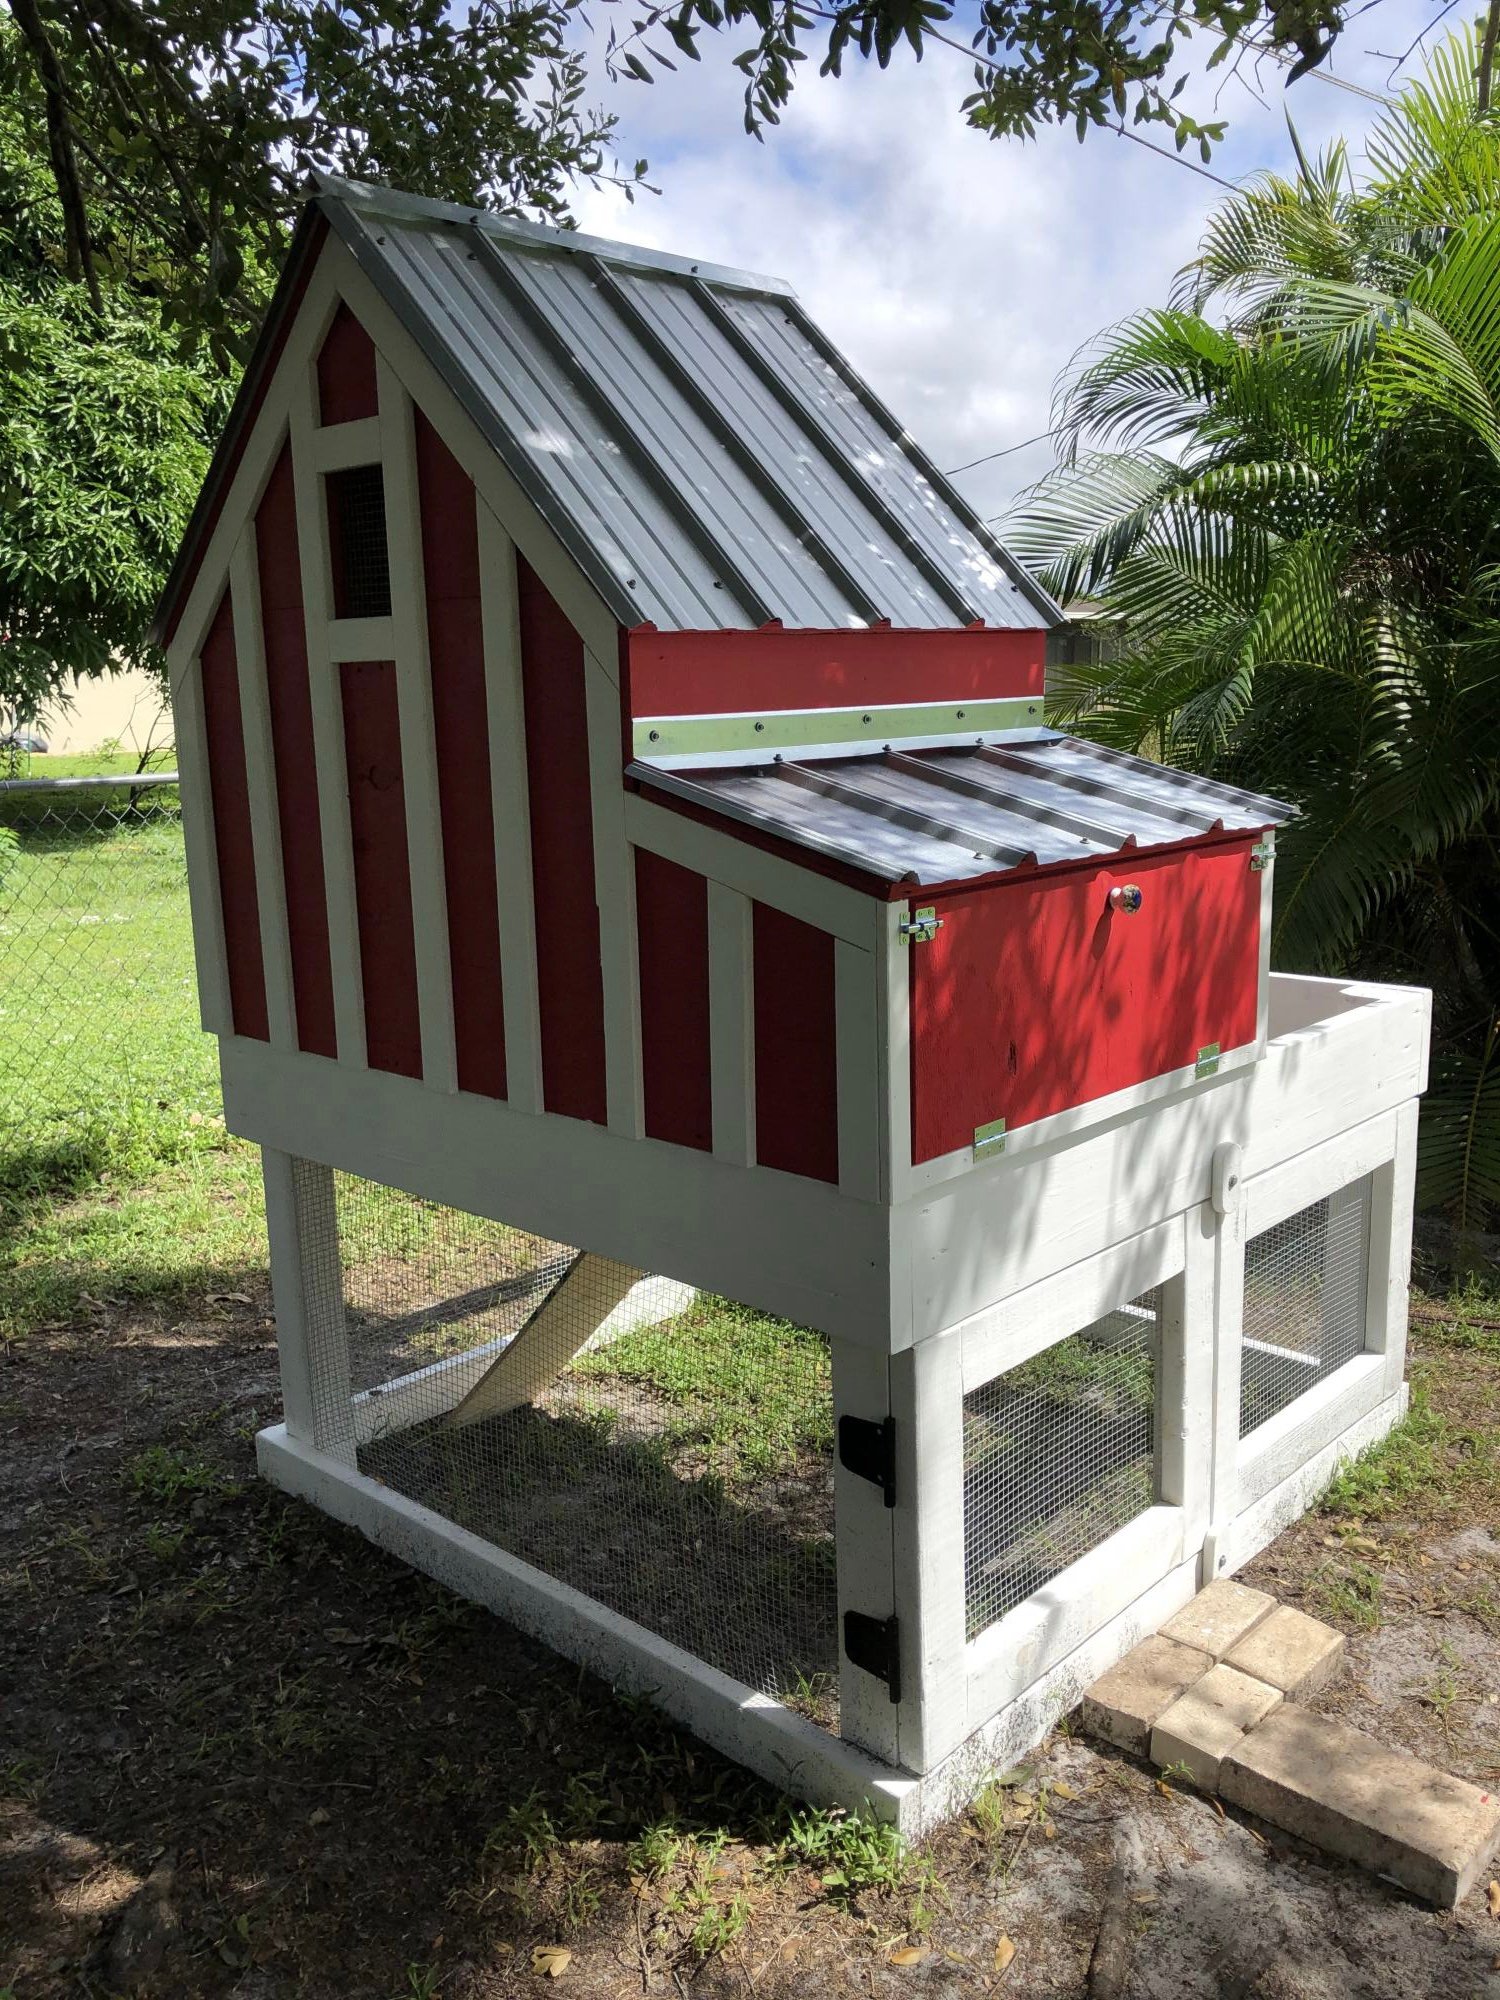
Fancy + Mimi's Hall Trees
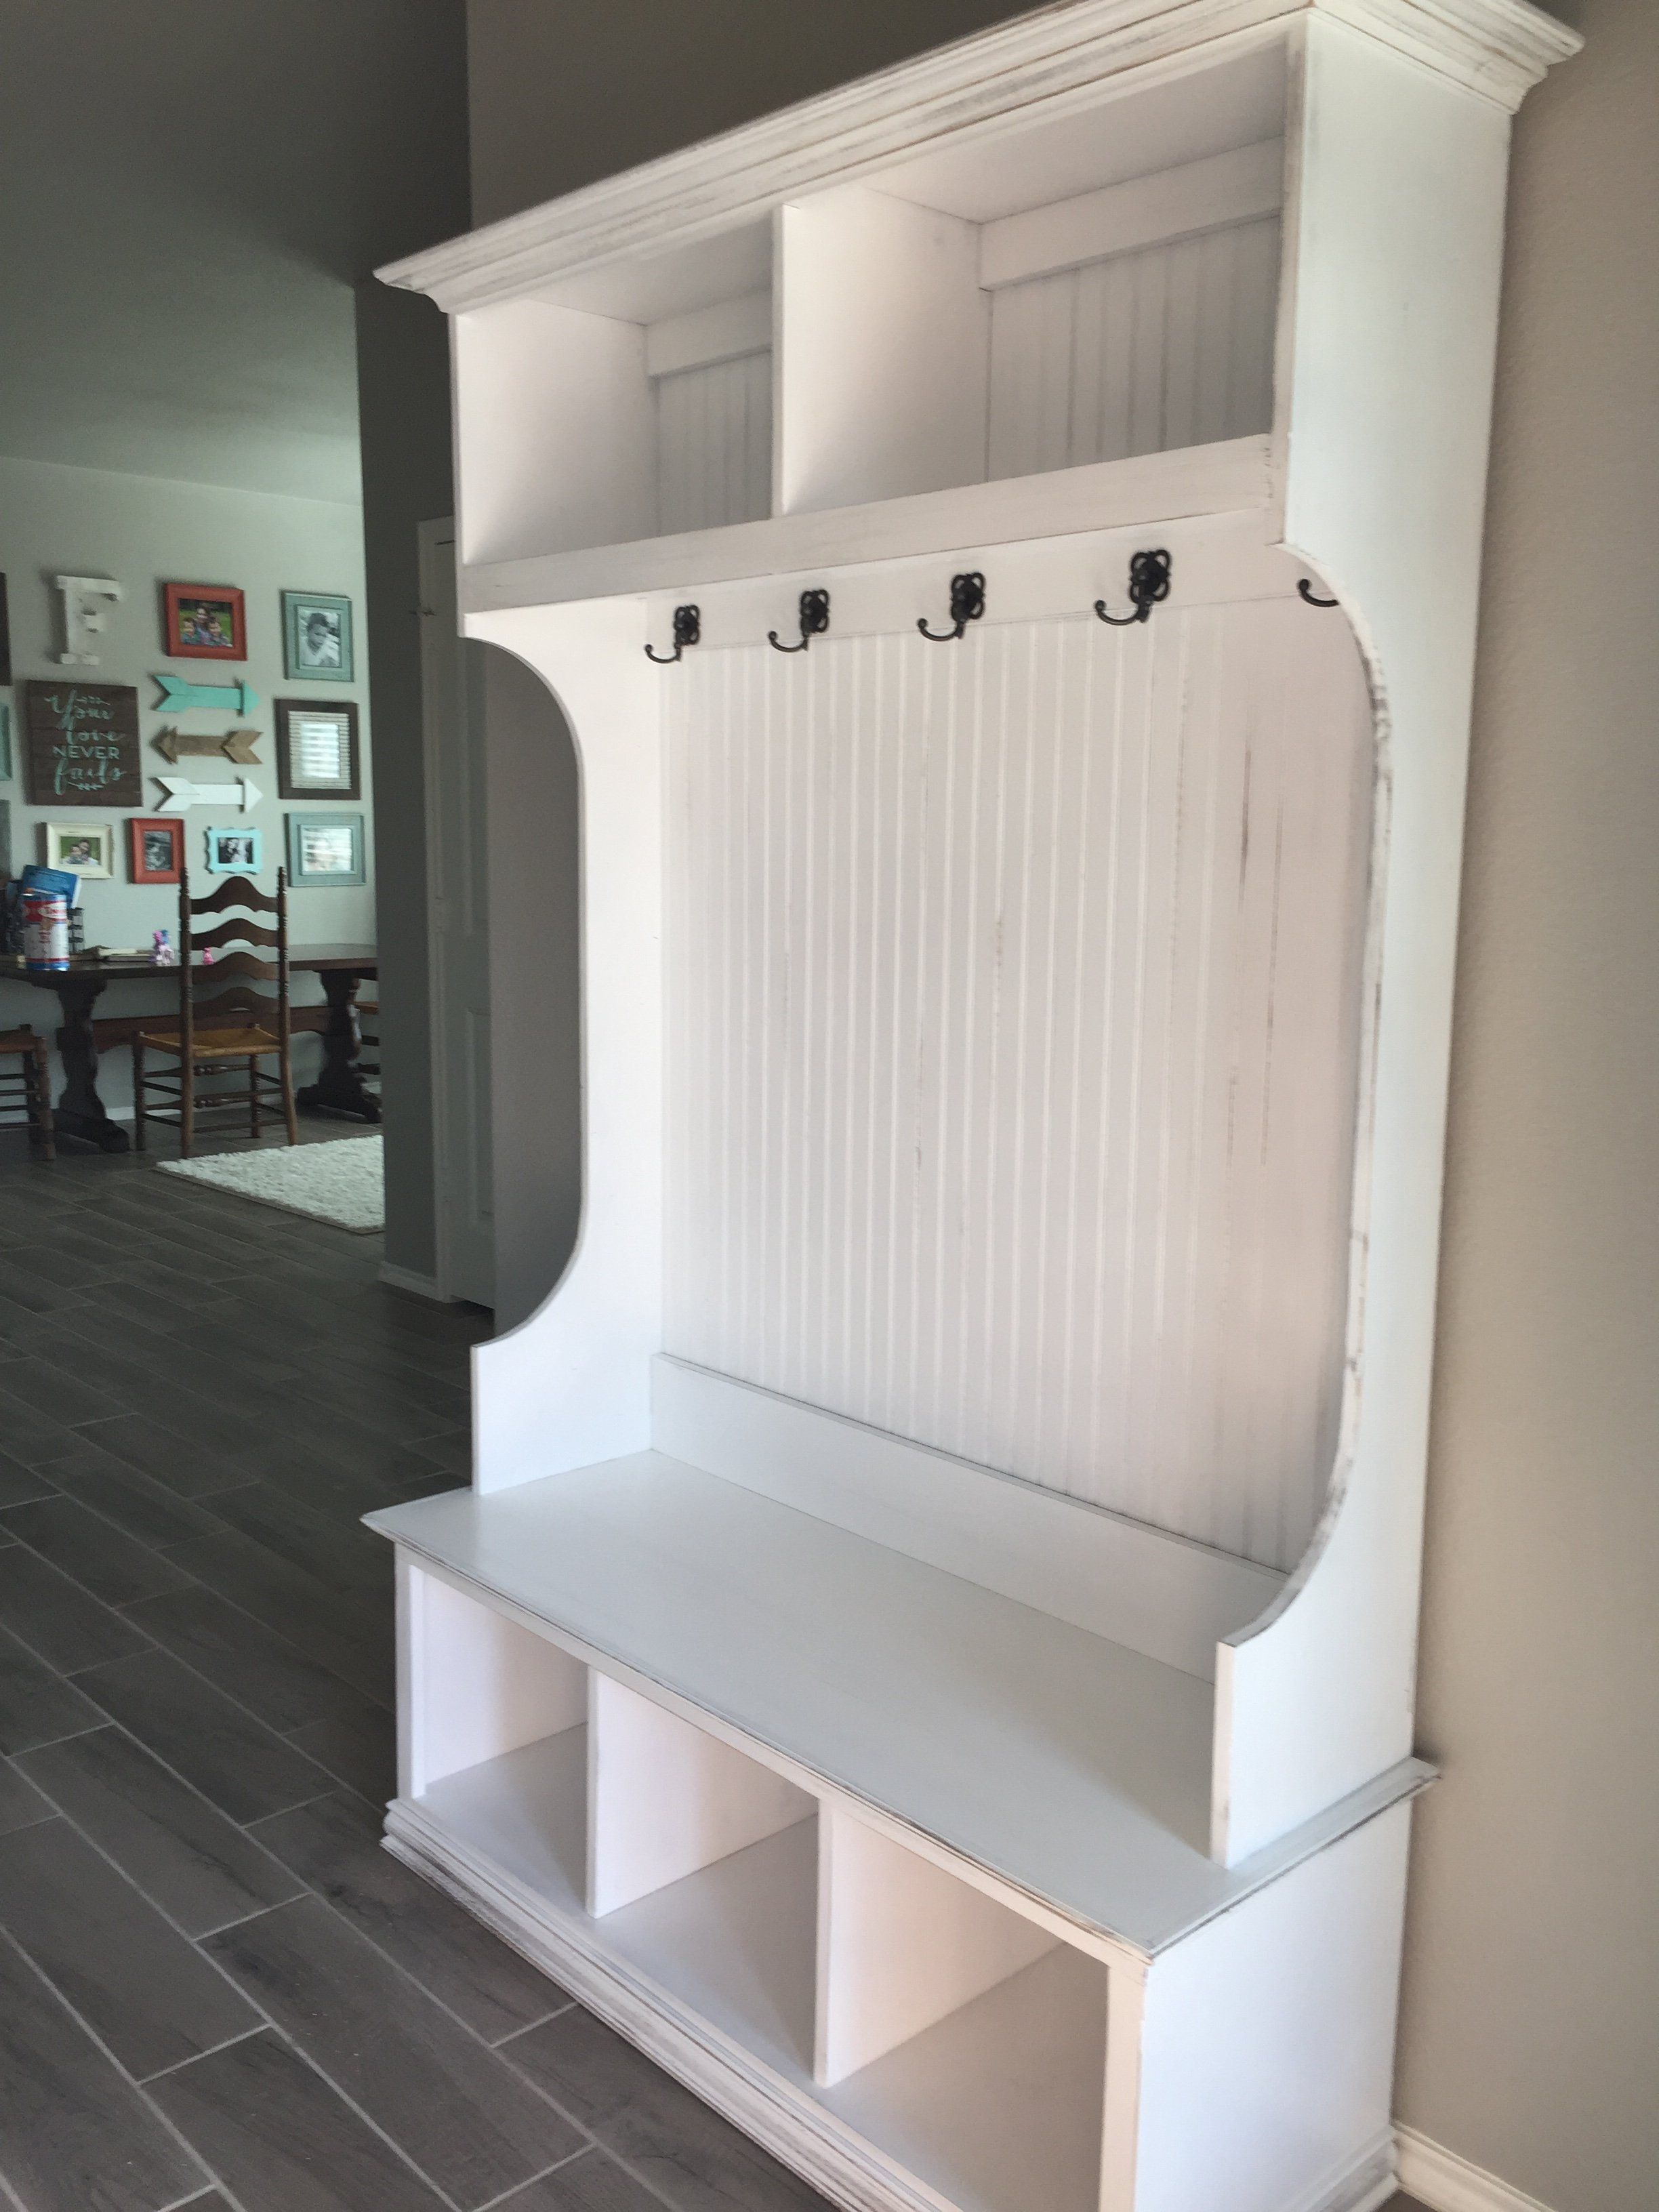
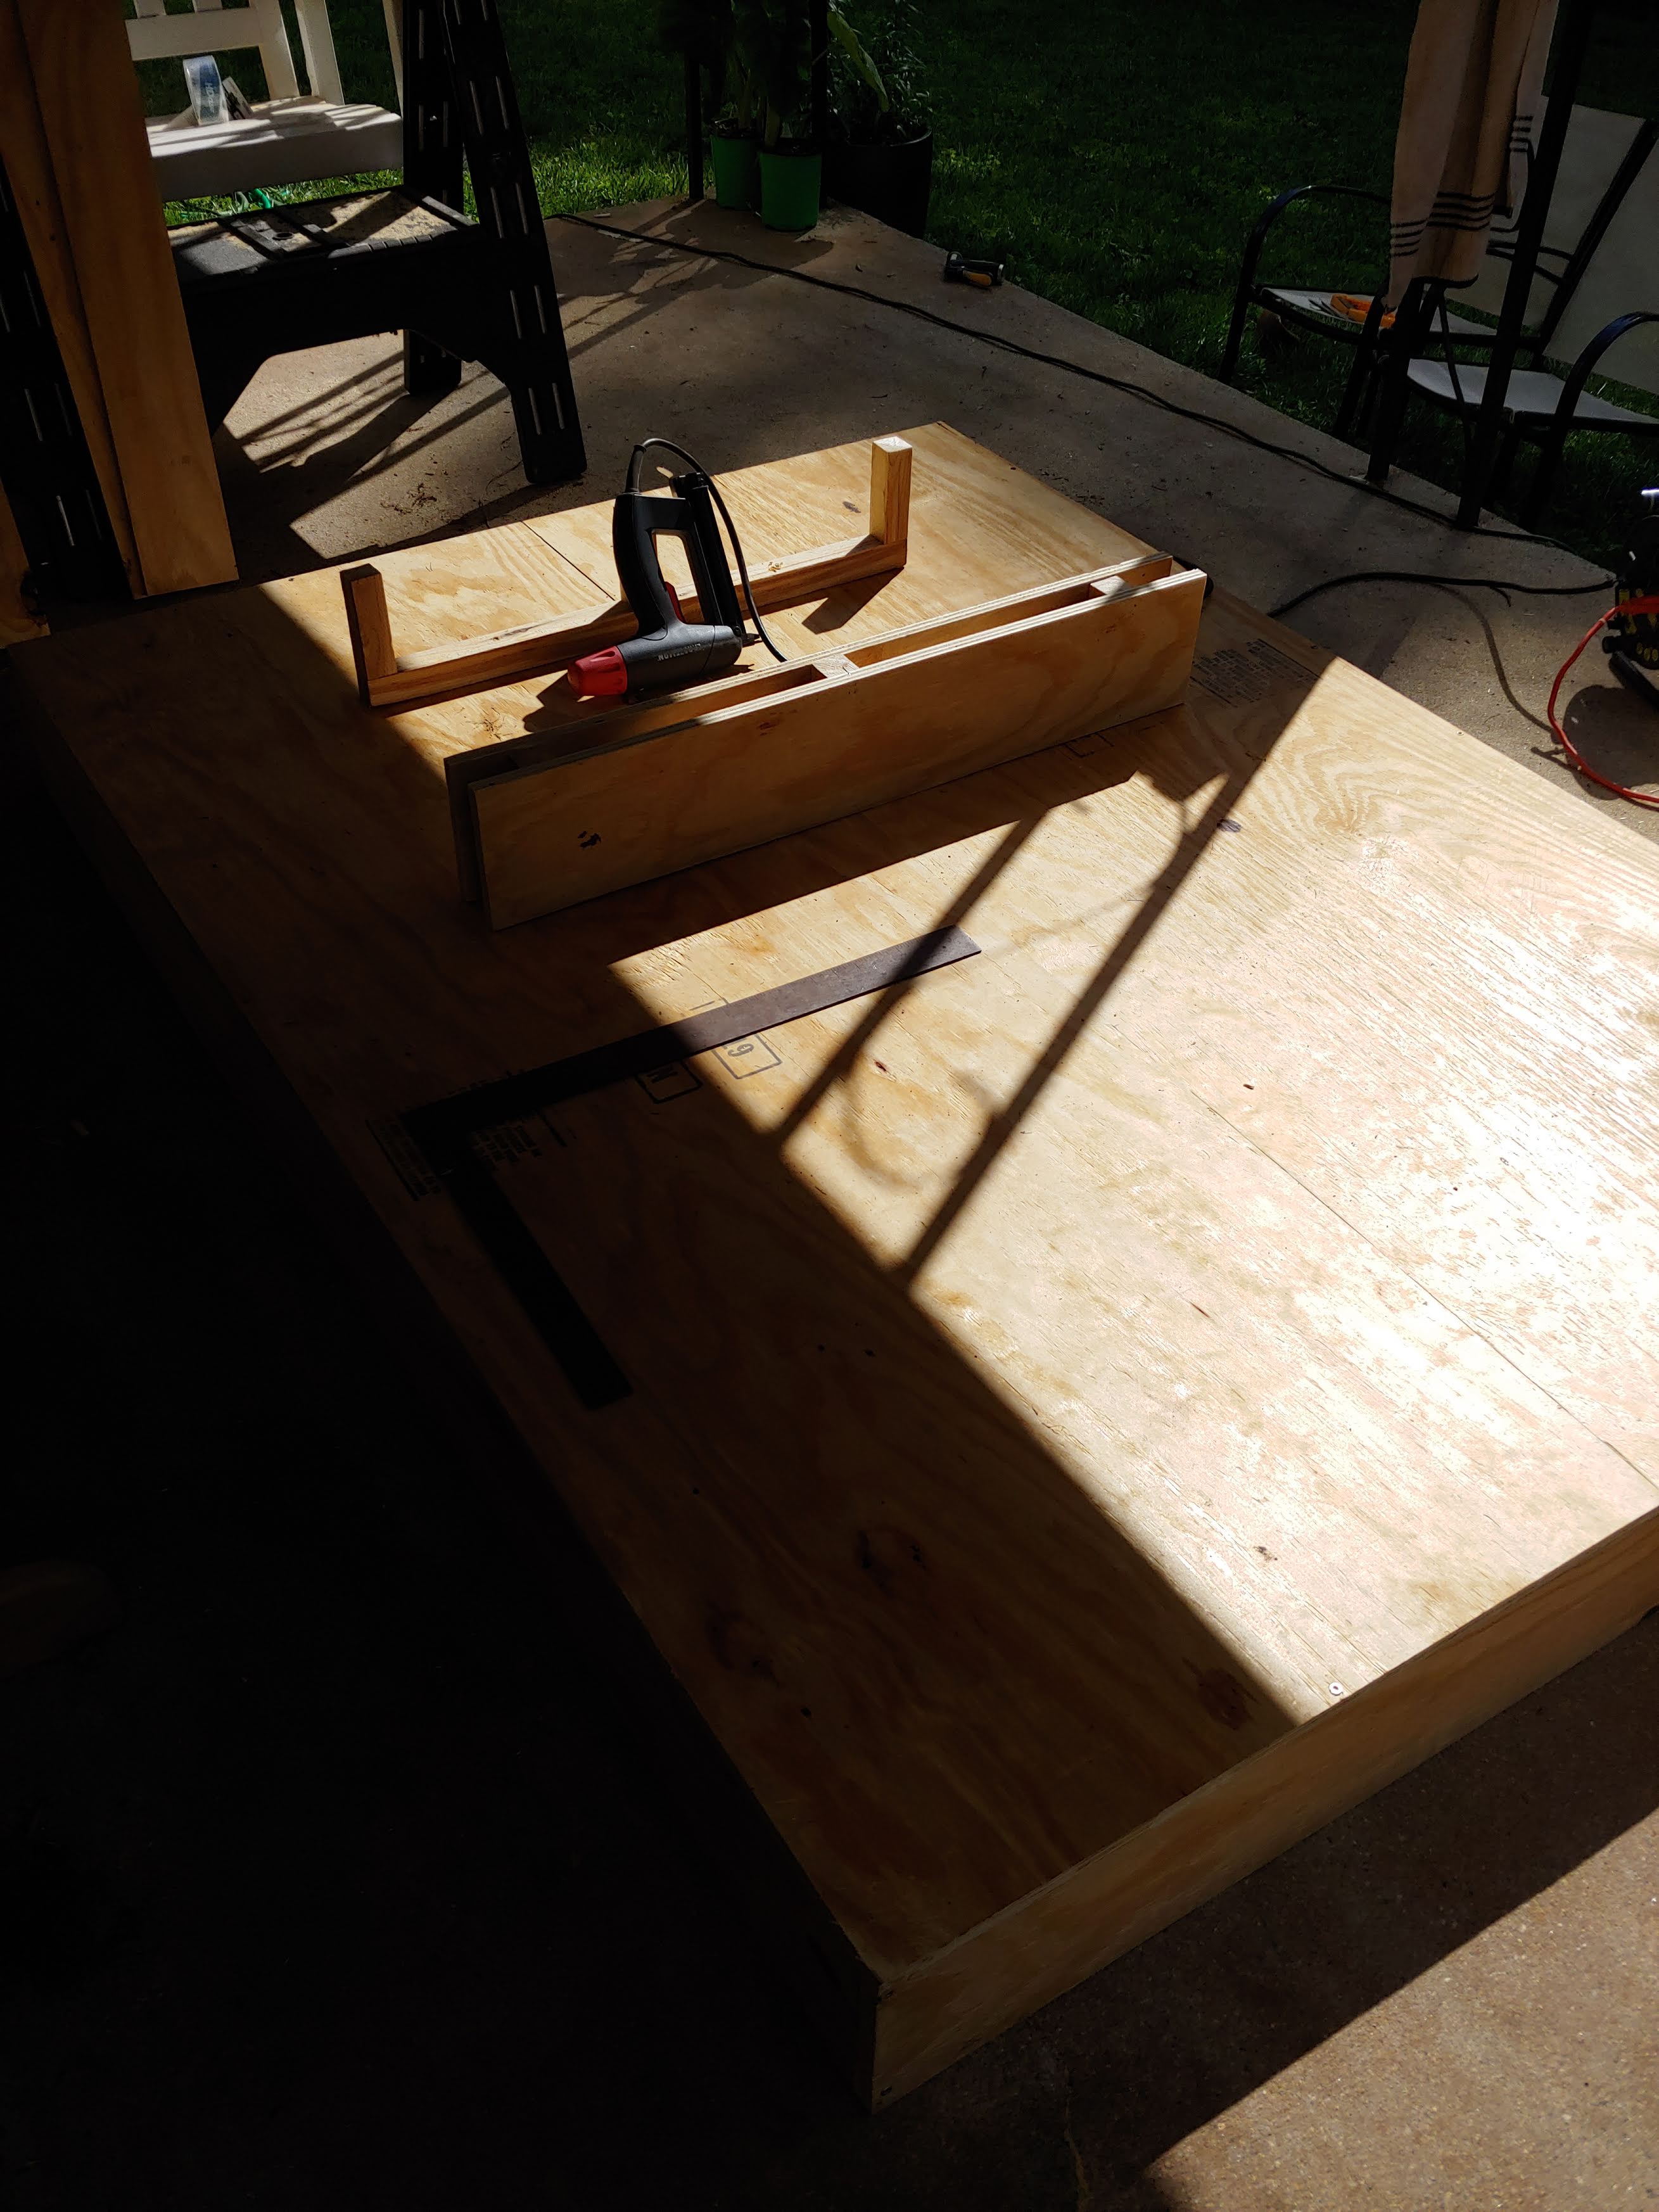
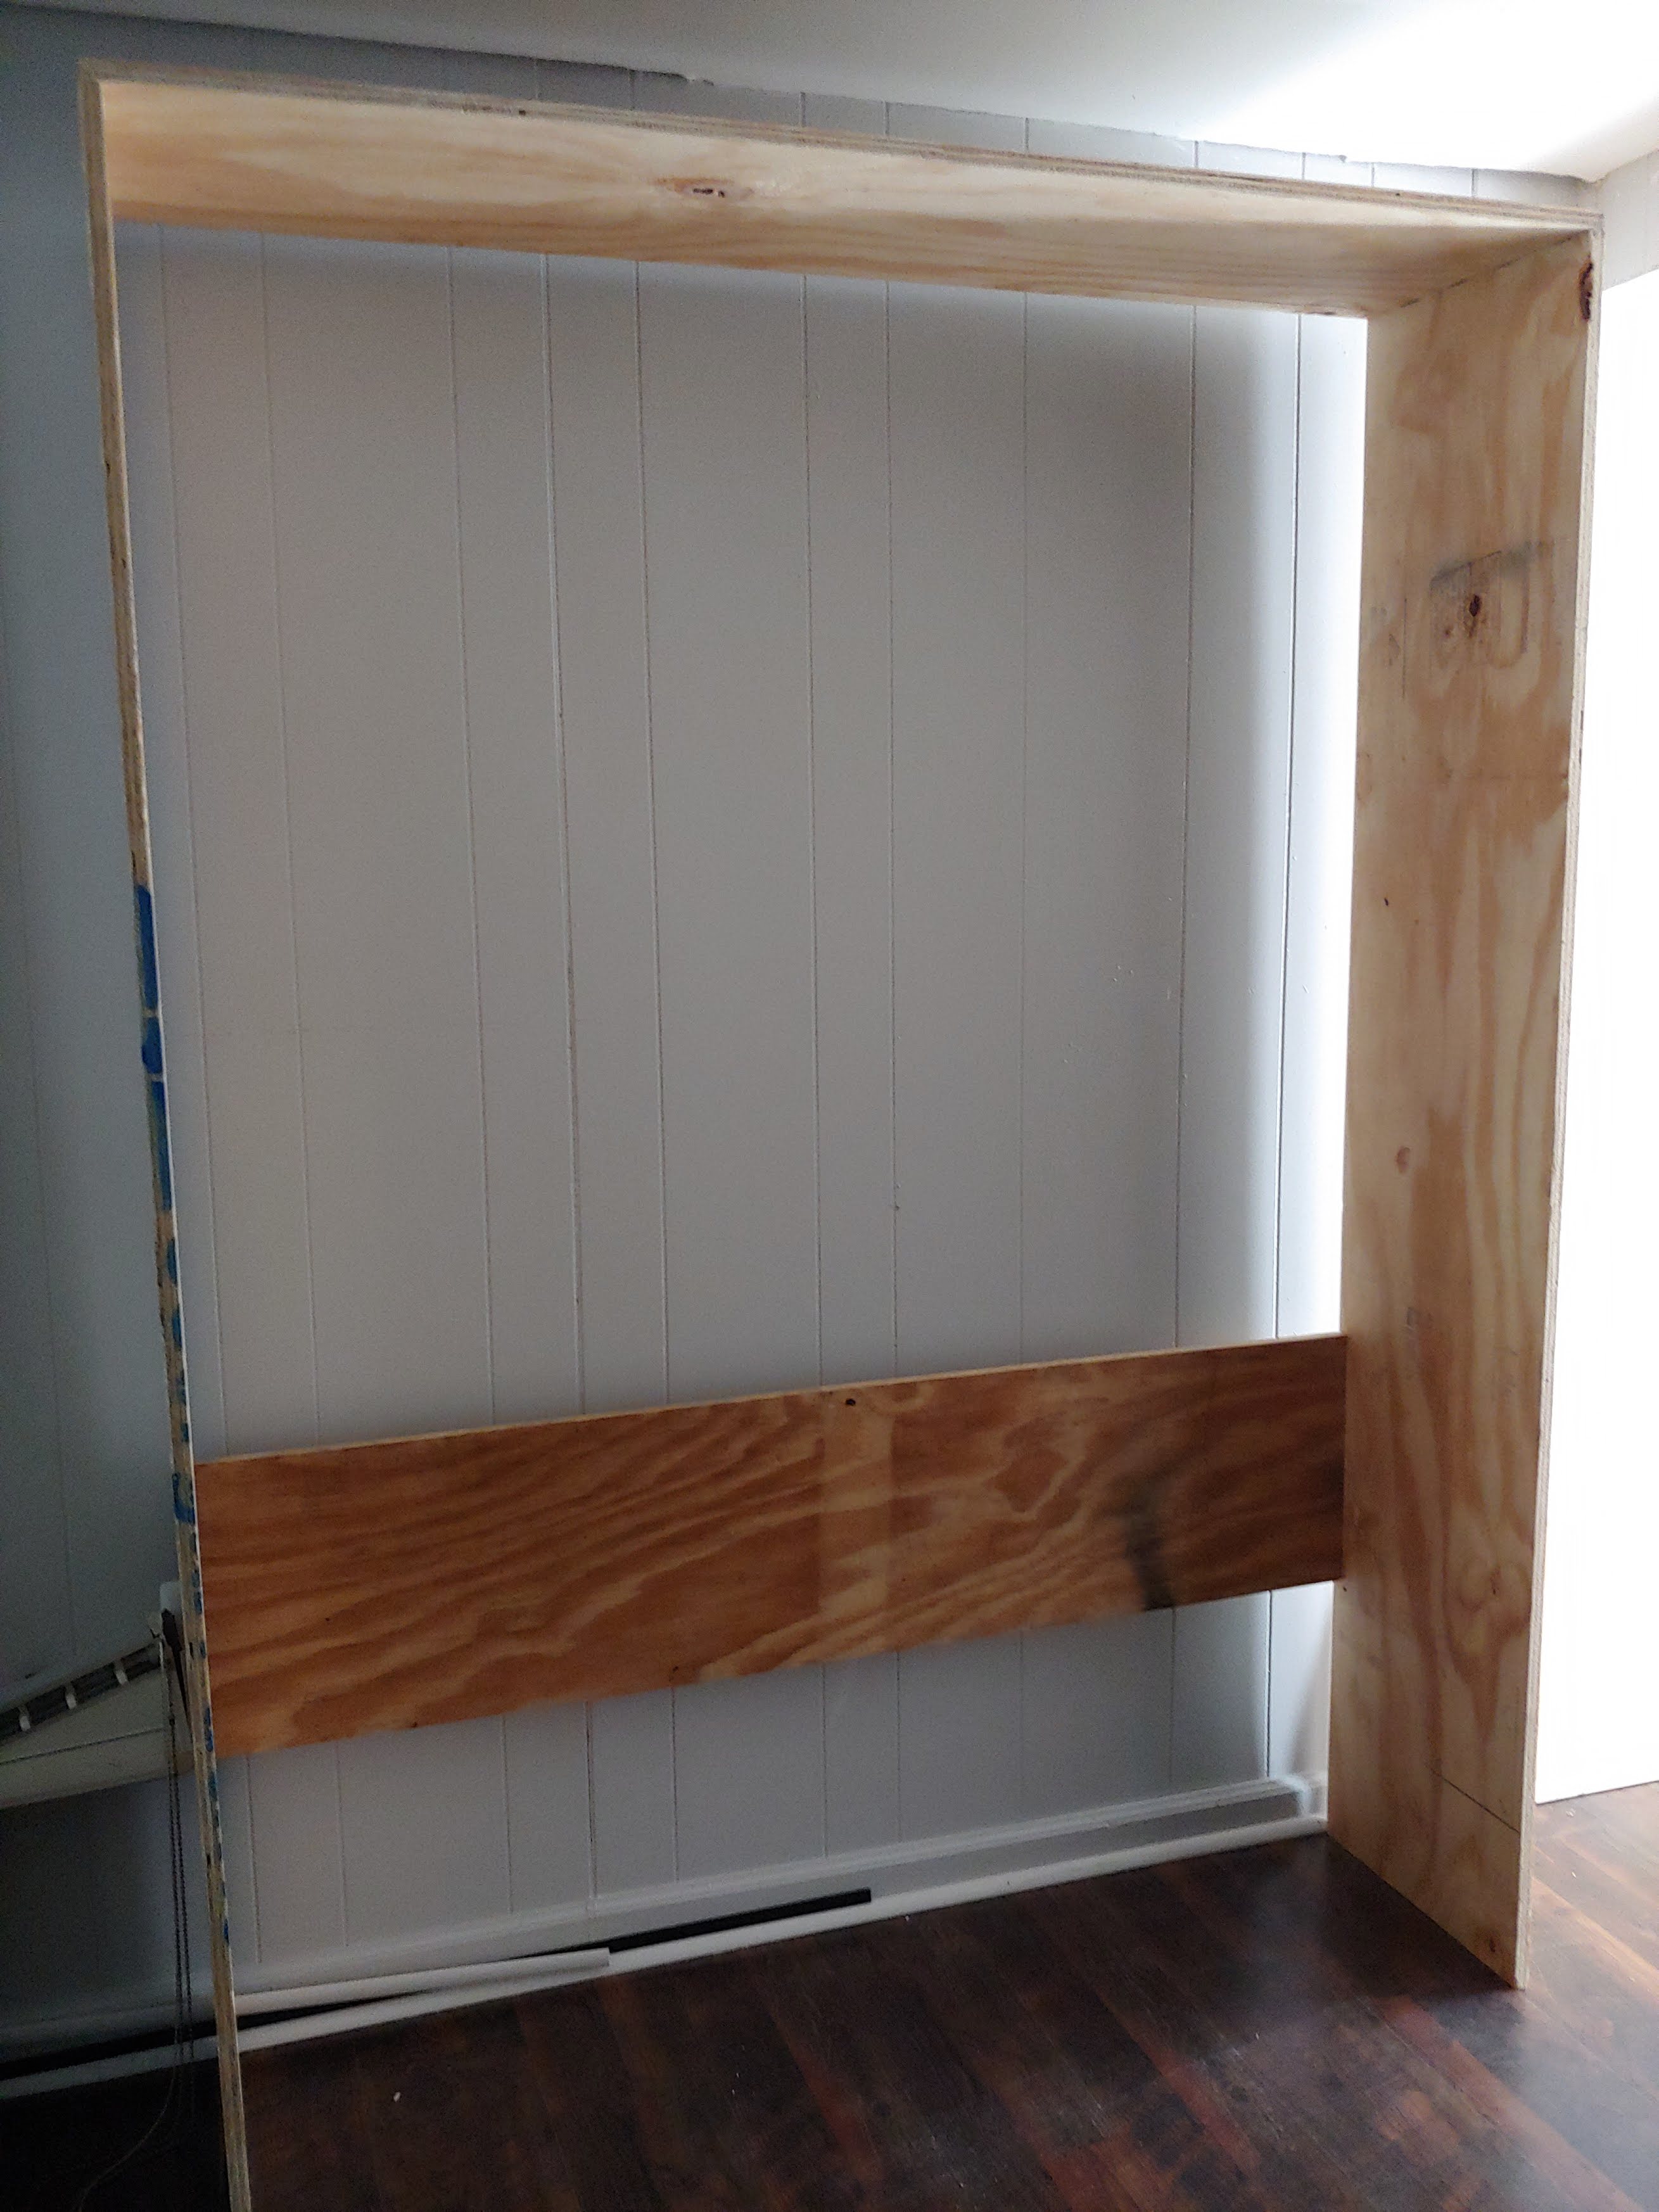
Took the fancy hall tree bottom and added Mimi's hutch to the top. Added a little bead board to the bench and top edges to cover up the plywood, and voila! My wife's Christmas gift.
Housing three (3) hens now that are about a month old. Probably late January before can expect any eggs.
Great project. Metal roof worked well. I used flashing for the ridge caps. Have allowed for as much ventilation as possible for this Southwest Florida heat.
Thanks Anna, for sharing this project.
I made this as a baby shower gift for a co-worker about a year ago. I added rope handles and modified the legs with the help of my husband. I'm still learning and he's a great teacher. This is was my first Ana White plan I made. - Lisa Whiteley
I used Ana's free tool to build 2 tote shelves. My space allowed me to bridge the two with a shelf at just the right height to look through the contents while loading them up! Next up is adding numbers to each tote and creating a chart for what's inside each.
I have a pet ferret that has little room to run around. So I seen this rabbit/ferret cage at the pet store. It was about $150 or so. So I took a pic of it on my phone, and found the Google Sketch app, and watched some videos, and now I have plans for the cage. Some 2x2's, 1x8's, plywood, chicken wire, and some locks and hinges for the ramp an lid.... Still tweaking it, but hopefully it will work out.
I was planning to make a train table trundle for my son's bed, but once I saw this plan everything changed. I'm so SO happy with it. Modifications: 1) We took off the bottom shelf because hubby likes to stretch his long legs out underneath. 2) We used laminated pine project panels for the top, they cost more, but they were already the correct size, and the finished look of the top would be nicer. We altered the design to make the panels go lengthwise. So far so good, neither have bowed whatsoever. 3) we used inset handles from Lee Valley with an antiqued finish. I had yet to lacquer this when I took the photo because we couldn't wait to get the trains in there! I have since done 3 coats of minwax Poly to protect it from little hands, crayons, etc.... We're hoping this table will graduate cars, then to legos, and then....who knows!? Thanks to Ana and all the contributors here.
We love these benches! We actually just leave one of them in bench form and the other in table form for everyday use.
So I've always wanted to build a Murphy bed. And by always I mean since I first came across plans here that made it look so simple. It ended up taking me a while to do because my job has me working 6 days a week so I was only able to work on it for short chunks of time.
I ended up utilizing a few different plans and mashed them together to build a full size murphy bed. The shelves are the support legs when the bed is down. The "hinge" mechanism are heavy duty 360 degree seat swivels.
All-in-all it turned out WAY better than I expected with only some minor issues throughout the construction process.
Next up is a twin xl Murphy bed with a murphy desk attachment that will serve as a craft table when up.
This plan is exactly what I needed for my workspace. I ended up adding some slat wall pieces and cabinets above from cubicles in an old office nearby that closed down for a tool wall and storage. I left the right opening empty due to how unlevel my floors are. I may close it in later with drawers or cabinets, but it will be my sitting workspace for now. I trimmed out the edge with 1x2s and painted and stained everything for aesthetics.
Mon, 03/06/2023 - 17:36
WOW, this looks so good! Thank you for sharing your amazing work.
We built this using the Traditional Farm Style Bed plans. We used scrap cypress lumber that was cut and milled from and by family. We had to make some modifications because of differences in the milling sizes but I was so happy with the final outcome.
Ellen Girod
Thank you so much! The plans were fantastic! - Kyle in Nebraska @kkreimers
We built this in early 2013. We ended up turning the house 90 degrees on the deck, because the slide worked best off the backside of the deck due to the various heights around the deck. The sloped back yard caused some challenges, but in the end it's a very sturdy deck with the cross beams attached. Thanks for posting these plans online for us, our 3 daughters are loving the playhouse and swingset! Here are some more pics of the project: http://www.flickr.com/photos/11031534@N00/sets/72157633009259873/
Fri, 03/22/2013 - 16:39
Love this - my grandson's back yard is too small to build something like this; which is why we had to settle for his loft bed airport/clubhouse.
Thu, 06/27/2013 - 05:24
I'm planning on building two A-Frames and no playhouse, so my questions are focused there.
Did you do any modifications to swing portion of the plans?
Is it sturdy enough for an adult to swing on as well?
It looks like you put the posts in the ground, did you cement them in too?
How high off the ground is the bottom of the support beam for the swing?
Is there any issue side-to-side swaying?
Built this for some dear friends ... turned out so pretty.
This is the first time I've ever taken on a project of this scale. The pergola is 12 x 11, and I was able to get it all done for $235 by having Lowe's price match a lumber yard in the next town over. I skipped out on the fancy base covers because I'll eventually make those pretty with limestone stacking rock - and because the lumber for those alone would cost about $121.
Once the treated lumber seasons, I'll stain it a darker color.
Fri, 05/28/2021 - 18:56
Looks great! I am hoping to build a simple one, too.
My husband and I live on a small hobby farm and are growing/raising a lot of our own food. We decided to venture into working with chickens. We wanted to start out small so we got 6 chickens and needed a home for them. We found a kids play house one day while shopping and got the idea of modifying it into a chicken coop with a run. We took off with this idea and with quite a bit of modification and some extra building materials we were able to raise it up in the air and attach a run so our chickens would have a nice home to protect them from preditors and the emements and not to mention one that looks good in our yard!
In reply to OMG! by benfoldsfivealive
Wed, 05/27/2015 - 18:42
Building chicken coop doesn't have to be expensive. Just get the easy-to-follow plan from this:
http://bit.ly/how-to-build-cheap-chicken-coop
Fri, 06/17/2011 - 21:26
Looks awesome! I just spent the evening building a coop for 4 hens of my own!
Tue, 02/21/2012 - 19:08
Are the plans available? I have Black Copper Marans and Lavender Ameraucanas and I really need to separate the LAs from the BCMs and this would be perfect!
Sun, 02/26/2012 - 18:00
When I click the link to get the plans for the standard coop, they are not there. Do you know where I can find the original plans? Thanks.
Tue, 02/28/2012 - 10:20
Yes - would love the plans please!!!
It's gorgeous - great job!
Sat, 06/02/2012 - 15:22
Sorry guys there are no plans for this coop. My husband and i just "winged it" and built it without any plans.
It is a play house that we found at Mills Fleet Farm and we modified it to make it a chicken coop. We put together the play house based on instructions from the box (with a few of our own modifications to make the window on the ground etc.) added some chicken wire to the doors and bay window, added some 4x4 "stilts" and a floor to get the house in the air, and constructed a frame around it with 2x4's and wire fencing to make the run
Sorry I dont have any plans to give you guys!
We've been desperate for more storage in our little house and this build really helped. The whole bench is 103“ wide and each drawer gives us 24"x17" of usable space. We had to do some custom shaping for the benchtop (two joined fir 2x12's) fit as the walls are not square but in the end we were really pleased.
The hardest part of the project was getting all of this built and in place while working around a busy family as this is our only meal space and the majority of cutting/forming was done either on the weekends or after bedtimes. If I were to do this again I'd prioritize sending the kids to grandparents for the weekend and know king everything except for paint out in one go.
We could have spent less time with the benchtop by using plywood like in the plans but we wanted the look of a separate benchtop. We may replace the fir with stained oak down the line but this should be plenty sturdy for the next several years.
Hi! I just finished your bench plans! Omg it looks so good! Your plans are so easy to use. I am so pleased with the outcome! You have def inspired me! Especially for a beginner like me! - Andrea Eifel