Community Brag Posts

Murphy bed

Submitted by bpcooper14 on Wed, 05/08/2019 - 06:09

So I've always wanted to build a Murphy bed.  And by always I mean since I first came across plans here that made it look so simple.  It ended up taking me a while to do because my job has me working 6 days a week so I was only able to work on it for short chunks of time.

I ended up utilizing a few different plans and mashed them together to build a full size murphy bed.  The shelves are the support legs when the bed is down.  The "hinge" mechanism are heavy duty 360 degree seat swivels.

All-in-all it turned out WAY better than I expected with only some minor issues throughout the construction process.  

Next up is a twin xl Murphy bed with a murphy desk attachment that will serve as a craft  table when up.

Estimated Cost
3 - 4x8 sheets of 3/4" plywood ($25 each)
3 - 1x2x8 to wrap the frame ($2-3 each)
1 pack Door Hinge pins to serve as the pins to hold the bed upright ($3-5)
1 pint stain
1 pint shellac
2 - Heavy Duty 360 degree seat swivels ($20)
Screws/nails/etc.

All told, this project probably cost around $200
Estimated Time Investment
Week Long Project (20 Hours or More)
Recommended Skill Level
Intermediate

Comments

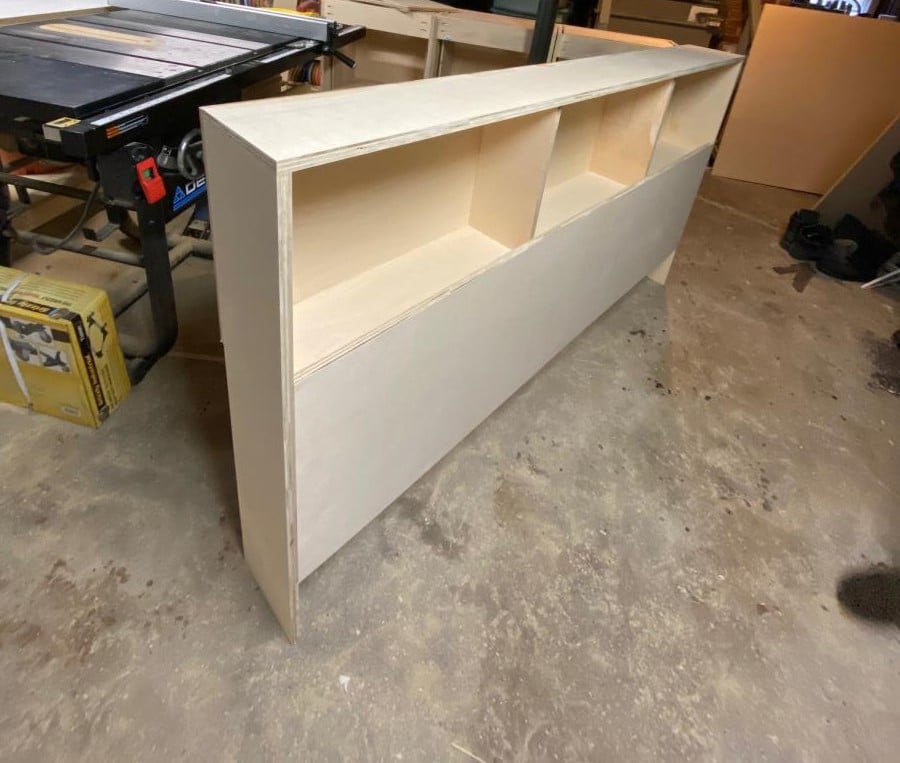
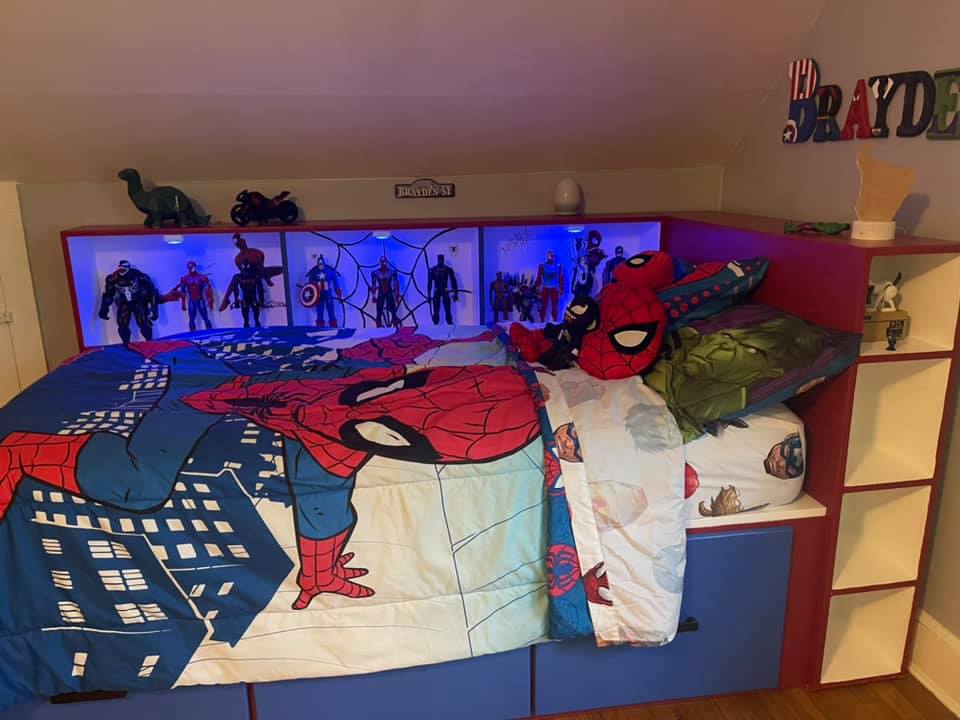
Bookshelf for our nursey based on your terrific Channing plan

Submitted by Astern on Tue, 12/24/2013 - 14:24

Great, simple bookshelf for our nursery

Built from Plan(s)
Estimated Cost
$150 for wood, $150 for paint and tools I needed
Estimated Time Investment
Weekend Project (10-20 Hours)
Finish Used
Flat wall paint -- the same we used for the trim in the room.
Recommended Skill Level
Beginner

Comments

Patrick’s Router Table

Submitted by Anonymous (not verified) on Thu, 06/18/2020 - 14:44

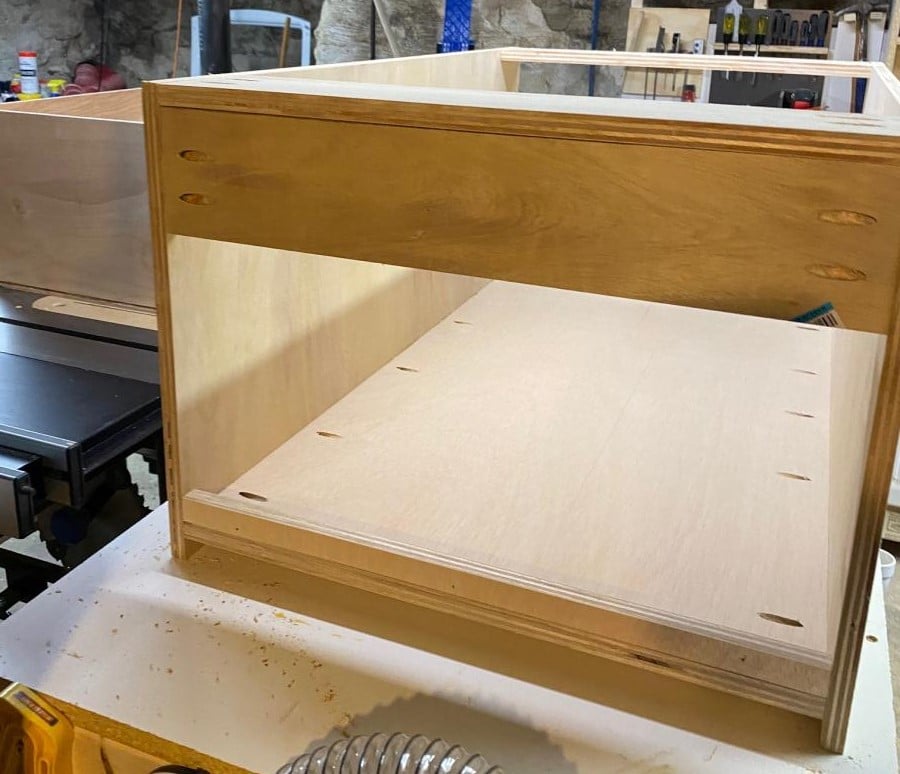
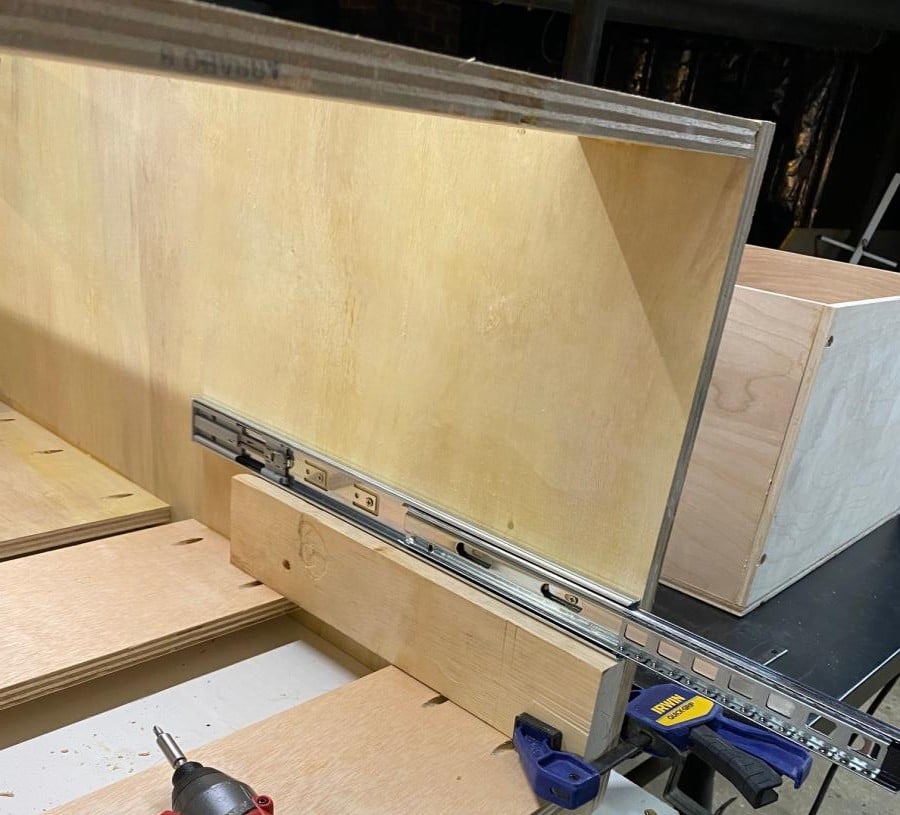
As a beginner woodworker I was searching for a router table project and came across this one. I constructed it entirely out of birch plywood. I will admit is was a challenge for me as I had never done drawers before. The biggest challenge was the small drawer for bit storage. I used a Rockler table top and it worked perfect. Overall I’m pleased with the way it turned out and have already used it in several projects

Built from Plan(s)
Estimated Cost
$200
Estimated Time Investment
Week Long Project (20 Hours or More)
Finish Used
Linseed Oil
Recommended Skill Level
Intermediate

Catio heaven

Submitted by bhoppy on Fri, 09/04/2020 - 15:43

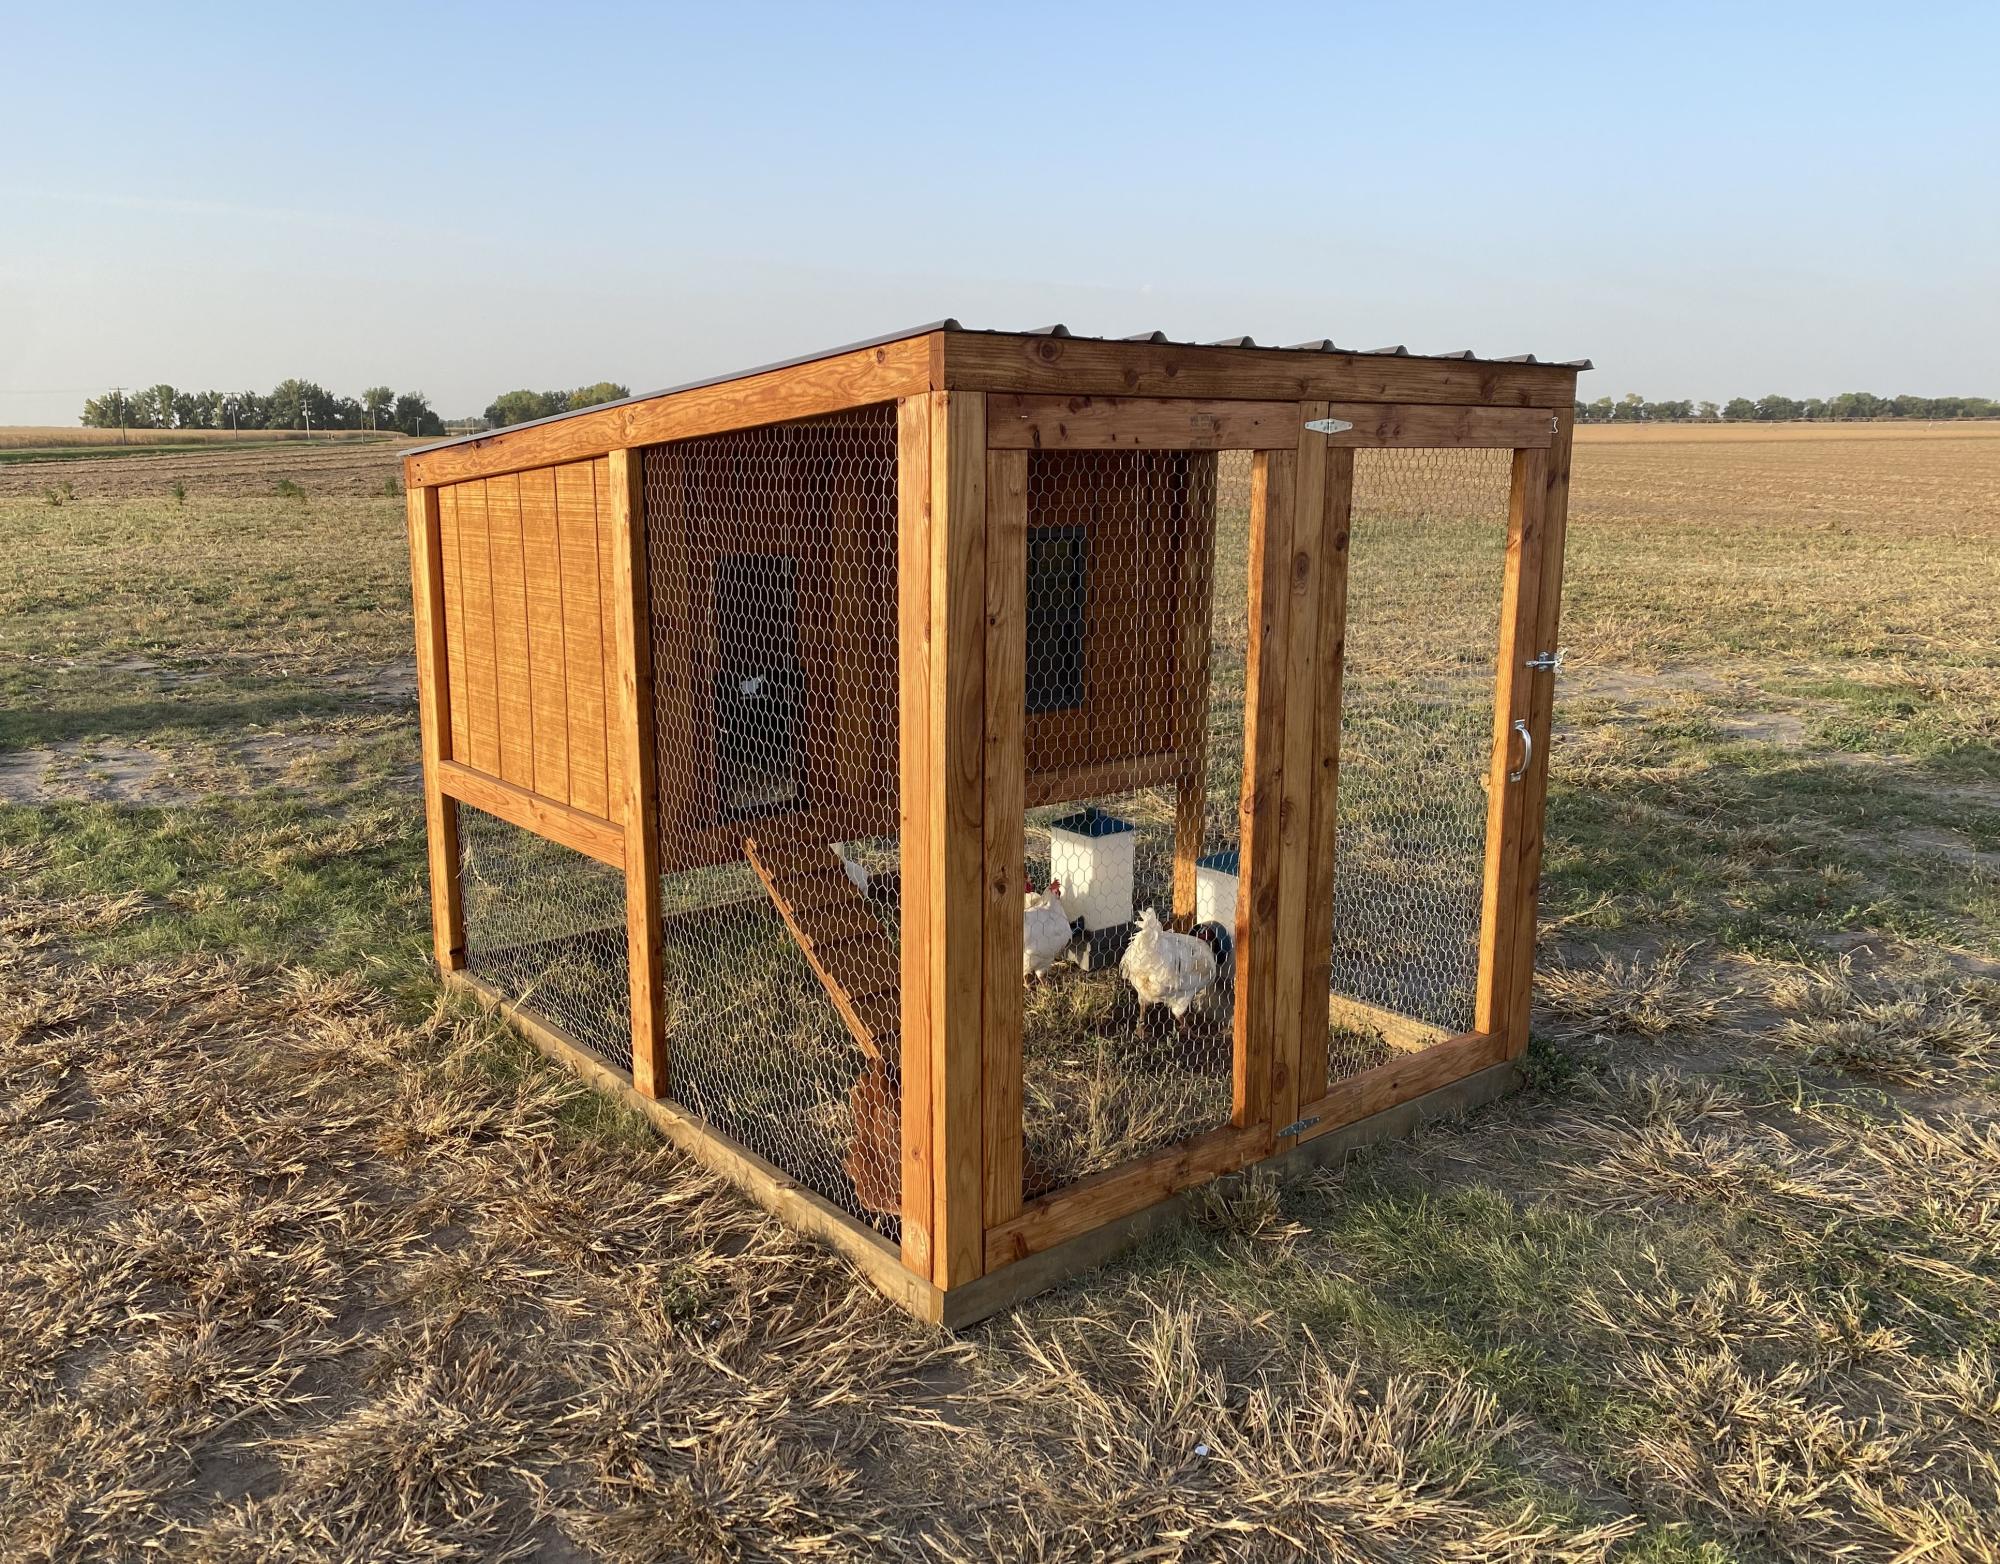
Ana doesn’t have a plan for a catio but she does for a playhouse and a cedar shed made from 2x2’s. I sort of combined my knowledge from making her plans over the last 10 years and came up with this for my cats. It was fun to make!! My baby kitten is loving it. I used garden fencing and stapled it to the outside and pocket holes for the walls. I made each wall individually like the playhouse then connected them once in place.


Estimated Cost
$250
Estimated Time Investment
Week Long Project (20 Hours or More)
Finish Used
Cabot semi transparent outdoor deck and fence stain. ($9 oops section)
Recommended Skill Level
Intermediate

Comments

Wifey

Wed, 06/09/2021 - 12:36

Thank you for sharing! My daughter wants a cat for her birthday but it can't be inside due to our son's allergies. Roaming outside isn't really an option because we have coyotes. We are going to use one of these in combination with an underground electric fence.

Seasonal And Holiday

DIY Wooden Toy Truck

I built a wooden toy truck using a leftover 1x4 board in my garage.  For this build I used Ana White's plans for the wood wheelie cars.  This was a quick and easy project  and my first project using my scroll saw. Not too shabby for my first go at toy making.  However, I am not happy with the finished toy.  If I did it all over again, I would take my time with the finish.  Also, the driver was not perpendicular to the truck's body when I created the holes for the axles, so the truck leans slightly. My son does not seem to notice its flaws, so I will try to overlook them as well!  Check out the blog link for more project details!

Estimated Cost
I had most of the supplies on hand. I had to purchase a wood dowel and some wooden wheels, so no more than $5.
Estimated Time Investment
Afternoon Project (3-6 Hours)
Finish Used
Acrylic Craft paint sealed with Mod Podge (Matte Finish)
Recommended Skill Level
Starter Project

Accent truss bookshelf

We needed to fill the corner in the house, wasn’t sure what project to do forever!  We liked the look of the rustic furnitures and decided to go forward with this truss shelf design.

We used a crackle paint with a black base and turquoise top layer and finished the wood planks with a pickling solution to weather the wood. 

Let me know what you think. 

Maldonado thanks for the prints for this awesome design!

Built from Plan(s)
Estimated Cost
80
Estimated Time Investment
Day Project (6-9 Hours)
Finish Used
Black tea to add Tannin
Crackled paint
Vinager and steel wool solution
Recommended Skill Level
Beginner

My Simple Outdoor Lounge Chair with 2x4 modification

I modified this chair with 2x4's as the base and 2x2 for decoration on arms, this is prior to sanding and finishing

Built from Plan(s)
Estimated Cost
$15-$20 dollars, depending on local lumber prices and finishing options.
Estimated Time Investment
An Hour or Two (0-2 Hours)
Finish Used
Unfinished
Recommended Skill Level
Beginner

Comments

RandyW

Sat, 06/13/2020 - 16:33

I always take my sander to the sharp edges and round them off

Queen storage bed modified

Submitted by Anonymous (not verified) on Thu, 06/18/2020 - 19:11

I used wood from an older Ana white project of a loft bed my daughter had out grown. I liked the look of Ana's Mom bed but wanted storage so I modified the plans slightly. I will add drawers later.

Estimated Cost
200
Estimated Time Investment
Weekend Project (10-20 Hours)
Finish Used
Sweet coconut easy flow paint in Matte
Recommended Skill Level
Intermediate

Patio cooler/Grill cart!

Submitted by Anonymous (not verified) on Thu, 06/22/2017 - 14:06

Great project! I'm new to wood working and have been looking for simple but challenging builds. Needless to say this fit the bill... This grill cart was a great starter build and ultimately became a Father's Day gift!  My Pops loved it! 
I did add a couple of custom pieces: a foldable table top extension and towel bar... things Dad will undoubtedly need as he's an outdoorsman who loves to BBQ!

Thanks for the idea/design plans! 

Estimated Cost
$150
Estimated Time Investment
Weekend Project (10-20 Hours)
Finish Used
Semi-gloss spar urethane (3 coats)
Recommended Skill Level
Beginner

Comments

L-Shaped Triple Bunk

Submitted by mommy to 3 on Sat, 09/01/2018 - 20:21

We recently had our 6th child and needed to rearrange our kids' rooms.  We decided to put our 3 oldest girls together and wanted a triple bunk.  We used the classic bunk plans, but increased the height to allow for a middle bunk.  We wanted L-shaped to give each child some headroom.  We used pine wood, common board and select pine.  We finished it off with two coats of Behr interior latex paint/primer in one, satin finish.  Finished dimensions--height from floor to base of bottom bunk, 10 in.  from floor to top of top rail, 79.5 in.

Built from Plan(s)
Estimated Cost
$350 for wood/screws
$40 for paint
~$500 for tools--this was only our second build and our last build only required a drill.
Estimated Time Investment
Week Long Project (20 Hours or More)
Finish Used
Behr interior latex paint/primer in one, satin finish. Color is "classic silver"
Recommended Skill Level
Intermediate

Comments

bcheese06

Tue, 02/18/2020 - 20:41

This is exactly what my boys need in their room. I'm having a hard time grasping how you did the middle bunk. Is it just the top bunk chopped right before the horizontal slats of the bottom bunk? tia

Garage / Basement Shelving + Bonus Wine/Liquor Under Stairs Storage

Submitted by MJC2DIY on Wed, 10/12/2022 - 21:35

Using the guidelines for the “BEST DIY Garage Shelves (Attached to Walls), I added this to our unfinished basement area for additional storage. I plan to replicate it in our actual garage as well and build the freestanding shelves also!

As a bonus, I used this plan as inspiration and built directly beside it, which is an unused space under stairs, a wine/liquor storage shelving replacing the plywood with cut 2x4s for added weight capacity/stability.

Couldn’t have been easier!

Comments

MJC2DIY

Wed, 10/19/2022 - 09:14

Thank you!! I am so thankful for Ana White and team! These projects are helping me build a lot of confidence to continue endeavoring more challenging projects each step of the way :-)

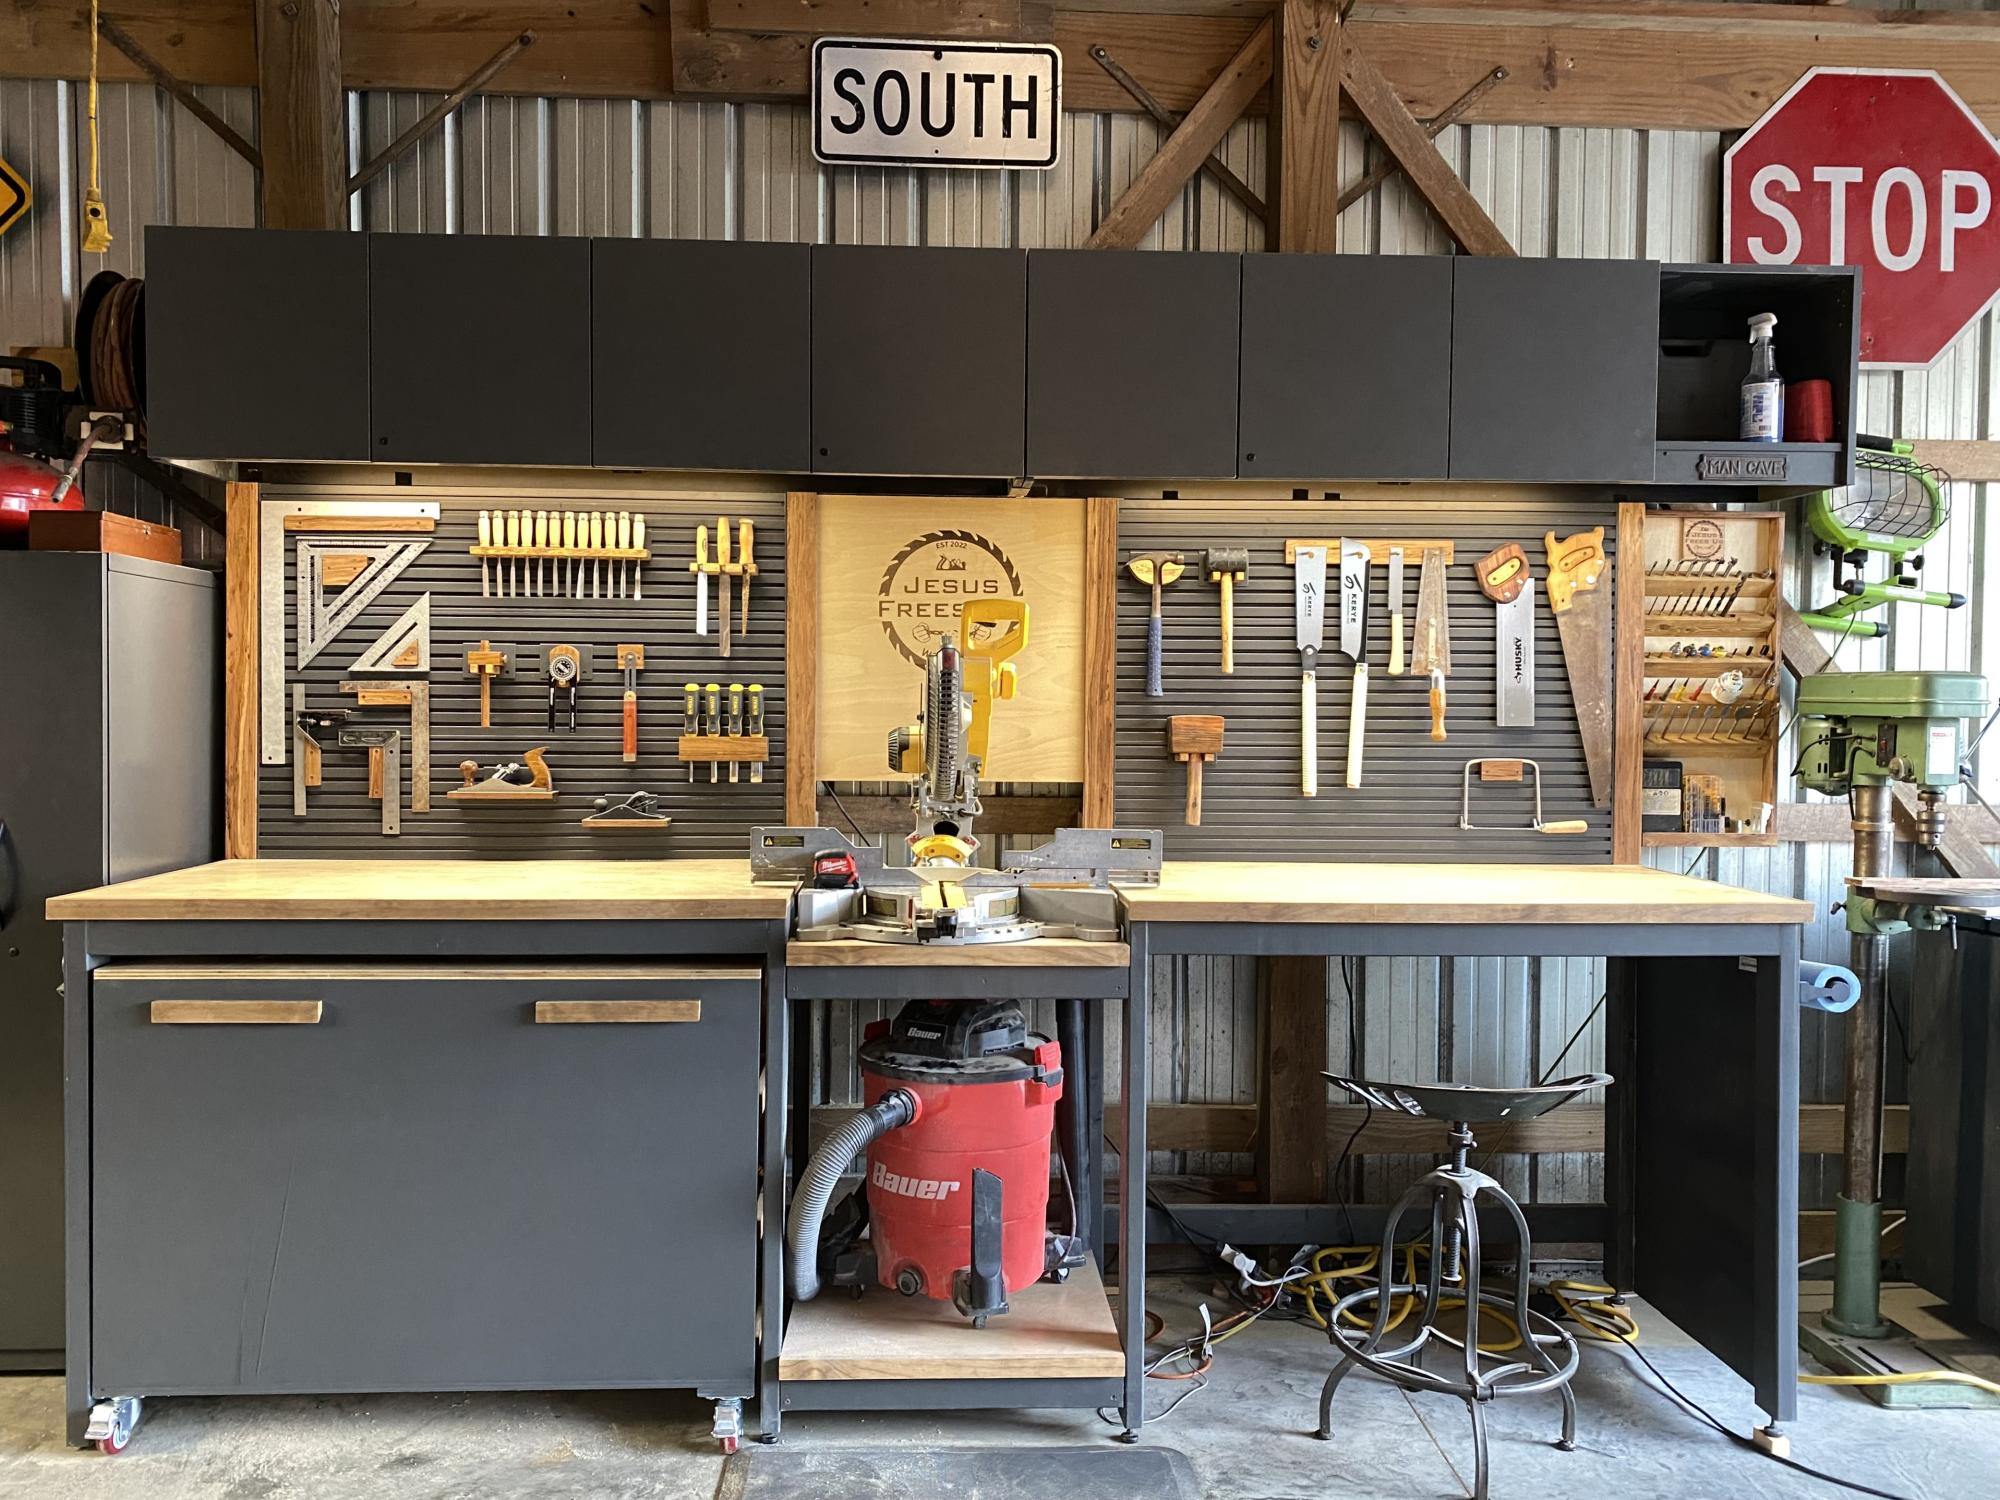
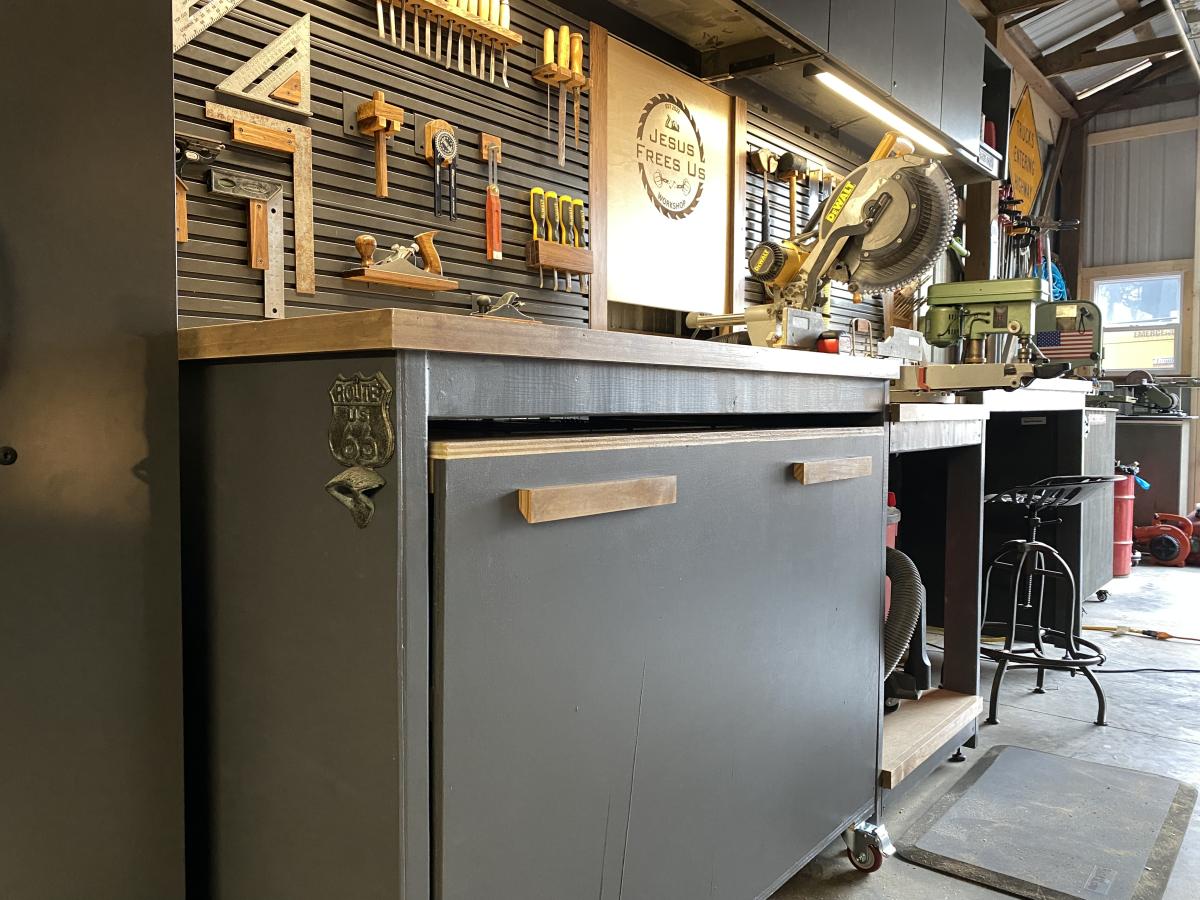
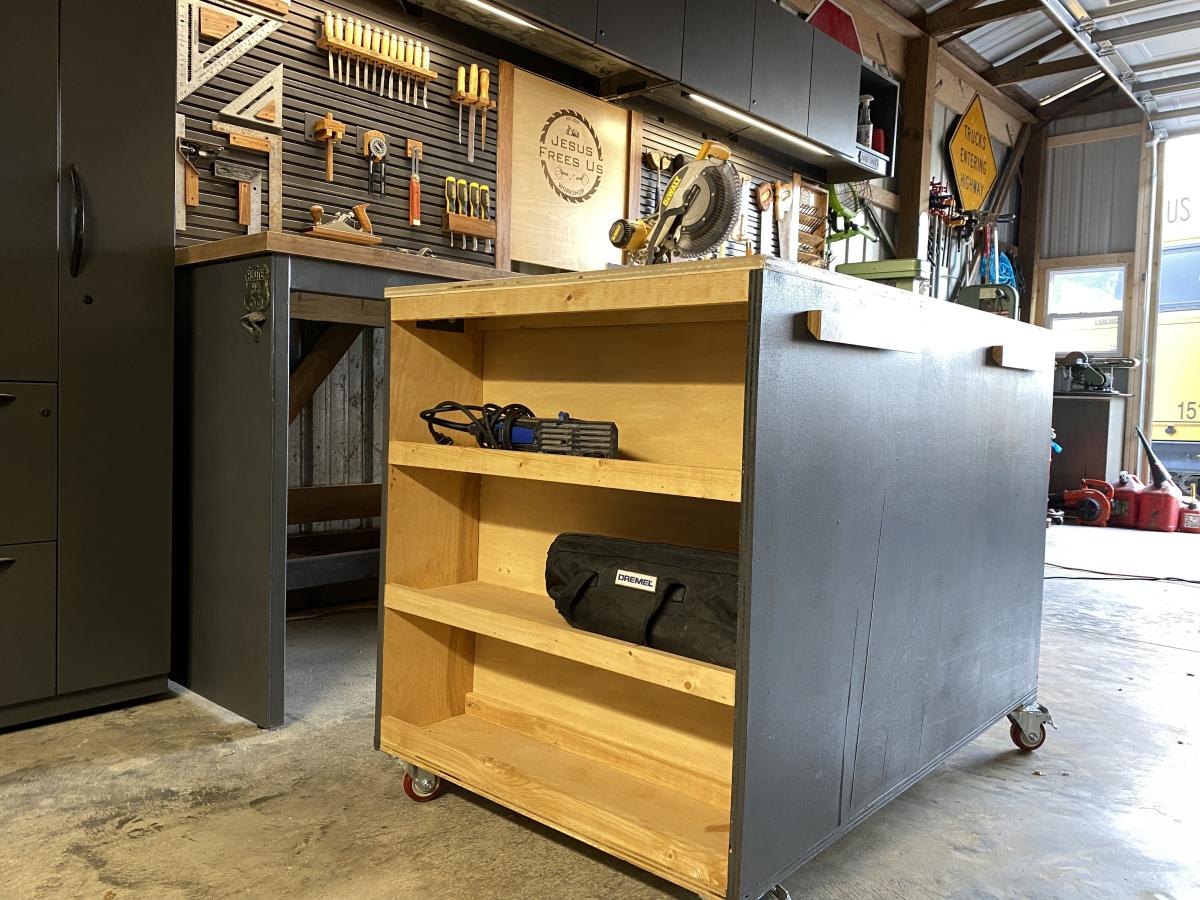
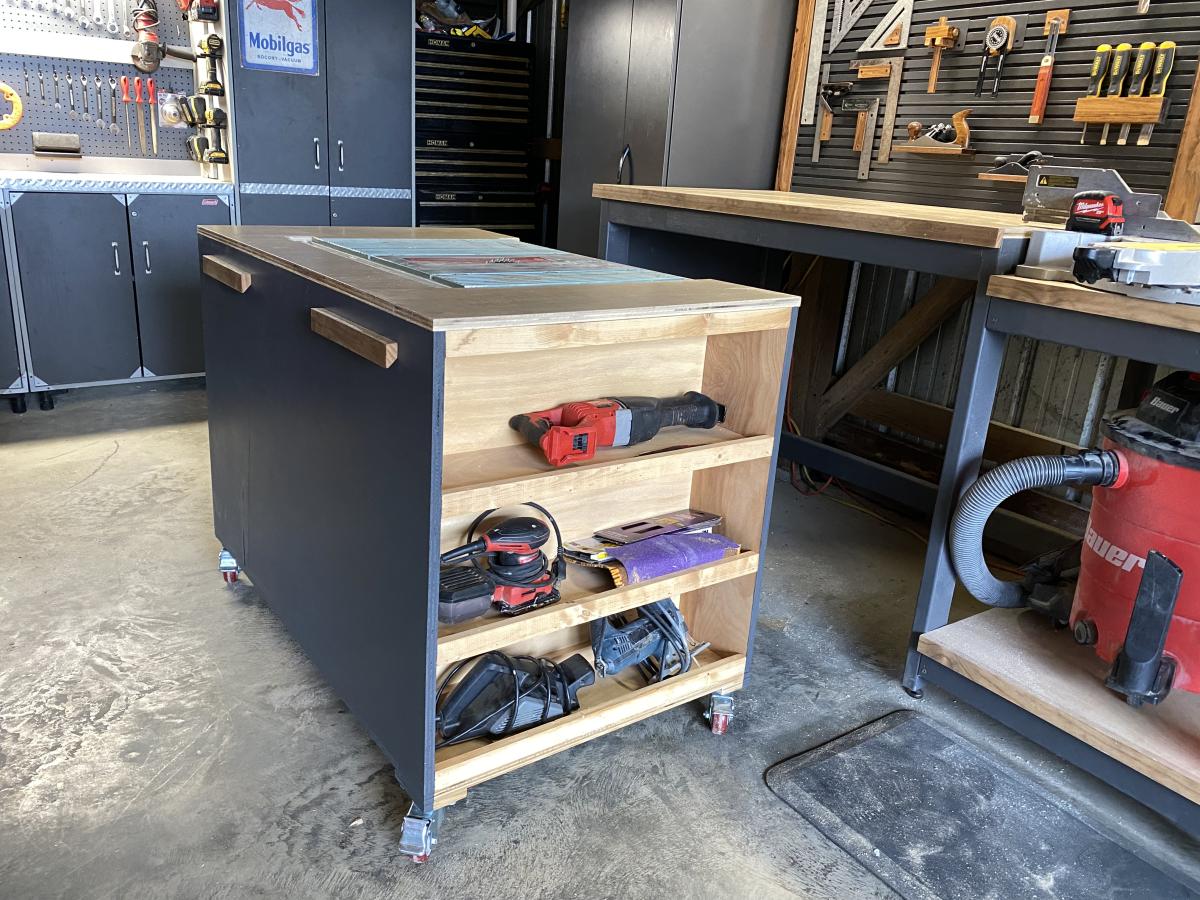
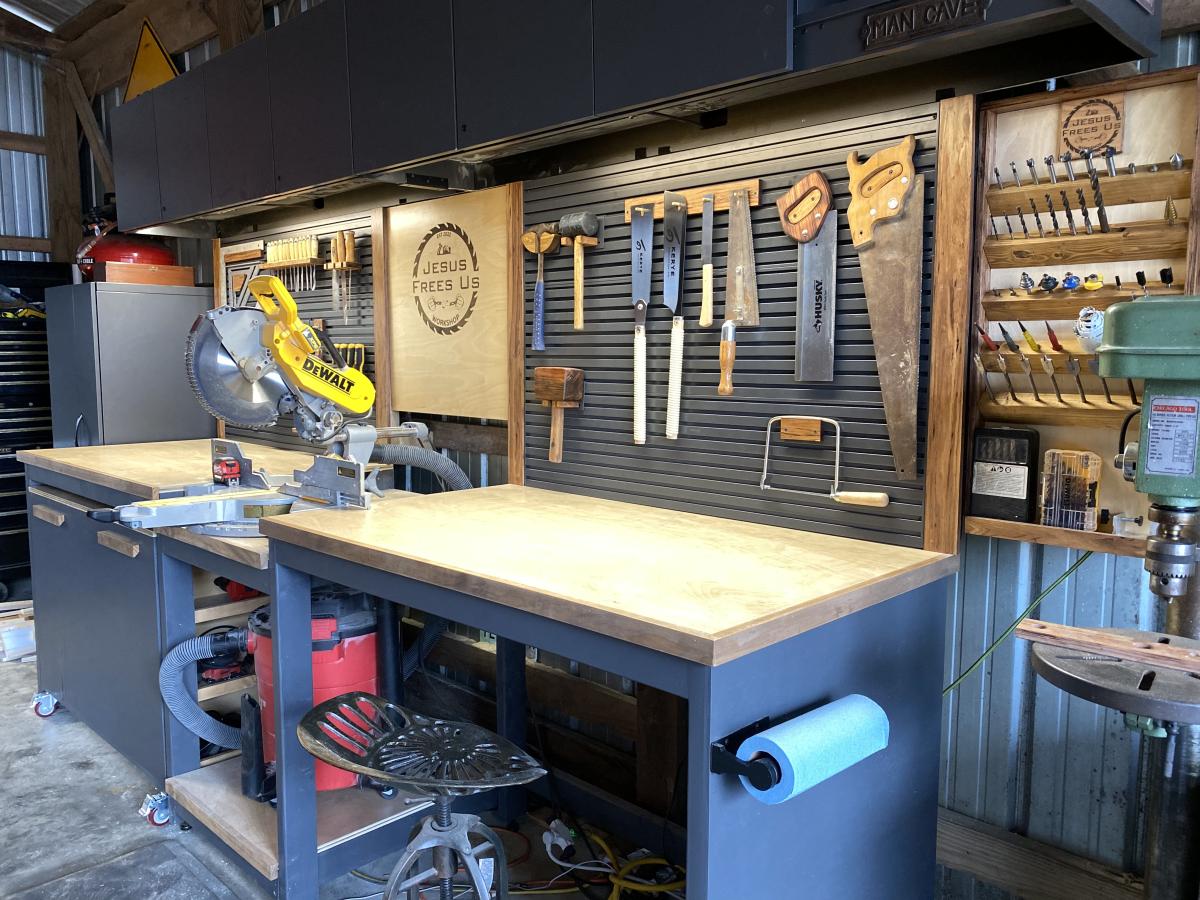
Ultimate Workbench/Miter Station

Submitted by Anonymous (not verified) on Mon, 03/06/2023 - 15:32

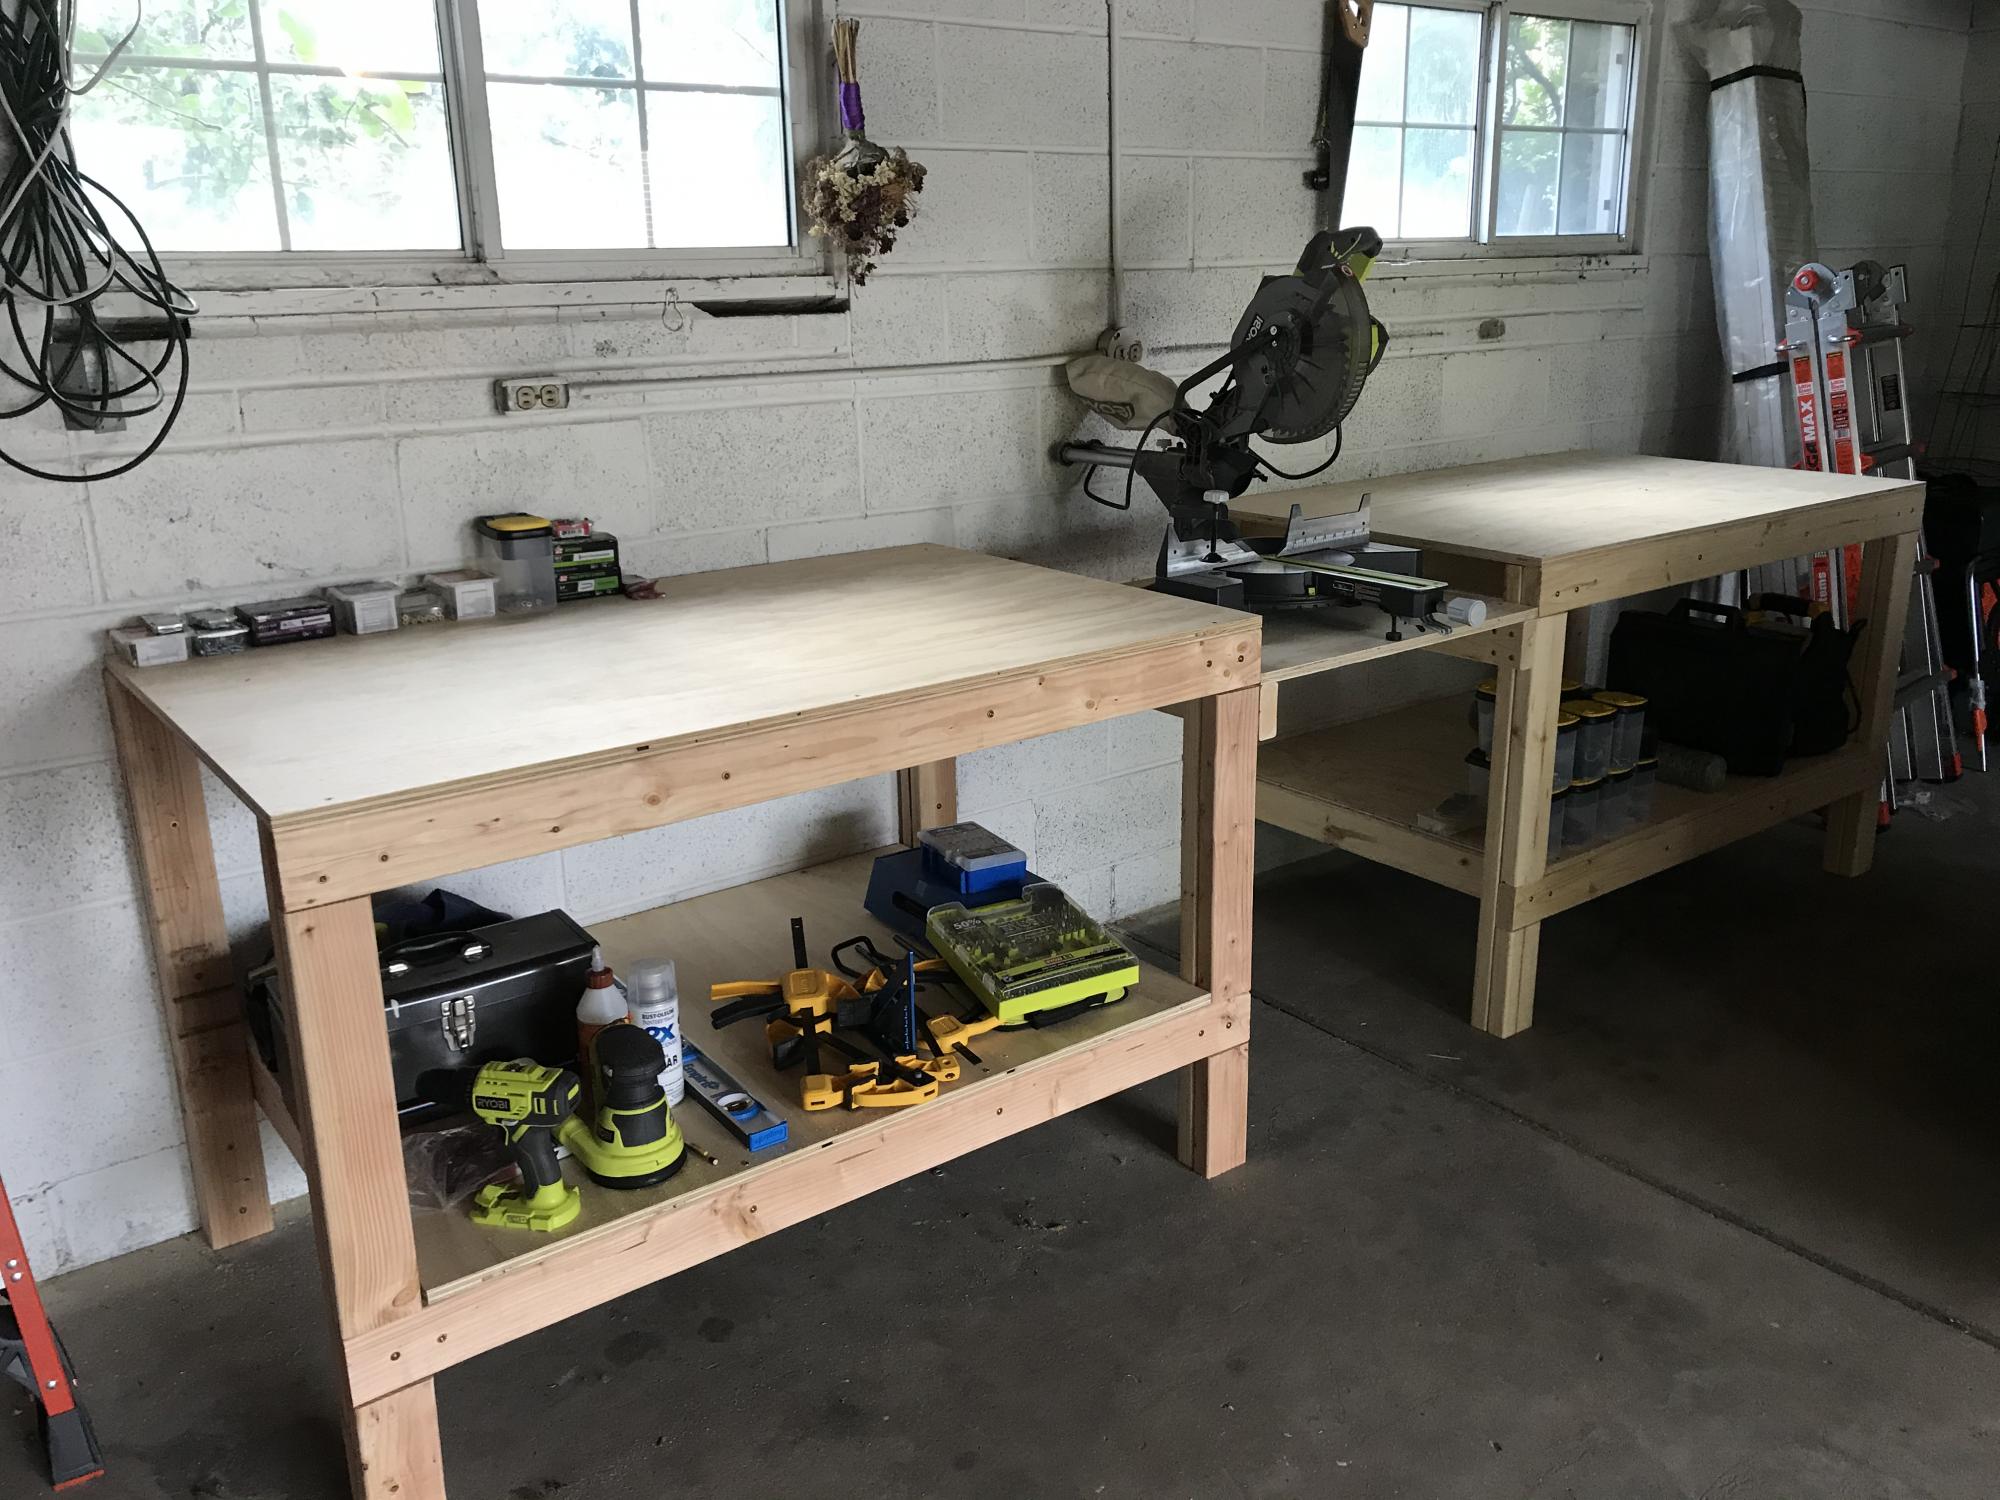
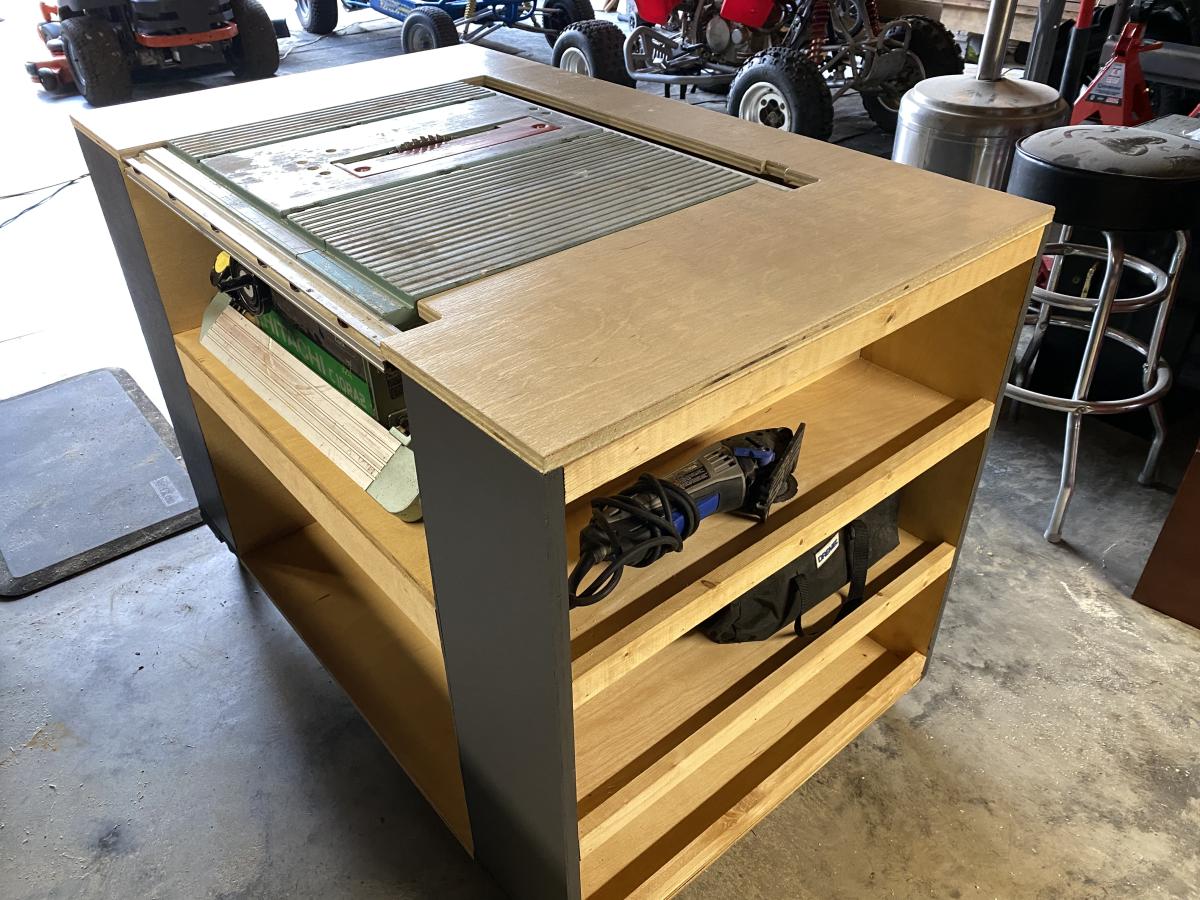
This plan is exactly what I needed for my workspace. I ended up adding some slat wall pieces and cabinets above from cubicles in an old office nearby that closed down for a tool wall and storage. I left the right opening empty due to how unlevel my floors are. I may close it in later with drawers or cabinets, but it will be my sitting workspace for now. I trimmed out the edge with 1x2s and painted and stained everything for aesthetics.

Comments

Outdoor sectional

Submitted by Anonymous (not verified) on Wed, 10/02/2019 - 04:17

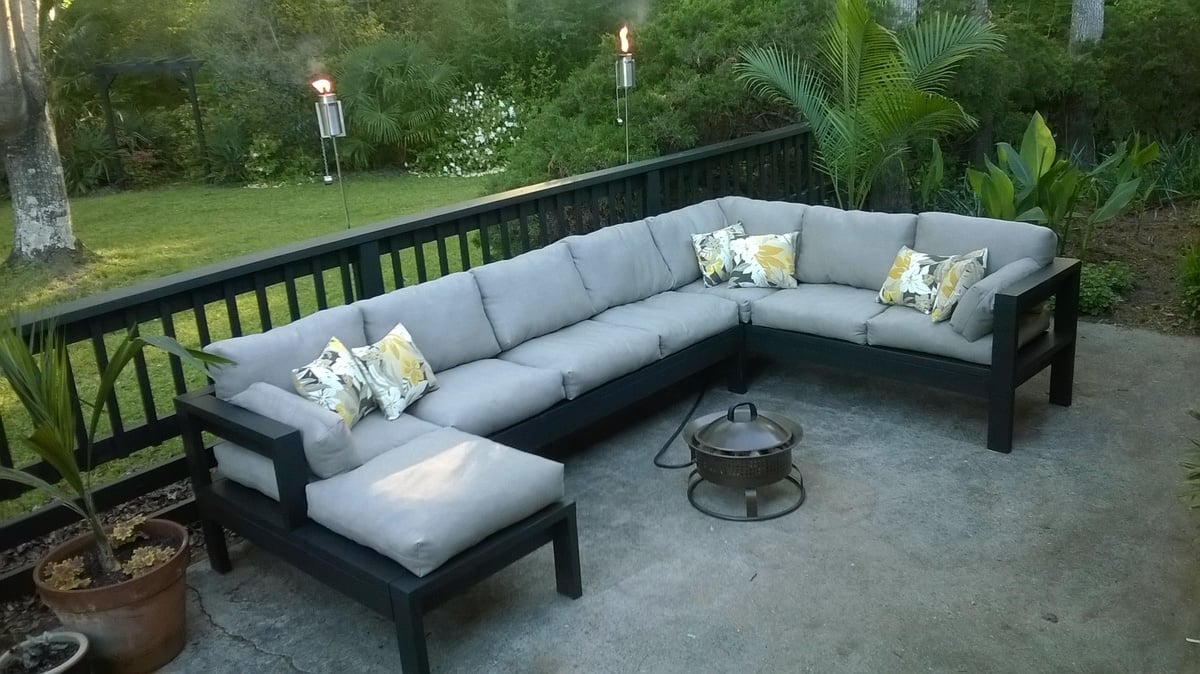
Made the outdoor sectional. The coffee table was made out of left over pieces!

Estimated Cost
$260
Estimated Time Investment
Weekend Project (10-20 Hours)
Finish Used
We used a semi transparent stain applied with brush. We would recommend a hand sprayer instead.
Recommended Skill Level
Beginner

Comments

Farmhouse Chairs

I found a picture of this style of chairs, and I really wanted to make them for my table. I created my own plans and adjusted them until they were perfect. I’ve since made several sets of chairs for other people including this set of 6. 

Built from Plan(s)
Estimated Cost
$25
Estimated Time Investment
Afternoon Project (3-6 Hours)
Finish Used
After sanding down the chairs, I apply a coat of Preston by minwax. To get the color I wipe on the stain gunstock by winwax. After letting it dry for about an hour, I then wipe on a coat of espresso stain. For the finish, I apply coats of a gloss polyurethane by Minwax.
Recommended Skill Level
Intermediate

Comments

Dog Food Storage Box

Submitted by Anonymous (not verified) on Mon, 01/29/2024 - 12:00

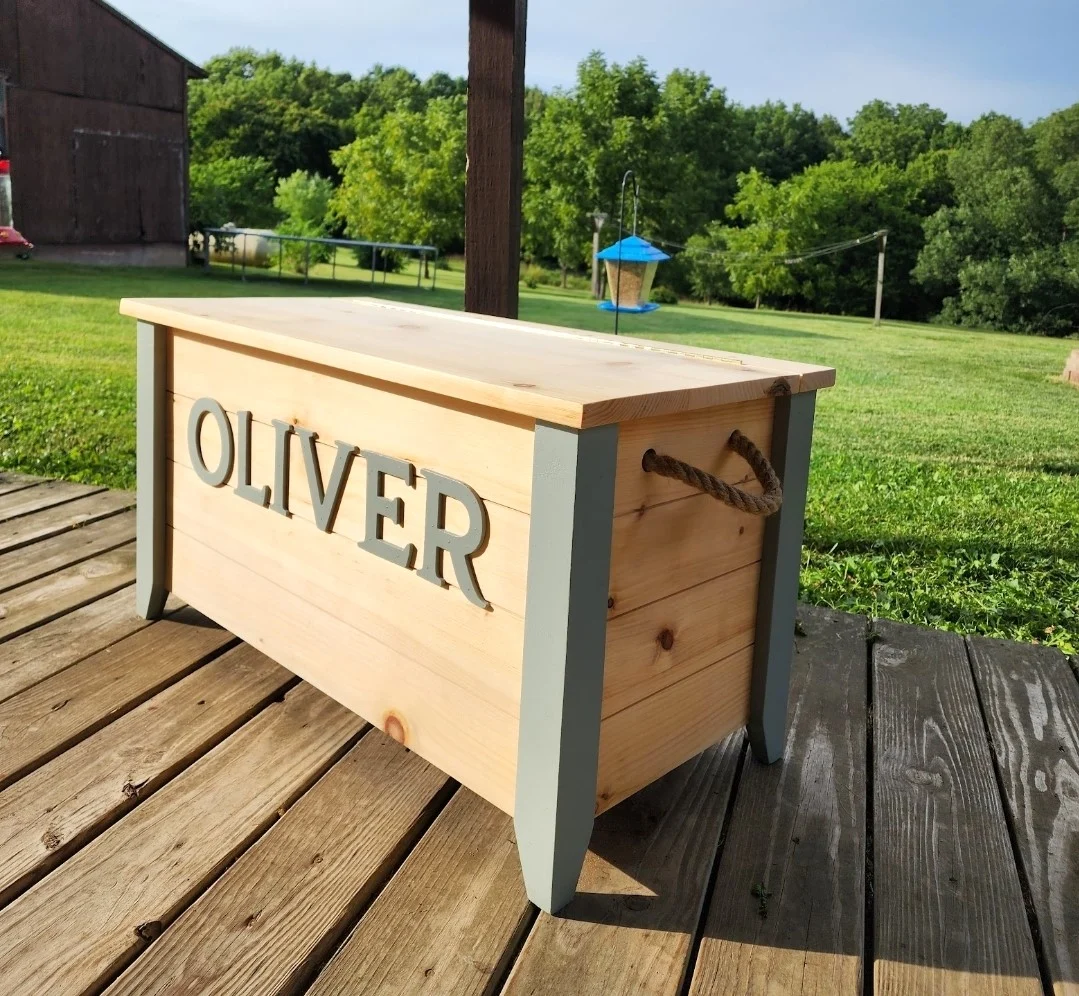
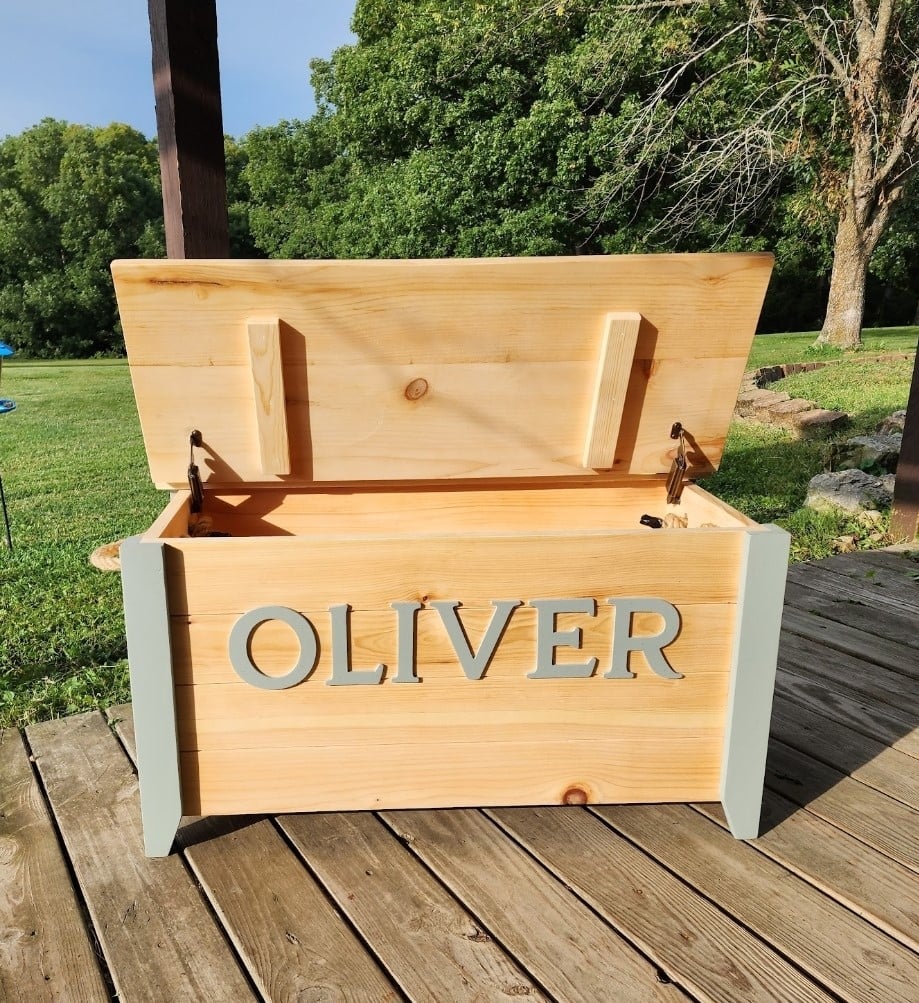
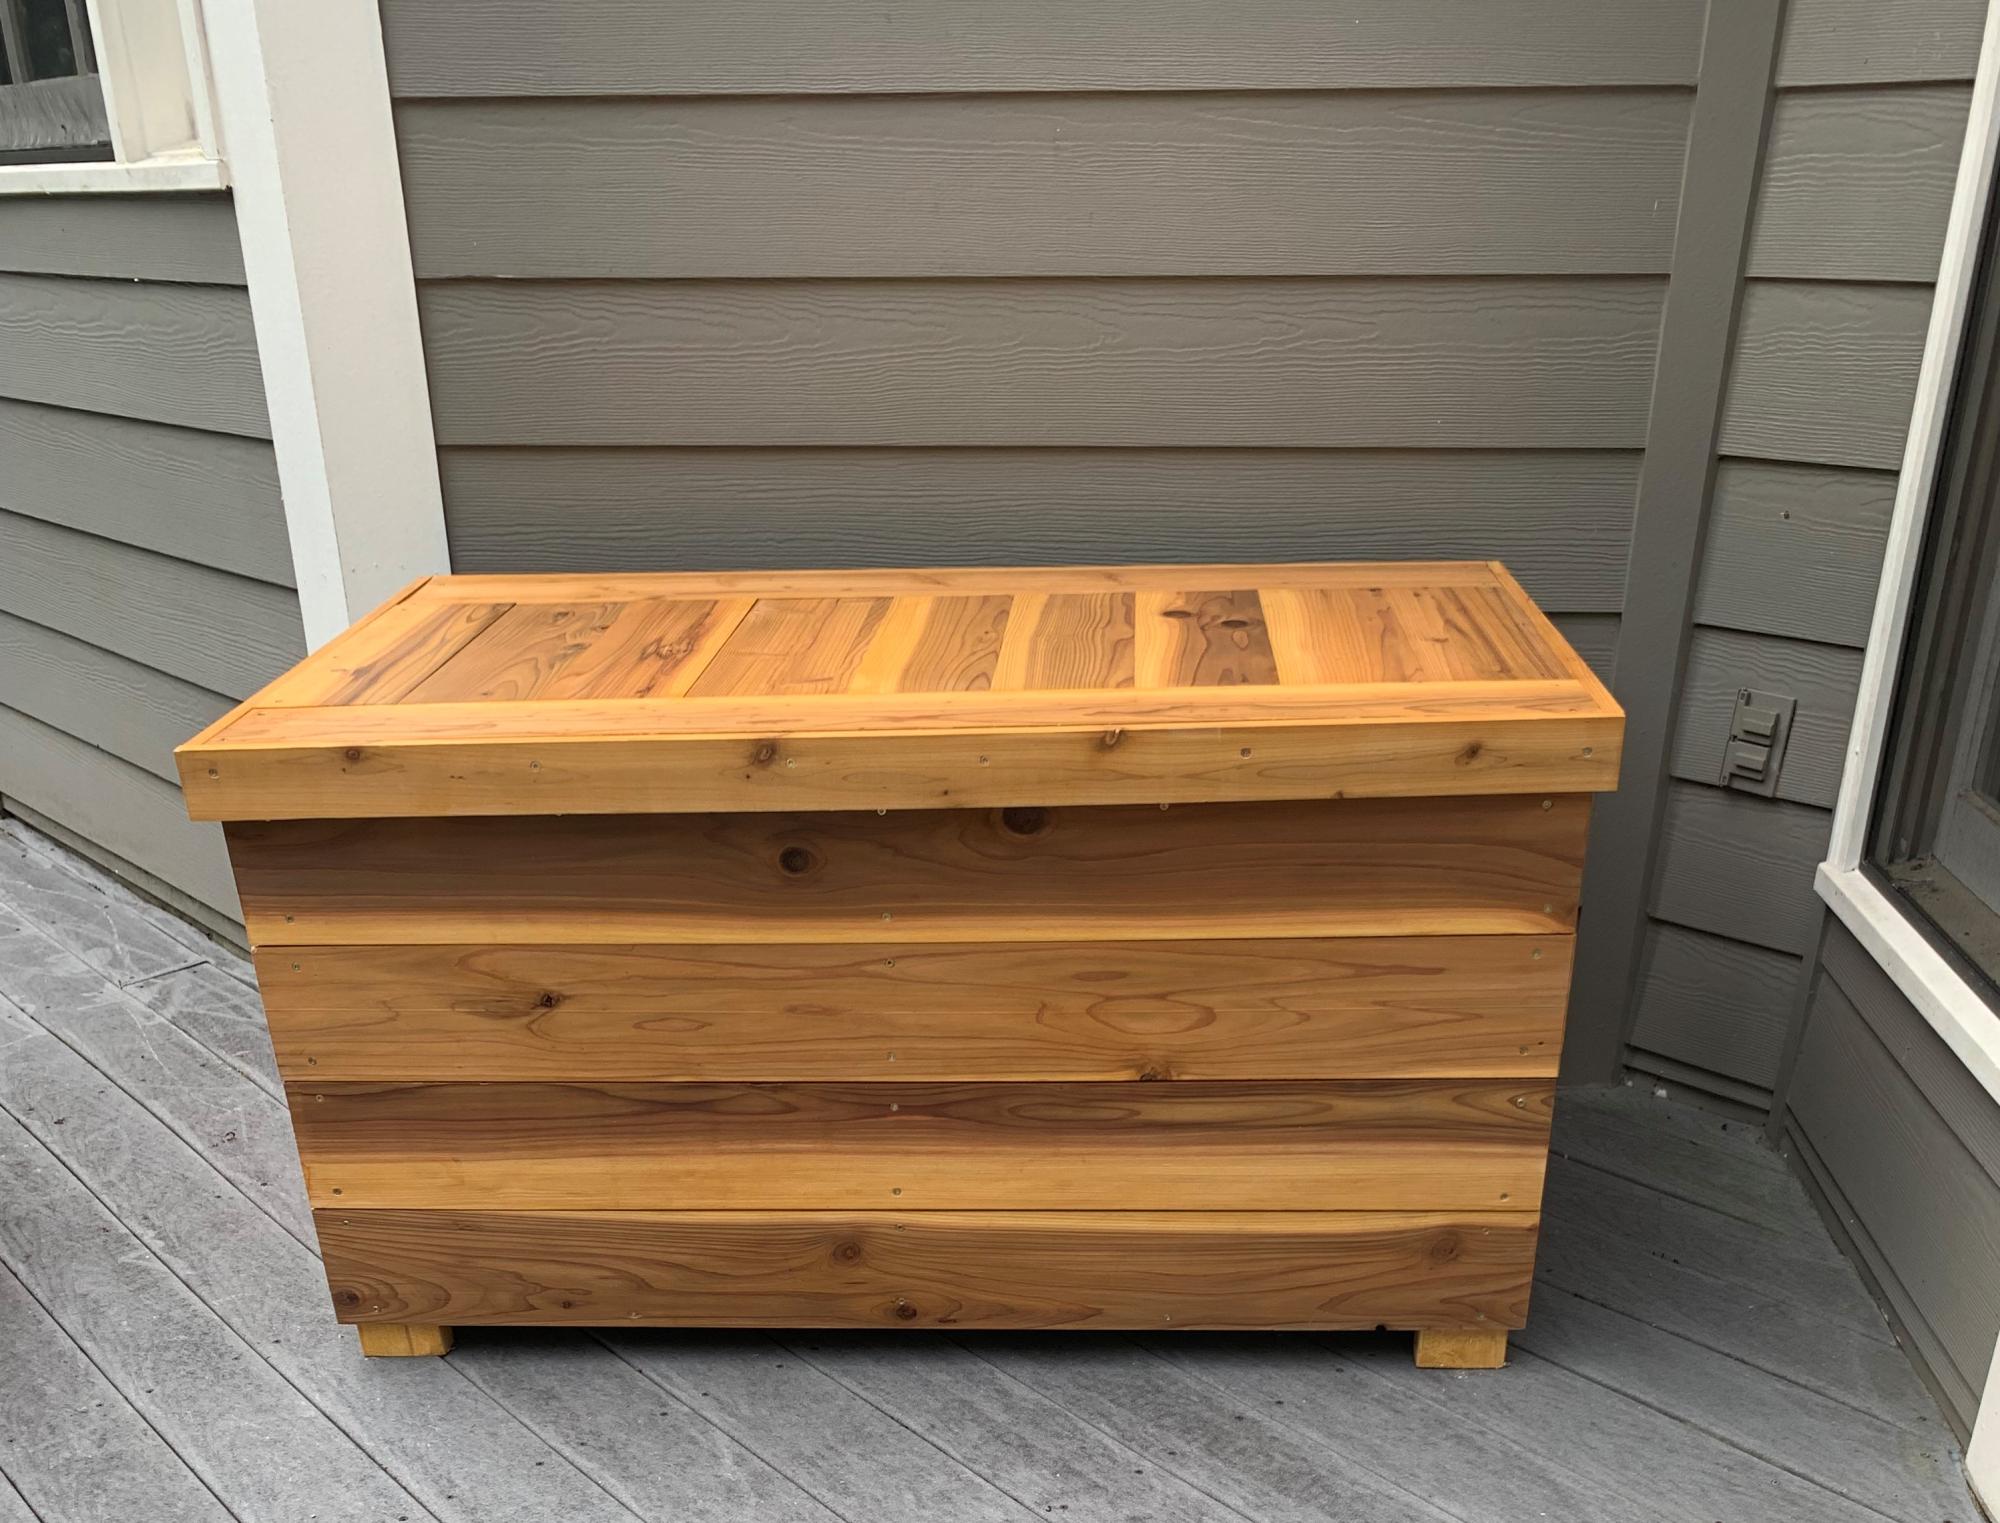
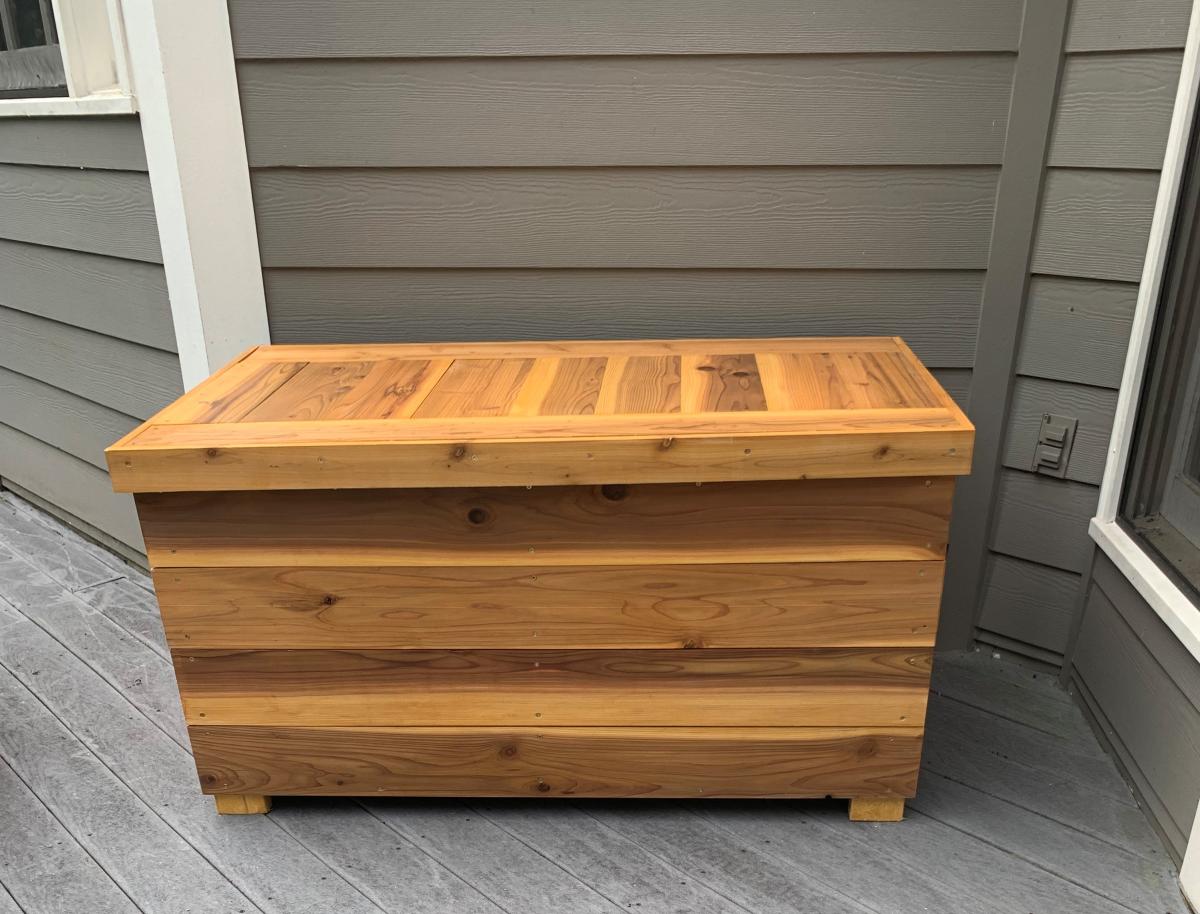
I've been searching for a pet food bin for a while now, and started looking for something cuter than an ugly plastic bin. I found a few things on Etsy but none were big enough and also cost a lot of $$$. I took the Modern Cedar Outdoor Storage Bench plans, and modified the size to fit large bags of dog and cat food from Costco, or pet food bins. I'm 55 years old and have fixed things around the house, but this was my first time building something.
I am so happy with how this turned out! I found the dog bone handle online and my daughter painted the paw prints. Way cuter than what I found online and I built it using reclaimed wood I had laying around - my only cost was the handle. Thanks Ana!
Heather Durand https://www.facebook.com/pinkprincesshc

Farmhouse table

Submitted by Anonymous (not verified) on Thu, 06/18/2020 - 19:25

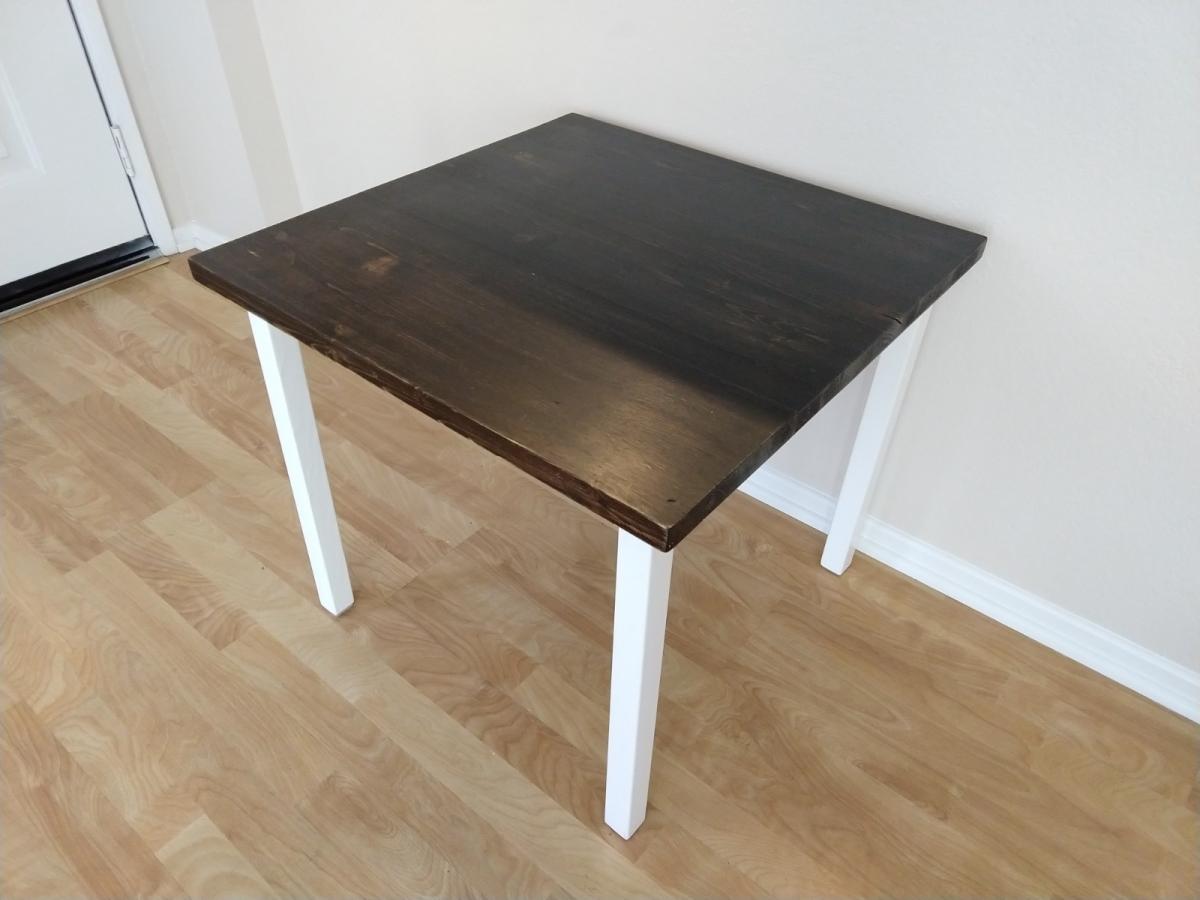
First table build! We modified the plans with no breadboard ends since we live with lots of humidity and wanted to allow the wood movement. We also used 4x4s for the legs. White chalk spray paint legs and custom mix of special walnut and weathered oak stains. We LOVE it!!

Estimated Cost
200
Estimated Time Investment
Weekend Project (10-20 Hours)

Workbench with pegboard

Submitted by bredbu on Wed, 07/01/2020 - 18:37

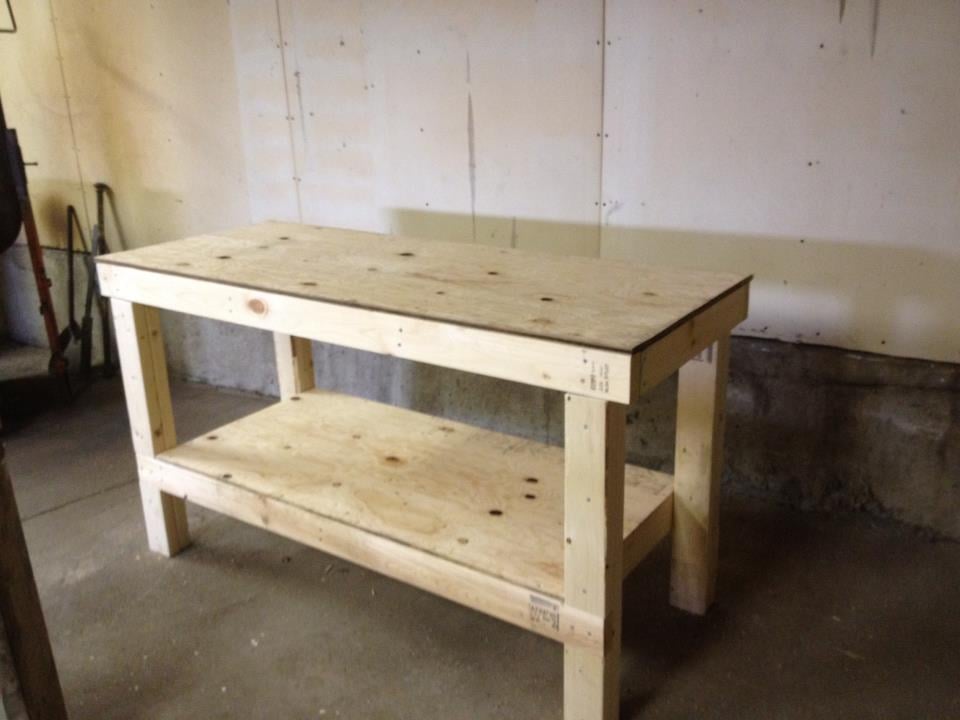
I made a workbench for my garage it was pretty easy. I also made an instructional youtube video if you want to learn how to make it. #diy #workbench #bench

Estimated Cost
125
Estimated Time Investment
Afternoon Project (3-6 Hours)
Finish Used
none
Recommended Skill Level
Beginner

Grill Station

Submitted by JDillen on Sat, 07/05/2014 - 15:32

Grill station

Built from Plan(s)
Estimated Cost
100
Estimated Time Investment
Afternoon Project (3-6 Hours)
Finish Used
Rustoleum Kona
Recommended Skill Level
Beginner
Back