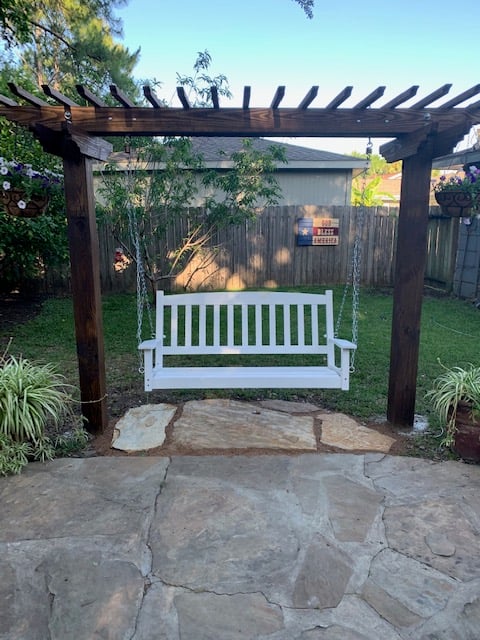
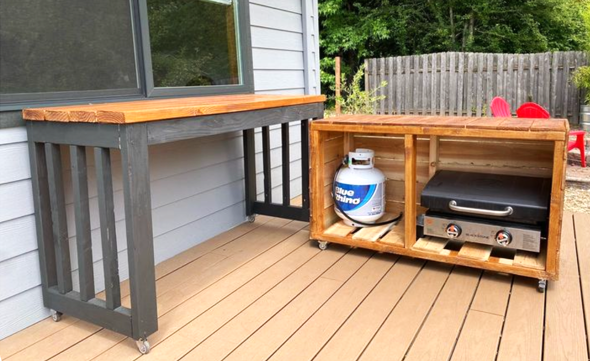
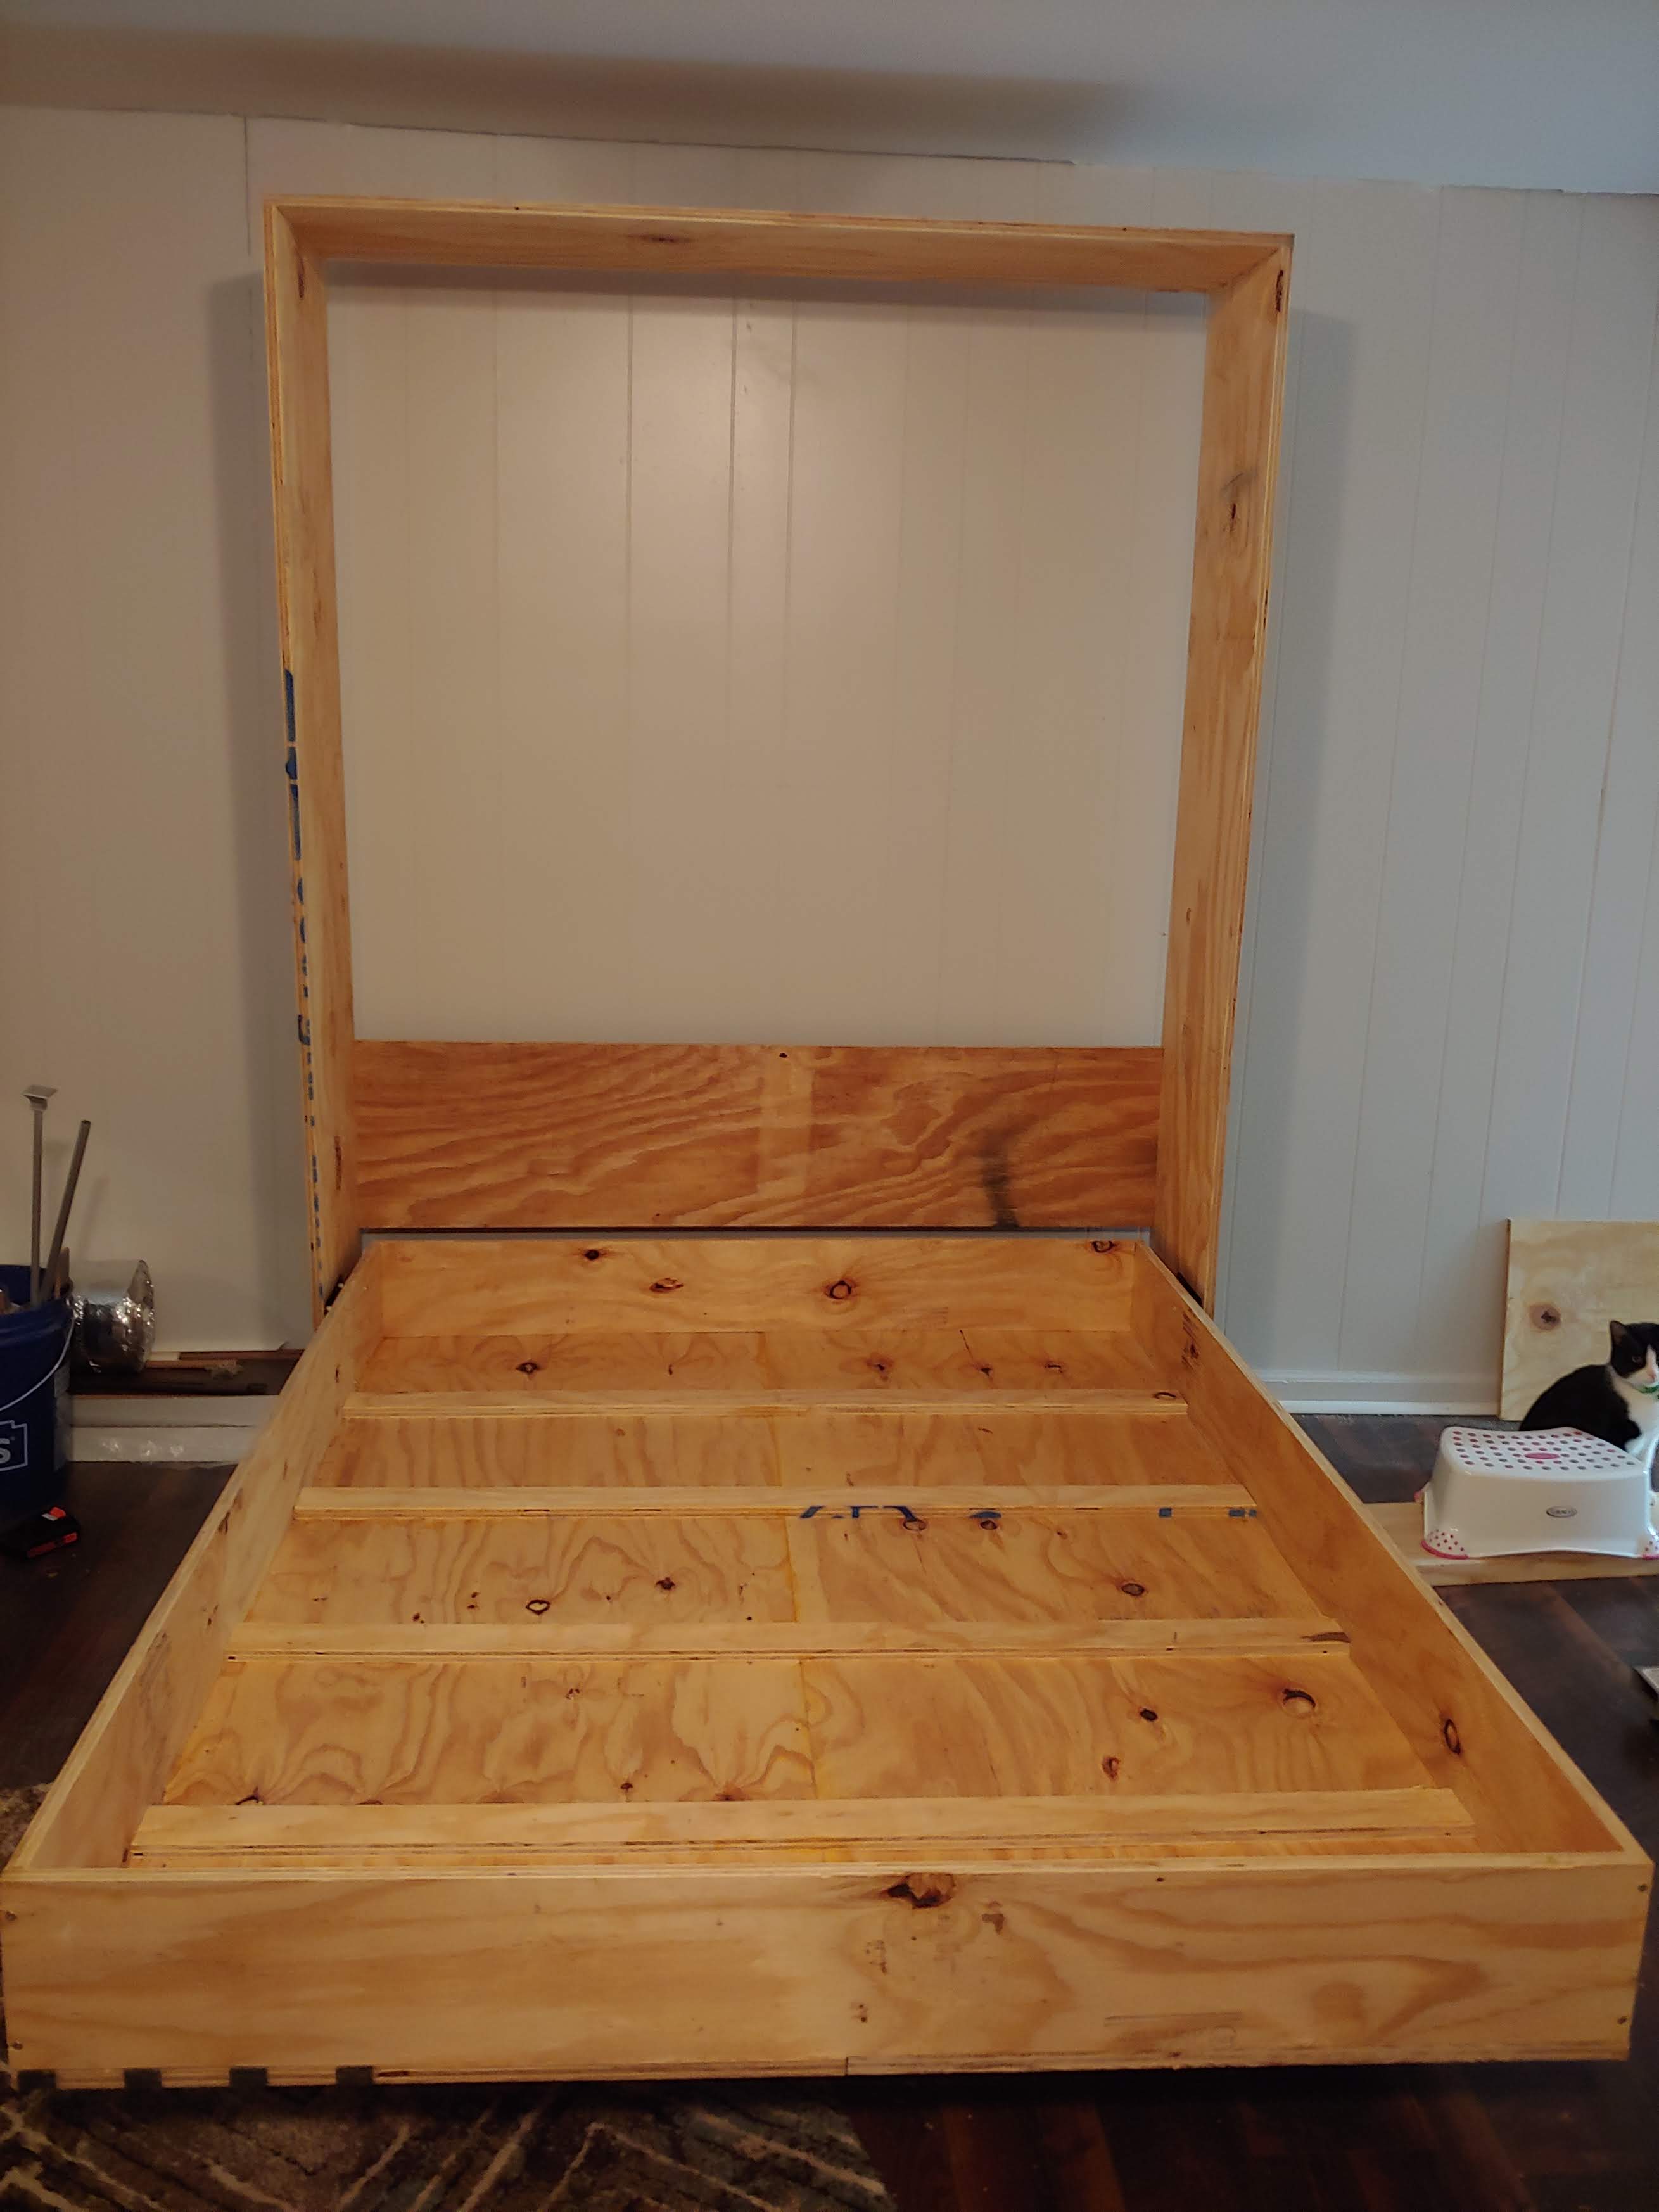
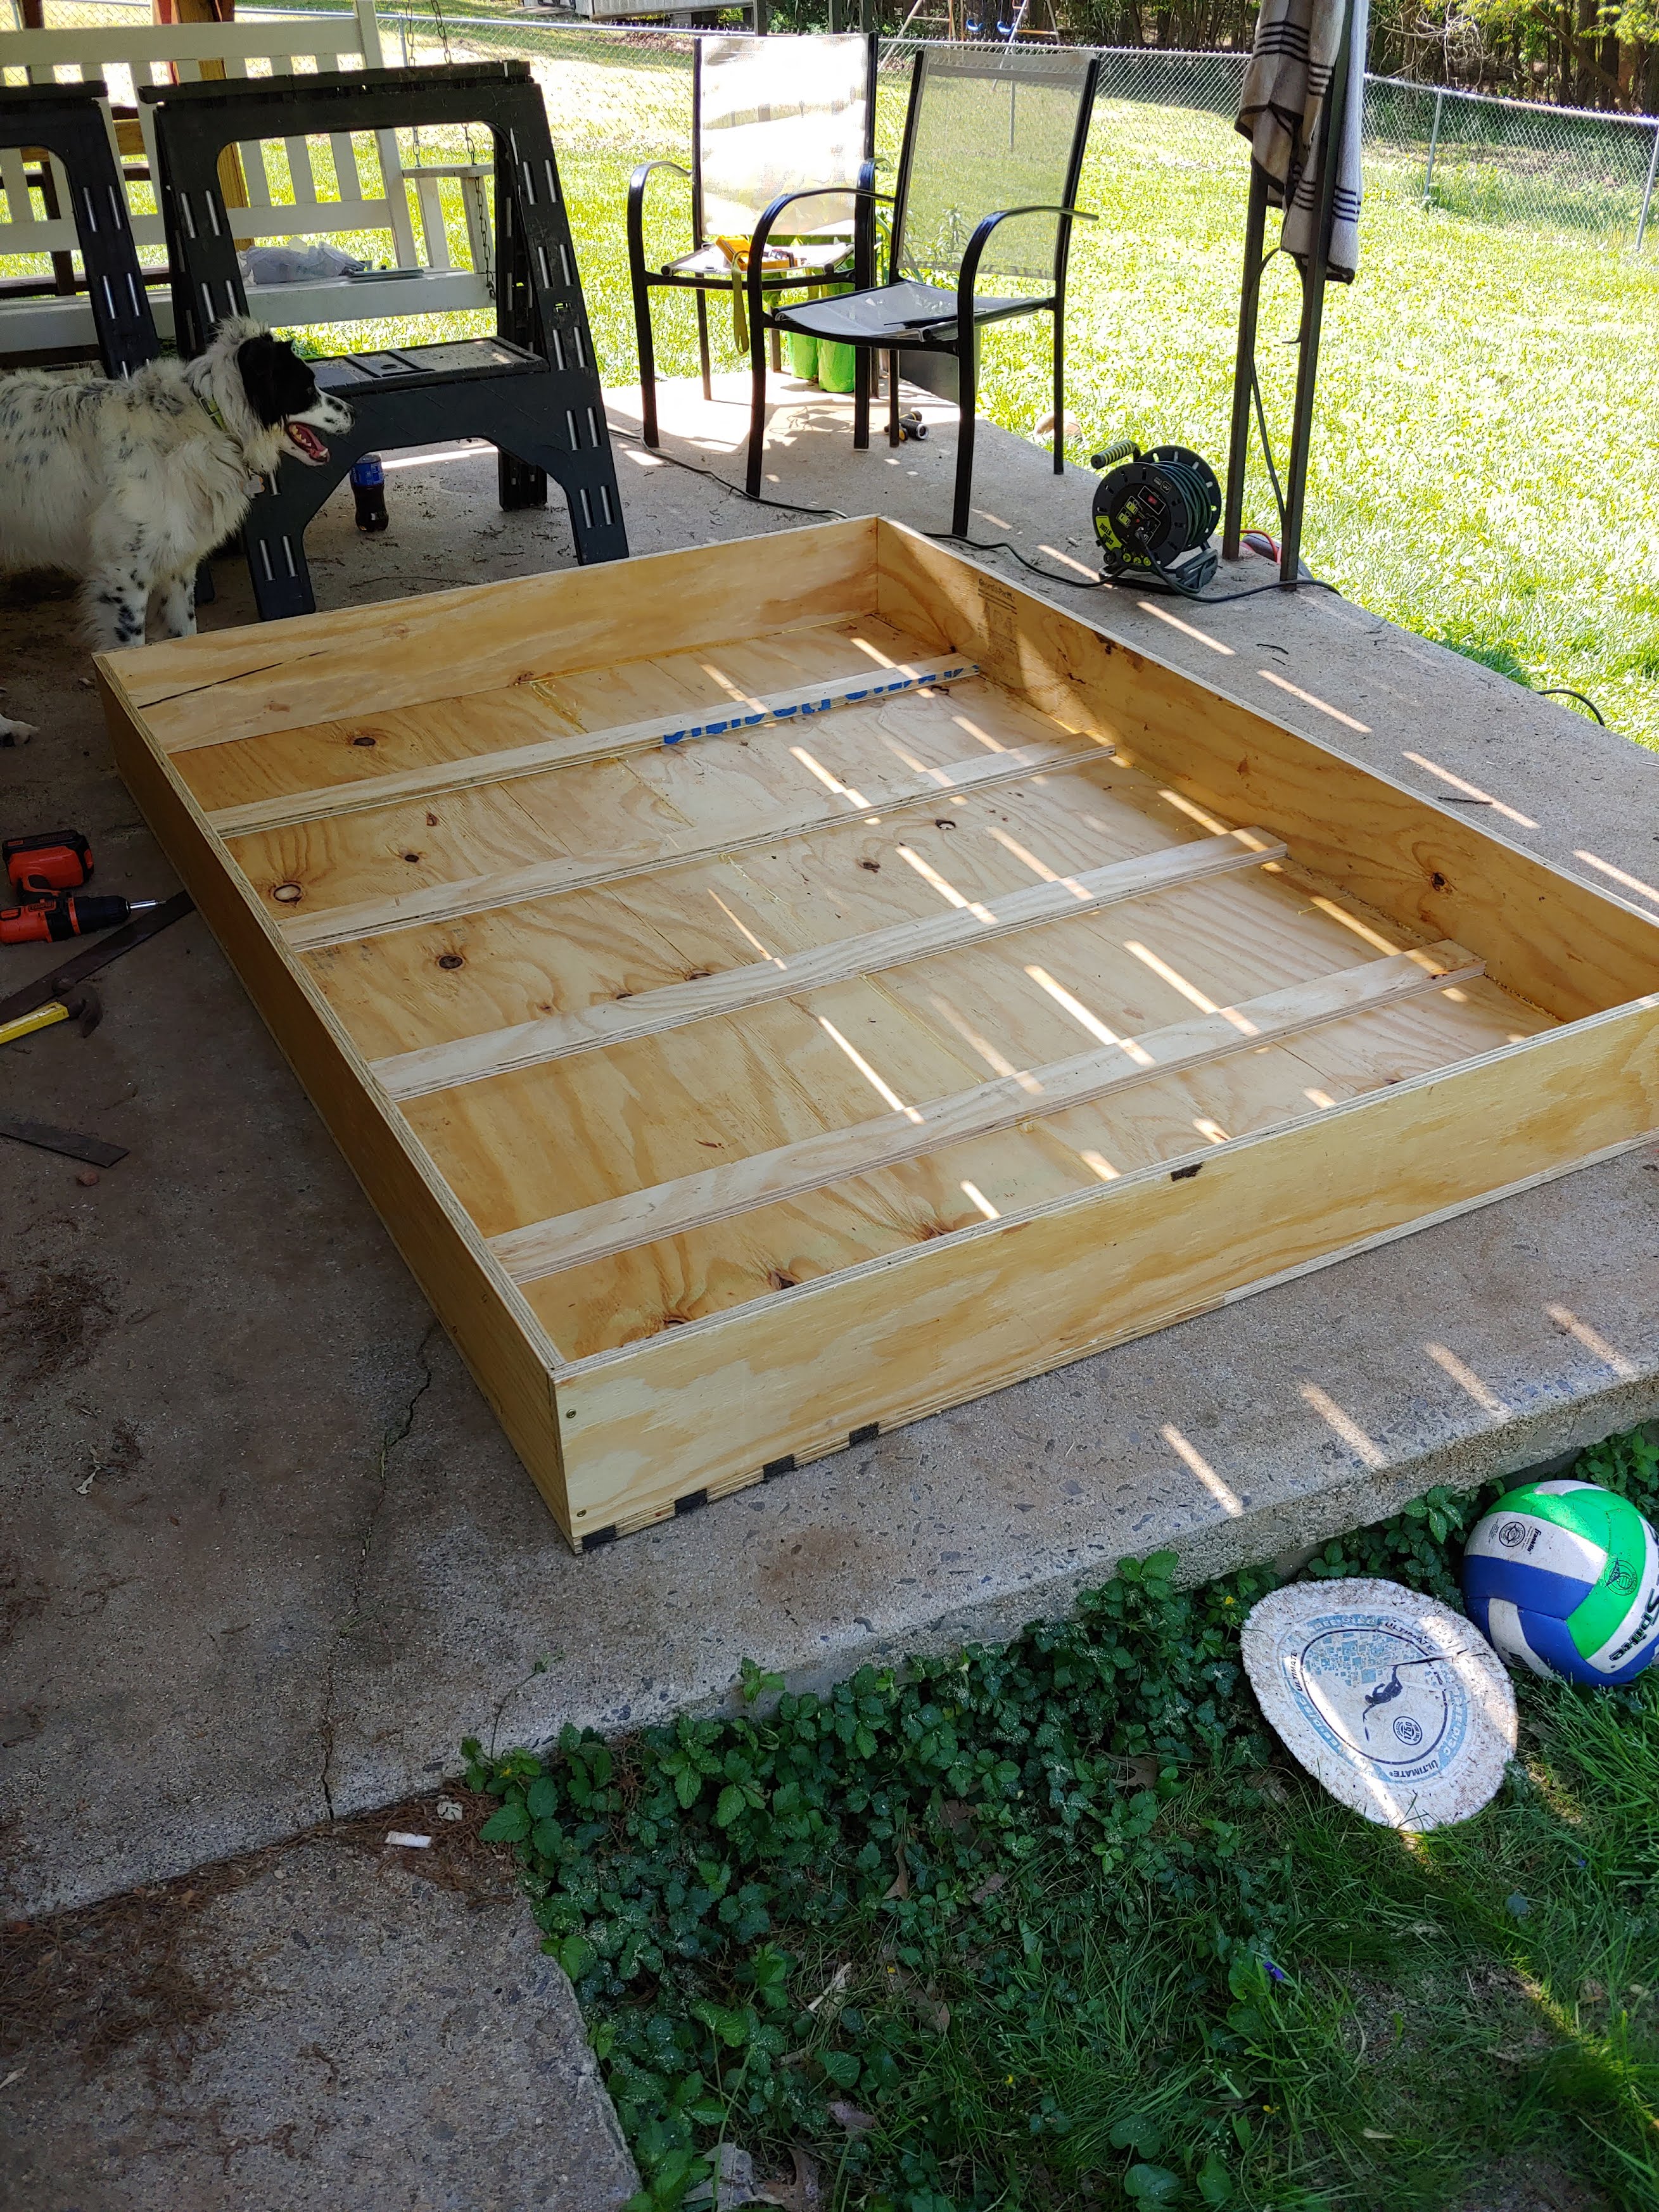
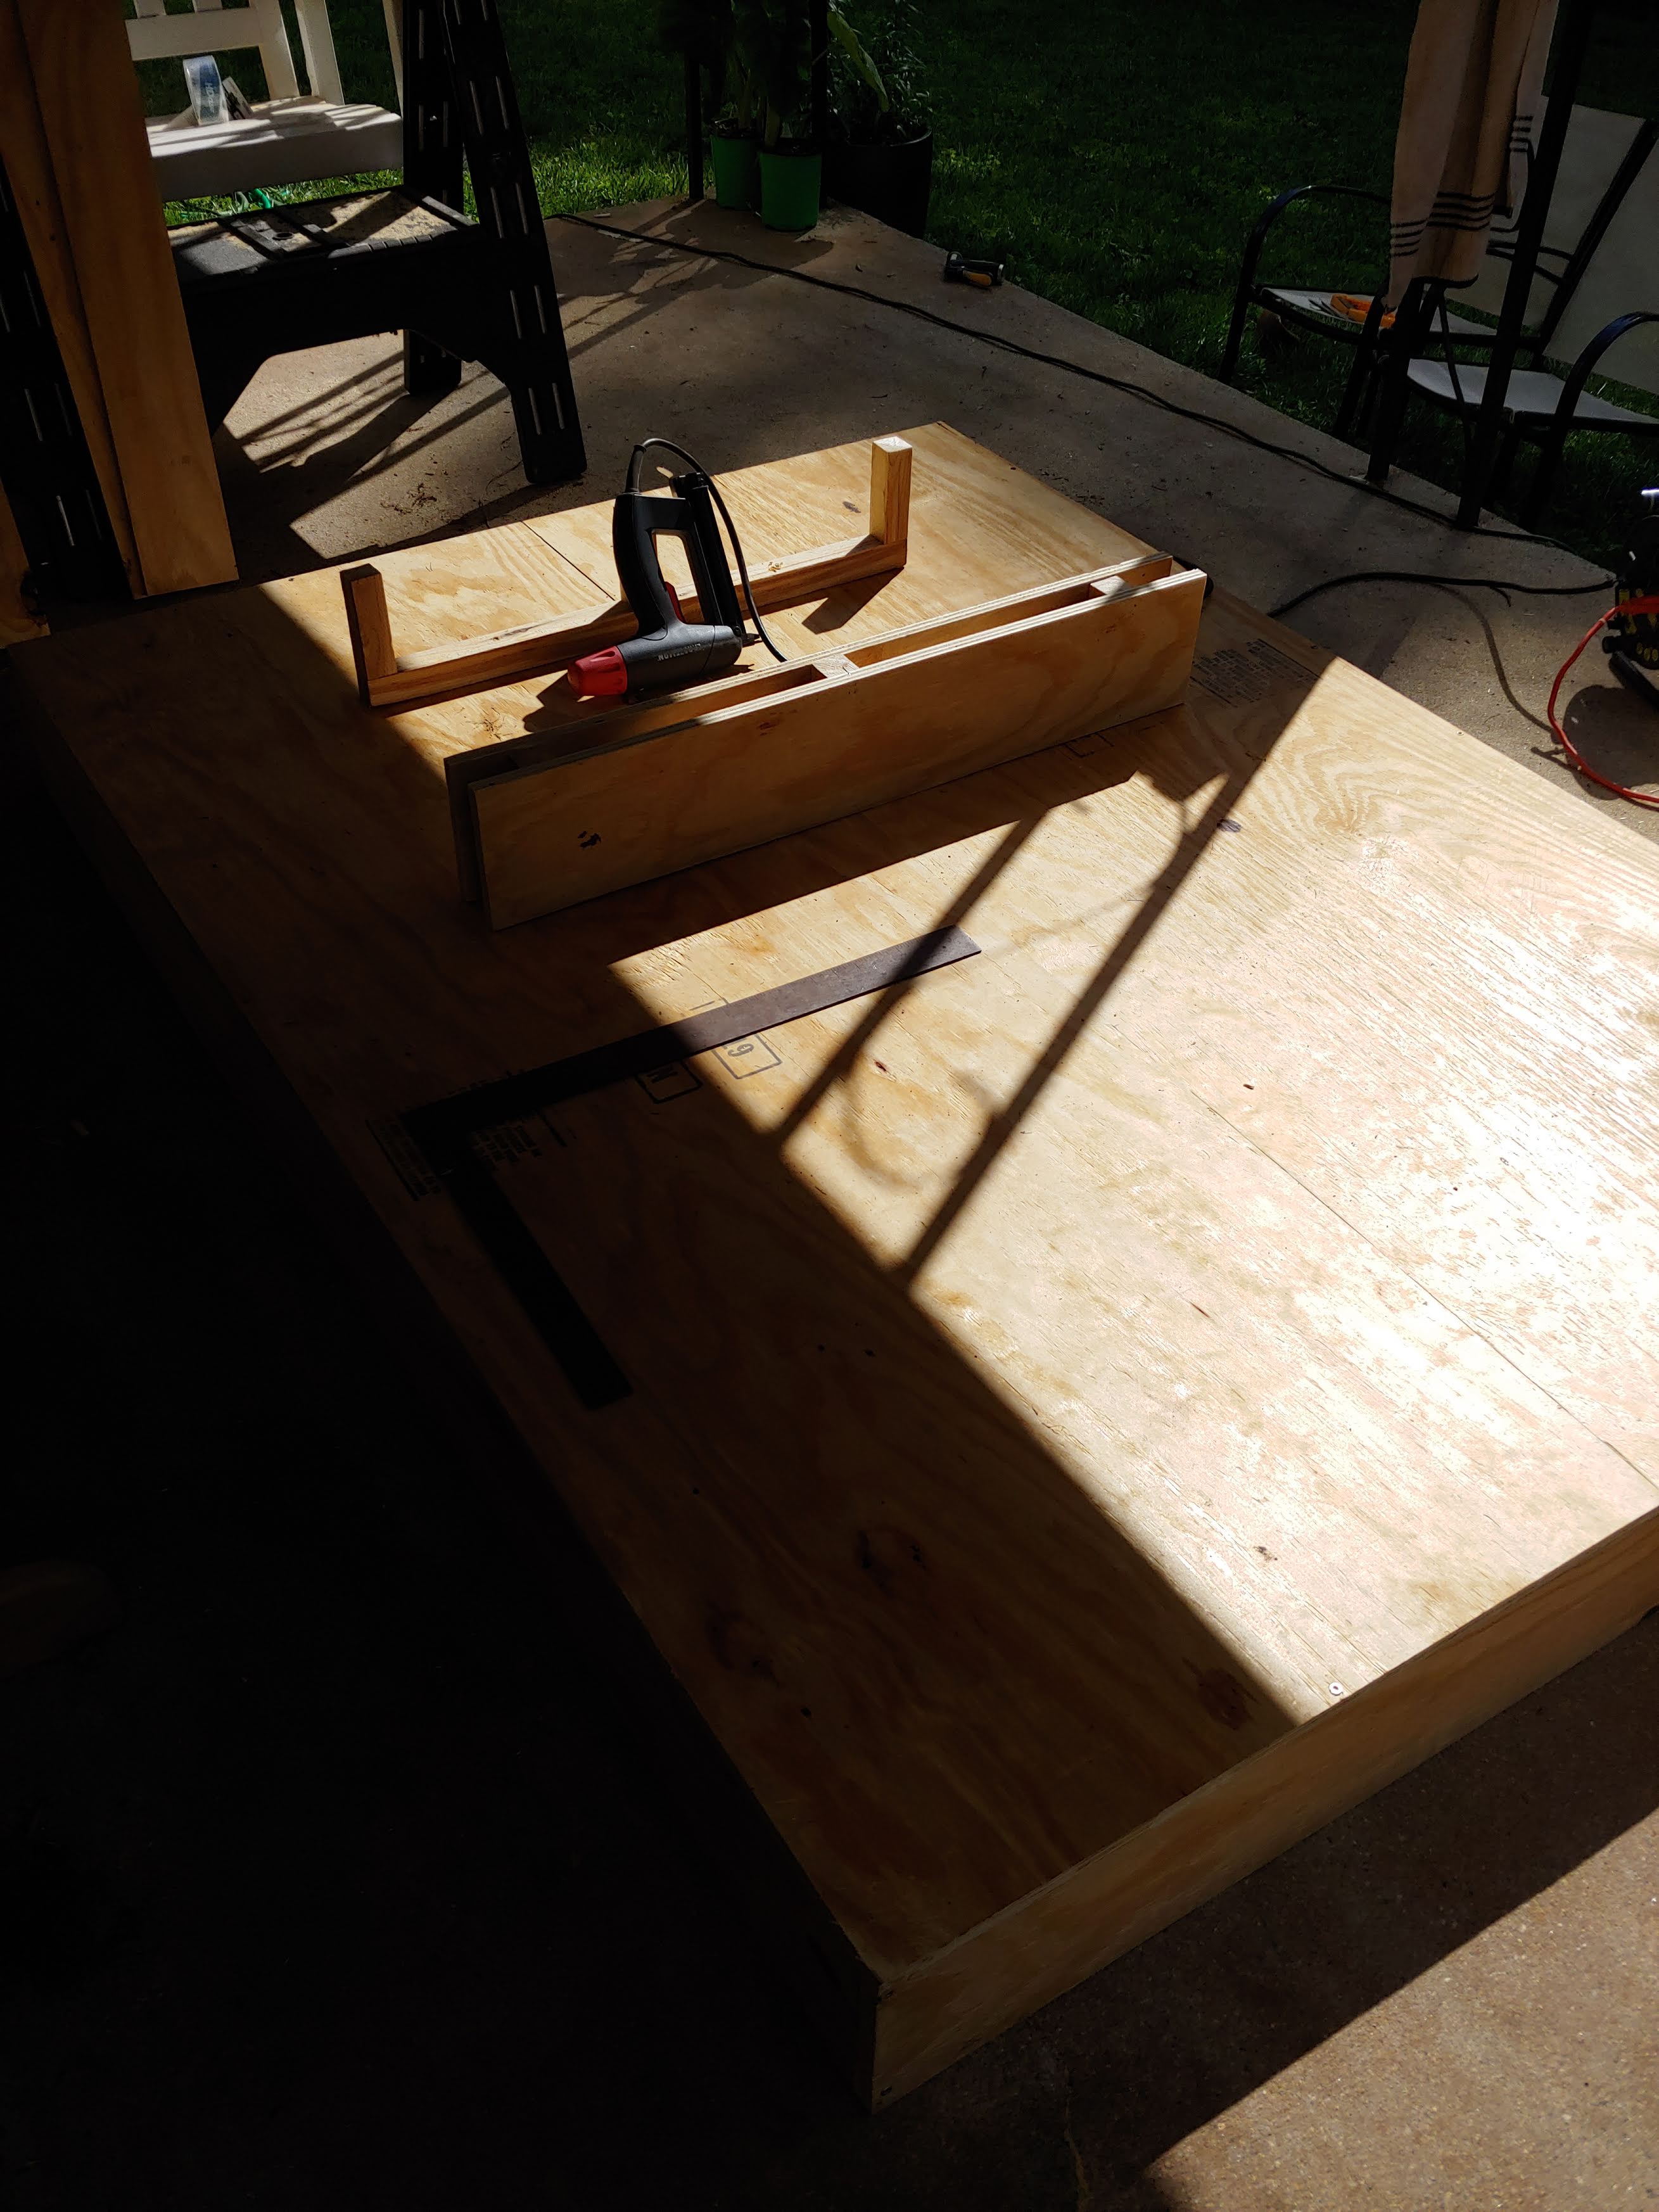
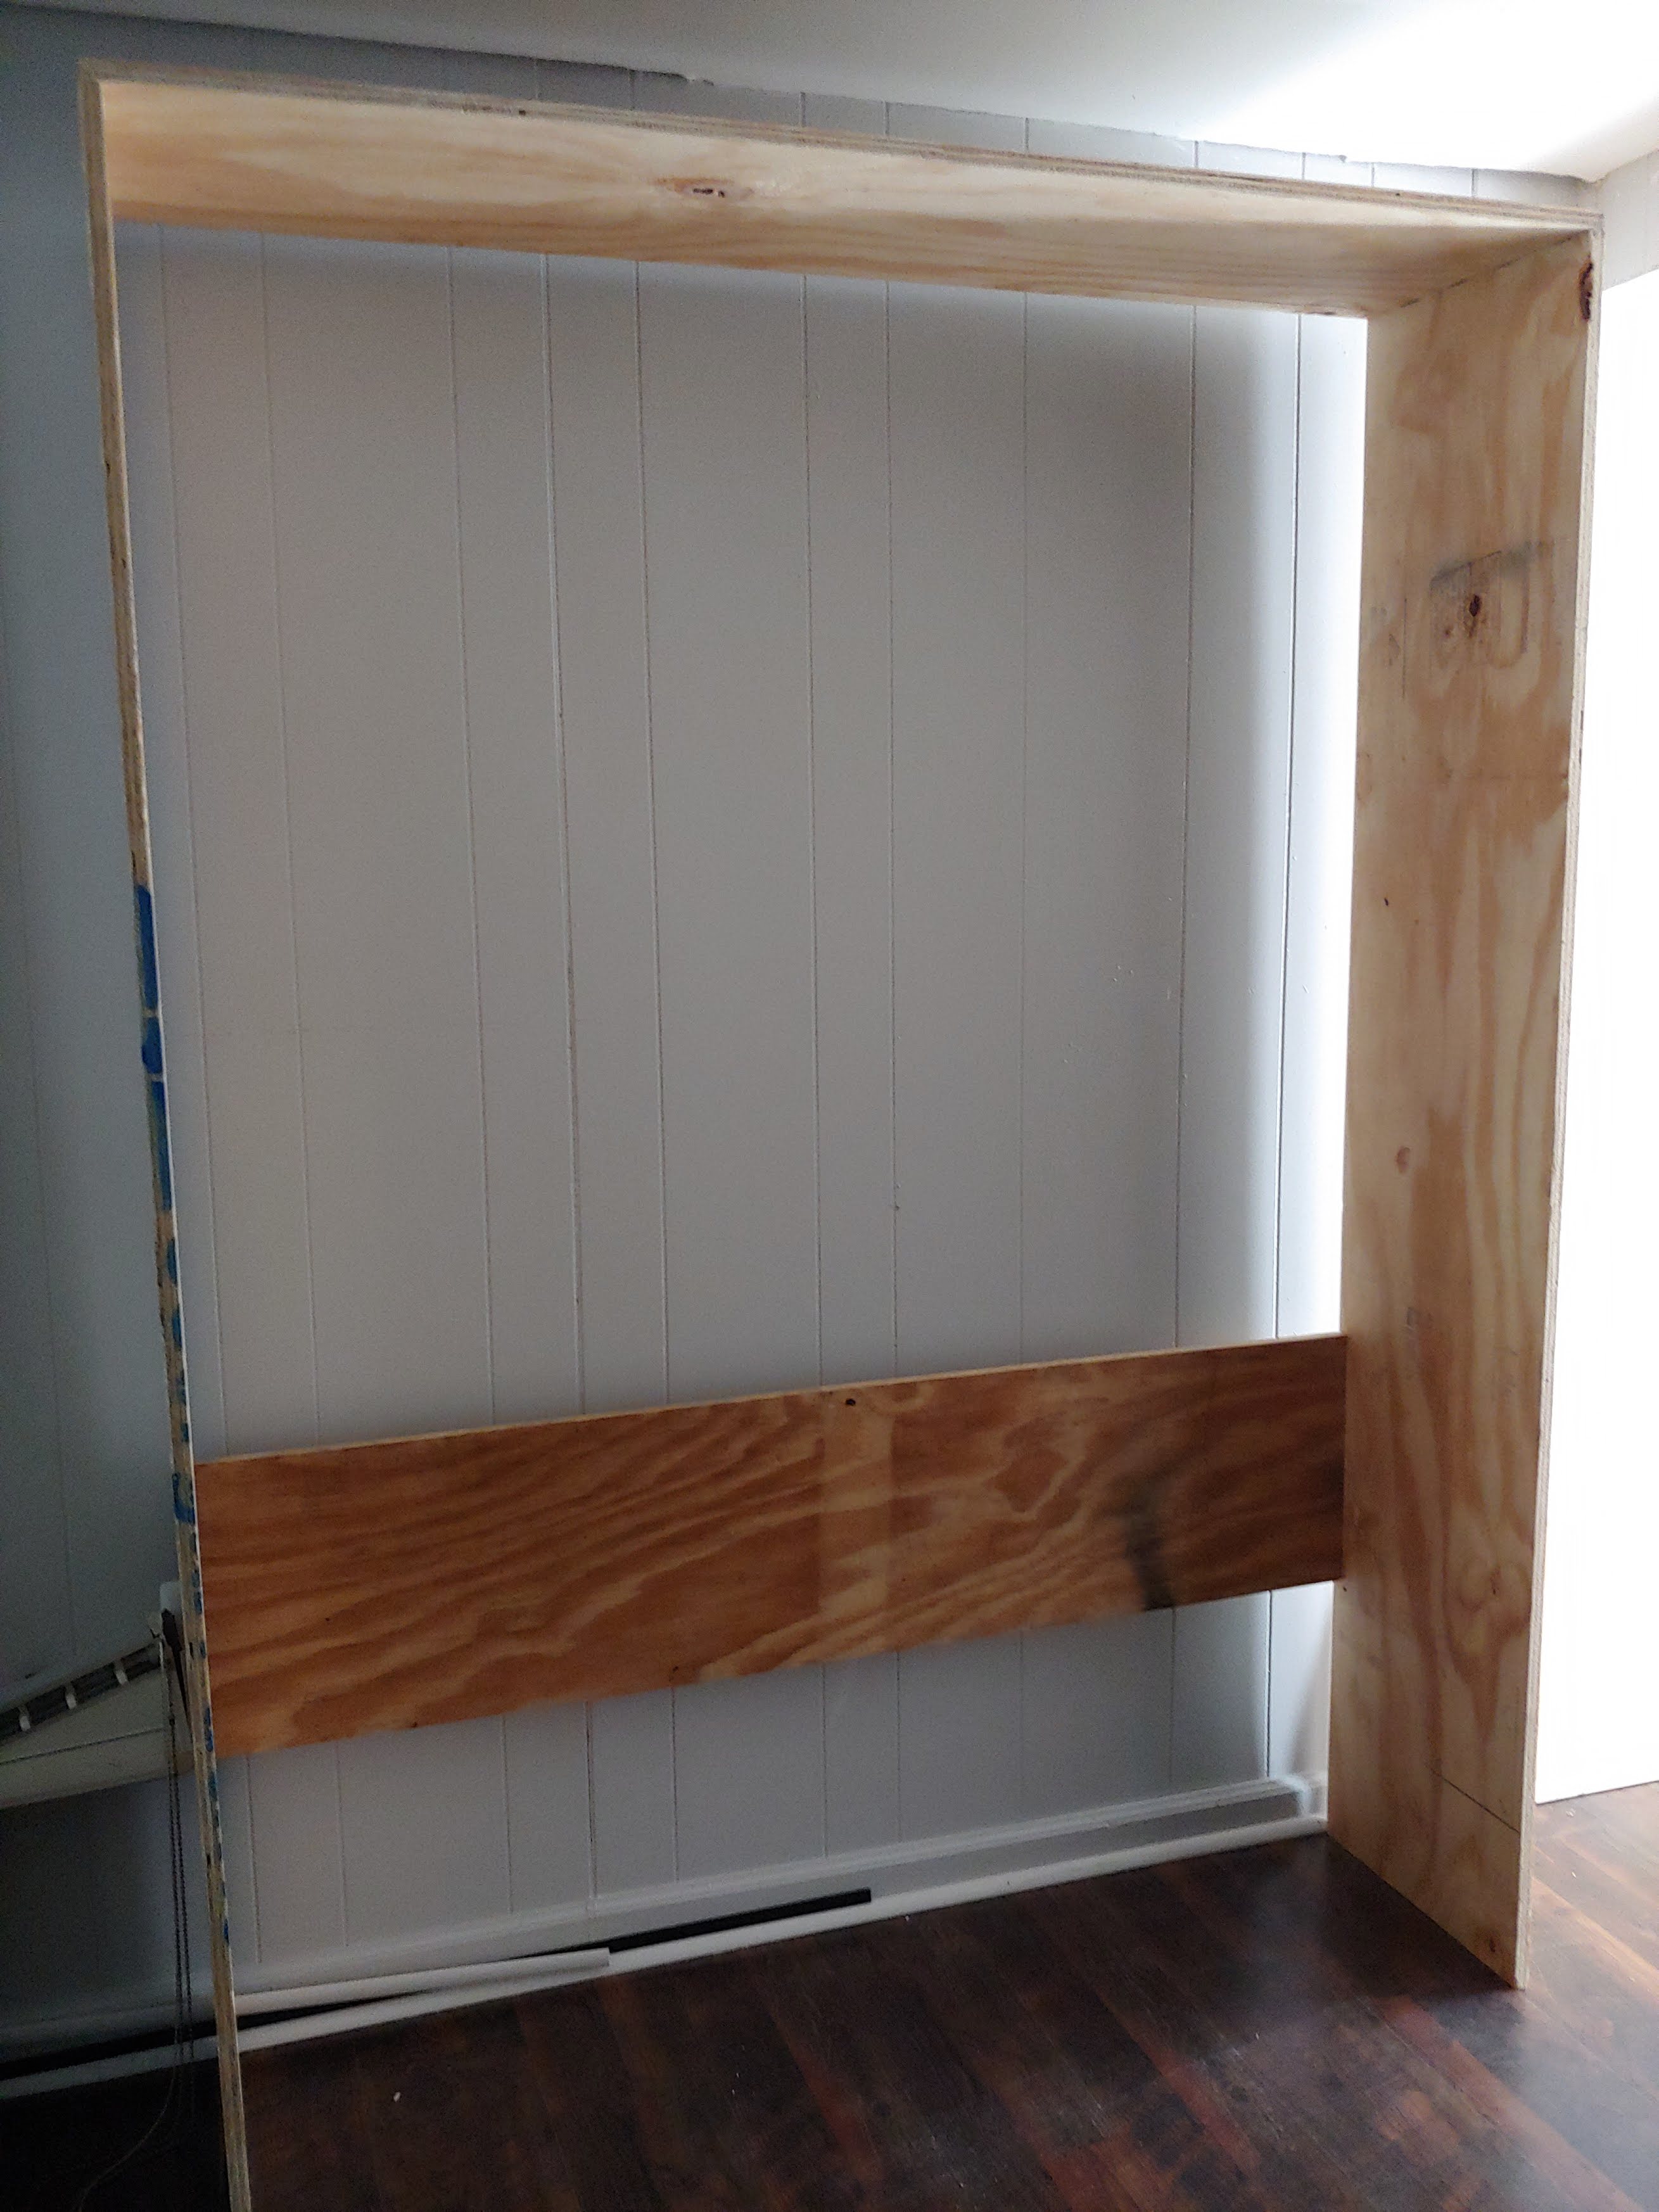
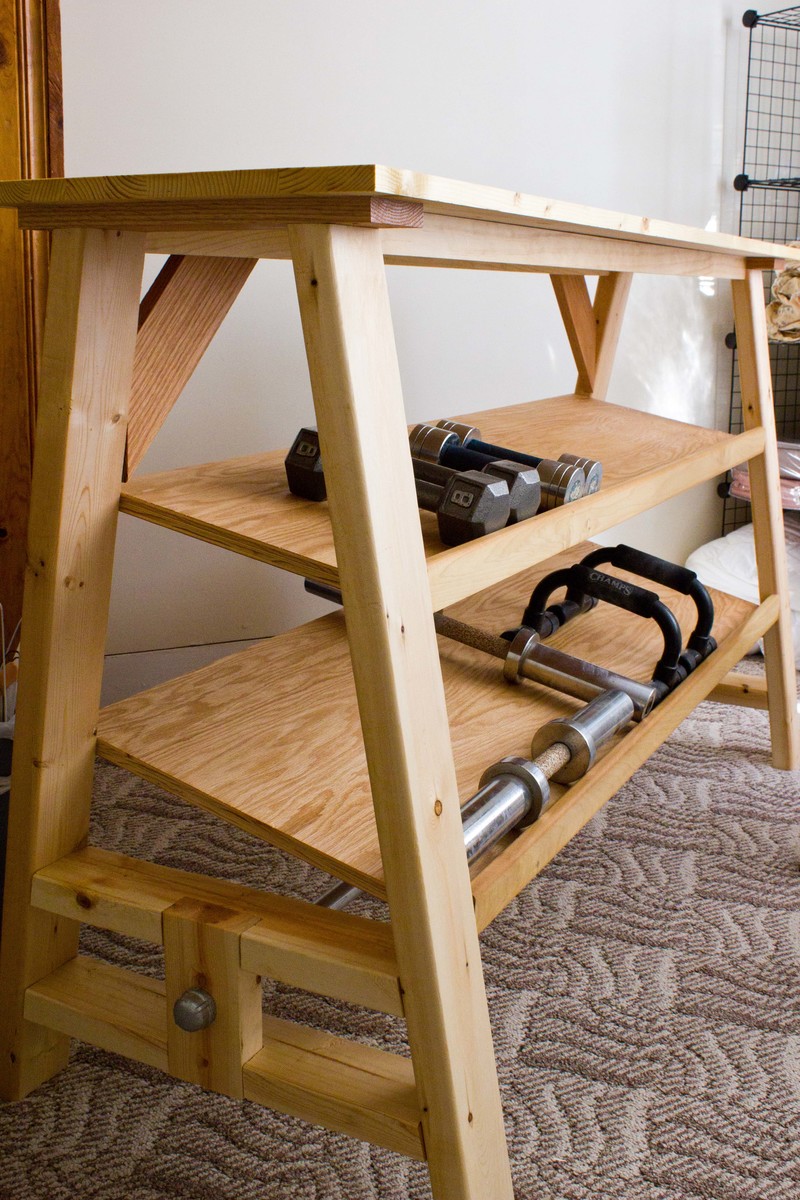
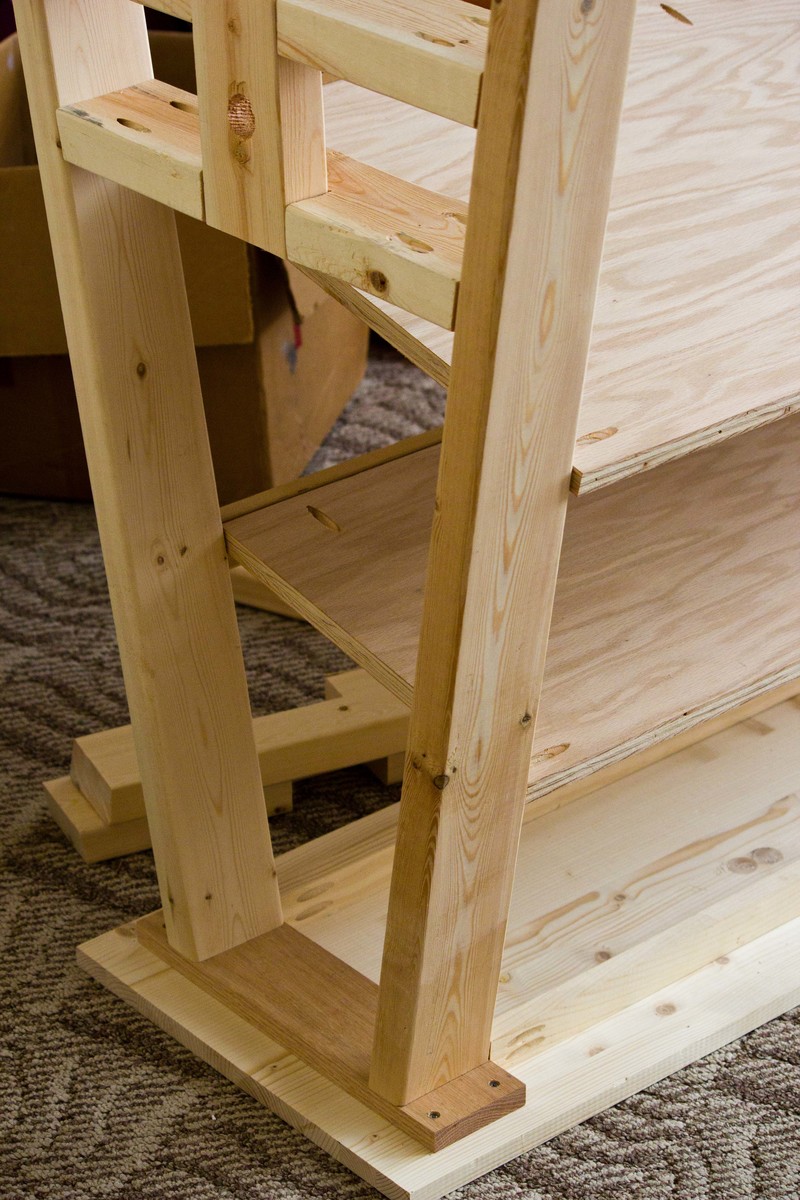
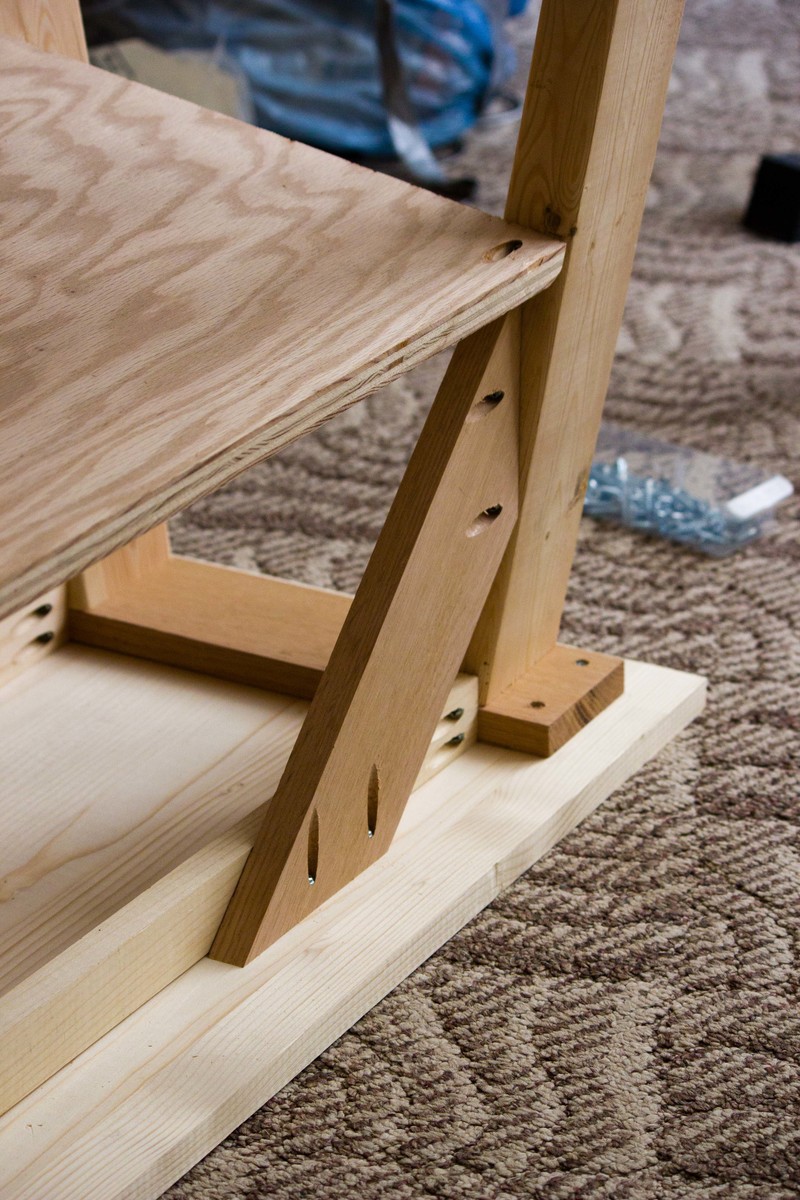
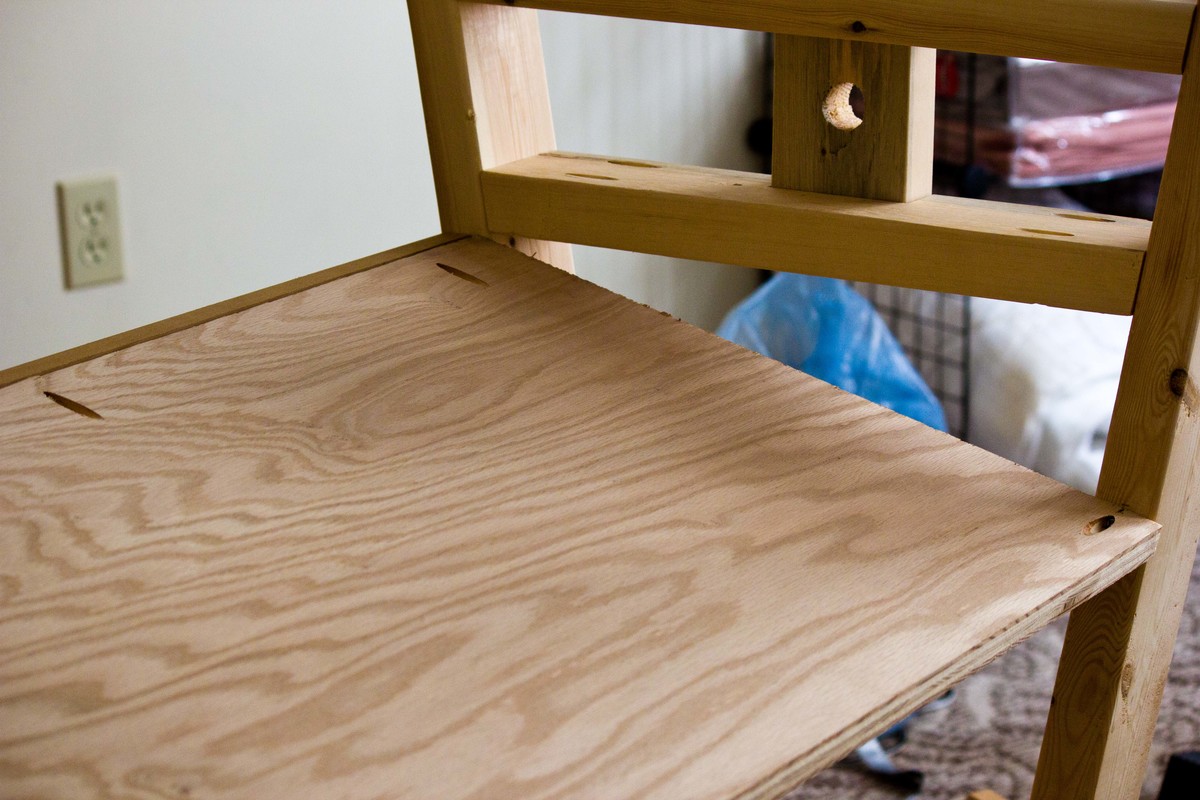
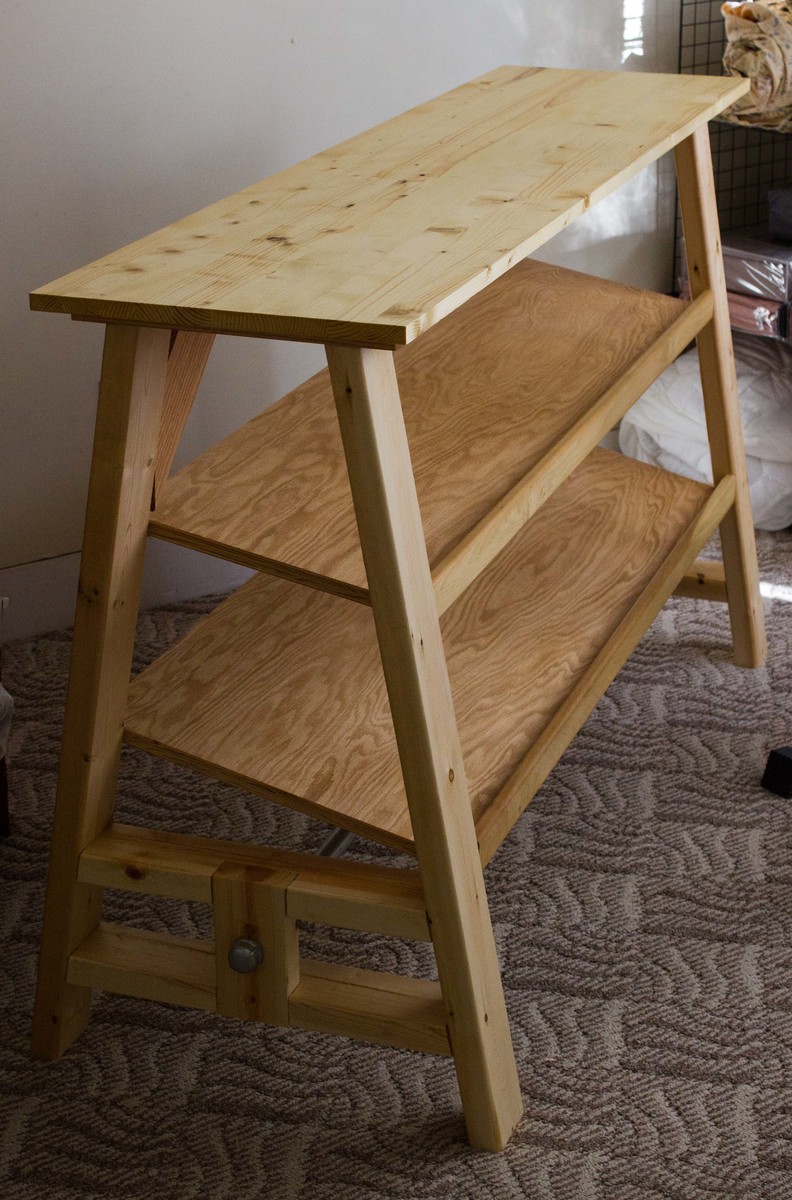
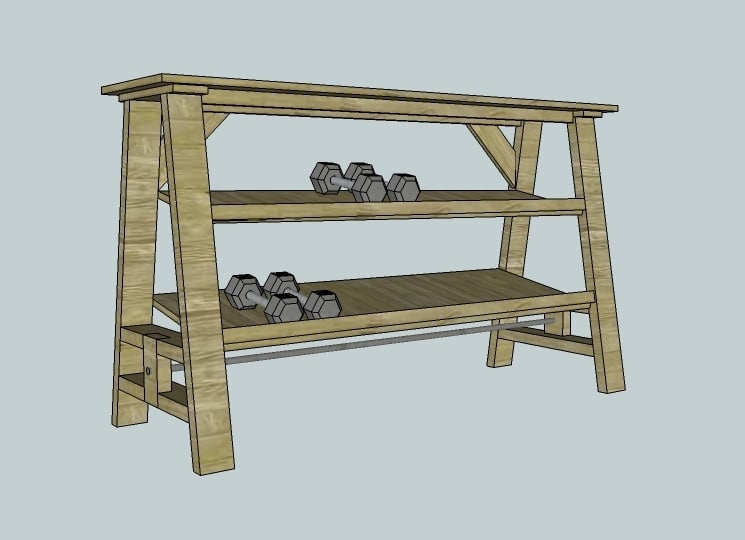
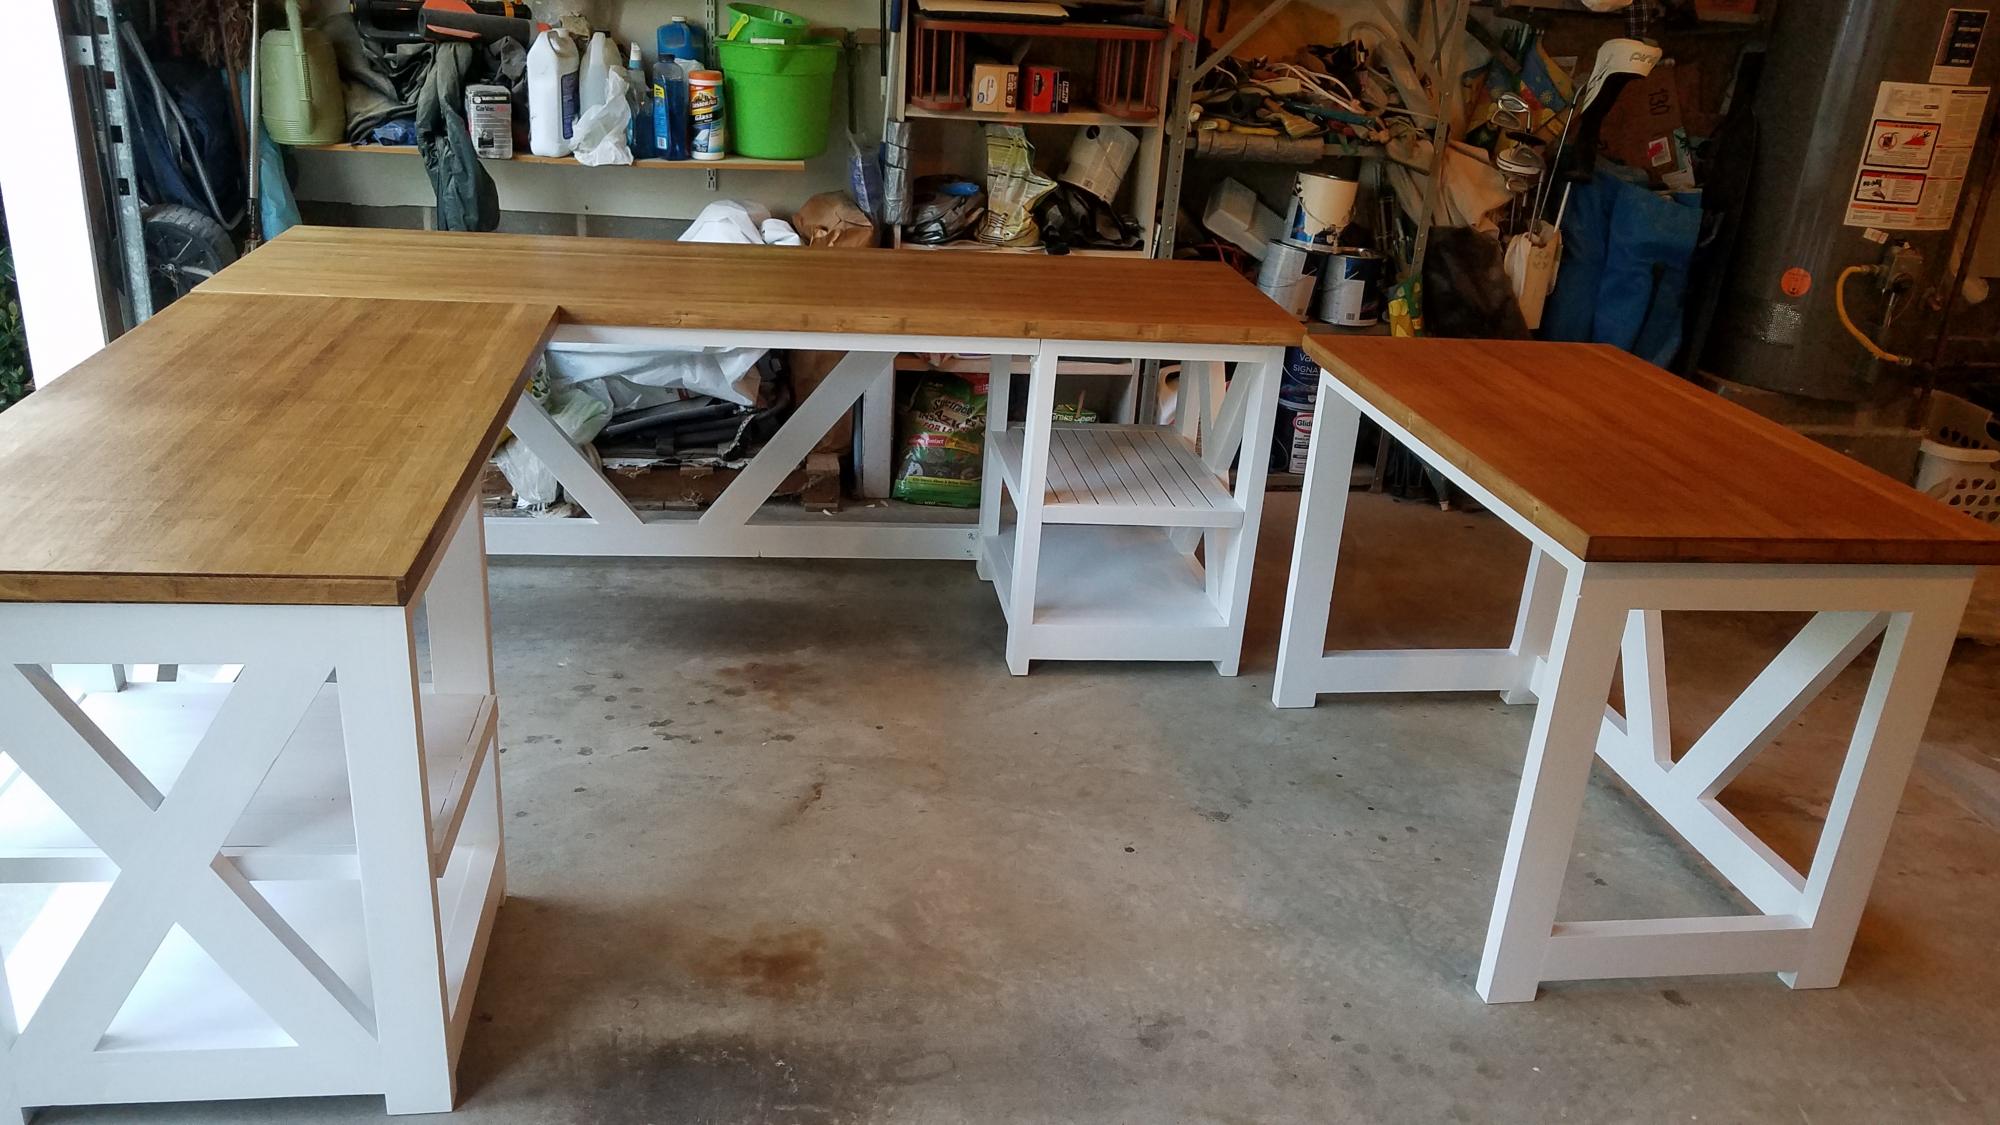
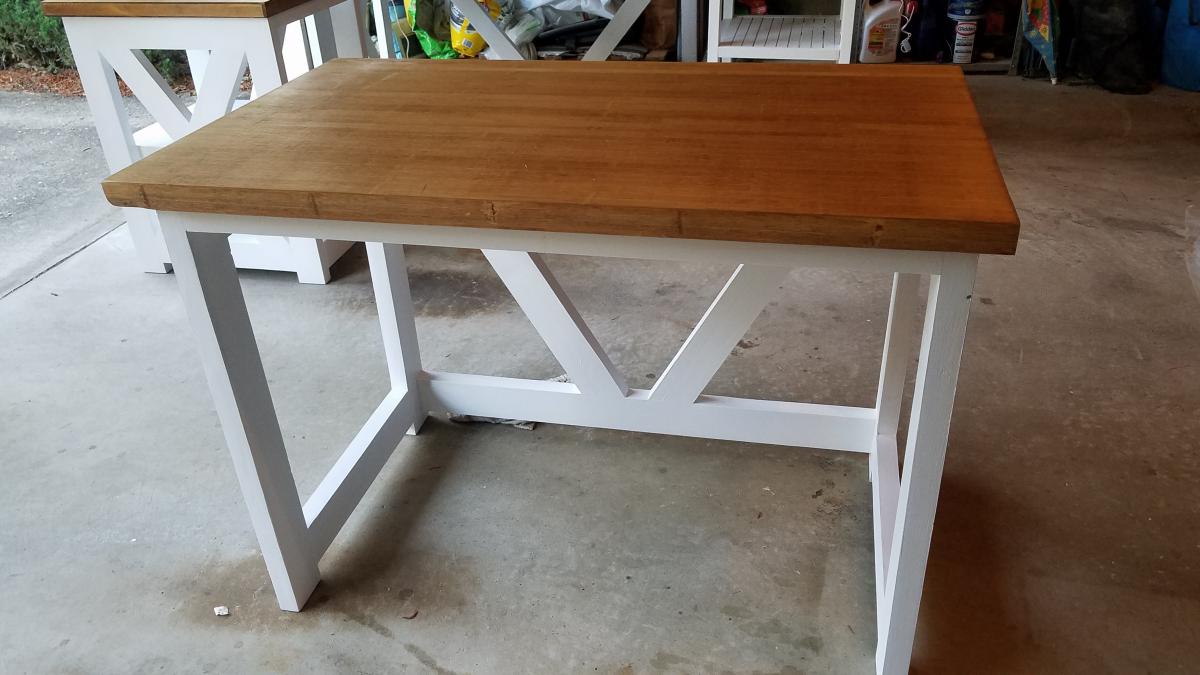
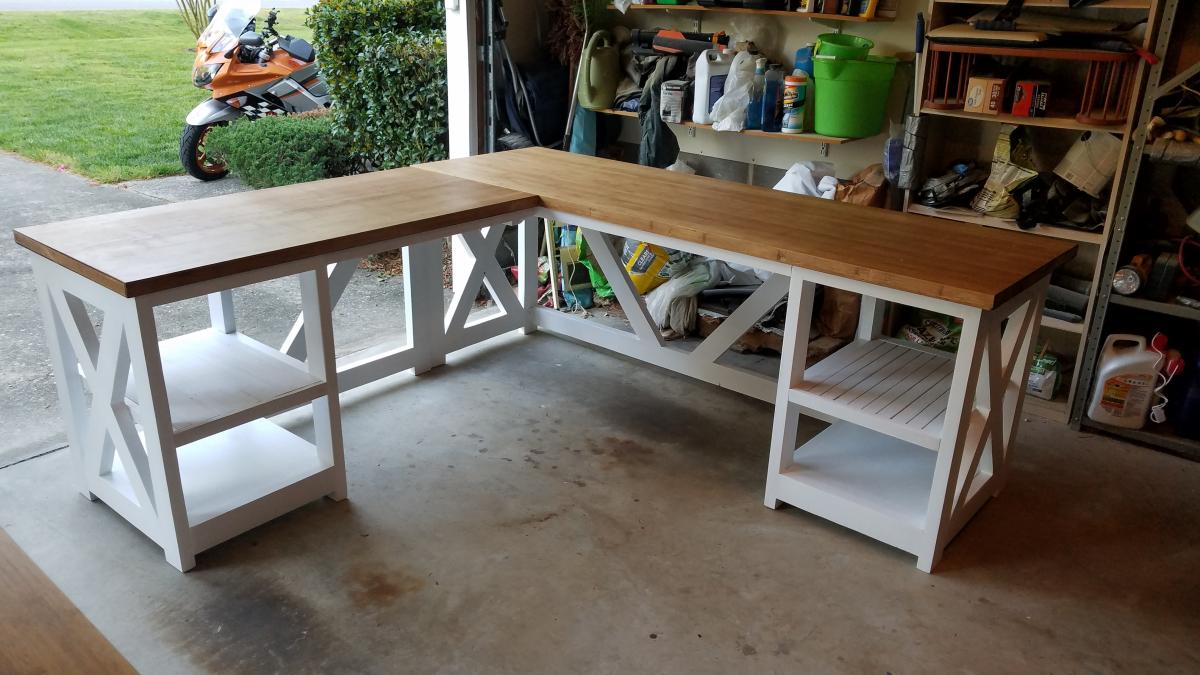
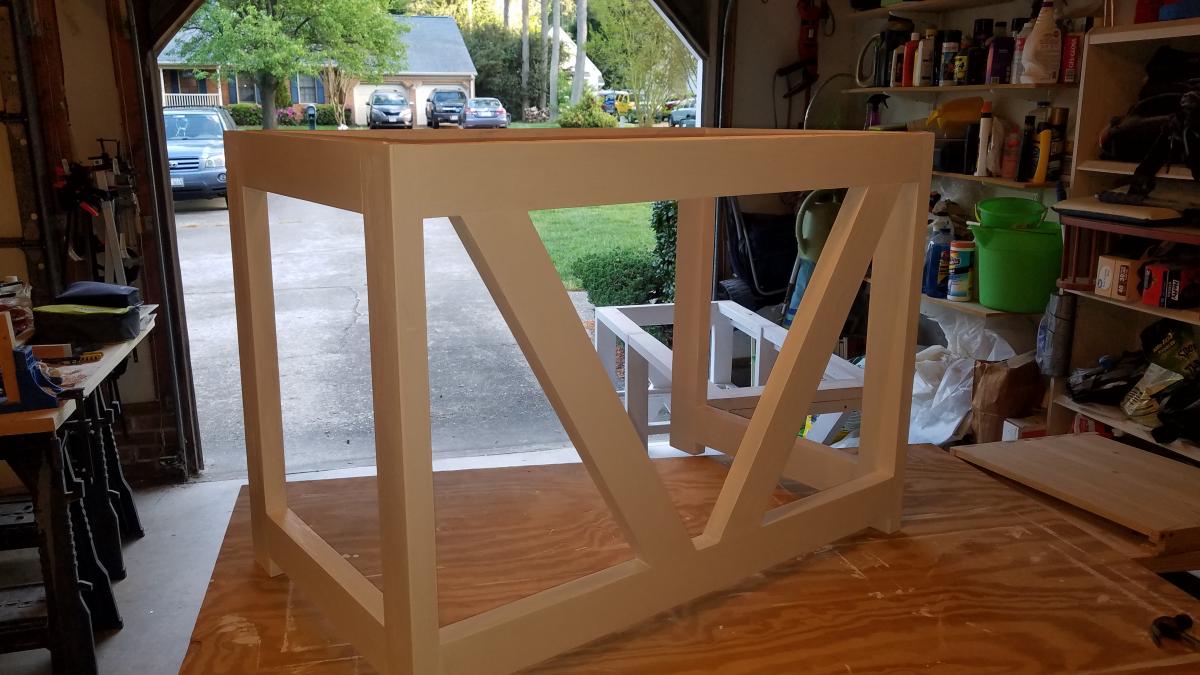
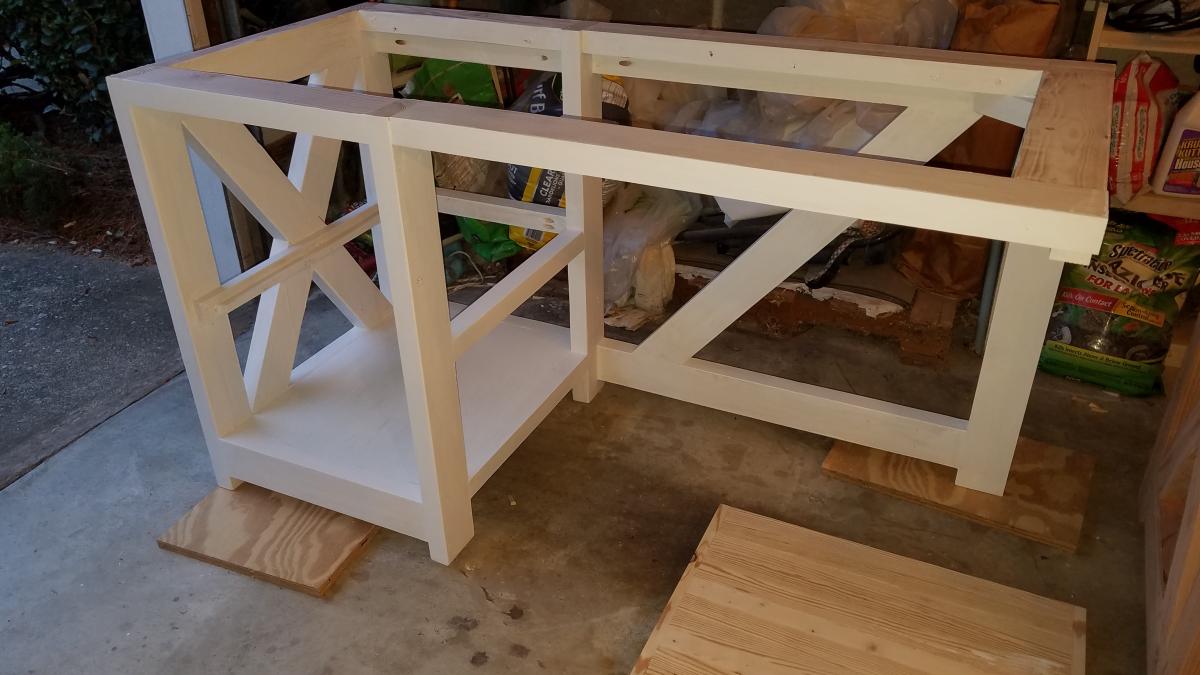
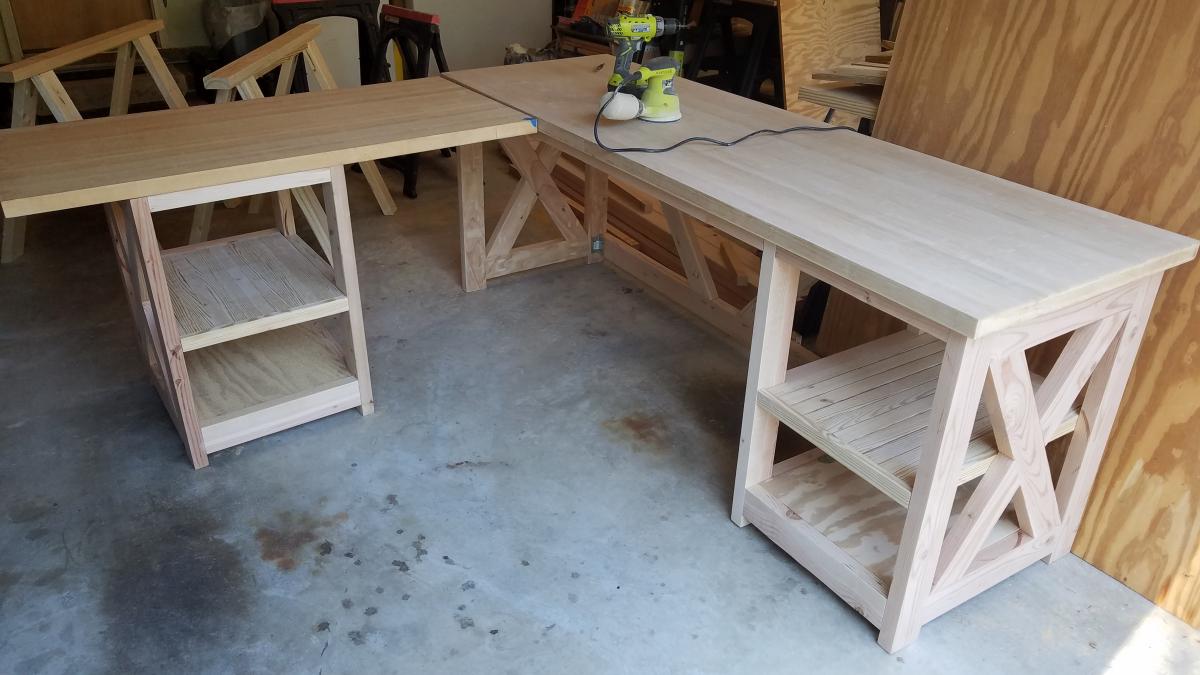
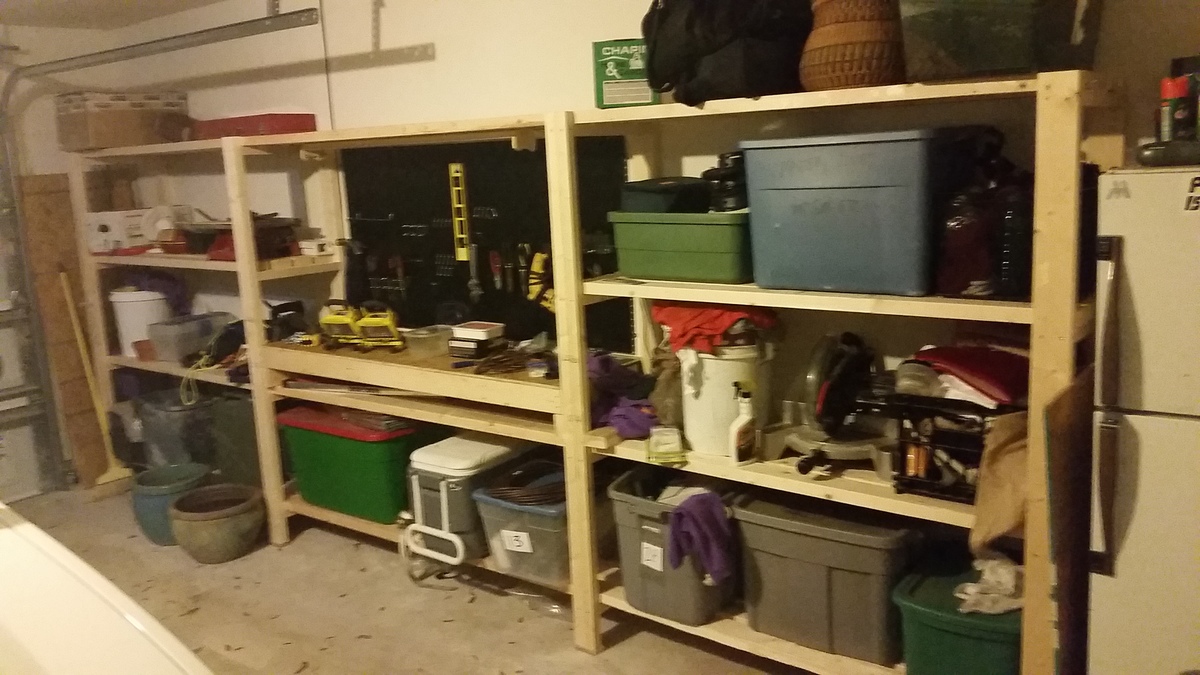
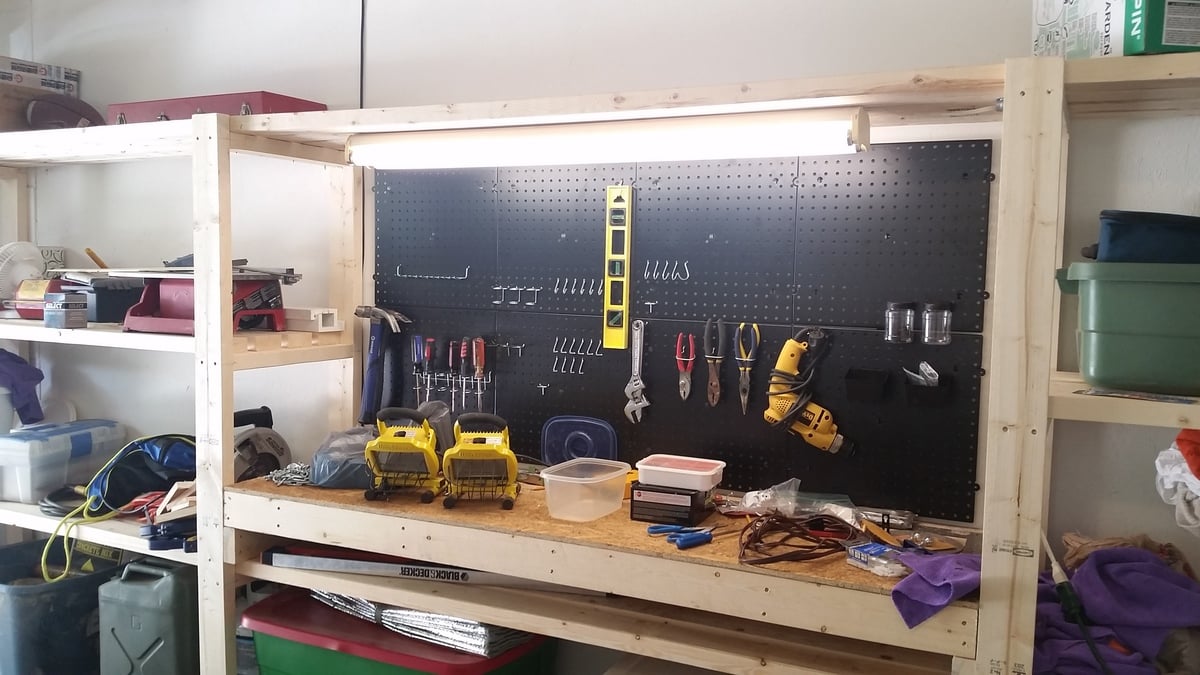
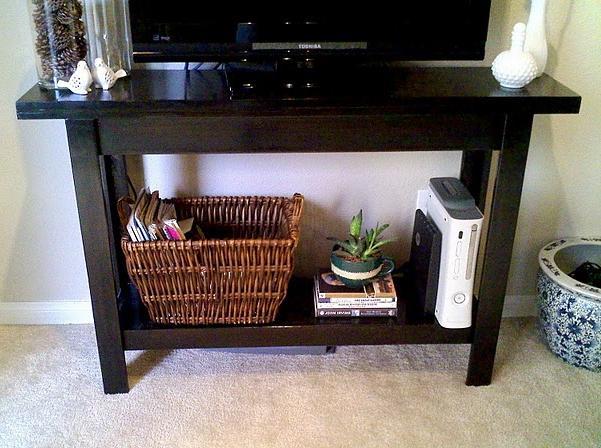
This table filled two needs at once for us: we needed a dumbbell or free-weight rack ($50 and up retail), and we needed some kind of desk-like surface for our home gym area that could withstand us two jump-roping fiends (um, maybe that's just my husband). Basically, it needed to be able to hold a lot (a Lot) of heavy metal stuff and take a beating while NOT Falling Over. The trestle desk was my biggest inspiration, and I guess I just stole the metal stretcher idea from that Pottery Barn dining table. It doesn't even really seem to need the metal stretcher, though...this table is beyond-my-wildest-dreams sturdy, even though it is standard counter height. The metal bar was about $17, so that's a big savings, if you leave it out. You MUST use a compound miter saw for this project. OR...you must be flexible about working with irregular cuts and joints. Also, I'm not sure I'd attempt butt-jointed 2x4's without pocket holes (or biscuit joints, I guess?), but that might just be me. I think this project could have taken only a single day if I hadn't screwed up just about every step of the way. I'm not the only one, right? You can read about a lot of those lovely embarrassments on my blog :) If you'd like the SketchUp model, it is available in the 3D Warehouse as "Dumbbell Table".


Comments
ThriftyGirl
Mon, 04/20/2015 - 05:15
Beautiful
Great job!
steiny
Wed, 05/20/2015 - 14:25
where are the plan located
where are the plan located
Cal3274
Tue, 06/09/2015 - 22:15
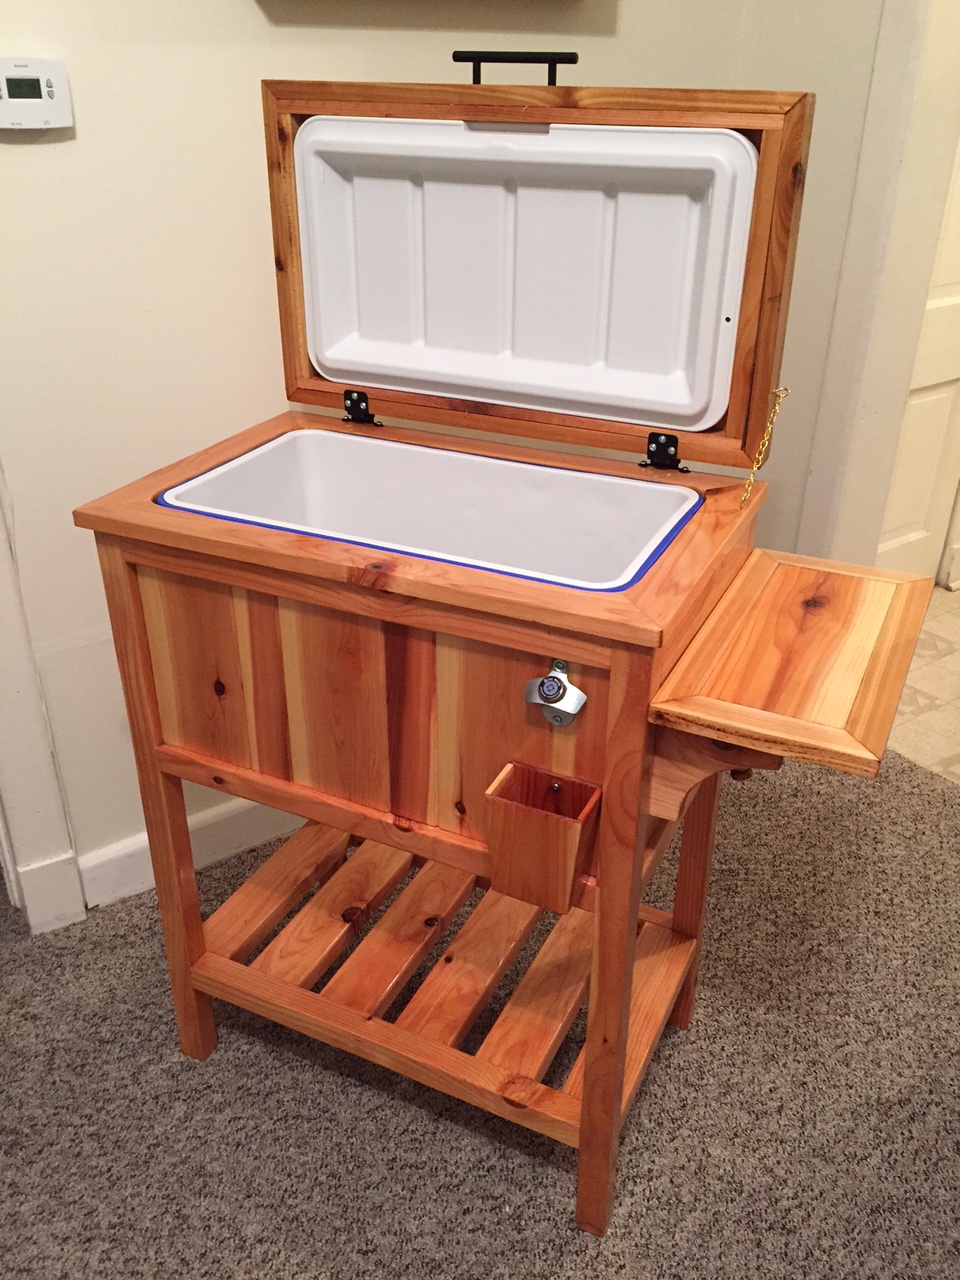
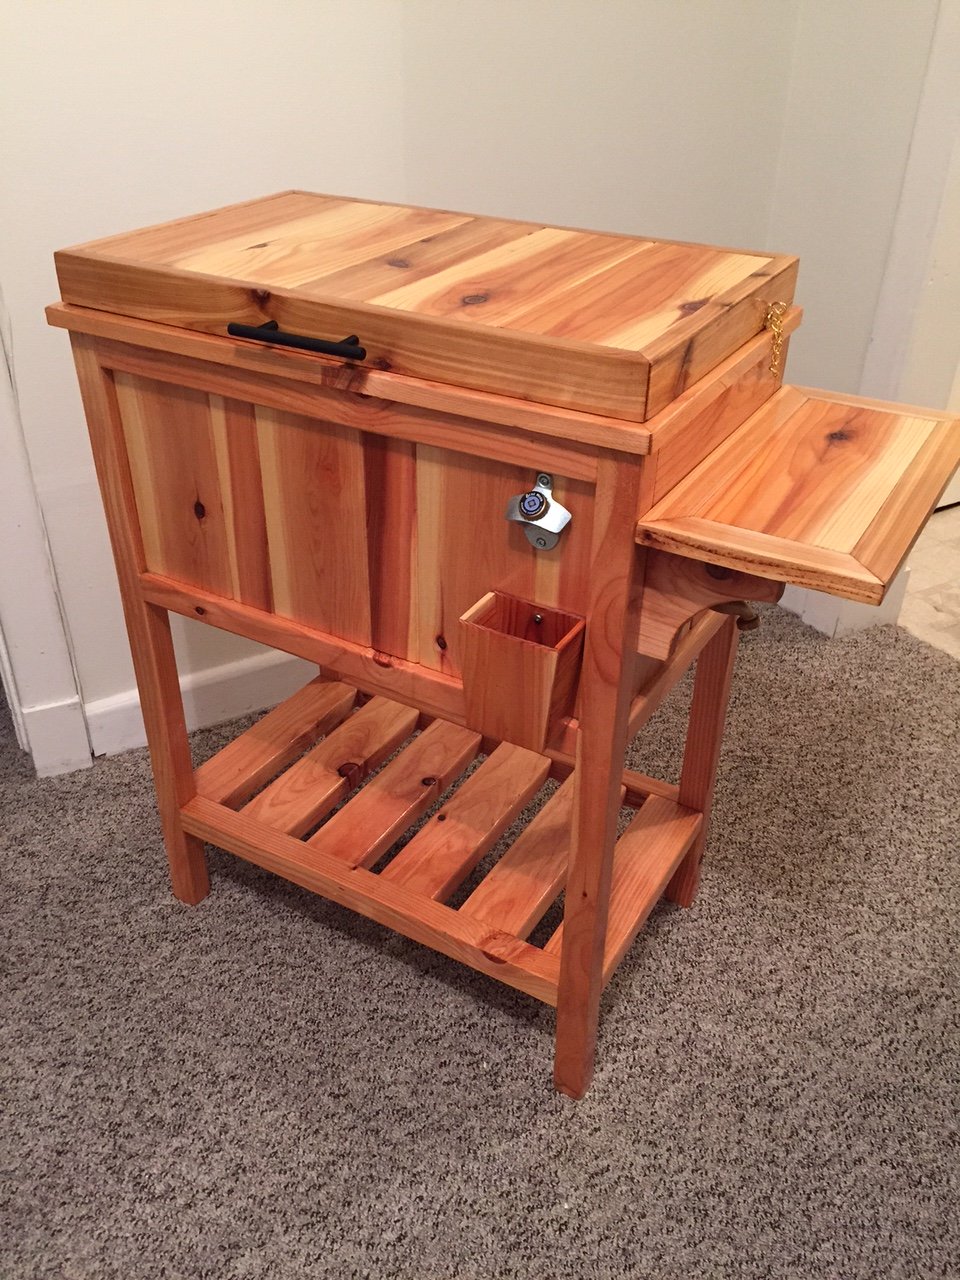
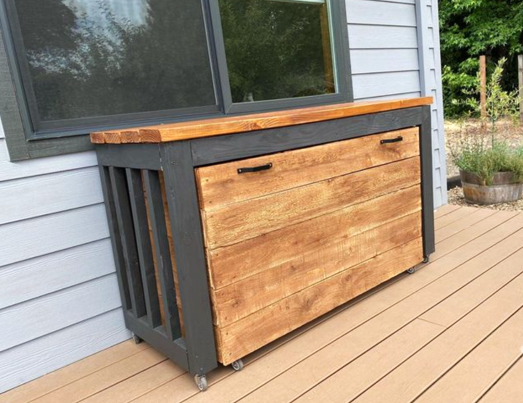
Cooler box
do you have the plans for this?
Thanks
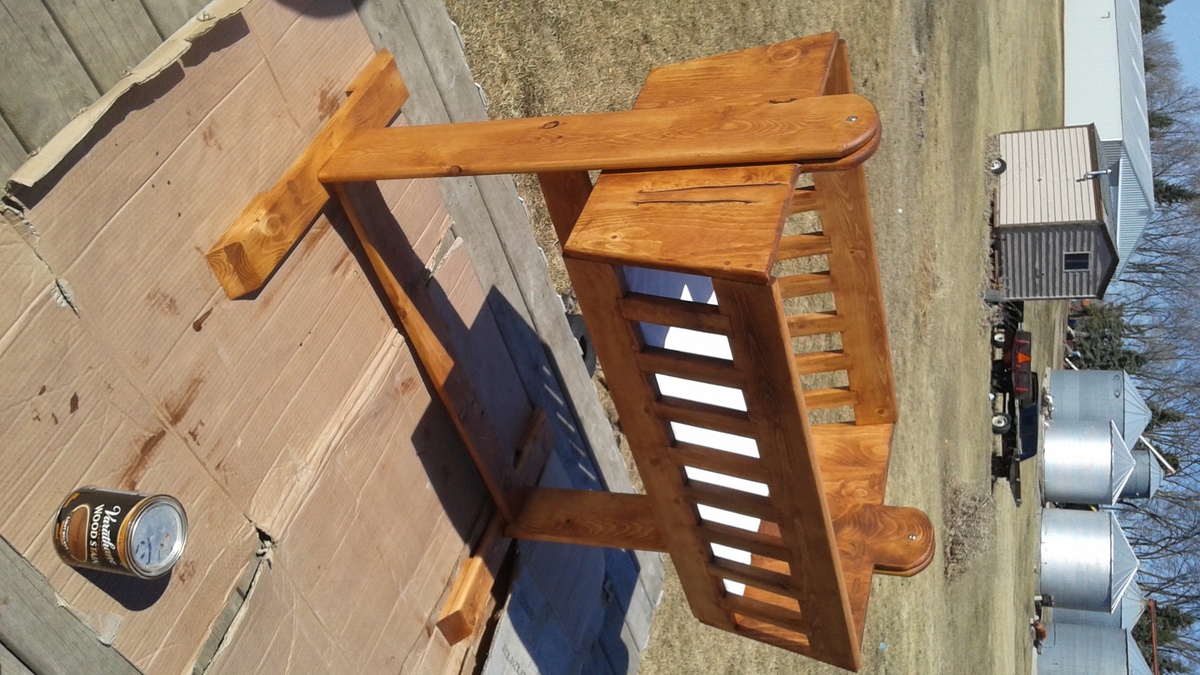
NoëlD
Wed, 06/10/2015 - 11:34
Plans
The plans for this can be found at the following web adress: http://ana-white.com/2013/06/plans/wood-cooler-birds-and-soap
Hope this helps
rodnsue
Wed, 02/24/2016 - 08:24
plans?
The link above is to a different chest
kaceythomas33
Thu, 03/17/2016 - 12:38
type of wood
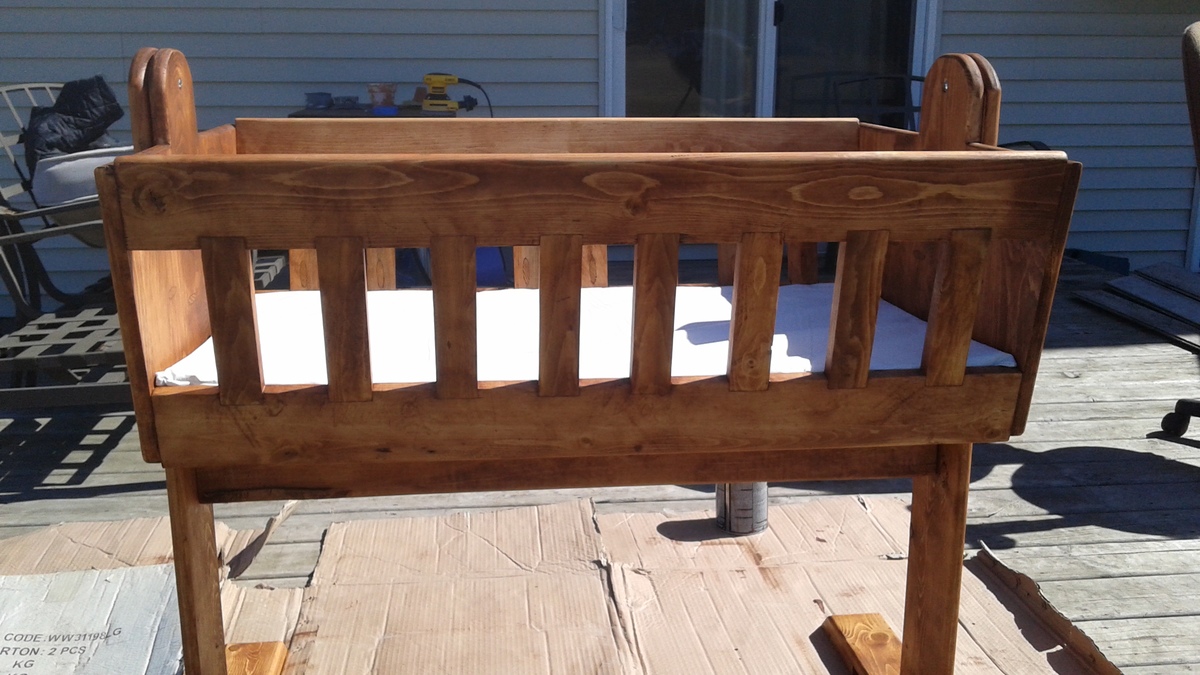
What type of wood? It looks like cedar. Very beautiful
saginaw
Mon, 03/21/2016 - 15:22
wooden cooler stand plans
How do I get the plans for this.
birdsandsoap
Mon, 07/11/2016 - 22:49
Well done!
This turned out absolutely beautiful, I love the natural finish!
Rcummins
Wed, 09/21/2016 - 08:07
Wooden Cooler Stand
New to this site. How do I get the plans for the Wooden Cooler Stand?
Thank you!
Monika
Tue, 08/25/2020 - 08:09
Good job
Good job