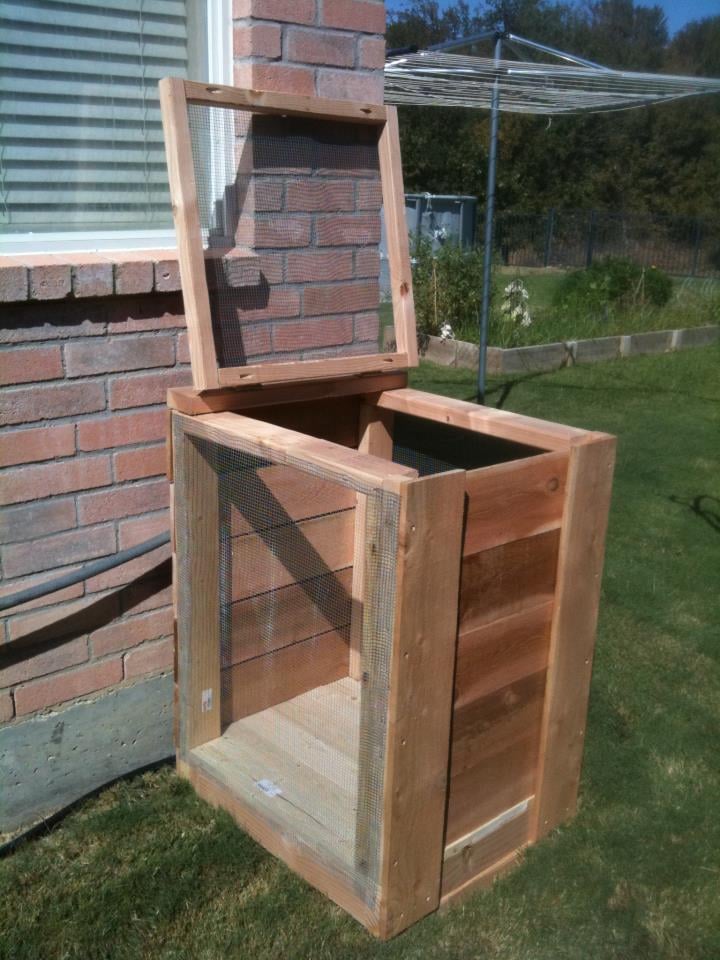
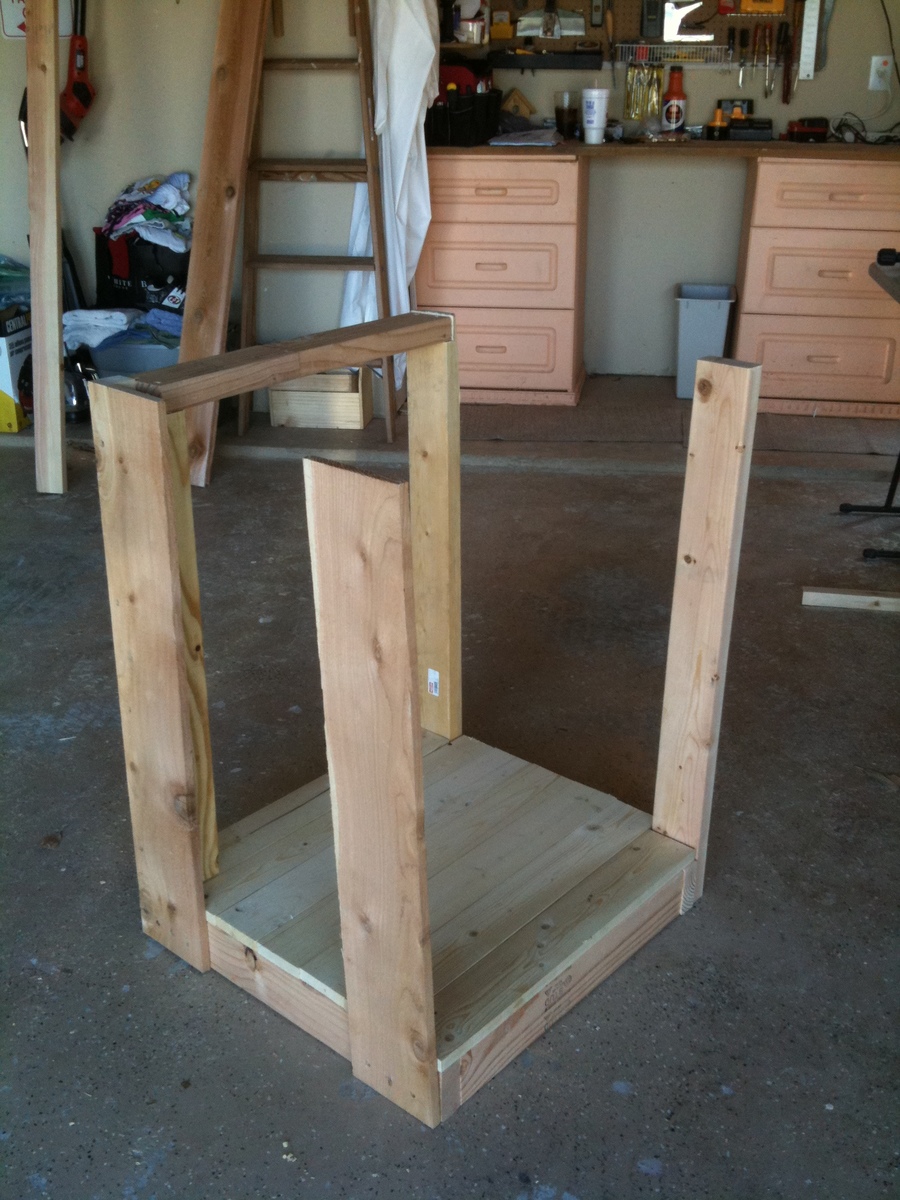
In my endeavor to be more green and self-providing, I started a backyard garden this past Spring. Thanks to the Texas heat, it was not as fruitful as I would have liked. I won't just blame the weather, but my novice status. I kept thinking I should have done more to amend the soil. So, I have been tossing around idea of composting to make my own nutrient rich soil and have a better experience with my garden next year. So, I found these plans online and I modified them down to a single 2'x2' sized bin. It also had to be mobile in that I could move it around my yard if I need to find a better place for it.
From Plan: Build A Compost Bin www.lowescreativeideas.com
http://lowescreativeideas.com/idea-library/projects/Building-a-Compost-…
Estimated Cost: $20 for Lumber $13 for Hardware Cloth $14 for Galvanized Hinges
Estimated Time Investment: 3 hours
Required Skill Level: Intermediate
Type of Wood: Cedar and Pine
Finish Used: Natural/Matt Finish
I was able to use some left over wood for my project, but the estimate above would represent all wood being purchased. I was not really happy on the price of the galvanized hinges and I used two of them at $7 each.
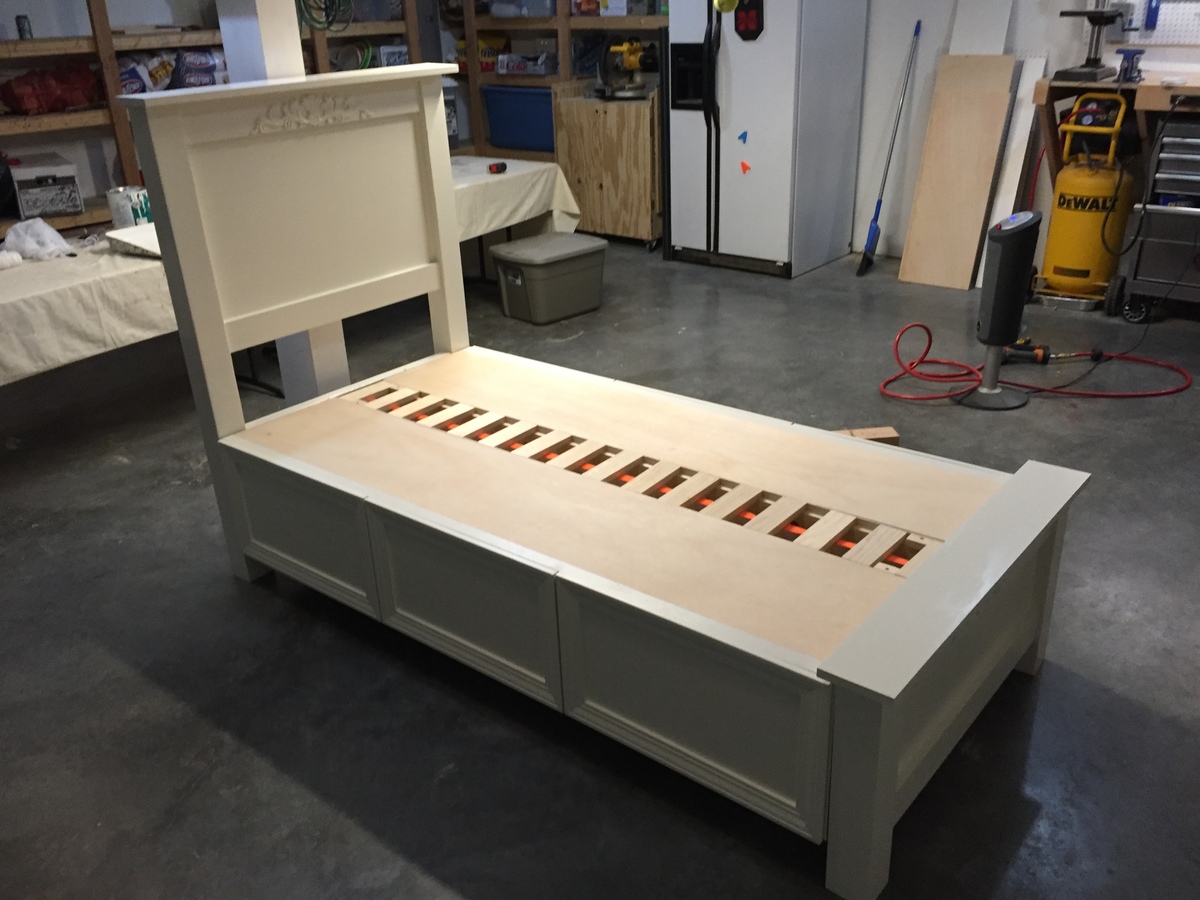
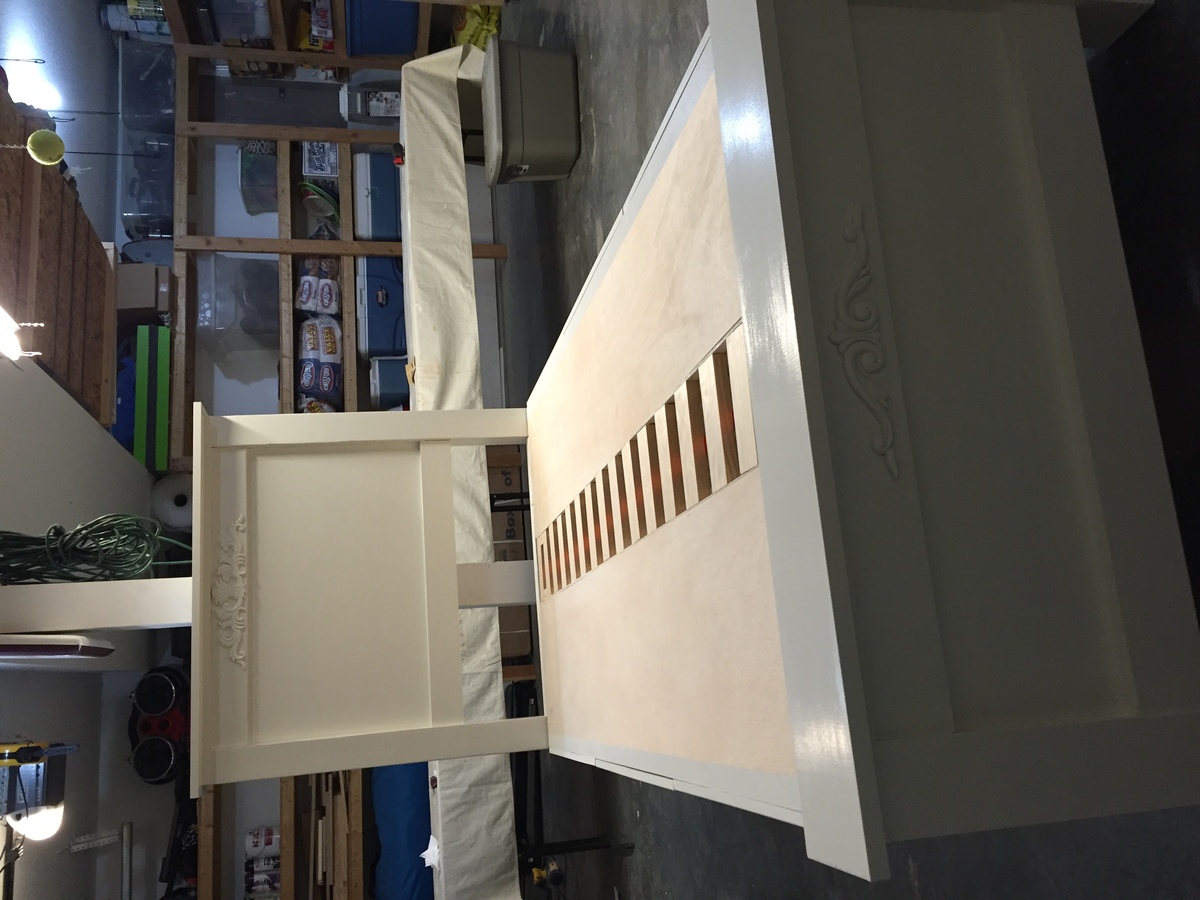
The plans also called for 2x6's for the bottom, but that sized plank would have made it very very heavy and to me the whole point of having a bottom to your compost is so that you can move it if need be... so I use 1x4's
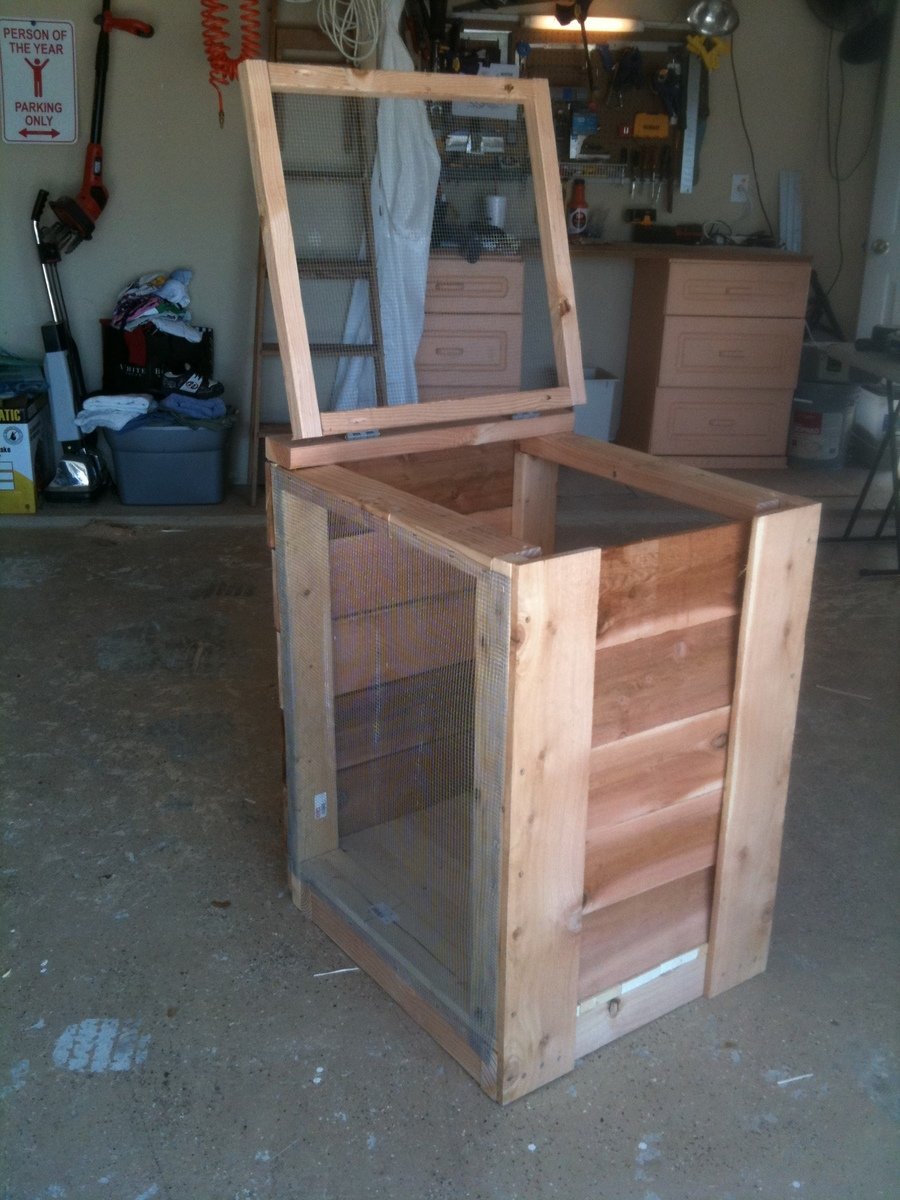
Since I didn't want my compost to come into contact with pre-treating chemicals, I did not use pretreated wood. Instead, I put a light coating of a matte finish on only the wood that would stay in contact with moisture. Otherwise, I want the cedar to mellow and age.
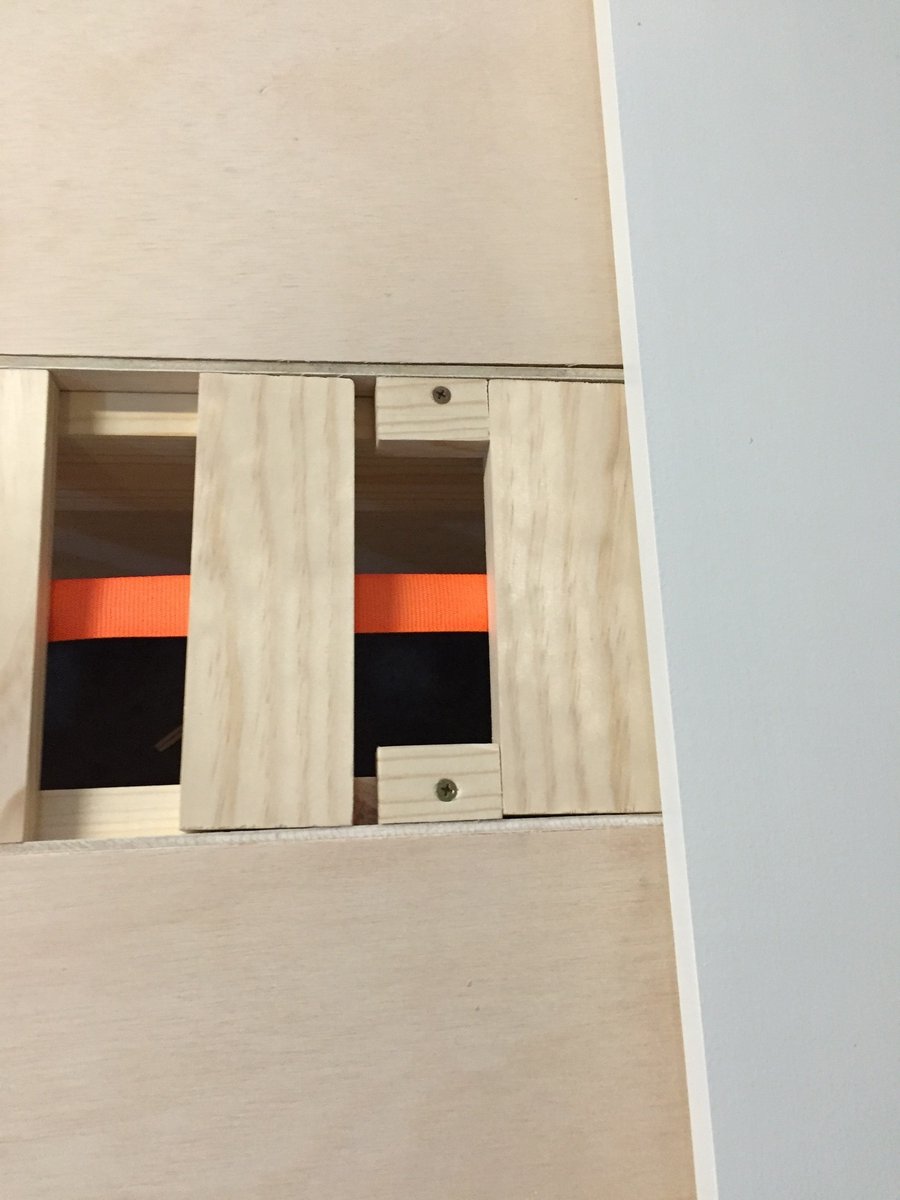
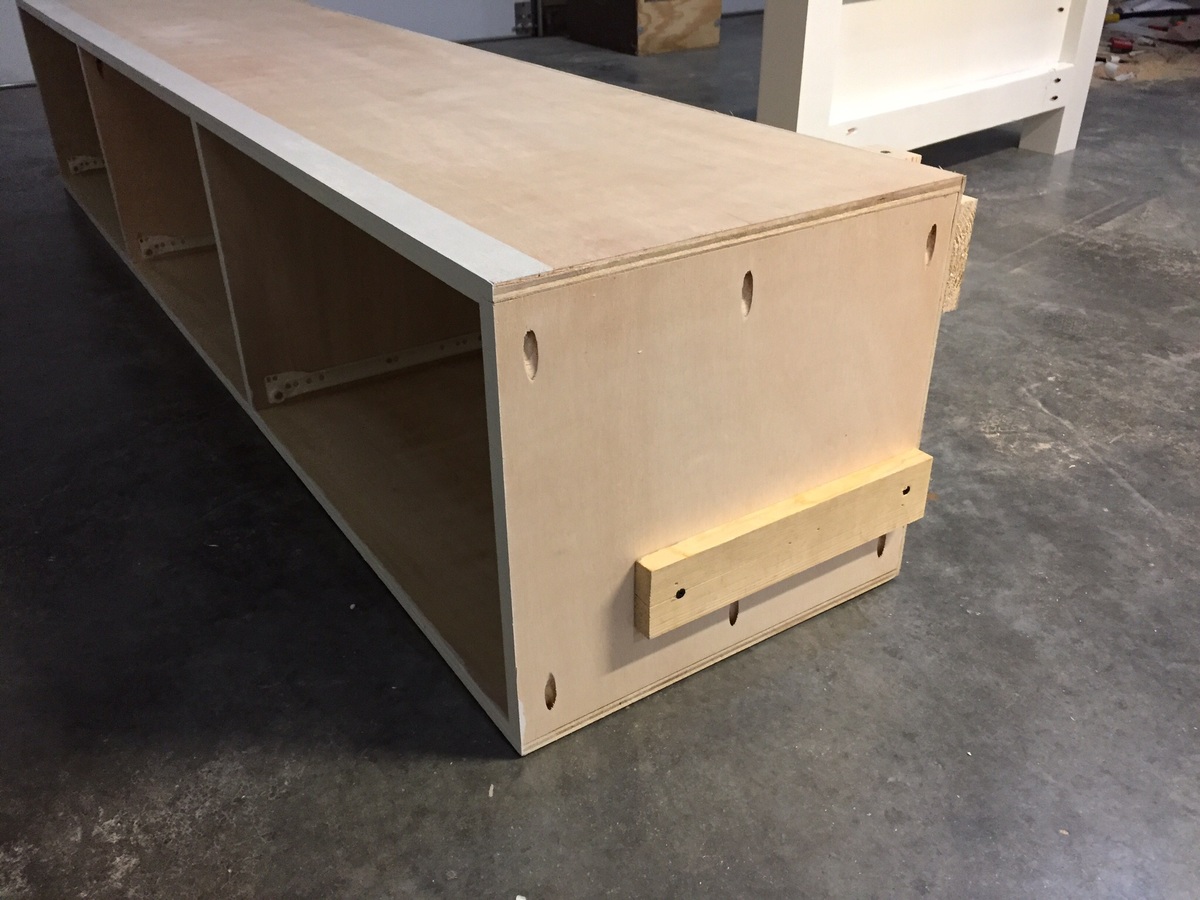
My final cost was about $40 using some left over wood. In one case, I actually used my Kreg Jig to create a 2x4 of appropriate length with some of my scraps. Worked beautifully. Also used it on the lid, as you can see in the picture.


Comments
Ana White Admin
Thu, 07/28/2022 - 11:02
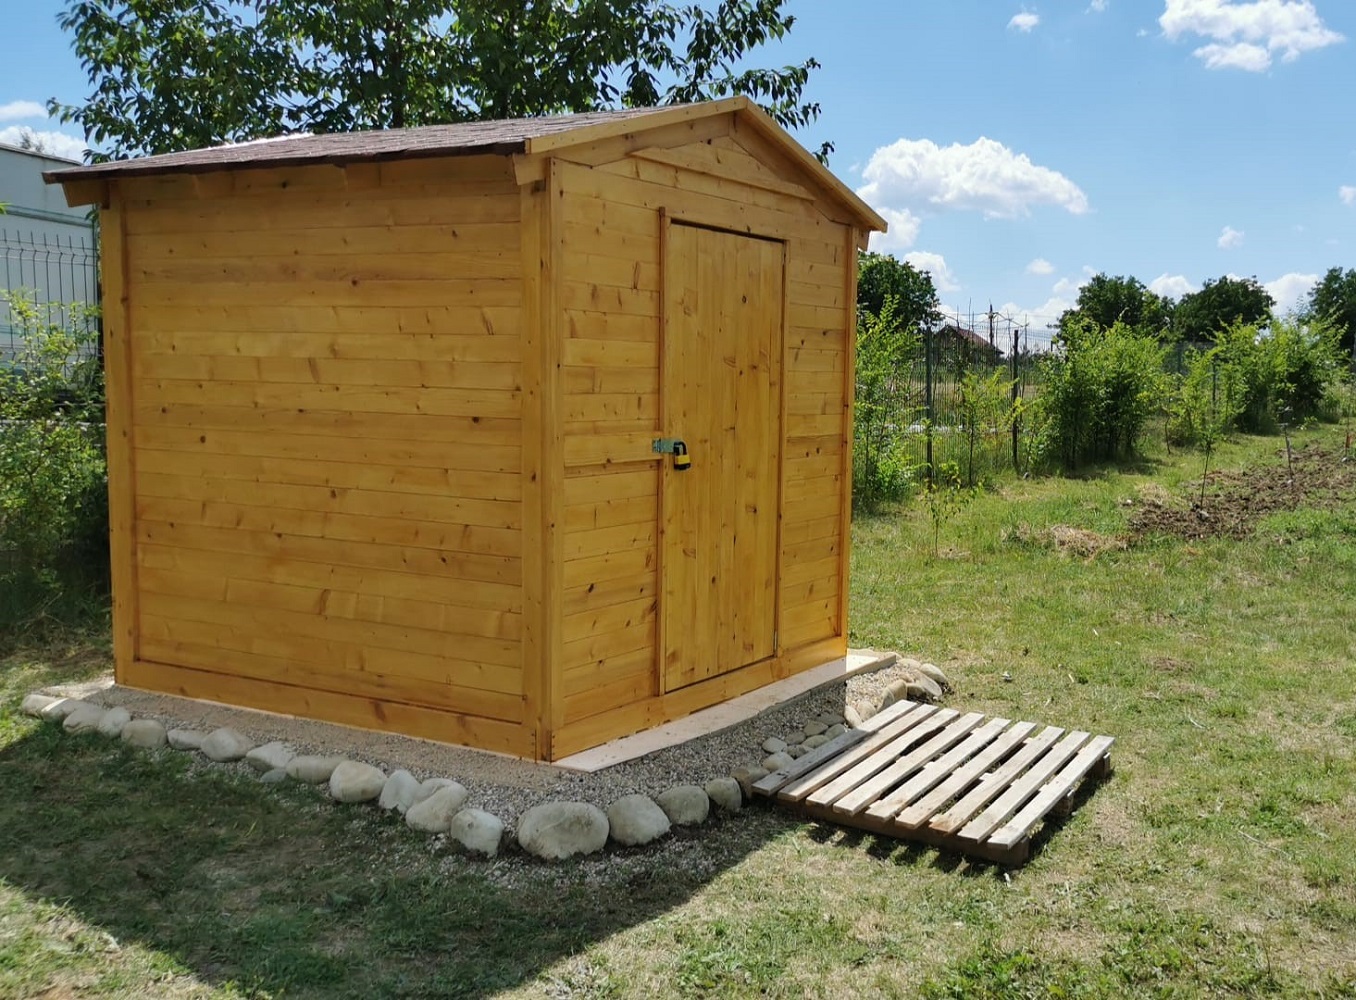
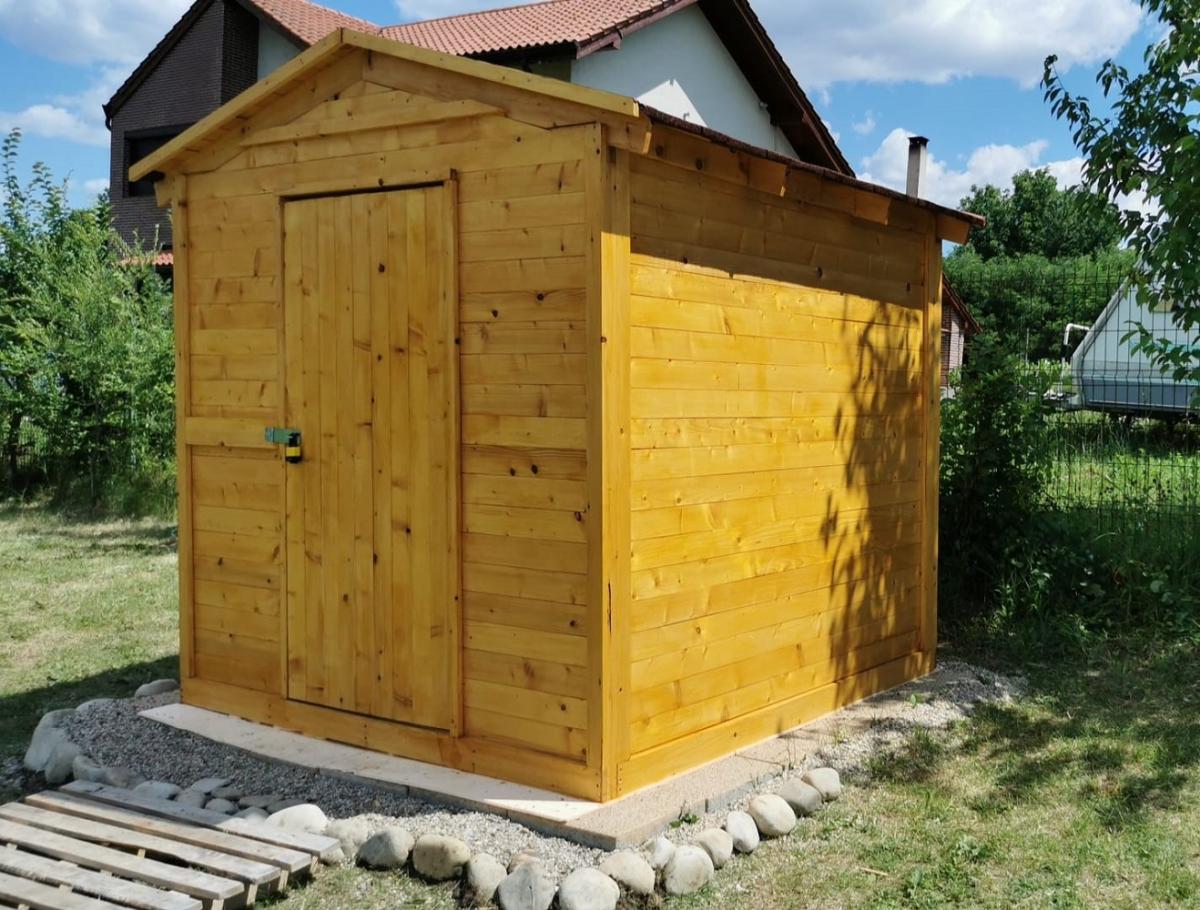
Awesome shed!
Great work, such a nice outdoor addition!