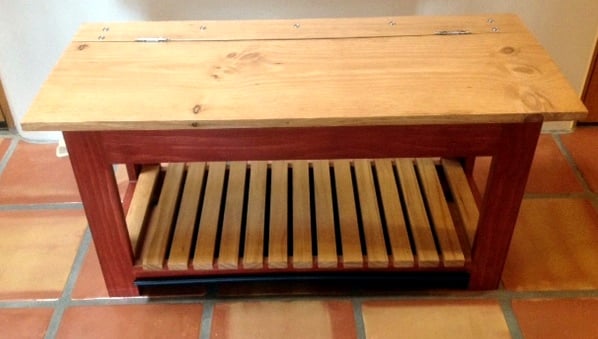
Mug tree
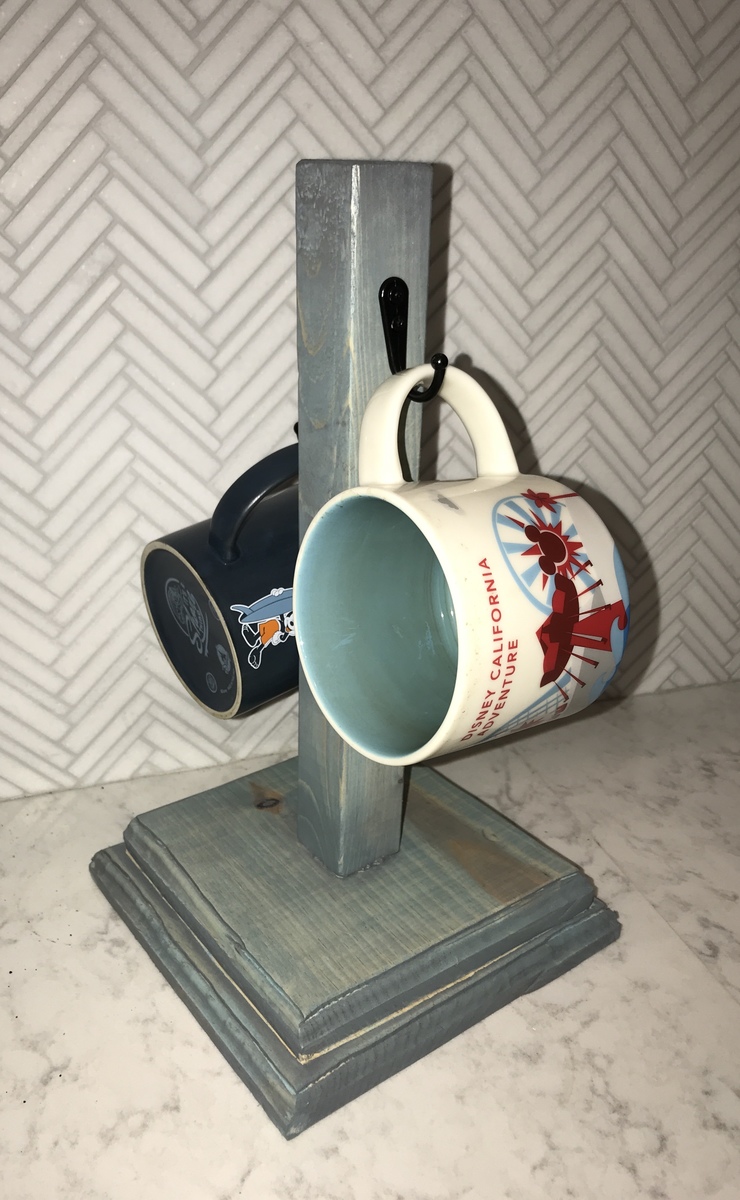
Fun and easy build to use up some scraps and try out some finish techniques and router edging. Not perfect because I was getting the hang of a new router, but perfect low commitment project to practice on. I only did 2 hooks for my needs and preferred not having to knob on top.
Built from Plan(s)
Estimated Cost
$2 for hooks maybe? Everything else I already had on hand.
Estimated Time Investment
An Hour or Two (0-2 Hours)
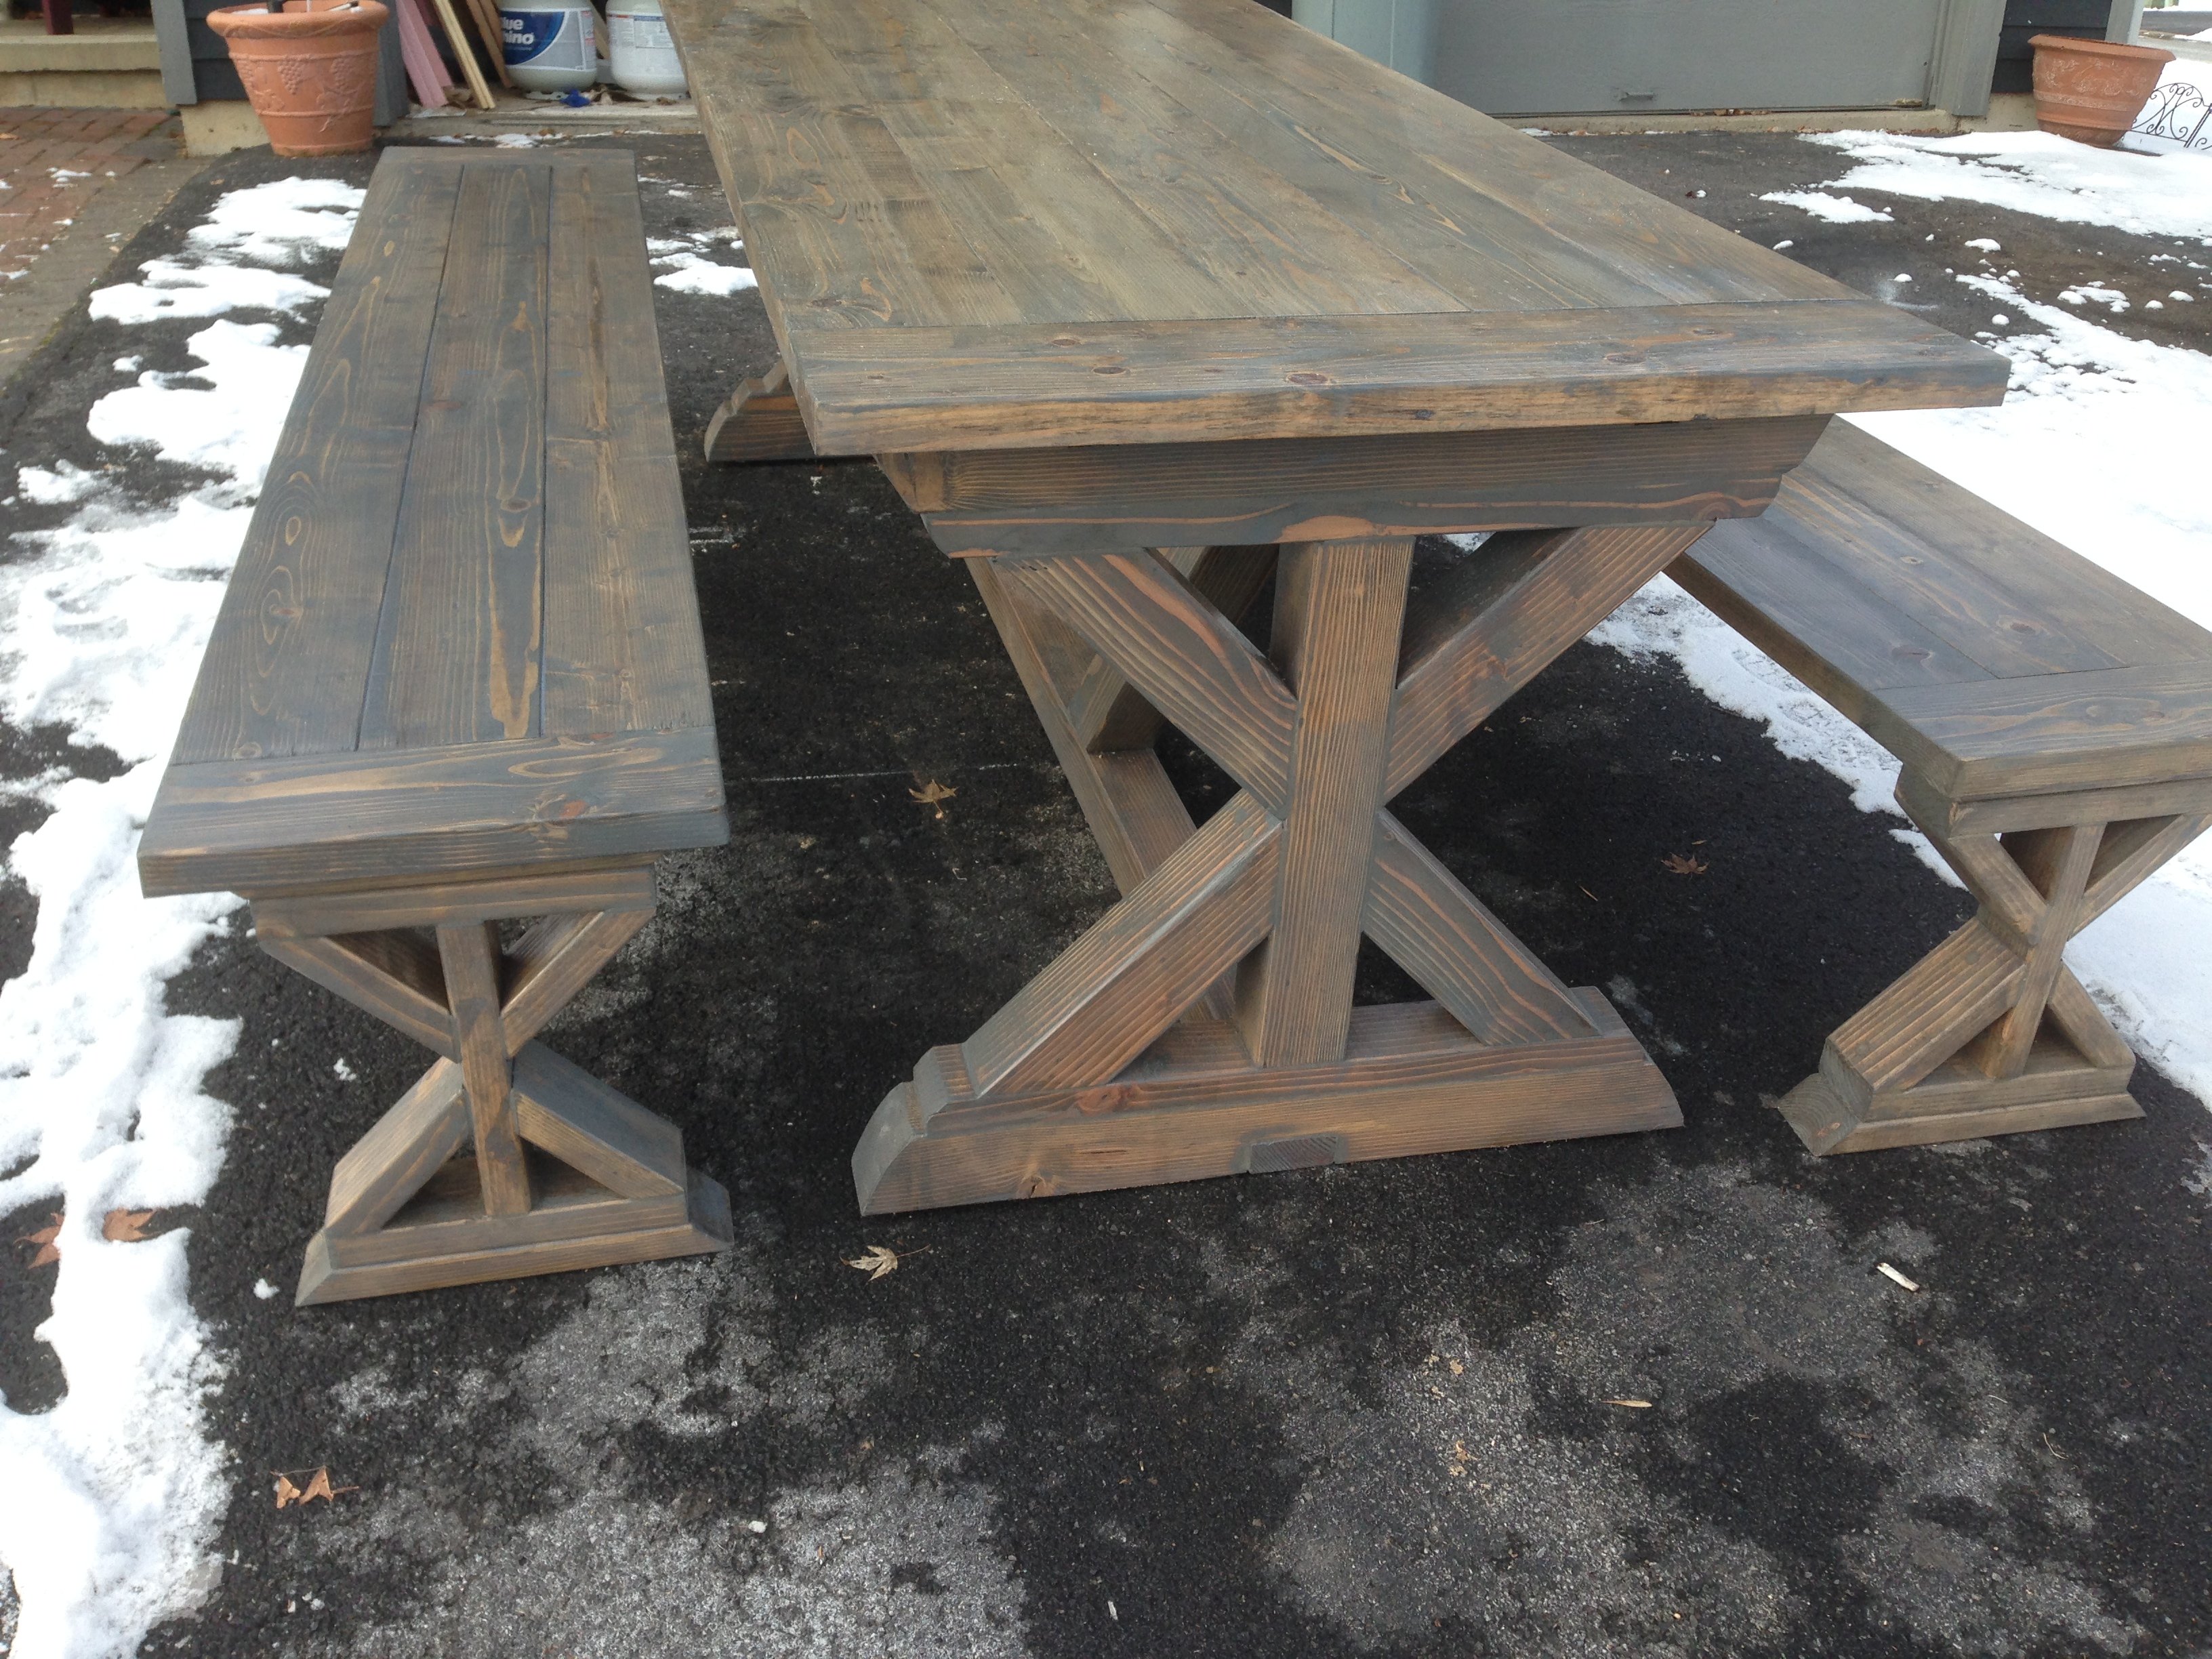
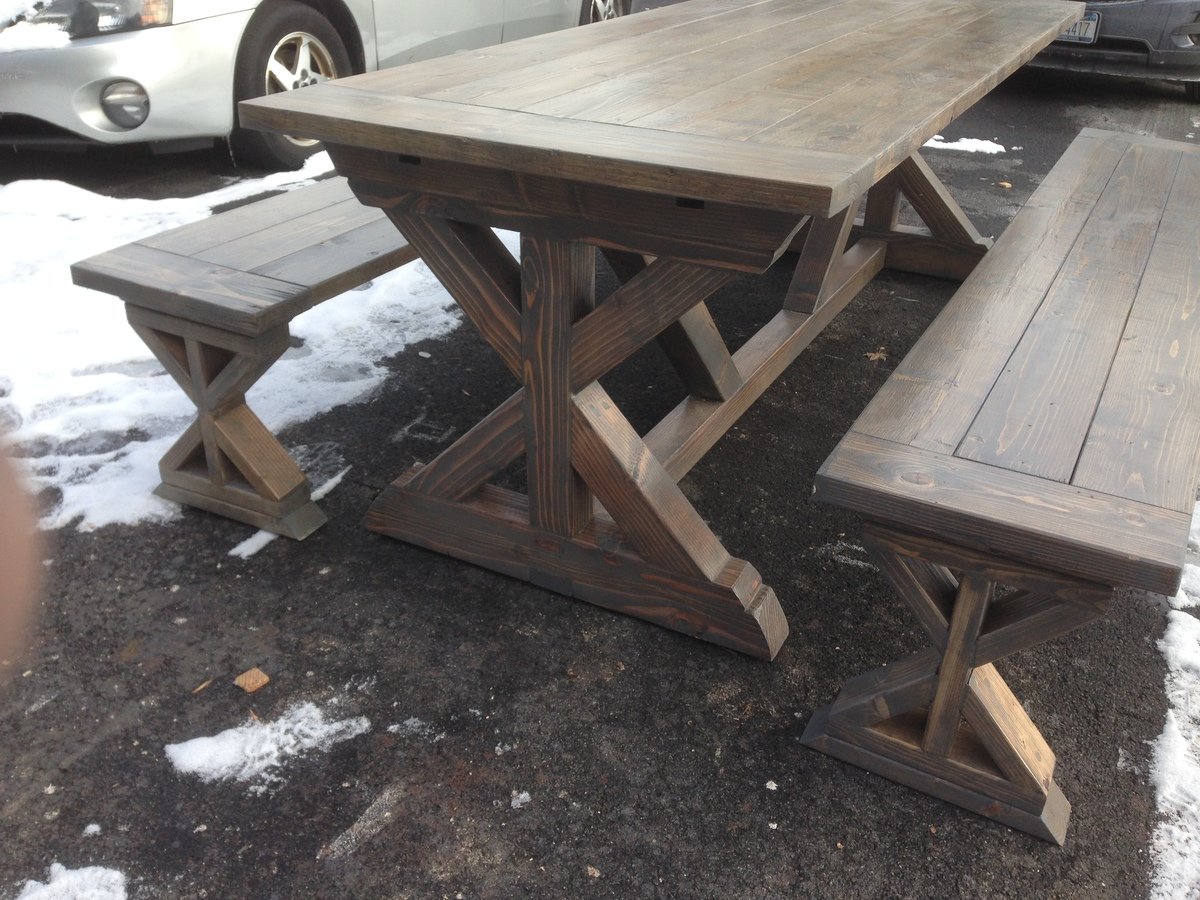
Finish Used
Vintage aqua stain followed by weathered grey stain and a coat of poly. F
Recommended Skill Level
Starter Project