Double Shed Coop
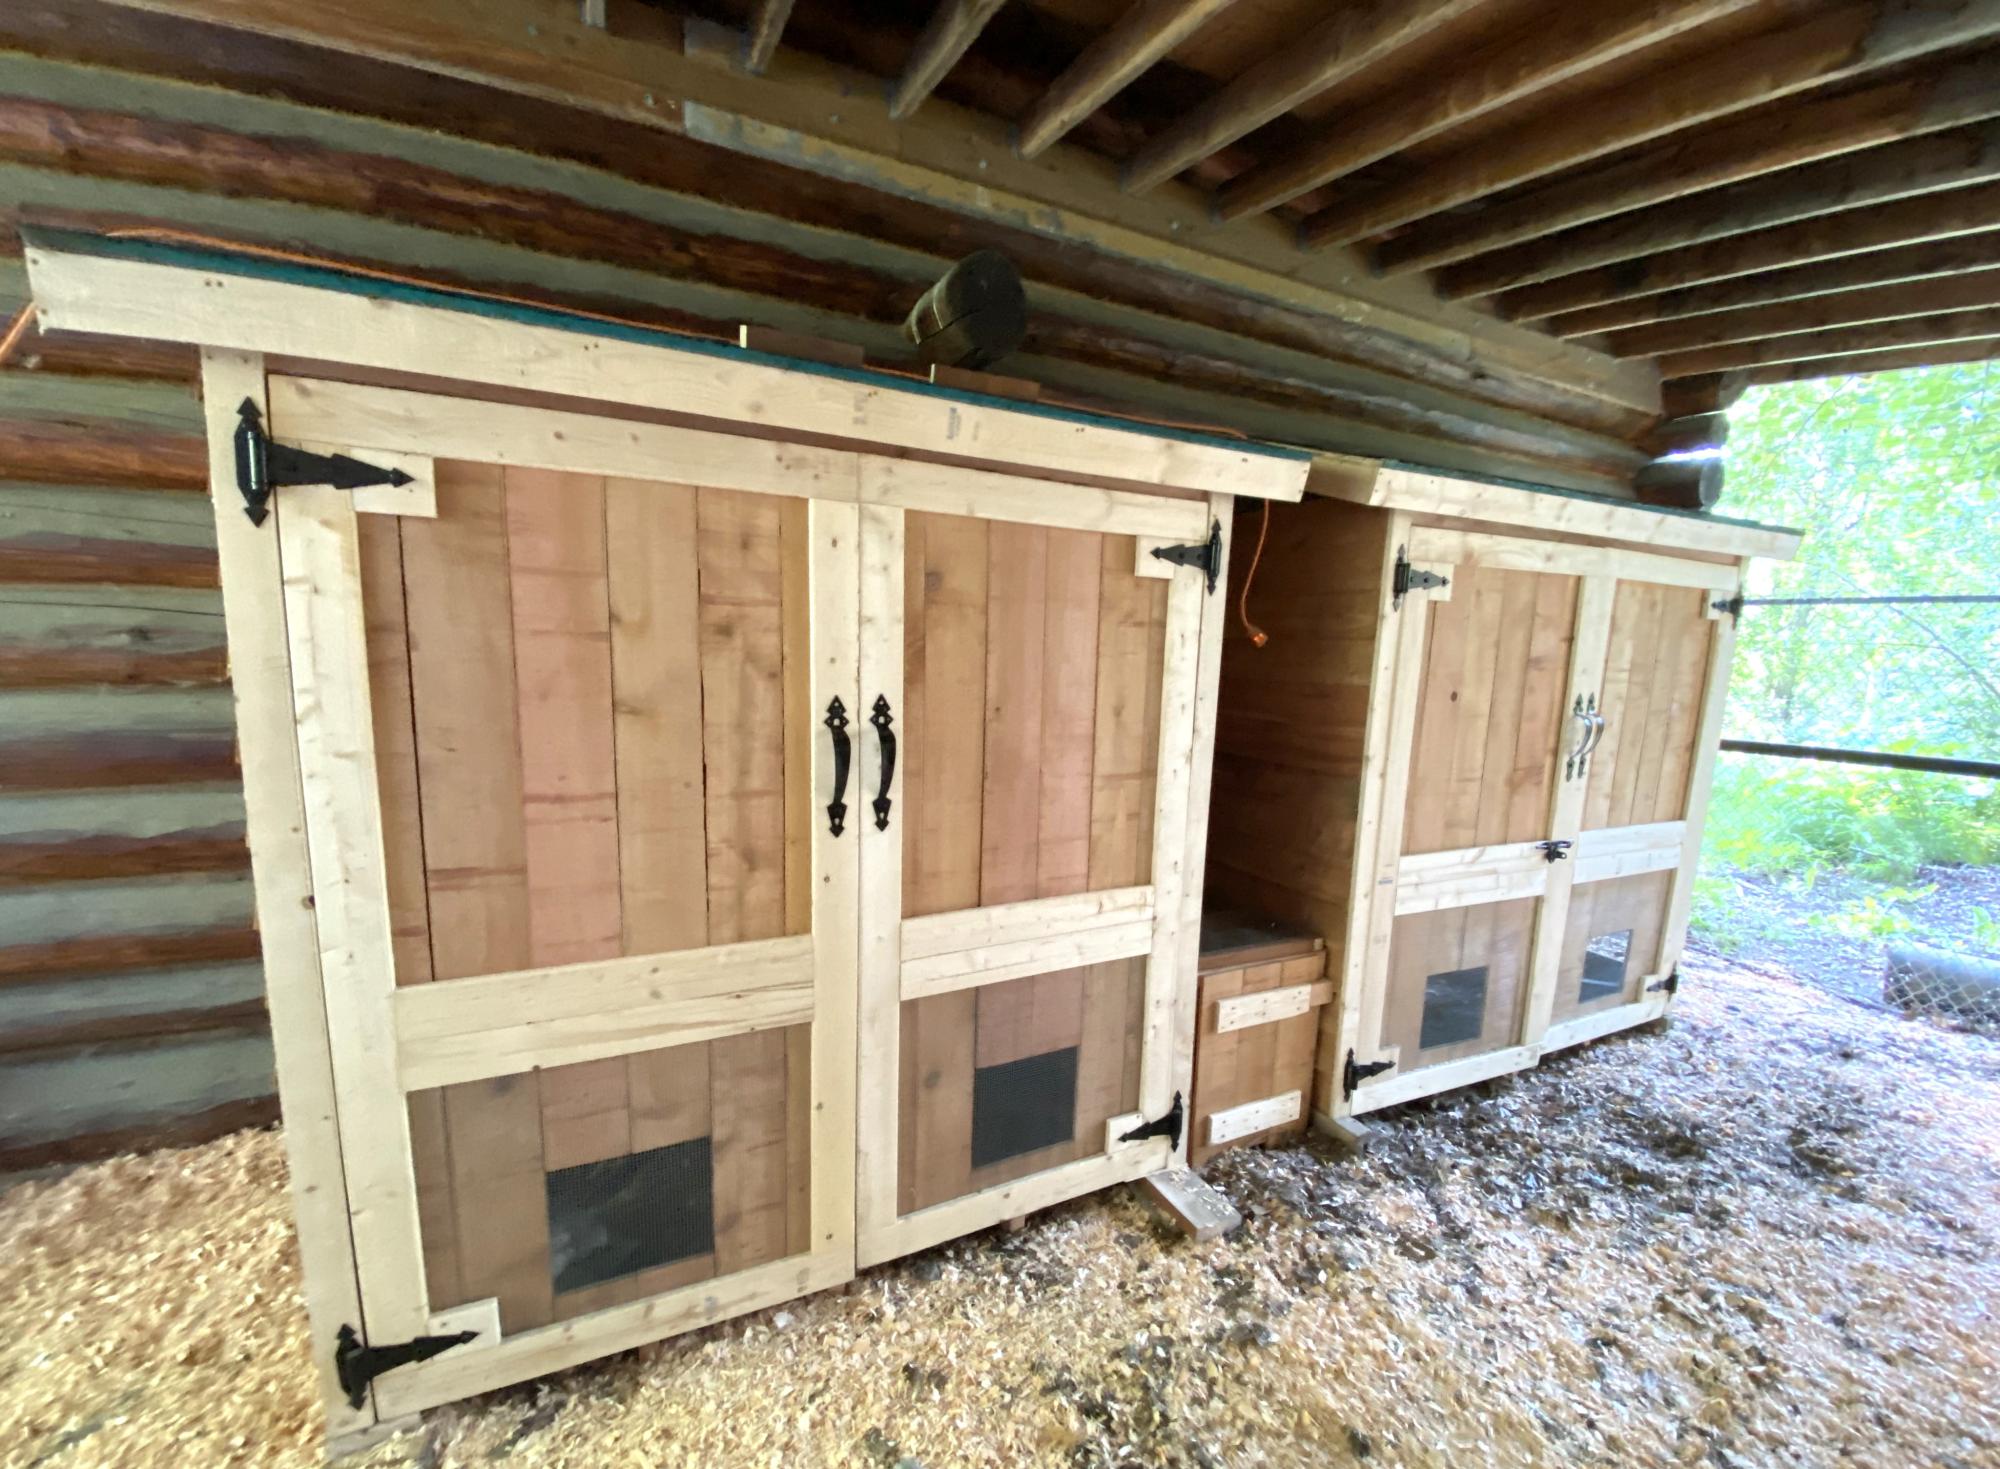
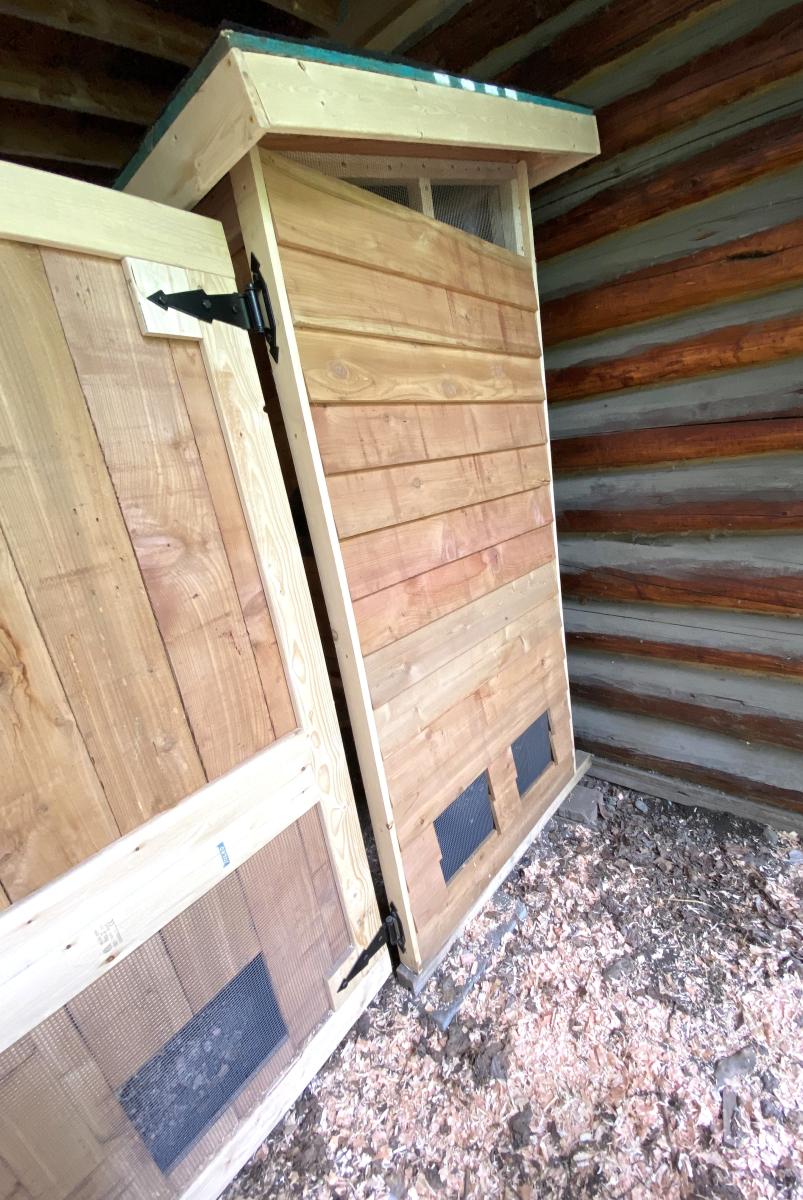
Our family decided to raise chickens but needed a place to keep them safe at night. We used your shed plan and adapted it to create necessary venting for the chicks.
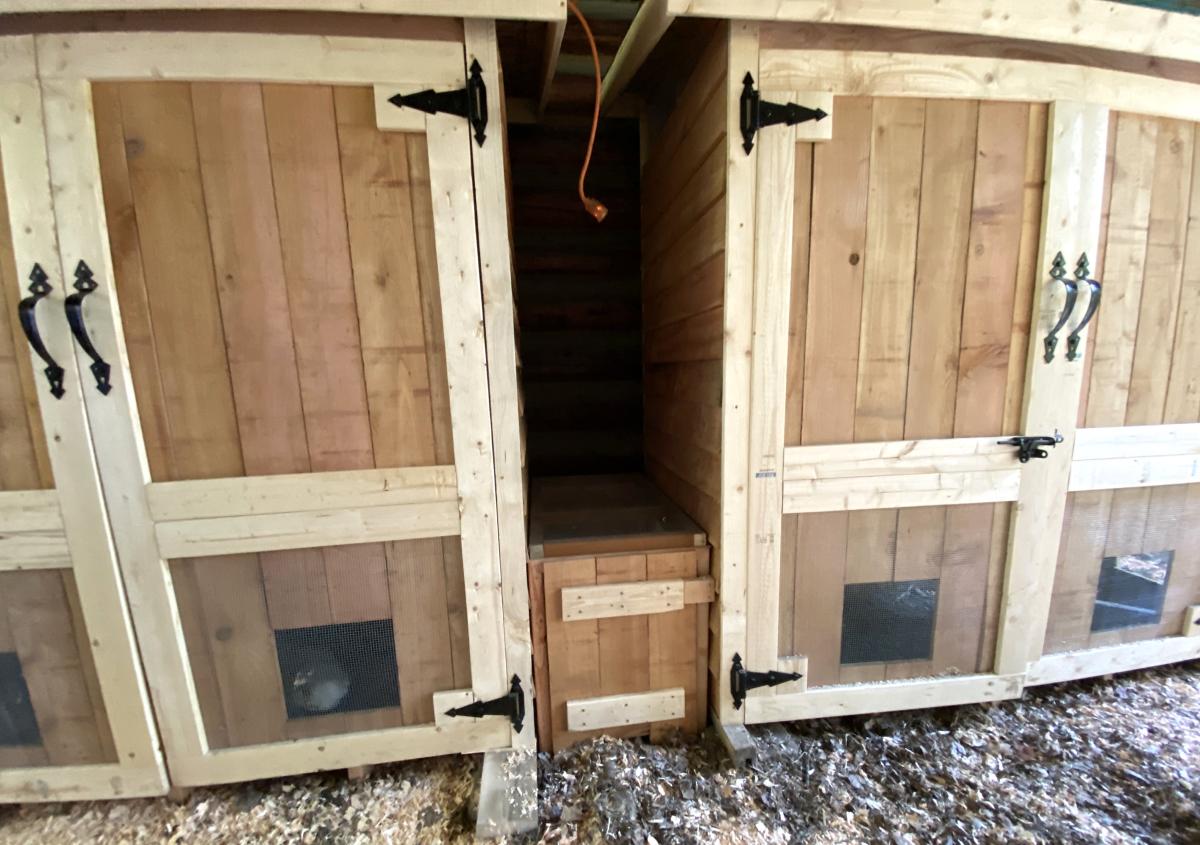
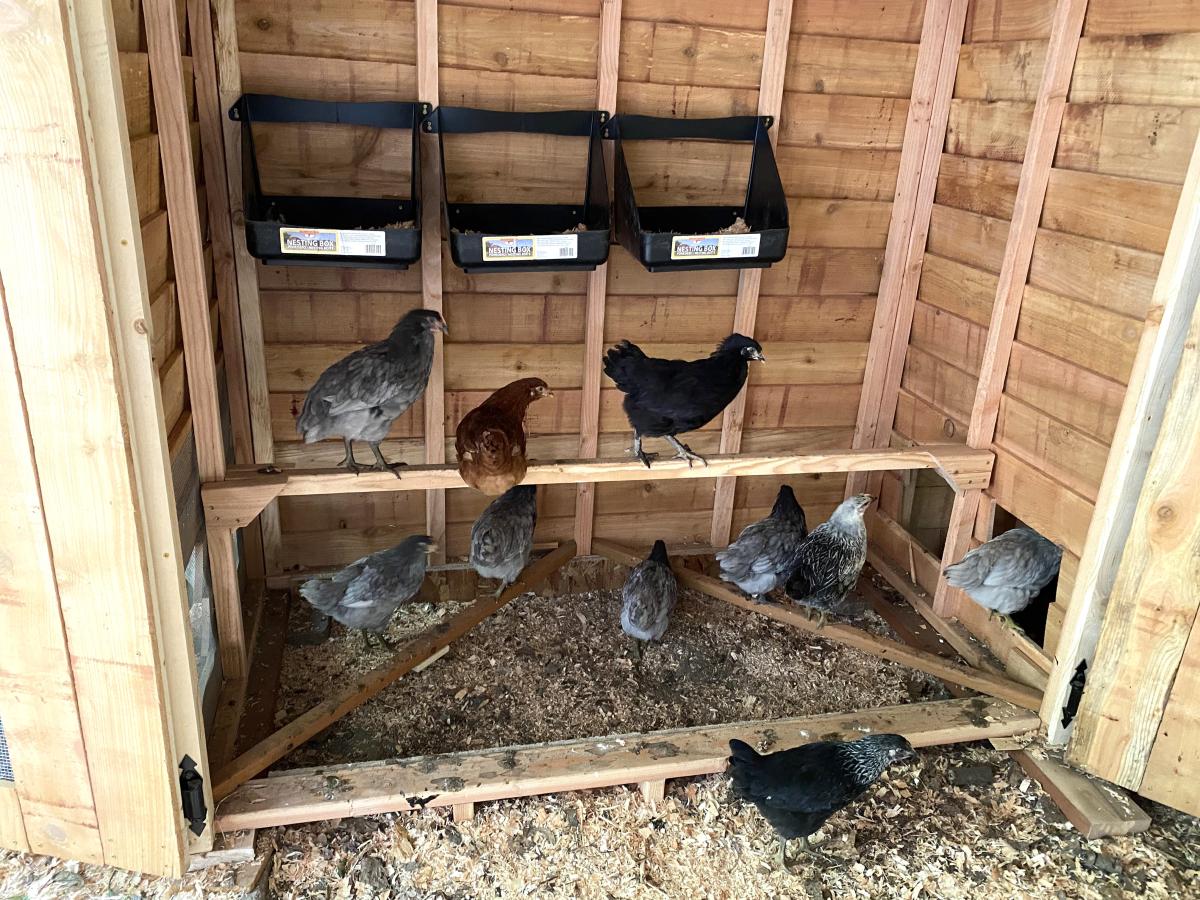
Since we had 16 chickens we knew one coop would not be enough space so we built two. We created a vented tunnel between the two coops so the hens could go back and forth between them as they wished while still being protected. The girls are very happy in their new space!
Thank you for your great plans.
Holly
Built from Plan(s)