Community Brag Posts
Farm Table and floating shelves

Built for my Daughter and Son-in-laws new home
Comments
Tue, 10/05/2021 - 09:19
Wonderful housewarming gift!
That is very sweet and looks amazing! Thank you for sharing~
Cube bookcases
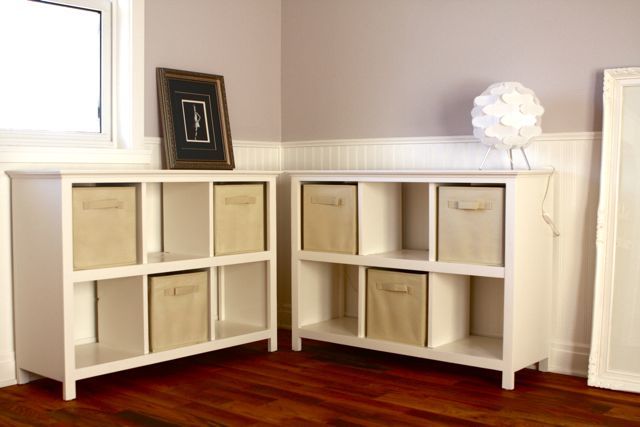
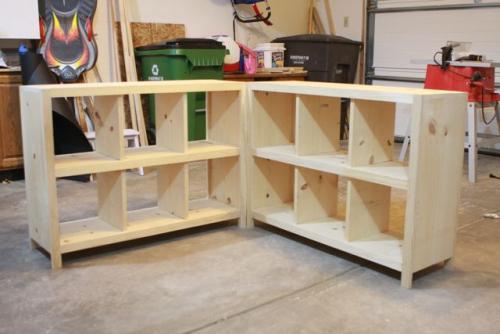
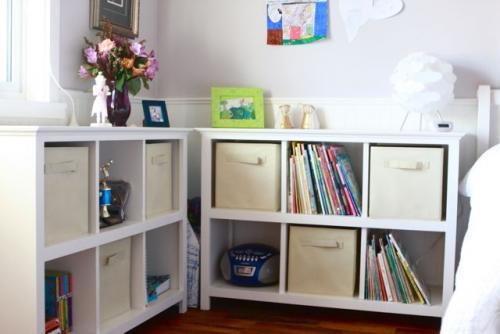
As part of my daughter's big 8th birthday bedroom re-do, I knew she needed some new storage for books and...er...stuff. You know how kids accumulate little scraps of paper, photos, tiny toys. I can't stand to see that kind of stuff lying around, so these cube bookshelves seemed like a great solution for the problem. The canvas "drawers" are from Target and were not expensive. I followed Ana's Six Cube Bookshelf plans very closely with two exceptions. First, I shortened the legs an inch to ensure that the units would be short enough to fit under the bedroom window. Second, I added an overhanging 1/4" MDF panel to the top of each bookcase and trimmed out the bottom of the panel with cove molding. The rest of the wood used was solid pine. I'm now working on building a third unit for my other daughter's room. This time I was smart enough to finish the insides of the cubes before putting the whole bookcase together. Getting into those corners once the project is complete is time consuming and difficult. Painting the insides of the boards ahead of time has proven to be much simpler.
Garage Hall Tree
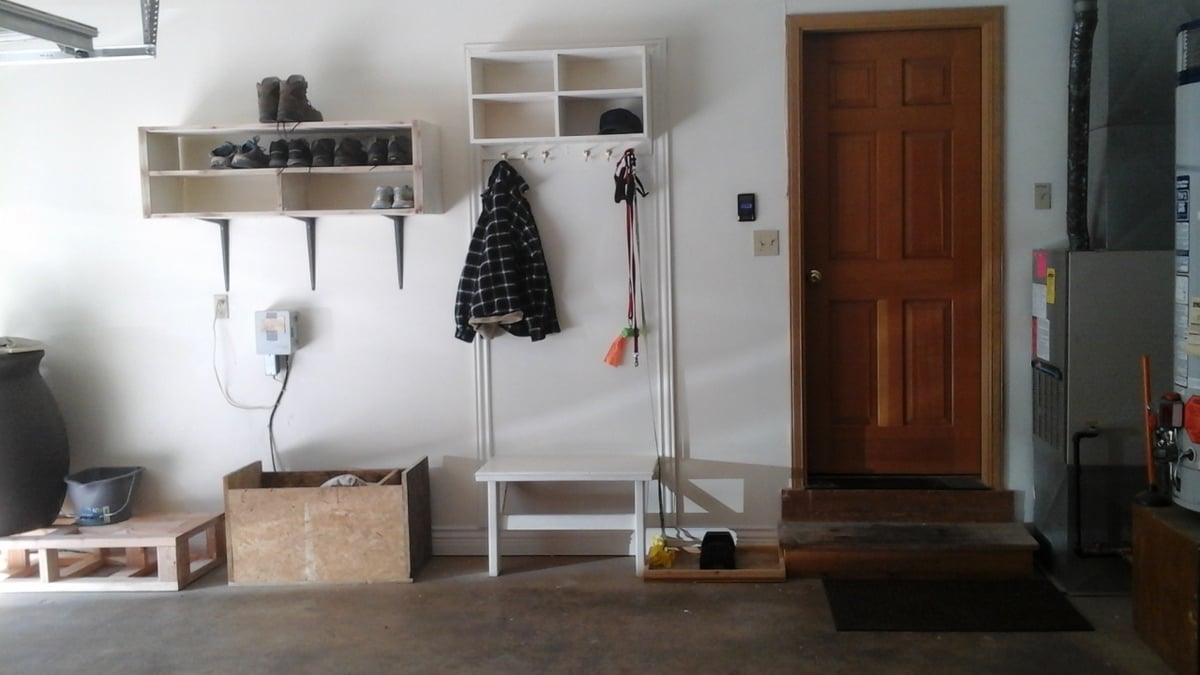
I built this little hall tree, bench and shoe organizer for the garage entirely from scrap lumber and left over paint. Keeps us organizeed. I really like it.
Fancy X table

We had a good time building this table. We made it smaller (6 feet) than the original plans, and also changed up the breadboard a little bit. We are a military family so made it so it assembles/disassembles with carriage bolts instead of screws. Hopefully that helps it hold up over time with frequent moves.
Varythane golden oak stain on the top and rustoleum charcoal chalk paint for the base. Sanded lightly and a light touch of the paint on the tabletop to create a distressed look.


Comments
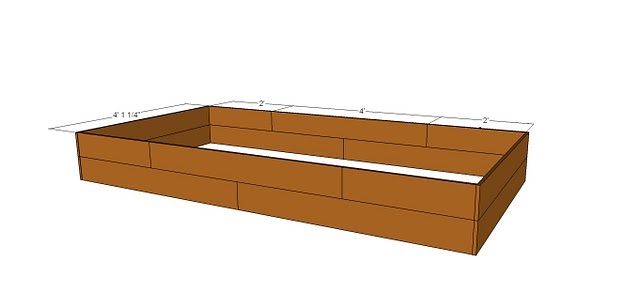
Three 4'x8' Raised Cedar Beds for $45 total.
I finished these last weekend and finally took pictures.
I found 44 5' cedar pickets on craigslist for $30 and built these raised beds. I built them according to Ana's instructions except I made them bigger (4'x8'). Since my boards were 5' long I couldn't span the entire length and went with a brickwork style overlap so there wasn't one seam in the center or a weird off-center seam. And, of course, I blogged about it.
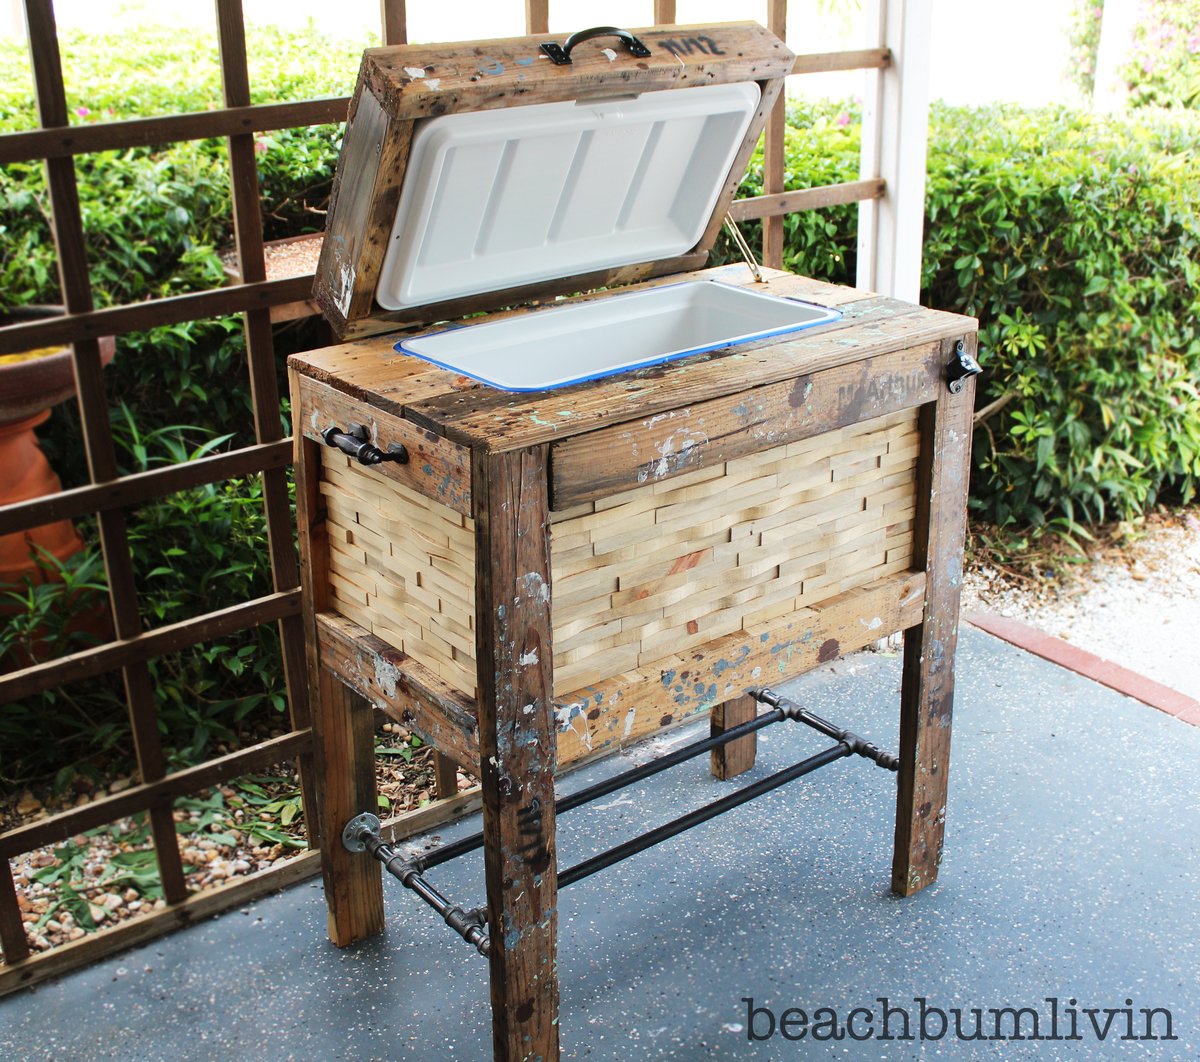
Rustic Wood Cooler Box made from Pallets!
Watch the video on how I did this project here: http://youtu.be/IoP2cKN2WeY
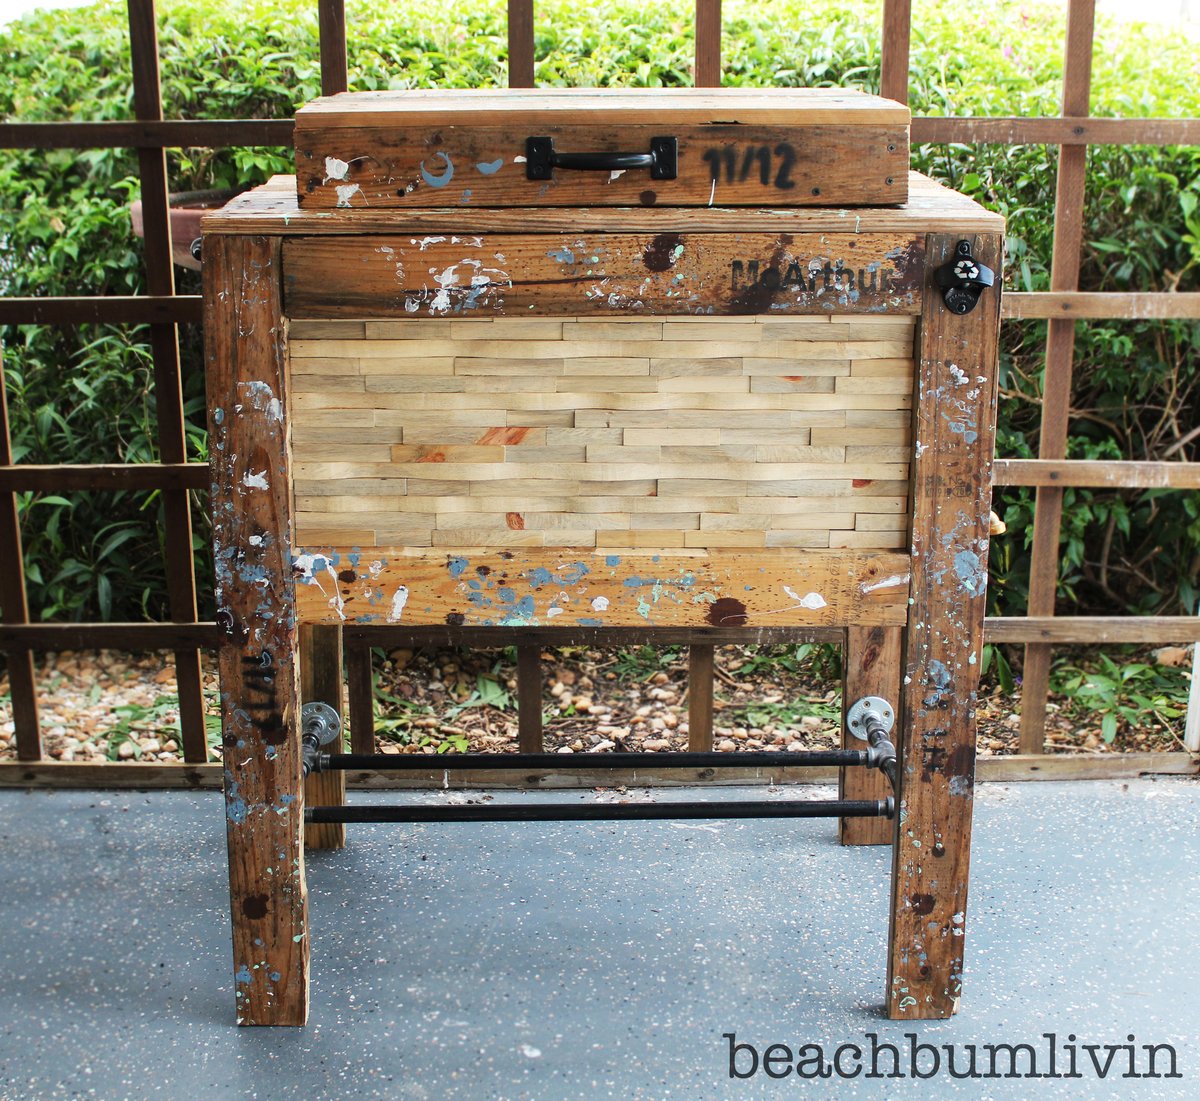
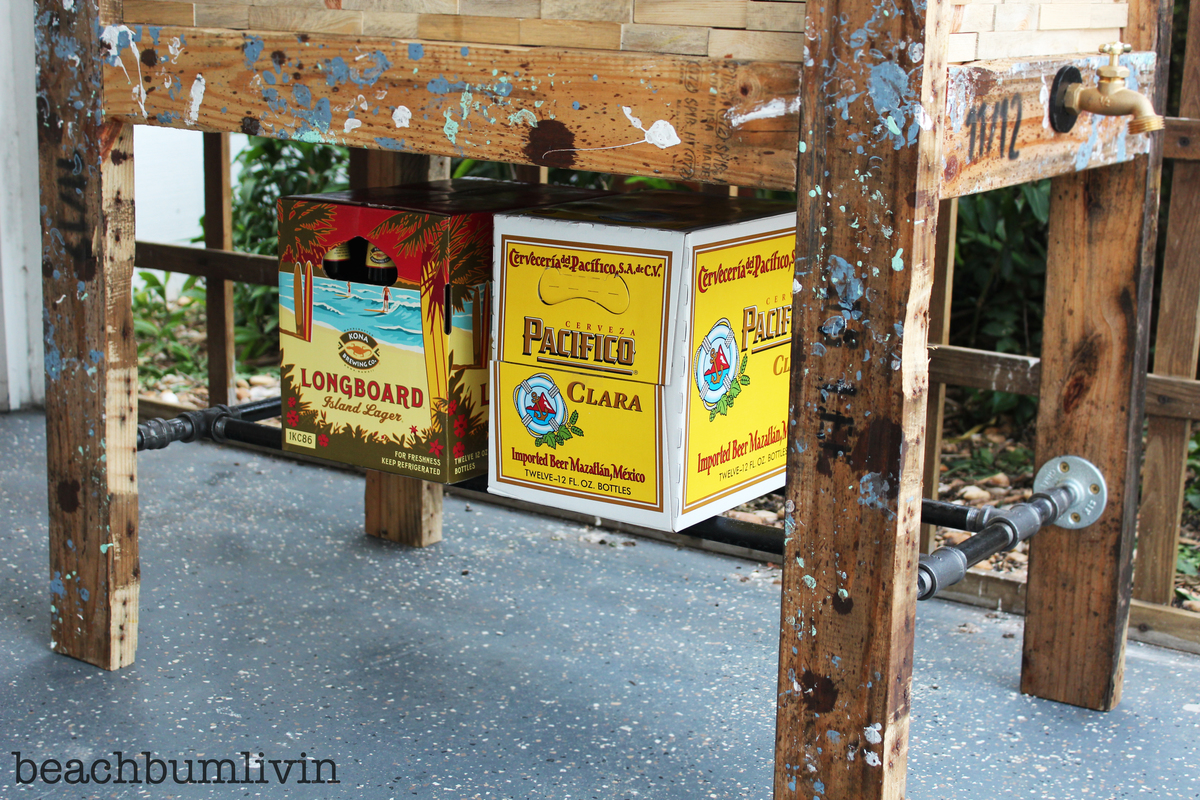
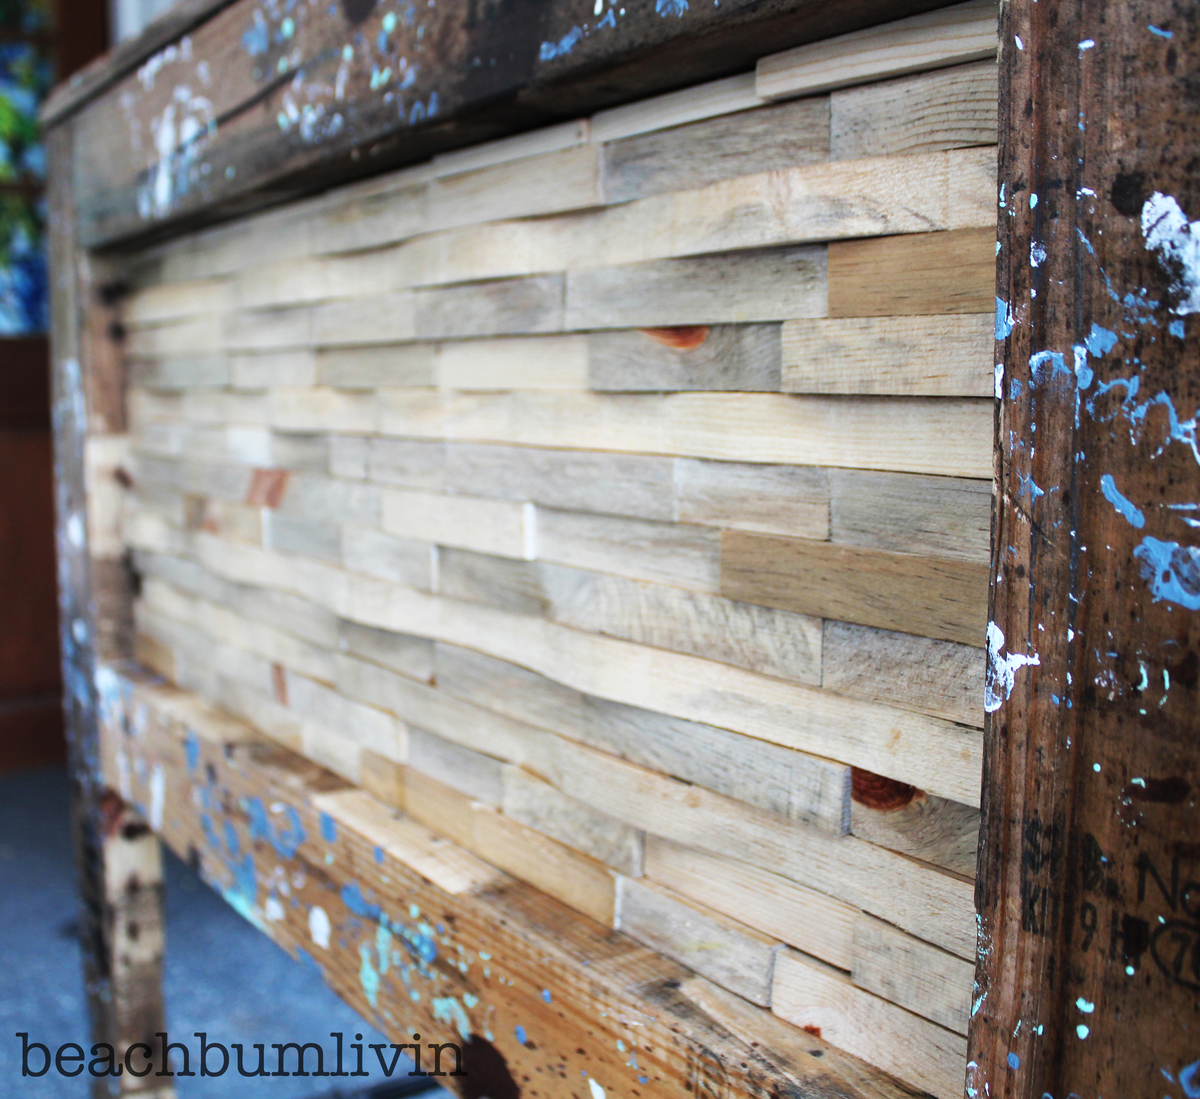
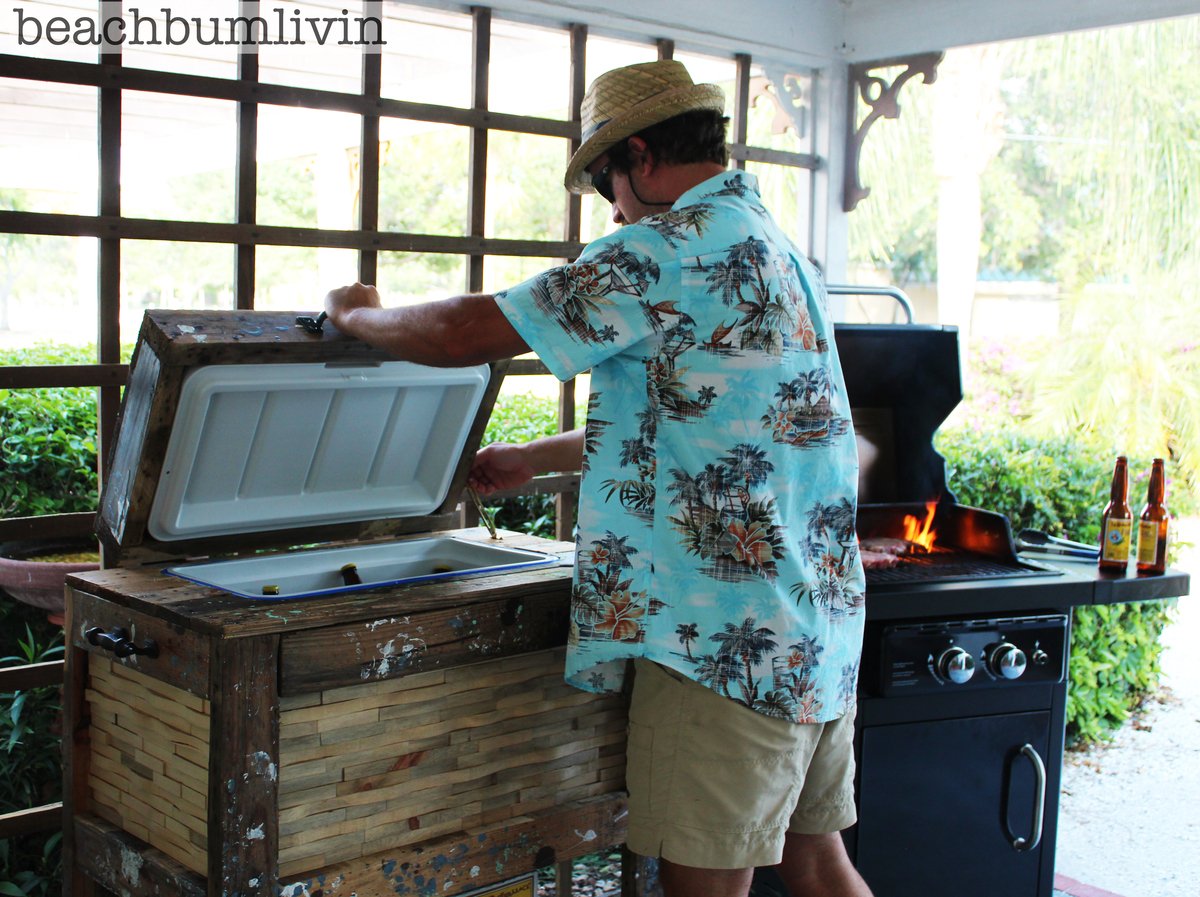
For this week's woodworking project I'm building a Rustic Cooler Box from used Pallets. The project was a lot of fun to do and pretty simple! By just using some old Pallets that were free I was able to build something that will get a lot of use. Plus, by using the Pallets I think it turned out really cool looking!
How to video http://youtu.be/IoP2cKN2WeY
Comments
Wed, 11/27/2013 - 04:02
Pallet Cooler
Awesome way of doing a pallet cooler. Keeping the cost minimal your way of finishing it was really good. Personalizing such coolers would be interesting!
Farmer’s. Market Stall
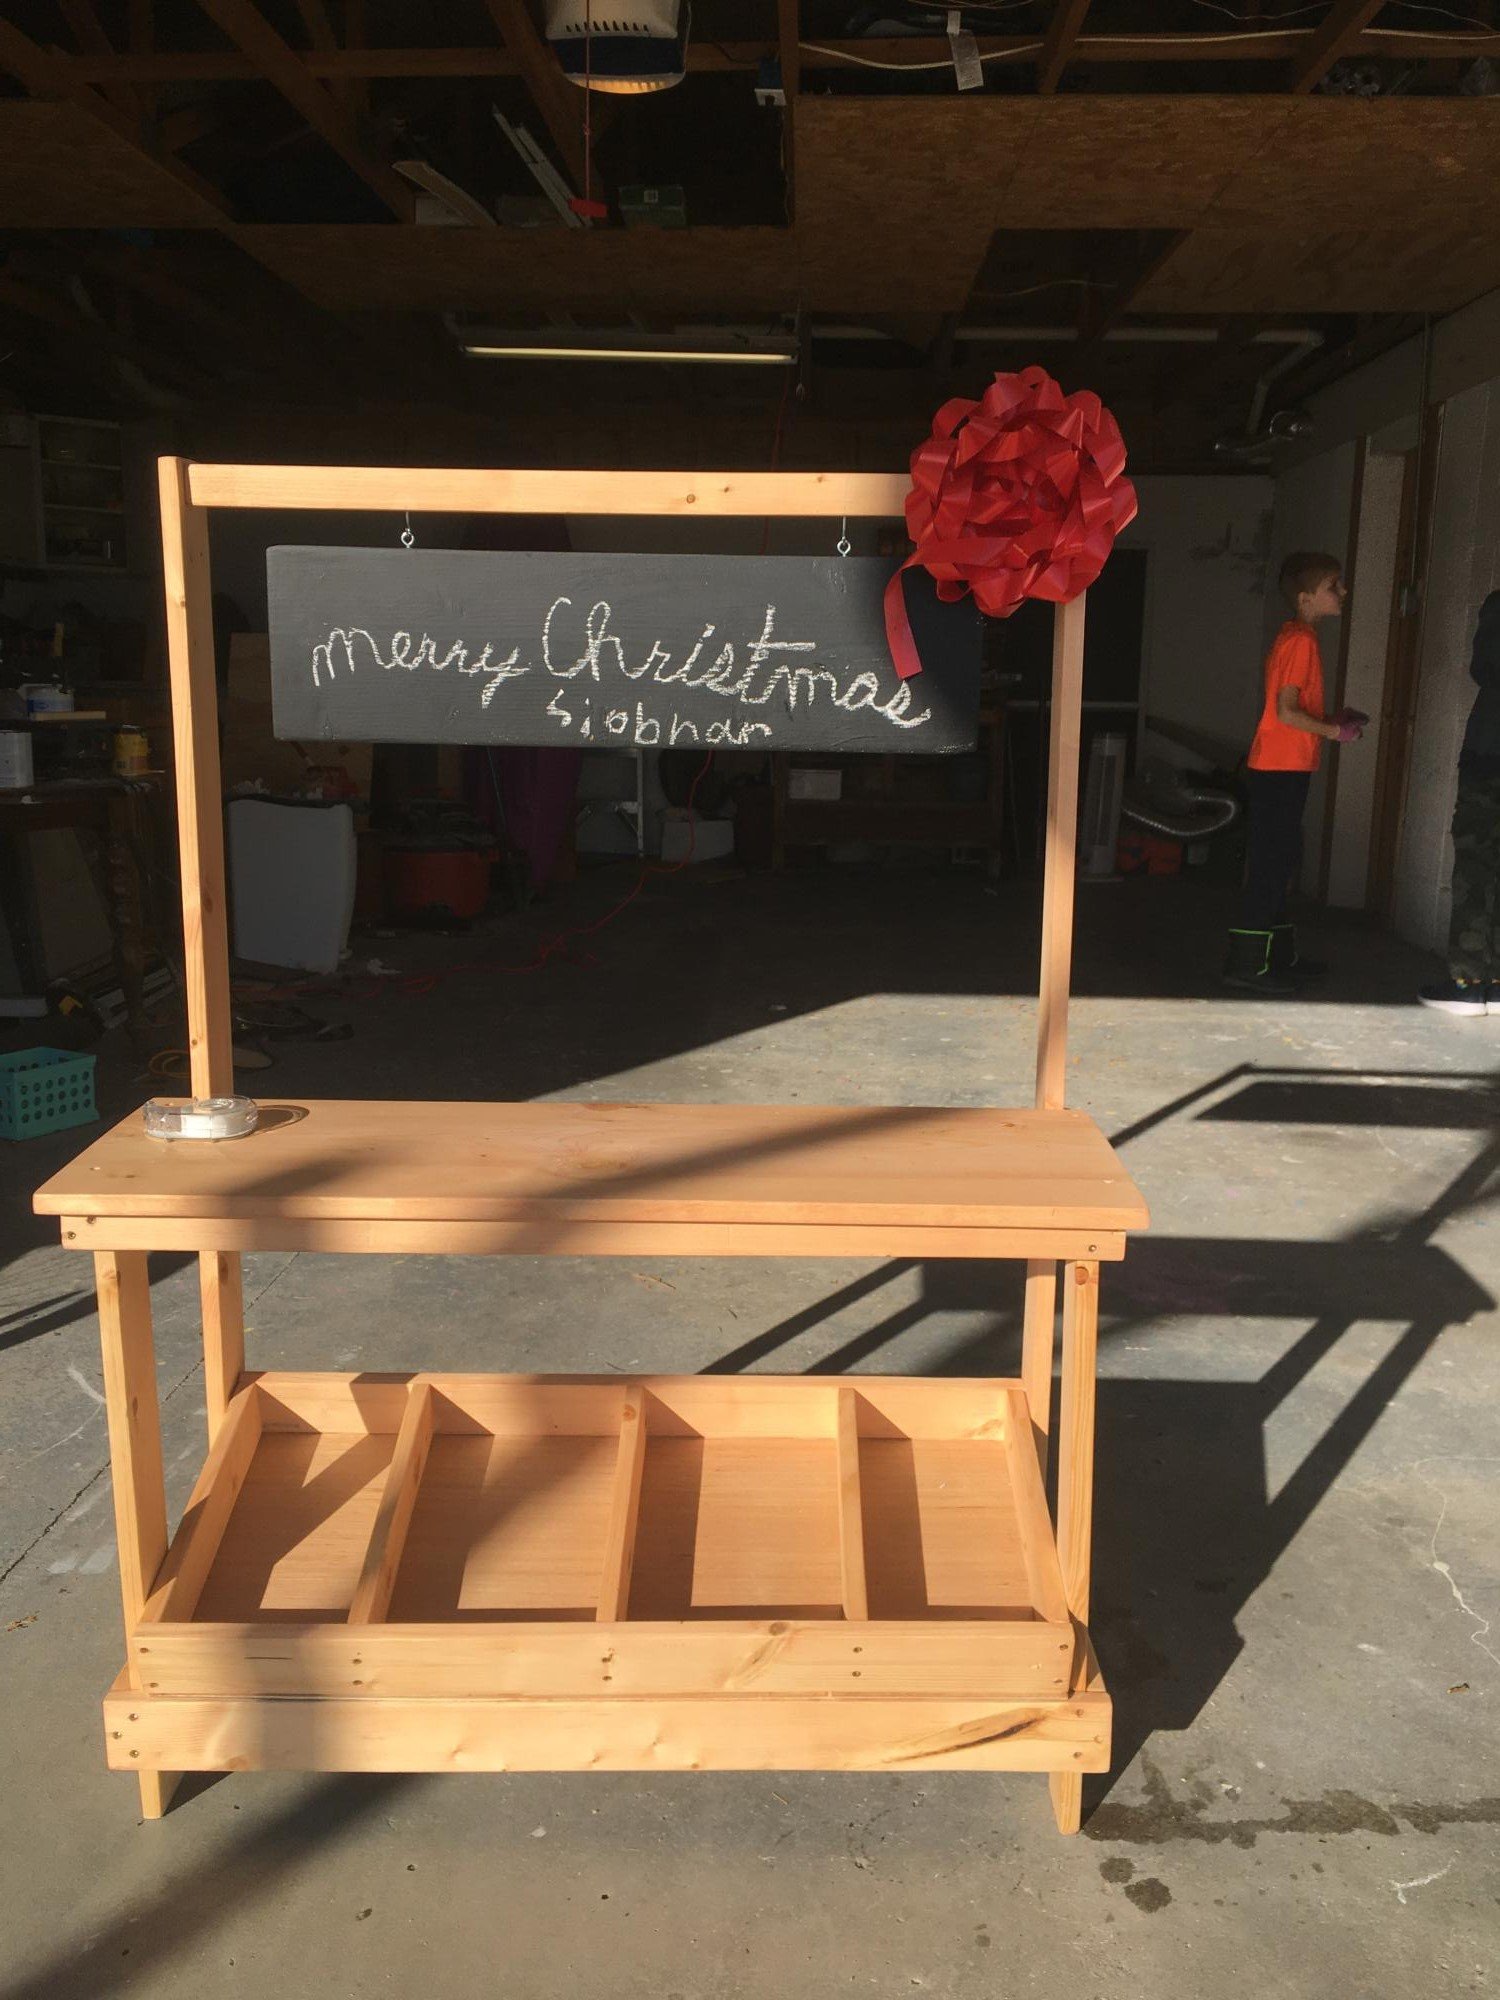
I made this for my daughter this year for Christmas. I’m pretty proud of how it turned out.
Comments
Wed, 12/22/2021 - 17:59
She is going to love it!
Thank you for sharing, wonderful job and a gift that will be cherished for years to come!
Children's Table and Chairs
I made this table and chairs for my 1 year old nephew. He is still a little small for it but the table and chairs are both very sturdy. The table top is a one piece, 24 x 36 ,edge glued pine board. I used the one piece table top as an alternative to screwing the 3 boards together. I followed the plans for the table for the most part. As for the chairs, I followed the plan to build the seat base. For the legs of the chairs I took advise from carongirls' table and chair brag post and used 2x2's. I used 1x3's to stiffen the chair legs. I also lengthened the table legs and chair legs by 2 inches.
Ledge Lovin'
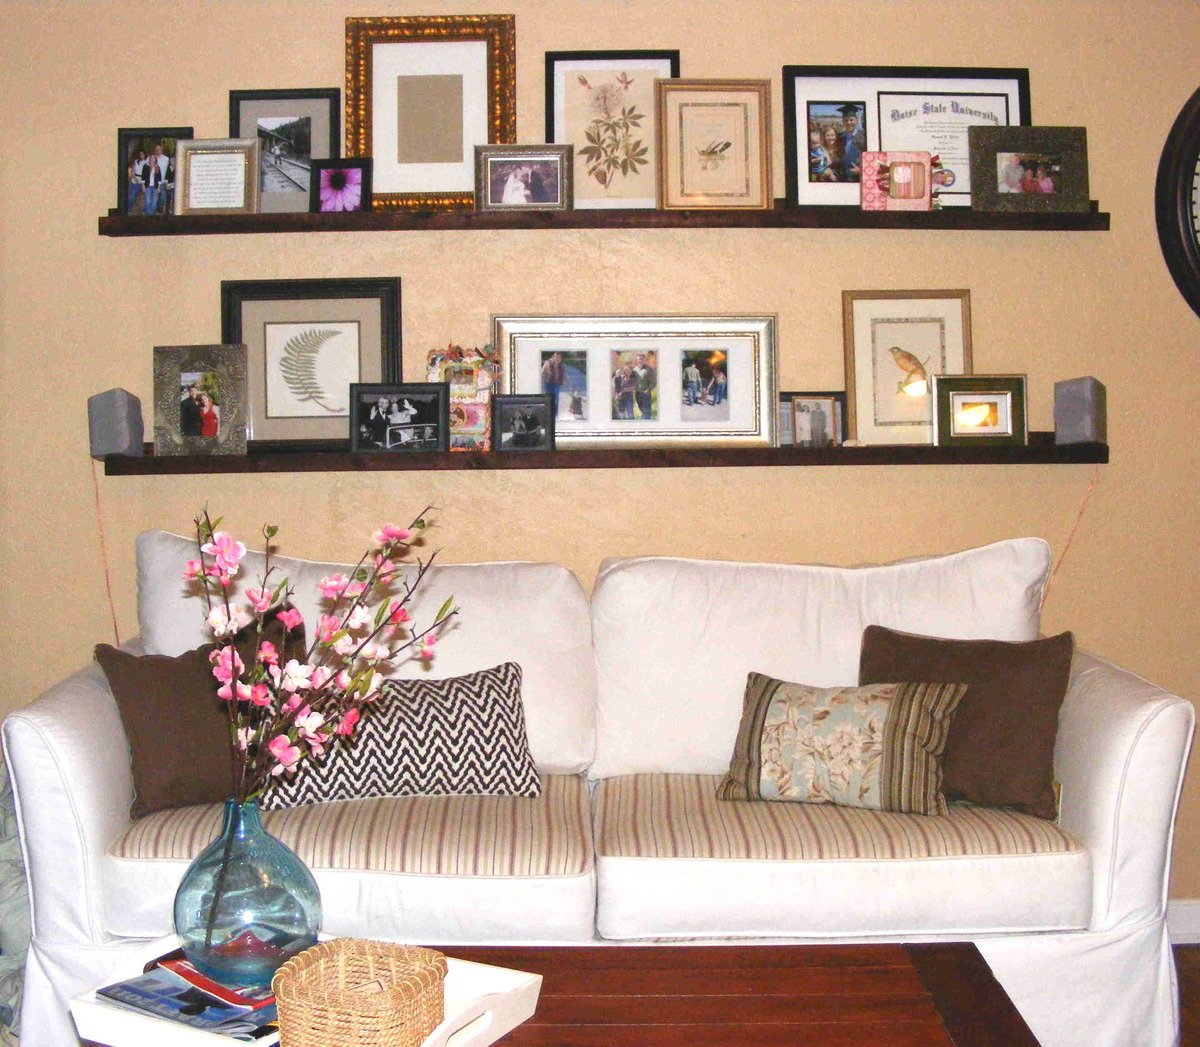
This was my first project from a list of many...so simple, it was perfect for getting started after a long winter's rest.
Thank you Ana for the plan! I really wanted the floating shelves from Pottery Barn, but they were super pricey. I searched out the fancy hardware that PB uses to mount them and it would have cost as much for the mounting hardware alone than to buy them finished from Pottery Barn.
These shelves were an easy solution for the same look, without the hassle of having to build a sleeve to fit over cleats like other more seamless designs.
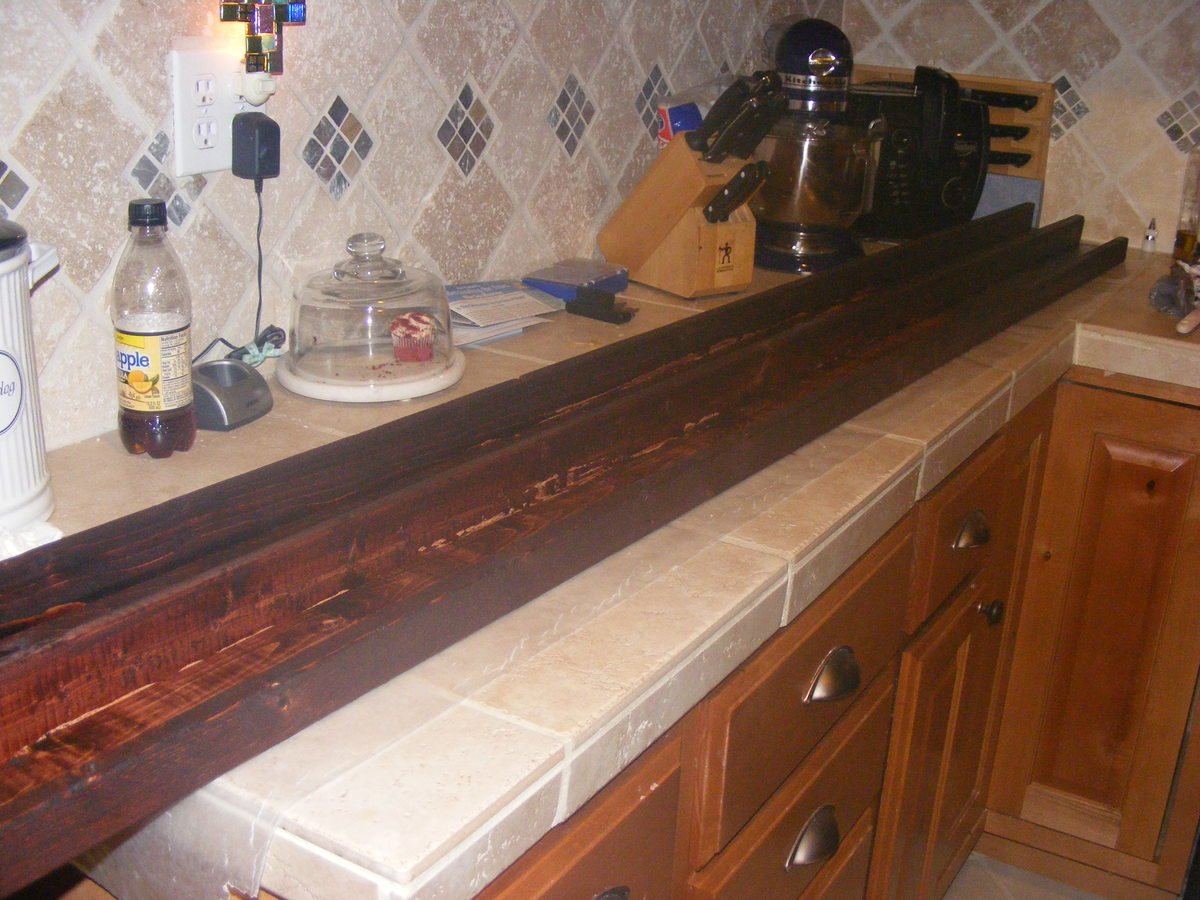
For my ledges, I chose to use 1x3s instead of 1x4s for the rear and base of the ledges. I didn't want them to protrude from the wall as far, nor did I want the rear of the ledges to be as visible (I'm wierded out by the contrast of the thick, dark line behind the pics. I would have chosen 1x2s for the back, but I didn't think it would be sturdy enough and it might be a little trickier to drill. I measured them to be a little smaller than the length of my sofa and they turned out just right. I built them in an hour or two and brought them in and stained them on my kitchen counter ( placed waxed paper underneath). It was February and too cold to do outside.
The best advice I have is to be really choosy about the lumber you buy. The "top choice," as they call it, should be renamed "crappiest choice." I guess that's what you get for cheap pine, right!
It fit just right for my budget and it was worth sifting through to make sure I wasn't getting a piece that was warped or twisted. I live in an old house and I'm sure the walls aren't exactly even (as you can see in the pic, the floor even slants a little to the right) but one of my ledges is not fully flush against the wall on one side because the board bows out a little (or maybe my wall bows in?).
Whatever. I'm thrilled with the look and love how I can display so many pics at one time. I'm thinking I want to put at least 4 pictures in each frame, and rotate them out seasonally. That way my display will go with the season. Yep, I'm a genius like that, hehe.


Fireman's Dog Bed
I needed a heavy duty dog bed for my puppy after he destroyed two regular dog beds. I used 4x4s, 2x4s and fire hose. He has not been able to destroy this one and he loves it.
Comments
Mon, 07/08/2013 - 15:48
Cool
I have a pit bull. Shes the sweetest thing but loves to chew up her own beds. She wont chew the shihtzus bed or the cats beds just her own. I'd like to see her try this one out.
;) Now if I could figure out a way to get my dad to give up one of his fire hoses. hehe
Great job, great idea
~Melody
Outdoor Sectional
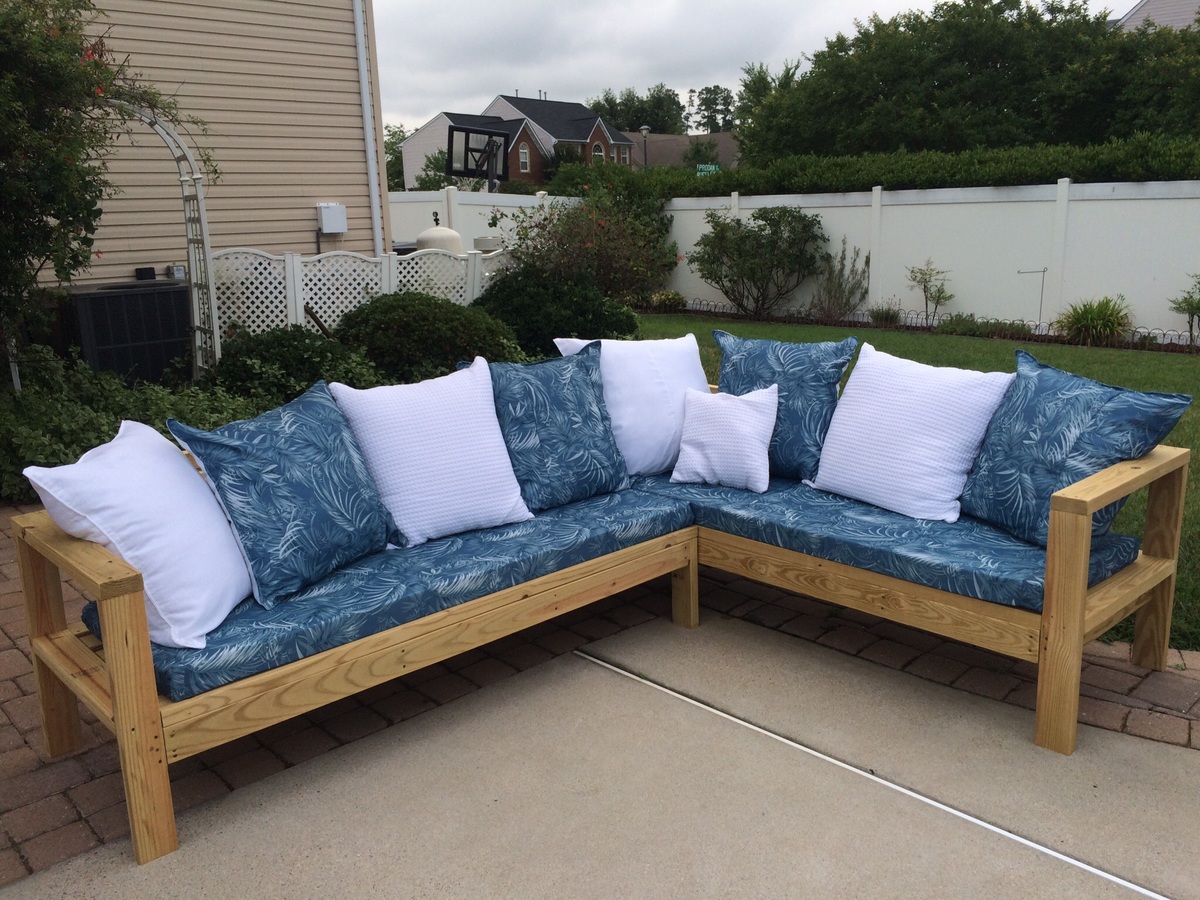
I made the cushions and pillows myself using shower curtains as a cheap and water-resistant fabric alternative. I also ordered the foam and pillow forms on-line. This was a great Father's Day project completed with help from my son and husband. Great plans!
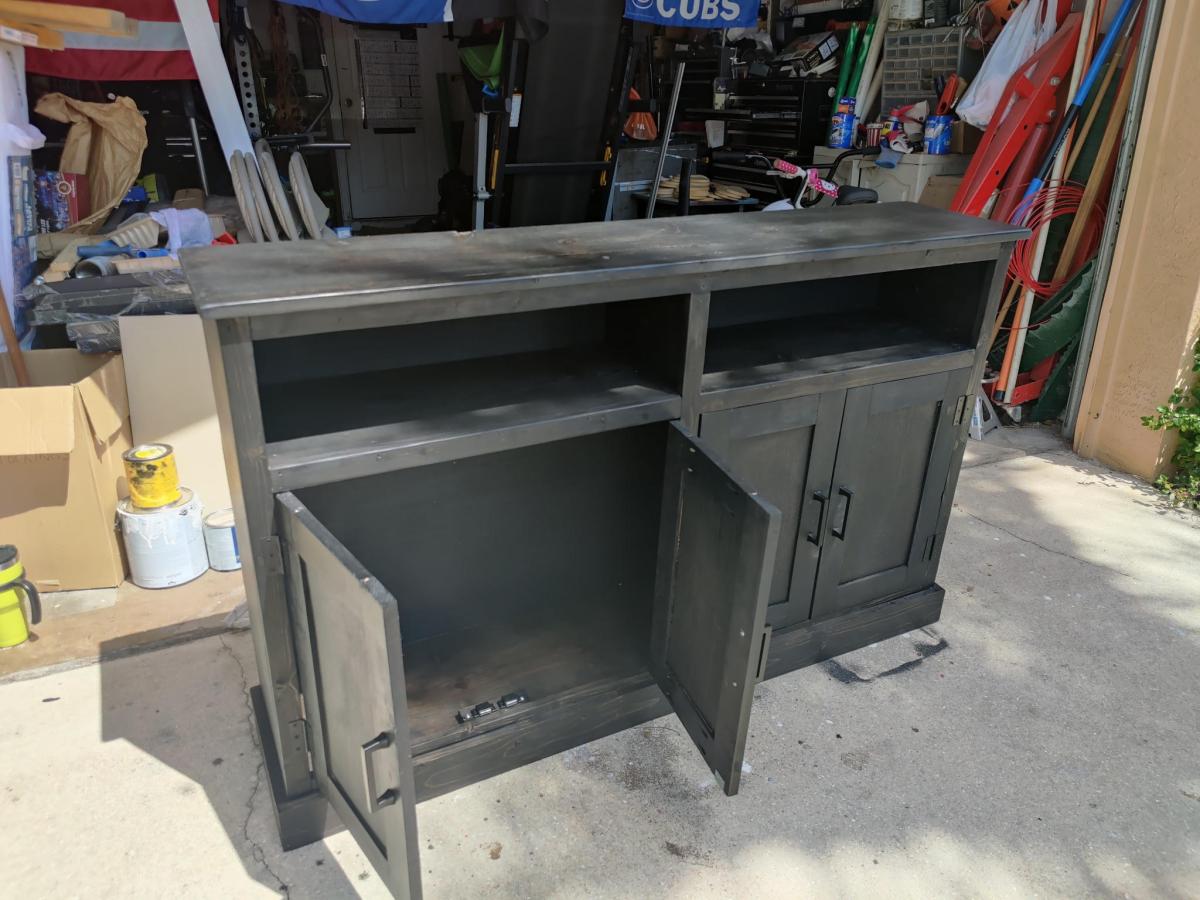
Entryway Console
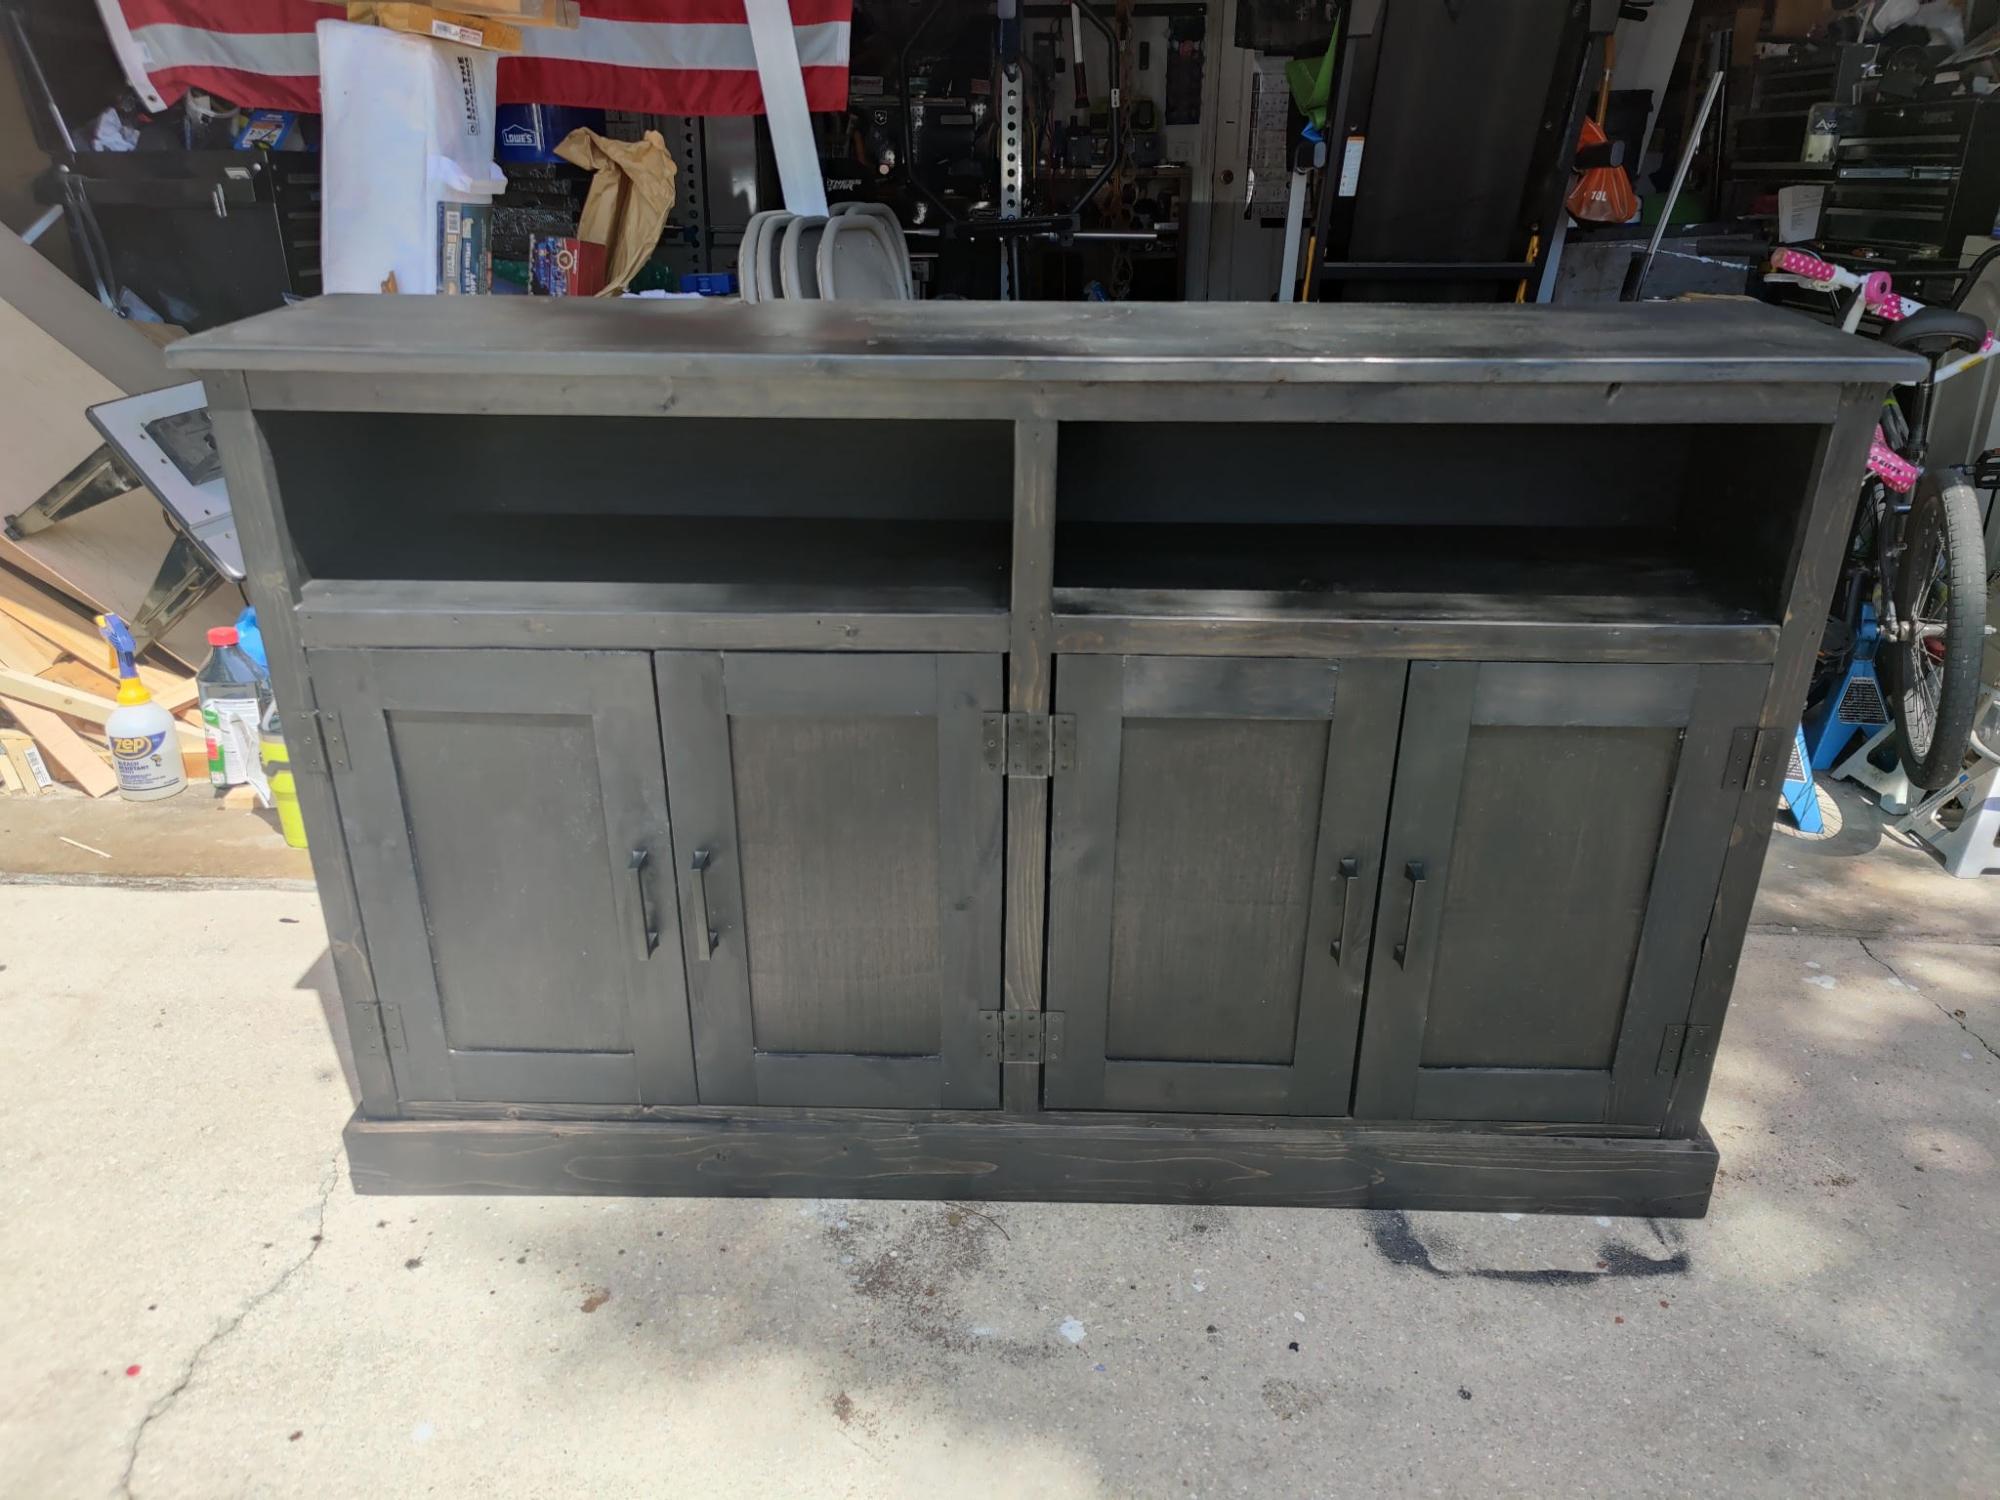
A great console for the entryway with tons of storage!
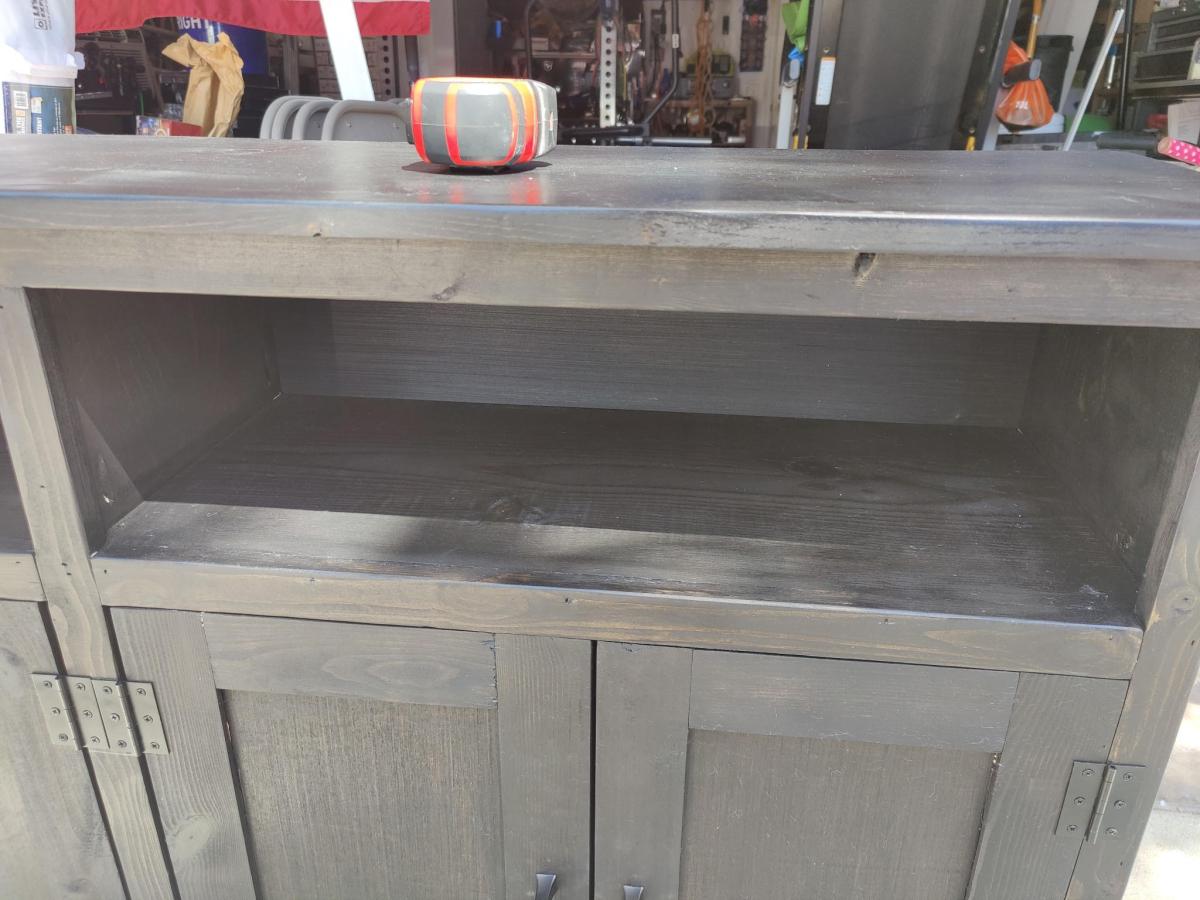
Rustic X Hall Tree

Rustic X Hall Tree with White and natural finish!
by
Comments
Sliding mirror jewelry cabinet
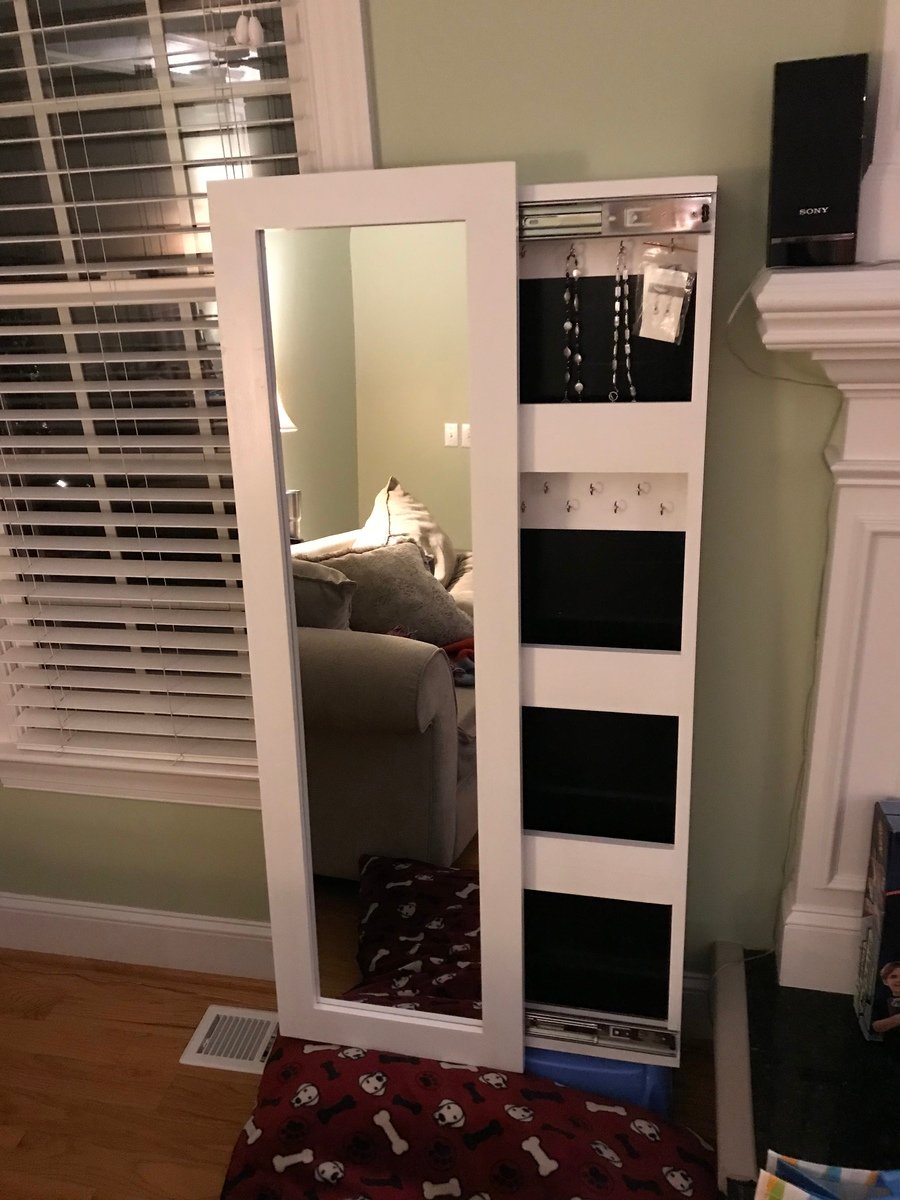
I made this sliding mirror jewelry cabinet for my wife for Christmas.
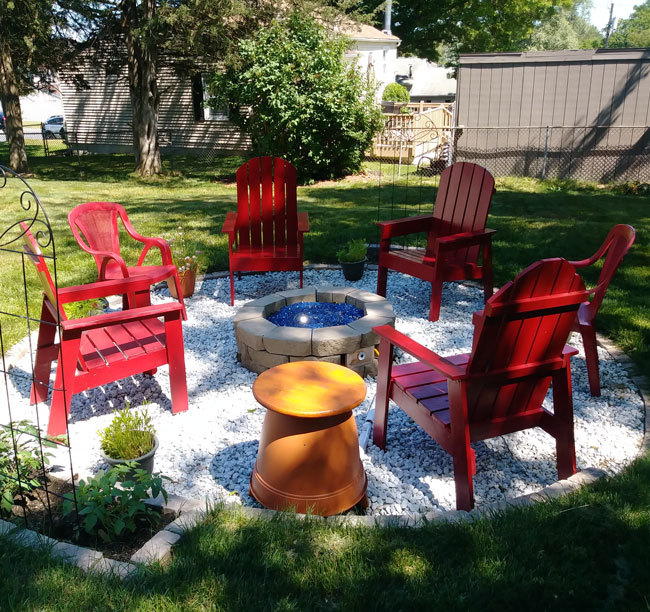
Adirondack chairs
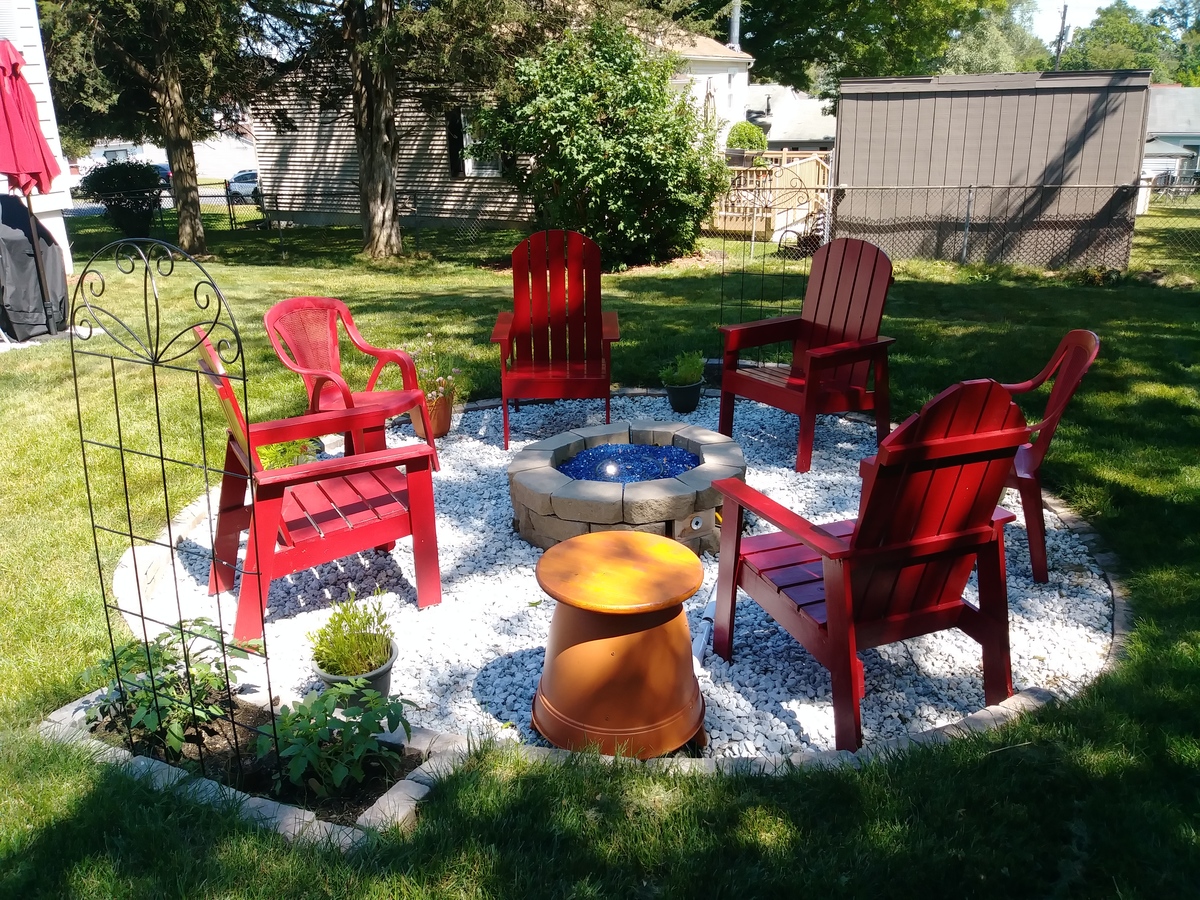
Built from Ana's Adirondack chairs from book.
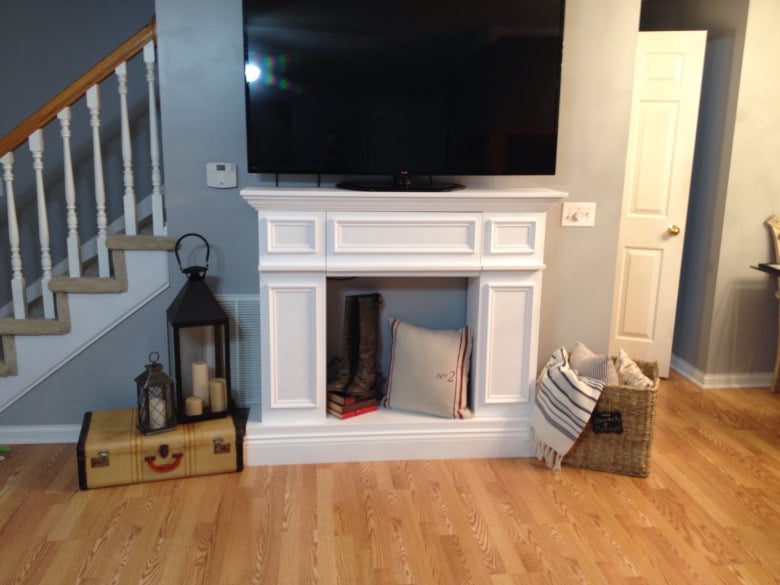
Faux Fireplace
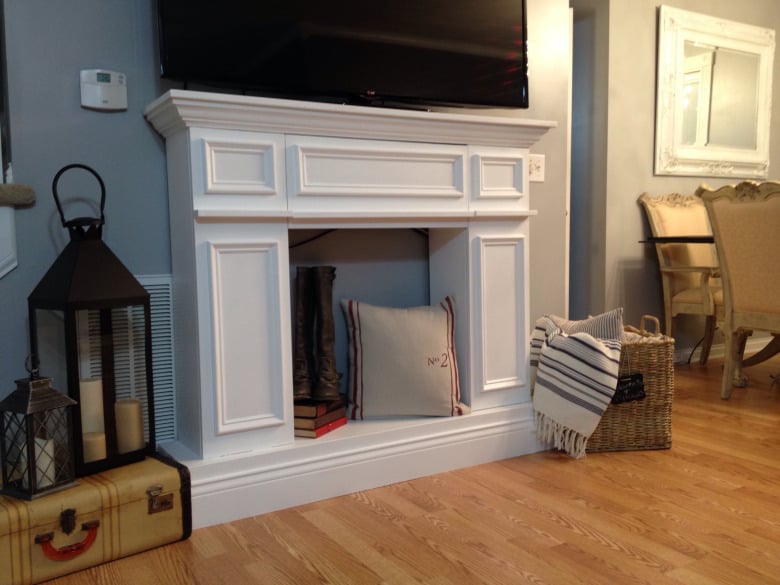
Modified from Ana White's Faux Fireplace with Hidden Storage Plan
Wife's Kindergarten Classroom
Been a while since I had time to actually build anything worth posting about! My wife wanted some items for her Kindergarten classroom this year, so built several items, most inspired by the Farmhouse family.
Comments
Sat, 06/12/2021 - 11:23
I am moving from 15 and half…
I am moving from 15 and half years of third grade to a first year of first grade. I NEED tables for my kids. I plan on building my own. I am building mine as a "2 seater." Would you please share the dimensions of these student tables? I love the teacher desk too. I built something similar for my home.
DIY Kids Art Table
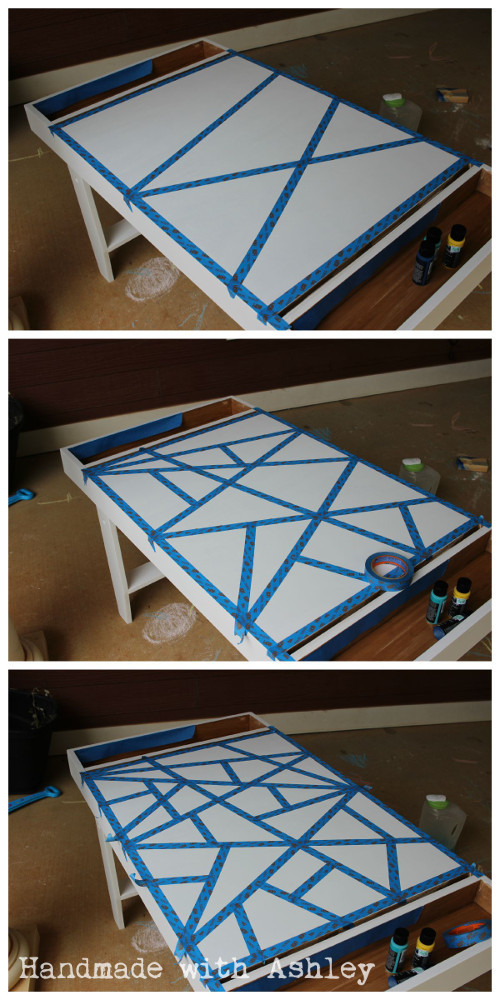
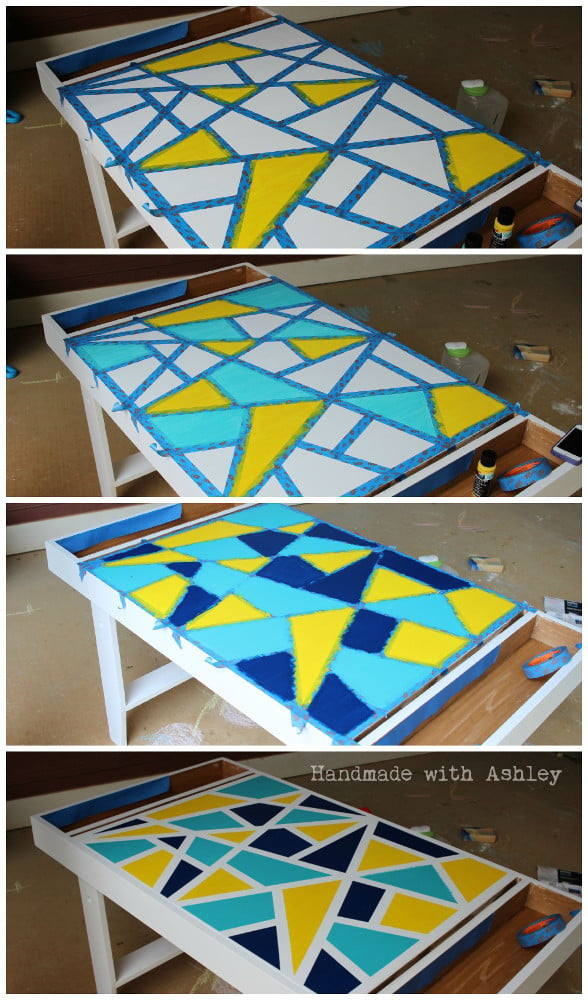
I'm so excited Ana created plans for this table! When I first came across it on Pottery Barn Kids it was love at first sight. :D I built it over the weekend for my little toddler. Unfortunately, he's too short for it, but he'll grow into soon enough. :) (I secretly wished it was an art table appropriate for my height!)
It cost me about $75 to build. I splurged and bought select pine boards for the project. The art table was also my submission for September's Fab Furniture Flippin' Contest. September's sponsor is General Finishes and the theme was geometry!
Now, I just need to build matching seats! I love the little stools Ana built; maybe I'll do something sorta like that. :)
Thank you Ana for inspiring me to build!
Comments
Cedar deck box
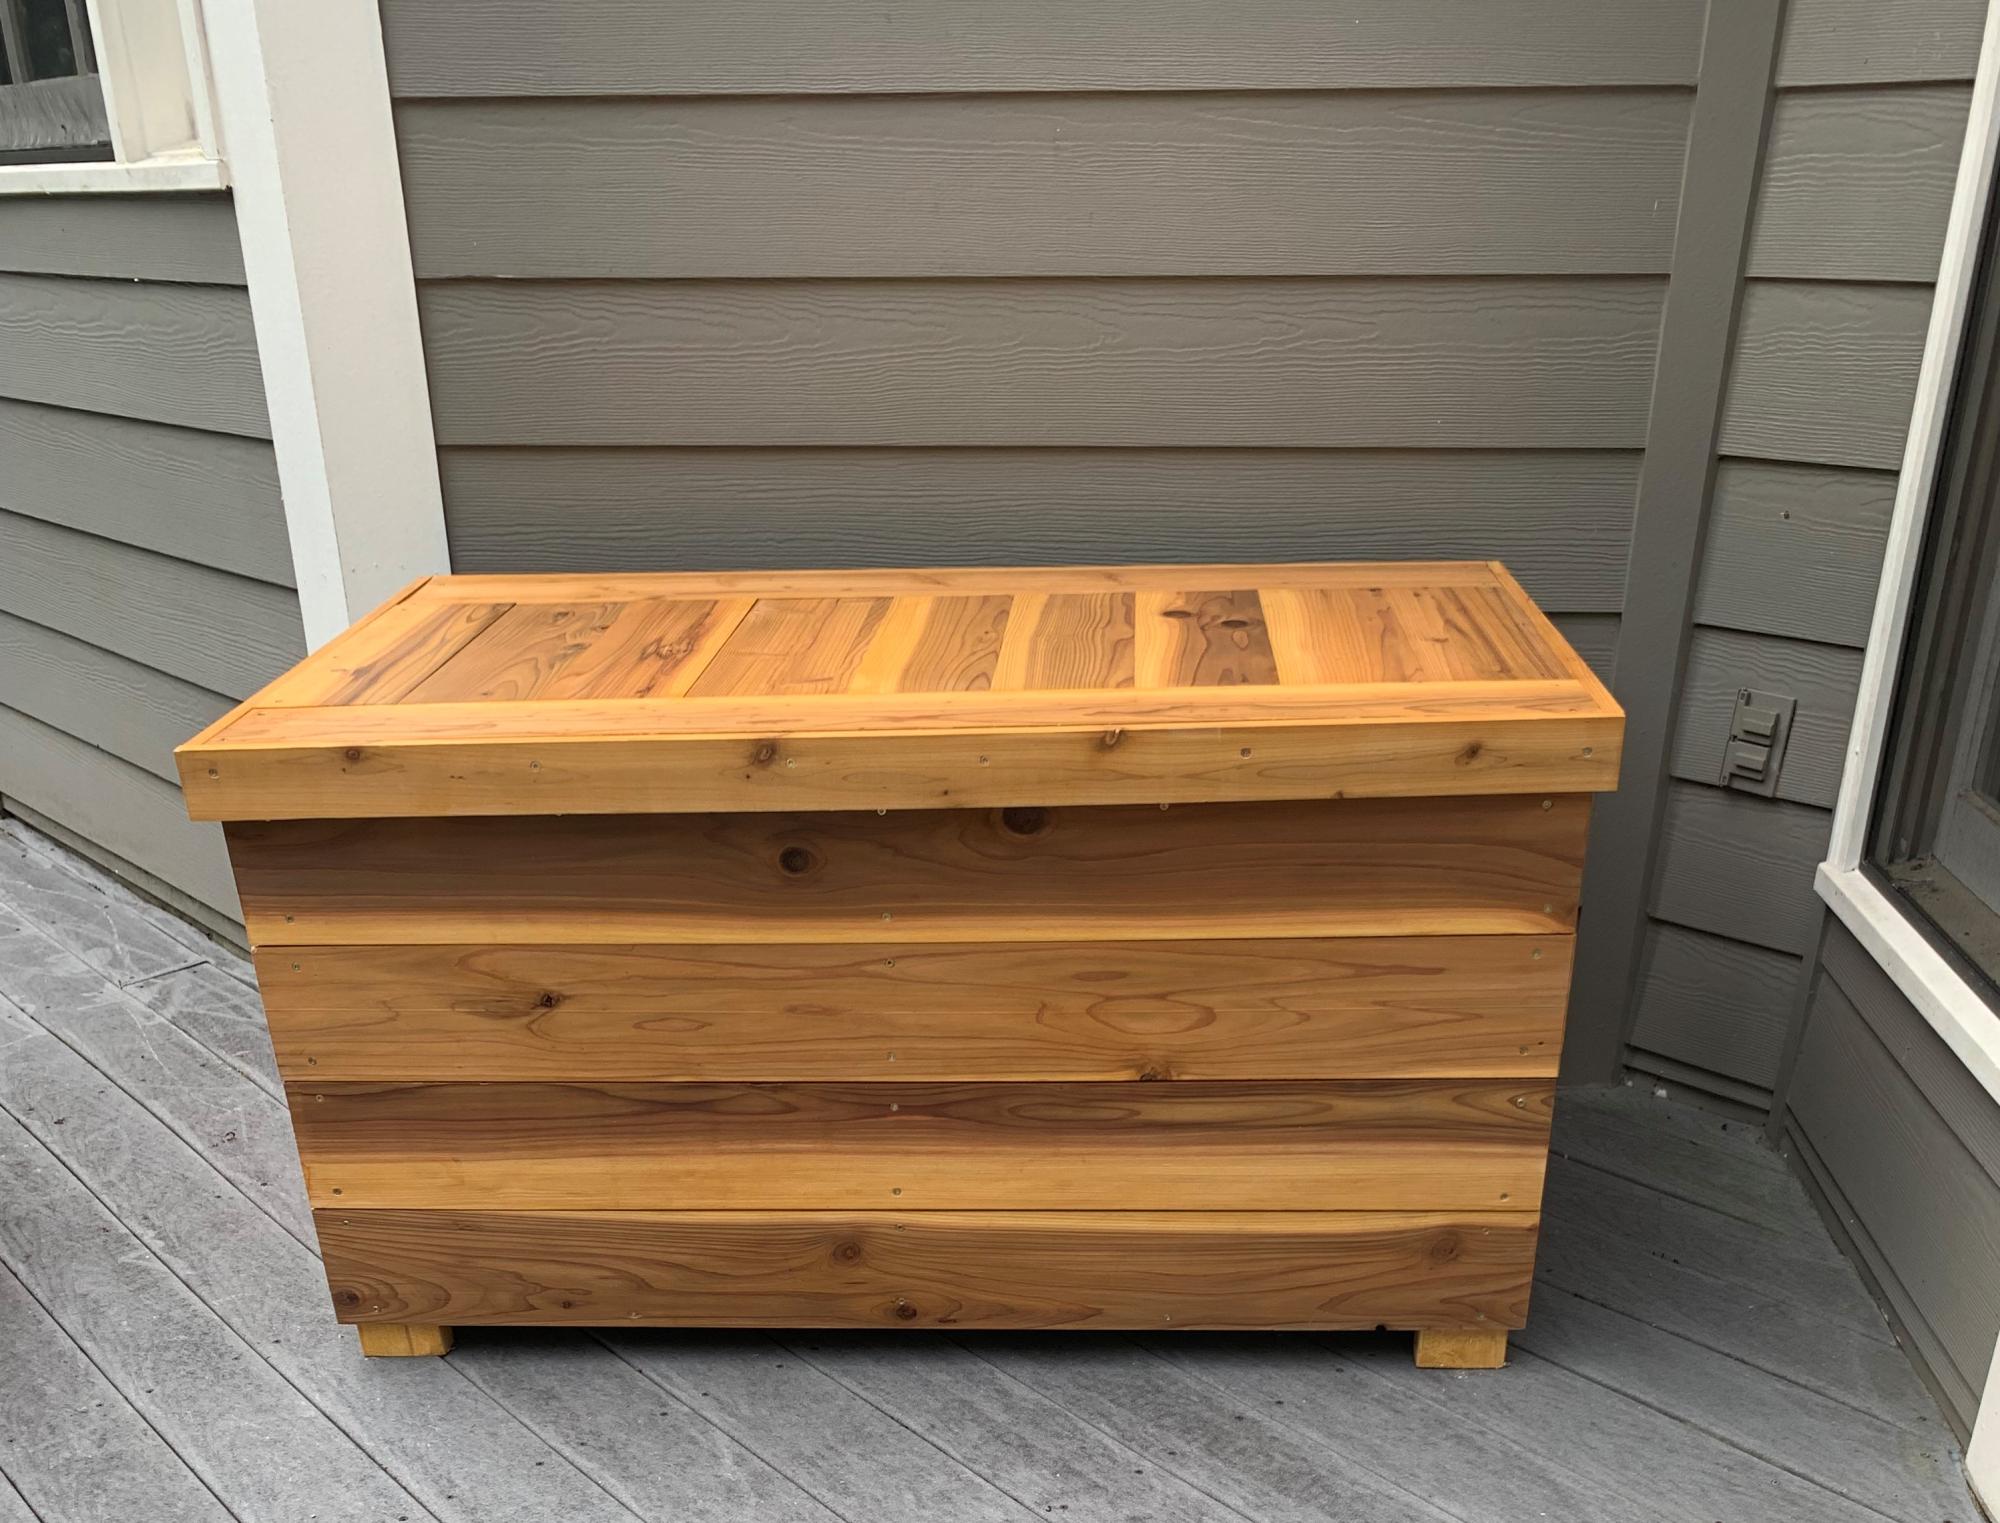
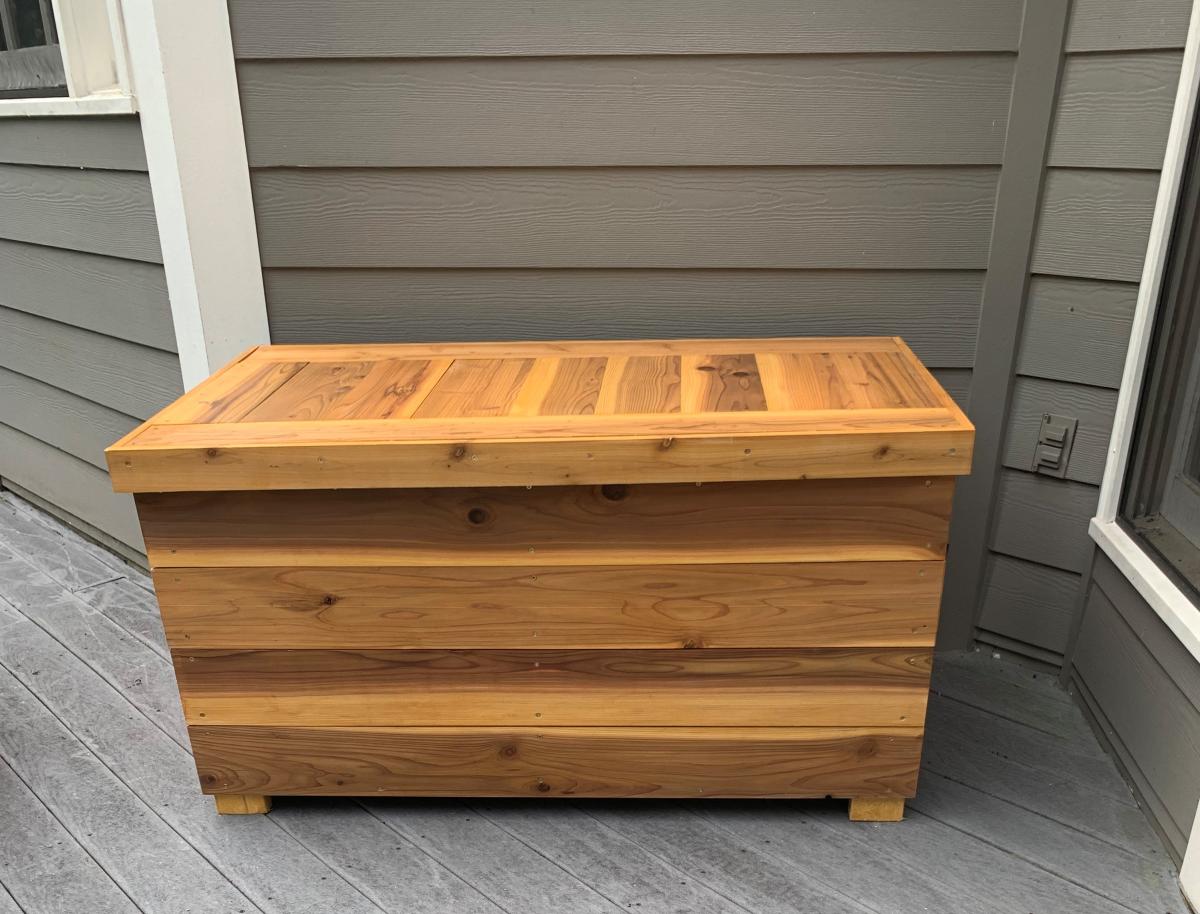
I had to modify these plans to use what I had on hand. I used left over cedar fence pickets (planed down and sealed) and adjusted the size to fit all my outdoor cushions. Overall dimensions are 49" wide x 28" deep x 26" high. I also used 2x4's instead of 2x2's because that is what I had in my shop. I added 1x3's around the top to fit snugly instead of using hinges (again trying to use what I had on hand). We get A LOT of rain in the summer so hopefully the cushions will stay dry. I also added some screen left over from the screened in porch to the bottom before adding the "floor" to keep bugs out. I just stapled it to the frame before adding the floor boards. I did add a piece of treated 1/4" plywood under the top in hopes of keeping the rain out.
Comments
farmhouse table and bench!

My boyfriend and I built the farmhouse table and bench in one weekend. We are SO happy with the way it came out, thanks to Ana White for her plans!!


Comments
Ana White
Tue, 02/07/2017 - 08:07
Love your American girl
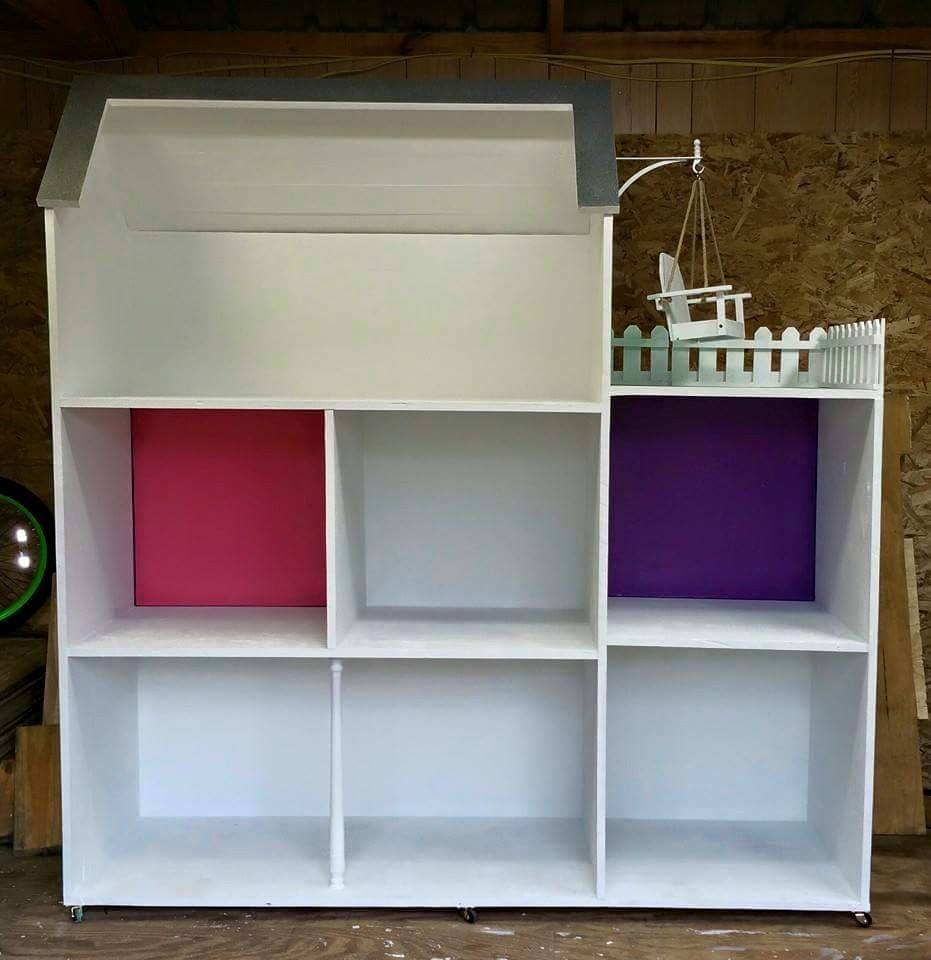
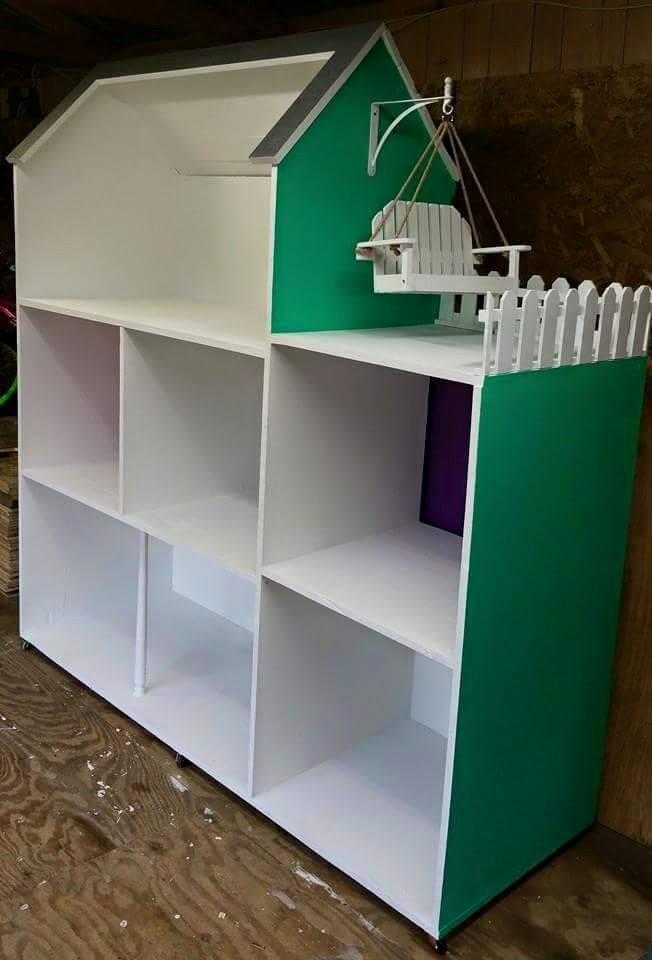
Love your American girl dollhouse, the swing on the side is so fun!!!
MommyNyn
Fri, 04/17/2020 - 16:59
Love your house!! I can’t…
Love your house!! I can’t find the actual PLANS, though.):
LaraMJ
Fri, 12/04/2020 - 10:07
3 story american girl Dollhouse
Do you make this & the exact replica with possibly a garage? I'm looking to buy 1 for my daughter for christmas?