Community Brag Posts

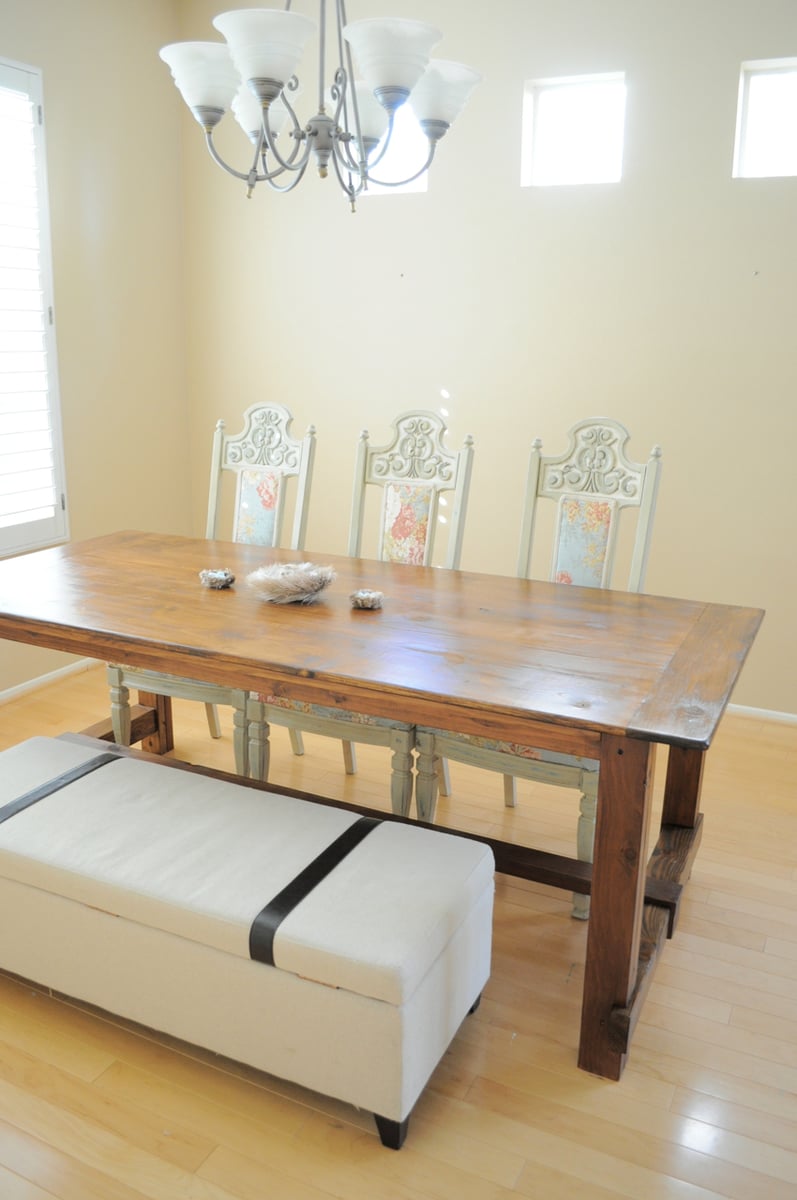
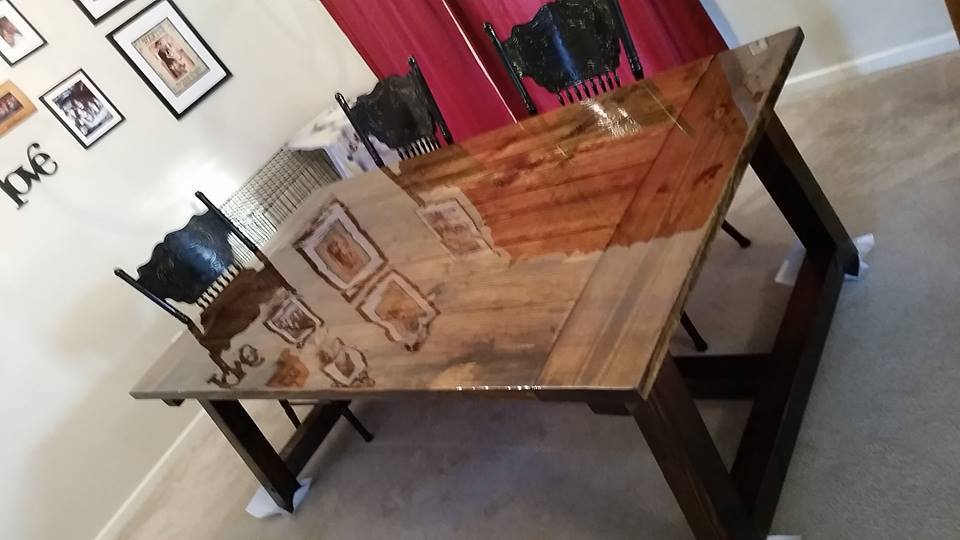
Fancy X Farmhouse table - painted!

Submitted by bettenmv on Tue, 02/05/2013 - 11:57

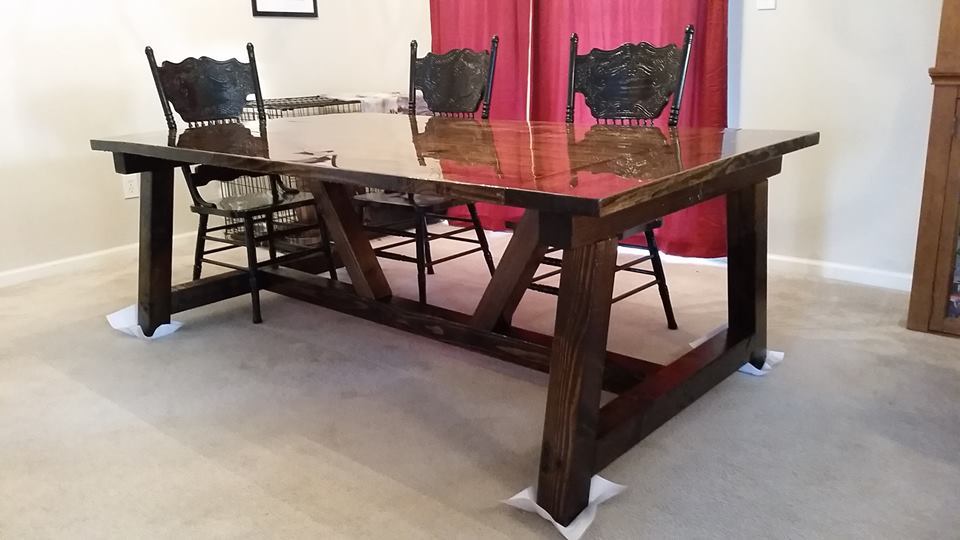
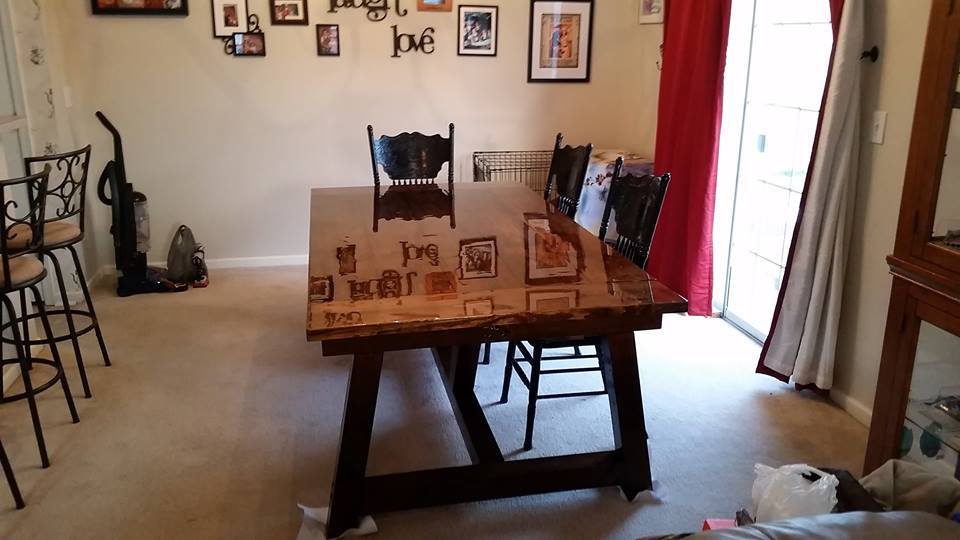
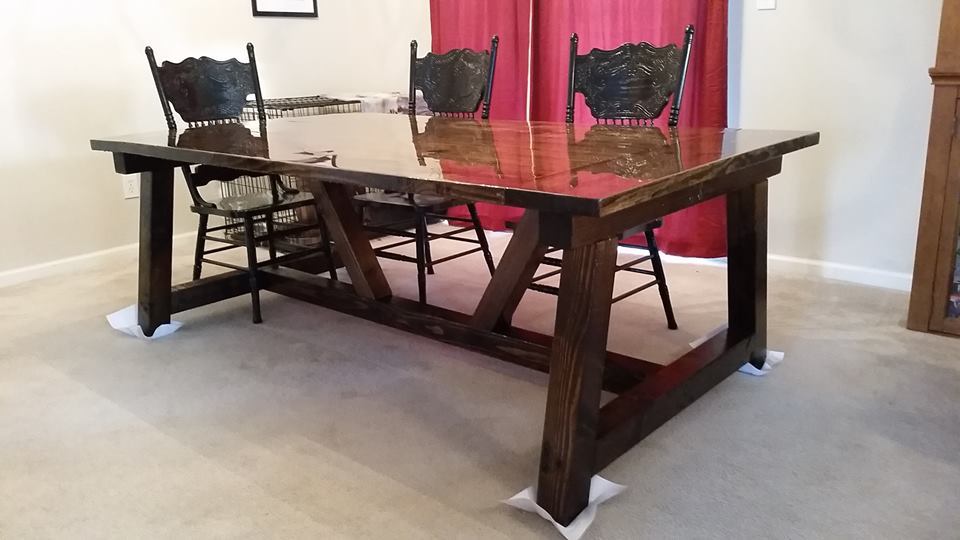
First project from Ana White, and loved it! Building more as we speak. We loved this table but wanted it in painted finish. We chose to fill in some of the gaps to make it look a little more finished. Very happy with the result!

Built from Plan(s)
Estimated Cost
90 dollars not including one time purchases of Kreg, nail gun, etc.
Estimated Time Investment
Weekend Project (10-20 Hours)
Finish Used
white paint and brown glaze
Recommended Skill Level
Beginner

Comments

orangesugar

Tue, 02/05/2013 - 12:12

This table is gorgeous! Do you have any more information on the paint treatment, wood you used etc....

bettenmv

Tue, 02/05/2013 - 18:44

Thank you! It was our first attempt at a glaze. We shortened the table length wise and then used 3 2x10s instead of 4. For the finish we painted the table Navajo White Behr color from home depot. We then mixed about 1 part of a Minwax espresso stain with 4 parts of Behr Faux Glaze. Then we just rubbed it on with rags and waited a little bit and rubbed it off.

Jamaunzie

Wed, 02/06/2013 - 15:29

WOW Extremely nice I am from Arizona and the color you have chosen is just perfect nice job and finish congratulations on being the proud owners of a Very Beautiful Table

wannabuildit

Mon, 02/18/2013 - 17:39

Great job! Beautiful finish. I have yet to build anything, but this is my favorite plan from Ana White and I will be starting it as soon as the weather cooperates :/
Nicely done!

worrow

Wed, 06/05/2013 - 18:58

Nice job, I just finished mine and followed plans 90% of the way. I altered the legs to look beefier. I have not finished mine yet. I spaded the top and will be using it outdoors so unsure what I want to do for the finish. But thanks for sharing.

Mudroom closet

Submitted by bozarthm1 on Mon, 01/04/2021 - 07:26

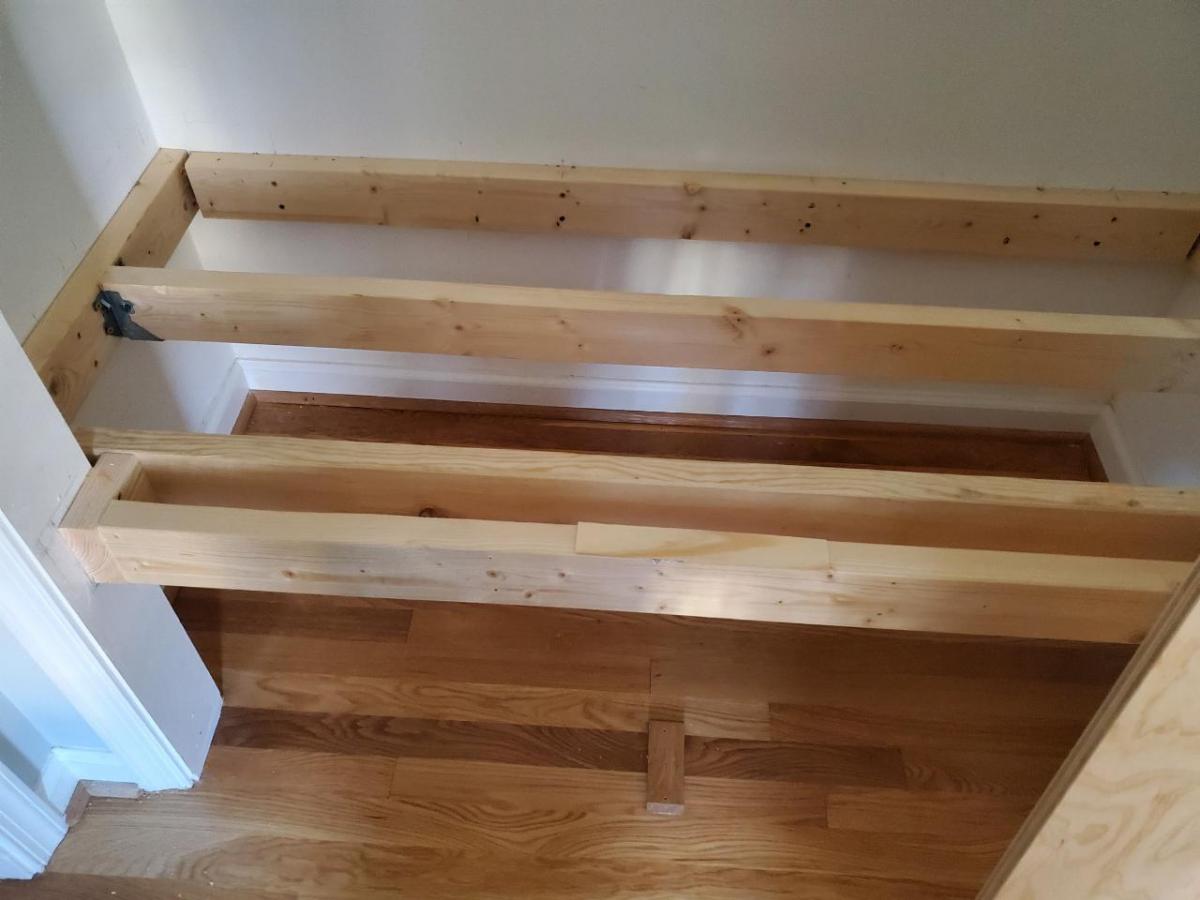
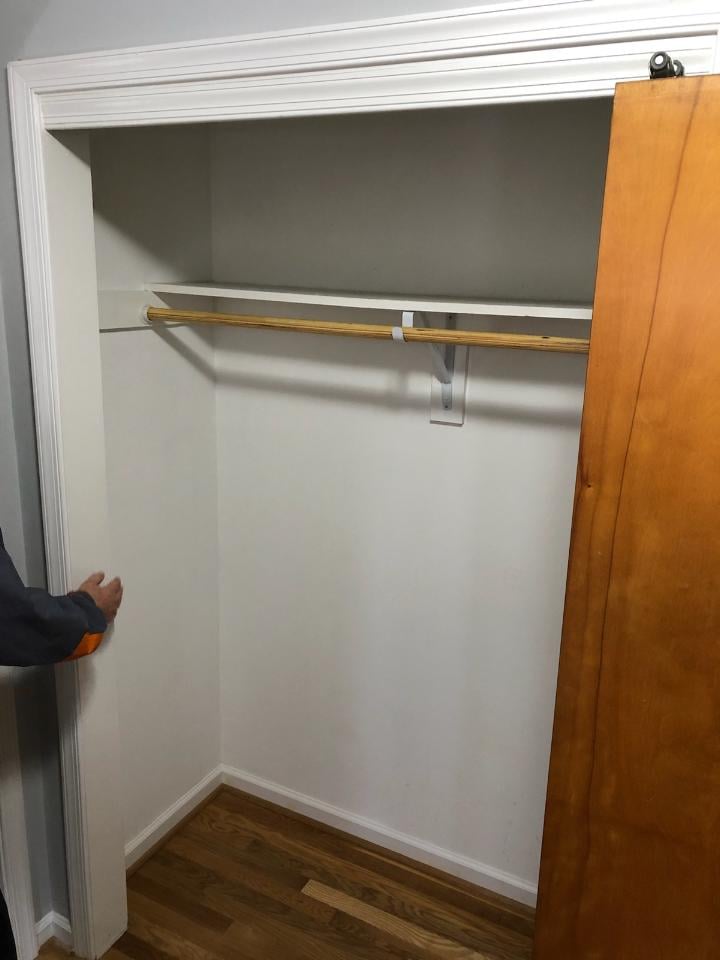
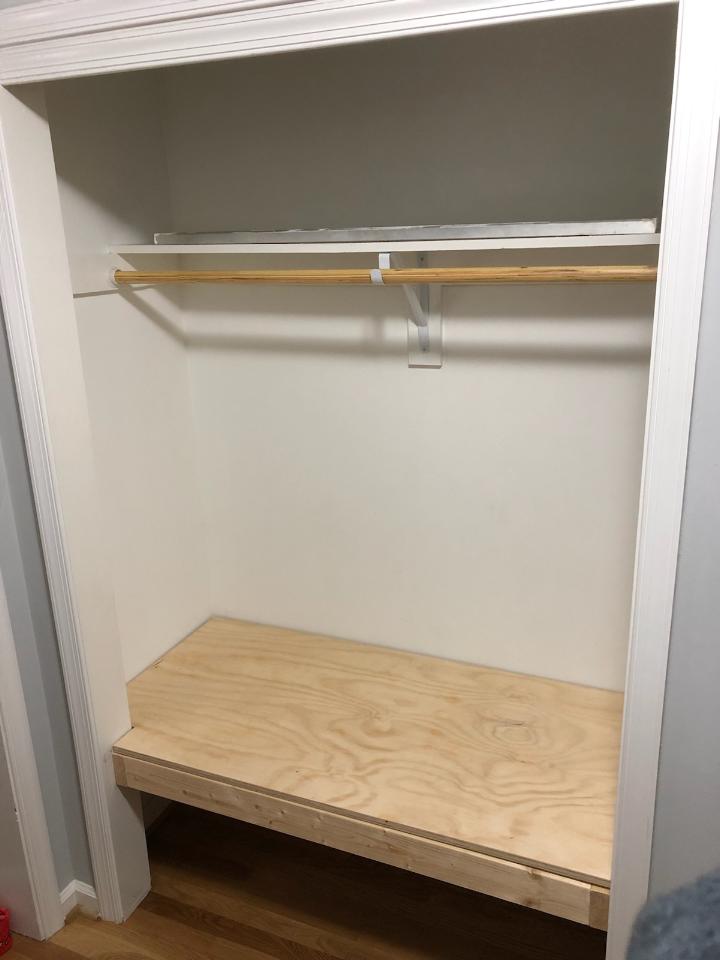
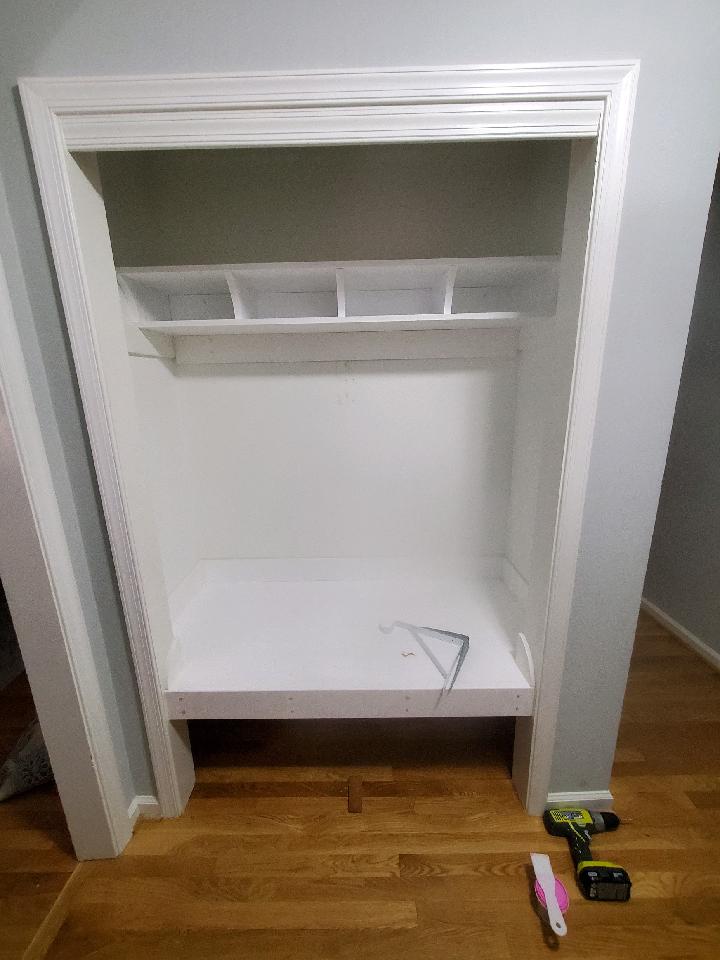
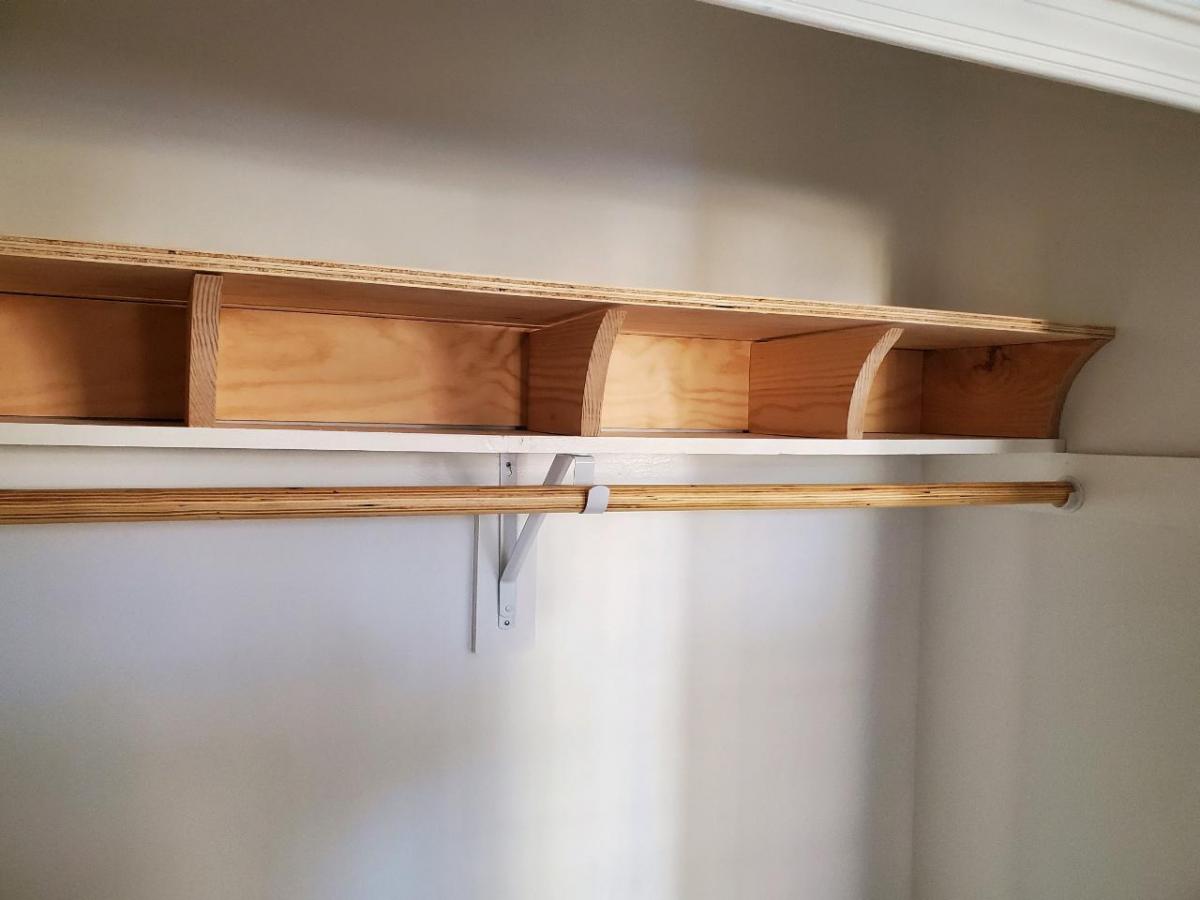
Converted this entryway closet to a Mudroom. Came out pretty good. Had to put a board stretcher on the top shelf after I cut it twice, to get it back to the original size. Still plan on making the rolling trundle drawers for underneath. Thanks Ana!

Estimated Cost
$70ish
Estimated Time Investment
Week Long Project (20 Hours or More)
Finish Used
primer and paint
Recommended Skill Level
Intermediate

Comments

Apothecary Media Console

Submitted by griffsci on Sat, 12/13/2014 - 14:24

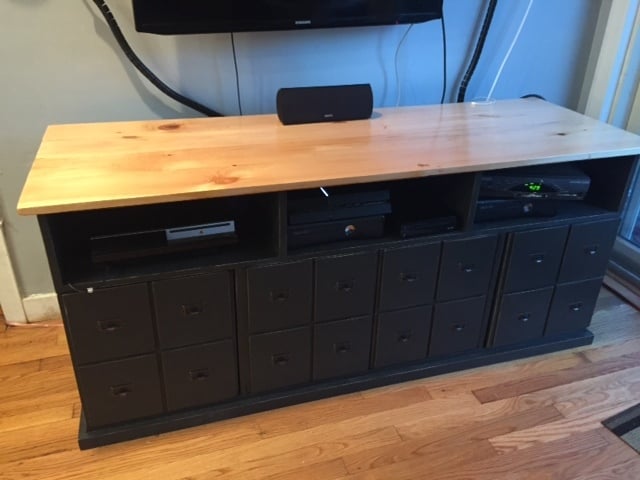
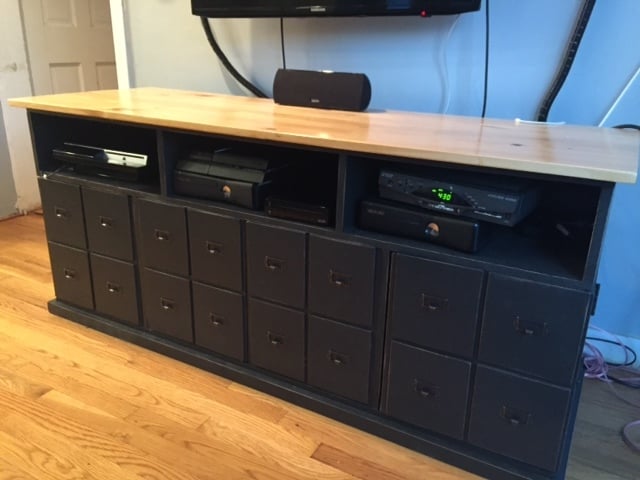
This was my second-built project after finding Ana's wonderful site - the first being the Rustic-X coffee table.  After learning how to use a miter saw, jig saw and kreg pocket hole jig for the first time by watching Ana's video tutorials as well as several others available on the web, I built up the confidence to attempt a media console for my three video-gaming boys. 

I pieced together a design plan for the console using the general design of Ana's Apothecary Console Plan, together with the incredibly helpful plans and instructions detailed on 2Crafty4myskirt.blogspot.com.  Kind of like mixing together pieces of different recipes, I was able to create a design that had the length of Ana's console, plus 2Crafty's wonderfull side-storage doors for all of the boy's video games.

As set forth in detail below, I used Ralph Lauren's Carbon paint for the entire unit, and Minwax Red Chesnut Wood finish to distress the edges.  I used Pecan Minwax Polyshades Stain & Polurethane for the table top.  One of the most helpful pieces of advice from 2Crafty was to leave attachment of the back and top of the unit until they are separately painted and stained.

I finished the false fronts with antique copper (bronze) cabinet label holders (2 1/2") which I purchased online at D. Lawless Hardware online.

As a beginner, I had a steep learning curve in learning how the tools worked (safely), and so it took me about 40 hours all in to finish the project.  While my sons helped along the way, my husband didn't actually set eyes on the project until it was complete.   He was stunned at how beautiful it was - and that I had in fact created what he calls the "center-piece" of our family room from a pile of lumber purchased at Home Depot.  He is full of helpful suggestions of what I should make next!

Thank you Ana for providing me with the tools, skills and confidence to produce a piece of furniture that I am very proud to point to and say "I did that!"
Estimated Cost
$150-175.00
Estimated Time Investment
Week Long Project (20 Hours or More)
Finish Used
I painted the exterior of the entire console in two applications of Ralph Lauren's Carbon (semi-gloss), and then used a 220 sanding block to lightly sand all along the edges of the front of the unit and false-drawer faces. To created a softer, weathered look, I used a cloth to dab Minwax Red Chesnut (232) wood finish on the sanded areas, and wiped off the excess after 5 minutes. The pine top was stained in Minwax Polyshades Pecan Satin.

Recommended Skill Level
Beginner

Comments

DIY Faux Fireplace Mantle with Hidden Storage

Submitted by Anonymous (not verified) on Tue, 03/14/2017 - 15:06

We were given this fireplace insert and need something to house it. After searching the web, we decided that Ana's faux fireplace design was our best option. We modified the measurements to fit our needs and added a wood stained top to serve as our "mantle". We are thrilled with how it turned it!

Estimated Cost
Less than $100
Estimated Time Investment
Weekend Project (10-20 Hours)
Finish Used
Polyshades 'Espresso' stain on mantle top
Behr white paint
Recommended Skill Level
Intermediate

ten dollar ledges

theses are the $10 ledges, i used 1 1x4, 1 1x6, and 1 1x2. i made a total of four which measured 2ft long. it was very easy to do, and was pretty fast, and really cheap

Built from Plan(s)
Estimated Cost
$10.00
Estimated Time Investment
An Hour or Two (0-2 Hours)
Finish Used
rustolium dark walnut spray paint
Recommended Skill Level
Beginner

Comments

rhettar

Sun, 02/10/2013 - 19:58

I see you are saying you made them a little wider... I like your empty frames too...

Wagon

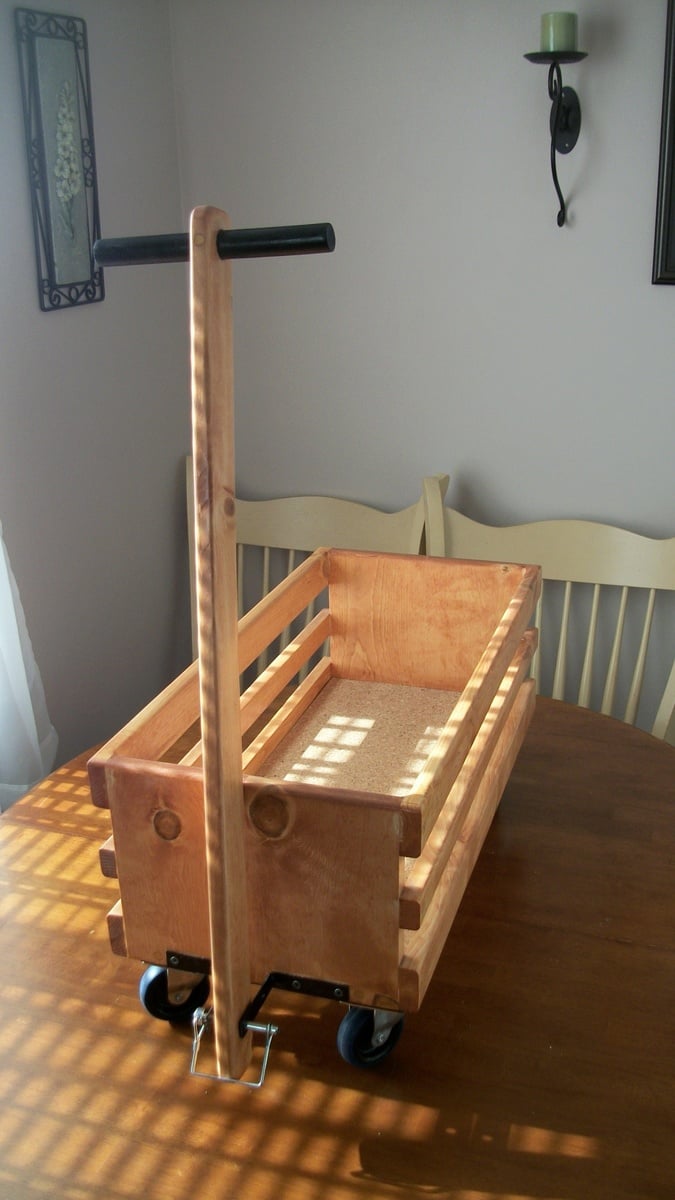
Submitted by gbyrne on Sun, 12/21/2014 - 17:22

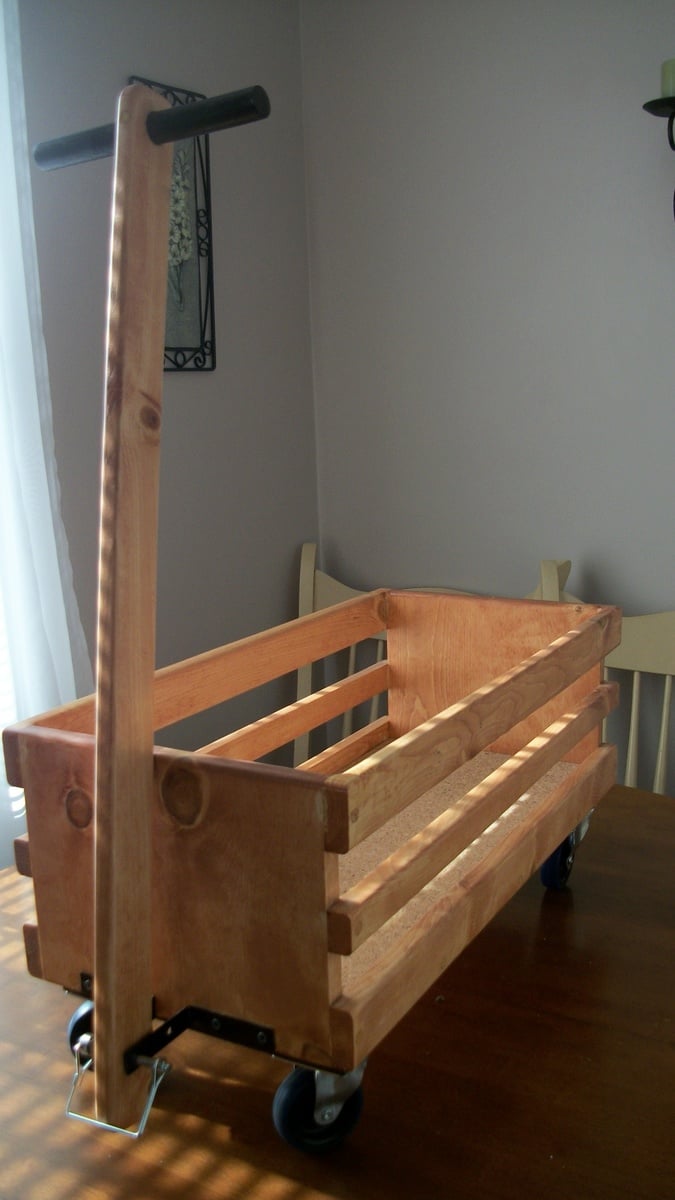
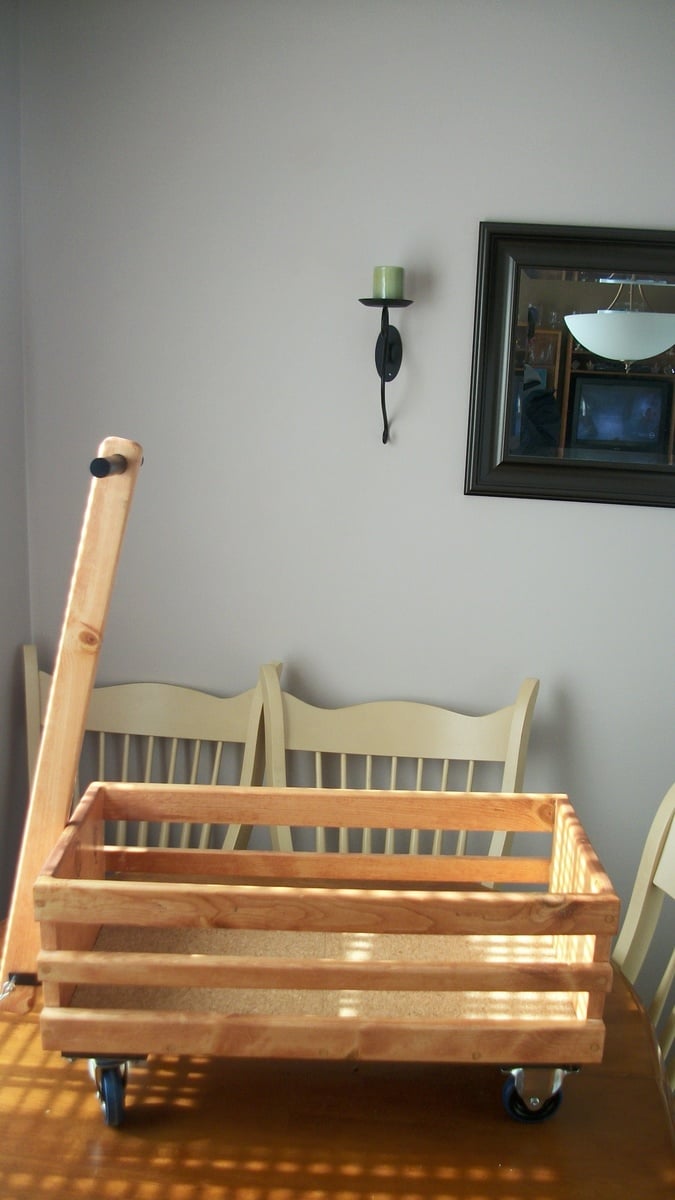
Based this wagon on plans found on Ana White's site. I built this for a 2 year old girl of a co-worker. She is right now using it to pull around her dolls.

Built from Plan(s)
Estimated Cost
$25
Estimated Time Investment
Day Project (6-9 Hours)
Recommended Skill Level
Beginner

Laundry Room Redo

I needed a new laundry system, and thank goodness I found Ana White's projects on Pinterest! I incorporated the laundry sorter and added casters to the bottom as well as a paper towel roll on the side since it is next to the sink. I also used a modified version of the washer/dryer platform into my space. It does not have the bottom platform and the 4x4's are inside the 2x4's and attached to the platform as well as the 2x4's. Sterilite makes organizer drawers that fit exactly in the opening of under the platform. And, voila! New colors, new organization, new light bulbs :0), new laundry room!

Estimated Cost
$170
Estimated Time Investment
Weekend Project (10-20 Hours)
Finish Used
Valspar from Lowe's
Recommended Skill Level
Beginner

Comments

Industrial Bookshelves

Submitted by Anonymous (not verified) on Thu, 04/08/2021 - 17:03

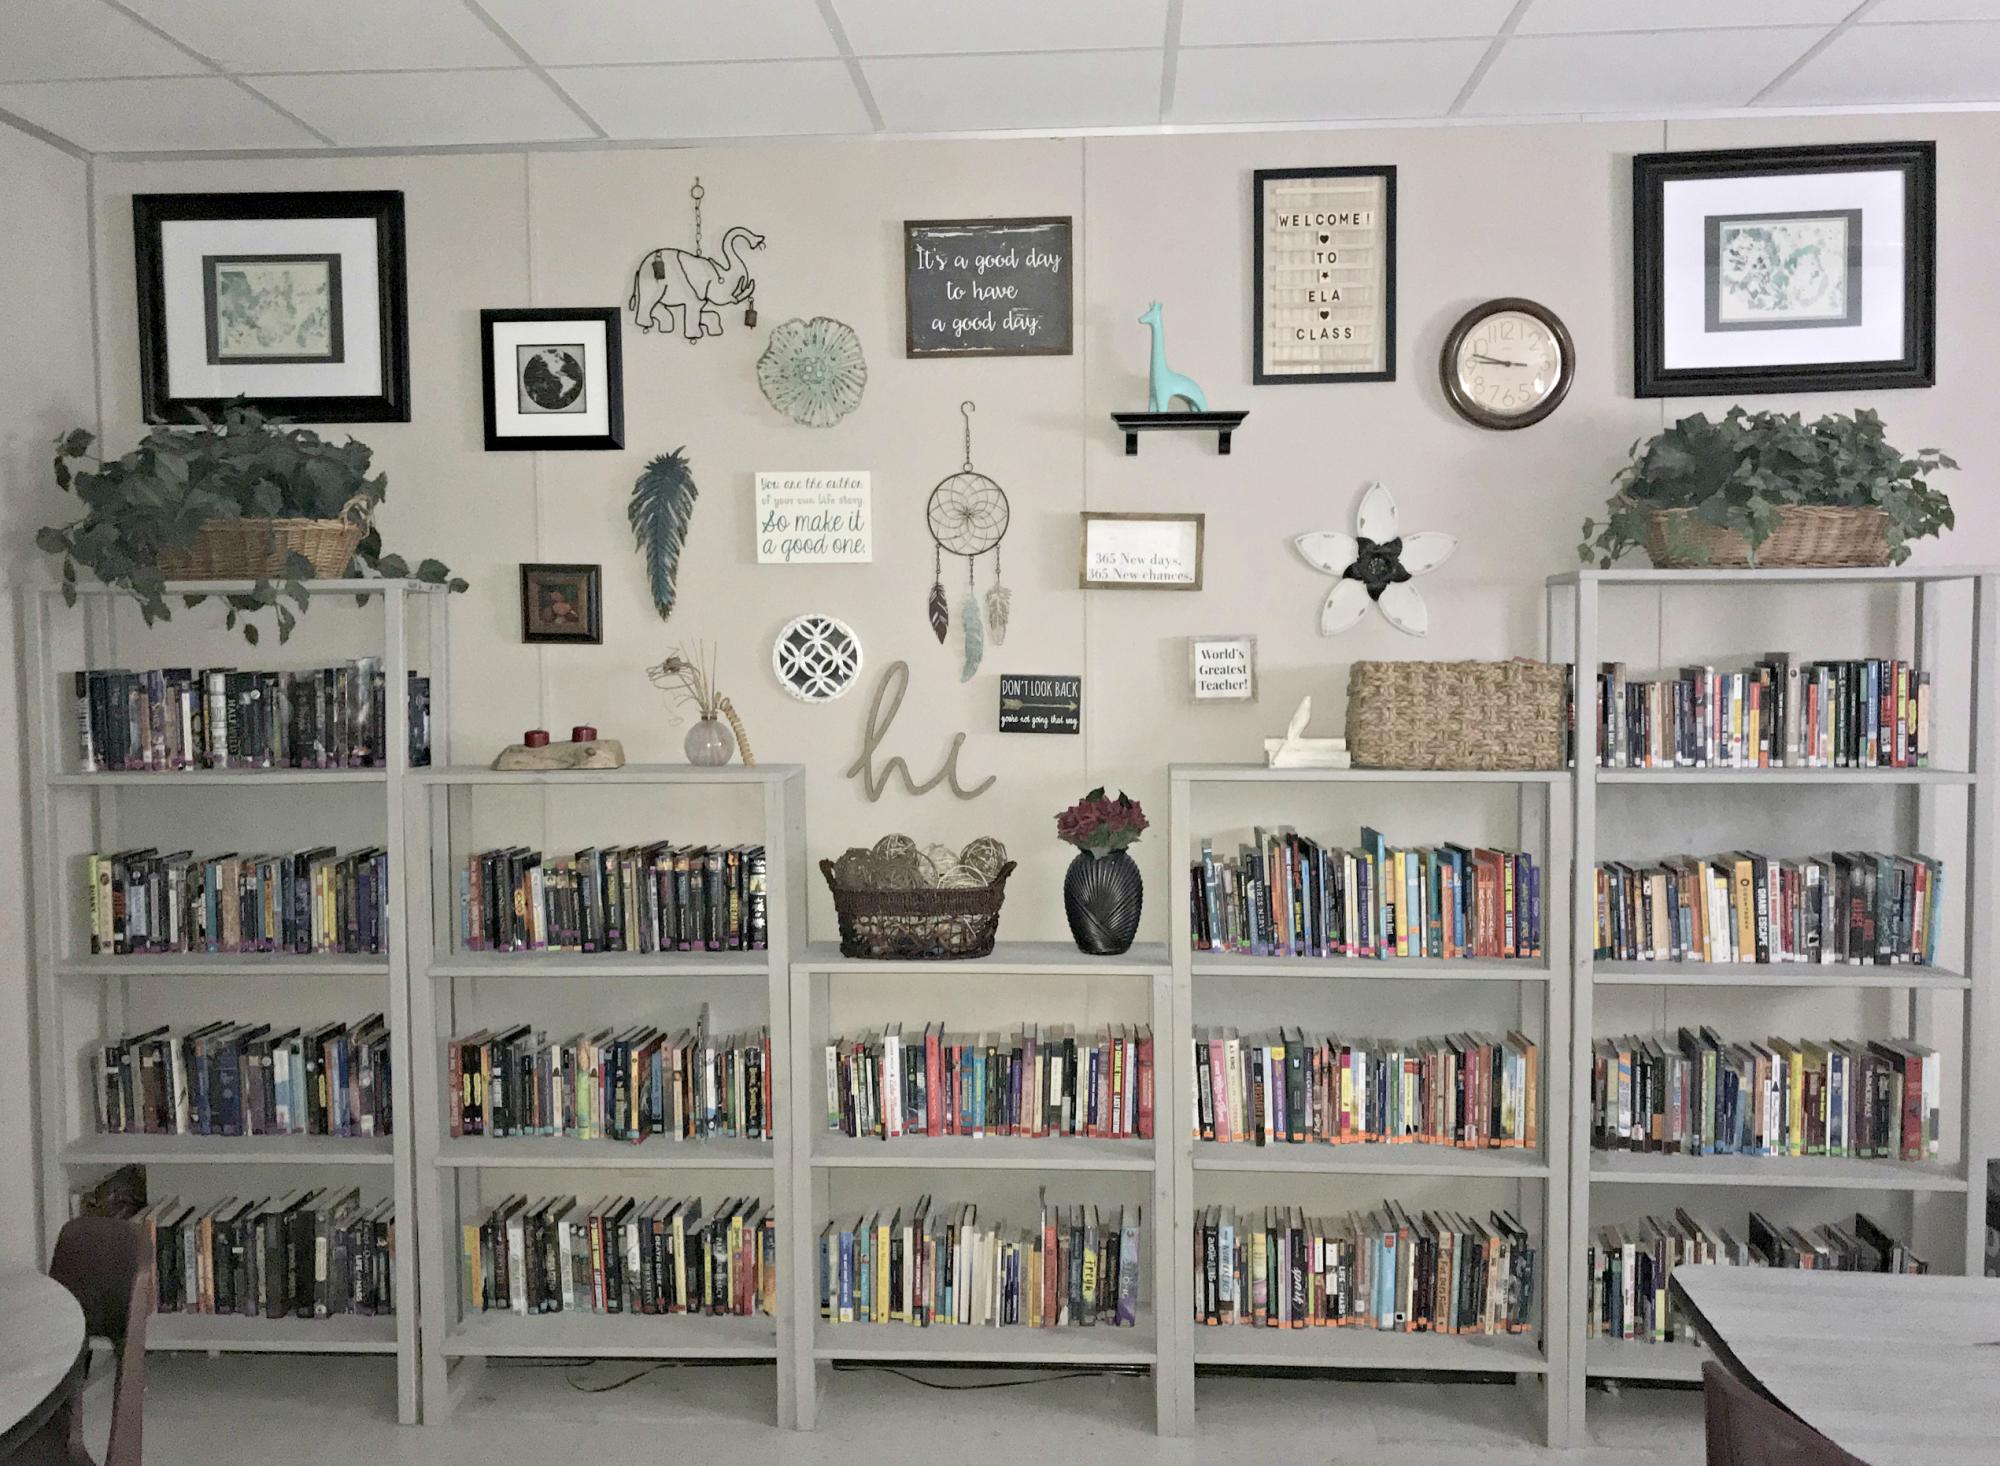
My husband made these gorgeous, inexpensive bookshelves for my classroom. We modified the plans to create a couple of different sizes. I love them, and they work perfectly for the classroom library.

https://www.ana-white.com/woodworking-projects/30-industrial-bookshelf

Built from Plan(s)
Estimated Cost
$75
Estimated Time Investment
Afternoon Project (3-6 Hours)
Finish Used
Varathane Woodstain- Sunbleached
Recommended Skill Level
Beginner

Comments

Our First DIY Project: A TV Corner Unit

Submitted by tedi.l on Fri, 03/22/2013 - 09:07

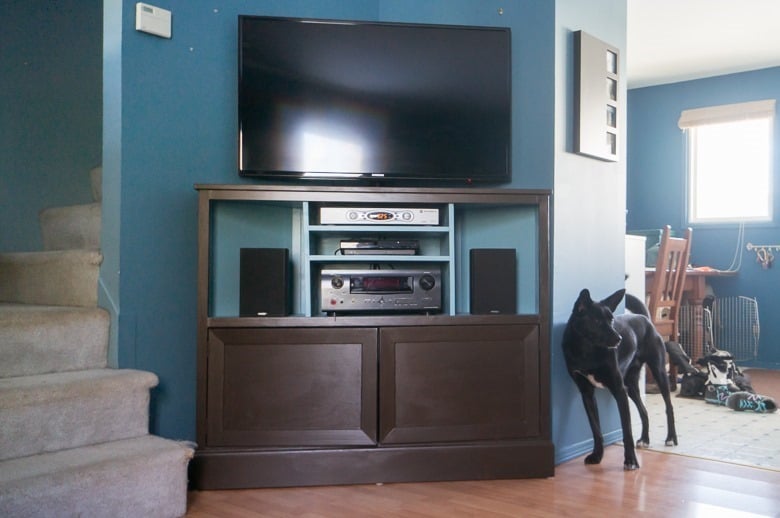
My husband and I wanted to store our bicylces on the main level of our home, but to do that we need to move our tv and it's components to a corner. We didn't see any premade consoles that we liked, so I searched around on the web until I found Ana White's design!

Feel free to visit our blog to see the unit come to life in detail :)

Built from Plan(s)
Estimated Cost
$200
Estimated Time Investment
Week Long Project (20 Hours or More)
Finish Used
We purchased paint that had primer in it, and got away with applying only two coats (with some light sanding in between),
Recommended Skill Level
Beginner

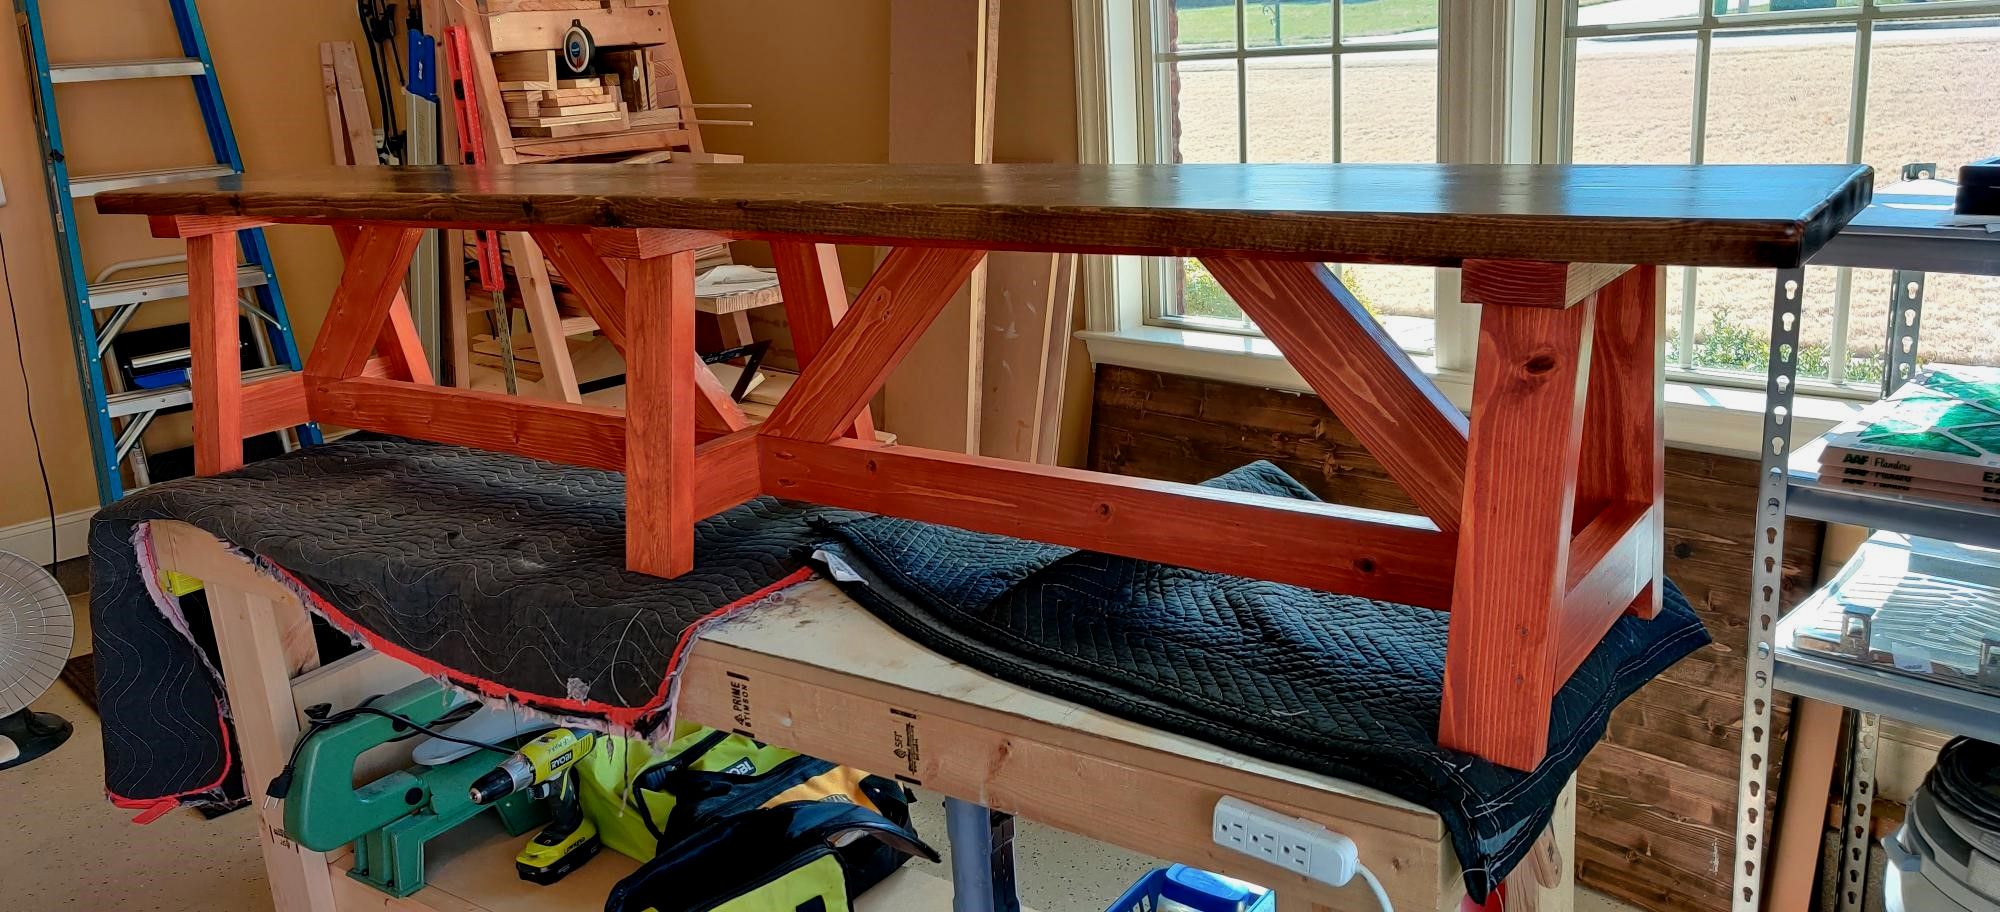
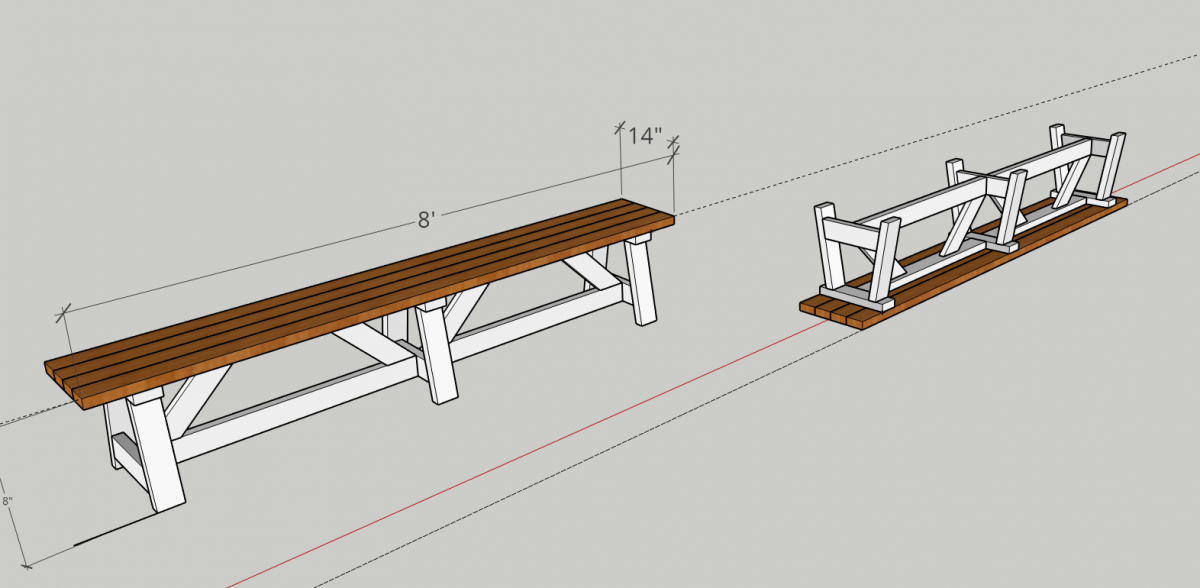
8 foot long truss style farm bench

Submitted by Bigherd on Wed, 04/21/2021 - 05:01

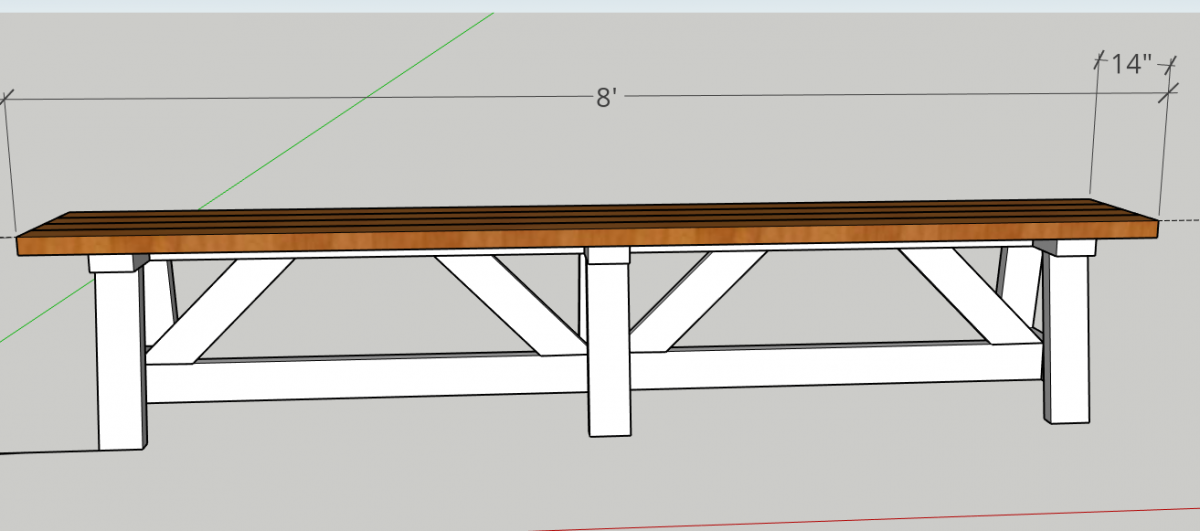
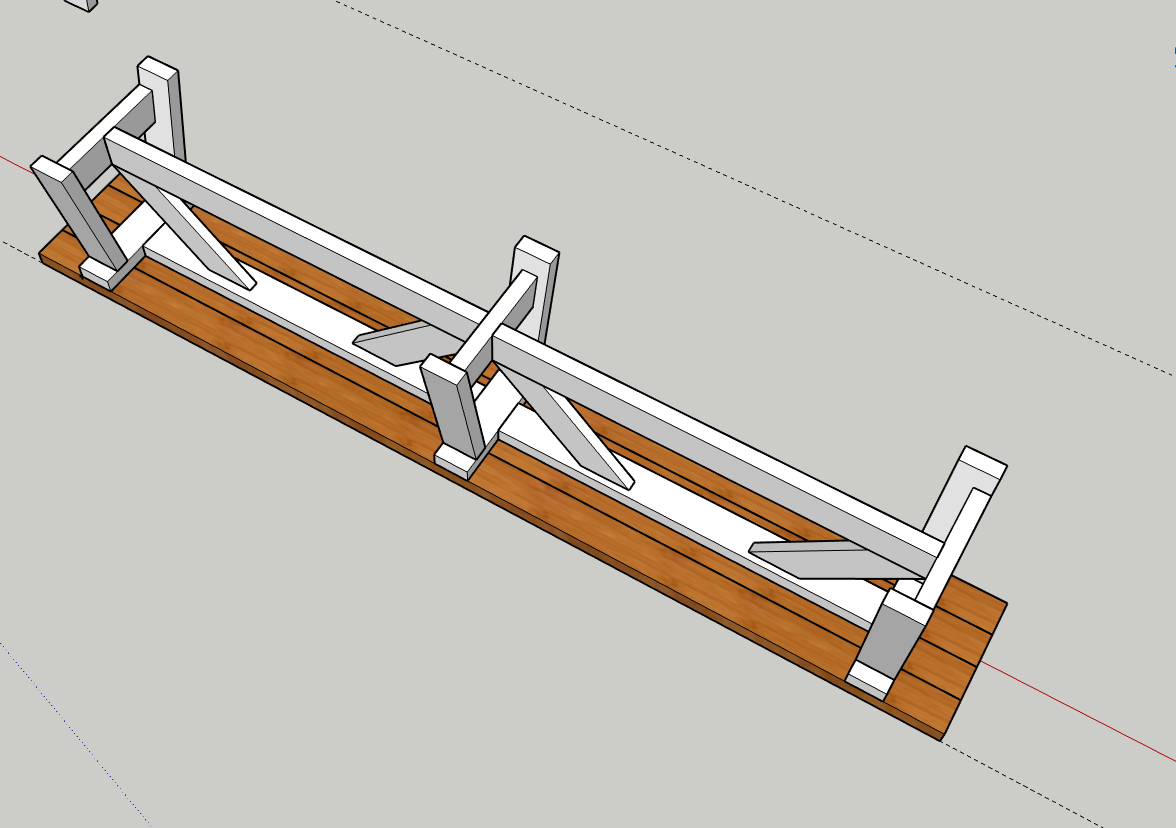
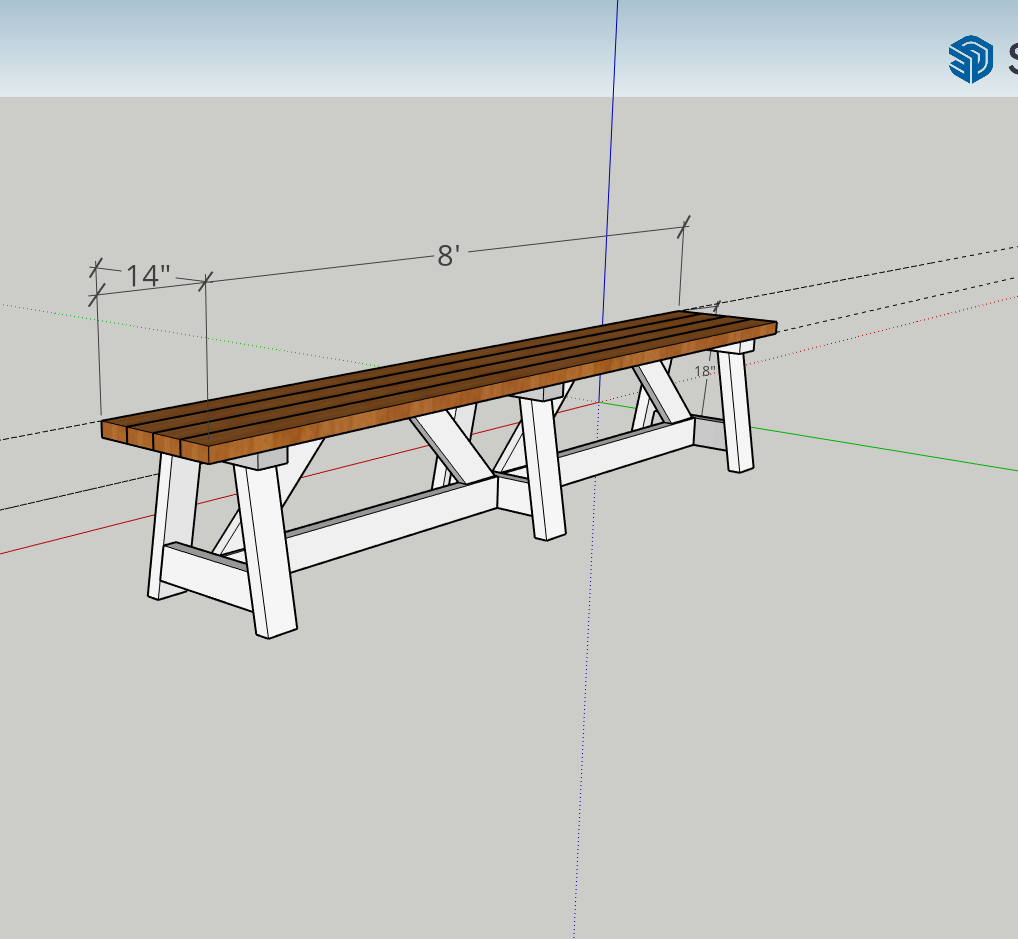
I had a friend that loved the 48" long truss style farm bench. However, she wanted one 8' long. I modified the "2X4 Truss Style Farm Bench" and came up with this design. As you can see, she want a very specific stain color combination.
Built from Plan(s)
Estimated Cost
$80
Estimated Time Investment
Week Long Project (20 Hours or More)
Finish Used
stains and Minwax Polycrylic
Recommended Skill Level
Beginner

Comments

Farmhouse Table

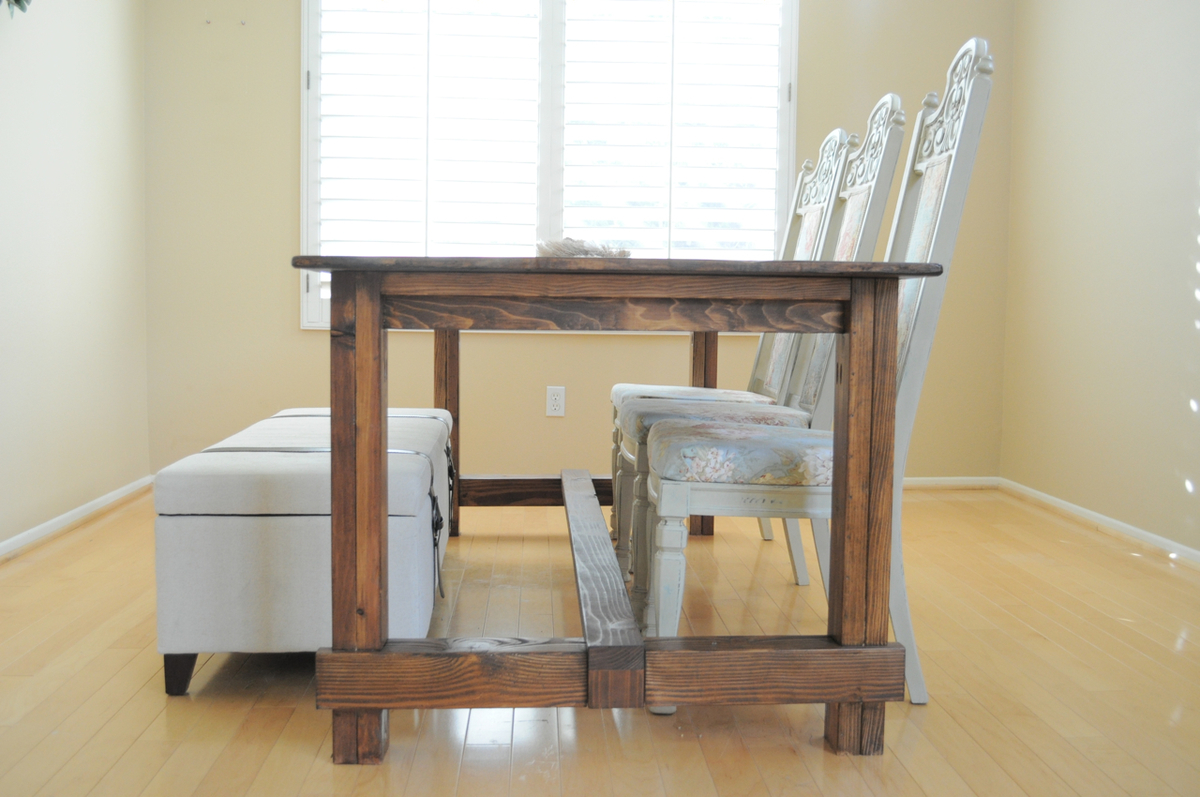
Submitted by kristine on Mon, 03/25/2013 - 23:08

So the husband was not happy with the fancy x dining table he made and thus, within a short 4 month period, he made another dining table :/ This one, however, he loves, so no more dining table making for him anytime soon! He veered off plans by joining most of the projects using dowels. You can read more about the build at our blog:

http://tonyandkristine.blogspot.com/2013/03/diy-farmhouse-table.html

Estimated Cost
appx $100
Estimated Time Investment
Week Long Project (20 Hours or More)
Finish Used
Varathane Stain + Poly in Early American
Recommended Skill Level
Intermediate

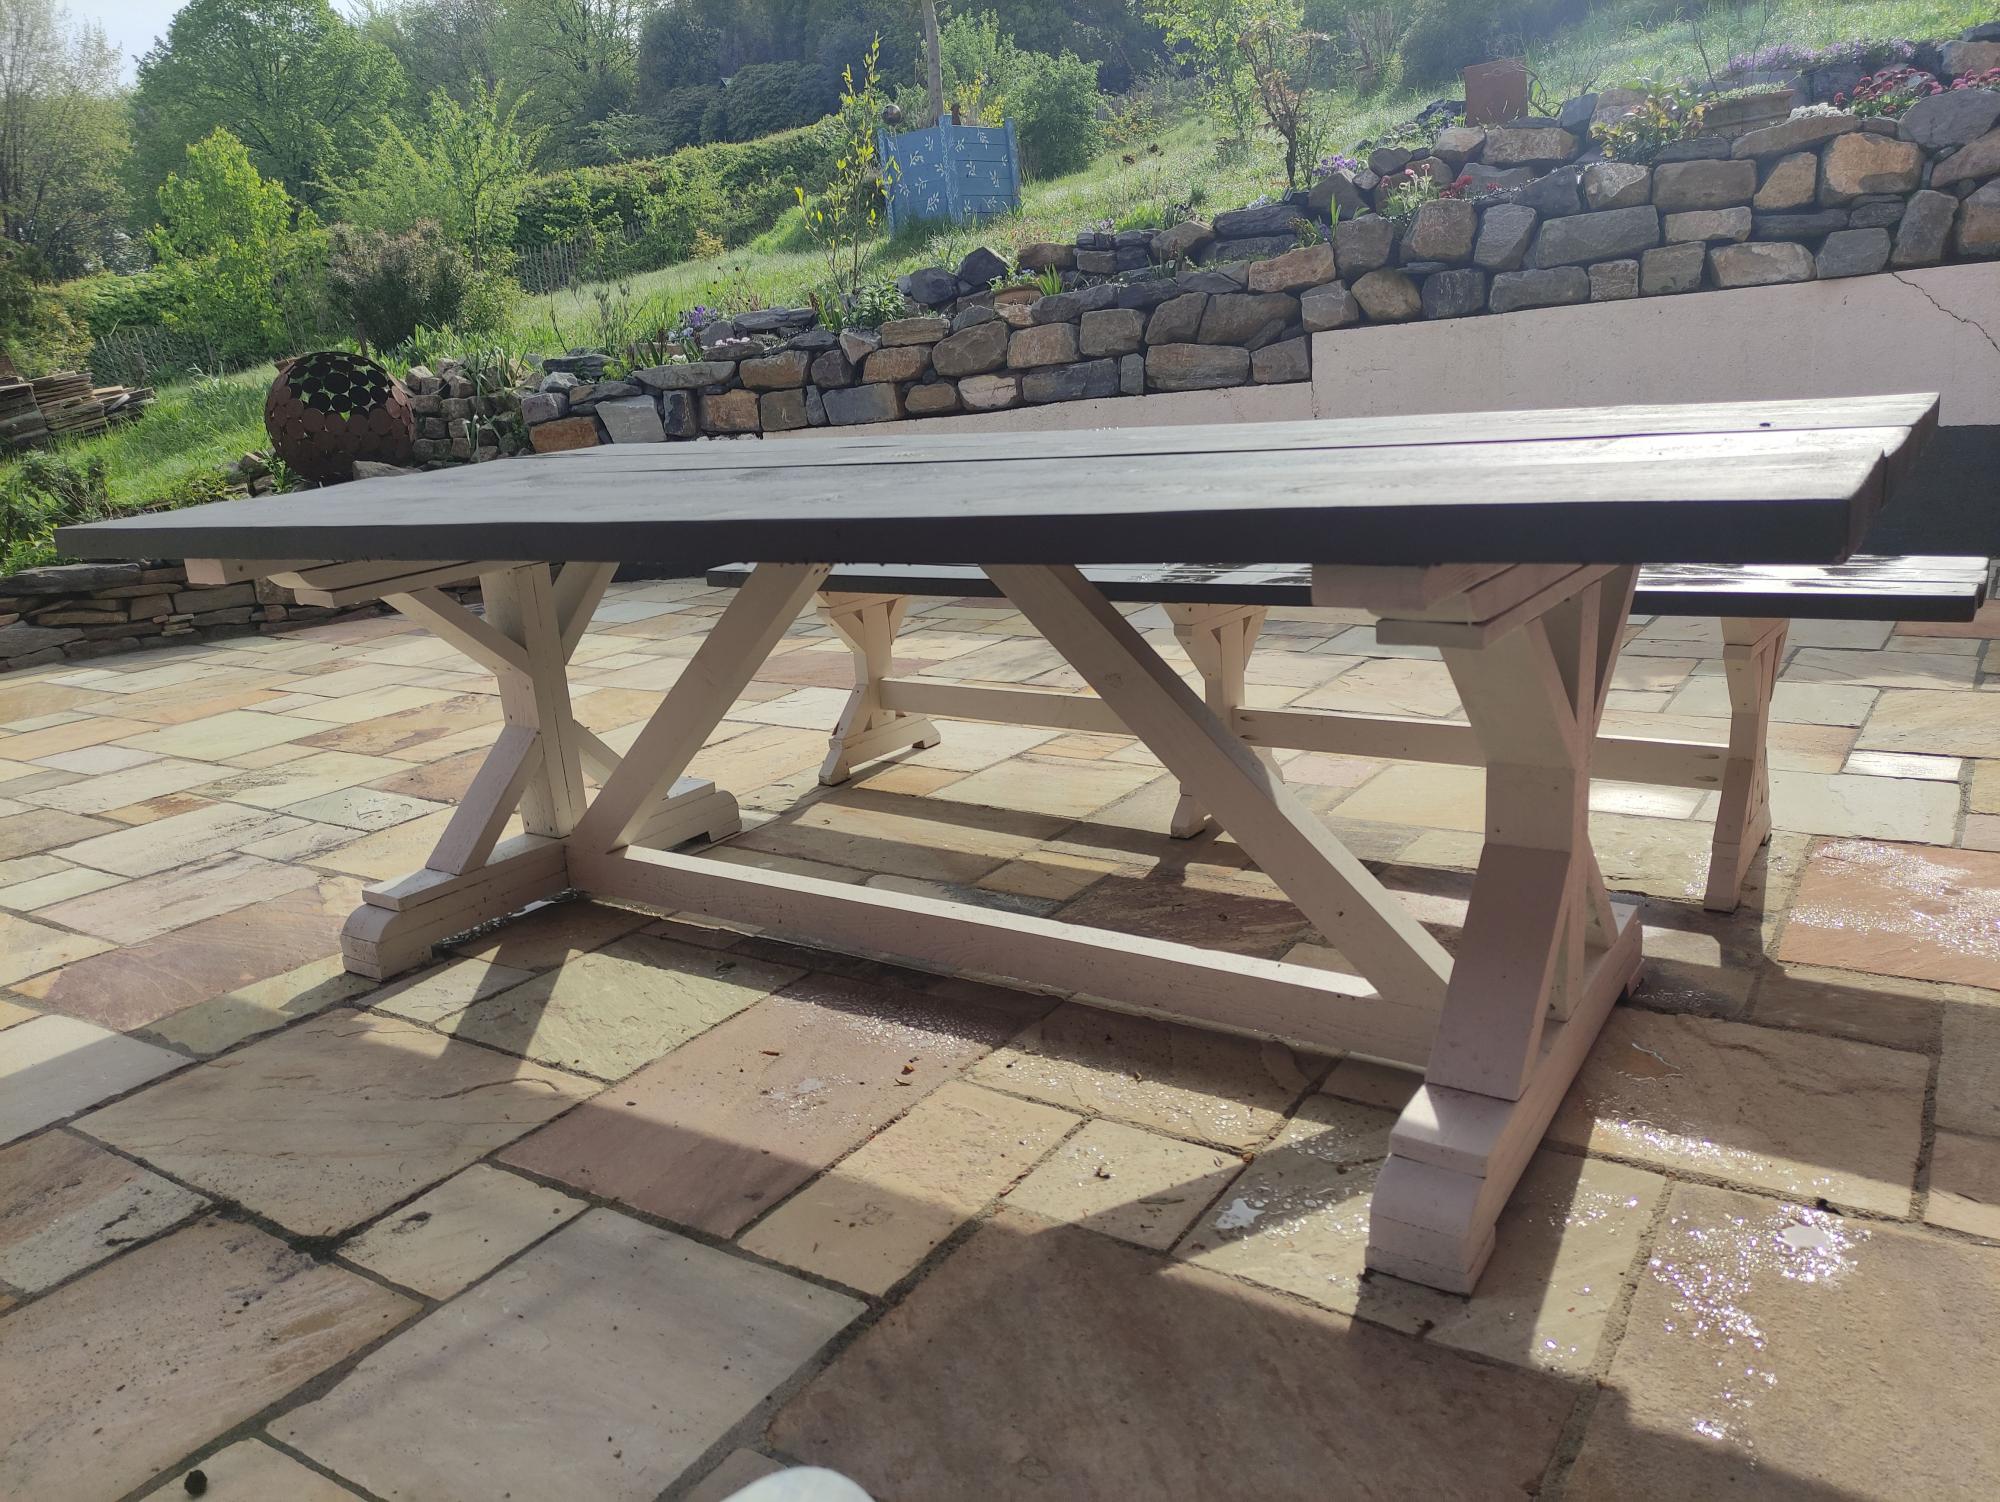
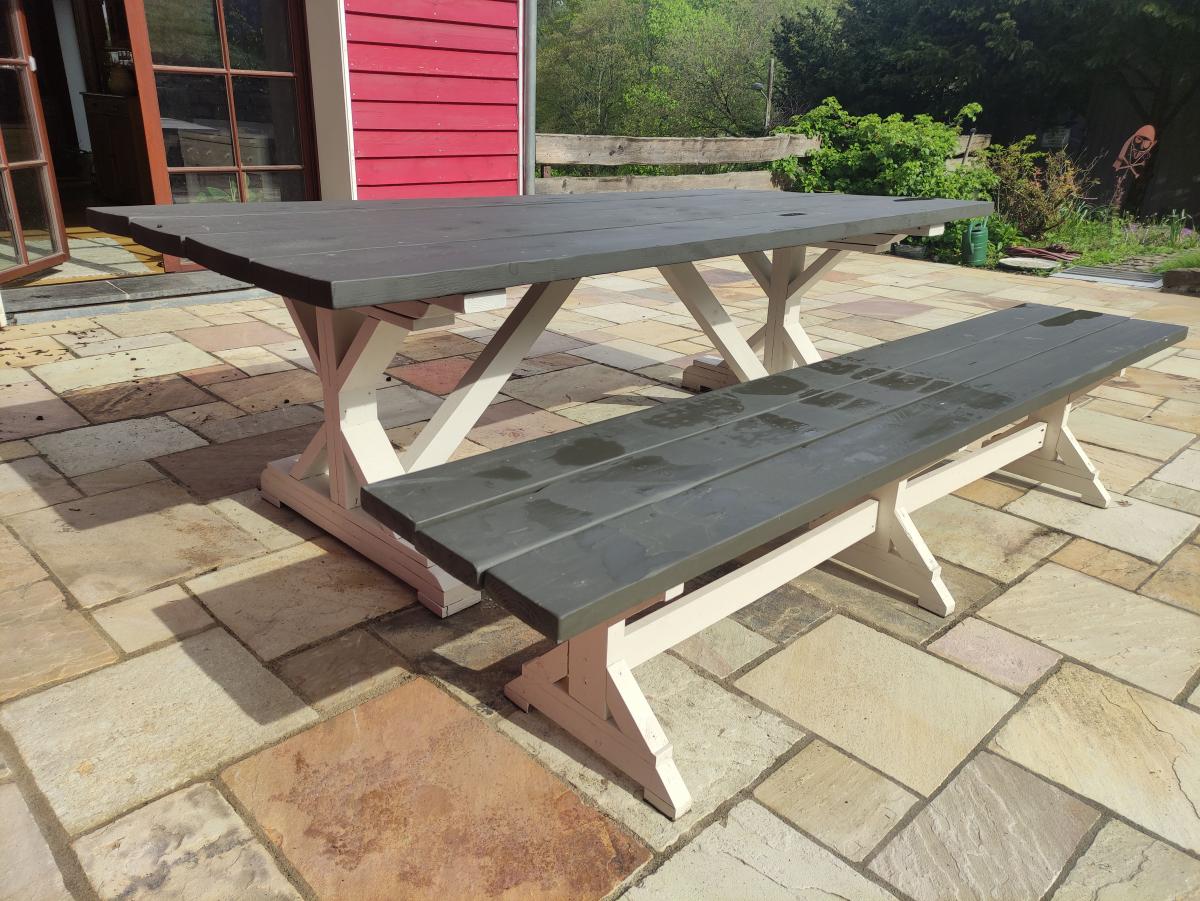
Fancy X Farmhouse Table & Bench

Submitted by diegaeb on Fri, 05/14/2021 - 00:55

Last summer we got a new terrace and definitely need new outdoor dining furniture.

Estimated Cost
200 €
Estimated Time Investment
Weekend Project (10-20 Hours)
Finish Used
Mylands Artillery Ground No. 164 Wood & Metal Eggshell & Mylands Cadogan Stone No. 59 Wood & Metal Eggshell

Comments

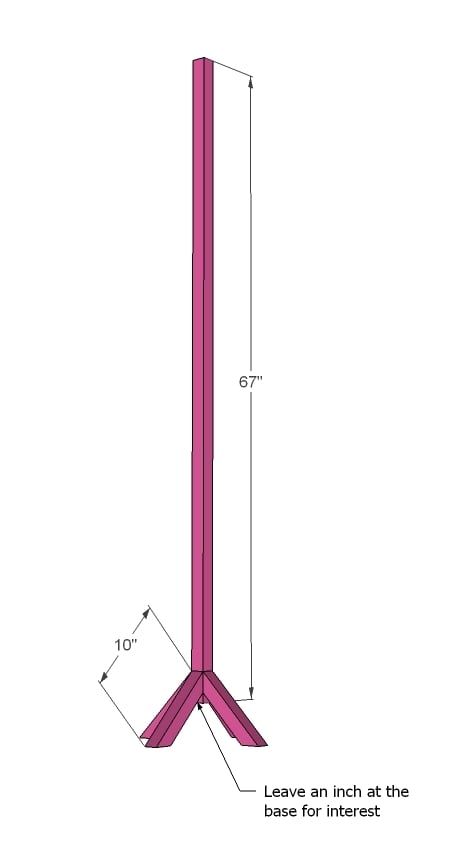
Porch Swing Glider

Submitted by Anonymous (not verified) on Fri, 05/19/2017 - 09:25

Built the porch swing and was inspired to build the glider frame by another "Brag Post" Looks great and fits perfectly in my back yard!

Built from Plan(s)
Estimated Cost
$200
Estimated Time Investment
Weekend Project (10-20 Hours)
Finish Used
Transparent deck sealant for frame, white exterior paint for seat panels
Recommended Skill Level
Beginner

Comments

Rachael Brown

Fri, 02/18/2022 - 08:20

Are there any dimensions for the glider part? I have first year agriculture students building this, but we are unsure of the cut list for this. I am sure I can figure it out as the teacher, but with 20 students in the class, it would be better to be able to give them instructions to follow on paper. Thank you!!!

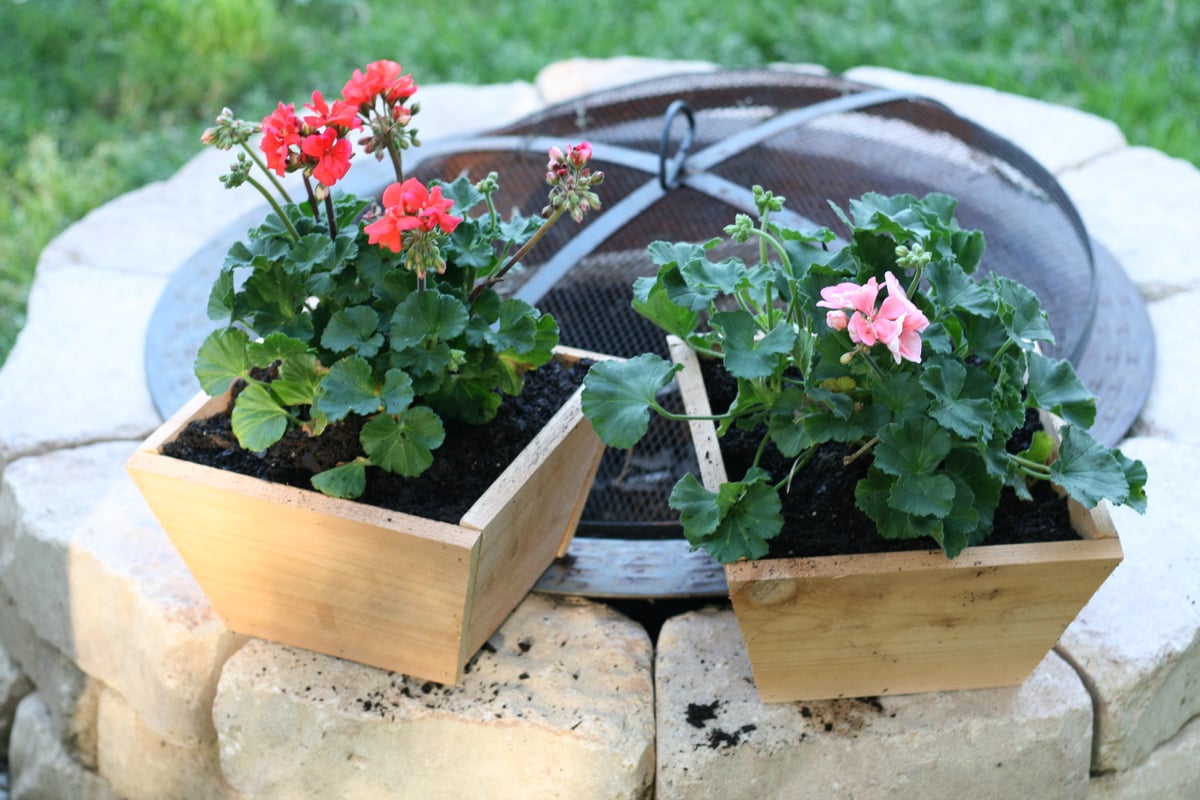
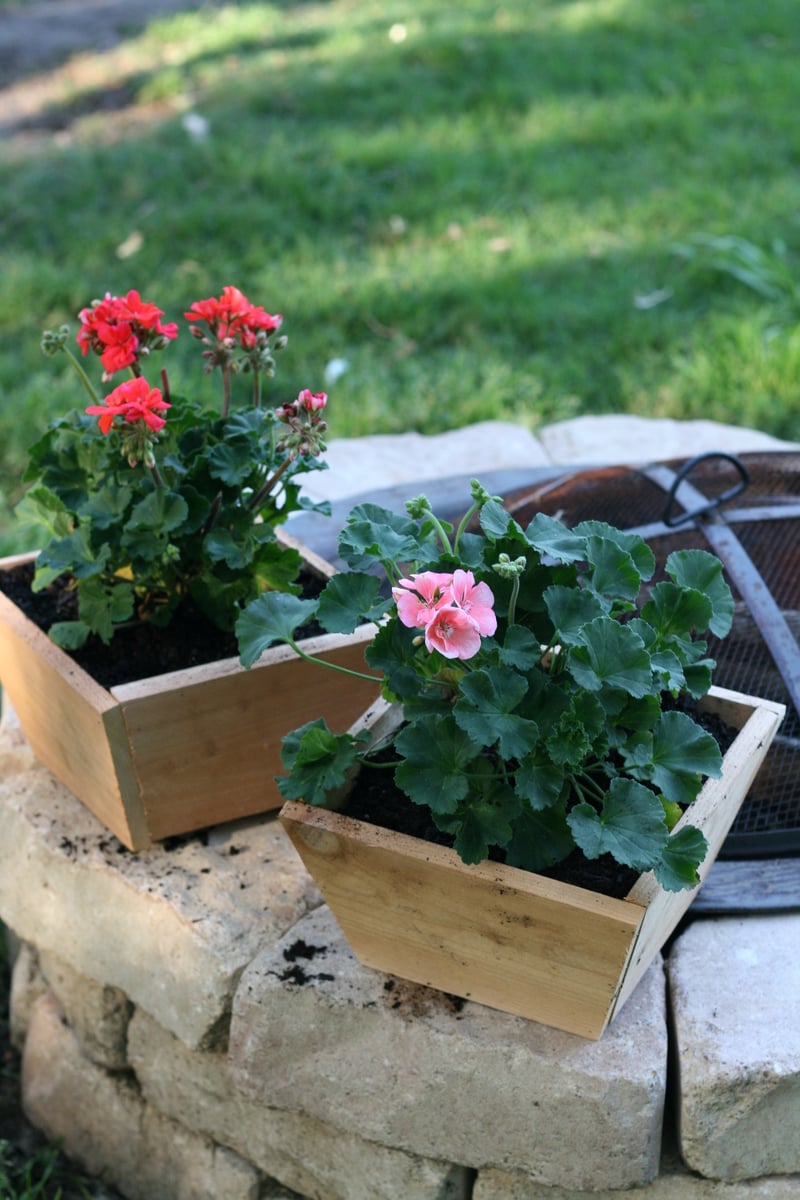
Cedar Fence Picket Planter

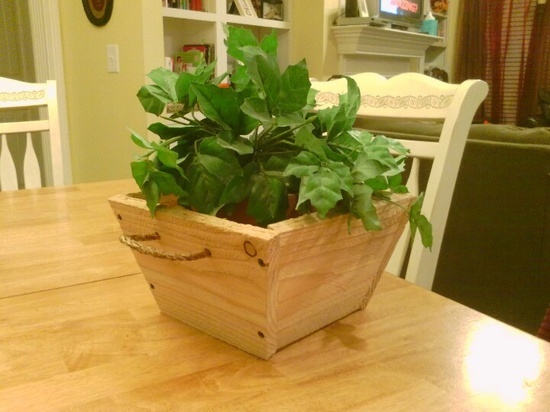
Submitted by MMTruncale on Sun, 04/07/2013 - 18:31

I'm still getting to know my Compound Miter Saw, so I wanted to get another small project under my belt. Not to mention I had a whole other picket and a half left over from yesterday's project. This just seem to be the perfect project to do. And needed since we actually needed a few more planters.

Estimated Cost
$1
Estimated Time Investment
An Hour or Two (0-2 Hours)
Finish Used
Left it natural.
Recommended Skill Level
Starter Project

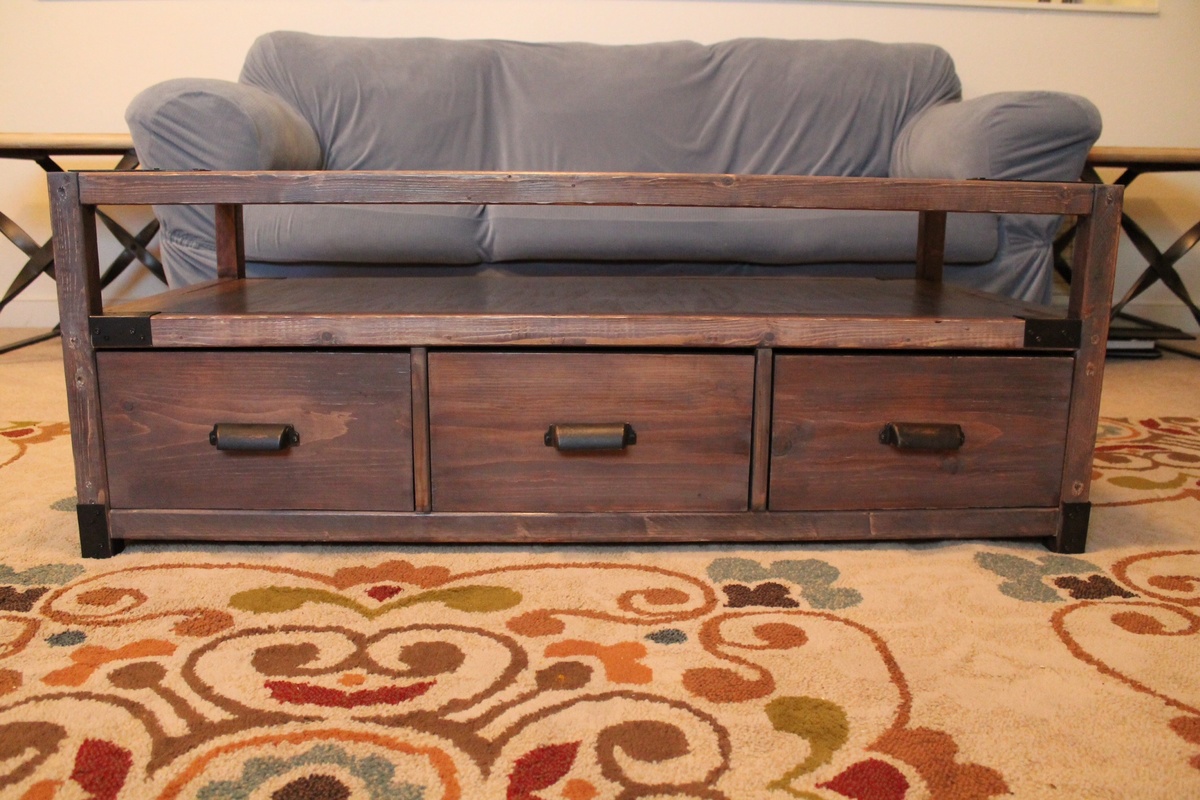
Rhyan coffee table with our own twist

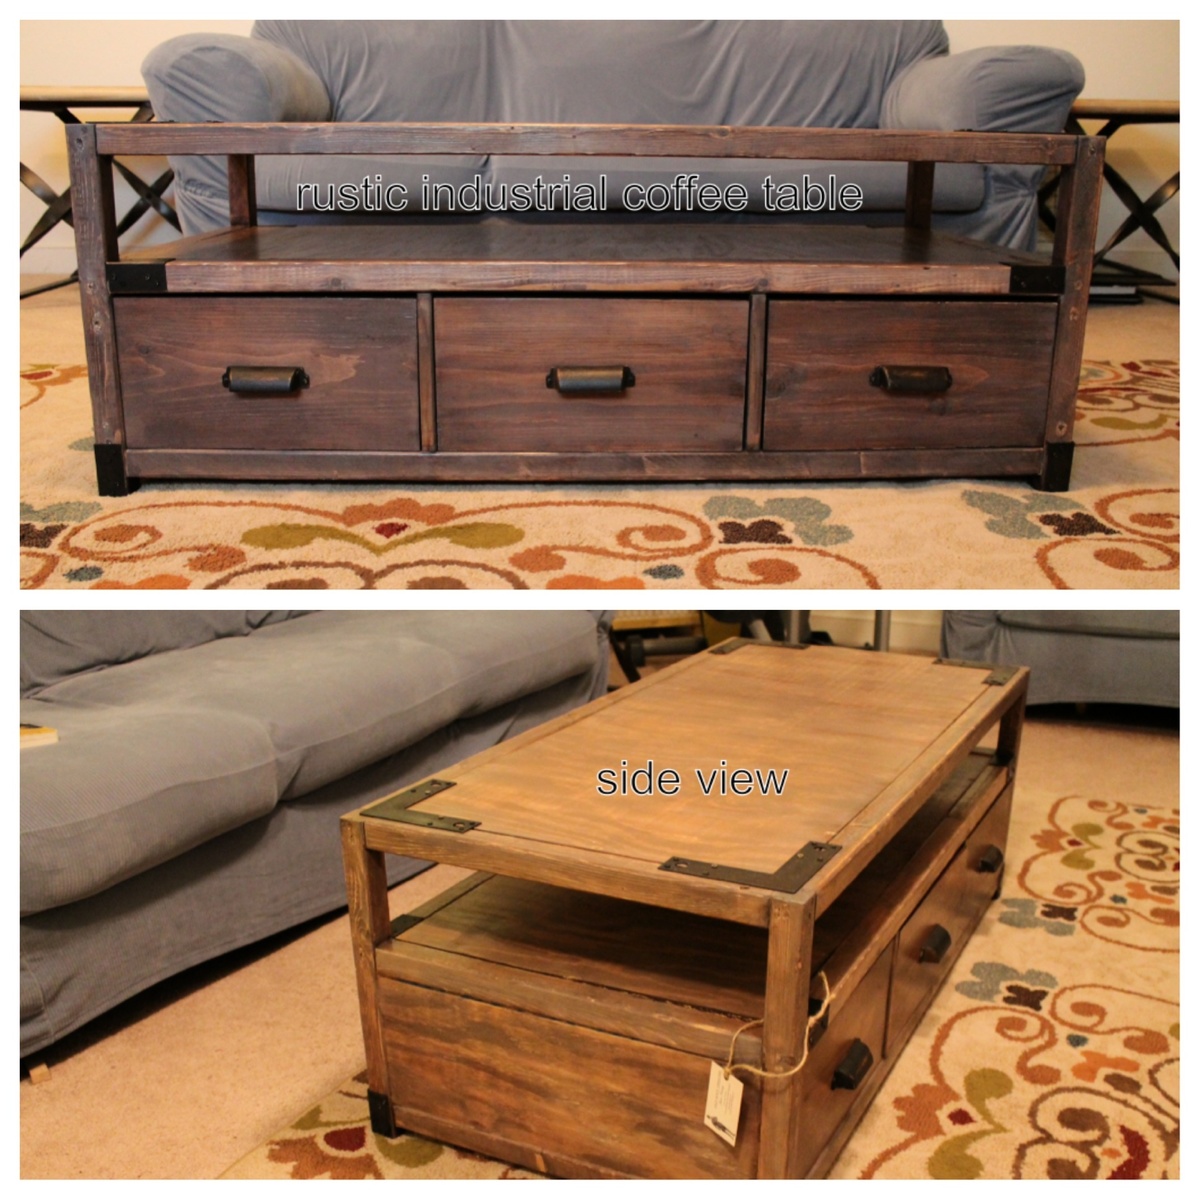
Took us about 2 weeks from start to finish but we could only work on it about an hour a day. We also had some issues with the stain. We were going for an aged look and weren't happy with the colors so we layered different stains till we were happy. Hardware is from Martha Stewart. Over all, the table wasn't that hard, but I would definitely advise measuring and cutting as you go, because of all the drawers, the slightest mis-measurement can put the whole thing off. You can see better pics at facebook.com/oldsouldesigns. Absolutely love the end result and so do our customers!

Built from Plan(s)
Estimated Cost
$100
Estimated Time Investment
Weekend Project (10-20 Hours)
Finish Used
Miwax provincial, covered with minwax sun bleached, and topped with a natural reddish stain (can't remember)
Recommended Skill Level
Intermediate

Comments

Farmhouse Table

Submitted by Anonymous (not verified) on Mon, 06/12/2017 - 06:05

The table came out great! I ran every board through the table saw to make sure each piece was square. On the breadboard ends I added 2 1 1/2x1 1/2 x 9 supports. I decided to take off a lot of material with 40 grit sandpaper so every top board was completely smooth. Added adhesive felt to the bottom and used minwax polycrylic finish.

Built from Plan(s)
Estimated Cost
$125 with stain, polyethylene, brushes and rags.
Estimated Time Investment
Week Long Project (20 Hours or More)
Finish Used
Minwax oil base Esspresso
Minwax polycrylic semi gloss
Recommended Skill Level
Beginner

Square Picnic Table

Submitted by frmoody on Tue, 08/10/2021 - 07:05

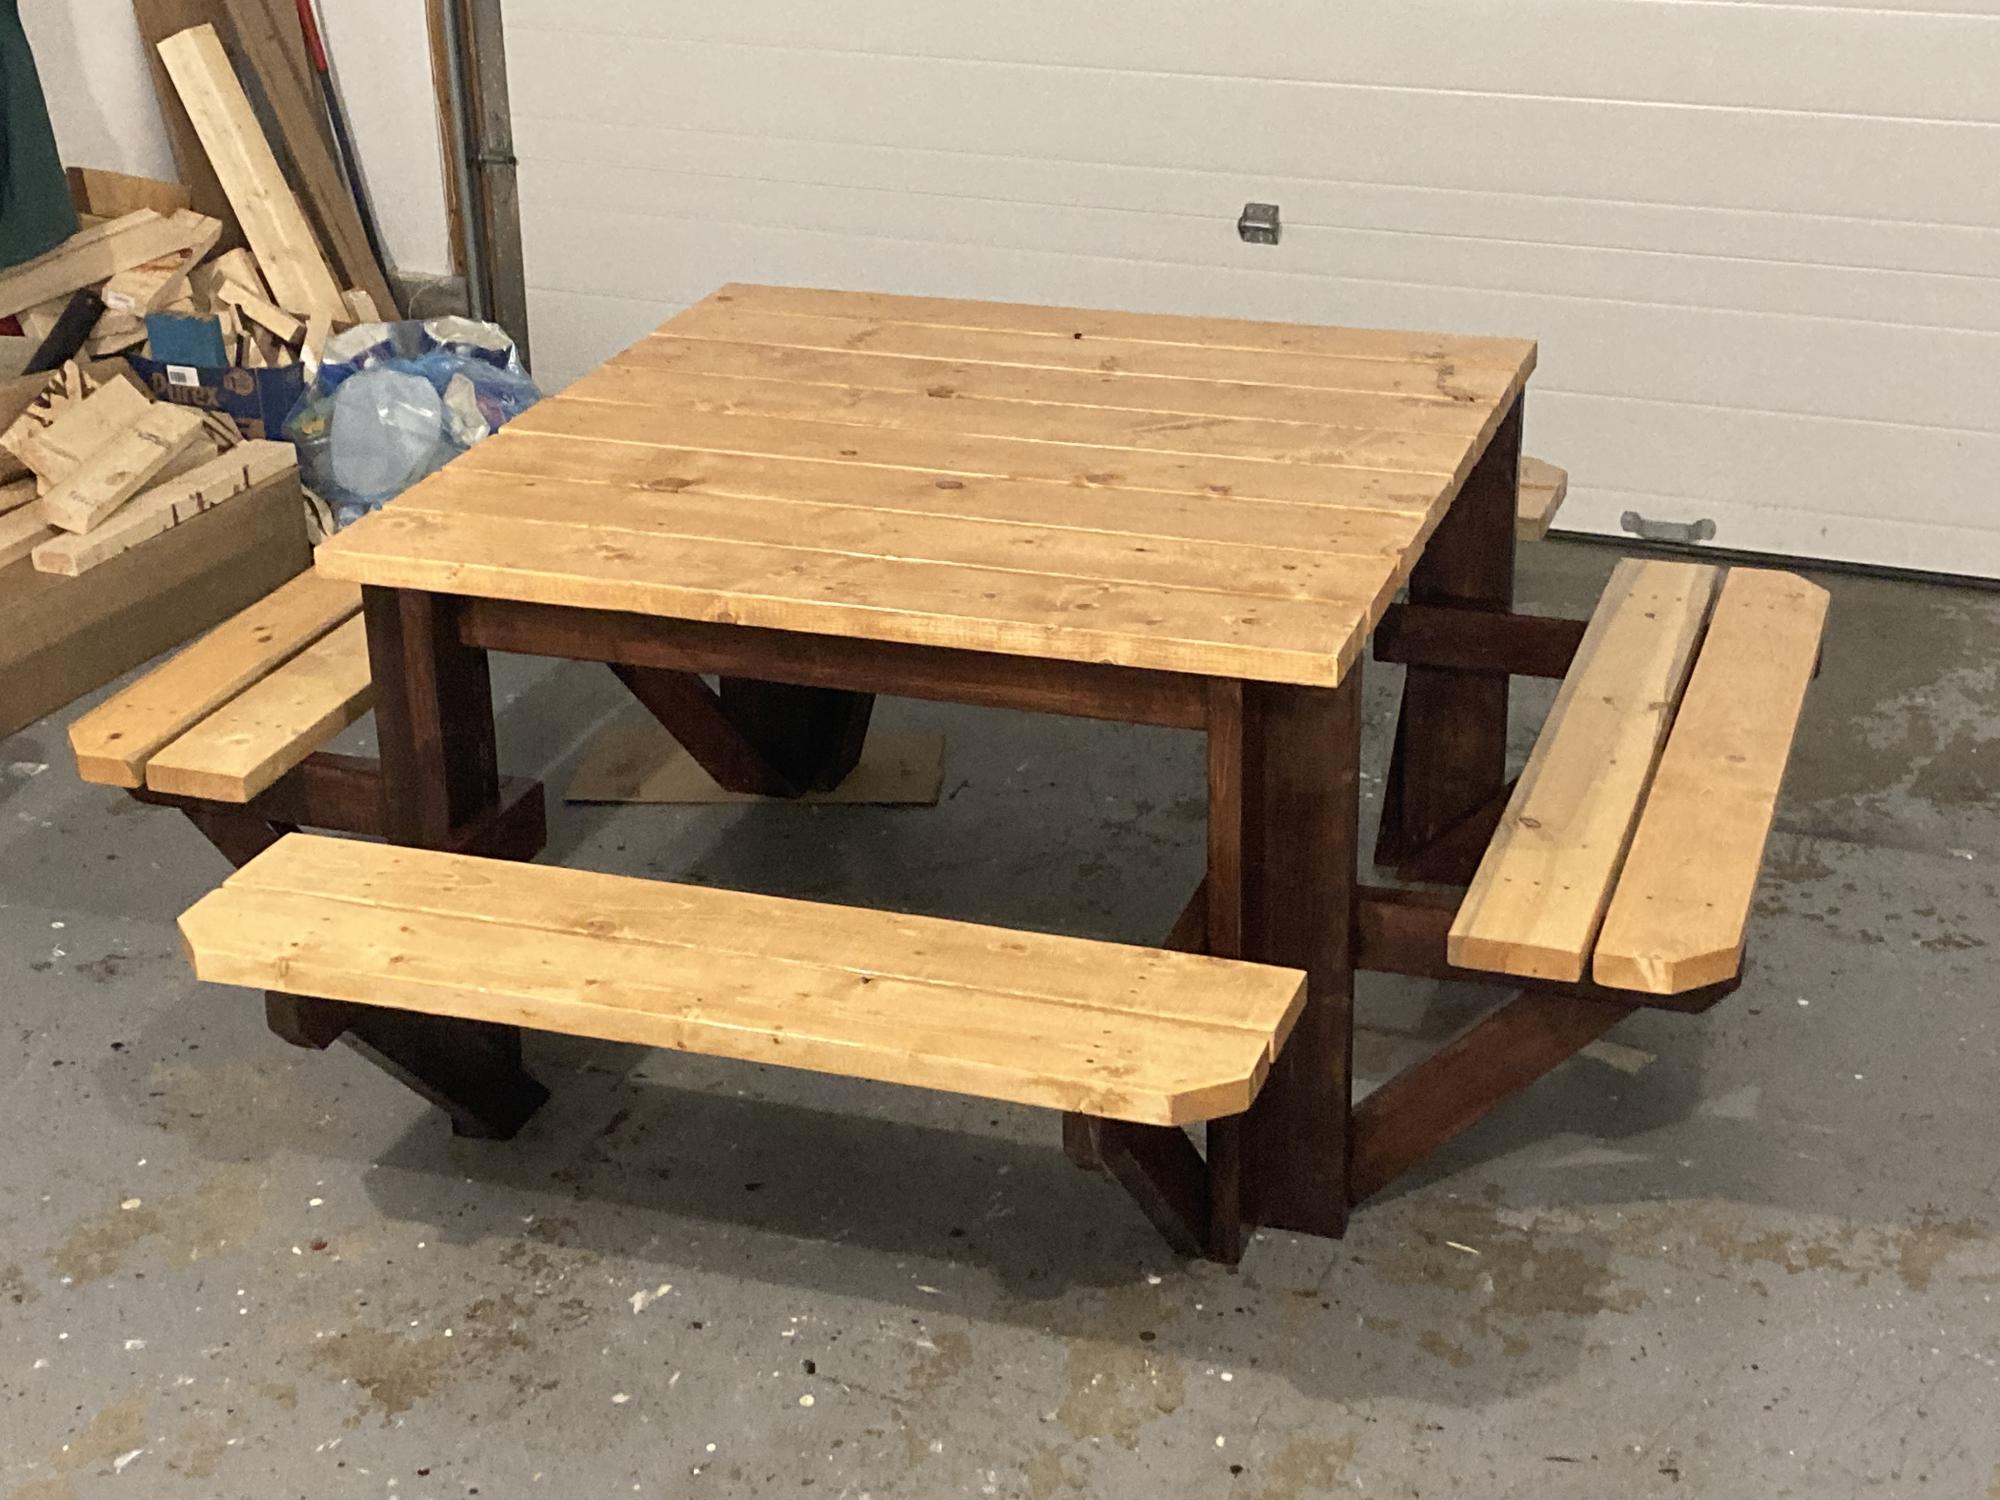
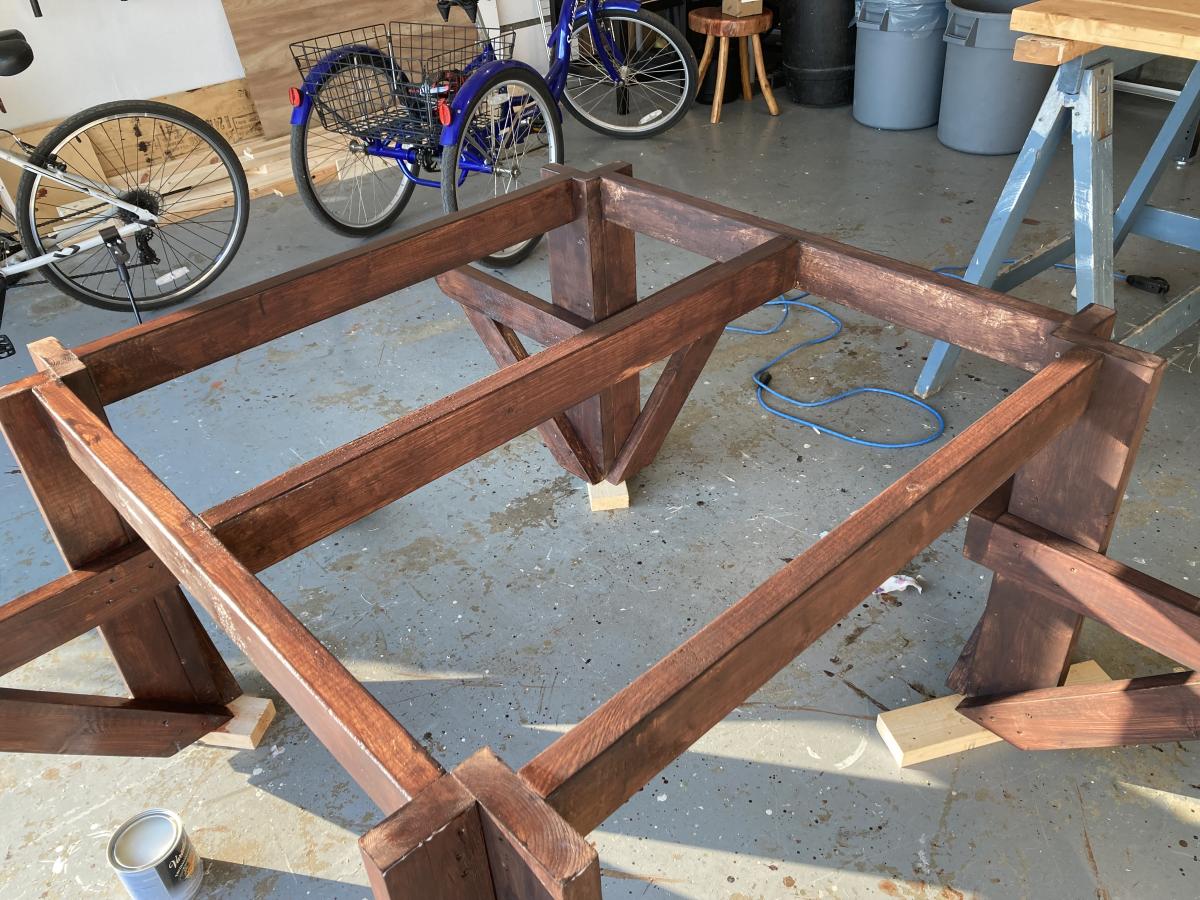
Enjoyed this project although with the price of lumber it was a little expensive to build. The only modification I made was to put a cross brace in the centre of the table top. That allowed me to attach the top boards a little more securely as some of them were a little bowed. I'll add a better photograph once I get it out of my garage and on to the back deck. It is a little heavy.

Built from Plan(s)
Estimated Cost
$240
Estimated Time Investment
Weekend Project (10-20 Hours)
Finish Used
I stained the dark part of the table with Behr water based English Chestnut and the seat and top with Minwax Ipswich Pine followed by four coats of Varathane Exterior Gloss.
Recommended Skill Level
Intermediate

Comments

Craft table with Oak Plywood and Chalk Paint

Submitted by Anonymous (not verified) on Sun, 06/18/2017 - 09:29

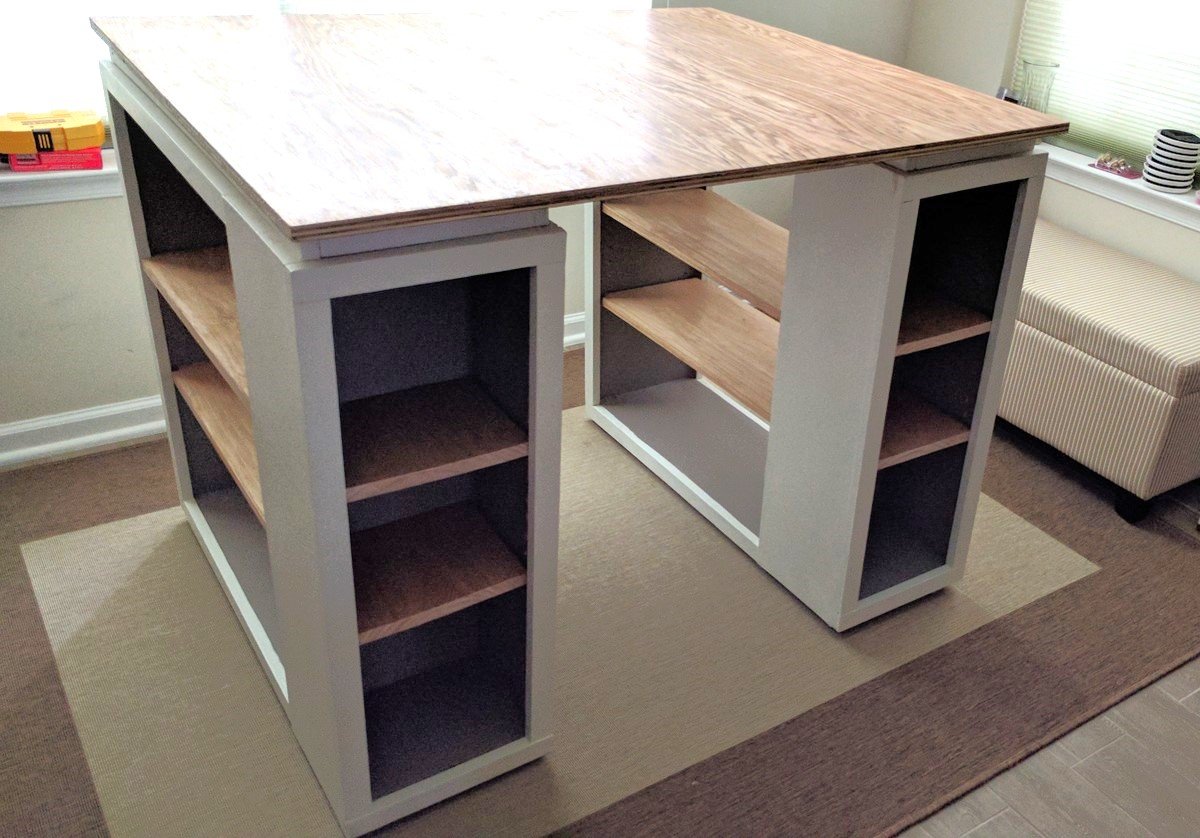
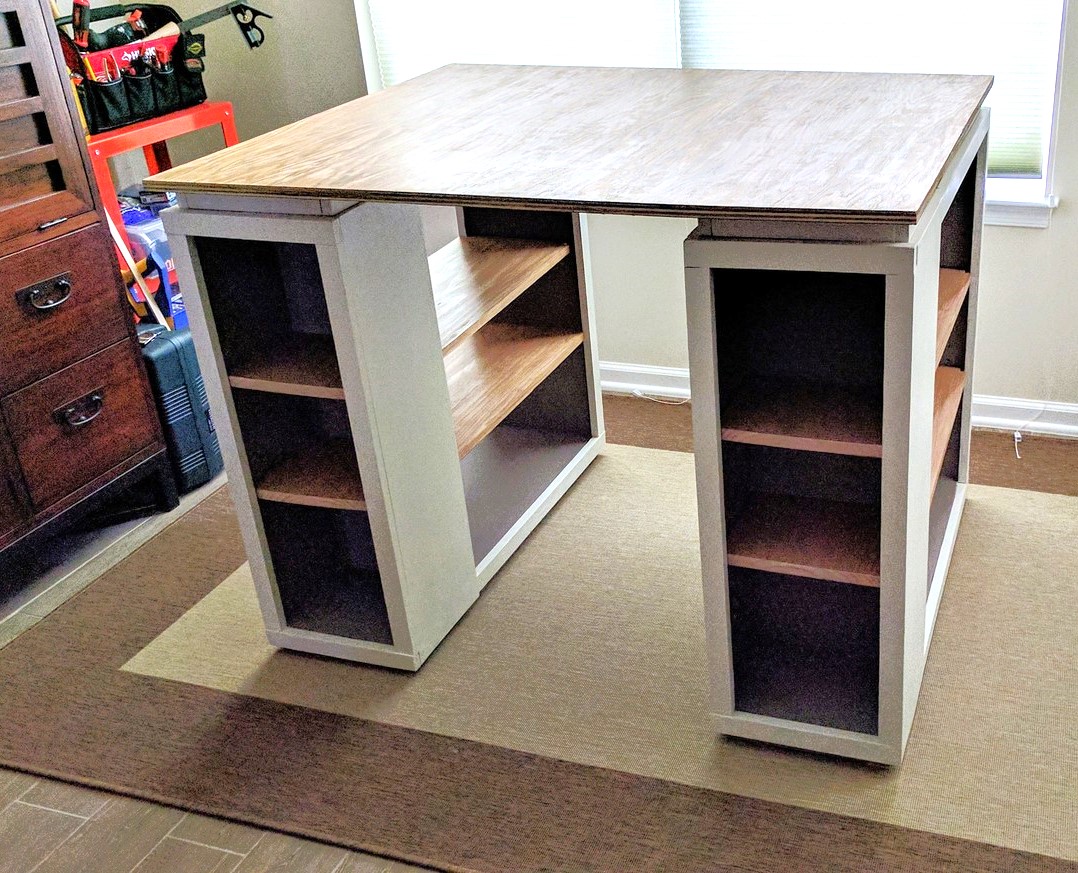
As a solo and novice woodworker, it took me a while to get used to the pocket hole jig and longer to cut the wood myself but eventually it all came together.   To ensure I could get it out of the house if I move, I used circle 8 desktop fasteners to fasten the plywood top to the risers.  I am proud I finished and love to use the table now for both craft work and breakfast on the weekends.

Built from Plan(s)
Estimated Time Investment
Week Long Project (20 Hours or More)
Finish Used
Top is oak plywood finished with Danish oil.
Shelves are pine with Minwax oak stain
Paint is Valspar chalk paint: Kid Gloves for the outside and Bonnet Ribbon for the interior, all finished with Satin finishing wax.  
Recommended Skill Level
Beginner

Truss Beam Table

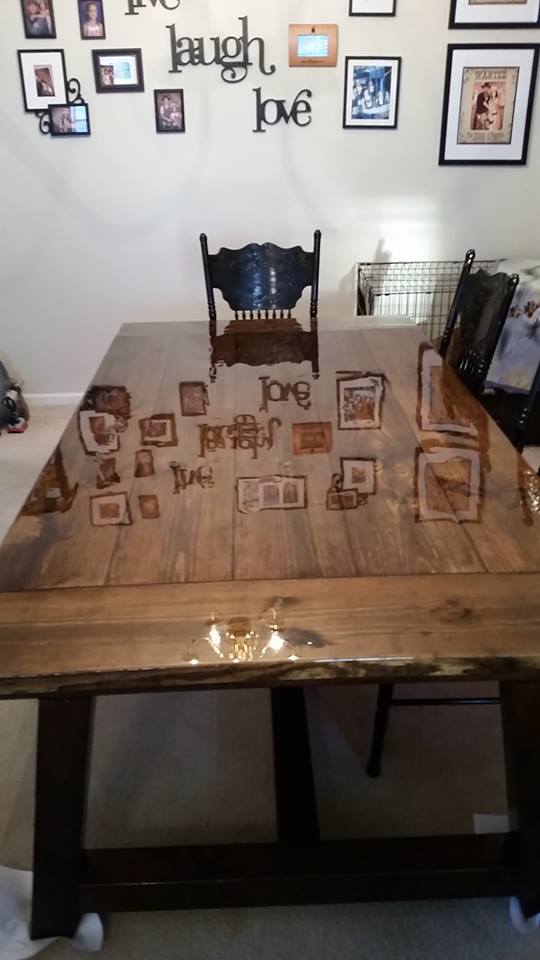
Submitted by firebug on Sun, 03/22/2015 - 22:08

I built this farmhouse table from your plans. It turned out great, I had to modify the plans and make it bigger to fit my needs. But we love the outcome and it was well worth it to do this project.

Built from Plan(s)
Estimated Cost
$300
Estimated Time Investment
Weekend Project (10-20 Hours)
Finish Used
Stain: Dark Walnut. Table Top Finish: Famowood Kit 1 Gal Size Glaze Coat Gloss Polyurethane.
Bottom and Benches Finish: Glossy Polyurethane.
Recommended Skill Level
Beginner

Comments

wy2ak

Mon, 03/23/2015 - 19:27

Outstanding finish! After seeing this, I might have to try it. Thanks for the inspiration!

Storage Bench/Daybed

Submitted by Anonymous (not verified) on Fri, 06/23/2017 - 20:49

This was my 2nd woodworking project, so I was very pleased with the results. I wanted more seating and storage for my office area. I liked the look of the Farmhouse Storage Bed, so I decided to modify the plans and turn it into a bench. I made the seating area 30" wide and 68" long. Instead of headboard and footboard, I made 2 sides that were about 40" tall (36" 4x4 plus the 2x4 and 2x6). I made 3 24" deep drawers and left the back side open so that I can store electronics that need to be charged in them with the cords hanging out the back of the drawers. It was a lot of fun to make, and I know that my family will enjoy it!

Estimated Cost
$350 for wood and hardware, then paint and cushions
Estimated Time Investment
Week Long Project (20 Hours or More)
Finish Used
Flat black oil-based enamel paint, then finished by lightly rubbing with fine grit sandpaper
Recommended Skill Level
Intermediate