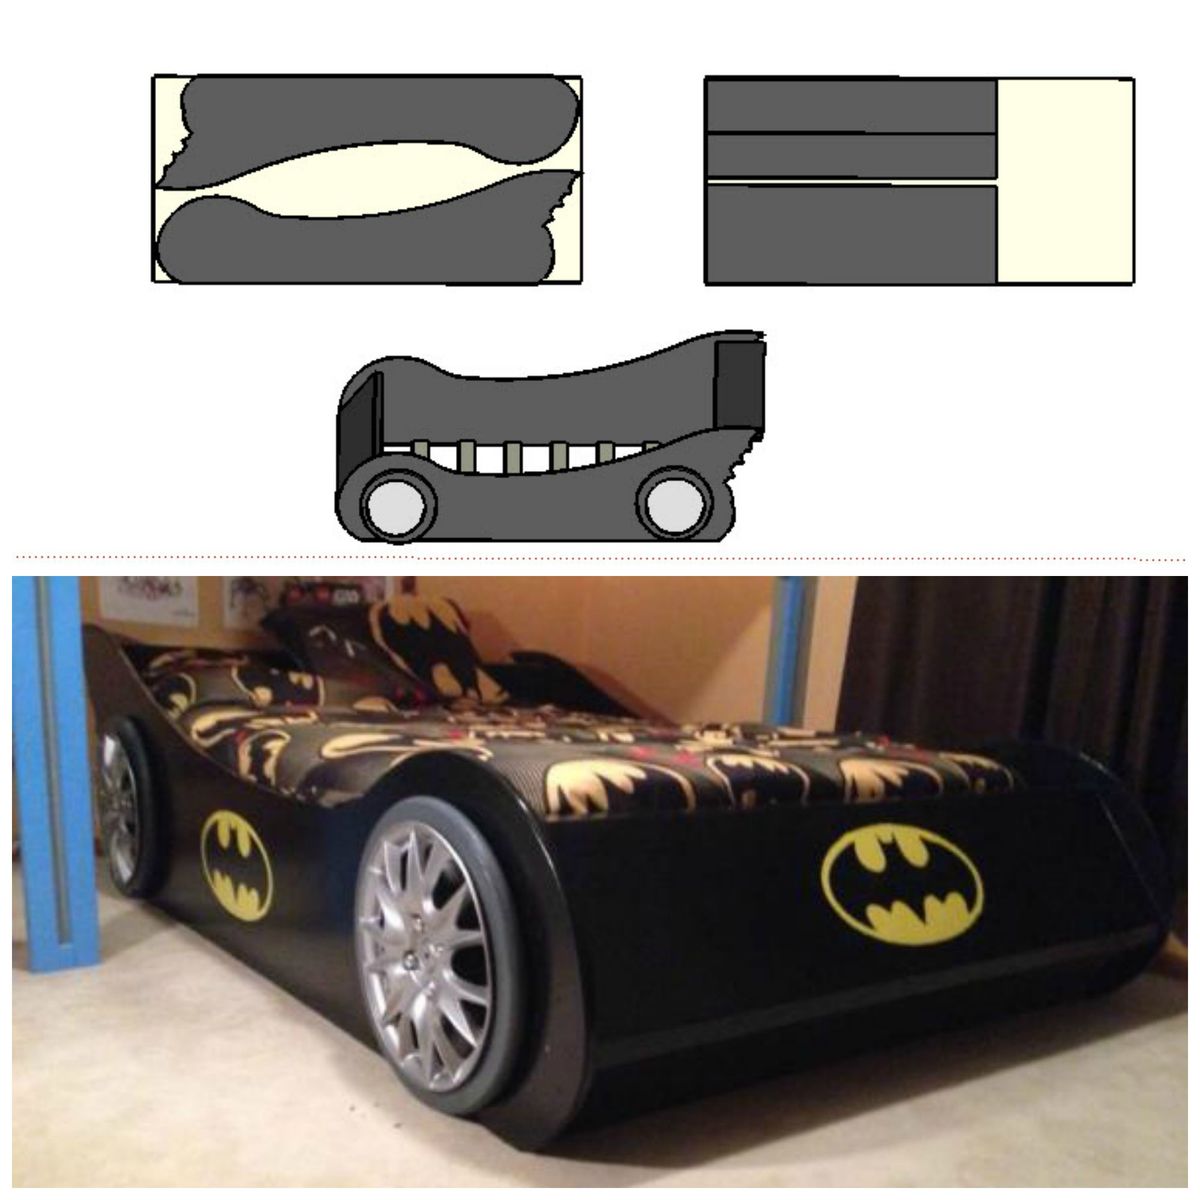
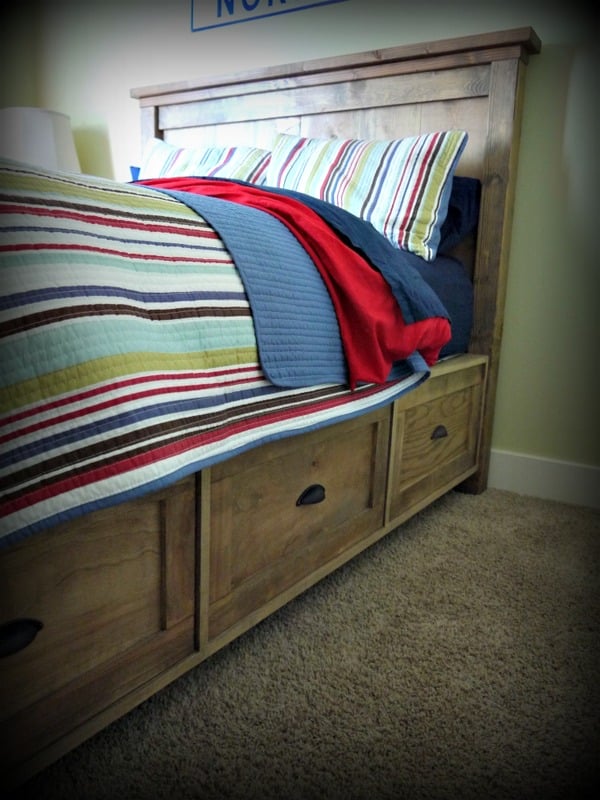
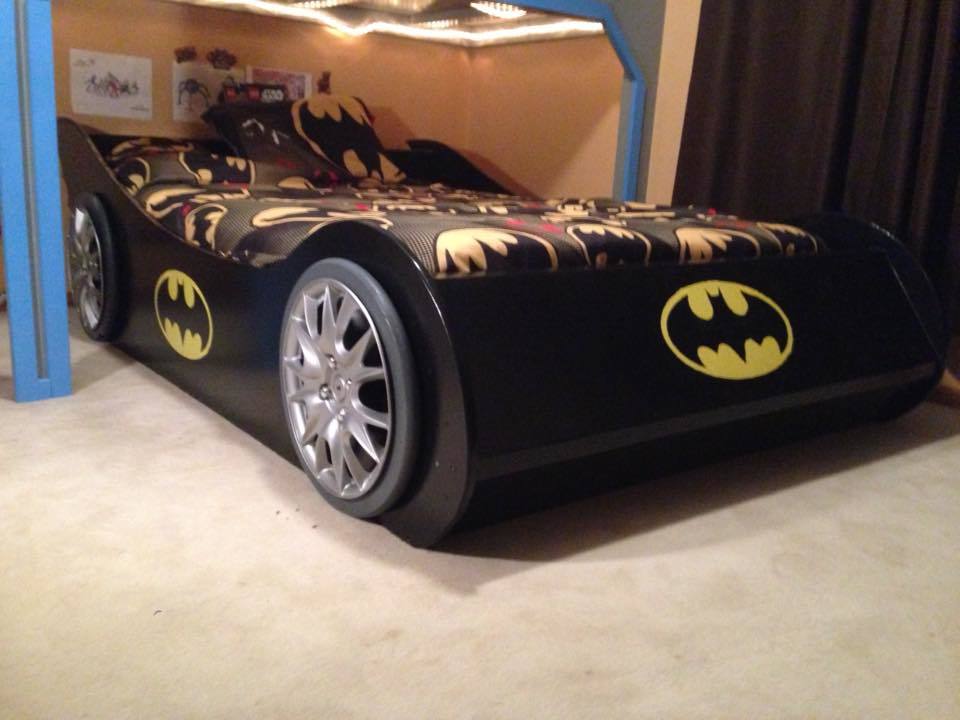
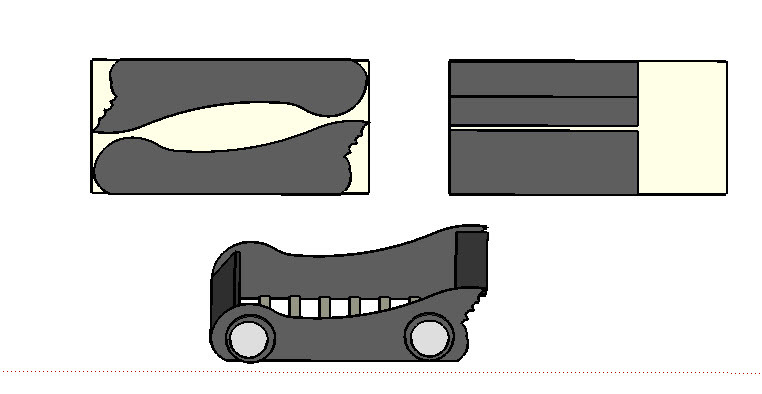
My son had a 'lightning Mcqueen' toddler bed- but we needed to get him into a little bigger bed. We had a spare full bed, and Batman is his current favorite... Since there aren't Batman full race car beds- time to start planning and building from sketchup! Took me about 2 weeks of evenings (after the kids go to bed) and about $110 in materials. The model is available in the sketchup warehouse at:
https://3dwarehouse.sketchup.com/model.html?id=u6b750a53-37a4-4d52-9d31…
For the wheel covers I ordered online at Amazon for $25 for a set of 4.
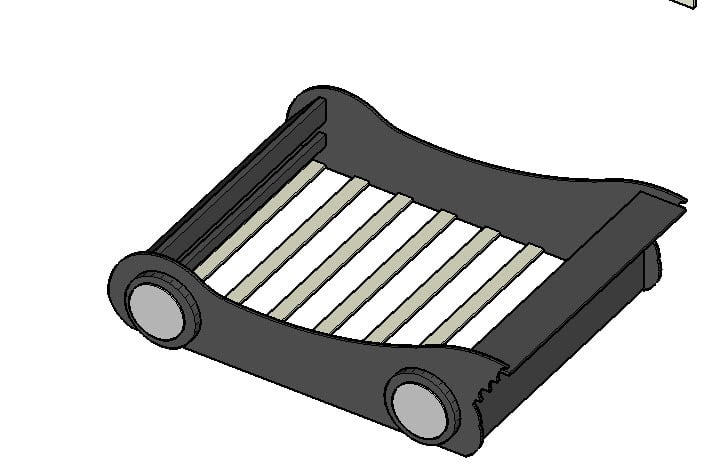
For the Wheels both HD and Menards make a 18" wood table top for ~$7 that I just cut the middle out with my router to fit the wheel covers.
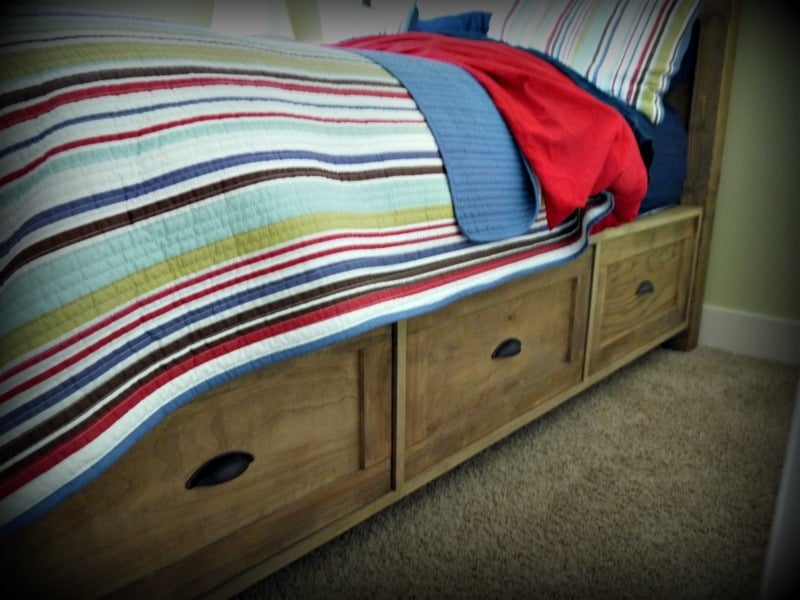
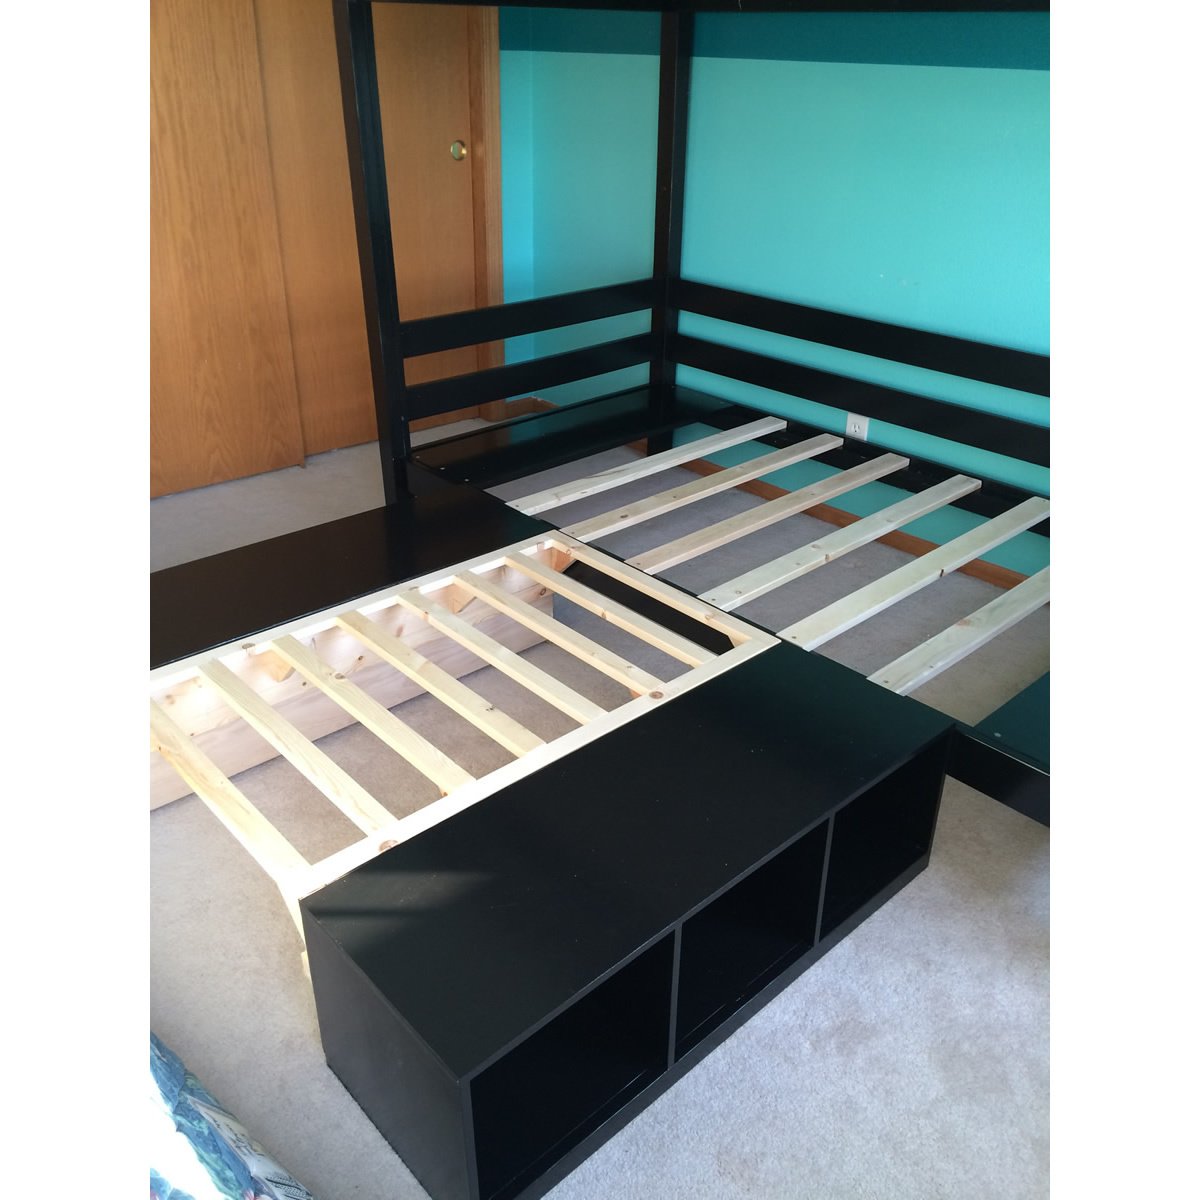
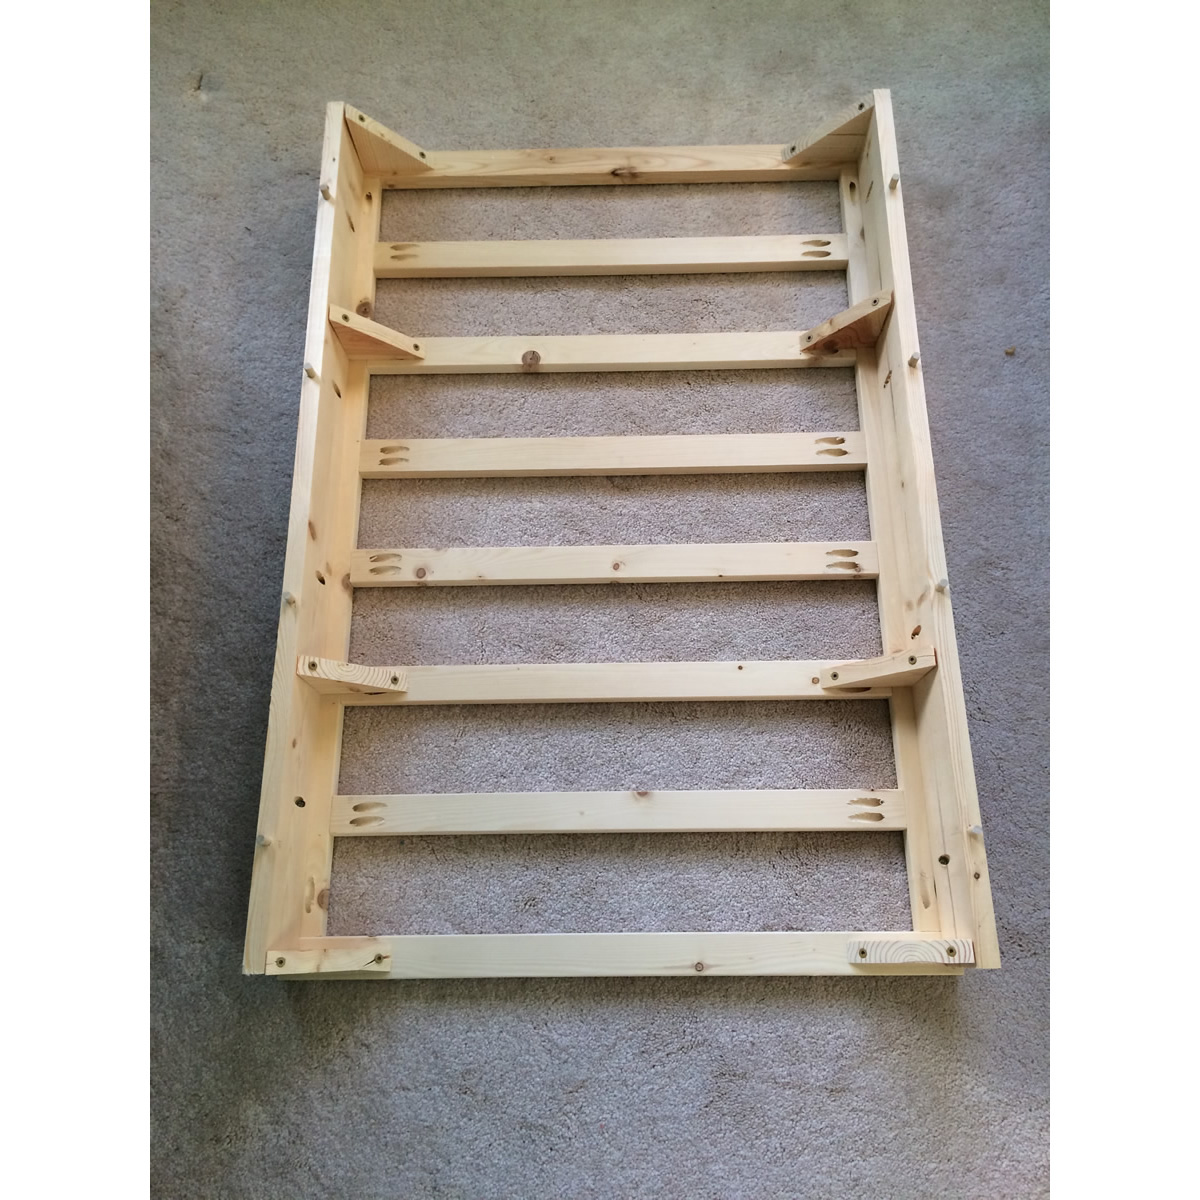
The slats to hold the bed (made to fit both box spring and mattress) were just 1x4 pine boards from menards.
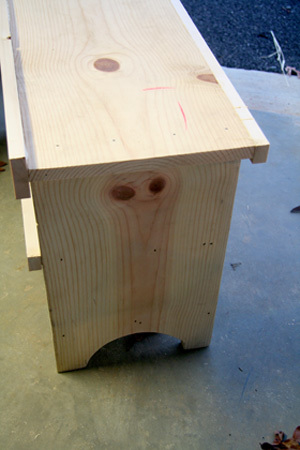
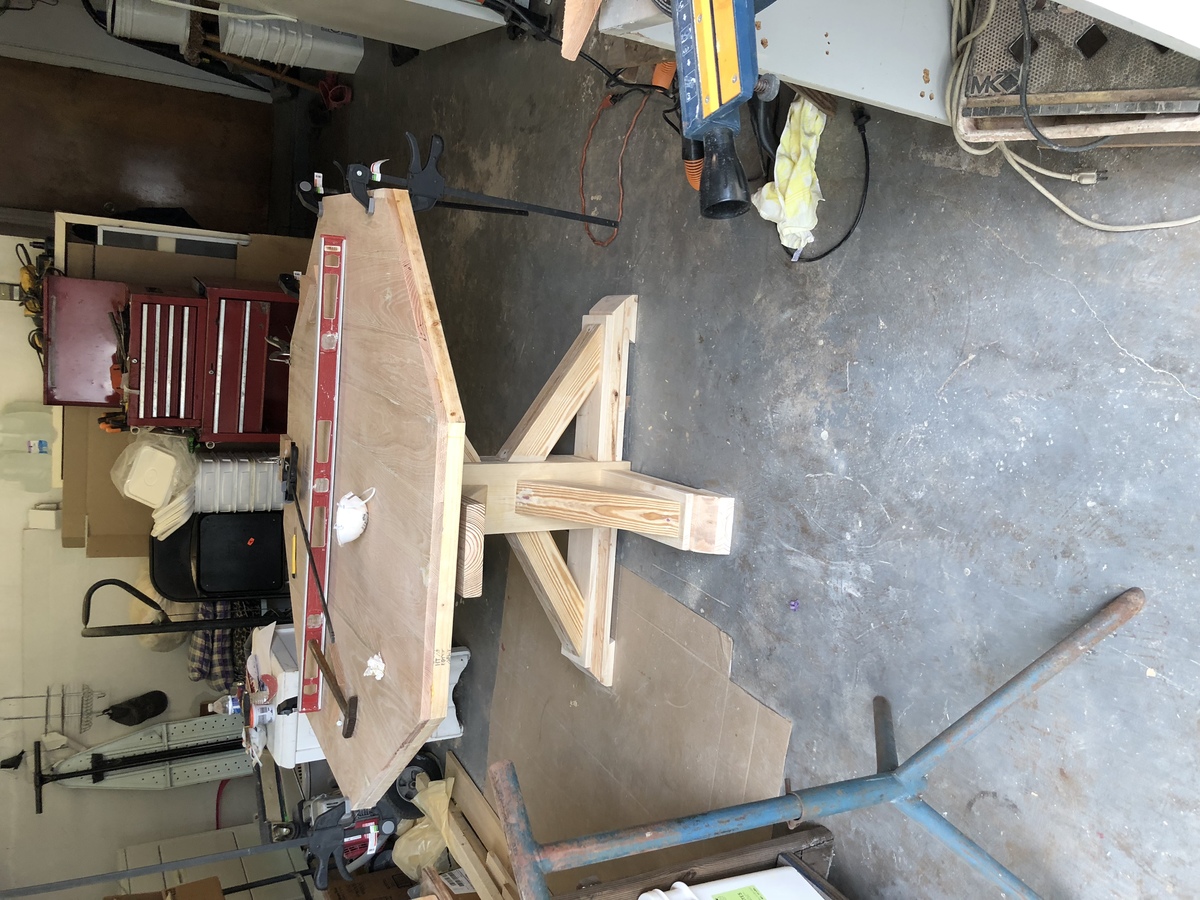
The body was made from 3/4 MDF, though you could of course use plywood.
I used a projector to project the image from sketchup onto the board to get it transferred- else it would have been 50+ pages if printing..
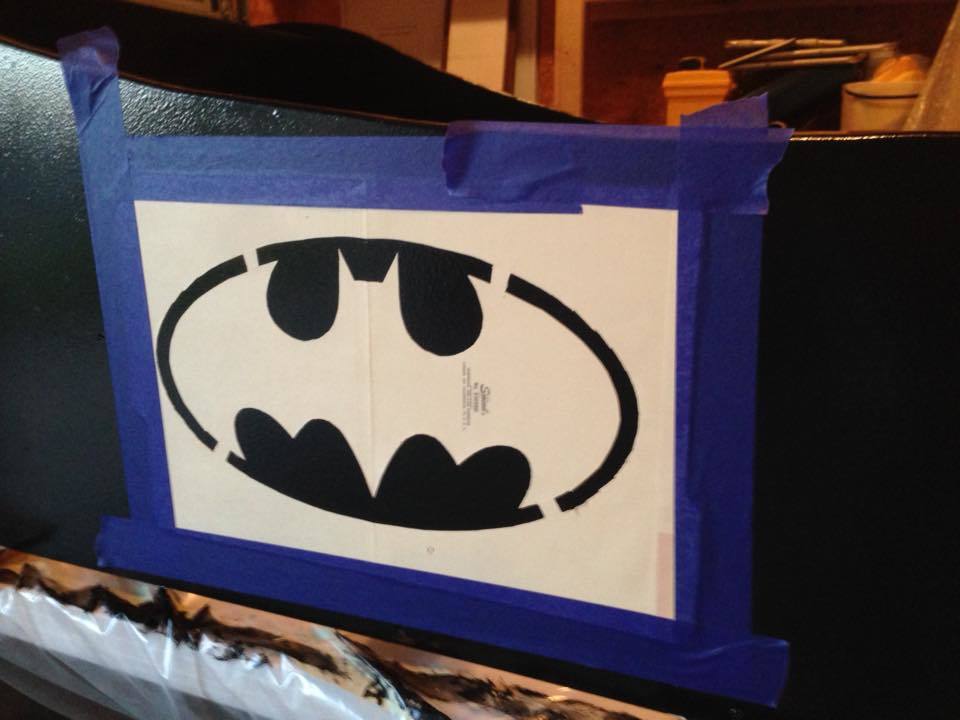
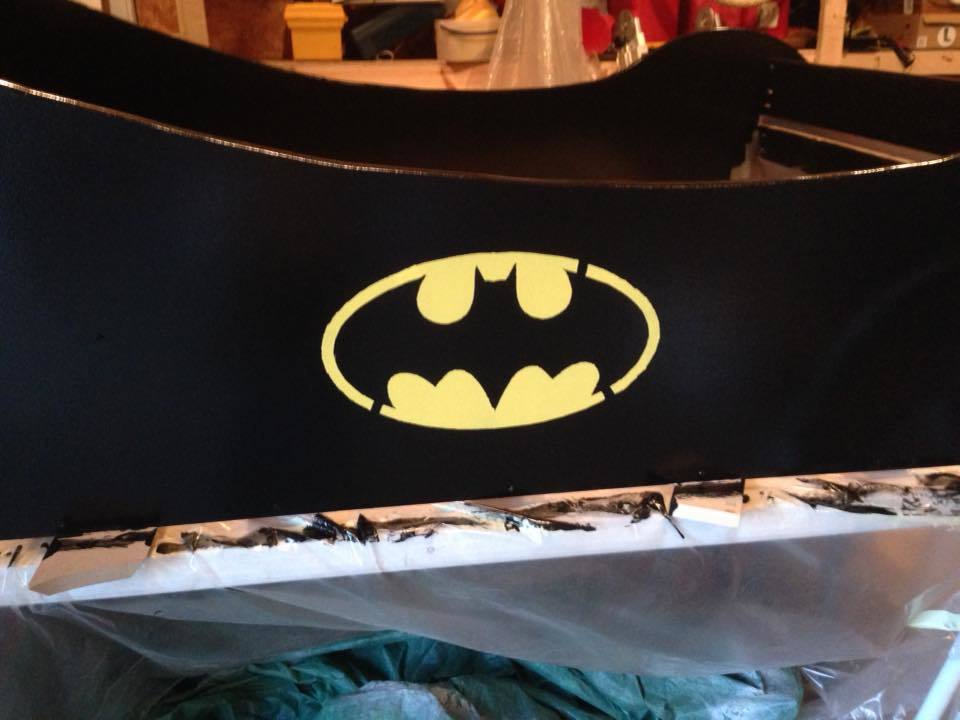
For the logos I just used a minila folder as my stencil and cut out the logo. Needed to touch up the 'tabs' to hold the logo in the circle after pulling off the stencil.