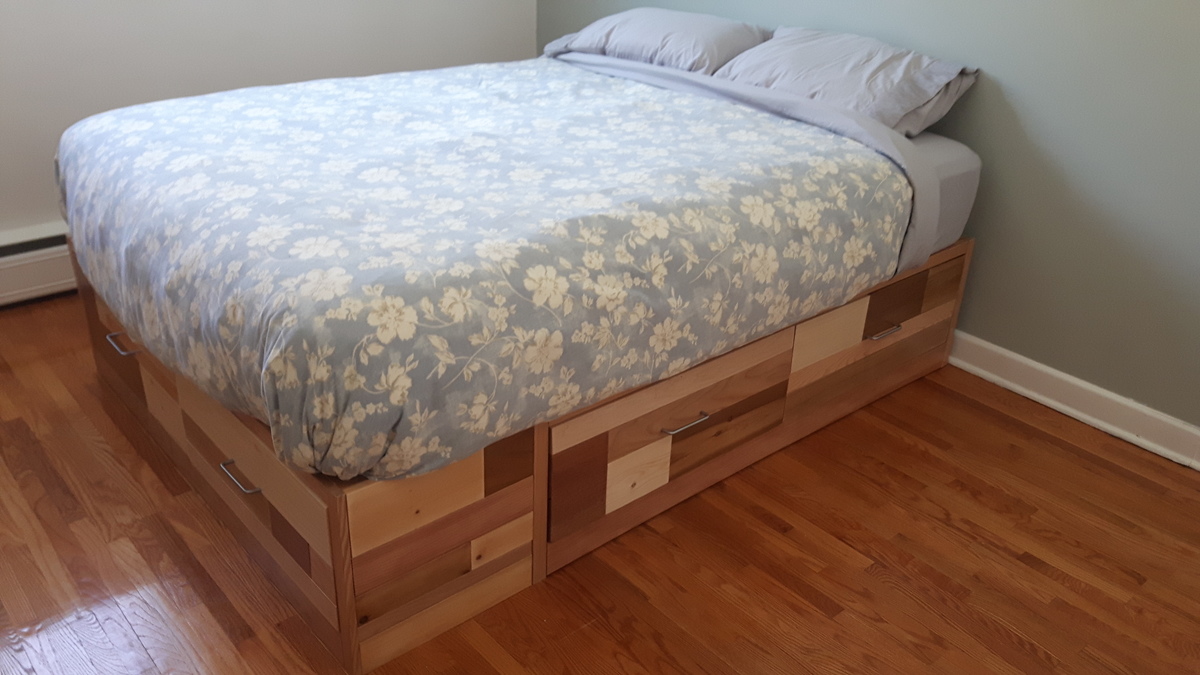
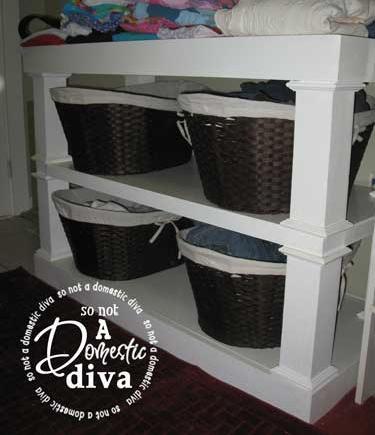
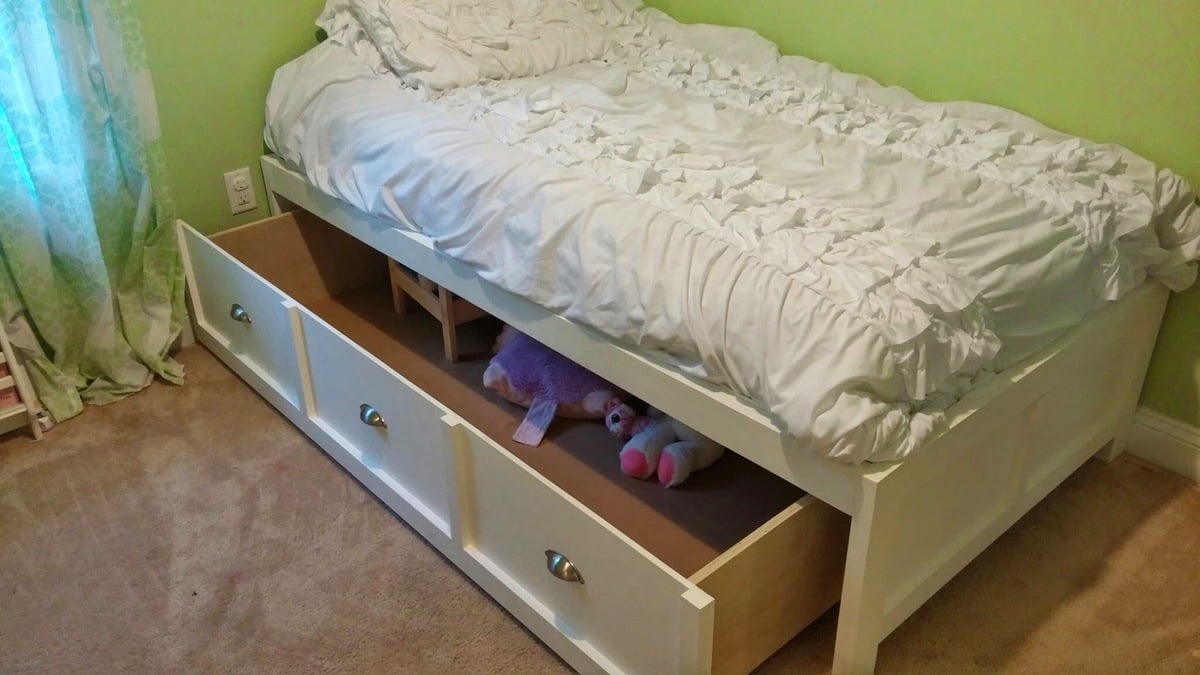
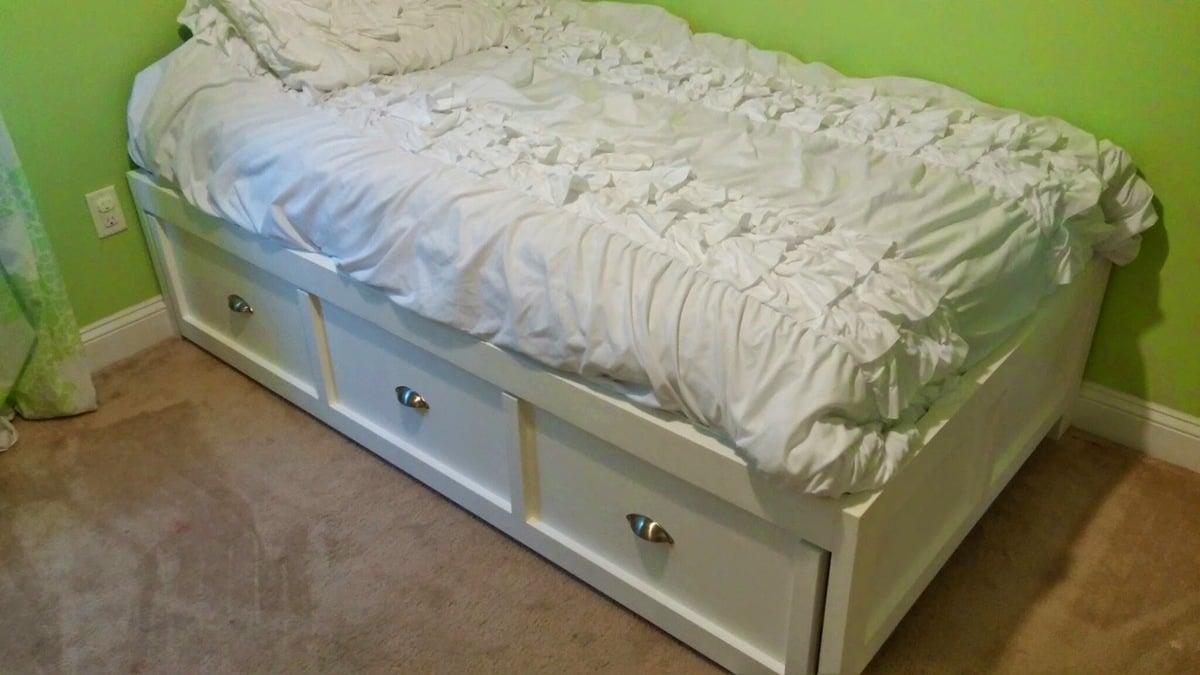
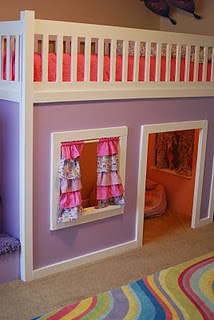
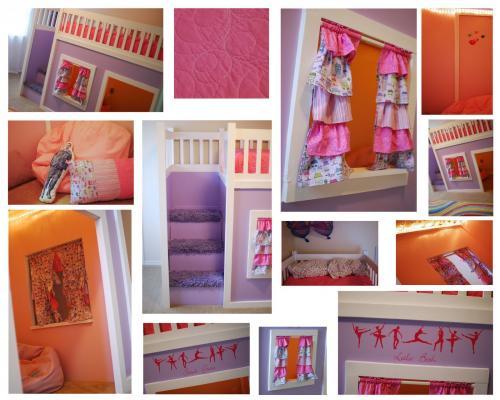
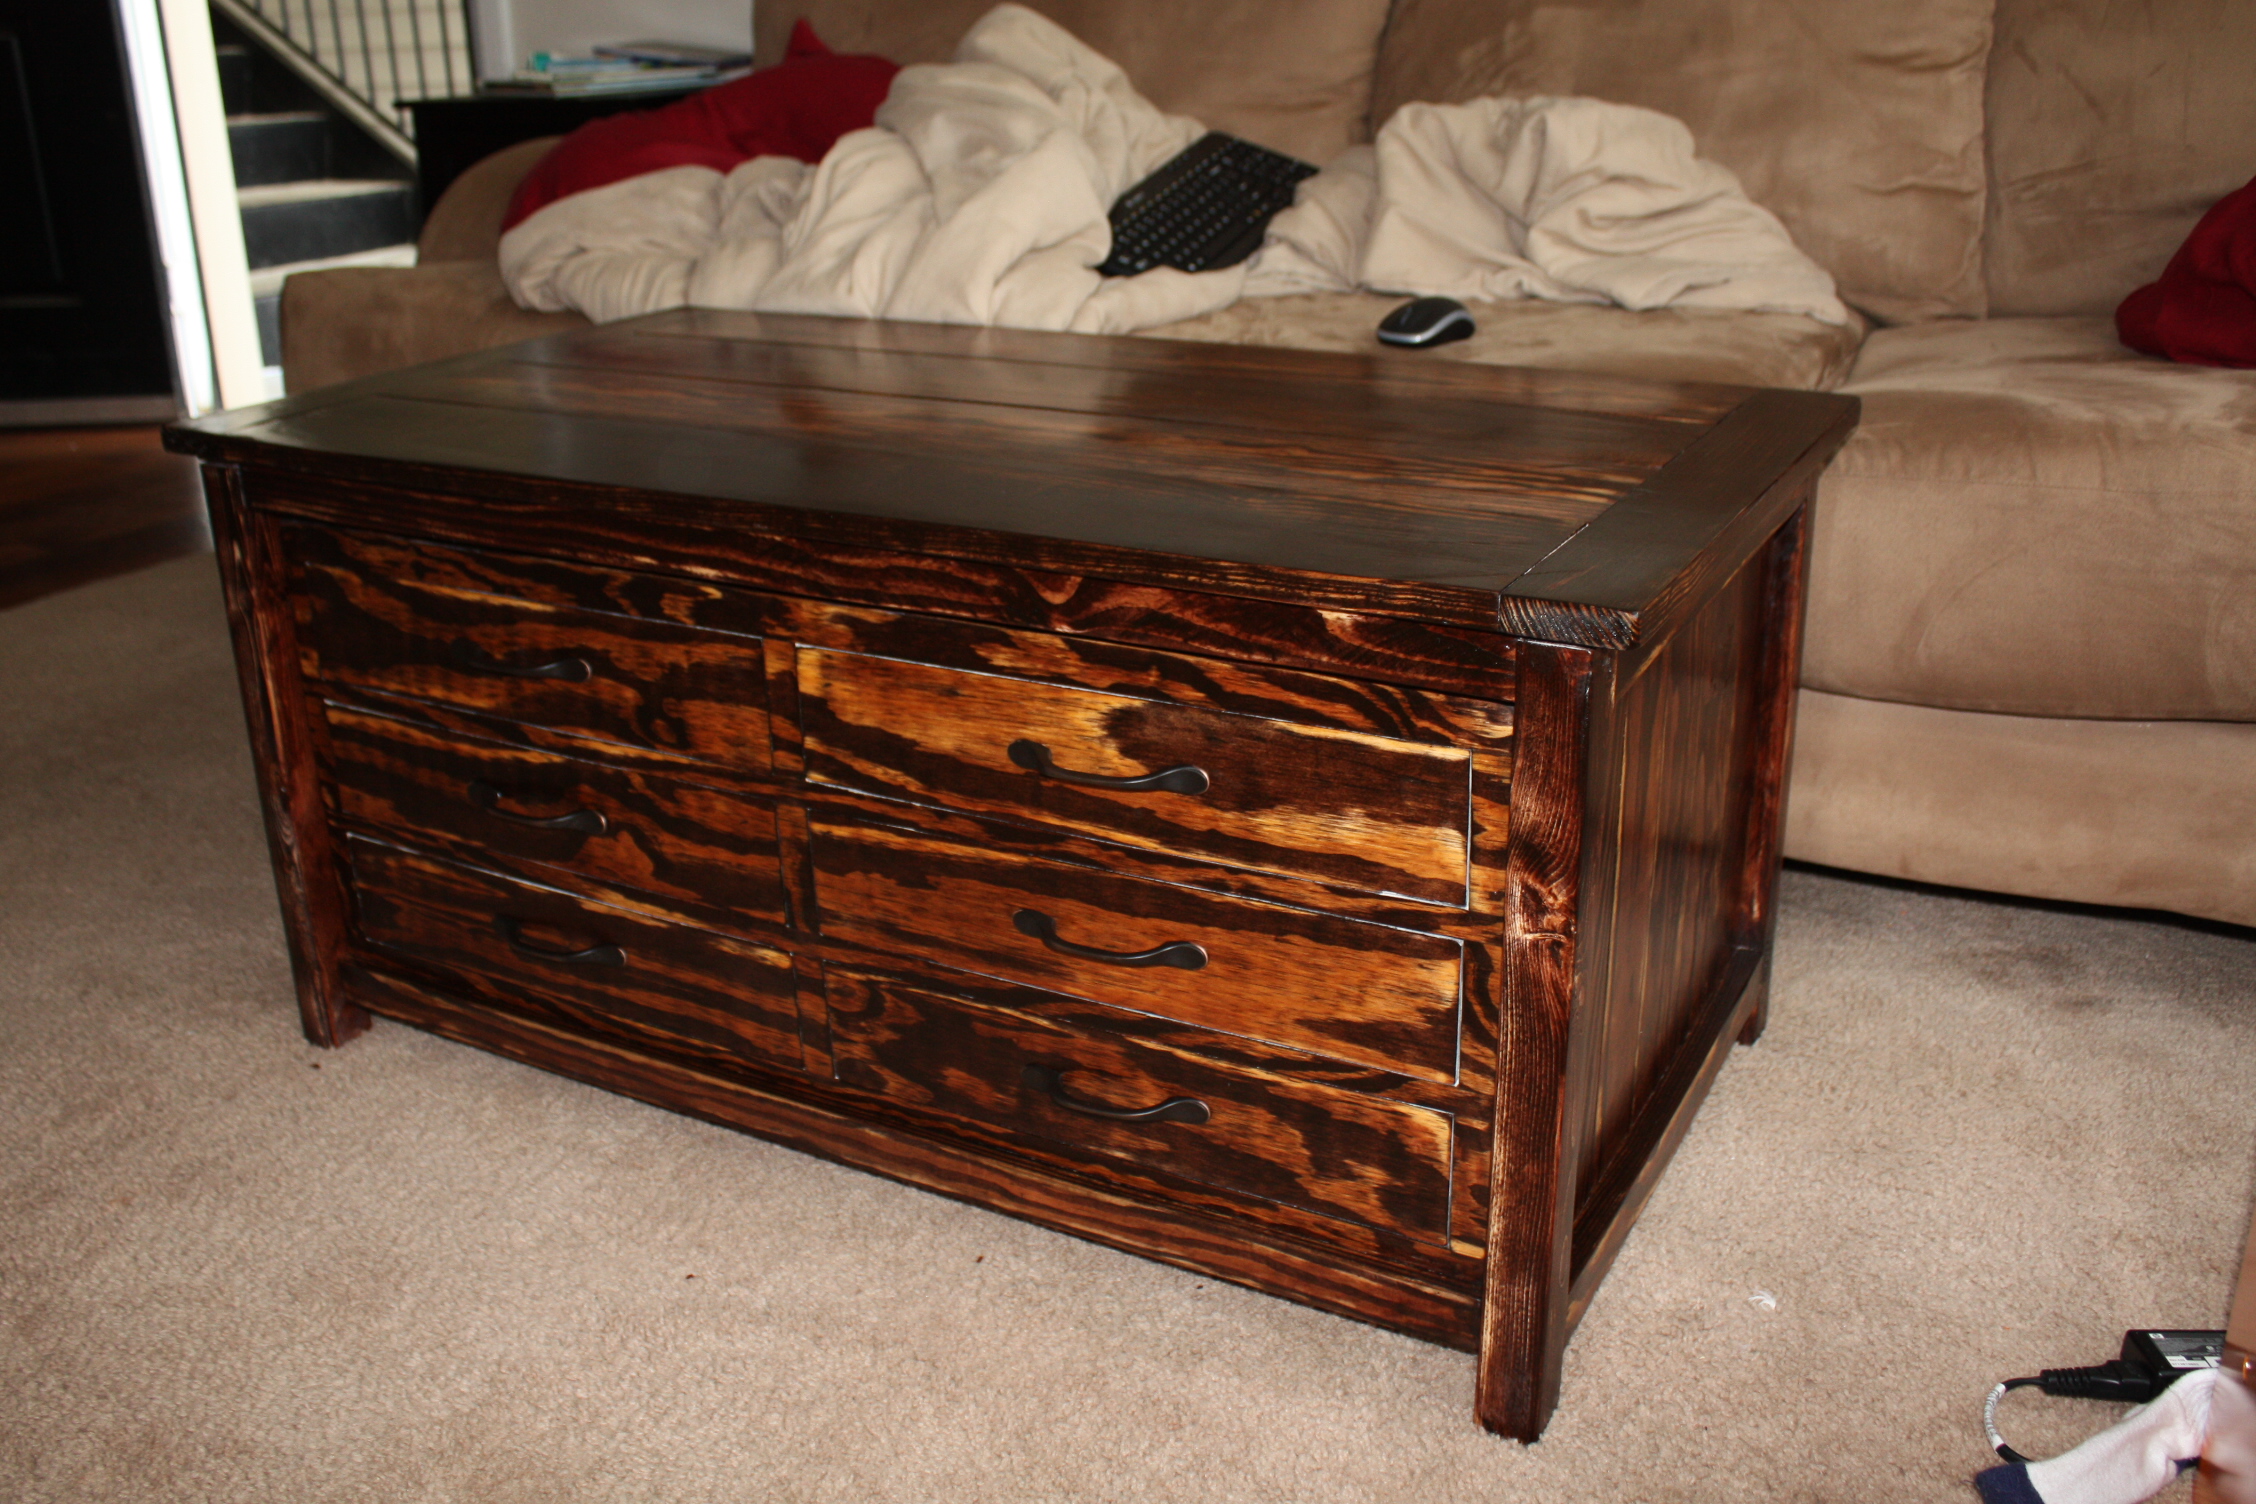
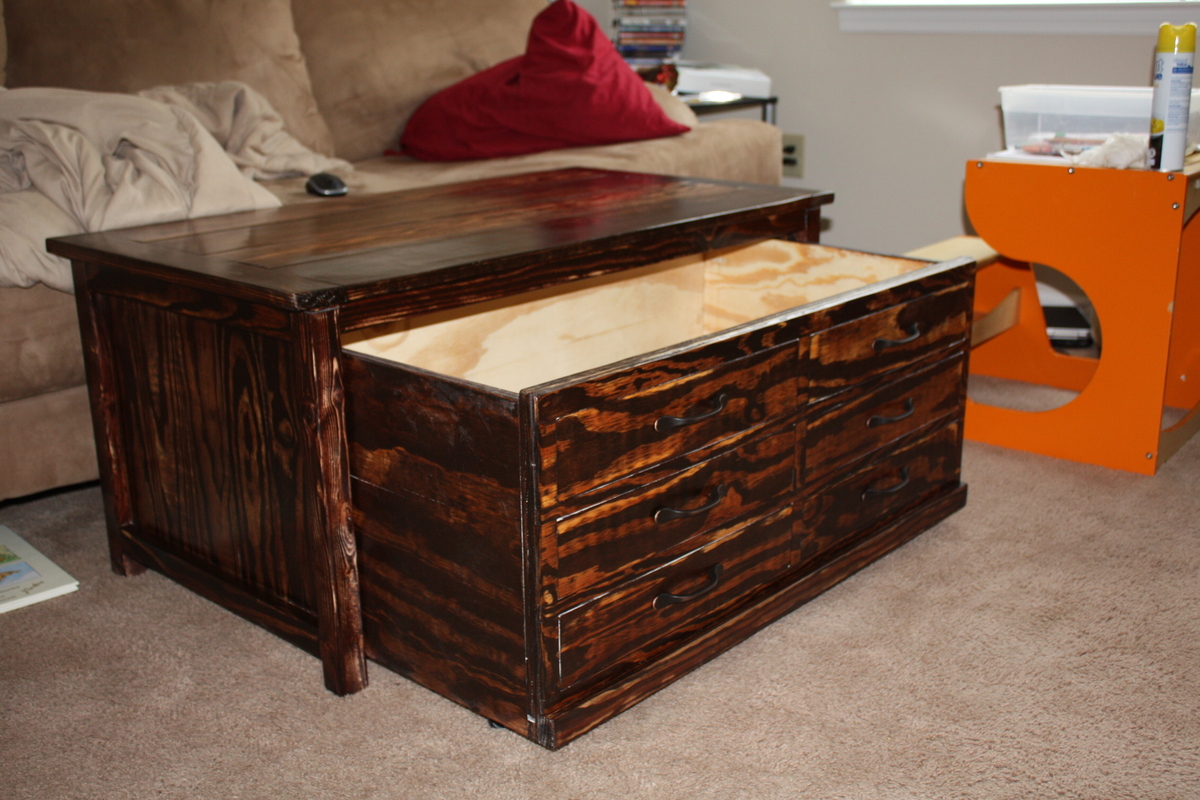
Storage Daybed
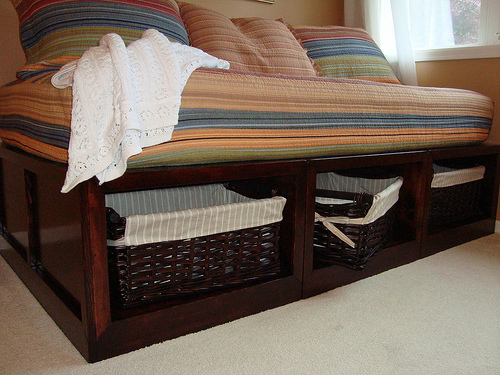
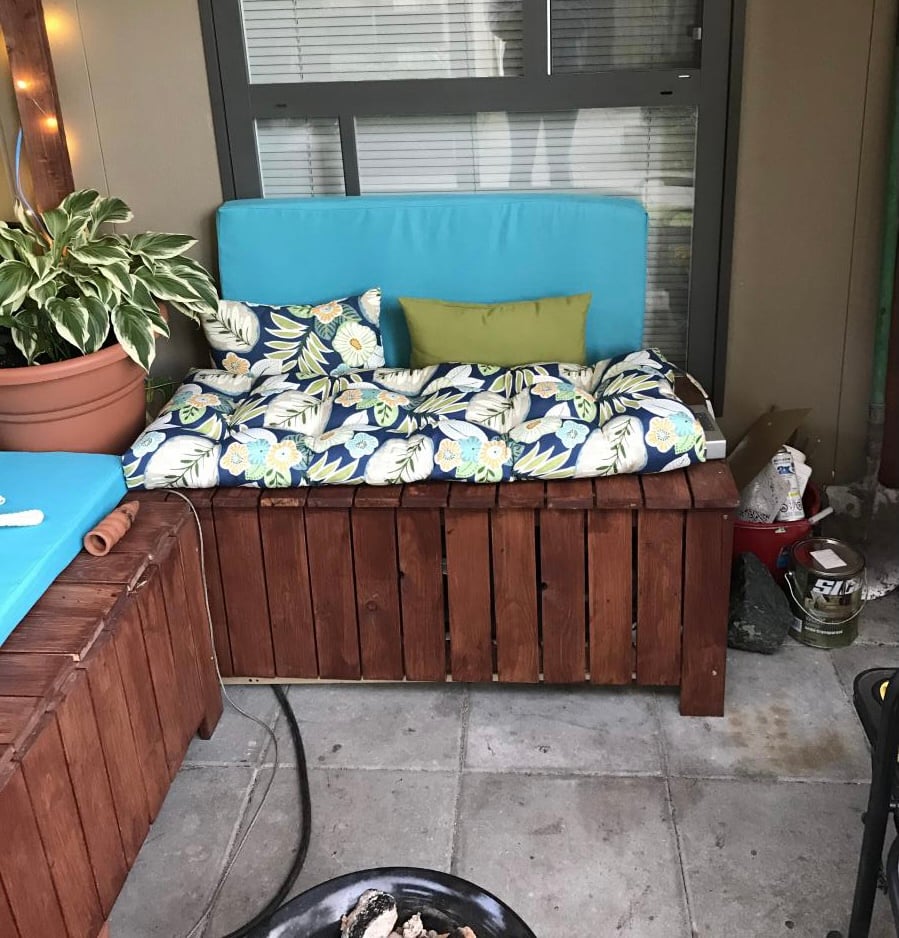
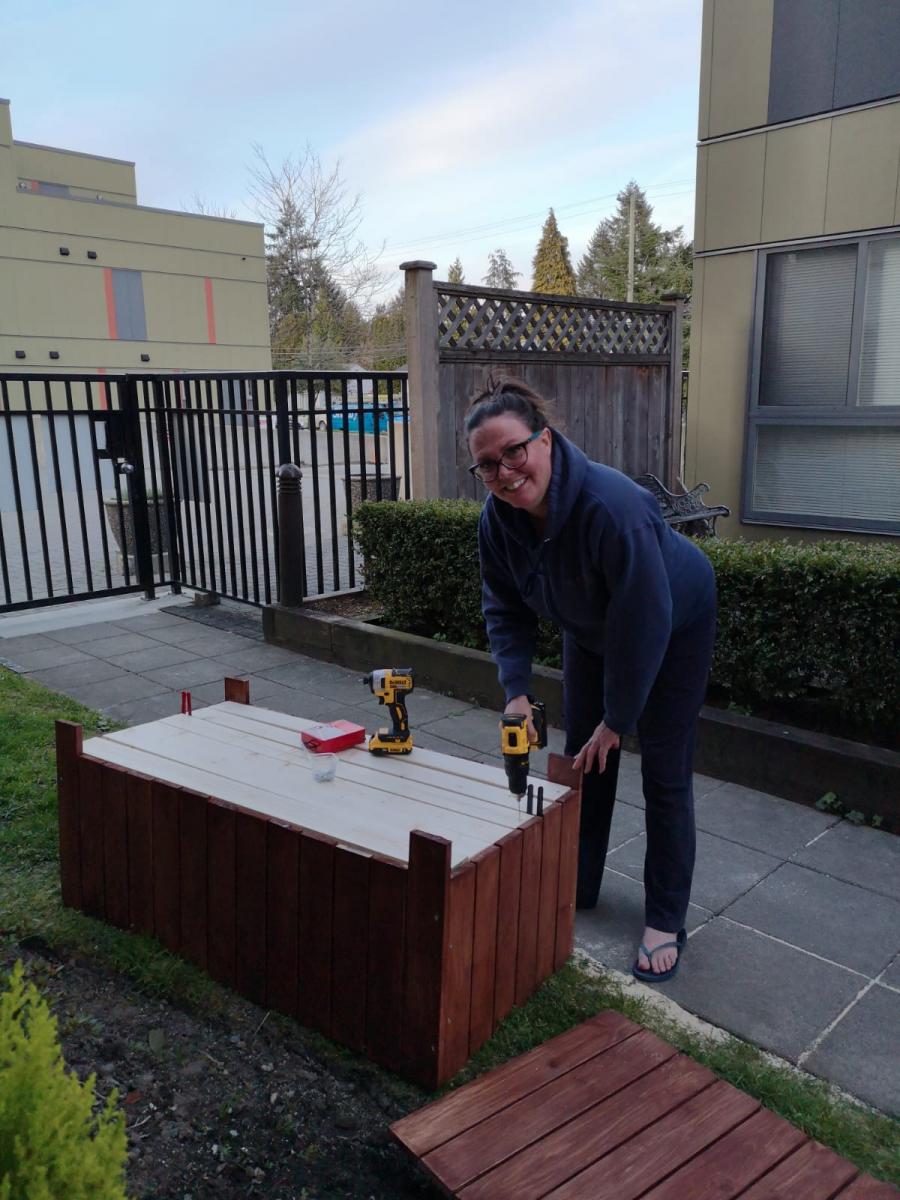
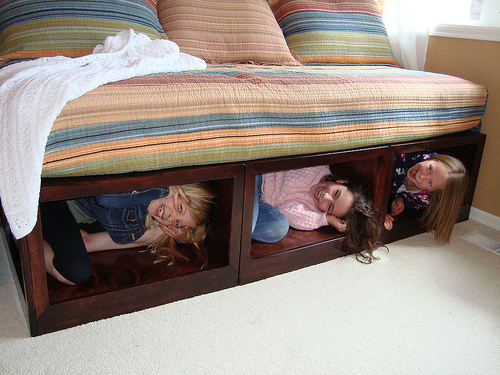
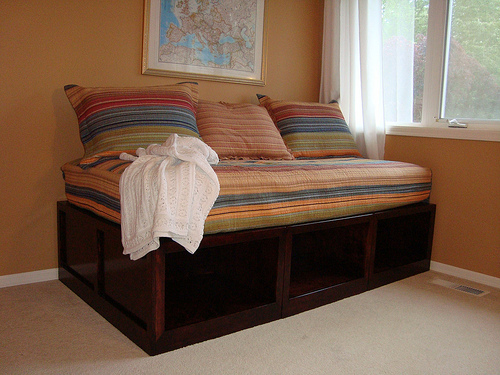
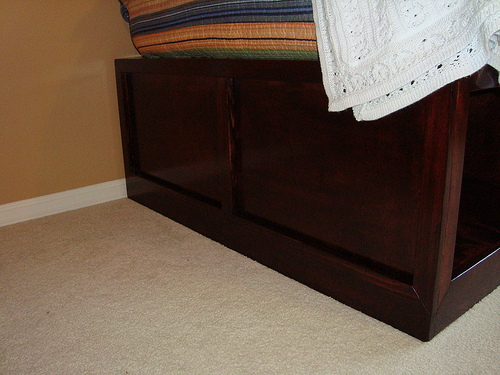
Ana White storage daybed with baskets! Of all the projects I've done based on Ana's plans, this is my favorite. It was my first staining project EVER so I was terrified. I am so in love with how this turned out. The boxes were made using birch plywood and the trim was all pine. Lots of gorilla wood glue (I think it's the least drippy) and a mix of nails (using our new nail gun) and countersunk screws. I used screws for the plywood and nails for the trim. After sanding... and sanding... and sanding... :) Finish is two coats of Minwax Red Mahogony stain (conditioned it first) and then three coats of Minwax Fast Drying Polyurethane in semi-gloss. Did I mention how much I love this color????? I did my best to get all of the glue sanded out, but I did miss in a few spots (end of this cubby...) But I am still thrilled because you can hardly notice. I've used a miter saw before, but never MITERED corners like this and I am so proud of my self with how they came out! :) I used longer, narrow felt pads along the bottom of each bench (for on each). On the bed is the Katy 5-Piece Daybed Set from Amazon. I got the sweater-like throw on Overstock.com. Baskets from World Market! :)
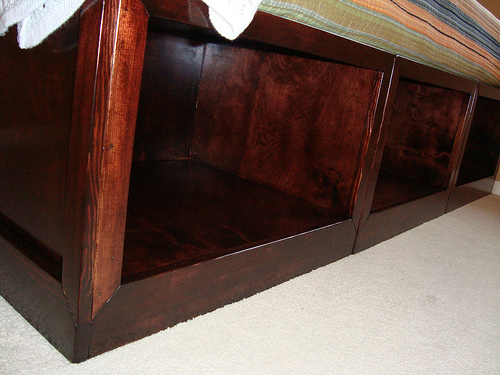
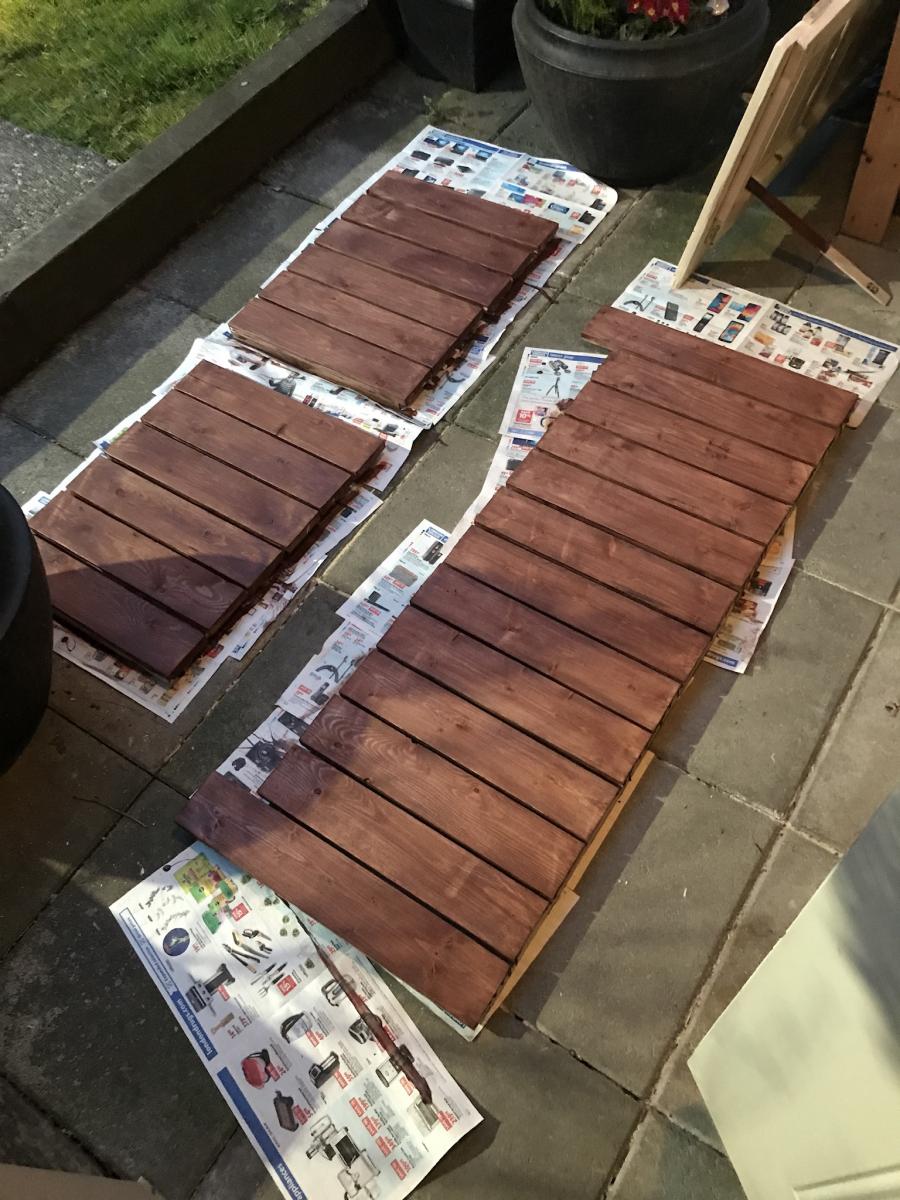
For ME, prepping it with the wood conditioner first made all the difference in the world! It really evened out the wood grain variations and gave it a beautiful store-bought look.
I did a test on some scrap without conditioner and the wood grain was too prominent for me (and a lot of people like that look). I love the more muted grain look.