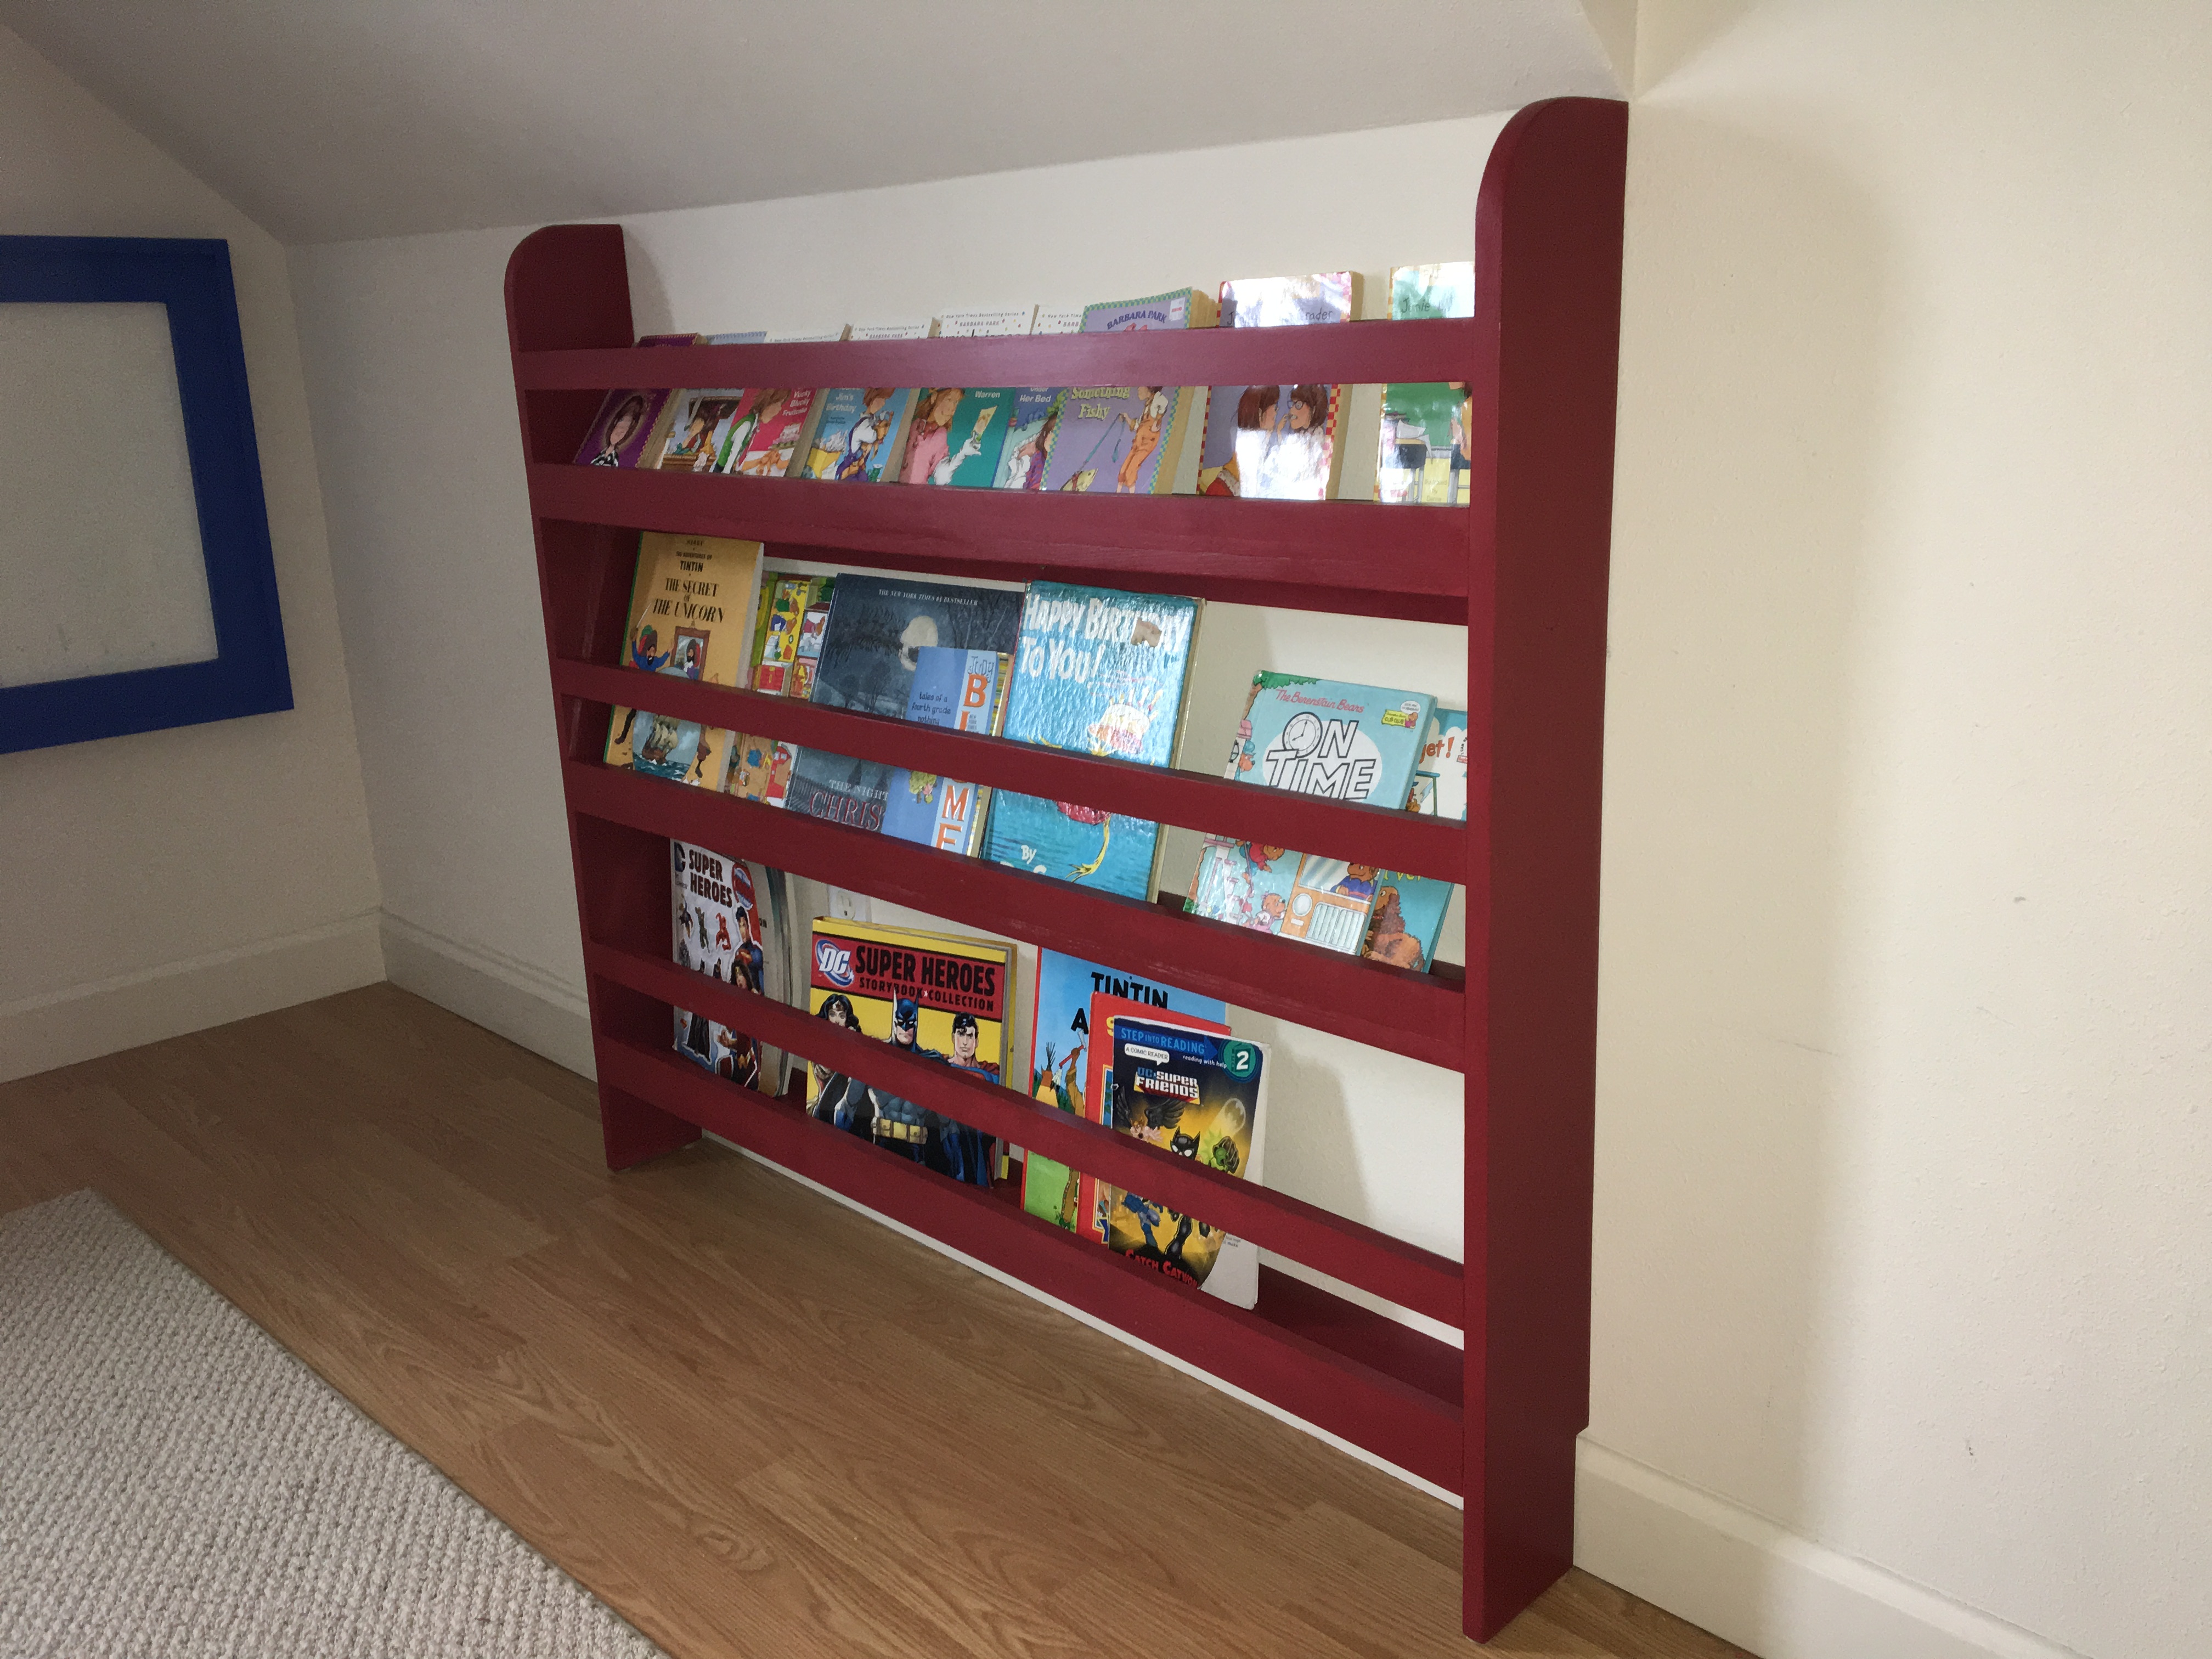
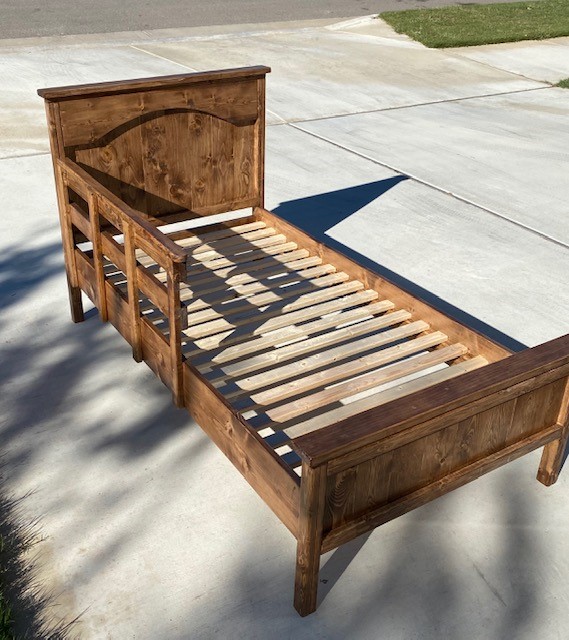
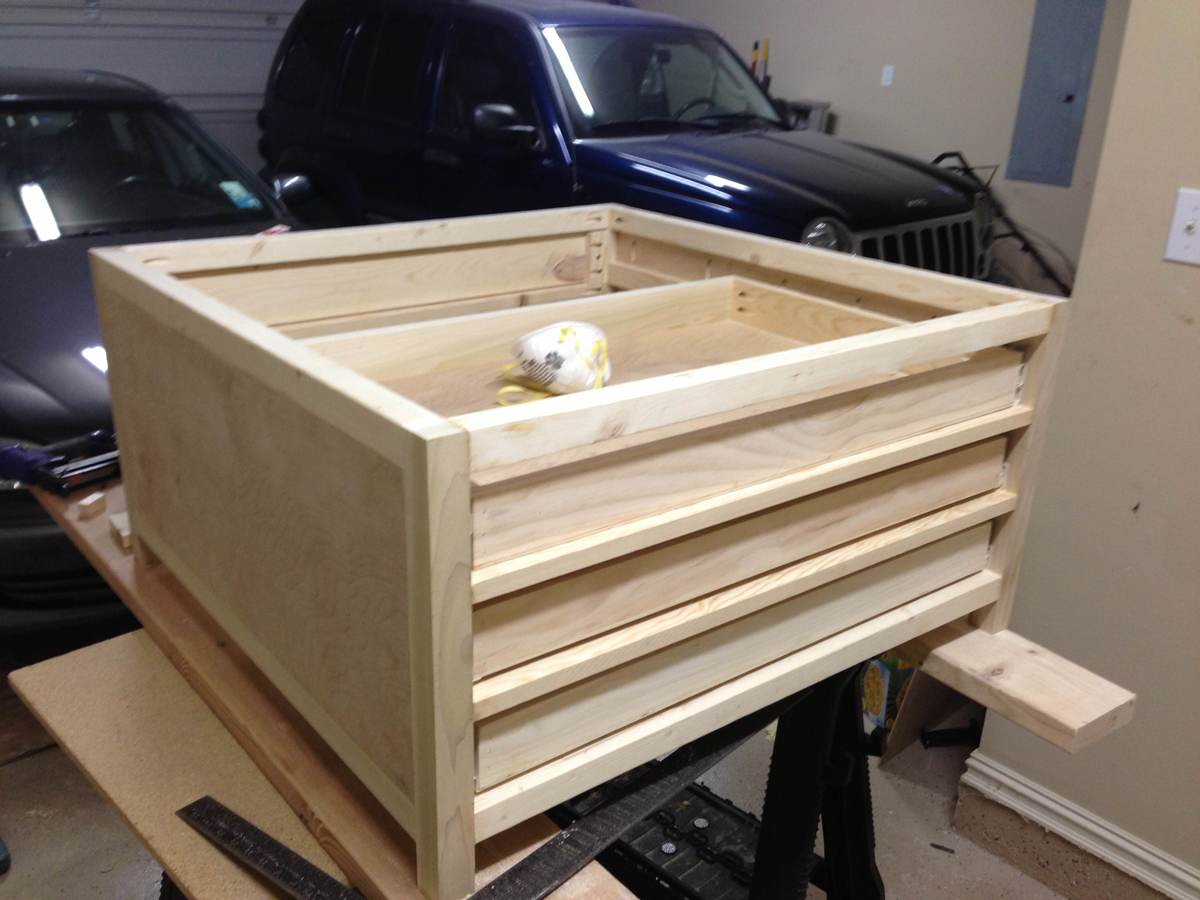
Our version of this awesome little greenhouse

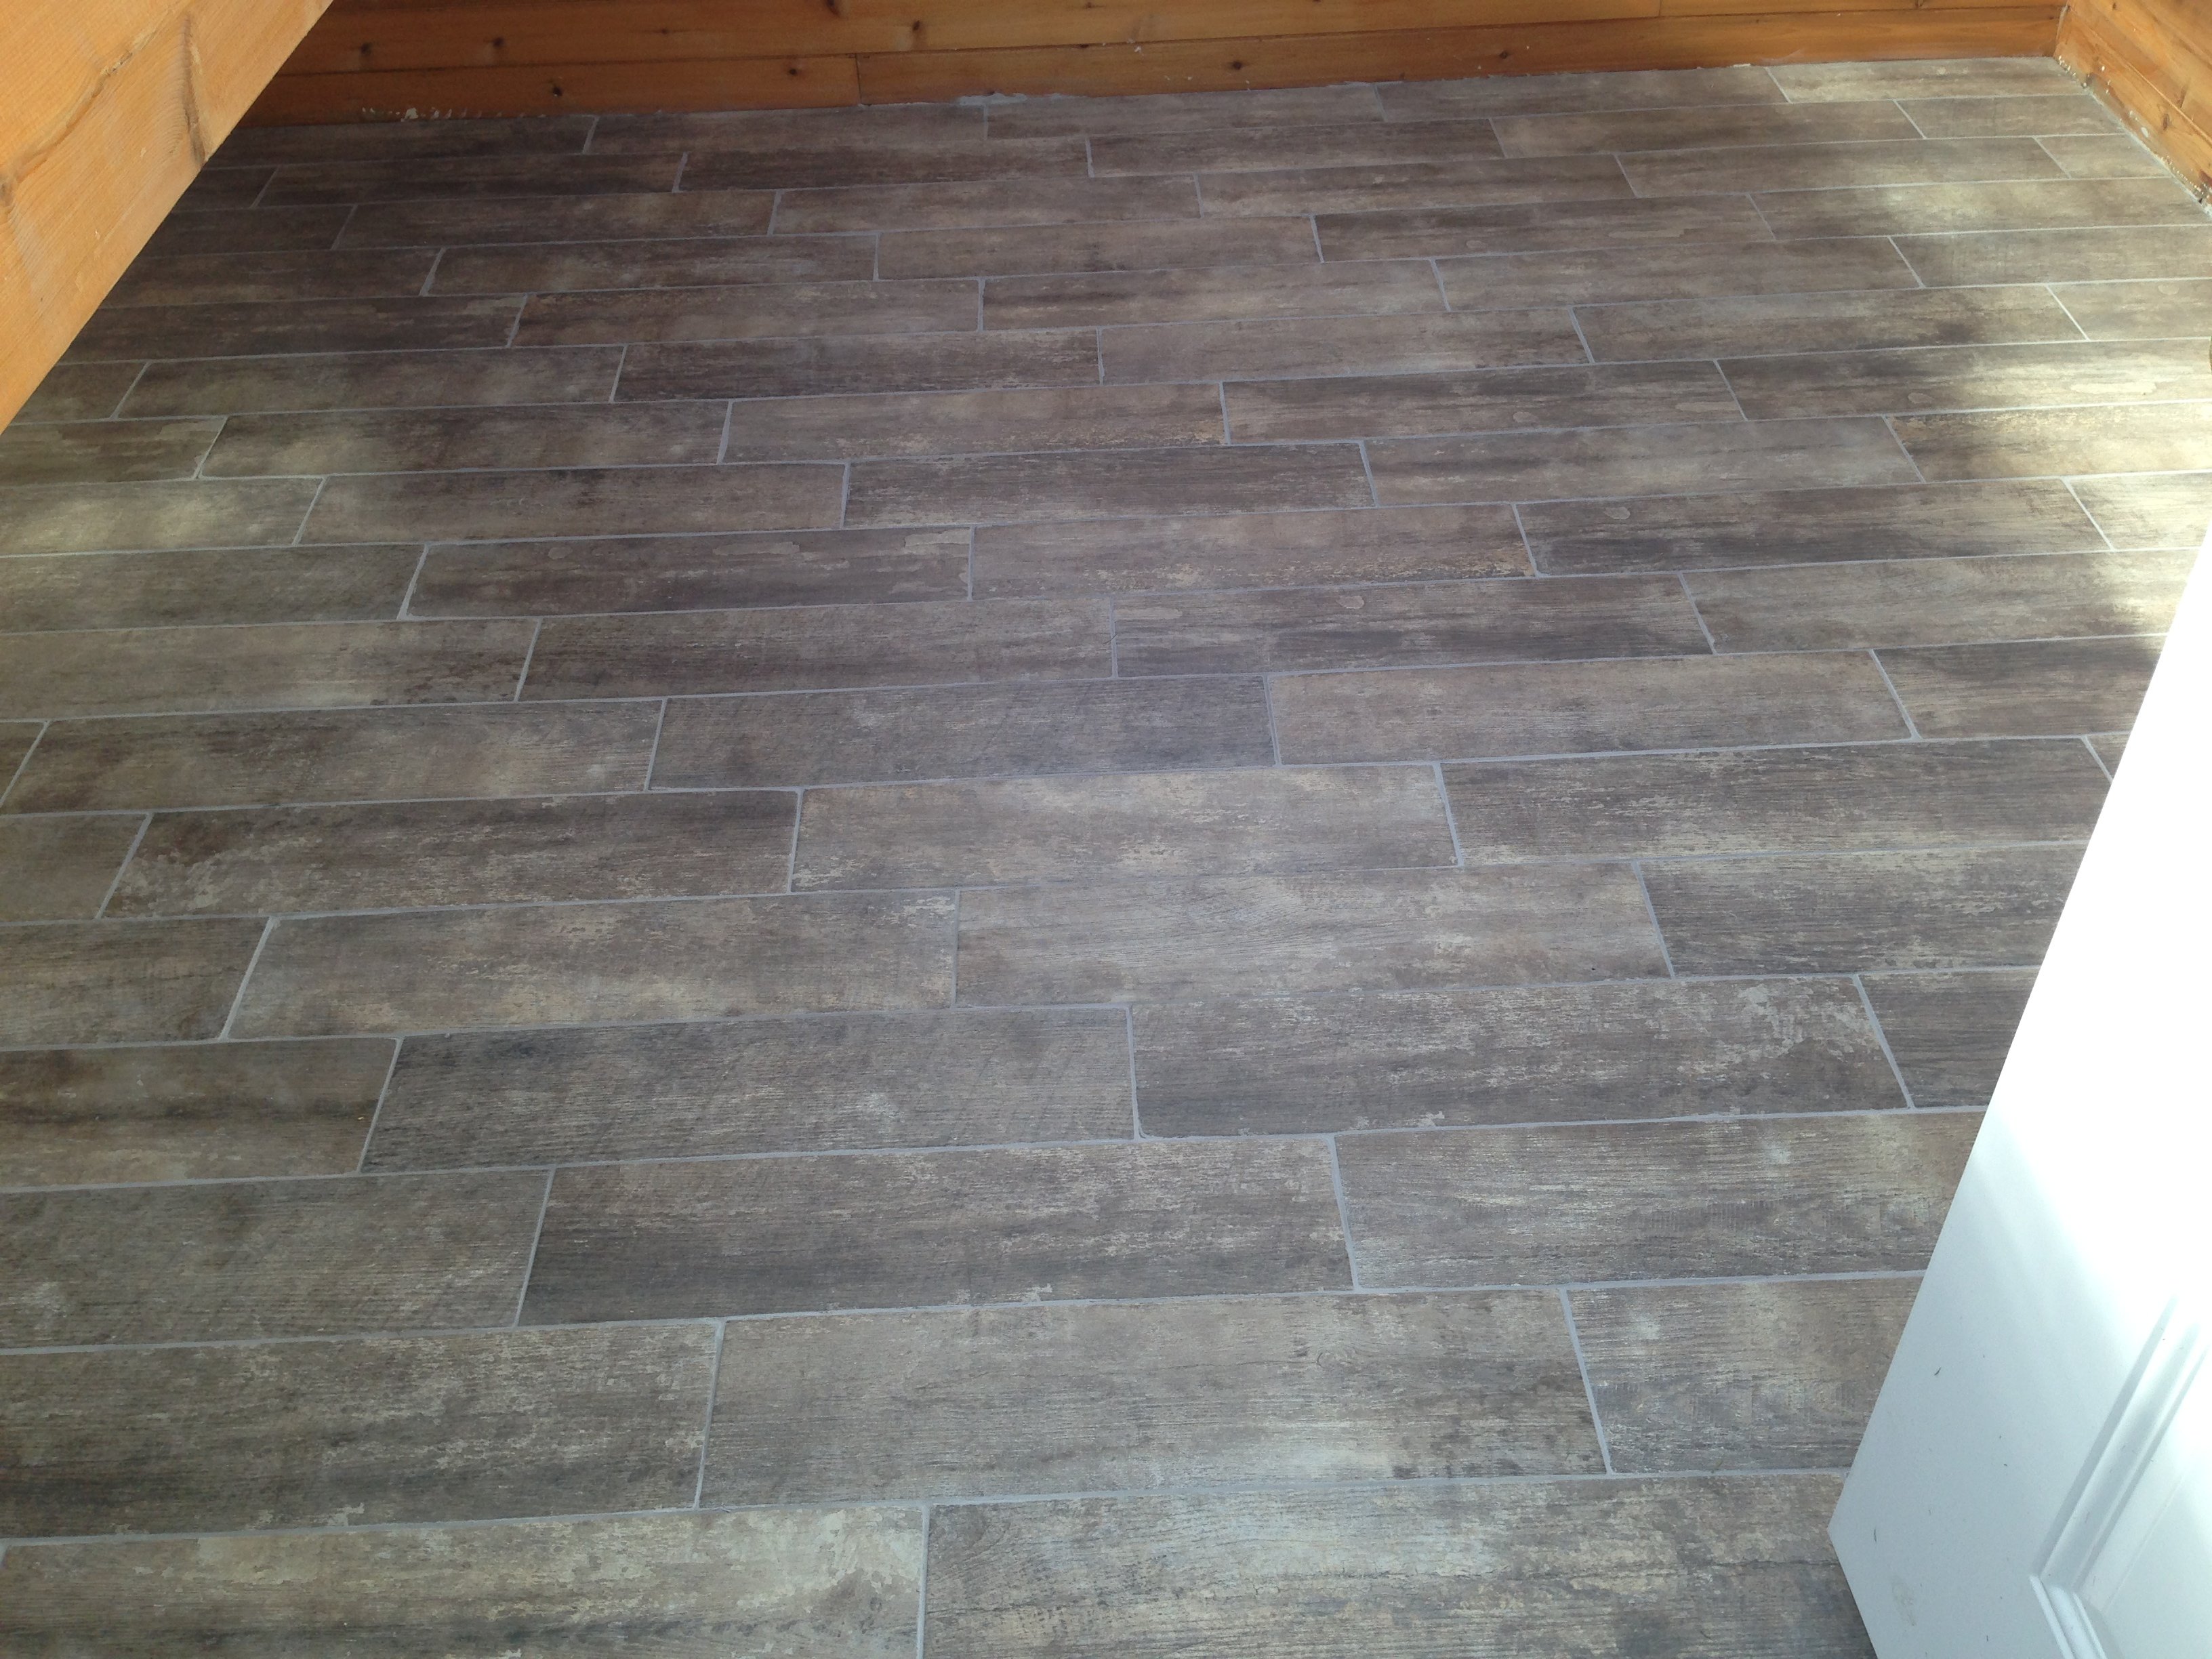
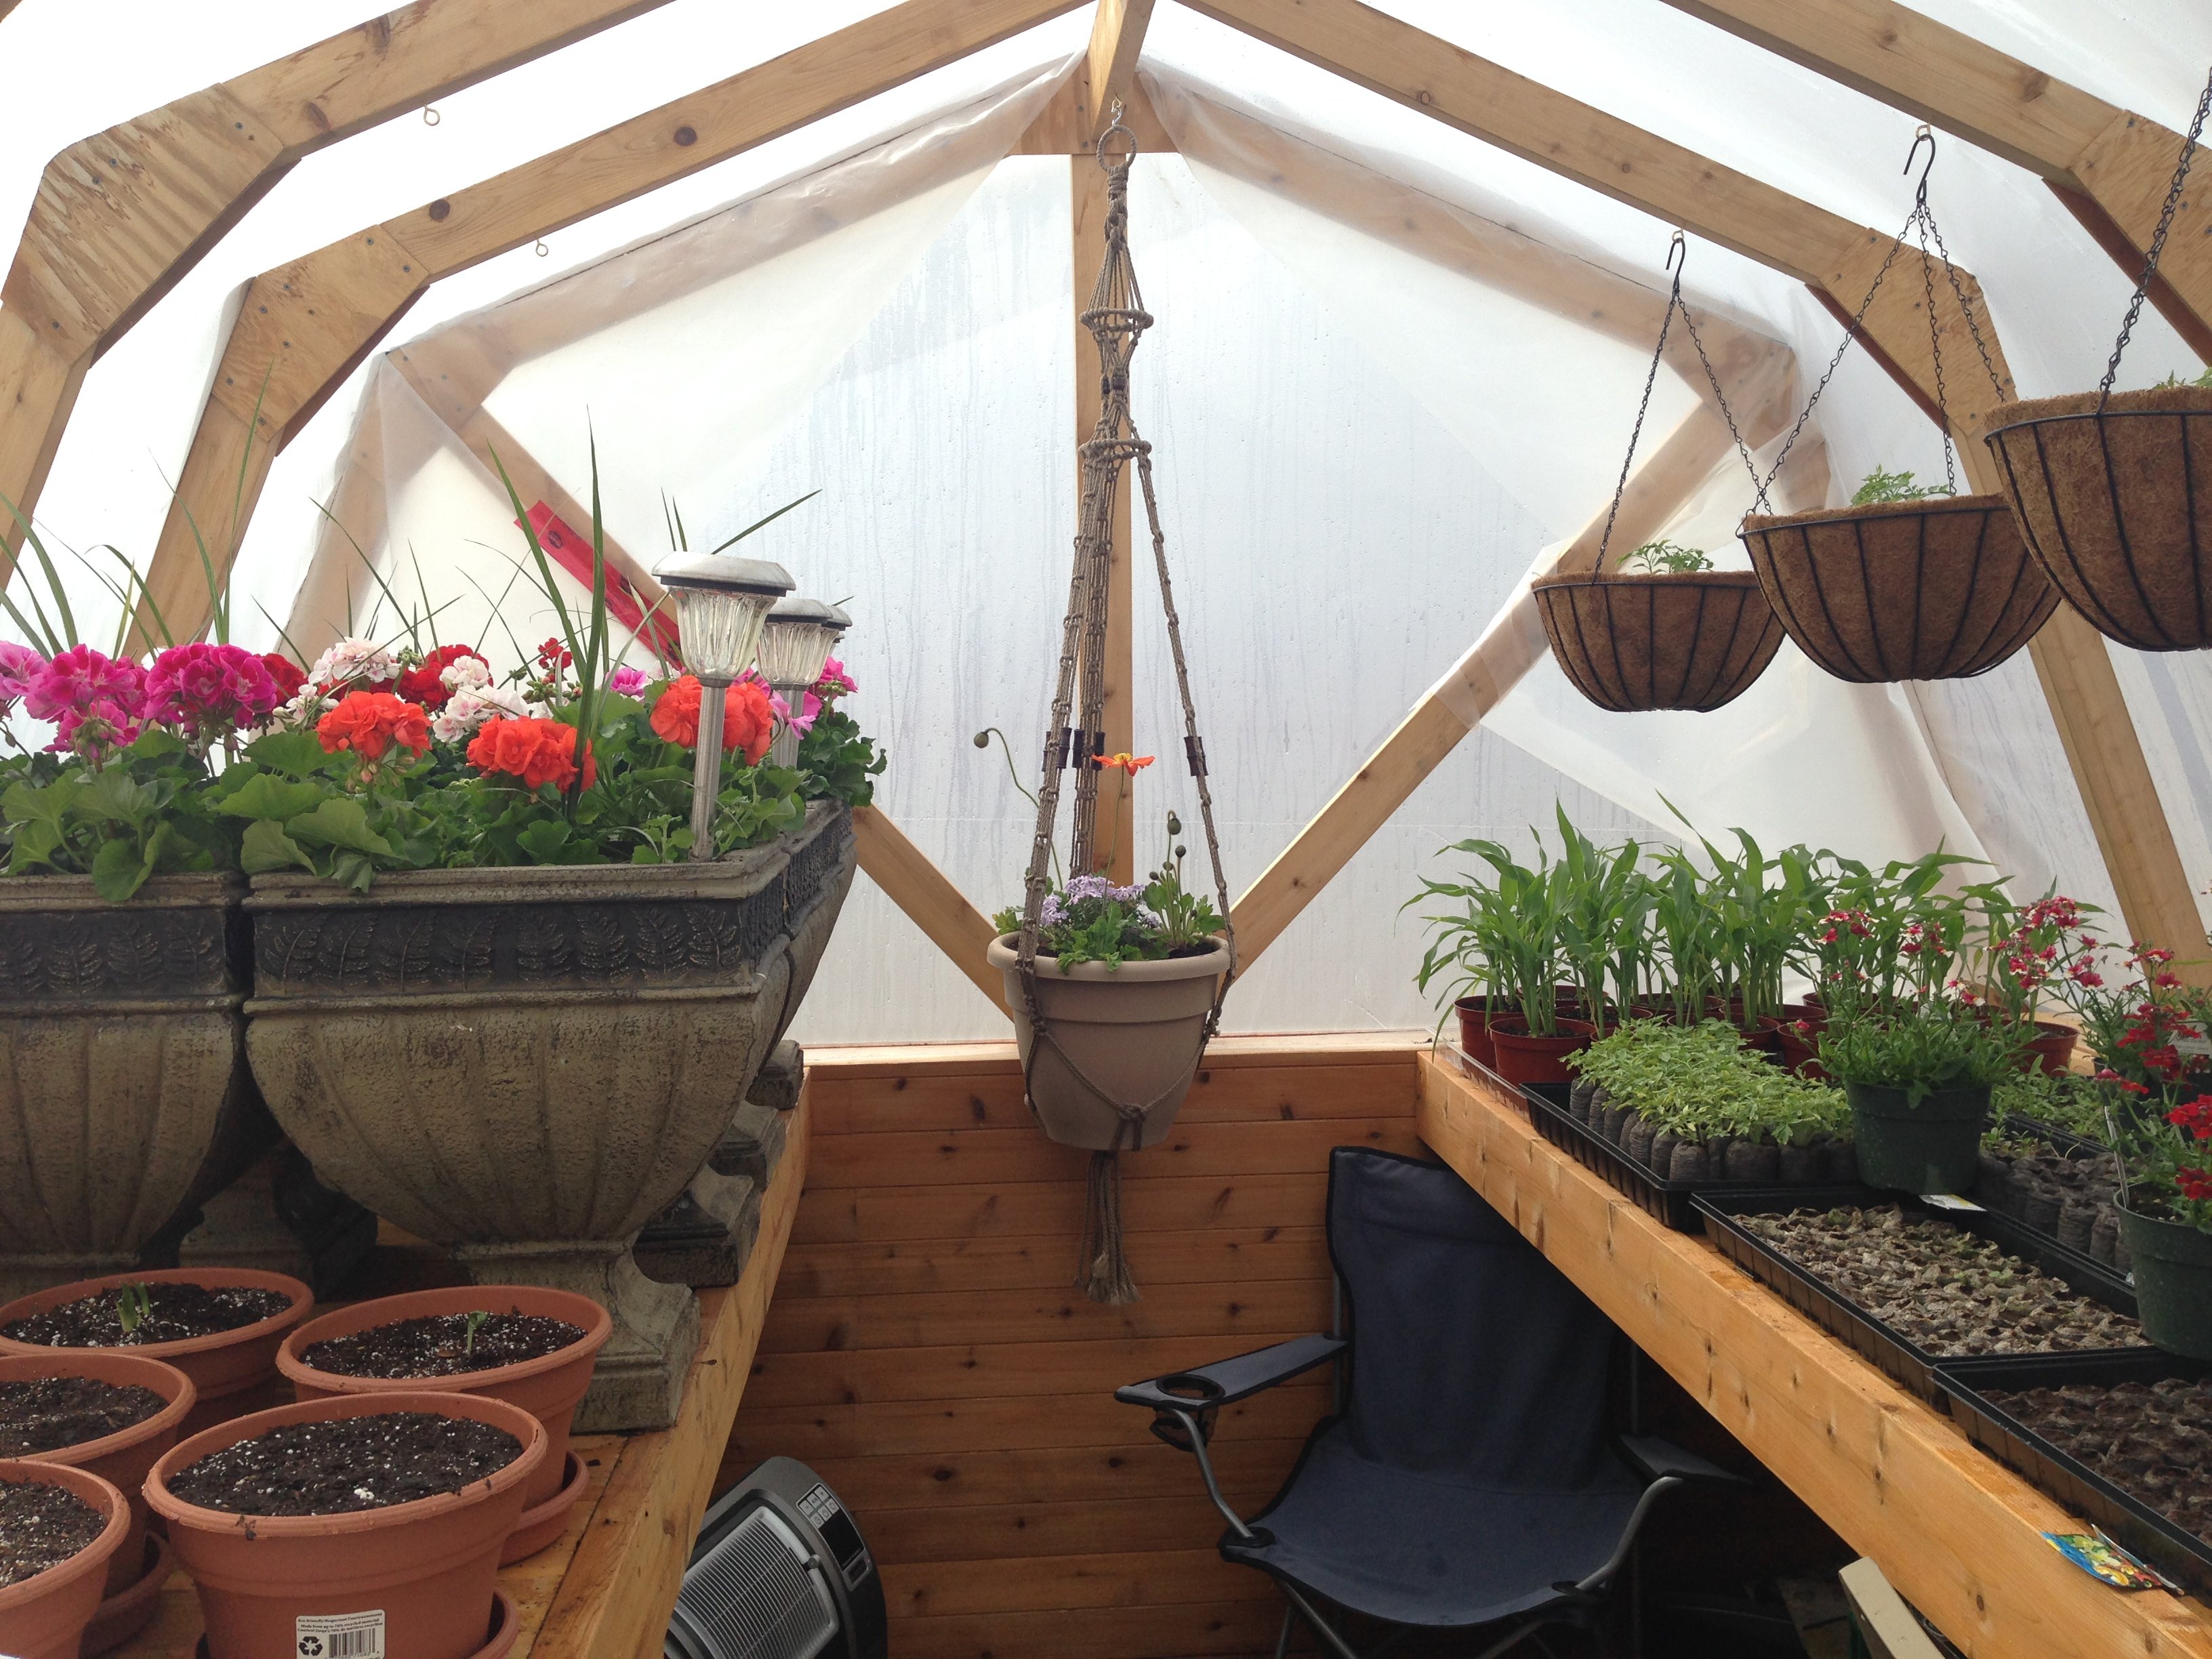
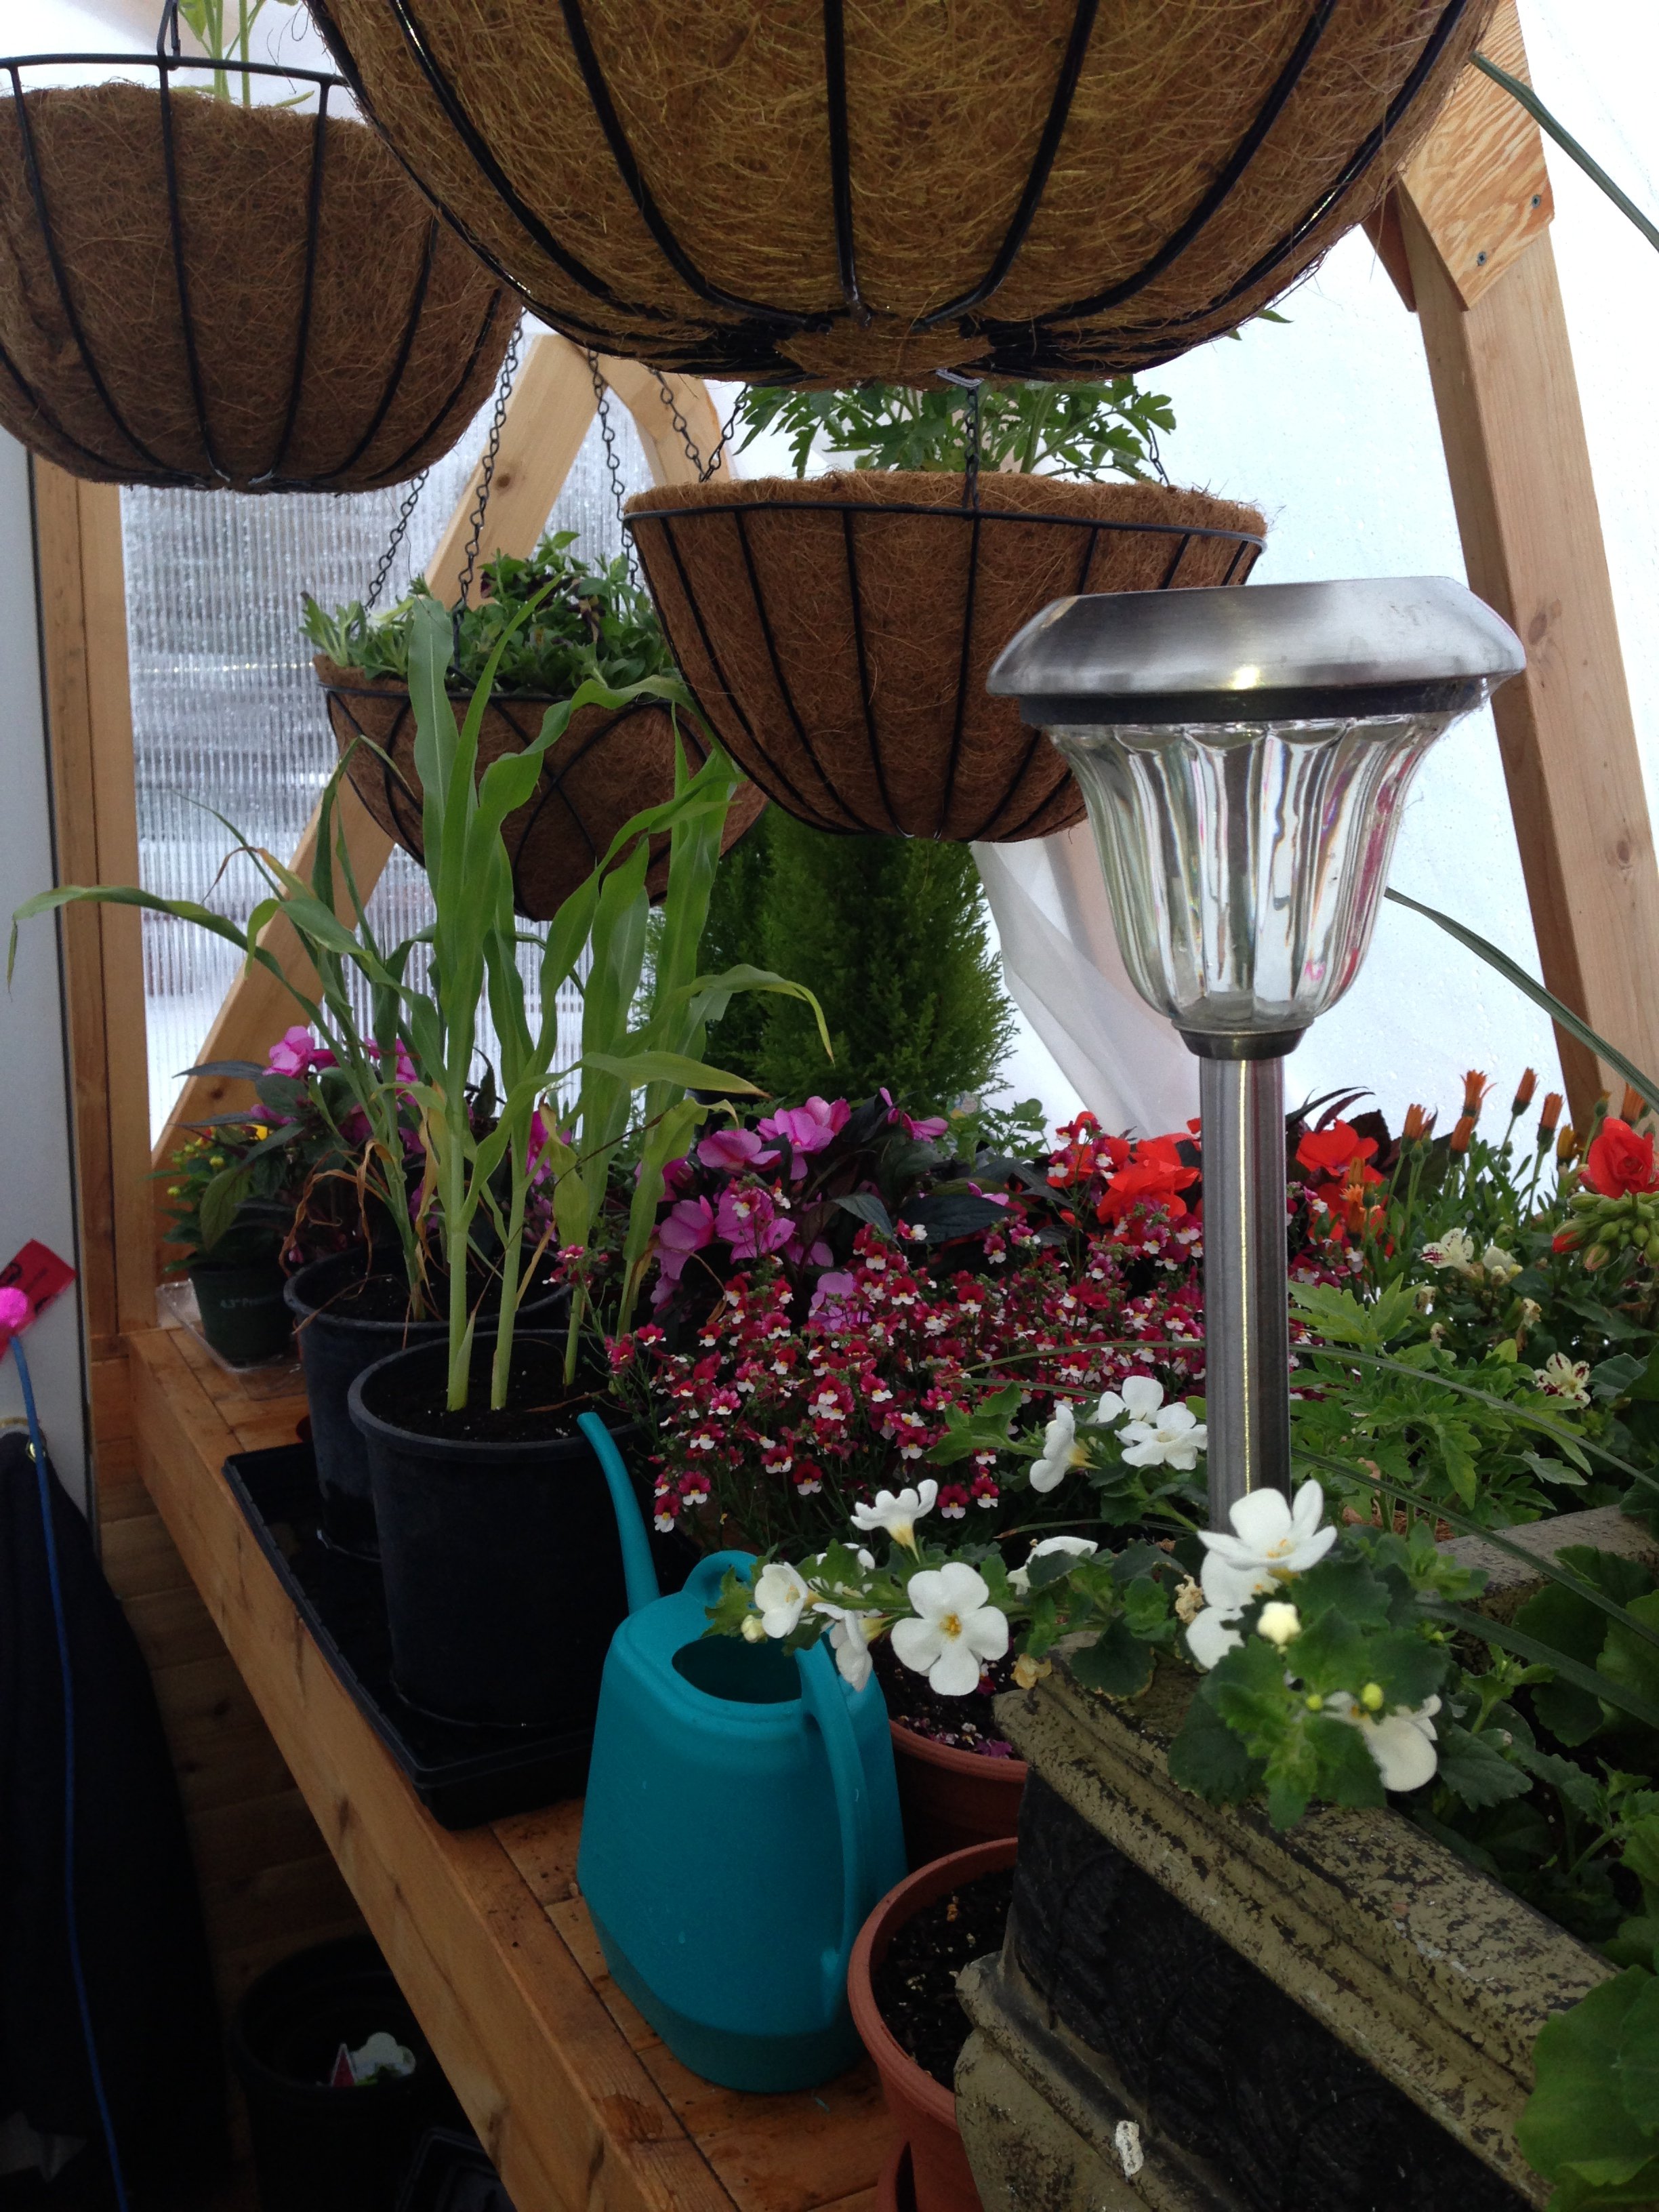
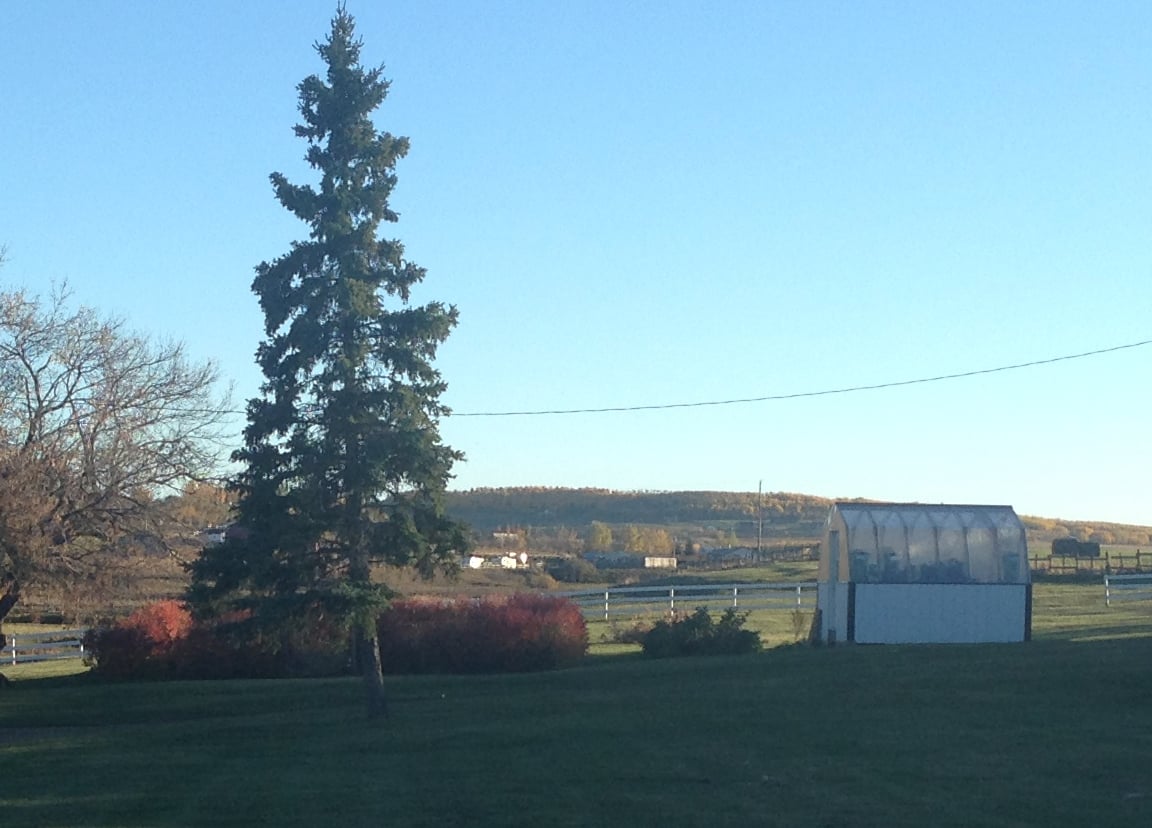
I found your plans last summer and loved the design so I decided to build one for my wife for her birthday last August. I didn't get started until the weekend of her birthday in late August so there was little expectation to have it finished before winter. It is now 14 months later and I only have a few trim pieces left to install. We live in a harsh climate and I wanted to be able to use it through the winter so I made a few changes. I built a 2 x 12 base and insulated it with R40 and the bottom walls are 2 x 6 instead of 2 x 4 and are insulated with R20. I used twin wall polycarbonate instead of the corrugated lexan because of the superior R factor. The insulated walls are of course vapor barriered and I covered them with tongue & grove cedar. I also made raised benches out of cedar for growing potted plants on. The floor has ceramic tile on it and the exterior is colored metal. I also ran underground power to the building and installed a fluorescent grow light. Surprisingly a small 110 volt heater keeps the temperature above freezing even during our awesome -40 winter temperatures. If the daytime temperature is anywhere near or above freezing we have to keep the screen open in the door or it overheats inside. I have attached links to a few pictures of the almost finished product, ready for another winter full of flowers and veggies. I initially used clear vapor barrier until the twin wall polycarbonate showed up. This worked rather well.
I have posted this in the comments section as well, but I think it belongs here.


Comments
JB
Sat, 03/21/2020 - 09:42
polycarbonate questions
Love your ideas! I have a few questions if you don't mind. Where did you buy the polycarbonate sheets, and what sizes were available? Did you end up changing the plan a bit to accommodate the vertical sheets? Did you seal top and bottom with foil tape and dust tape respectively or poly flashing?
Any help or advice would be appreciated very much.
JB