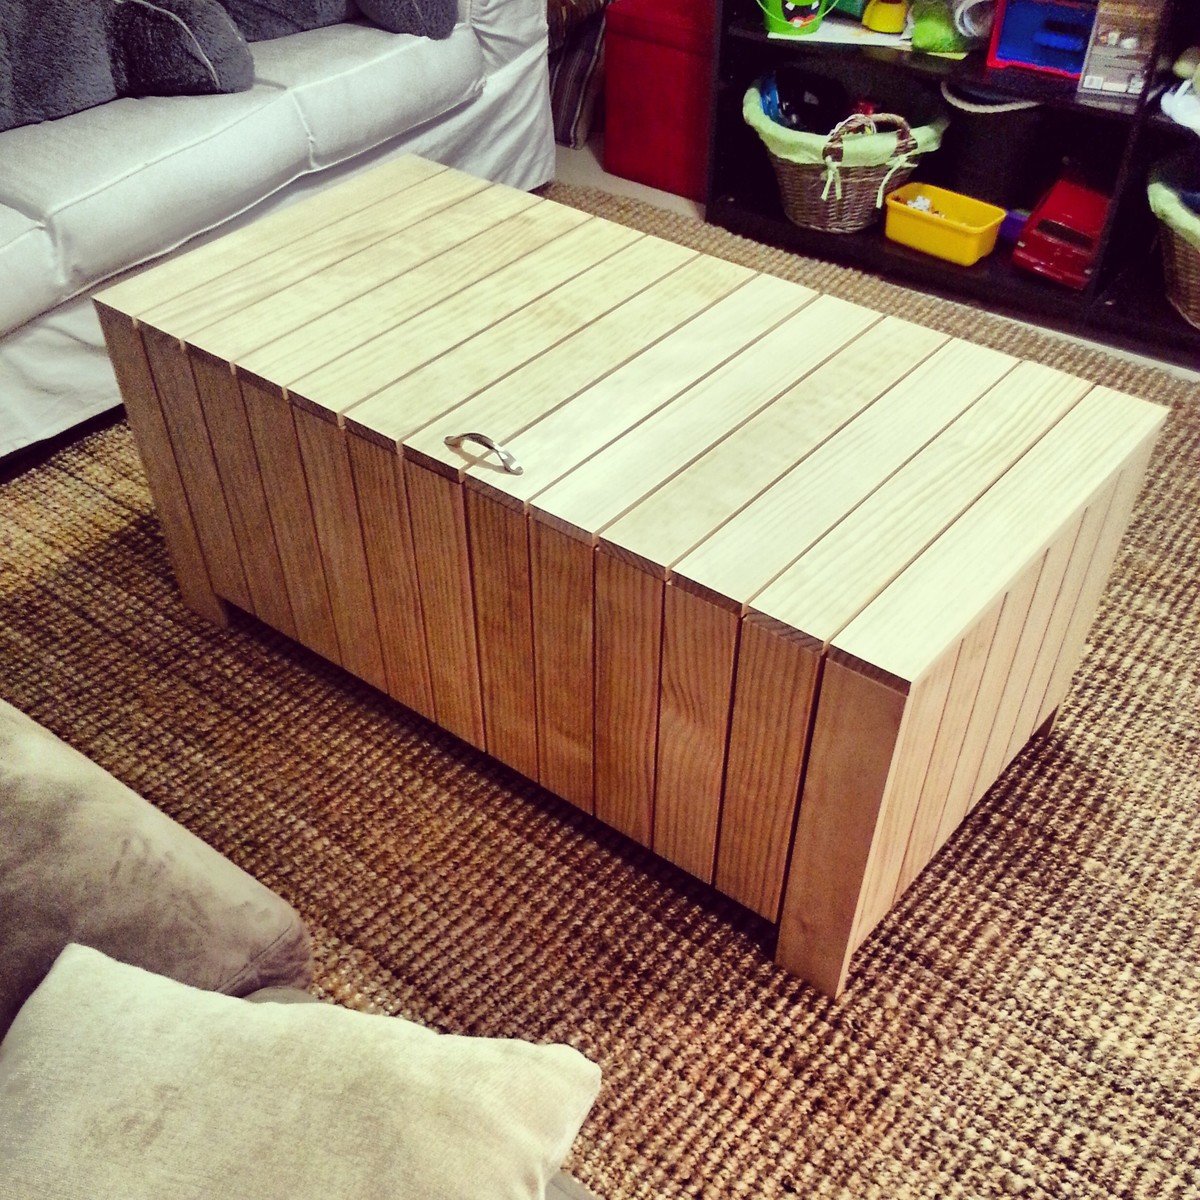
Basement Storage from 2x4s!

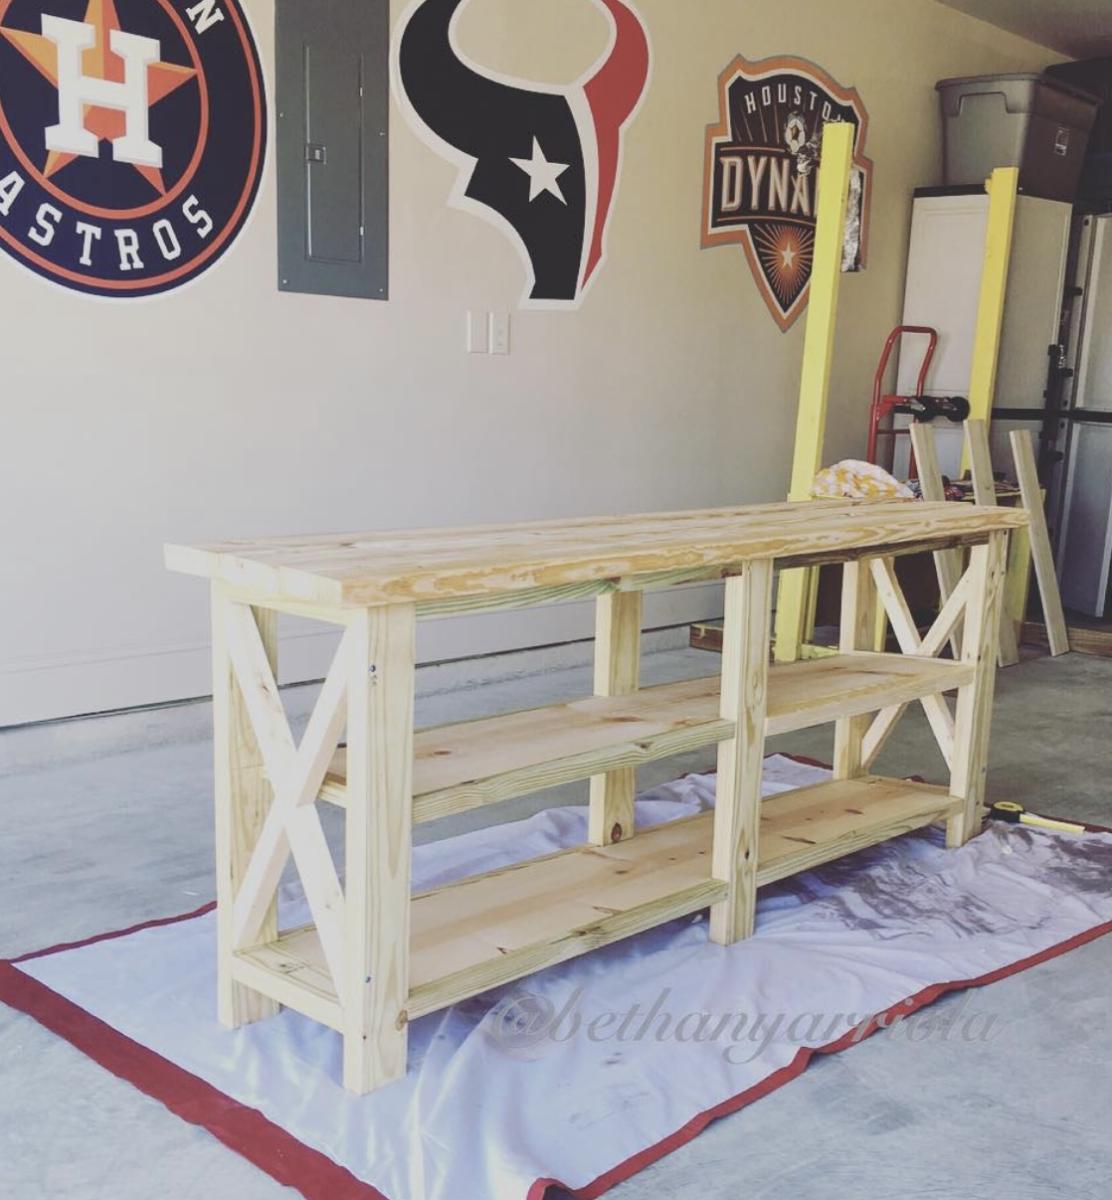
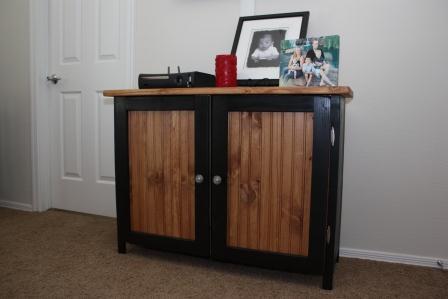
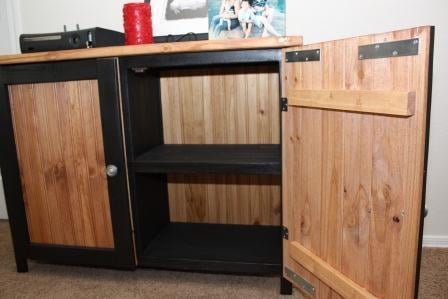
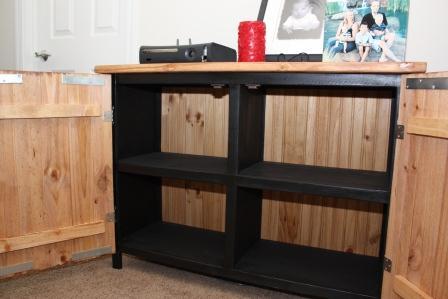
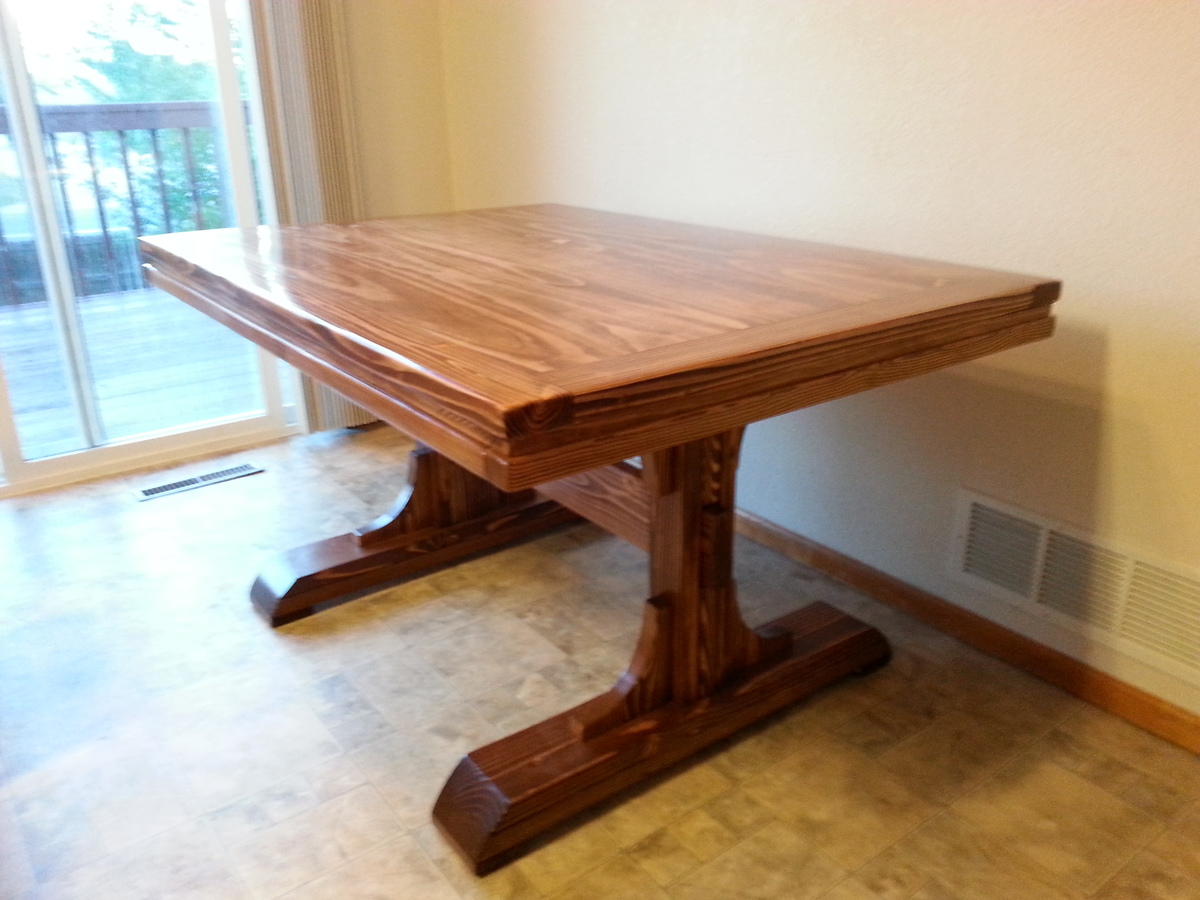
I am so happy with how this shelving unit turned out! I adapted Ana's plans to the size of our closet space - the shelves are actually 33" deep. One side of the wall is studs, which is how I secured the unit. Now we can put away all of our Christmas decorations!
This might be my proudest build to date...crazy since it's just a closet shelving unit :D
Estimated Cost
$70
Estimated Time Investment
Afternoon Project (3-6 Hours)
Finish Used
no finish needed.
Recommended Skill Level
Beginner


Comments
Ana White
Fri, 01/04/2019 - 13:32
This is perfect for your
This is perfect for your space! I know how that is, sometimes a simple project can be the best! Thank you so much for sharing a photo and using our plans. We appreciate you! Ana