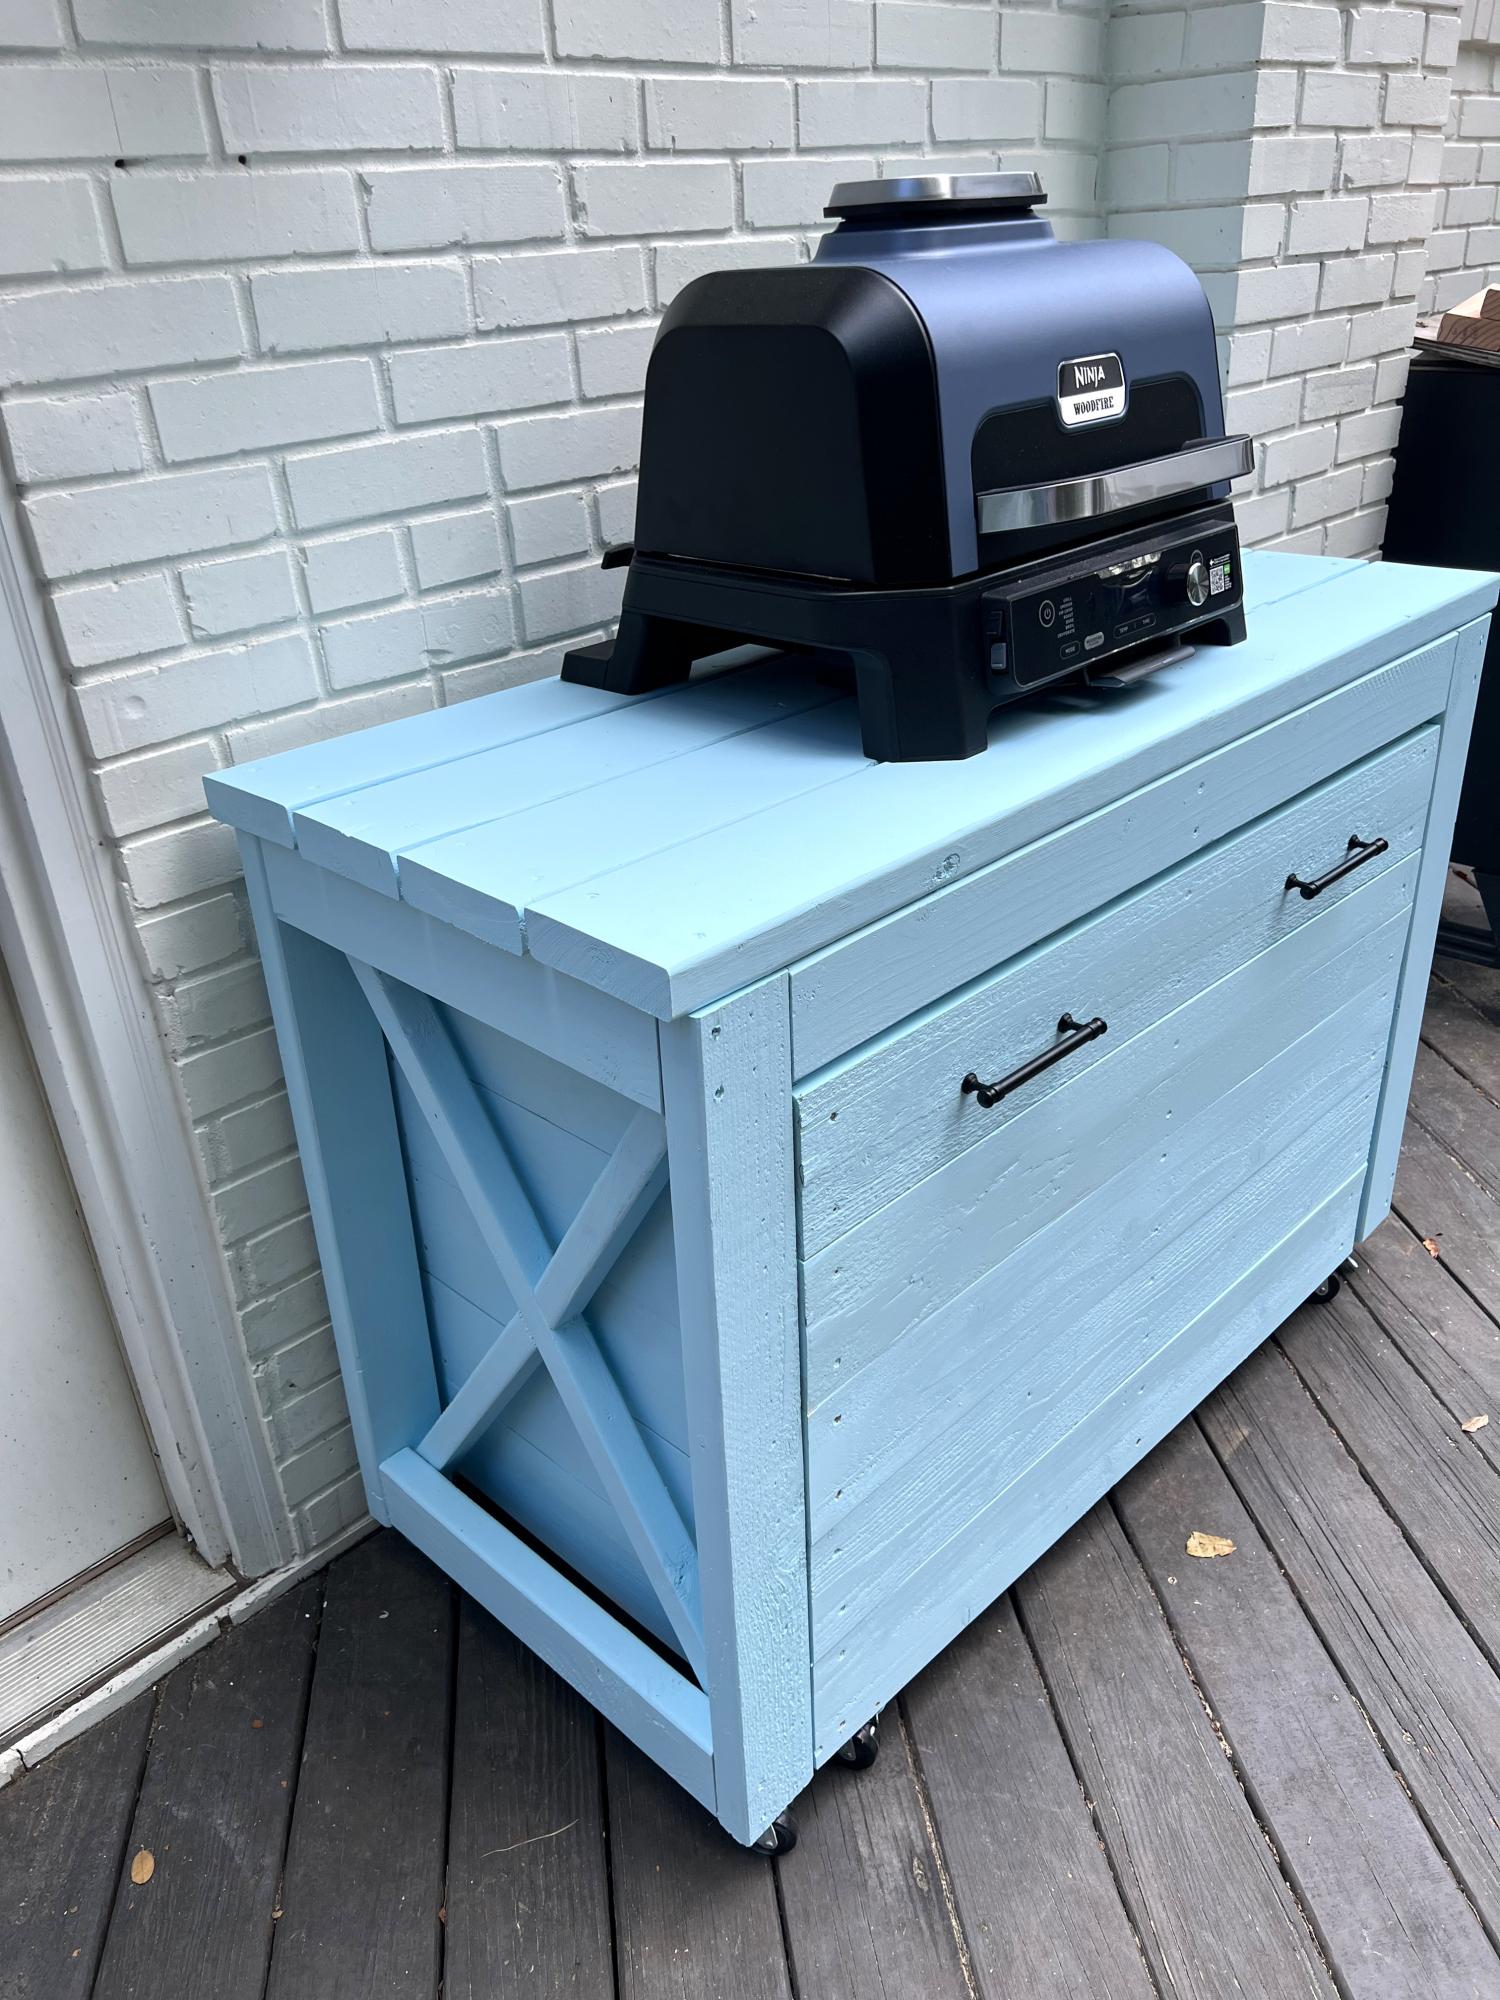
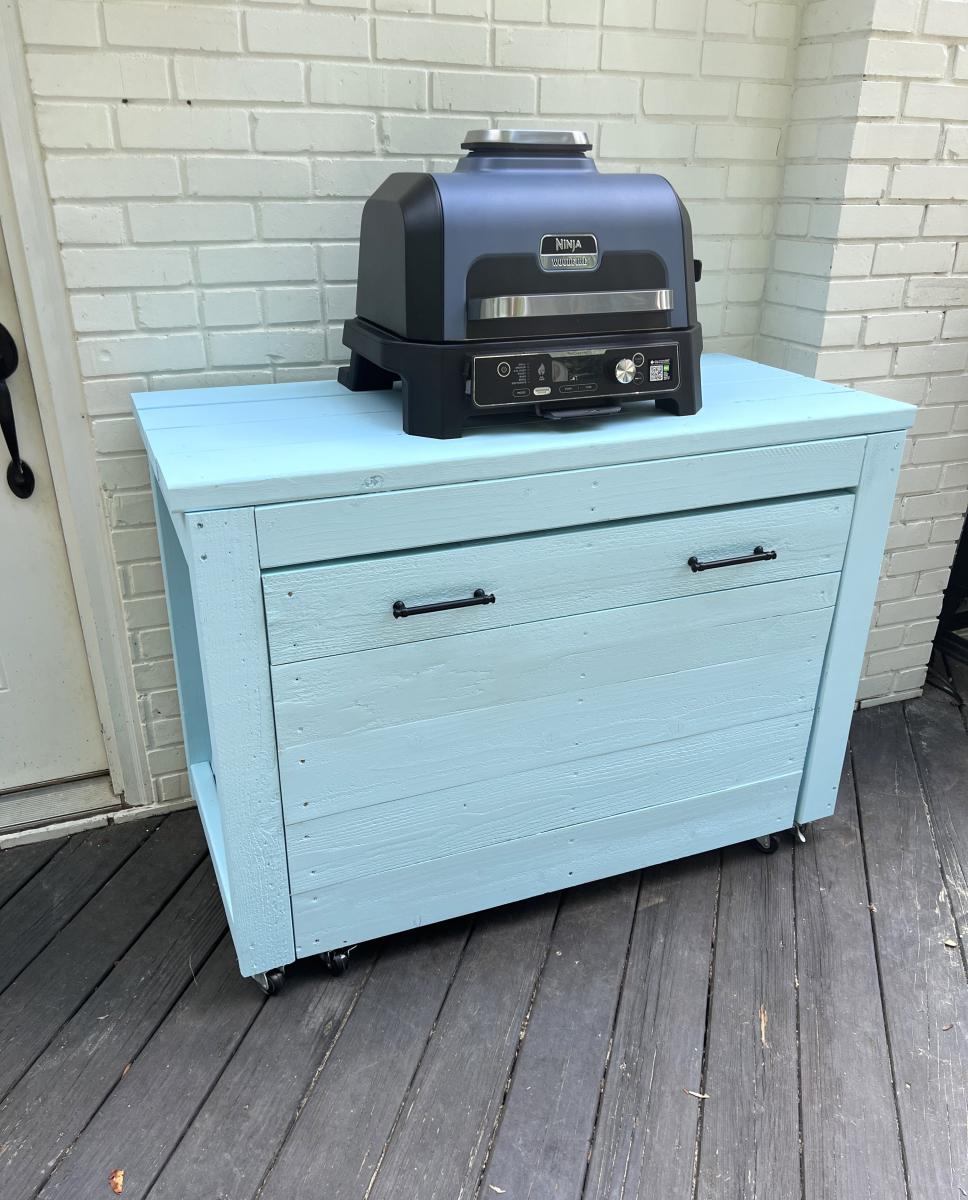
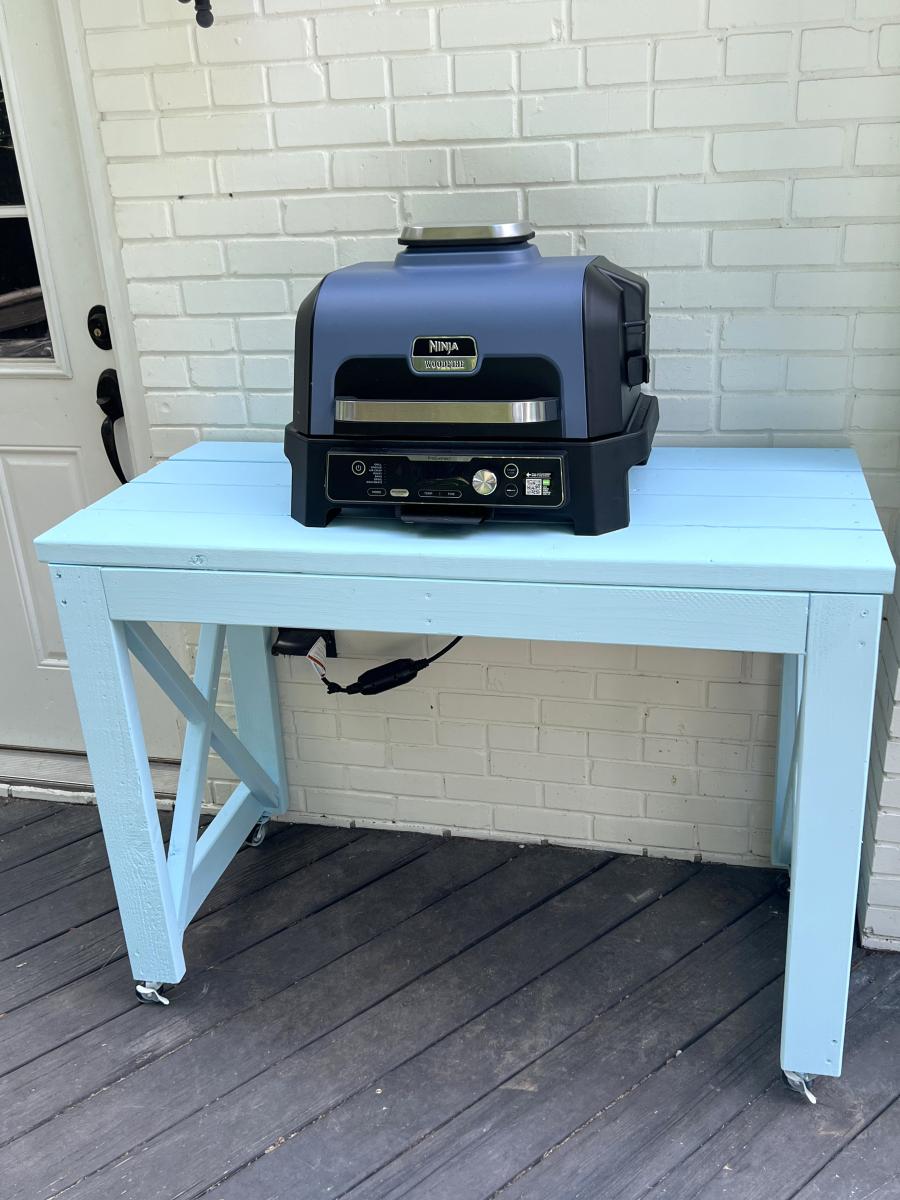
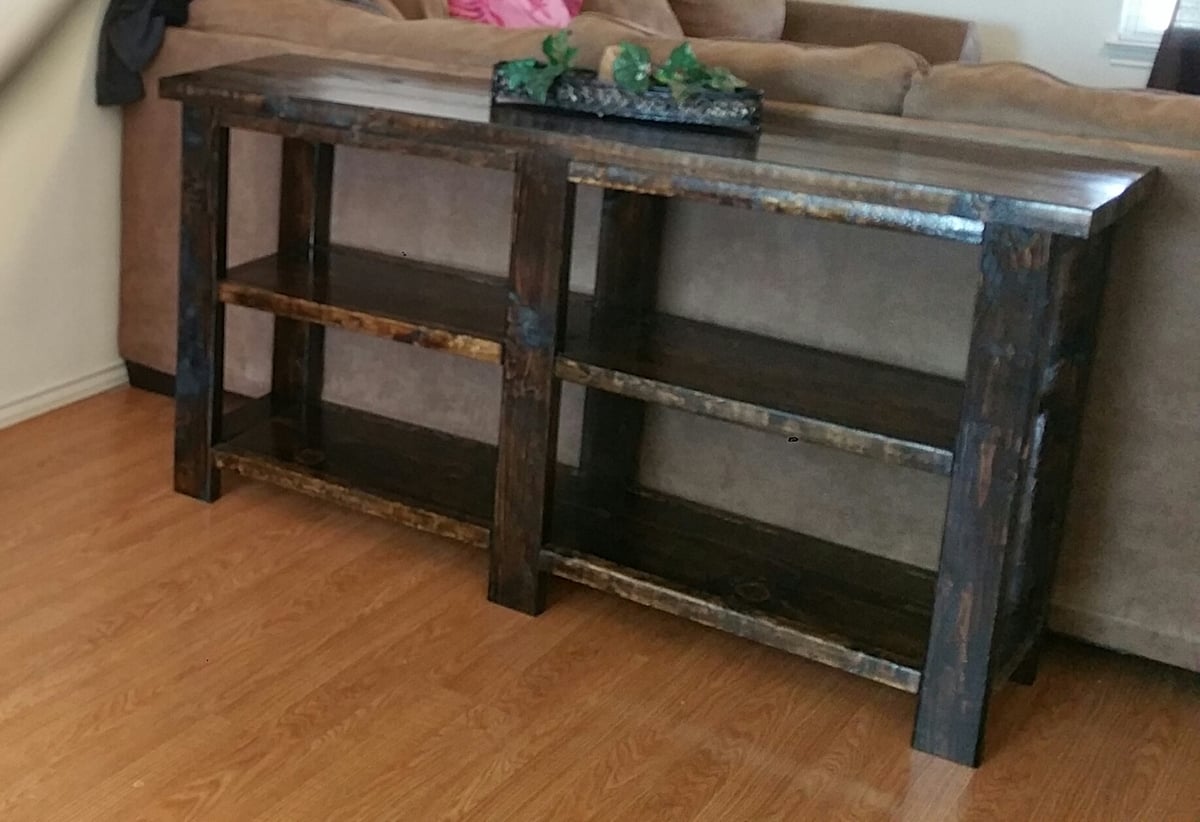
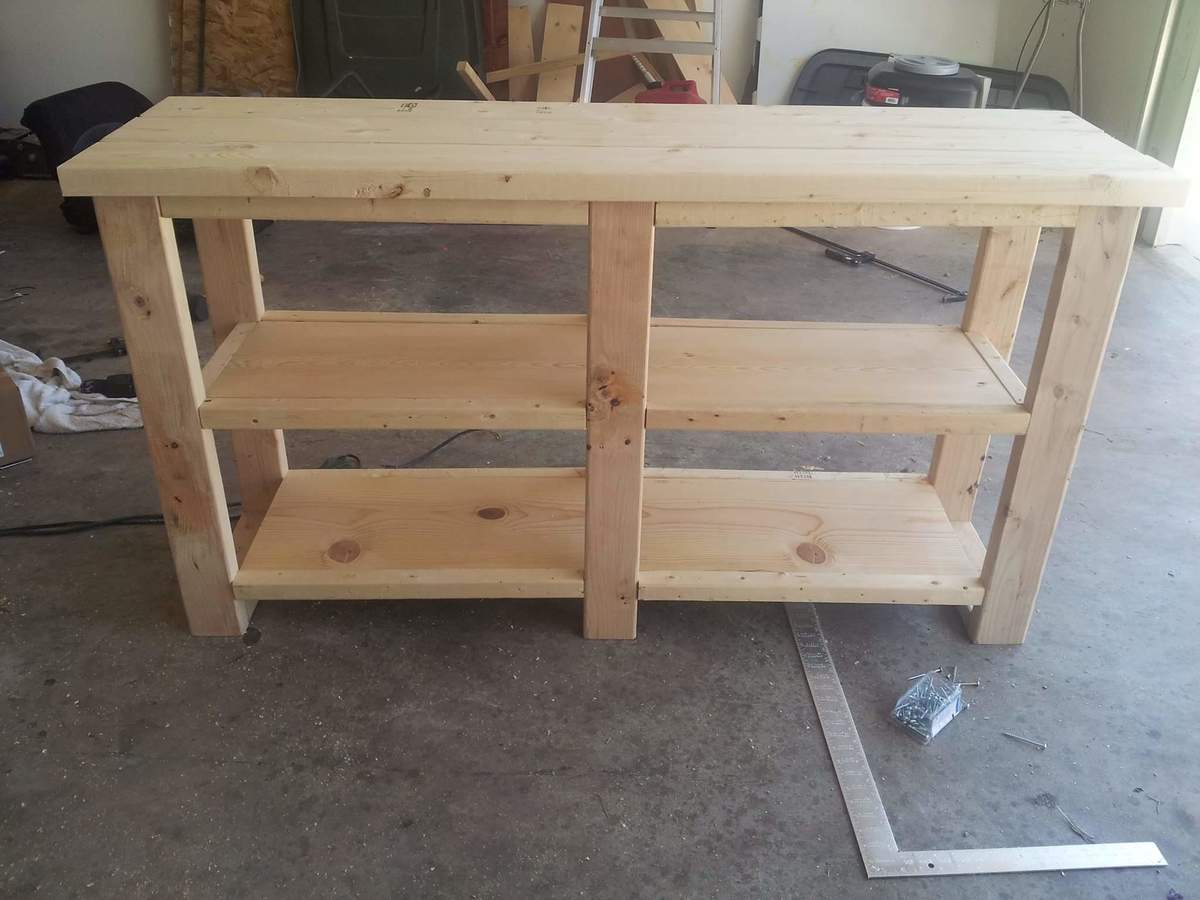
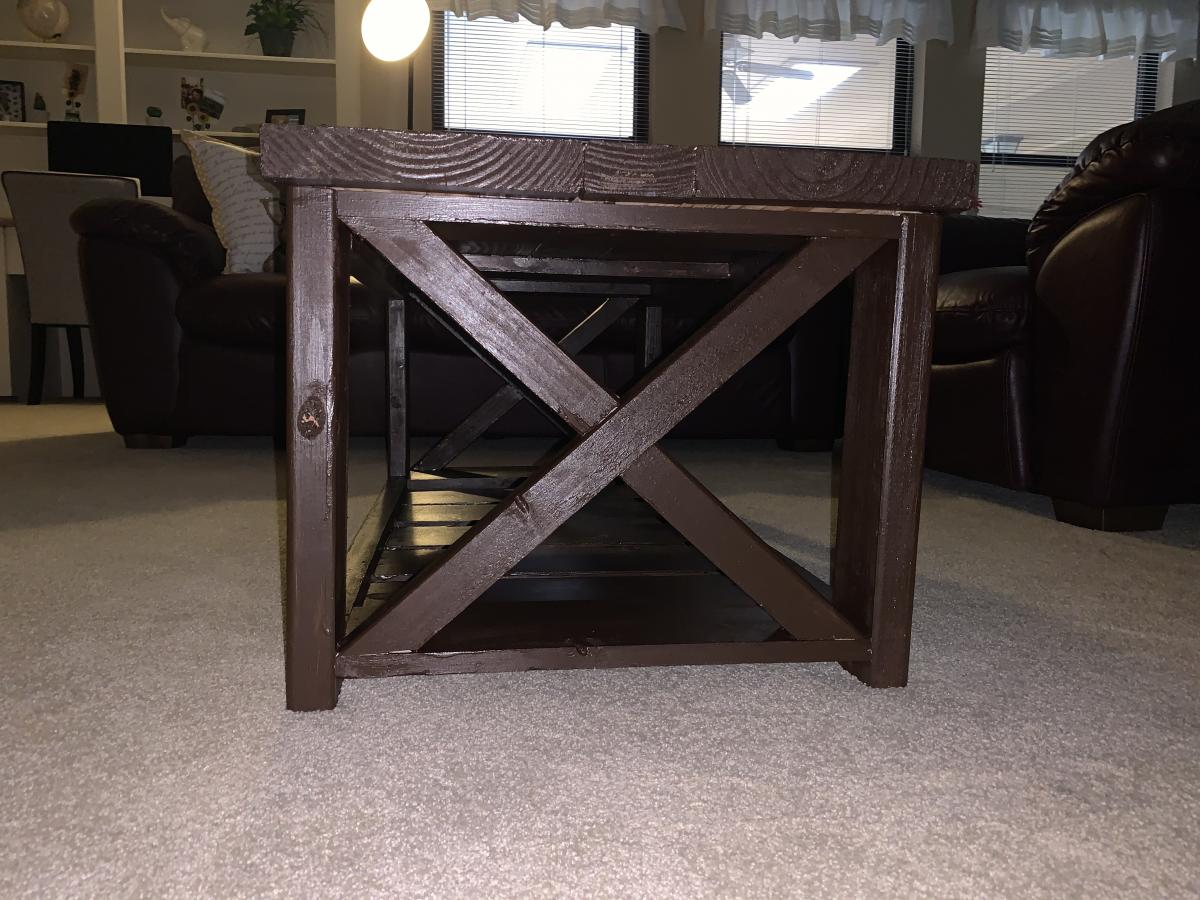
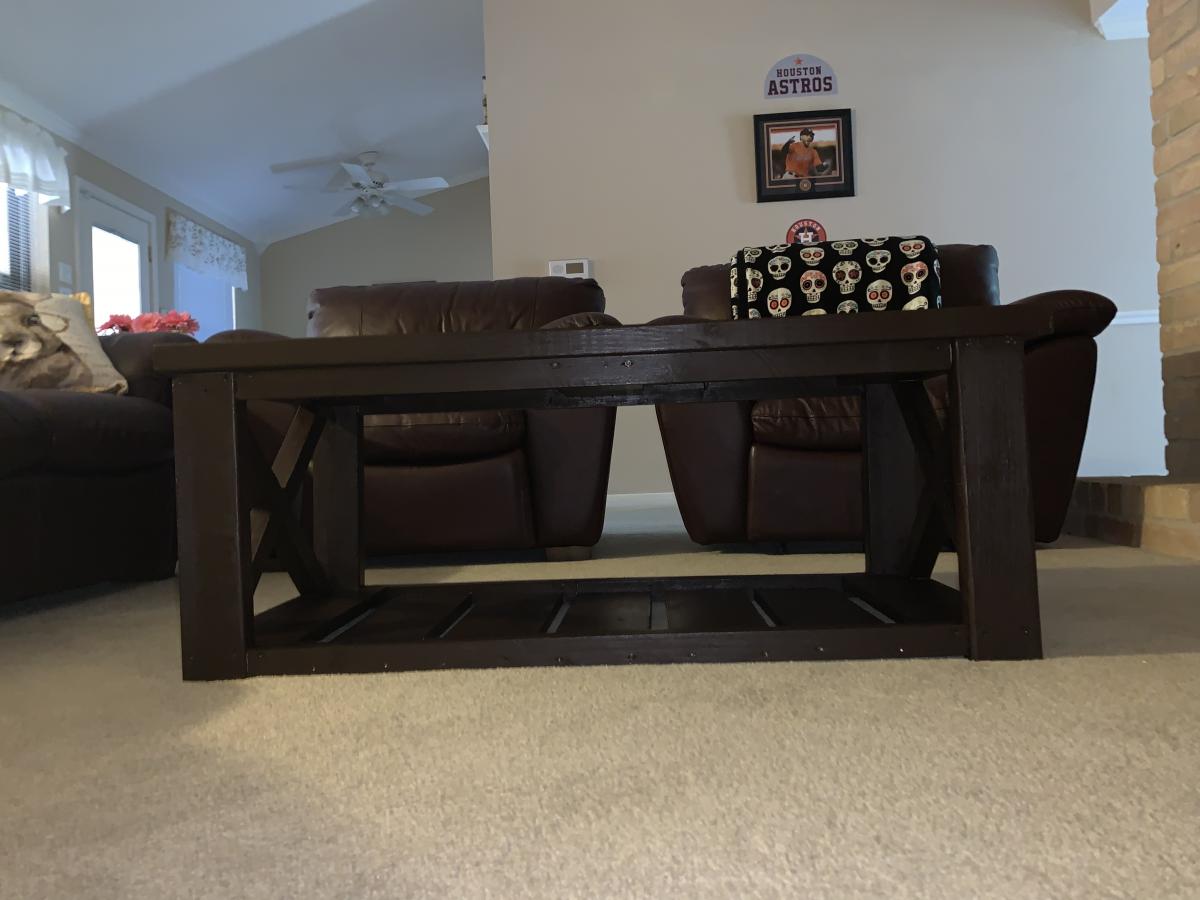
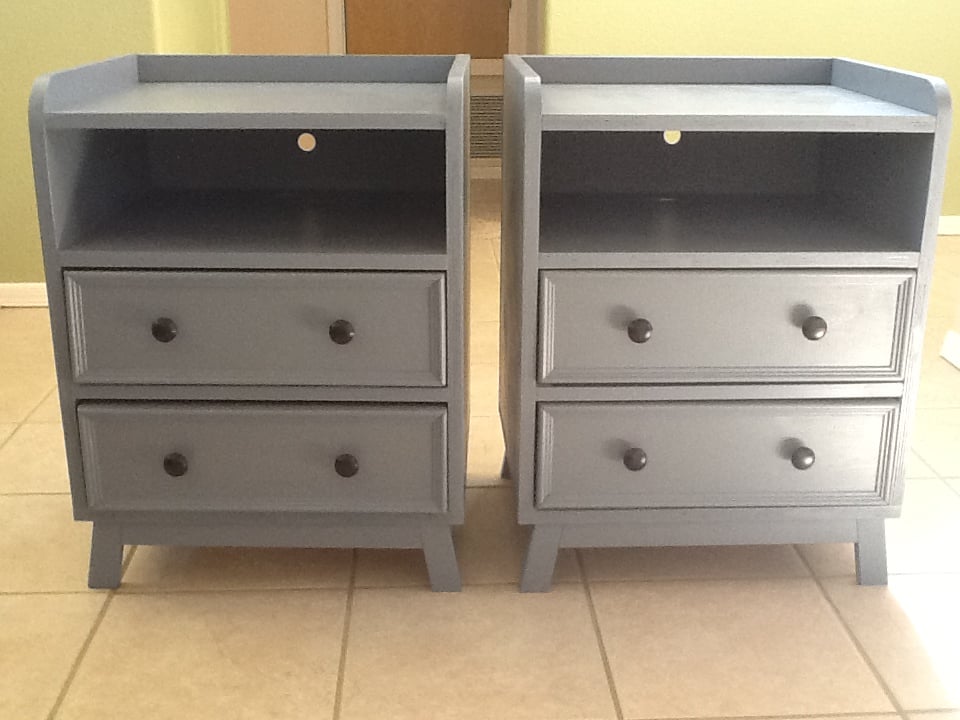
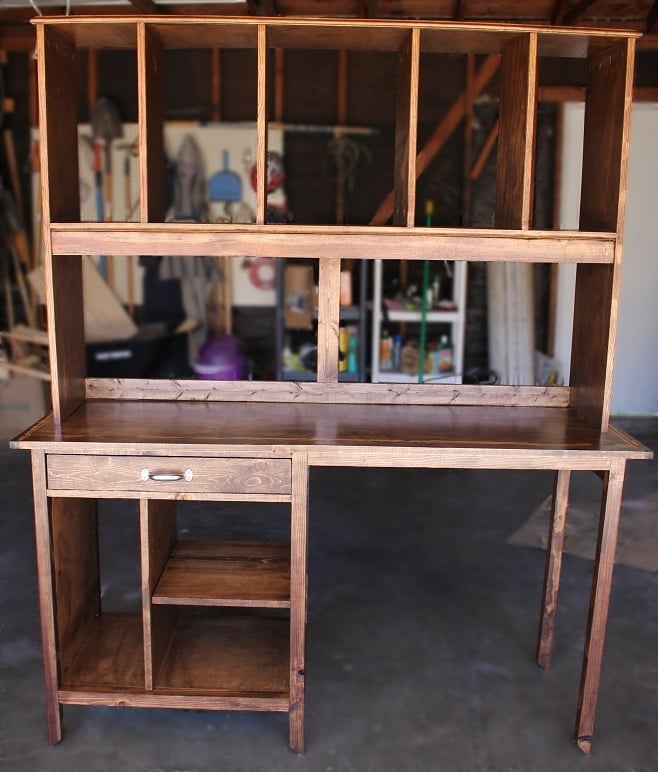
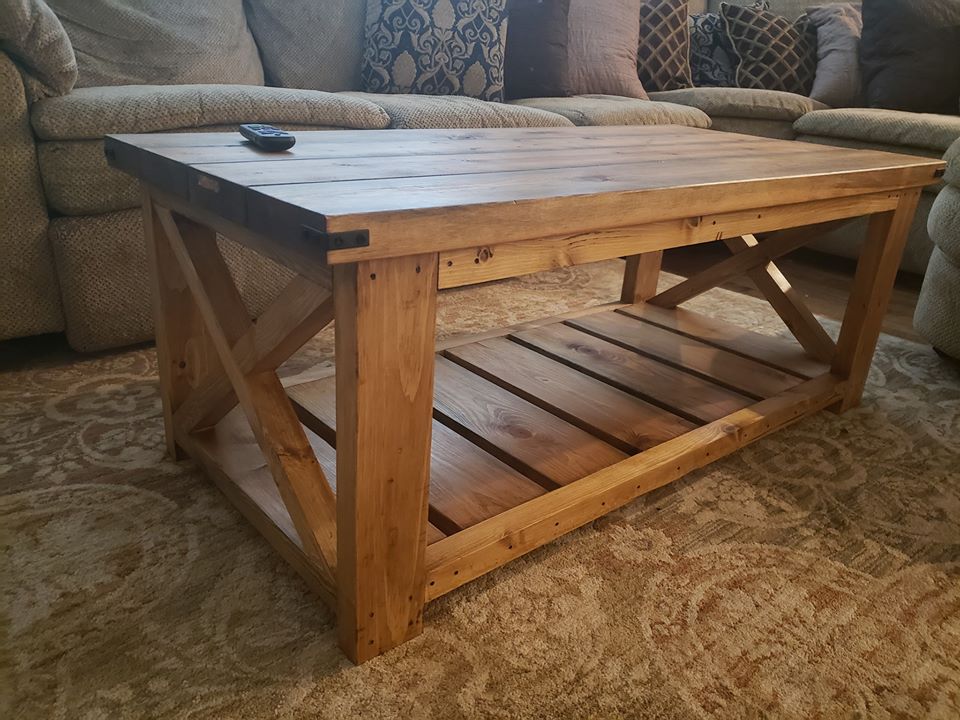
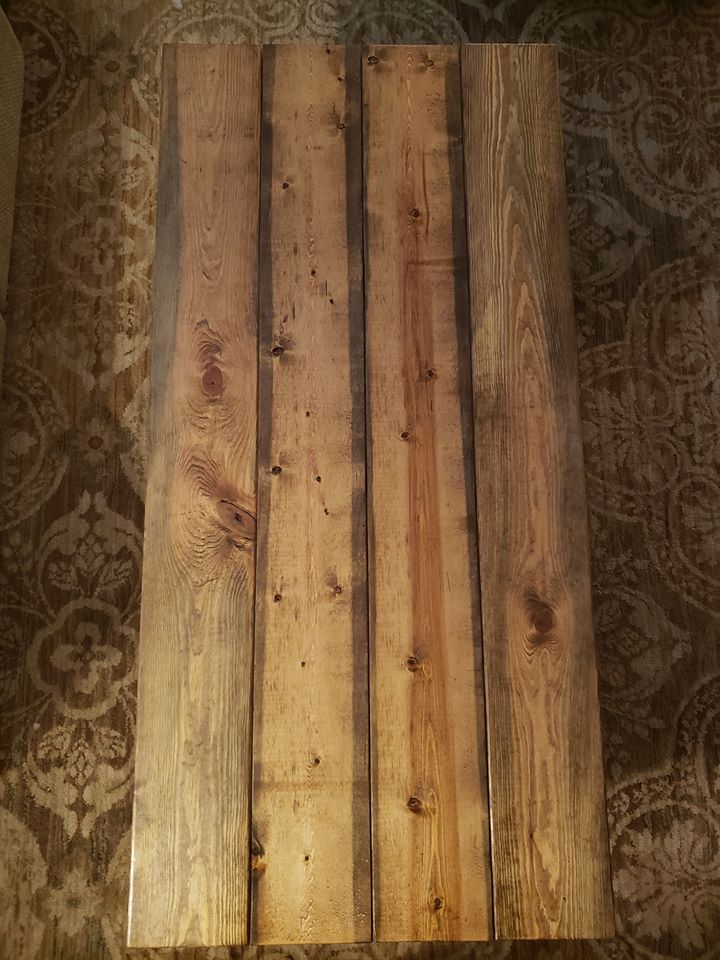
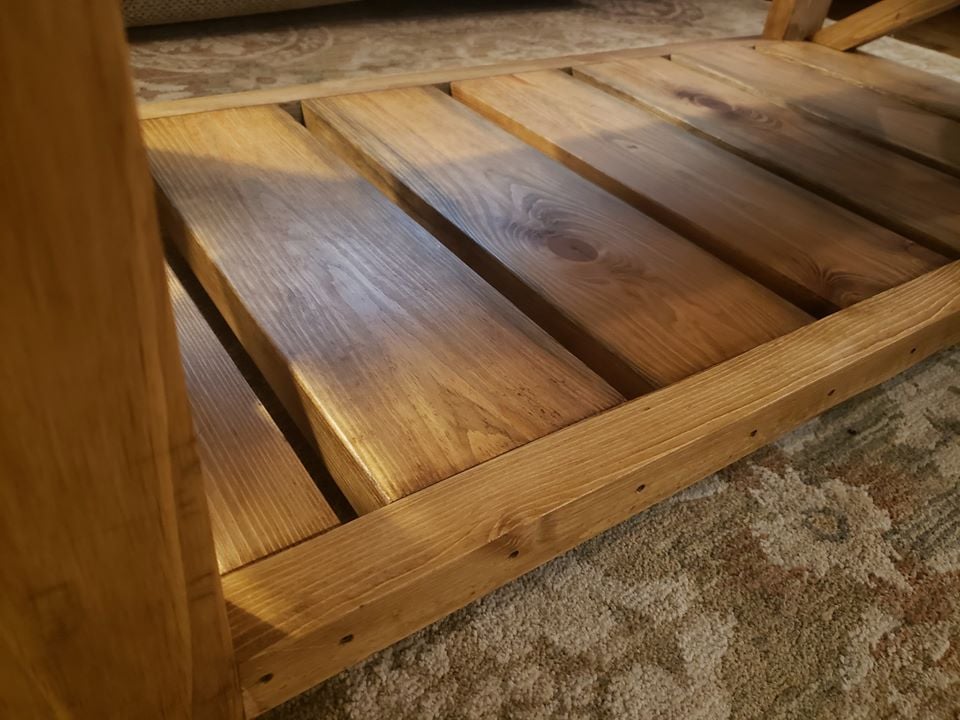
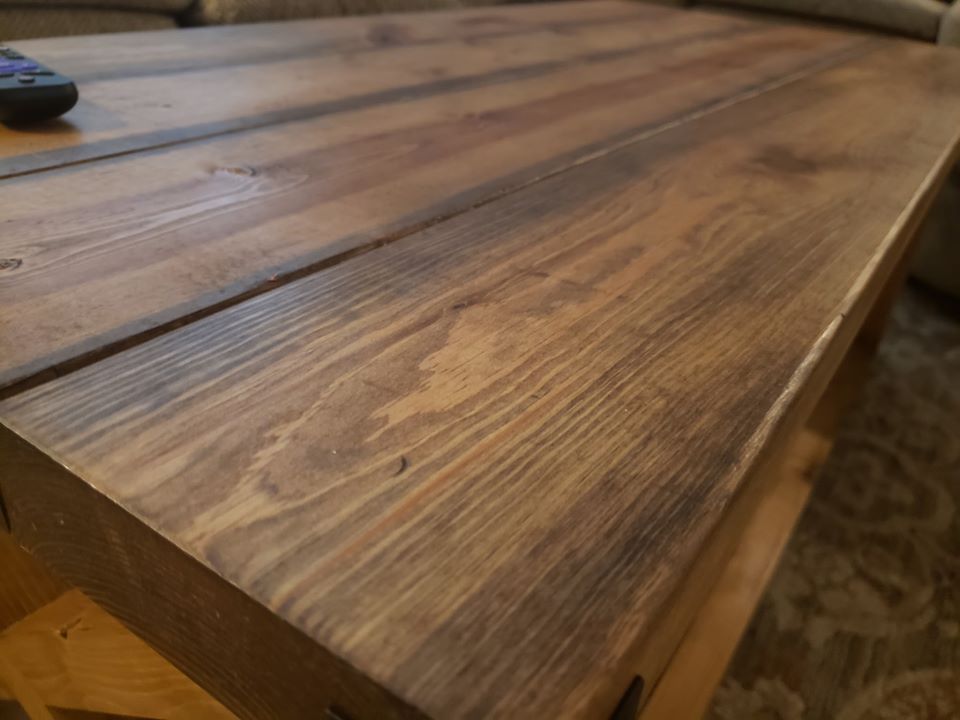
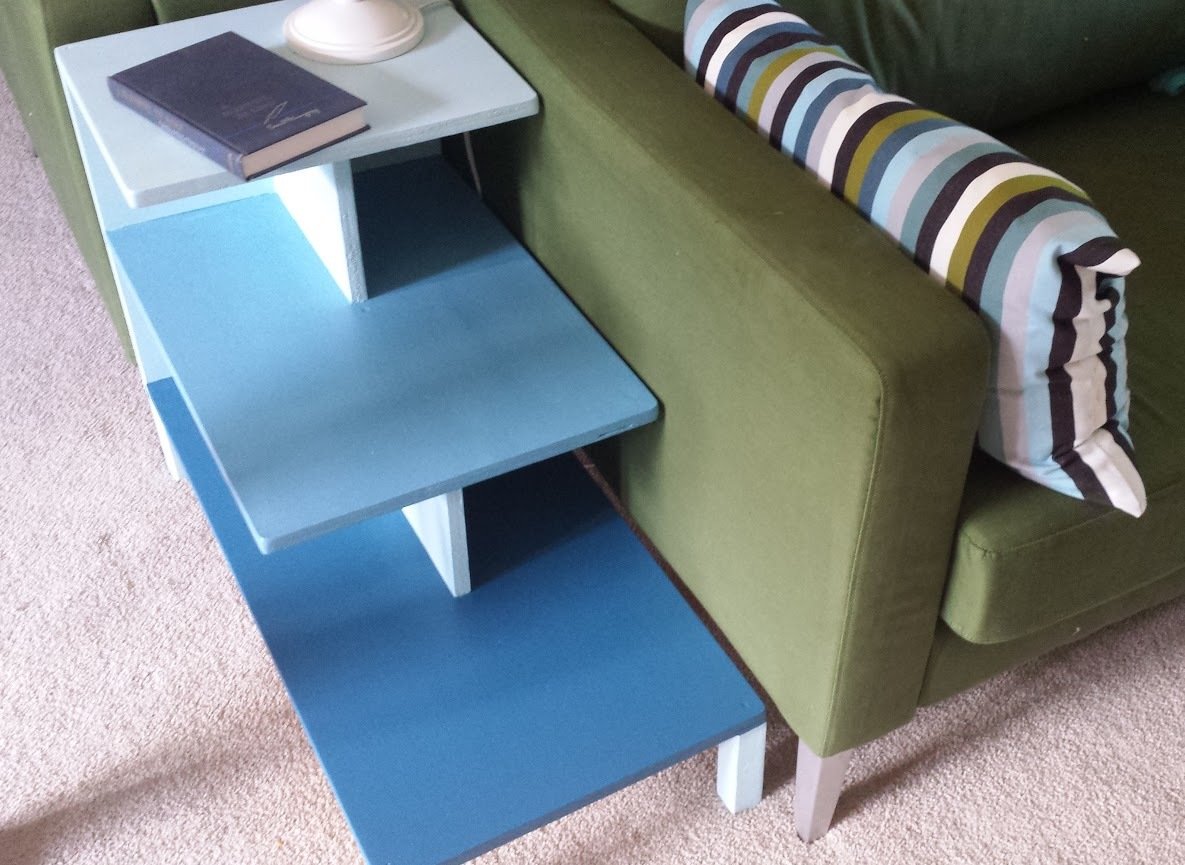
Ombre Step Up Side Table
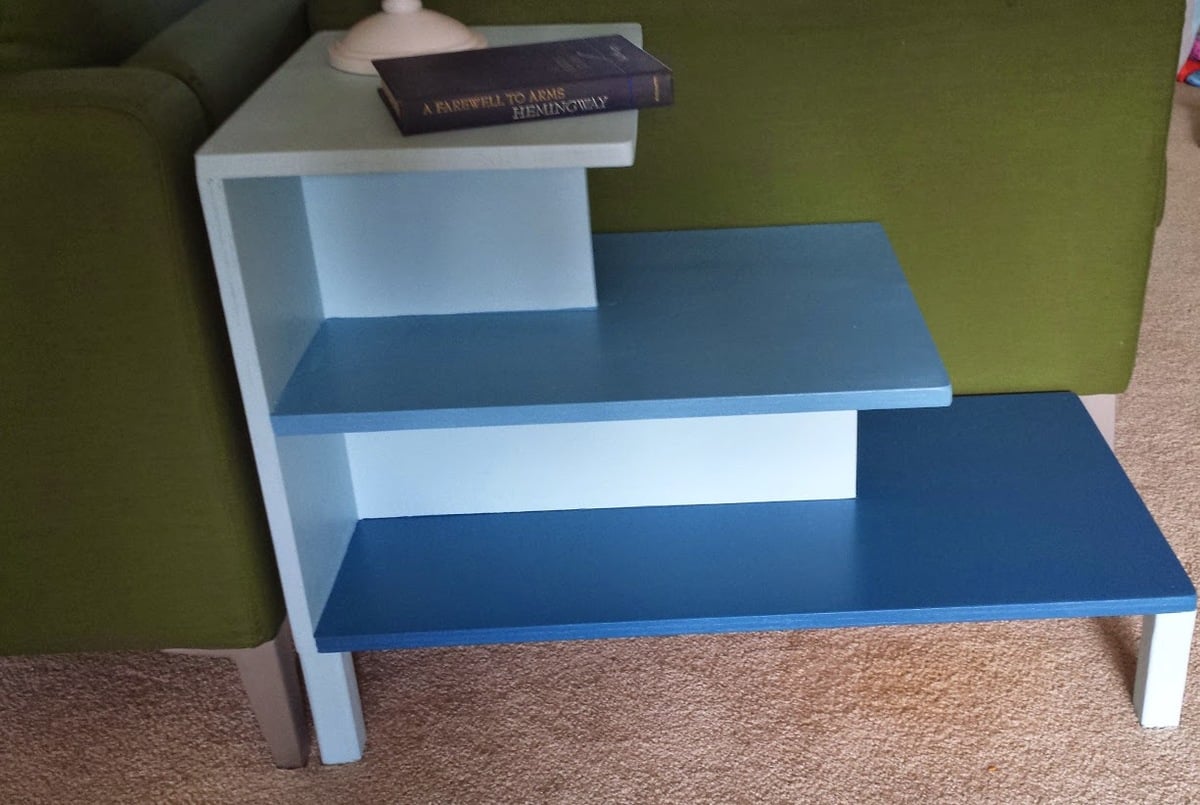
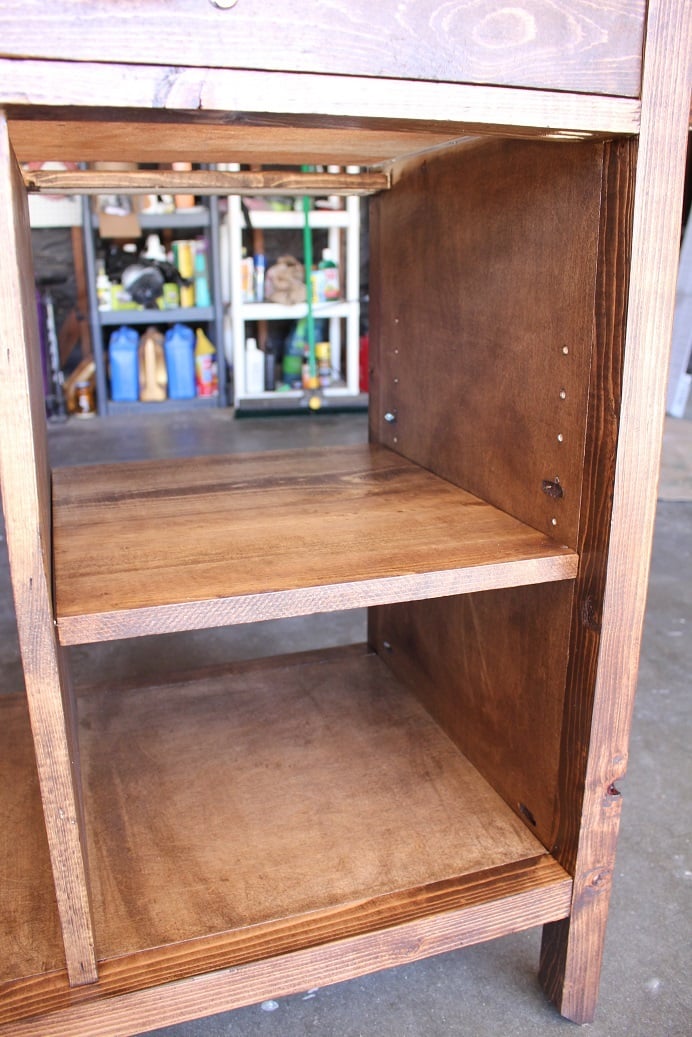
I needed a table to fit in the gap of my offset and back to back couches. I made the bottom shelf a little bit longer to better fit the space. I also added additional screws to the back for more stabilization since I knew my kids would find the steps irresistible. The different hues of blue make it more interesting.
Built from Plan(s)
Estimated Cost
$50
Estimated Time Investment
Day Project (6-9 Hours)
Finish Used
Latex paint and spray clear coat
Recommended Skill Level
Beginner