Community Brag Posts

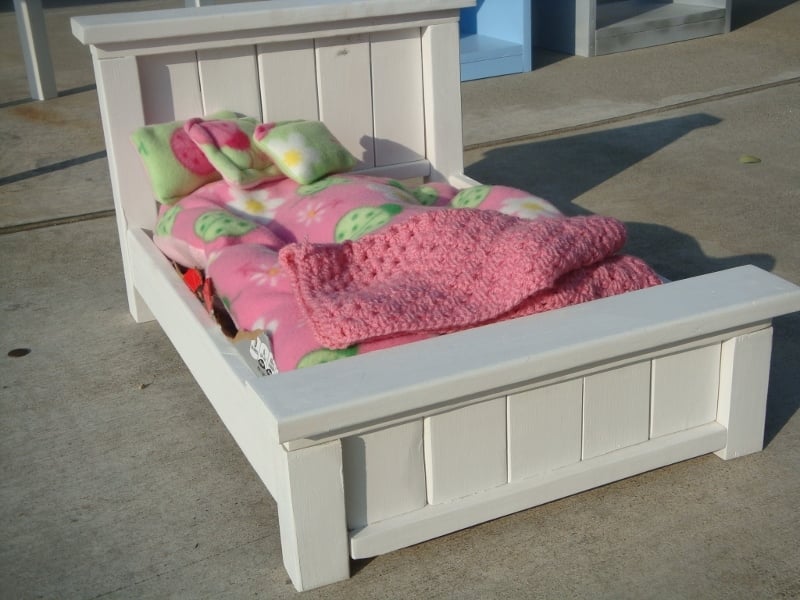
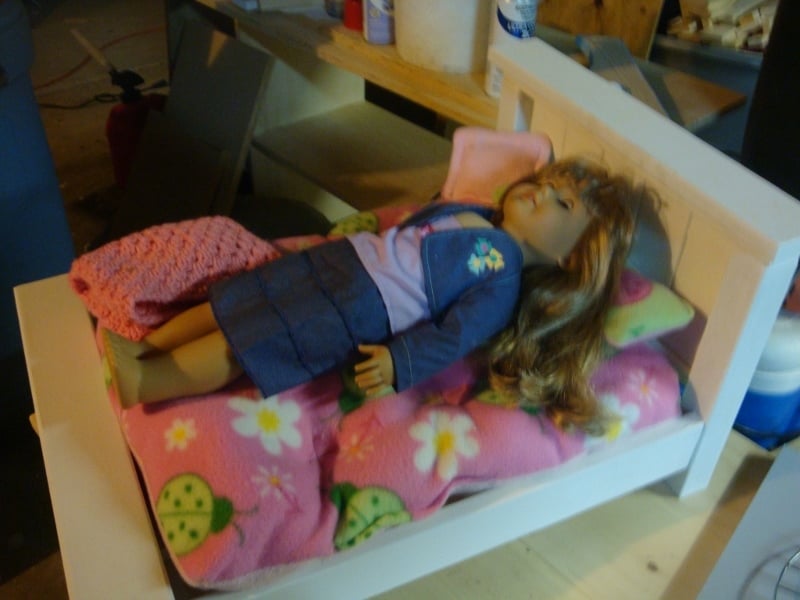
Doll Farmhouse Bed

Submitted by angiemicn on Wed, 02/08/2012 - 02:41

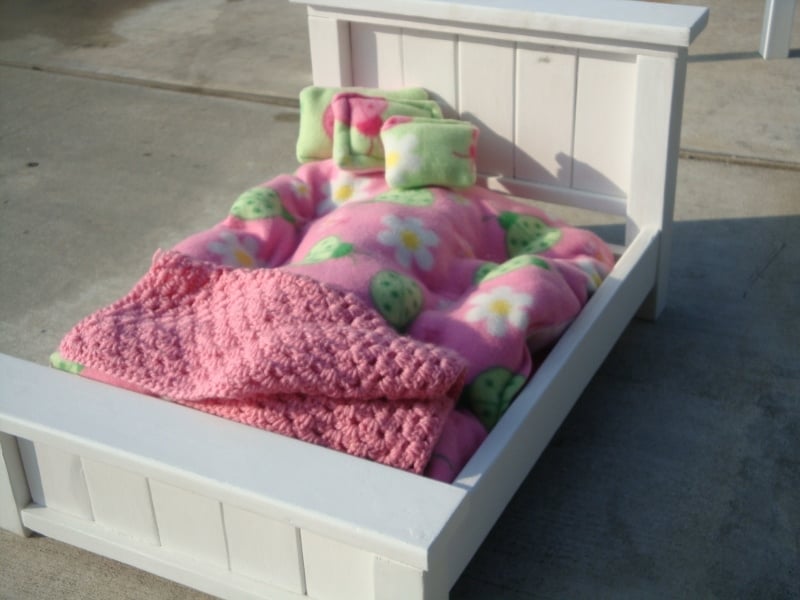
I love this design and have made several for family and for sale. This was the one I made for Ana's promotion, Make one, take one. This is the one that was given to charity, Wings. this is a house in our area for battered women and their children. As an ER nurse who sends patients there, I realize the importance of a well made doll bed, (Doll given as well) 90% of the time these kids have to leave their homes with nothing, no toys, no clothes, and I hope seeing this doll bed would help some little girl forget about the trauma she's been through, if only for a little while, and let her be a little girl again.

Estimated Cost
45
Estimated Time Investment
Weekend Project (10-20 Hours)
Finish Used
sanded smooth, 2 coats of Kilz Primer, 3 coats semi gloss Ultra White, Polyurethane coat on top
Recommended Skill Level
Intermediate

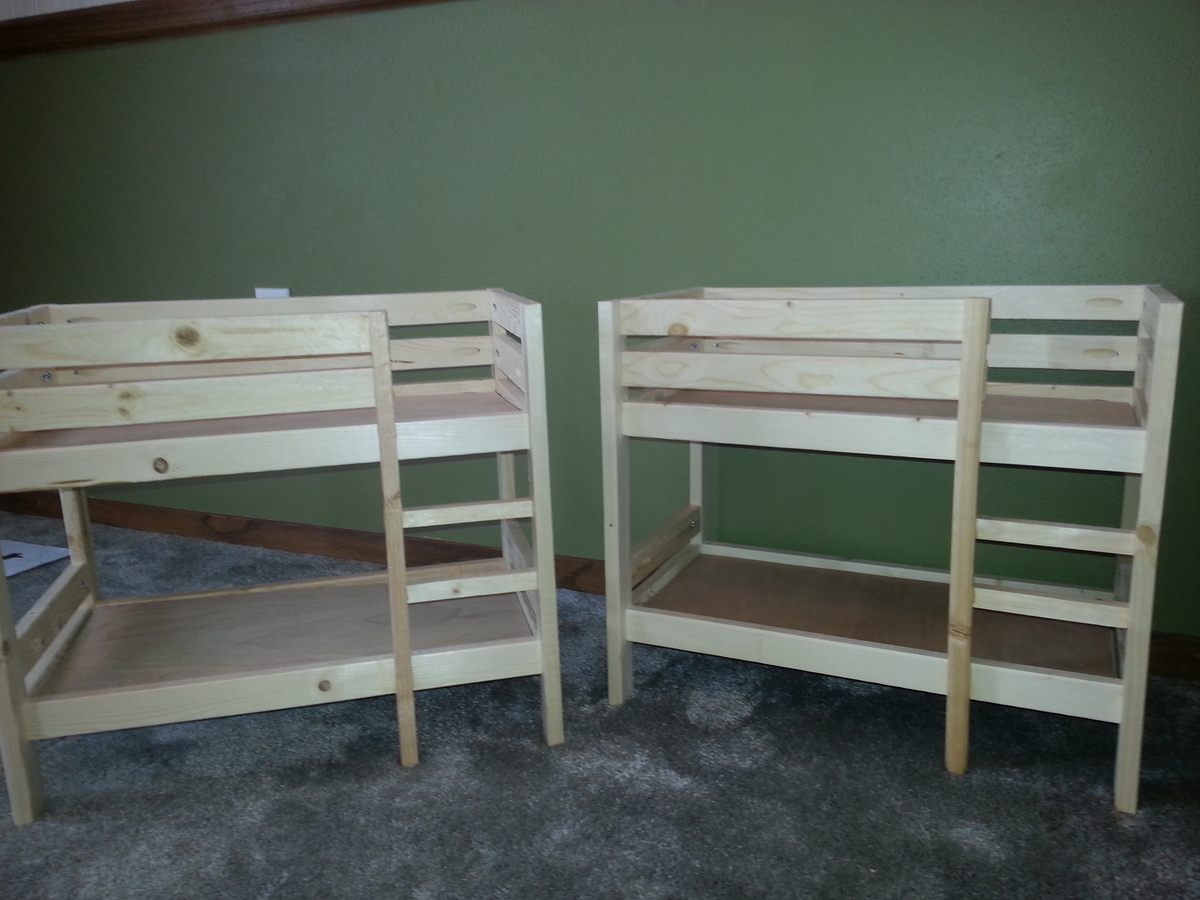
Doll Bunk Beds

Started by making these bunk beds for my 9 year old and then I made another for my 6 year old. I couldn't help myself, so I made 12 more for other people to give as Christmas presents. Thanks Ana!

Estimated Cost
$10
Estimated Time Investment
Afternoon Project (3-6 Hours)
Finish Used
none or spray paint
Recommended Skill Level
Beginner

Vegetable Bin

Submitted by Anonymous (not verified) on Mon, 02/29/2016 - 10:55

I had a great time with my first project being this vegetable bin. I did have to have some help with the actual construction and I know it's not perfect. It's uneven and has flaws, but I think it gives it a little character.

Estimated Time Investment
Day Project (6-9 Hours)
Recommended Skill Level
Beginner

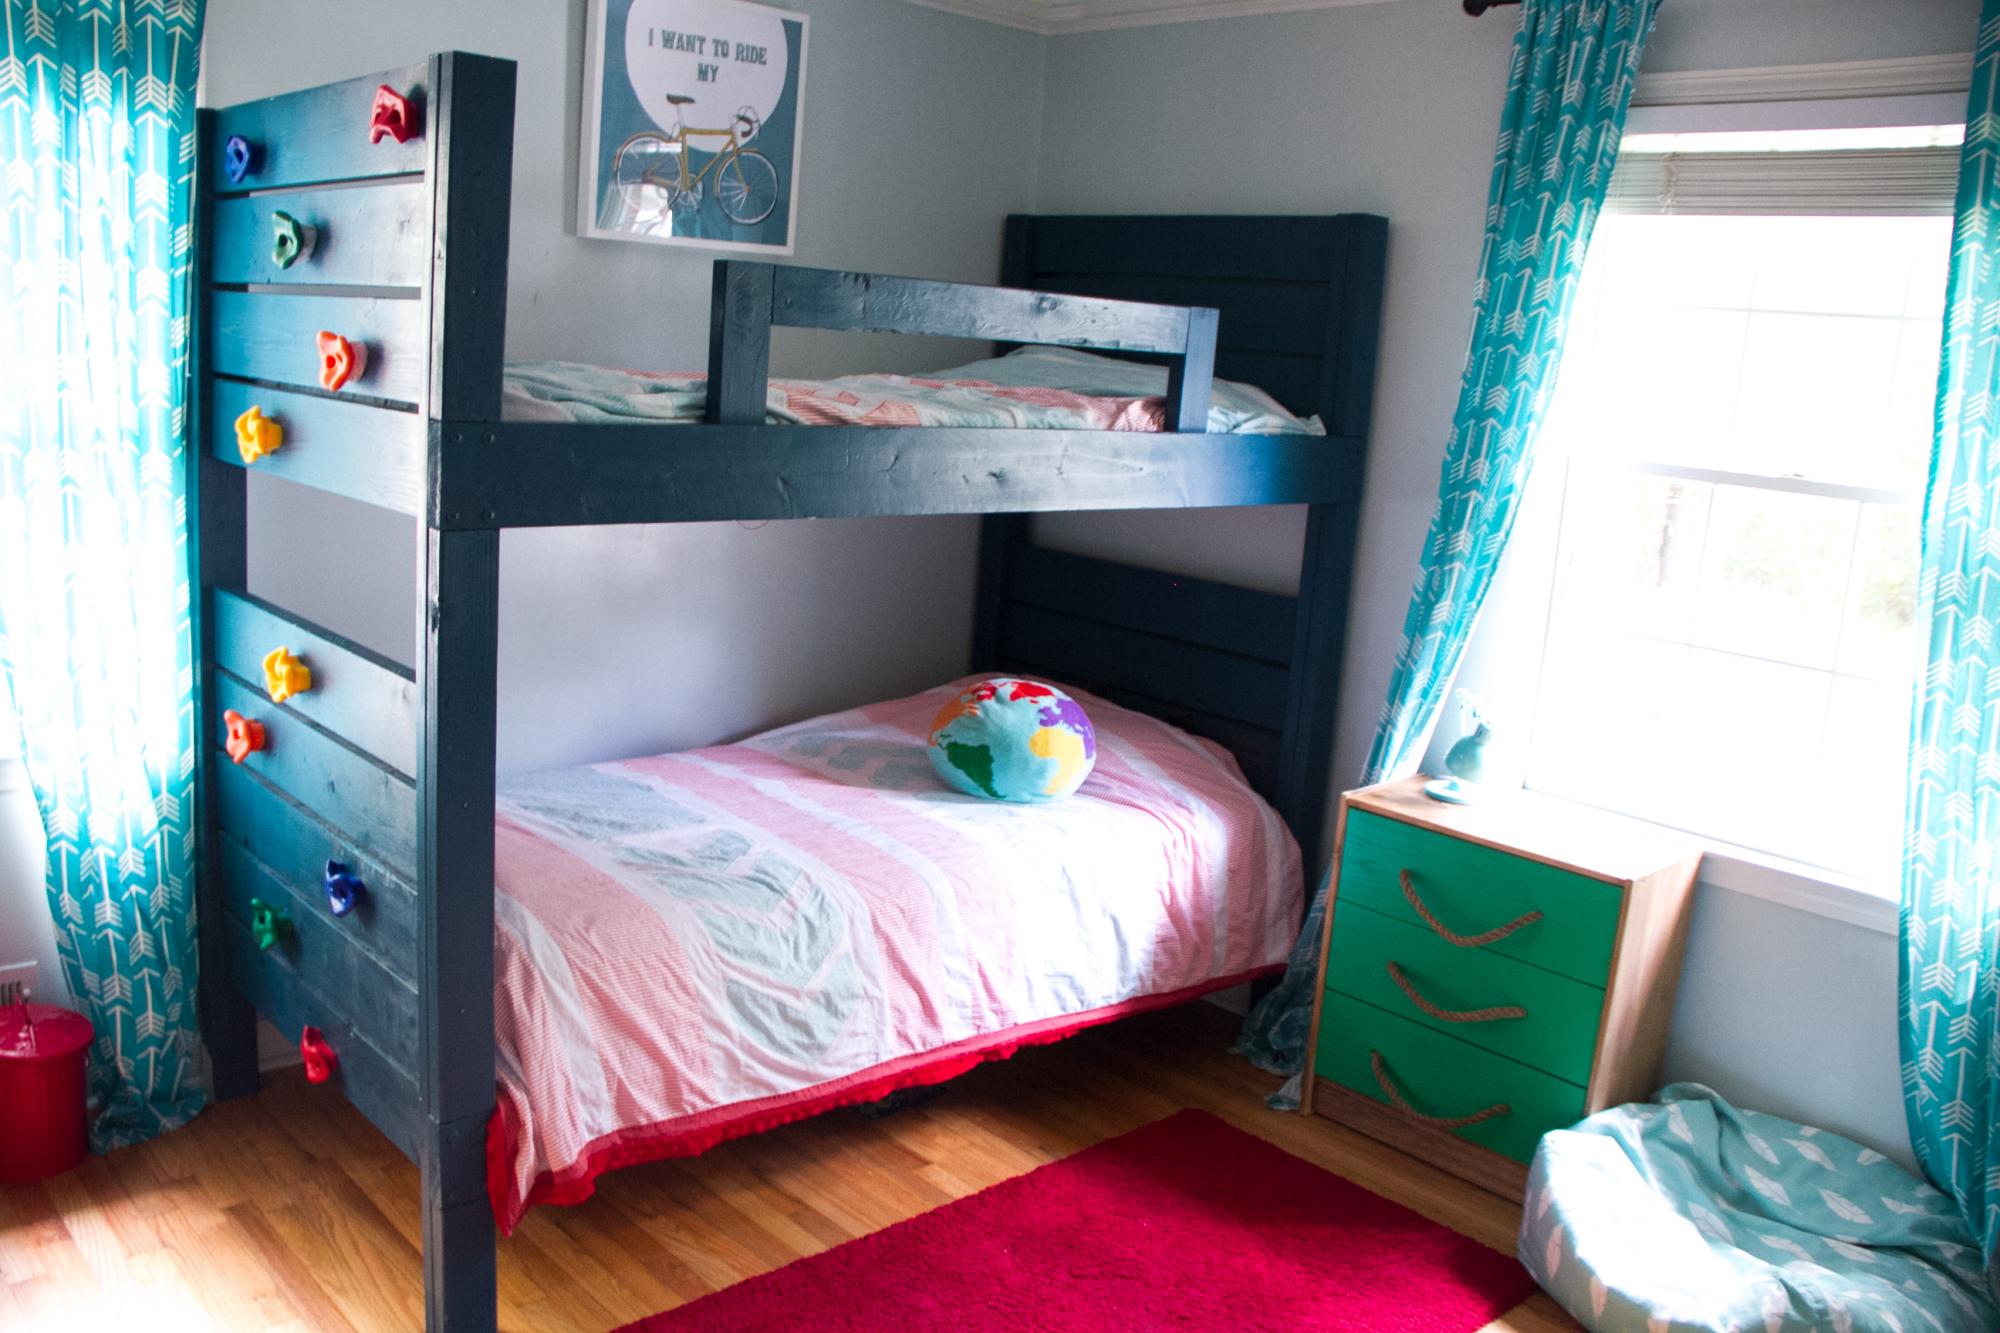
Bunk Beds with Climbing Wall

Submitted by Anonymous (not verified) on Tue, 10/08/2019 - 13:26

I built this bunkbed for my boys bedroom based on Ana's plans with a slight modification to make it more fun for them- a climbing wall on the end instead of a ladder! I followed Ana's plans which were easy and clear to understand and the result is super sturdy and strong! We had IKEA bed slats already and they fit perfectly on the cleats to hold up the mattresses. I simplified the guard rail a bit and used a dark teal paint to finish. A 10 pack of climbing wall hand holds was purchased from Amazon (link: https://www.amazon.com/gp/product/B074CM4DBN/ref=ppx_yo_dt_b_search_asi…)- I needed slightly longer bolts than what were provided to go through the 2x6s but found what I needed at a big box store. My boys (6 & 8) absolutely love it!

Built from Plan(s)
Estimated Cost
$150
Estimated Time Investment
Weekend Project (10-20 Hours)
Finish Used
paint
Recommended Skill Level
Beginner

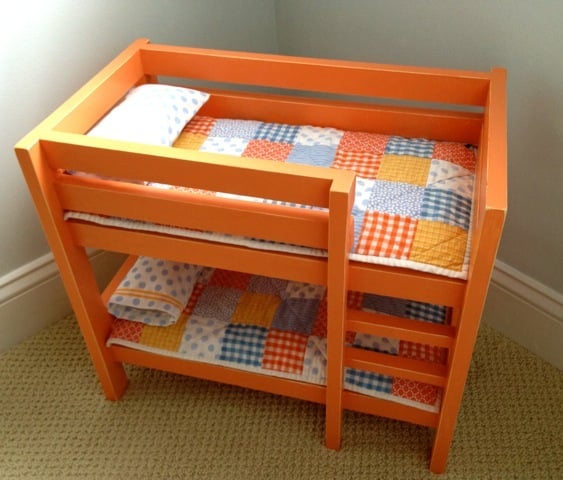
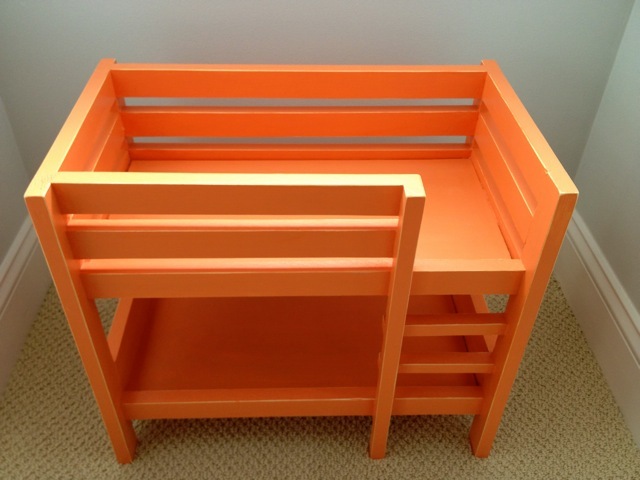
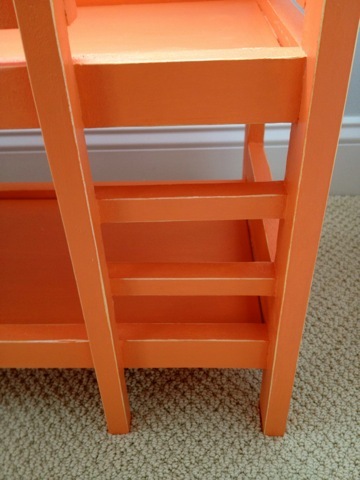
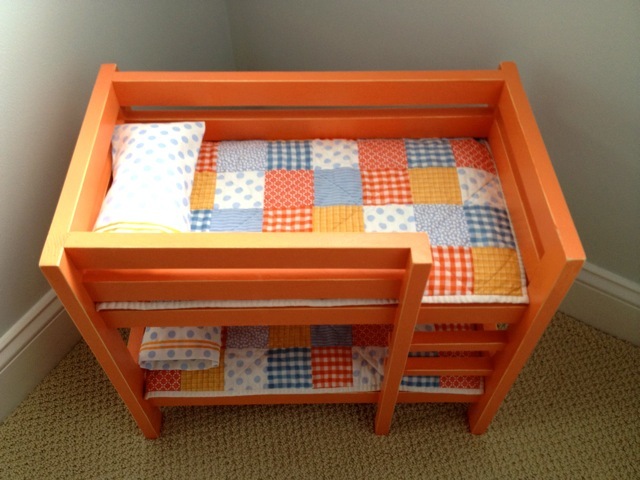
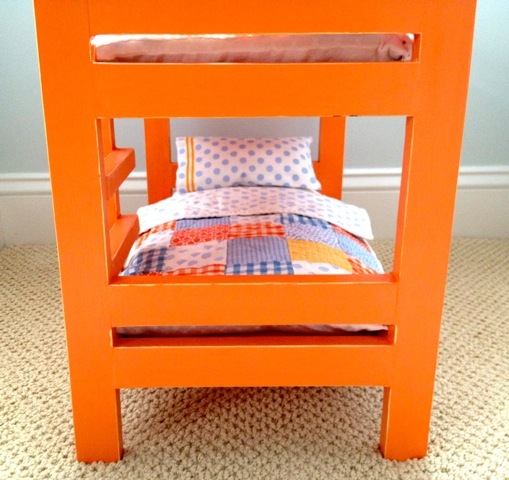
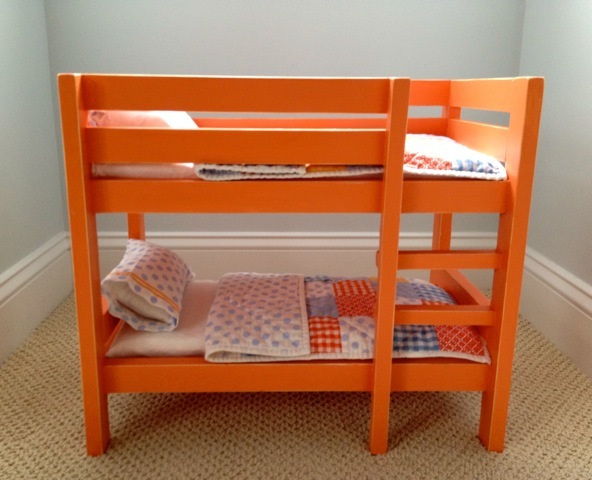
doll bunk beds

doll bunk beds painted tangerine with bedding

Estimated Cost
$20
Estimated Time Investment
Afternoon Project (3-6 Hours)
Finish Used
1. Prime
2. Two coats Glidden sunbaked orange
3. distress
4. seal with clear satin poly
Recommended Skill Level
Beginner

Comments

Farmhouse table

Submitted by Ejnikolich on Sun, 12/22/2013 - 06:28

We started out practicing on end tables. Take your time carefully picking out your lumber. We ended up with a slightly warped 2x10. There is no give in a big board like that so it put us behind. The picture shows it stained with minwax "Provincial" and one coat of minwax satin. More coats for the top are in progress.

Estimated Cost
$90.00
Estimated Time Investment
Weekend Project (10-20 Hours)
Finish Used
Minwax Provincial and satin clear.
Recommended Skill Level
Beginner

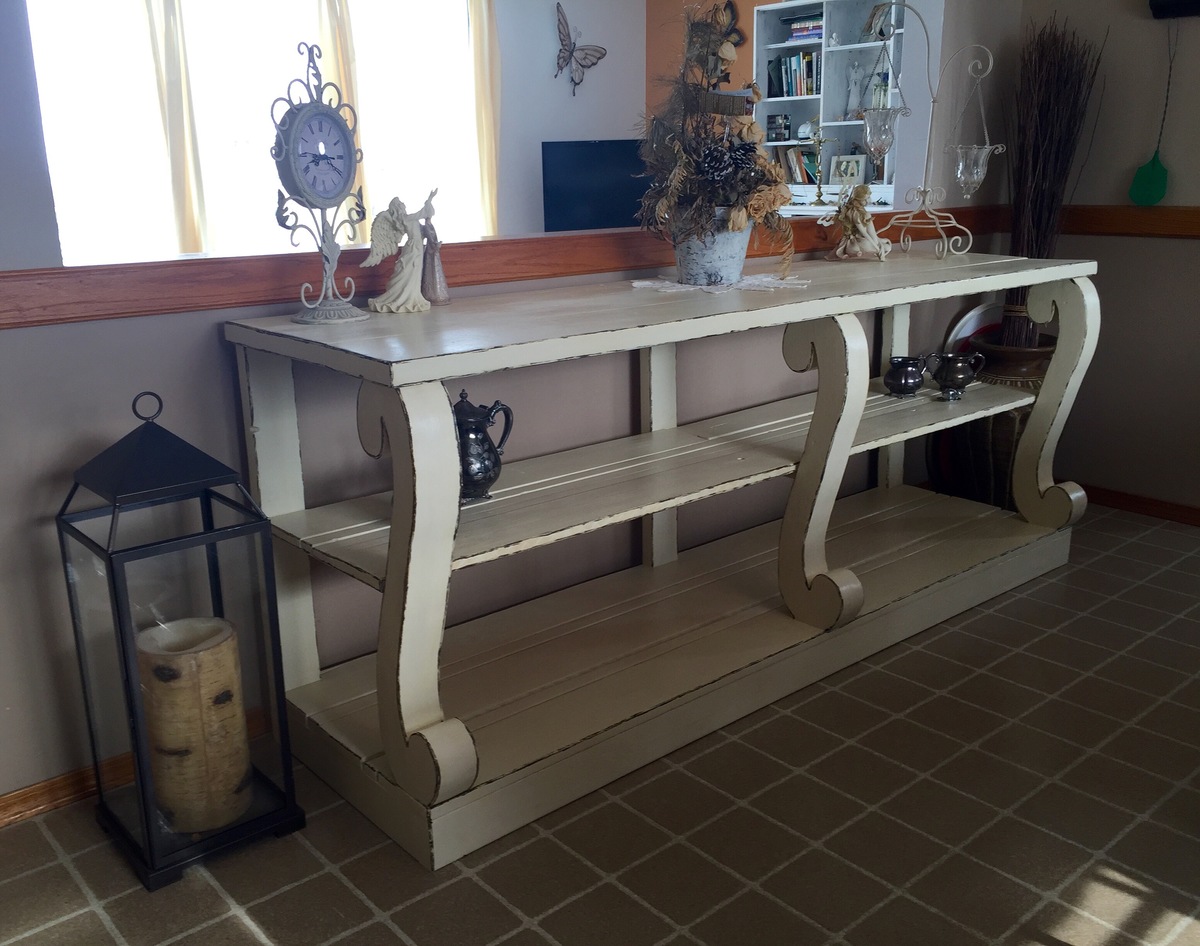
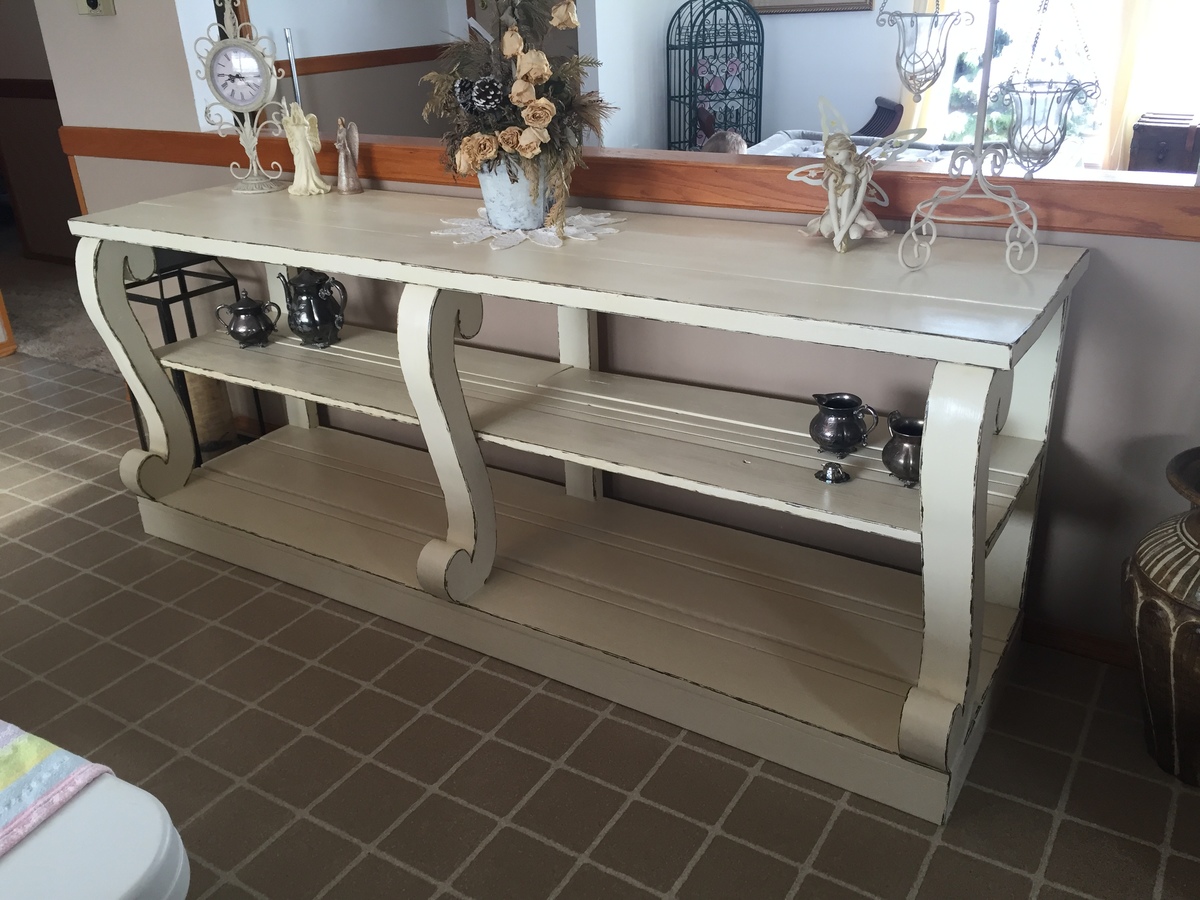
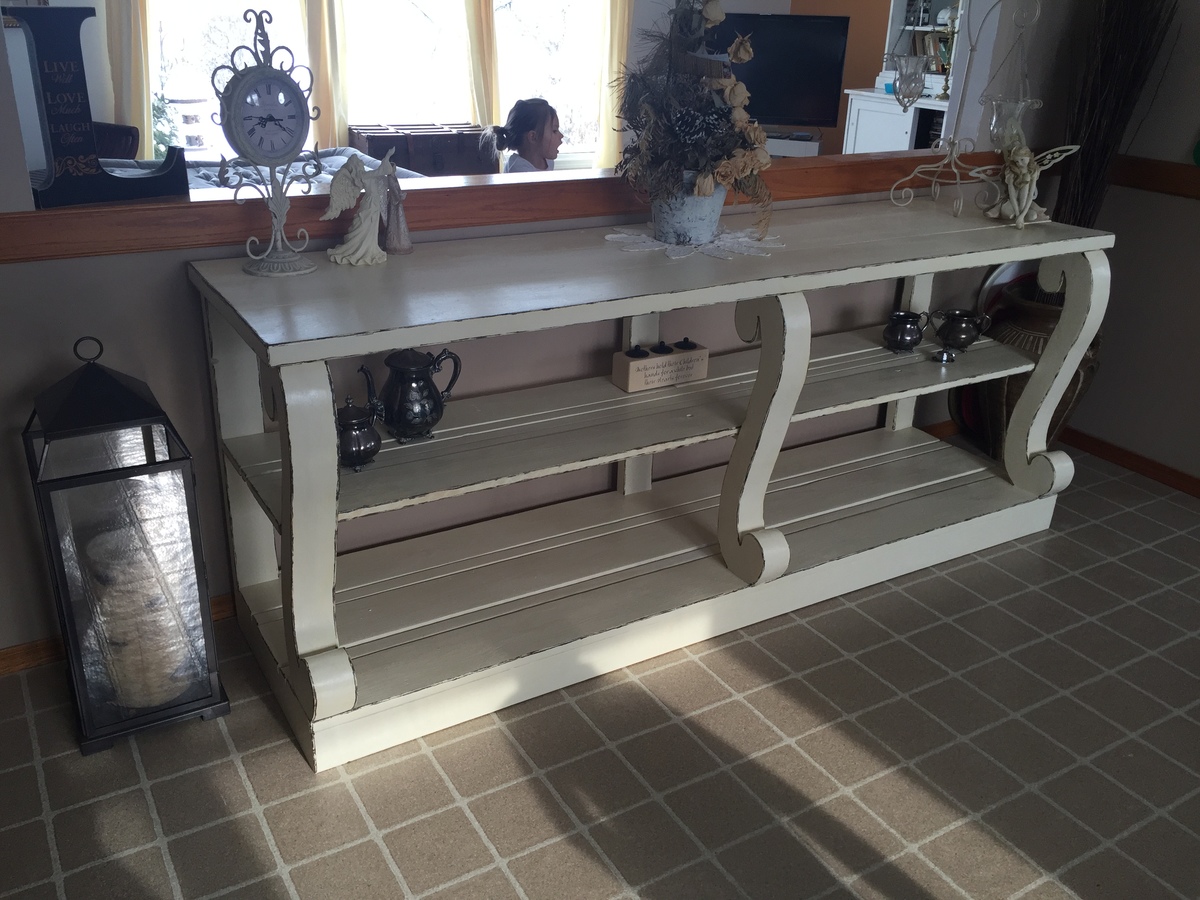
Scroll Legged Console made by RW Creations

Submitted by Anonymous (not verified) on Wed, 03/02/2016 - 12:01

I found these amazing plans from Ana's website here.  Couldn't be easier!  I modified mine a bit to fit the space and used recycled pine wood for my project!  The Scroll legs I used my jig saw to cut them out with the great stencil provided in these plans.  I was really happy with the result, as I only had minor sanding to do to make them match up when I glued them together.  Since I was painting this piece I used dry wall mud over the seams on the legs to hide the joints (a lot less expensive than wood filler).  Since it was all recycled wood I had to do a lot of sanding but it saved me a lot of money!  So very happy with this project!  Thanks for again for the amazing plans!!!


Randi Wolf

RW Creations

Estimated Cost
$150-$200.
Estimated Time Investment
Weekend Project (10-20 Hours)
Finish Used
I stained the piece with a dark walnut stain. I then painted it a Chalked Ivory. Sanded the edges to bring the dark weathered look through and then sealed it with Varathane Triple thick polyurethane.
Recommended Skill Level
Intermediate

Comments

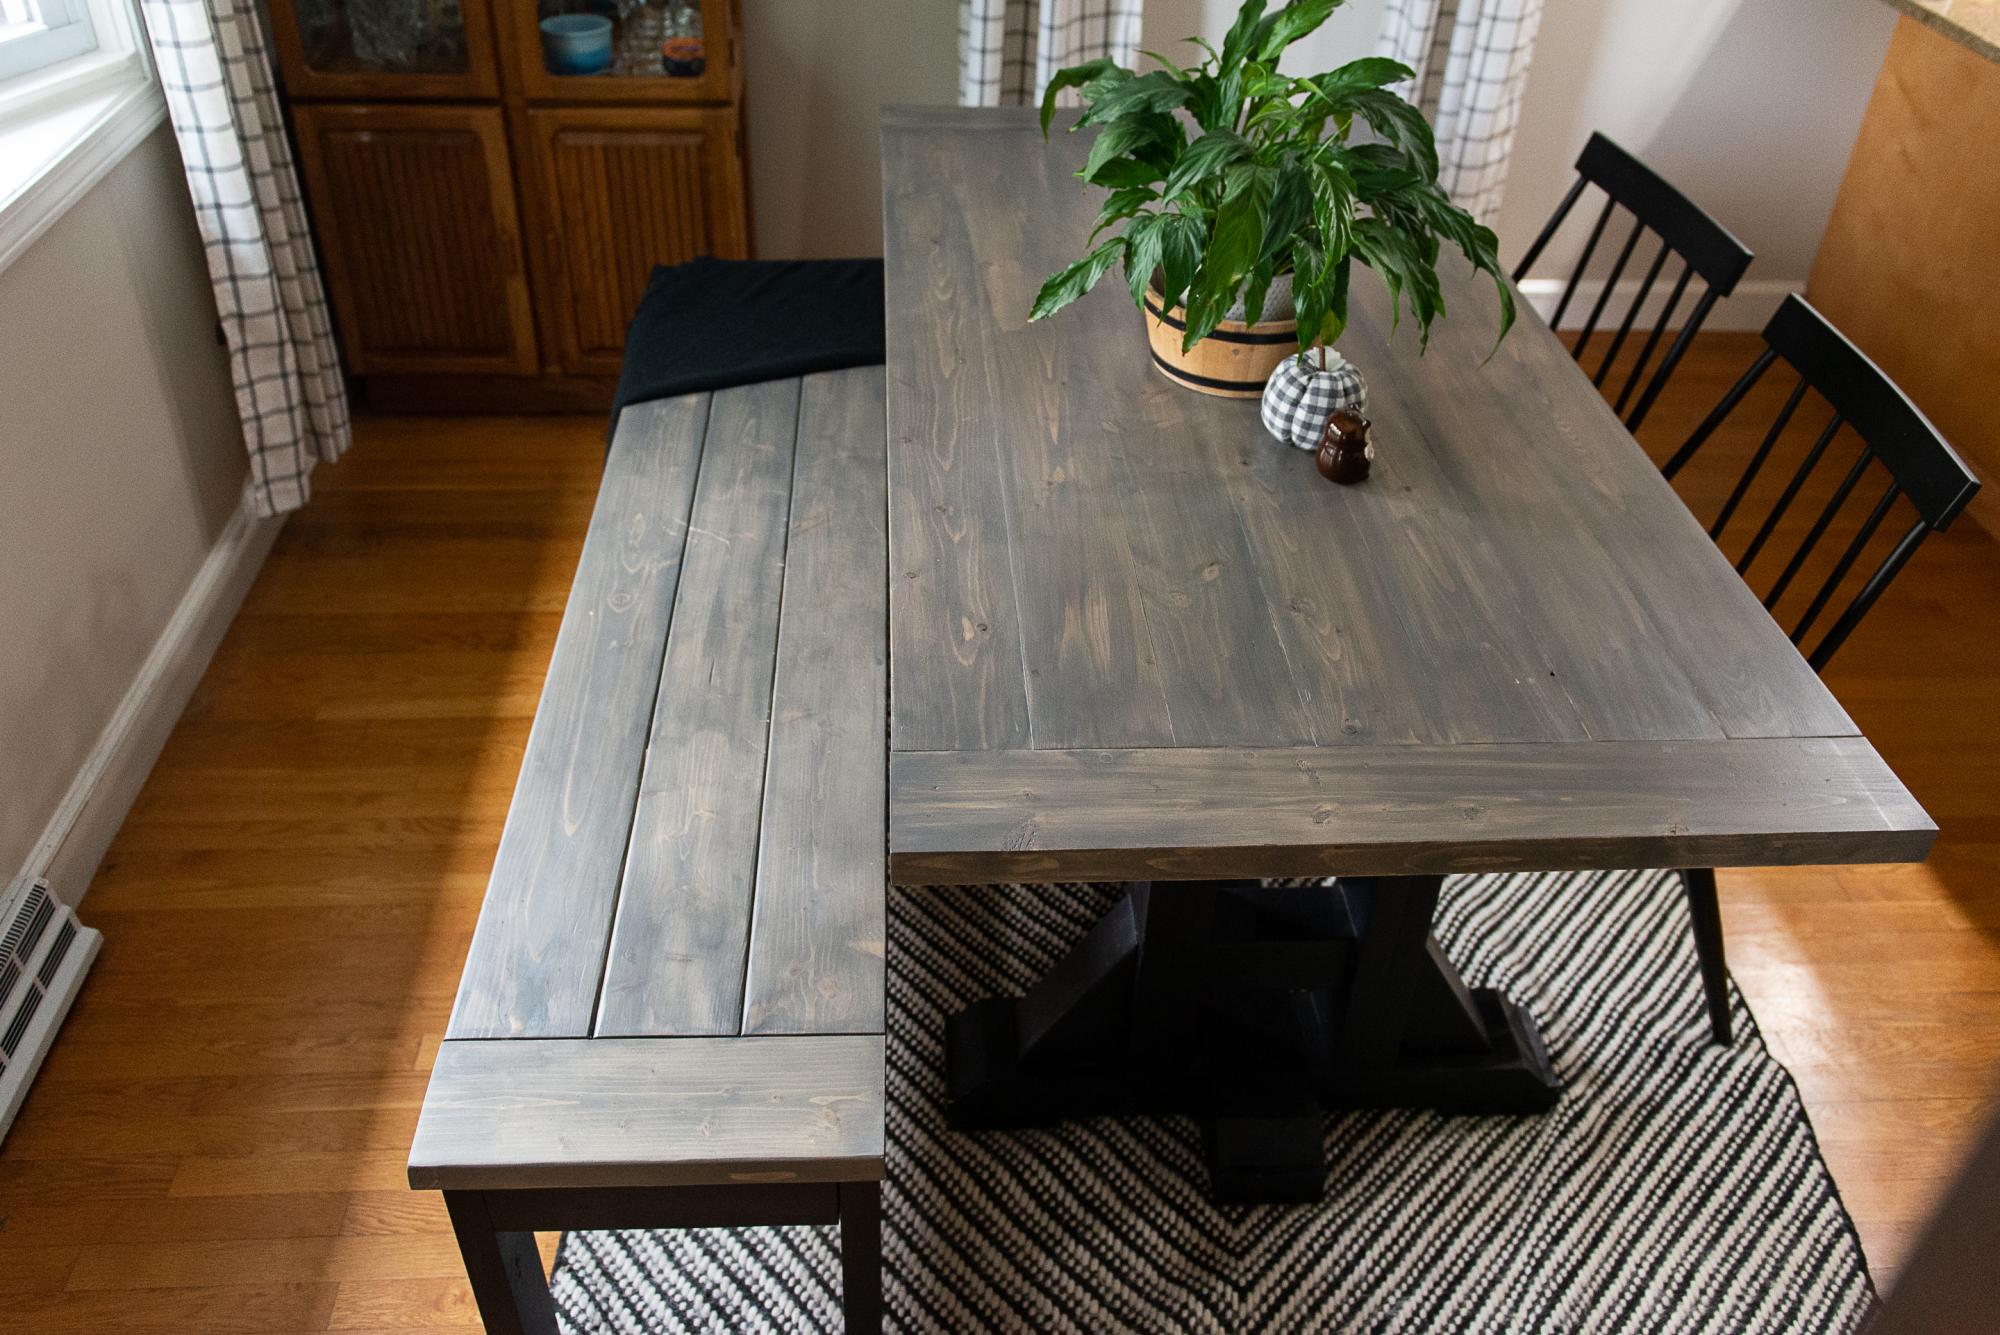
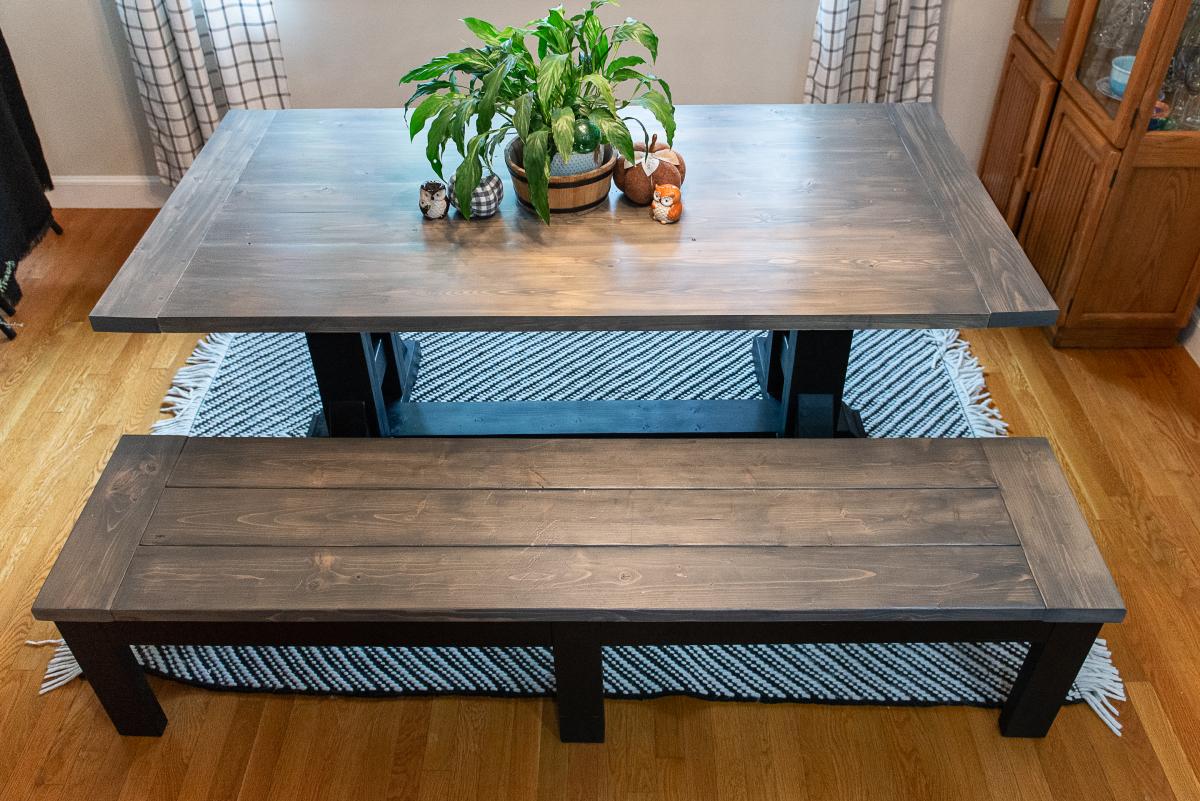
Downsized Fancy X Farmhouse Table

Submitted by Anonymous (not verified) on Fri, 10/11/2019 - 10:25

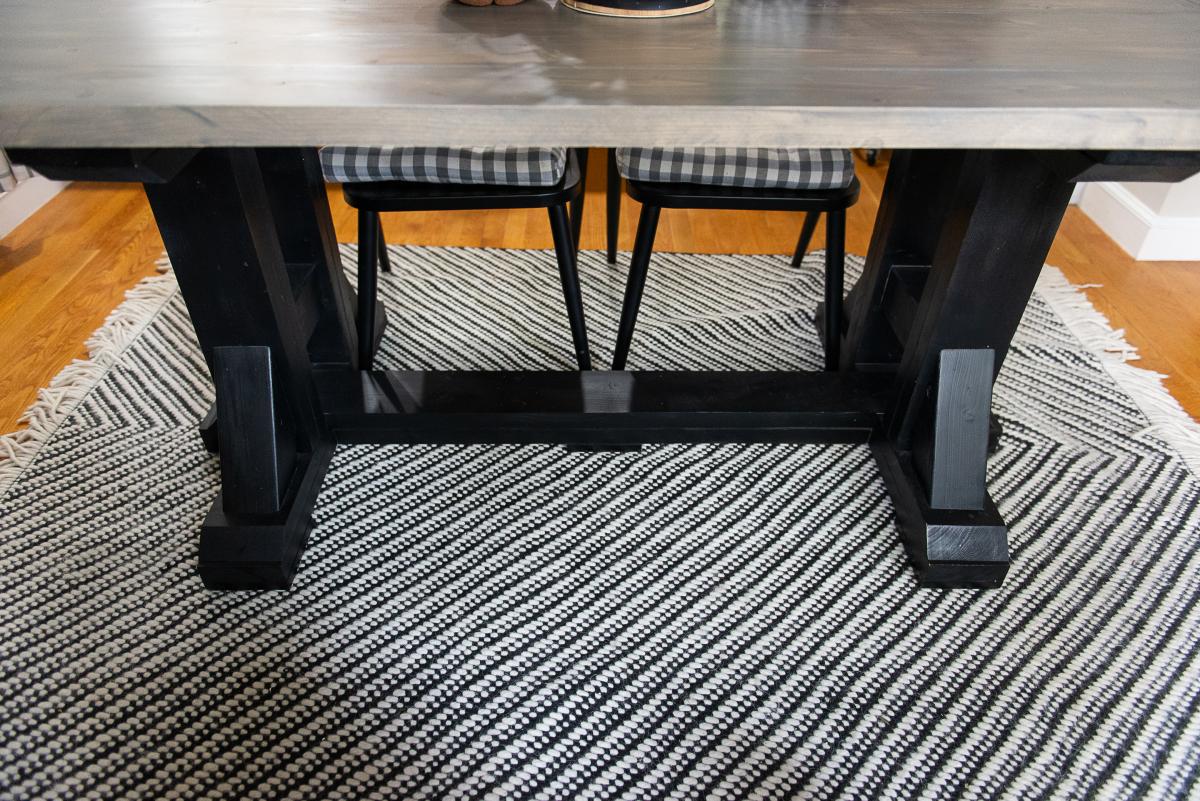
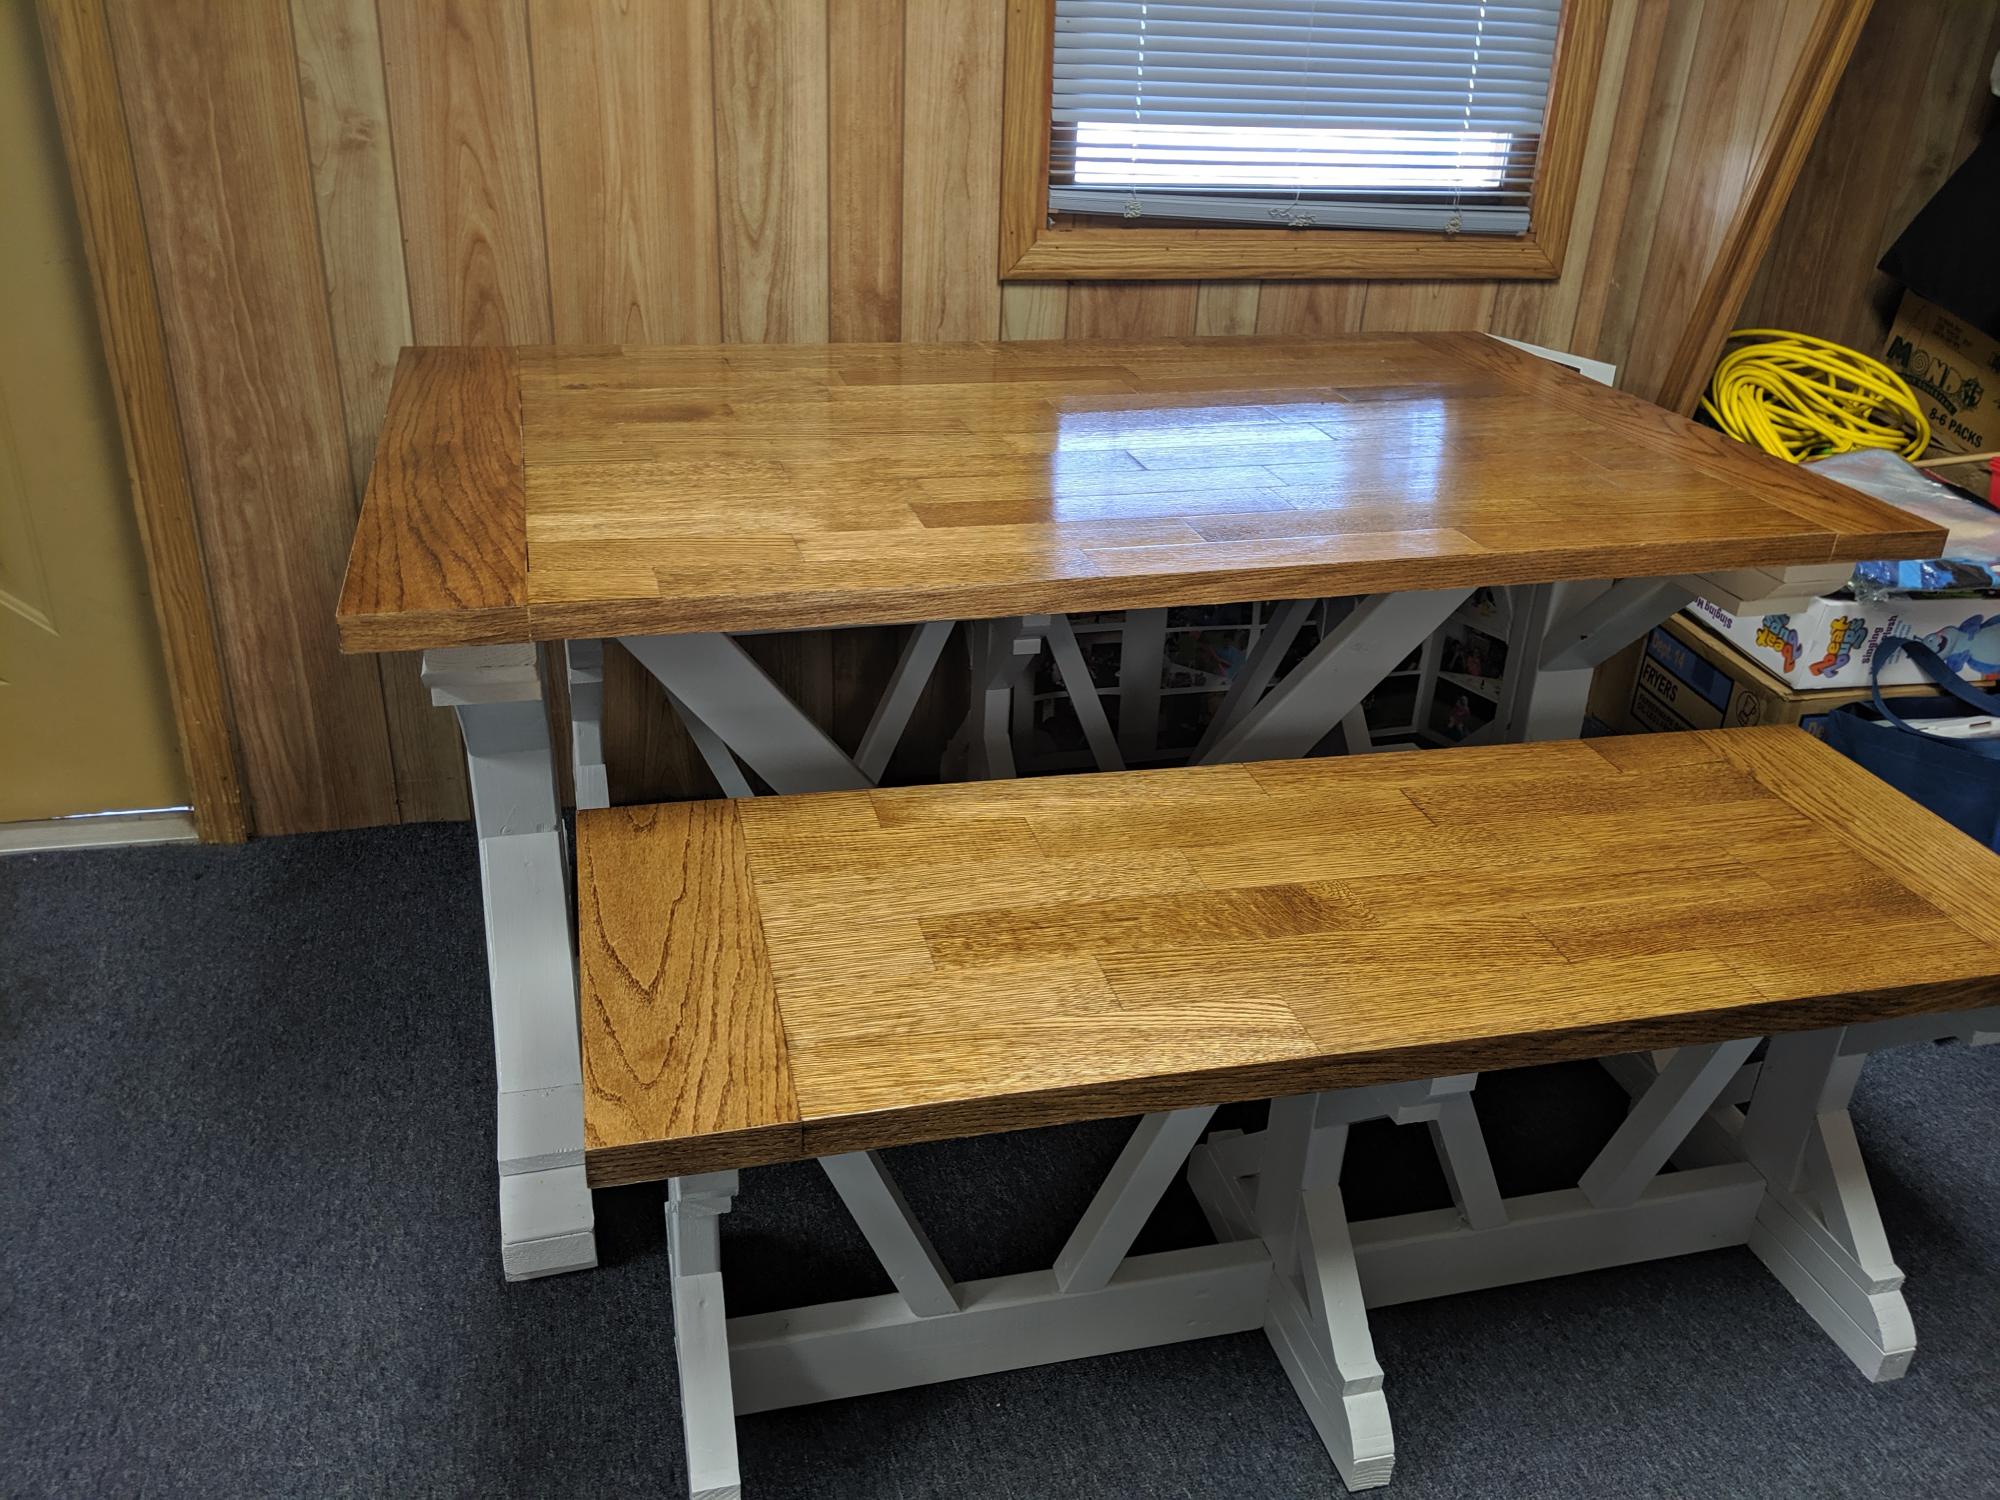
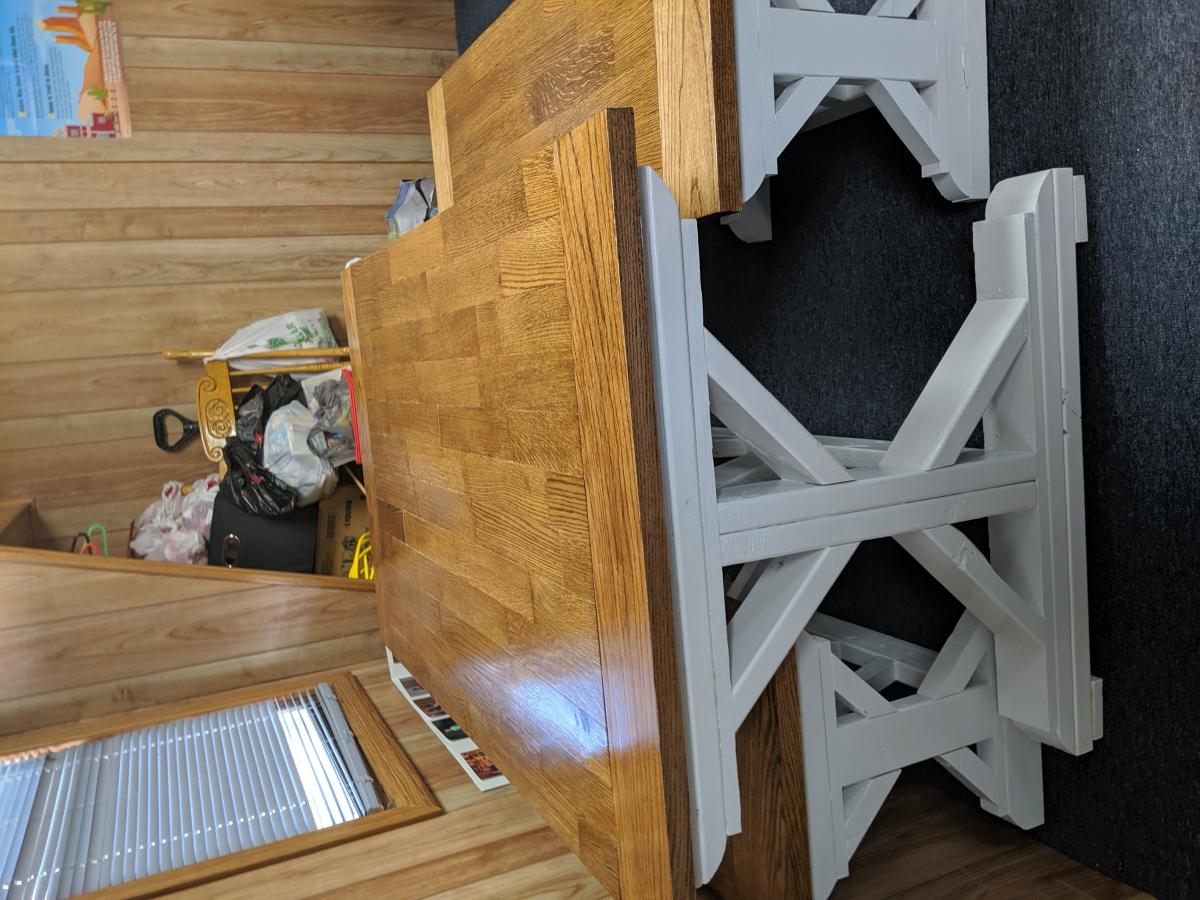
This table was modified because my dining room is really small. So the table is 71"long x 35" wide. This was actually my second attempt on the table top. The first attempt I only used kreg screws and no glue. To say that it warped is an understatement. This second attempt I used kreg screws and biscuits. For the breadboards I tried something new and used Rocklers Beadlock system. I also used Z- clips to mount it to the base so that as the wood expands and contracts it will hopefully not warp. So far it's remaining pretty flat.

Built from Plan(s)
Estimated Time Investment
Week Long Project (20 Hours or More)
Finish Used
General Finishes Graystone, General Finishes Lamp Black Milk Paint, General Finishes Flat out Flat Topcoat
Recommended Skill Level
Intermediate

Comments

Adirondack Chair as Housewarming Gift

Submitted by Anonymous (not verified) on Fri, 06/30/2023 - 11:18

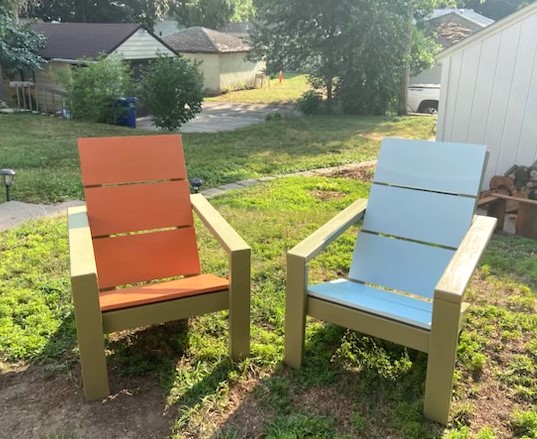
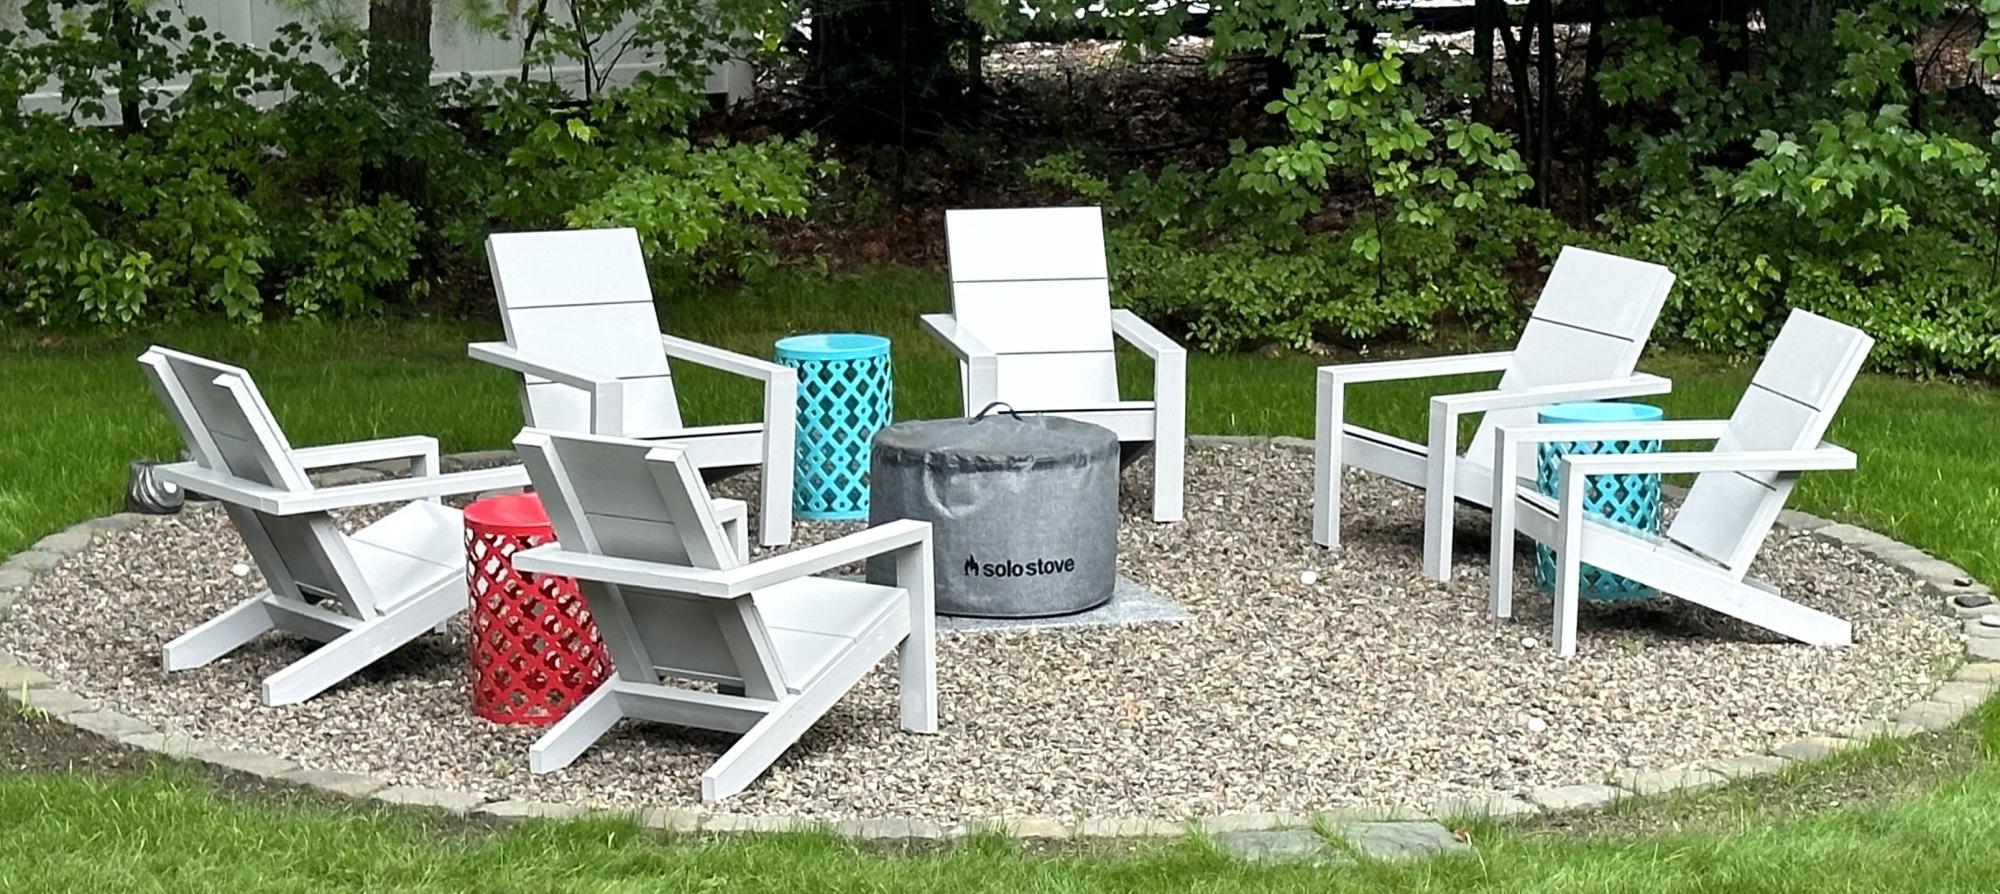
Just delivered these Adirondack chairs to my son and his GF as a housewarming gift for their first home. They selected the colors and they turned out perfect! I used a countersink for the front screws and filled with plugs so it looked very polished!

Blanket Chest and DVD Shelves

Submitted by Robinwood on Tue, 02/14/2012 - 19:55

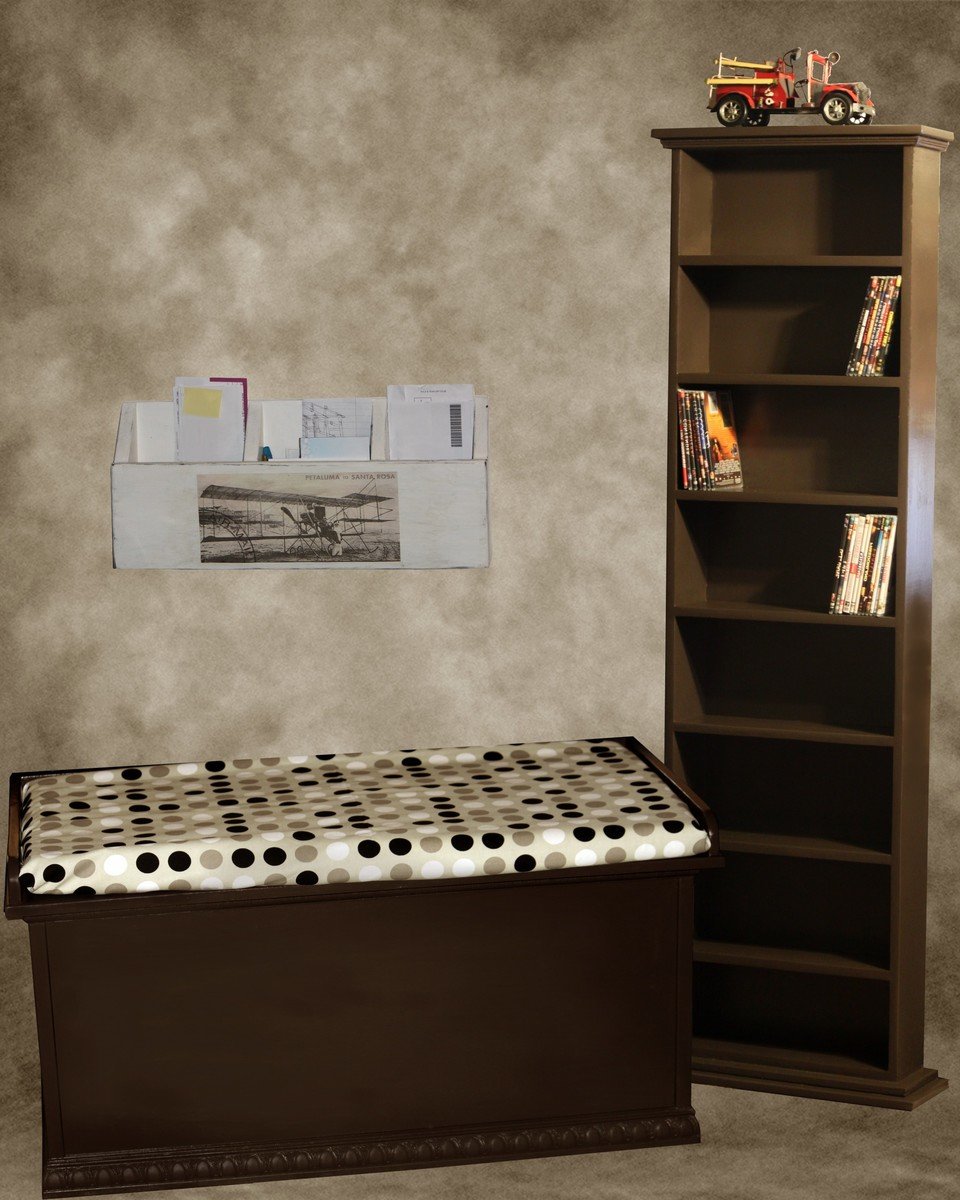
These were all Christmas projects...My daughter needed a blanket chest, so I used Anna's Toy Chest plans - modifying them to add a lid (which also functions as an extra seat). I made the dimensions larger because she had some really large blankets to store and also added some fancier trimming. Her husband wanted DVD storage in their room, so I built the cabinet and painted it to match the blanket chest. I do most of my building in the evenings, so it took a couple of days to build these - the finishing took the most time over several evenings. Also shown is the mail organizer, with an airplane motif because of my grandson's love of airplanes.

Estimated Cost
$100.00
Estimated Time Investment
Week Long Project (20 Hours or More)
Finish Used
Paint and polyurethane finish
Recommended Skill Level
Intermediate

Comments

Sandie

Mon, 02/20/2012 - 14:48

You did a great job on all of it! I especially LOVE the brown color!!

relye4b5

Tue, 03/12/2013 - 19:42

This looks amazing! I'm wanting to do something similar... a 28"x41" toy box that could double a a lounge seat. Would you be willing to share your plans for the lid addition? I really love the lip on the lid to keep the cushion in place!

Robinwood

Mon, 04/01/2013 - 12:56

Sorry, I hadn't noticed there was a new comment. I am one of those who just look at something or see a need and form plans in my head (I'm not good at writing them); so I don't have any plans. I just cut the lid so that it would overhang an inch on the ends and front. Then I cut a 1x2 the length of the lid and attached it on top of the lid at the back (the 3/4 side against the wood). The 1x2's for the end of the lid were cut to fit; the fronts rounded with a jig saw; then attached. I hope this helps.

Bookshelf for our nursey based on your terrific Channing plan

Submitted by Astern on Tue, 12/24/2013 - 14:24

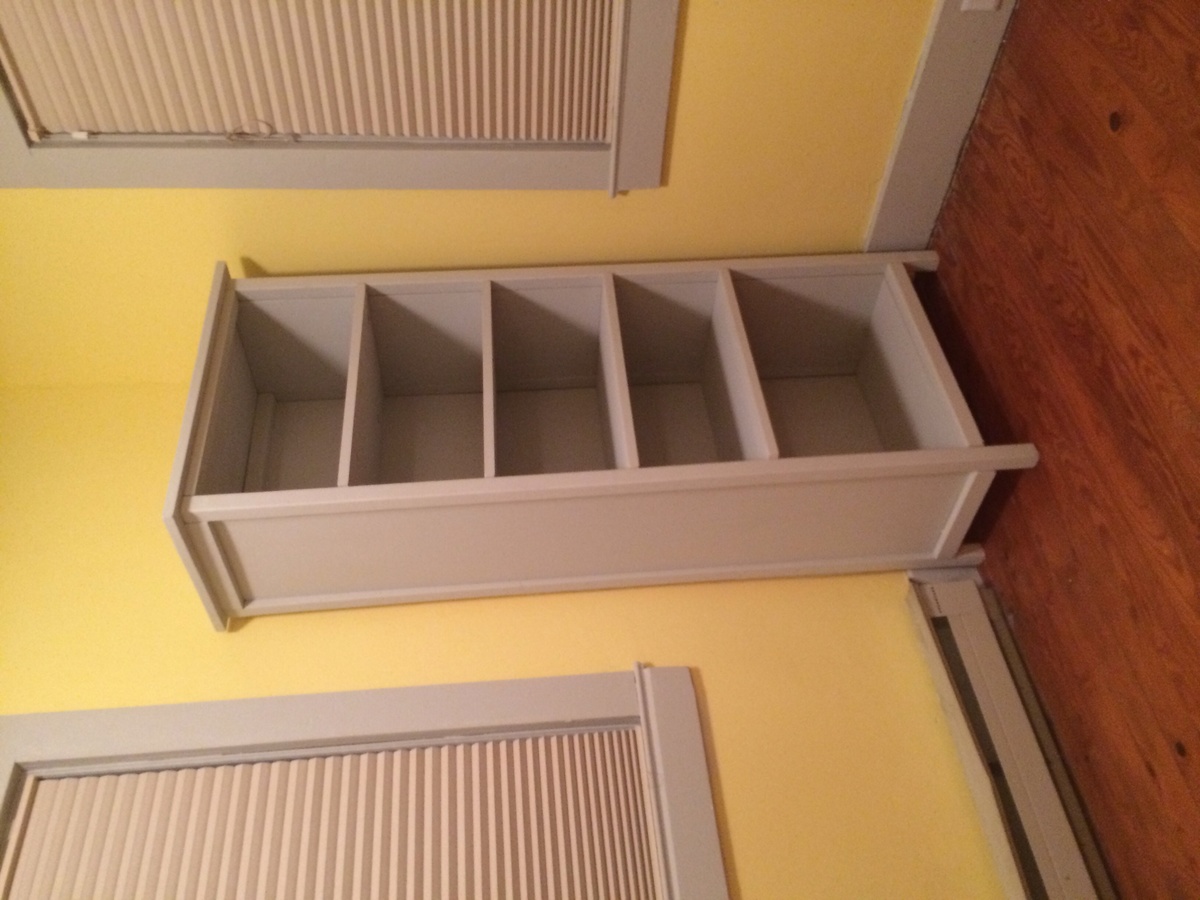
Great, simple bookshelf for our nursery

Built from Plan(s)
Estimated Cost
$150 for wood, $150 for paint and tools I needed
Estimated Time Investment
Weekend Project (10-20 Hours)
Finish Used
Flat wall paint -- the same we used for the trim in the room.
Recommended Skill Level
Beginner

Comments

My gigantic bed!

Submitted by ThiaD on Sun, 03/06/2016 - 07:45

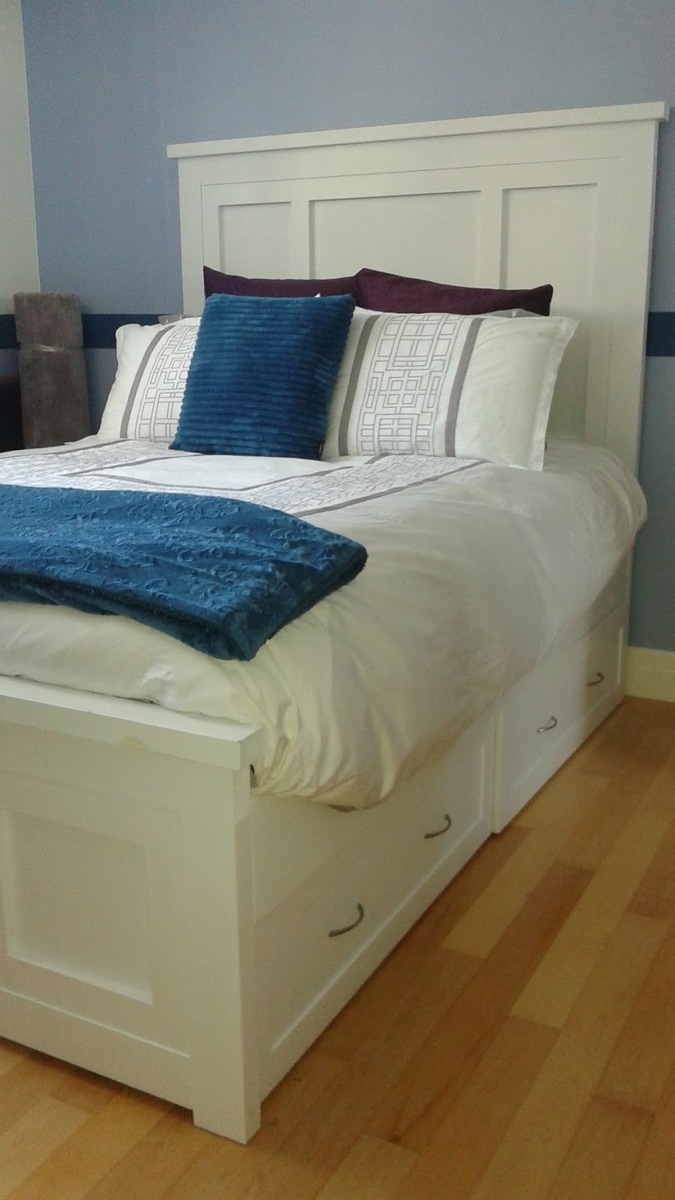
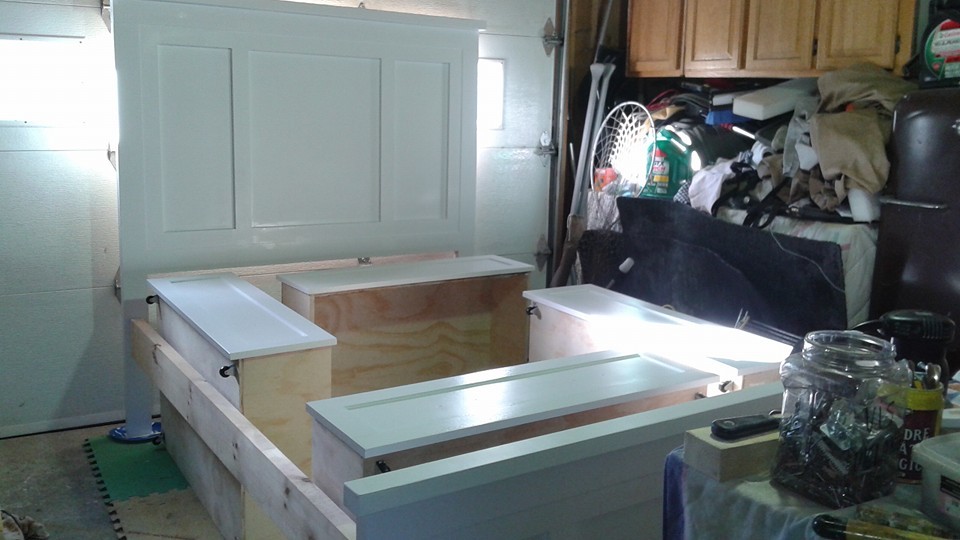
Thank you so much Ana for providing such good plans! I use your Mom's Fancy Farmhouse Bed plans and added drawers underneath (a girl can never have too much storage!) using your Under Bench Trundle Drawers plans. I made it look a bit different than yours so it fits with the desk I already have in my room and used Mortise Bedlocks to assemble it, so it will be easier to take it apart when I move next time. This was my first project using your plans and my Kreg Jig and I'm hooked!

Estimated Cost
600 CAD
Estimated Time Investment
Week Long Project (20 Hours or More)
Recommended Skill Level
Intermediate

Comments

DIY Adirondack Chairs

Submitted by Anonymous (not verified) on Wed, 07/05/2023 - 08:39

6 Ana White Adirondacks replaced 6 crappy plastic Adirondacks. I changed it up a bit by attaching the arms to the front legs with the kreg jig and filled all the screw holes with putty before I added finish coat. Neat and clean looking. Thank you Ana White!

Franko_6789

Comments

Seasonal And Holiday

Narrow Farmhouse Table - first build EVER :)

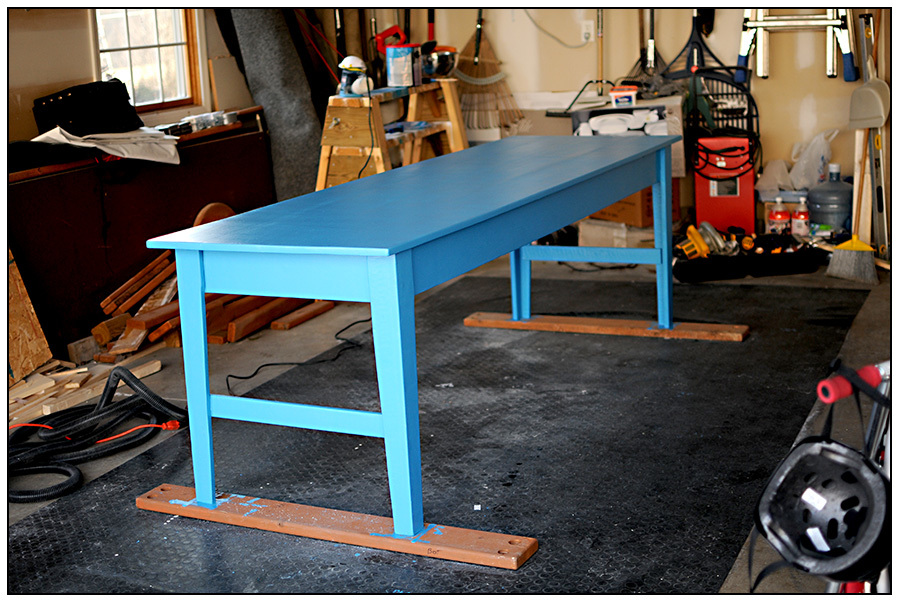
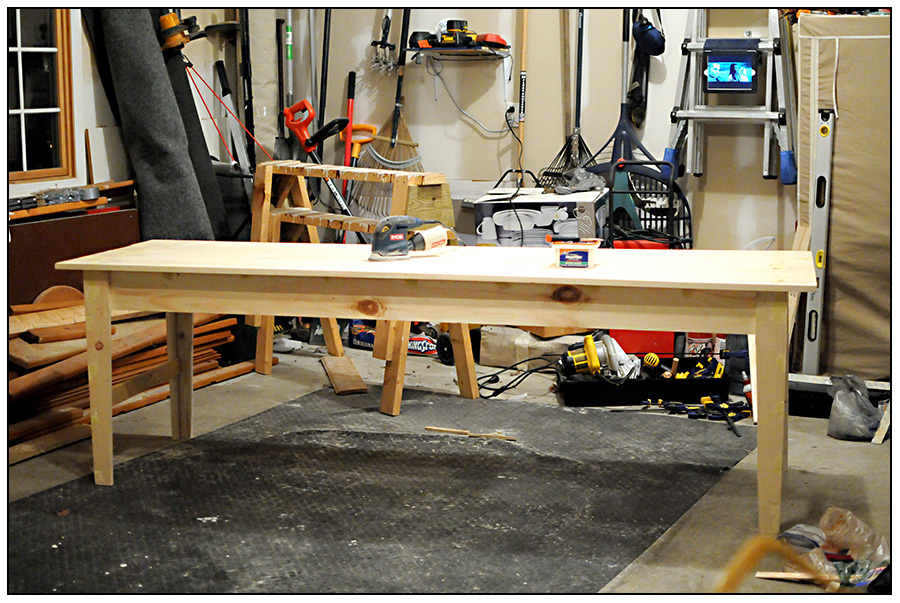
I built something!! I really want to build a bed for my son, but wanted something a little simpler for my first project. This table came together very easily. I can't wait for my craft room to be done and get all my sewing machines set up on it - Thanks so much for your site, Ana!

Built from Plan(s)
Estimated Time Investment
Weekend Project (10-20 Hours)
Finish Used
primer/paint/spray polyurethane
Recommended Skill Level
Starter Project

Comments

Loft beds for my girls

Submitted by Talarin on Fri, 12/27/2013 - 07:03

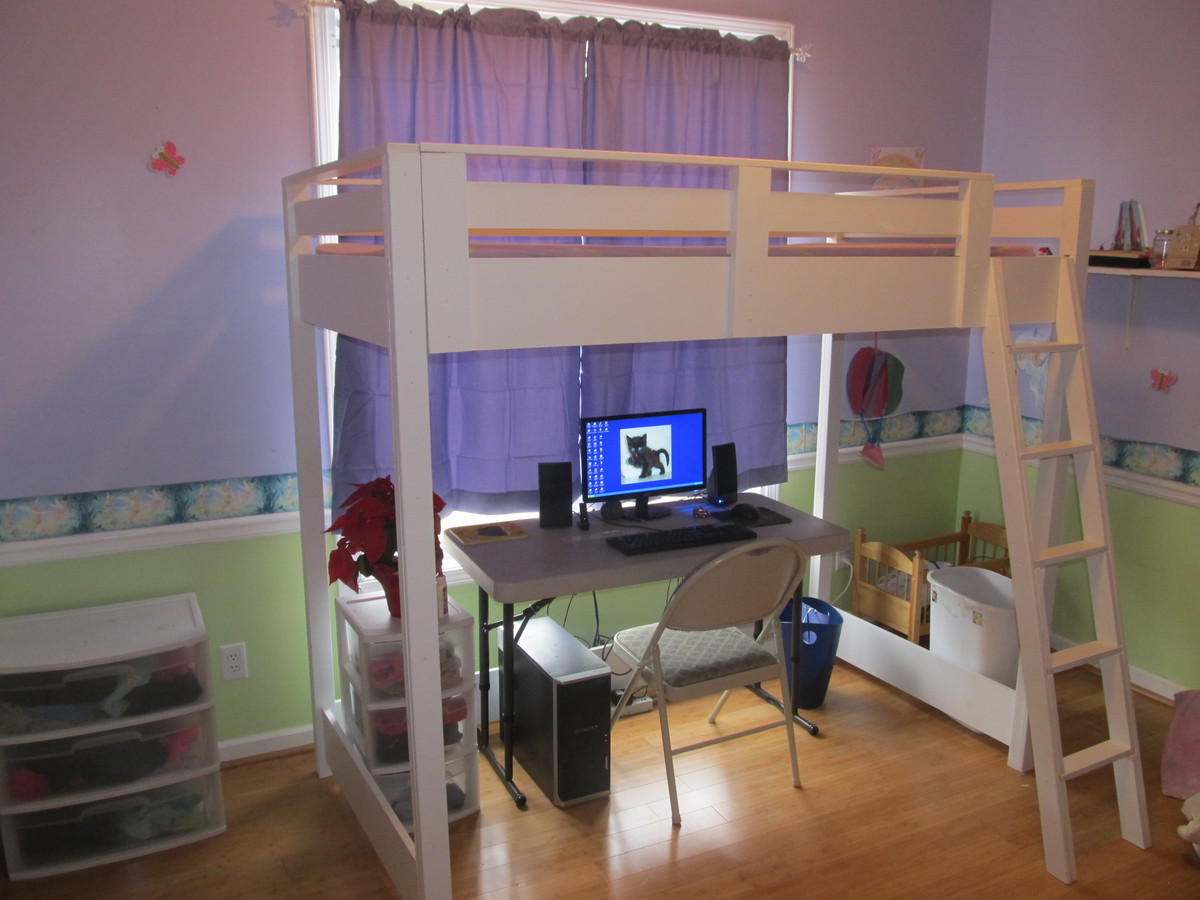
My wife and I came across this site 2 years ago and immediately fell in love with the loft beds.  I have never done any kind of project like this and really wasn't sure if I could do it.  I'm an IT guy, so the idea of fumbling around with power tools was a bit intimidating.

I decided to give it a try this year, 2013, as a Christmas present for my two girls, ages 9 and 7.  I bought a chop saw and circular saw, had the wood delivered and proceeded to take over the garage.  Following the plans, I started making my cuts.  Made a few mistakes and had to go buy extra wood, but eventually I completed my cut list.  I proceeded to prime and paint the wood, except for where I was gluing as I heard from a friend that wood glue worked much better on wood than paint.  Go figure.

I sent the girls to my dad's the weekend before Christmas.  They had no idea what I was doing out in the garage and I wanted to make it a complete surprise.  I had a good friend come over and help me assemble.  The first bed took just over 10 hours to complete.  Neither one of us really knew what we were doing, so we were being extra cautious.  The second one took us 4 1/2 hours.

I have to admit, I was quite proud of how it turned out.  The plans were really easy to follow, even for a complete novice like me.  I was really surprised at how sturdy the beds were, no wobbling, hardly any creaking when getting in them, a really solid product.  I did some touch up paint after it was all assembled and then I was done. I highly recommend this plan to anyone considering a loft bed.

Tal
Built from Plan(s)
Estimated Cost
$450 for two beds and accessories
Estimated Time Investment
Weekend Project (10-20 Hours)
Finish Used
One coat of primer, one coat of semi-gloss white paint. I used a small roller for the vast majority of it so as to avoid brush strokes.
Recommended Skill Level
Beginner

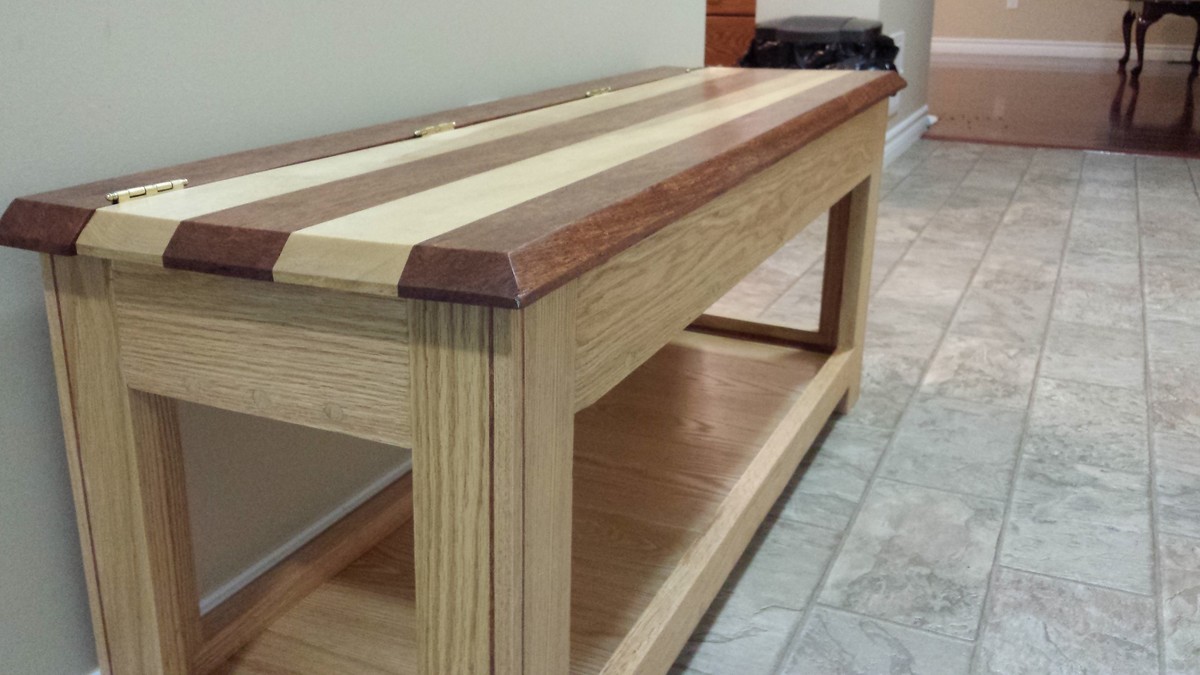
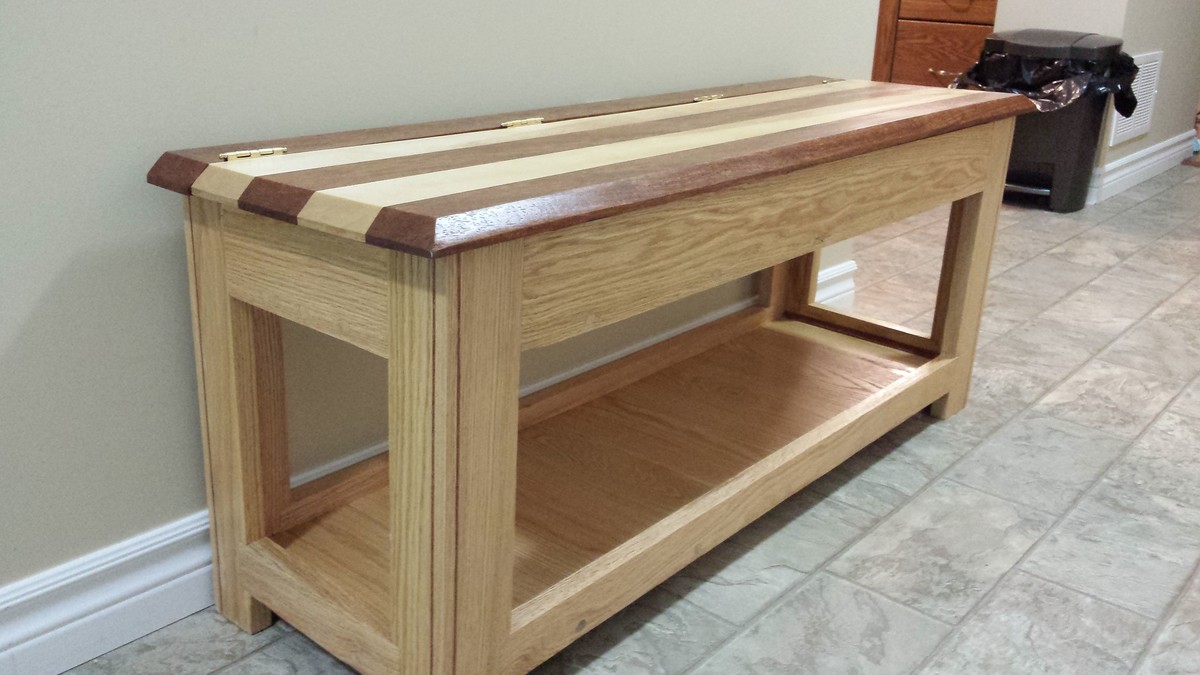
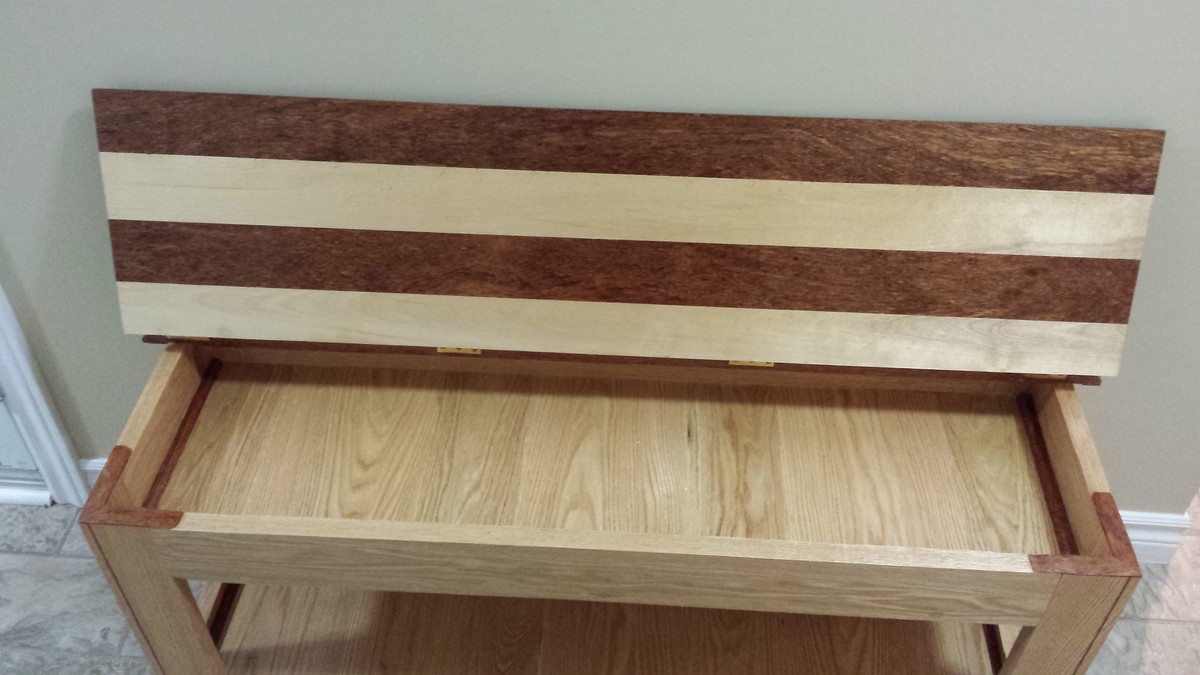
Flip Top Bench

Submitted by Anonymous (not verified) on Wed, 03/09/2016 - 19:54

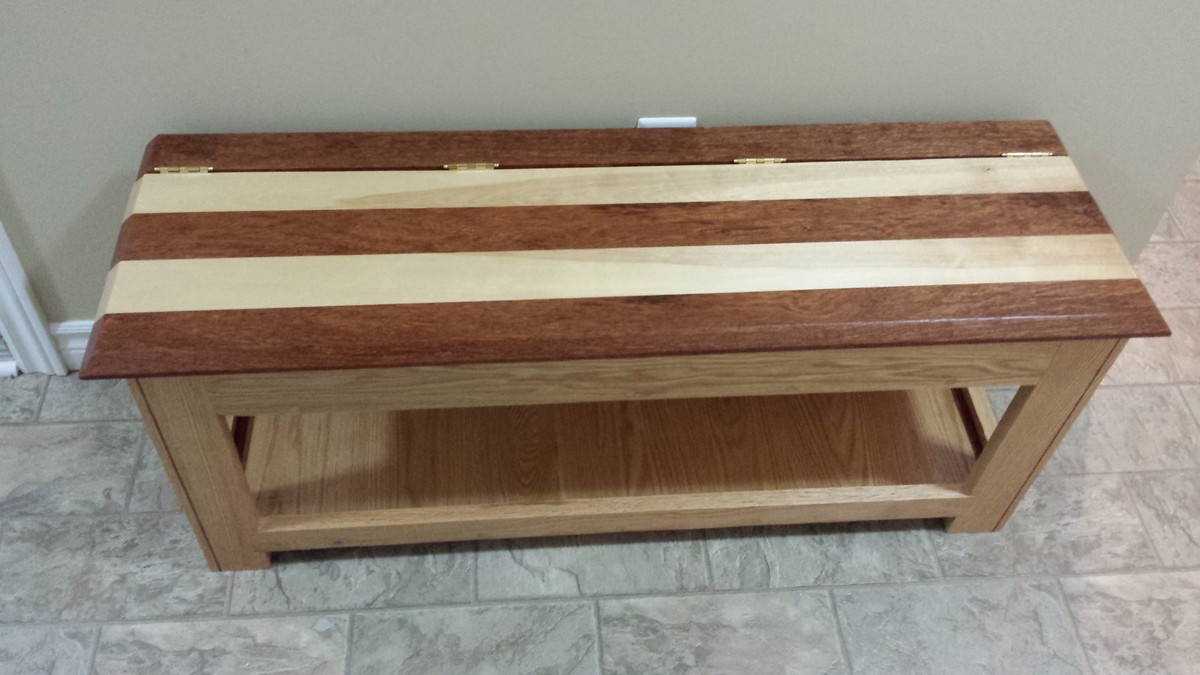
Hi Ana,


I liked your design, but I've made a few changes to it for my bench:

-The dimensions

-The type of wood used

-All the joinery (Only screws are in the hinges)

-The inlays and a few other aesthetic features.


Thank you!

-

Estimated Cost
$100
Estimated Time Investment
Week Long Project (20 Hours or More)
Finish Used
50% Polyurethane, 50% Mineral Spirits,
Recommended Skill Level
Advanced

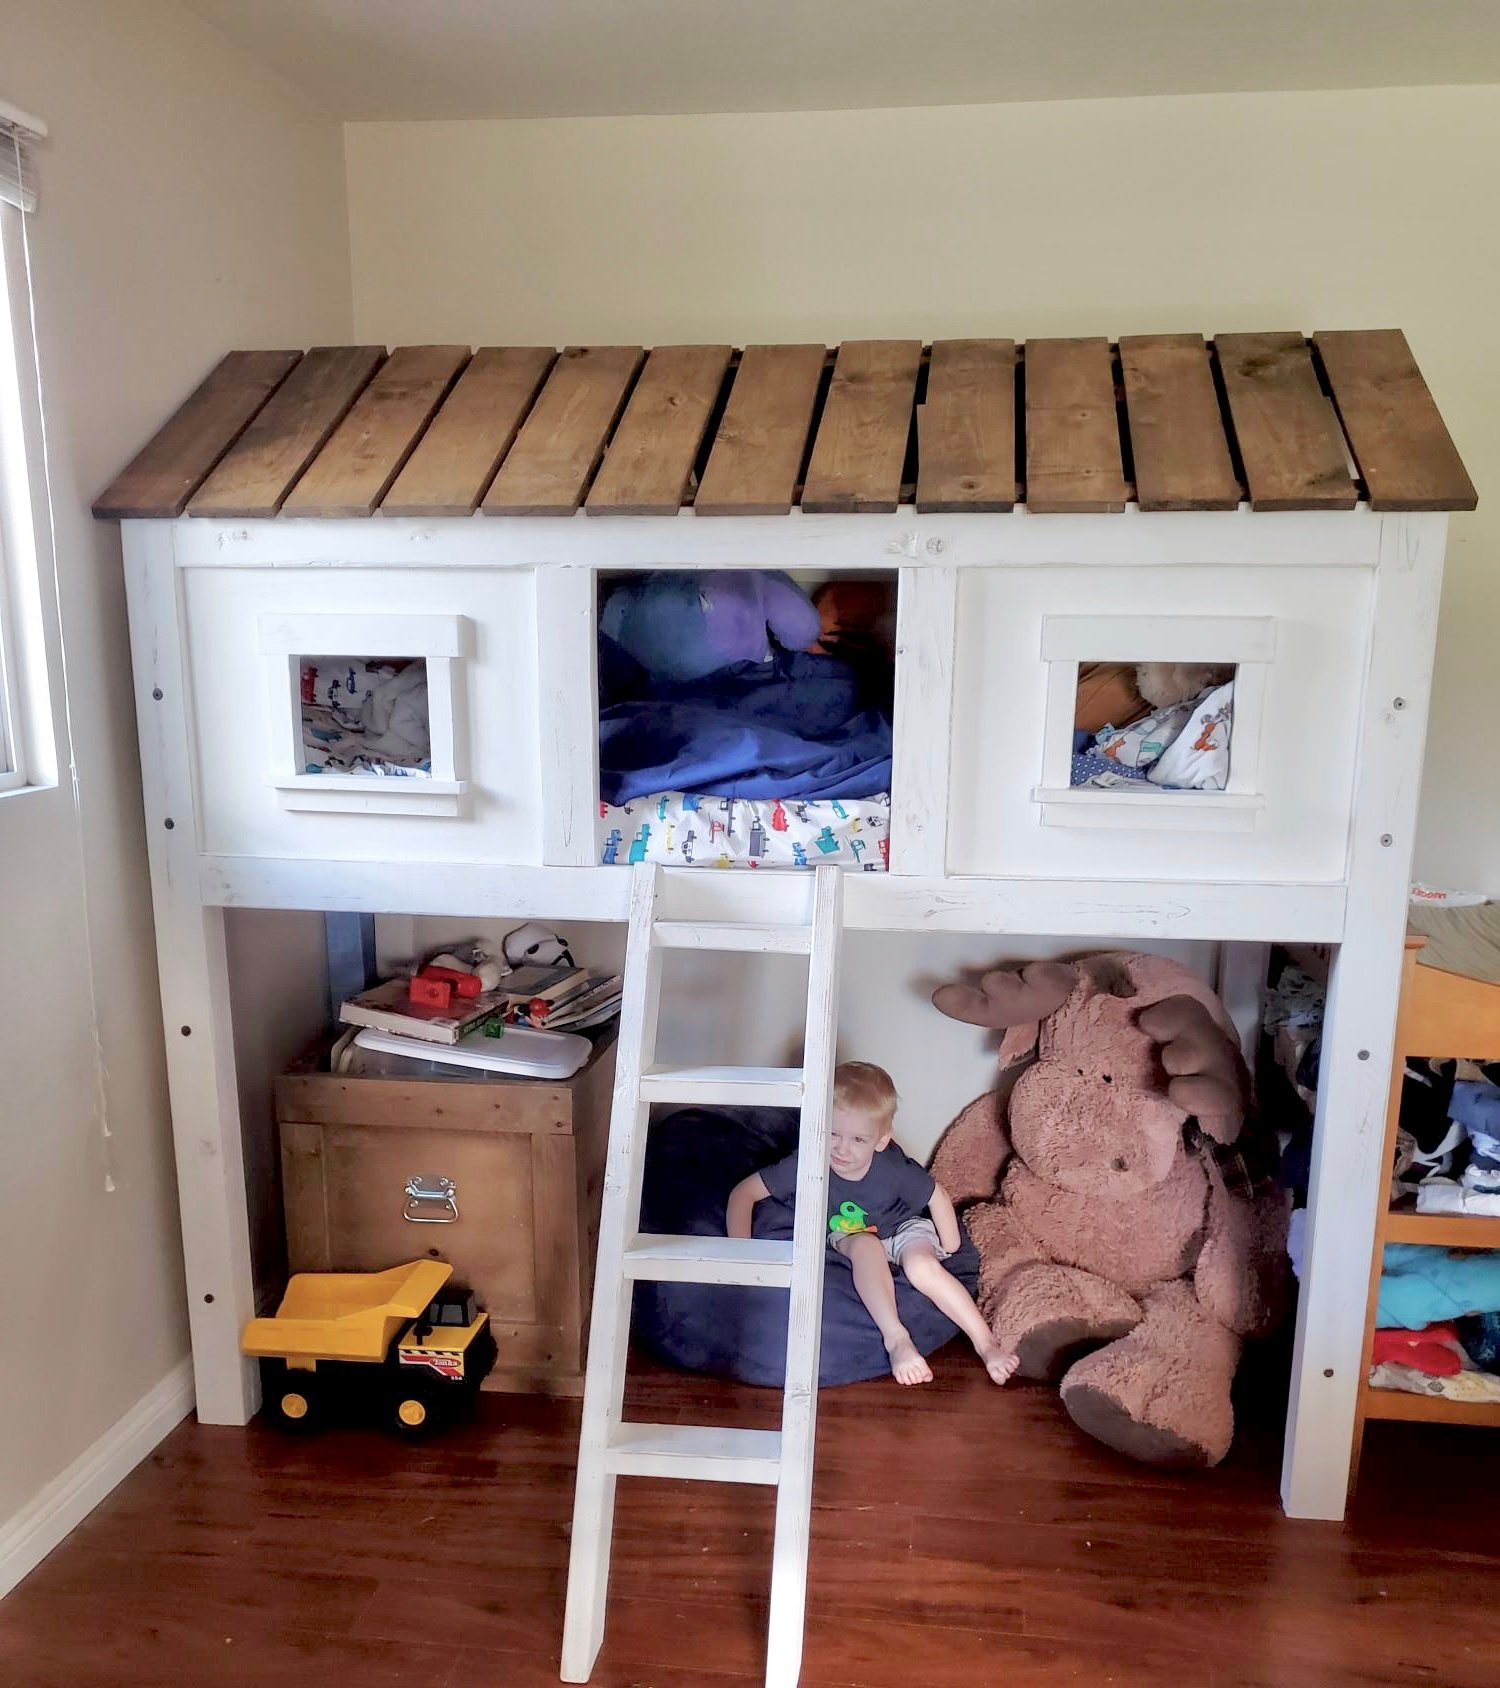
Modified loft bed from cabin bed

Submitted by Stewart77 on Sat, 10/19/2019 - 12:00

We modified the cabin bed plans to a loft bed. This created a space for little man to have all his own area. We also made the roof on a hinge so that we could open up the roof for easy bedding changes. Also used Jen's modifications so we can take the bed apart and move it easier.

Built from Plan(s)
Estimated Cost
300
Estimated Time Investment
Weekend Project (10-20 Hours)
Finish Used
White flat paint, dark walnut roof
Recommended Skill Level
Intermediate

Outdoor Adirondack Chairs and Modern Side Tables

Submitted by Anonymous (not verified) on Fri, 07/07/2023 - 11:37

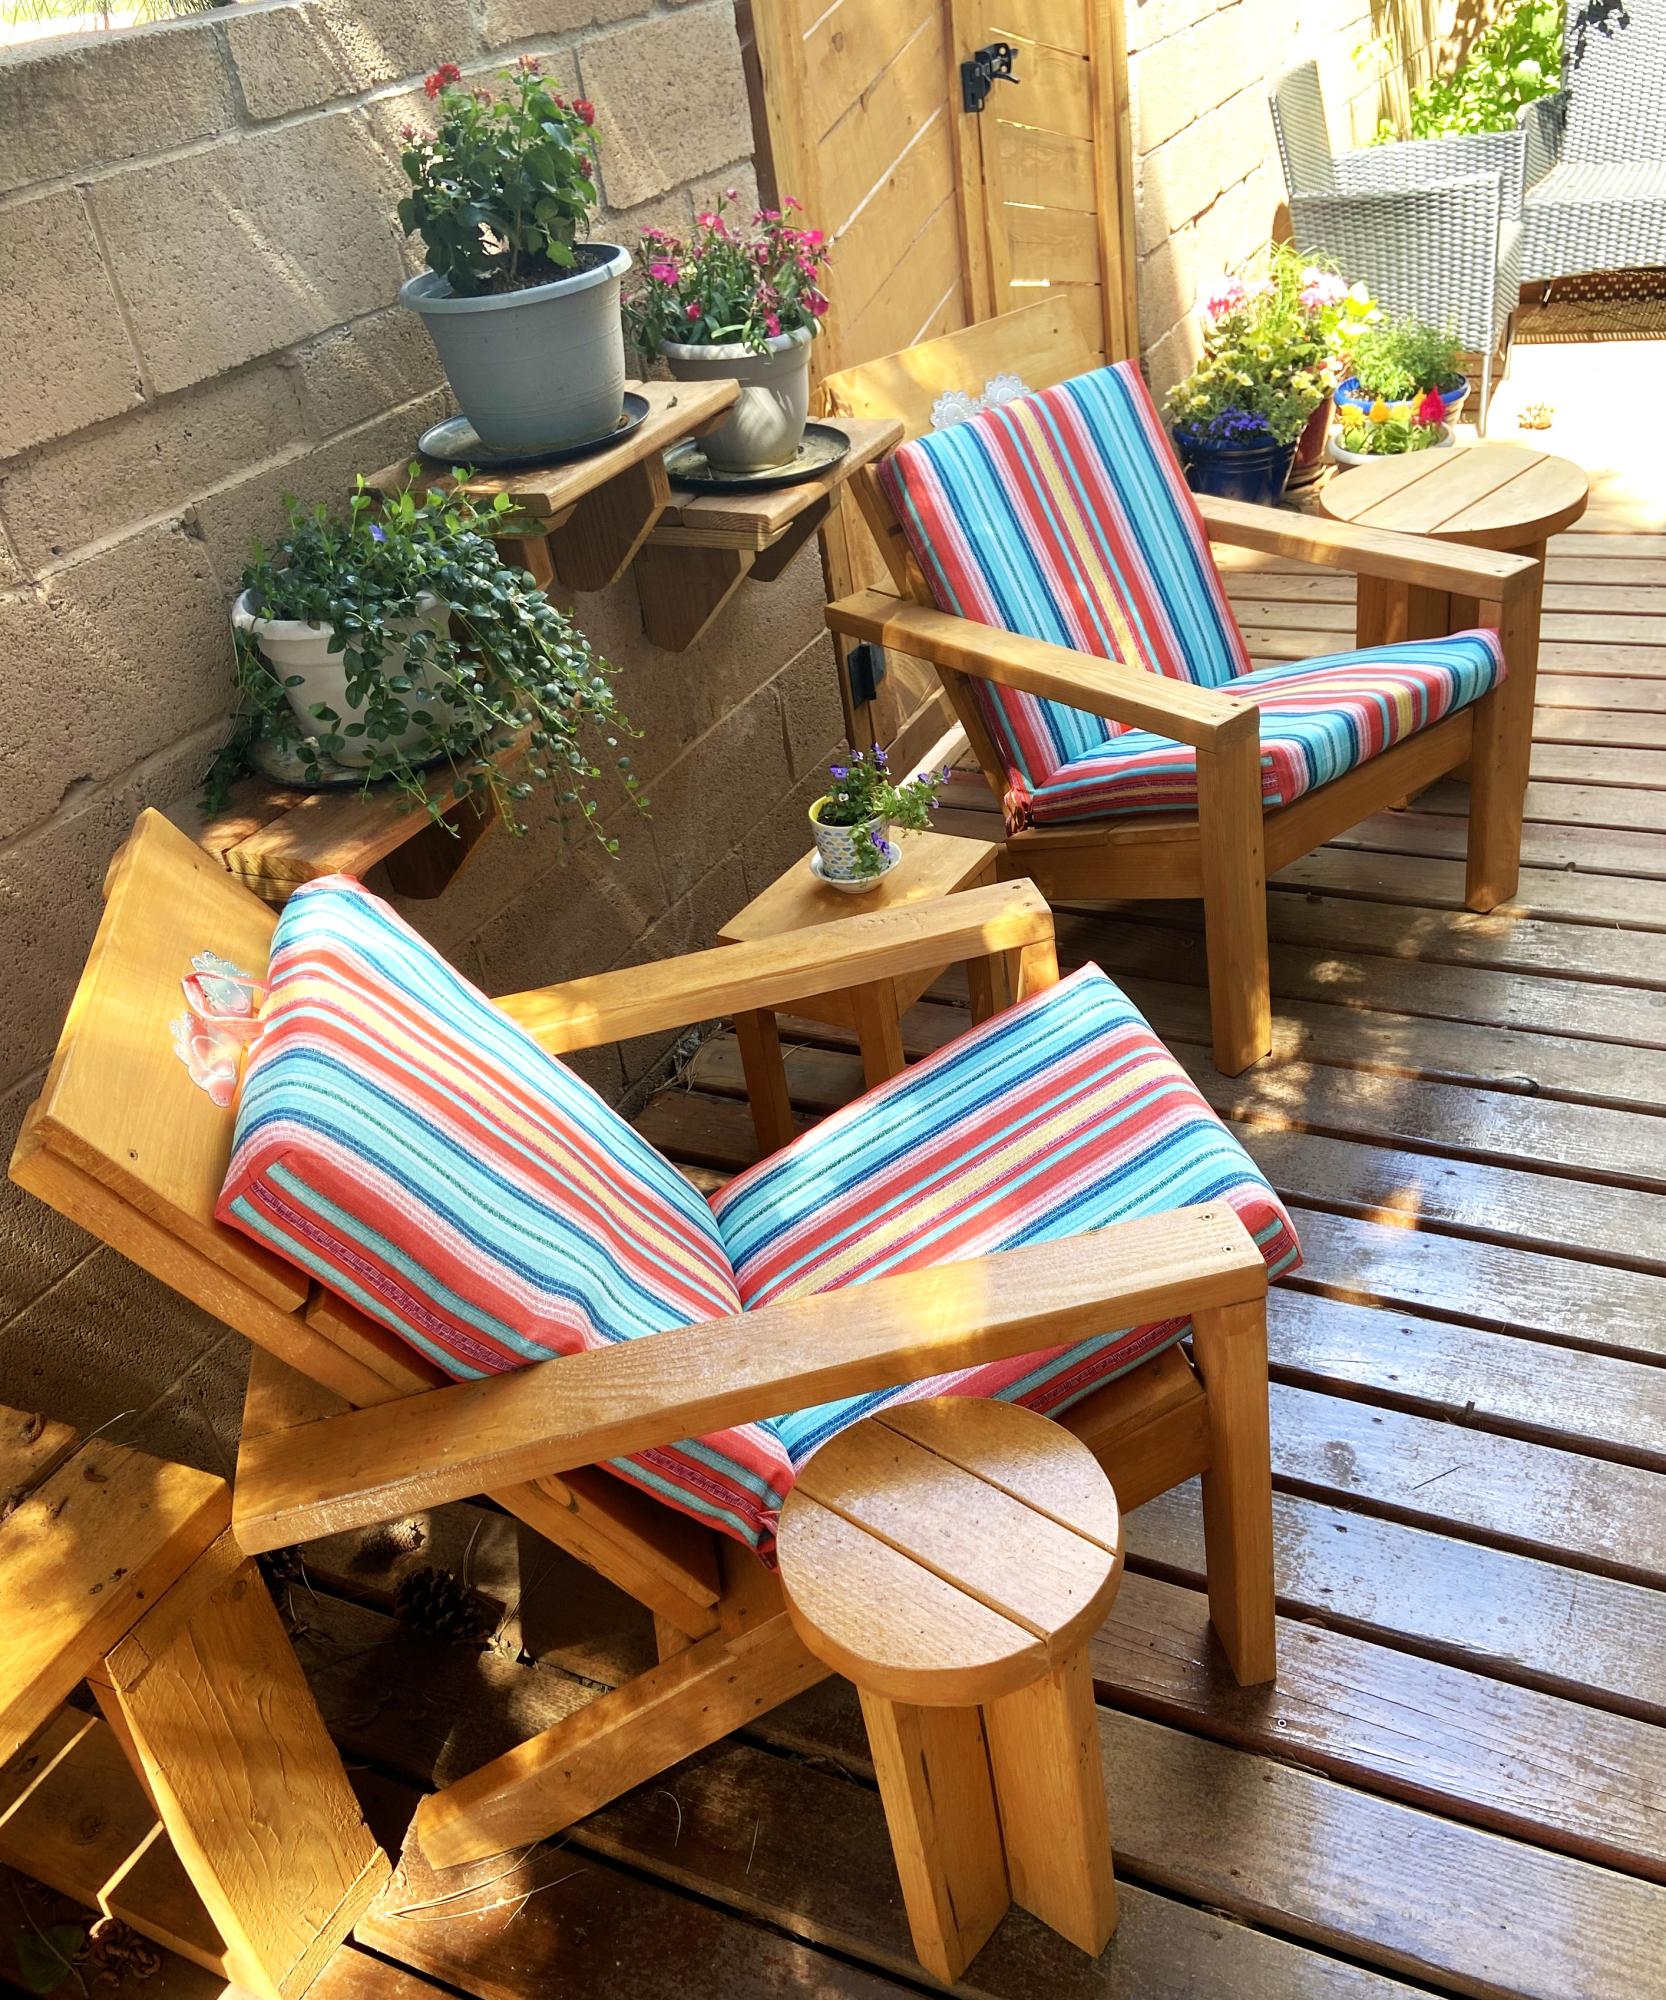
I love the Adirondack chairs and they were so easy to make. Your directions were perfect. I added an inexpensive cushion from Walmart although I think technically Adirondack chairs don’t have cushions. But they do help make them more comfortable. I also added some tin work design because we live in the south west.

James

Seasonal And Holiday

Modified Entryway Shelf

Submitted by bwconing on Sat, 02/25/2012 - 09:03

I made this shelf roughly from the entryway shelf plans. I modified it to meet our needs in our nursery. We hung it above the changing table/dresser (that we bought) and my wife put some nice pink polka-dot baskets in the cubbies. We use it to put baby accessories in (socks, lotion, rash cream, hair bows, etc.) This was my first project and it turned out better than I expected! It was an all day project for me, since it was my first, but shouldn't normally take that long.

Estimated Cost
$12
Estimated Time Investment
Day Project (6-9 Hours)
Finish Used
I just used white latex paint. It required 3 coats.
Recommended Skill Level
Beginner
Back