Modified Media Cabinet
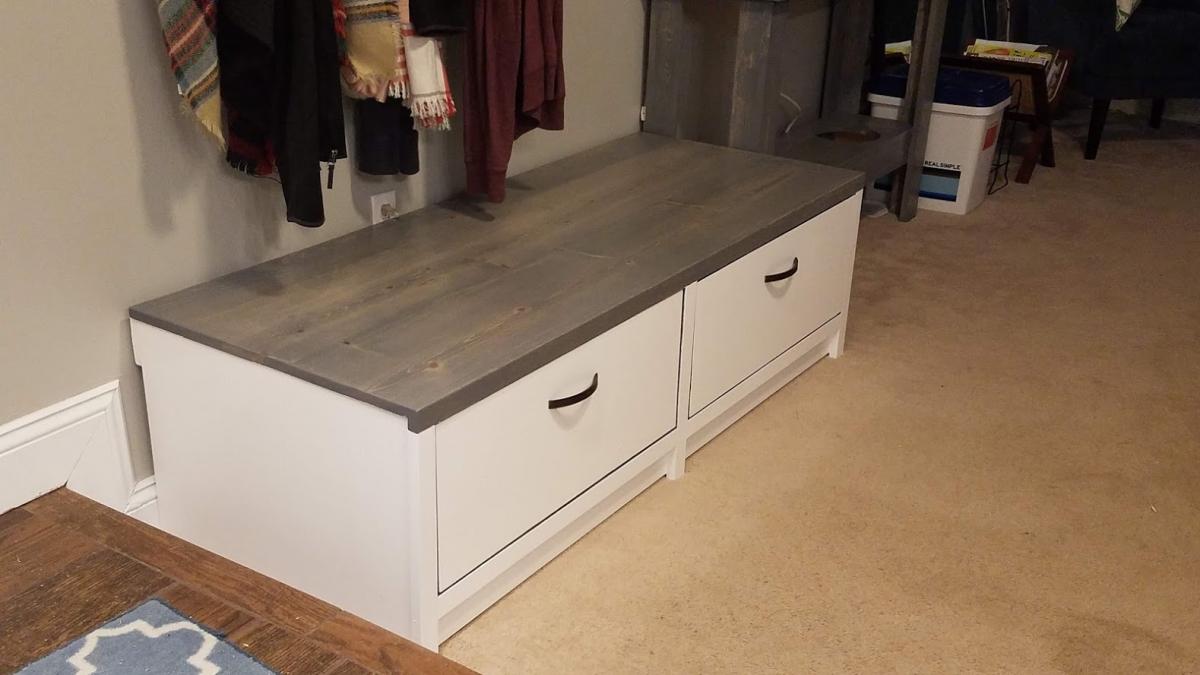
I modified this project to fit my space. I'm pretty new at woodworking but everything was fun to do. One of the hardest parts for me were the legs so I opted for cabinet feet from Ikea. I've gotten so many compliments so far!
I modified this project to fit my space. I'm pretty new at woodworking but everything was fun to do. One of the hardest parts for me were the legs so I opted for cabinet feet from Ikea. I've gotten so many compliments so far!
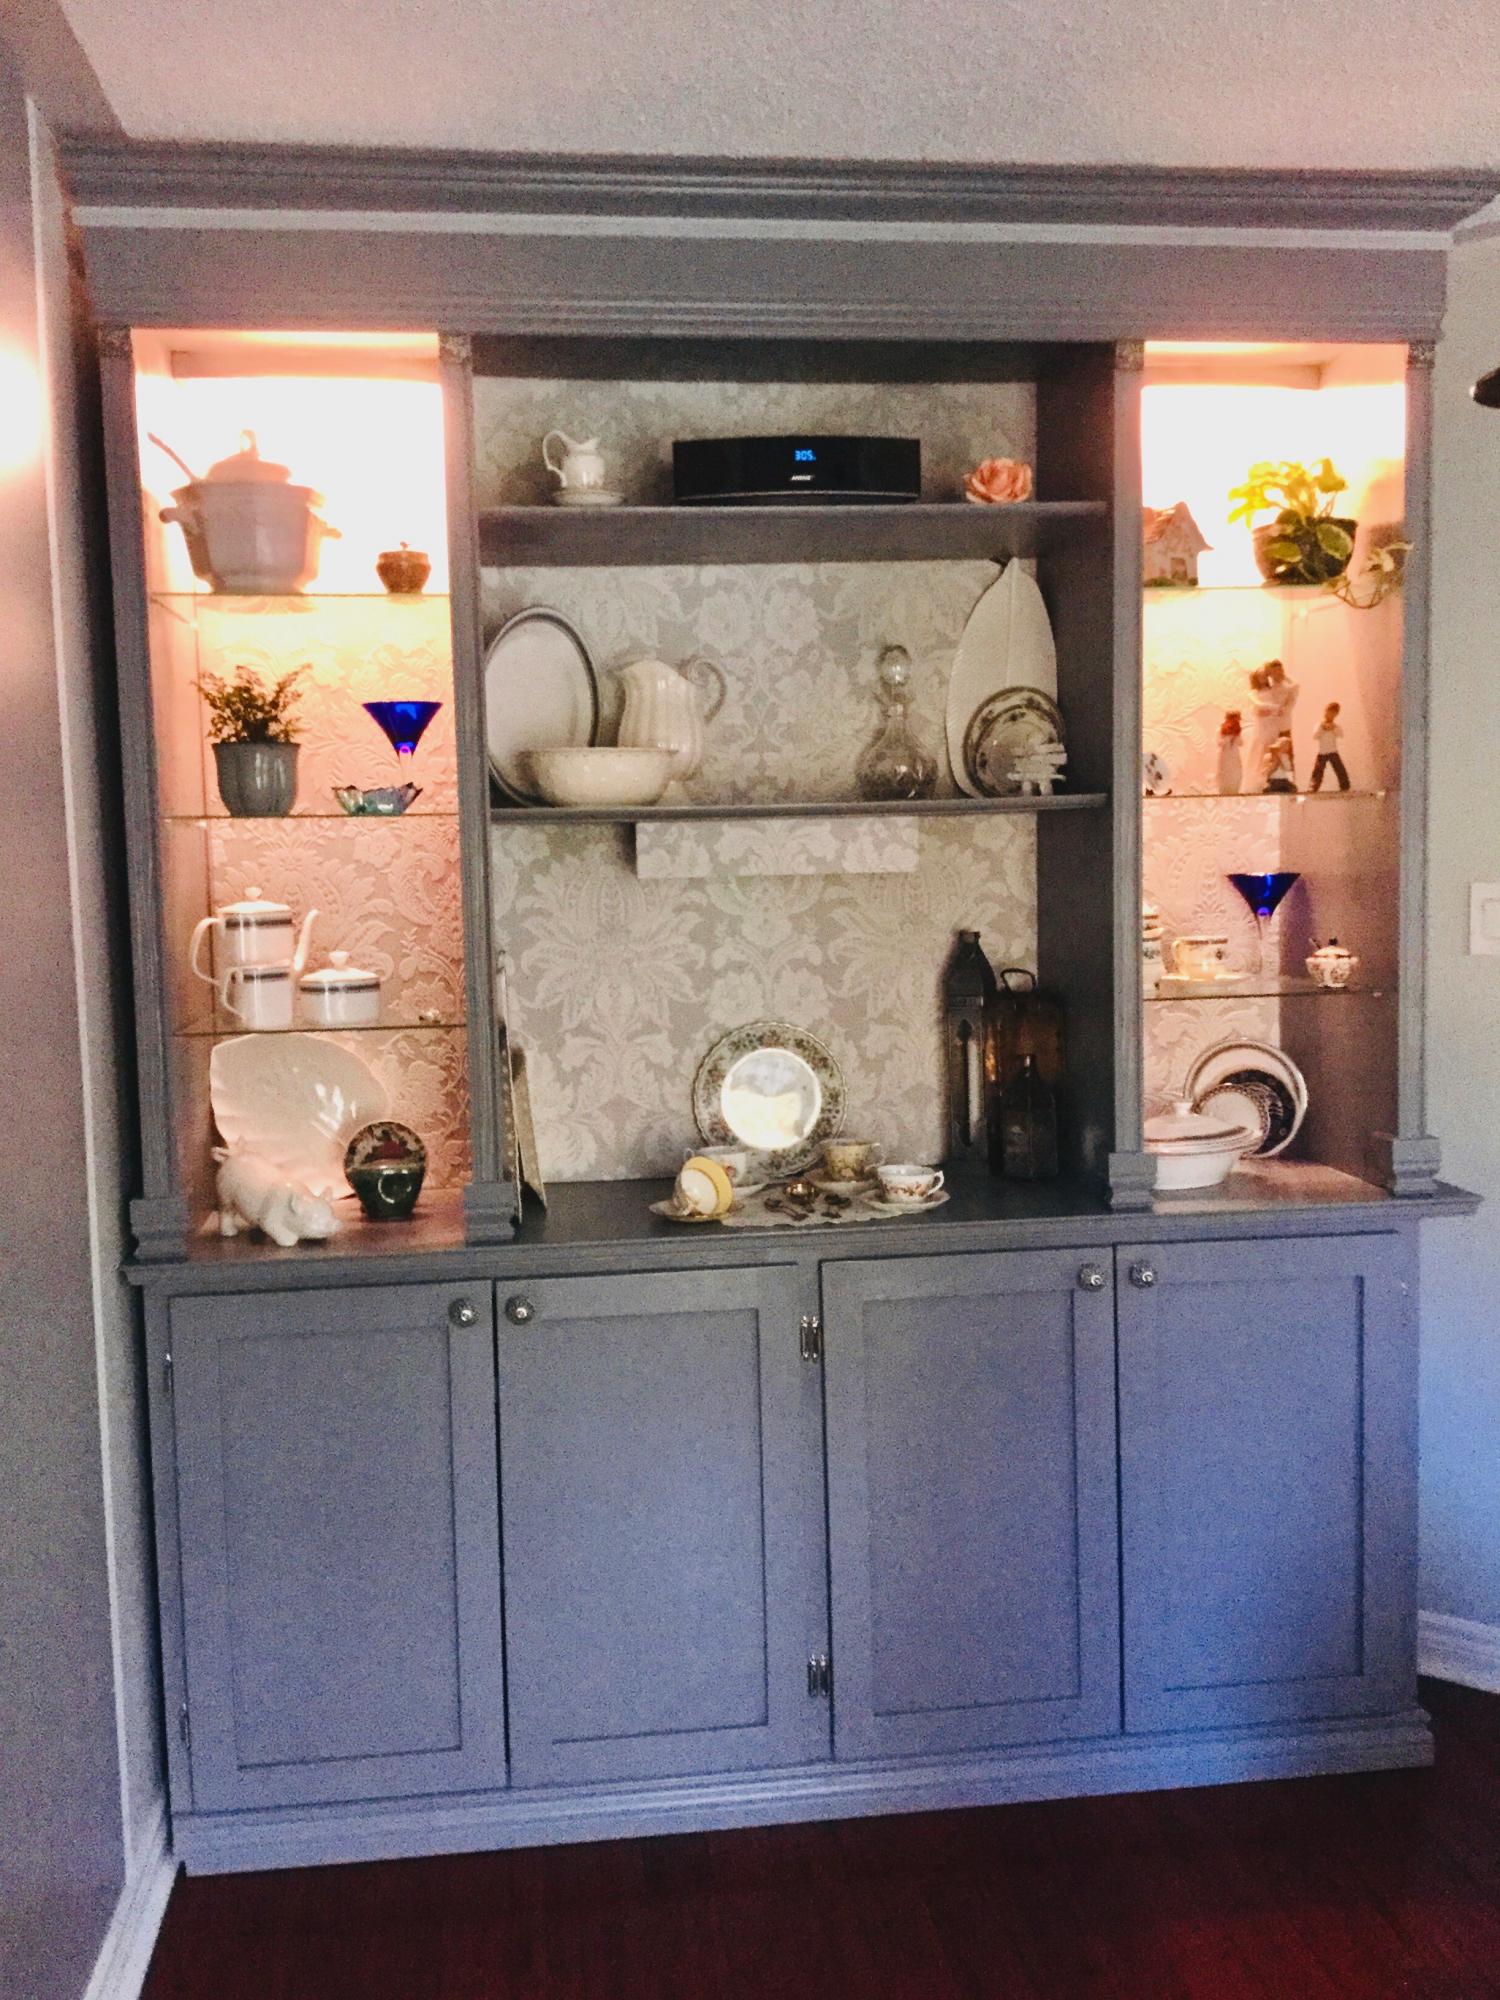
This is the largest piece I have built. I wanted a buffet and hutch to hold all my crockery. All the large pieces became the display pieces in the open shelves. Ana's plans makes it so easy to modify and build
Thu, 10/01/2020 - 19:07
I added wallpaper to the back to give it a custom look. My hubby help put some lights to finish the piece.
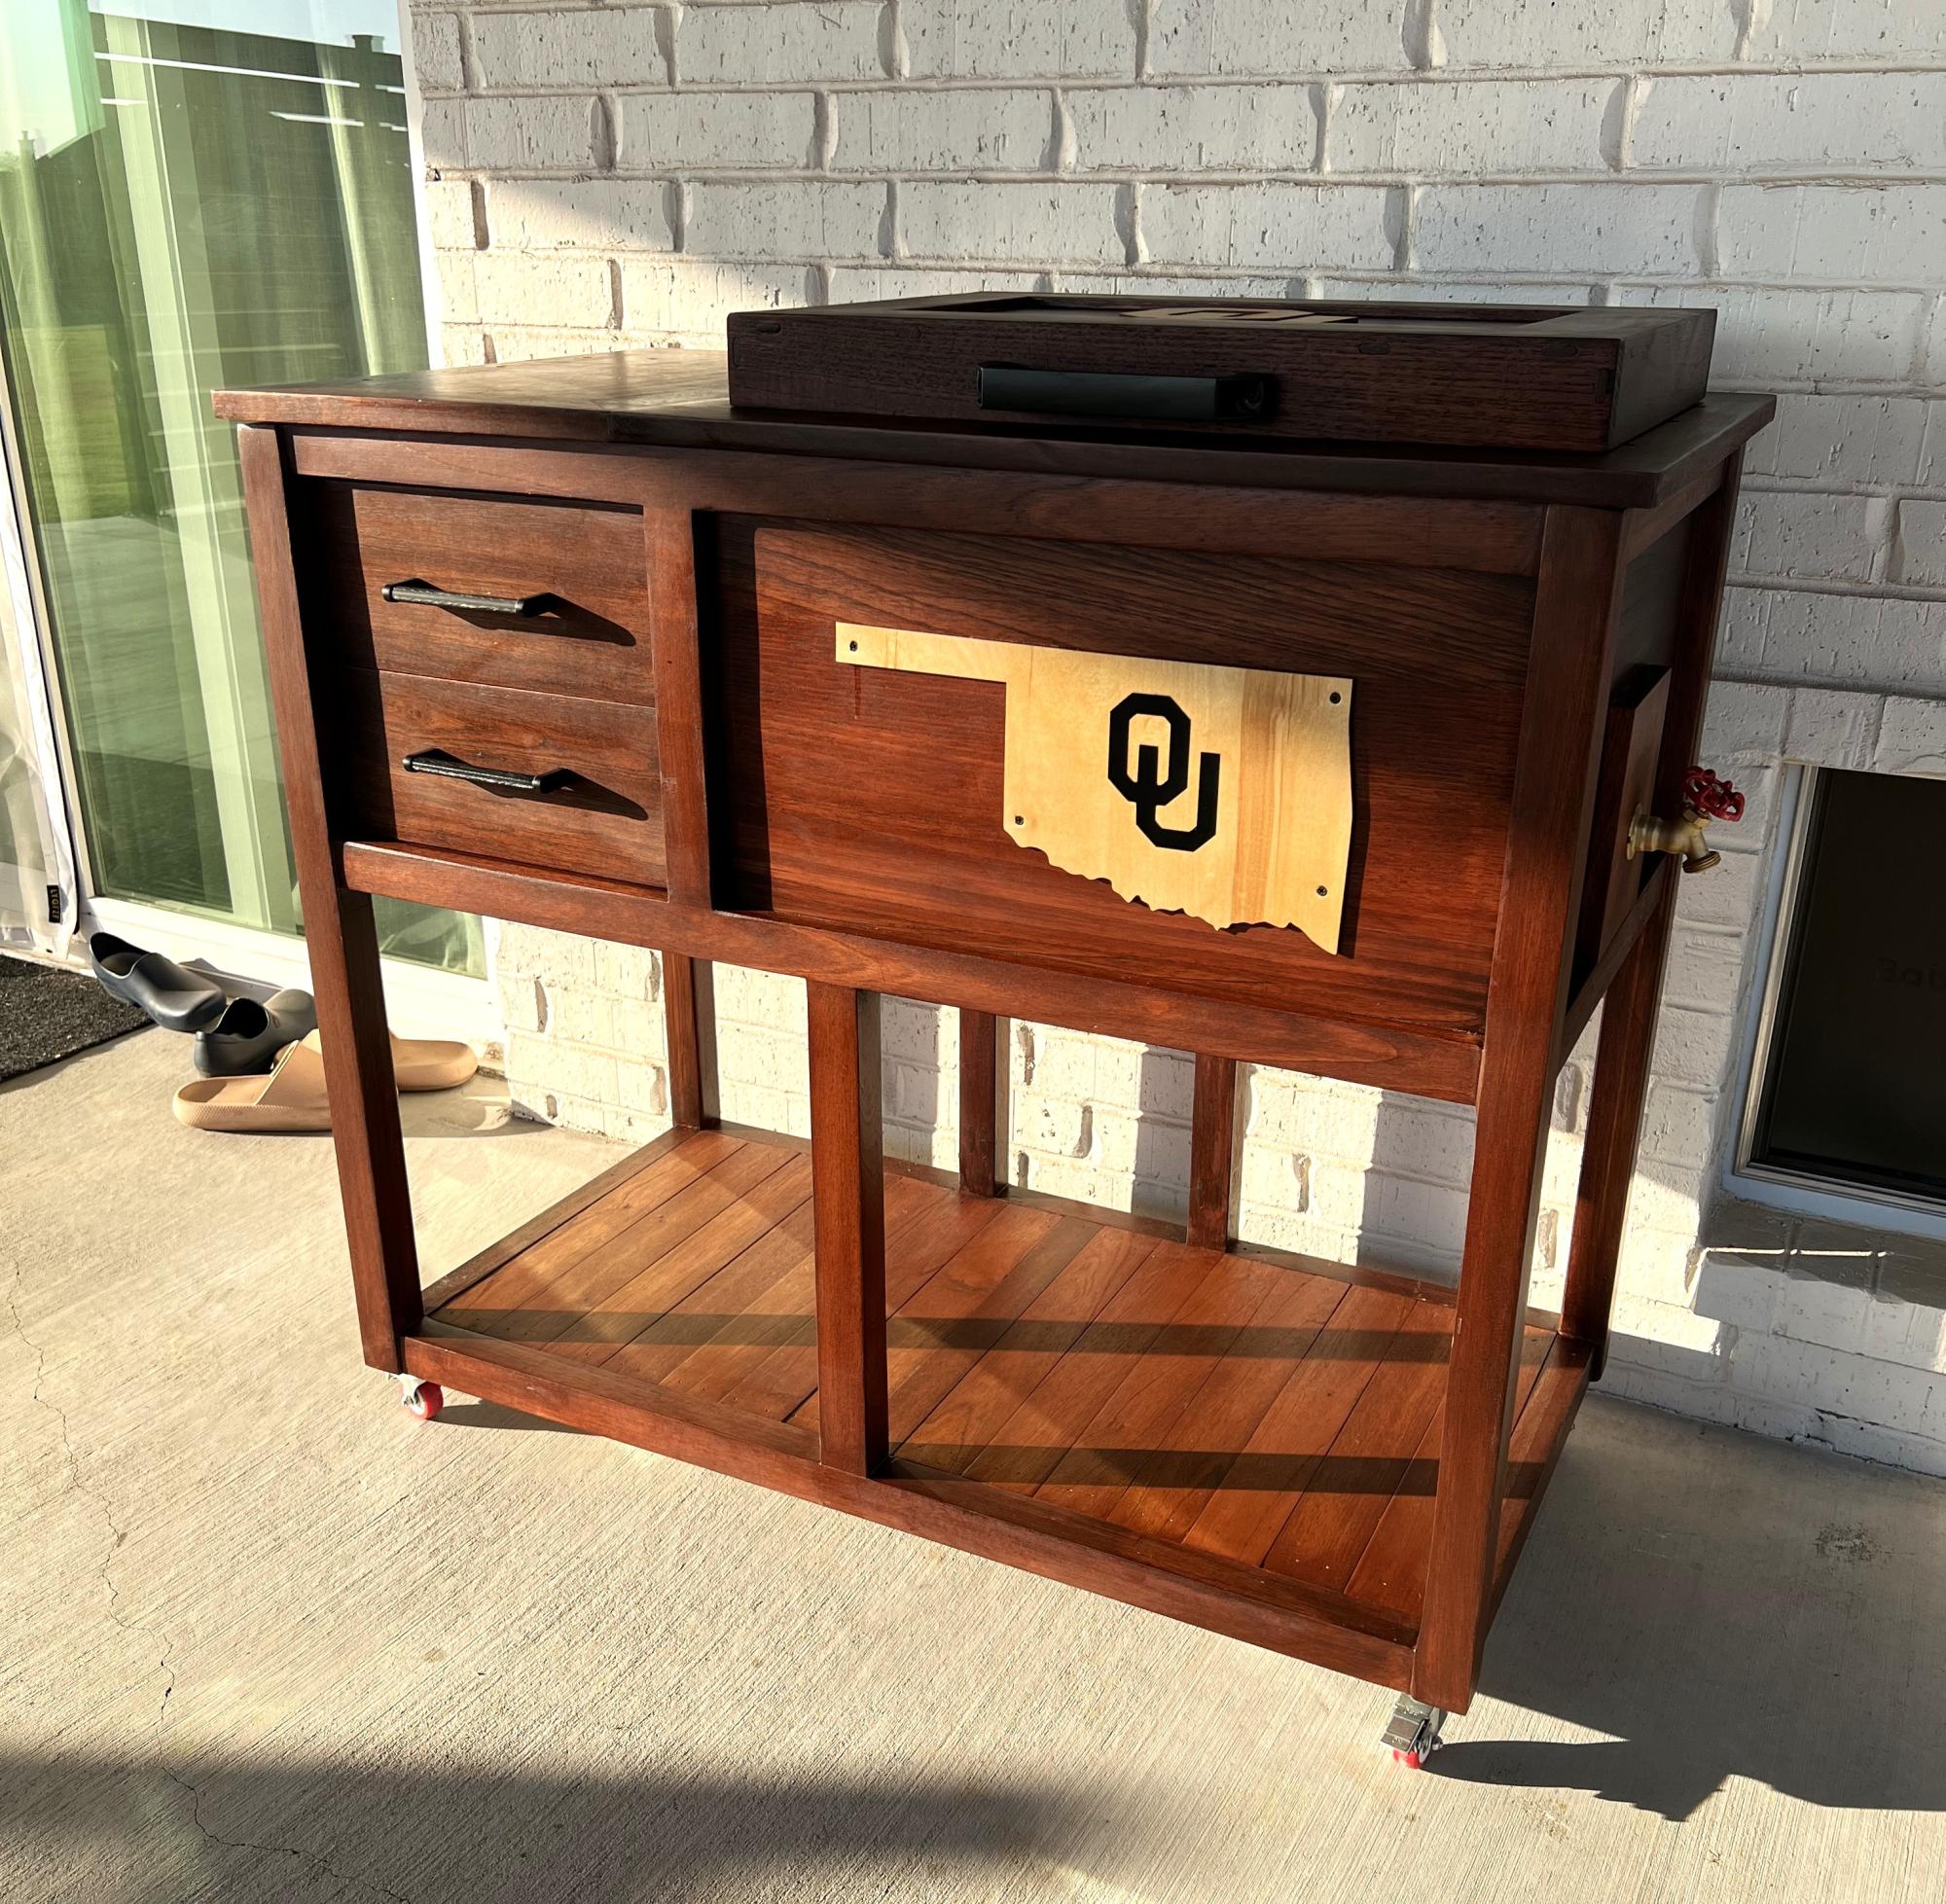
Modified the post from birds and bees. - Jay Varghese
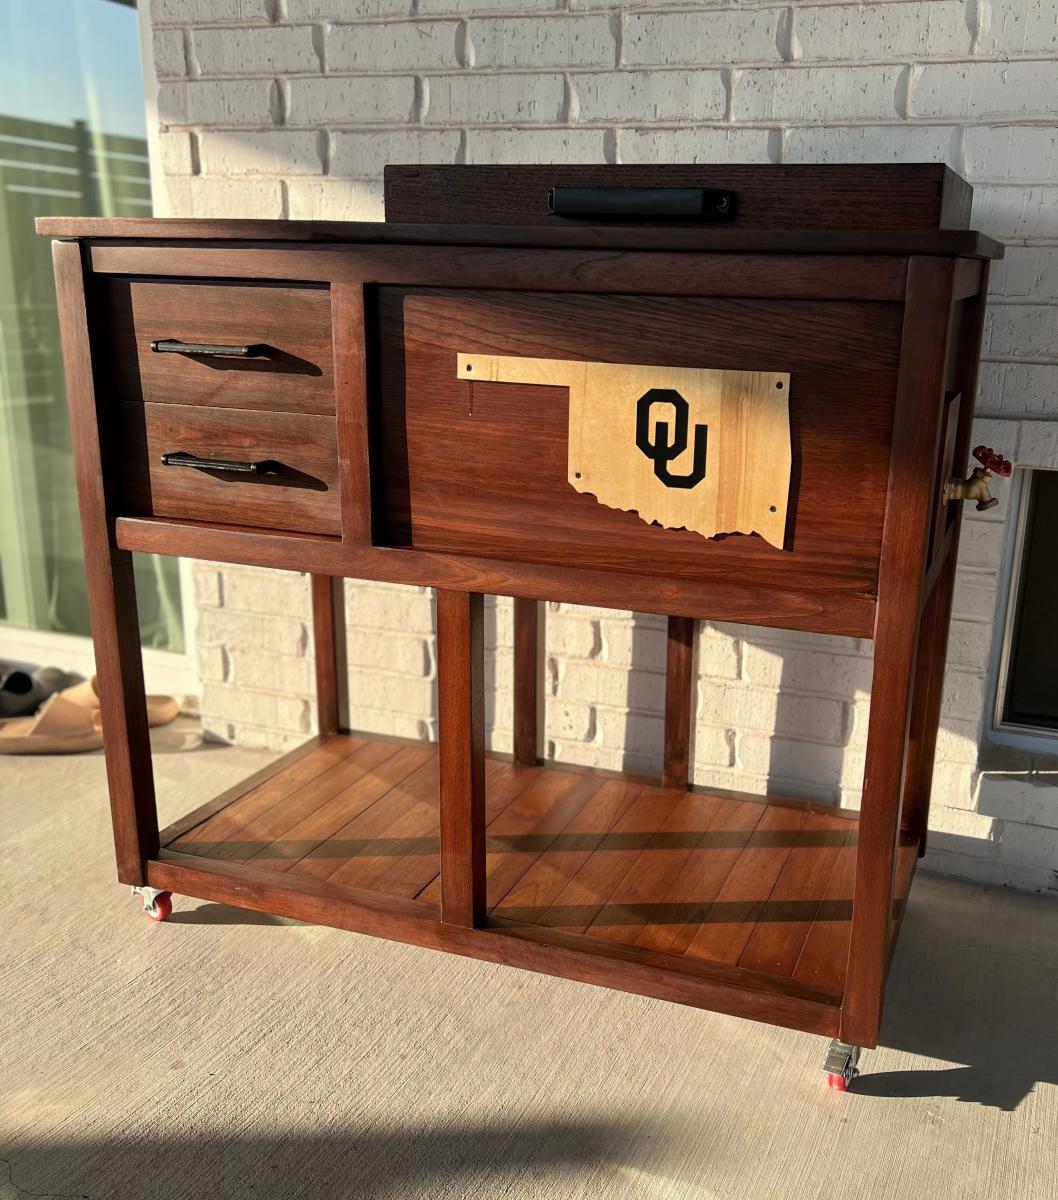
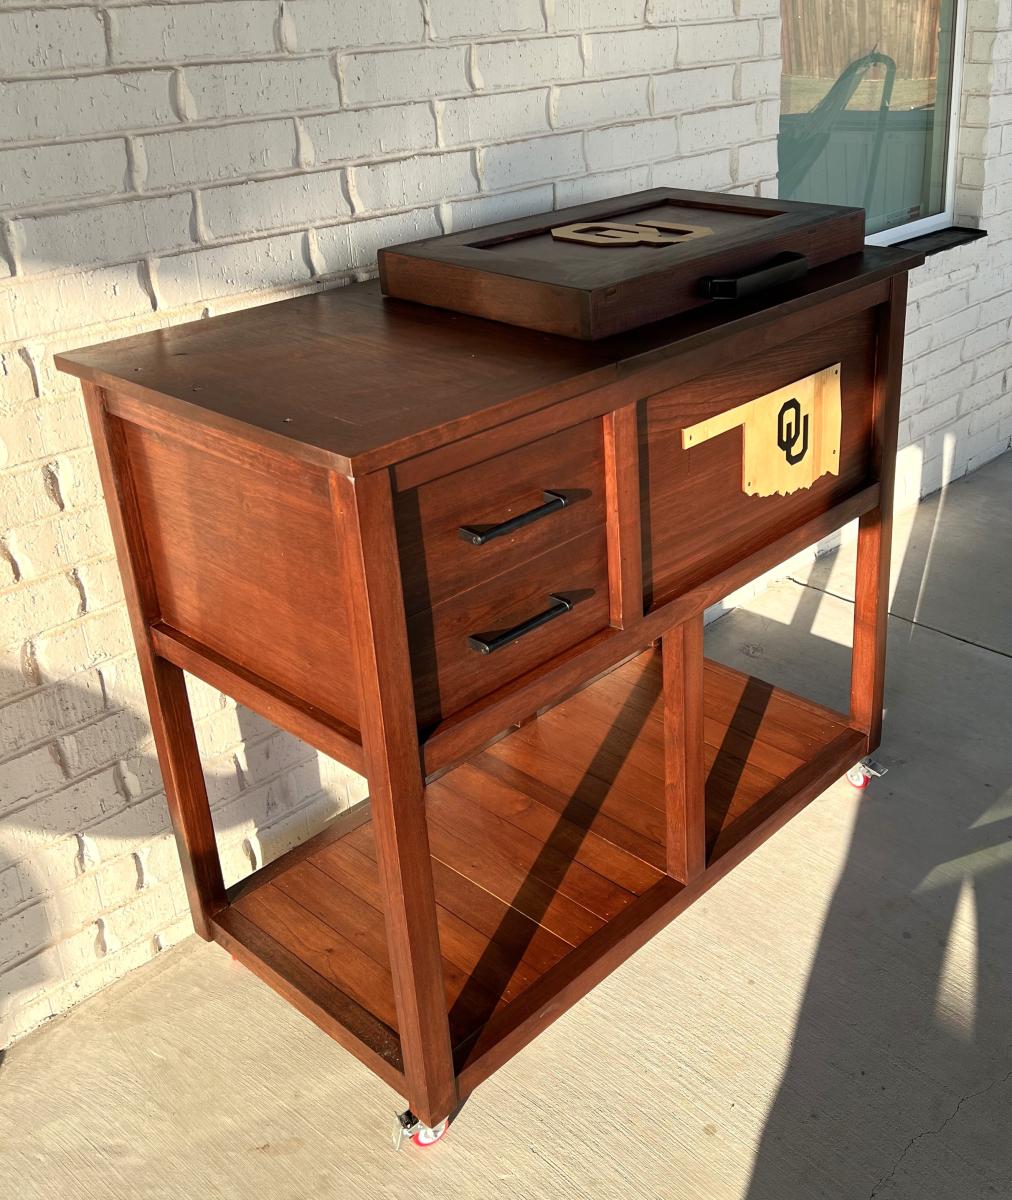
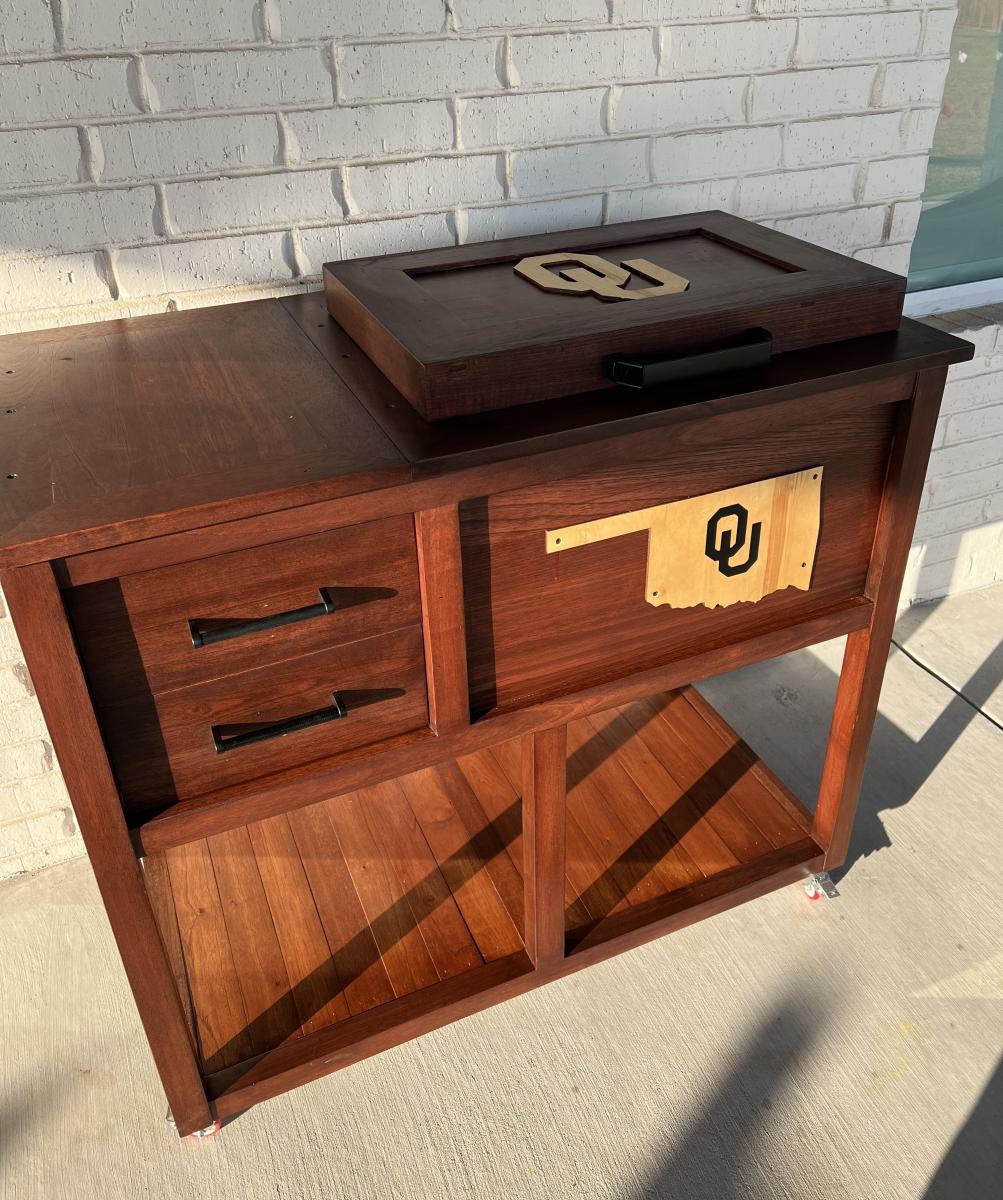
I just wanted to share the loft bed I built for my daughter based on the plans available here. I added a desk, painted an existing chair I had built to match and included pink LED lights around the inside of the bed. Thanks for everyone sharing their ideas, plans and pics..!
Fri, 08/14/2015 - 21:39
Awesome! Do you have plans up for the desk area? I would like to incorporate that similar style. Thank you.
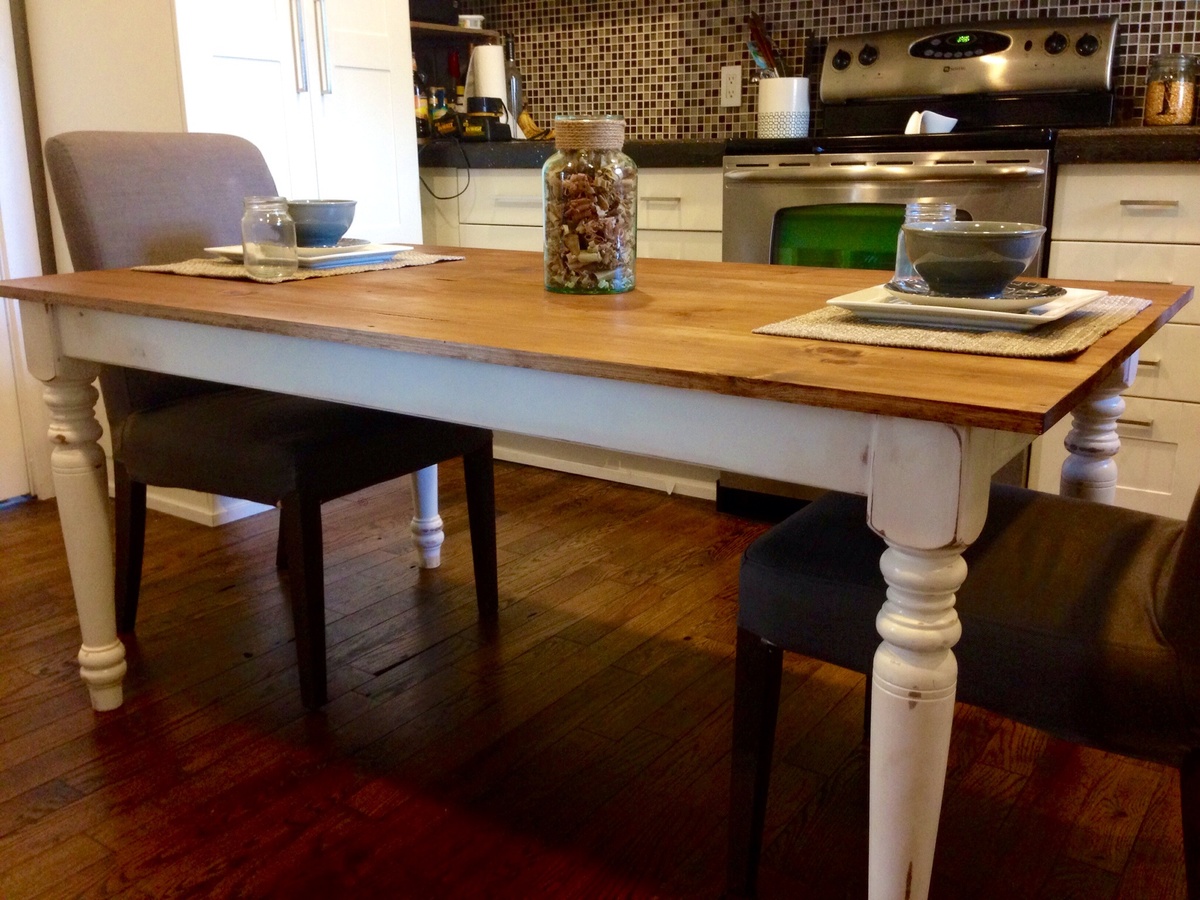
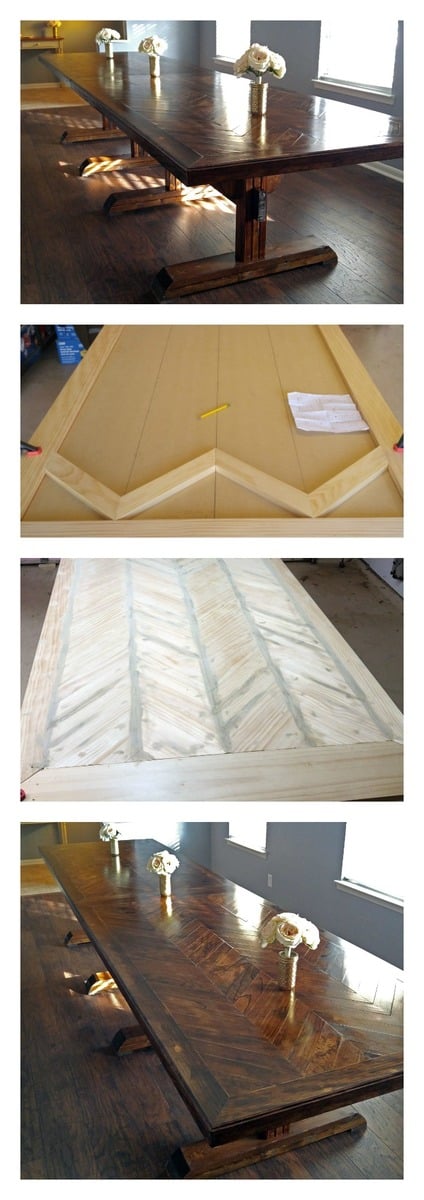
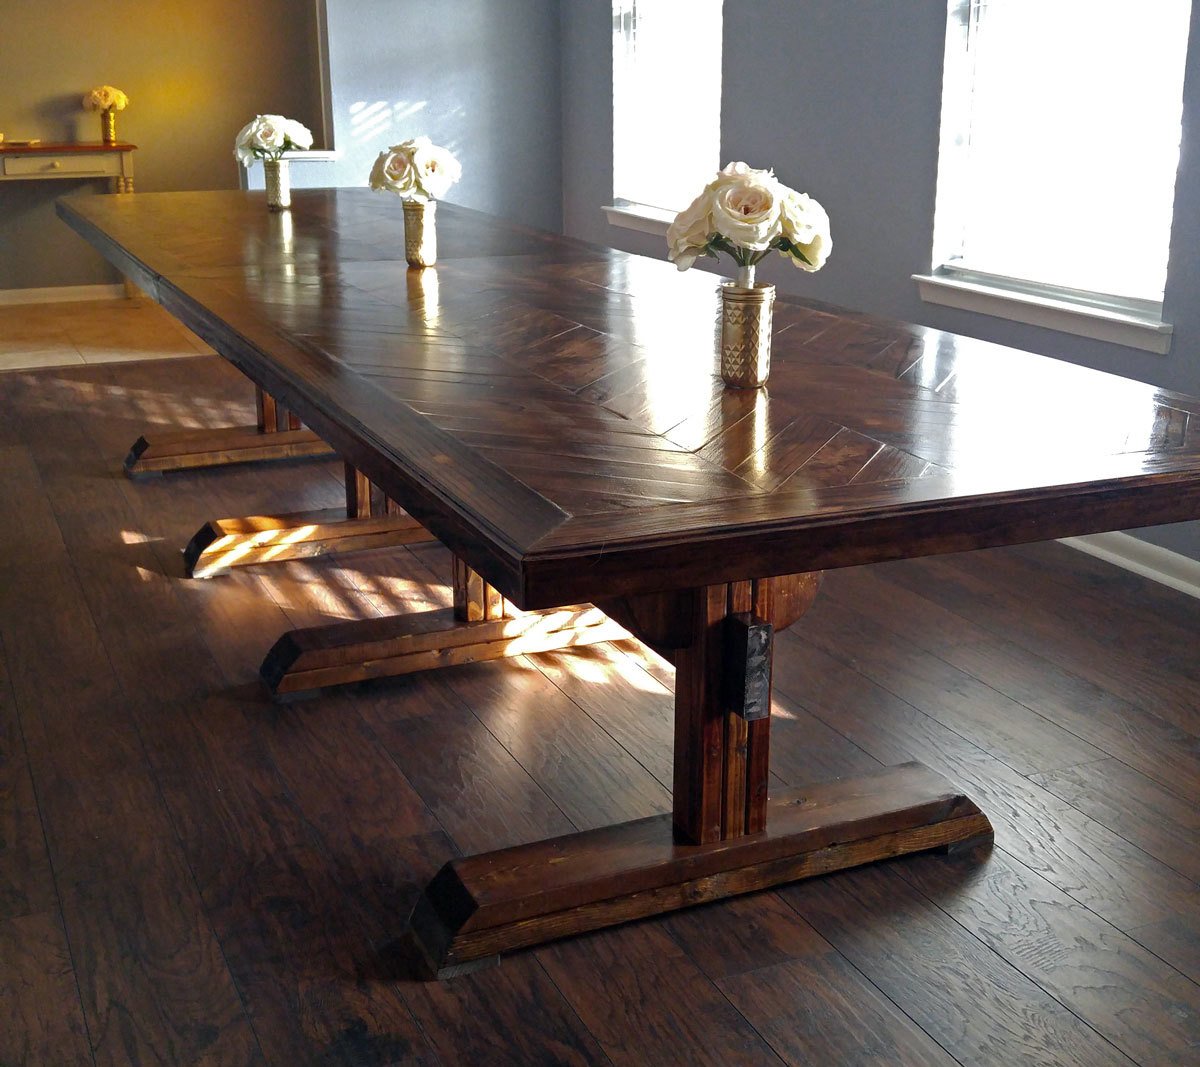
Great rustic farmhouse dining table
Fun quick project for our new house. I finished this bed in 2 days, and my wife was very happy! I stained it in Jacobean (Minwax), and finished with a clear satin poly.
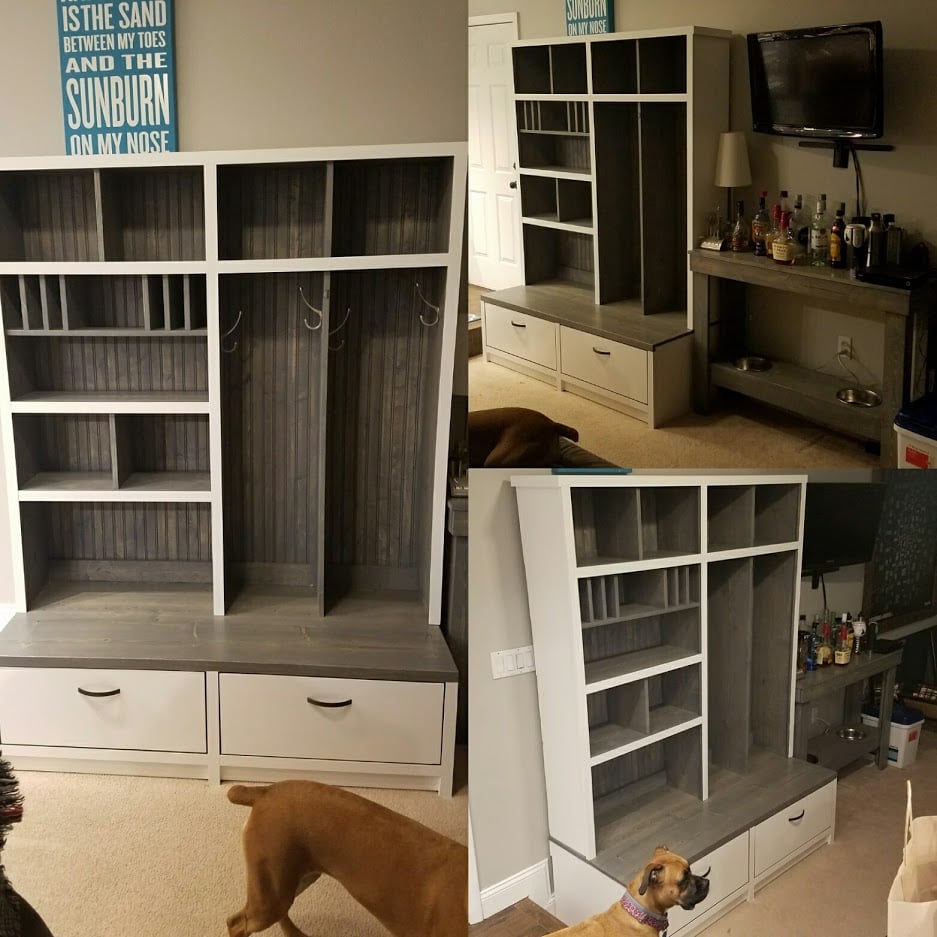
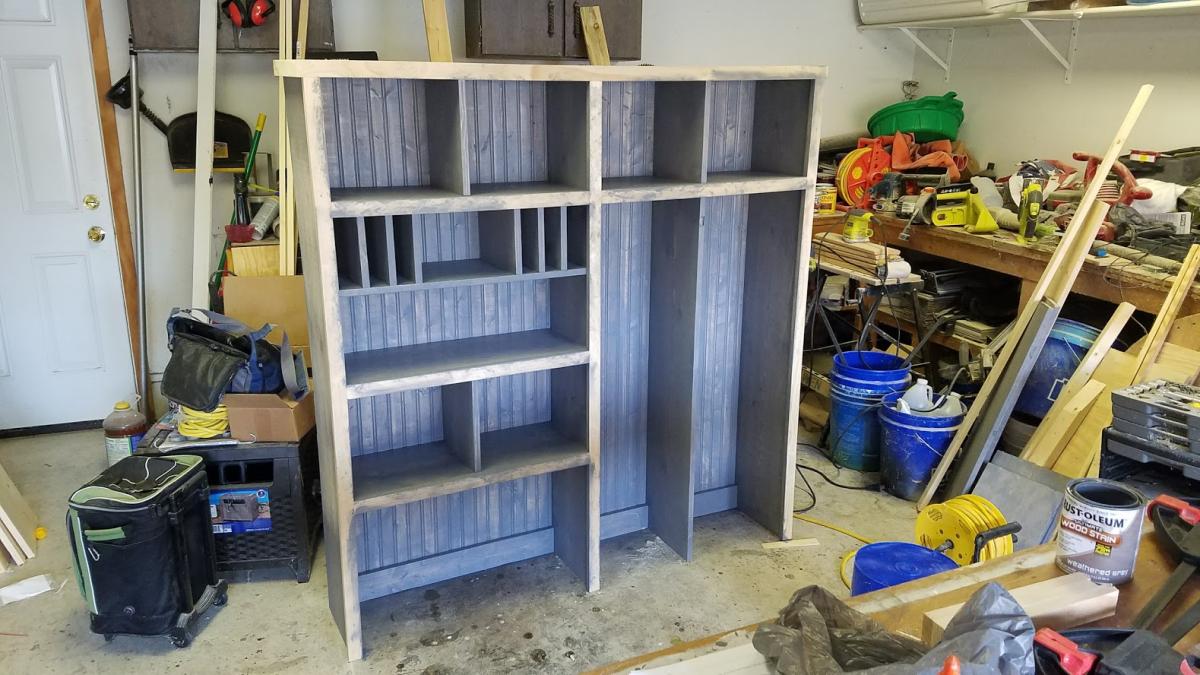
Made the hutch 1ft taller
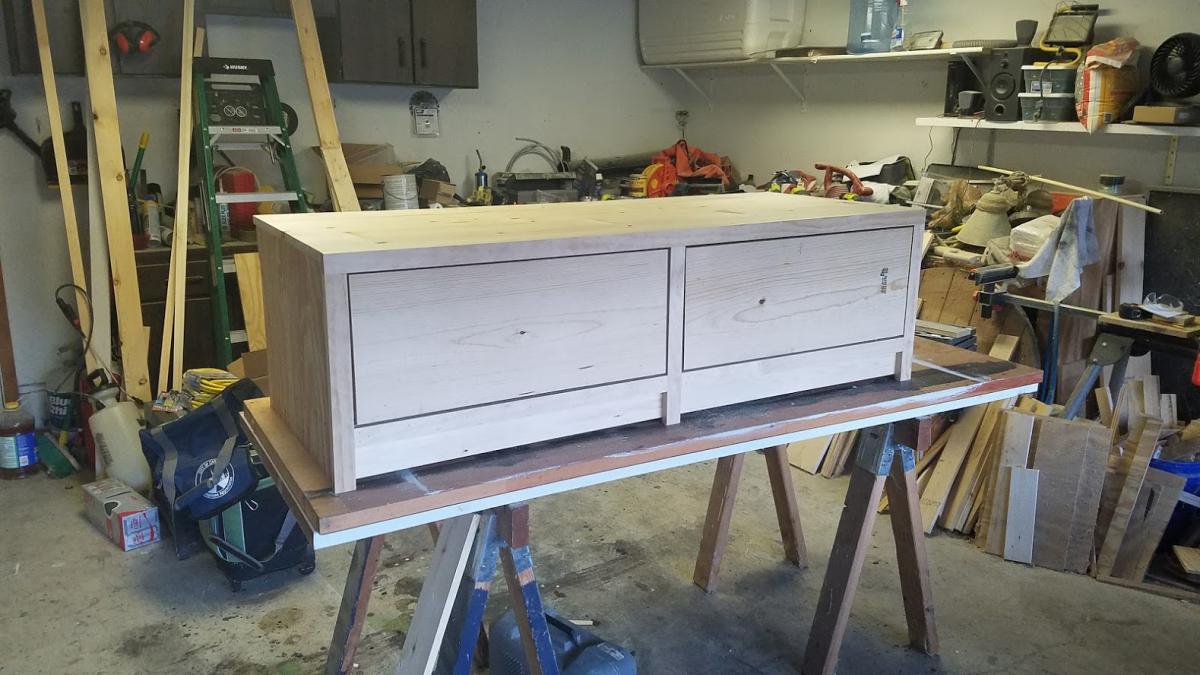
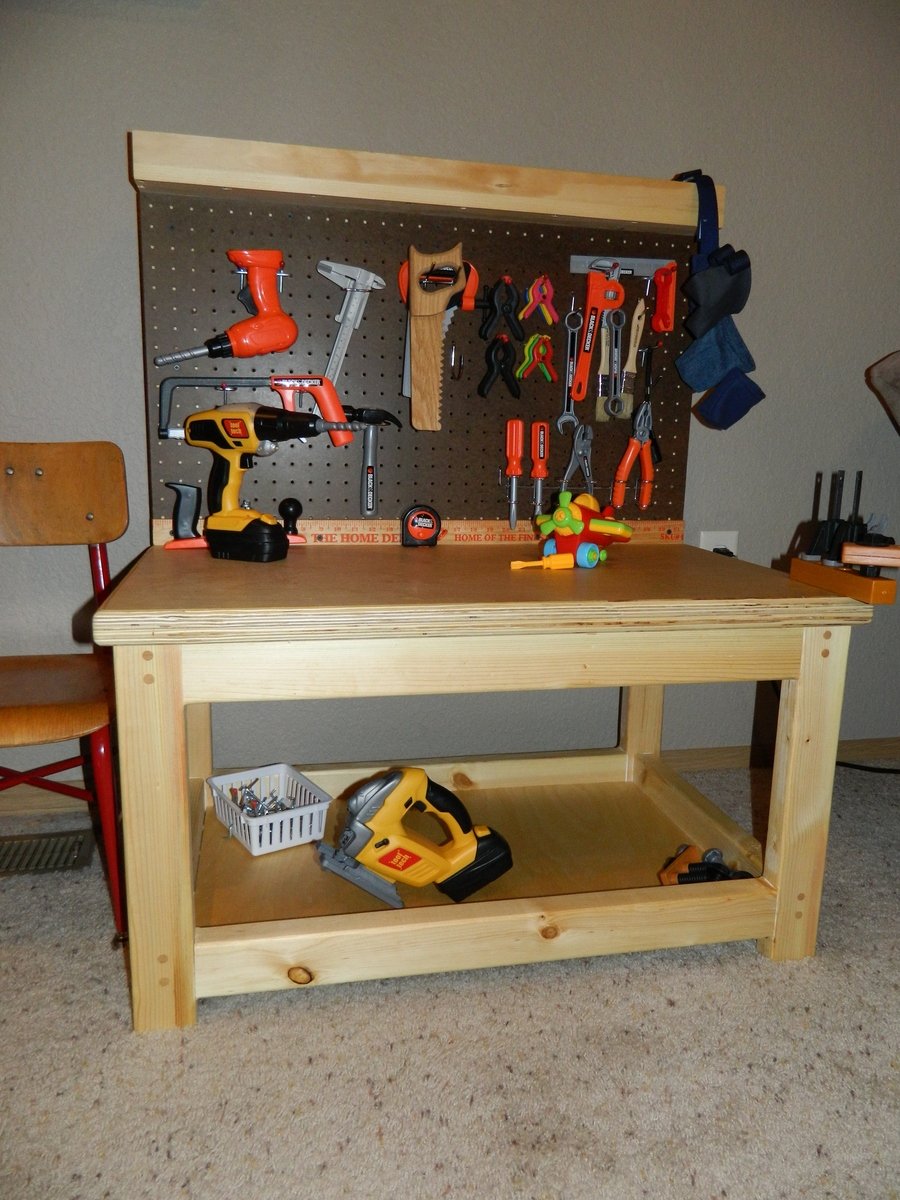
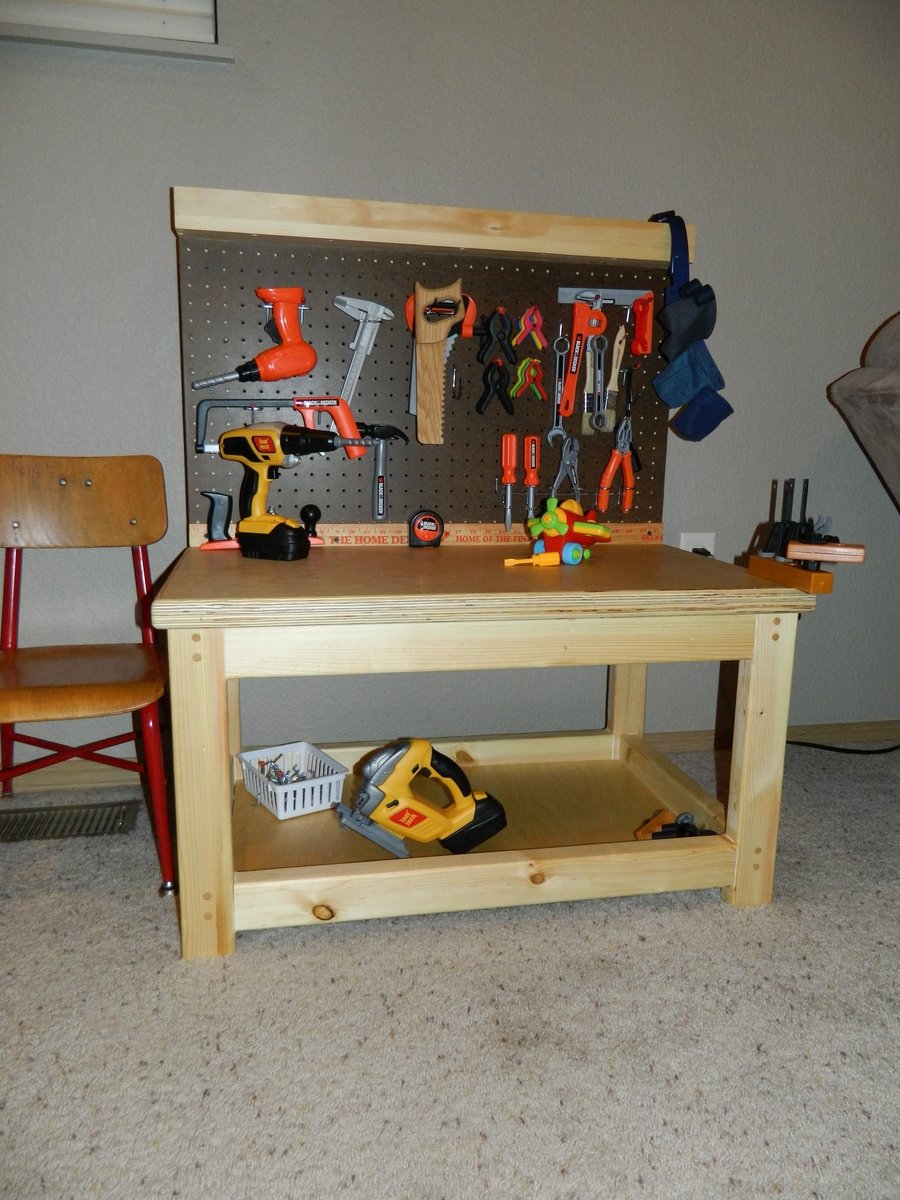
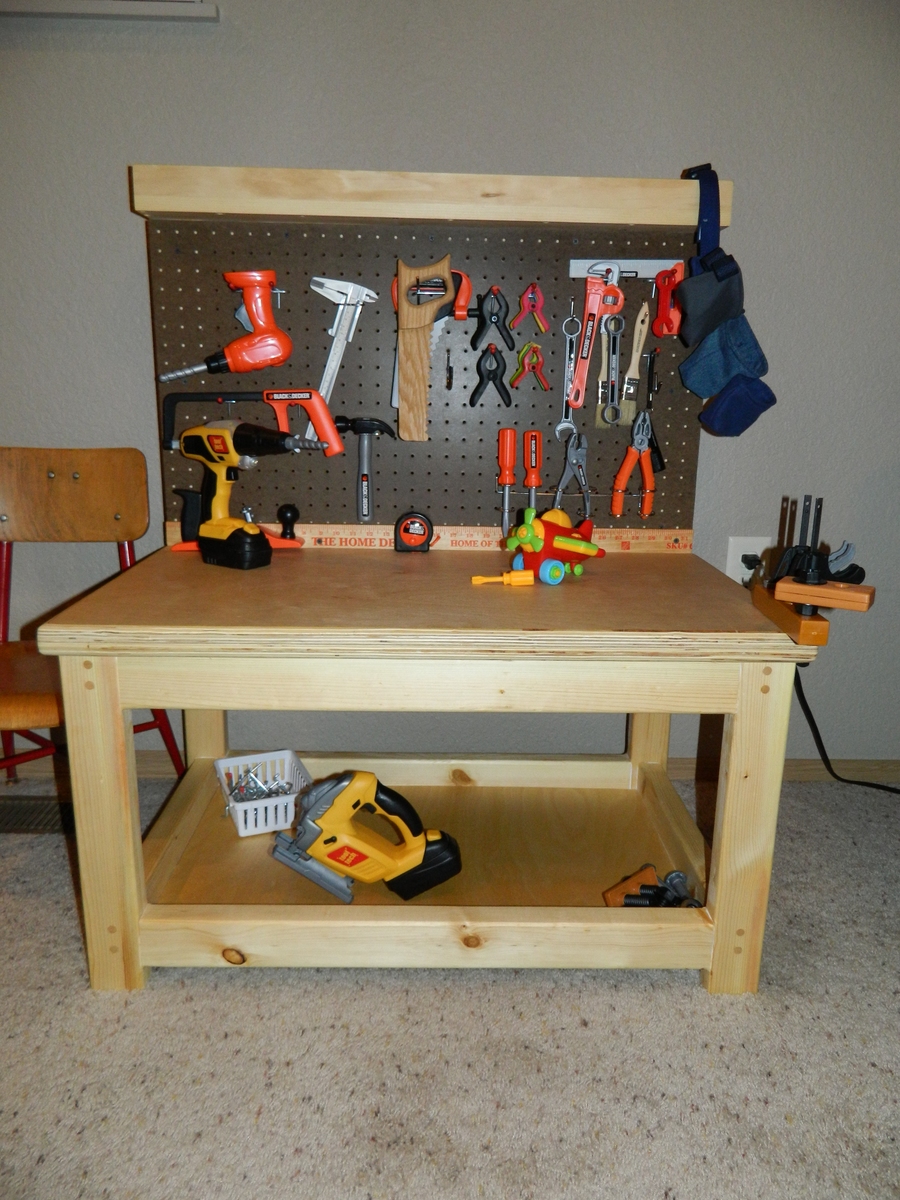
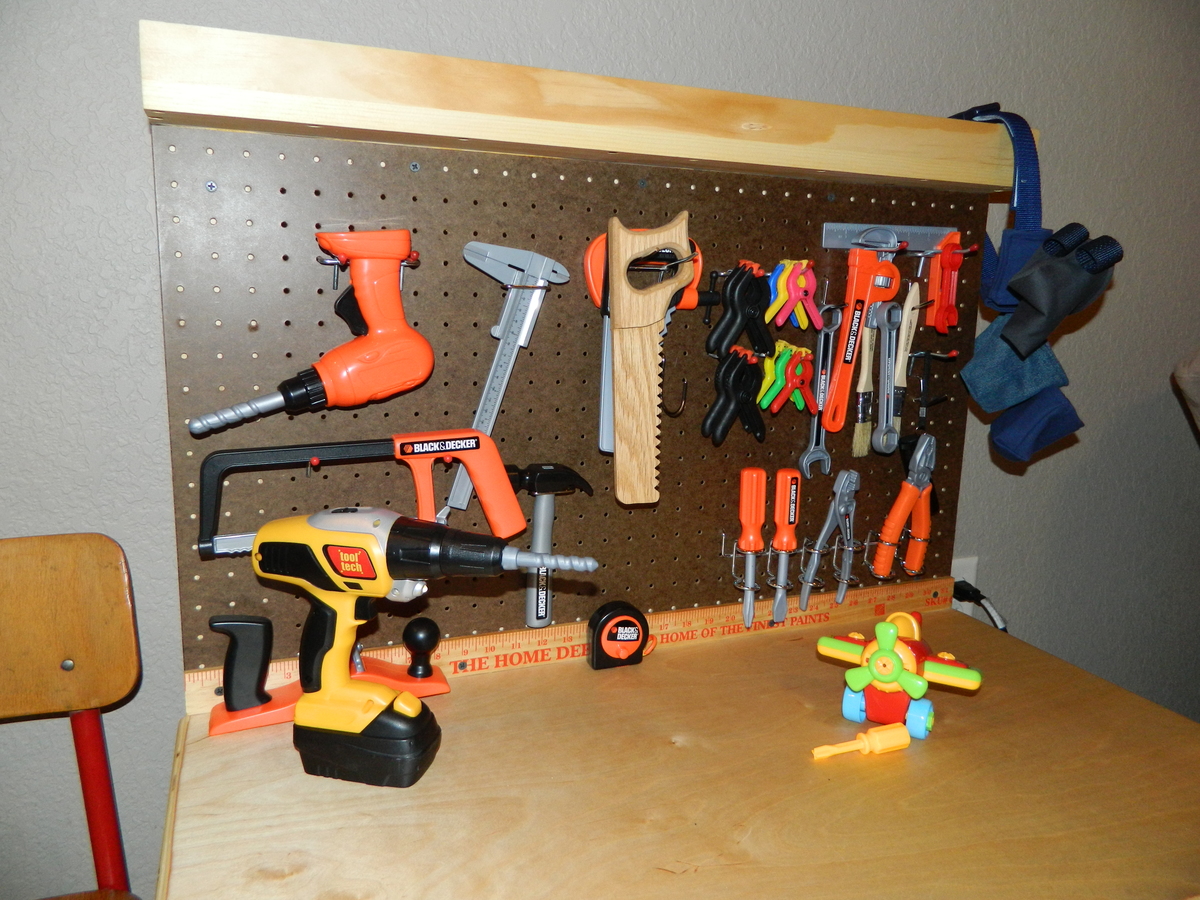
My son loves to be in the shop with me. For Christmas I thought he would really like his own workbench with some tools that he sees me use. He really gravitates toward the clamps and my drill. I lucked out and found a fun drill that he really enjoys... "just like Daddy's!" I hope it serves him well for years to come.
The frame is joined with glue and screws. The screw holes are filled with contrasting dowels and cut flush. The top is 2 pieces of 3/4" birch laminated together. I rounded over all the edges with 1/4" roundover bit in the laminate router. The top is attached with pocket screws.
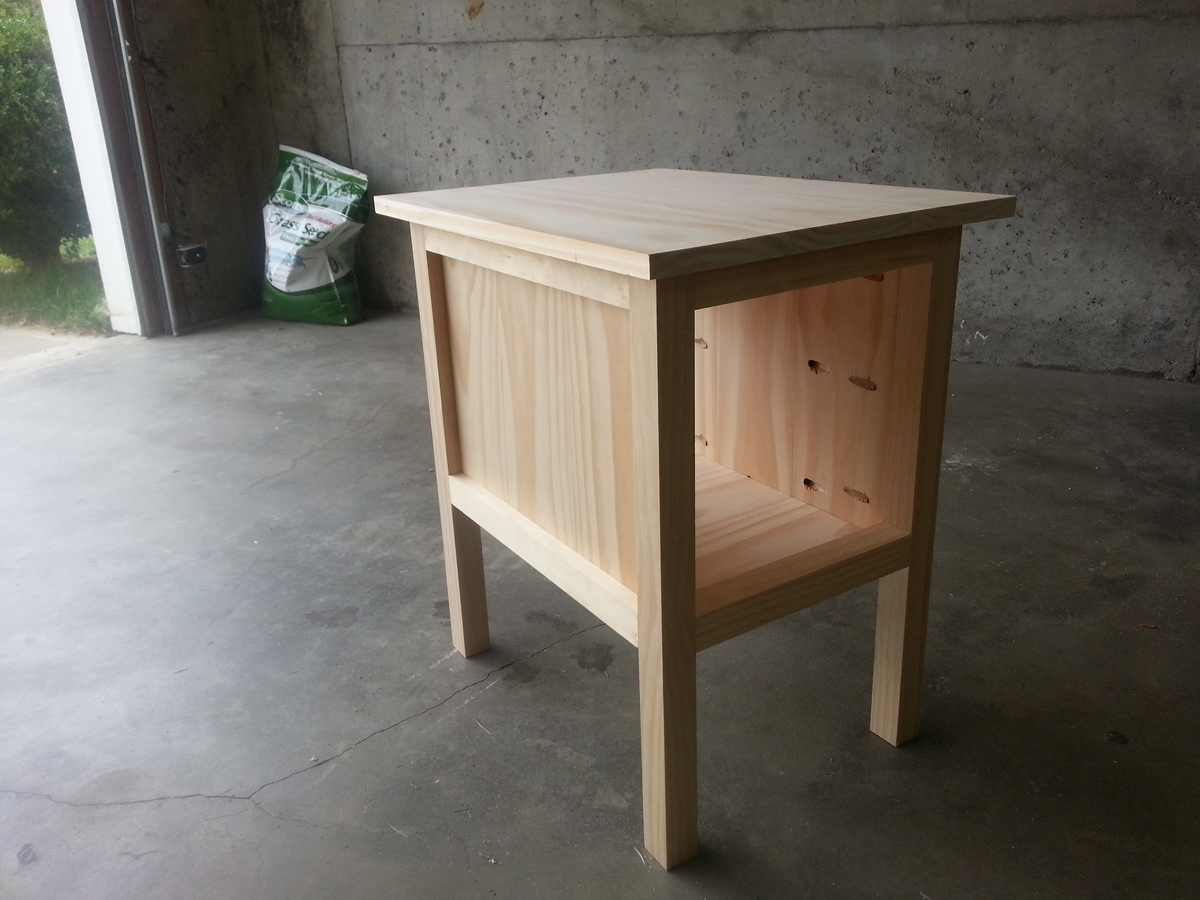
Fun little project, think I used too many pocket holes, they are really visible, all well, take what you learn.
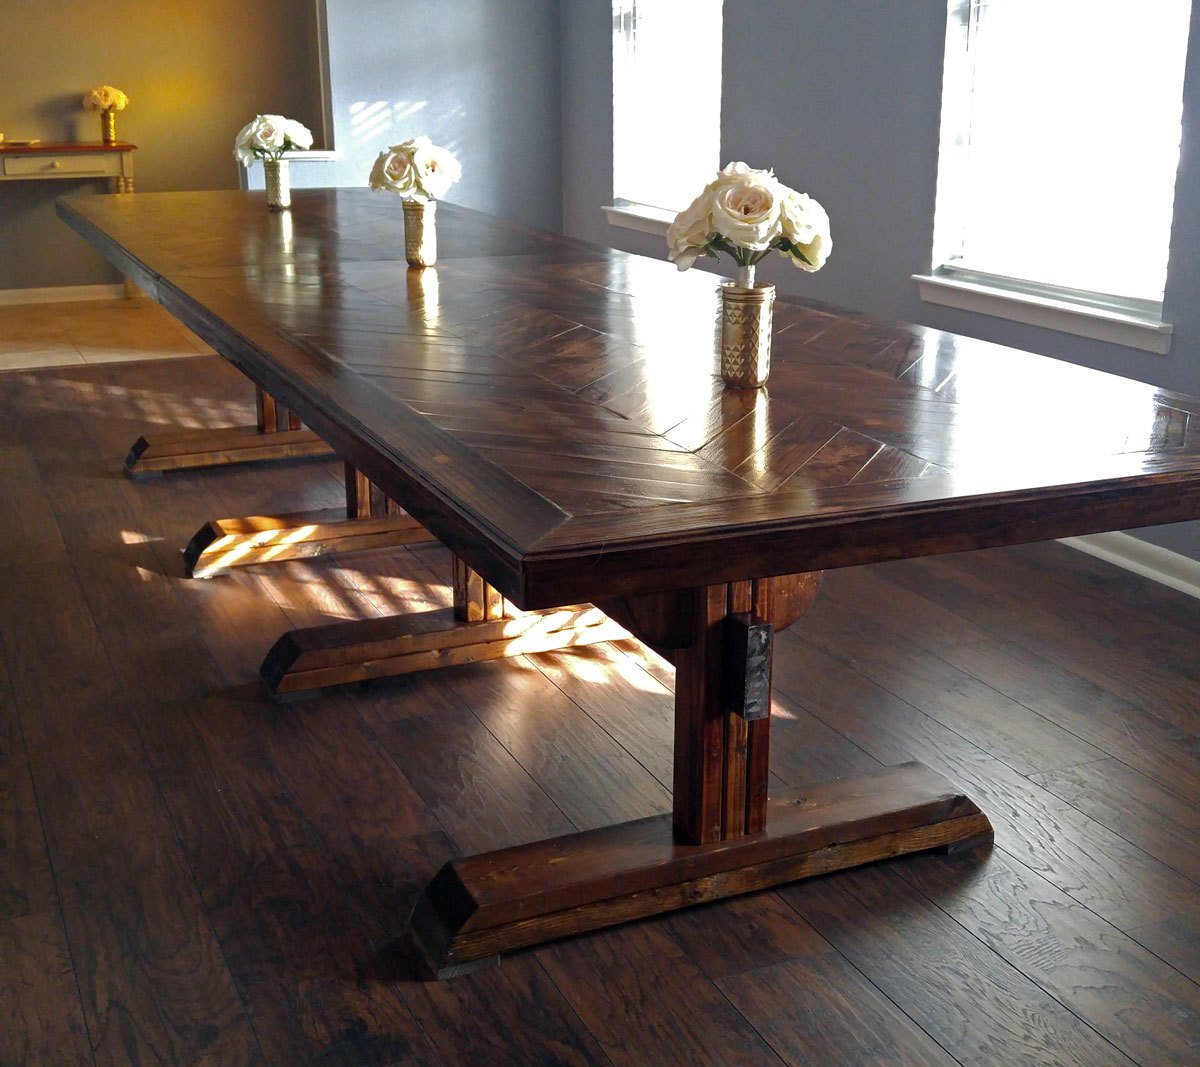
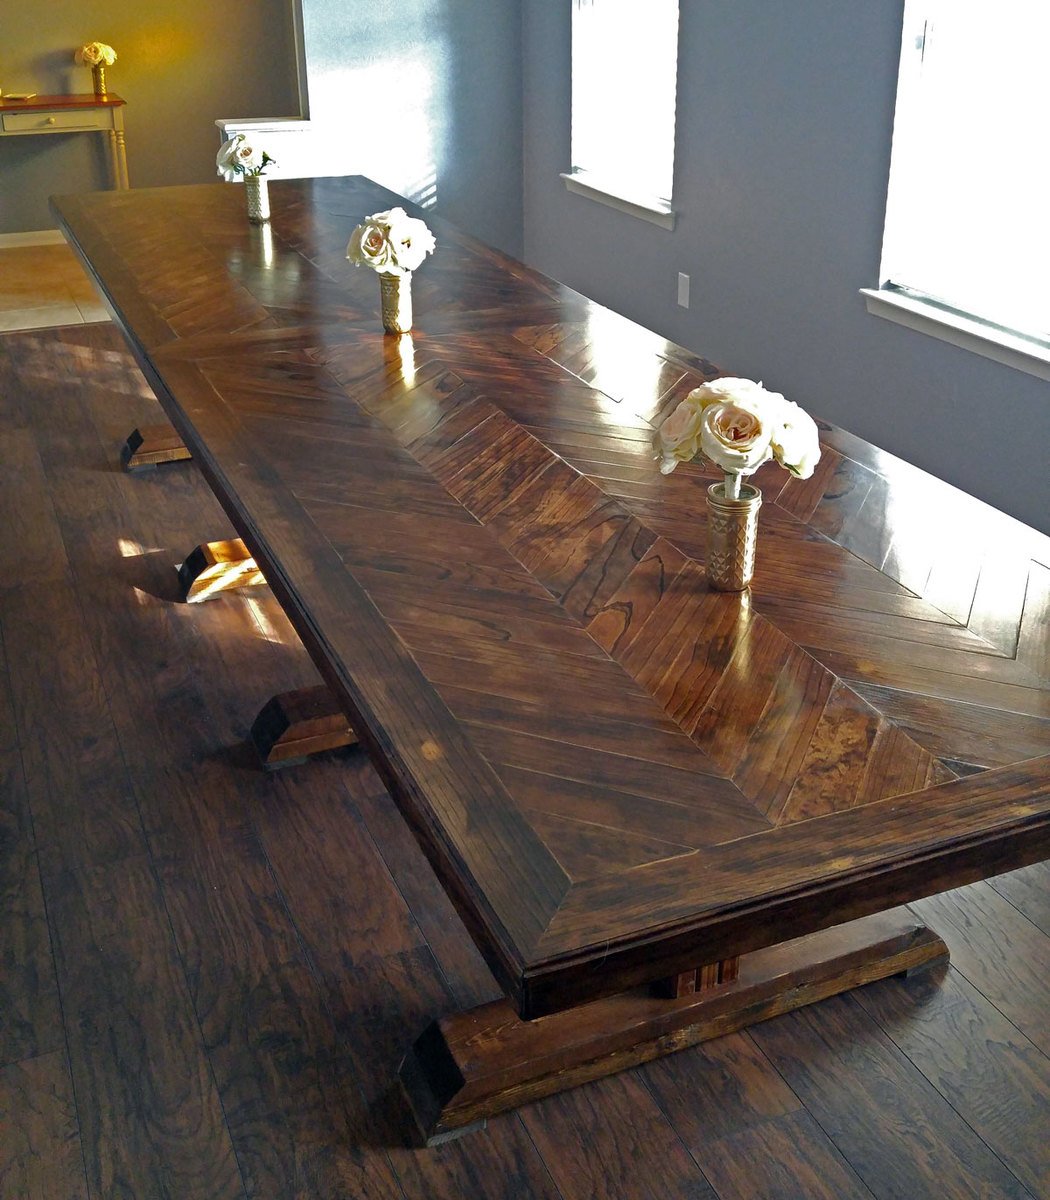
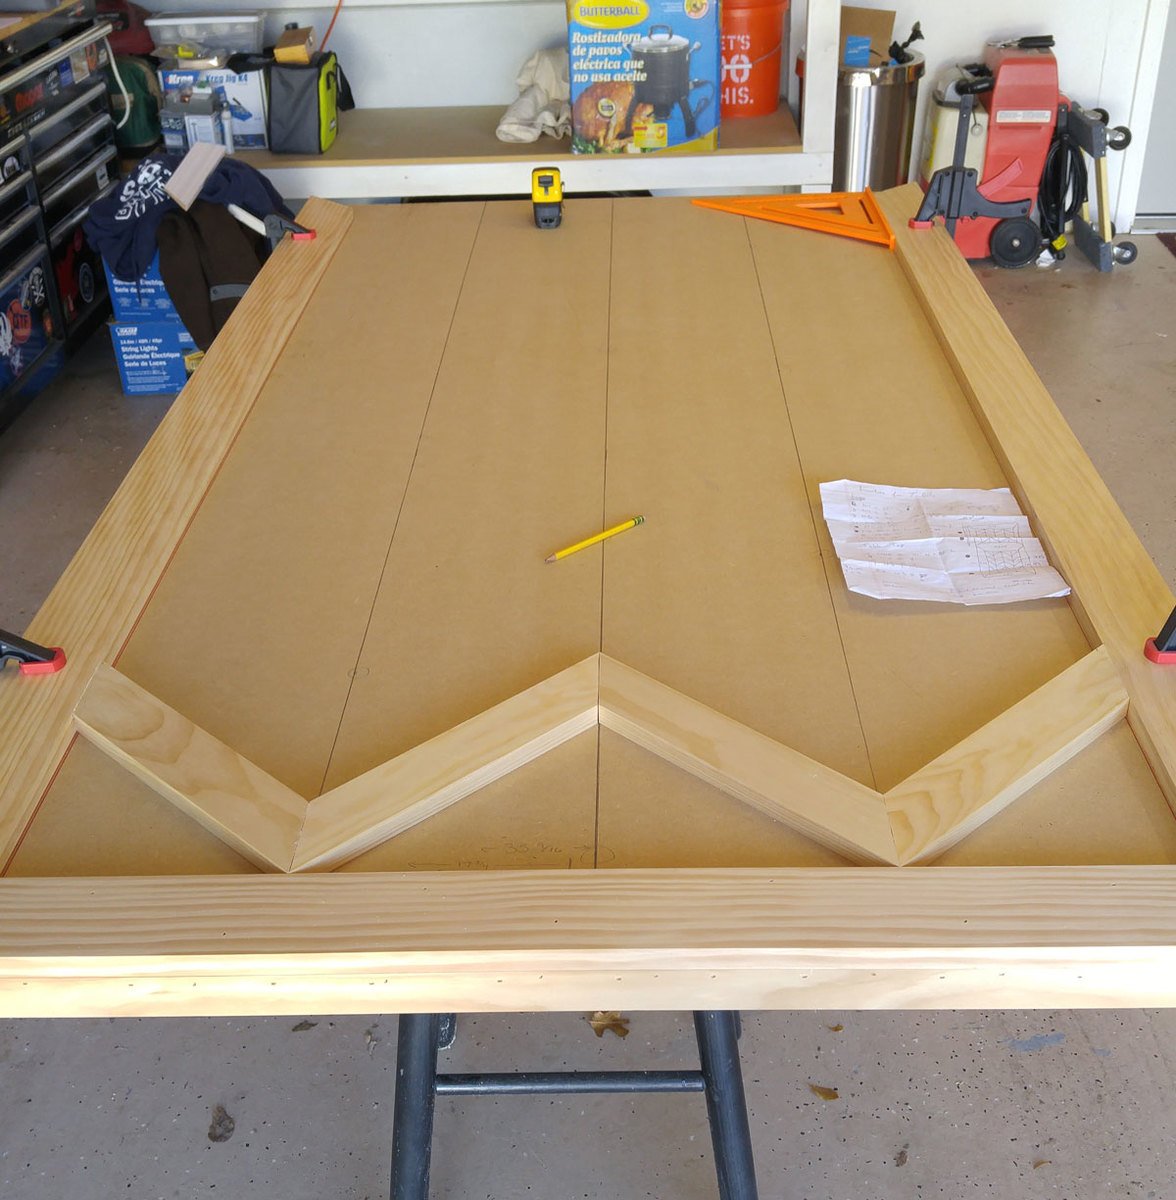
Thanks for the wonderful plans! This is my 2nd Ana White build (traditional turned leg, pottery barn desk). I used the legs from this build and then leveraged some tips from another blog for the herringbone top using 2 sheets of MDF as a base (http://www.southernrevivals.com/2014/06/tile-top-herringbone-table-make…). My herringbone table took some planning, as it is over 13' long. Now all of my family can eat together when we get together!
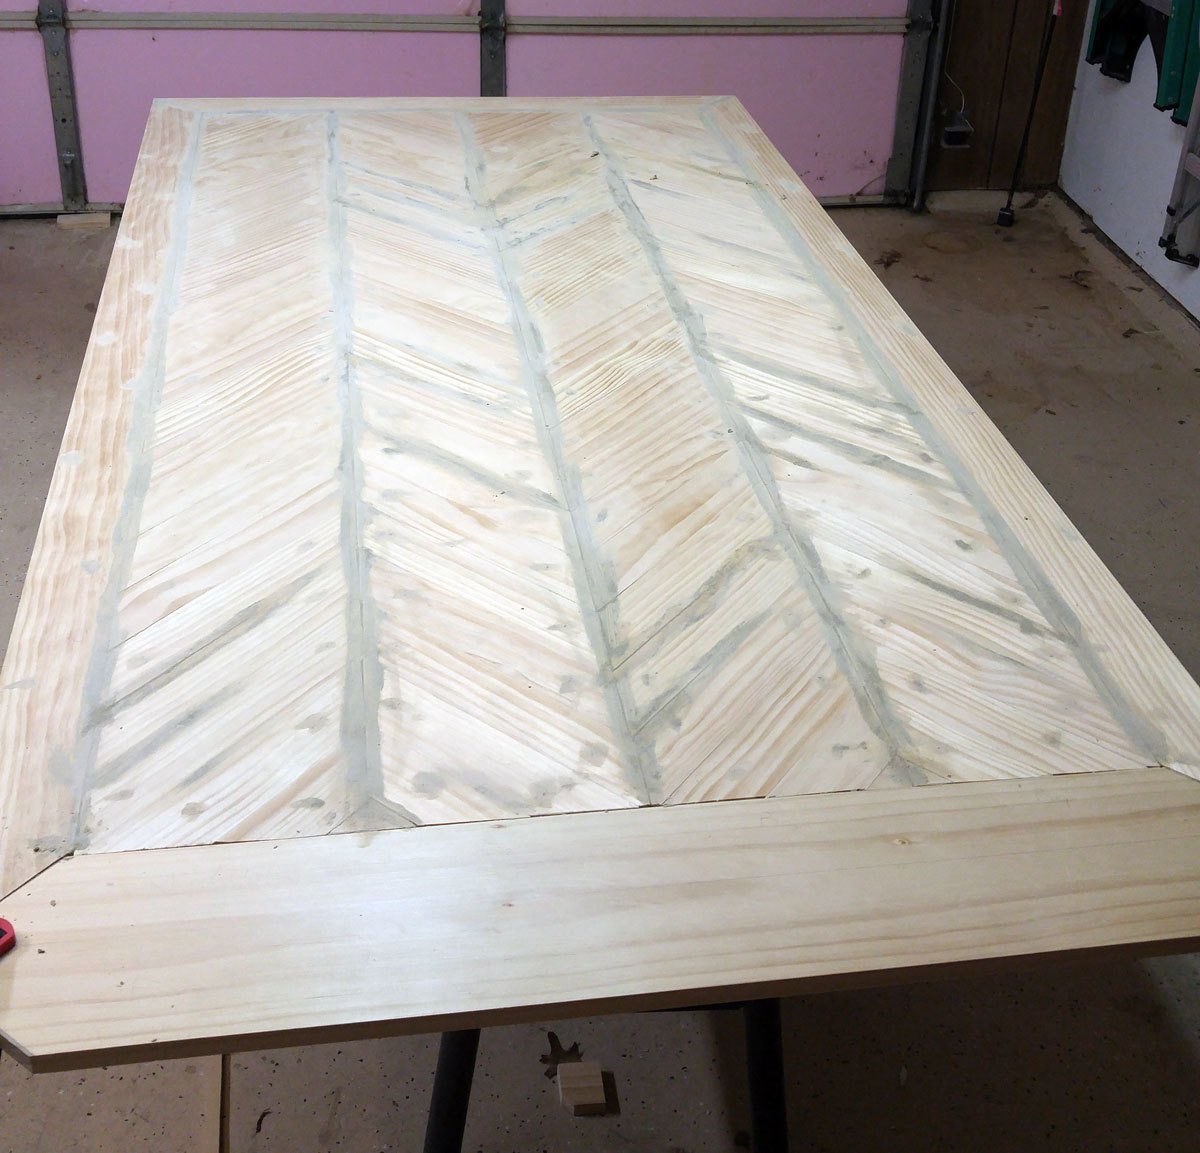
Wed, 04/29/2020 - 16:56
This is absolutely gorgeous! I love the unique top you did with the herringbone pattern. I've been debating on trying something similar myself 😁
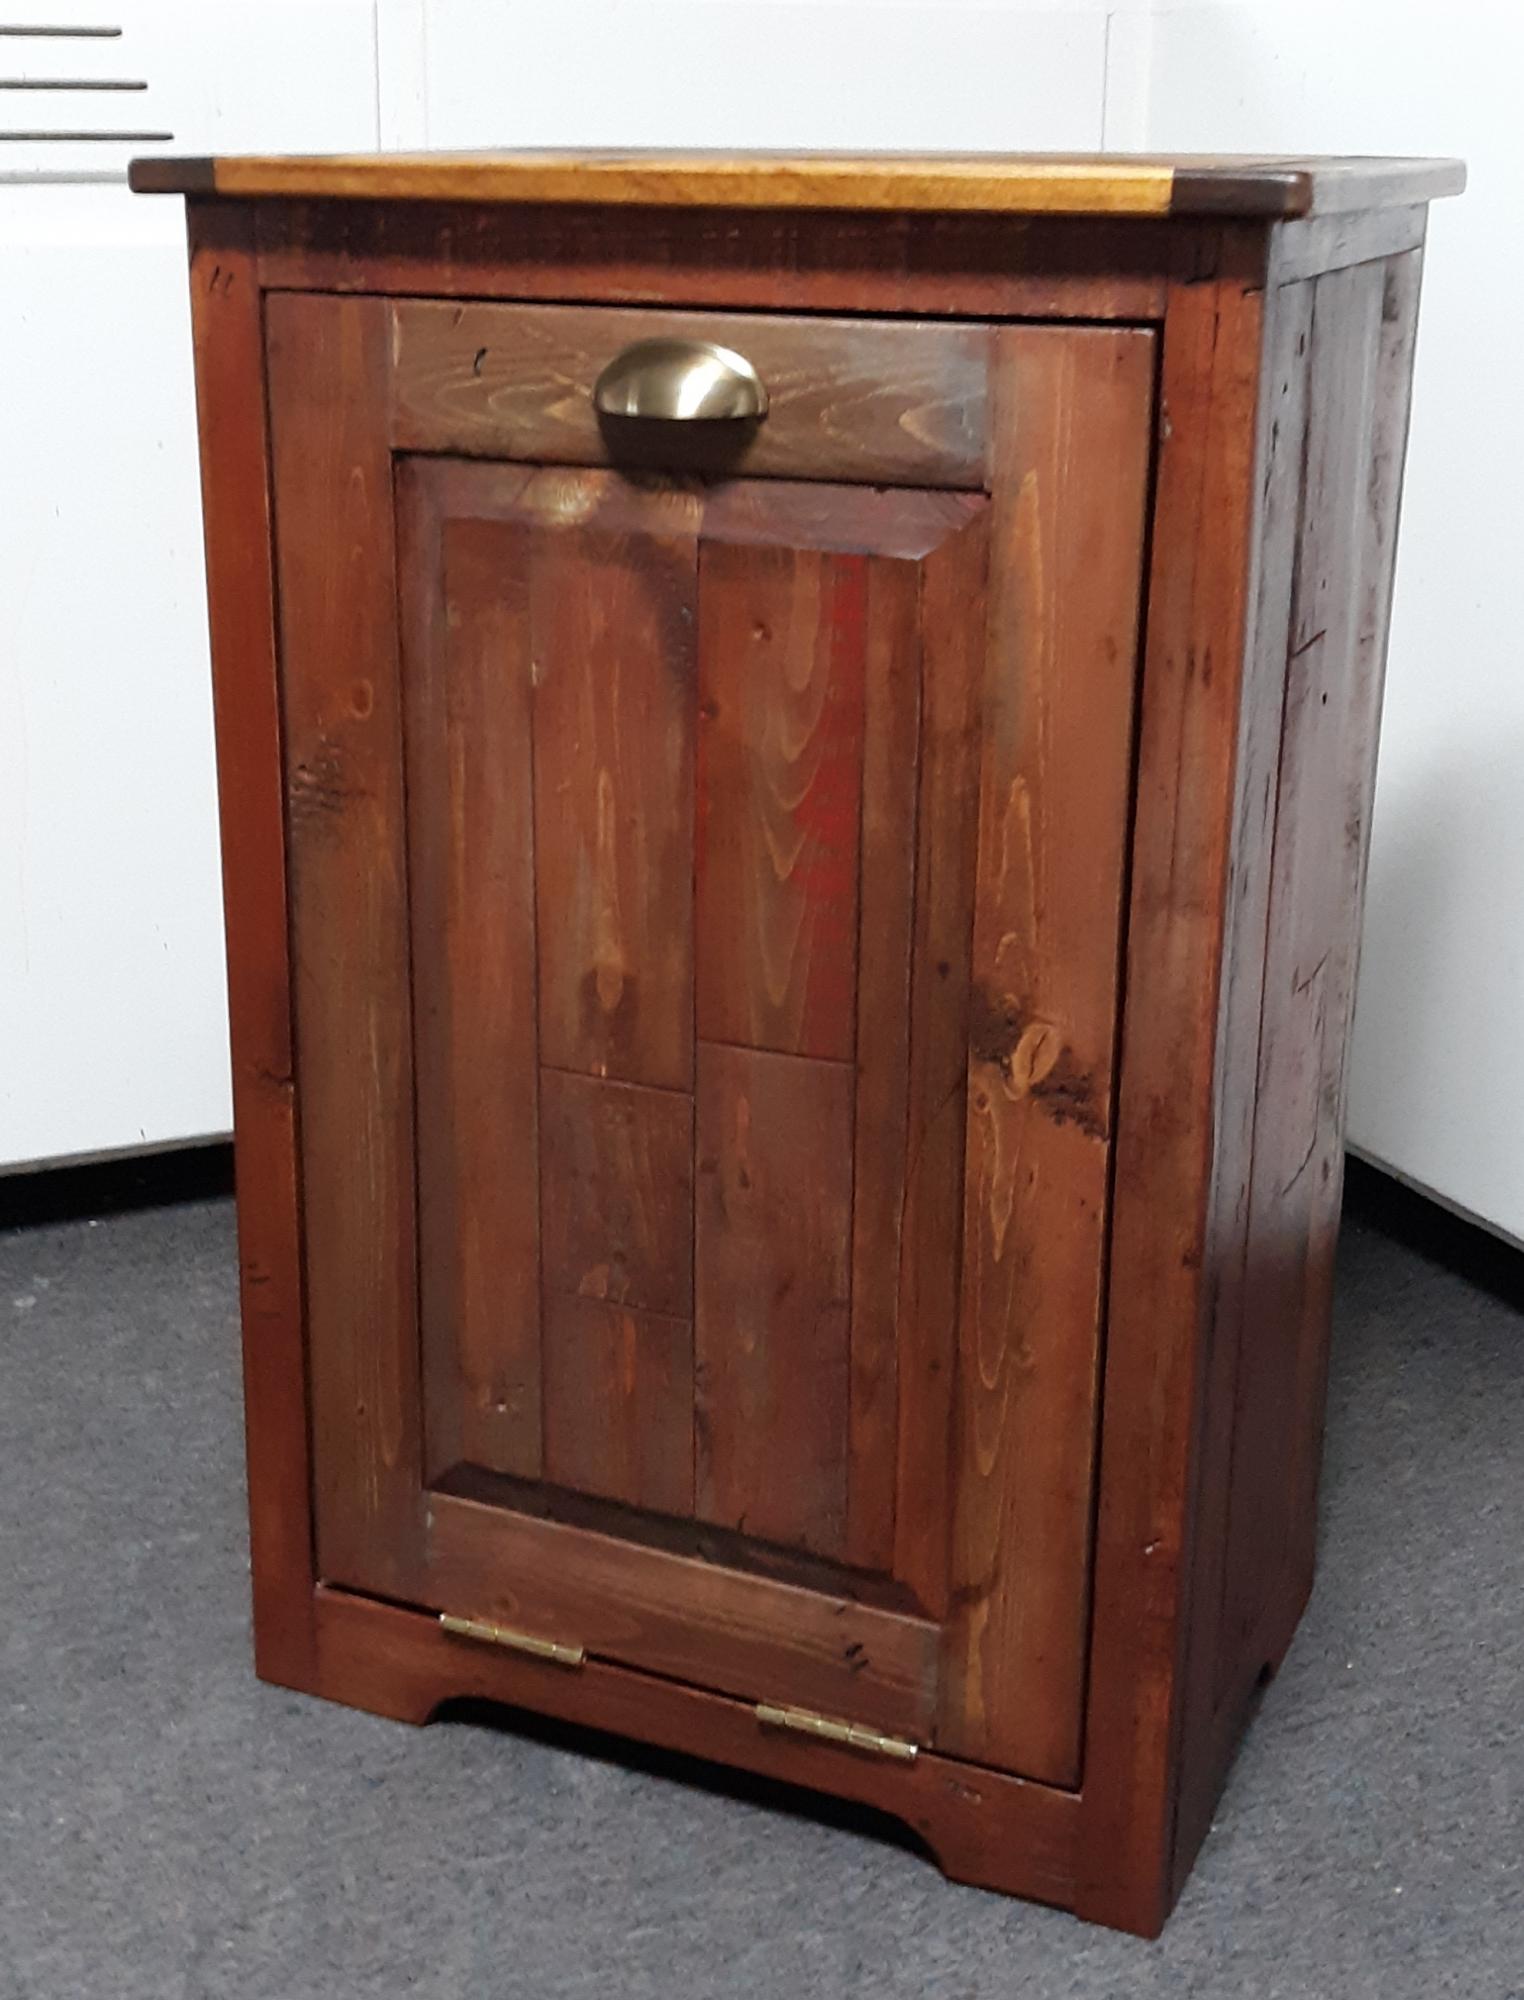
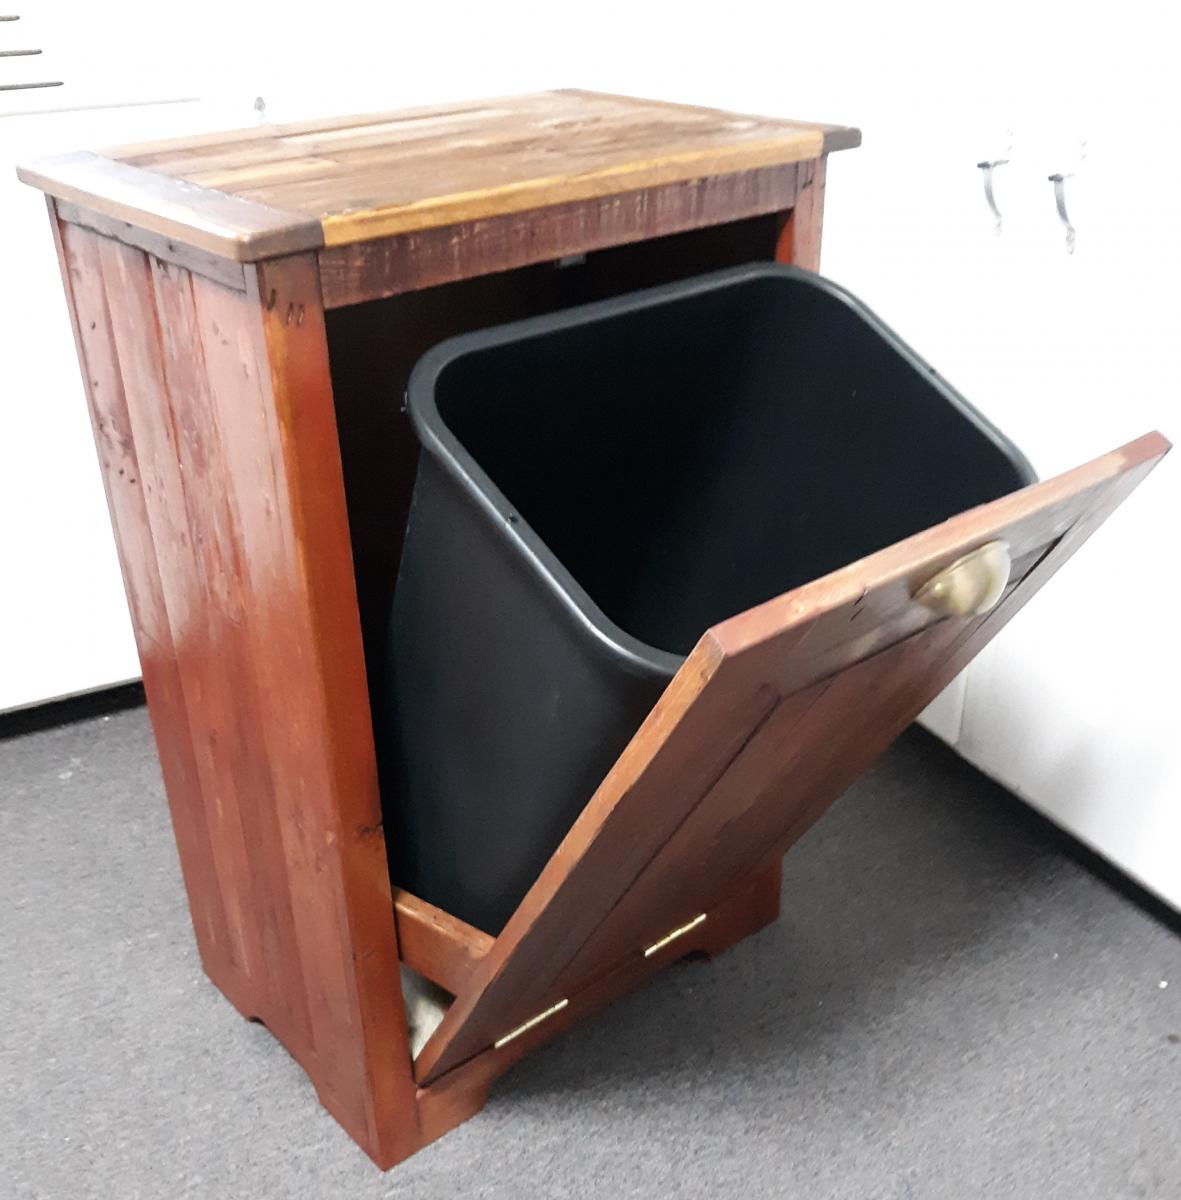
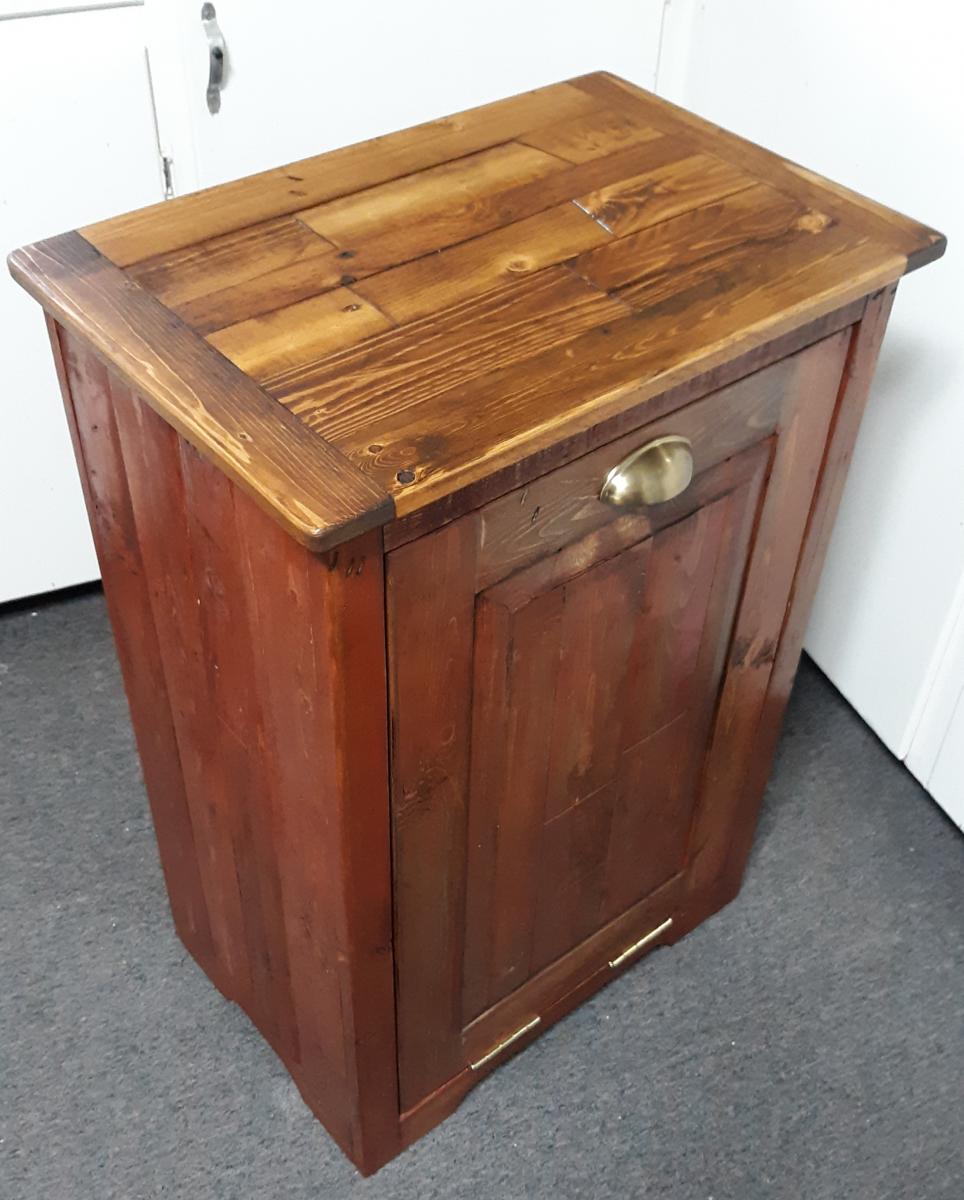
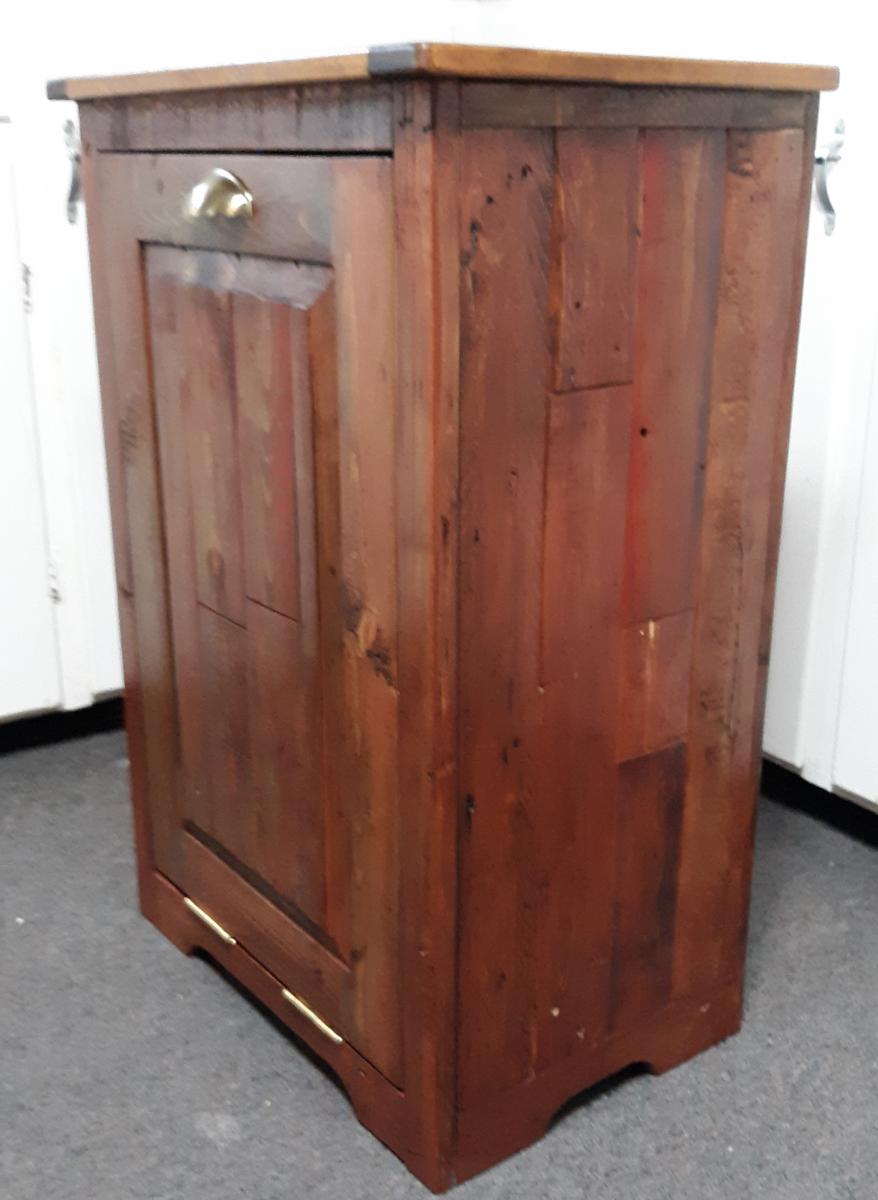
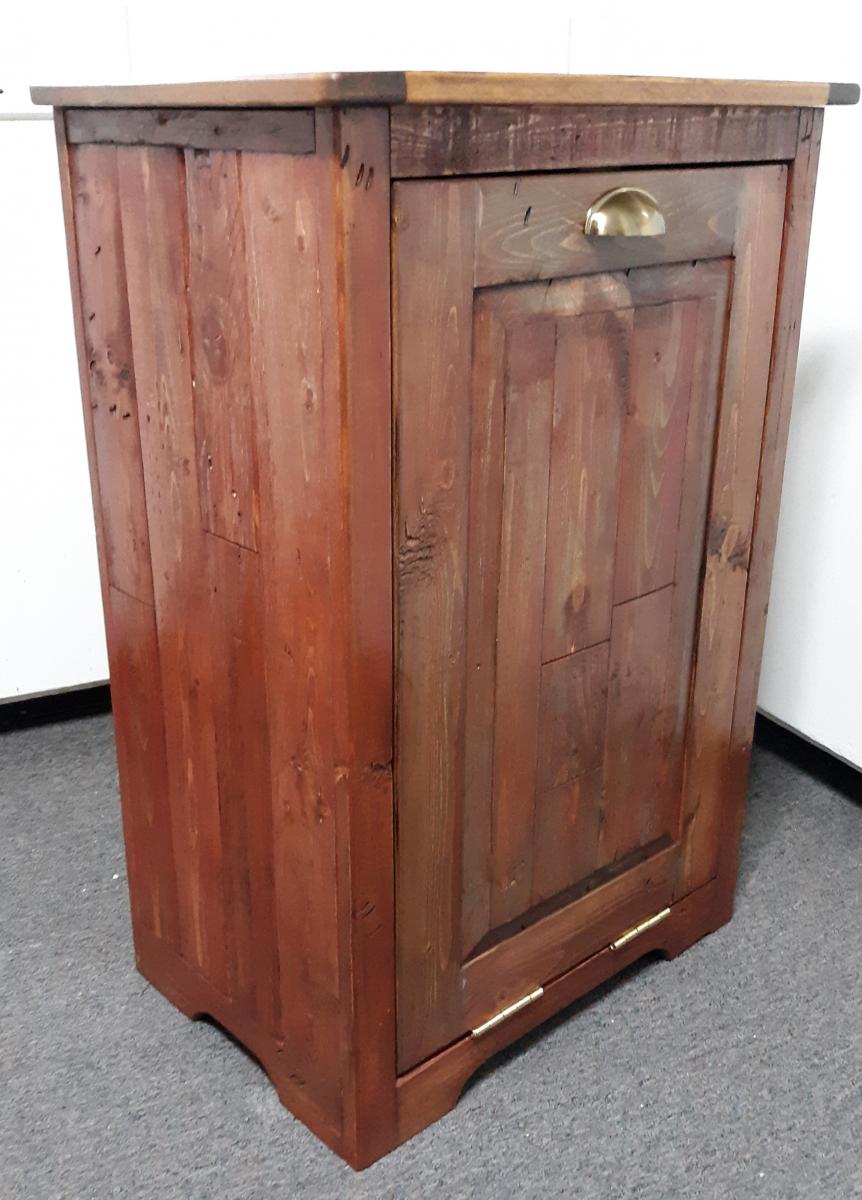
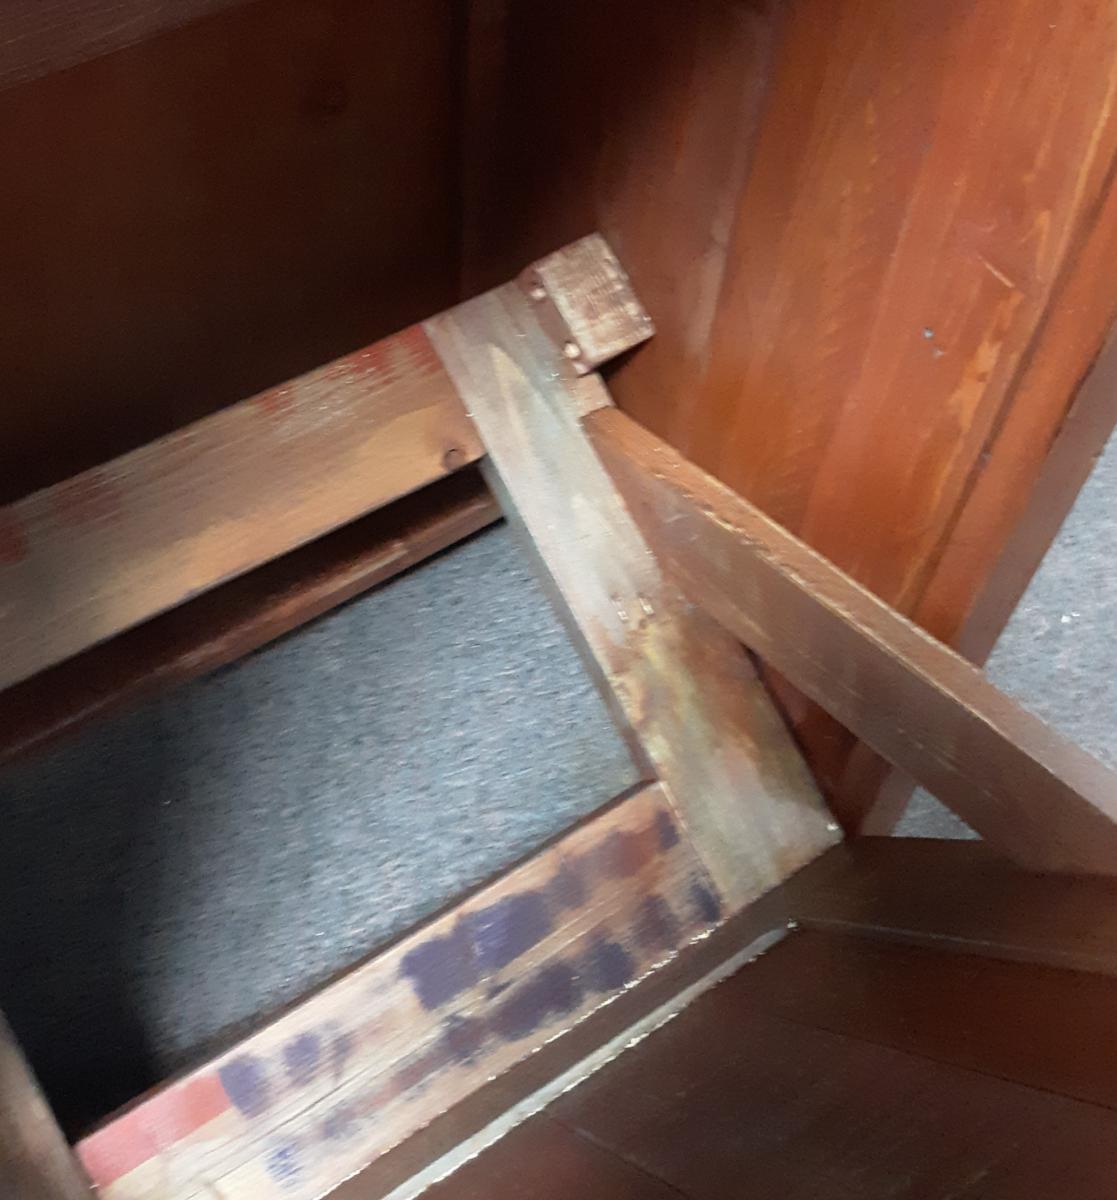
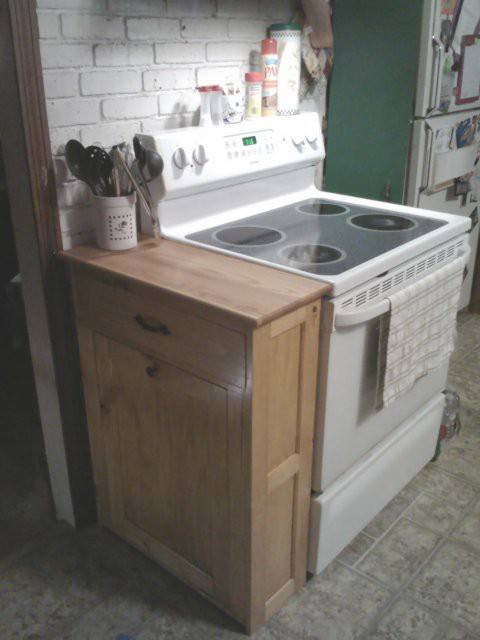
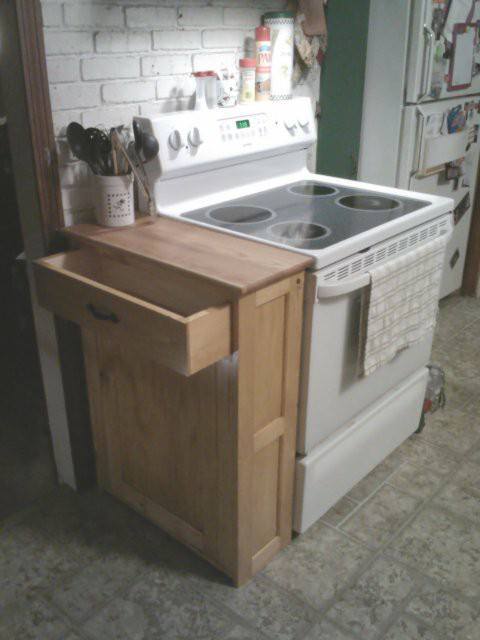
Here's my take on Ana's 'Wood Tilt-Out Trash or Recycling Cabinet.' It's made from lumber salvaged from pallets found locally. Two changes made from the original plans:
- Raised panel on the door
- Used two stop blocks inside the cabinet to limit motion on the door (instead of chains)
The only items that were purchased were the trash can, hinges, door pull and Kreg screws.
Links for techniques and finishes used in this project:
Raised panels:
https://www.finehomebuilding.com/2006/03/01/making-raised-panel-doors-o…
Milk paint finish:
http://toolmakingart.com/2008/06/16/two-layer-milk-paint/
Topcoat on cabinet:
https://sawsonskates.com/bobs-miracle-finish/

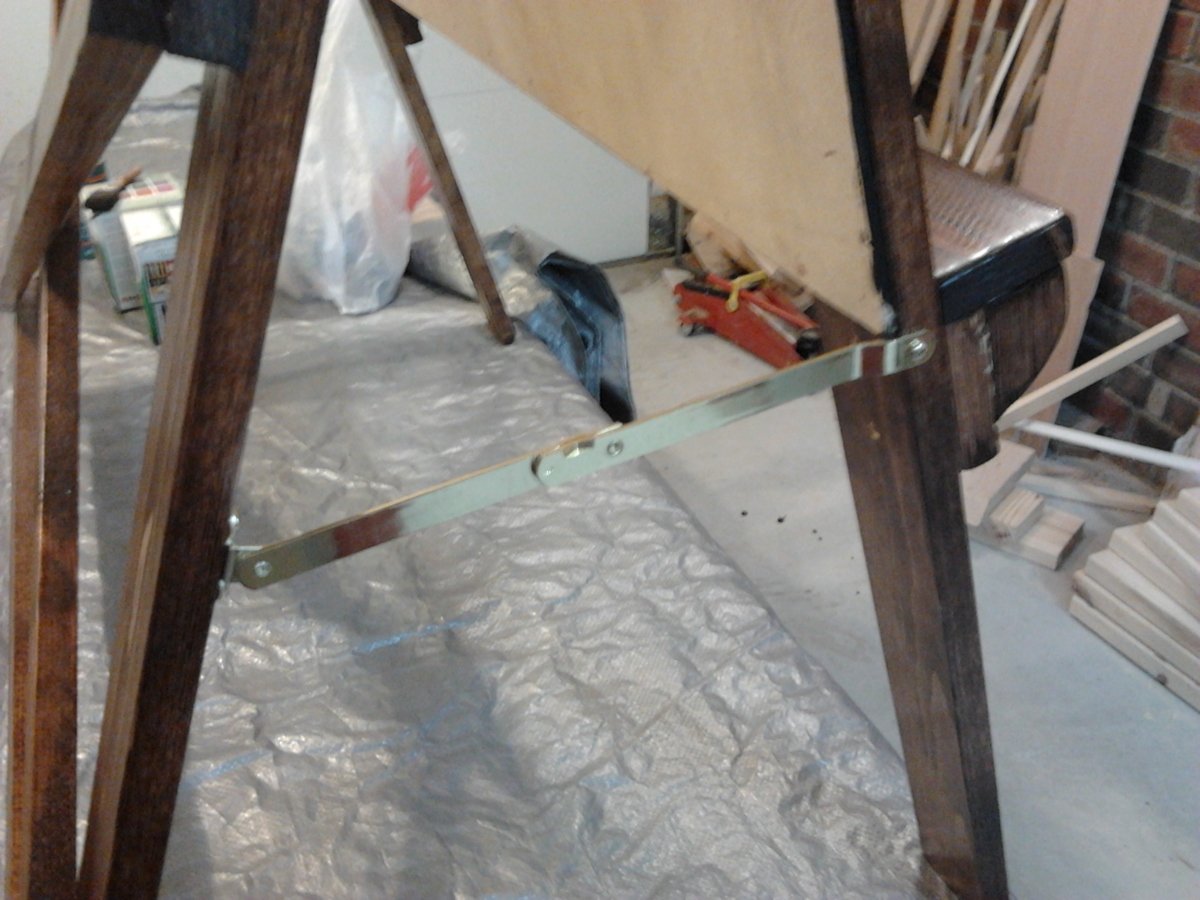
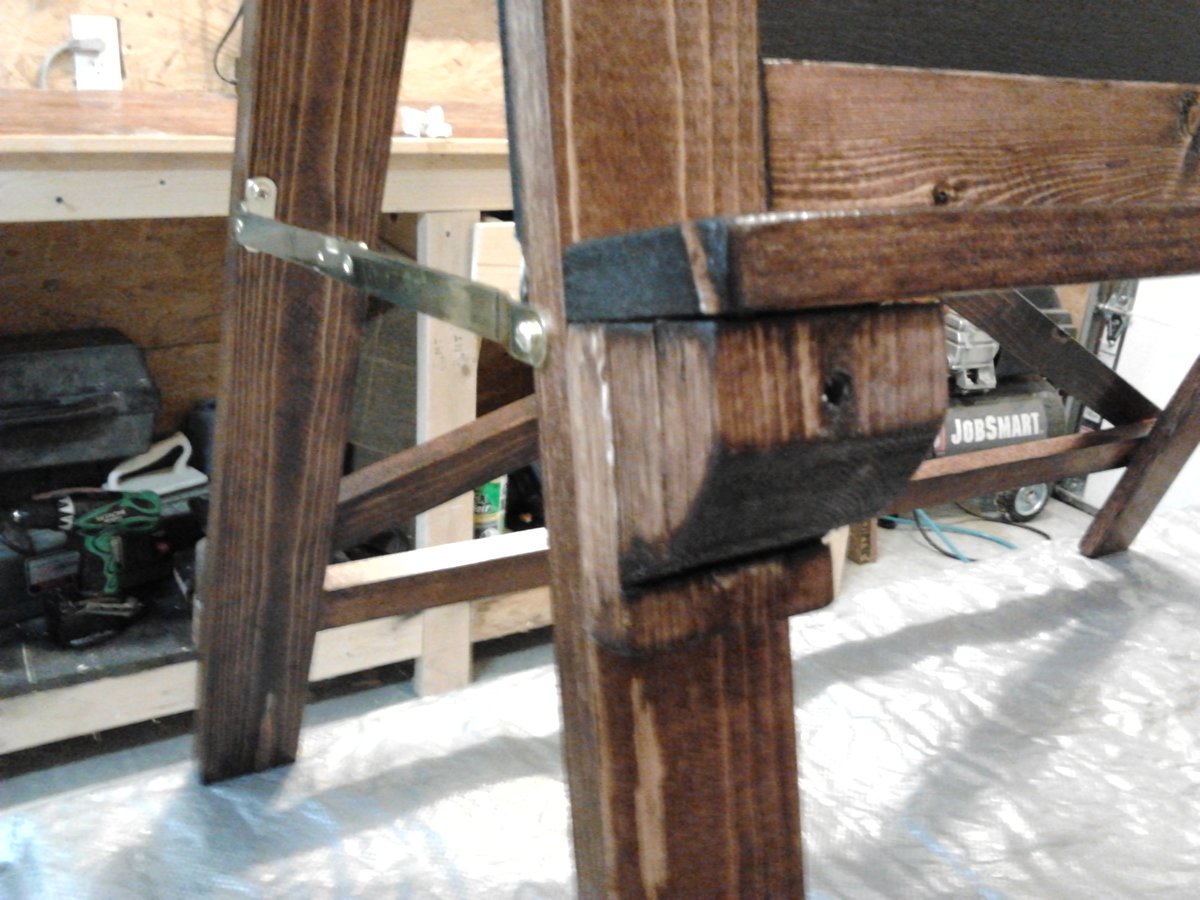
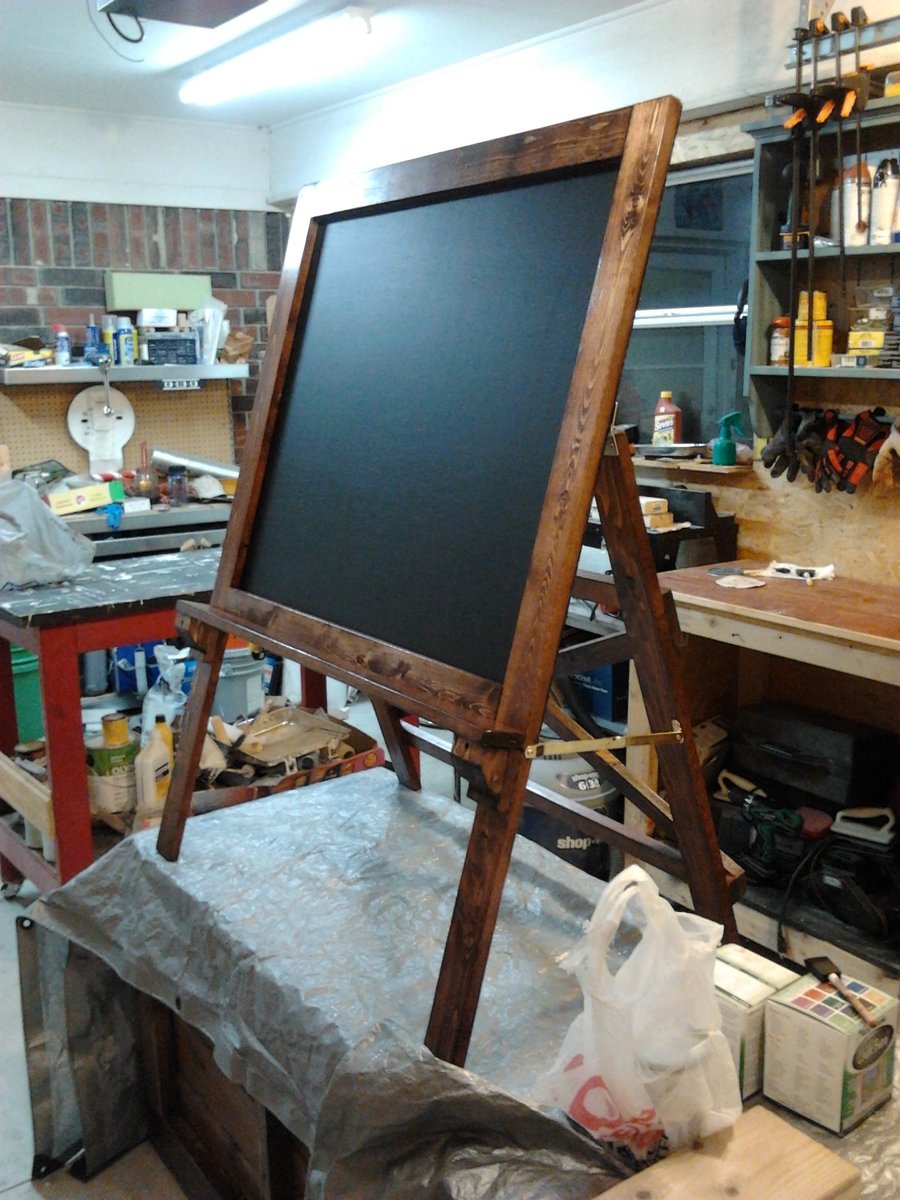
This project was a Christmas gift for the niece and nephew. It turned out better than expected and was easy to do. I followed the plan, just made it shorter and narrow for a 3 and 6 year old to use. Mom and dad liked it a lot. I took off 8 inches from the height and width. Luckily someone else had the chalkboard paint leftover. That helped to keep the cost down. I had left over plywood from another project. I just bought the hinges and 1x2 and 1x3's. That's why the cost is fairly low for this project. Its worth saving those scrape pieces. Thanks Ana.
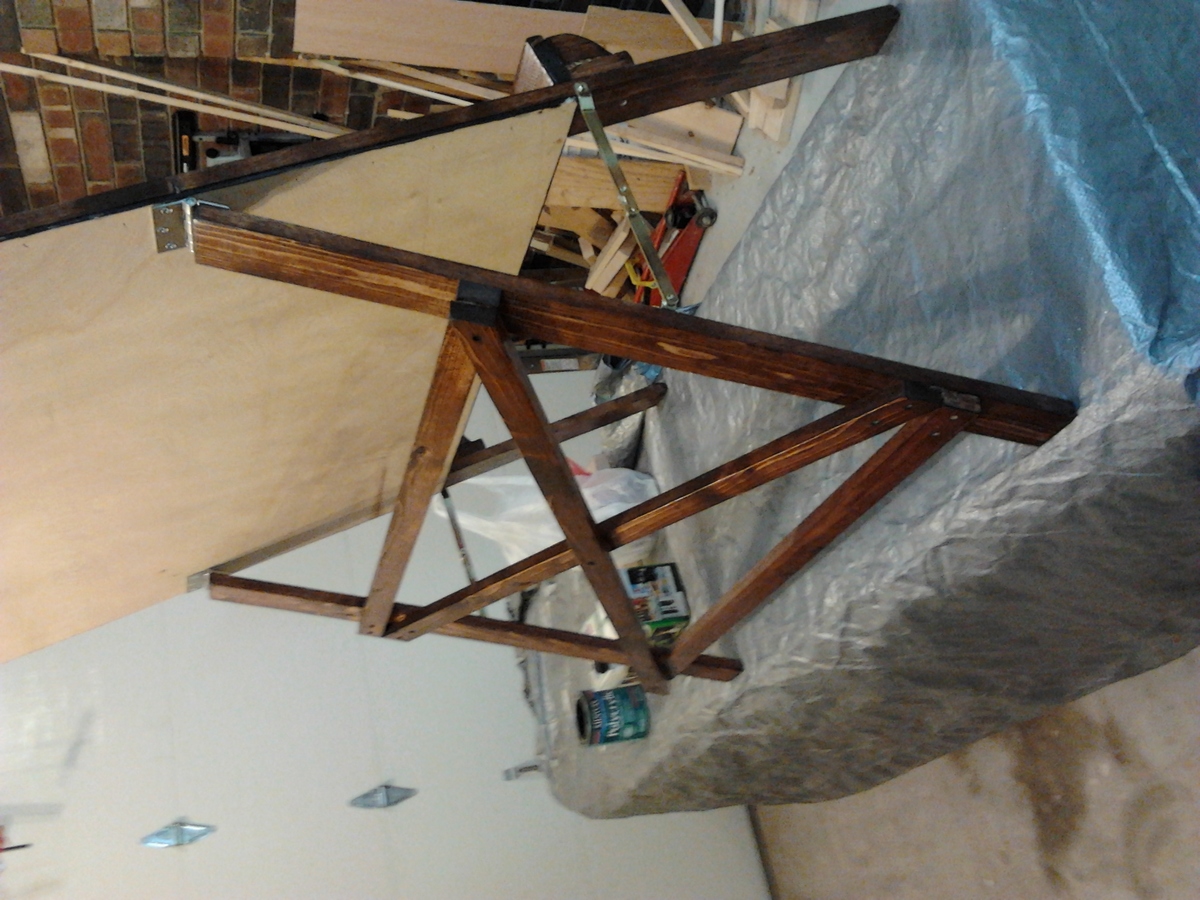
This was my first project using an Ana White plan....Modified it a bit...quite happy with how it came out...it was very low cost to make and a lot of fun.

Measuring 8' long, 36" tall, 20" deep, and weighing nearly 400lbs, this is truly a MEGA BUFFET!
Cabinet Materials: 3/4" cabinet-grade birch plywood sub-frame. 1/4" V-groove rear paneling. American Poplar face-frame
Top: 2-1/2" thick American Spalted Ambrosia Maple flitch
Hardware: Custom
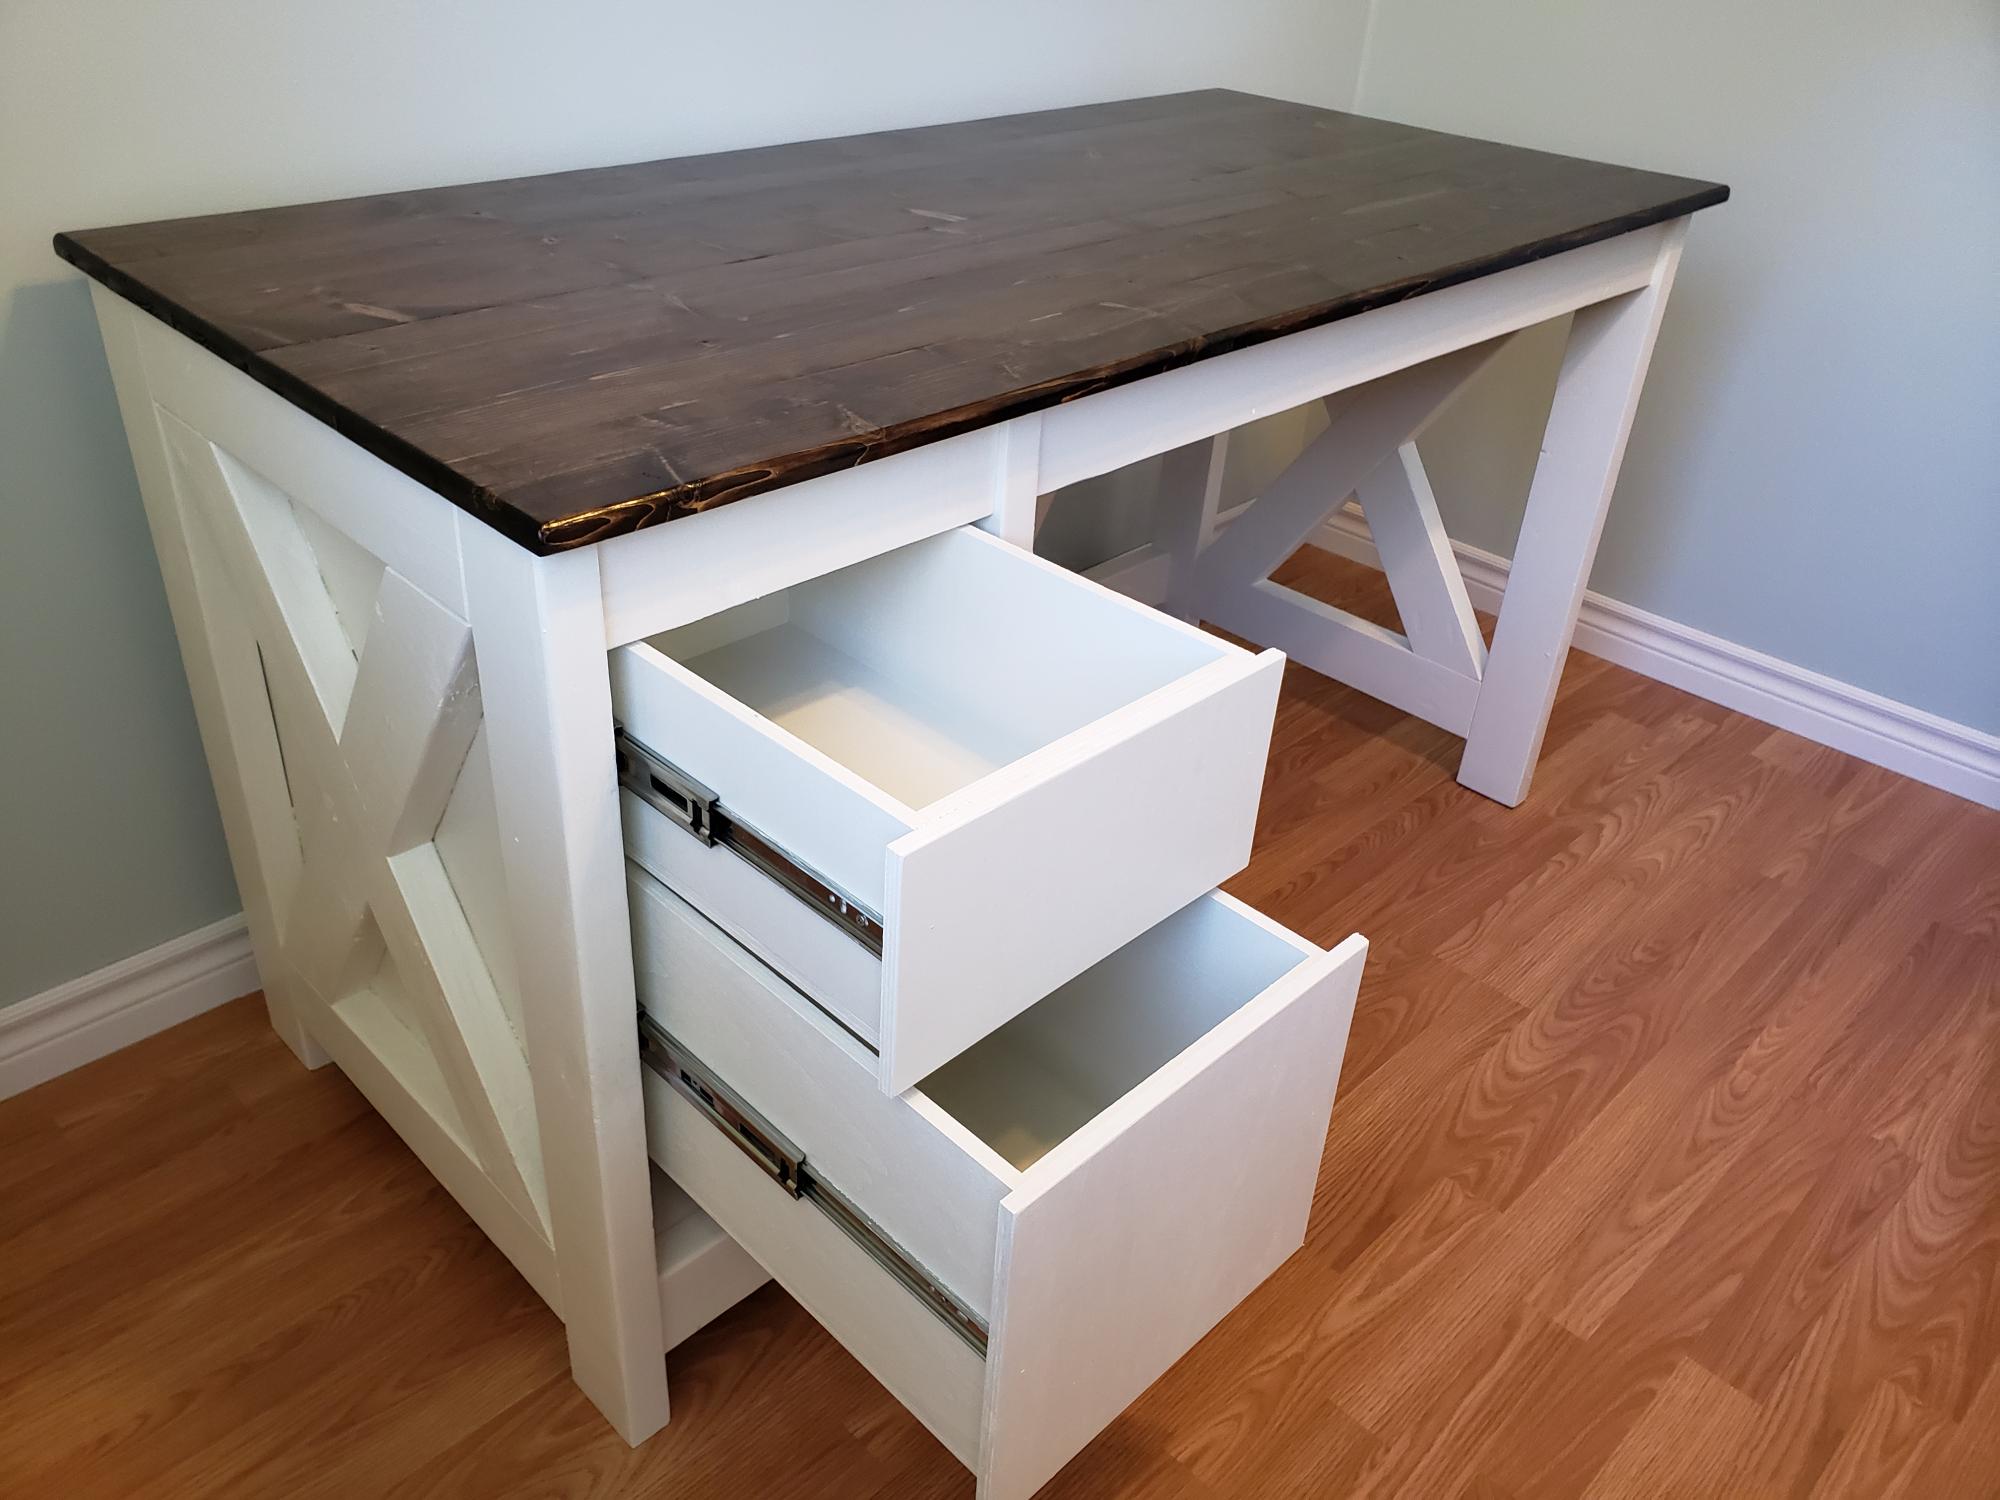
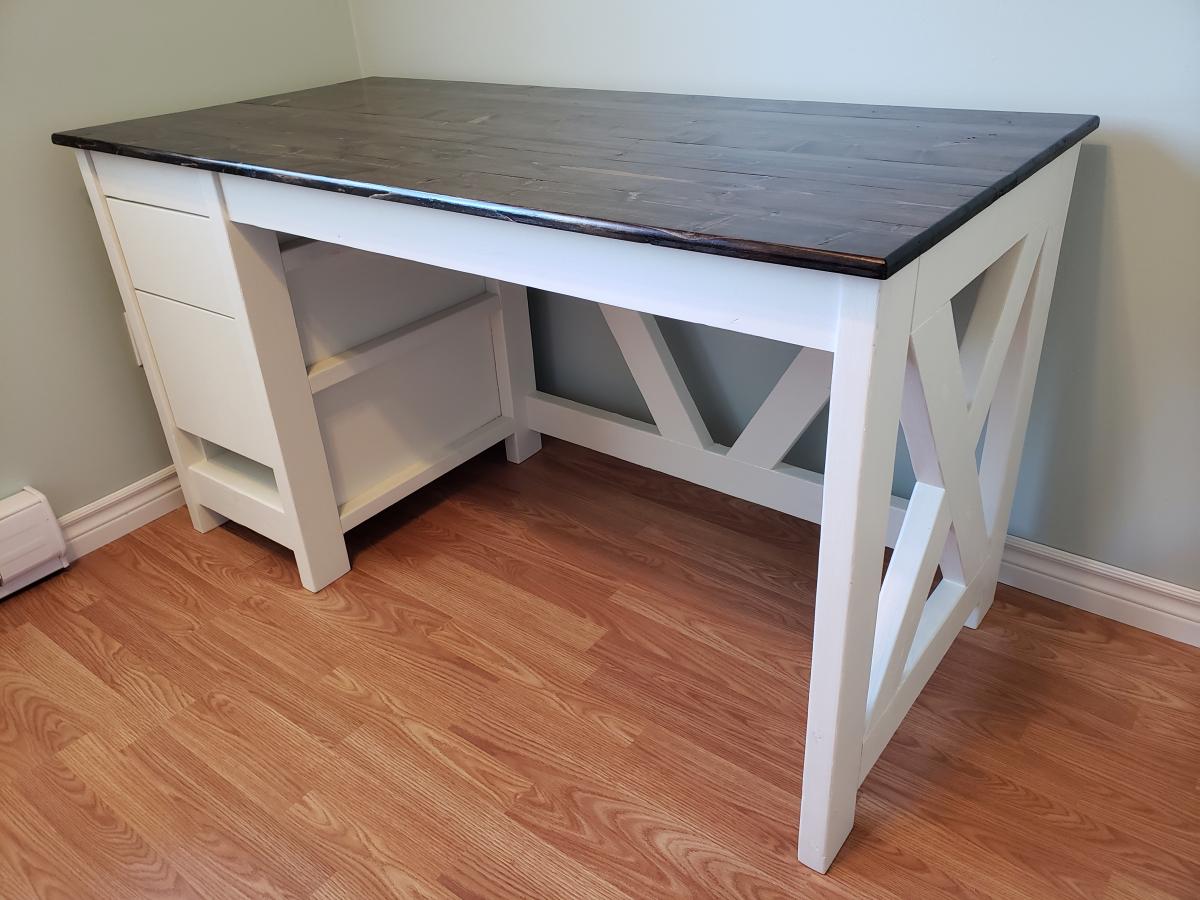
I built the Farmhouse X Desk with full extension drawers instead of shelves.
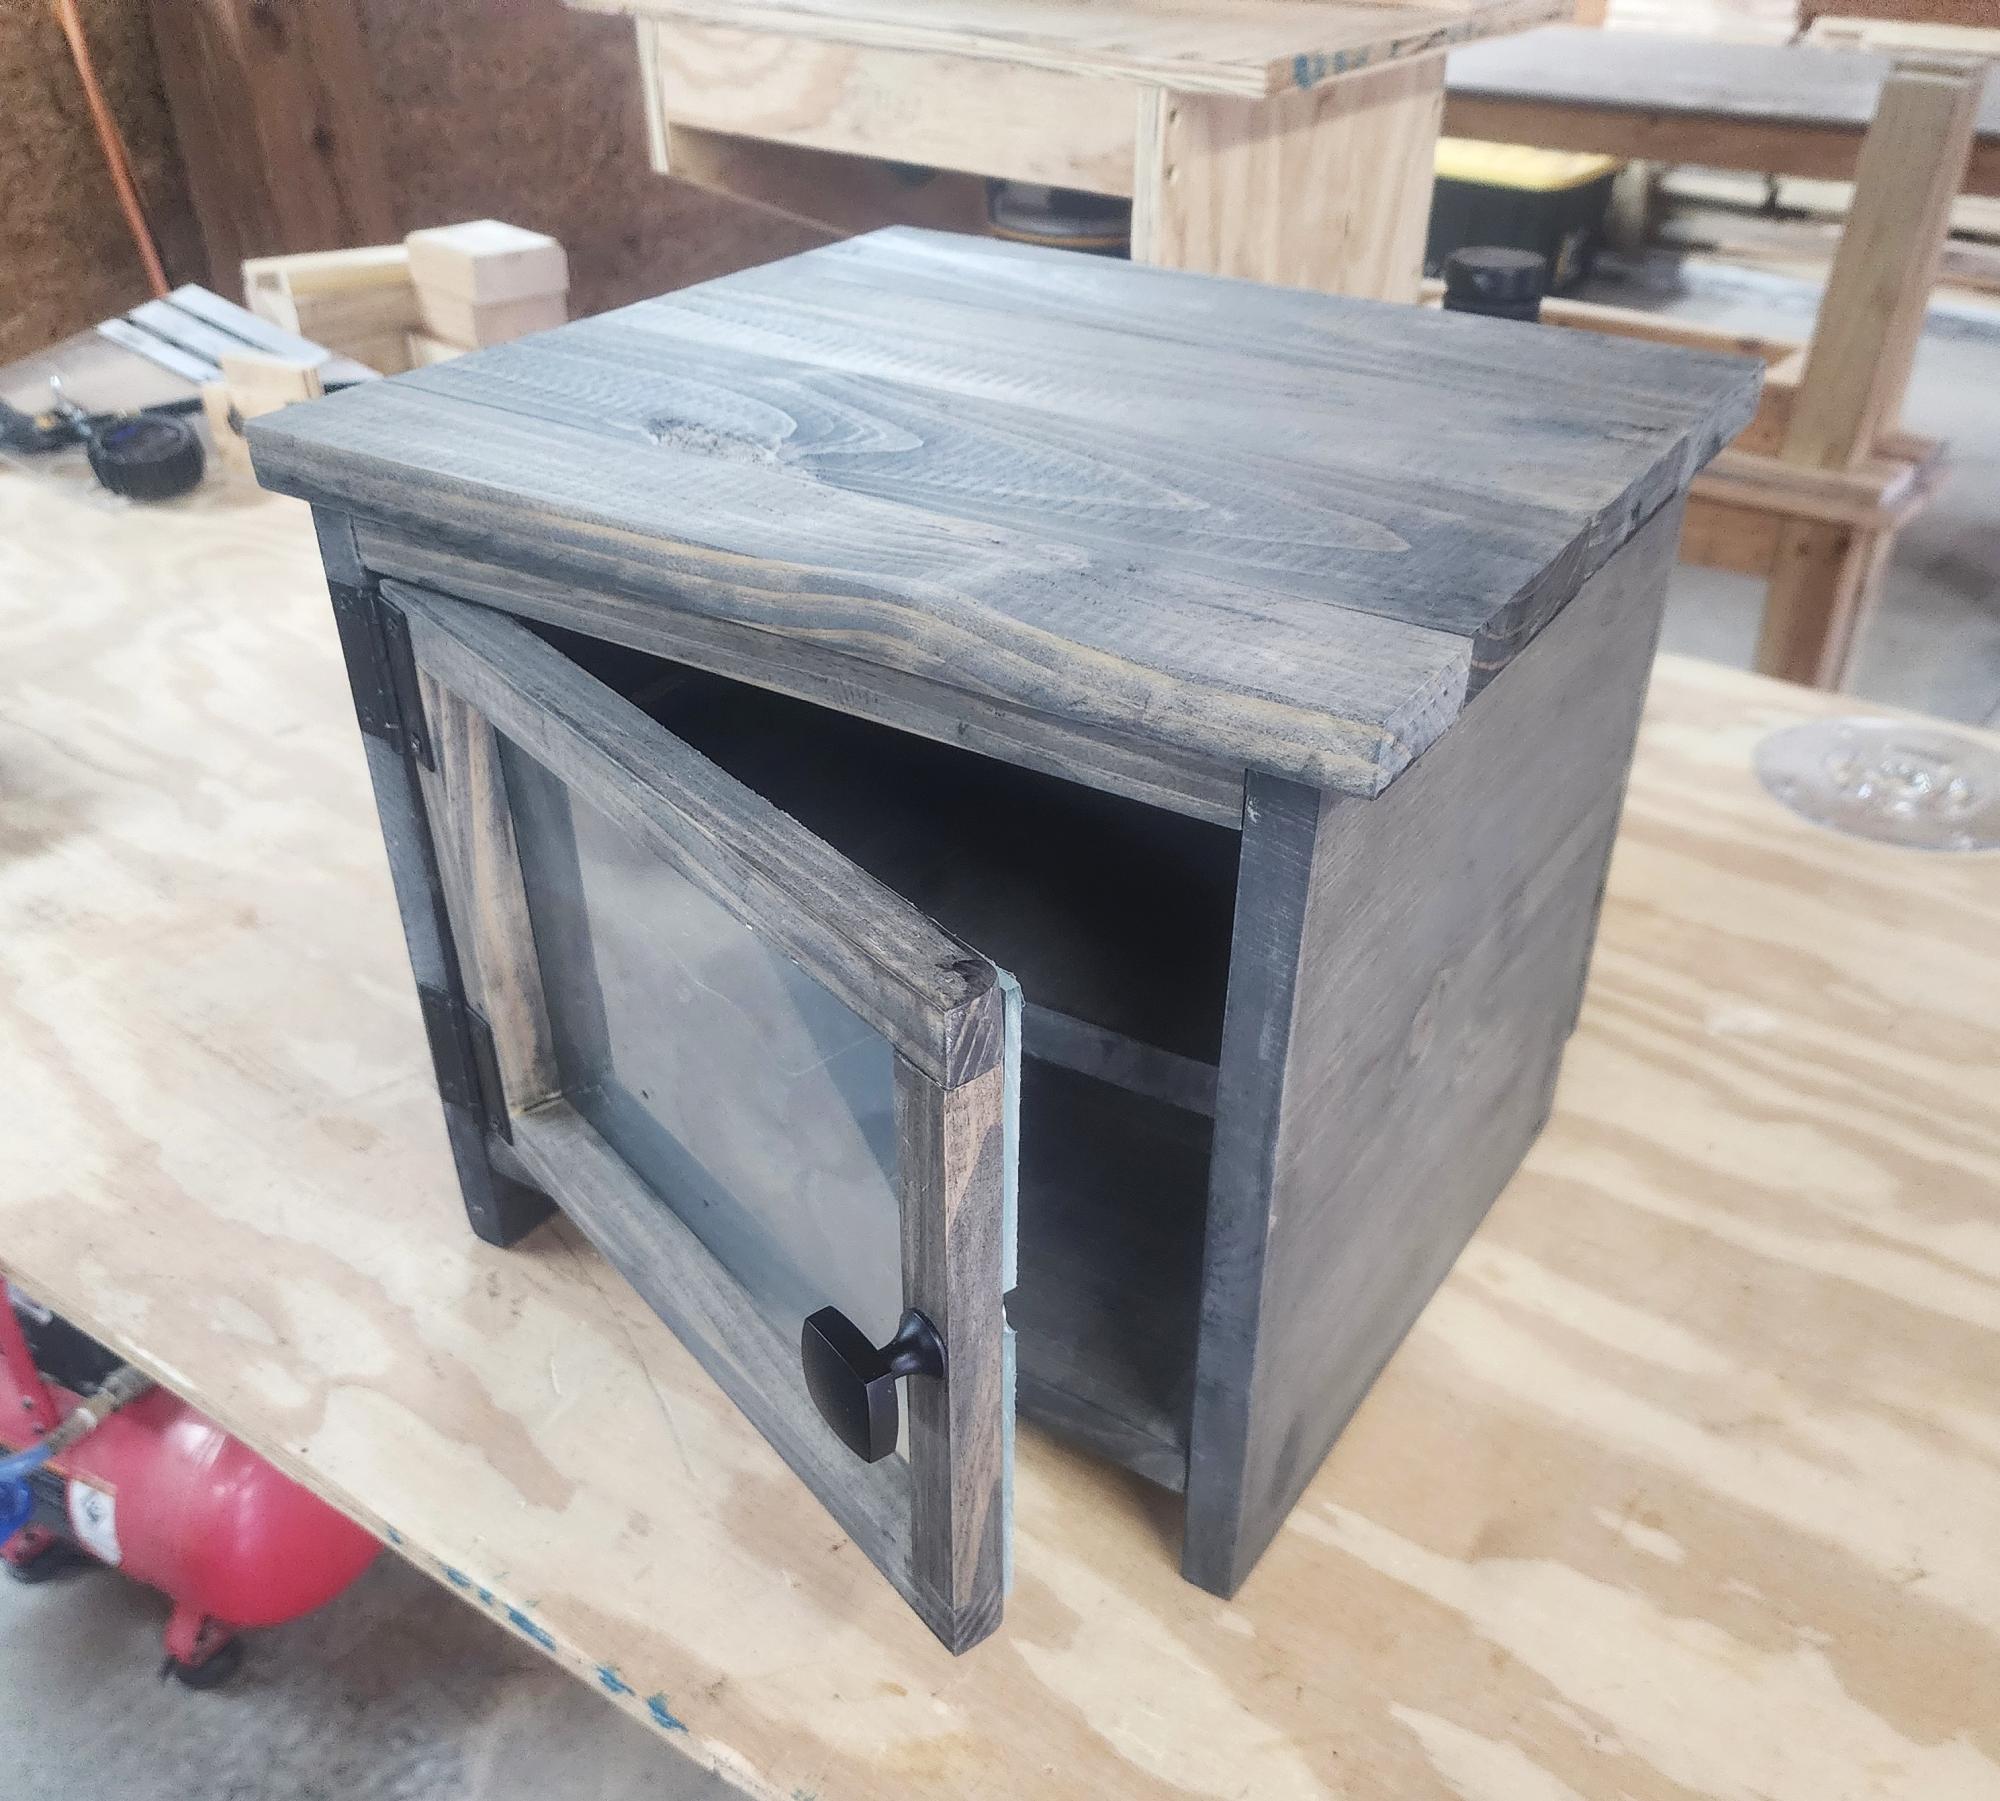
Sorry for the messy background. I made this out of scrap pine I had on my lumber rack. It turned out pretty poorly in my humble estimation, but it'll serve the purpose next week! I still need to finish it off with a magnetic latch for the door, and a satin clear coat. It's #3 lumber, so certainly not good lumber, but it was fun building it, and it's flaws will serve to make it a bit eclectic. The next one will be made out of hardwood! Thanks for the plan! It's really neat, and I hope to be able to market them as well. - Mike in beautiful northeastern Tennessee!
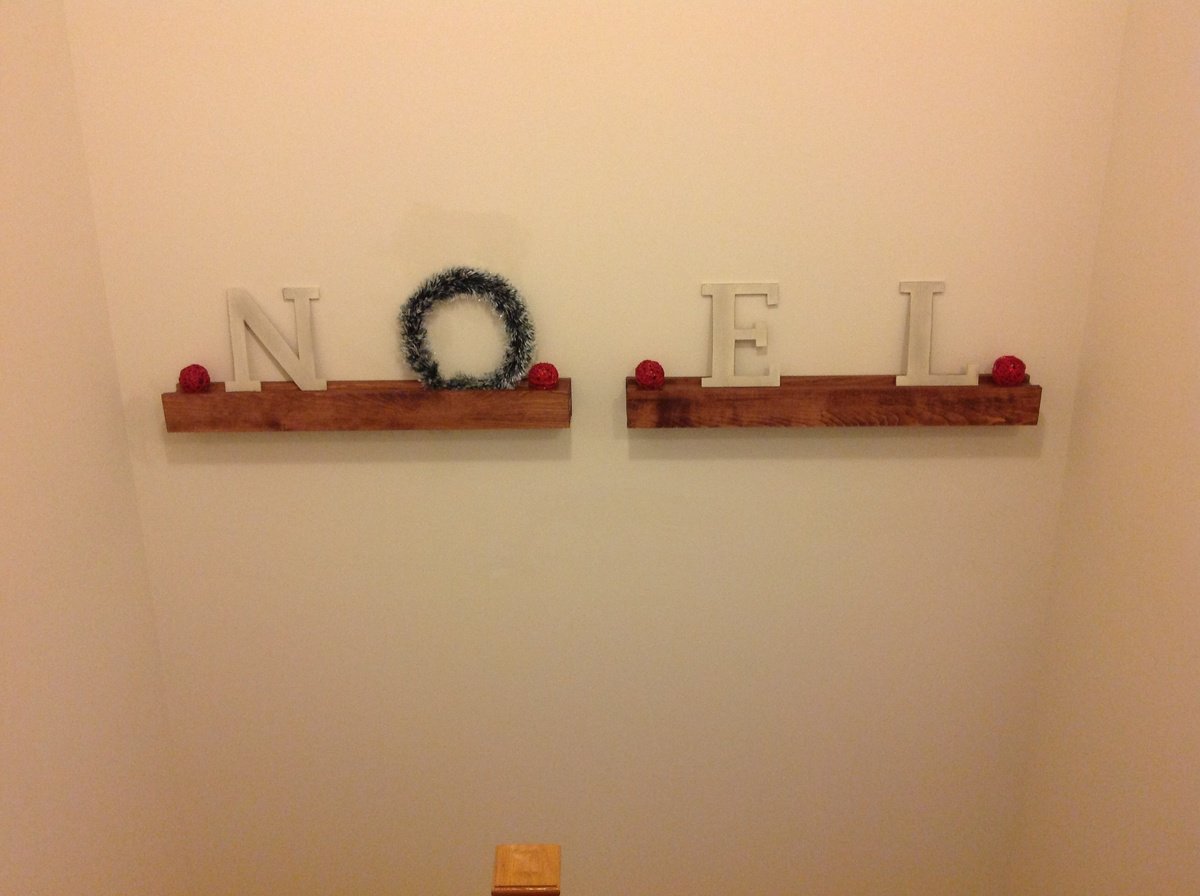
First project from Ana white plans - barn beam ledges
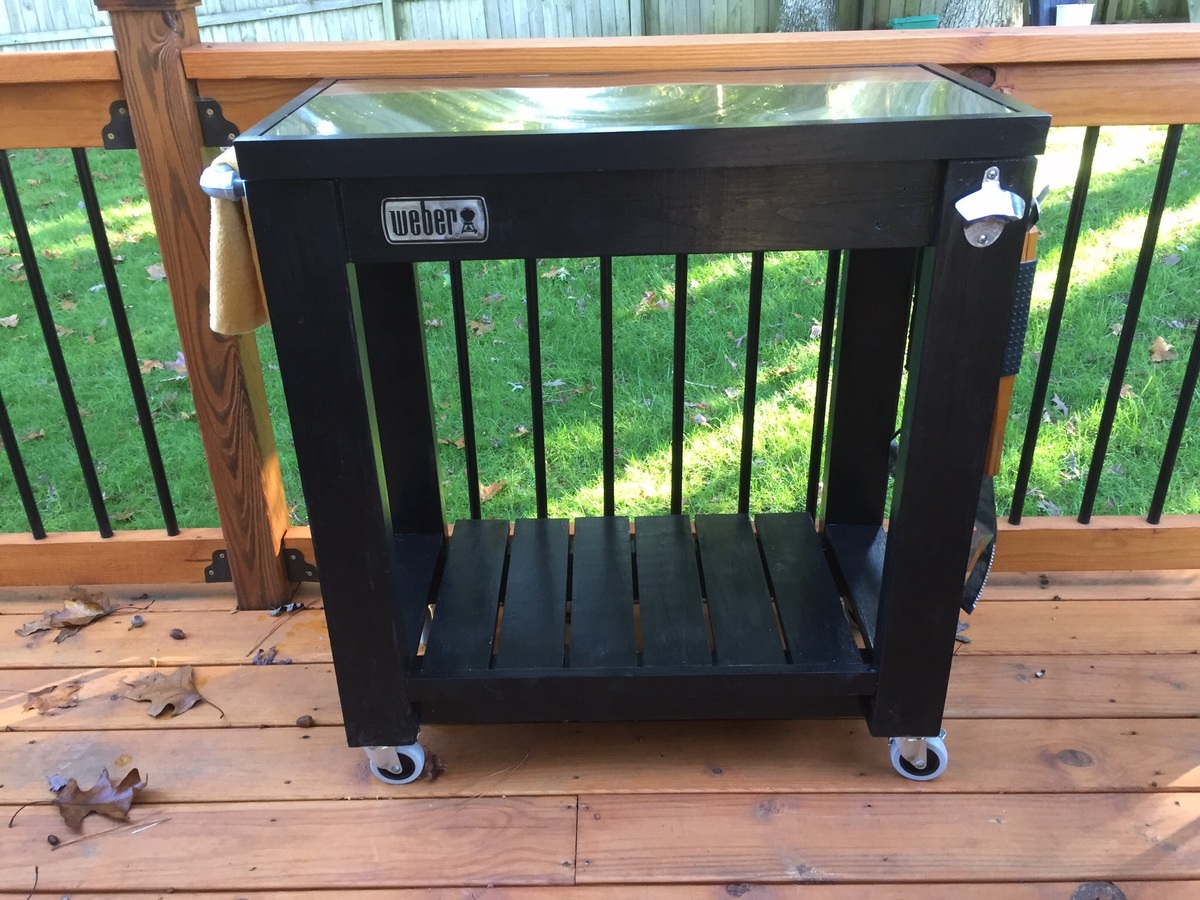
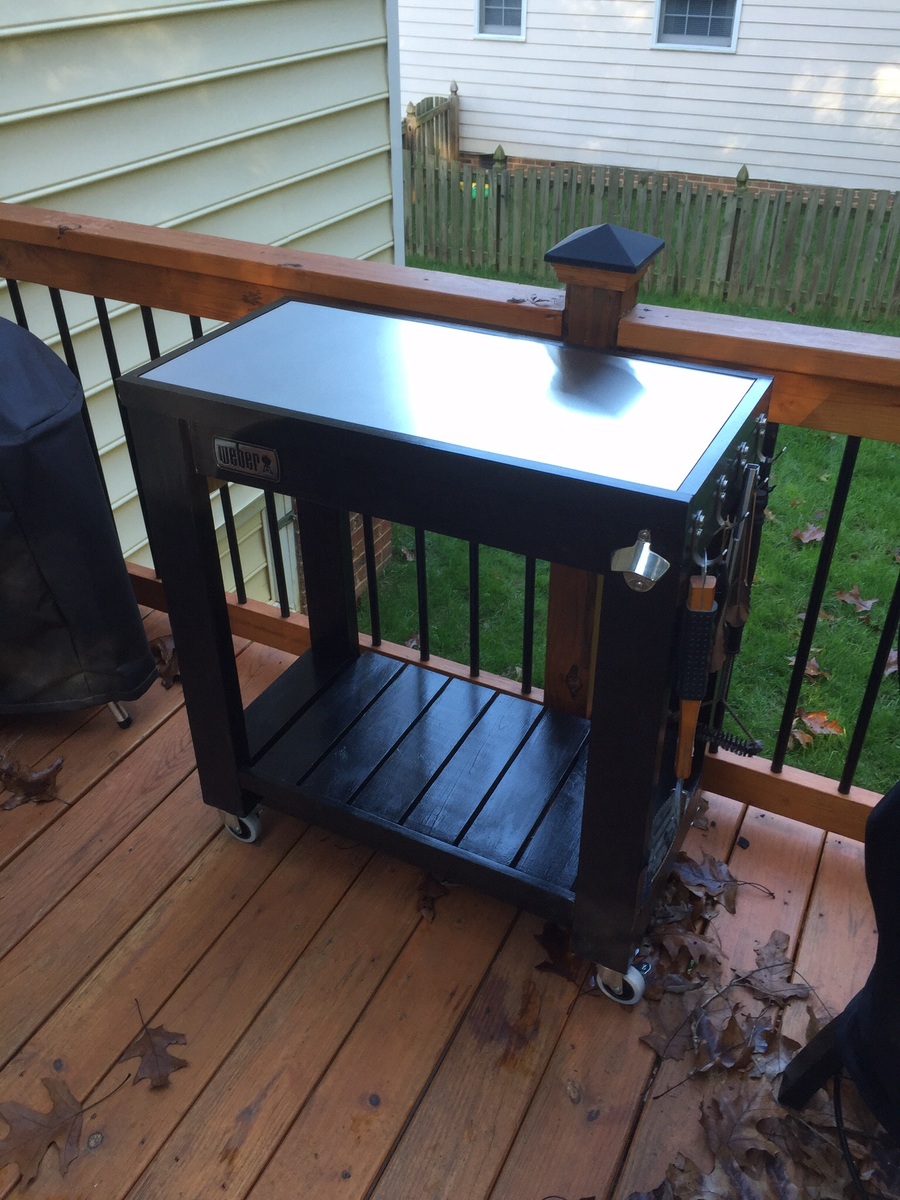
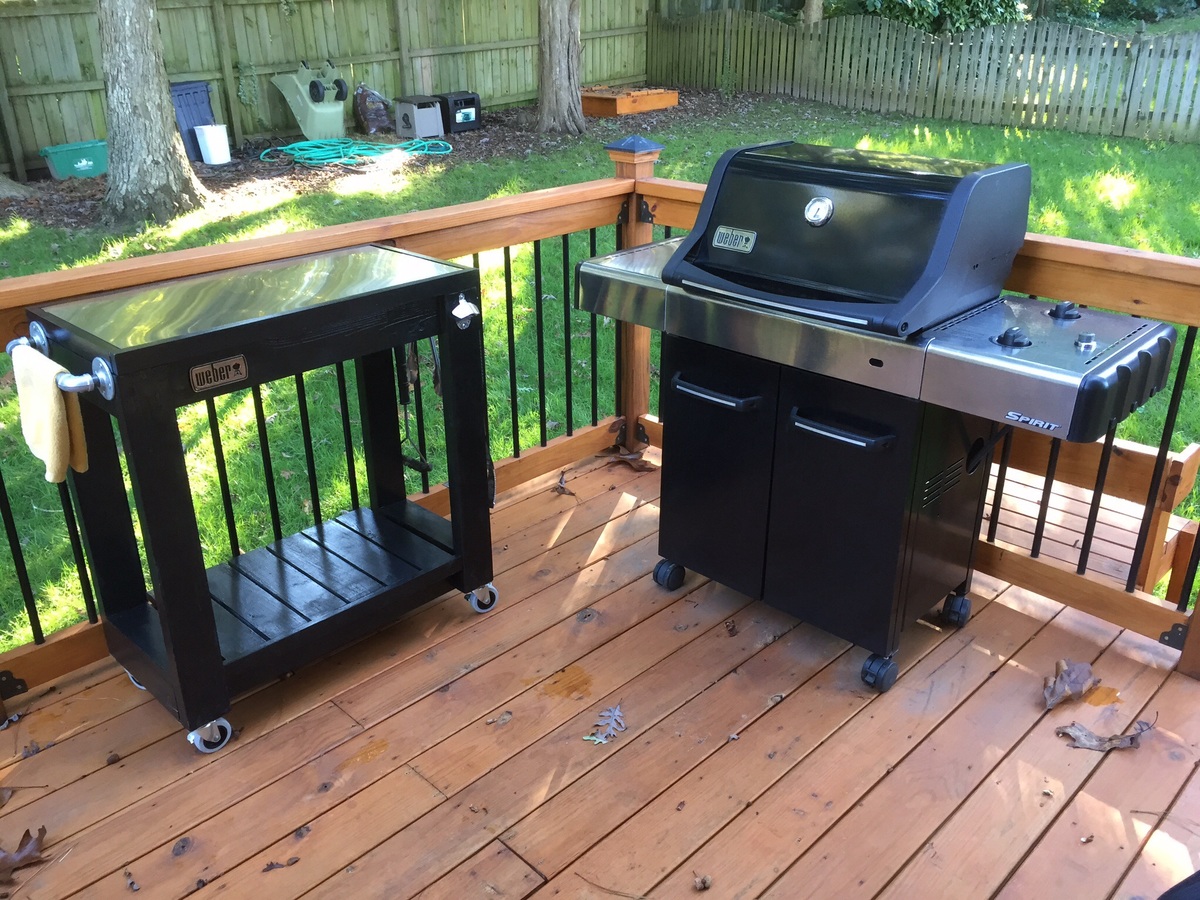
I made the countertop with 2 plywood boards screwed together and topped the stainless steel with heavy duty adhesive. I adjusted the plans a little to accommodate my space. Thanks for the plans! It was a fun build!
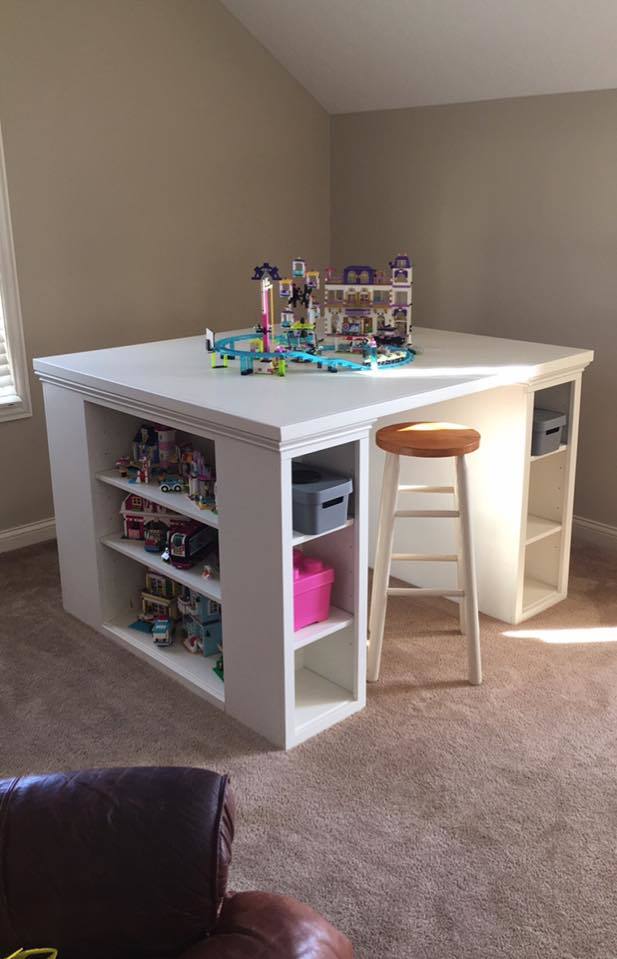
This is my more traditional take on the modern craft table (I guess that means it isn't technically "modern"!). We call it the "Lego Table" at our house. I doubled up the ends like others have so that my two daughters can have their own sides. My wife asked that the there be backs on the side shelves so that items aren't pushed off. I also added trim around the tabletop and molding to give it a bit more traditional appearance. Finally, I made the shelves adjustable.
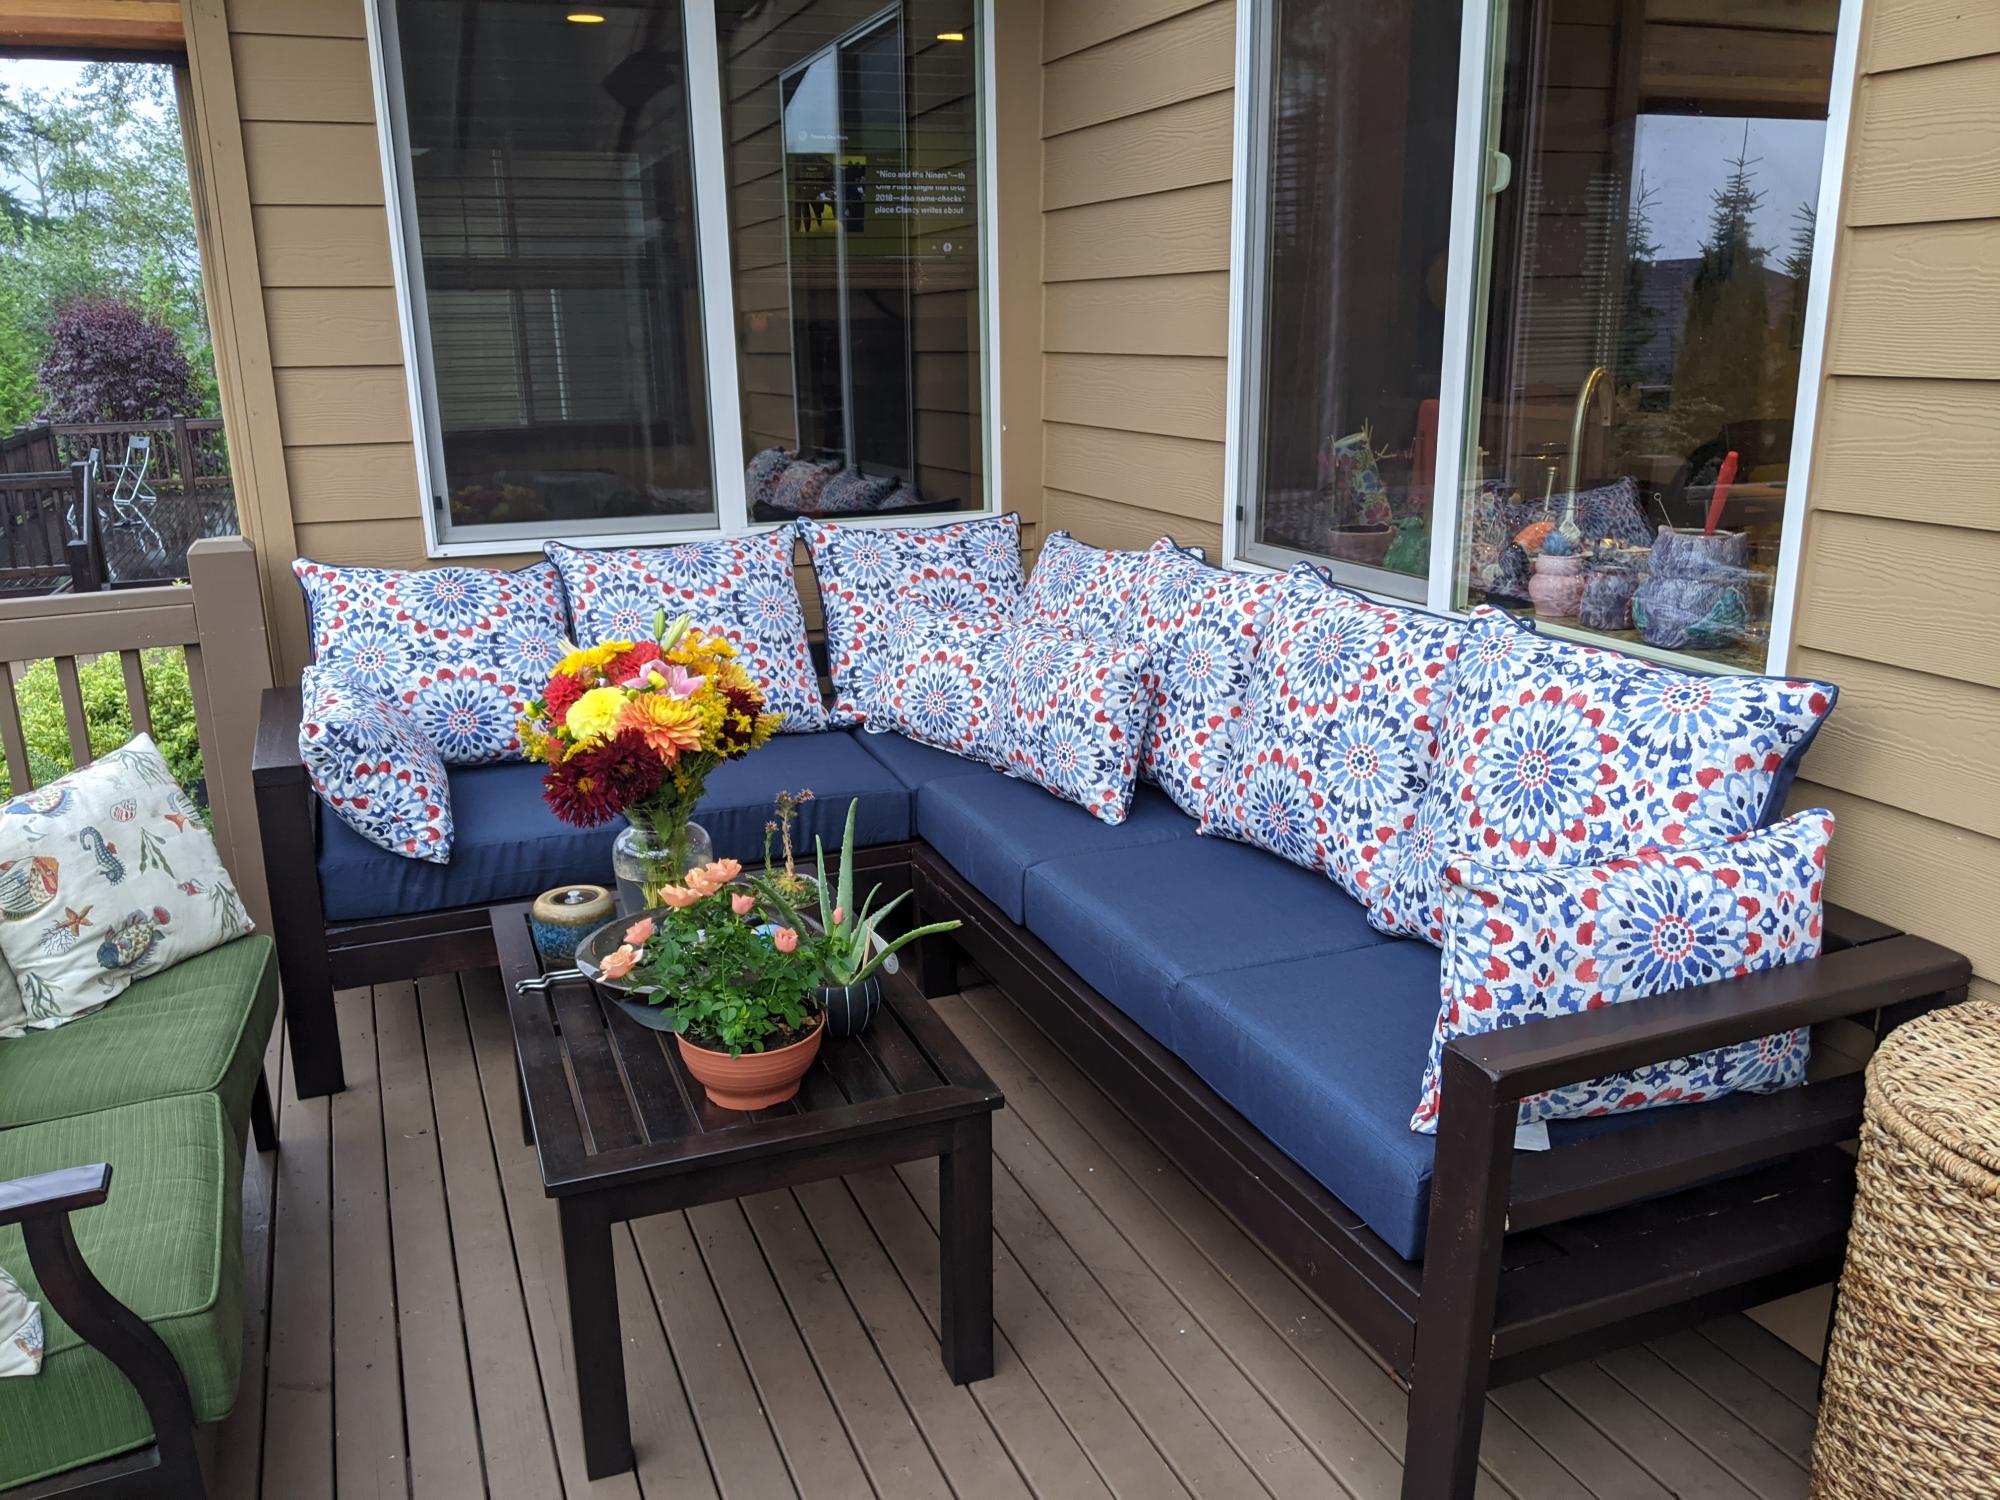
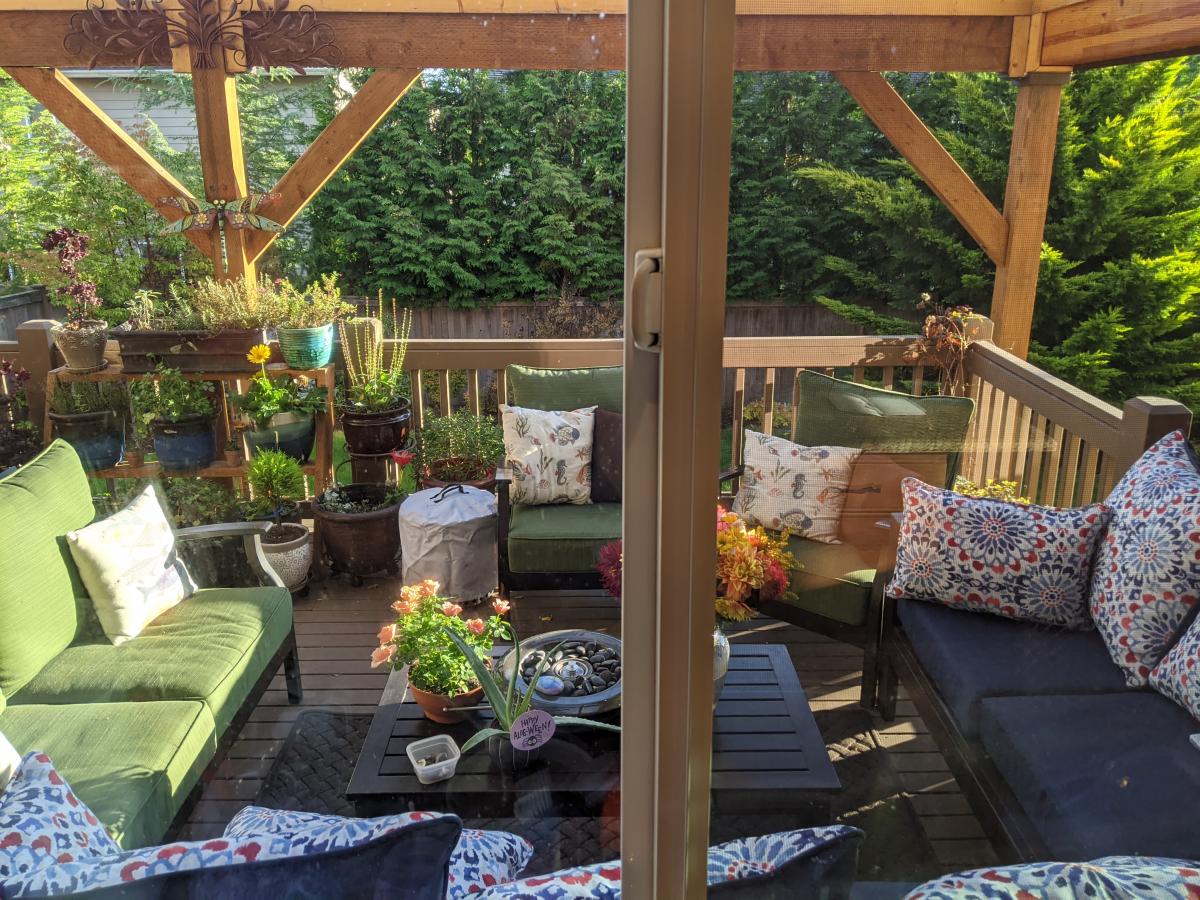
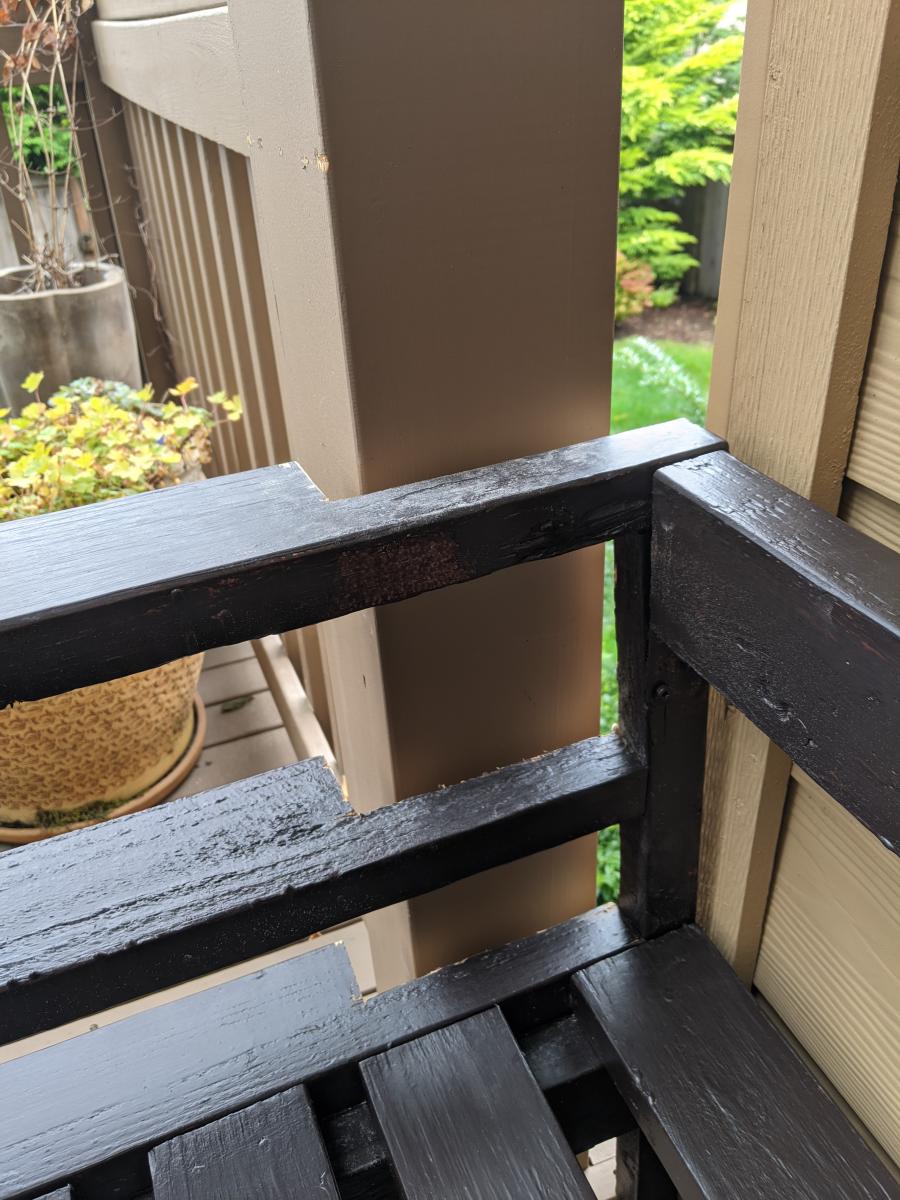
Great experience building this sectional, although would recommend pre-drilling the holes where practical to avoid splitting. It only happened to me a few times on #2 douglas fir, but I would have preferred to avoid it. As you can see from the picture, I didn't account for the siding taking up the space, and was expecting a perfect fit. Easily fixed with a bit of saw work, and now it's really custom fit for the space. :-)
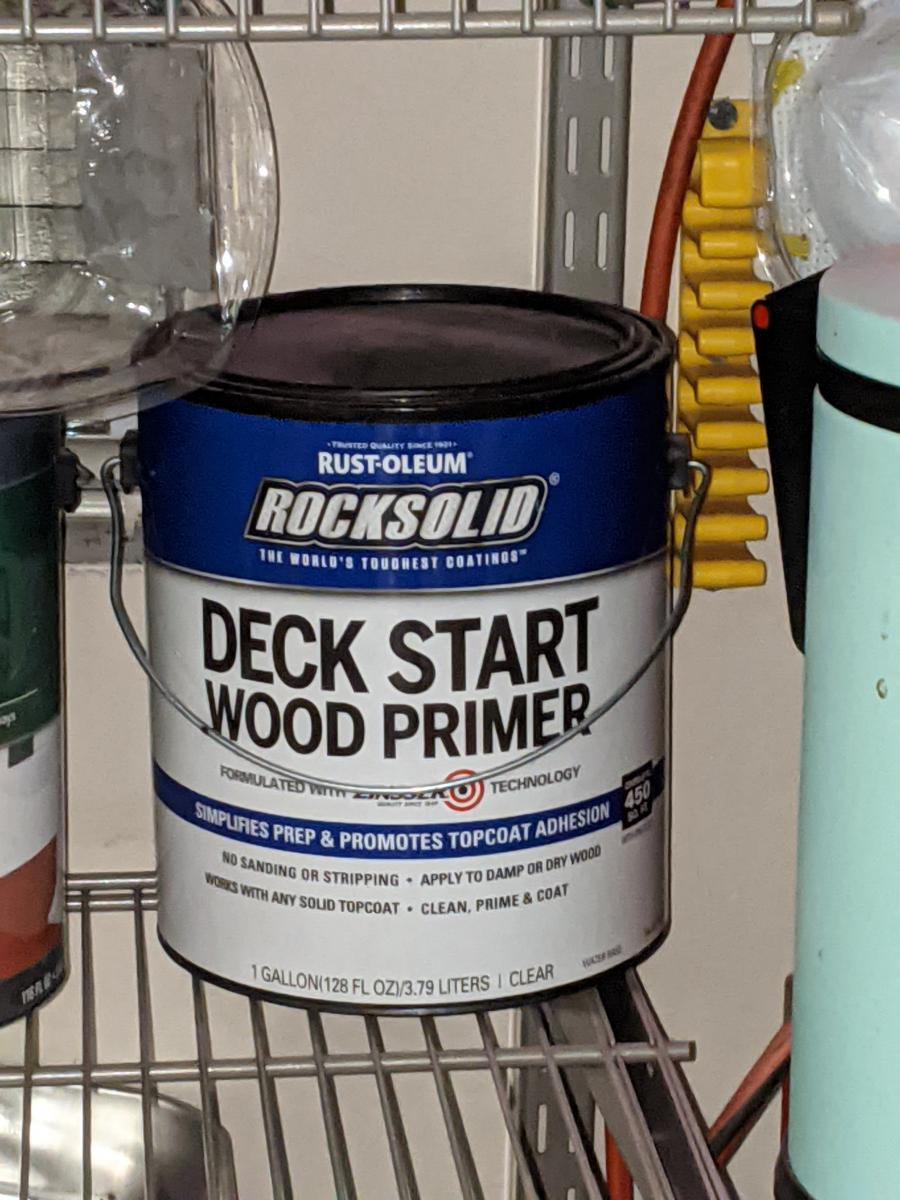
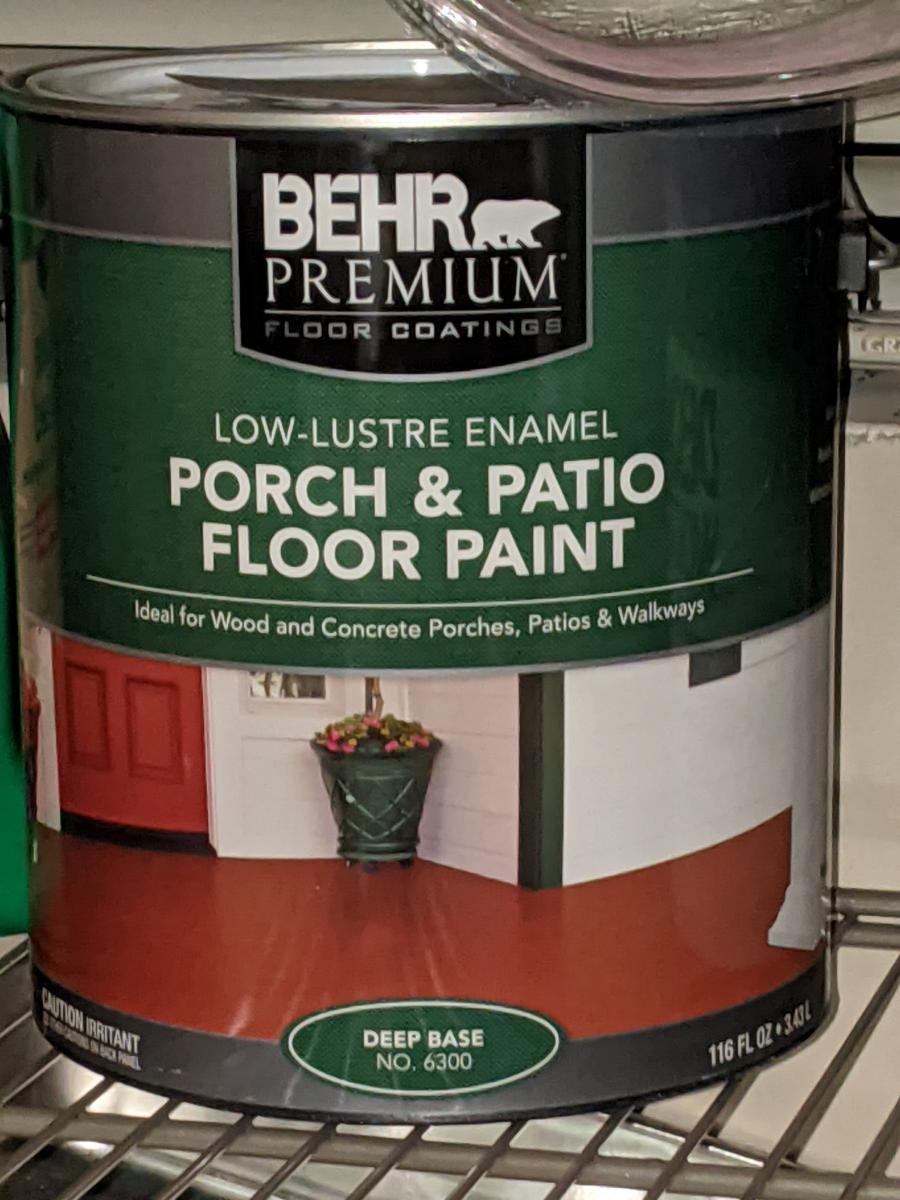
I've added the details of the finish we used, and really happy with how it turned out, with the exception of my garage workshop lighting not revealing the spots I need to touch up now that it is in the natural light.
And of course, this is a terrific time to purchase couch cushions at the end of the season. Lots of great sales, and we found these at Target for $47 per top/bottom set.
