Community Brag Posts

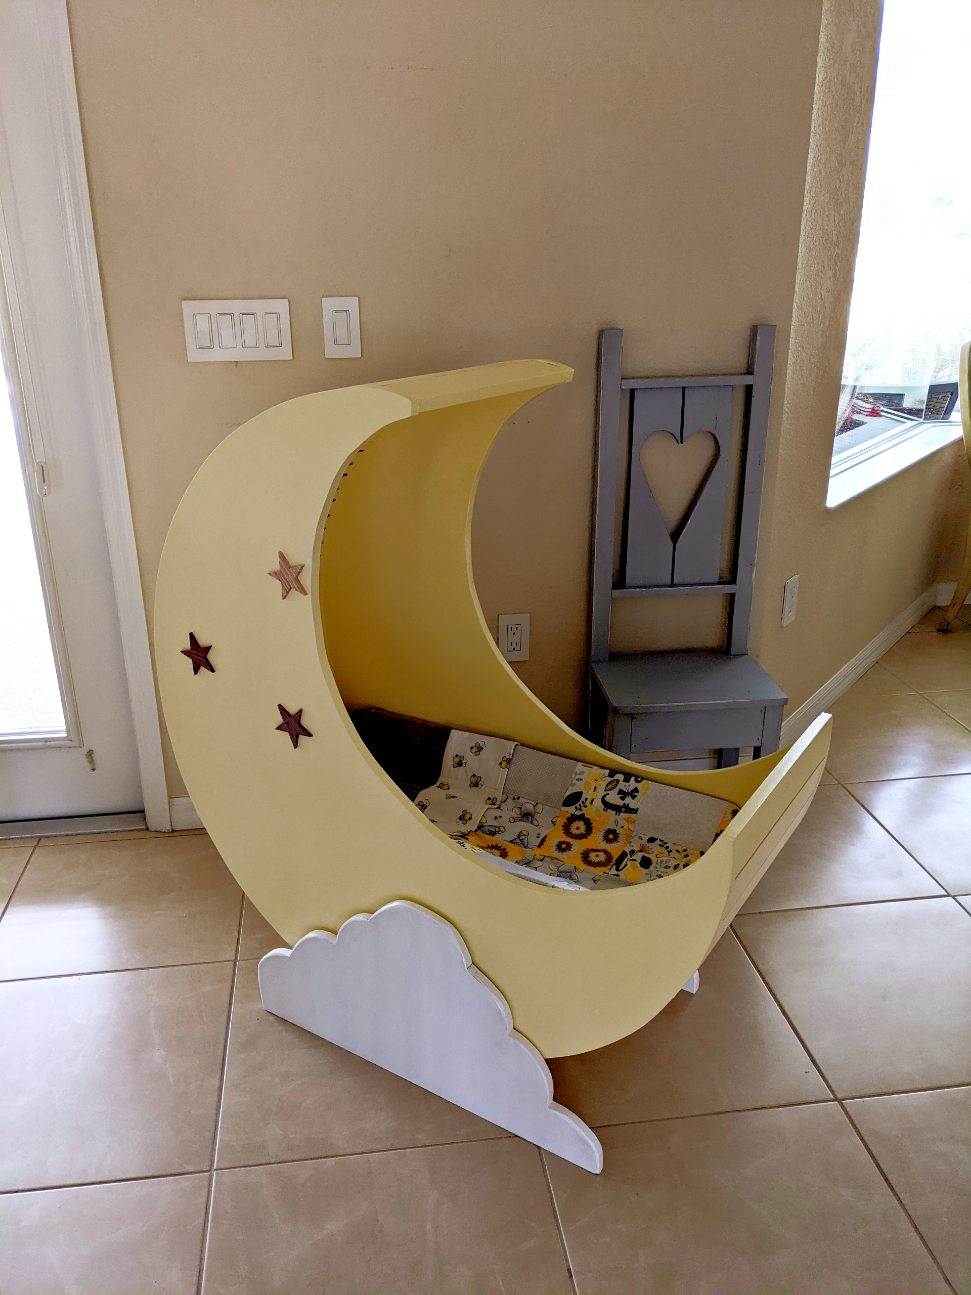
Half Moon Baby Cradle

Submitted by calcowoods on Thu, 12/31/2020 - 10:40

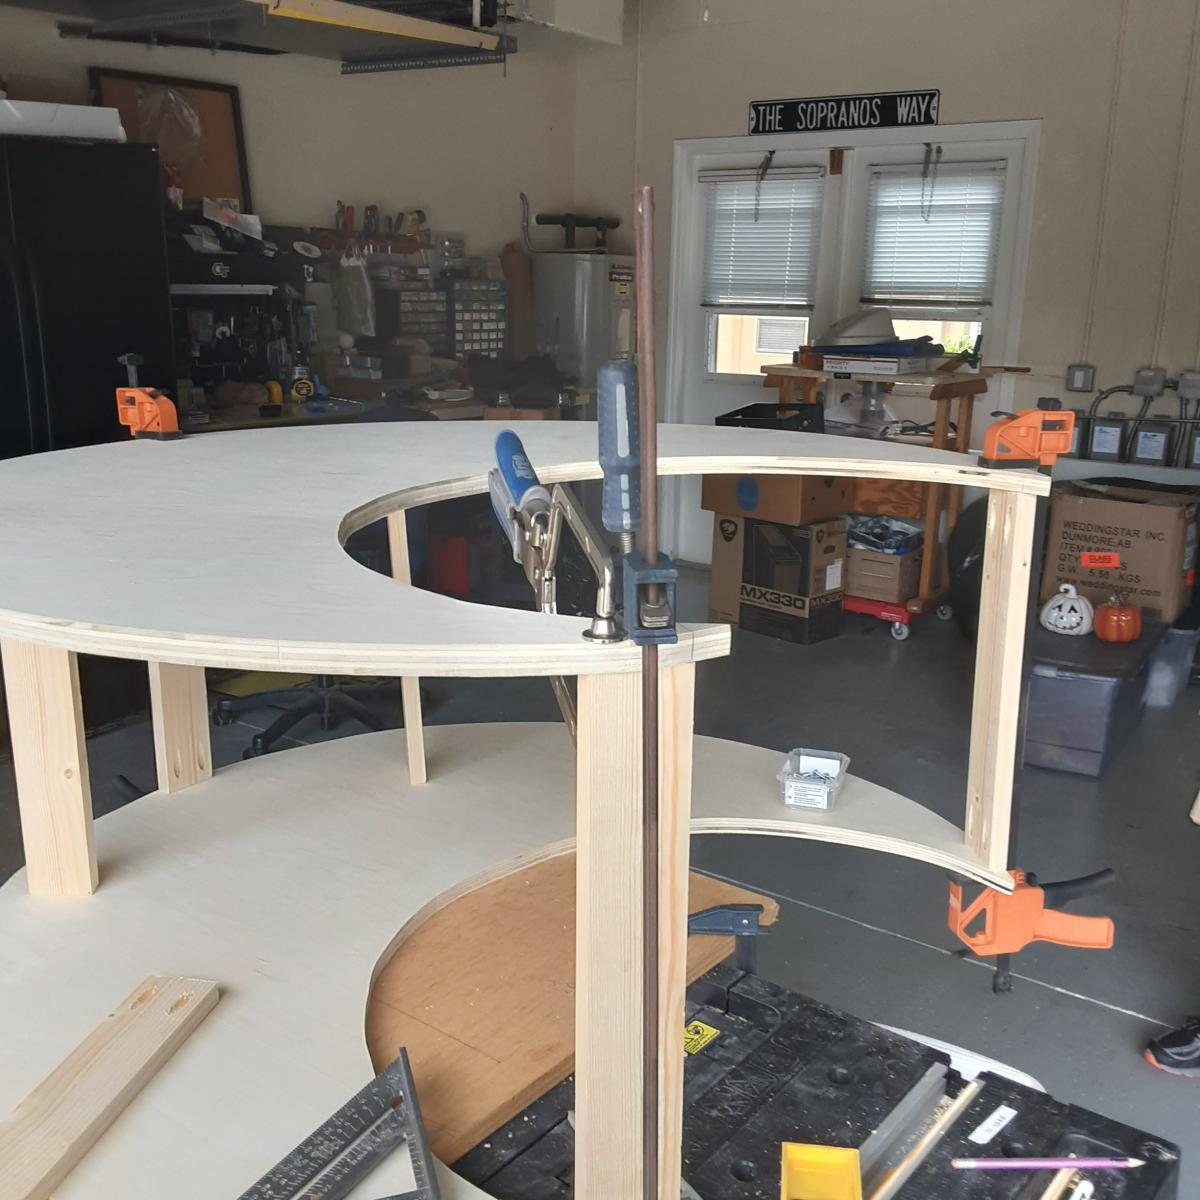
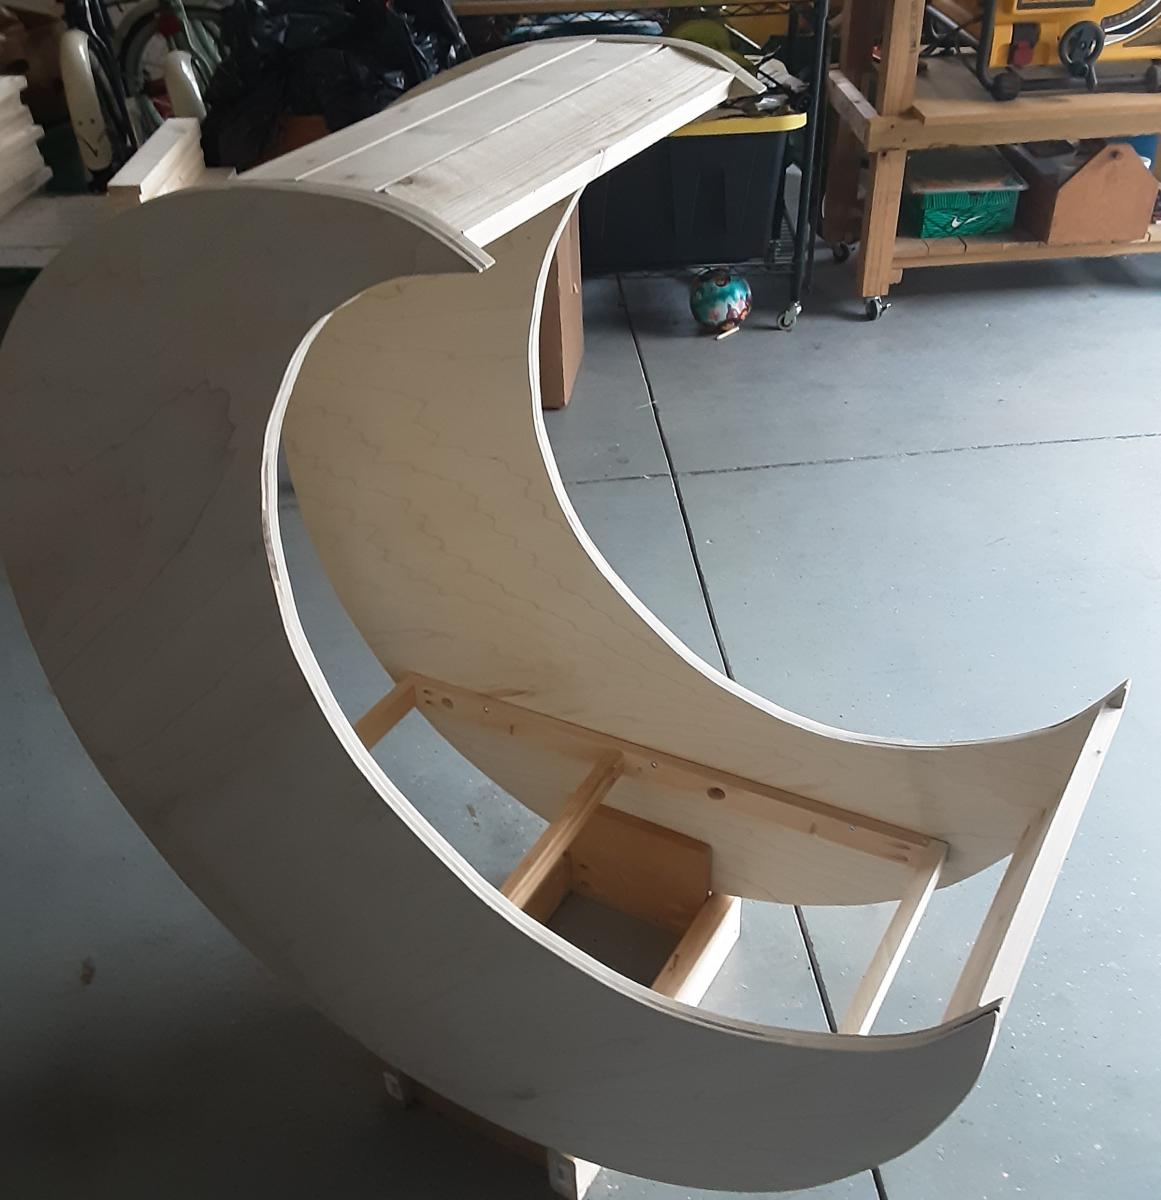
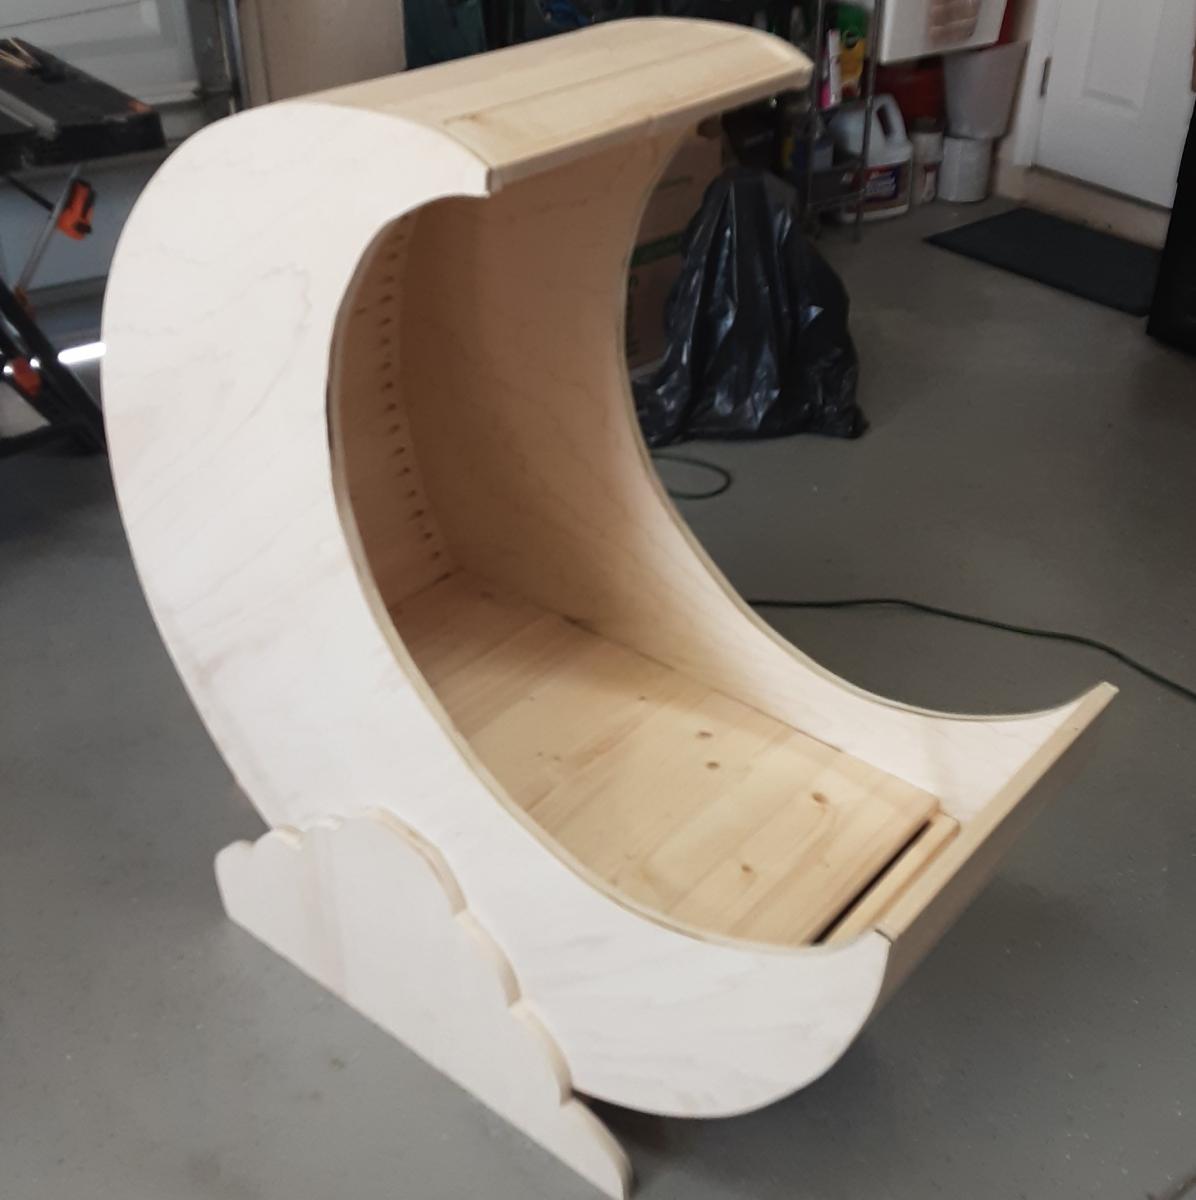
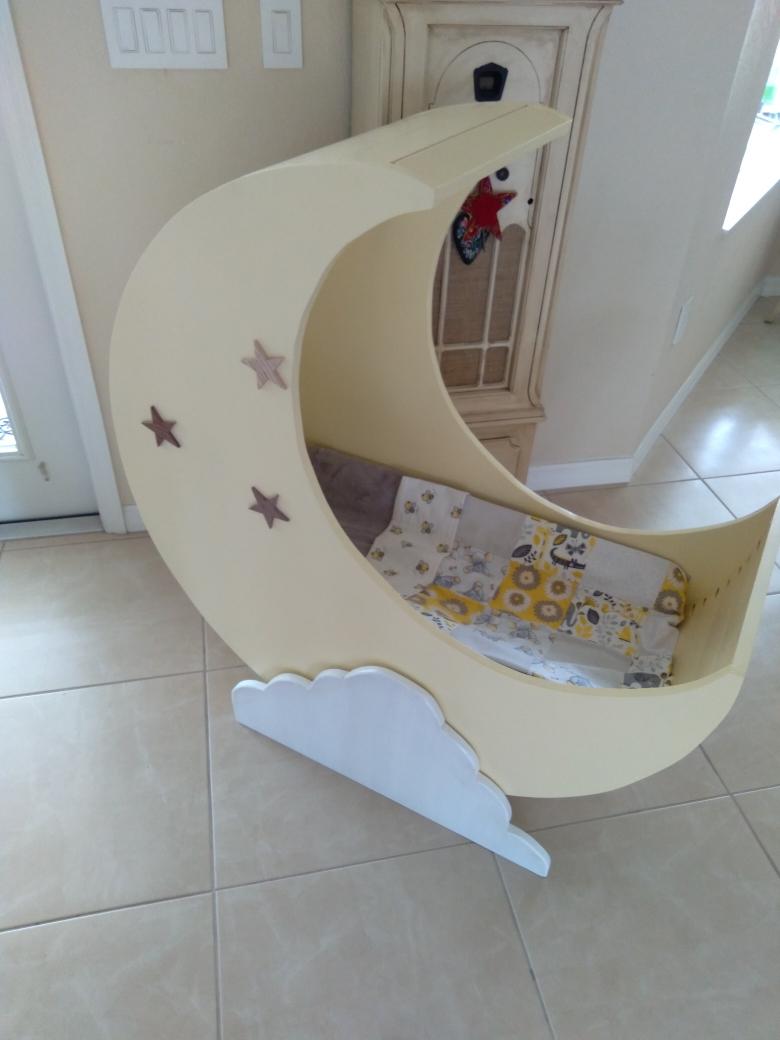
Built for my first Grandson Lucas. Made of pure bond poplar plywood and white pine. Templates were made of cardboard for a circle (20" radius) and a circle (14.5" radius). Placed small circle inside the larger circle to create a half moon shape. Identical sides were cut from the plywood. Extensive use of Kreg pocket holes to attach (25) 16" boards to the plywood sides. Each board requires 2 pocket holes (1 1/4) on each side. Added a base to the cradle for stability and attached plywood cloud shapes to cover base and add a decorative touch. Frame installed and attached rails to the inside supporting 30" by 16" infant mattress.

Estimated Cost
$100
Estimated Time Investment
Week Long Project (20 Hours or More)
Finish Used
Behr Vanilla Ice Cream; White for clouds
Recommended Skill Level
Intermediate

Comments

Paulamclaw

Tue, 03/29/2022 - 15:31

Hi,
Where do I find the plans for this? My daughter just told us she is pregnant and I want my husband to start making this 🥰
Thank you so much,

Media Stand for My Mom

Submitted by bluesboy5 on Mon, 02/04/2013 - 11:24

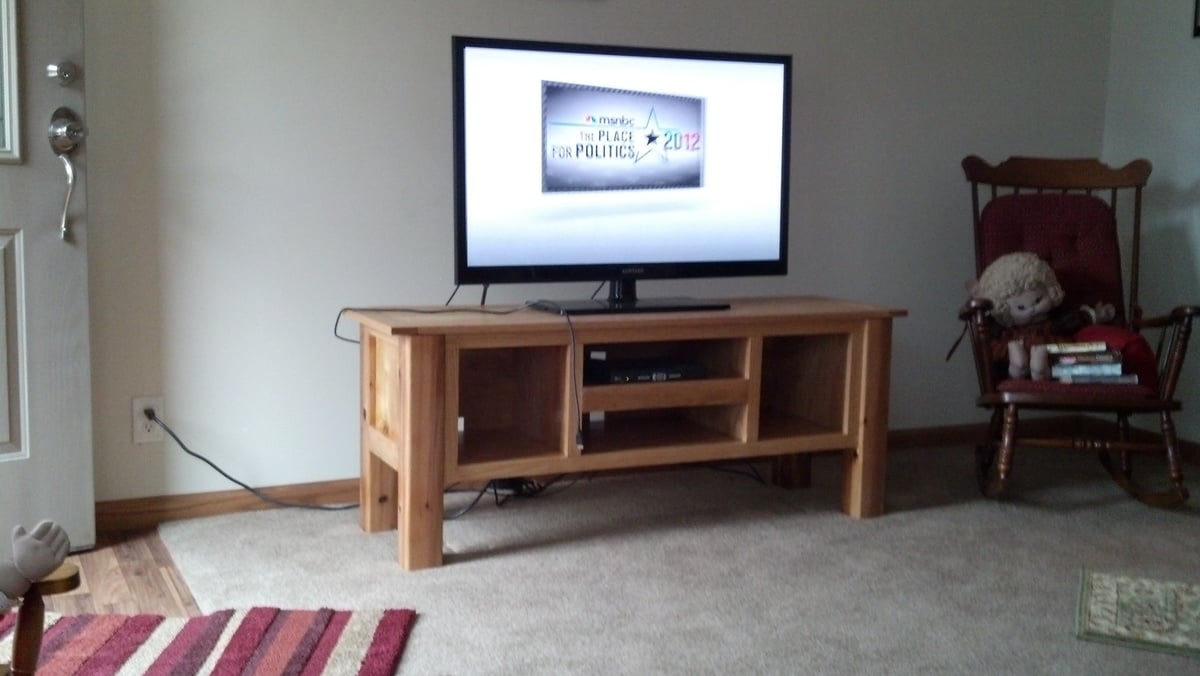
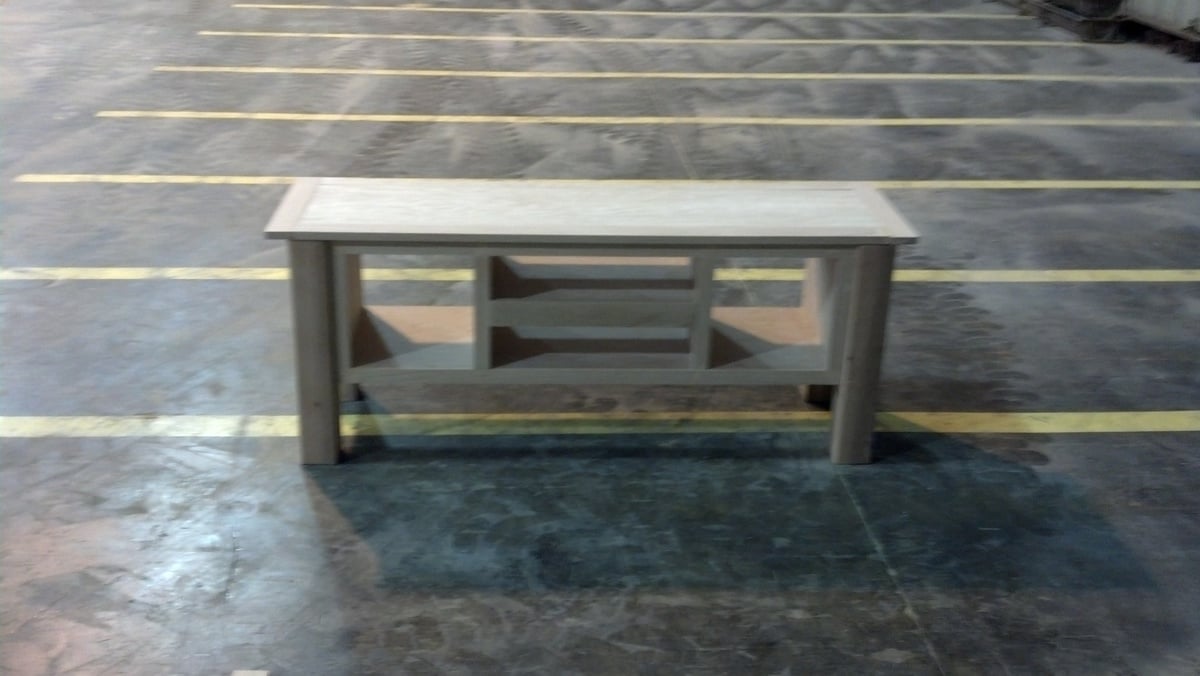
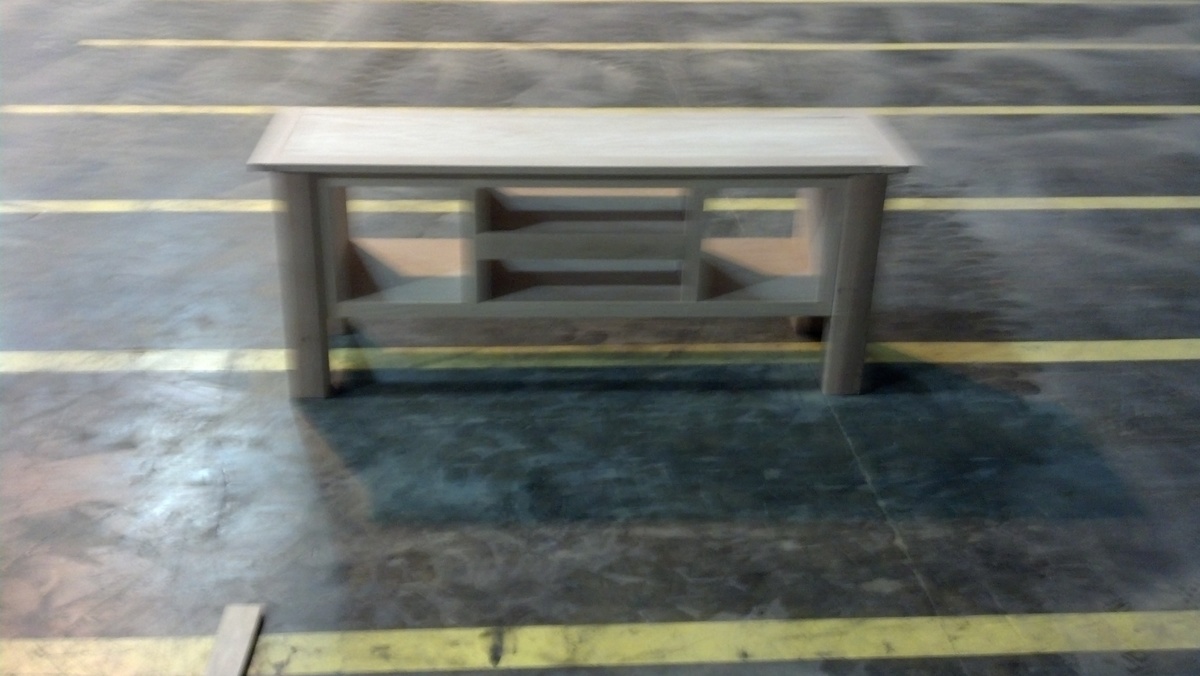
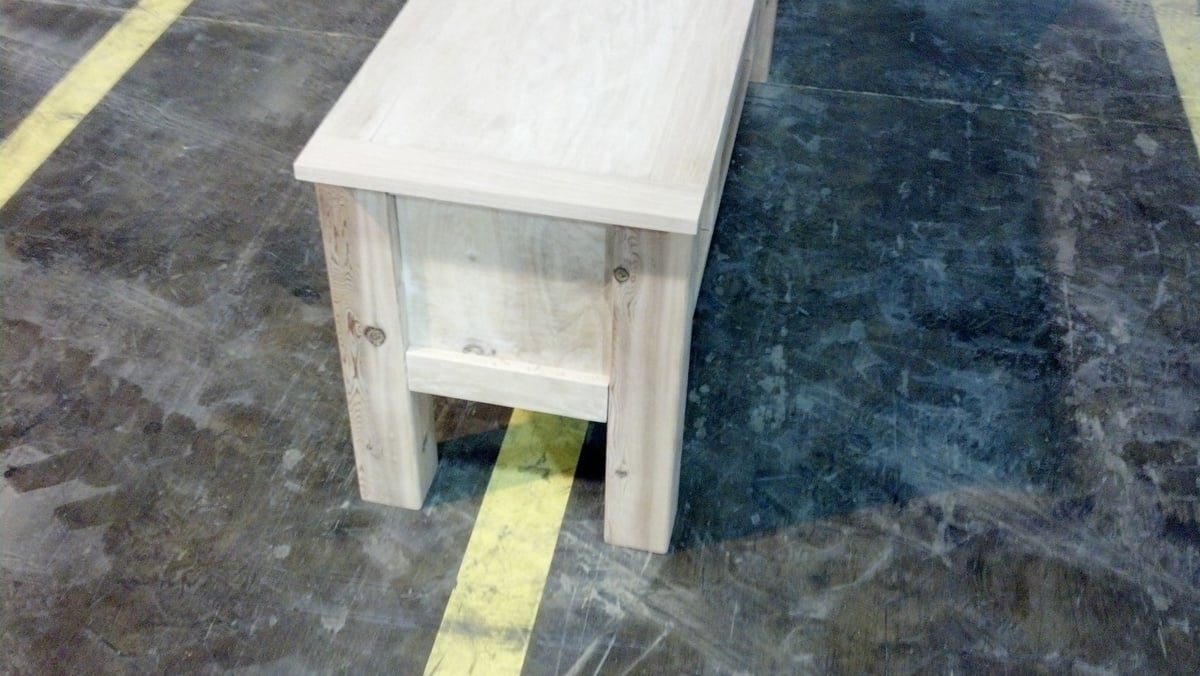
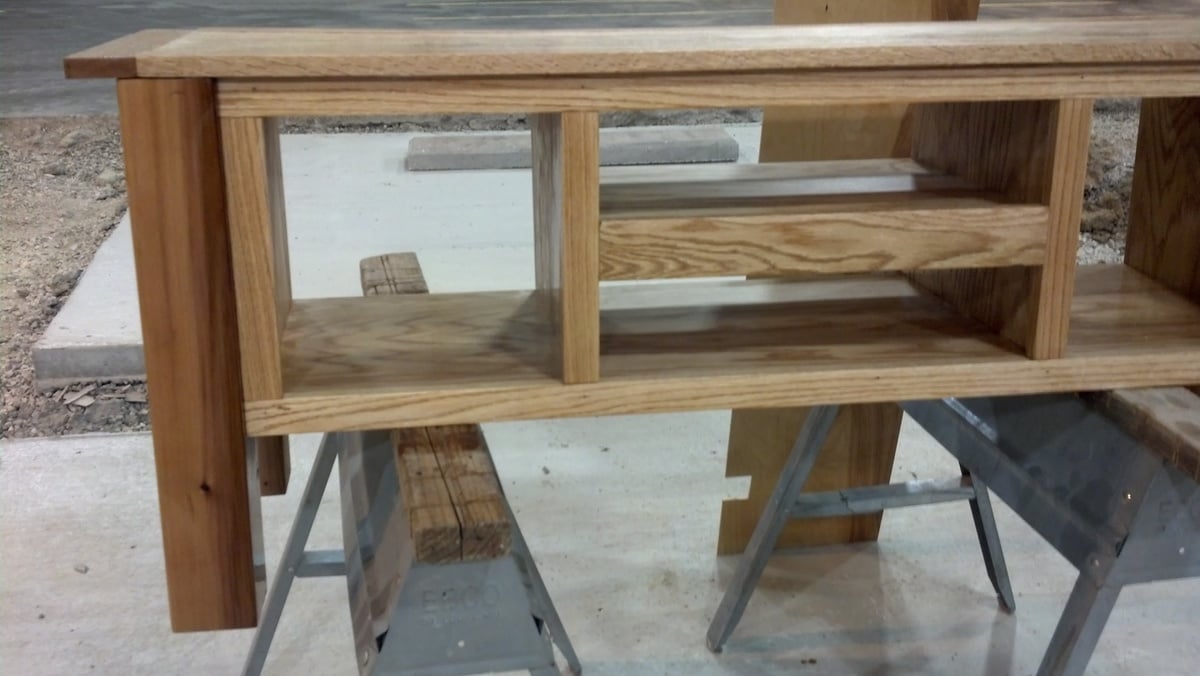
Tv Stand for My mother for Christmas. Couldn't find untreated 4x4s so i used cedar. Found now after the project was done that Menards has untreated 4x4's, even Red Oak.

Built from Plan(s)
Estimated Cost
150
Estimated Time Investment
Weekend Project (10-20 Hours)
Finish Used
Miniwax Pecan
Recommended Skill Level
Beginner

Comments

Nightstands to match the platform bed I built

Submitted by Madora on Tue, 12/09/2014 - 00:39

I built a platform bed for our new matress and wanted to make some nightstands that matched. These worked out wonderfully.

Estimated Time Investment
Afternoon Project (3-6 Hours)
Recommended Skill Level
Beginner

Desk Hutch for Printers

Submitted by Anonymous (not verified) on Sun, 03/12/2017 - 12:41

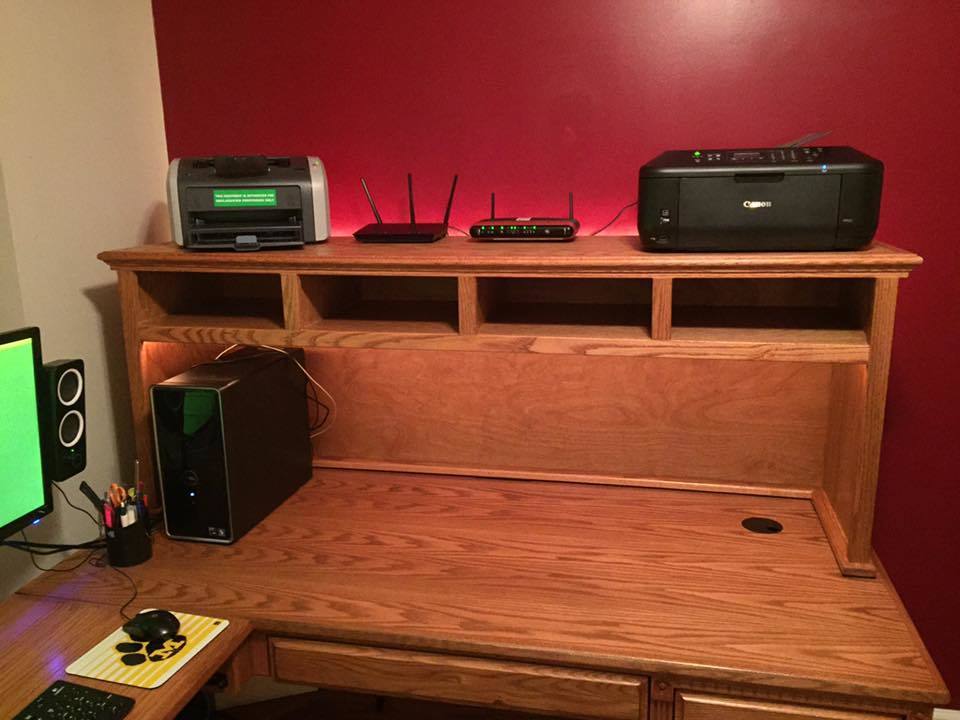
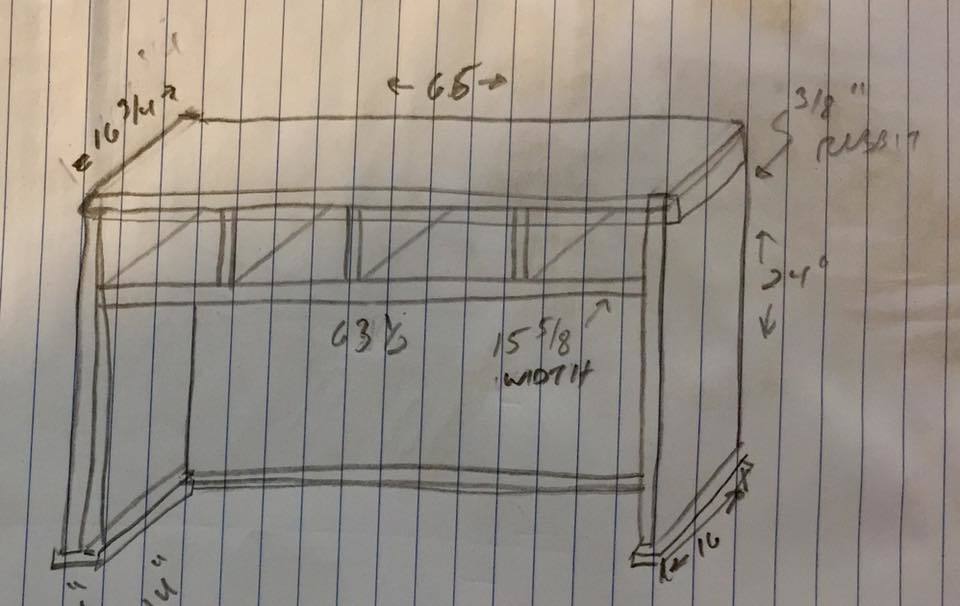
I needed to recover the desktop space occupied by two printers--one a black and white laser printer, and the other a multi-function color printer, scanner, and copier.  There are also two routers that were taking up space.  The L-shaped oak desk with return I purchased from a furniture store had a full-size hutch available, but it wouldn't really help store the printers since they would be too high to use.

When looking around for plan ideas, my first stop is Ana's page.  The schoolhoouse desk hutch dimensionally matched what I was thinking about.  I liked the ideas of the cubby-holes to get papers and other items off the desk but readily available.

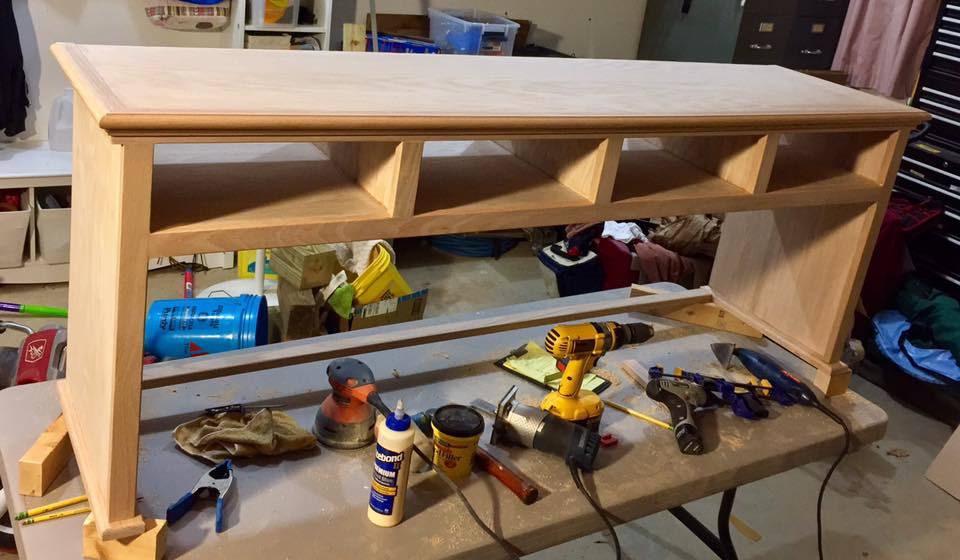
I trimmed it out a little fancier to match the desk and included feet simlar to a an oak hutch we have in the dining room.  I think this feature, along with the trim, helps break up the straight lines.

I prefer to use biscuits in lieue of pocket screws so I don't have all the holes to fill.  I think it makes a cleaner cabinet but clamping time adds a little to the assembly.  I attached the face frame with brad naile--18 ga for the face frame and a 24-ga pin nailer for the upper trim.

I also leave the face frame slighltly proud, about 1/8", which when sanded ends up about 1/16"  We had some kitchen cabinets like this and I prefer the look to flush.  Plus you don't have to use a flush-trim bit all the way around the cabinet.

The cabinet is oak 3/4" plywood and solid oak pieces while the back is 1/8" birch.  I couldn't find 1/8" oak panels at our local yards.  The back is recessed in the cabinet, and next time I will be sure to cut the rabbit for the back before assembling the case.  It was much harder with the ribs for the cubby-holes interfering with the router bit bearing.

I like the way it turned out and is functional without over-powering the room.  I also added rope lights underneath and on the back for task and mood lighting.
Built from Plan(s)
Estimated Cost
$200
Estimated Time Investment
Weekend Project (10-20 Hours)
Finish Used
Sanded to 220 grit
Coated with wood conditioner for uniformity
Two-step stain process: Golden oak followed by Provincial Oak stain. First brings out the light colors and darker darkens the grain.
Finished with Polyurethane Satin
Recommended Skill Level
Intermediate

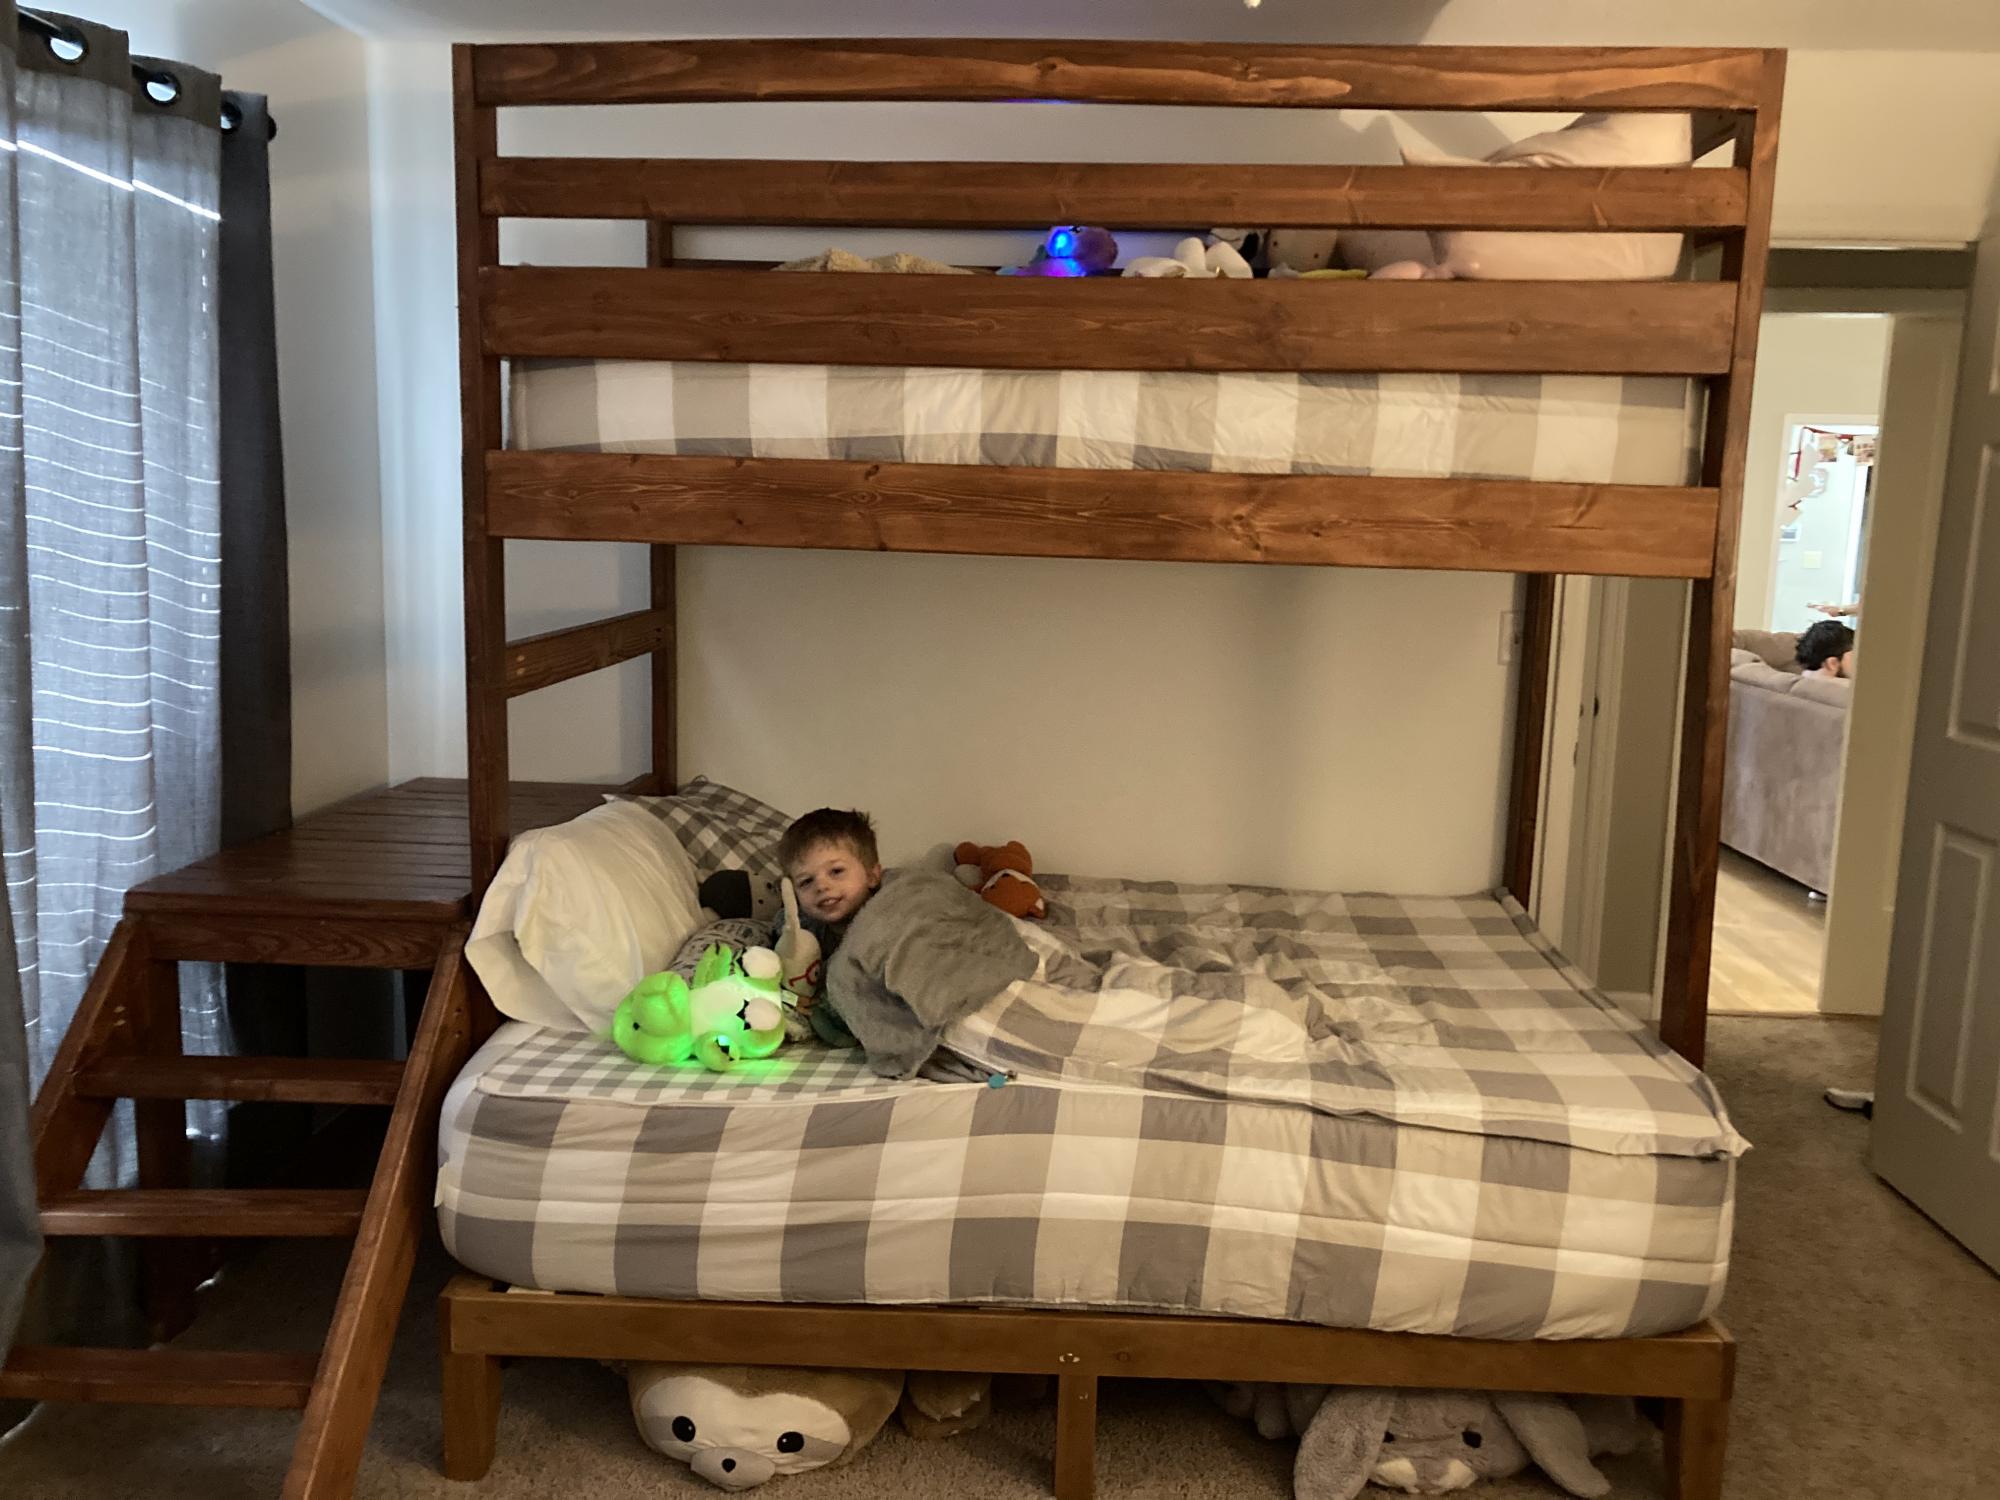
Twin over full bunk bed with stairs

Submitted by Anonymous (not verified) on Sun, 01/03/2021 - 10:00

Liked the plan took way longer to sand and get everything cleaned up than it took to build.

1x3 slats for under the bed.

Made it extra high just full 8’ boards for the posts and added extra railing and dropped a 12” twin in.

It’s super sturdy, used scraps to add a headboard where the stairs are.

Turned out well

Comments

Farmhouse Dining Table

Submitted by Jen Edgley on Thu, 02/07/2013 - 05:32

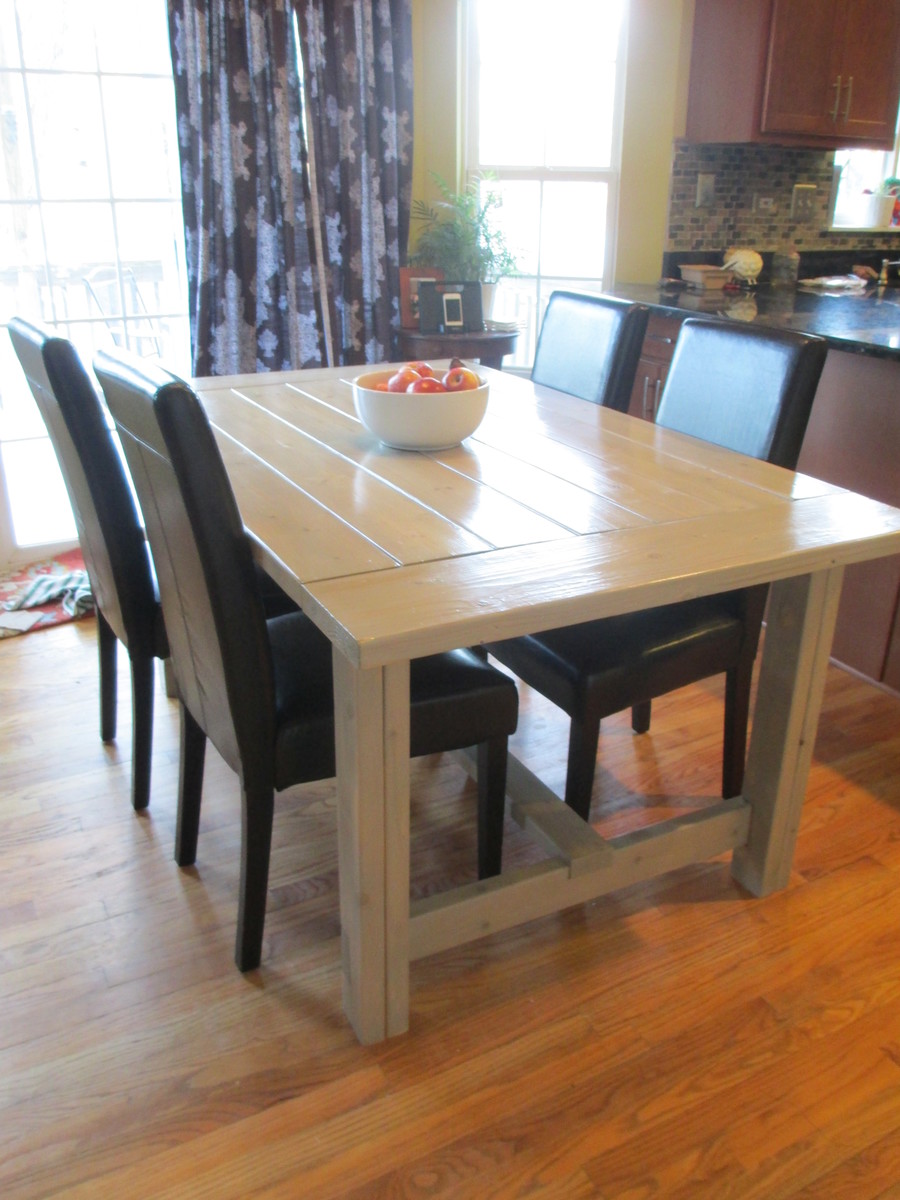
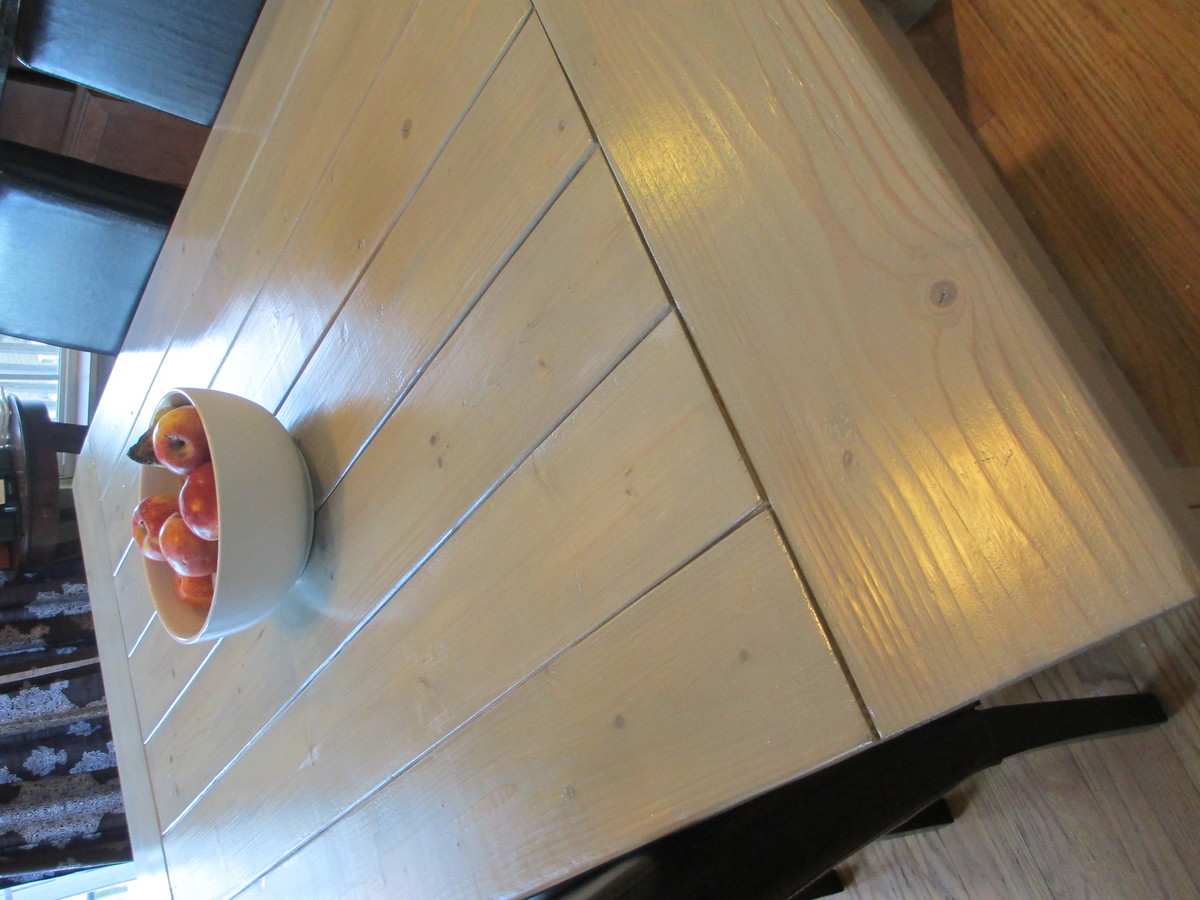
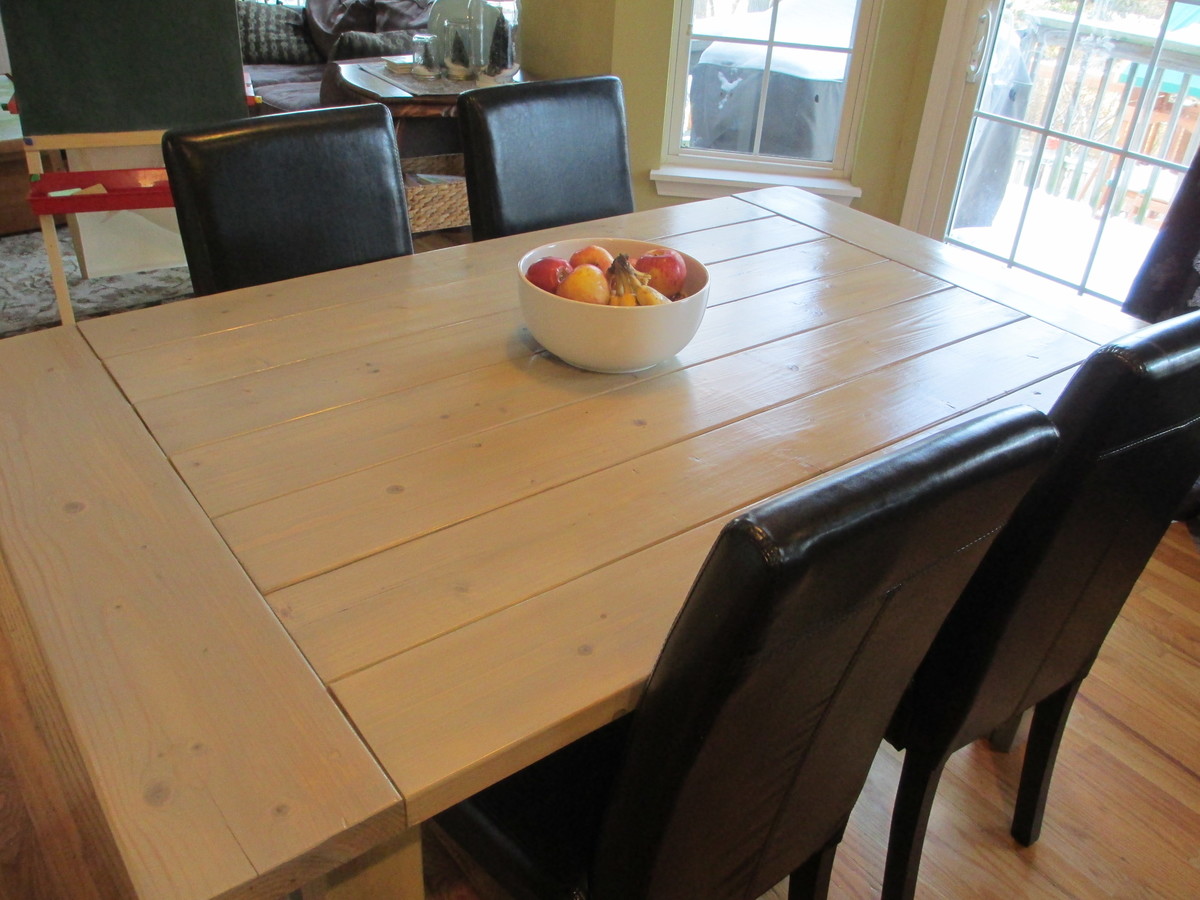
This was the first attempt at building furniture for my husband and me...and we're thrilled with how it turned out! We had a table from Crate and Barrel that was not holding up at all (I convinced them to take it back after 1 year) and wanted to try to build our own. We used Ana's Farmhouse Dining Table original plan, and only shortened it to 64", but followed the rest exactly. We looked into getting oak or a more expensive wood for the table, but save your money and get the pine! After the polyurethane, it's harder and more durable than our C&B table!

Built from Plan(s)
Estimated Cost
$100
Estimated Time Investment
Weekend Project (10-20 Hours)
Finish Used
After building the table, I sanded it really well. I then applied wood conditioner, and Minwax "Sunbleached" oil-based stain for a greyish finish. The top of the table has one coat, the rest two (I liked how one coat allows the wood color to show through with the grain, among the grey of the stain). I sanded after the staining, then did two coats of satin polyurethane (sanding in between coats). I'm so happy with the color!
Recommended Skill Level
Beginner

Comments

Faux fireplace

Submitted by ddm00767 on Fri, 12/12/2014 - 17:25

I always wanted a fireplace. Living in Puerto Rico, obviously a real one is not needed. I saw the fireplaces on Ana's site and decided to make myself one from materials I had on hand. 

I started out with Ana's Fireplace anywhere but when done I thought it needed a little beefing up for my purpose so I added a few more 1x3's and made the top 12" so the dvd theater system would fit on top. 

Finished  it off  by sanding, priming and black glossy paint. I wanted the panel gold but the metallic paint I had was too watery so went with silver, I am planning on adding a monogram or such on the panel also but haven't decided on what exactly yet, I made a few faux cardboard logs, made a few wholes in them and wrapped red and gold christmas lights in them for a fire effect. It really adds a nice touch to the living room. The wall behind it is made of brown craft paper, painted with brown, silver and gold, torn into pieces and applied with glue mix. I did it last year and gave myself a year to see if I still liked it. I do, so this year I gave it a polyutherene gloss coat and did a similiar treatment with different colors to the front porch. 


Built from Plan(s)
Estimated Cost
$50, materials on hand, purchased paint
Estimated Time Investment
Afternoon Project (3-6 Hours)
Finish Used
primer, black glossy paint, metallic silver paint
Recommended Skill Level
Intermediate

X Console Table

Submitted by Anonymous (not verified) on Tue, 03/14/2017 - 11:20

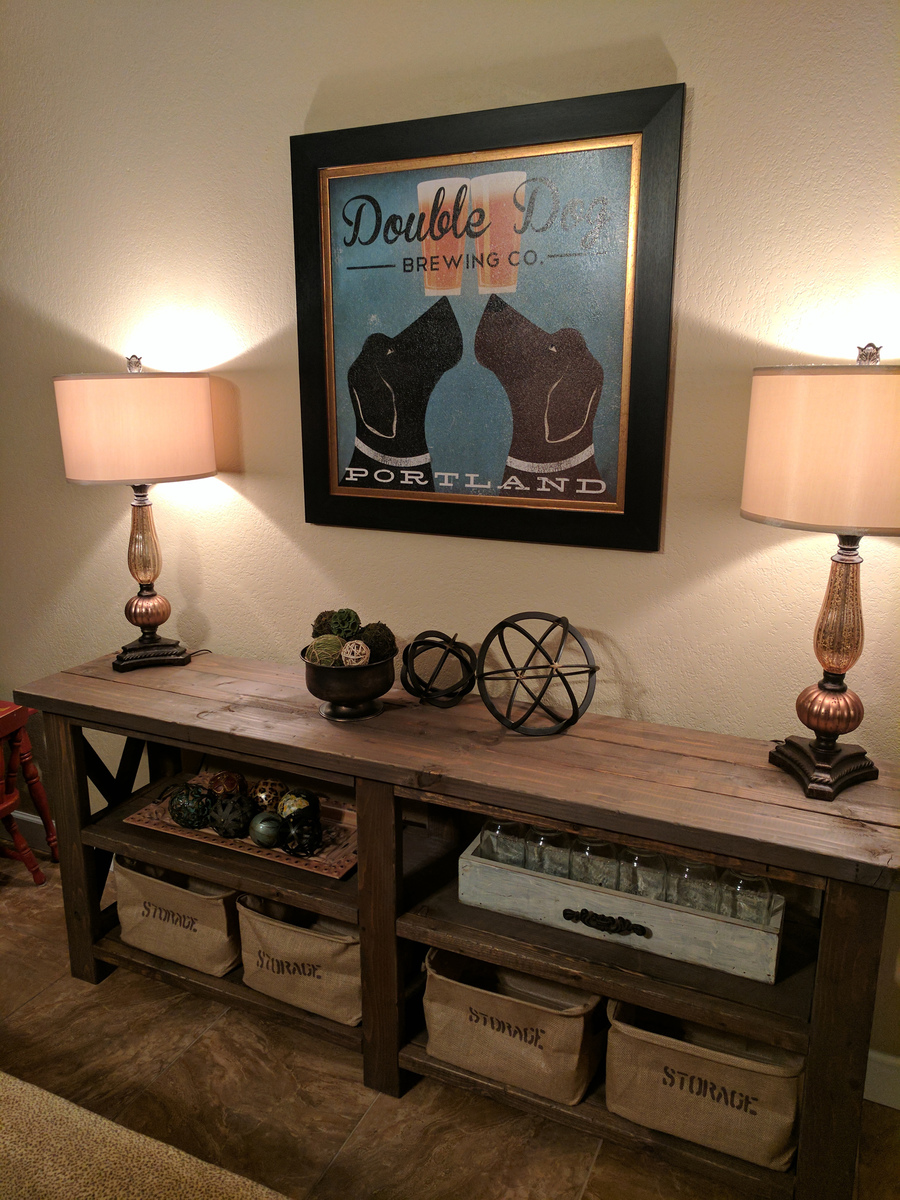
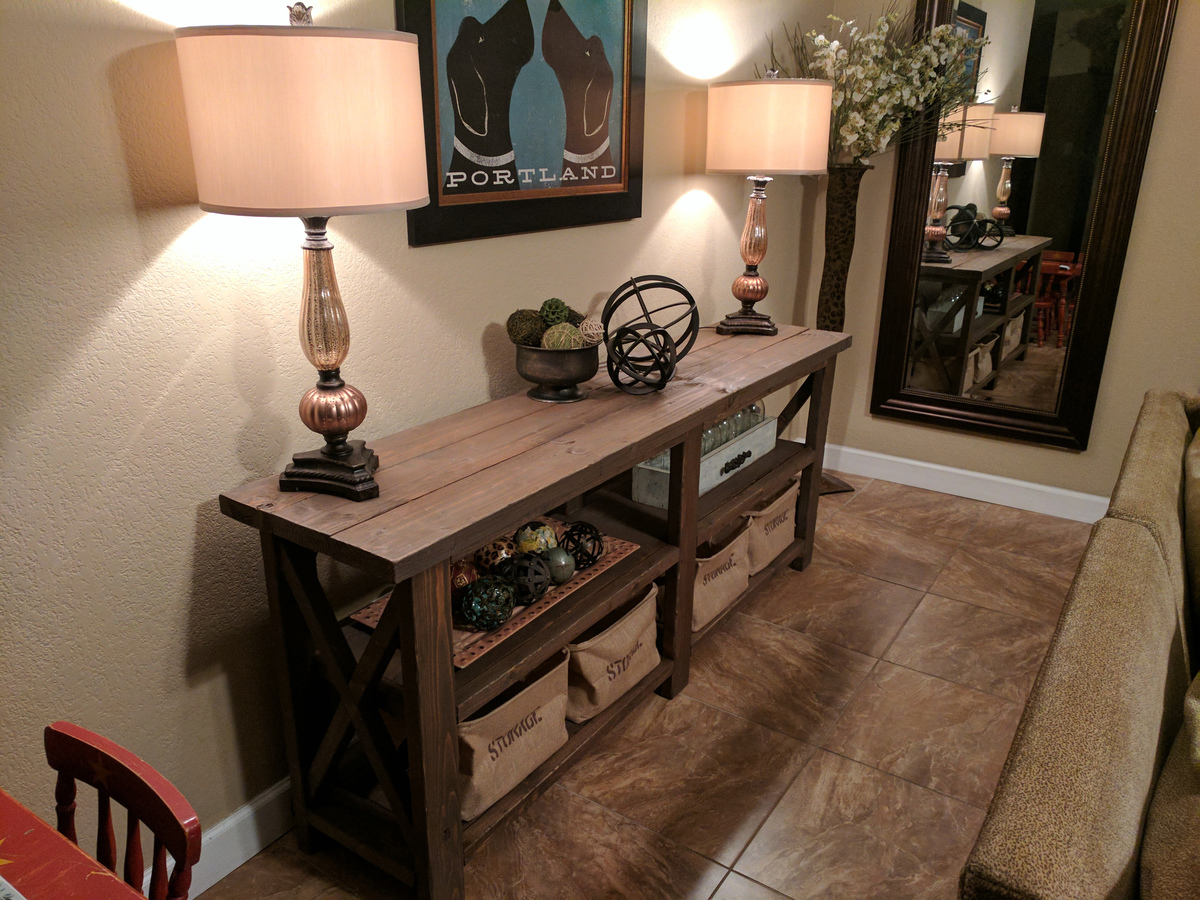
LOVE THIS TABLE! The plan was fairly easy.

Estimated Time Investment
Day Project (6-9 Hours)
Recommended Skill Level
Intermediate

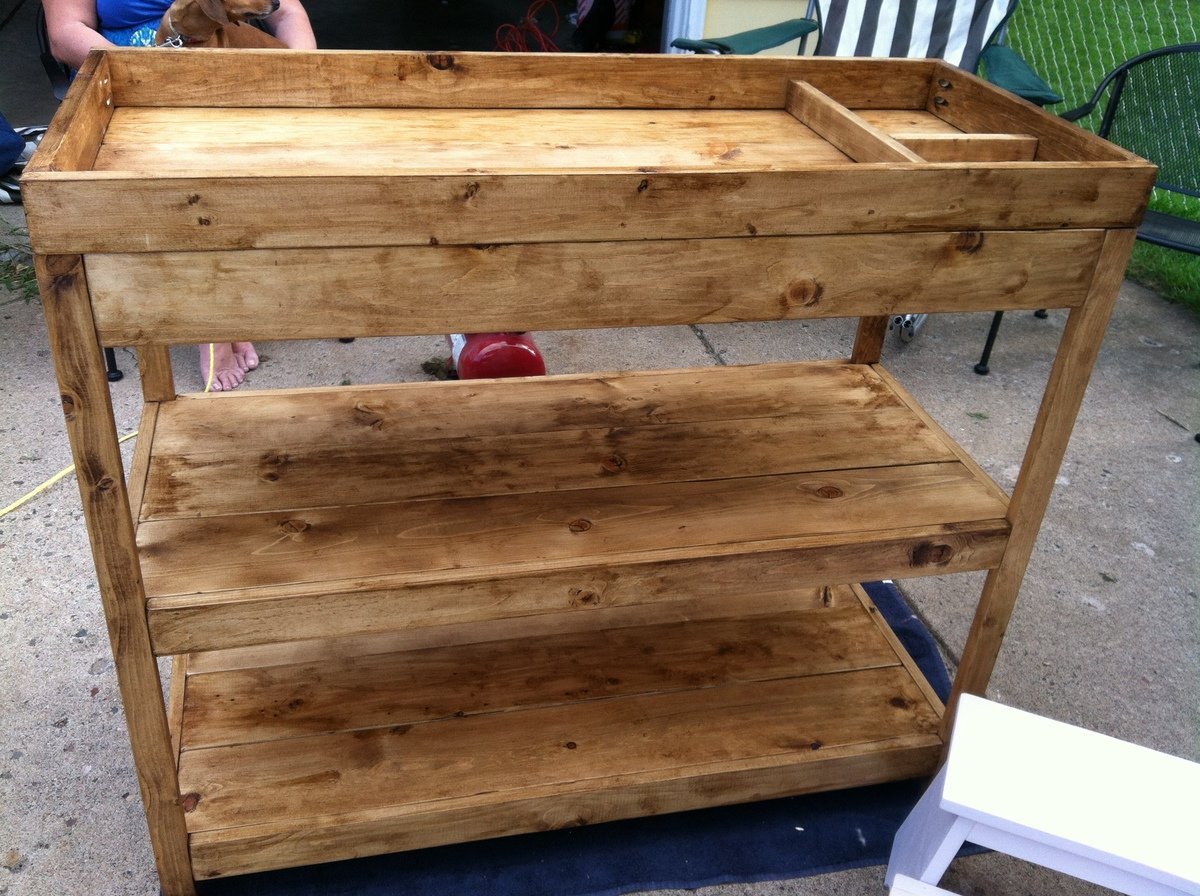
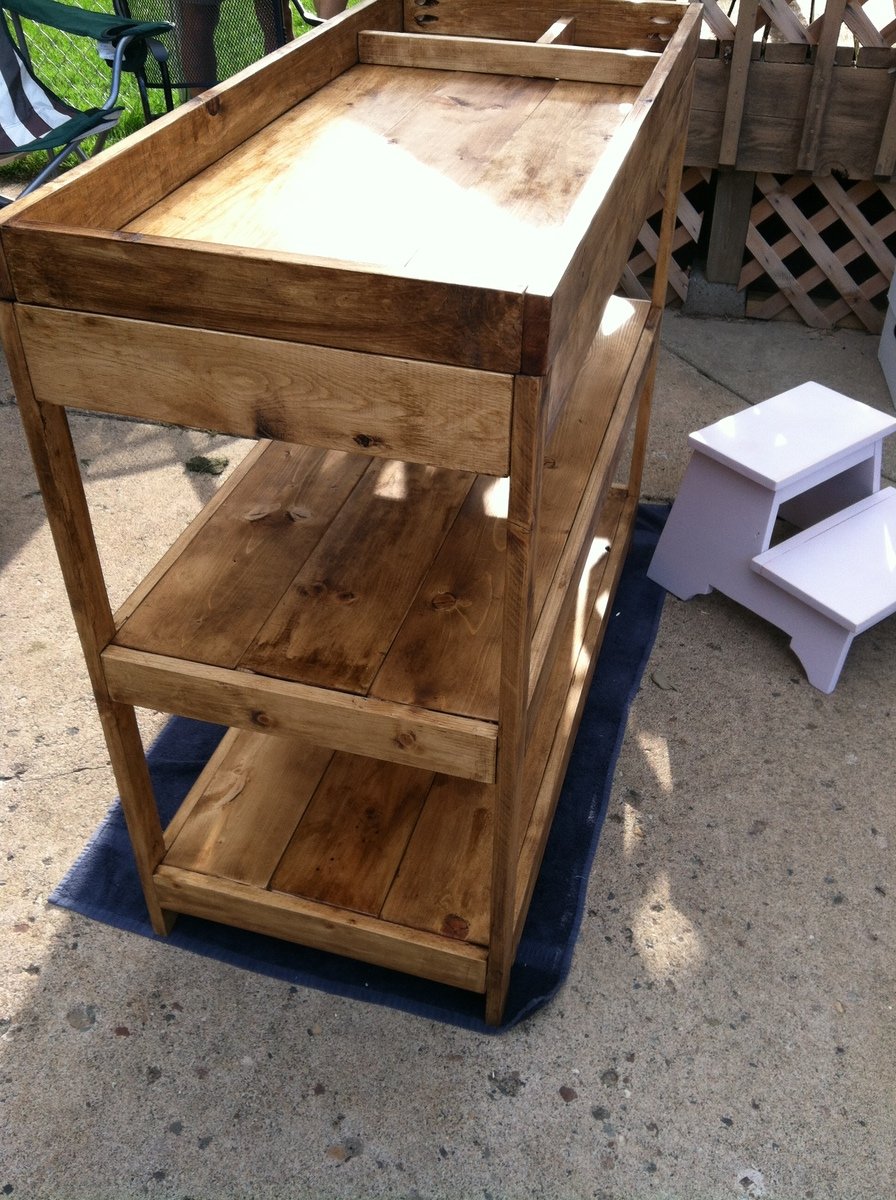
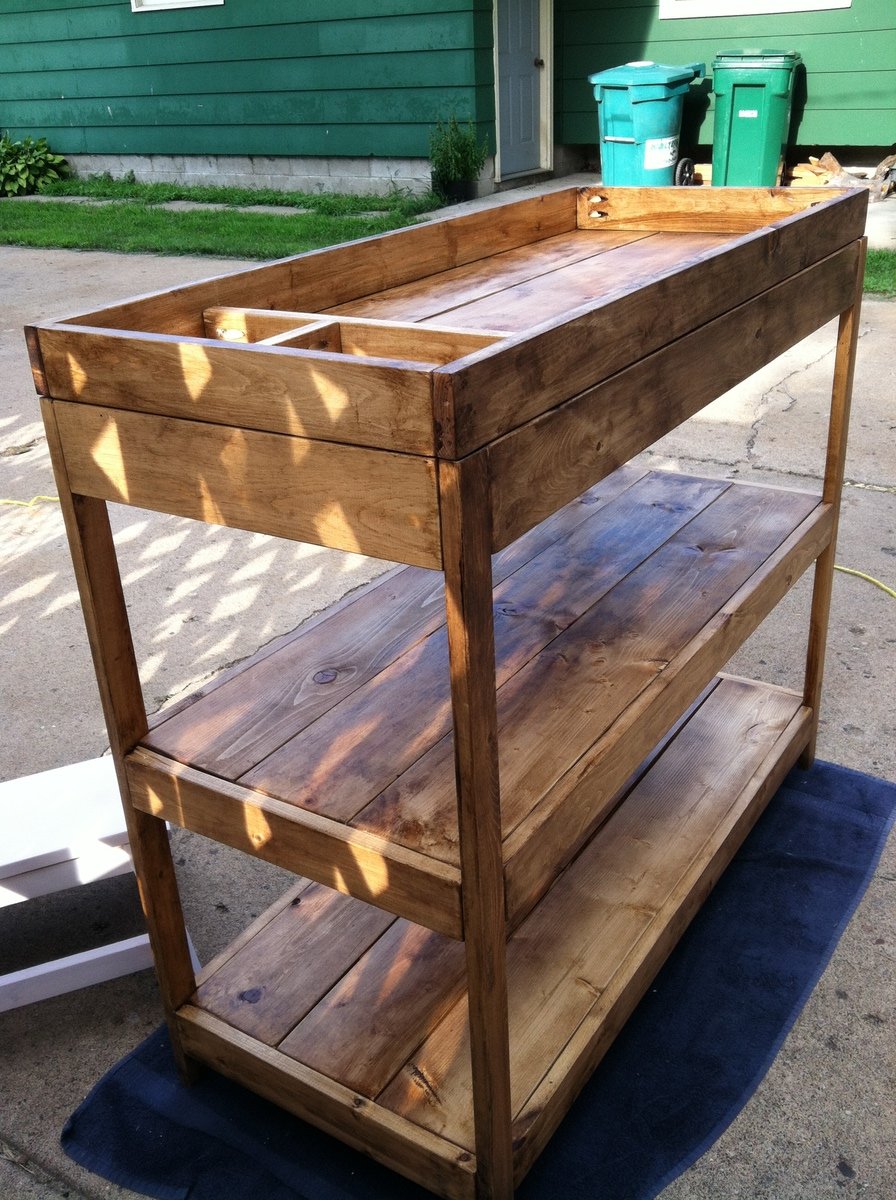
Simple Changing Table

Submitted by mamahowell on Sat, 02/09/2013 - 06:50

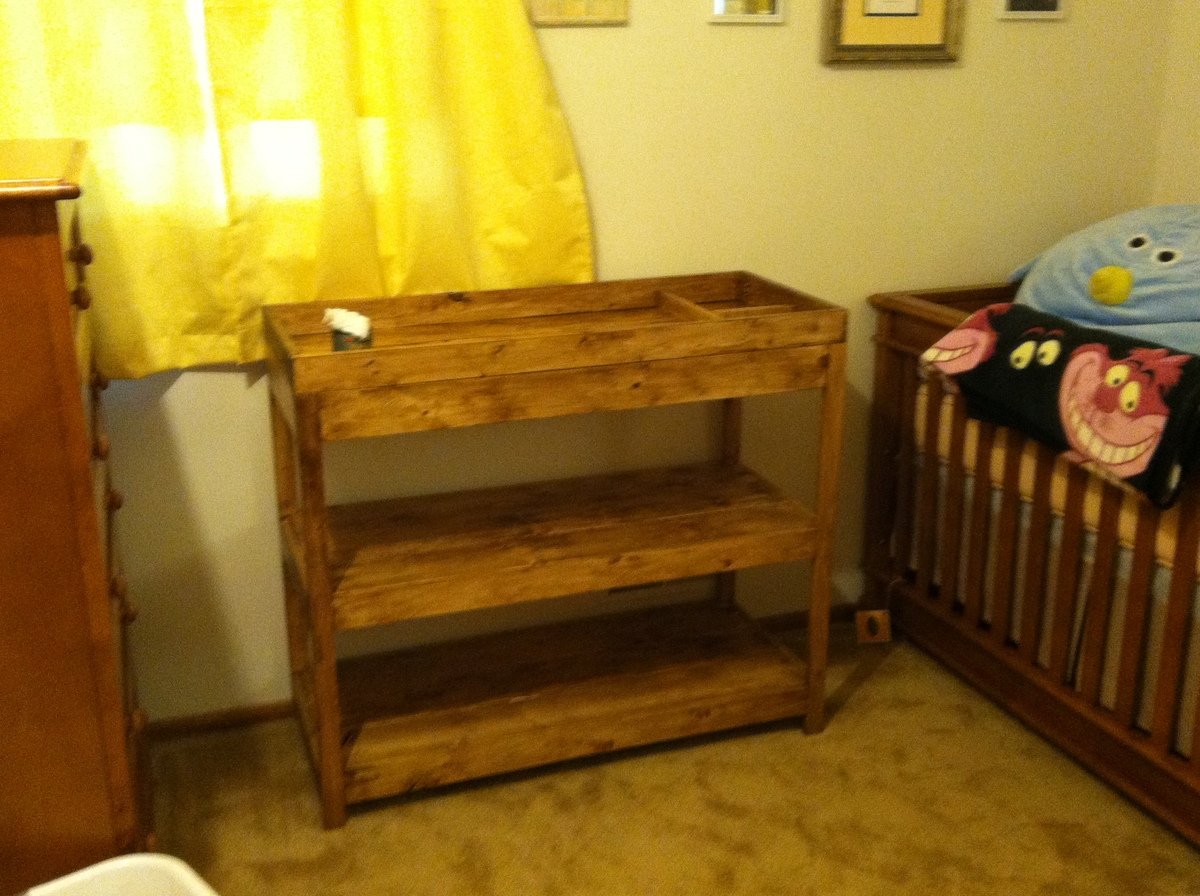
I built this changing table for my friend's new baby. I had to stain all the individual pieces and assemble it at her house. It wouldn't fit assembled in my vehicle! :)

I also built her a stepstool as well.

Estimated Cost
$60
Estimated Time Investment
Weekend Project (10-20 Hours)
Finish Used
Minwax Polyshade Golden Oak
Recommended Skill Level
Intermediate

King Farmhouse Bed

Submitted by Grammi Nat on Mon, 12/15/2014 - 11:39

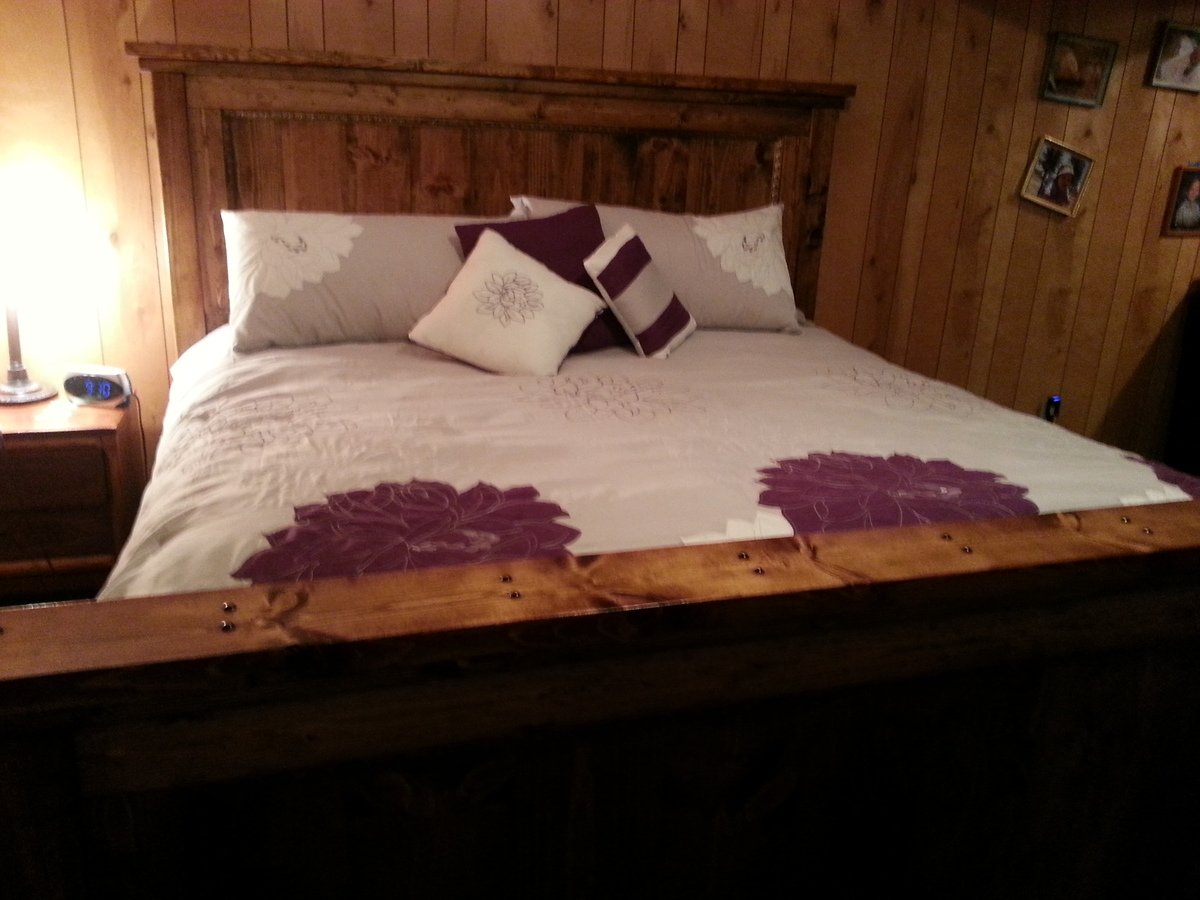
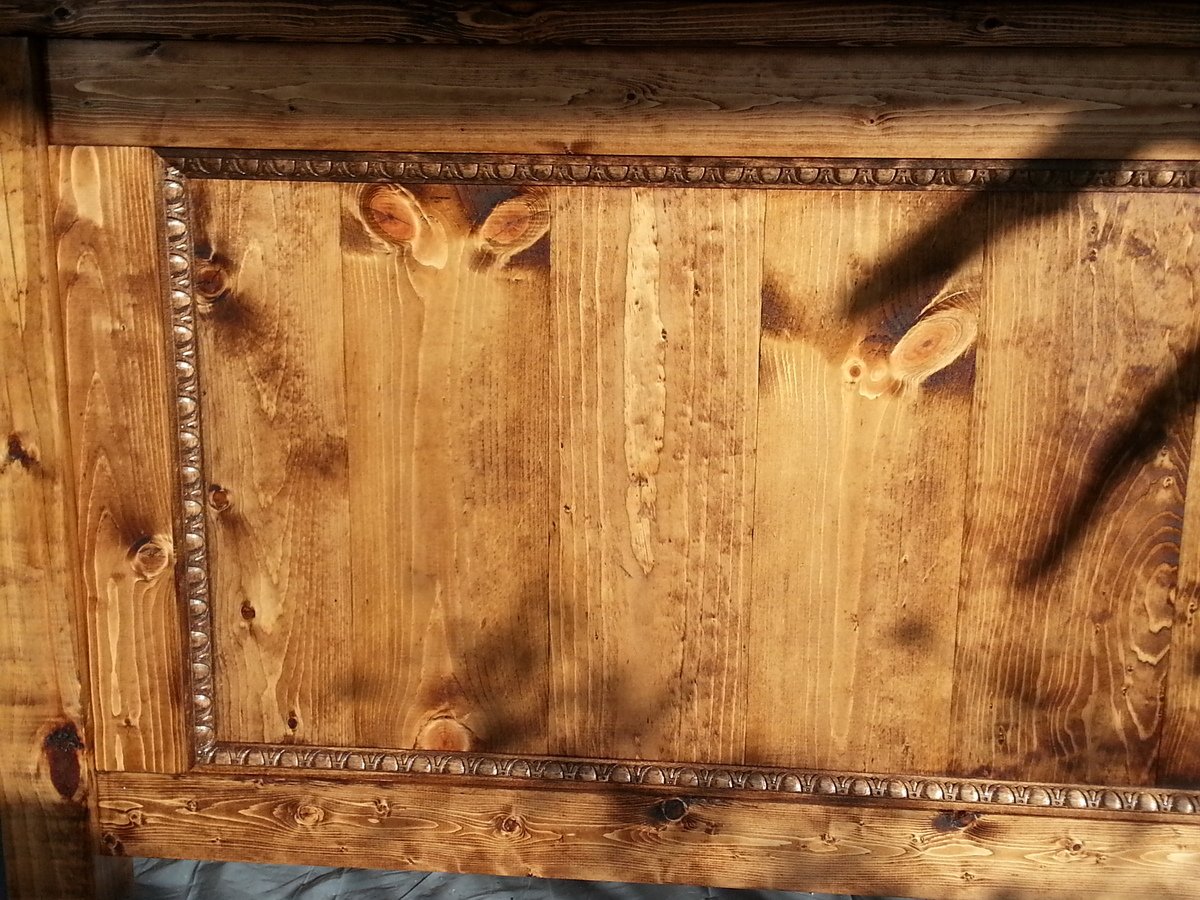
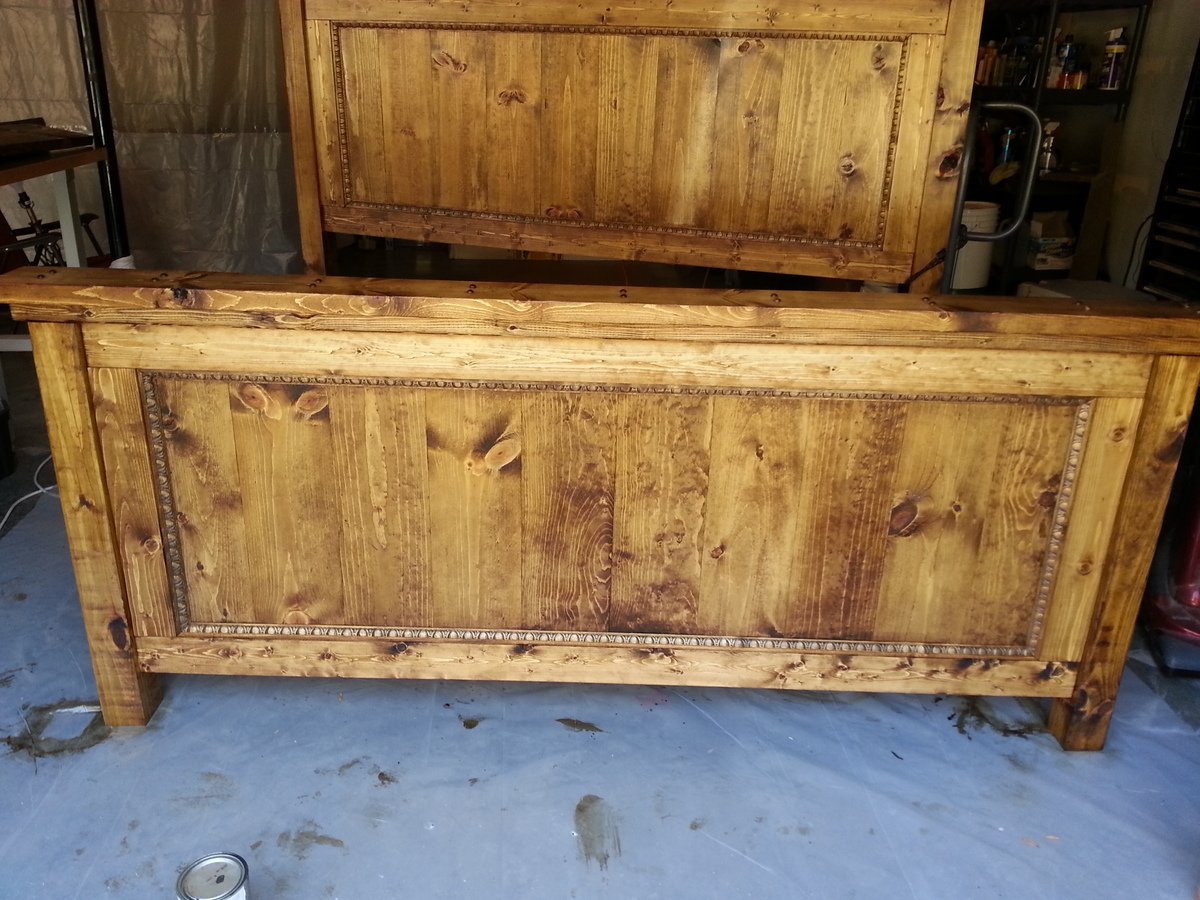
I love how this bed turned out. I made the footboard panel the same size as the headboard because I wanted my footboard above the mattress.(just use shorter 4x4 post for the legs than you do the headboard) I also added some molding inside the panel to give it a little extra flare. The boards on the panels are connected with pocket holes and pocket hole screws and the trim I put on covers them completely so there was no need to fill them in. I ordered some bed rail brackets from Rockler and attached the side rails right onto the 4x4 legs instead of the panels and it worked out perfect and it's very easy to take apart if I ever need to move the bed. Thanks Ana for the plans. Any chance you will be doing nightstands to match?

Estimated Cost
$250.00 to $300.00
Estimated Time Investment
Week Long Project (20 Hours or More)
Finish Used
Minwax wood finish stain in Provincial and Minwax wipe-on poly in clear gloss
Recommended Skill Level
Beginner

Comments

ljstorey1

Tue, 12/16/2014 - 08:07

Just love this mantle. I love the Primitive style & this is just perfect. Went over to Mimi's site so I could get the paint colors she used, the color is perfect.
Thank you both for posting. My husband is making the mantle for me for my Christmas gift. I'm going to put faux brick panel behind it & dirty it up with some black paint to make it look sooty.
I used to live in Cordova,AK., beautiful little town. I miss it alot.
Merry Christmas & Happy New Year, Linda Storey

Son's Bookshelf

Submitted by Anonymous (not verified) on Thu, 03/16/2017 - 18:23

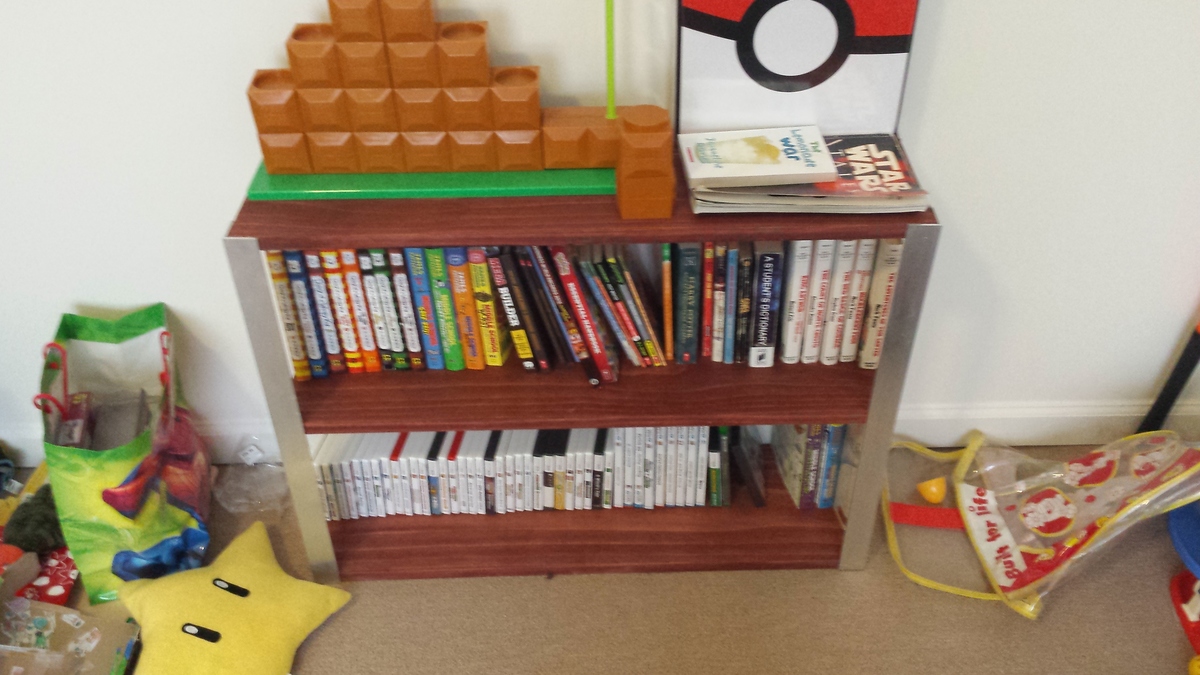
I decided not to use the wheels to keep my son from moving it around, stained it.

Built from Plan(s)
Finish Used
Minwax cherrywood stain
Recommended Skill Level
Starter Project

Microwave stand/wine rack

Submitted by lacroix19 on Wed, 01/13/2021 - 15:29

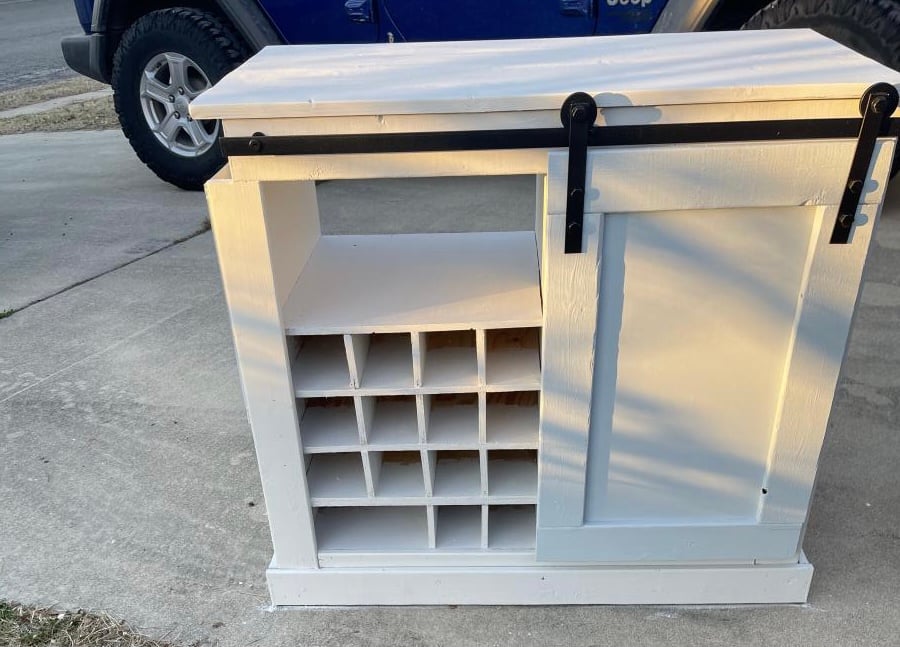
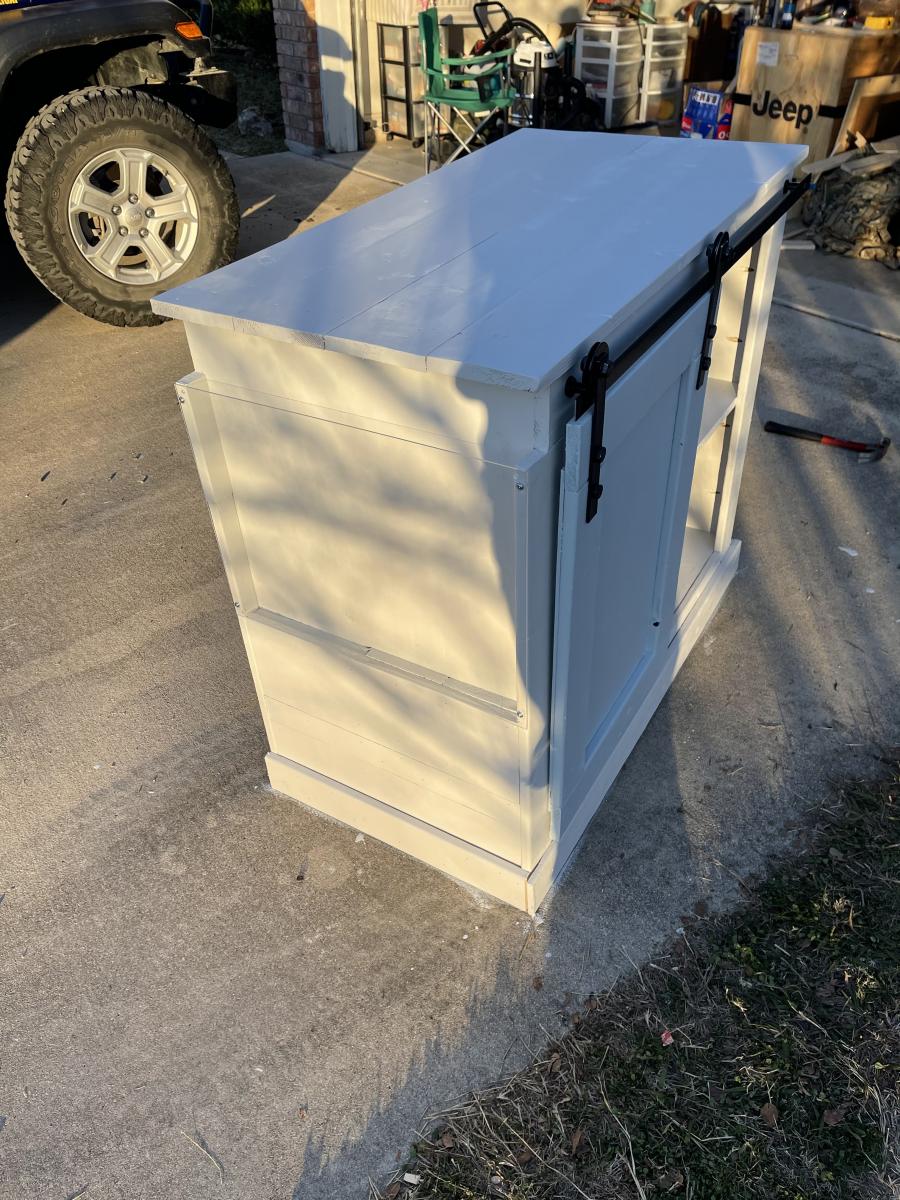
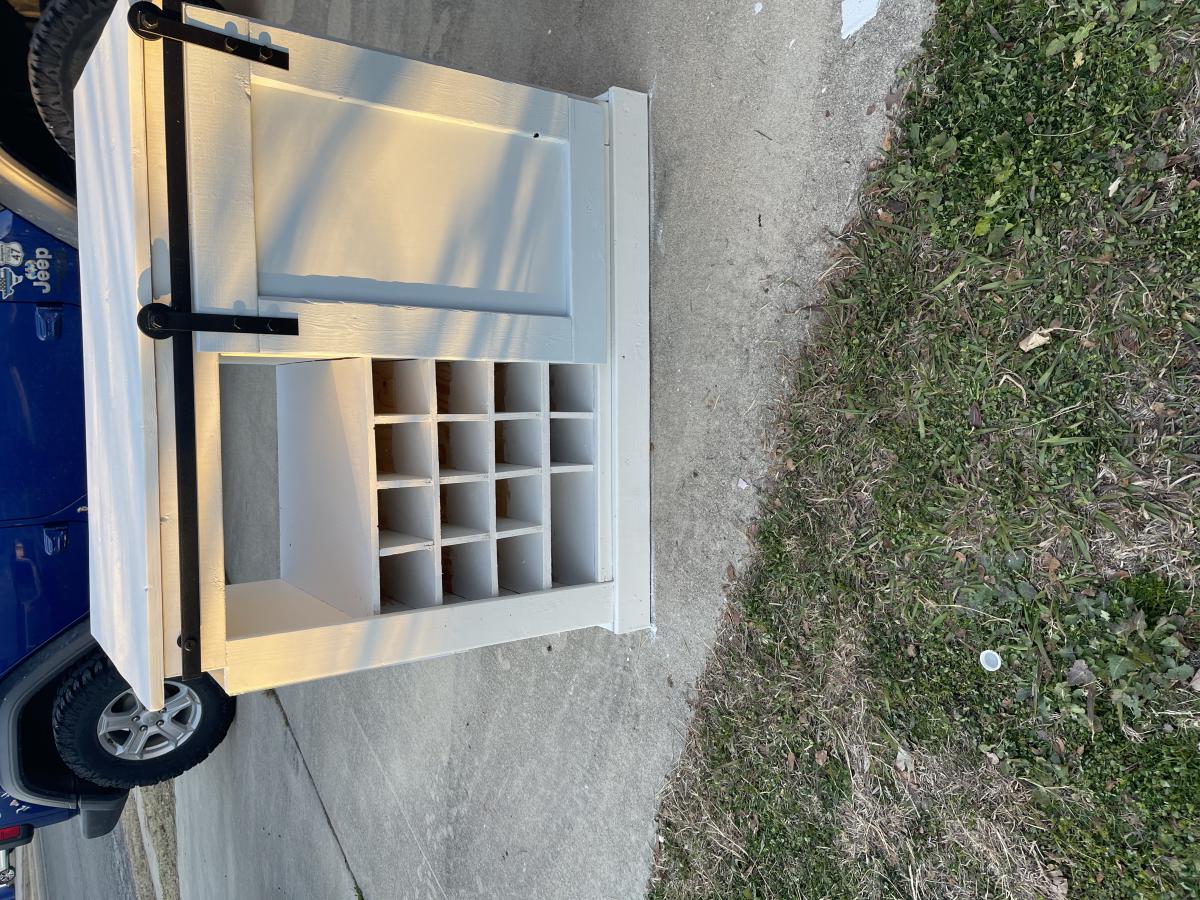
Definitely not perfect and it took me a little while! But so glad I found these plans and was able to add my little personal touch to it!

Estimated Time Investment
Week Long Project (20 Hours or More)

Comments

Queen bed frame combo Farmhouse/Brookstone with Pecan/Expresso stain

Submitted by ejricemsw on Mon, 02/11/2013 - 16:38

This was a blast. Thanks so much for the plans Ana, as well as for all the comments after the plans, which help a lot too. I did a combo, and it worked wonderfully! I made a little more work for myself than I needed to, but for a first project, I feel proud of myself...and can't wait for my next project.

Estimated Time Investment
Week Long Project (20 Hours or More)
Finish Used
Pecan and Expresso Minwax double process
Recommended Skill Level
Beginner

Comments

lissa91

Mon, 10/24/2016 - 12:31

I know this was a few years ago now but where are the plans for this, i love this bed and would like to make one for myself. thanks!

Farm Table

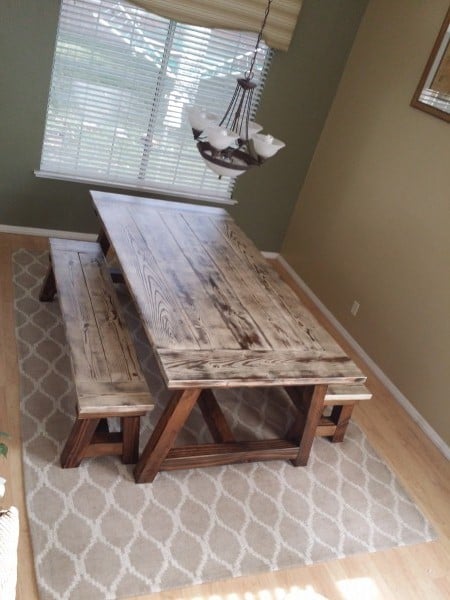
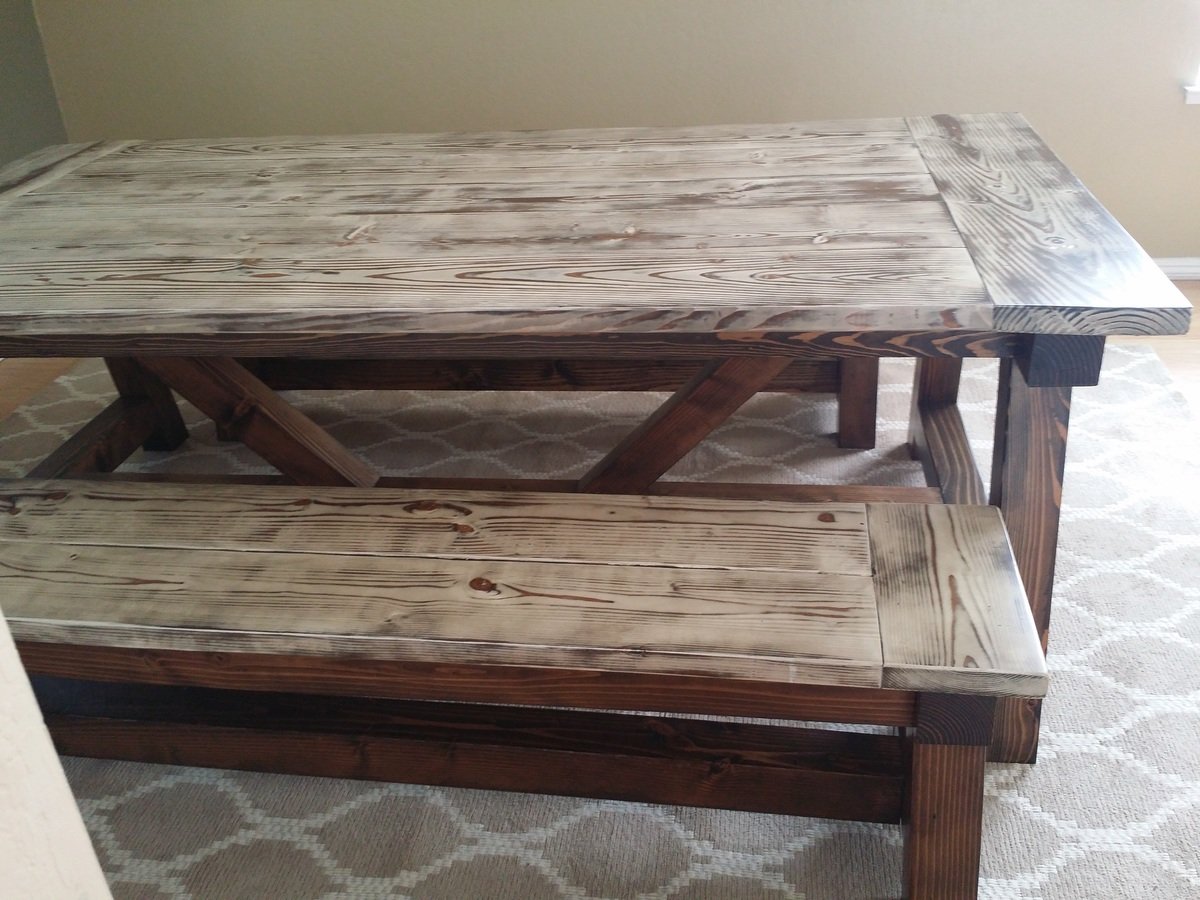
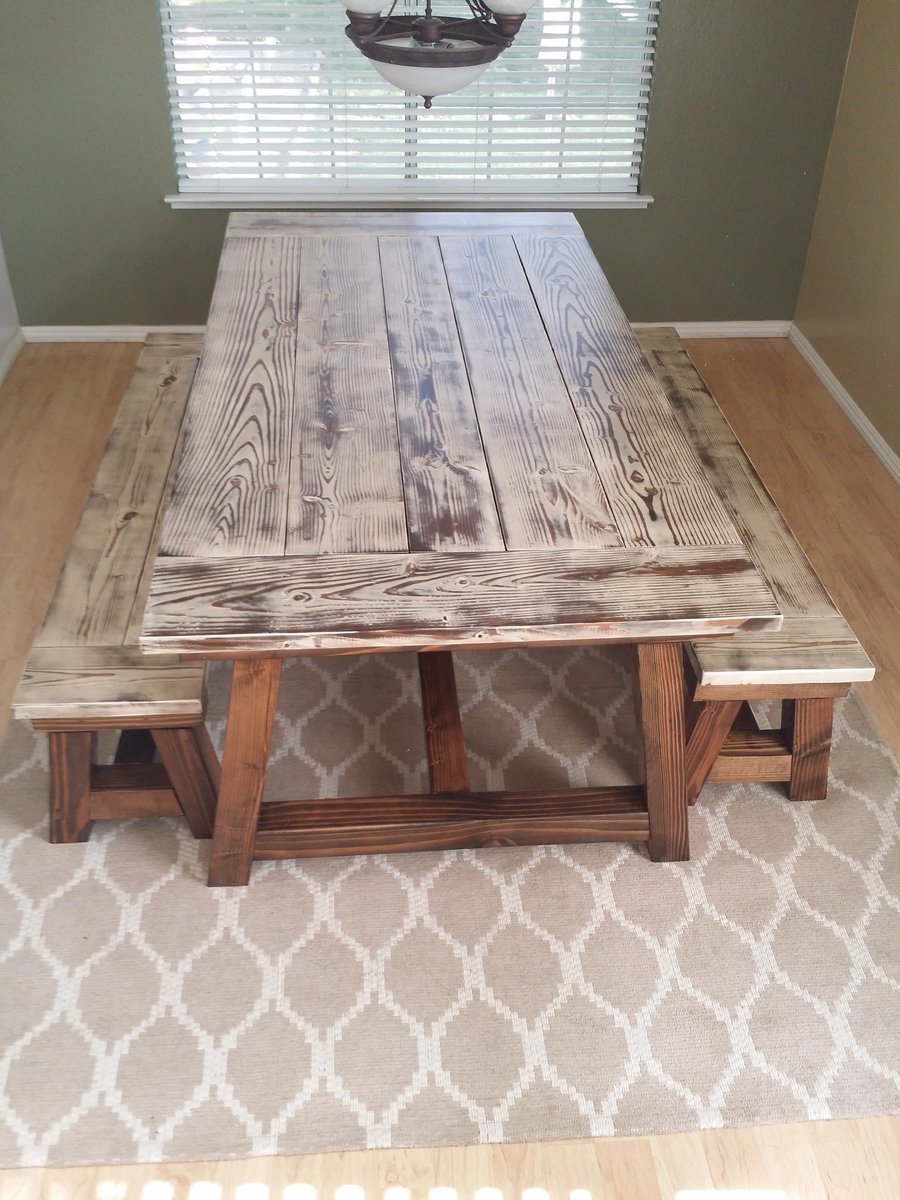
This table is a dream come true. I have always wanted one of these but could never find one I absolutely loved. I have now.

Built from Plan(s)
Estimated Cost
450.00 dollars plus time
Estimated Time Investment
Weekend Project (10-20 Hours)
Recommended Skill Level
Intermediate

Comments

Shelbynolte

Tue, 12/23/2014 - 15:32

My husband painted the top with white paint, let it dry and then randomly sanded it all over and then put a coat of walnut stain on and rubbed it off and then put three coats of minwax polyurethane.

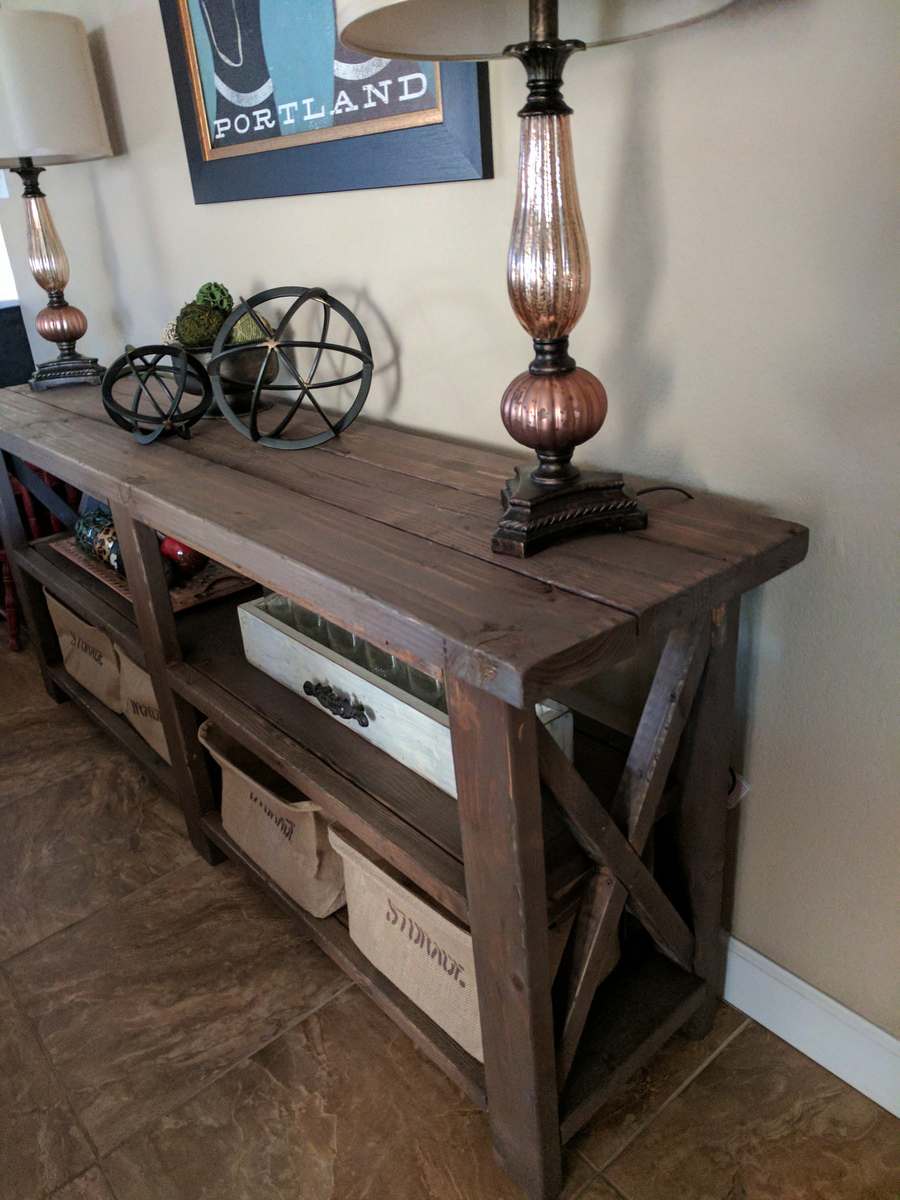
Rustic Console Table

Submitted by tfollin on Sun, 03/19/2017 - 15:23

Fun project that turned out pretty good, we also made the matching end table

Built from Plan(s)
Estimated Cost
$200
Estimated Time Investment
Week Long Project (20 Hours or More)
Finish Used
Paint & Dark Walnut Stain
Recommended Skill Level
Intermediate

Settlers of Catan board

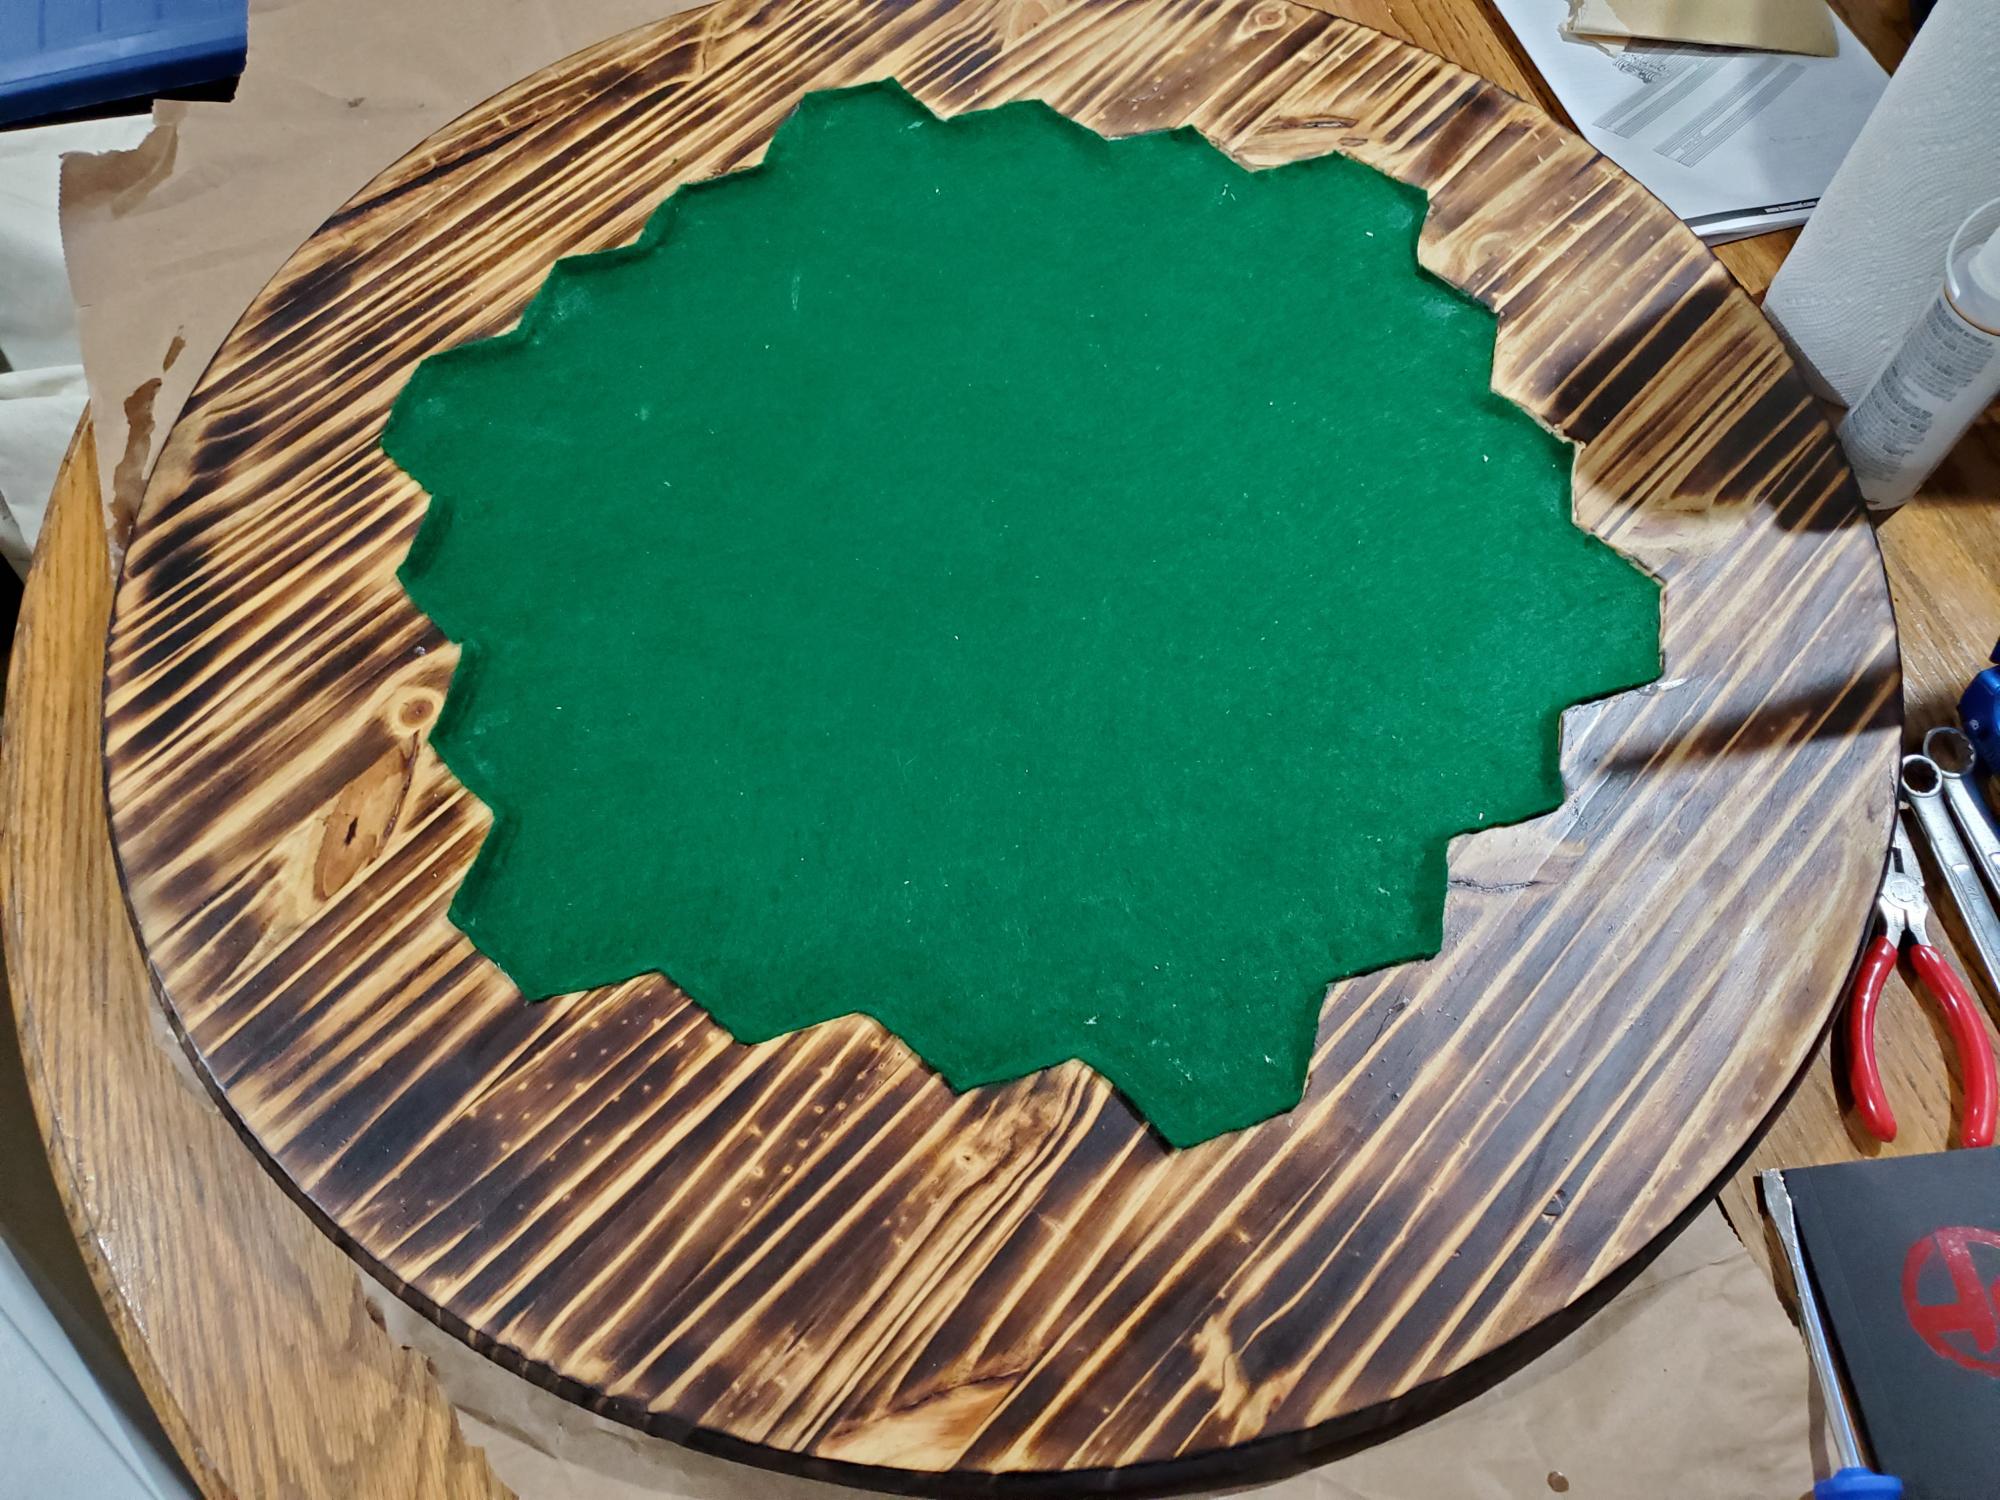
I took an edge glued round board and chisled out the profile of a Catan game board. Then I torched it, added some polyurethane and lined the bottom with felt.

Estimated Cost
$30.00
Estimated Time Investment
Day Project (6-9 Hours)
Finish Used
Propane torched and polyurethane
Recommended Skill Level
Beginner

Comments

My wooden magazine files

Submitted by NeoMoses on Wed, 02/13/2013 - 20:17

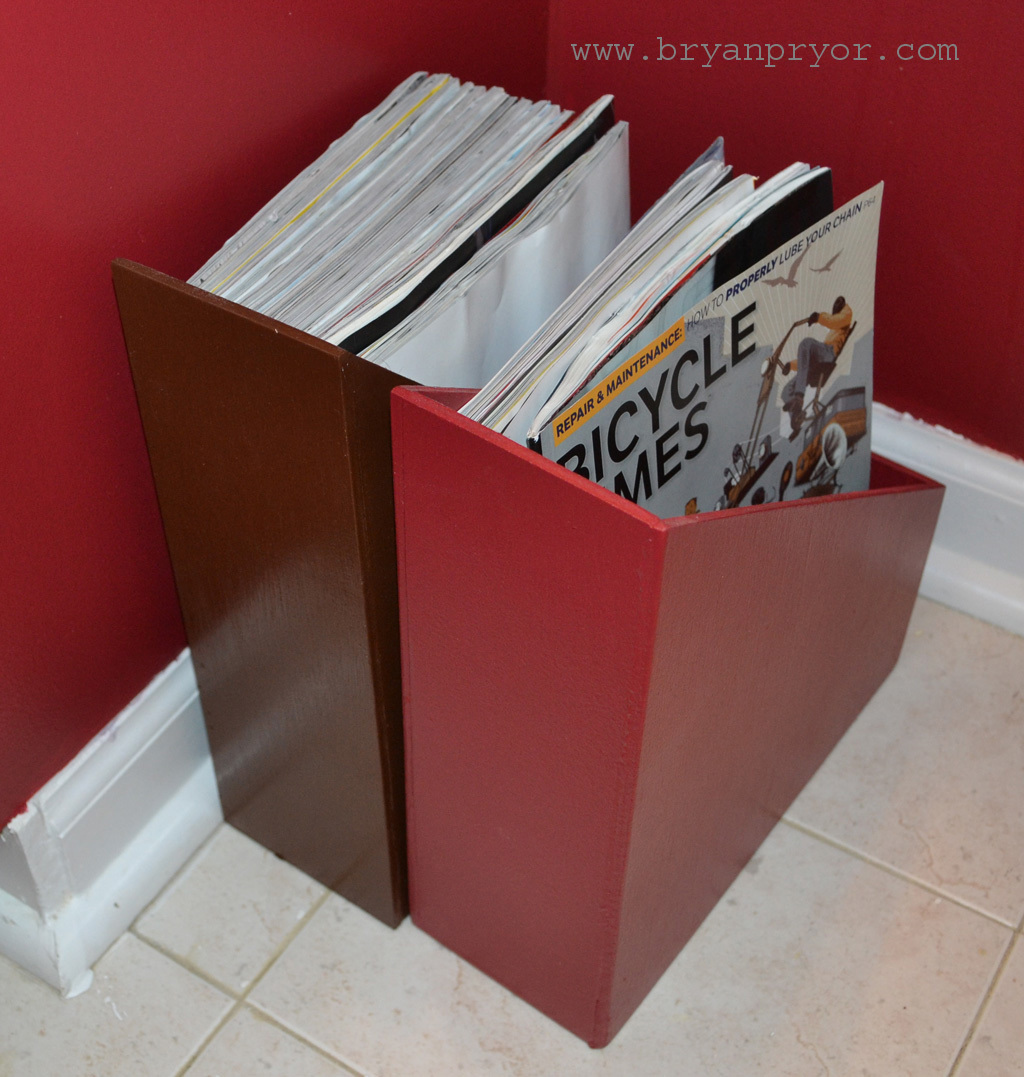
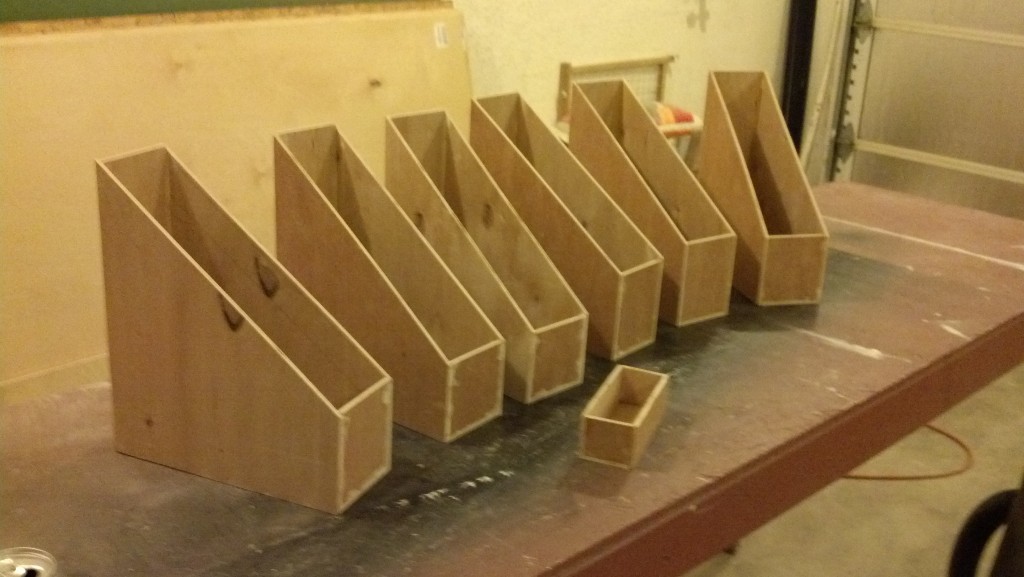
These are my wooden magazine files made after looking at Ana's plans. I chose to paint these to match my bathroom.

See more of my build process at http://www.bryanpryor.com/2013/01/26/magazine-holders/

Built from Plan(s)
Estimated Cost
$2
Estimated Time Investment
An Hour or Two (0-2 Hours)
Finish Used
Semi-Gloss Latex Interior Paint (ColorPlace) brushed on by hand. Two coats of paint for full coverage.
Recommended Skill Level
Starter Project

Comments

Camp Loft Bed

Submitted by nat78 on Sat, 12/20/2014 - 17:24

We didnt include the stairs on this bed as there wasnt enough room in my daughters bedroom.  We are very happy with the finished product, and so is my daughter.  We didnt quite make it as high as the plans as we were worried out the fan in my daughters room.

Estimated Cost
$260 Australian
Estimated Time Investment
Week Long Project (20 Hours or More)
Finish Used
Cedar stain
Recommended Skill Level
Beginner

Farmhouse King Bed

Submitted by Anonymous (not verified) on Tue, 03/21/2017 - 08:51

The wood total was about $200. We added some height to the headboard for the build. The frame is done by screwing 1x2 boards along the side rails and laying (4) 2x4s across for the box spring to sit on. Absolutely love our new bed!

Estimated Cost
$200
Estimated Time Investment
Weekend Project (10-20 Hours)
Finish Used
Mix of white paint then sanded and mixed multiple varathane stains
Recommended Skill Level
Intermediate

Comments

Garage "Mudroom" Organizer

Submitted by leoguy09 on Thu, 01/21/2021 - 06:39

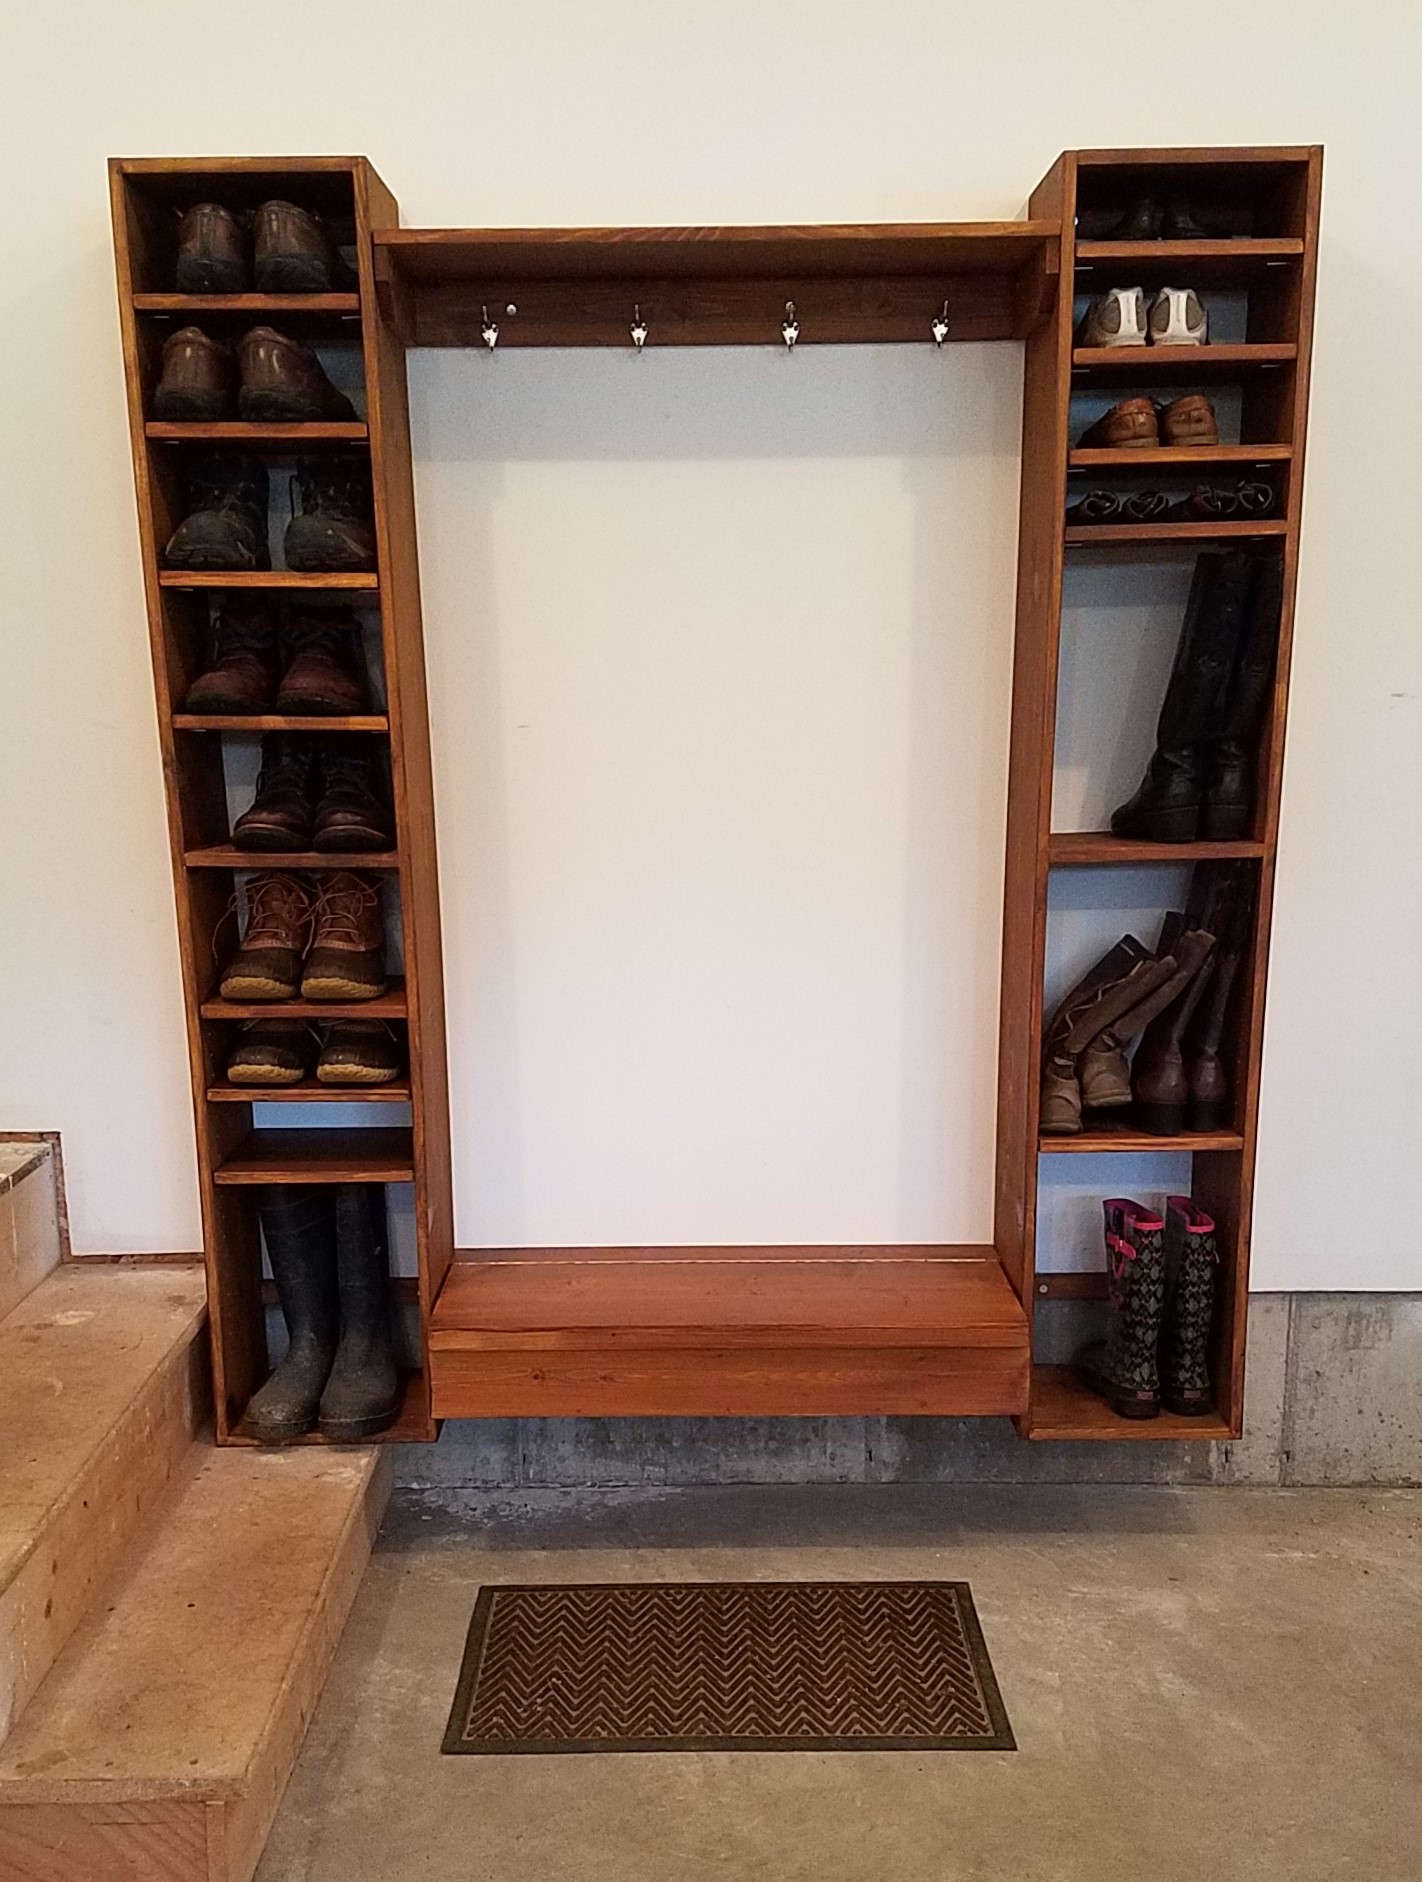
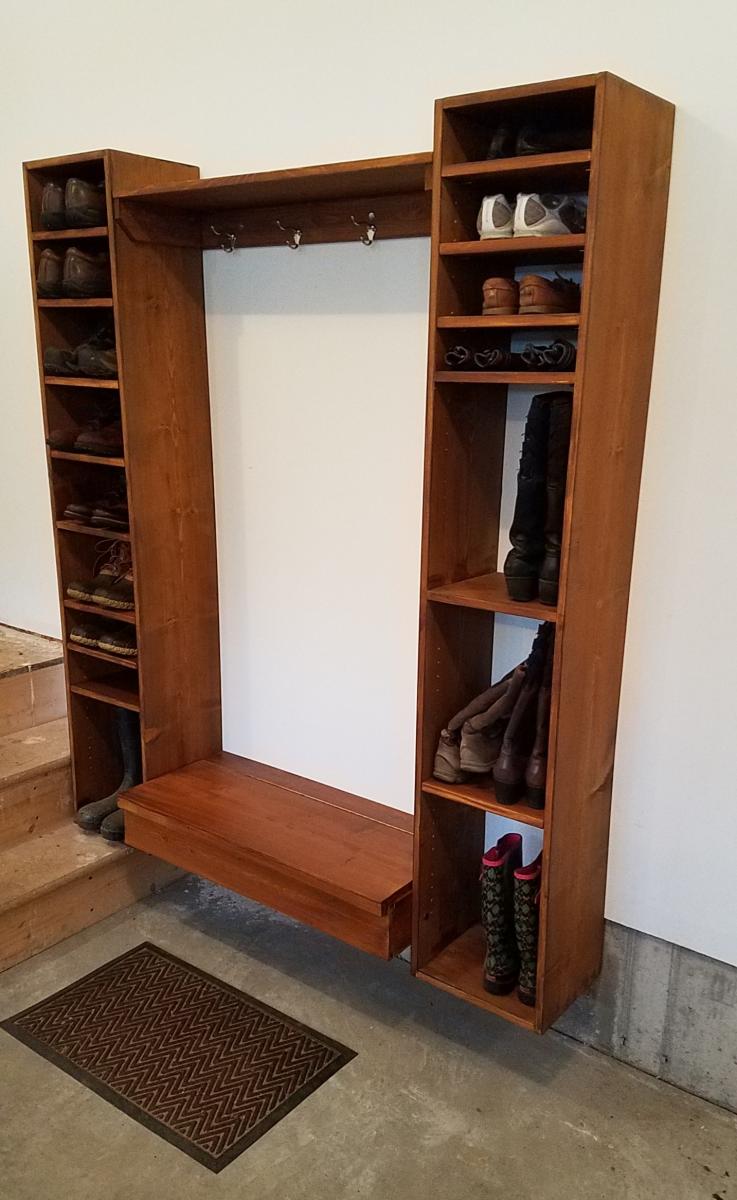
My home doesn't have a mudroom. When guests come to visit, there is no convenient place for them to take off their shoes or to hang wet coats. I saw this plan in a Family Handyman project book and thought it looked like the perfect solution.

The build was easy and straightforward. The hardest part of the entire project was mounting it on the garage wall. When I tried to use a stud finder, I realized that there was a layer of osb between the drywall and the studs, rendering the stud finder useless (even on the "Deep Scan" setting). I ended up having to carefully measure stud locations on the opposite wall (inside the house) and transfer those locations onto the garage wall. It worked out okay, but took a long time!

I carefully positioned this project so that I would have plenty of room for my next project, on the same wall - Ana's Ultimate Roll-Away Workbench and a set of shop cabinets!

Estimated Cost
$222
Estimated Time Investment
Weekend Project (10-20 Hours)
Finish Used
Valspar Pre-Tinted Canyon Brown Transparent Exterior Stain and Sealer (Lowe's)

This was the easiest finish I have ever used. No odor, one coat application. It doesn't provide a smooth or easy to clean surface, but the color is nice, and it seals the wood from moisture. This product is intended for decks and outdoor furniture.
Recommended Skill Level
Beginner

Comments

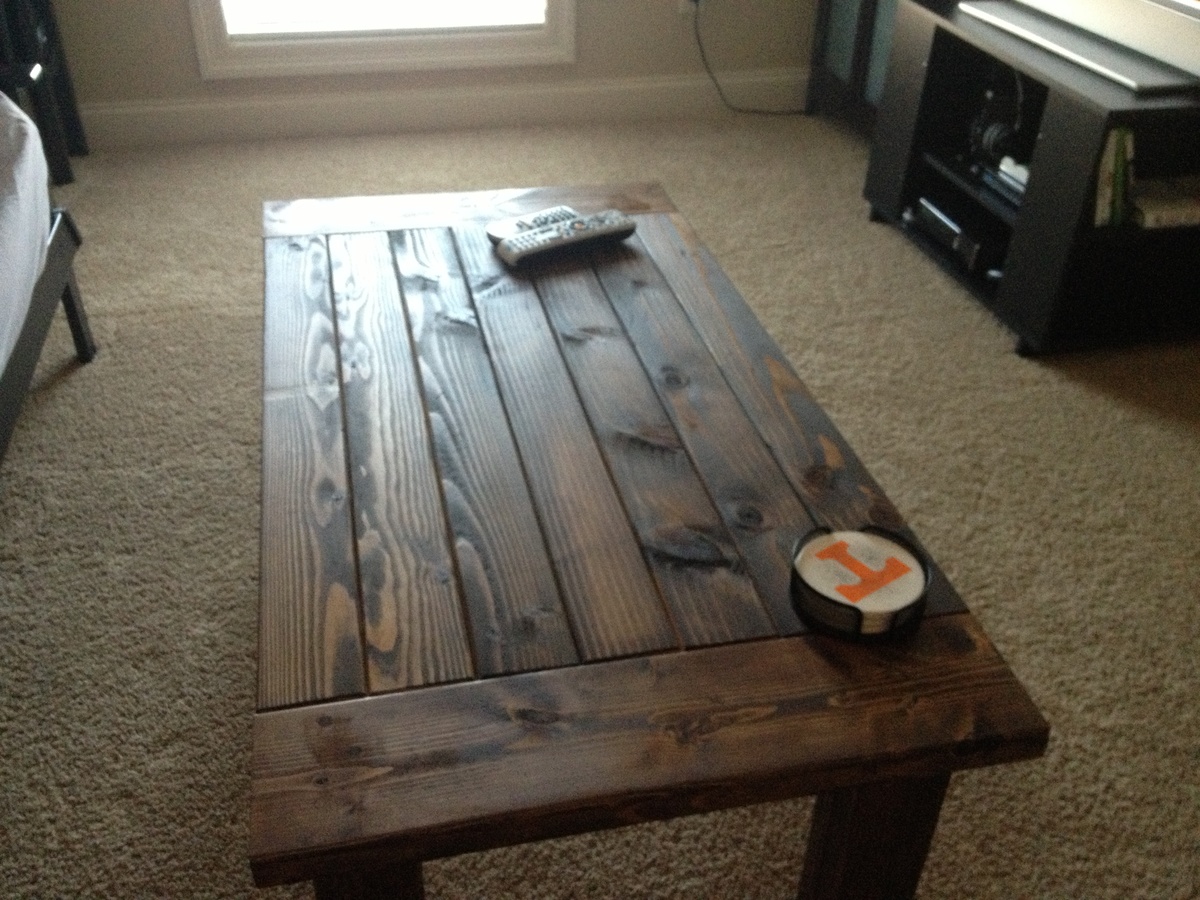
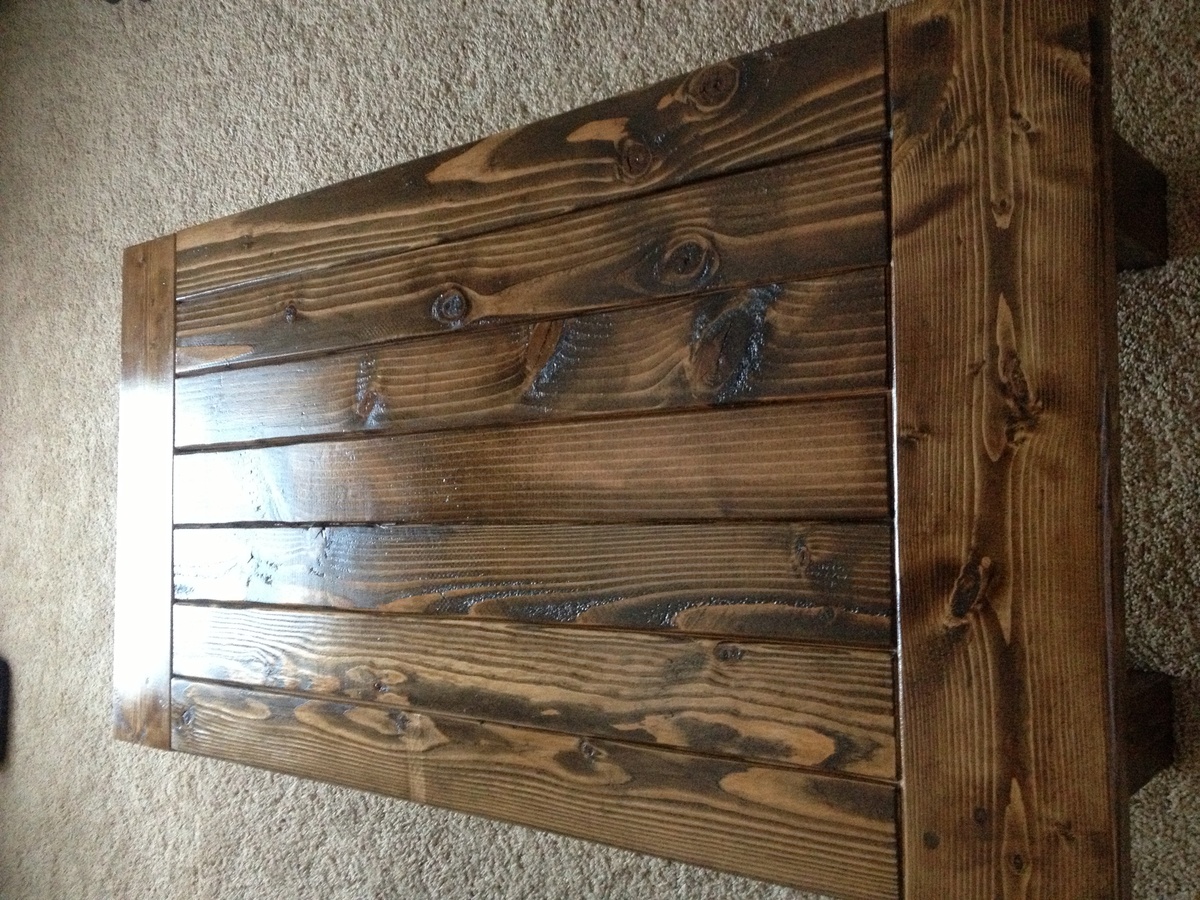
Tryde coffee table

Submitted by Miaya39047 on Sat, 02/16/2013 - 21:36

This table cost around 35.00 to make and a couple of hours to build. I used the dark walnut stain twice and polycrylic. Very sturdy, good looking table.

Built from Plan(s)
Estimated Time Investment
Afternoon Project (3-6 Hours)
Recommended Skill Level
Starter Project

Comments

ACM

Sun, 02/17/2013 - 04:48

Love the build but especially the stain. It is so even and smooth!