Community Brag Posts
West Elm Knock Off Coffee Table
This was the first West Elm Knock off I attempted. This was the first coffee table my sister requested. This was also my first experience welding. All in all it turned out pretty amazing. She wanted one with a lifting table. I bought the lift off of Amazon for around $60. The wood is all Poplar and she used a mixture of stains to get the look she wanted. I also added a hinge to the back other half of the table top so you can lift it to add more stuff inside the table. I do not have any plans for this project as well i mostly just looked at the website and used the dimensions they had posted.
Modern Outdoor Chairs with modifications
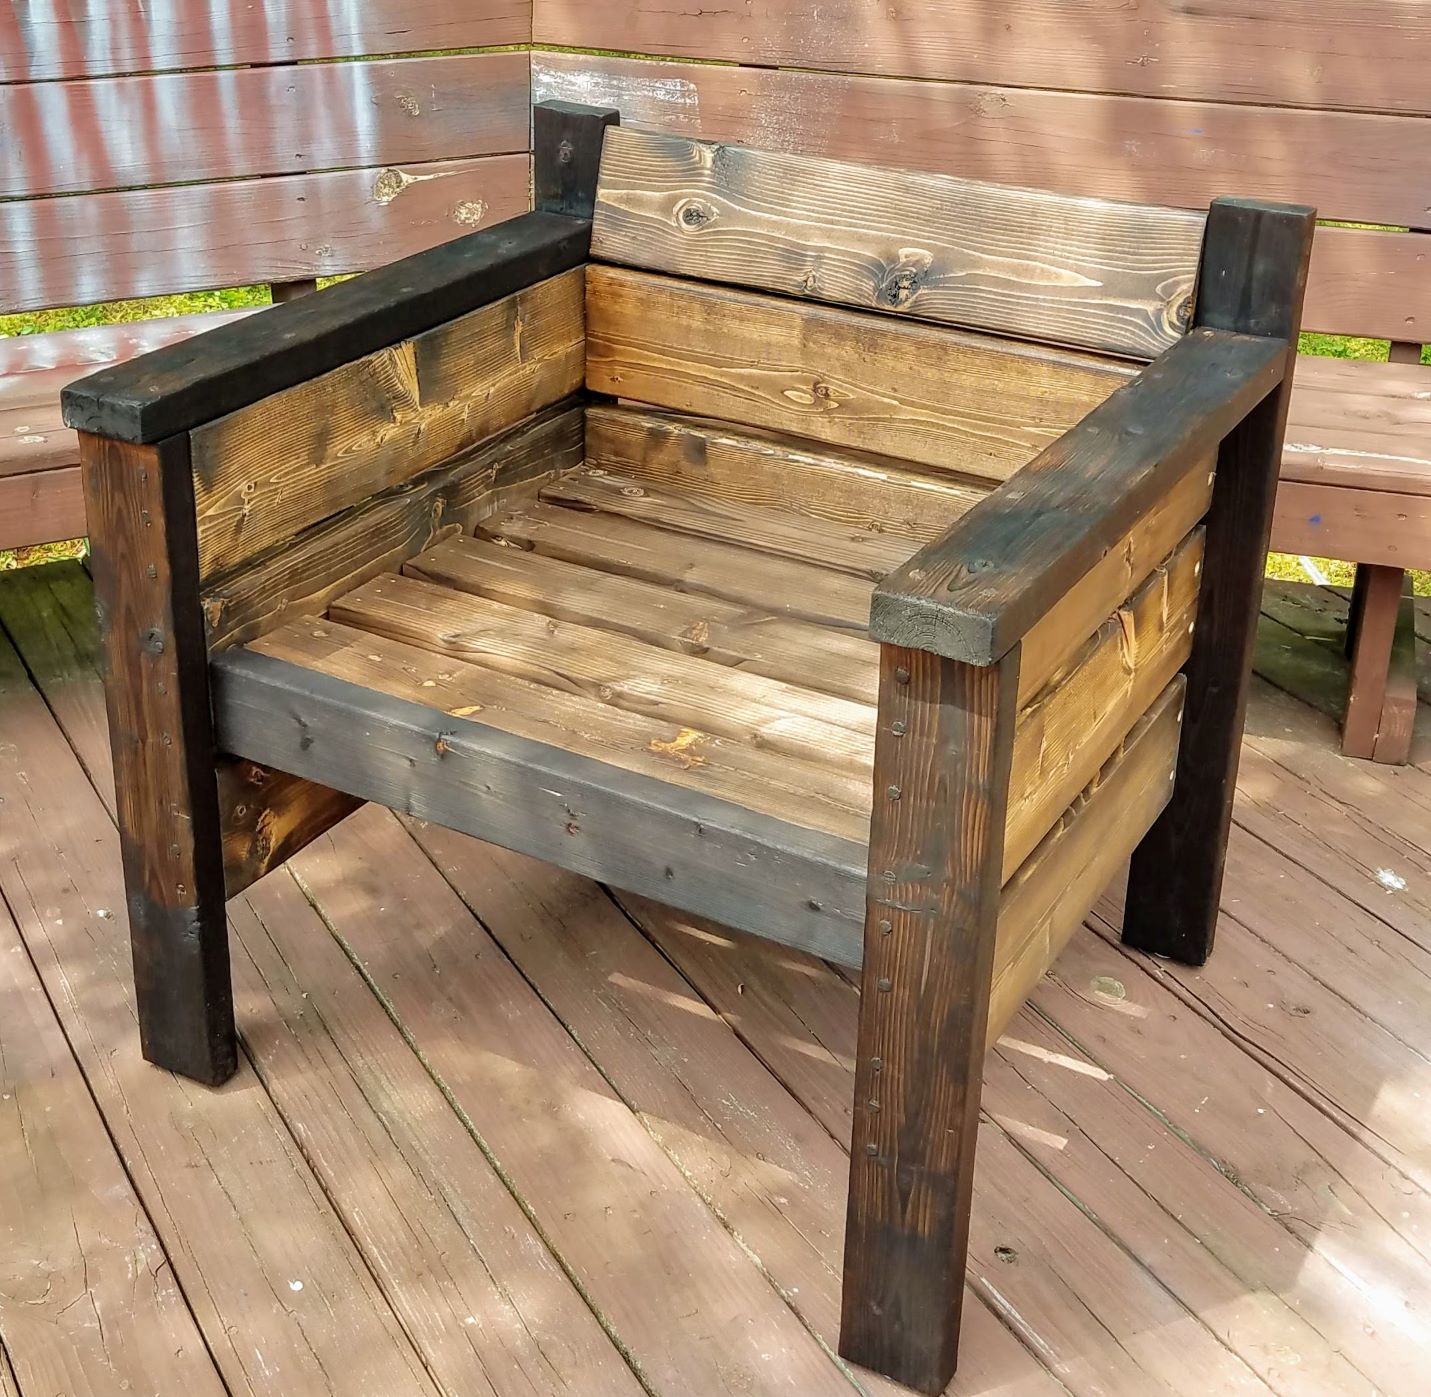
After renovating our screen porch at the onset of Covid, I searched online for an indoor patio furniture. As you probably guessed , with my limited budget, I couldn't find "affordable" and "quality" in one product . ALAS! Ana White's website and her Modern Chair Plans appears in my search. After reviewing her easy to use plans, my husband and I were confident we could tackle the project. With a few modifications, we are very pleased with results. Modifications: Added one additional 2 x 6 providing a higher backrest ; increased the chair height 3"(for us, making it easier to get in and out of the chair); and, used dowel rods to fill screw holes. Also with the extra leftover material, my husband made ottomans that under the chair for easy storage.
We love the results and use them daily! Thank you Ana for sharing your plans!
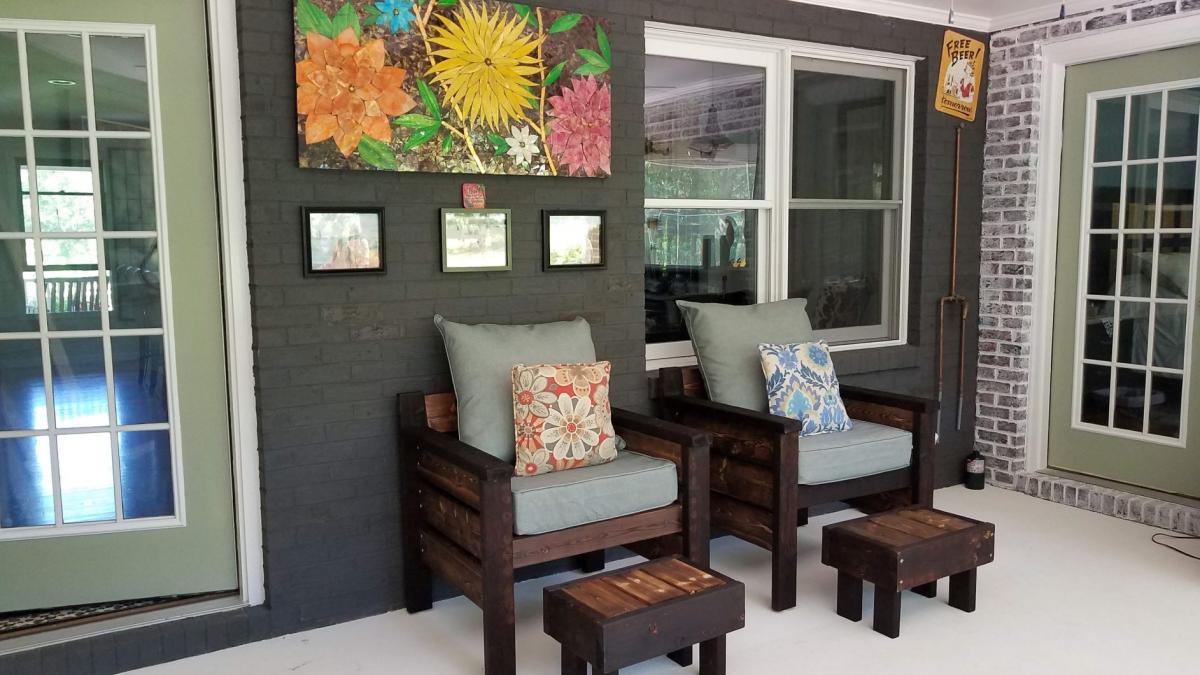
Chair slats: Espresso color stain
Chairs were sealed with Danish Oil (medium for frame / natural for slats). Chairs will be used in a screen porch protected from the weather.
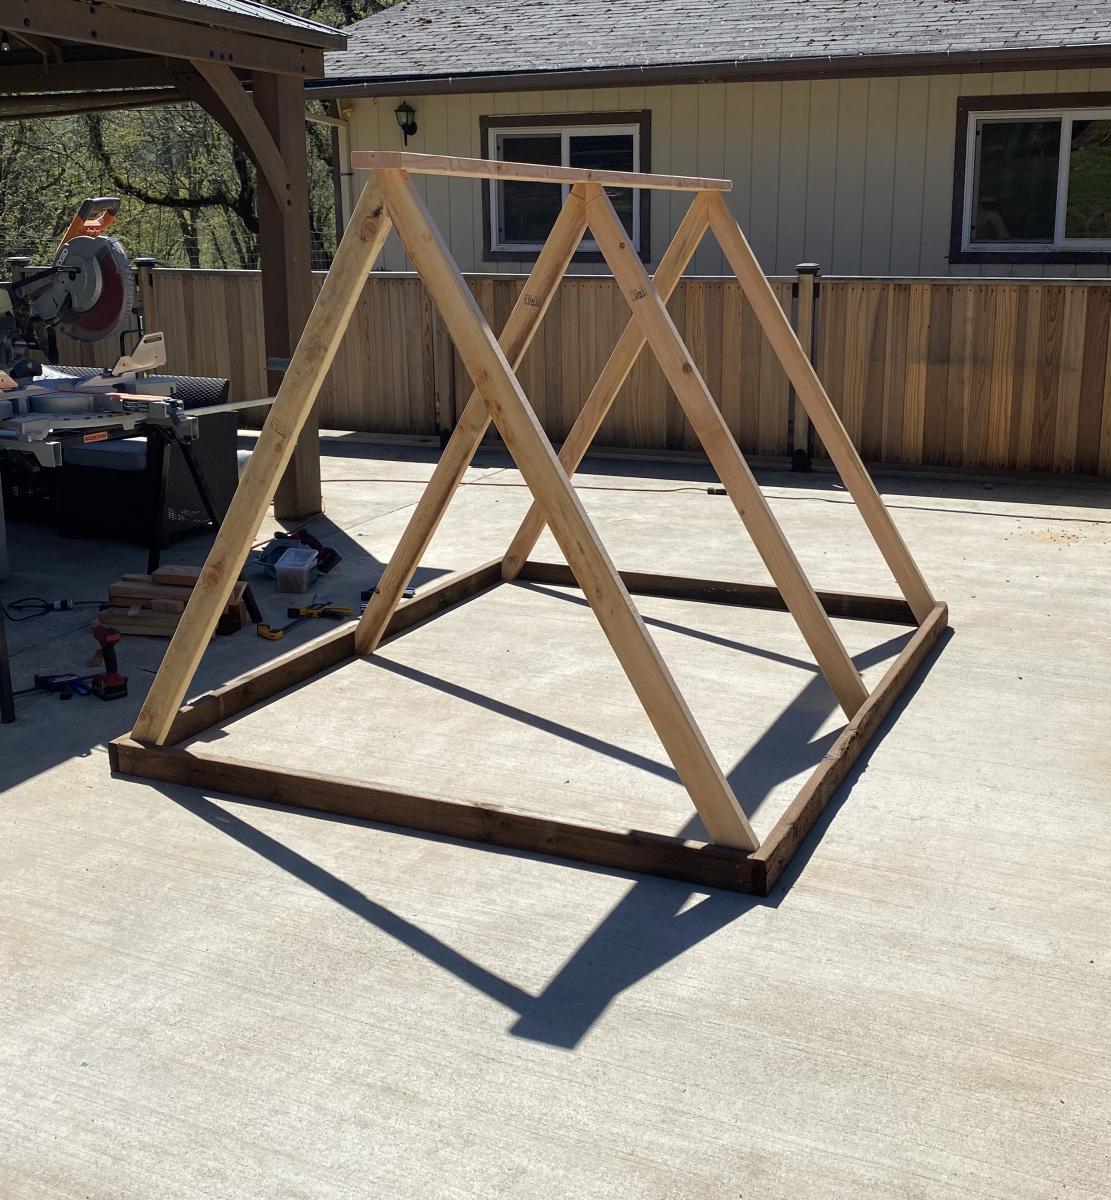
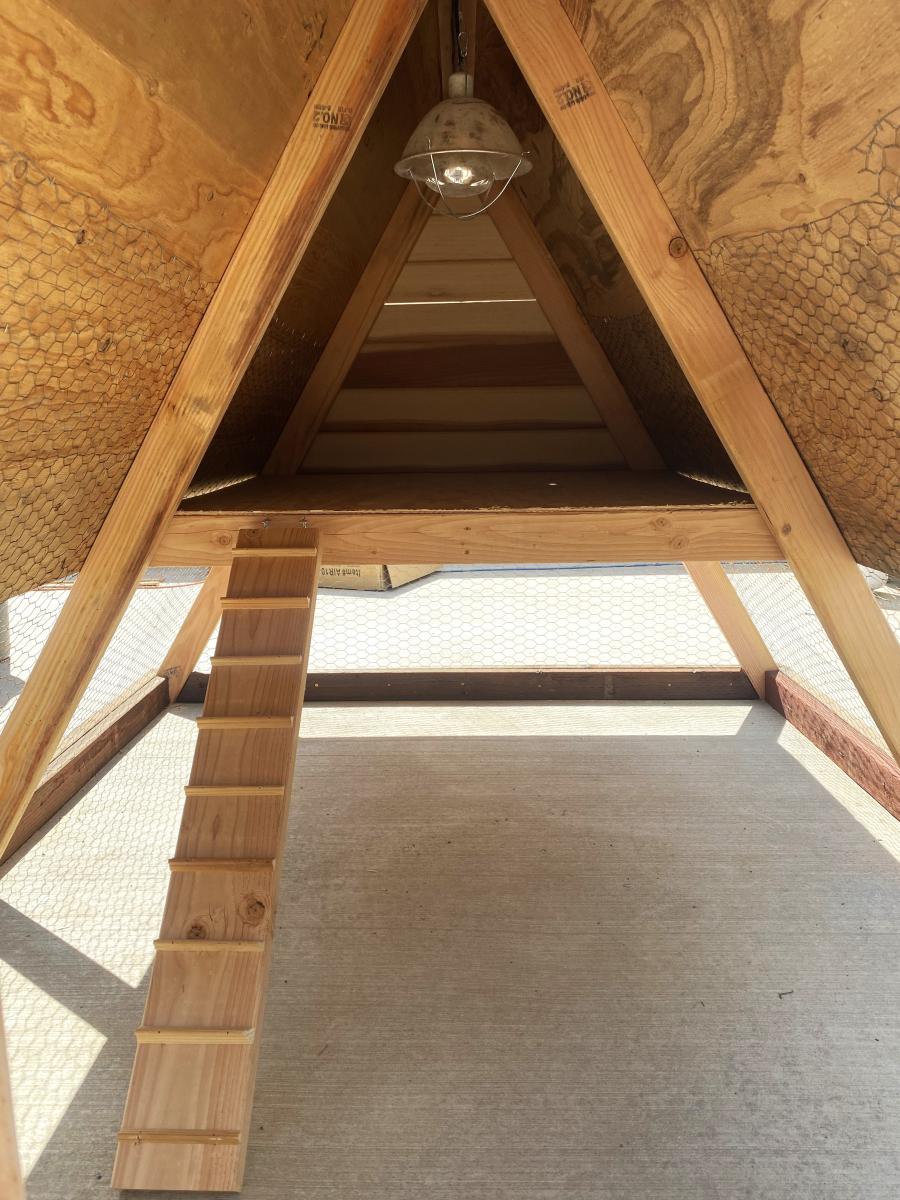
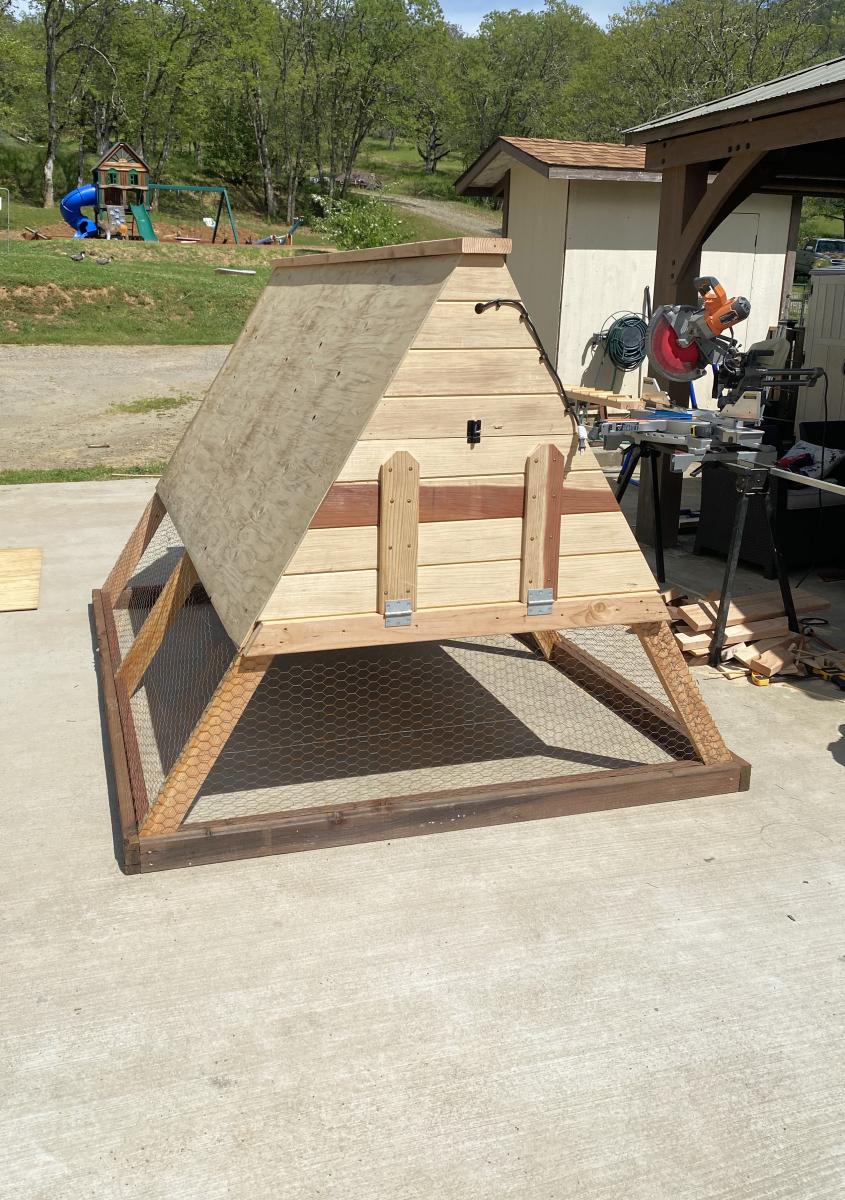
A-Frame Hen House
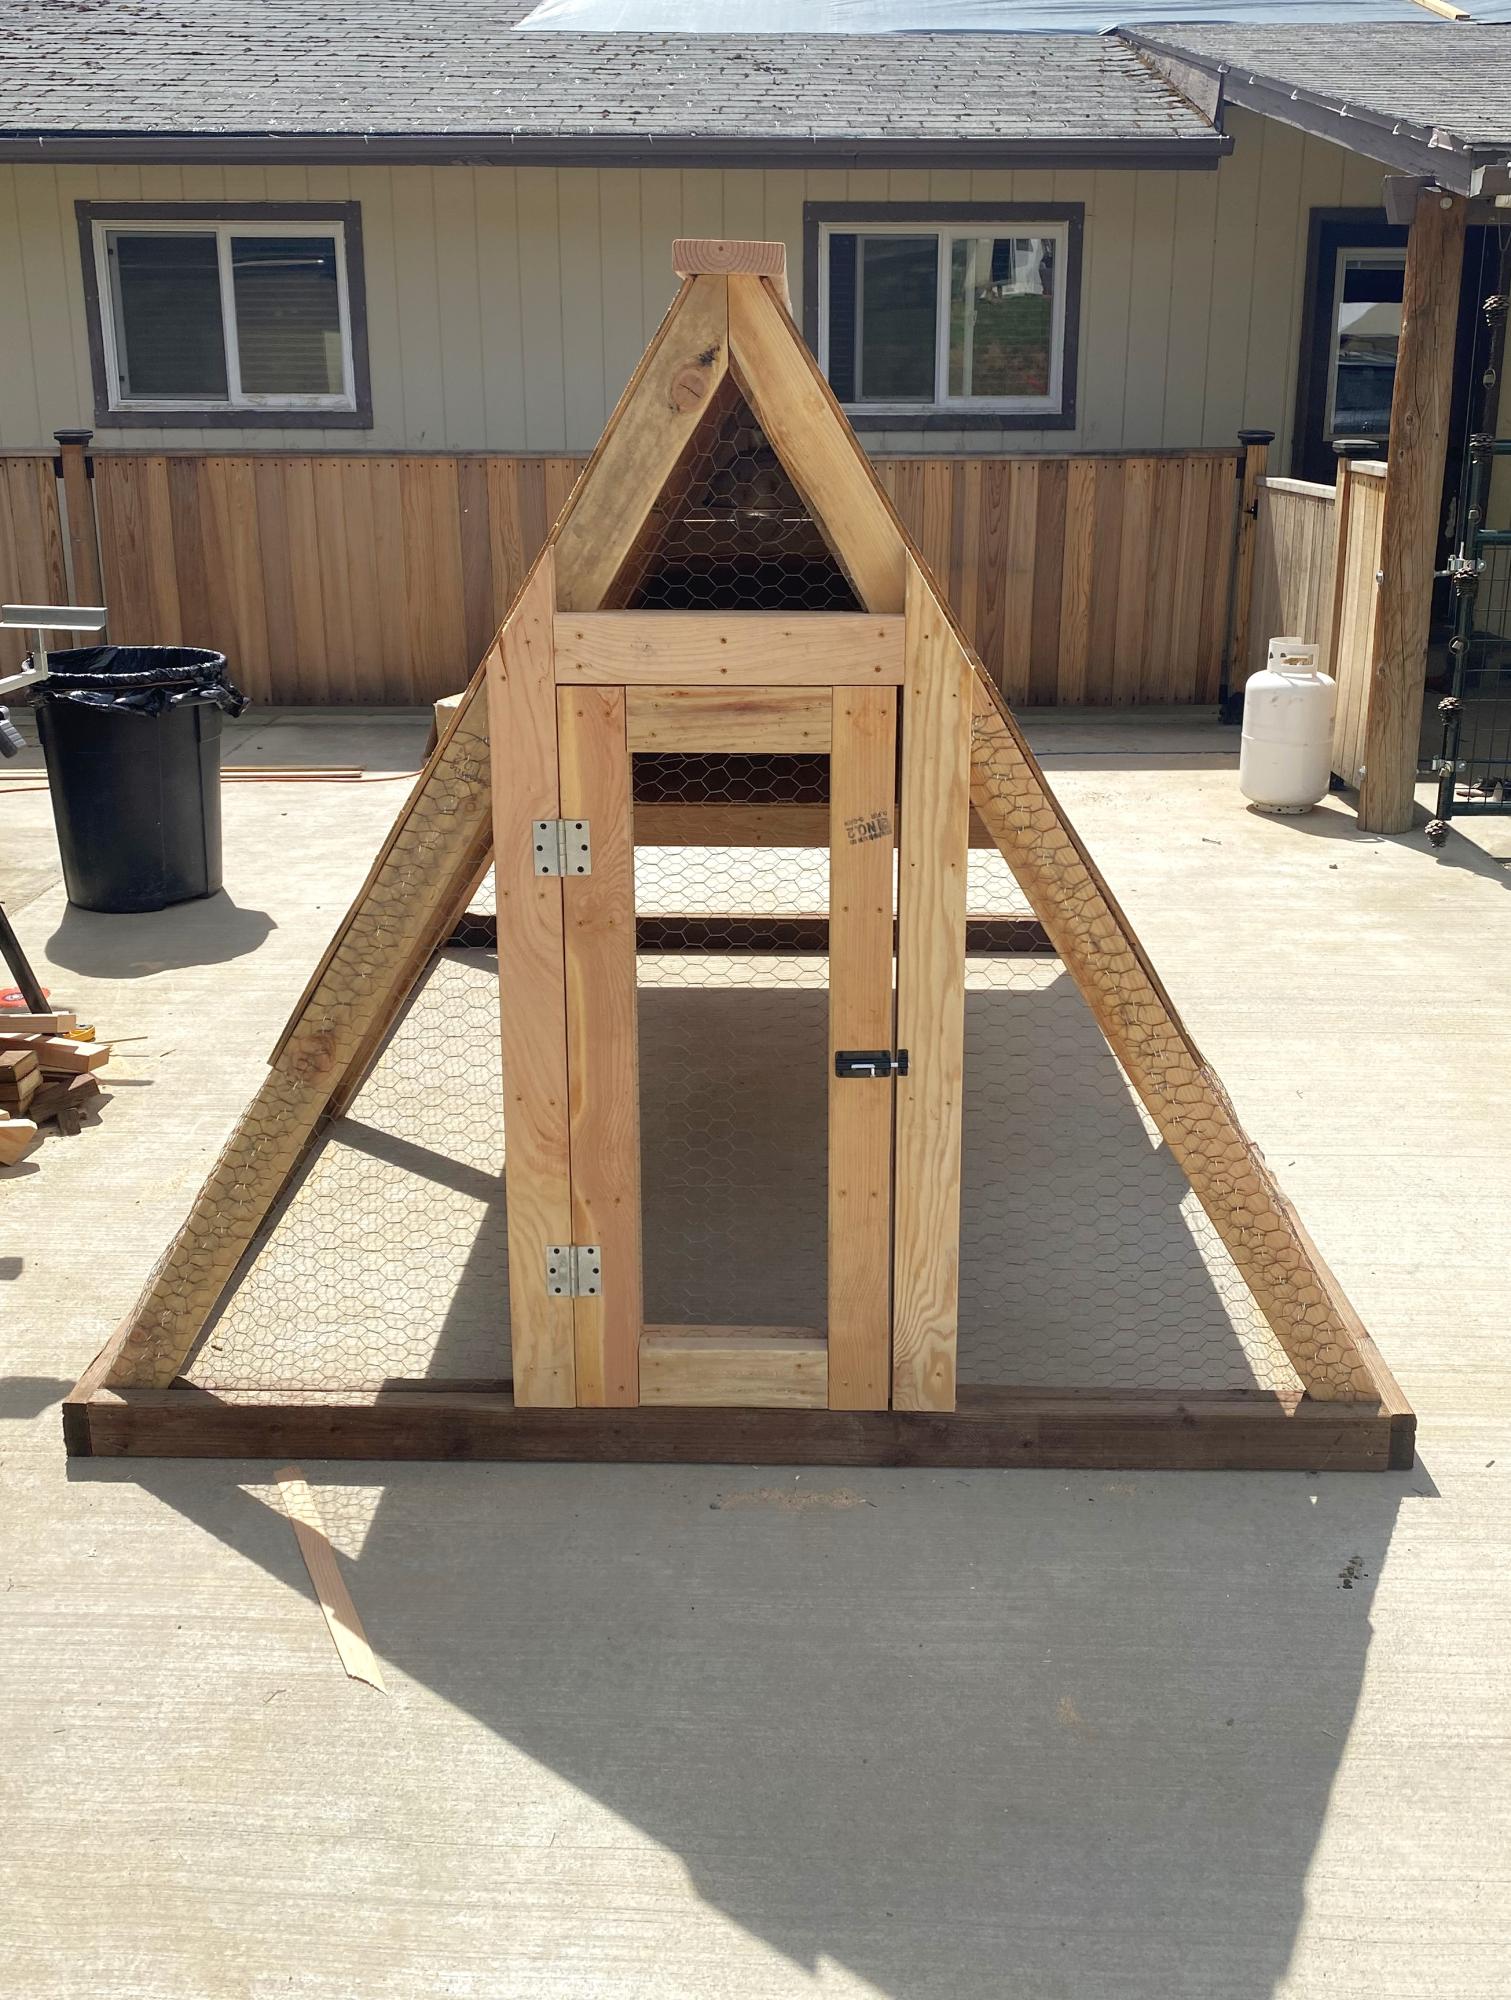
Great easy project to get the bigger chicks out of the garage to integrate with the older hens. Made some modifications because we have a lot of critters trying to kill the chickens/chicks.
Parson Console Table
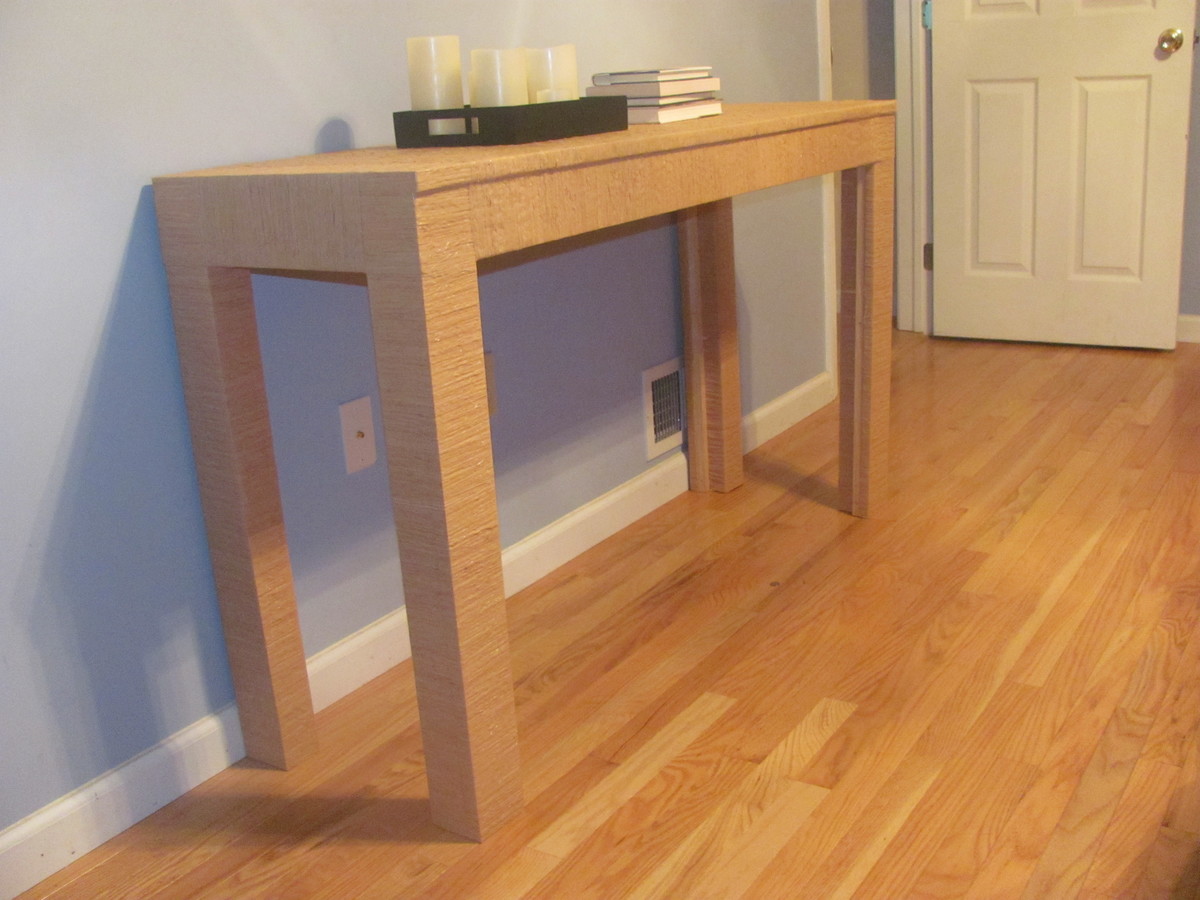
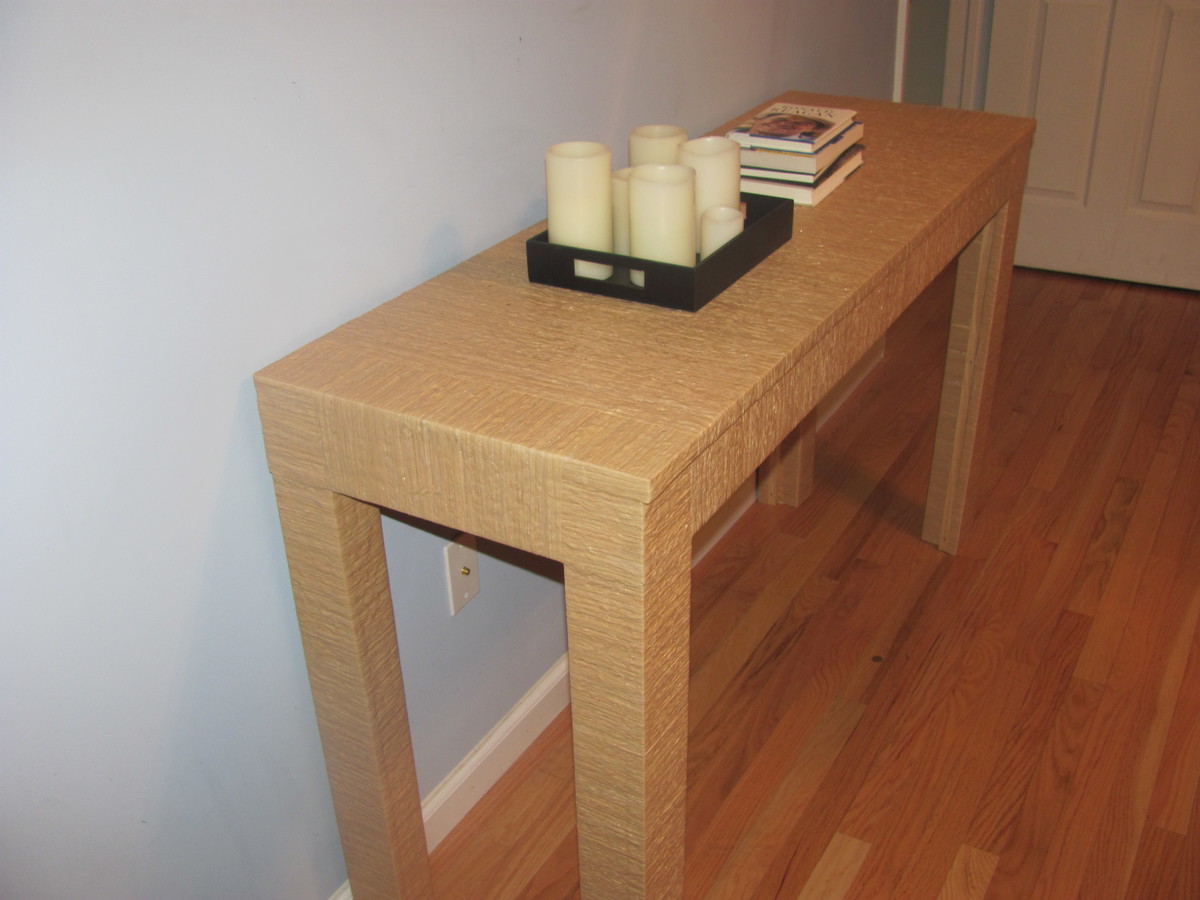
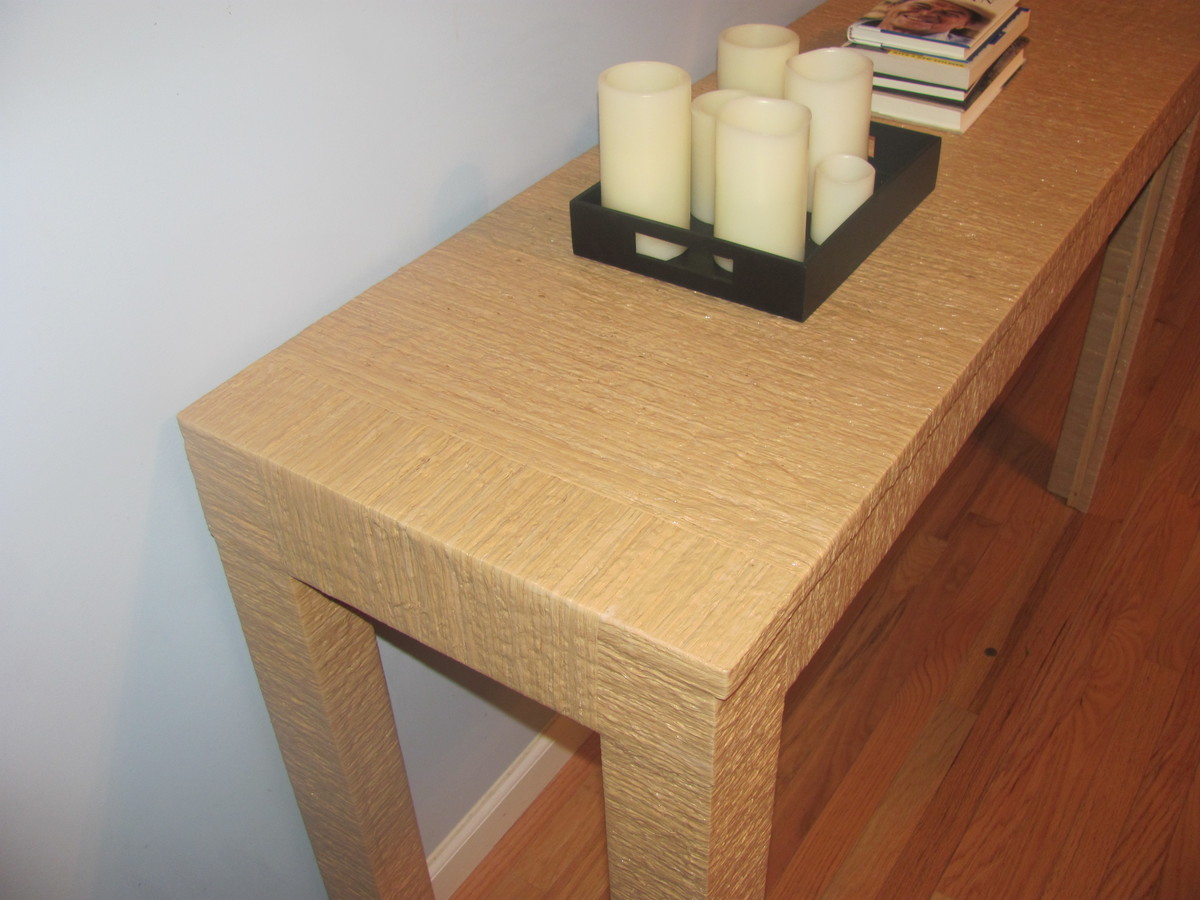
Thank you so much for the plan. I created a console table by adjusting the dimensions (finished table is 54 x 18 x 30) and omitted drawers. Used Modge Podge to adhere raffia to table (this was the most time consuming part of the project). Finished with a clear coat of polyurethane. Based this project on a table I originally saw in the HGTV Green Home 2010 master bedroom. http://hgtv.sndimg.com/HGTV/2010/03/03/GH2010-105_03-master-bedroom-wid…
Comments
Sat, 06/22/2013 - 13:45
No, thank YOU...
I'd been wondering on how to attack the covering of my desk with fabric. I'd toyed with the idea of Modge Podge but was not quite sure on its adhering capabilities. Around here, it gets so humid that the adhesive on my 3D Command strips melts and things fall off the walls. How has it held up thus far? I'm attempting to cover mine in upholstery fabric.
The Two Step
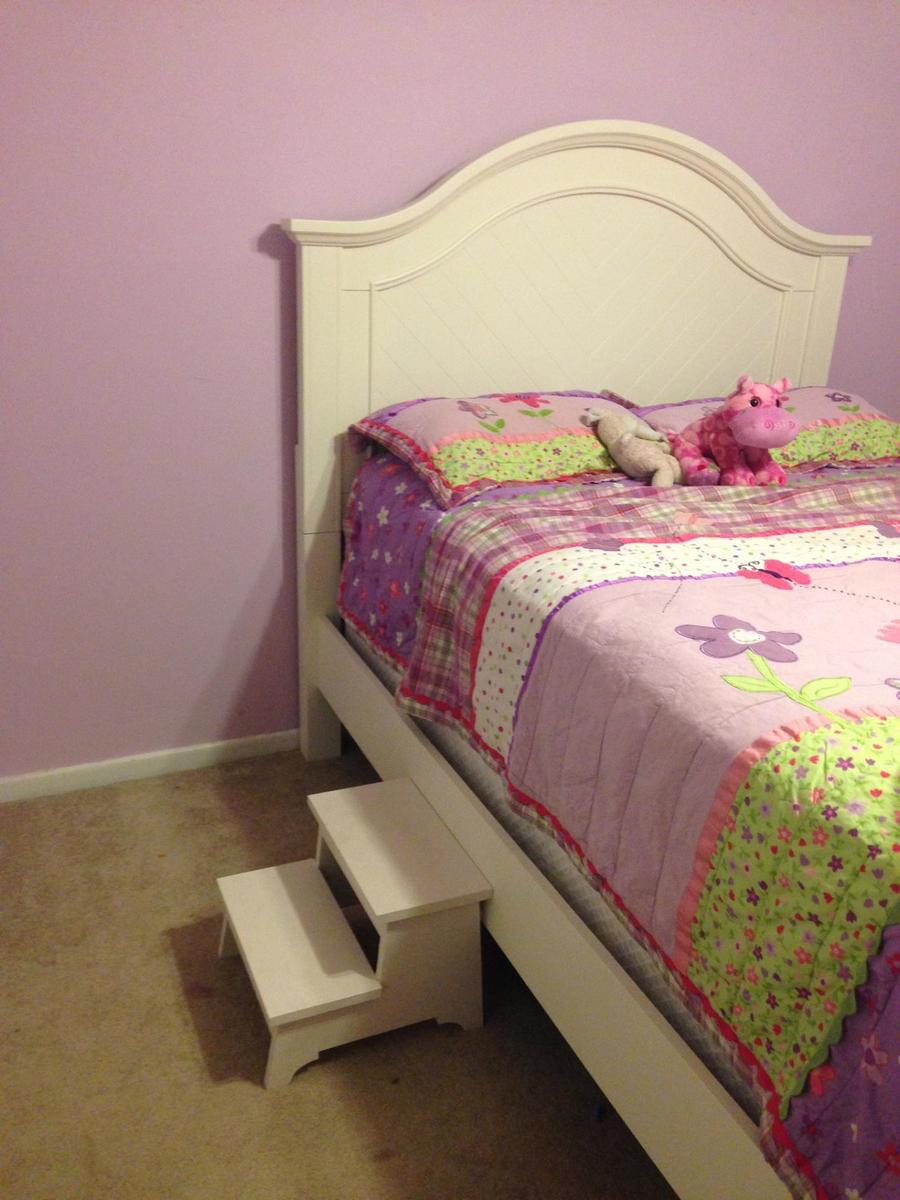
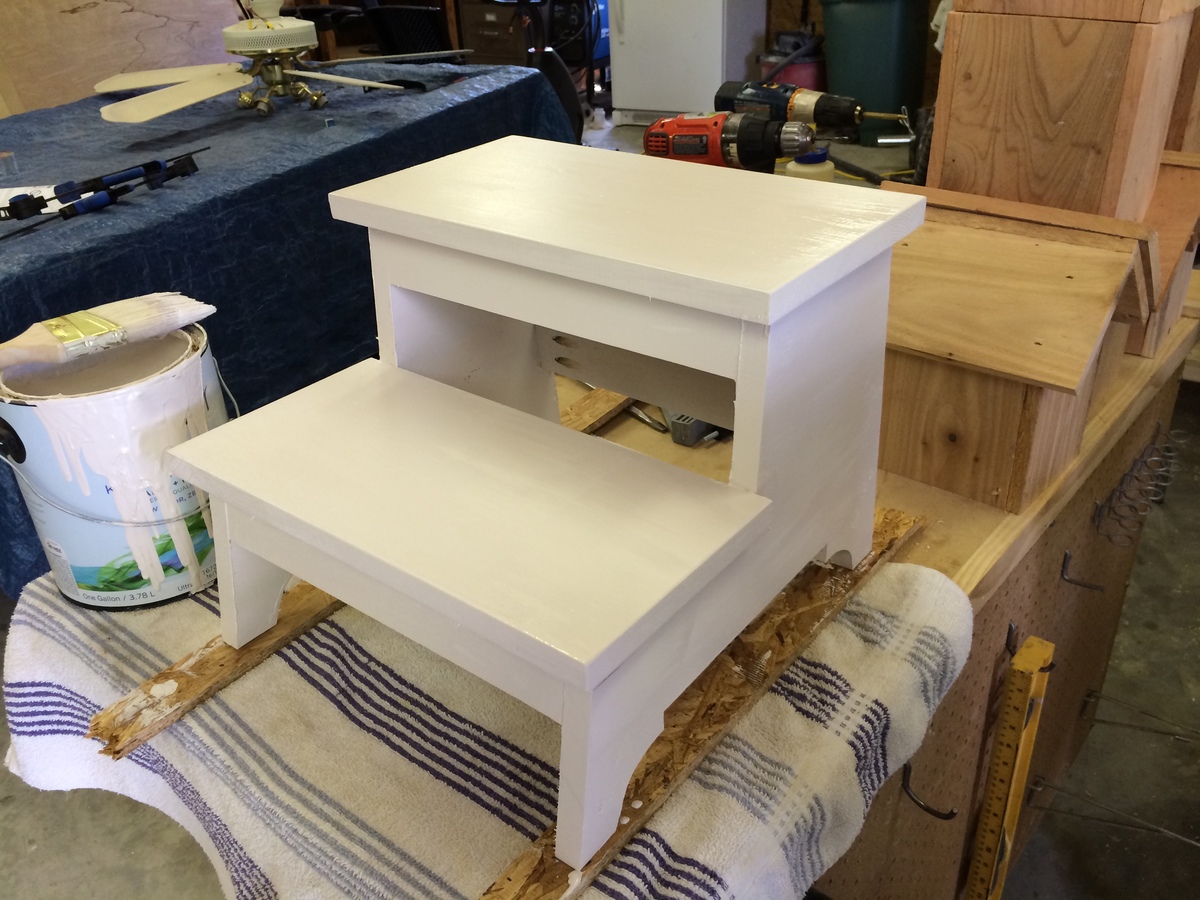
I can't take credit for the bed, just the steps. After my friend purchased a new bed for their daughter, she needed some helping getting into it. The plans for these steps were great and easy to build. Very sturdy and lightweight for kids to move around.
Corner computer cabinet

Flip down tray added for computer keyboard.
Comments
Wed, 12/27/2017 - 20:15
Support for flip down tray for keyboard ?
I love this, it is exactly what I am looking for! Is some type of extra support needed for the flip down tray for the keyboard ? If so, what would it be, or is there a special hinge I should look for?
Outdoor sectional Sofa
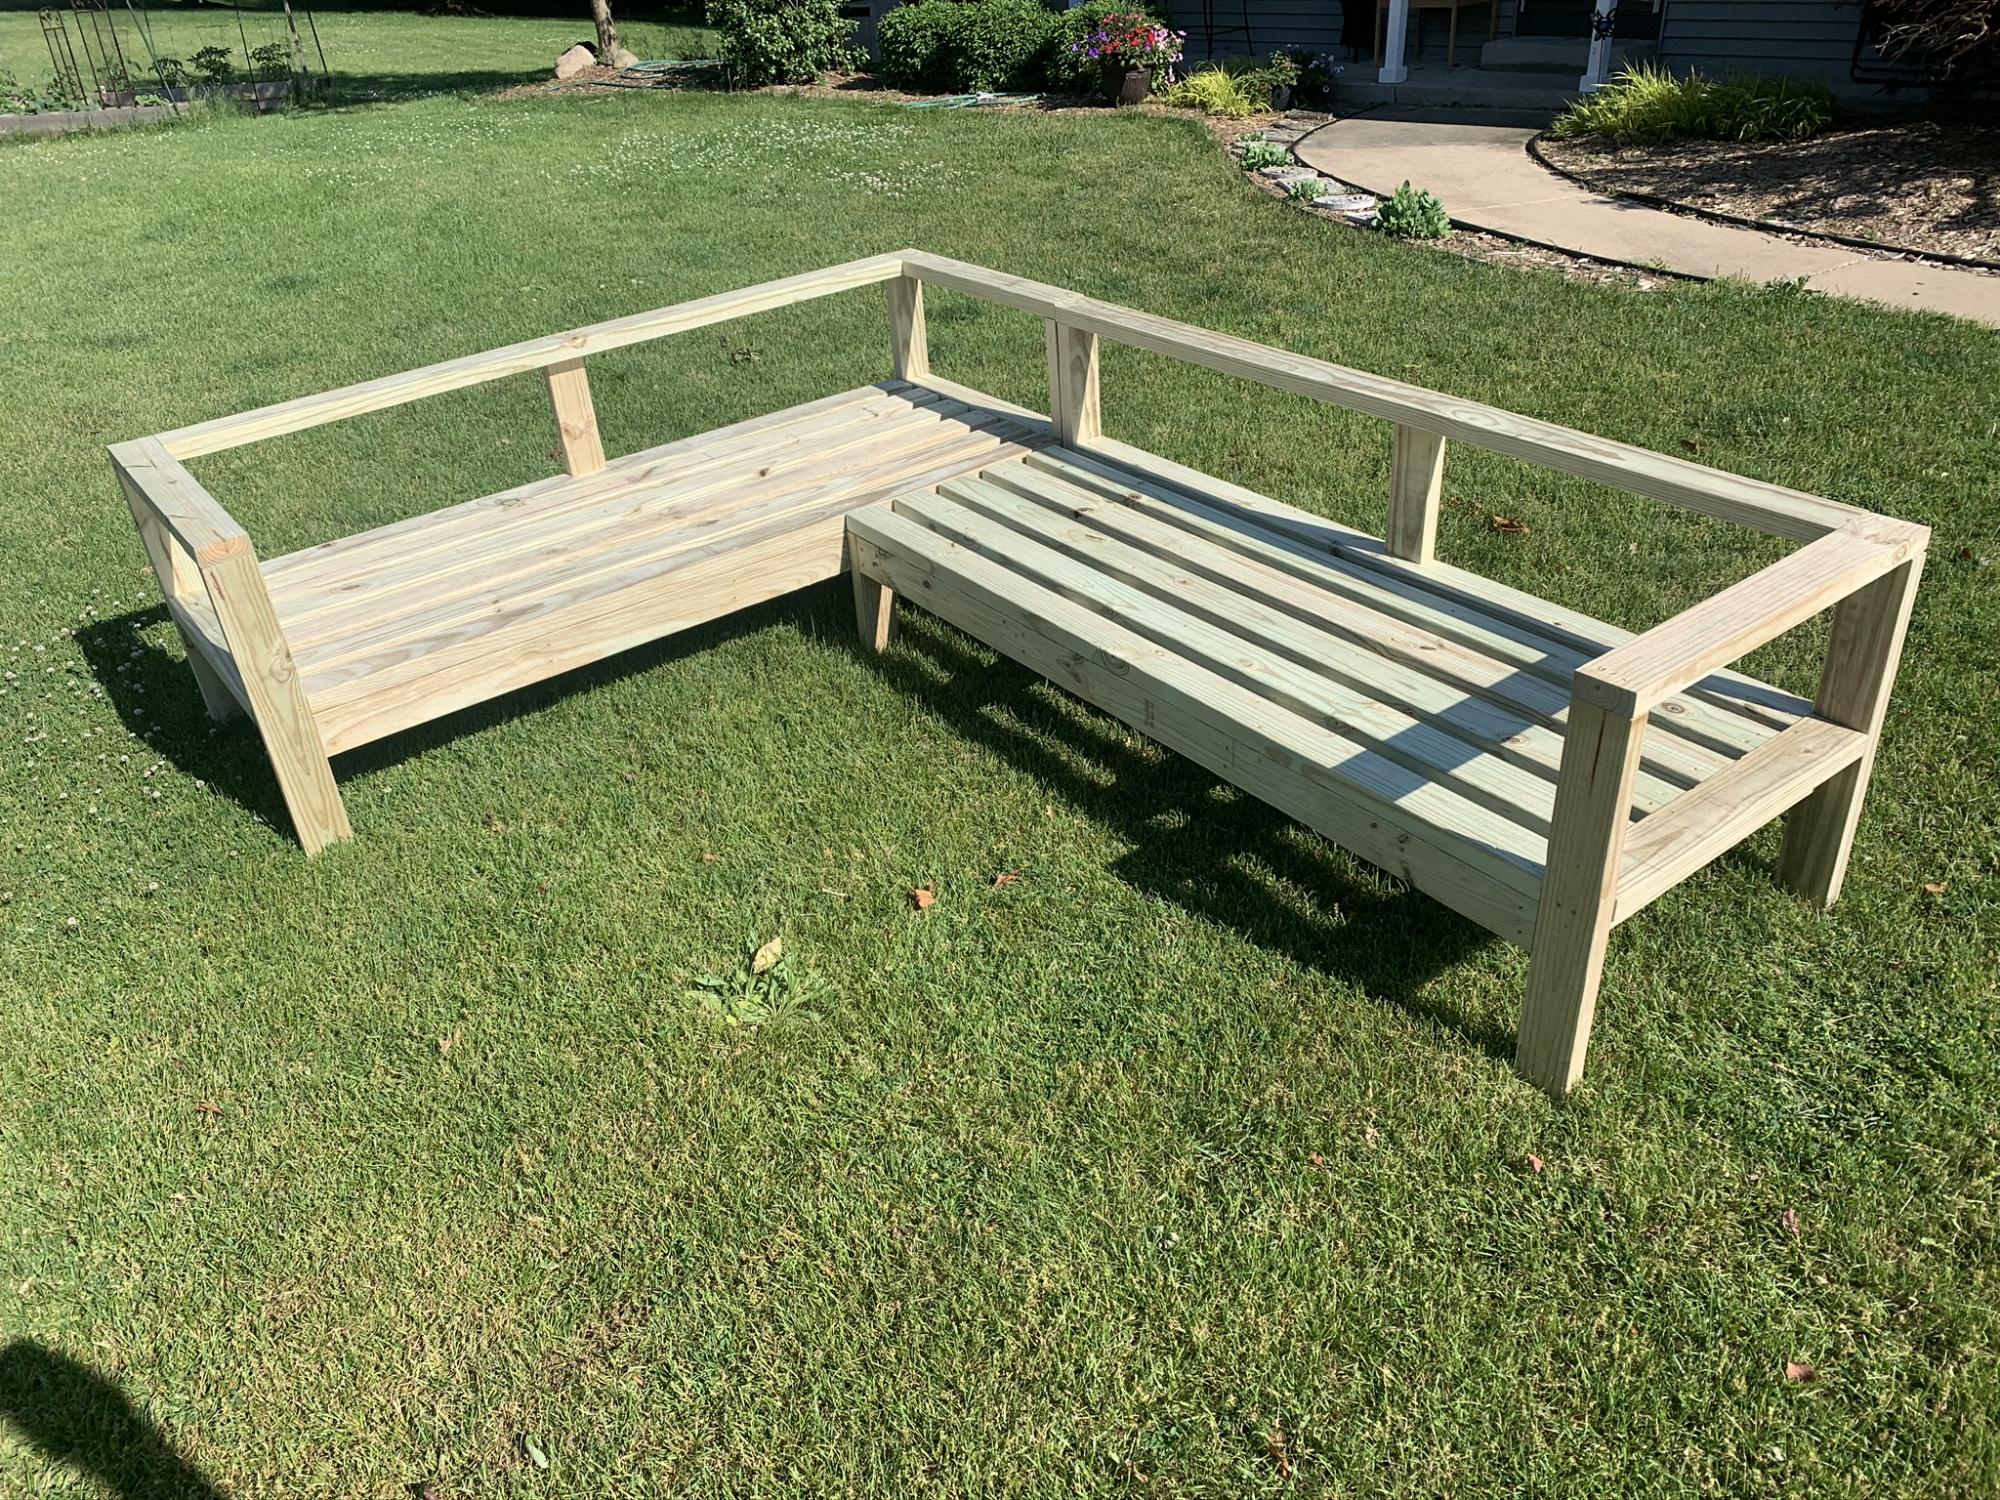
Decided to add extra support between top rail and seat. I envisioned some sitting on the rail while partying so I thought it could use a little strengthening. This is a good build for a beginner.
Porch Sectional Seating
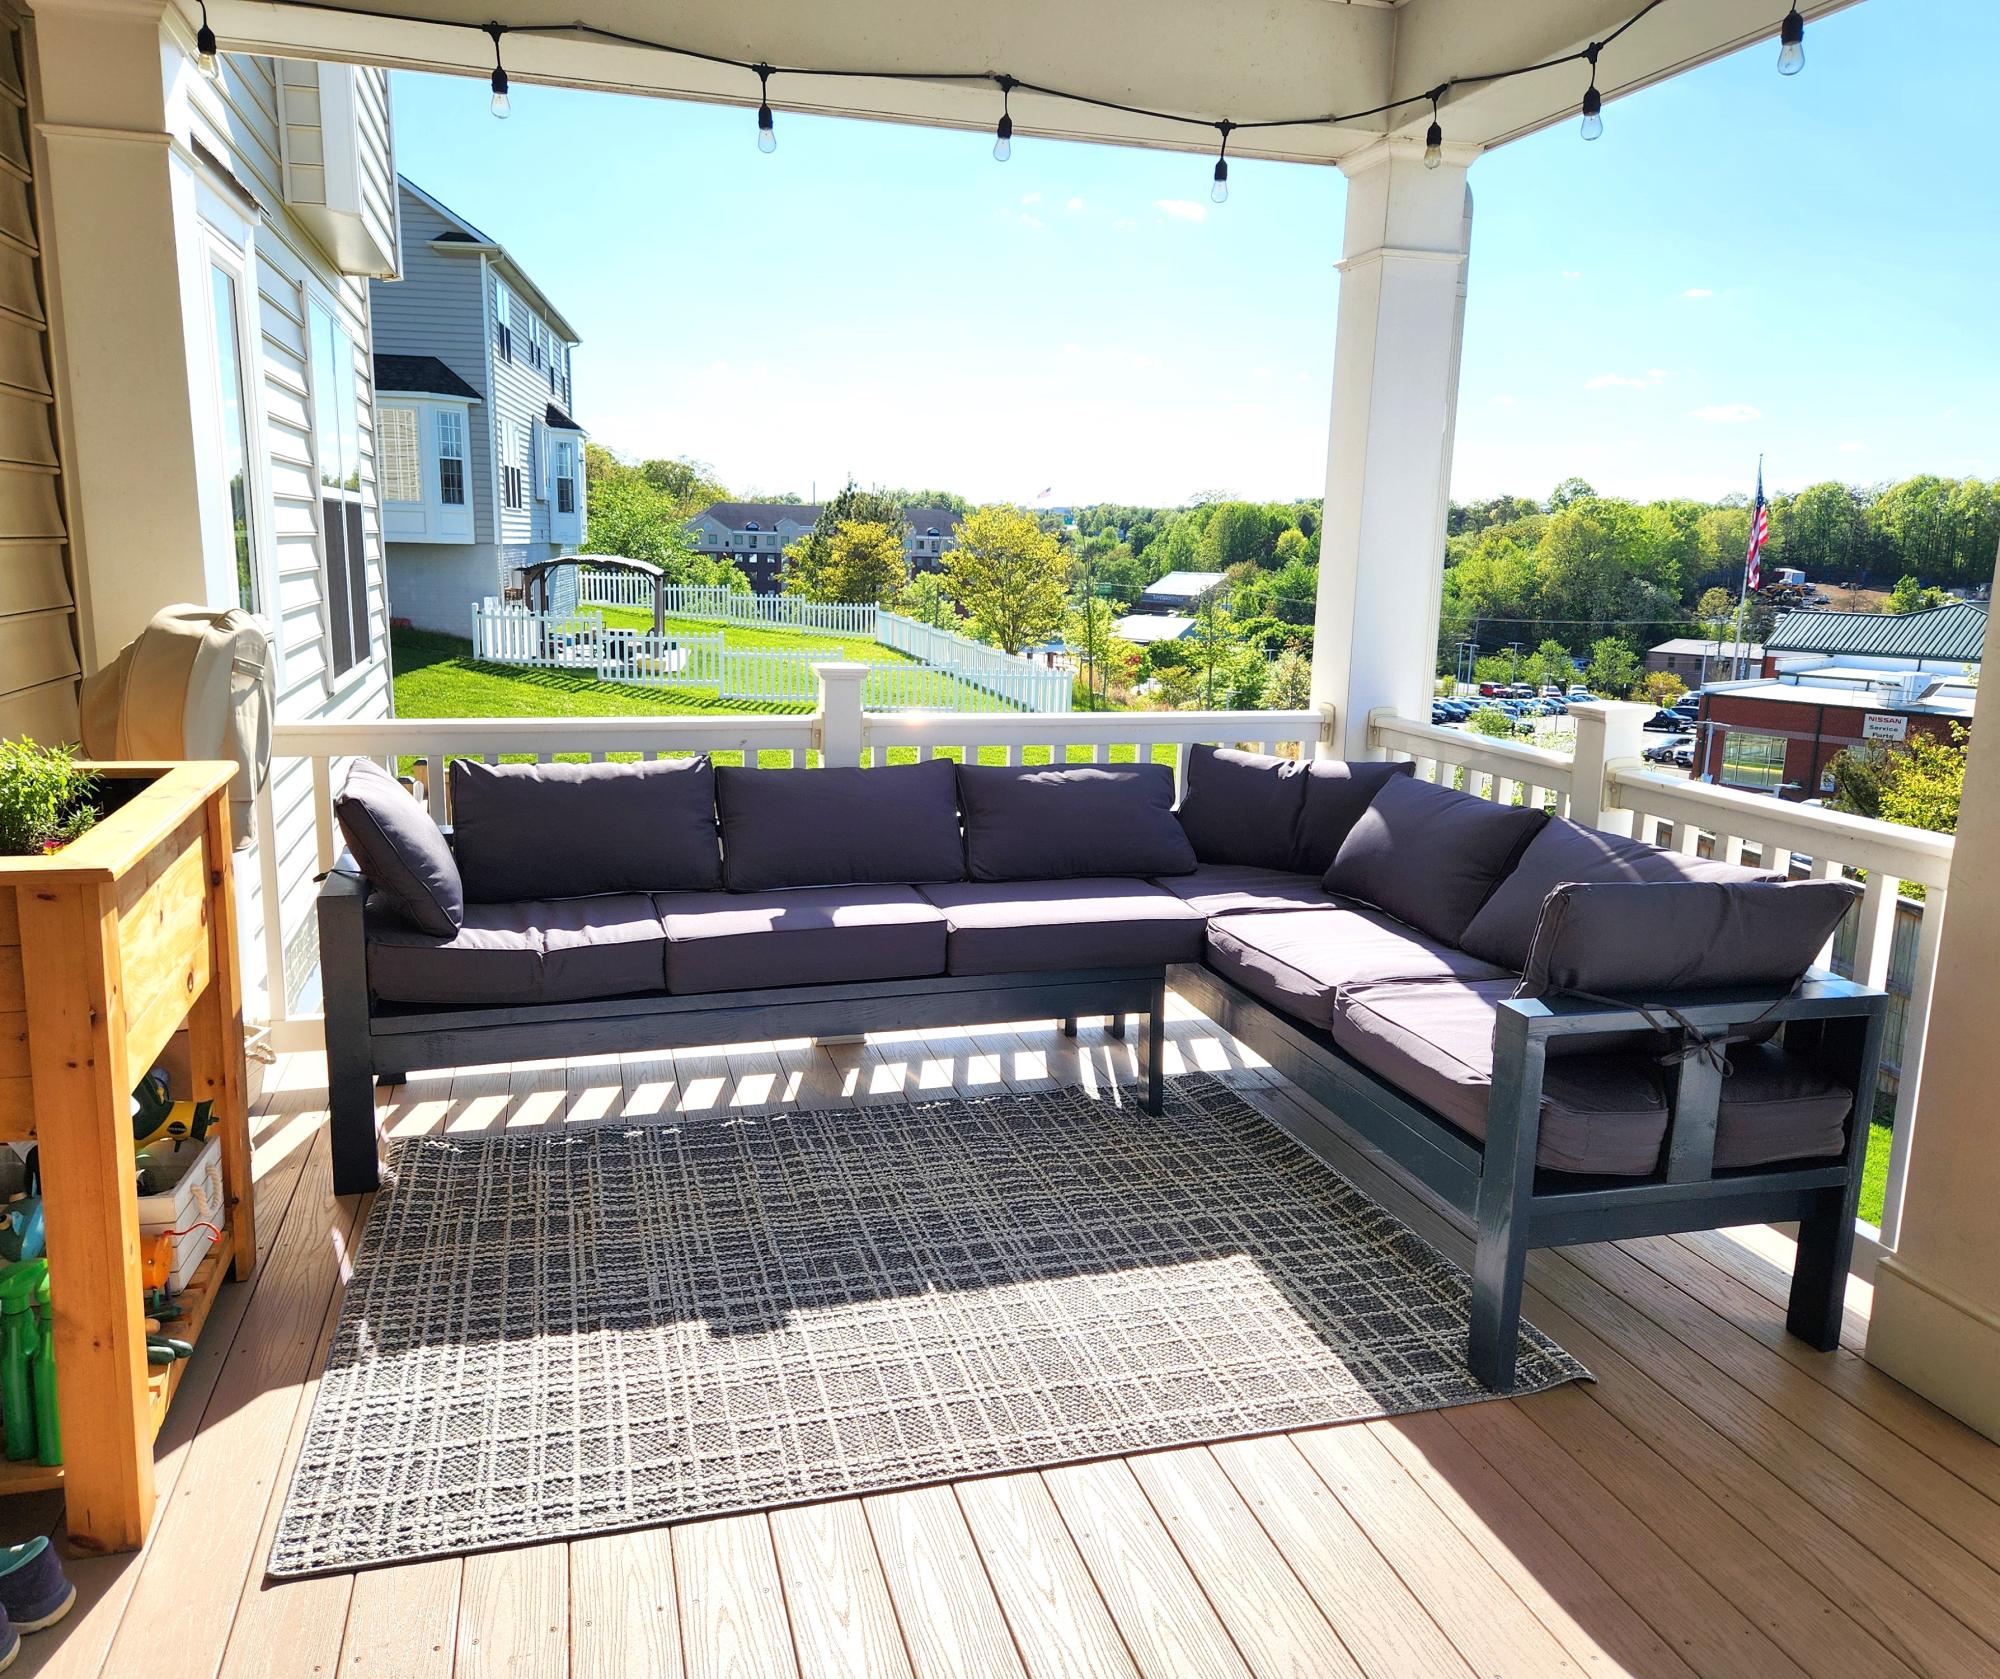
Porch sectional all done. Just need the fire pit.
Window Bench With Storage
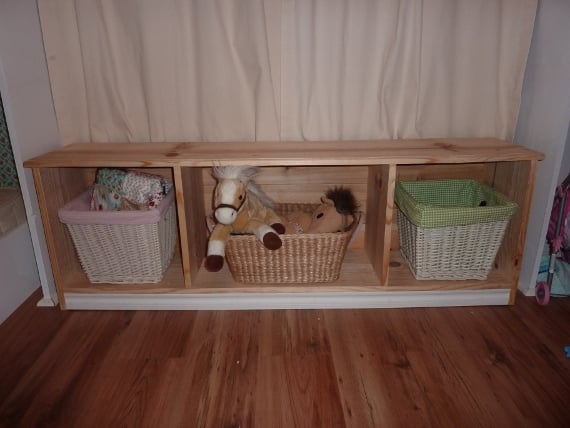
Our daughter's room has built-ins on either side of the window. I always wanted a window seat to sandwich in between, but couldn't find one with the right dimensions.....THANK YOU ANA WHITE! I used her Entryway Bench plan and just changed the length and depth to fit the window. I didn't add the side and back supports on top, but I bullnosed all the edges to make it look more finished.
I built this in one afternoon and even used cedar fence planks (left over from my husband's fence project) for the backing....love the extra charm of those planks!
We also had some molding left over, so I worked that in to the bottom for a little extra detail.
Haven't painted it yet....just enjoying it's usability until I decide on a color. It's super durable. My three year old sits on it (to read), stands on it (to spy on the neighbor's cats) and tosses those baskets in and out all day long.
Doll Table on One Side Checker Board on other side

I have come across several tables and chairs for doll furniture and decided I wanted to make something a little different.
I made a basic table and used 64 1 1/8 inch squares.
32/32 painted red/black and the other sides painted pink.
table is pretty popular around town so I decided to test Ebay and my website www.funwithdolls.com and I actually started selling a few.
Wayne

"Slightly Off Productions"

First attempt. Used Vaseline to distress corrners and shelves.
Comments
Sun, 09/25/2016 - 09:31
I love the two tone finish!
I love the two tone finish! Great first project! Ana
Adirondack Chair to be proud of!
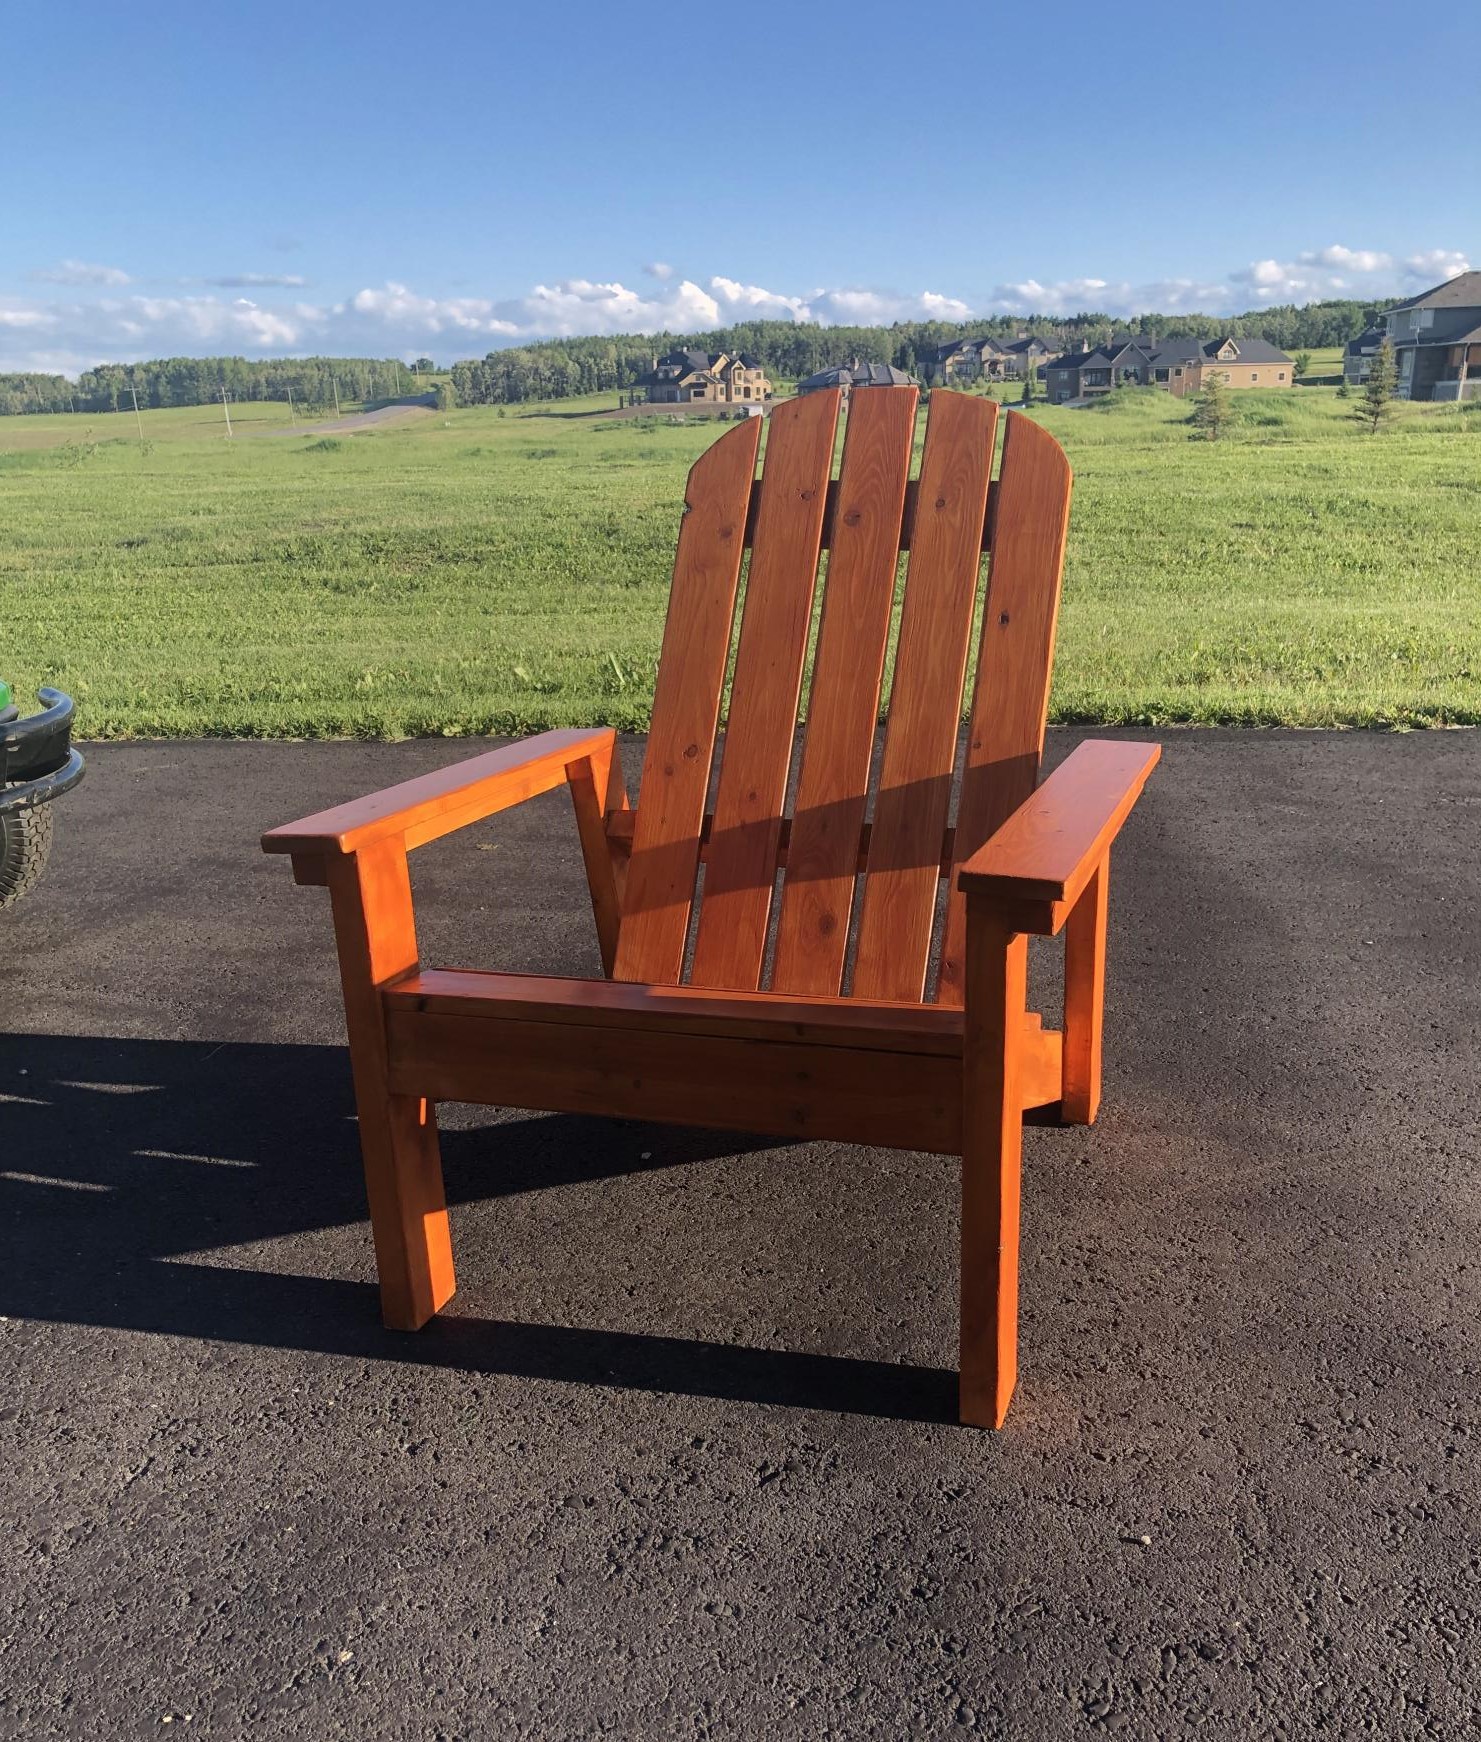
As Ana says, very comfortable and super easy to build. Her plans are direct and to the point and always a pleasure to build from. I have a couple more to make and my fire pit will be perfect!!! Thanks Ana
DIY Golf Locker
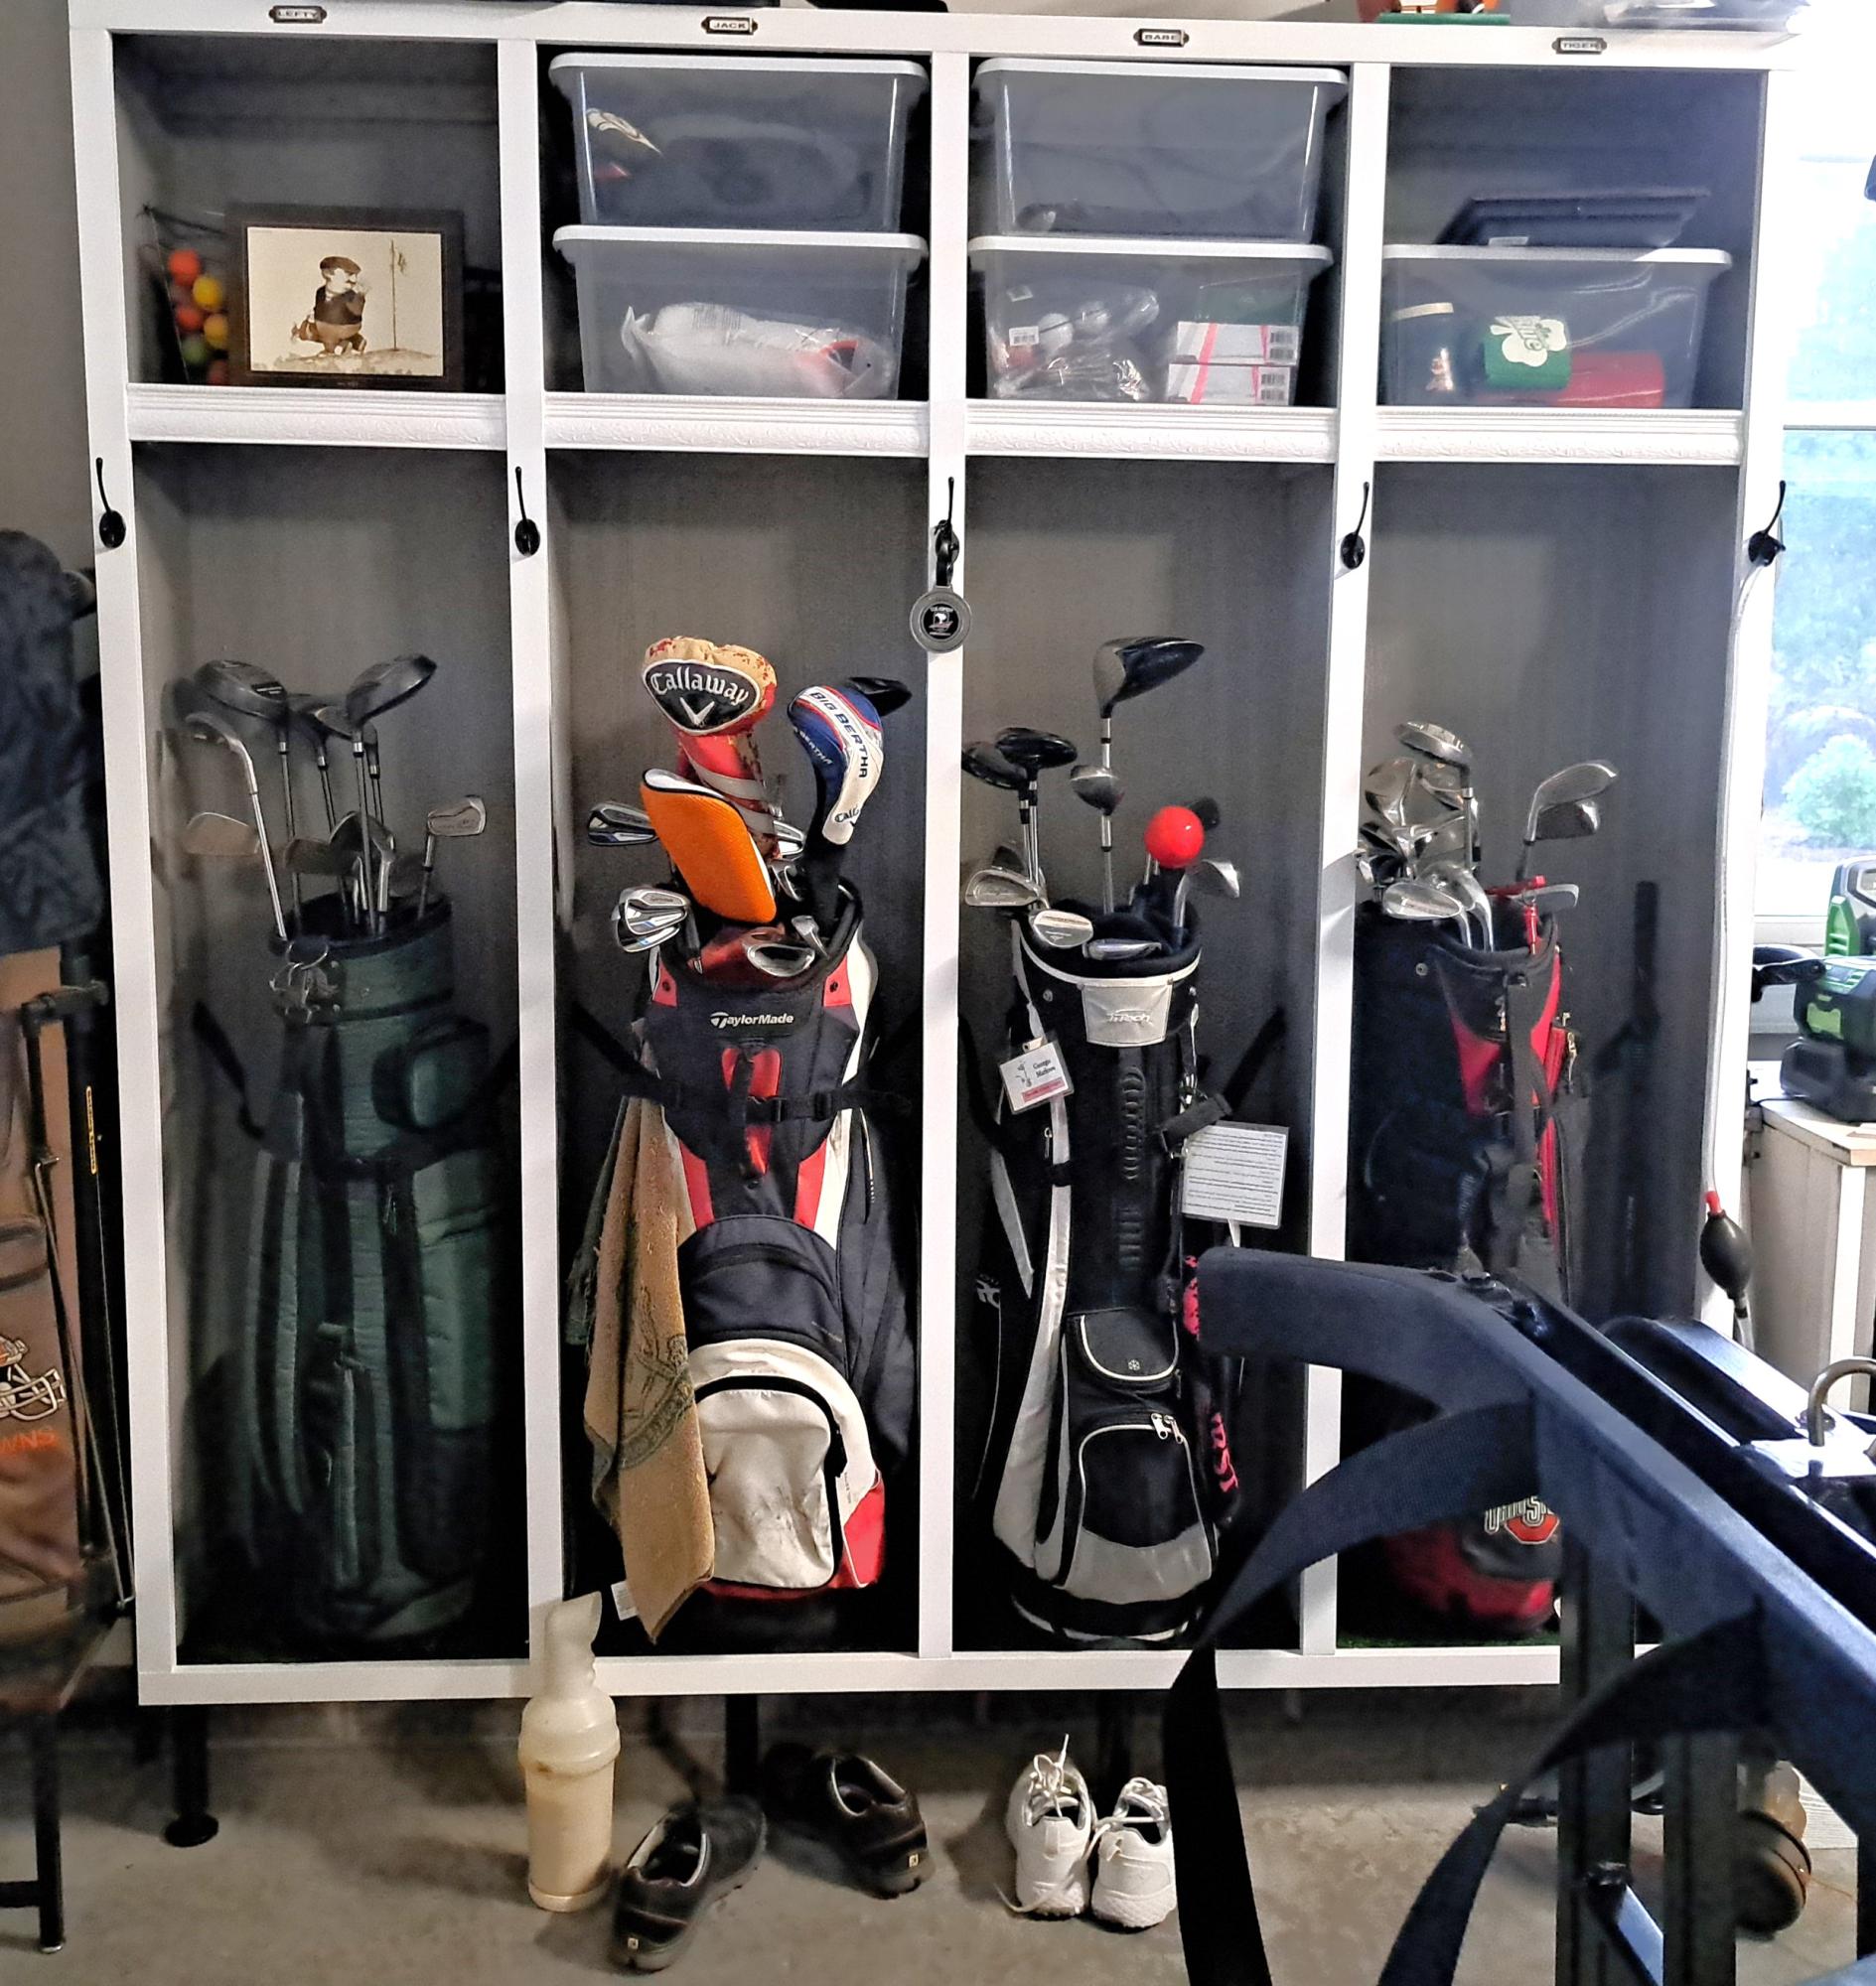
Golf Locker. We love it!
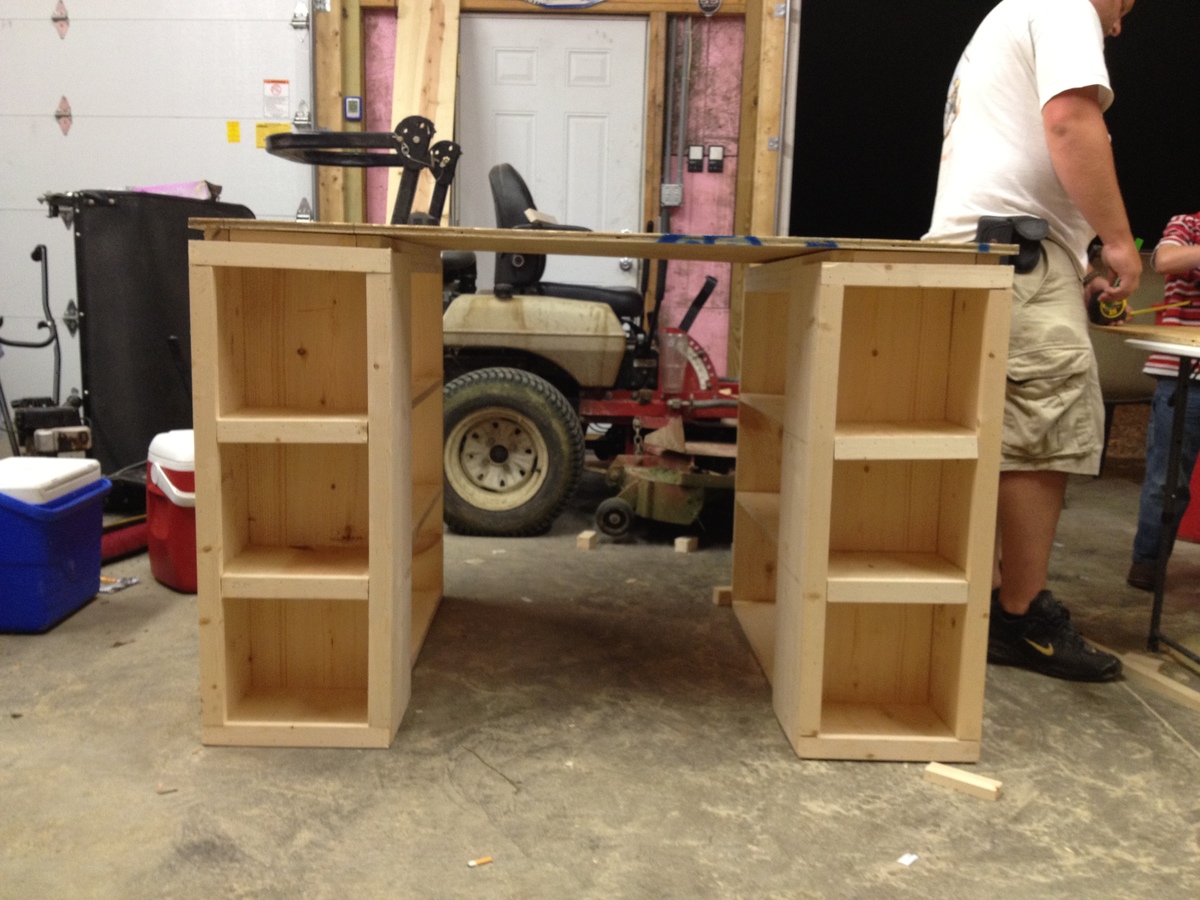
Craft Table by Southern Chic Love
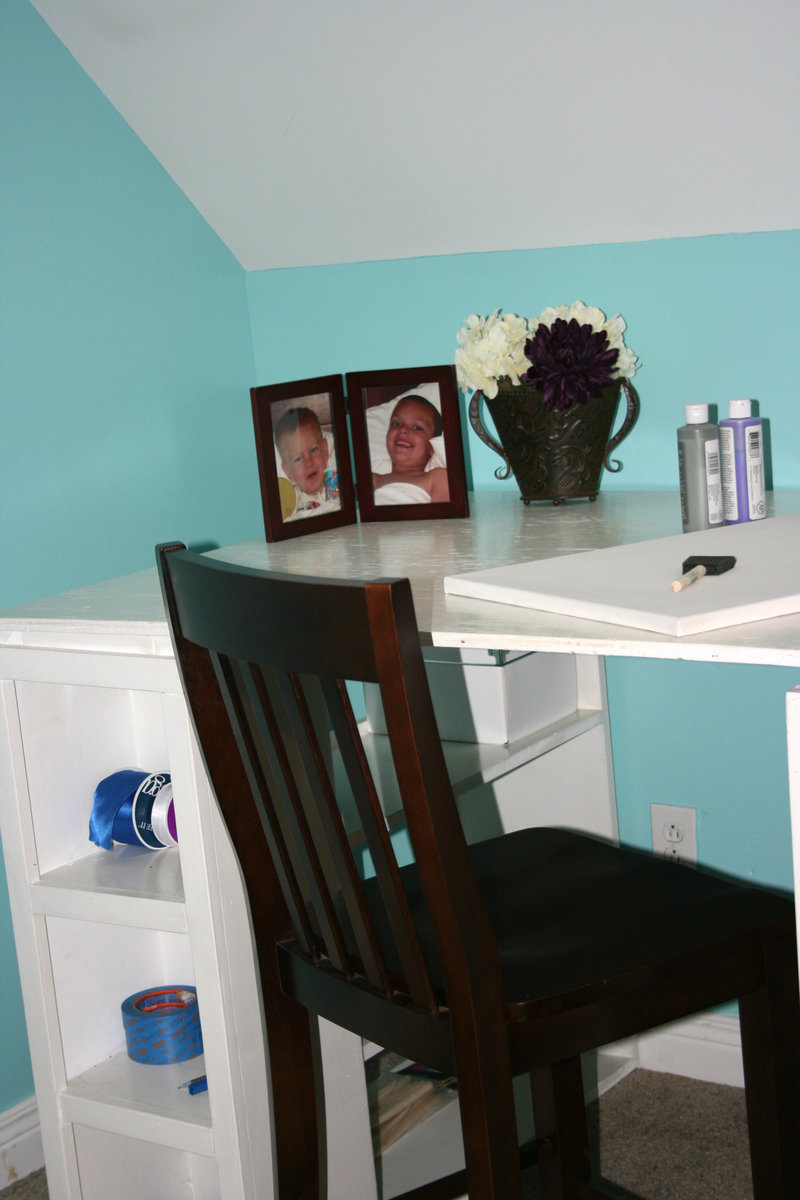
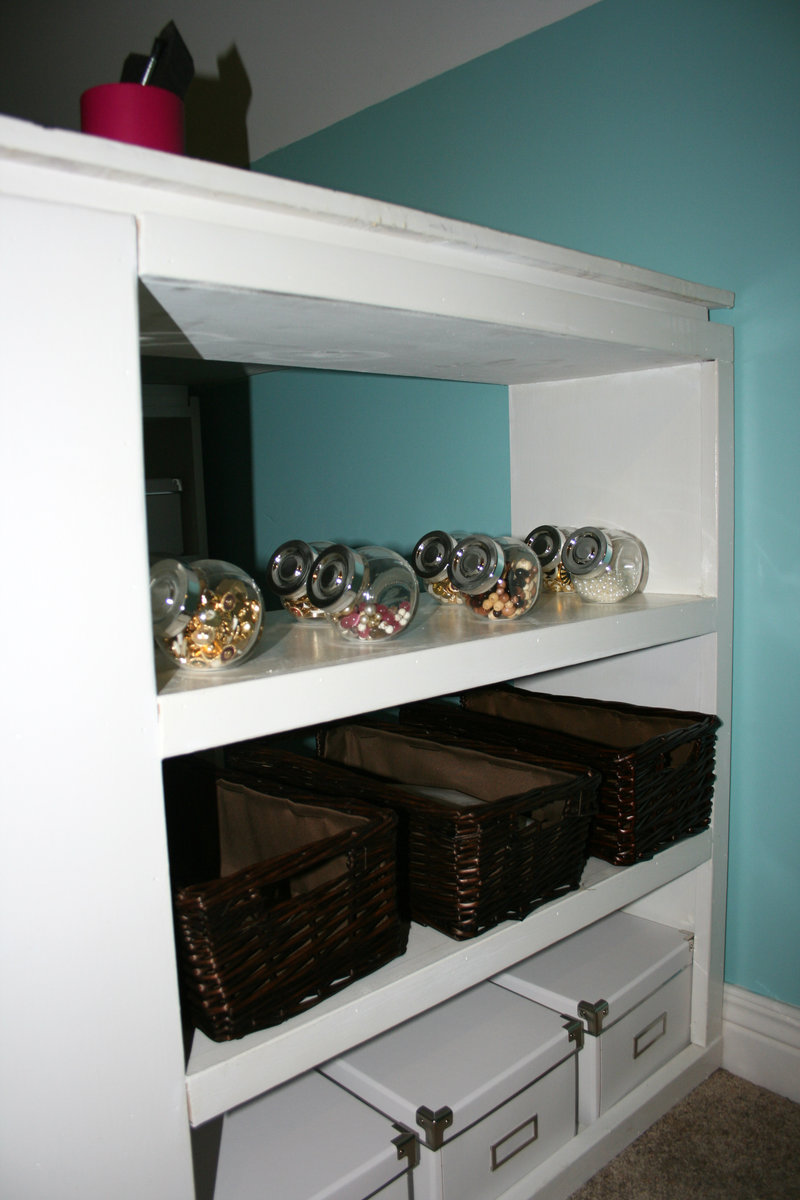
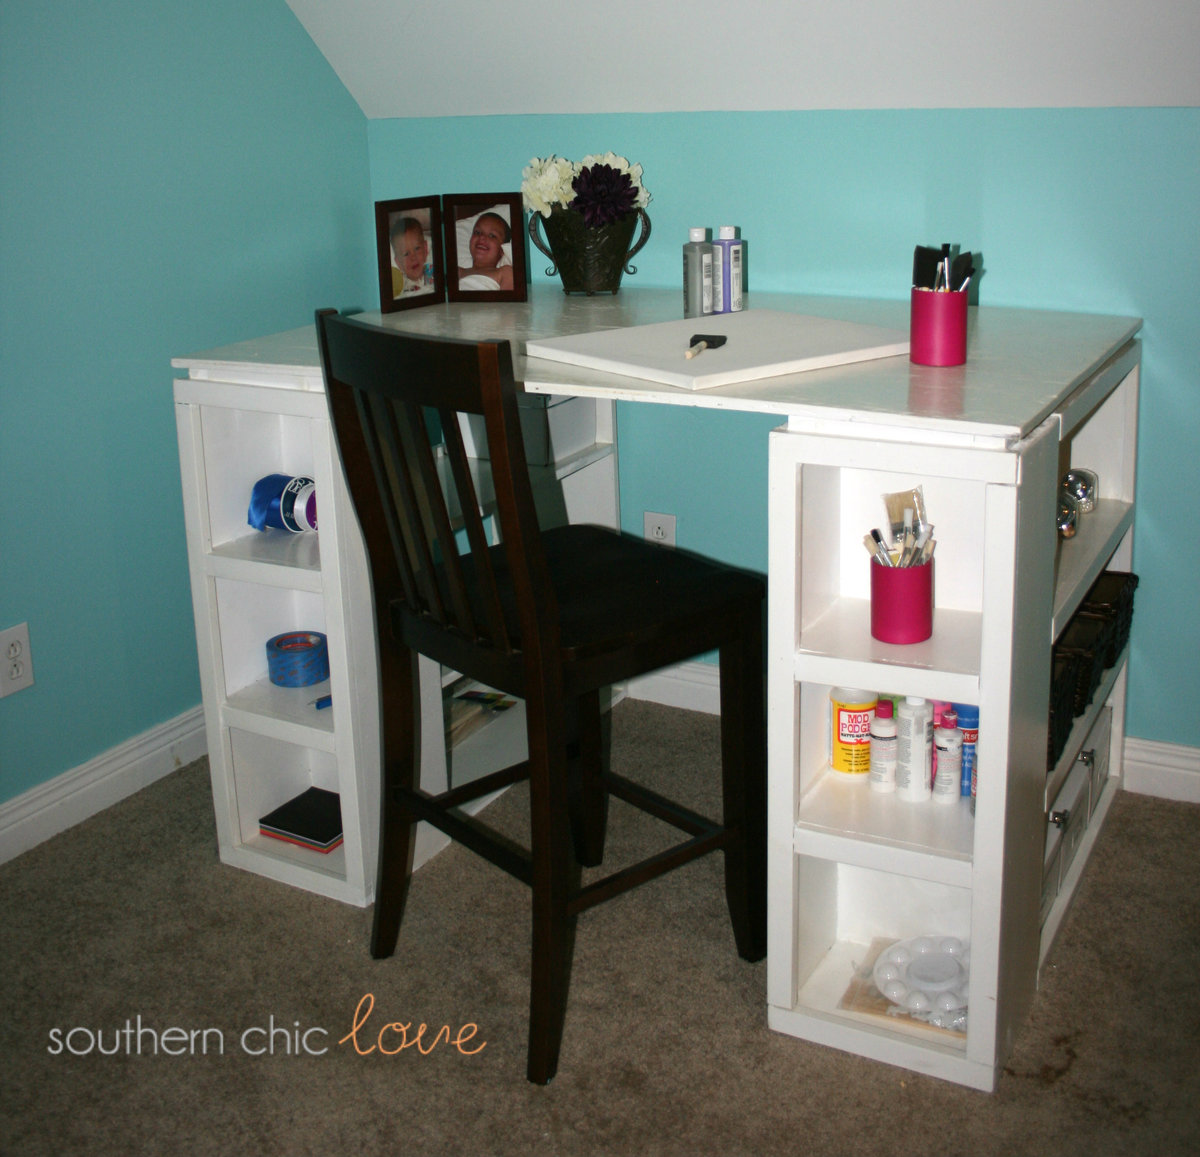
This is my very first Ana White build! I needed a table to go into my craft room and stumbled upon Ana White. What an AMAZING site! After browsing and finding many projects i would like to give a whirl i finally decided on this modern craft table. My husband and I have worked together on many different projects and decided we would try this one. The plans were very easy to follow although we did make a few mistakes along the way. I painted it white and finished with several coats of poly. All in all we love it and have a list of other builds to do next.
Make sure to check us out at SouthernChicLove.Blogspot.com!
Subway Tile Bookcase
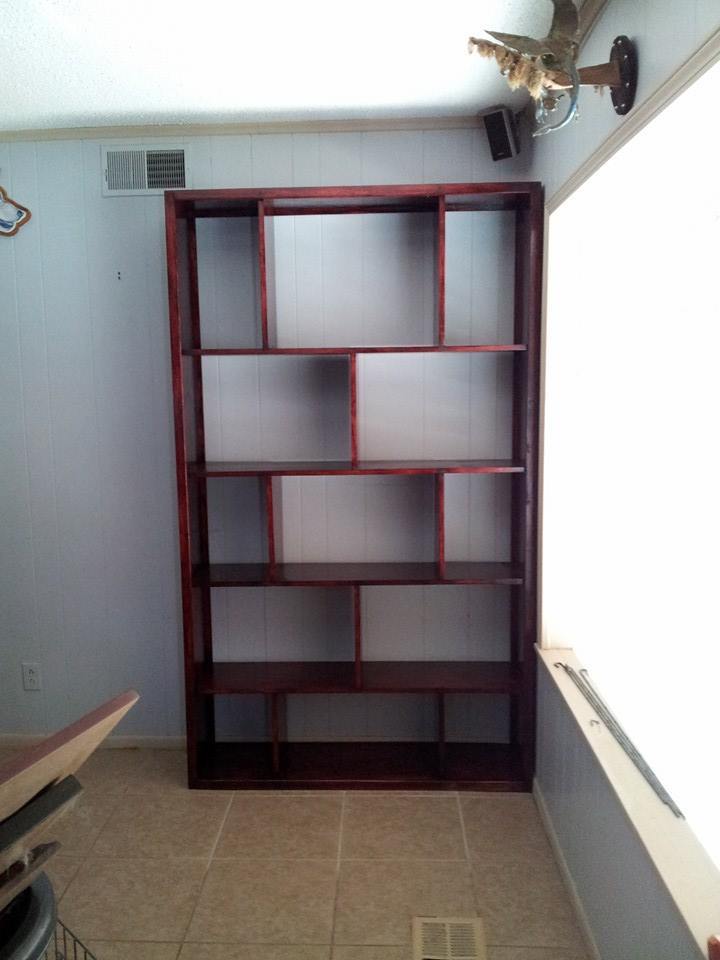
Modified Subway tile bookcase. 7' tall by 4' wide.
My Wife's New Desk
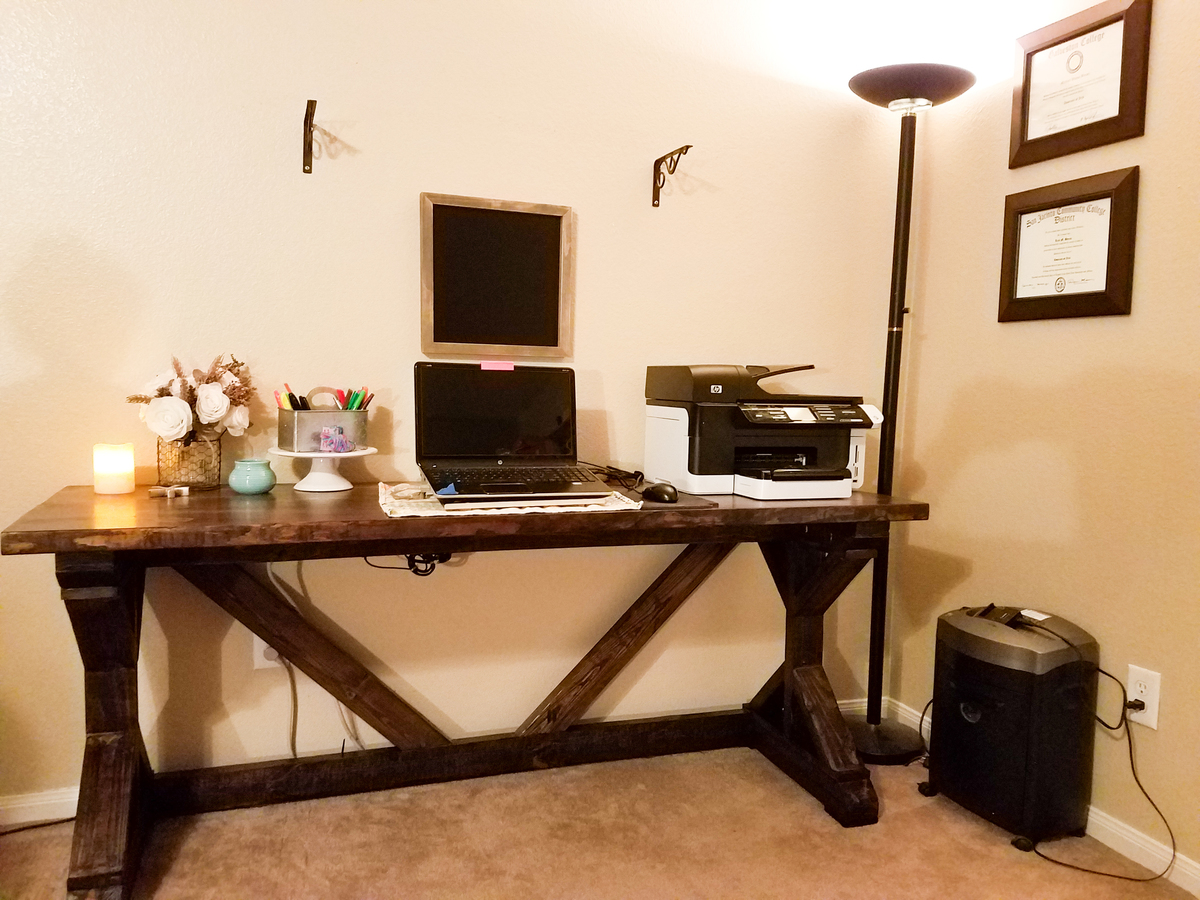
My wife recently started Grad School and needed a better space to study other than the dining room table. She found the plans that she liked on Shanty2Chic and bought the addtional tools needed for the job...she was serious about this project. I made the desk over 3 weekends, a few hours each day. I only diverted from the plans by adding a 1 1/2" spade bit hole in the back to run the power cords through and tacking a surdge protector in between the top beams to help organize and hide the cords.
Potting bench
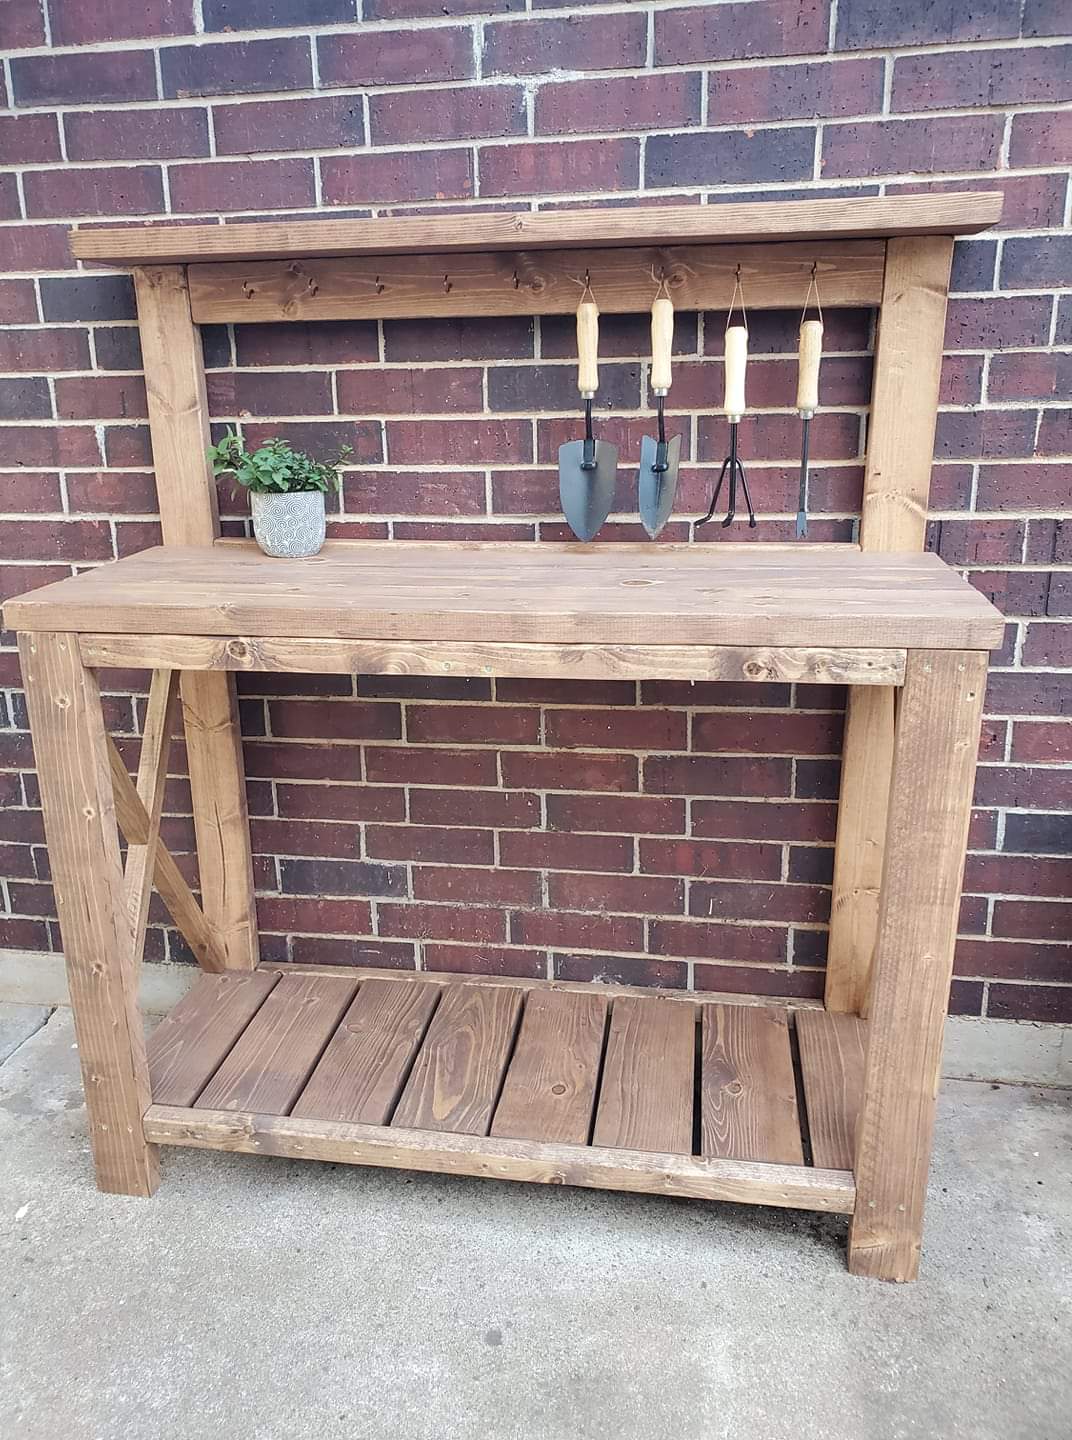
Took a few tries to get those side rails right just eyeballing the angles but finished product looked great!
Adirondaks
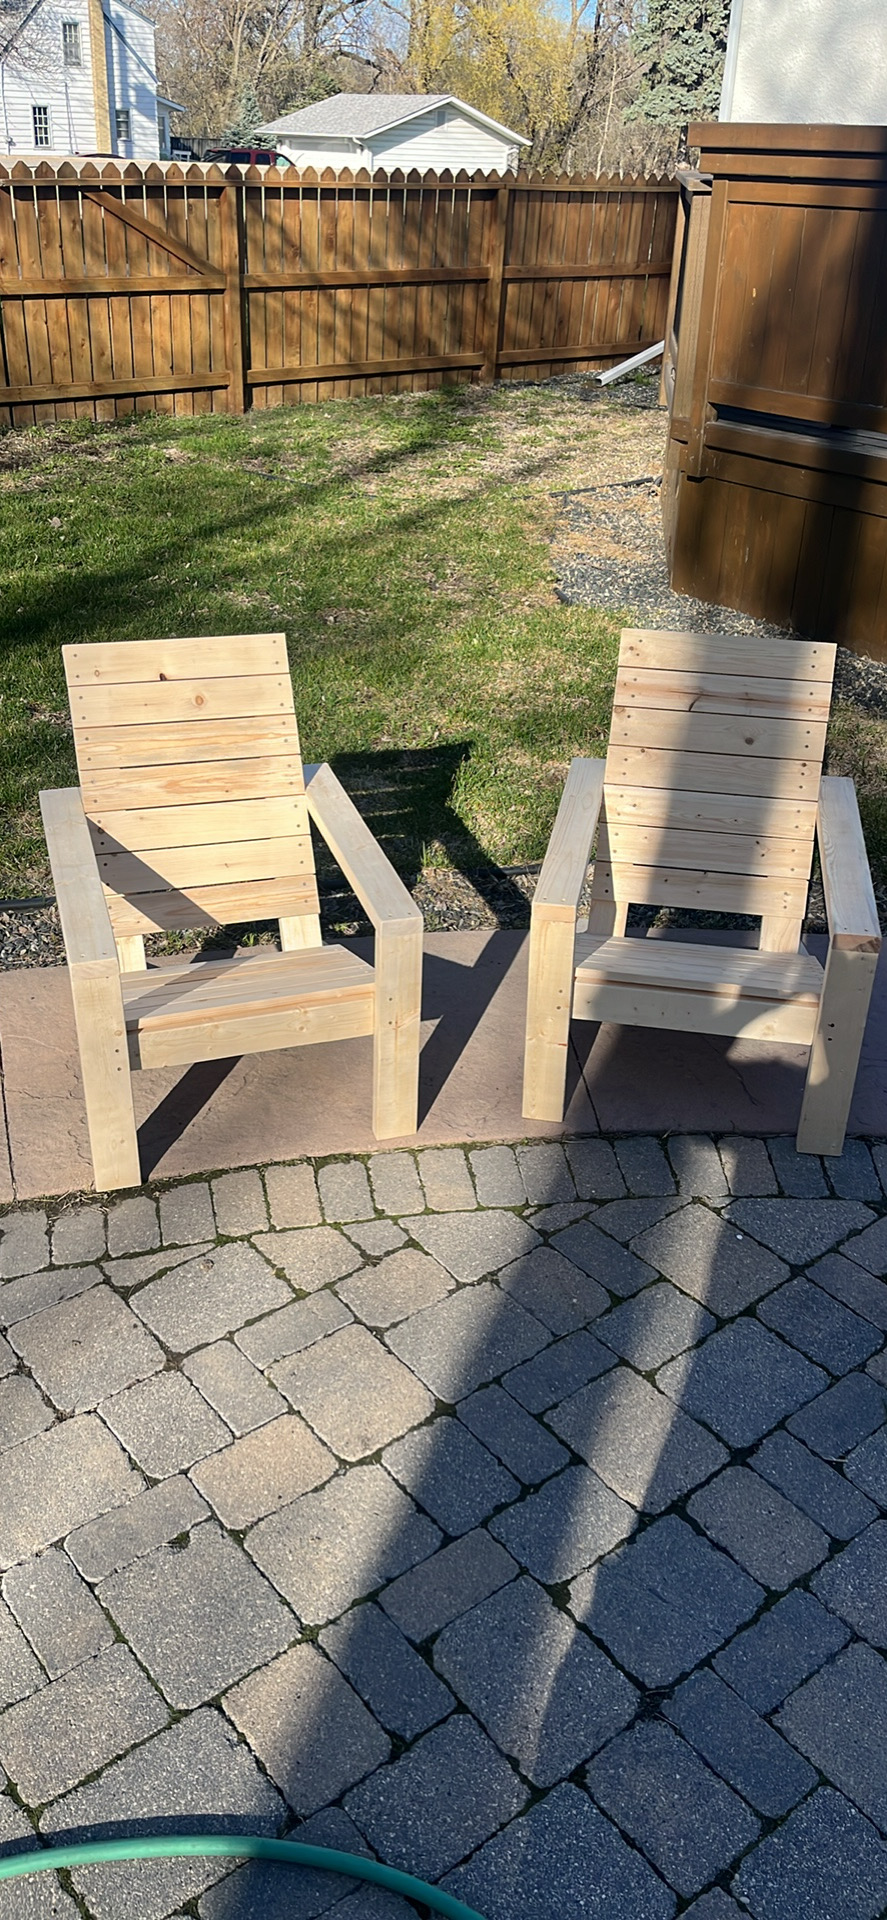
Switched 1x10 for 1x4

Planked Wood Bedside Tables with drawers
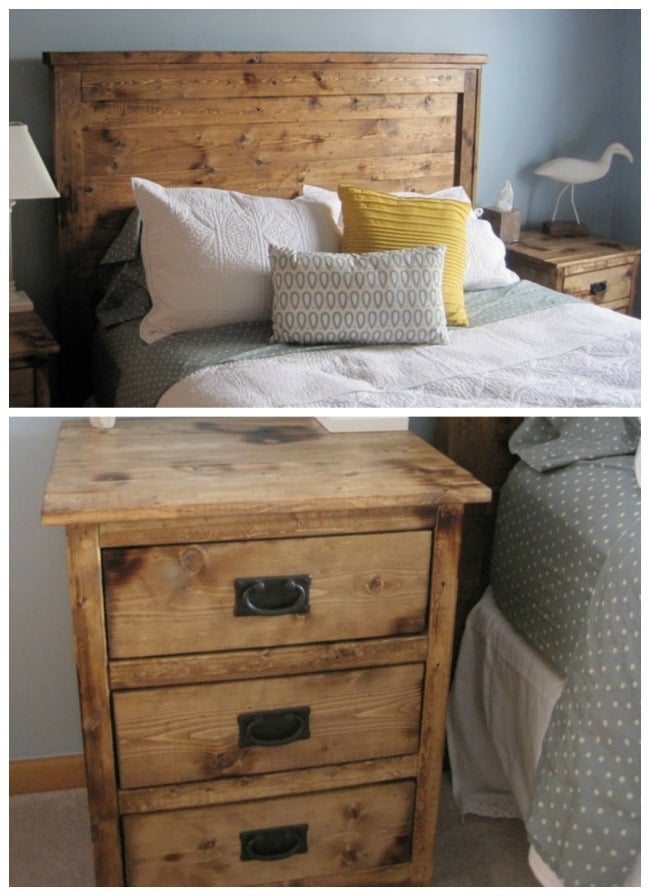
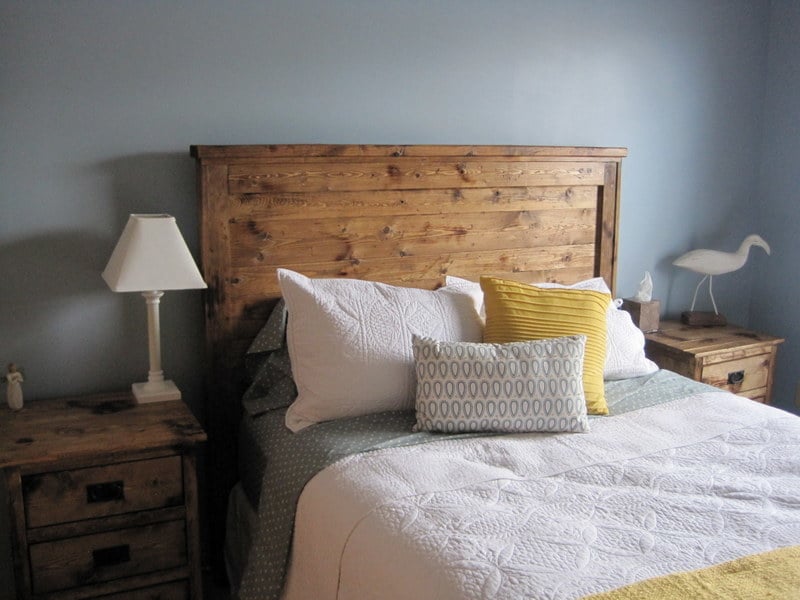
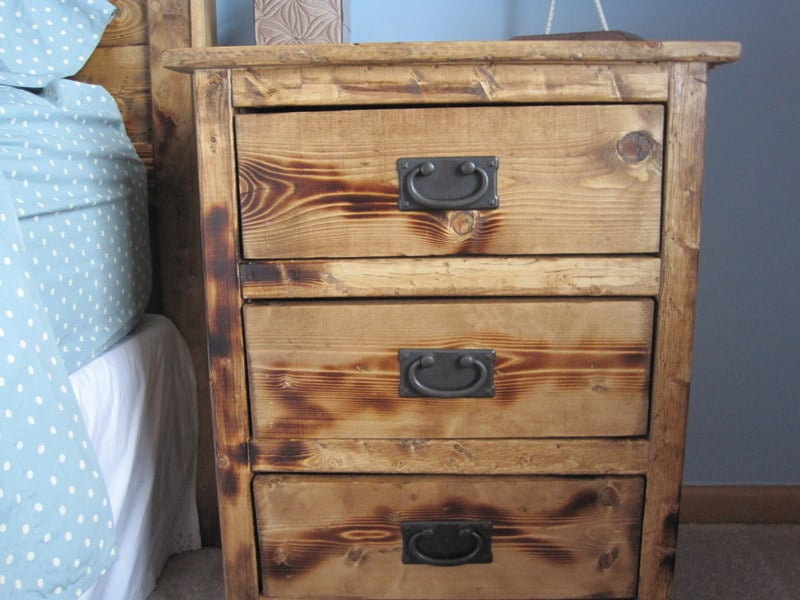
So after my husband and I conquered the headboard, we decided that we were geniuses at furniture making and we would just build the two side tables. Well, the two side tables are much more difficult than the headboard. The side tables are definitely do-able but make sure that you leave plenty of time for them. We built most of them on a Sunday and then finished them up in the evenings the rest of teh week. We do not have a Kreg Jig and were able to build them without it; however, if you have a Kreg Jig it would make thing 1,000 times easier. We did end up buying a miter saw because we were building the Old style Workmen's Bench bar at the same time (crazy, I tell you). It is CRITICAL to make sure that your inside drawer measurements work. If you are off just by a little, your drawer pulls are not going to fit. We ended up buying bottom mount drawer pulls. The drawers are a little less stable and can hold less weight (up to 35 pounds) but it worked for us. I think the real key to finishing this project are choosing the right drawer pulls. I really believe that spending a little bit more on the drawer pulls makes the piece look more expensive. We spent about 6.50 a drawer pull but they look really nice in person. TIPS **Stain drawer faces off, then attach hardware, then attach to drawer base **If you are going to use wood filler (I wouldn't), make sure that you use the least bit possible - the stain does not take to it the same
Comments
Tue, 09/11/2012 - 03:15
You're brave!
This plan is what I wanted, but I chickened out. Yours looks fantastic!
Perfect End Table
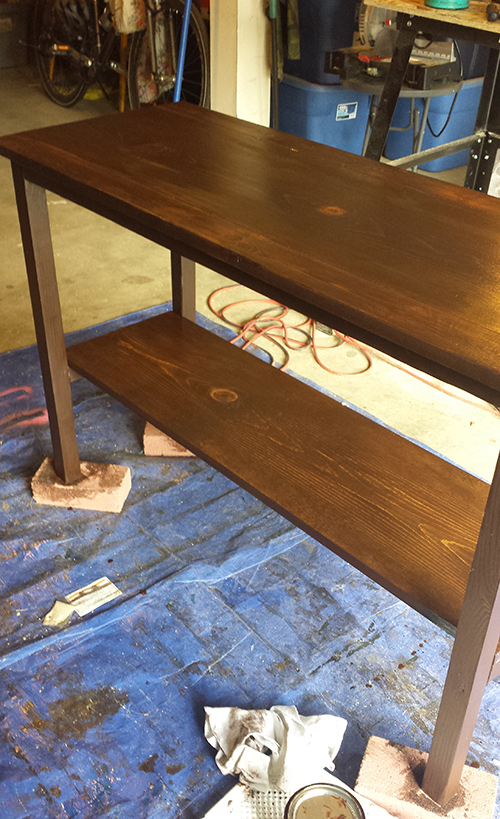
Just a little something to go in the dining room. I like the look of it. If I find another need for one I would definitely make this again accept use a different stain and paint the base white and use a semi-gloss or gloss protective finish.
