Community Brag Posts

Anthropologie inspired Fancy X Farmhouse Table & Benches Part 1

This project was super easy, my husband and I did this together while I was 9 months pregnant with our other 2 kids and dog running around the whole time! We made the table and 2 benches for $250 including lumber and finishing supplies. Check out my blog for details.

Estimated Cost
$250
Estimated Time Investment
Weekend Project (10-20 Hours)
Finish Used
Grey Stain
Recommended Skill Level
Beginner

Farmhouse Table

Submitted by deckroid on Fri, 04/26/2013 - 10:15

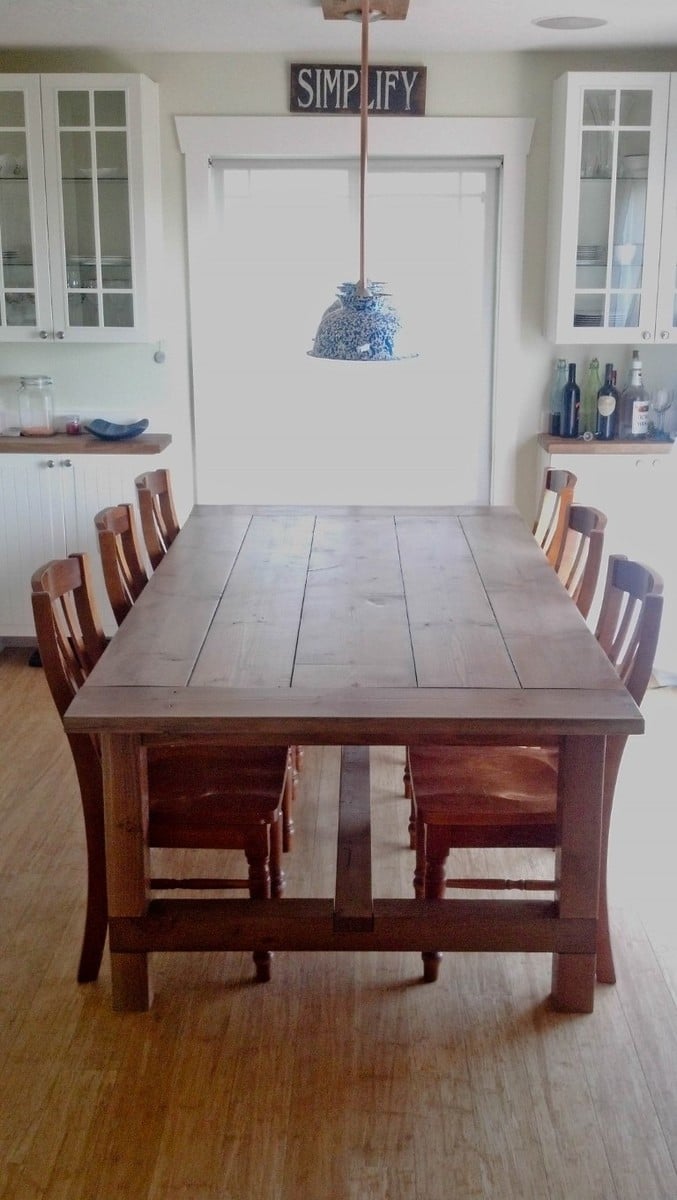
My wife and I really love the farmhouse look and feel. We saw one of these tables at a furniture store for $2000 with no chairs. I had already bought the Kreg Tool, something that I cannot believe I have done without for so long, when I went to build some $10 Shelves that Ana has on her site. My wife asked me how hard it would be to build the table and I told her I have never done anything like it. I also told her if she didn't like the end project, we could use it as a picnic table outside. It was fantastically easy with the plans and Kreg Jig. Thanks to Ana for all the helpful tips!

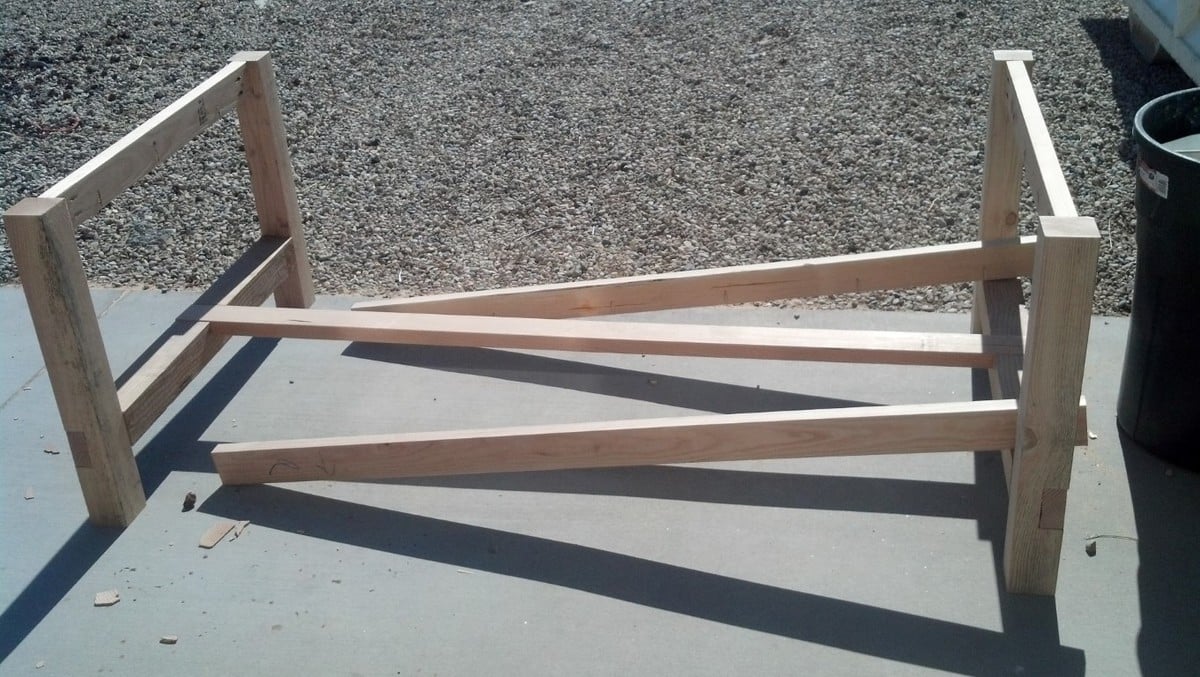
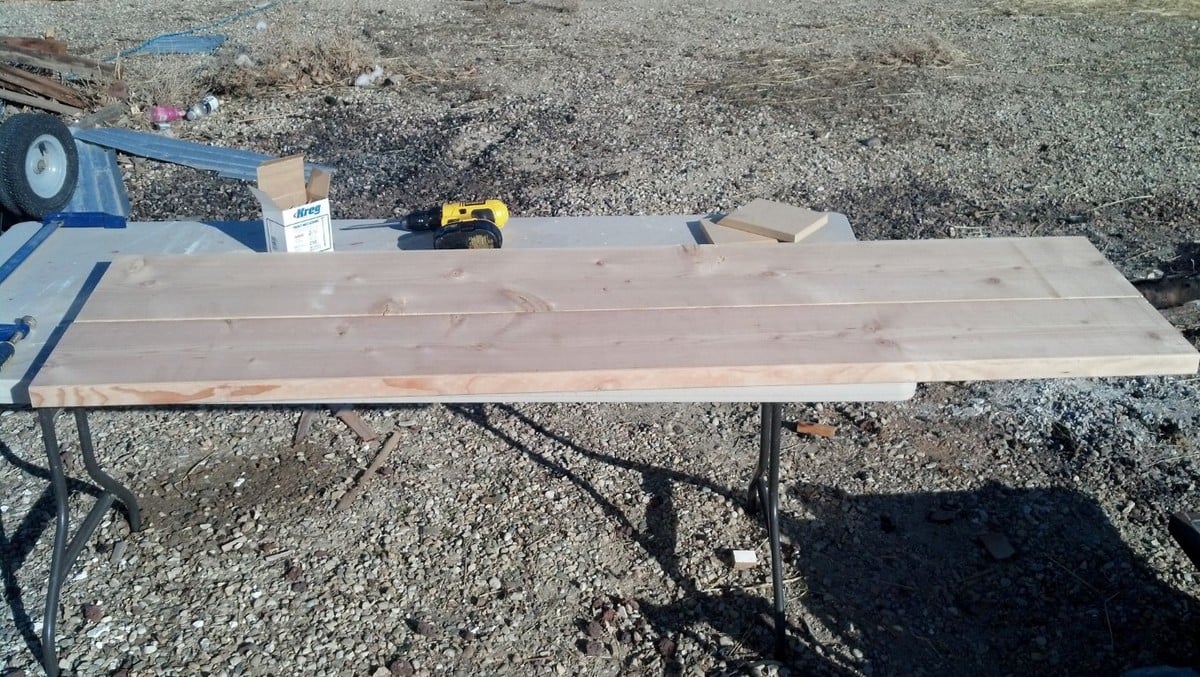
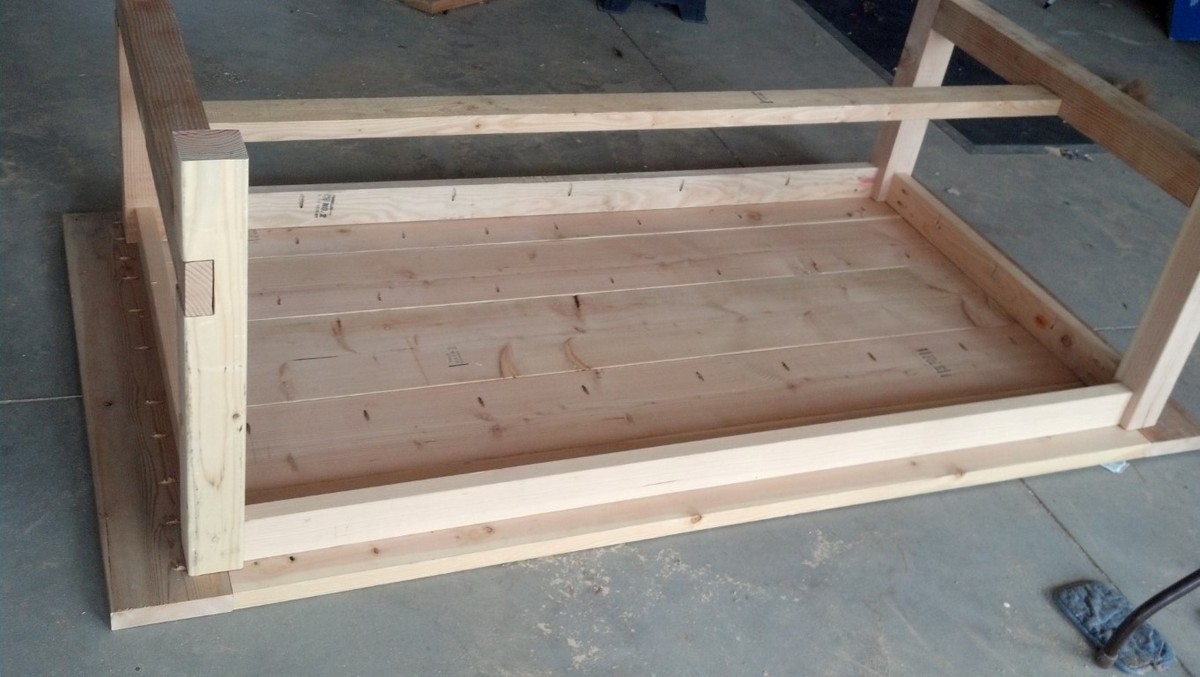
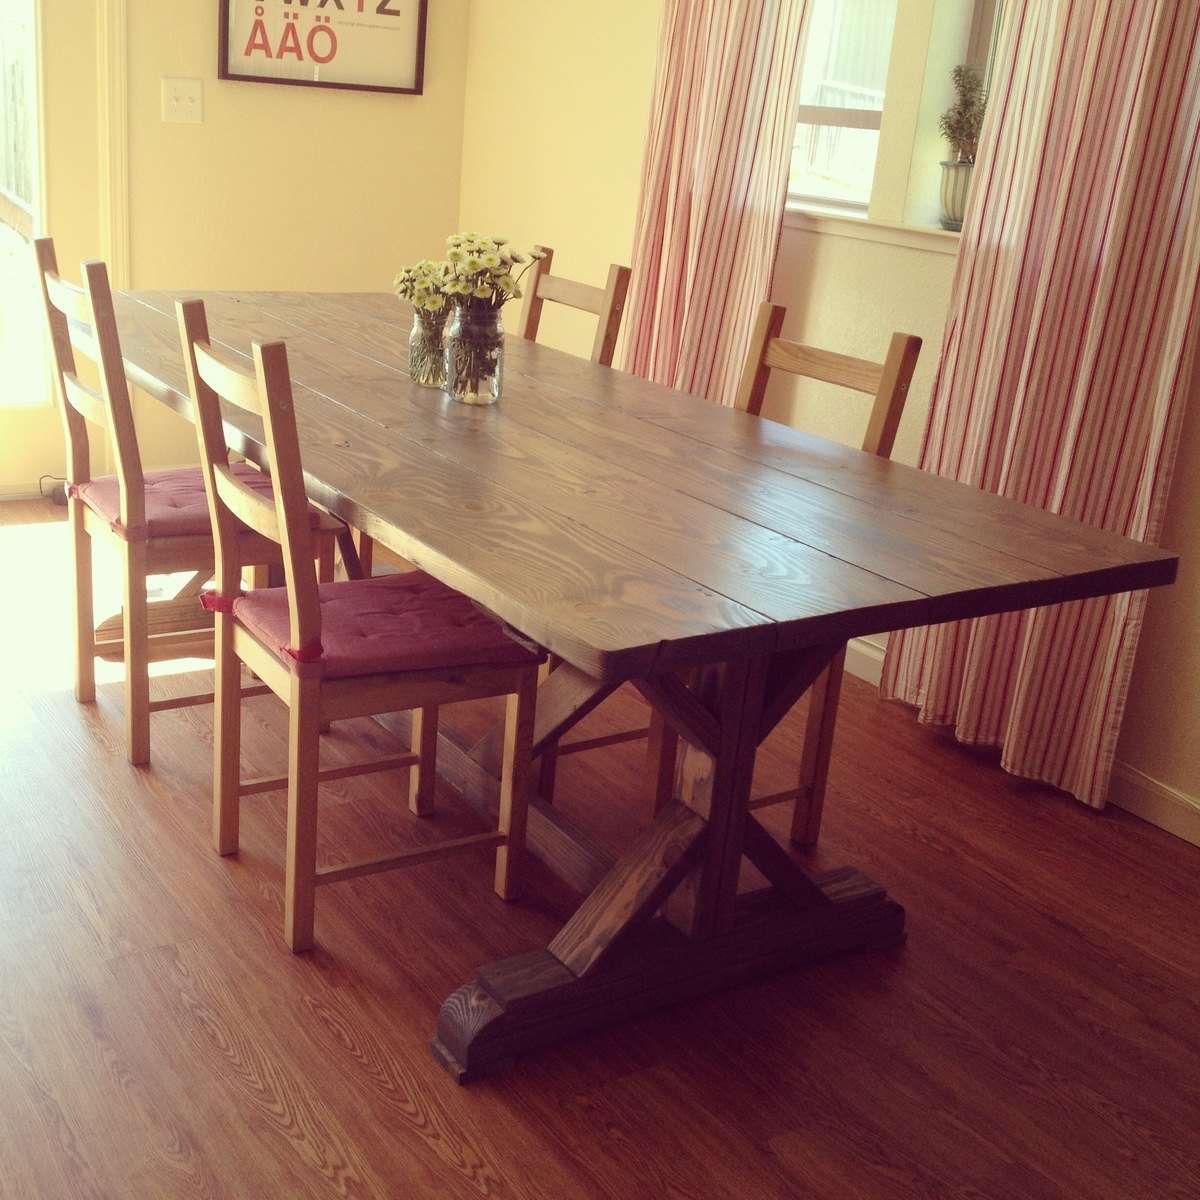
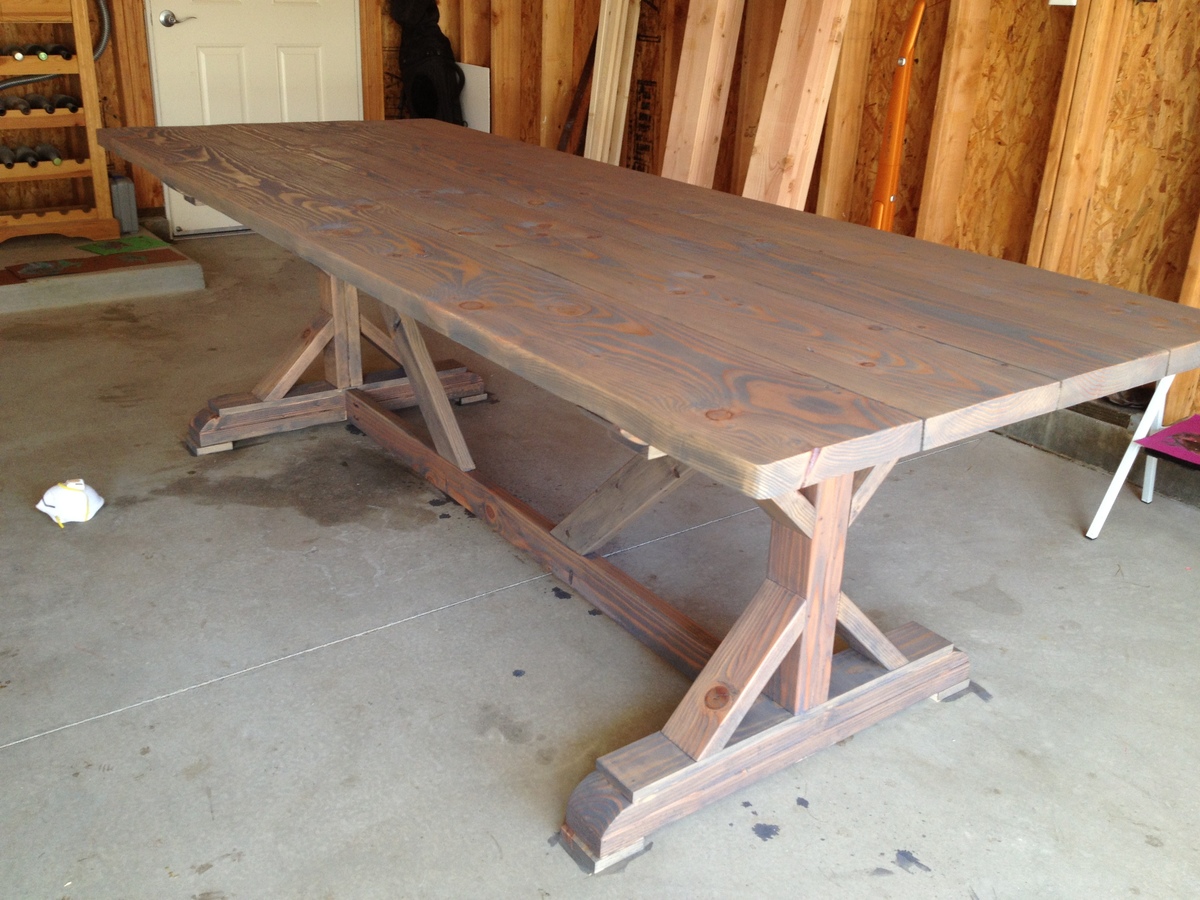
Now to the build. We decided that the table needed to be a bit wider and longer for our needs, so I adjusted the plans. It came out to 90"x48". The center board is a 2x12 with the other 4 being 2x10s. The end pieces are 2x8s that I had from building garden boxes. The benches that I also built were from scrap lumber, they are not pictured here as they need one more coat of stain and then three coats of polycrylic. They are 52" long and go on the ends where the kids can use the cross beam as a foot support.

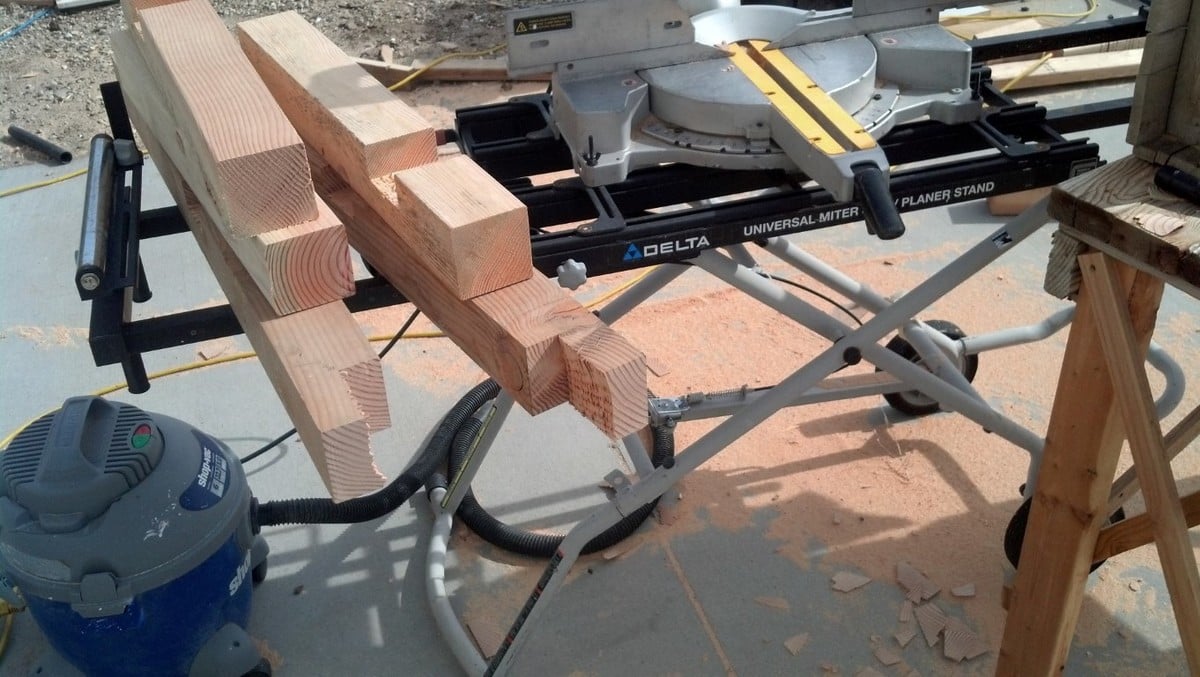
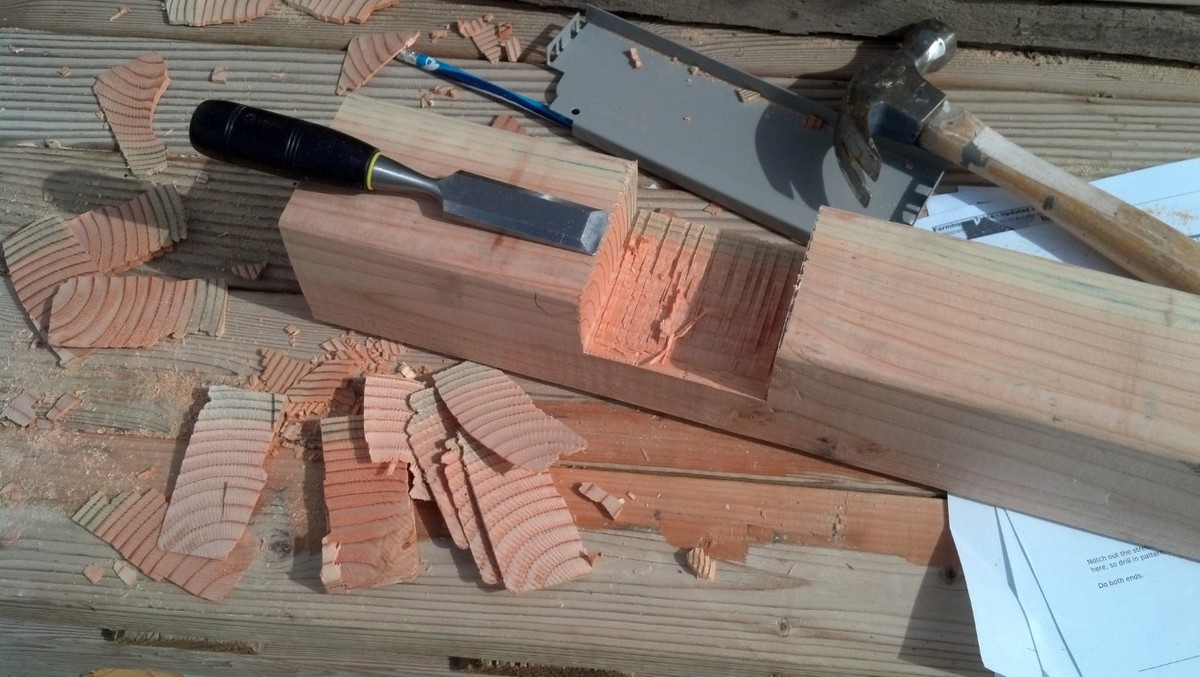
Building this project was rather quicker than I thought. Of course, borrowing a radial arm saw helped out a bunch with the legs. Once it was all together, I sanded the table three times. I used 80, 150 then 220 grit. The palm sander got a real workout over the space of about a week and a half.

Finishing the project, I decided to follow the plans and went with Minwax Weathered Oak and topped that with Minwax Polycrylic. The legs and underside of the table received 2 coats of each, but the top I gave 3 coats of stain and 2 coats of the Poly with a very light sanding in between each coat.

The table then sat completed in the garage for 3 weeks as I had to find enough help to get it into the house. This is one heavy bugger. If we ever sell the place, it stays! There are ~150 screws and all but 12 of those had pocket holes.

Fantastic build and now I am going to build the farmhouse king size bed. And a murphy bed. And more shelves. And a shoe cubby with coat rack. And a wine rack. And a greenhouse... the list goes on and on...
Estimated Cost
$80 for Lumber
Estimated Time Investment
Week Long Project (20 Hours or More)
Finish Used
Minwax Weathered Oak and Minwax Polycrylic
Recommended Skill Level
Beginner

Comments

Junker Dic

Fri, 04/26/2013 - 14:09

Could you have used heavy duty steel leg braces? These could slipped into saw kerfs on adjacent sides of the apron. Then used hanger bolts to fasten the legs. This would allow the legs to be removed if needed.

deckroid

Fri, 04/26/2013 - 15:09

I thought about making the legs removable, but really, it was much easier this way and very sturdy. I had a lot of fun building this.

Jake

Sat, 04/27/2013 - 18:55

You have just joined the league of addict builders. You really did a great job on this table. Did you get the lumber from big orange or blue and have it jointed? The boards look really good and the fit is tight. Anyway I am sure we will see more of you in the future.

deckroid

Wed, 05/01/2013 - 07:19

Hey everyone!

Thanks for your kind words. The chairs were from our previous table we bought some years ago. I was astounded to find that Ana's plans were the same height as our previous table. Great fit for the chairs.

As for the lumber, I got it from a local building supply company (one of the last, sad to say) and they were only a bit straighter. I got them tight by using clamps. Clamps and LOTS of pocket holes.

George

wjc129

Thu, 05/02/2013 - 18:45

Great Job! Thanks for the extra pictures. I am working up the courage to build the farmhouse queen bed myself. If it works out I might tackle this table, as I like your plans.

goalist

Thu, 08/08/2013 - 11:08

This table looks great and I've decided that its going to be my first project, I just have two questions.

1. What version of the Kreg Jig did you use for the pocket holes?
2. Did you use satin or semi-gloss for the Minwax Polycrylic?

Thanks

amytrz

Wed, 08/26/2015 - 10:53

Hi! You did a wonderful job on this table.  I would like to attempt it but am having trouble figuring out what type of wood to use.  The only wood I could find in the 2x8 and 2x10 dimensions was contruction lumber fir.  Is that right?

Thank you!

deckroid

Fri, 01/01/2016 - 11:03

Sorry about not answering... my wife told me this has been pinned over 17k times on pintrist and that there are still some questions... 
 

I used pine, but fir would be great too.  The lumber dimentions for the top were 2x10s and a single 2x12 for the center piece. 2x8s for the ends.  Really, though, any dimemtion works. Just keep going until you get the size you want.
 

George

Little Cottage Loft Bed - Revised :)

Submitted by Anonymous (not verified) on Tue, 06/20/2017 - 08:05

My 2 grand girls wanted a cottage bunk bed.  Not wanting to disappoint, I took the plans from the cottage loft bed and modified them, adding a lower bunk.  I also added the steps, with storage on the side instead of the ladder, and made a drawer for the front step for the little one.

I made the wreath from Pom-Poms purchased from Jo-Ann's and battery operated string lights.  

I opted for a cedar shake roof, which was purchased from Home Depot, then painted.

Needless to say, they love it!

Built from Plan(s)
Estimated Cost
Maple T & G - left over from remodeling project
Additional wood and hardware - $275
Estimated Time Investment
Week Long Project (20 Hours or More)
Finish Used
Painted using One of Pottery Barn's grays from Sherwin Williams
Recommended Skill Level
Advanced

Comments

Worm Composter Bins with Cabinet

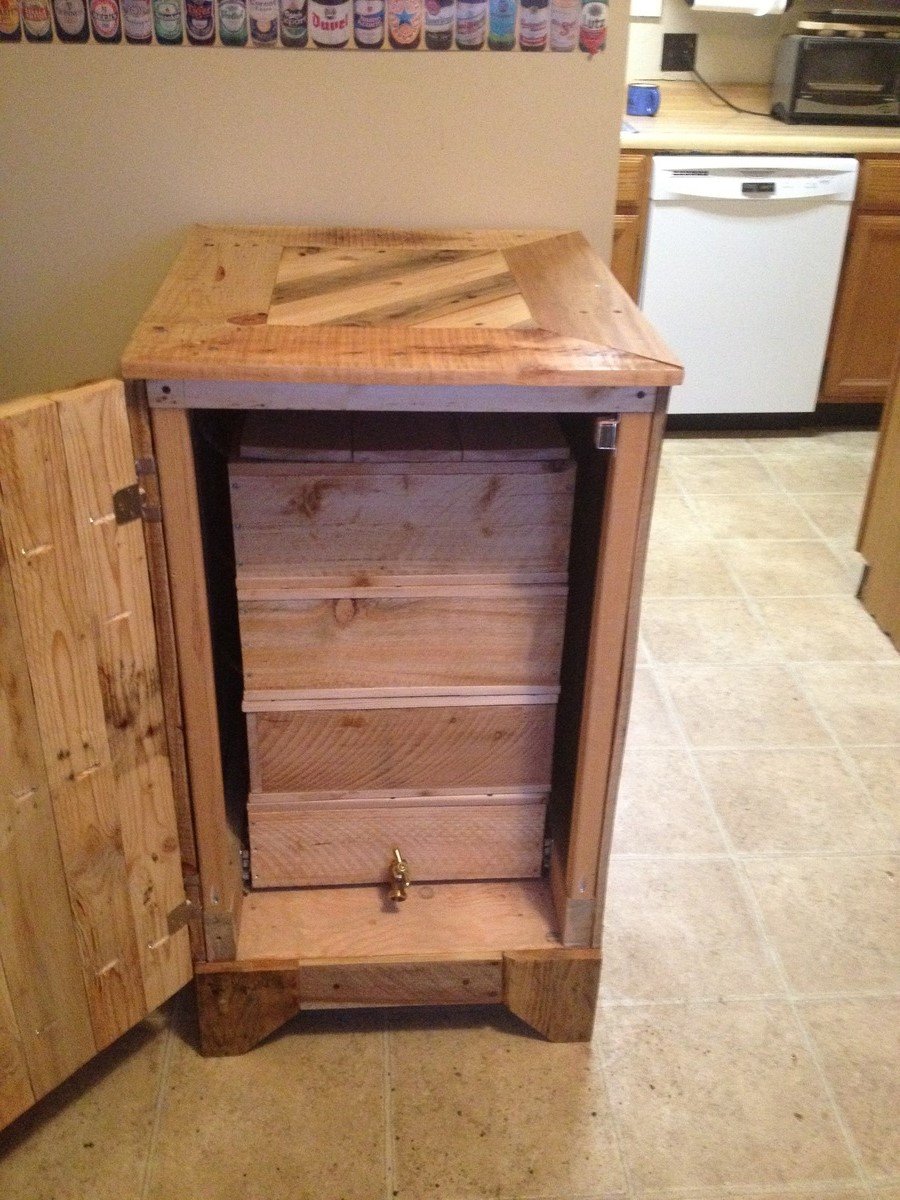
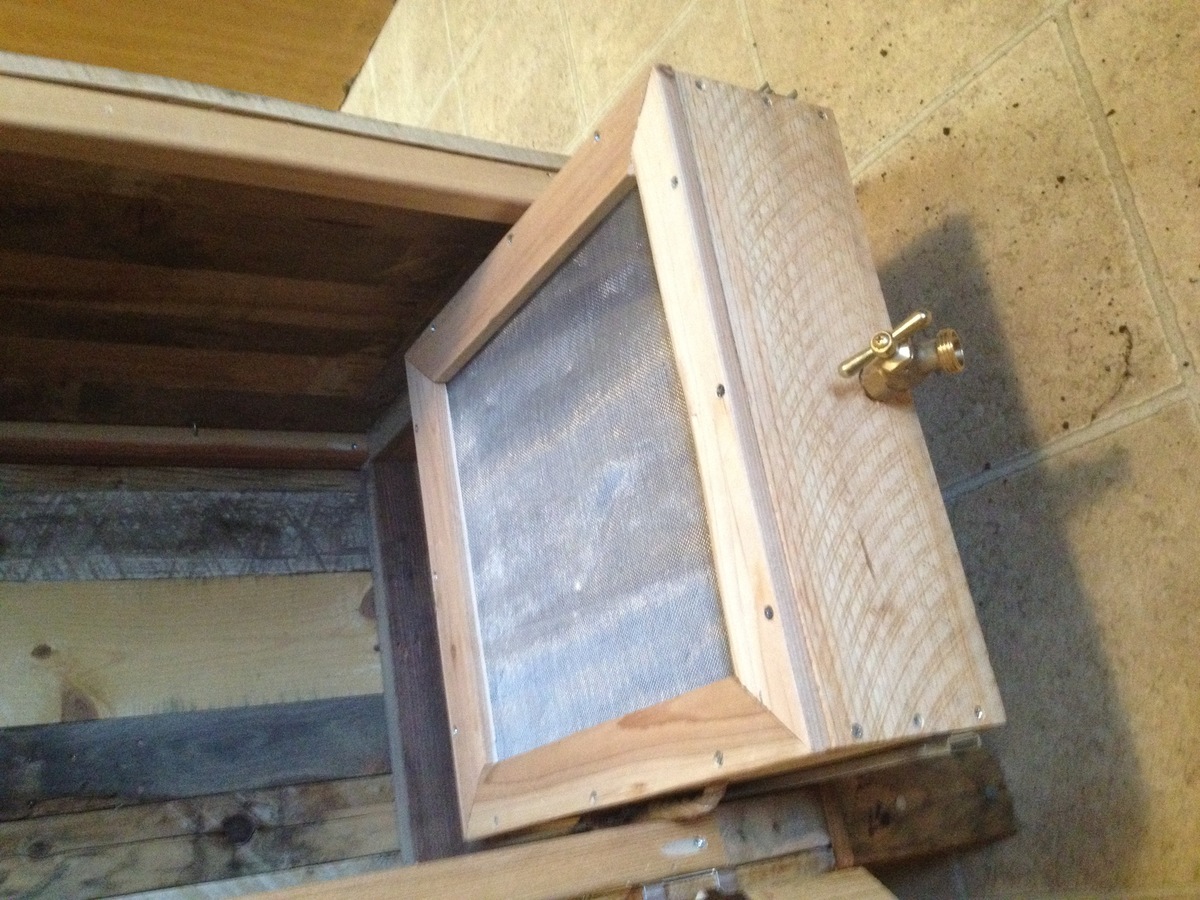
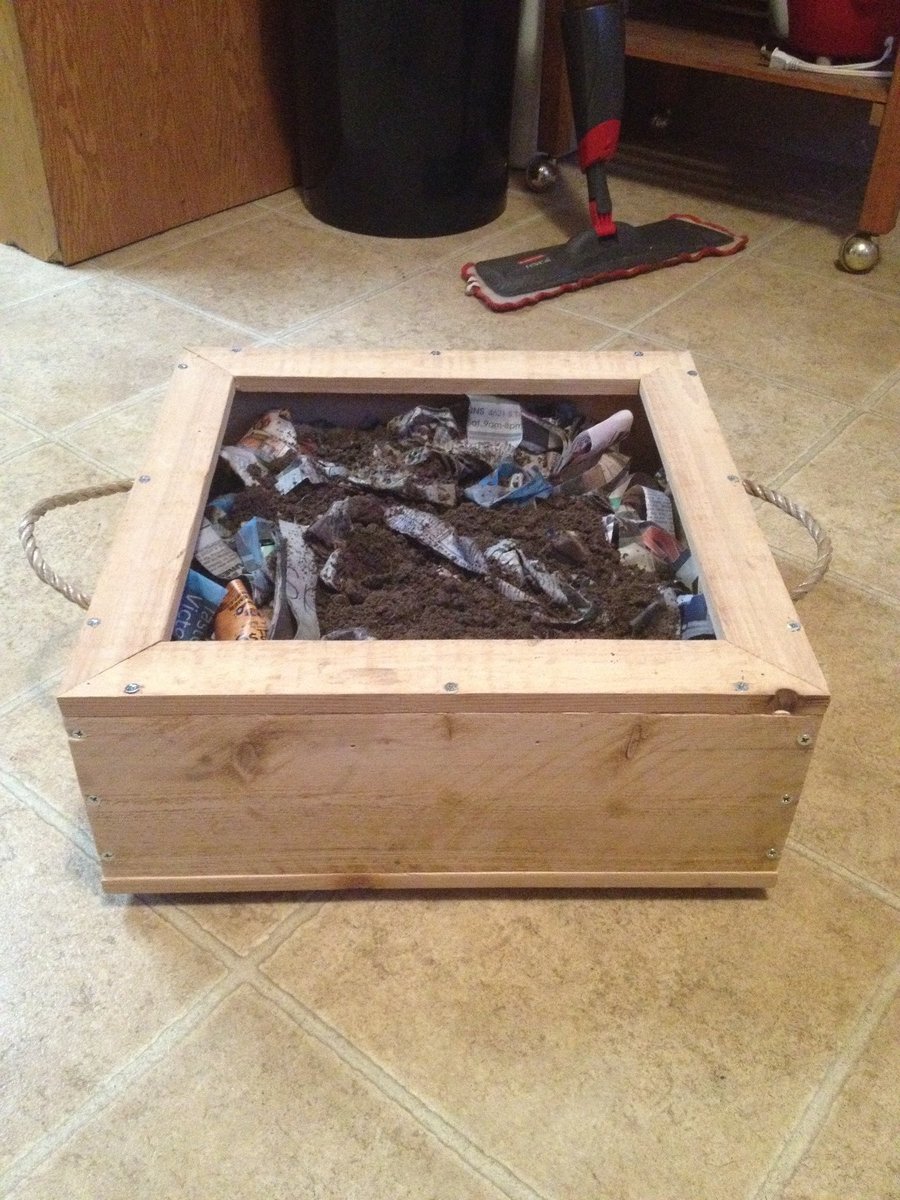
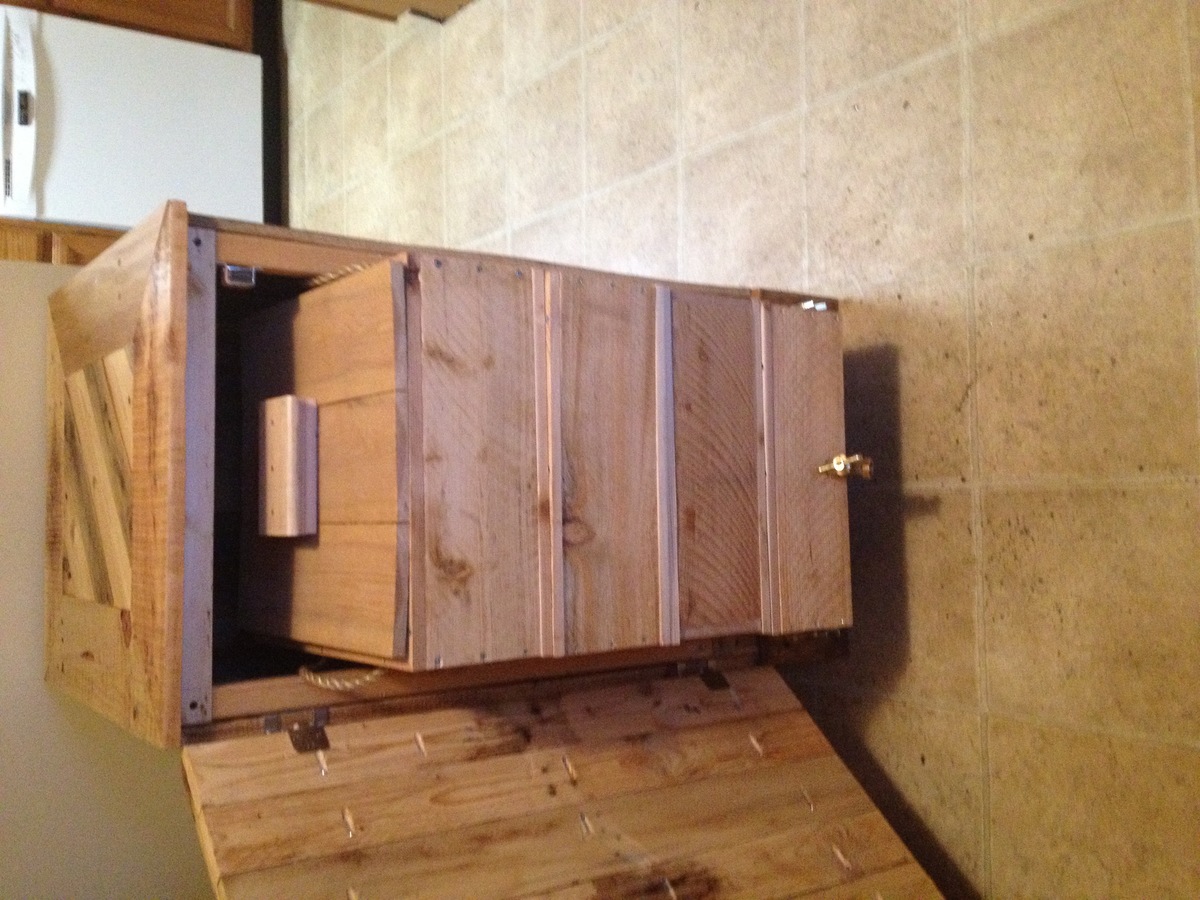
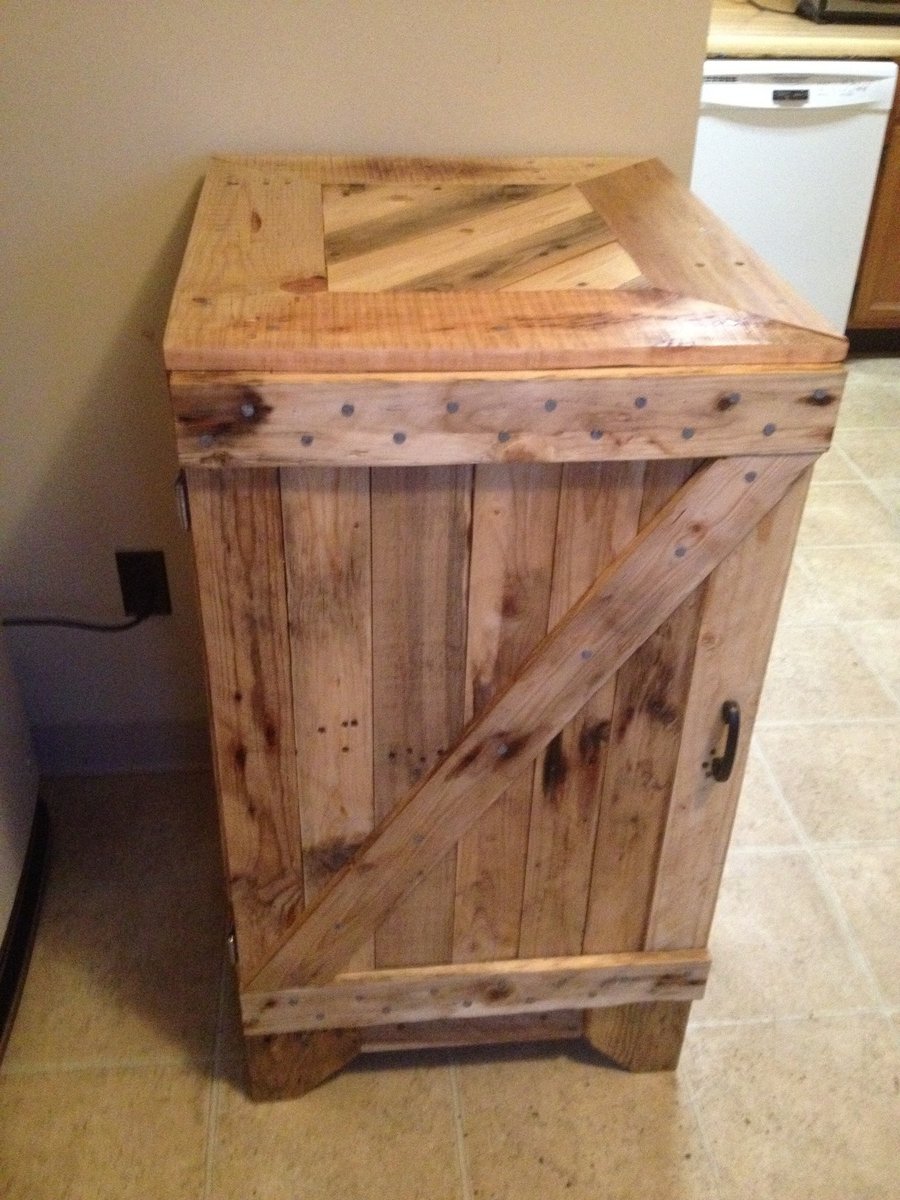
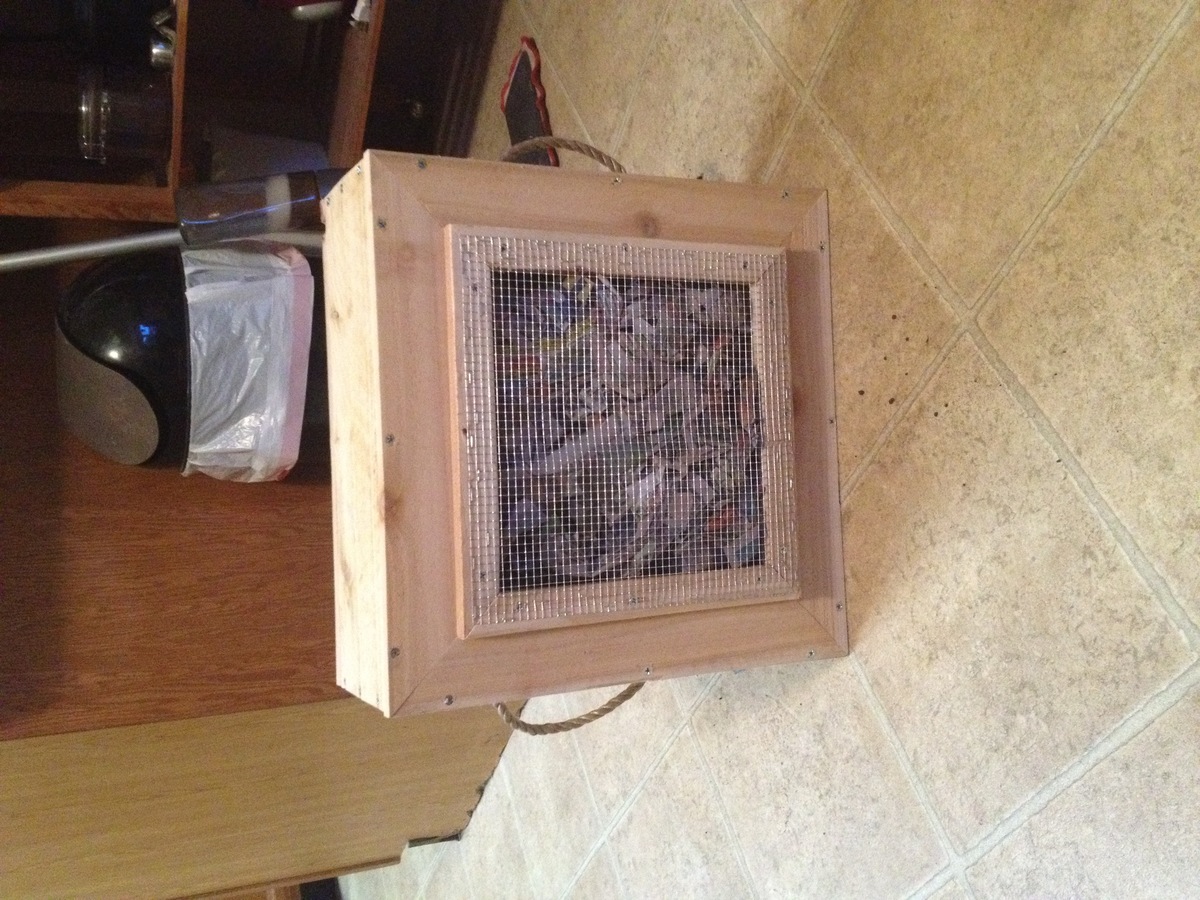
I made the worm composter from Ana's plan and built a cabinet out of old pallets. The stack of worm composters drawers slide in and out of the cabinet on a heavy duty drawer glide set. I used cedar fence board. For 3 bucks a board, it was worth the work to rip them down and sand them. The bottom drawer has a tray built out of old flashing and slopes towards a hose bib in order to collect the worm tea. I designed the drawer insert out of cardboard and cut it out of flashing, using a pop rivet gun to put it together, sealing the seams with flashing caulking. The drawer has a sheet of aluminum window screen under the top square of cedar.

Estimated Cost
50
Estimated Time Investment
Week Long Project (20 Hours or More)
Finish Used
Some free varnish from the County Drop and Swap recycle center
Recommended Skill Level
Intermediate

Farm house nighstands

Submitted by 3Bears on Mon, 04/13/2015 - 18:48

These were our second project.  Again, chosen out of necessity for new bedside tables.  These took a while to complete due to the finish work needed for the paint and our leaning curve.  BTW, building jig templates will help ensure consistency between the two tables (drawer fronts, strechers, drawer stops, etc).  Also, look through the wood on the shelf at the store for the best (and straightest) 2X2's to make the process easier.  Finally, while spraying was easiest for the paint application, brushing on the poly finish coats worked best for us.

These tables are 3" wider than the plans and fit our room better, but the rest is the same.

Built from Plan(s)
Estimated Cost
25/table
Estimated Time Investment
Week Long Project (20 Hours or More)
Finish Used
Minwax Honey Oak stain for wood

Rustoleum Satin Natural While for paint

Minwax poly for finish on both (3 coats; 220 grit sanding between each coat)

Recommended Skill Level
Intermediate

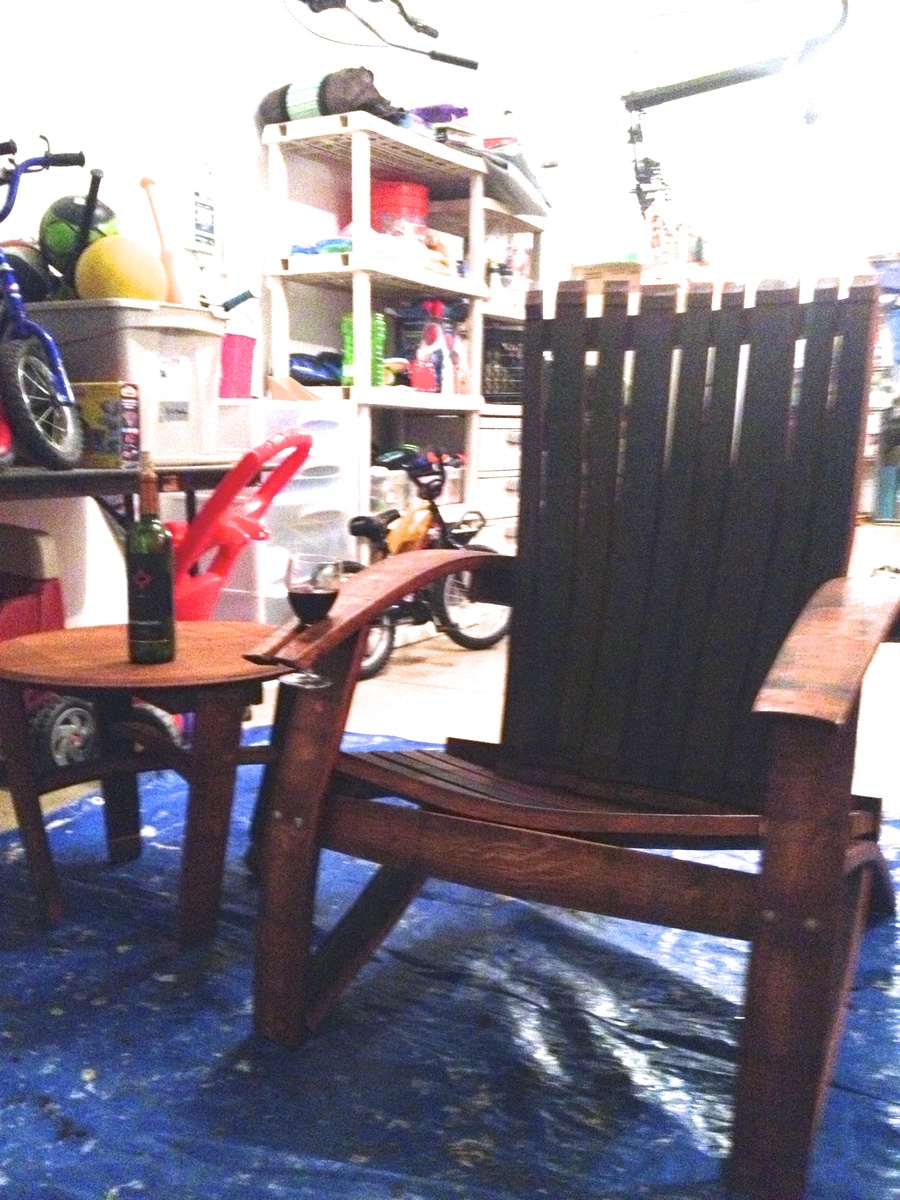
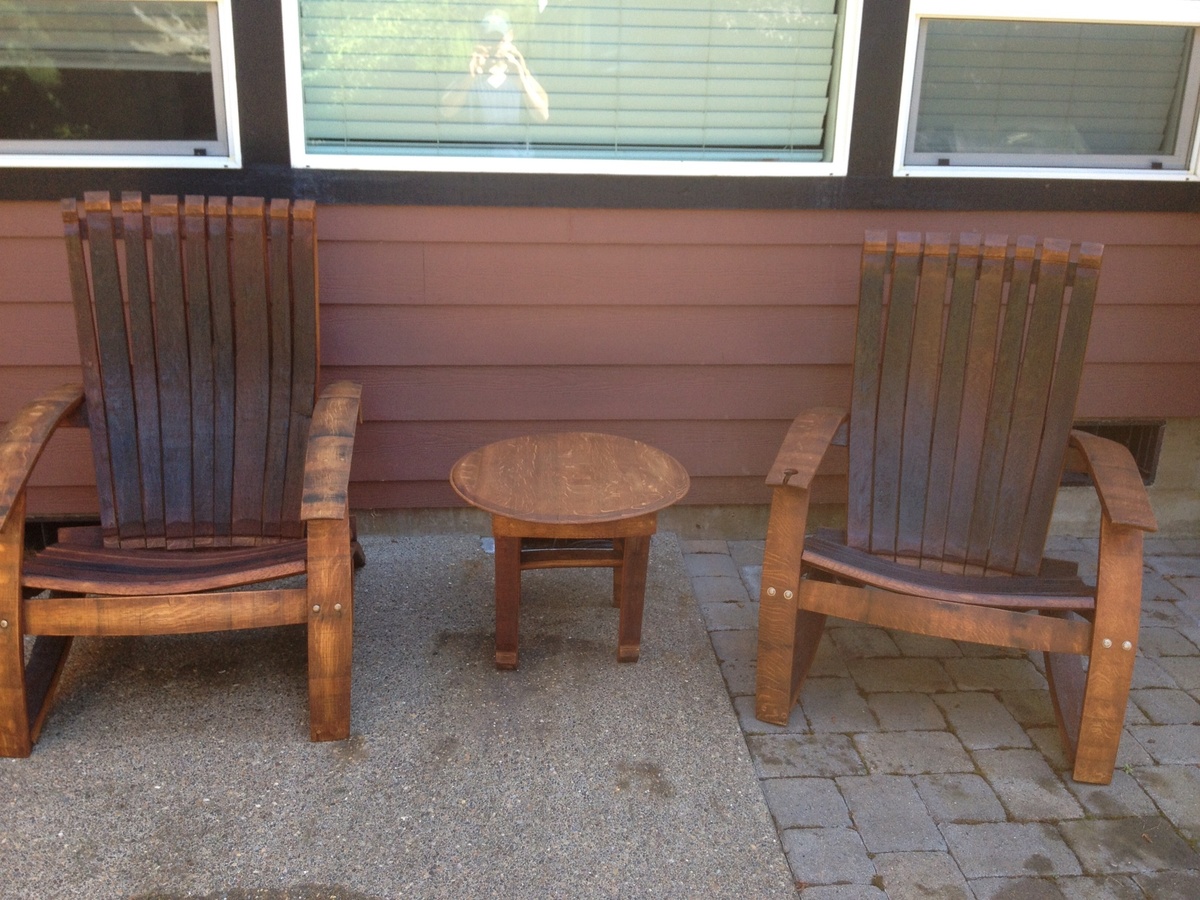
Wine oak barrel Adirondack chair

Submitted by Medickep on Thu, 05/30/2013 - 12:11

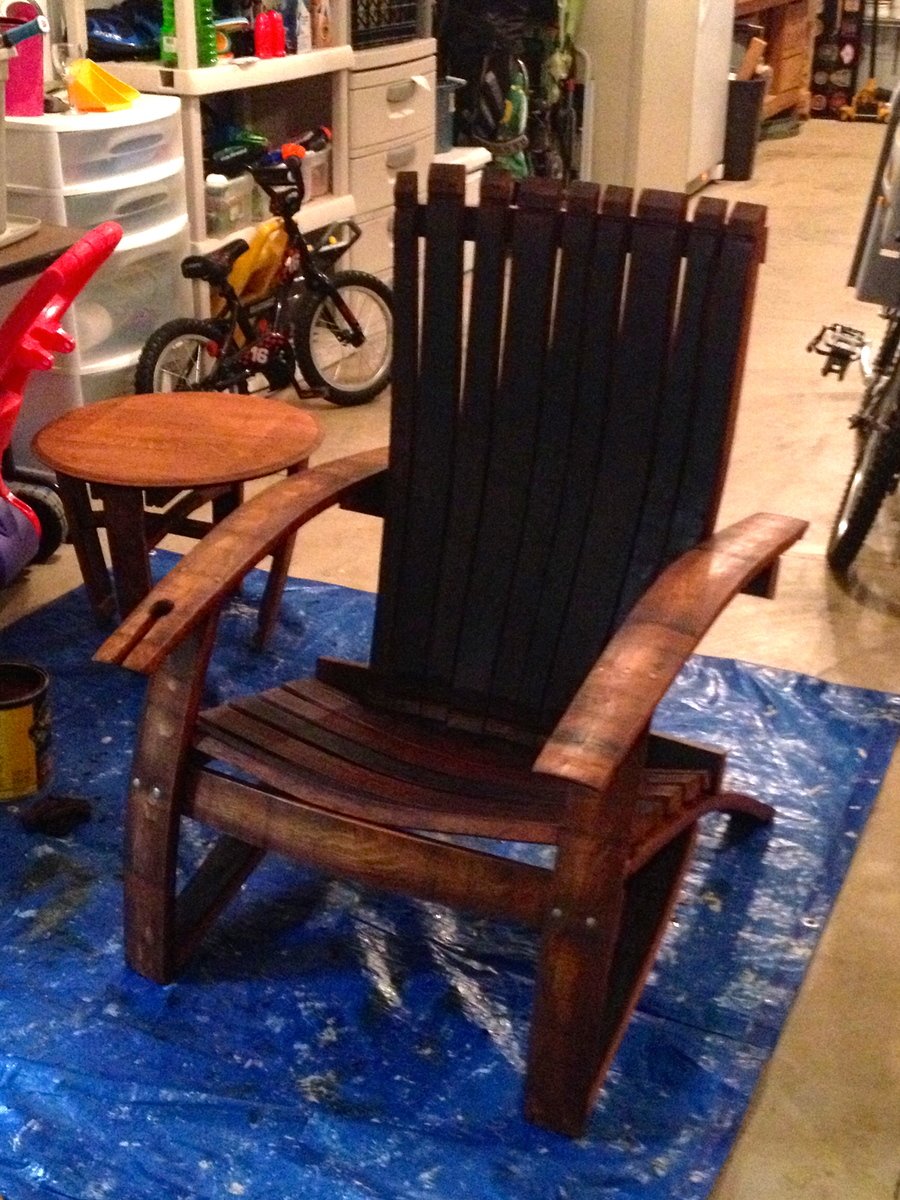
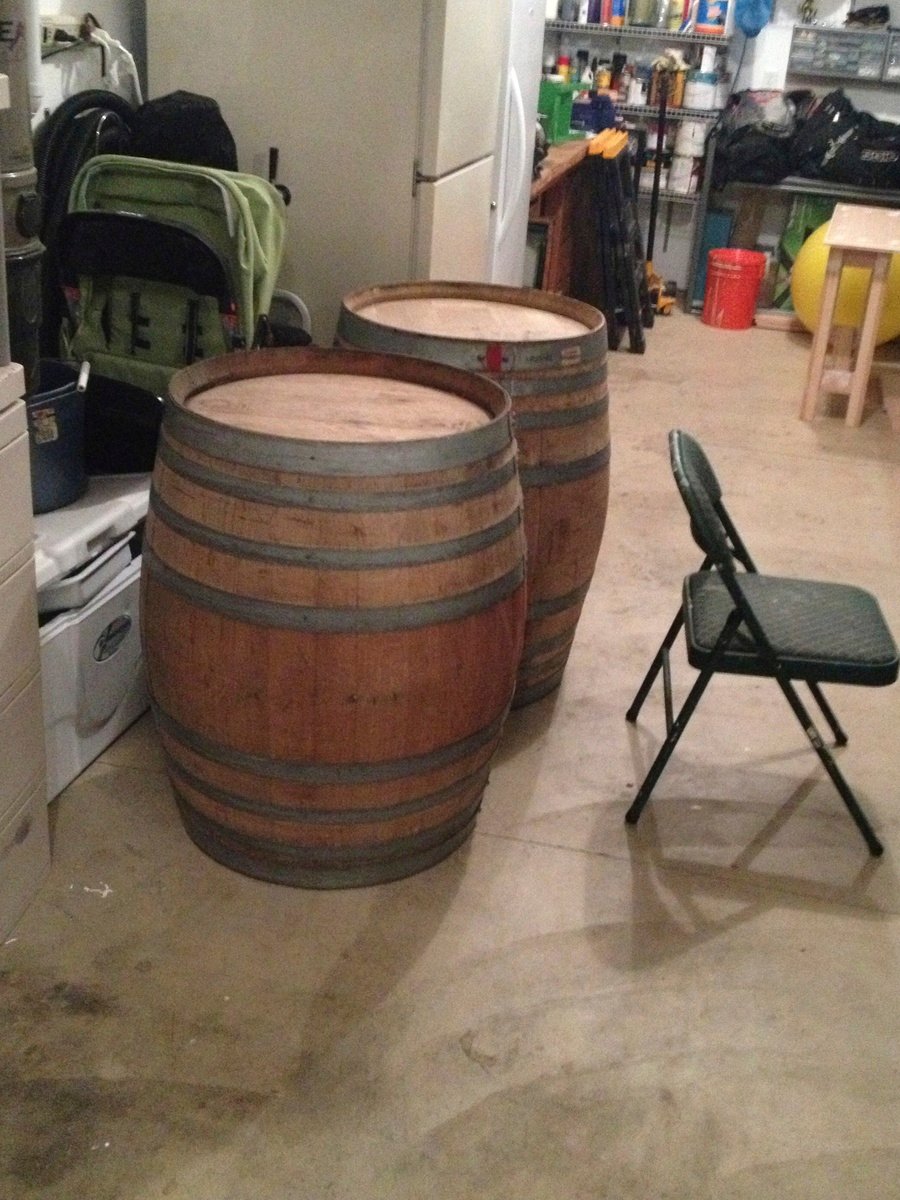
I got some oak barrels from a local vineyard and decided to try making some adirondack chairs. It was harder than I thought it would be, but well worth it!! The stain was a little darker than I thought it be, but it's rubbing off on me!

predrill, predrill, predrill, and learned a valuable lesson in predrilling, as solid wood under strain cracks easy when using 2 1/2" deck screws!

I need to whip out the nice camera and stop using my cell phone for finished products!

Estimated Cost
Around 100.00 dollars per chair (depends on cost of barrel!)
Estimated Time Investment
Weekend Project (10-20 Hours)
Finish Used
I used Cabot's Australian timber oil. Not the cheapest product out there, but they actually recommend one coat only and no sanding necessary for future coats. Once it stops beading water, just clean the chair and than reapply! It penetrates deep and forms a wax protective layer that repels water! This is why I chose not to varnish the item!!
Recommended Skill Level
Intermediate

Comments

spiceylg

Fri, 05/31/2013 - 05:16

I never heard of using wine barrels in this way! I love it. It came out fabulous!

Medickep

Fri, 05/31/2013 - 05:34

Thanks you. People make a lot of stuff out of wine barrels. Chairs, stools, Tables, candle holders, and even serving platters!

Joni

Fri, 05/31/2013 - 06:57

This is awesome! Very cool design. It looks very comfortable! Thanks for the tip on the Australian timber oil; I never knew what would be the best finish for an outdoor piece.

Joni

Fri, 05/31/2013 - 07:03

This is awesome! Very cool design. It looks very comfortable! Thanks for the tip on the Australian timber oil; I never knew what would be the best finish for an outdoor piece.

Medickep

Sat, 06/01/2013 - 11:38

It is very comfortable, especially with a glass of wine. I chose the finisher I did because I live in Oregon with a lot of rain!!

Why does everyone's post, including my own show up as duplicate?

Medickep

Sat, 06/01/2013 - 11:38

It is very comfortable, especially with a glass of wine. I chose the finisher I did because I live in Oregon with a lot of rain!!

Why does everyone's post, including my own show up as duplicate?

acd4476

Sun, 07/21/2013 - 17:05

Awesome chairs! Beginning to think I need to make some as well. Did you have plans for this project or follow a generic adirondack chair plan?

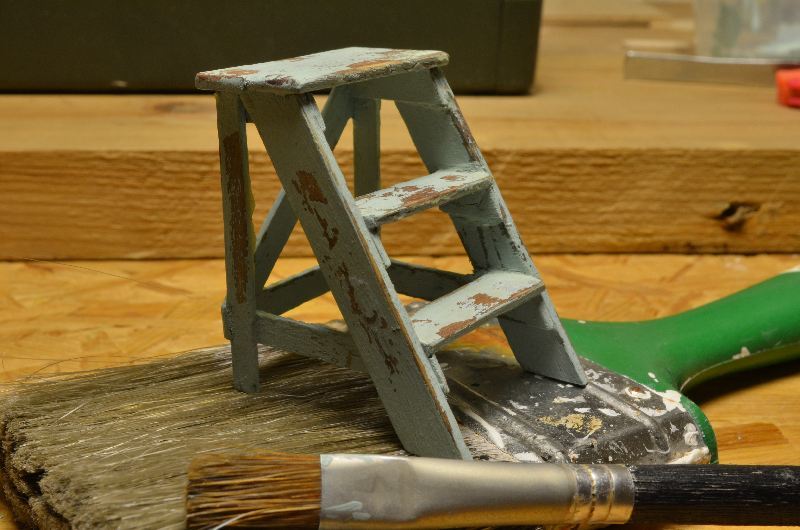
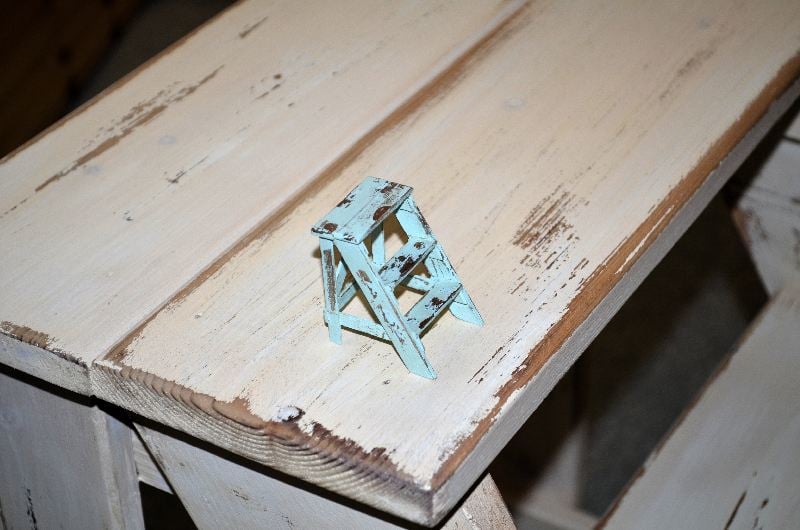
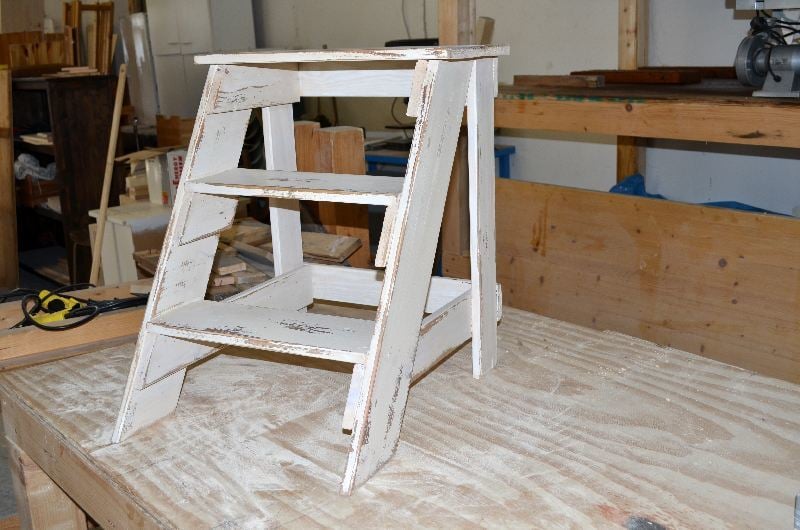
Vintage step stool end table, in 1:1 and 1:12

Submitted by uli on Sun, 06/09/2013 - 09:17

I built this step stool for friend, and a tiny version for my own dolls house. I had expected difficulties with the angled parts, but it went together very easily. I stained both of them with a vinegar/steel wool mix, painted with homemade chalkpaint. At last I sanded them for a distressed look and coated them with brown finishing wax.

Estimated Time Investment
Afternoon Project (3-6 Hours)
Finish Used
vinegar/steel wool mix, homemade chalkpaint, dark finishing wax
Recommended Skill Level
Beginner

tv stand

Submitted by taurusbia on Fri, 07/12/2013 - 21:20

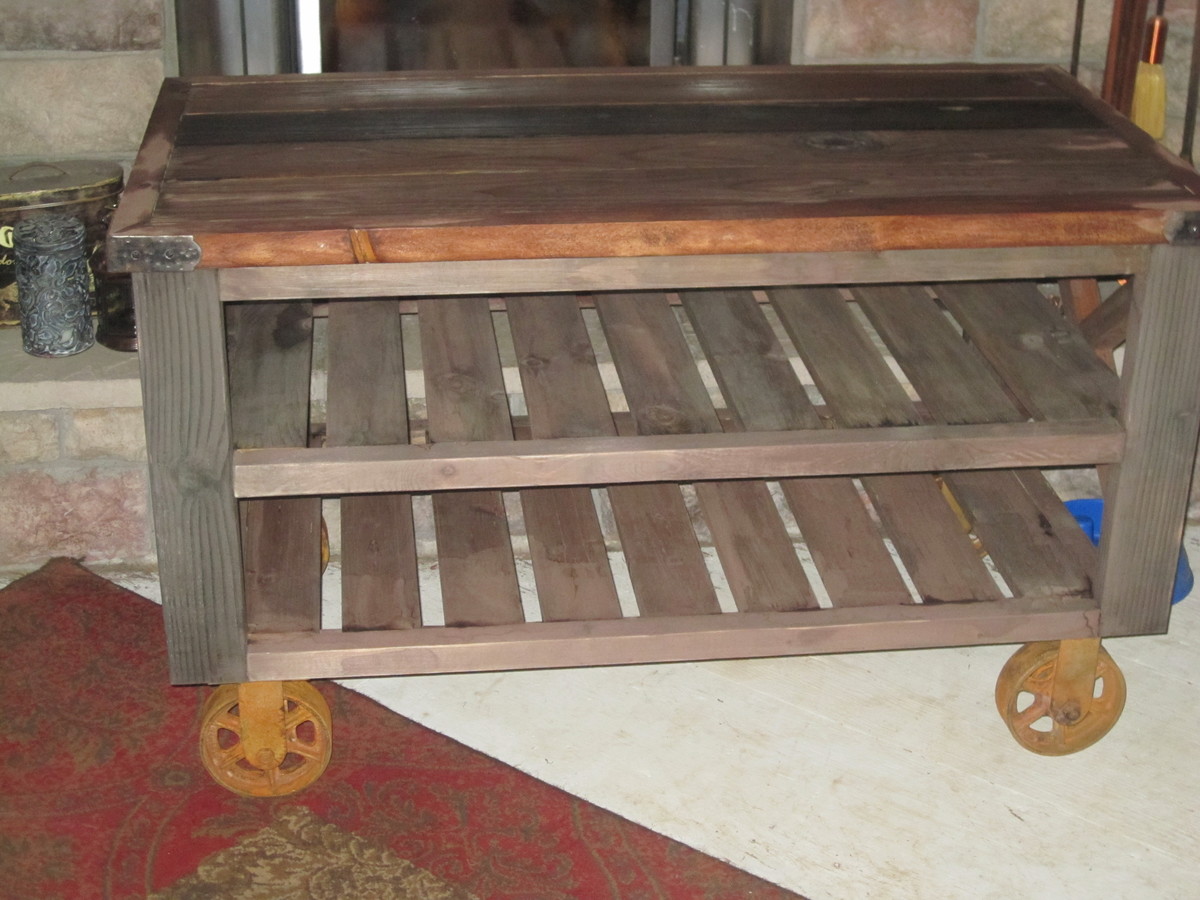
This tv stand was my second project I made. It wasn't too difficult, but I'm definitely glad it's done and I can reclaim my kitchen counter!!
I designed this myself, gathering ideas here and there from different stands I saw. The tv stand I really wanted was this one from Wisteria.com. http://www.wisteria.com/Recycled-Pine-Console/productinfo/W4180/ I've been wanting it for years, and it was about $1200. So that's where I got the idea for the slatted shelves, and the industrial wheels.
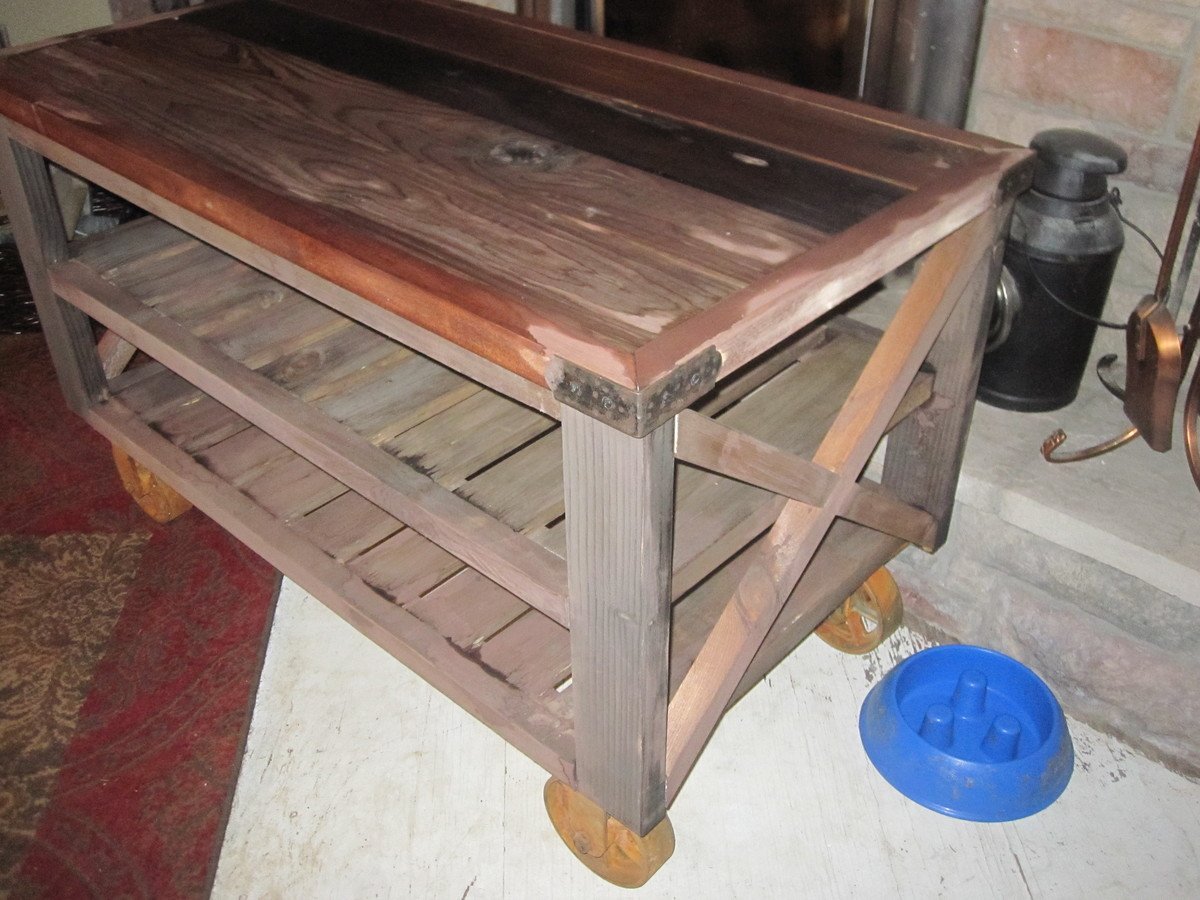
The hardest part were the "x's" on the sides, and finishing it, getting in every nook and cranny. Not sure how I feel about the finish, so I'm going to live with it for awhile.
NOTE* Casters were bought BRAND NEW a week ago on amazon.com. I soaked them in muriatic acid for 24 hours, and then dipped them in baking soda and rinsed. Then I did minor touches with a propane torch. Didn't turn out how I expected, but I like how they turned out. PLEASE do your homework on muriatic acid before using it!!
The corner brackets on the top were found on wildwesthardware.com.
The lumber for this project was only about $80. But the corner brackets were $17 each (they are hand forged) and the wheels were $100 for the 4, (after shipping). Still better than $1200!!!
**On the 2nd and 3rd pic, the steel wool juice hasn't dried completely, that's why it looks splotchy.**

Estimated Time Investment
Week Long Project (20 Hours or More)
Finish Used
Black tea and steel wool/vinegar juice. :)
Recommended Skill Level
Beginner

Comments

taurusbia

Fri, 07/12/2013 - 21:25

OOPS! I also took the 2x4 idea and the "x's" on the side from ANA'S RUSTIC CONSOLE!!!!! Also forgot to mention that this was my first project using the kreg jig. LOVE LOVE LOVE that thing!!!

taurusbia

Fri, 07/12/2013 - 21:26

OOPS! I also took the 2x4 idea and the "x's" on the side from ANA'S RUSTIC CONSOLE!!!!! Also forgot to mention that this was my first project using the kreg jig. LOVE LOVE LOVE that thing!!!

Bedzilla

Submitted by pmarchino on Sat, 02/17/2018 - 19:28

We had bought a house in New Mexico that was sadly lacking for closet space, as well as square footage for furniture. I was looking at Ana White's website, and saw the plans for the Farmhouse storage bed. It was good, but needed some steroids. I got out the calculator, and started upsizing EVERYTHING. What happened was, BEDZILLA!! King sized bed with 12 giant drawers. I also added lighting to the headboard for reading. It was a blast to build, and I was very pleased with, and proud of the finished product. 

Estimated Cost
Good question!
Estimated Time Investment
Week Long Project (20 Hours or More)
Finish Used
Minwax Polyshades Pecan
Recommended Skill Level
Intermediate

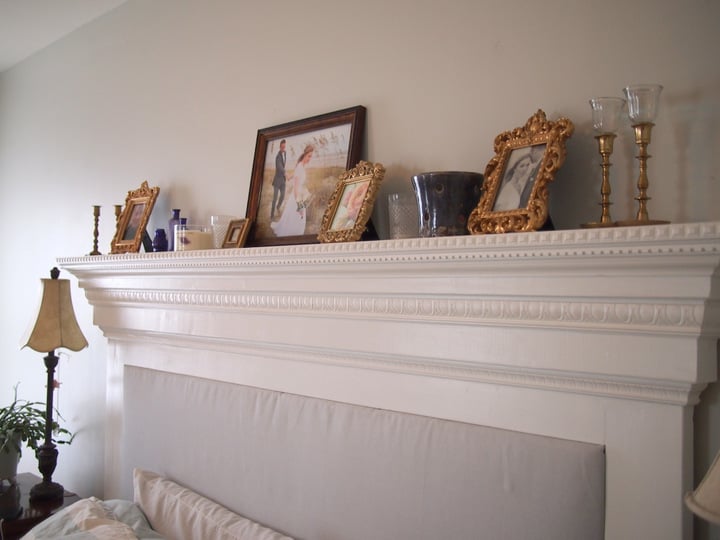
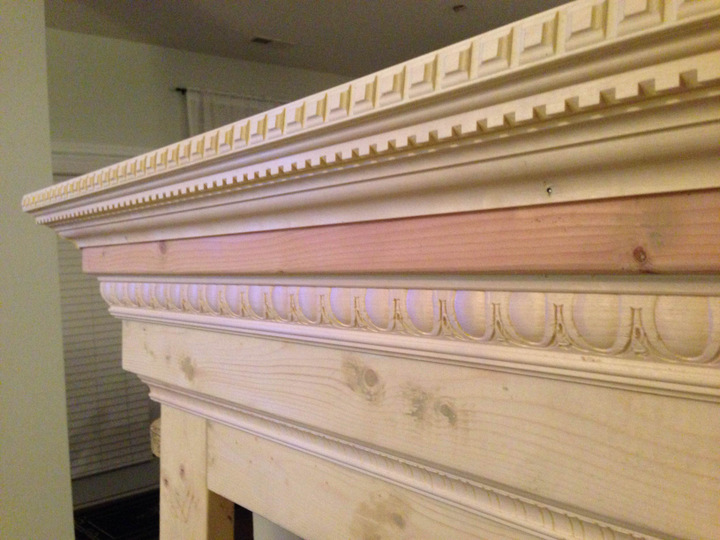
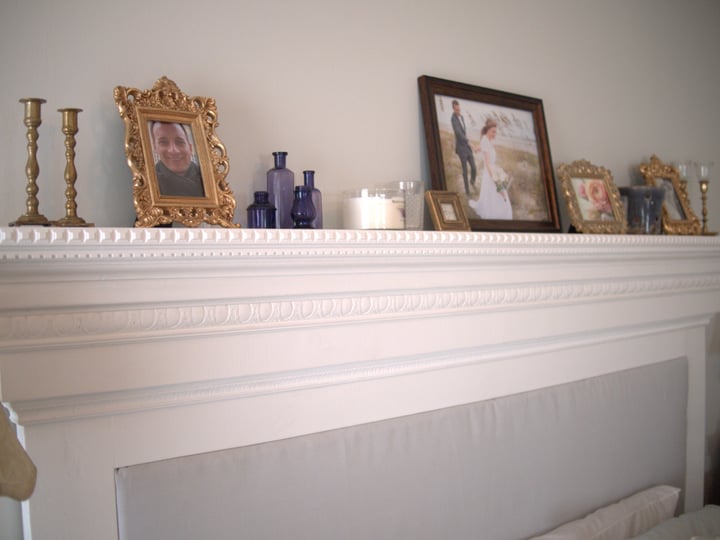
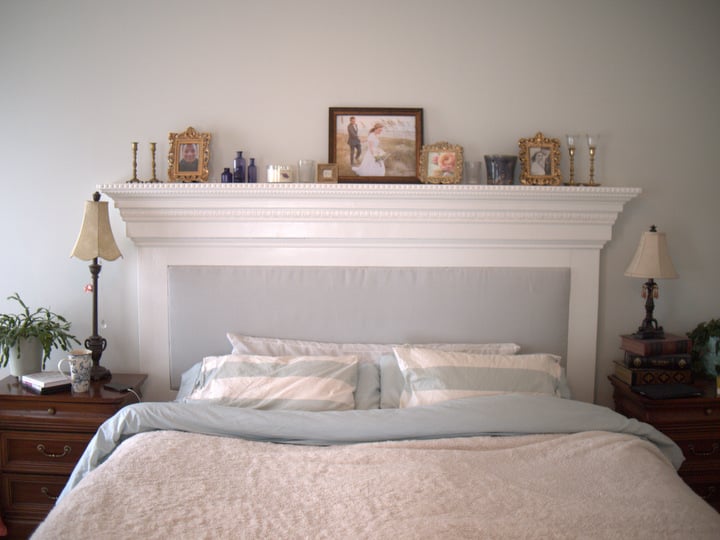
DIY POTTERY BARN "ADDISON" STYLE HEADBOARD

It took us about 2 days to cut, assemble, and paint.  


http://www.whisperingwhims.com/2015/03/diy-pottery-barn-addison-style-headboard/

Built from Plan(s)
Estimated Cost
$150
Estimated Time Investment
Weekend Project (10-20 Hours)
Recommended Skill Level
Beginner

Comments

Bigger Kids Workbench

Submitted by beccadale on Tue, 07/05/2011 - 05:26

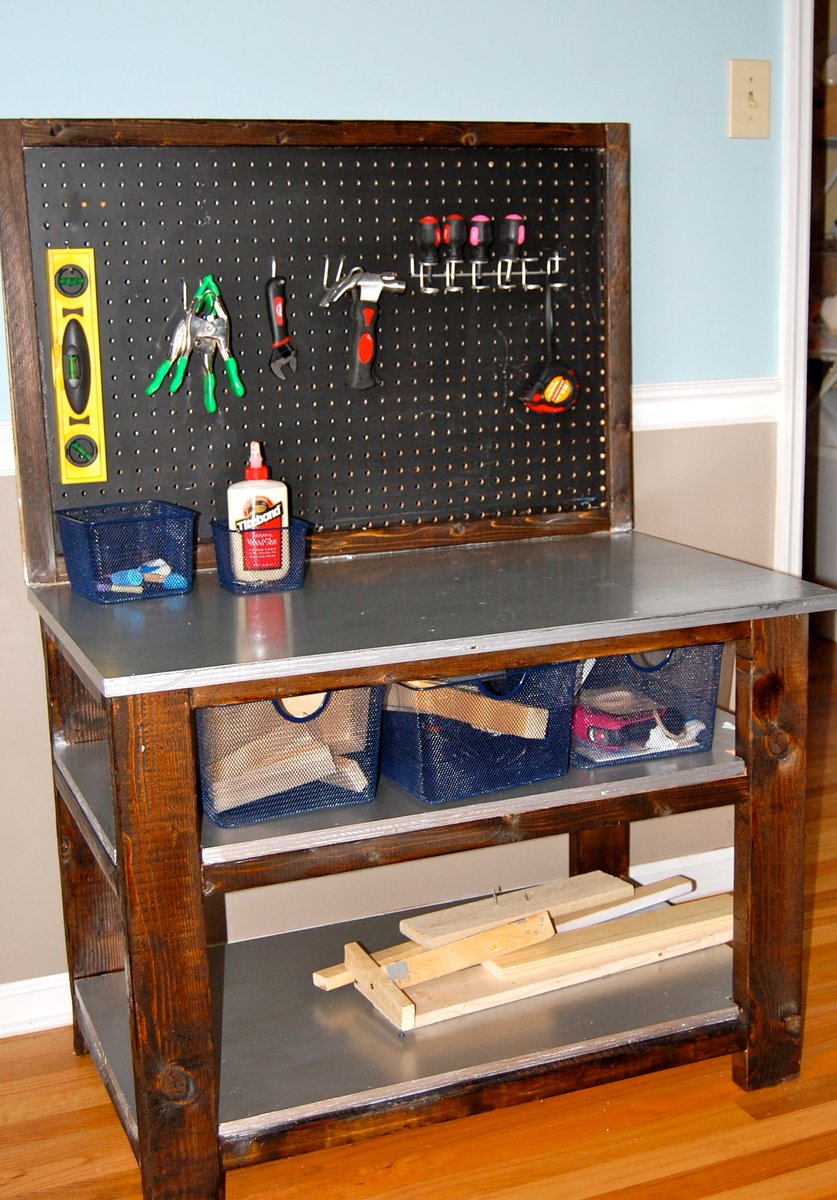
I made this workbench for my son's 5th birthday. It's a bigger style real workbench for kids. He also received real tools for his birthday. I modeled after a one that PBK used to sell.

Built from Plan(s)
Estimated Cost
$50
Estimated Time Investment
Afternoon Project (3-6 Hours)
Finish Used
Stain, chalkboard paint, and stainless steel paint. I used peg board on the back.
Recommended Skill Level
Beginner

Comments

melehes

Sat, 08/06/2011 - 19:50

This is perfect for my little boys, and I really want to build this for my son's birthday in September. I am just learning how to build though so I can't look at a picture and figure out how to build it. Would it be possible for you to send me the measurements and as much information as possible? You did such an amazing job.

Denise DuBois (not verified)

Tue, 09/13/2011 - 20:39

Hi,

I would love to make this for my soon-to-be sever year old son, for his birthday. I'm a total novice where building something like this is concerned; any chance you could send me the measurements? Gabe would be so grateful!

Thanks again, and amazing work!

Denise

Bonnie Jean (not verified)

Thu, 09/22/2011 - 12:08

I want to make this in a MOMMY size for my garage. It looks PERFECT. Can someone e-mail me the original specs so I can adapt it to my work space?

Thank you for sharing!!
BonnieJean

kimmyshell (not verified)

Sat, 10/08/2011 - 11:10

Does anyone have the plans for this - I would love to make it for my son.

Any Dimensions would be greatly appreciated!!!!

THANK YOU

Guest (not verified)

Tue, 12/27/2011 - 16:12

This is an awesome workbench!!!! My husband and I would love to make this for my sons seventh birthday. If possible could you please email me the dimensions and details foe this project. I love your work and creativity!! Thanks for the inspiration!!!

Guest (not verified)

Sun, 03/04/2012 - 11:45

My 6 year old is begging me to make this for him,
Can anyone send me the specs or dimentions/ directions?
I think he has more building skills than I do.

spiceylg

Wed, 08/22/2012 - 05:52

Hi. Love your mod using the pegboard. Can you please tell me exactly how you put the frame around it? Did you sandwich between two trim pieces or router in a grove for it to sit? Thinking of making some of these in the smaller size for a craft show so any tidbits to make it go faster would be much appreciated!

jessie283

Fri, 05/24/2013 - 07:48

I would love the plan details for this workbench.
Are they available some where on your site?
Thanks!

Babsy225

Tue, 05/28/2013 - 07:24

I would love to make this for my son for his birthday. He would be thrilled! Could you please send me the plans/dimensions?

etrautman

Fri, 12/11/2015 - 21:40

I would love to make this for my son for Christmas and am not seeing the dimensions/cut list of the bigger kids version. Can you email them to me? Thanks!

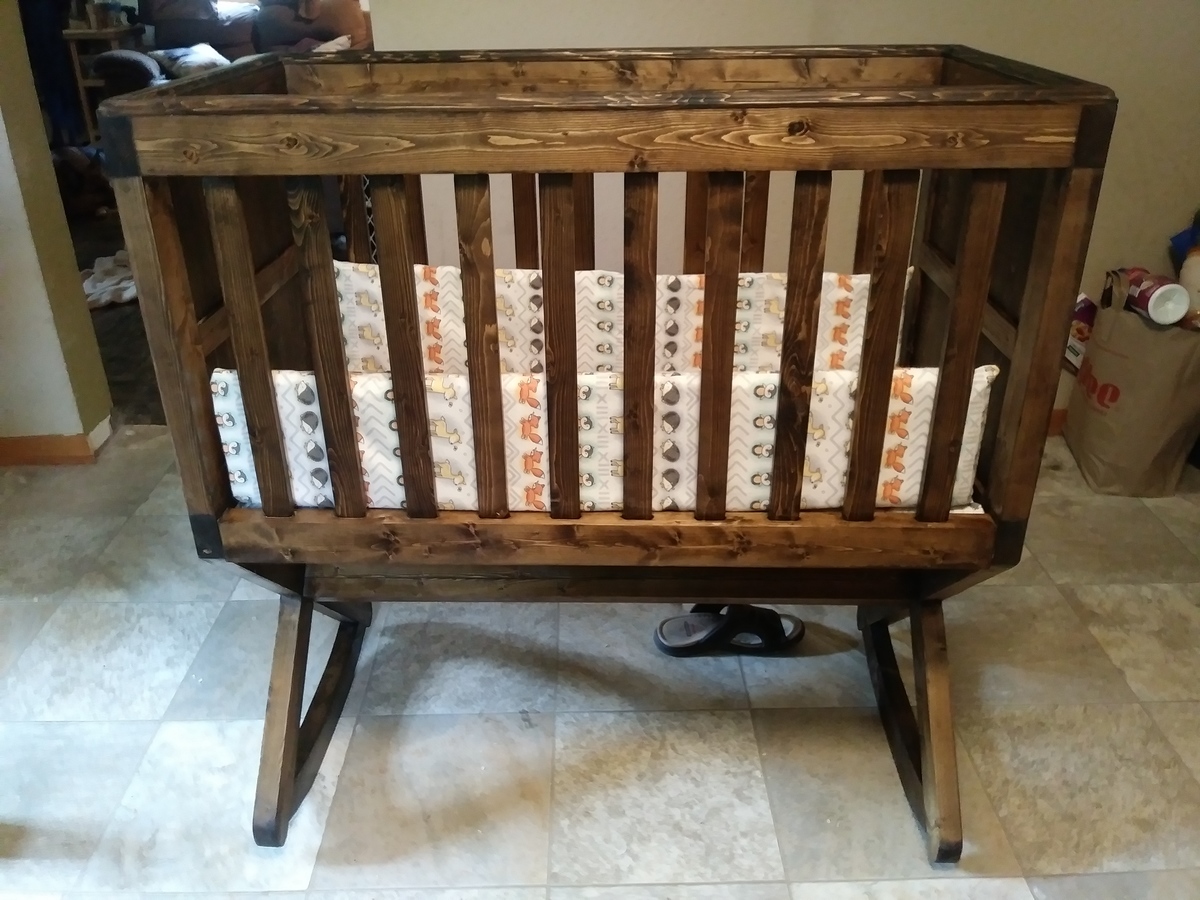
Hayneedle GreenFrog Allegro inspired cradle

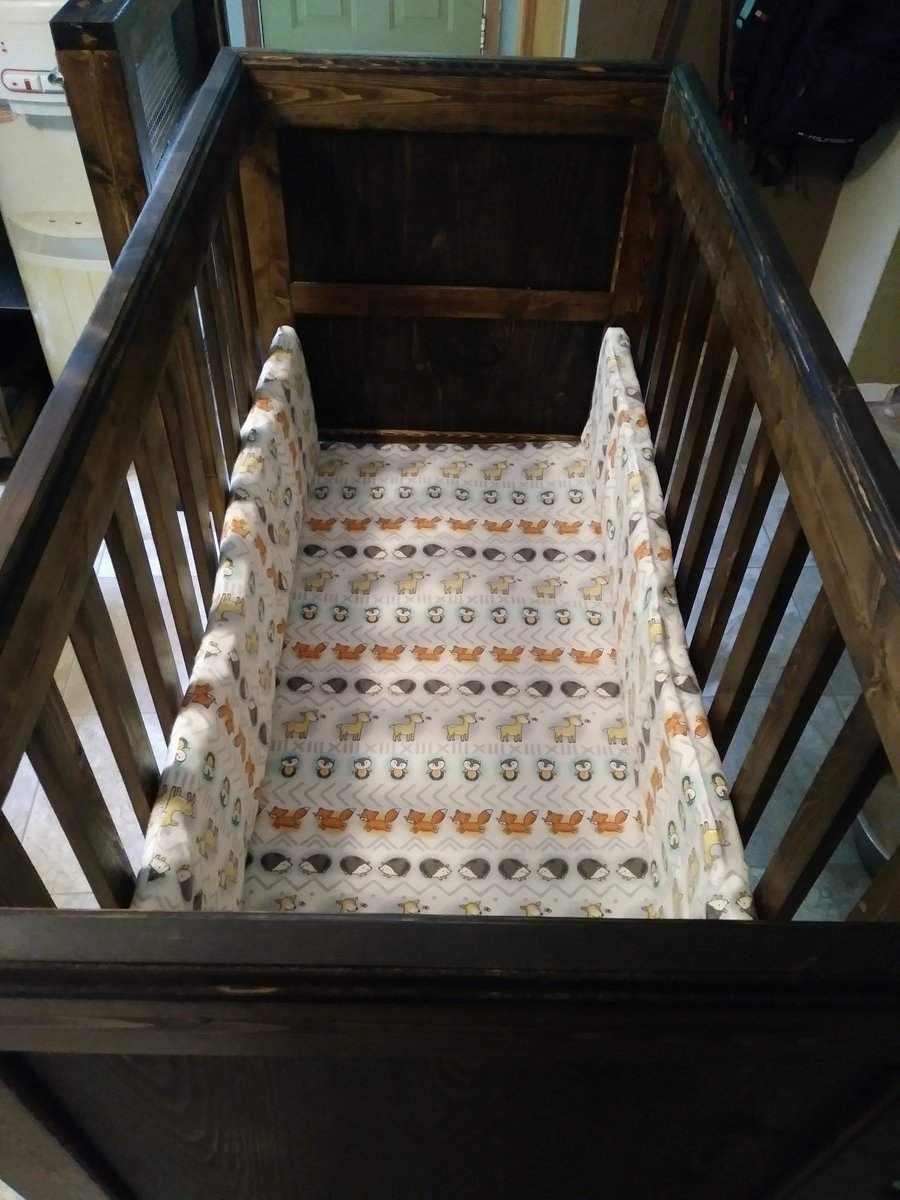
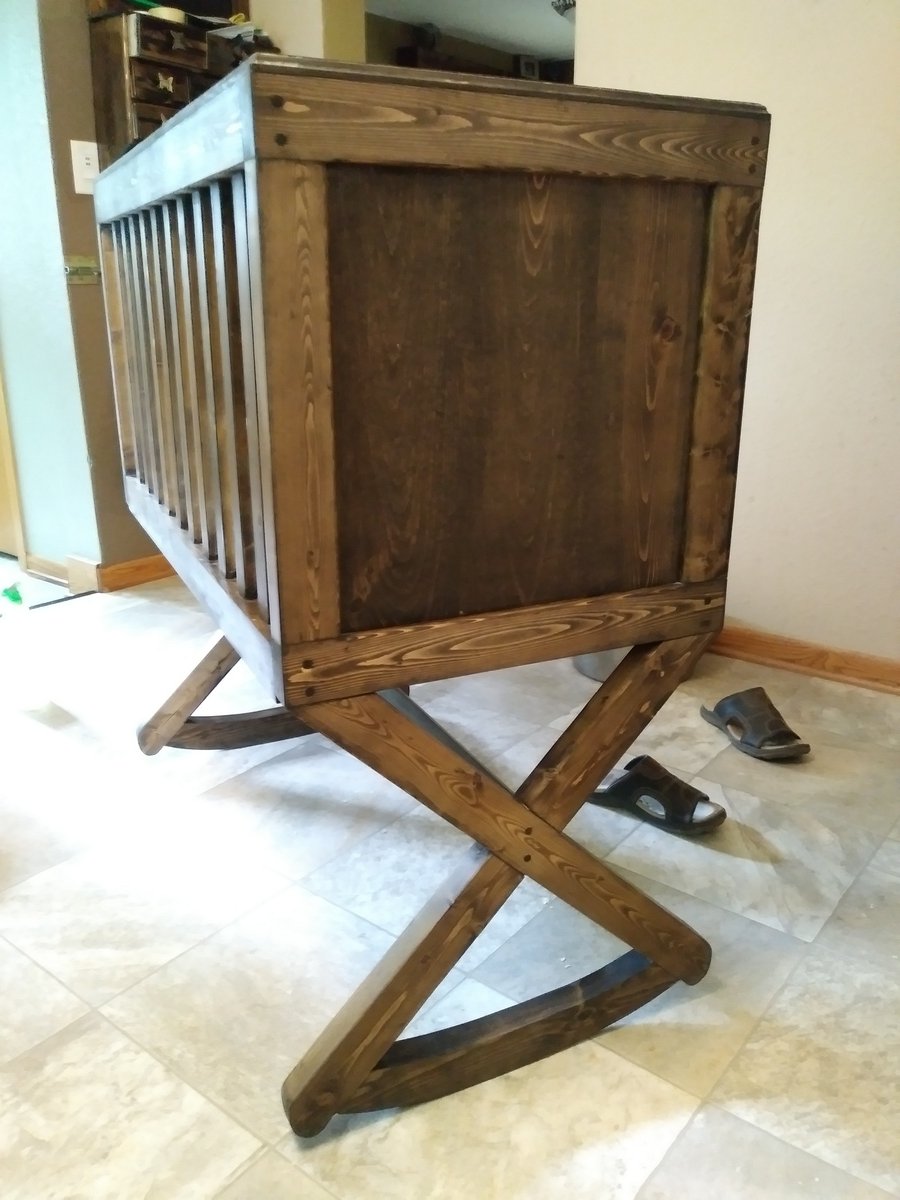
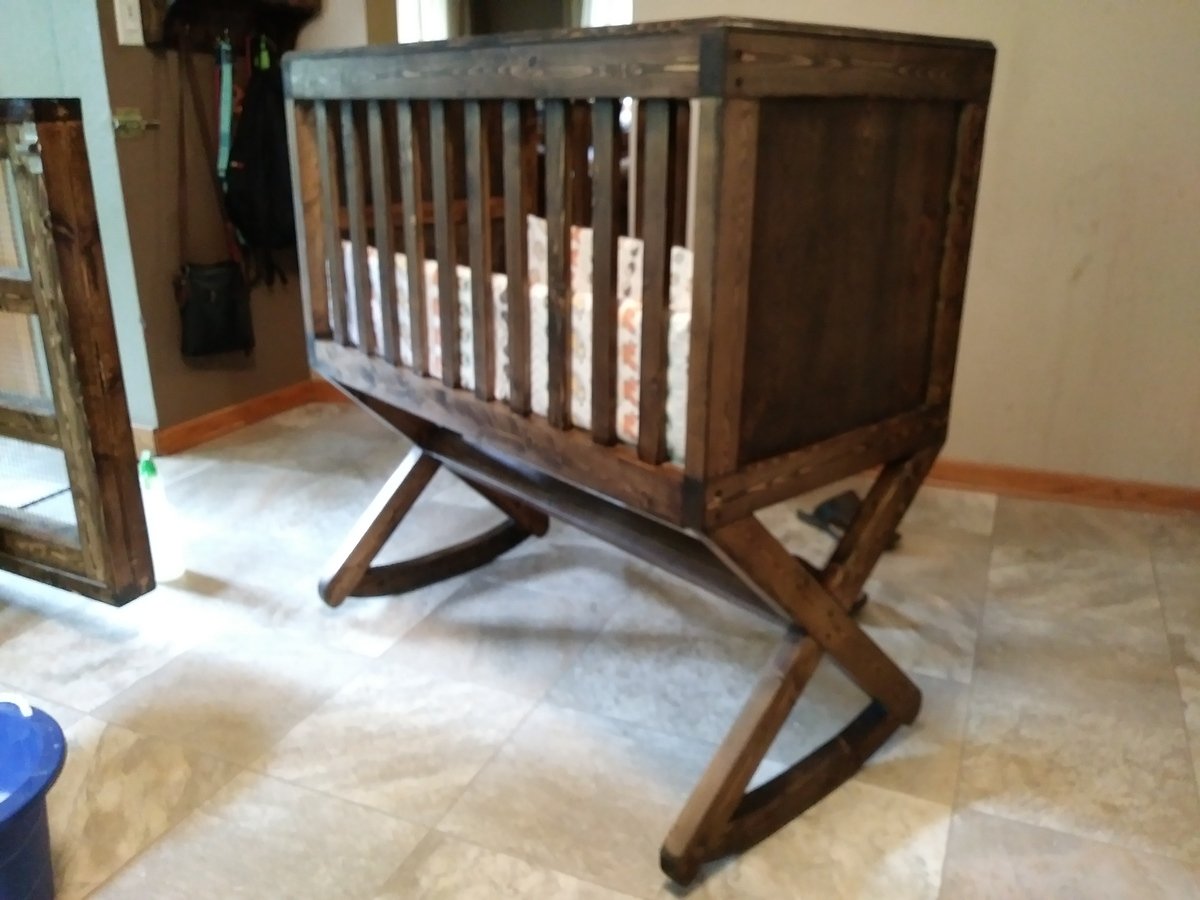
My nephew and his wife are expecting a new baby. This is my e-husband's nephew and we wanted to do something different than I have ever done so the former in-laws wouldn't  recognize the work. I sent them several pictures and this is the one that they choose. I drew up simple plans and put one together. I didn't like the first one so I built this and I absolutely love it. It took me 1 full Saturday, a week of breaks (I come home at breaks from work to work in my garage), an hour each night and a few hours the second Saturday. The hardest part was making the holes for the slats. I used a 1/2" auger bit to make 3 holes and then used a carving tool to make them the right size. It felt like it took forever. Lots of router work but I think this is the best thing I have made thus far. 

Estimated Cost
$75
Estimated Time Investment
Weekend Project (10-20 Hours)
Finish Used
Minwax Jacobean, poly to still be applied.
Recommended Skill Level
Intermediate

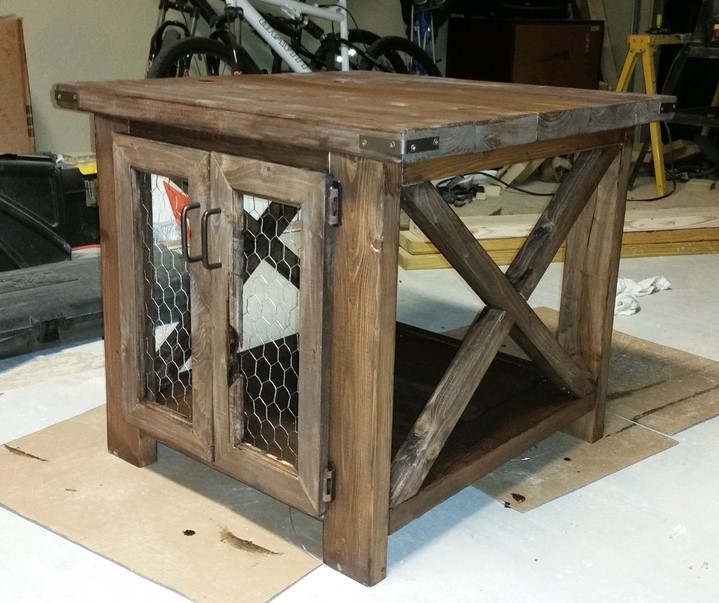
My version twist on the apothecary

Submitted by Anonymous (not verified) on Sat, 04/30/2022 - 12:09

A bit wider and taller to hide our litter box in our too small living room. Thanks again Ana!!!

Comments

Small raised planter stand

Submitted by Anonymous (not verified) on Fri, 06/10/2022 - 17:04

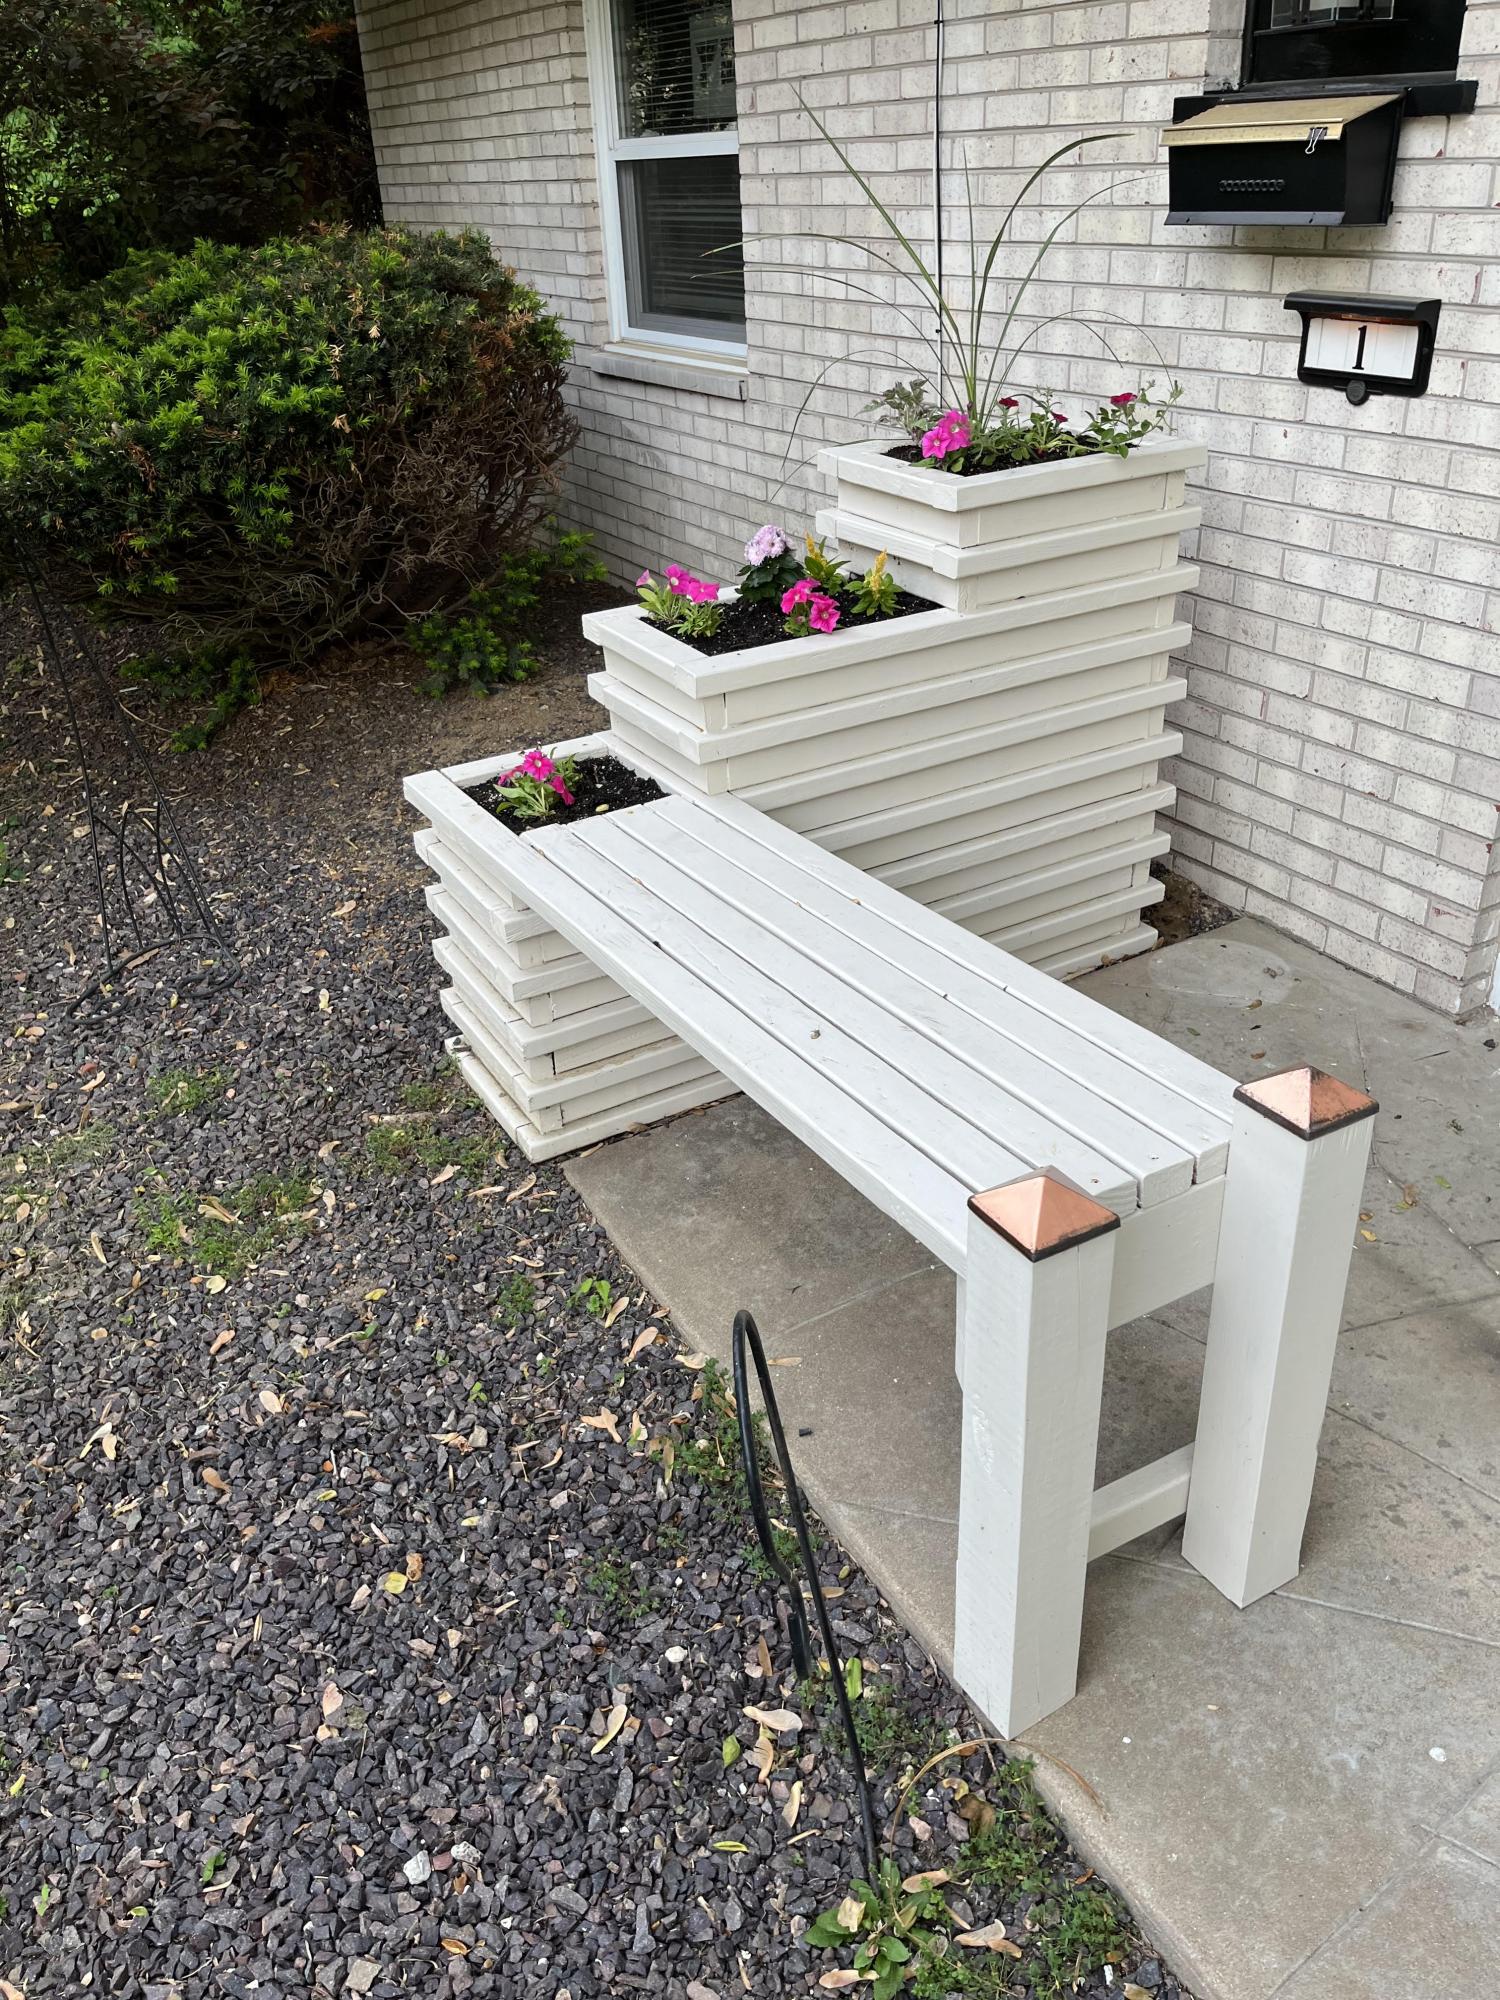
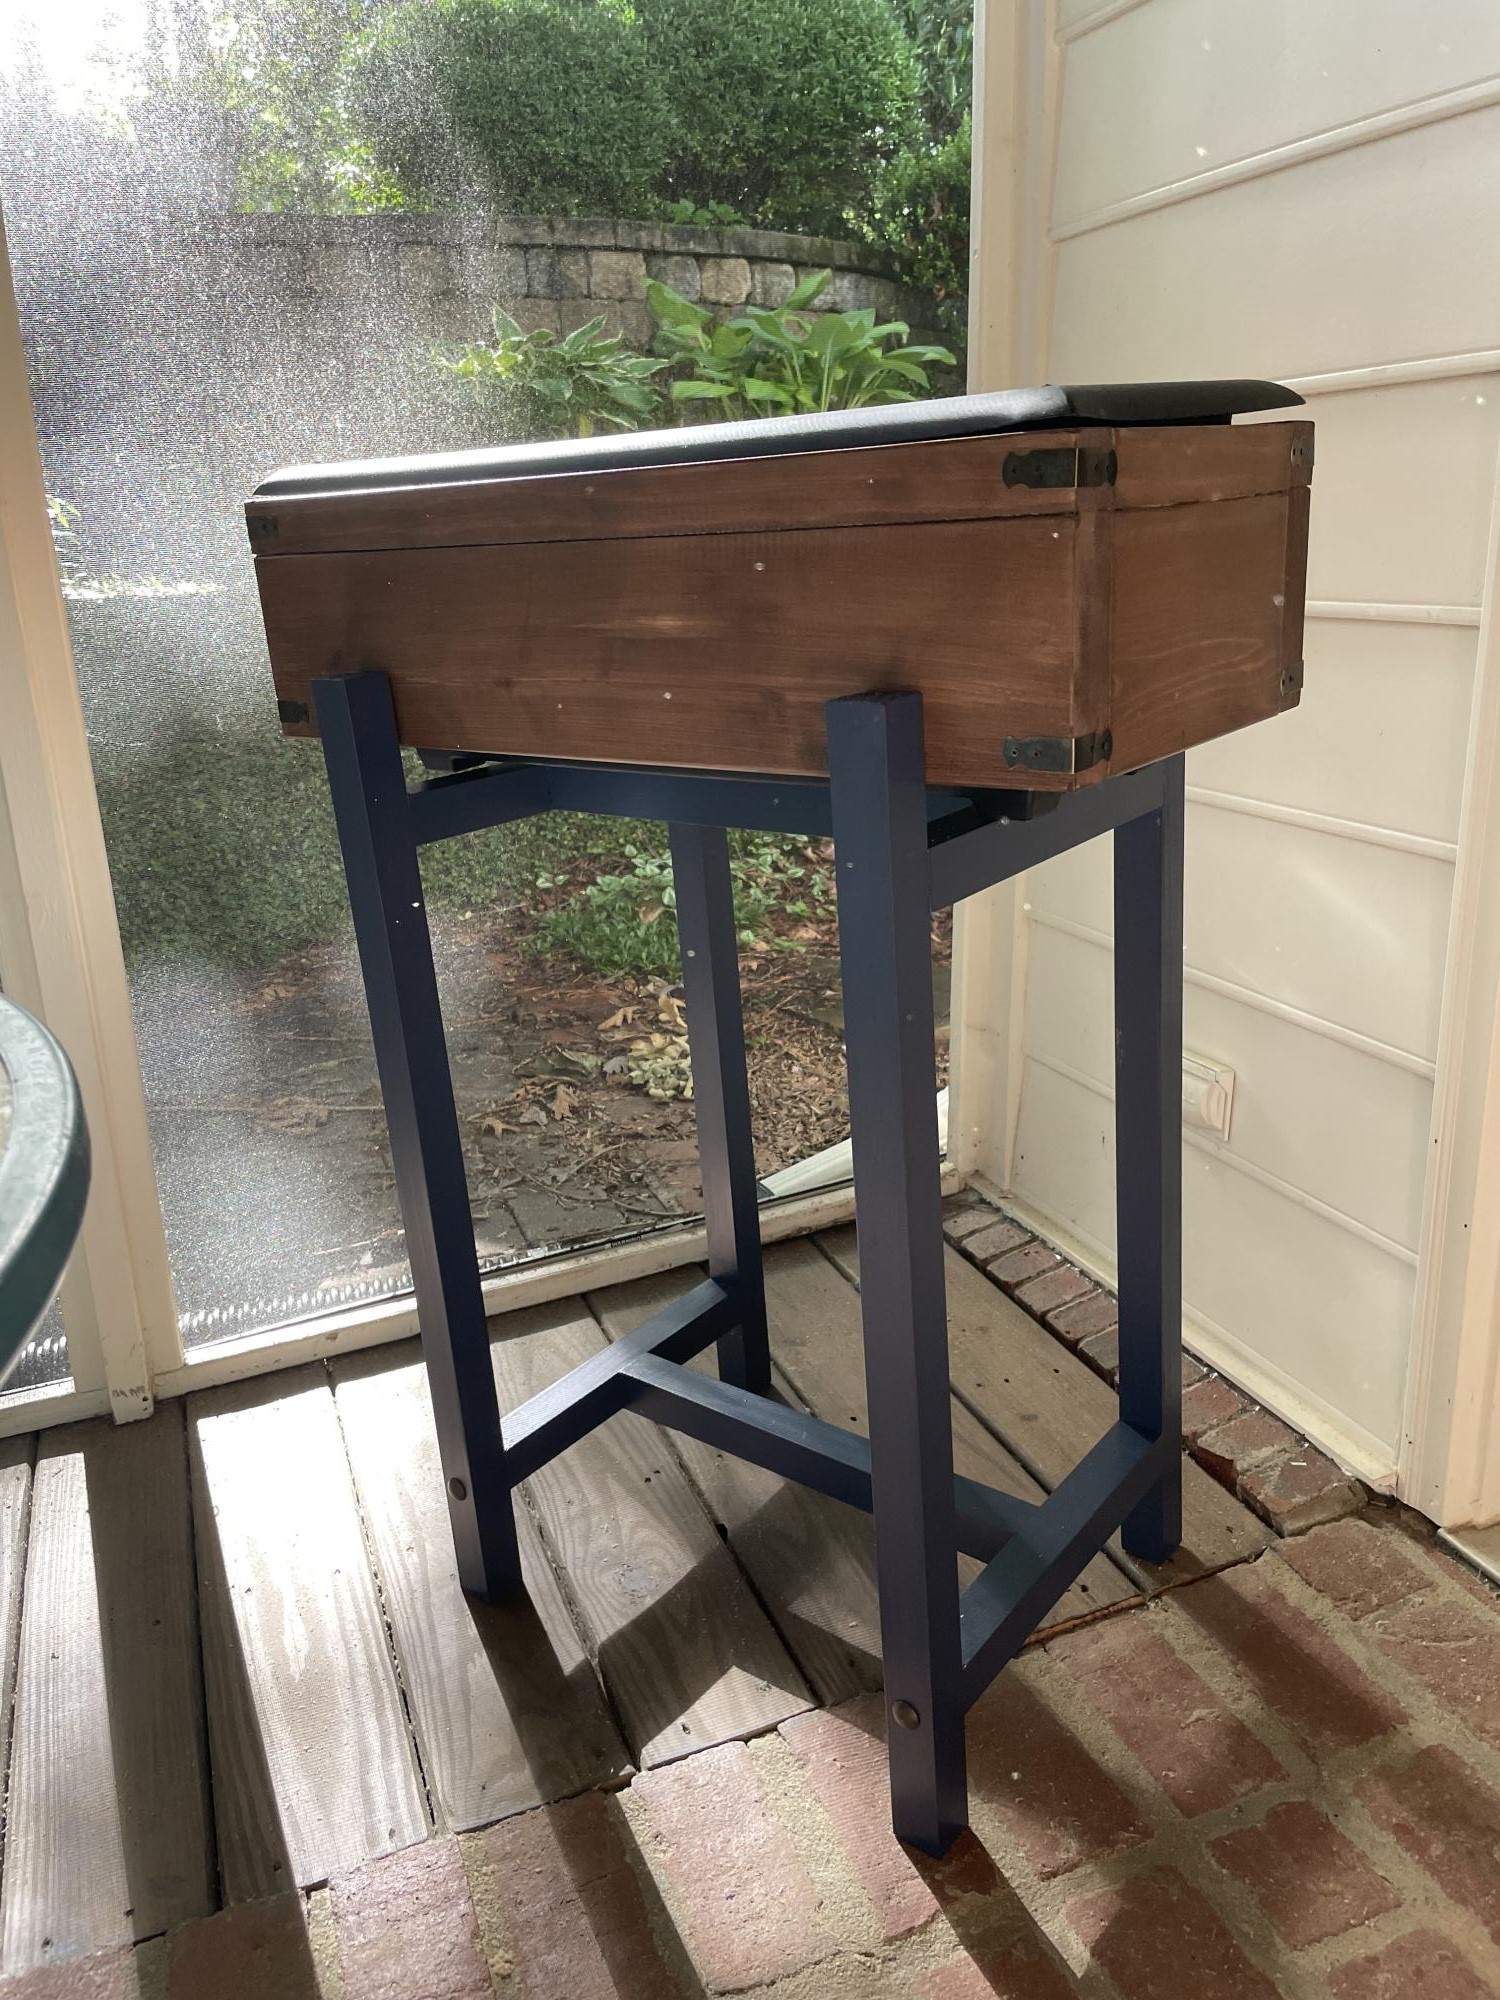
Plan to use as a cooler :) adjusted dimensions to fit a bigger planter box and added some decorative details. It came out great!

Built from Plan(s)

Comments

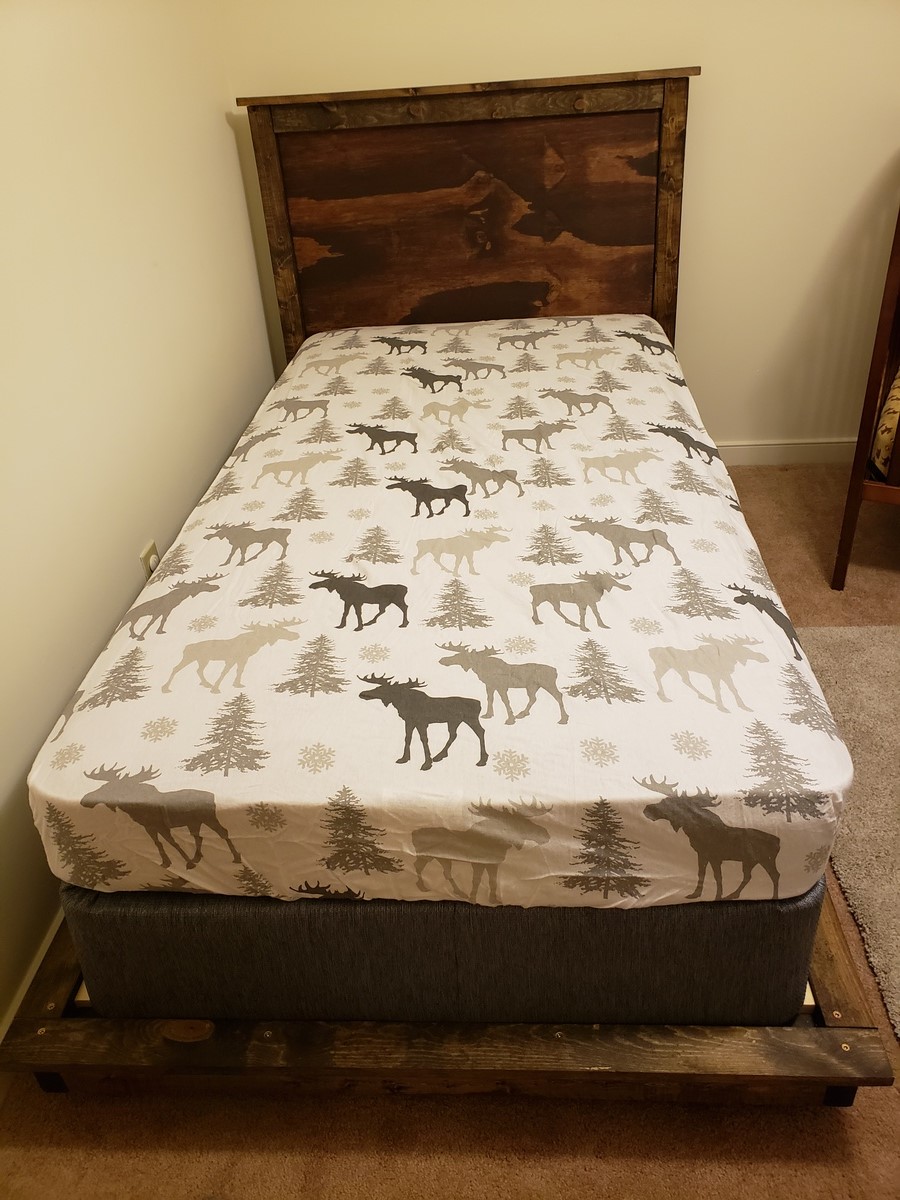
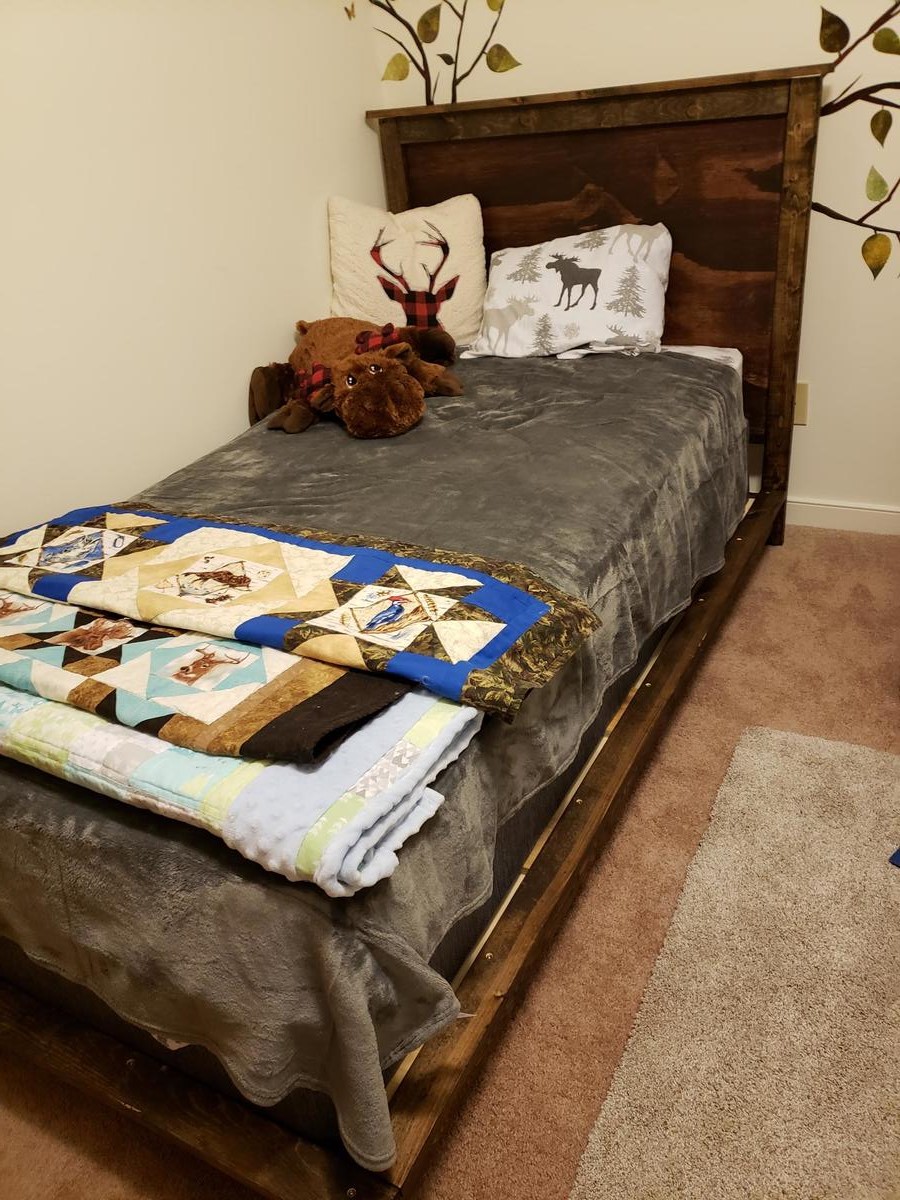
Farmhouse toddler bed

Submitted by Lukilla on Fri, 11/30/2018 - 18:37

Our little guy decided at about 2 years old that his crib just wasnt going to cut it anymore. My wife and I had a blast throwing this together. A good tip is to use leftover pieces from the headboard to cut slats.  We love our wood projects, check out our facebook page. Wyvace woodworking.

Estimated Cost
100
Estimated Time Investment
An Hour or Two (0-2 Hours)
Finish Used
Minwax jacobean/espresso mix on the platform. Red mahogany on the headboard
Recommended Skill Level
Beginner

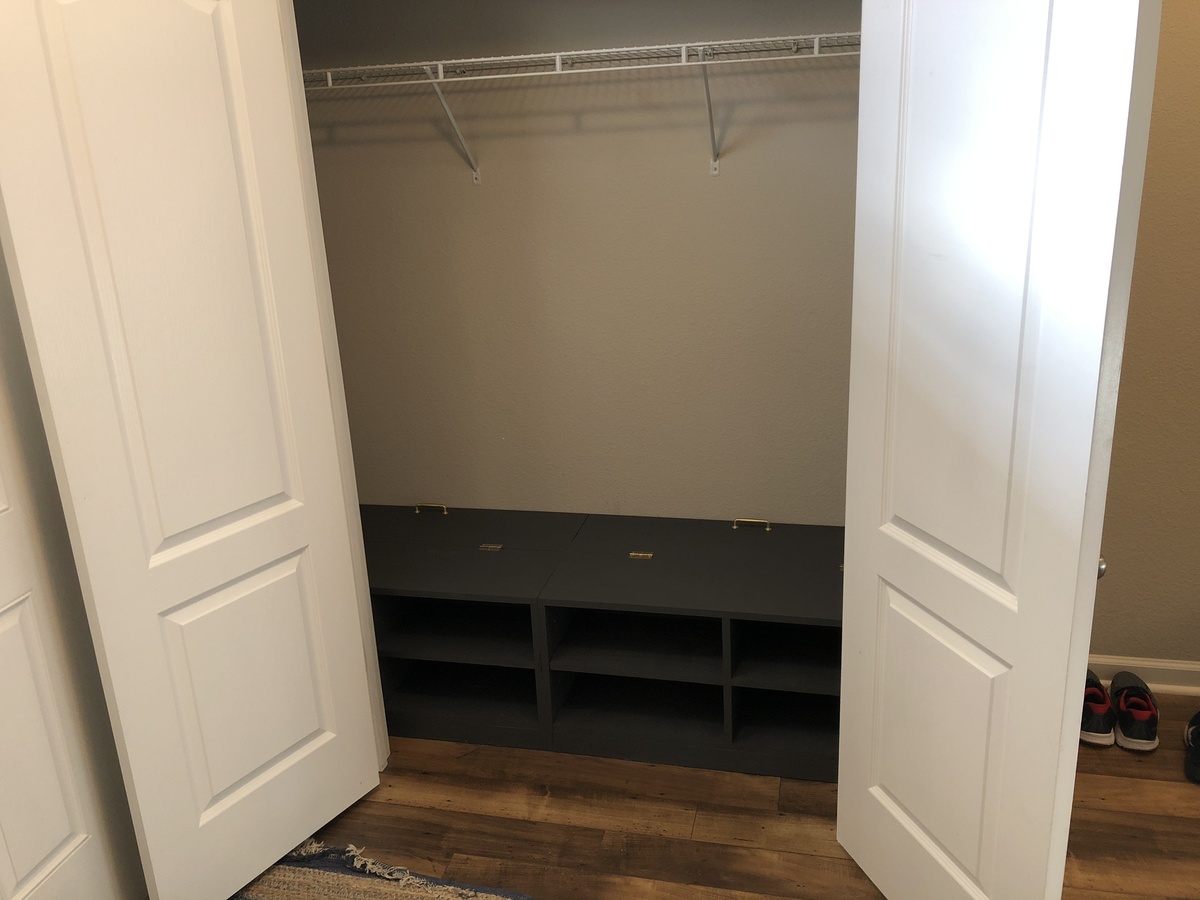
Coat closet

Submitted by Anonymous (not verified) on Mon, 12/31/2018 - 06:57

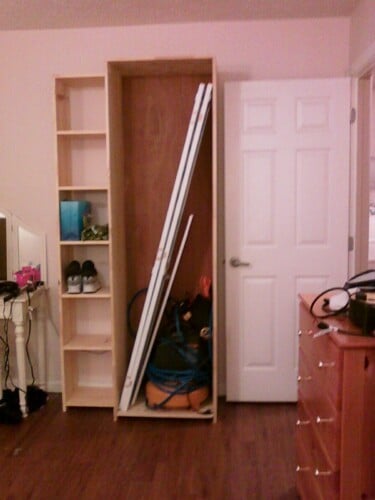
I just wanted better organization and shoe racks up close to the front of the closet instead of in the back but I also didn’t want them too deep. These plans fixed that.

Estimated Cost
$150
Estimated Time Investment
Weekend Project (10-20 Hours)
Finish Used
Paint
Recommended Skill Level
Beginner

Comments

Reclaimed Wood Night Stand

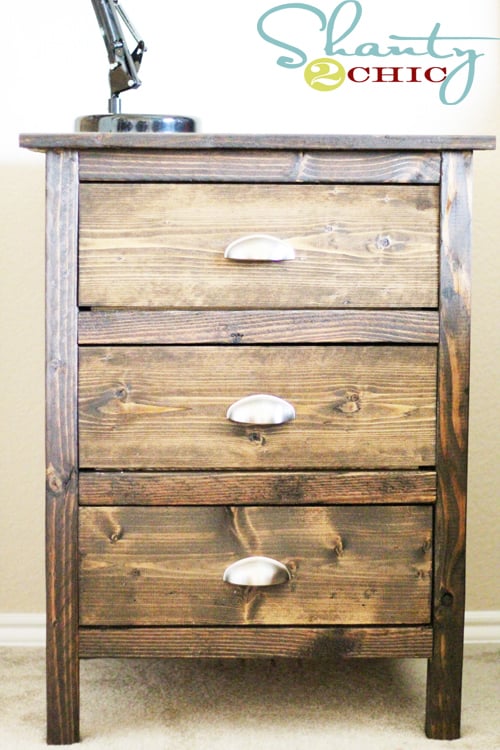
Love these night stands! I spent $40 on lumber for two night stands and $30 on the hardware! You can see more pics of my finished night stands at www.shanty-2-chic.com

Estimated Cost
$50 - $70
Estimated Time Investment
Day Project (6-9 Hours)
Finish Used
Minwax Dark Walnut Stain and Minwax Polycrylic
Recommended Skill Level
Intermediate

Comments

acgosiger

Mon, 08/29/2011 - 09:56

I am going to be making these for our master bedroom (hubby and I currently do not have matching night stands). NOw that i see them finished i am even more excited! You did a fantastic job on them!

takahler (not verified)

Mon, 08/29/2011 - 20:10

We made two of these same night stands earlier this month. I haven't taken a good enough picture to post on here. I need to do that. Great job!

Guest (not verified)

Wed, 09/28/2011 - 22:17

This is wonderful. I'm looking for something similar to build in the next couple weeks. Could you share the plans for it please?

Toni (not verified)

Mon, 05/28/2012 - 06:25

My hubby made these for my daughter and they turned out awesome.So now I have to have them too. He is working on them now, but we are making them out of some oak we already had. Can't wait. Now I need a matching headboard!! Looking for plans...

Picture Ledge for Cutting Board Display

Submitted by vendo on Fri, 11/18/2022 - 10:19

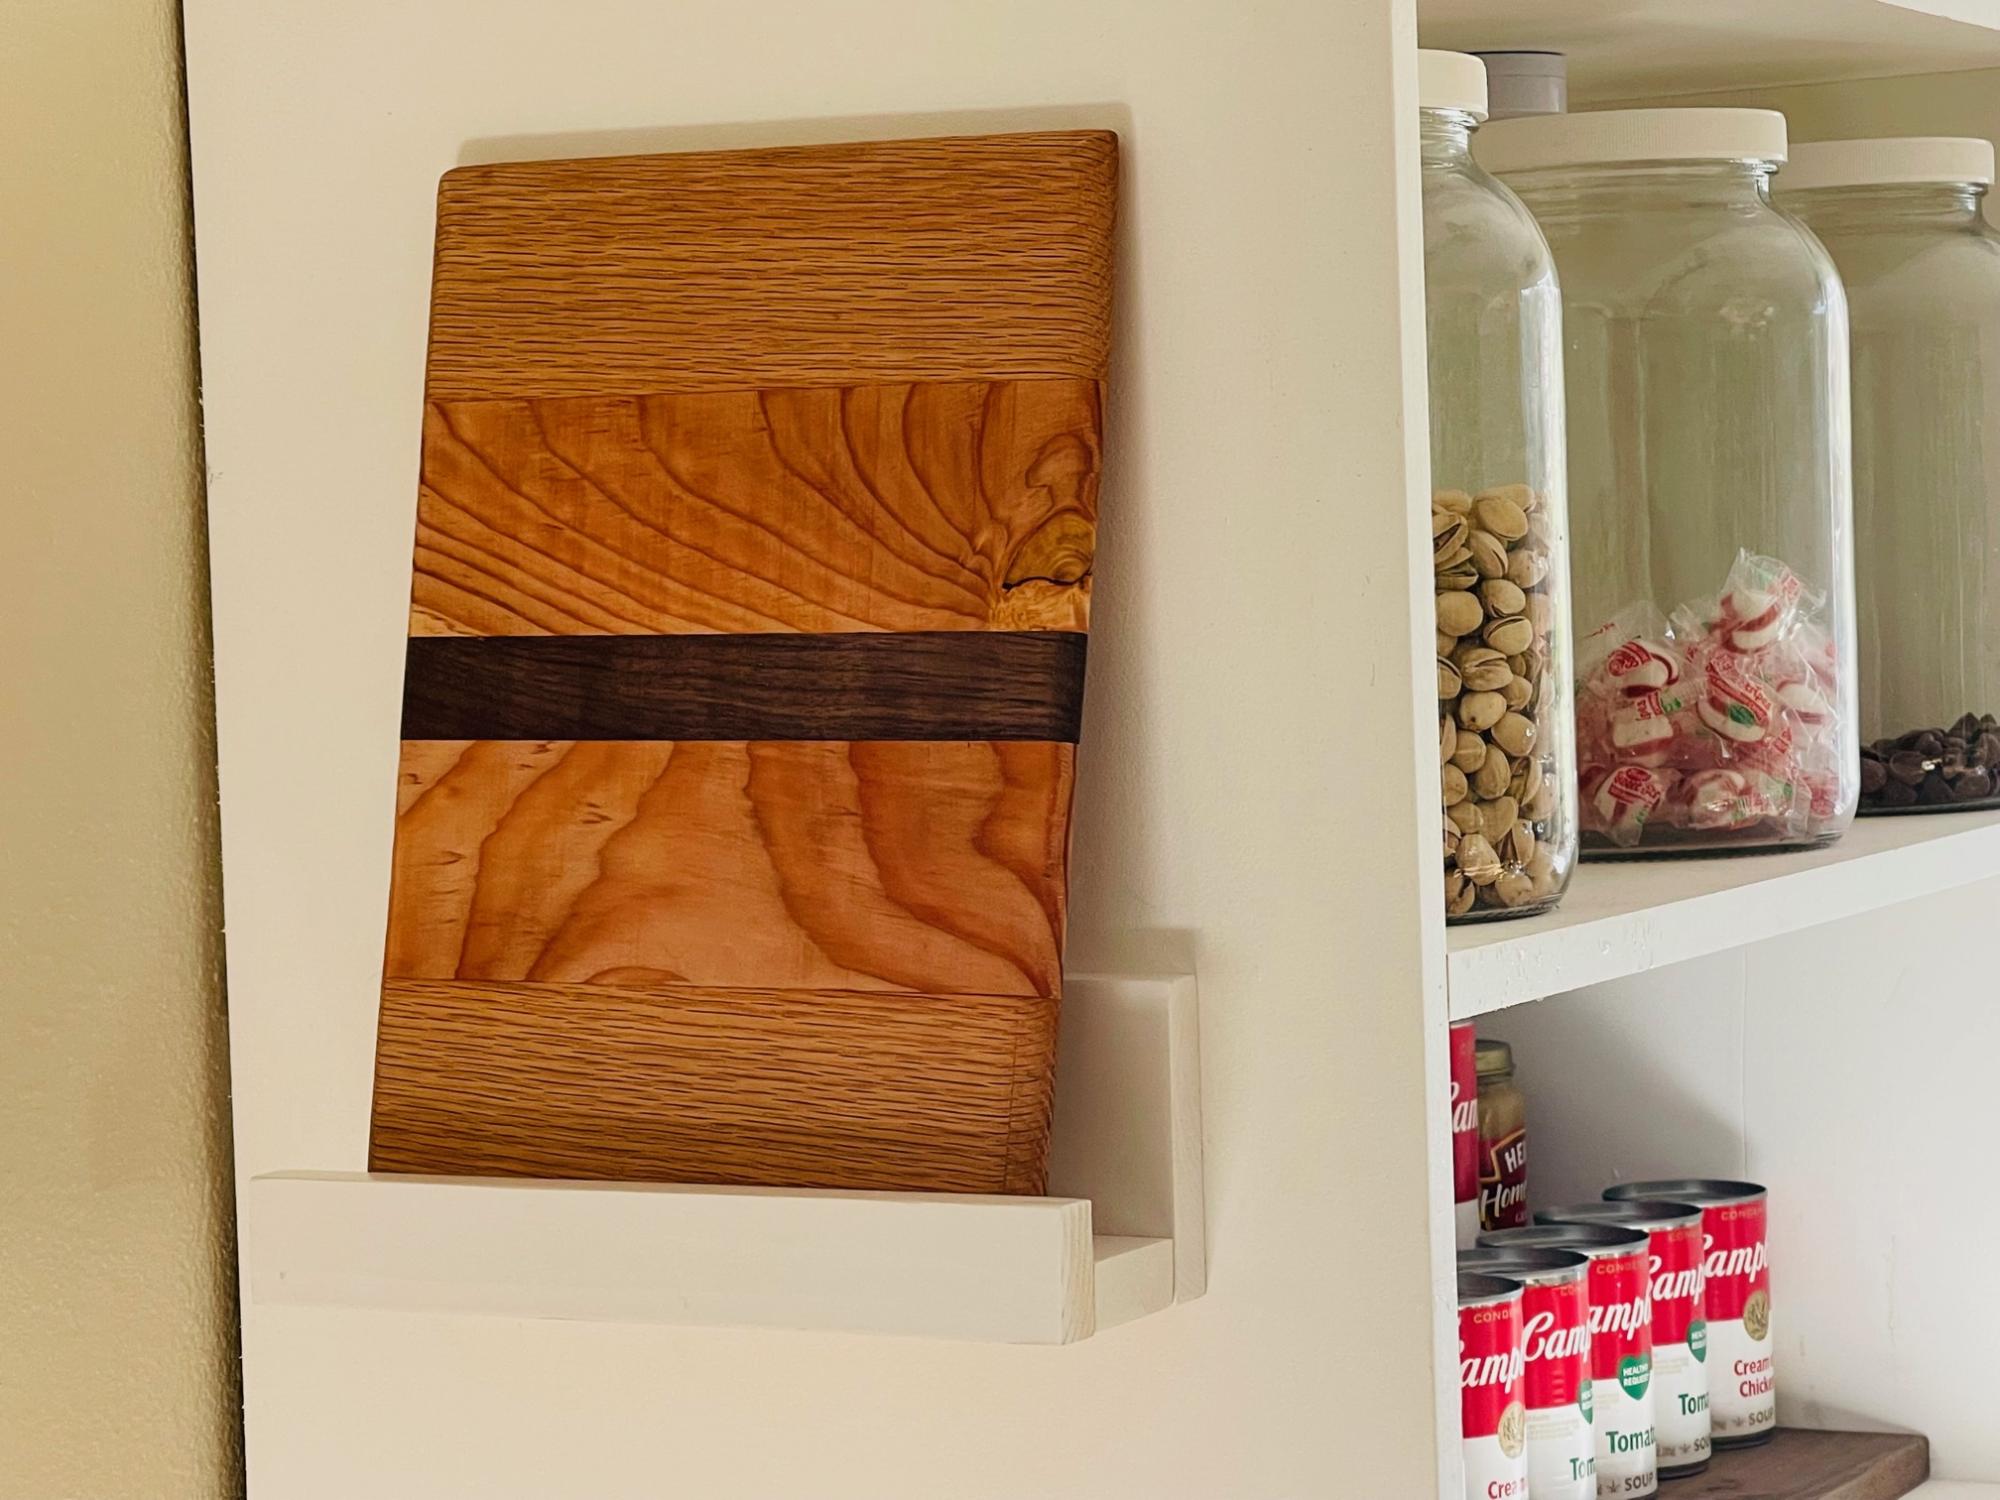
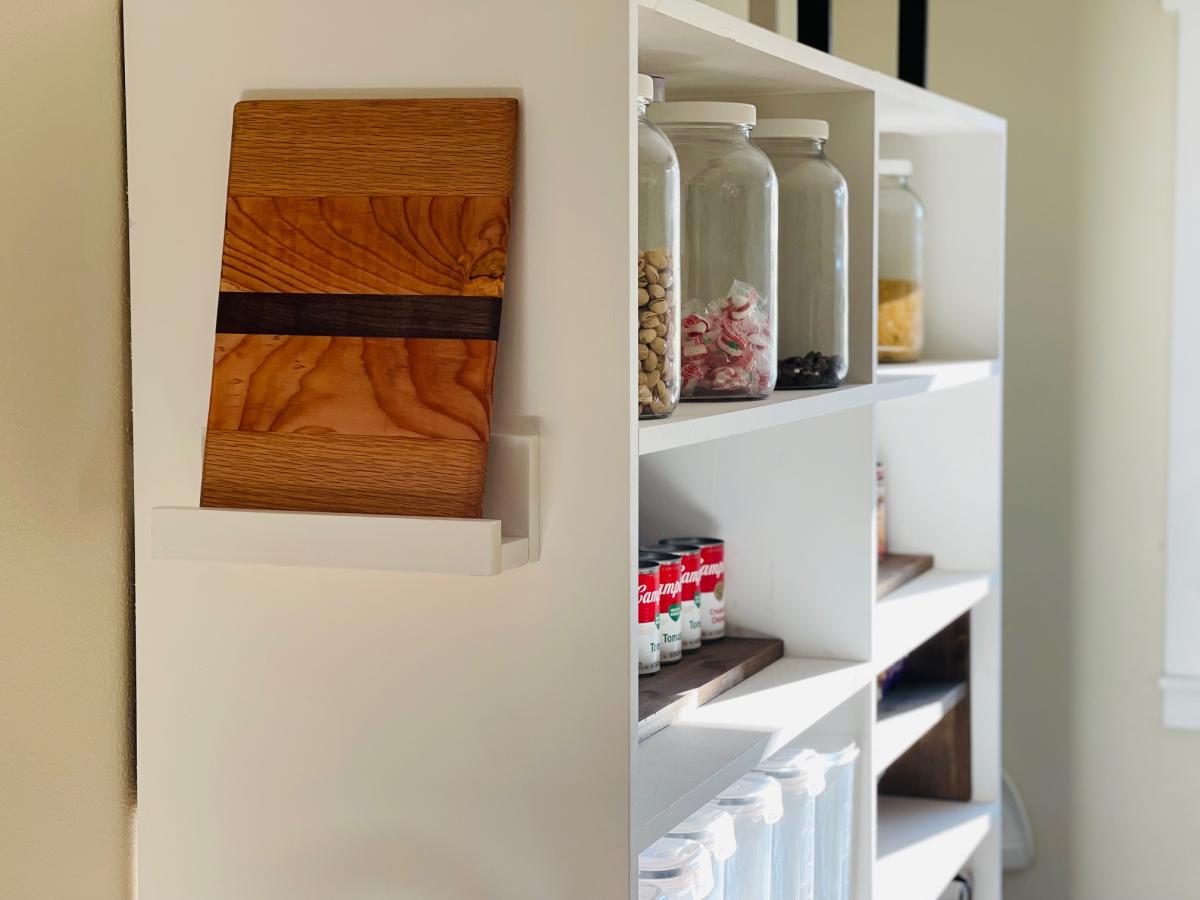
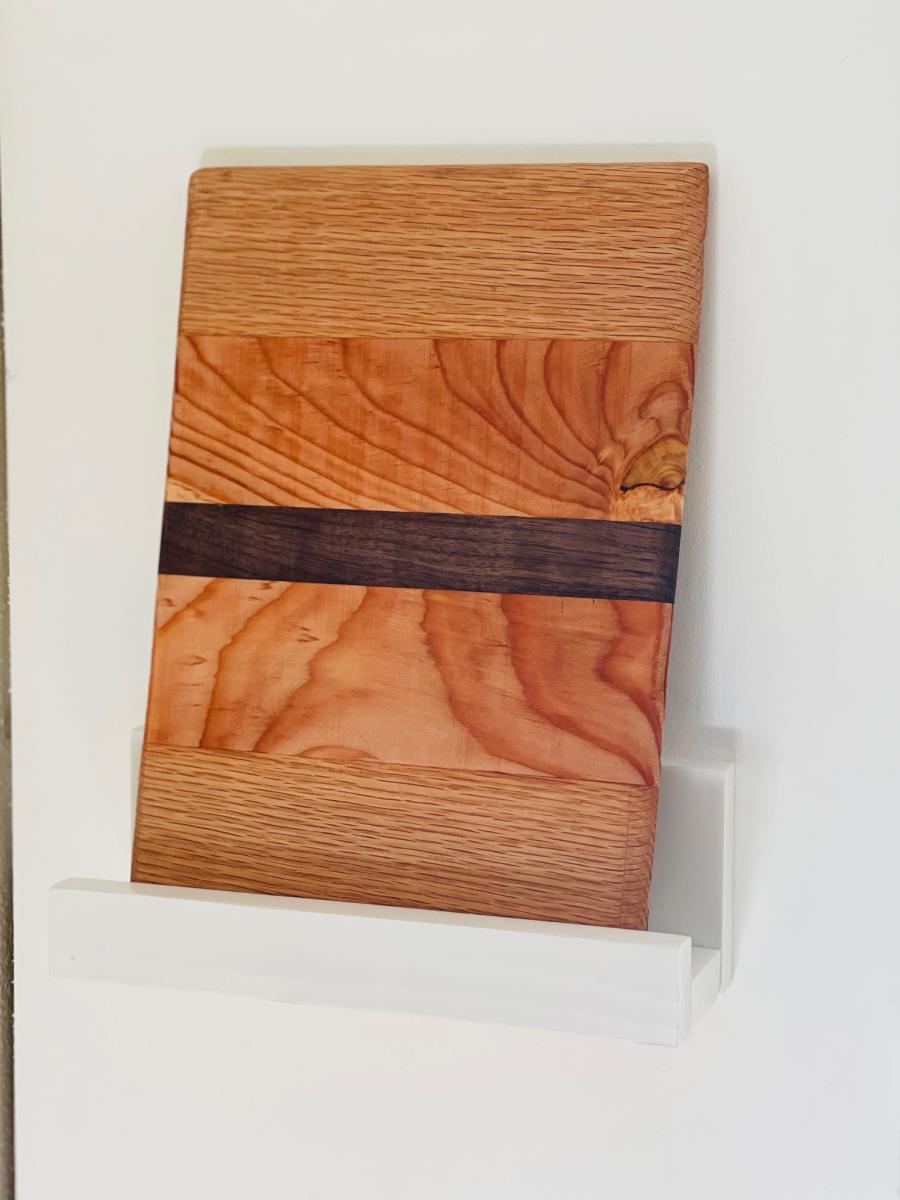
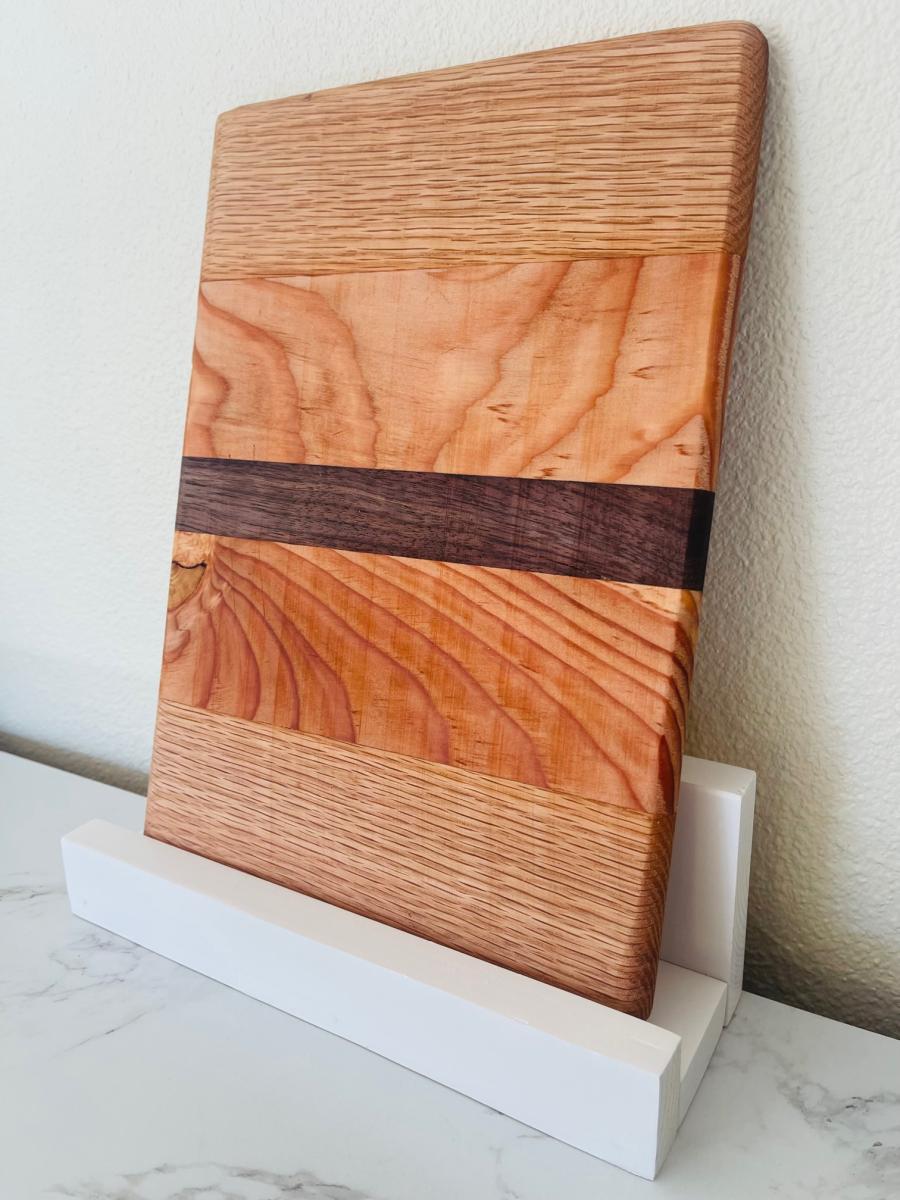
My sophomore daughter built a cutting board in woodworking class. She did a beautiful job, so I wanted to display it. Took me about 10 minutes to build this little shelf. Can be used on the counter, or attached to a wall or pantry shelf. I decided to attach to the side of my DIY freestanding pantry that I built using Ana's Shelf Help service. I'm happy the whole family is able to enjoy her beautiful cutting board and this makes it easy to use and put up when not in use. 

Built from Plan(s)