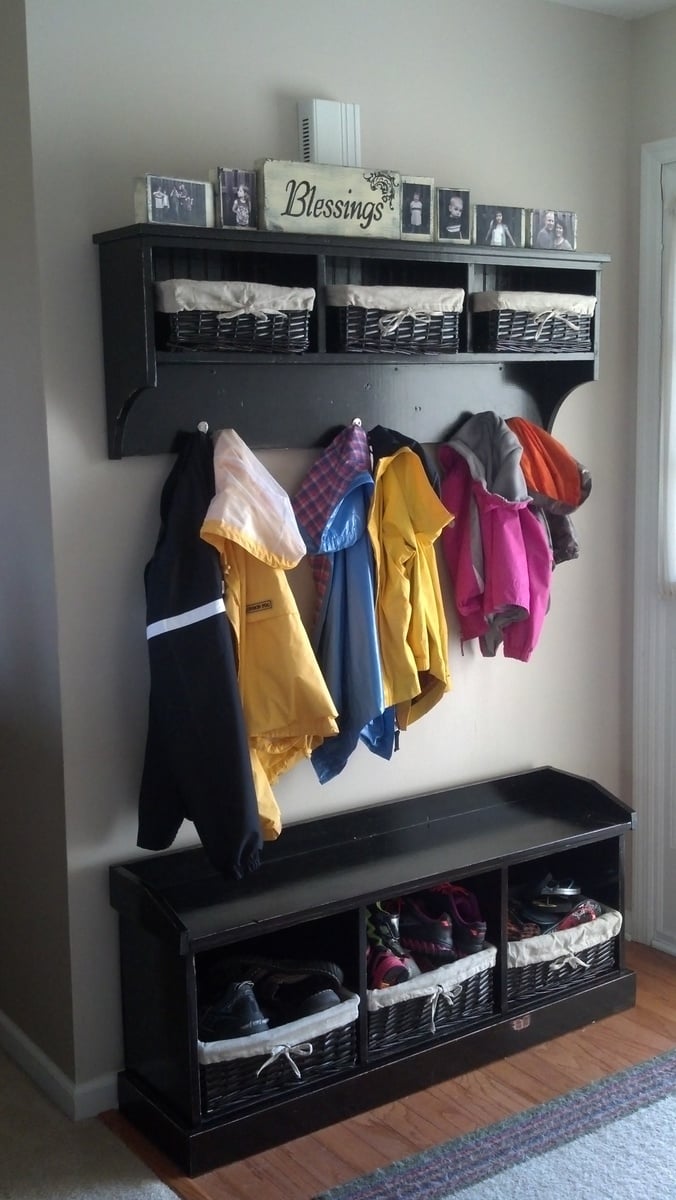
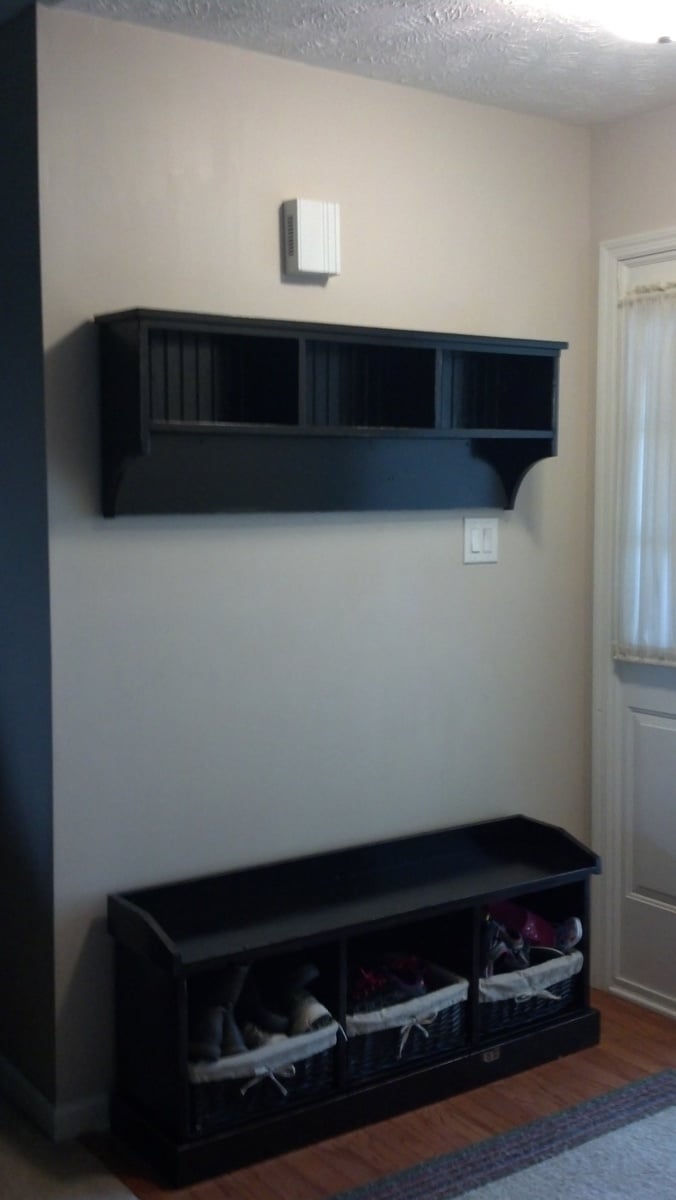
I have always wanted a hall tree, but could not spend the hundreds of dollars for one. I was so excited when I found these plans.
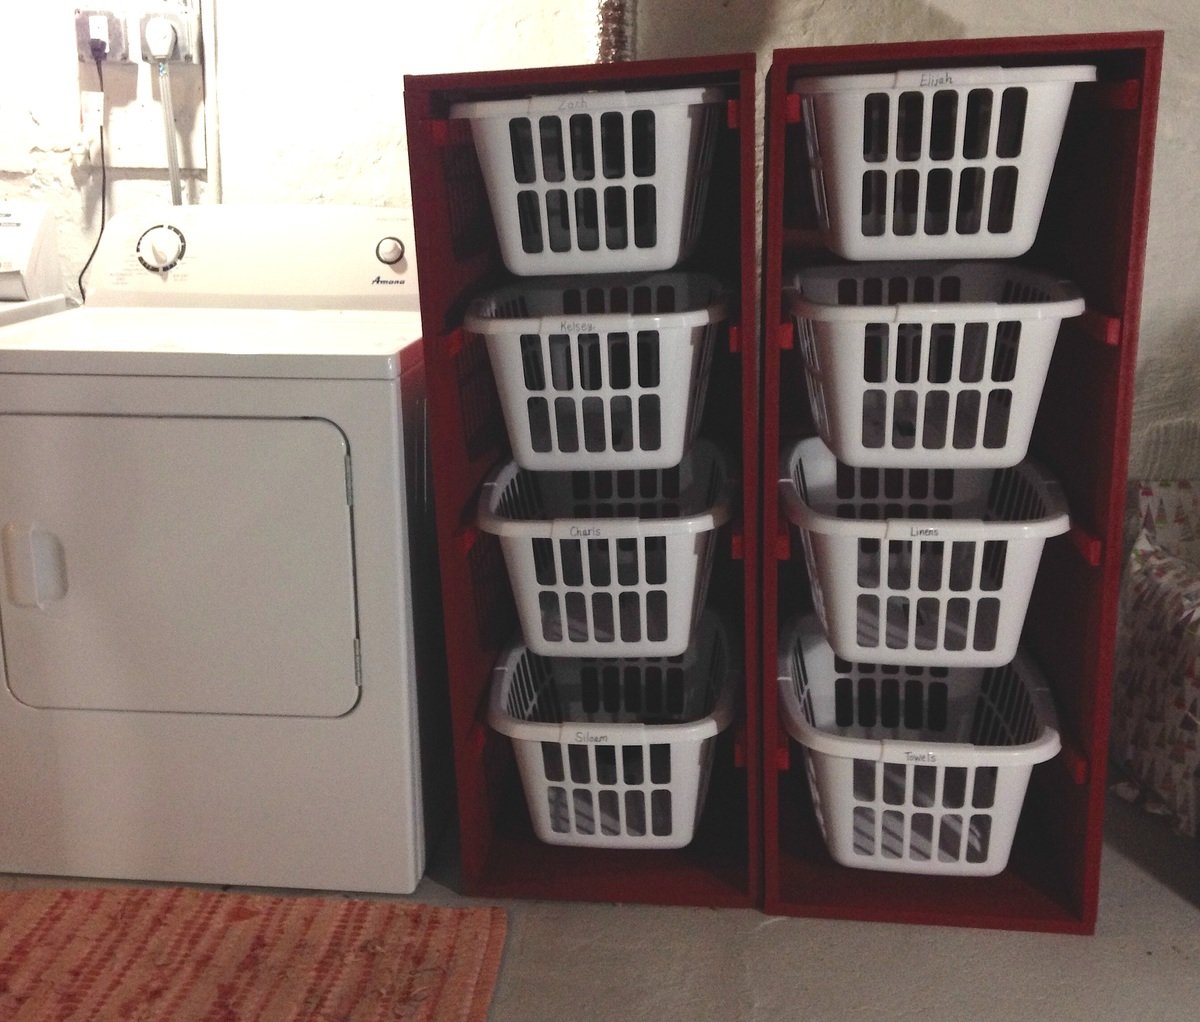
I had a very hard time finding baskets to fit the cubbies. I thankfully found some cheap ones at Wal-Mart that were a two pack of the small and large. I would recommend buying the baskets first, then adjusting the plans.
I hung the shelf with three heavy duty D ring hangers, and then added three screws drilled directly into the studs. We have four rambunctious kids, and did not want the shelf falling down on them. It is super sturdy! I love this piece of furniture so much!