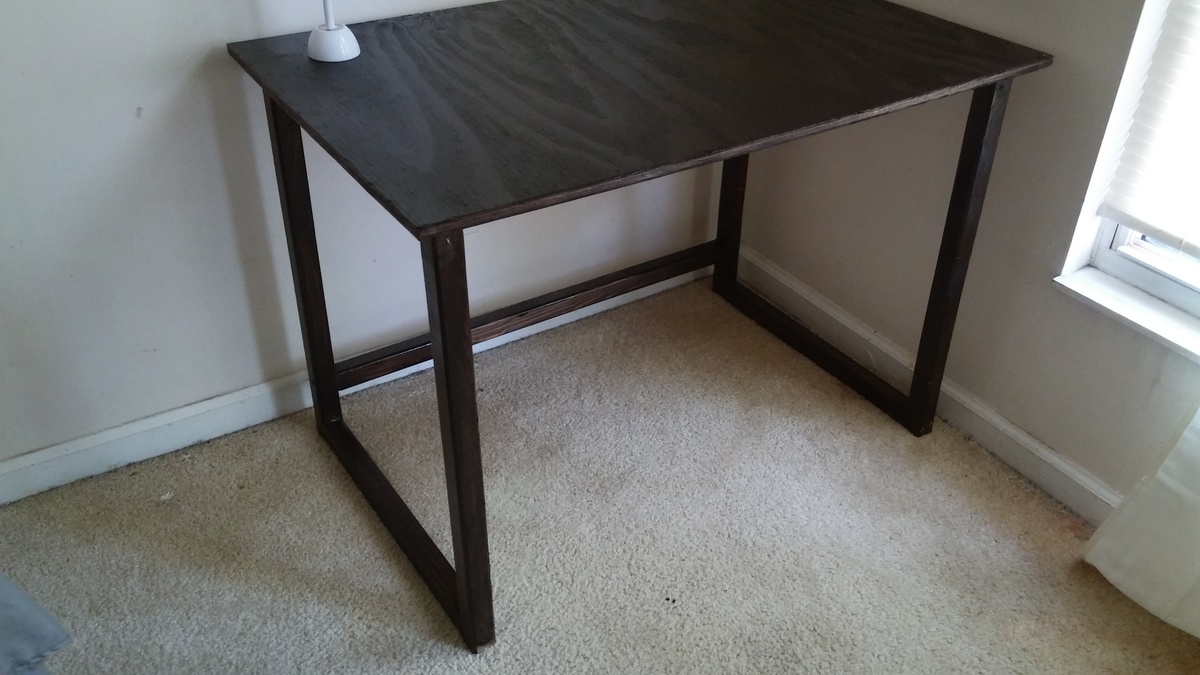
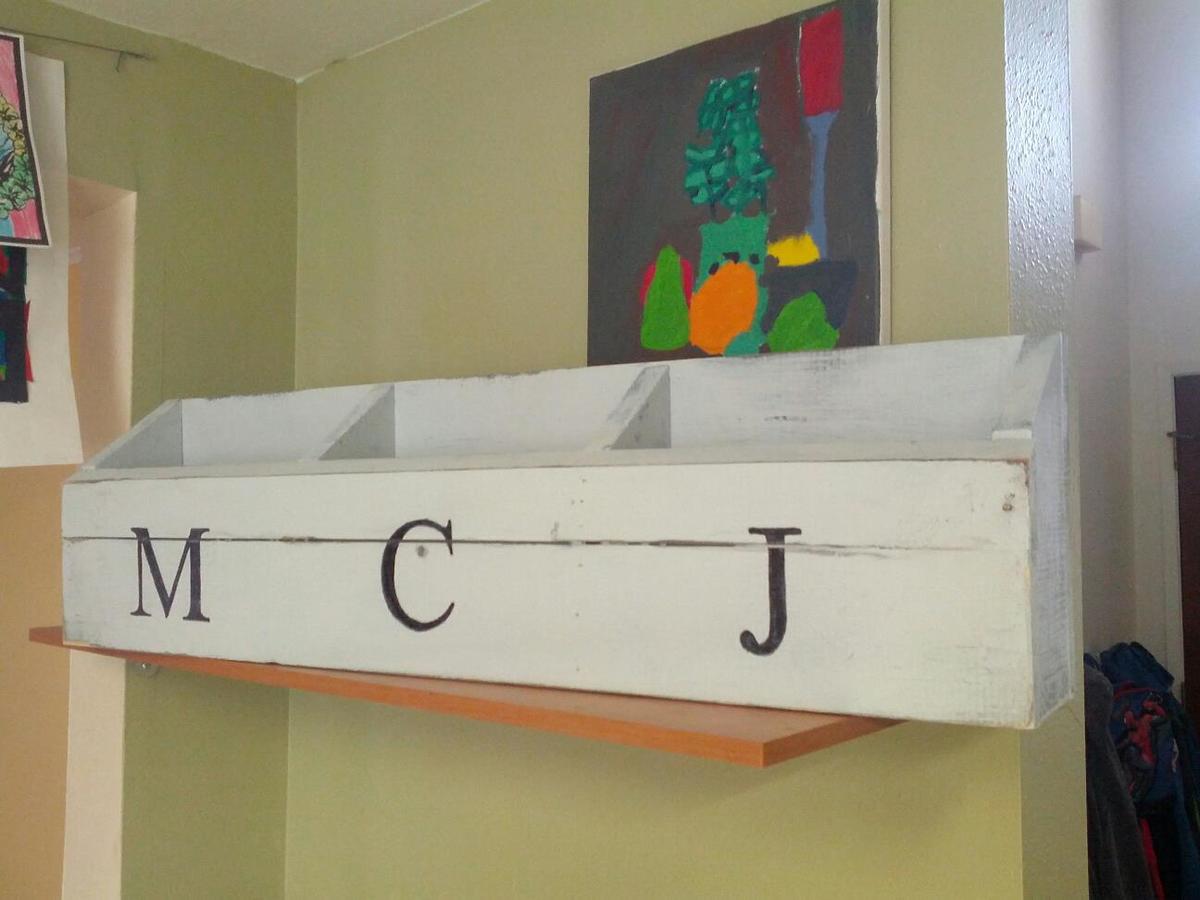
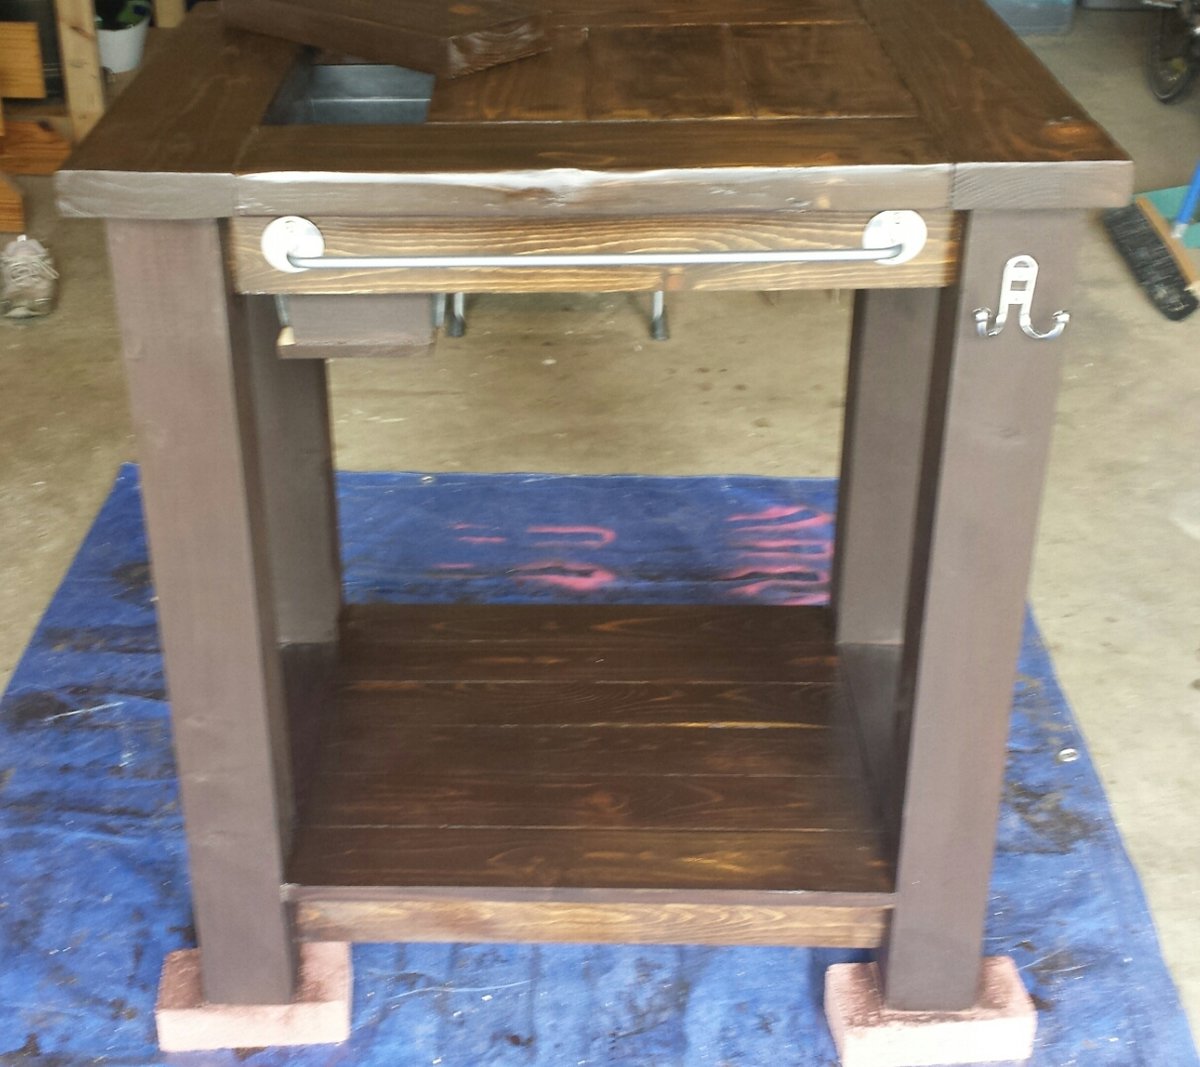
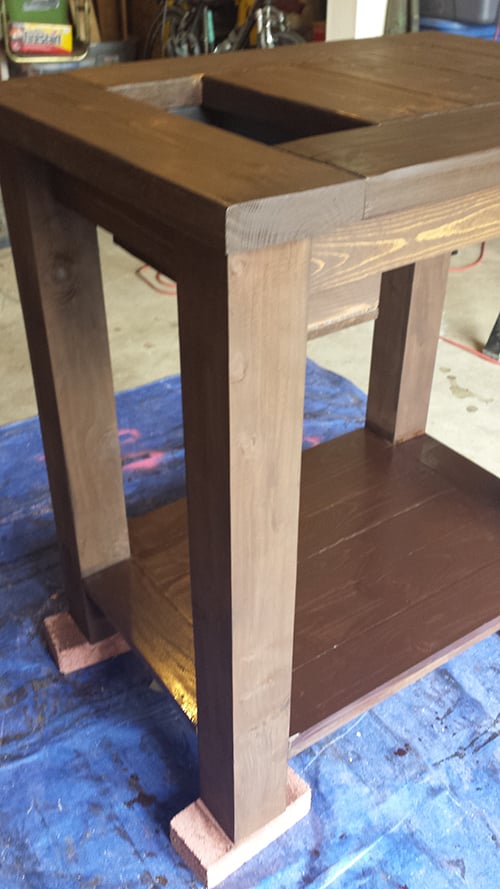
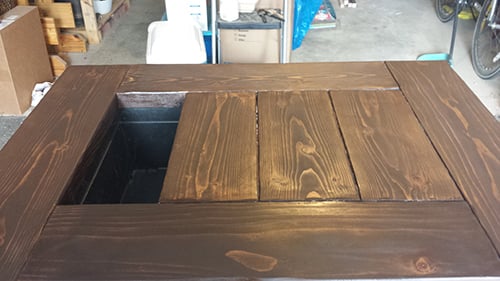
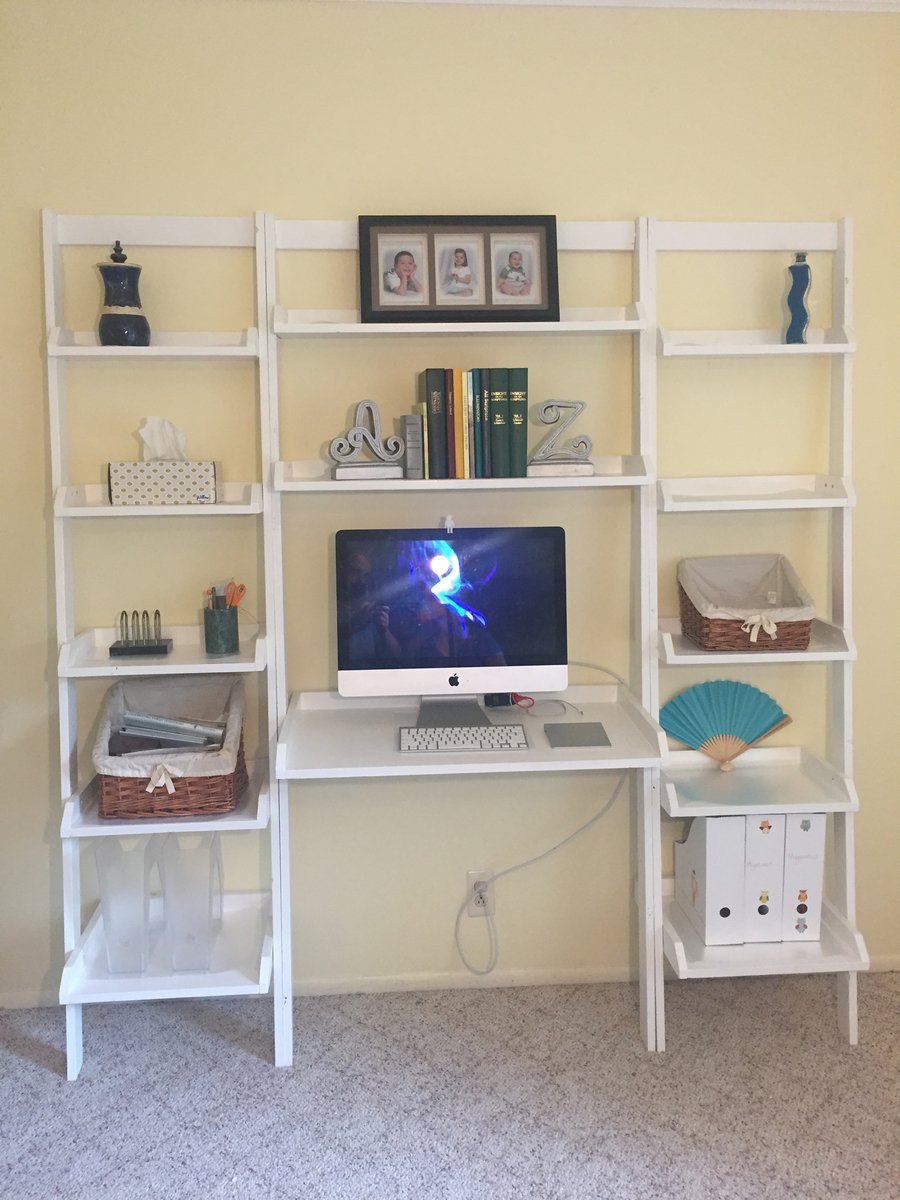
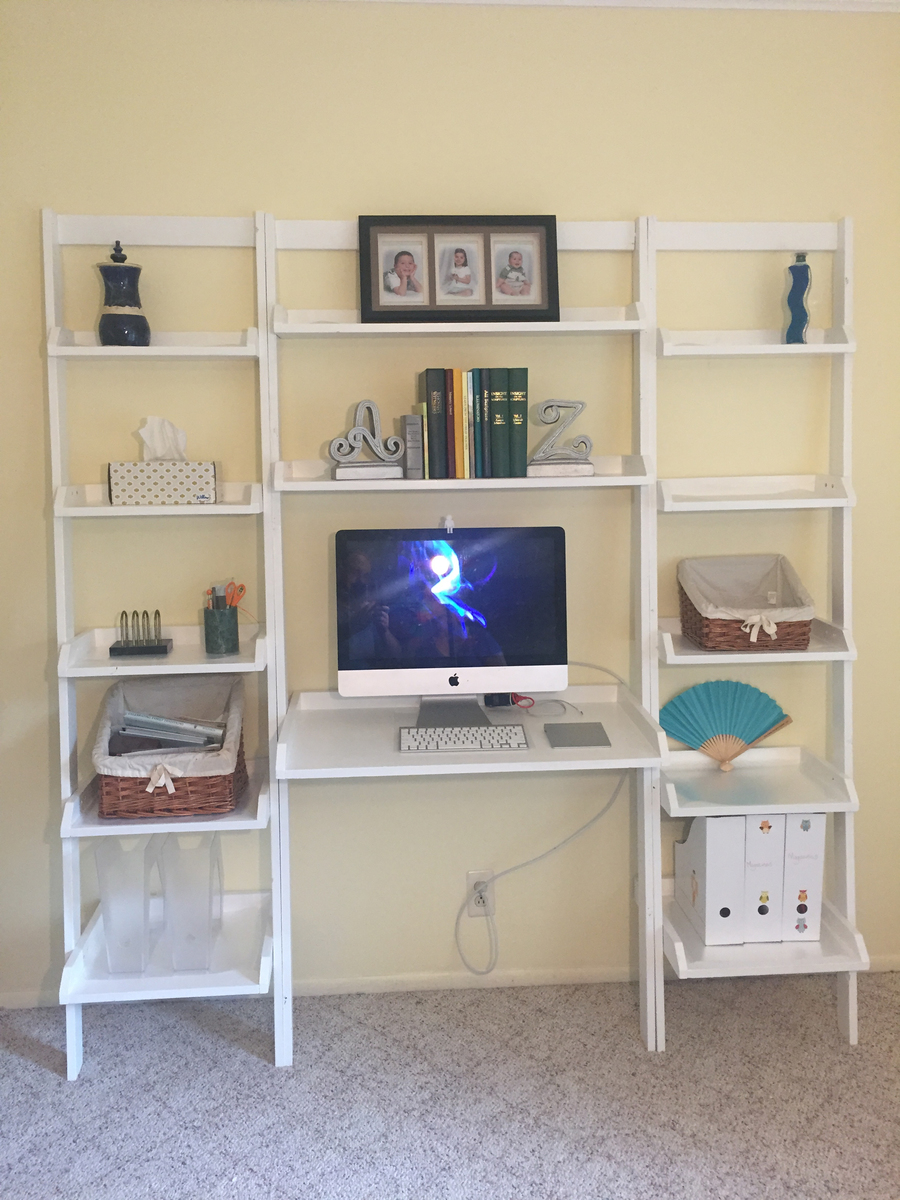
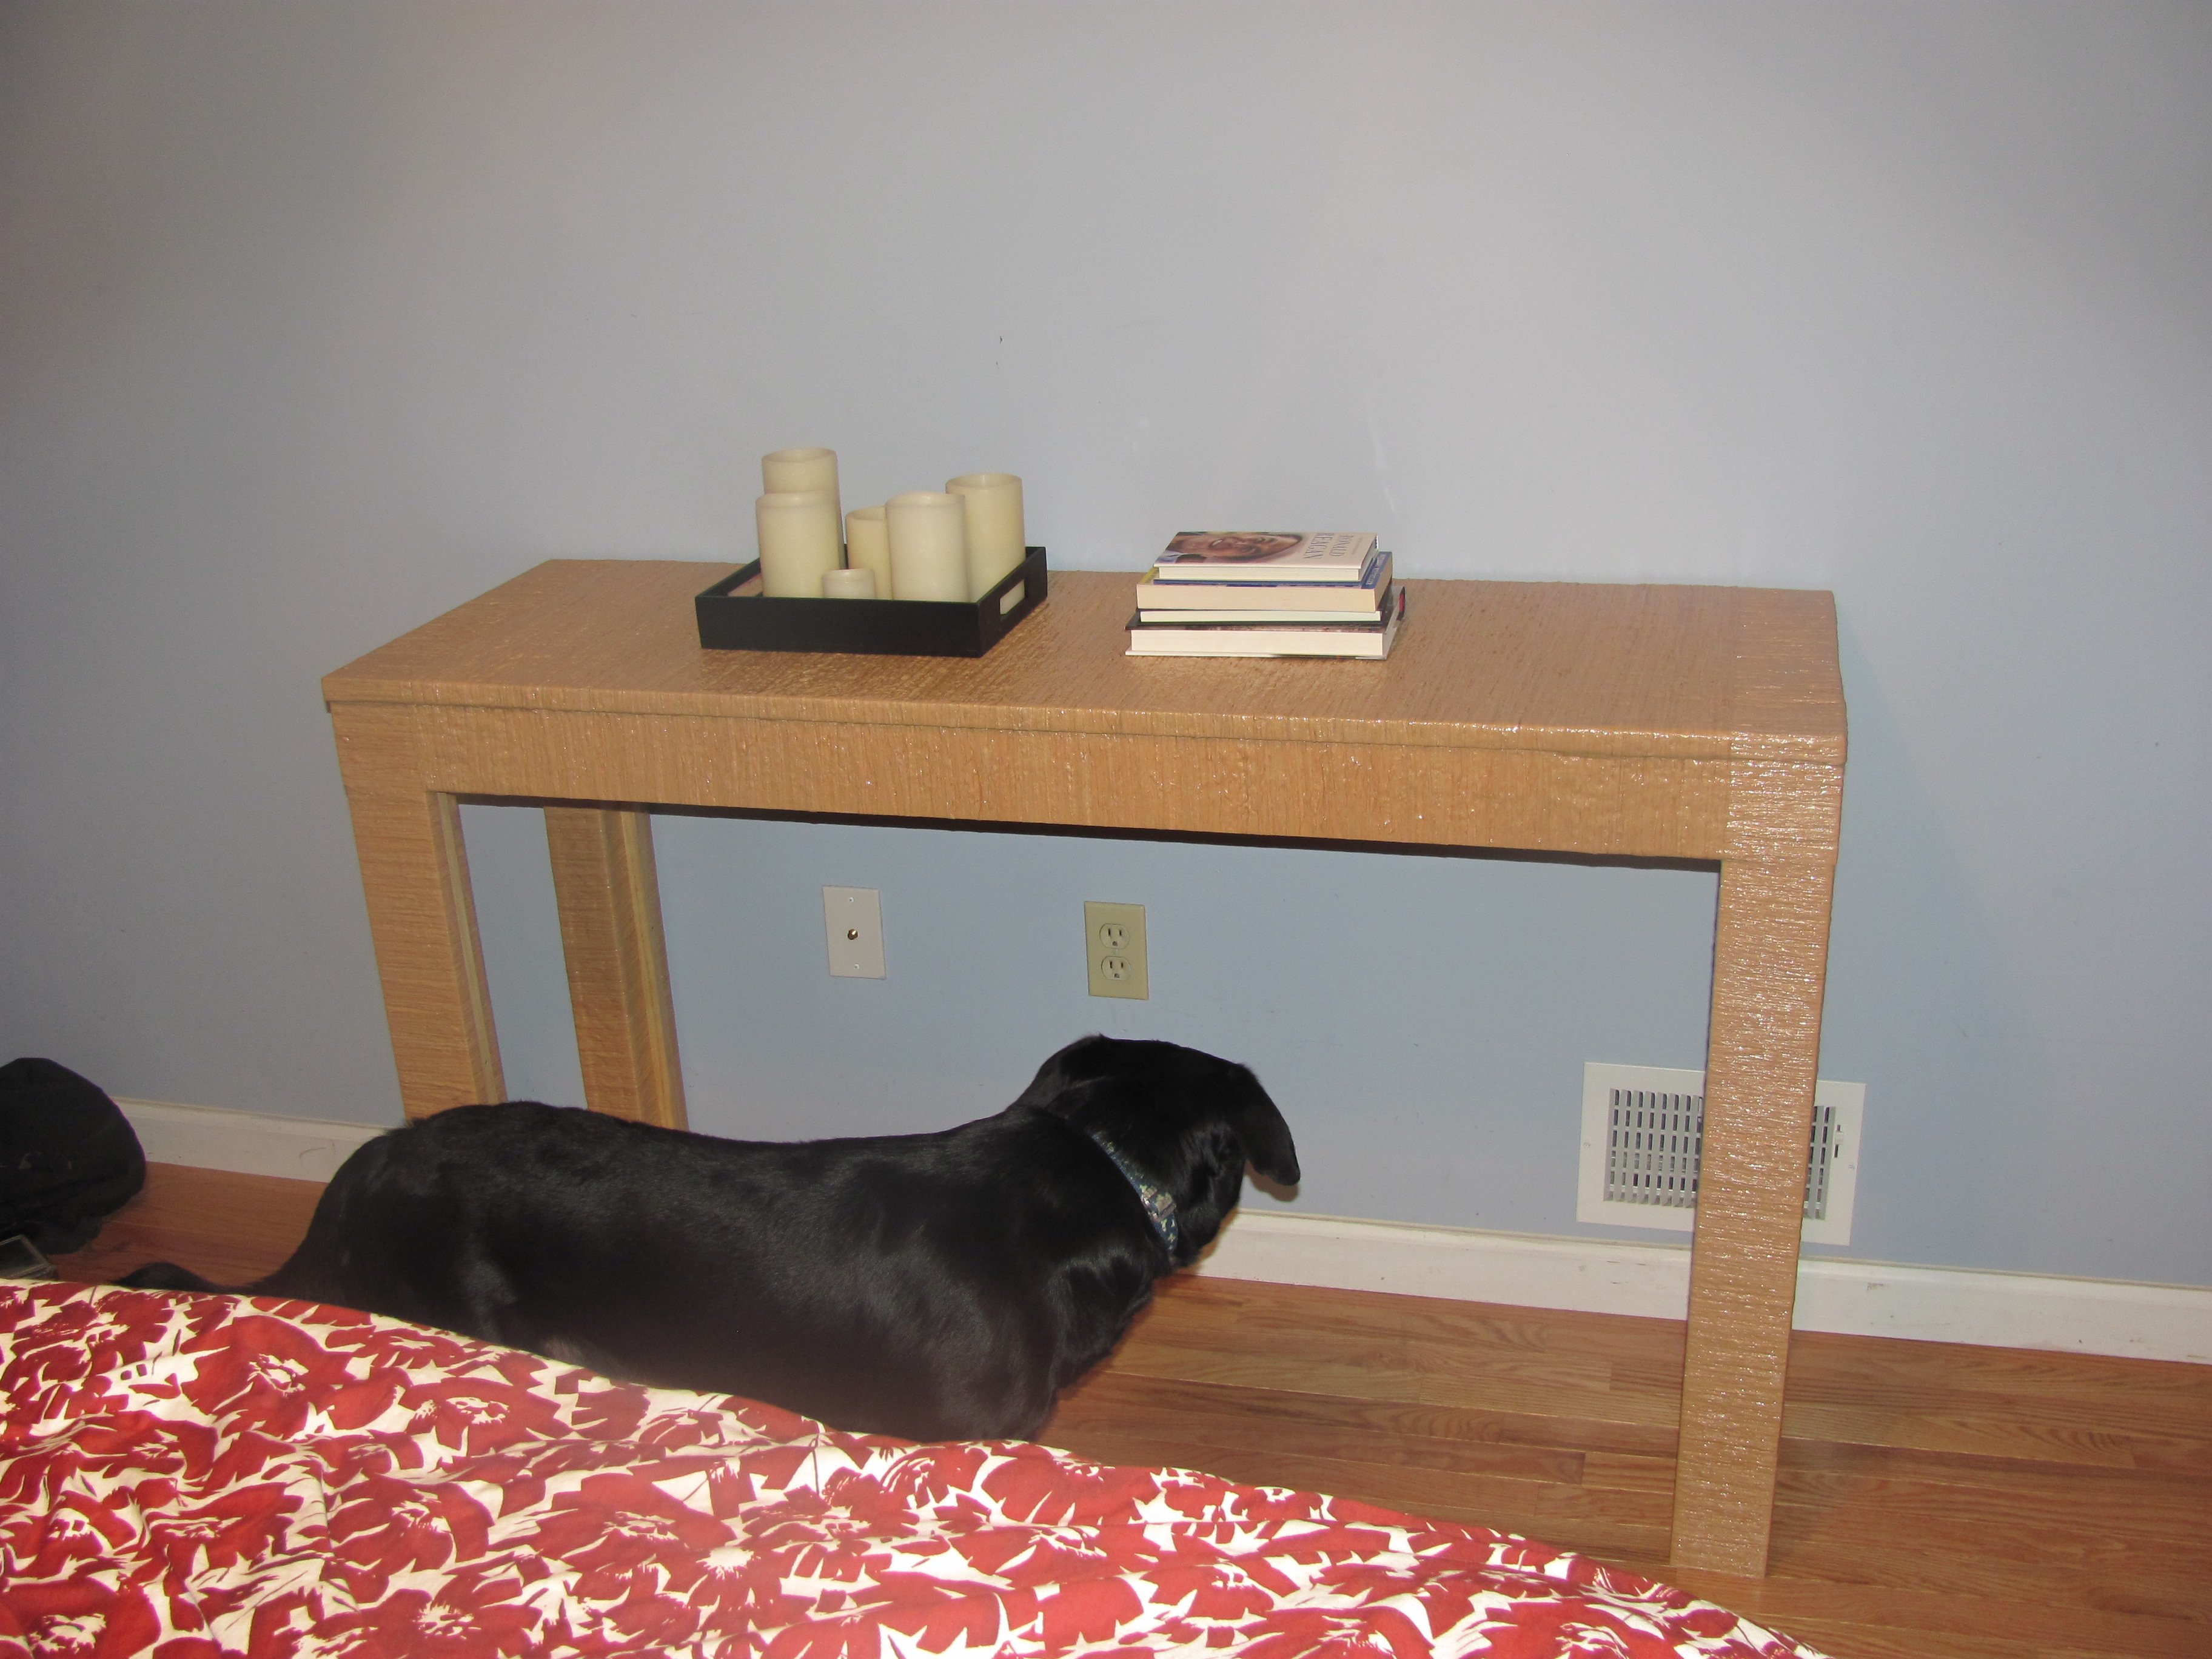
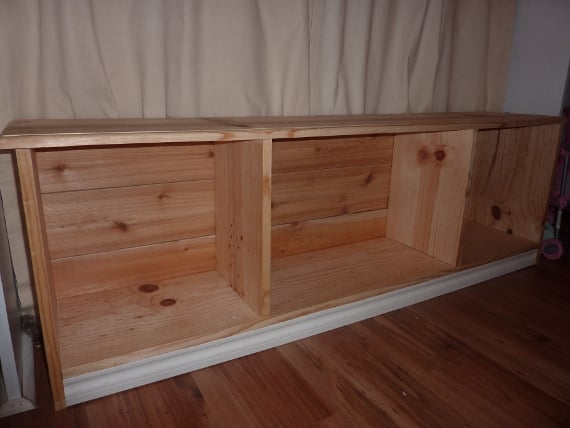
Leaning Shelf
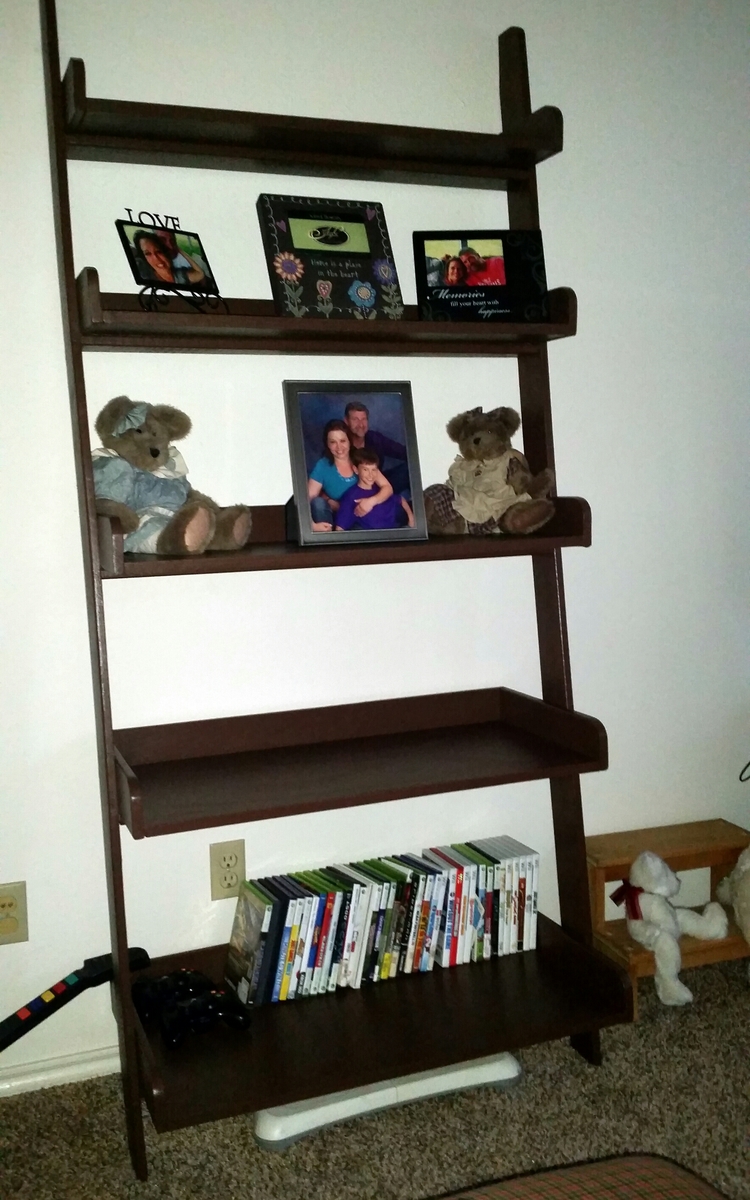
This was my first project and we think it turned out great..Thank you for sharing your plans and showing that anyone can do this.
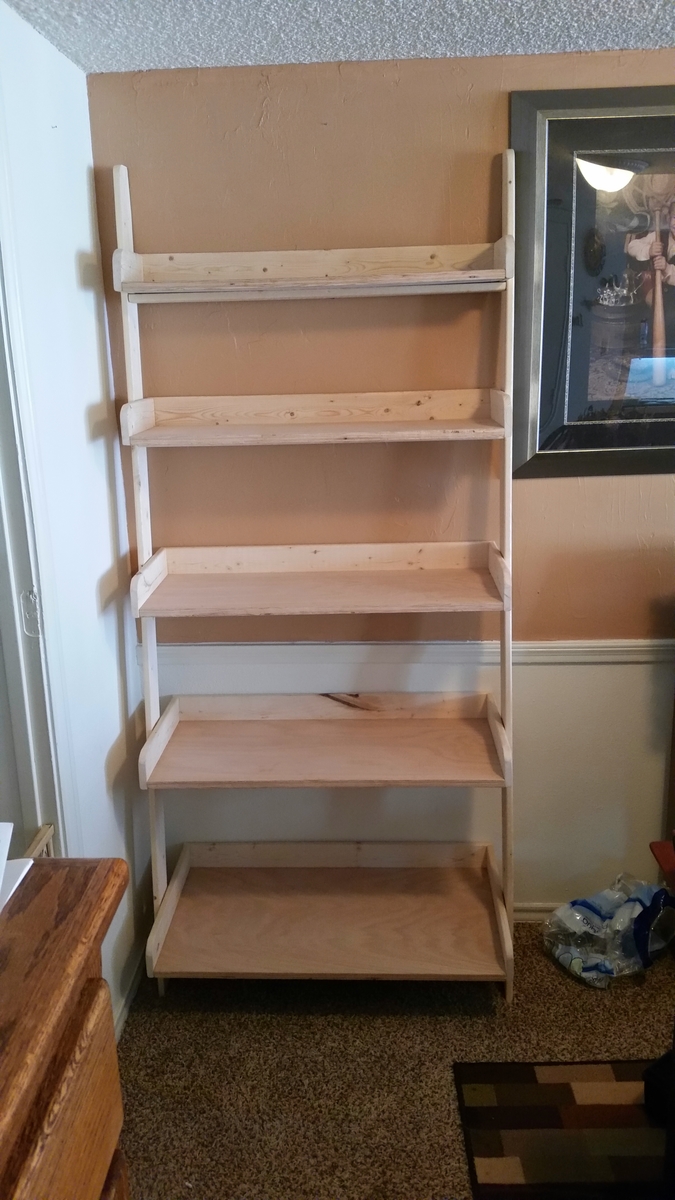
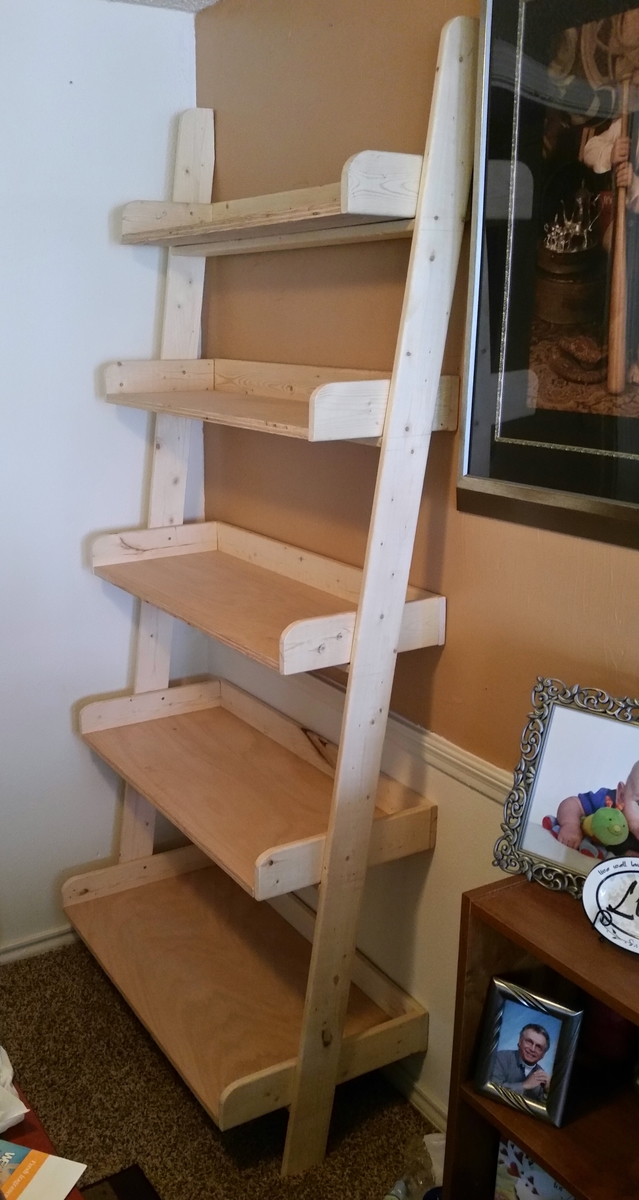
Built from Plan(s)
Estimated Cost
50.00
Estimated Time Investment
Weekend Project (10-20 Hours)
Finish Used
Chocolate Fudge Truffle satin paint.
Recommended Skill Level
Beginner


