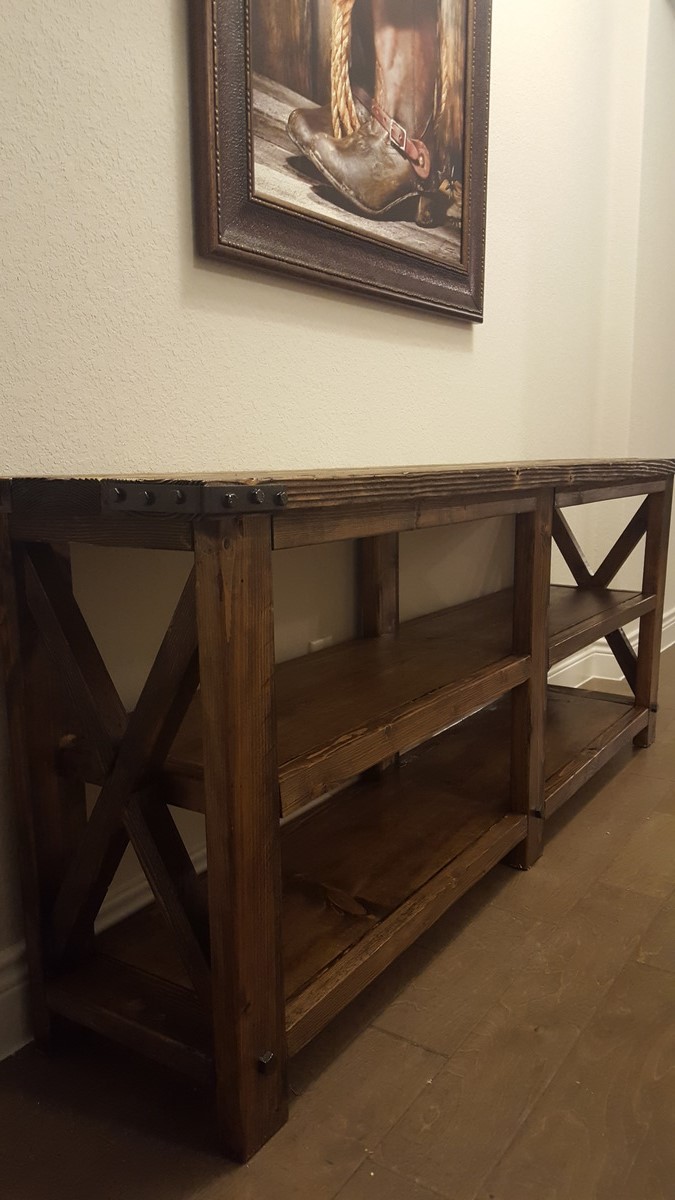
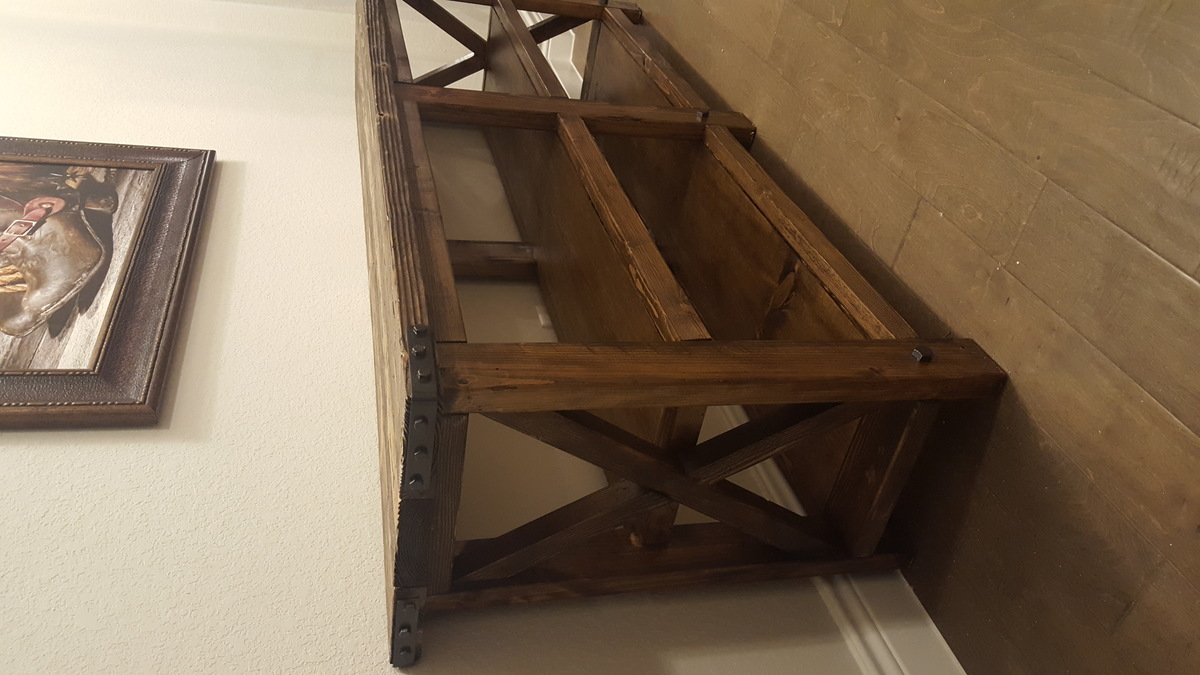
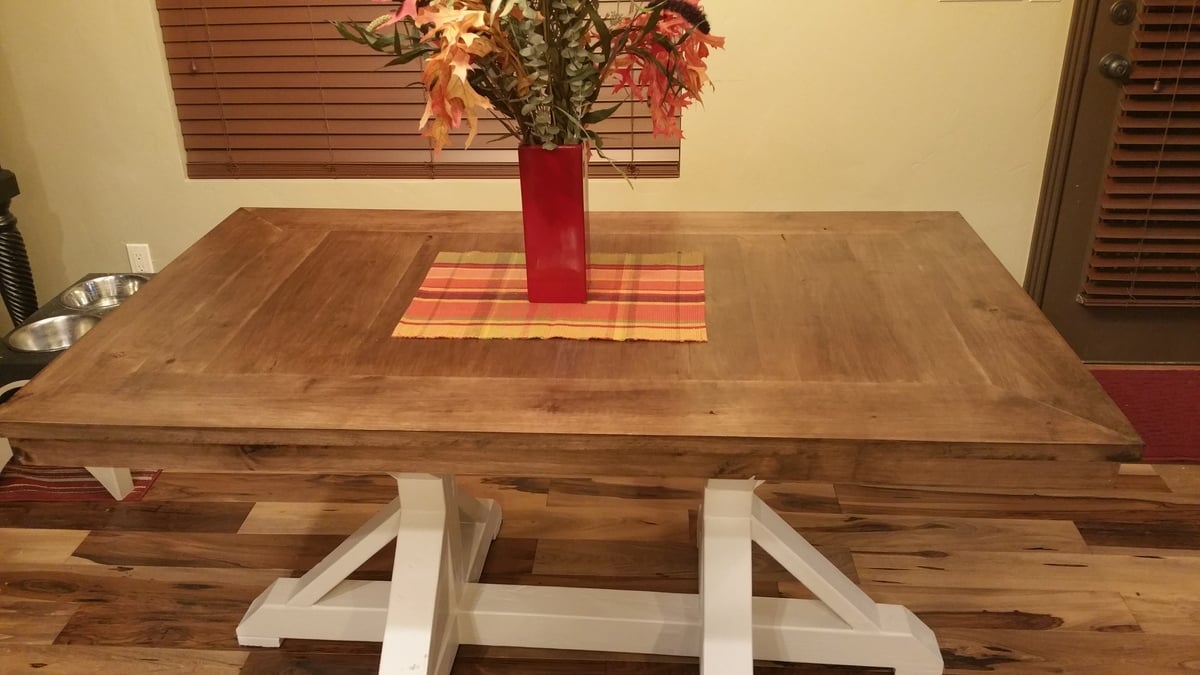
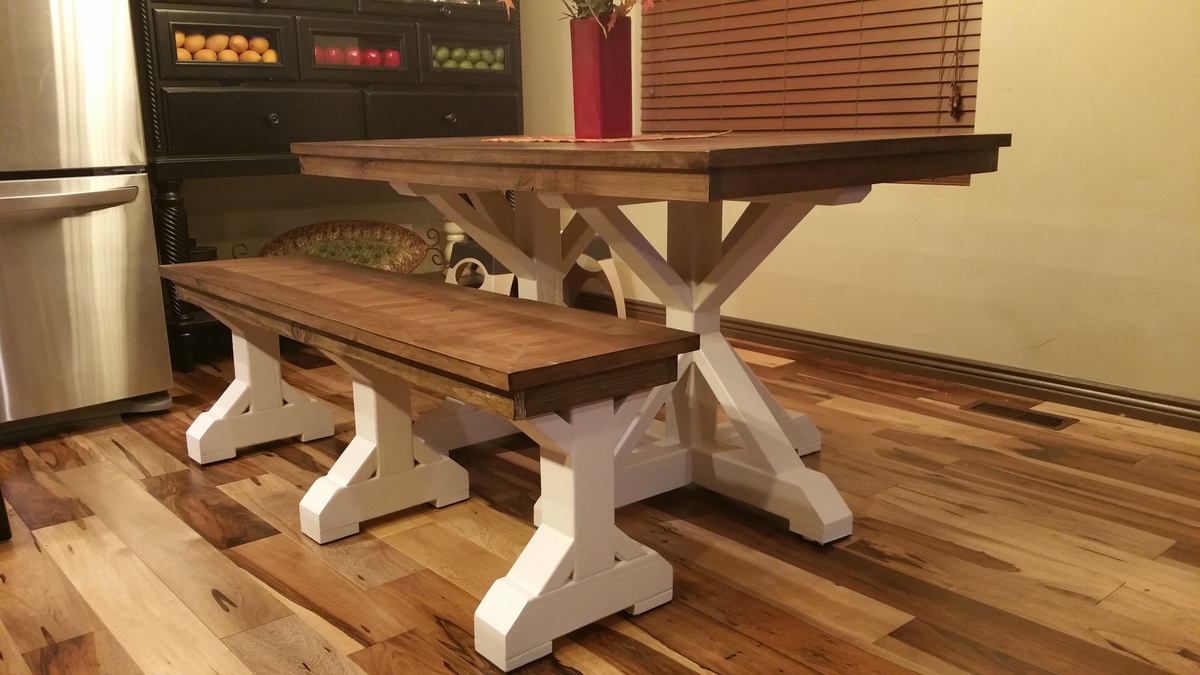
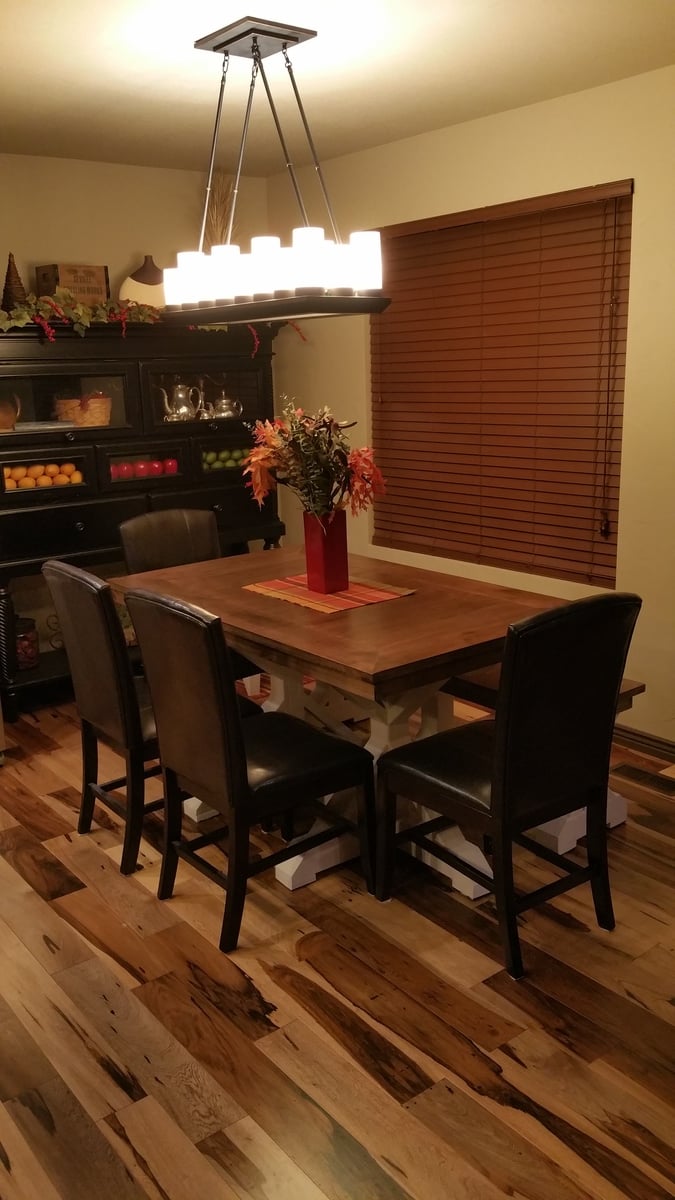
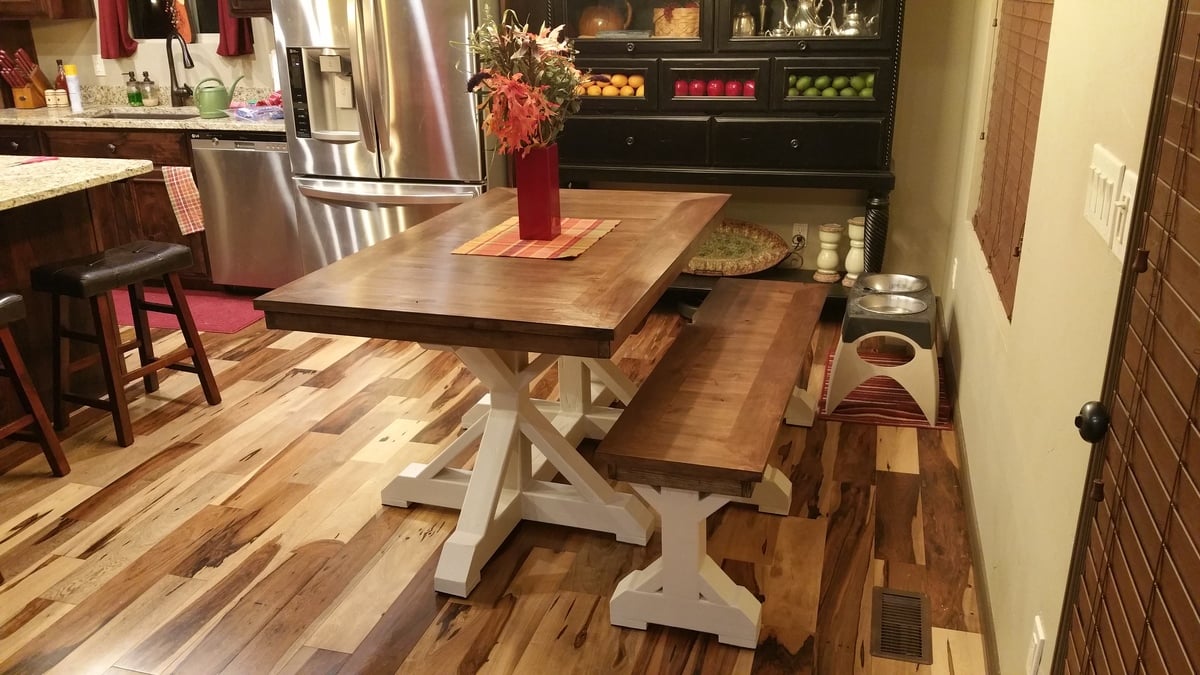
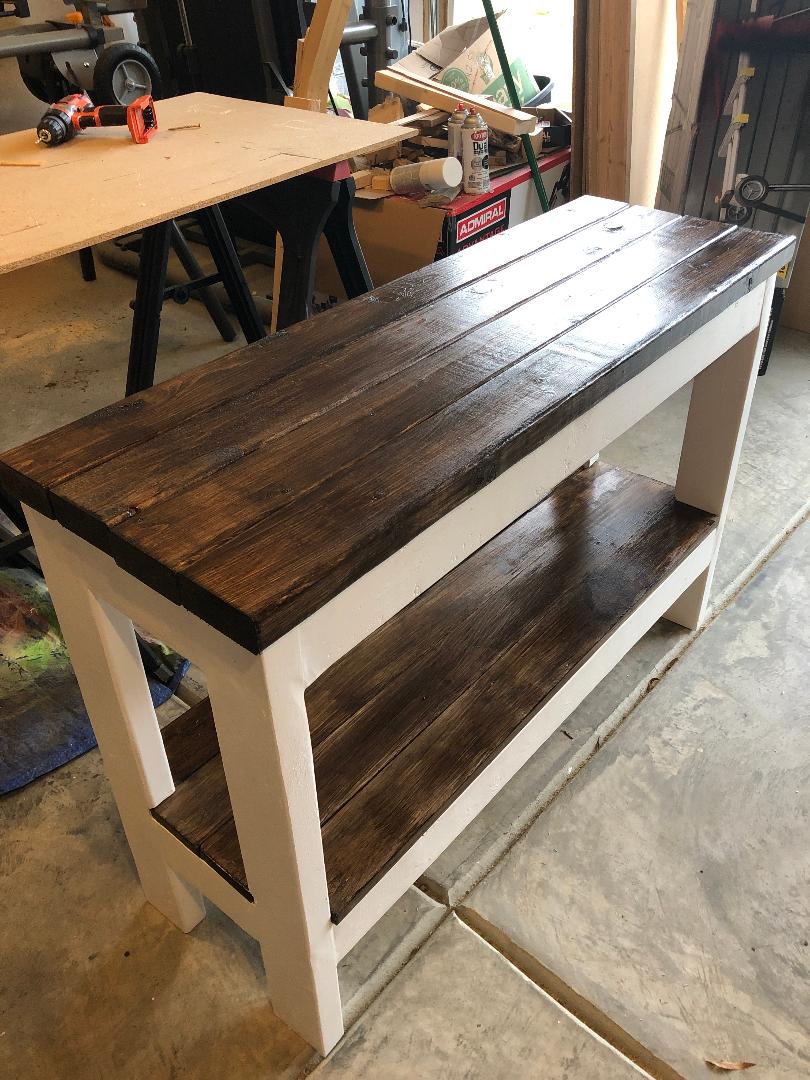
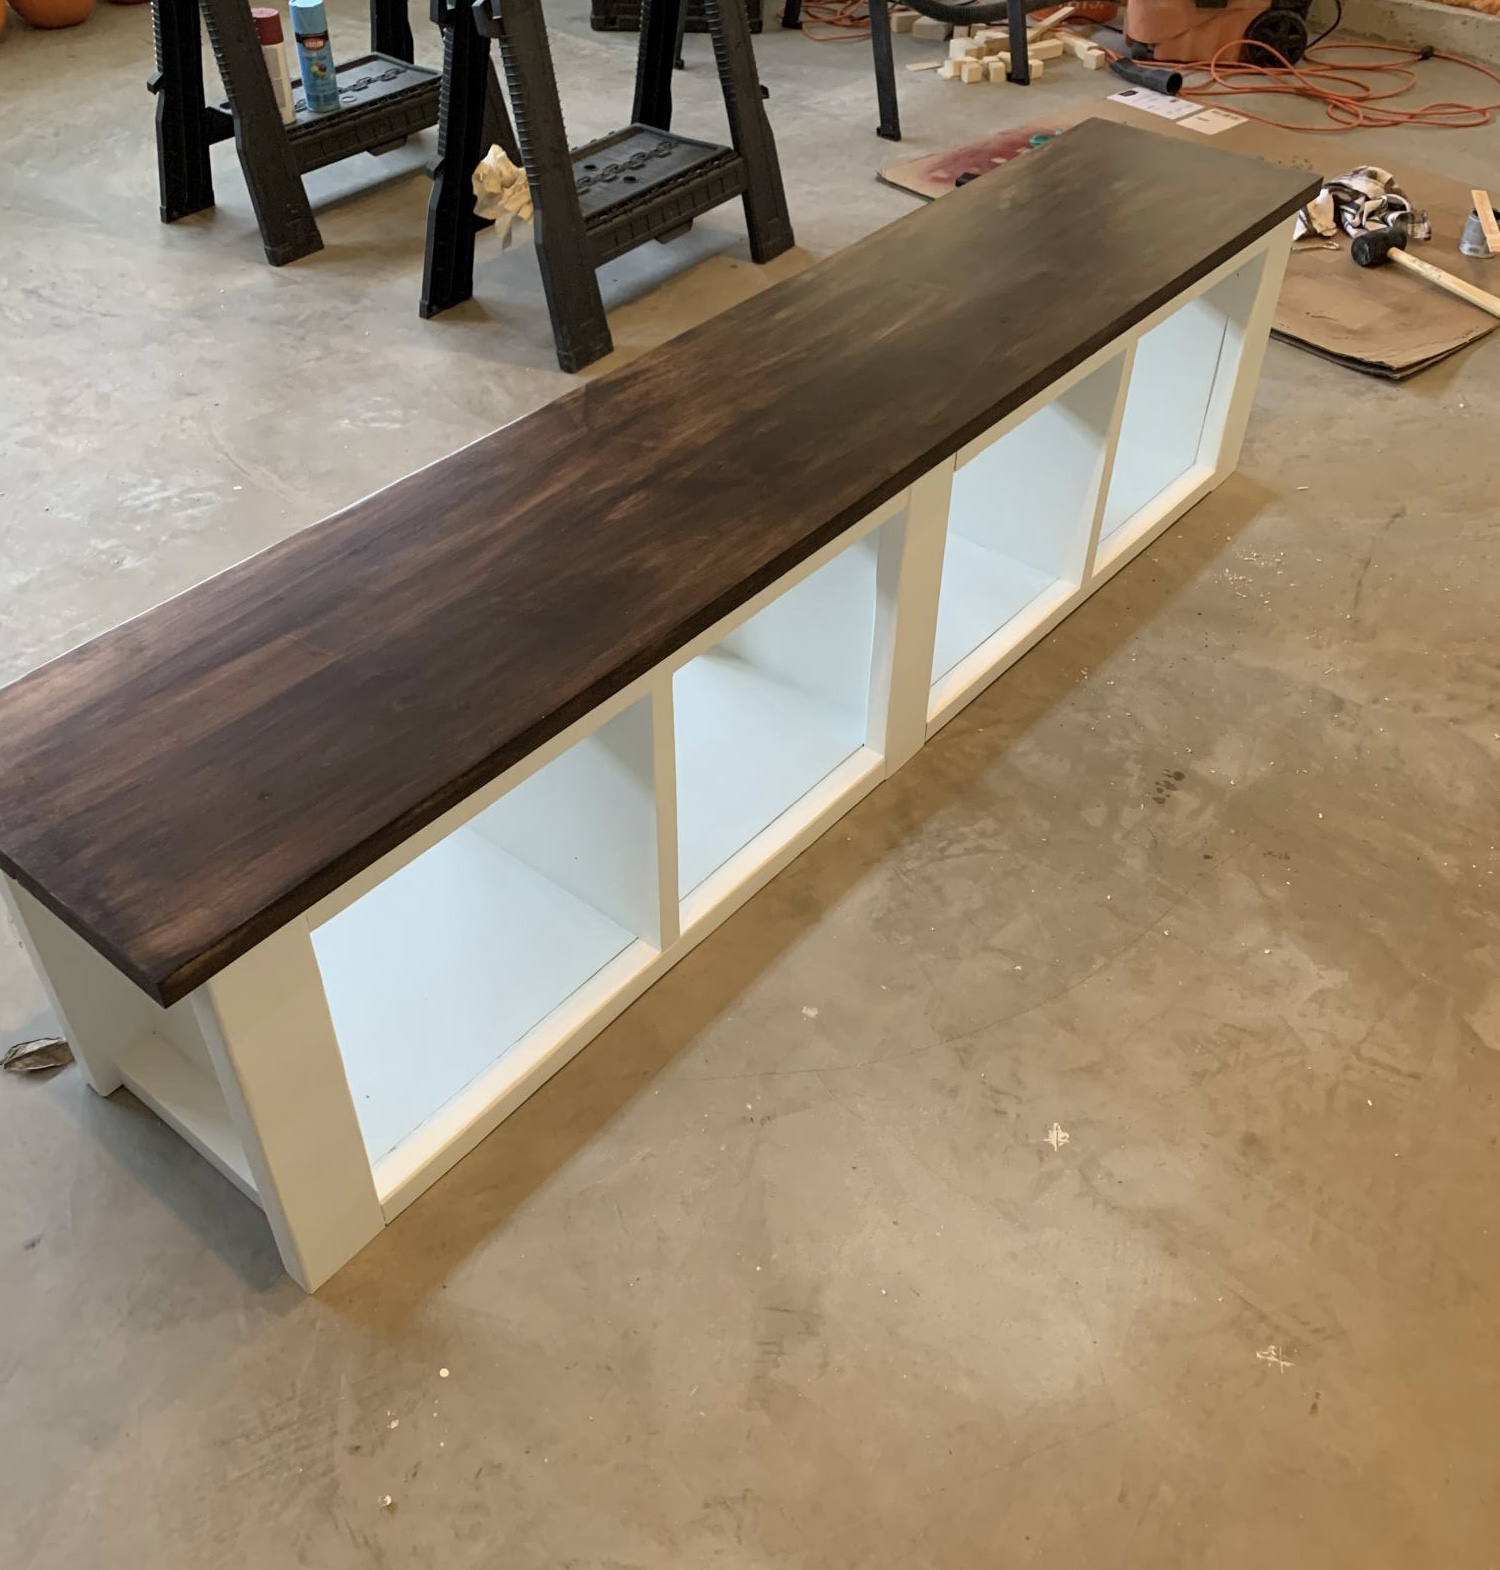
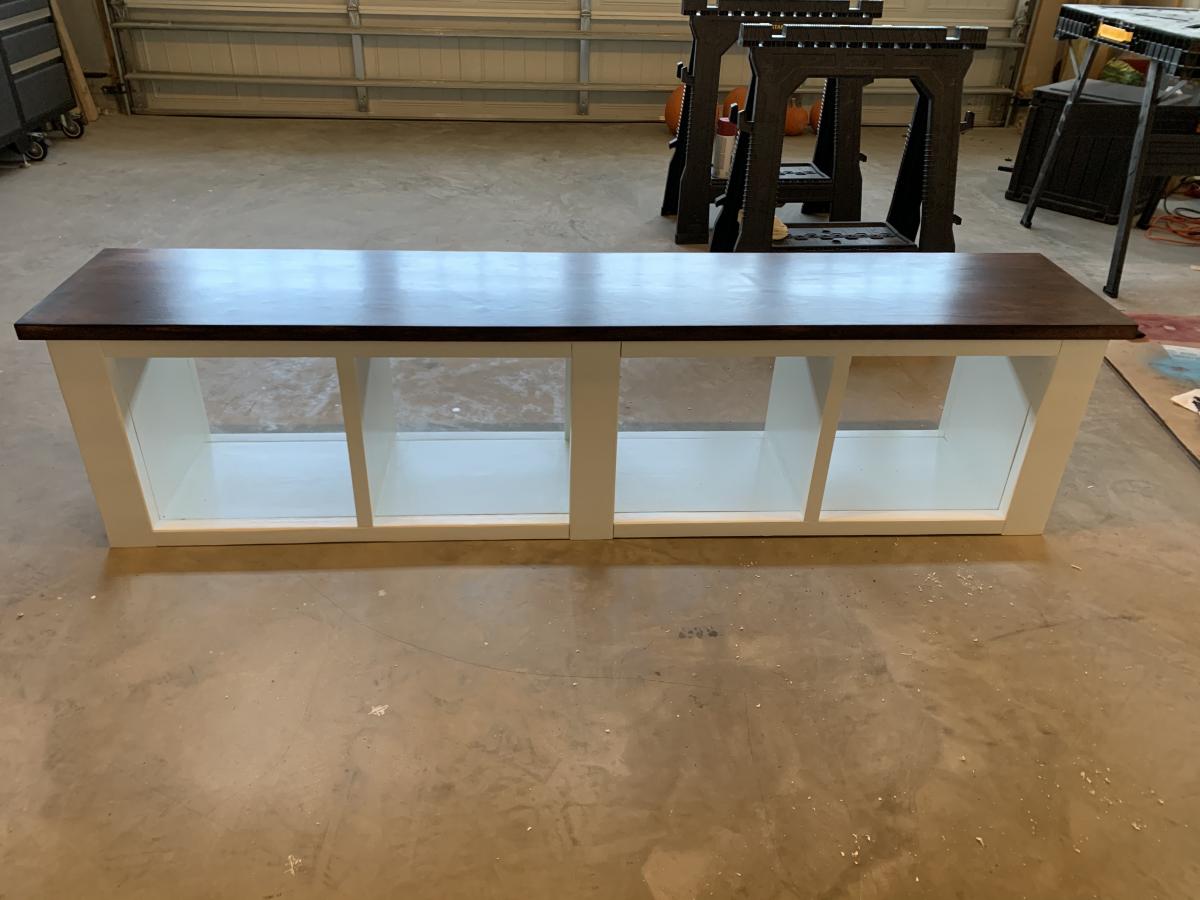
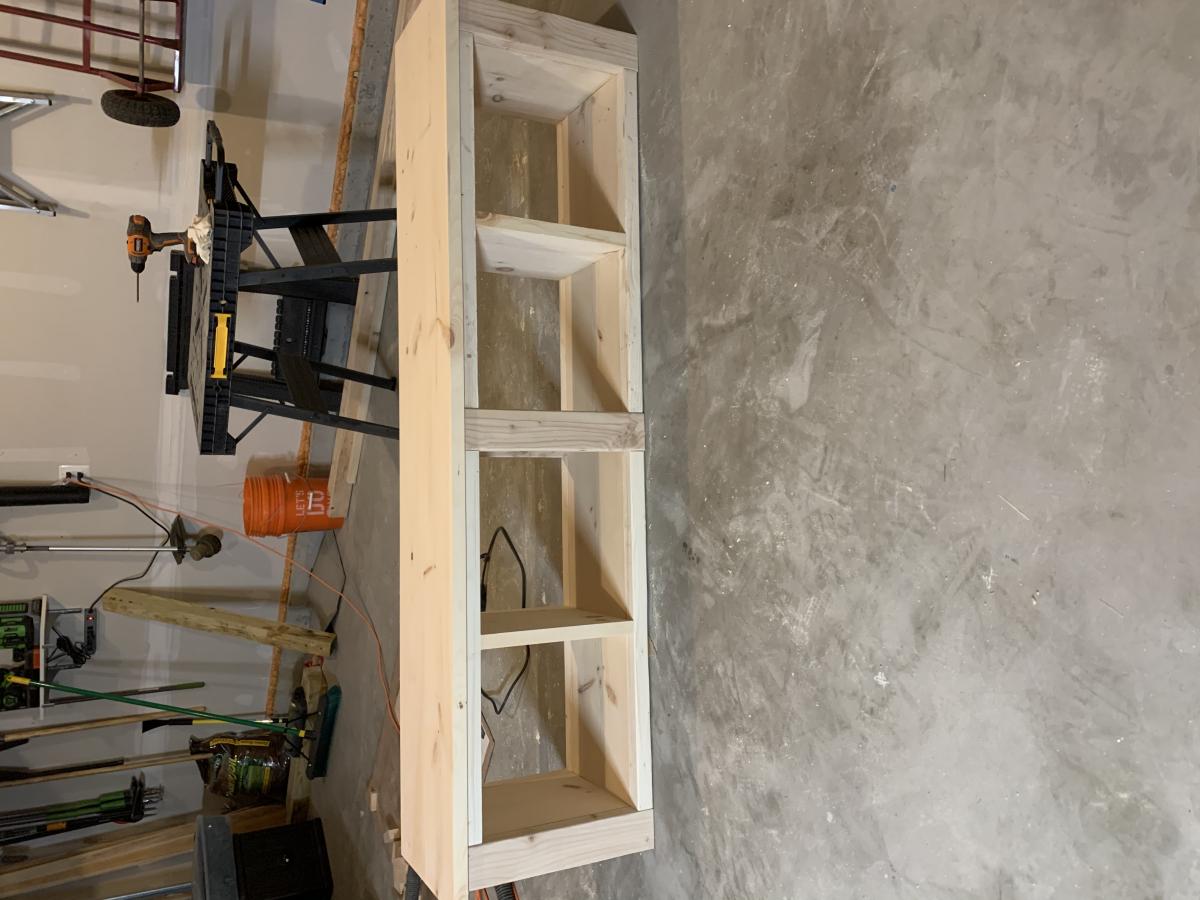
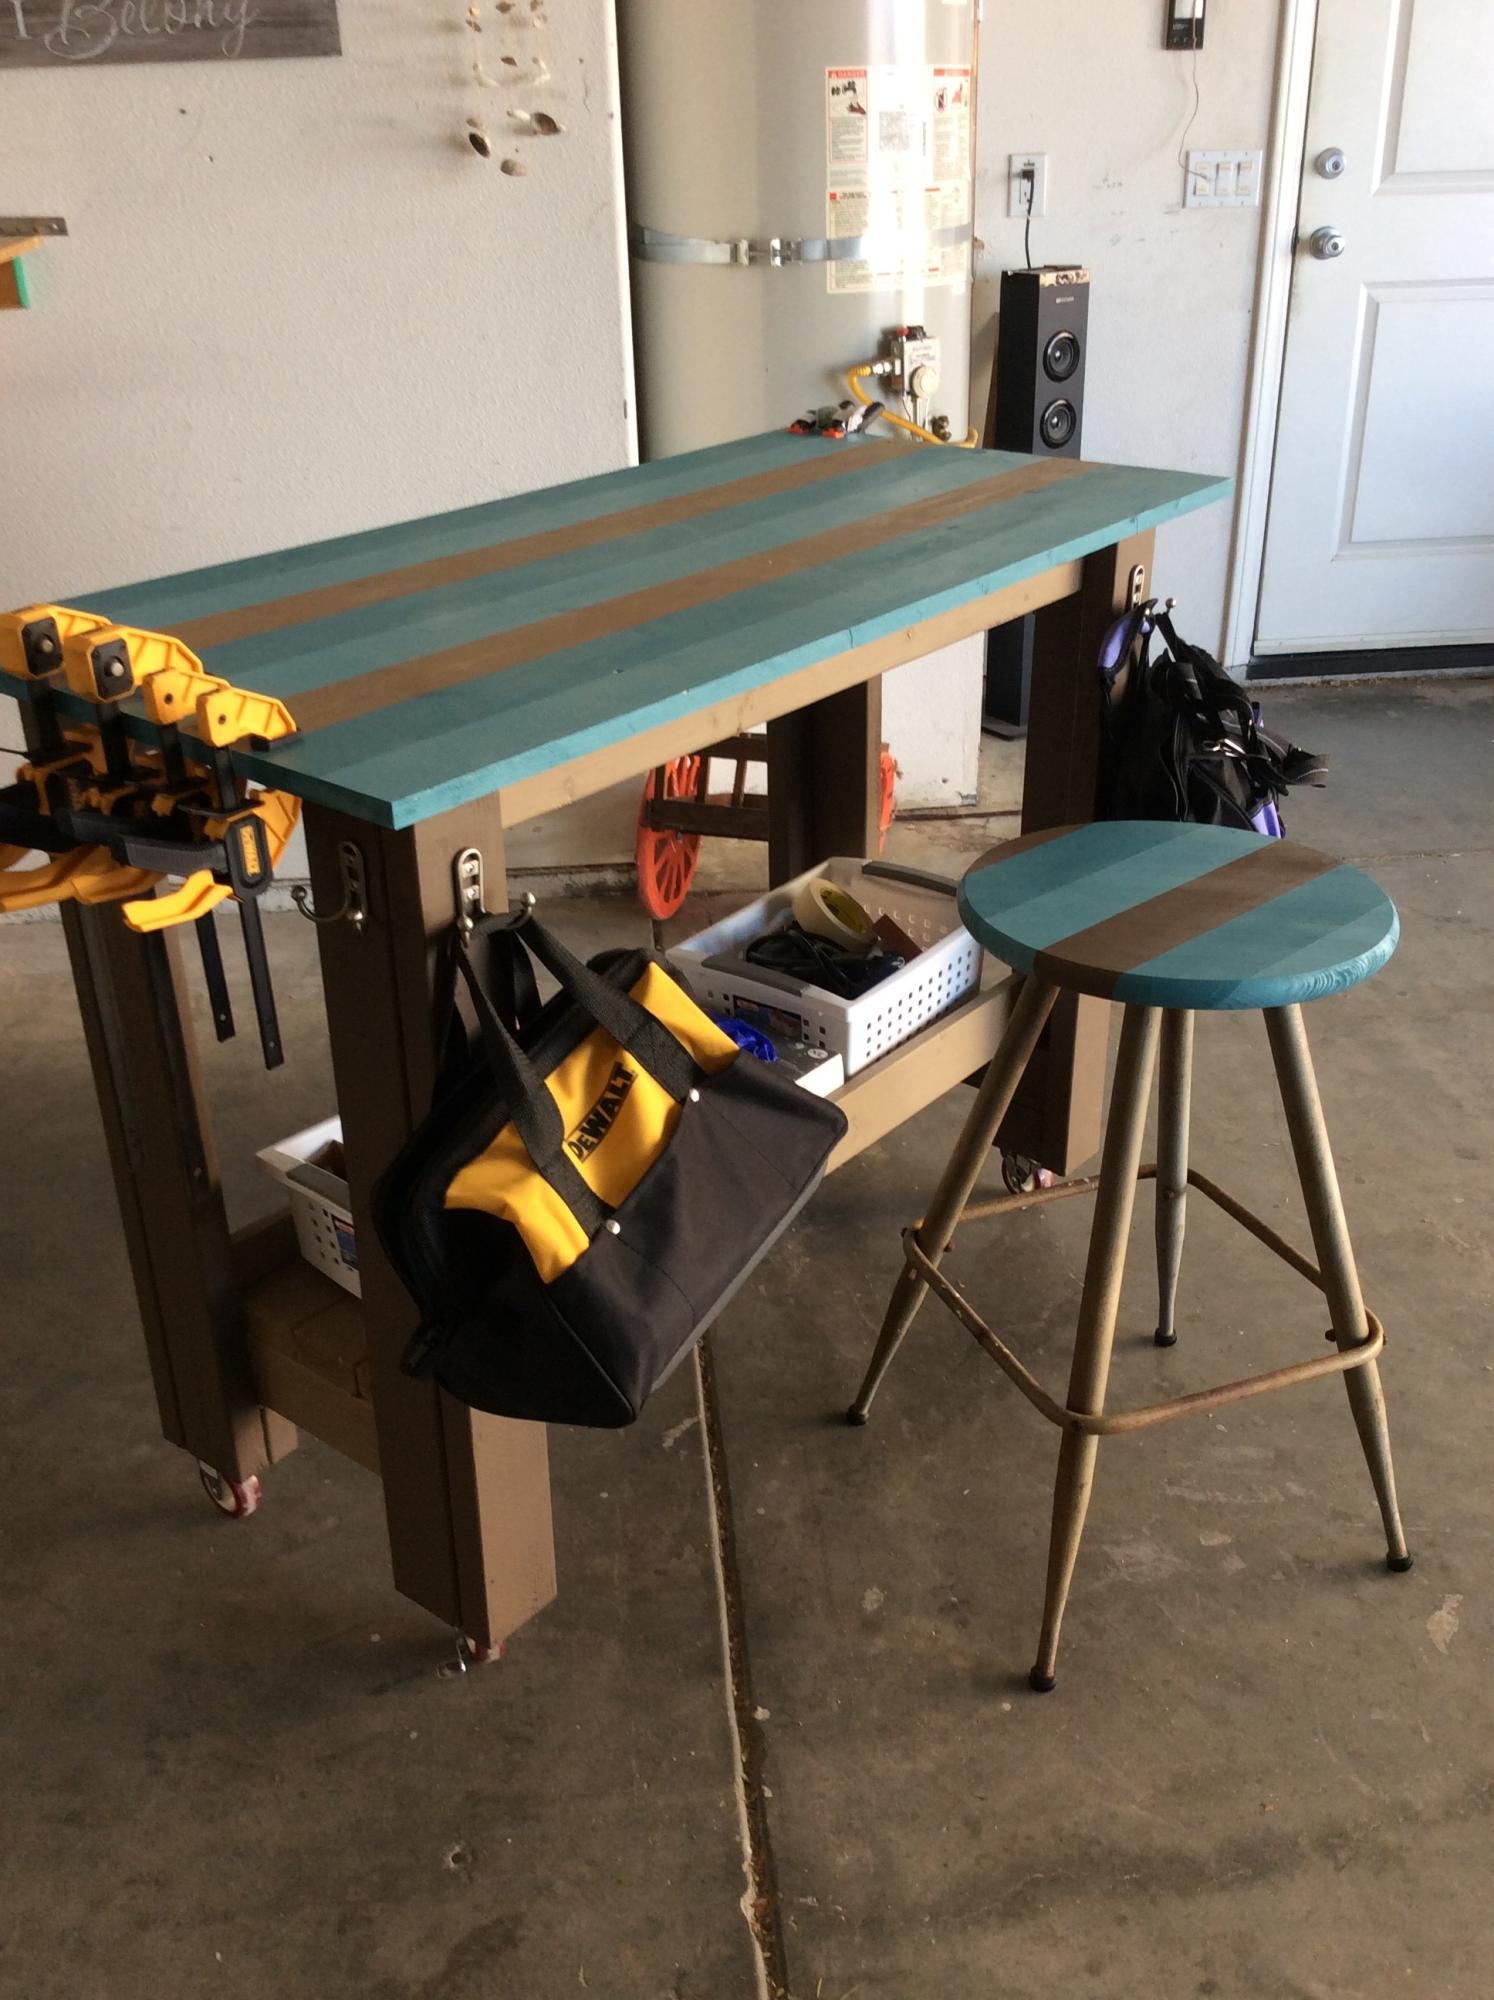
Community Brag Posts

Camp Loft Bed with Matching Doll Sized Loft Bed

Submitted by lisatw on Tue, 08/20/2013 - 17:20

We made this loft bed for my daughter's 4th birthday. I did all of the cuts, sanding, and painting on my own, and had my husband help me with the assembly of the bed. It took us 2 full days to complete this build. The sanding and painting was the most tedious part of the project. I think it cost us about $150 for all of the lumber, paint, screws, etc.

My daughter's really into playing with 18" dolls right now, so I decided to make a mini version of her loft bed for her dolls. I think it turned out really well and she absolutely loves it! The doll sized loft bed only cost about $15 to make (including wood, foam for the mattress and fabric). You can't beat that price for a wooden doll bed...and what little girl wouldn't love a matching bed for her dolls?!?!

I'm so happy with how both beds turned out!

Estimated Cost
$150
Estimated Time Investment
Weekend Project (10-20 Hours)
Finish Used
Semi-gloss paint
Recommended Skill Level
Beginner

Comments

JoanneS

Tue, 08/20/2013 - 18:32

This looks awesome! Love the pink on the steps. And the matching doll bed, how cute is that?! :) Great job!

Mail Organizer - a modified version of the numbered cubbies

Submitted by kelli224 on Thu, 08/11/2011 - 18:28

I was in desperate need of a mail organizer and knew when I saw the the plans for the numbered cubbies that it would be perfect with some modifications. The best part of this project was that it was free...all from scraps and done in less than a couple hours.

Built from Plan(s)
Estimated Cost
FREE - totally made from scraps and paint I had around the house
Estimated Time Investment
An Hour or Two (0-2 Hours)
Finish Used
A coat of black spray paint and then a coat of white. I painted on the letters and then sanded everything. I used a brown/gray glaze to tone down the white.
Recommended Skill Level
Starter Project

Comments

kelli224

Wed, 08/31/2011 - 15:22

Thank you! This little box has really been handy and keeps everything so tidy. EmileeA - It is 19" long, the back is 8", and the front is 5.5". The divider is 11.25" from the left side. Hope that helps!

Sarakas

Tue, 12/17/2013 - 17:31

hi there! I ve been working on a small cubby shelf similar to this and was interested in seeing how /where you joined the boards- ex. The front board (5.5ft) to the dividers... I don't see and nails or screws! I'm guessing you applied wood filler atop the nailheads. But I'm having trouble joining my boards and if you can kindle let me know where you attached the front board to dividers w nails or was it just glue?!? Thanks so much!

4x4 Truss Beam table

Submitted by dlachance on Sun, 09/04/2022 - 10:08

I went a little more high end for the table top, but really like the design for the frame

Built from Plan(s)

Comments

Lounger Sofa by Mark

Submitted by Anonymous (not verified) on Fri, 10/07/2022 - 09:11

Just wanted to share the results of the sectional I built with your plans. 

I’m new to woodwork, newly retired, built these for my daughters, with a twist, she wanted a lounger sofa, hope you like. 

lounge sofa

outdoor lounge sofa

Comments

Closet shelves

Submitted by mom of 4 on Thu, 09/19/2013 - 22:12

I needed to use my small coat closet more efficiently (observe the disaster in the before picture!), so I installed built-in shelves along a side wall for all our board games. Not a plan really, but just a simple solution. Measure the height you want your shelves to be, install a 1X3 at that height on either side wall, making sure they are level and secured to studs or anchored (Mine are 1 foot apart up to 5 feet). Then install plywood or solid wood shelves across the supports. Screw in to secure and you've got functional, inexpensive shelving, built to fit your unique space.

Estimated Cost
Scraps or the cost of 1 sheet plywood and 1 1X3 or 1X4.
Estimated Time Investment
An Hour or Two (0-2 Hours)
Finish Used
It's all just bare wood.
Recommended Skill Level
Beginner

Sideboard

Submitted by Anonymous (not verified) on Mon, 01/21/2019 - 23:48

Really enjoyed making this! Thank you for the plans Ana White! 

Built from Plan(s)
Estimated Cost
250.00
Estimated Time Investment
Weekend Project (10-20 Hours)
Finish Used
Rustoleum Chalked linen white with gloss finish.
Recommended Skill Level
Intermediate

Comments

Bedside Tables

Submitted by sophie on Mon, 09/05/2011 - 13:22

I built two of these bad boys!
I used the cheapest spruce wood as I knew I was going to paint them.
Not sure how much everything cost in the end - maybe €50. Am making 2 beds to go with them too but they'll be a little longer in the pipeline!
I cut the wood myself using my circular saw and joined the wood with pockethole screws.
I painted the tables white and then used a chestnut brown woodstain on the table tops, shelf and knob.
Hard to say how long it took me as I just did a bit every now and again when I had a bit of time.

Built from Plan(s)
Finish Used
White paint and chestnut brown woodstain
Recommended Skill Level
Starter Project

Channing Bookcase

Submitted by plumbguy on Mon, 12/07/2015 - 14:40

I'm a better plumber than a carpenter.

Built from Plan(s)
Estimated Time Investment
Weekend Project (10-20 Hours)
Finish Used
Paint & Poly
Recommended Skill Level
Beginner

Adirondack Stool using Metric Units

Submitted by Anonymous (not verified) on Mon, 01/28/2019 - 00:32

My very first woodworking project. Had to convert all plans to metric units and adapt to available wood stocks in Bucharest. If you want details, don't hesitate to contact me.

Built from Plan(s)
Estimated Cost
15 EUR (excl. tools)
Estimated Time Investment
Week Long Project (20 Hours or More)
Finish Used
insulation primer + varnish
Recommended Skill Level
Starter Project

Shoe Dresser

Submitted by jerryh729 on Tue, 12/13/2022 - 09:40

Added drawer and base to Ana's plan

Built from Plan(s)

Comments

Sofa Table

This is the first piece of furniture we've ever built and we are hooked.  We used a 2x12x6 for the top and 1.5x1.5 for all the support.  We just measured the height of our couch and away we went.  This table is so sturdy and fills a need in our home. My husband and I enjoyed spending the afternoon putting this together.  I did a color wash on the wood instead of stain.  We came in well over the price point, but that is due to where we live.  

Estimated Time Investment
Afternoon Project (3-6 Hours)
Finish Used
Color wash
Recommended Skill Level
Beginner

Nice easy farmhouse table

Submitted by Anonymous (not verified) on Sun, 02/03/2019 - 10:15

I added four coats of polyurethane on top of a American Walnut stain.

Estimated Time Investment
Day Project (6-9 Hours)
Recommended Skill Level
Intermediate

Charcuterie Board

Submitted by Anonymous (not verified) on Wed, 12/28/2022 - 15:27

Made a this for my step-daughter and her husband for Christmas. Love your projects, and am learning to do everything on my own which is so empowering thank you for sharing and encouraging all us girls we can do it!

Comments

My Farmhouse Dining Table

Submitted by LinzFritz on Wed, 09/14/2011 - 19:28

I love my new table! My wood was a little bit warped for the tabletop, so that's where I ran into the most problems, but I used a hand planer to smooth it down and it turned out perfectly!

Estimated Cost
$150
Estimated Time Investment
Weekend Project (10-20 Hours)
Finish Used
Minwax Dark Walnut, Semi-Gloss Polyurethane, and Sherwin Williams Aesthetic White
Recommended Skill Level
Beginner

Comments

Adam (not verified)

Fri, 12/09/2011 - 06:33

Thats quite nice. I'll bet you spent more than half of the time on the finish. Great color choice.

Storage Playtable and Stool

Submitted by Bunhash on Sun, 09/29/2013 - 19:32

This was a really fun starter project for me. I've never made furniture before and I ran into some issues, but I learned a lot and enjoyed myself! My husband and I live with my Father-in-Law who has all the tools I needed (though I'm going to purchase my own later on).

The stool and table plans are here: http://ana-white.com/2009/11/plan-kids-large-storage-play-table.html . I modified it slightly because I was using scrap pieces (two doors from a particle board wardrobe). I don't like particle board... but I figured since it's my first try, I wouldn't waste any cash since I had all the stuff here, even the nails and screws.

So I made the table about 2 inches shorter and the stool 1 inch shorter. I also used a rectangle top for the table with one side flush against the table side so I could put the set against a wall (i.e. three sides have overhang, the 4th is equal with the legs).

I painted both sets a dark red orange (my husband's favorite color) and let my daughter put her handprints all over in white paint . She LOVES it. And despite the 'wood' I used was particle board, it's pretty strong. I'm pleased. I will probably make another one with stronger material in the future.

Oh there were a lot of holes and such from the used board and some breaks from being thin, crappy board, but I was able to use filler one a lot of it and glue too. It's hard to tell it was a beginner job from a few feet away! Haha!

Built from Plan(s)
Estimated Cost
$15
Estimated Time Investment
Day Project (6-9 Hours)
Finish Used
High Gloss, Disney Brand Red-Orange Paint. I used 2 layers of primer and two layers of the Disney paint. It seems to be holding up okay.
Recommended Skill Level
Beginner

Modular Doll House Painted

A joint effort between my dad, my husband and I!  I love the way it turned out!  The painting was a little time consuming but totally worth it.  Cannot wait for my daughter to see this on Christmas morning.  My dad even made a little crib and highchair, which are just adorable!

Estimated Time Investment
Week Long Project (20 Hours or More)
Recommended Skill Level
Starter Project

California King Modified

Submitted by Anonymous (not verified) on Fri, 02/08/2019 - 10:48

This was my first furniture build.  Wanted something a little more detailed, so did solid panels, and inset molding into the panels for depth.  I also wanted a taller footboard, so the panel is 18" high instead of the 15" that the plan showed.  Ended up adding some crown molding as well, but mostly to cover up my mistakes.  Also dressed up the side rails by covering them in a matching molding as well.  Didn't want to use box springs, so moved the slats up to the top of the rail, and spaced them with 2" gaps between slats to give maximum support to the mattress.  Since we have a small dog that I tend to trip over in the dark, I ran a 24' rope light along the interior side panels and footboard, and plugged into a wireless switch that I mounted to side of headboard, which I can turn on and off from bed.  Stained it with General Finishes Mahogany Brown and then two coats of poly.  Really happy with the way this turned out!  Can't wait to do some more building, thanks to Ana! :-)

Estimated Time Investment
Week Long Project (20 Hours or More)
Finish Used
General Finishes Brown Mahogany stain and two coats of poly in a glossy finish.
Recommended Skill Level
Beginner

Trash/Recycle Cabinet

Submitted by Anonymous (not verified) on Sat, 01/07/2023 - 07:03

Thanks for the plan Ana… my Christmas break project. Plans were very well done….
Joe in Boston…

Comments