Easy to Build Twin Bed Frame
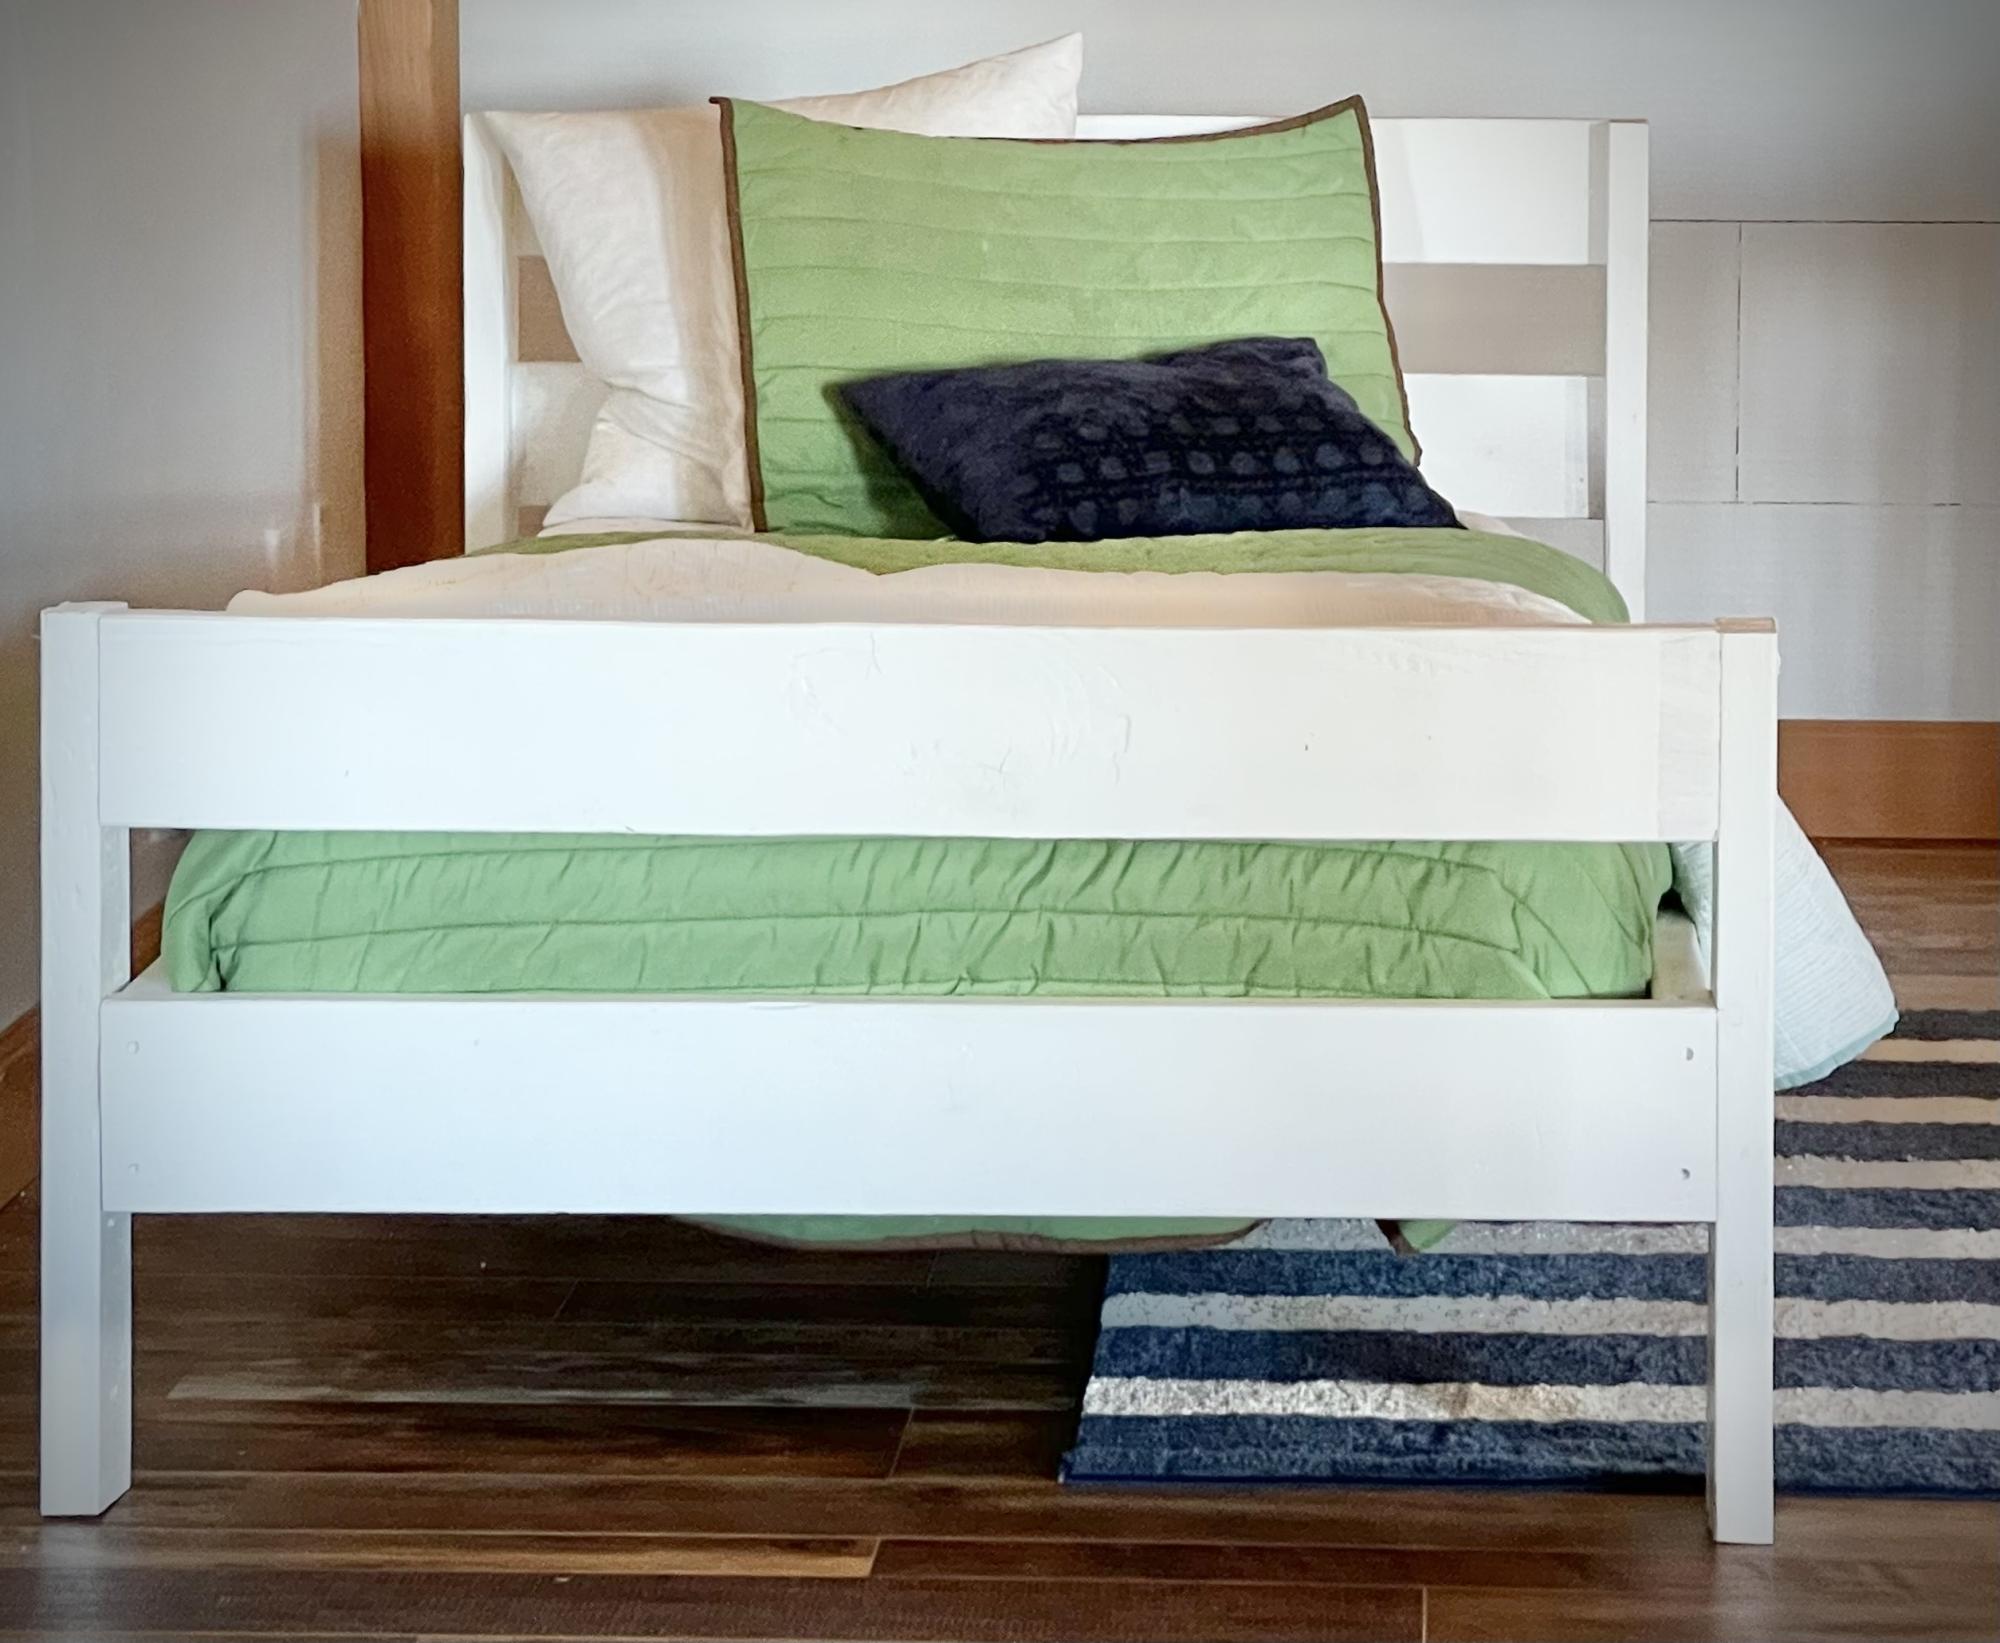
Easy build
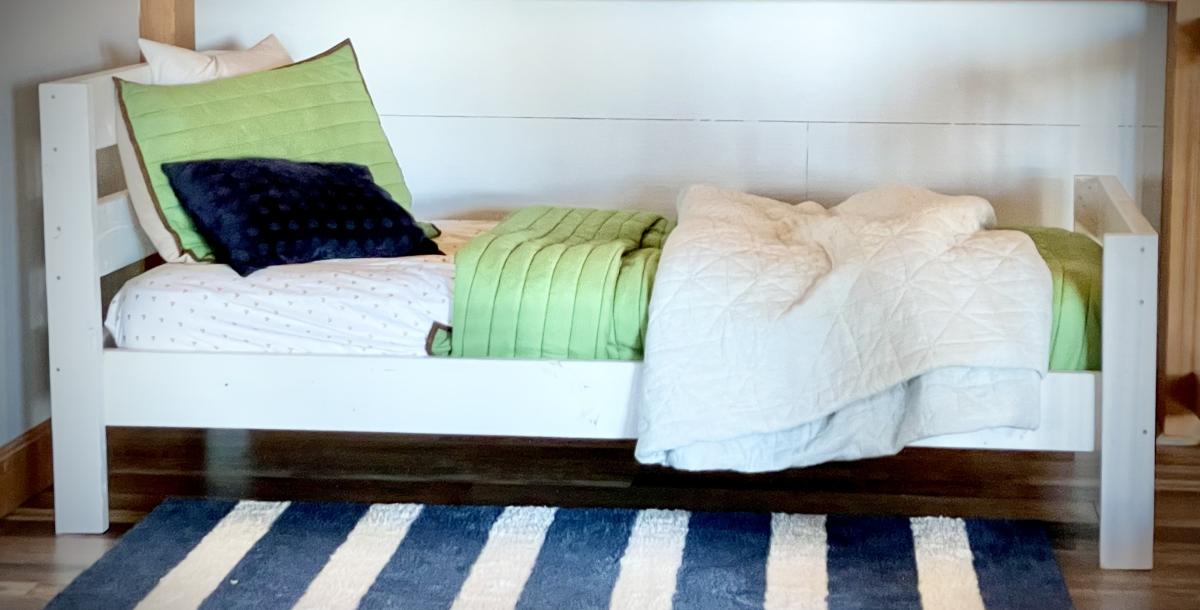
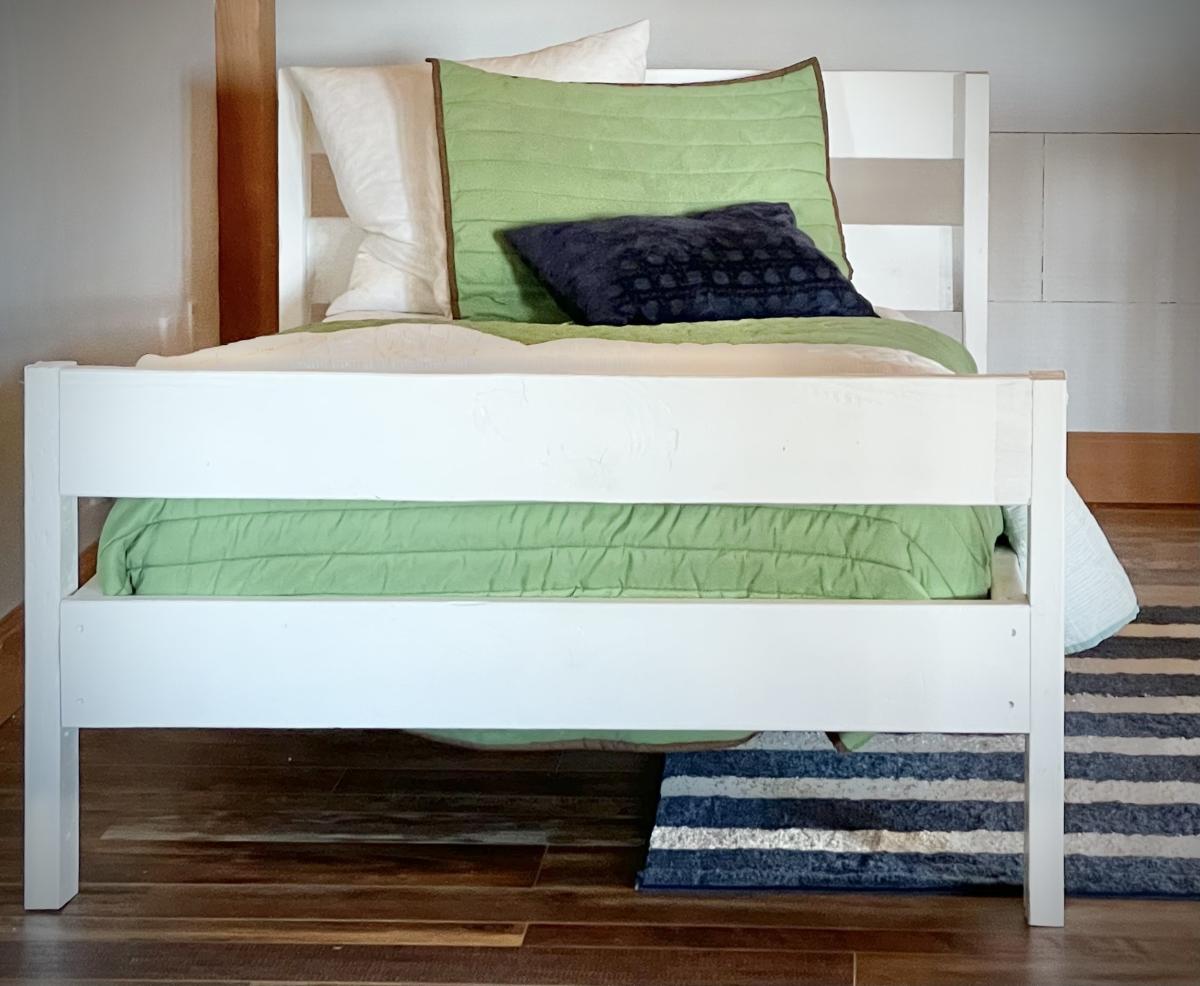

Easy build


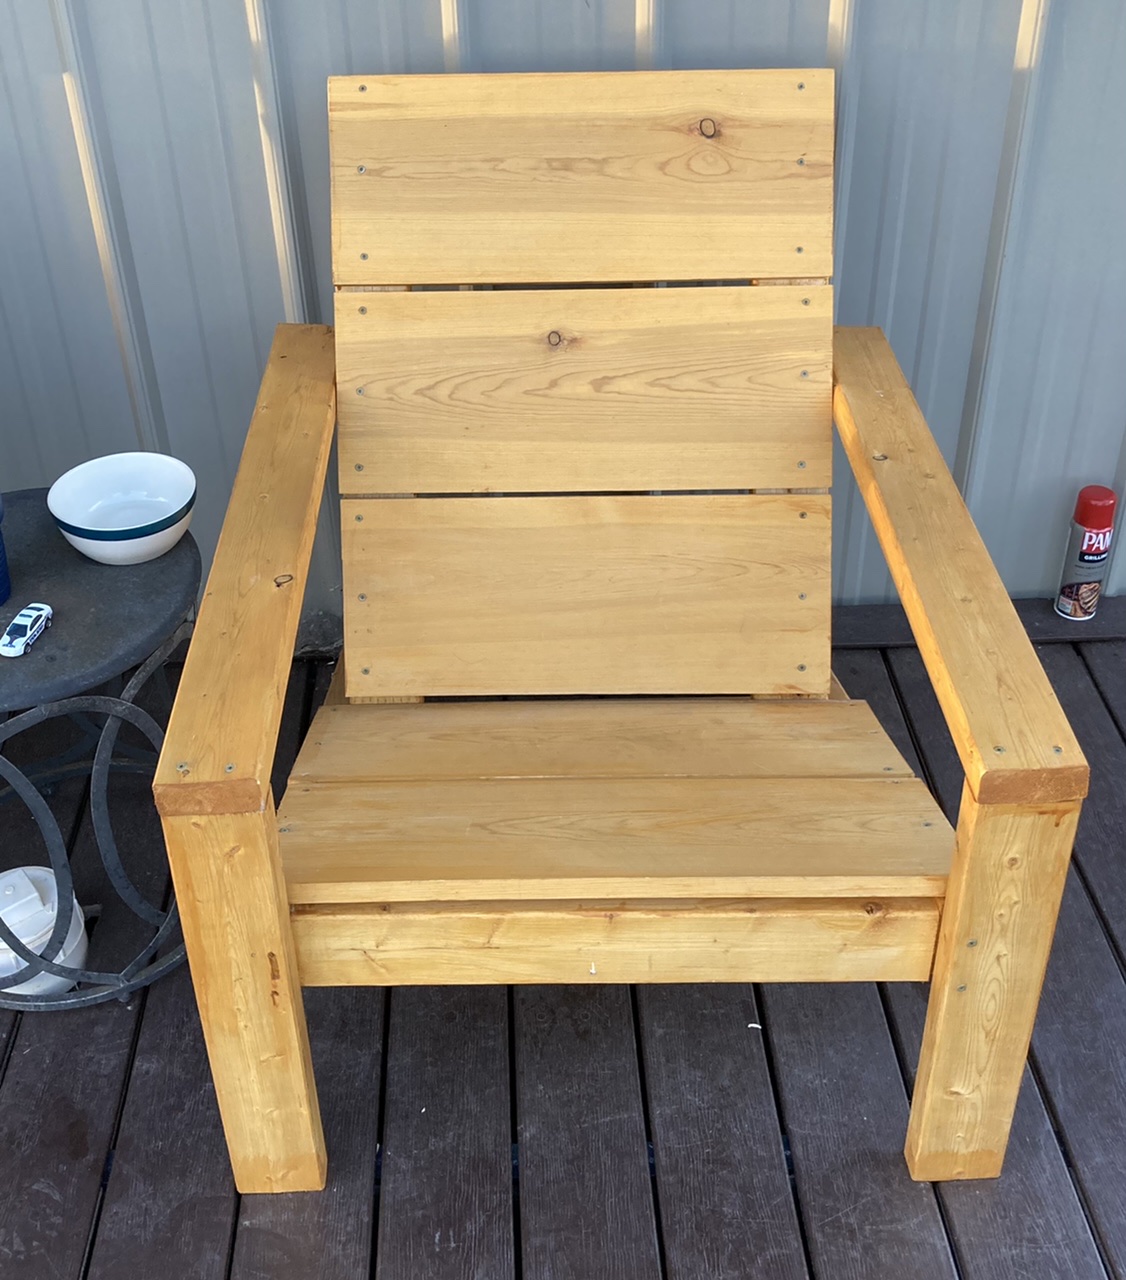
I just started building when I found Ana’s site. This chair was the second thing that I’ve built. I can’t believe how comfortable it is and how easy for a novice like me to put together.

This was our first project from the website. I fell in love with the concept and love the finished product. My husband and I worked on it for a full weekend, and now we have a table that the whole family can sit at. The plans were easy to follow and came together nicely.
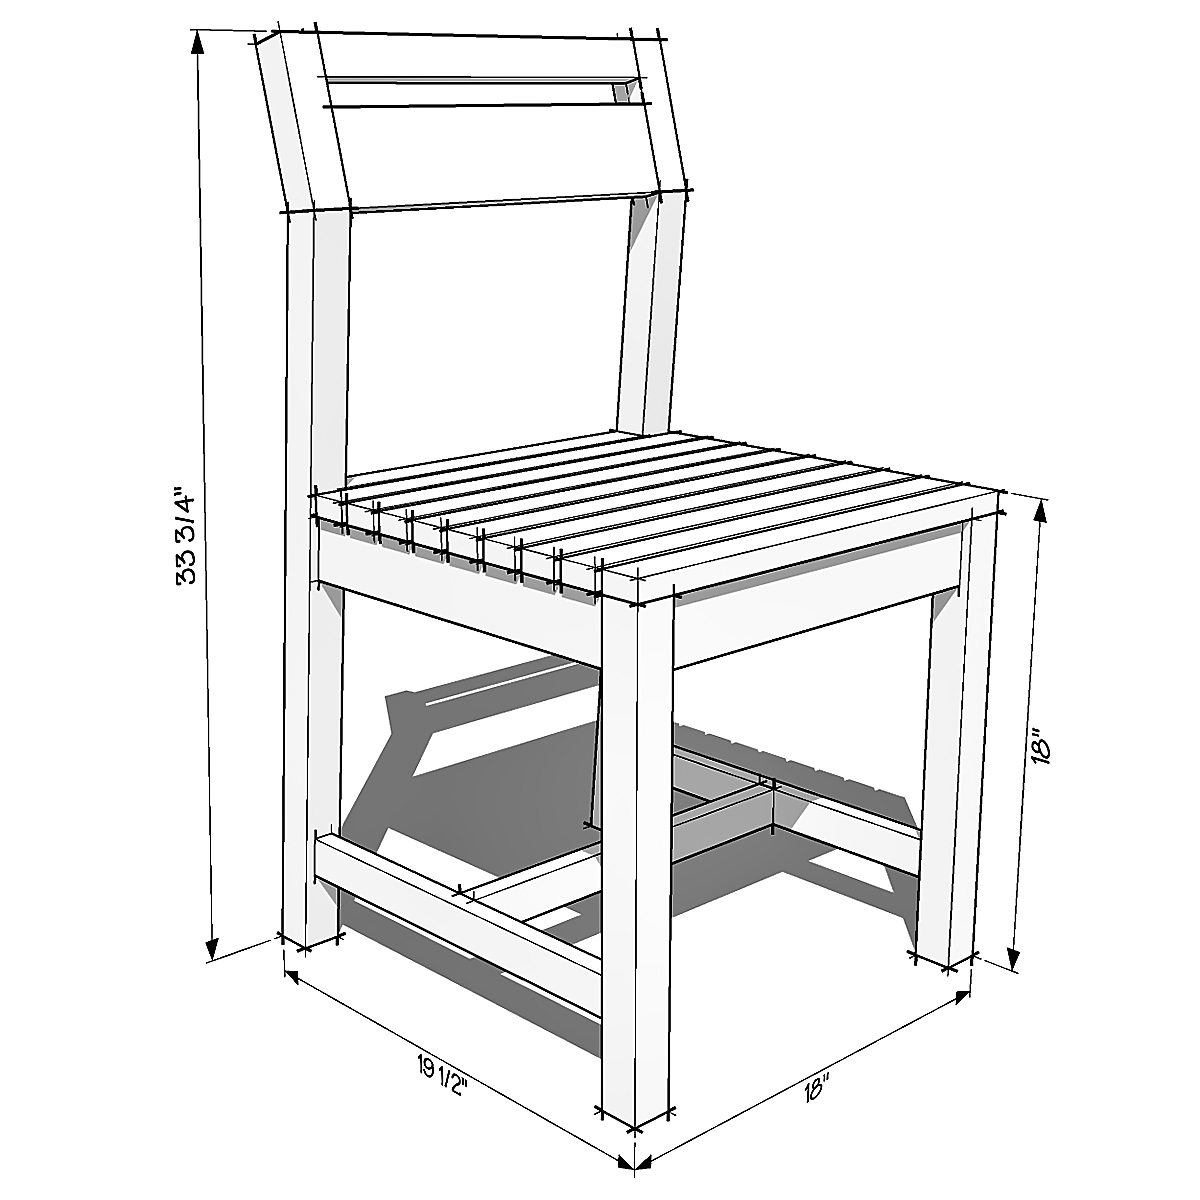
We also decided to do the Simple Stackable Outdoor Chairs. They are large and comfortable. I did adjust the seat board length to 19 1/2 to give it a little over hang. One down and 4 more to go.


Tue, 03/20/2012 - 03:37
Great job. Both the table and the chair look really good. I am curious how the chairs hold up. Are they sturdy? Anything you would change or do differently? Thanks.
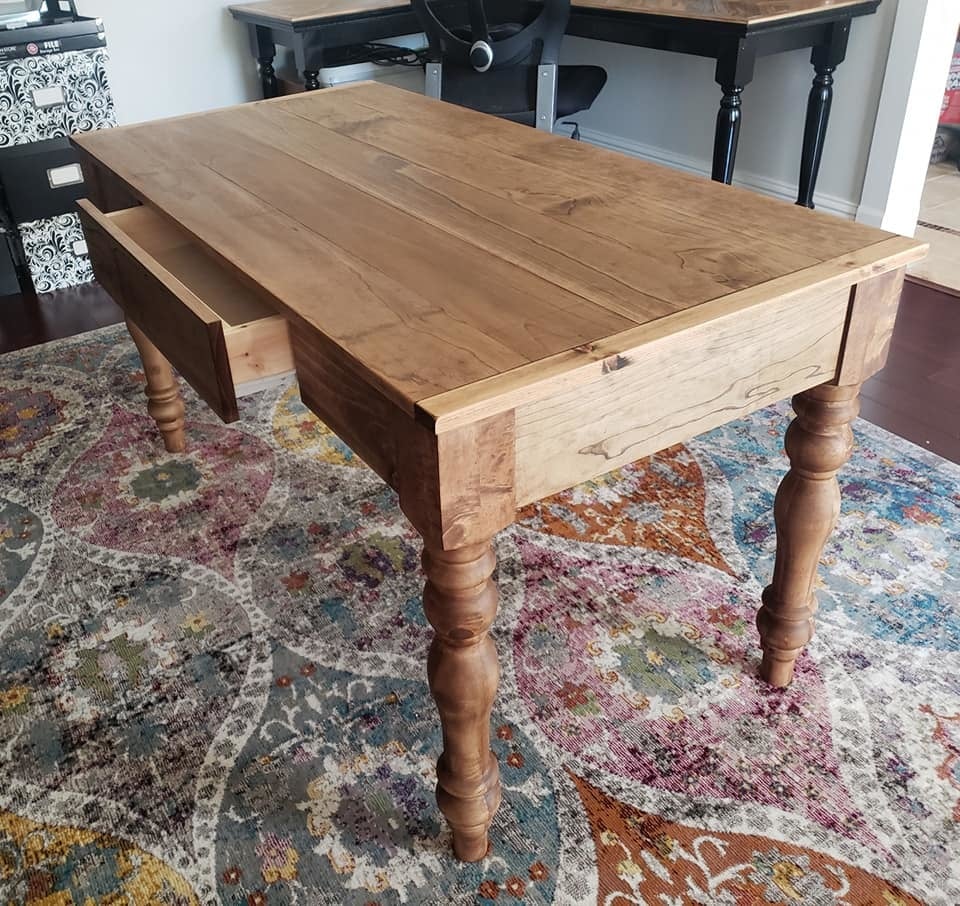
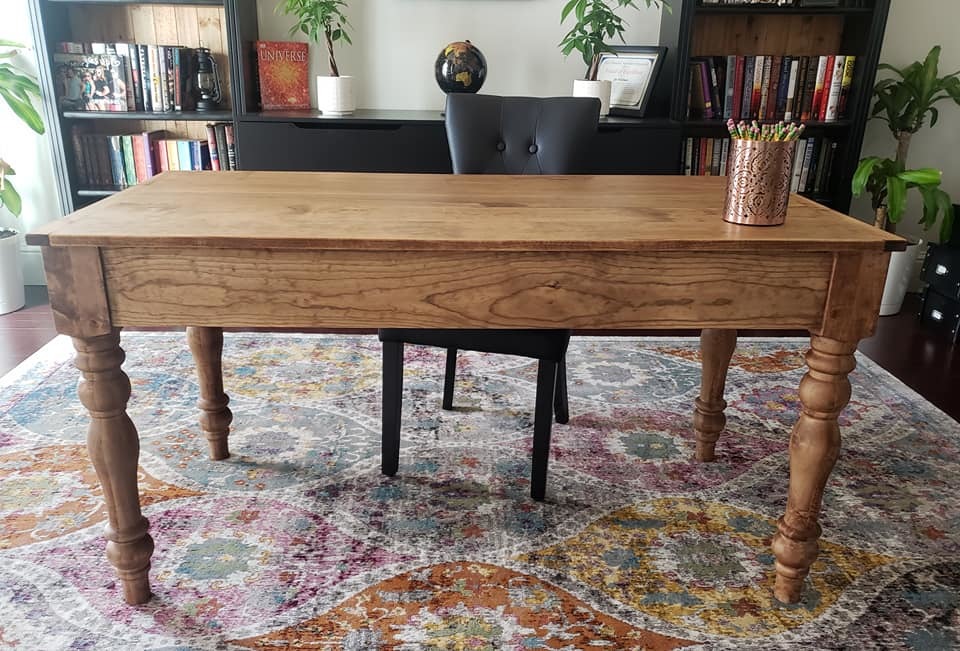
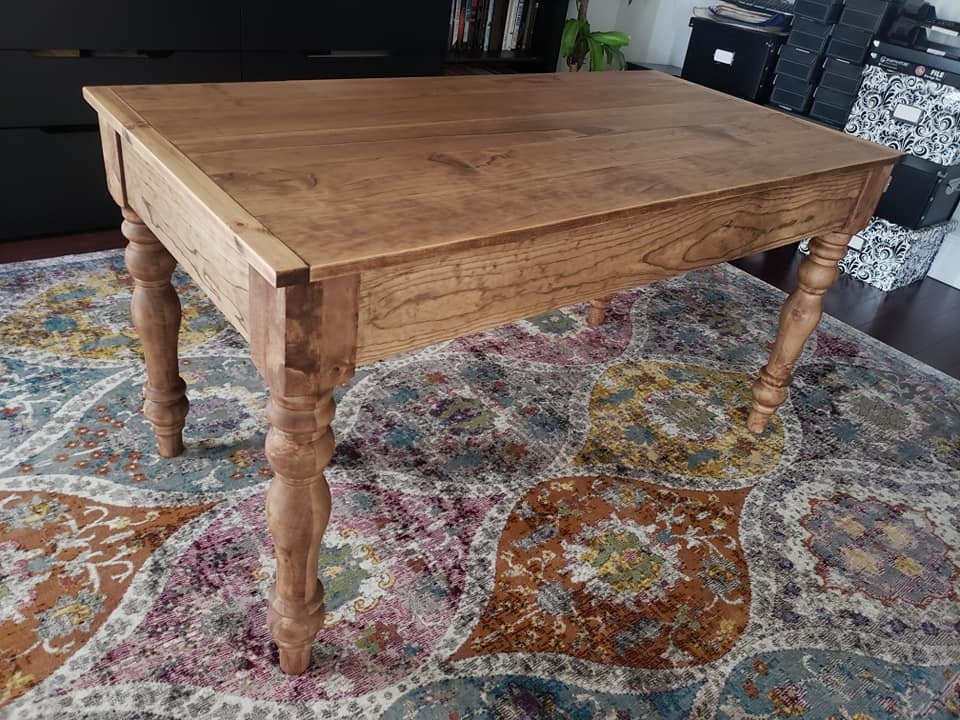
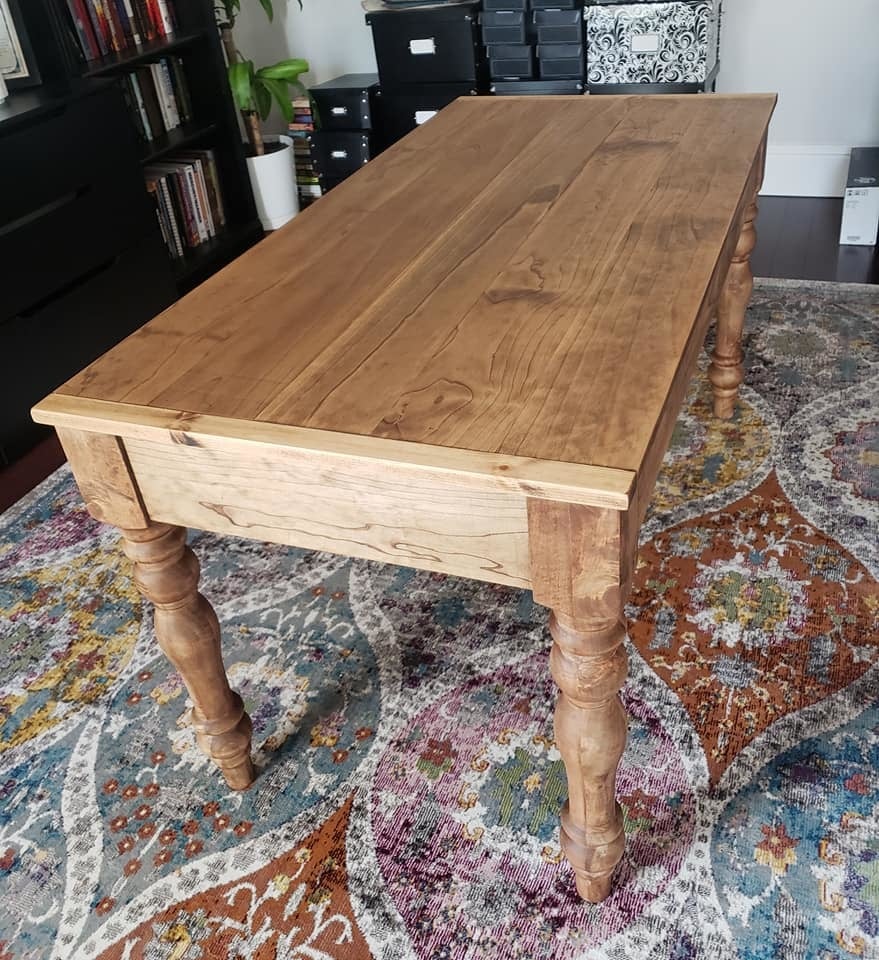
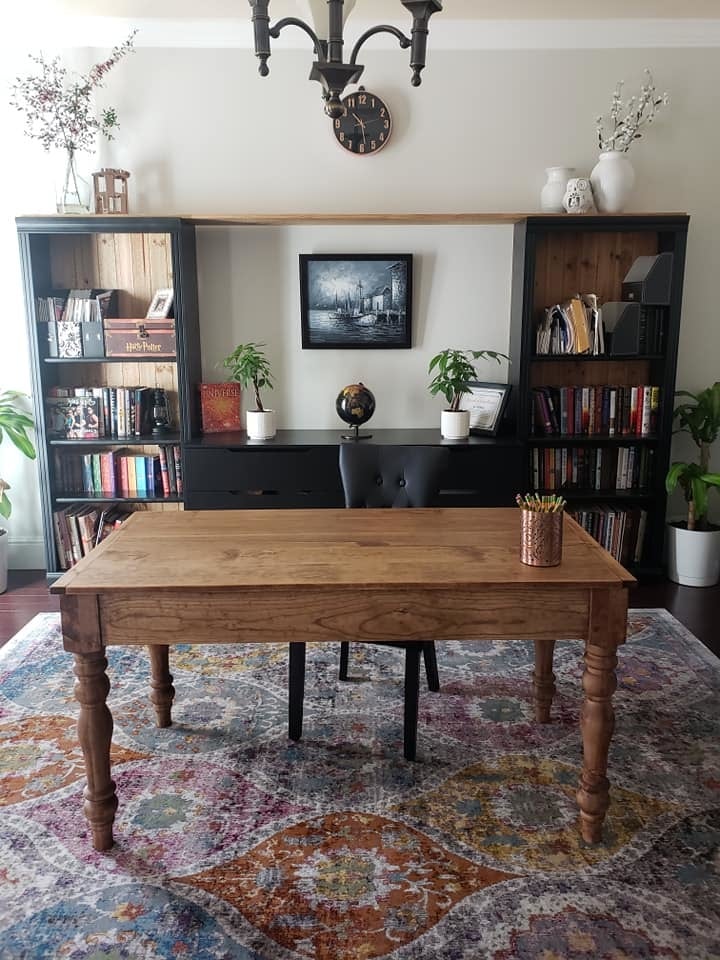
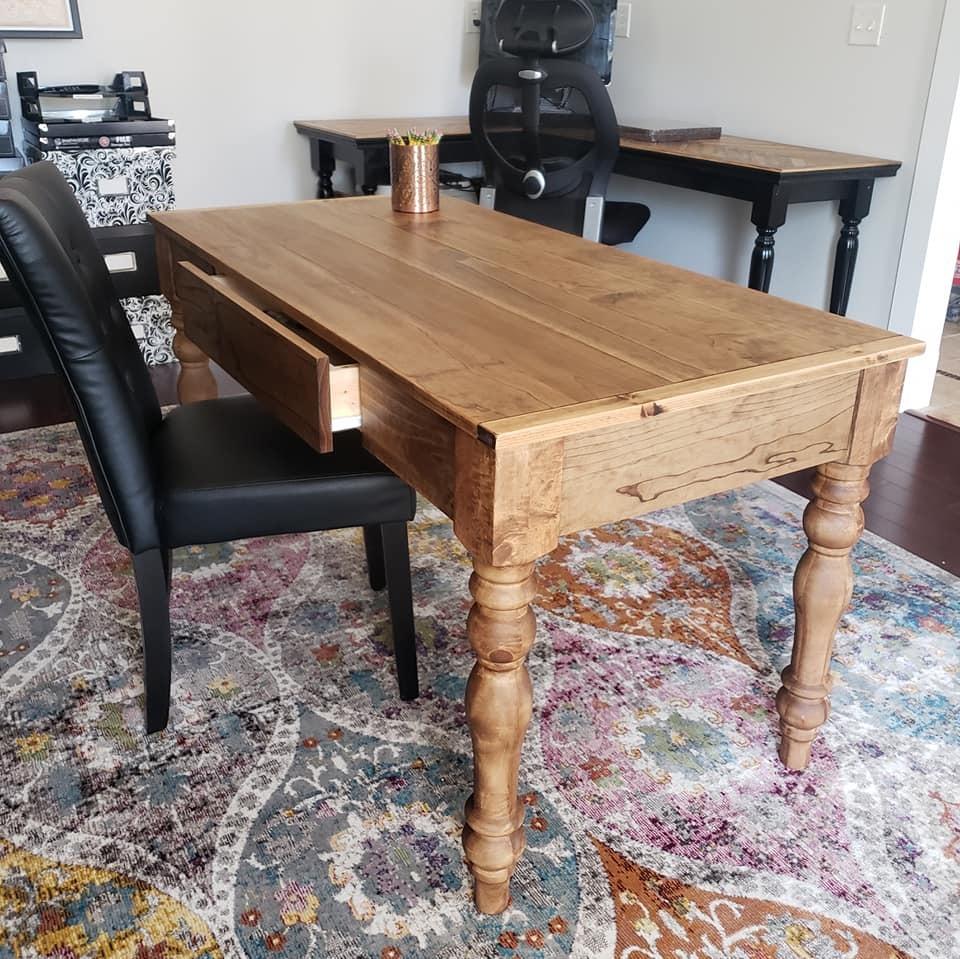
I modified the Small Old English Style Farmhouse Dining Table plan to build a writing desk. I used five 1x6 boards for the top for a width of 27.5 inches. I made my desk 56 inches in length. I put the drawer on the long side like a pencil drawer. I did use the legs that Ana recommended in the plan. I love how it turned out. I used dark walnut danish oil and dark wax for the finish.
Sat, 08/31/2019 - 05:18
Beautiful! What are the brands of oil and wax that you used?
Fri, 10/04/2019 - 21:46
Thank you! I used Watco Danish oil and I used Minwax dark wax. I've tried alot of different wax brands and I always come back to Minwax. It dries the hardest in my opinion.
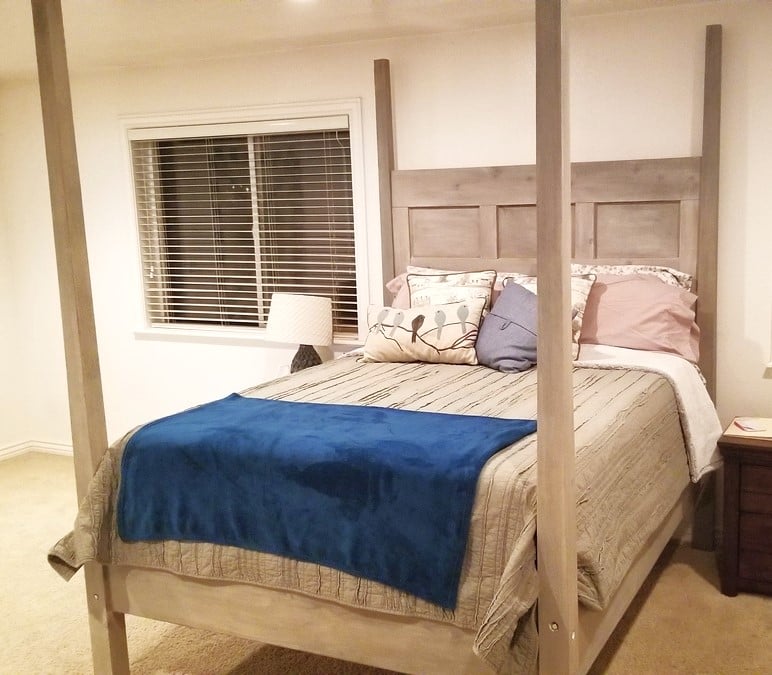
A little taller, and a different finish, but built from scratch inspired by your design. Thanks so much.
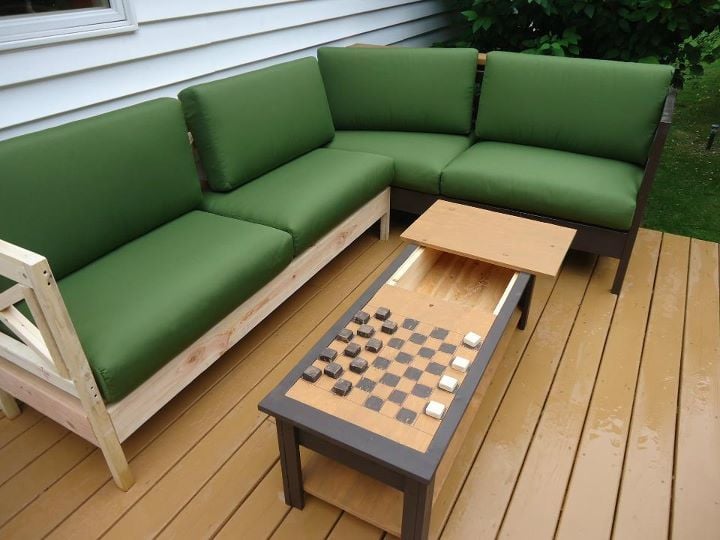
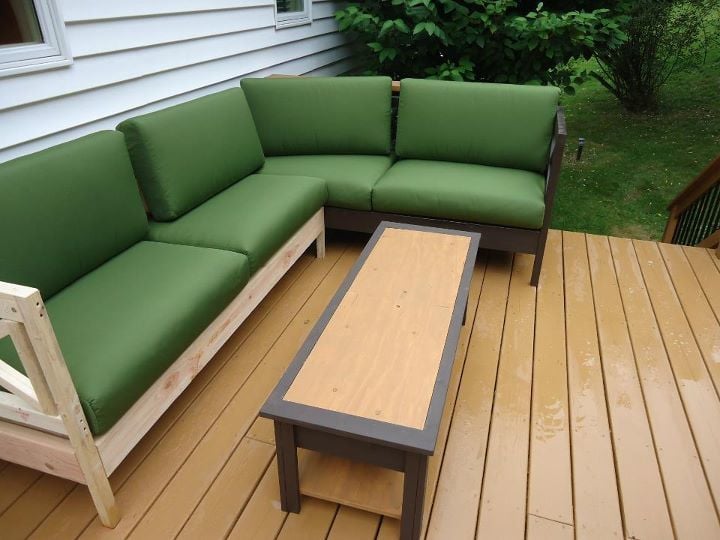
Two weatherly sofas butted up against each other make a great sectional! The "Lego" table has a checkerboard on the bottom of one of the removeable table top sides, and the other acts as a water table for the little one to splash around in. Thanks so much for the plans! These were all fun projects!
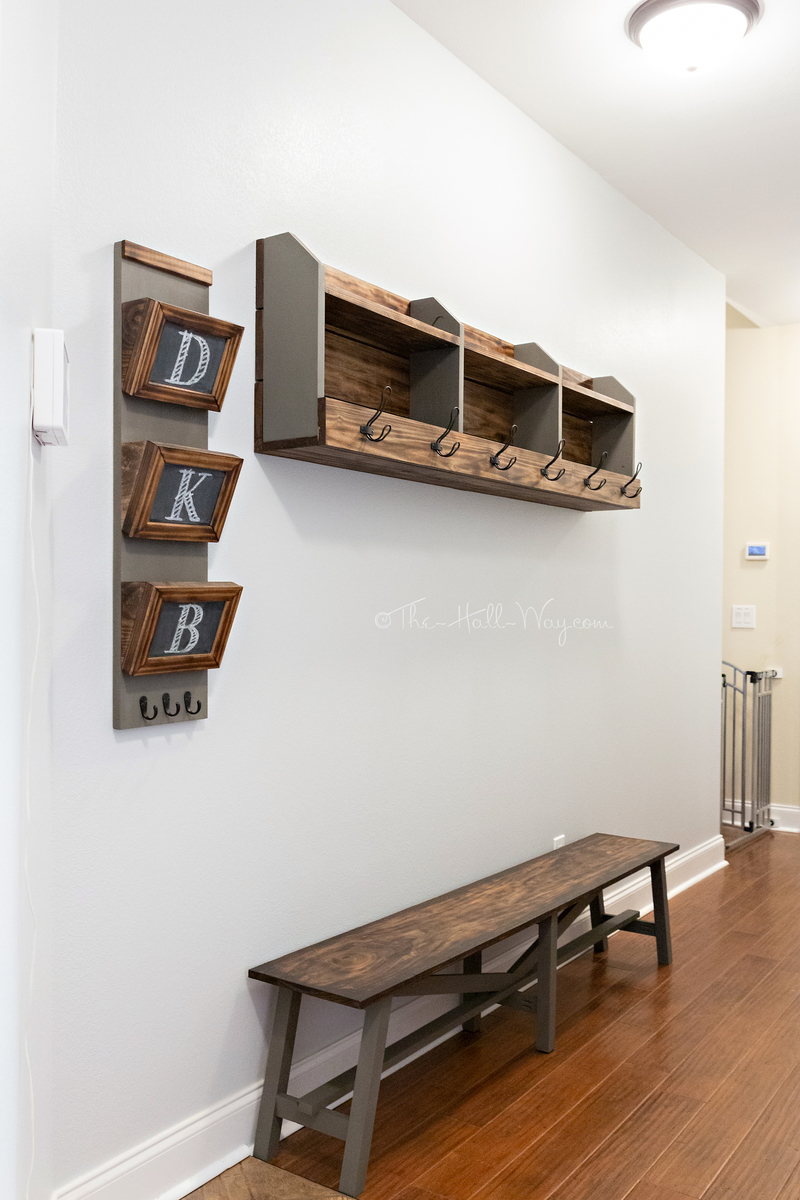
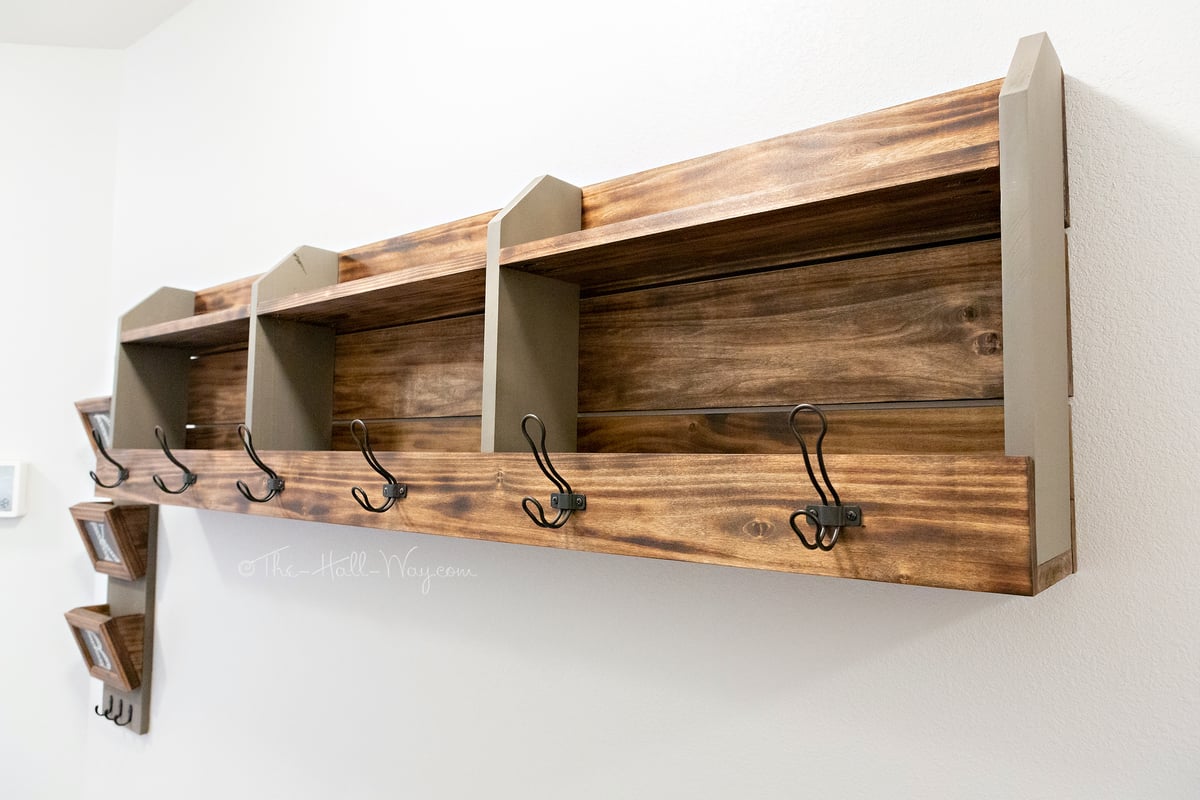
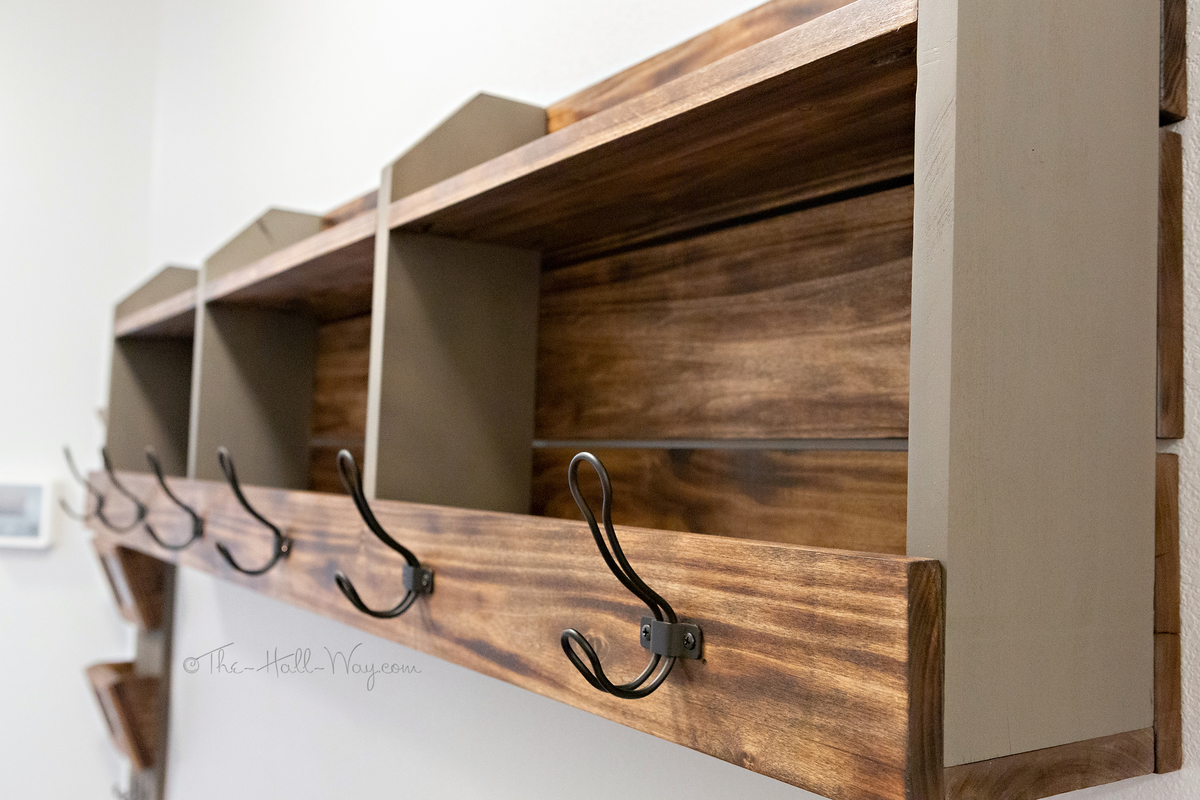
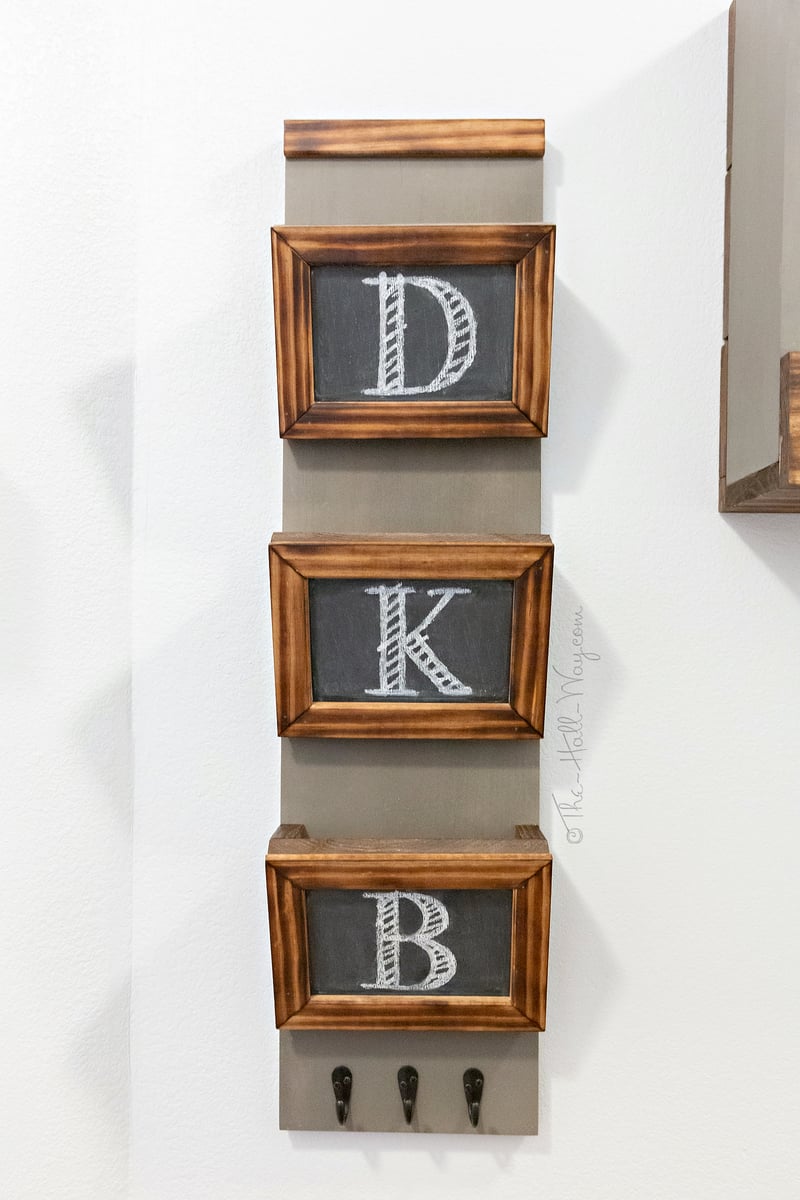
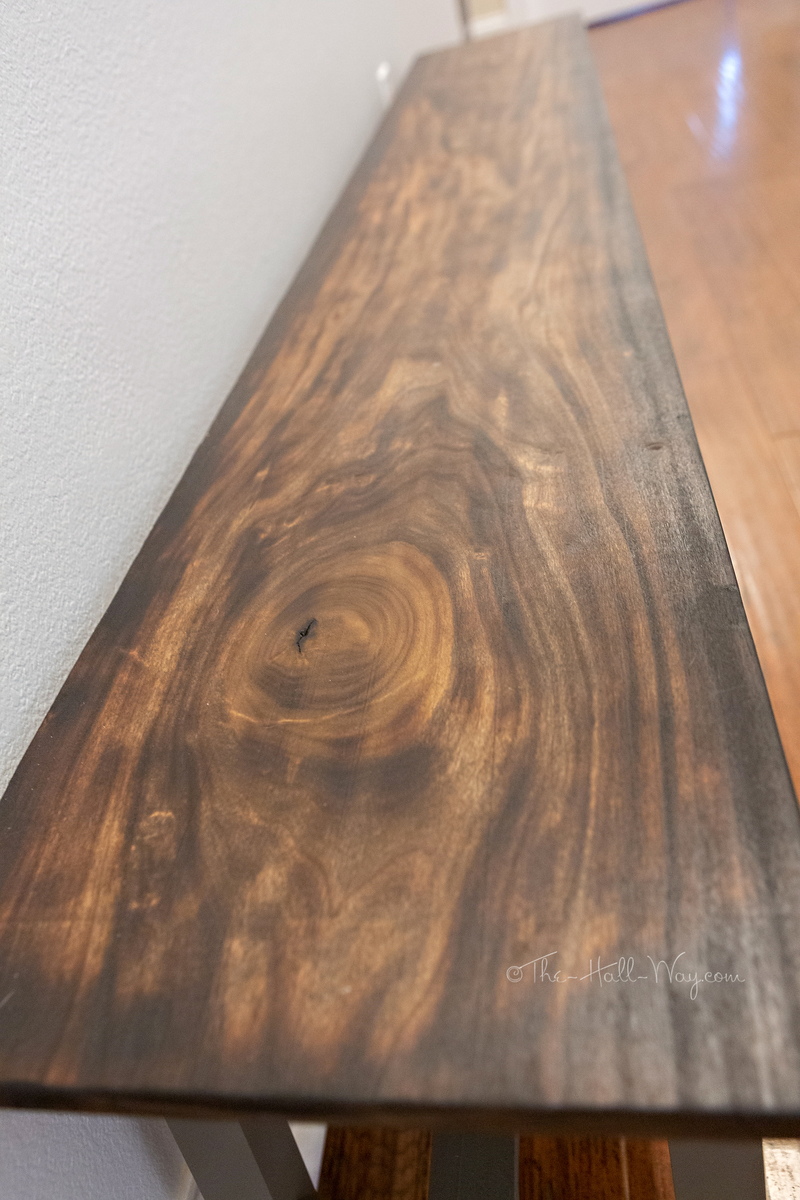
I built the coat rack along with the mail sorter and rustic bench for the long hallway to the garage since our new house doesn't have a mud room. I modified it to a length of 6'. All but a couple pieces are made from poplar. I burnt the stained pieces with a torch, then put a quick coat of Special Walnut on them. The painted pieces are Rustoleum Weathered Wood. Hooks are from Home Depot.
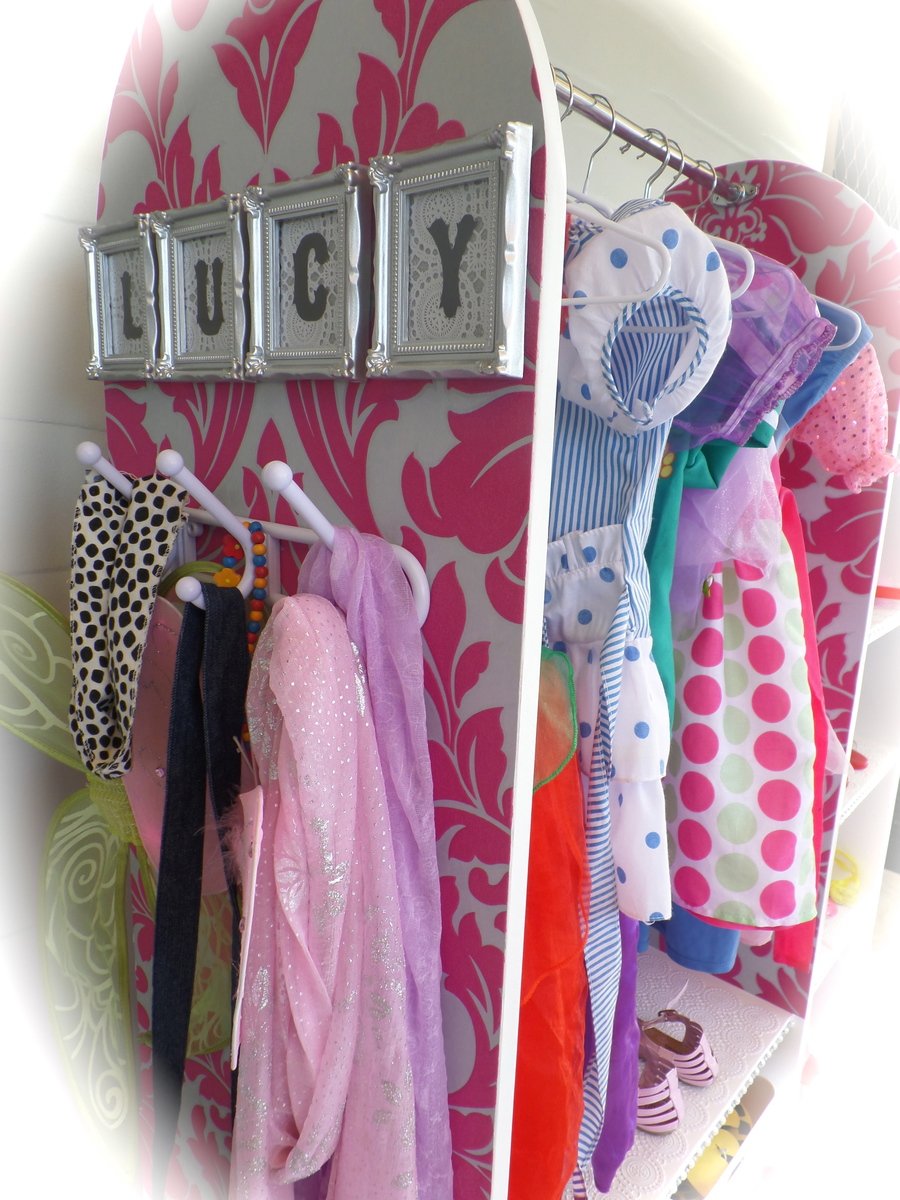
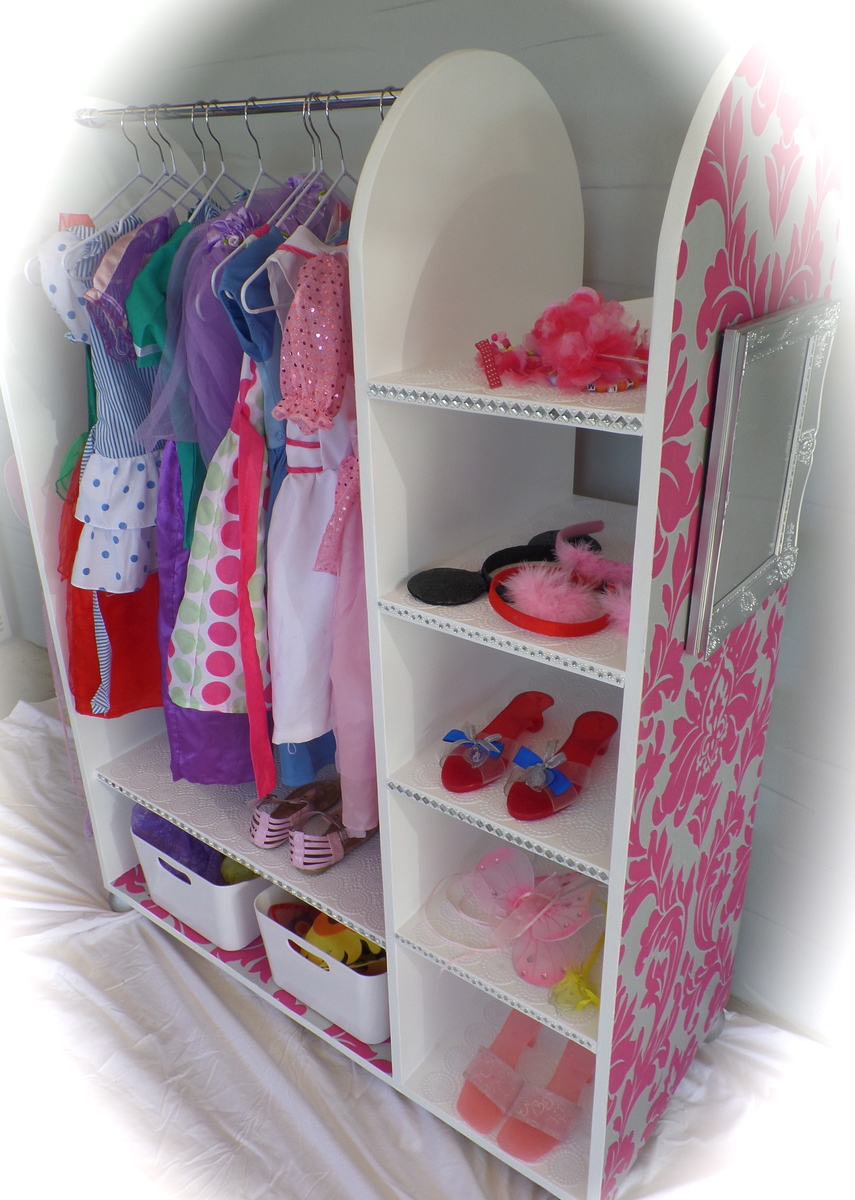
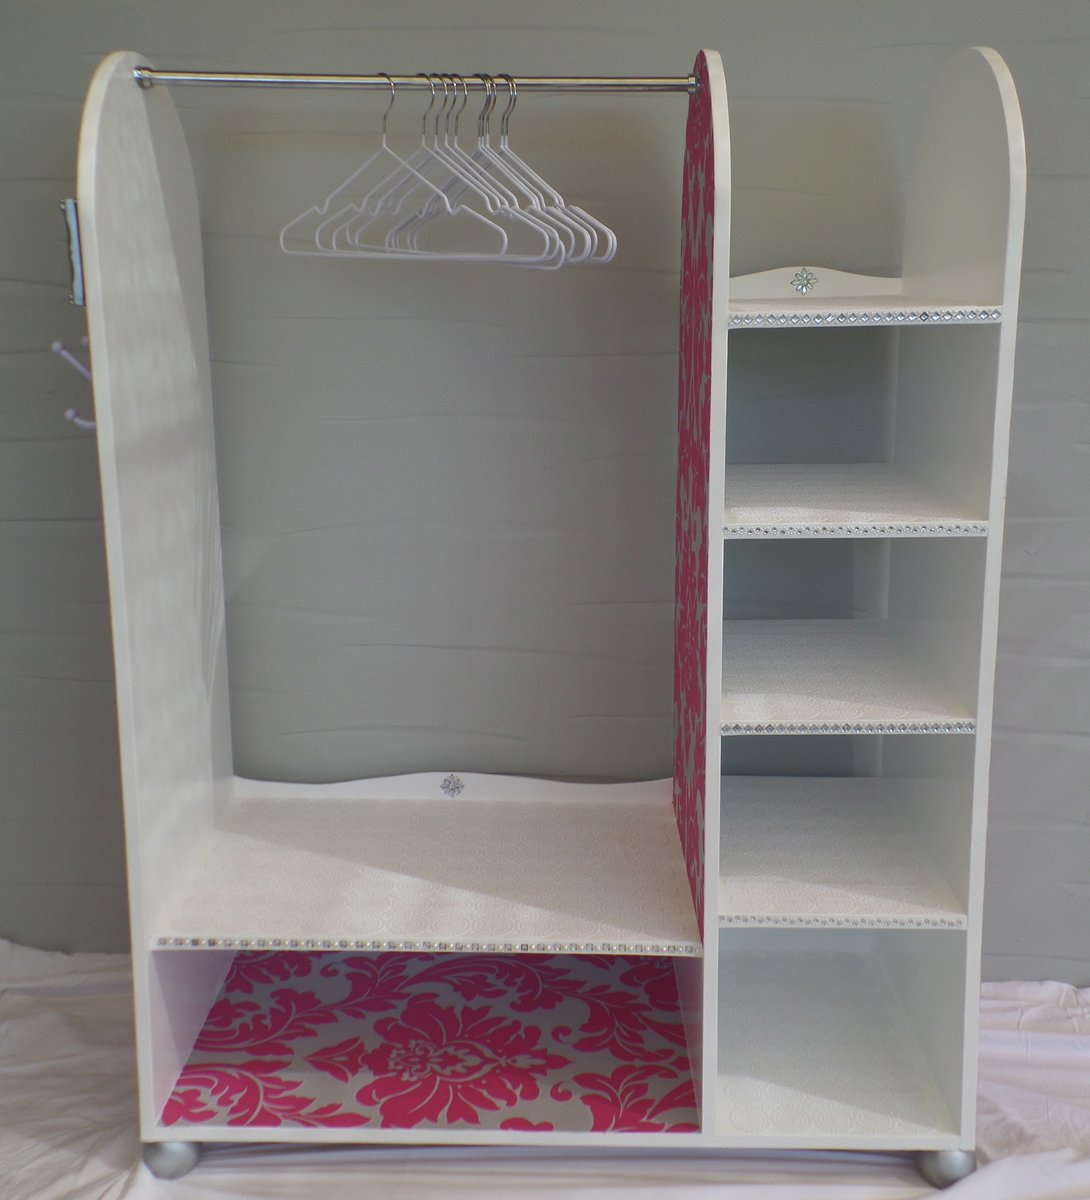
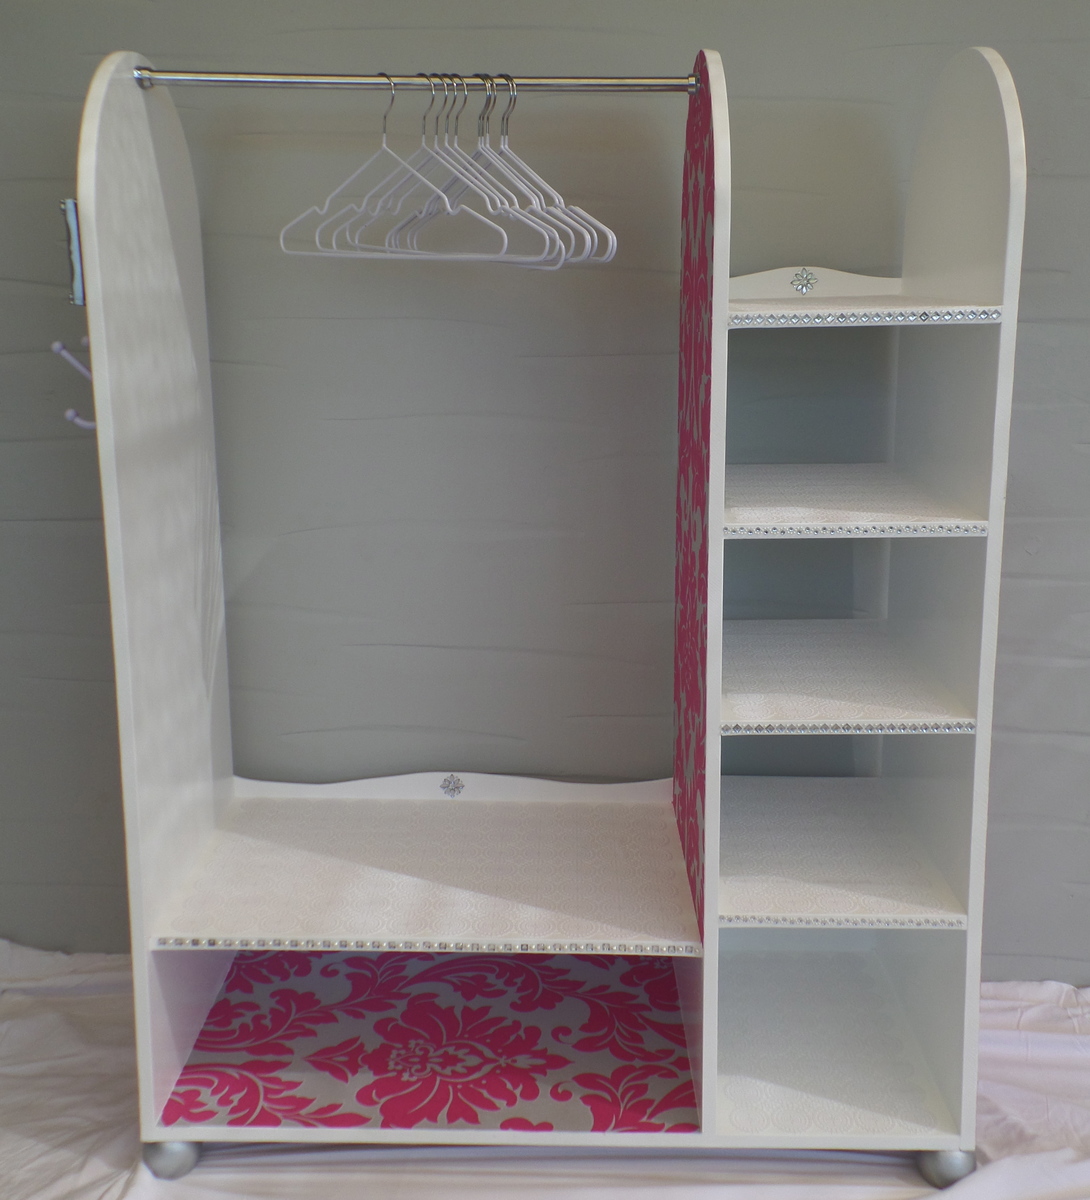
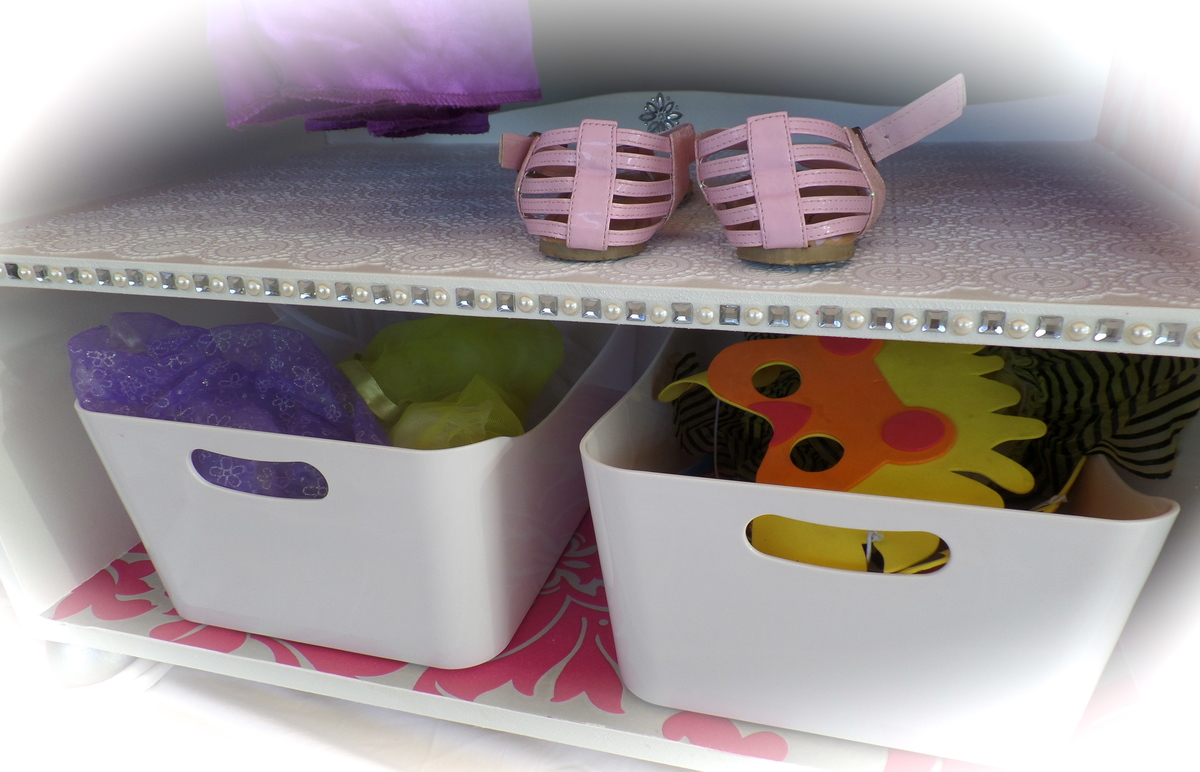
Ive made a couple of these dress up stations now, for presents for my daughters friends. I plan to make her one next!
Plenty of room for storing all their fancy dress items :)
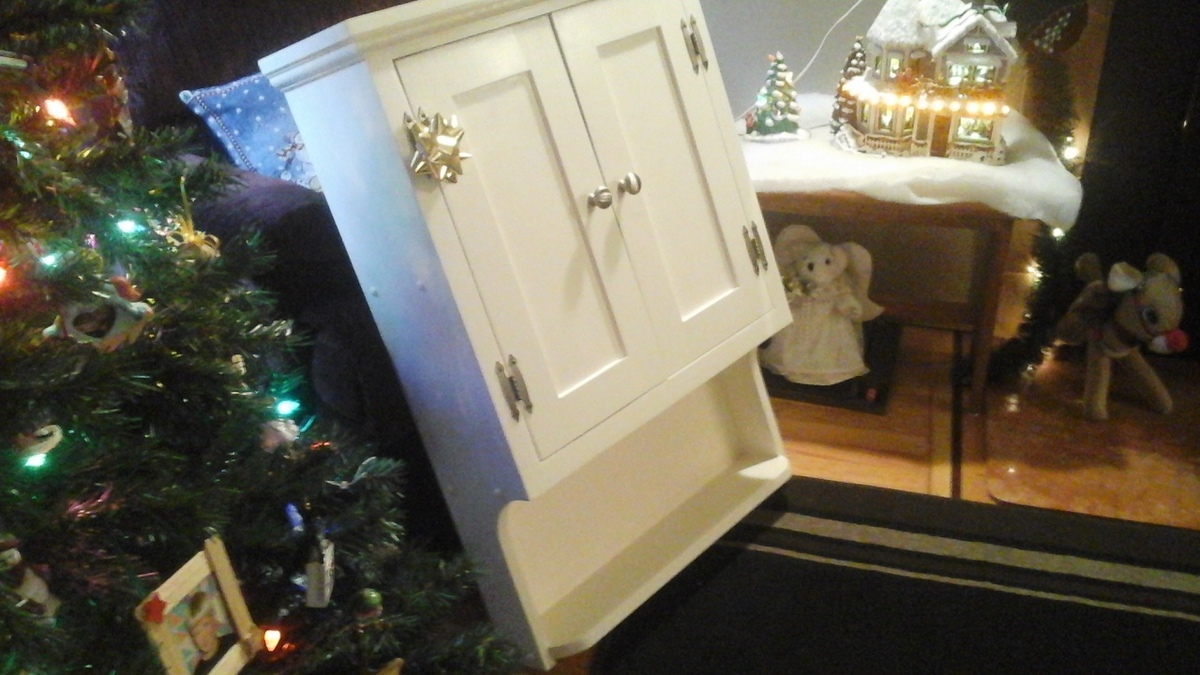
I built this above toilet cabinet for my son and his wife for Christmas. They moved into a new house and wanted this additional storage space. Turned out pretty good!
I had finally had it with the generic drawer organizer that we had. I decided that I would spend a few dollars and make it custom made! I took me aboout an hour and $5. It is amazing how little effort can make your kitchen look like it was a custom created space! I love it!
Tue, 10/04/2011 - 09:31
I was just thinking about doing this with my drawers! Thank you for sharing!
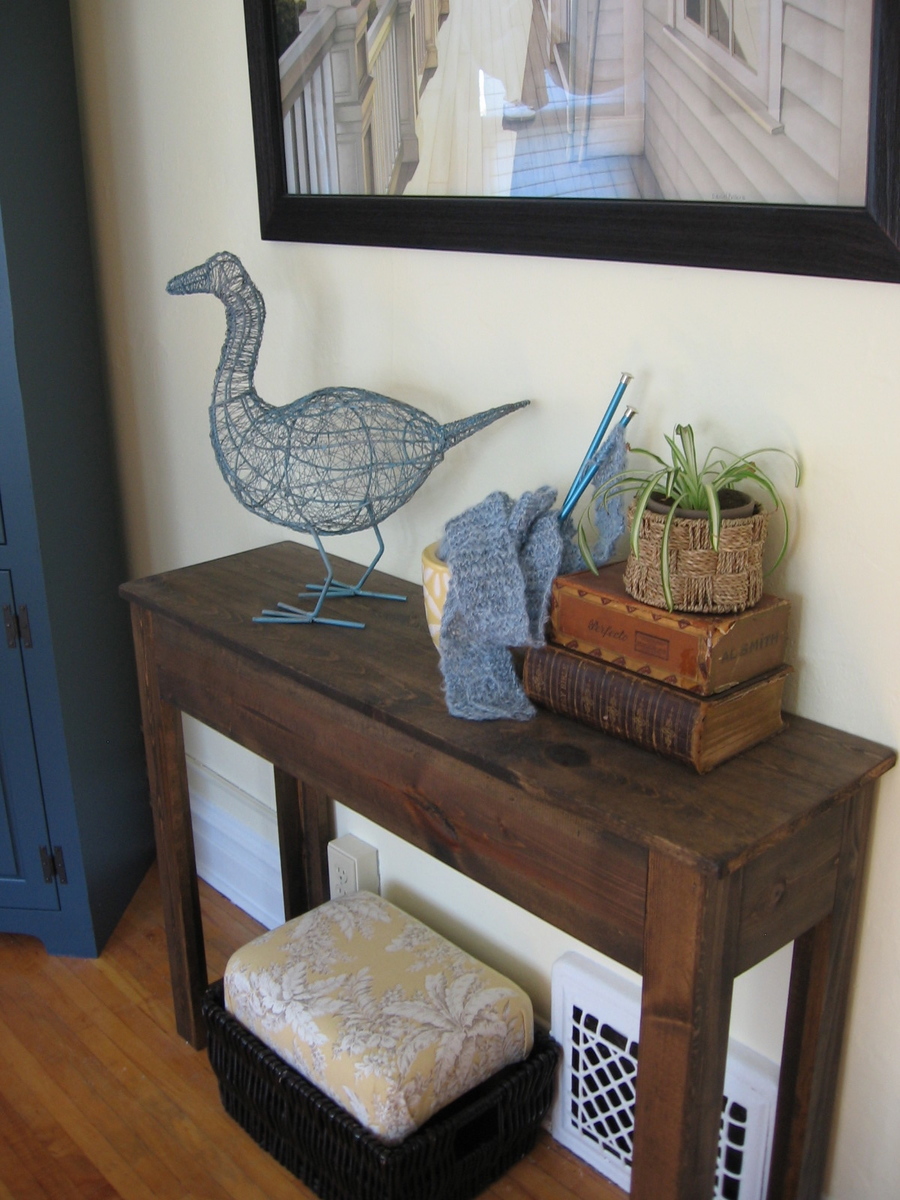
Please tell me I’m not alone…!! I must admit that I have found myself (on more than one occasion) just staring at a room for what seems like an eternity…trying to figure out why the space isn’t functional or just feels a bit “off”. It was during one of these “I dare you to blink before I do” staring sessions that I decided to build a table for my guest room.
Lucky for me, I can always count on Ana’s plans to rescue me from decorating madness! Well at least when it comes to the furniture part. (For everything else…I probably need lots of therapy!)
But seriously…anyone else get caught up in the time-warp-room-stare?! I can’t be the only one… :-)
My console table's complete story: http://gleeinspired.blogspot.com/2011/03/console-table.html
Sat, 10/15/2011 - 21:49
How did you go about finding the wood that you purchased? I'm a newbee and all i have are Lowes & HD around me, also since I'm just starting out I don't have a saw- any suggestions?
Sun, 10/16/2011 - 02:22
Lowes and Home Depot both sell wood. However, it's worth finding a local lumber yard to get a better quality of material. Trying to build a table with material from a big-box store will be an exercise in frustration, because it will warp on you, and your nice flat table will develop some interesting twists that will probably keep all four feet from touching the ground at once. I've been there plenty of times, and it's very frustrating to tear something apart to replace wood that warped after everything was assembled.
If you go to a lumber yard and ask for #2 pine, you should get something pretty stable.
You'll also definitely need to pick up some tools. Anyplace that sells lumber has a saw that they can cut material to length with, but none of them will make cuts accurate enough for building furniture. The only cuts you want made for you are those necessary to get material into your vehicle.
There are hand tools of acceptable quality sold at Lowes and Home Depot (well, mostly acceptable quality: nobody sells a decent chisel). They're cheaper and a lot less intimidating than the power tools, and with a little practice it's easier to do accurate work. The downside is that you'll have to hunt a little more for resources to learn how to use them.
Thu, 10/20/2011 - 15:03
I love the table - it looks great!
And the time-warp-room-stare??? Yep. That's why I'm on Ana's site! We just moved into a new house about 2 months ago and I need some furniture to help pull some rooms together!
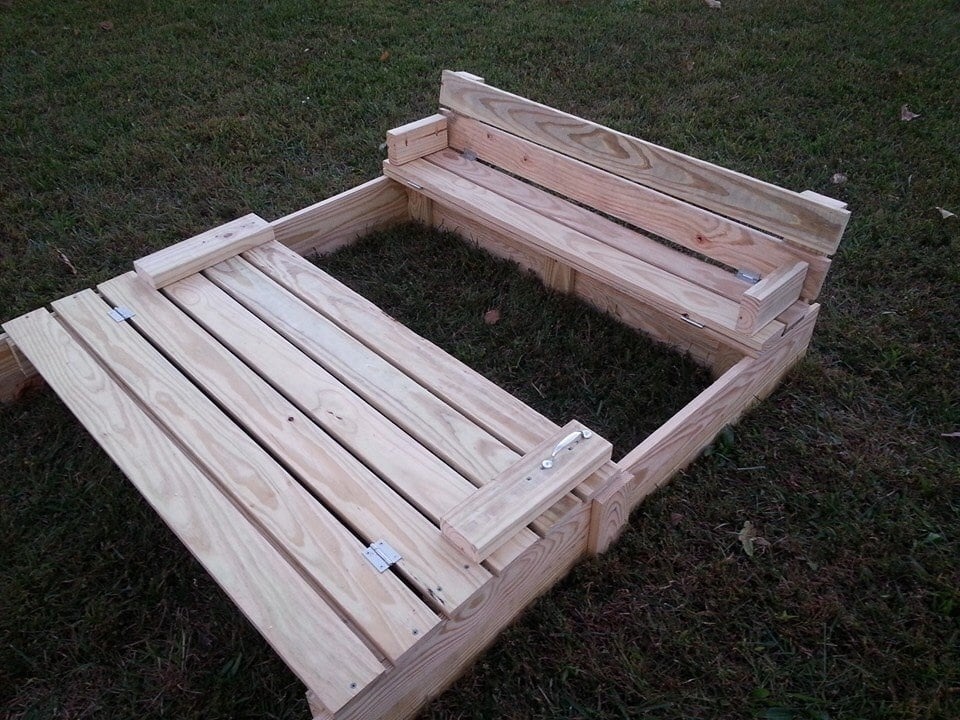
I modified this a tad from the original plans to suit my needs. I will eventually be adding a platform with attached slide and swing set.
Plans were easy to follow. My store didn't have 1x8's so I stacked 1x4's and used my Kreg jig to join them together and then I added extra bracing.
I had seen this on Pinterest a couple years ago and thought it was the coolest thing! Io excited I was able to build it myself!


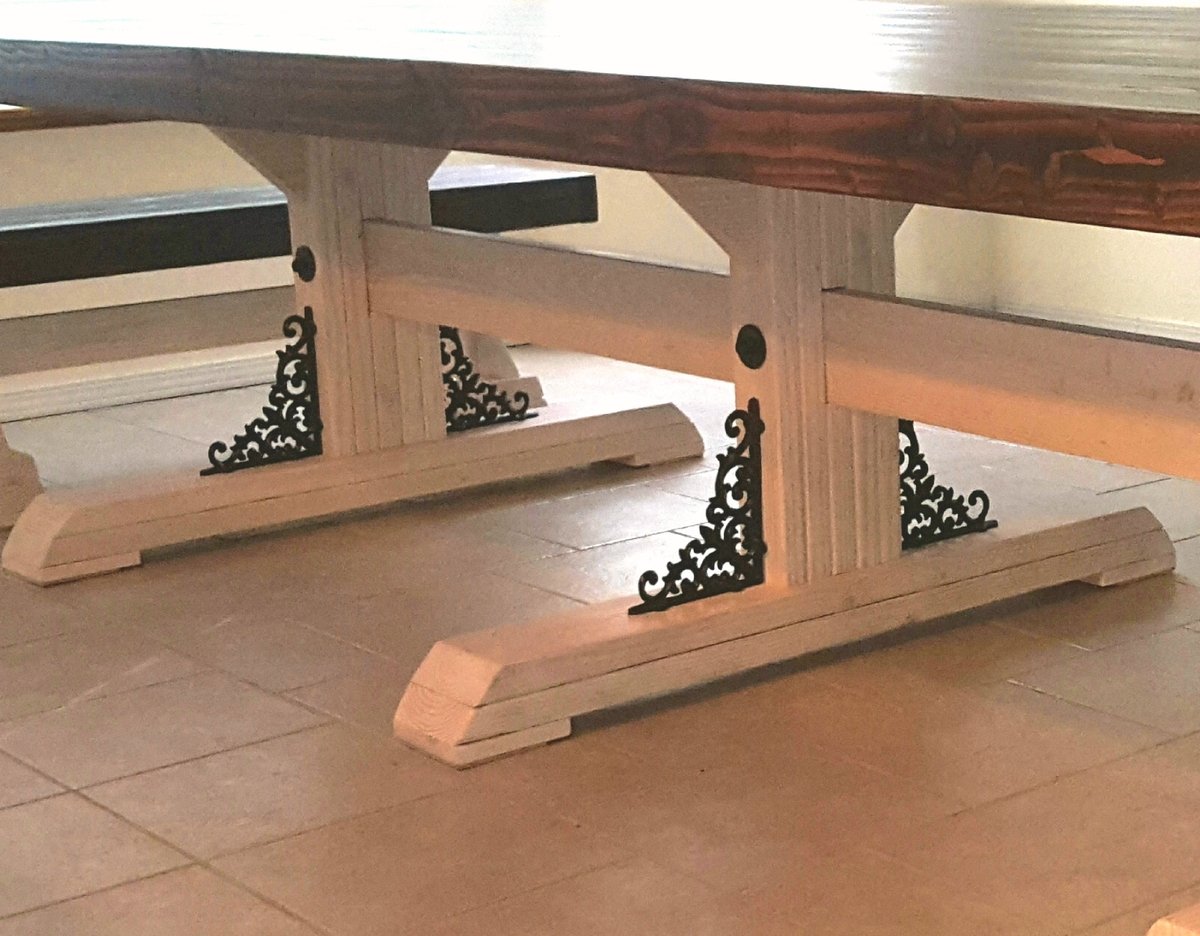
Had to change it up a little..
We eventually will build the rest of the bed, but for now we needed a headboard. Hubby helped me with this one, since it was large, I loved having an extra pair of hands. This headboard is reversible, so if our tastes change, we can unbolt it and flip it over to the side that is just stained and polyurethane. Pretty neat! This headboard is extra tall, because we have our bed frame up on risers, and we wanted a picture shelf but didn't want it interfering when we sat up in bed to read or what-not. Hubby used the router to make grooves in the top before we attached it, so our pictures wouldn't be crashing down on our head! Our metal bed frame comes just shy of the outer edge of the legs of the headboard, so when we build the rest of the bed, the side rails will meet the edge exactly. We placed the headboard behind the bed frame to mark where to drill the bolt holes and attached the headboard to the frame with 4 inch long, quarter inch wide bolts with washers and nuts. Two on each side.
Sat, 10/22/2011 - 20:35
and the reversible idea is great.
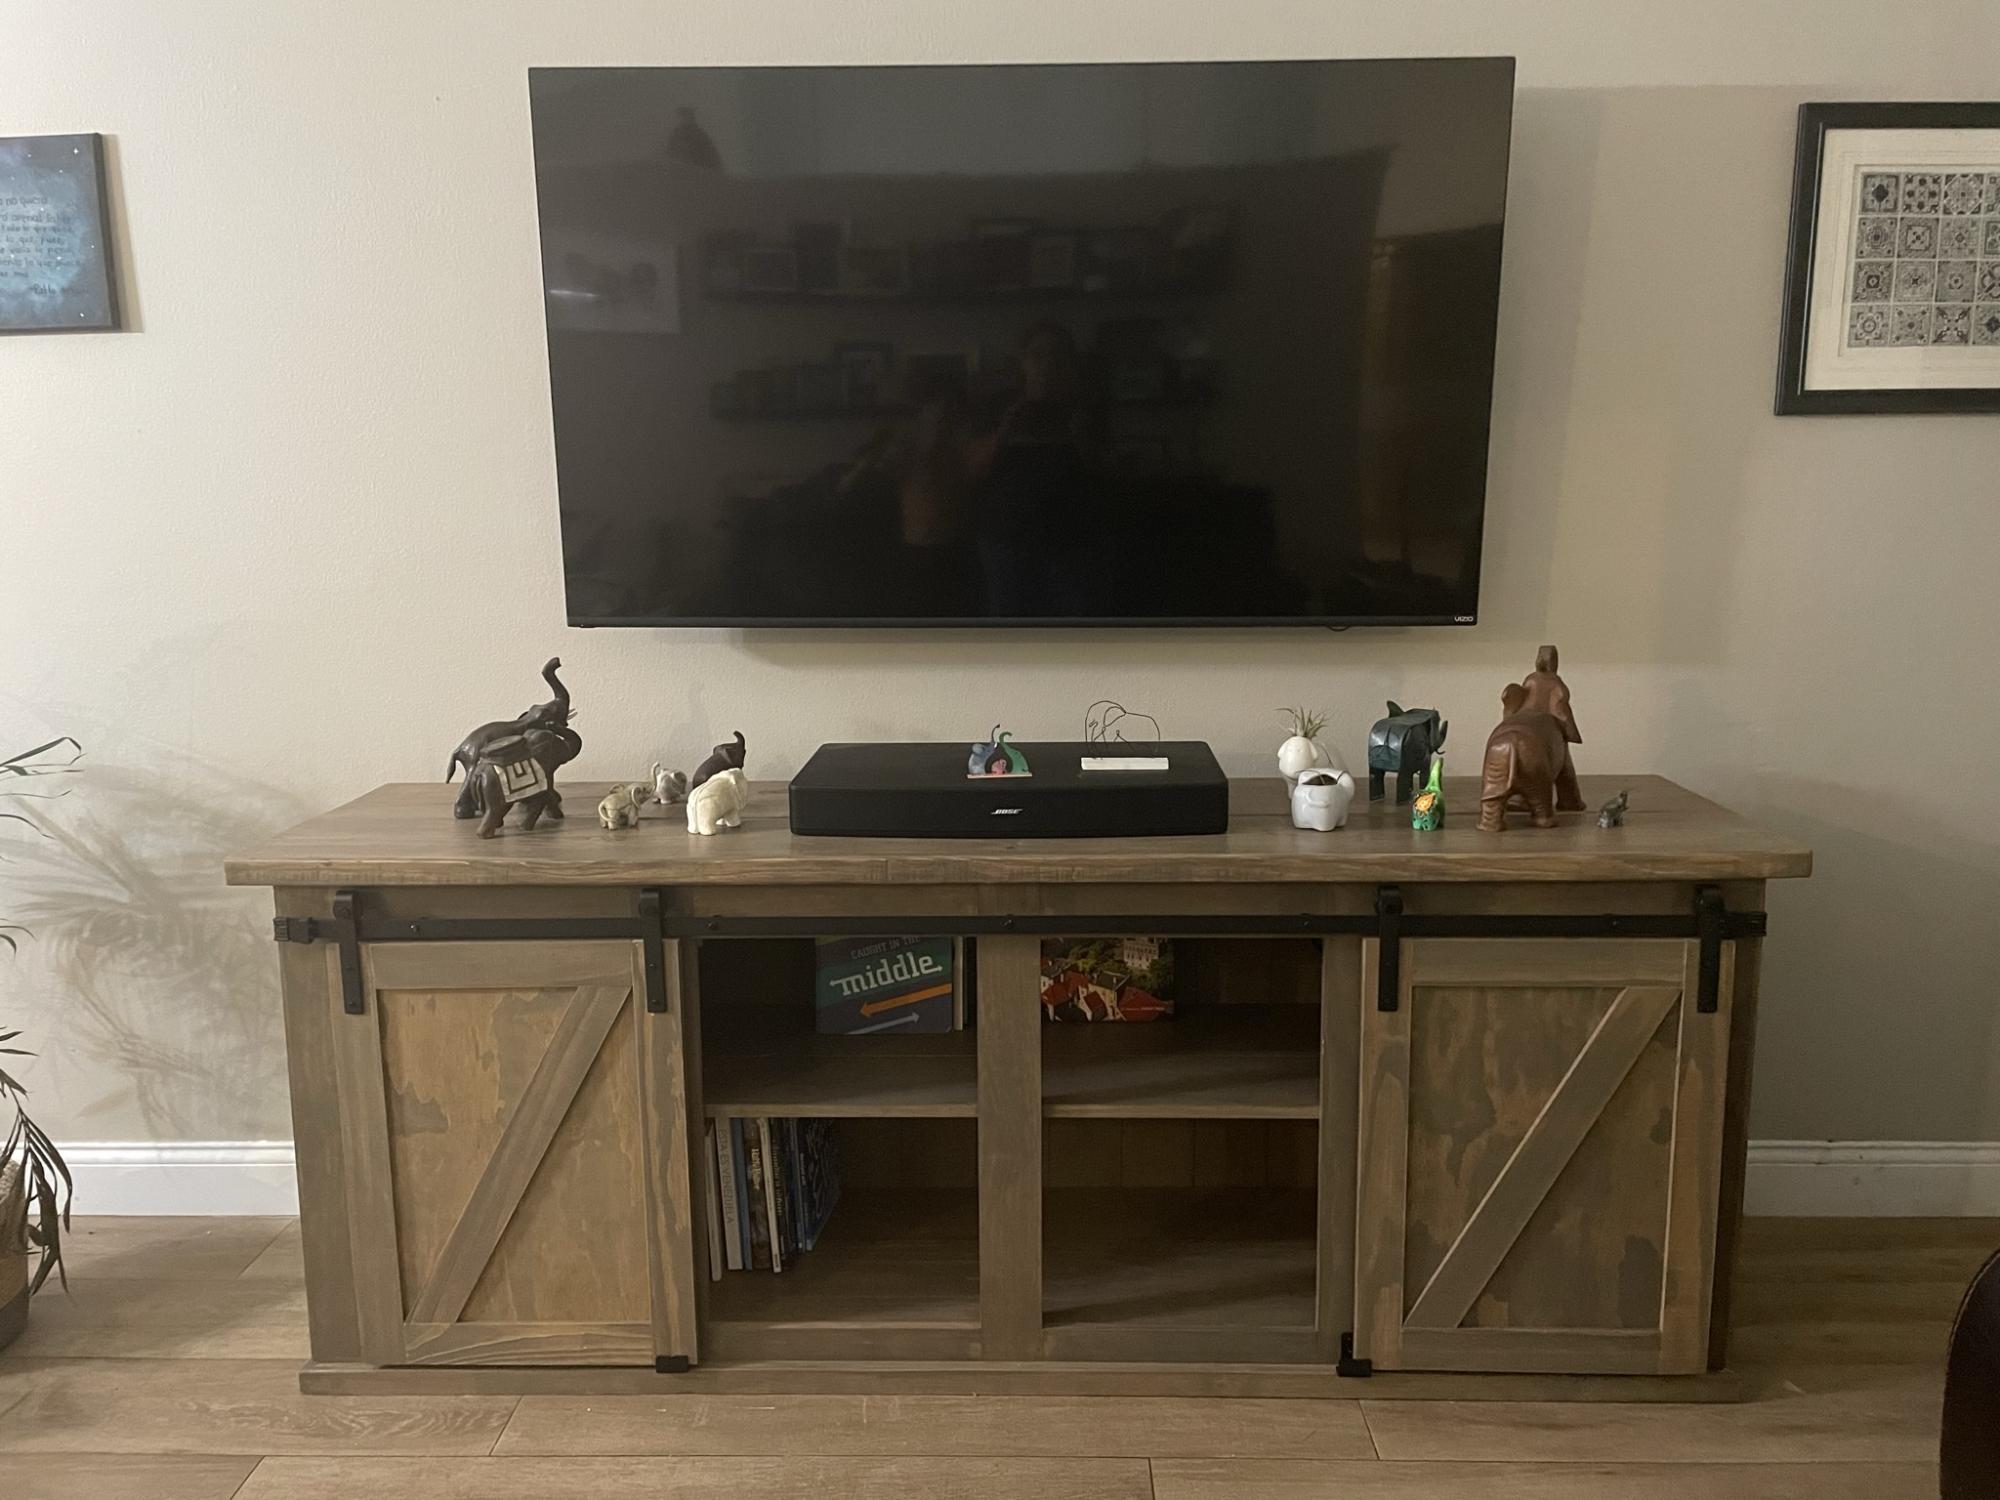
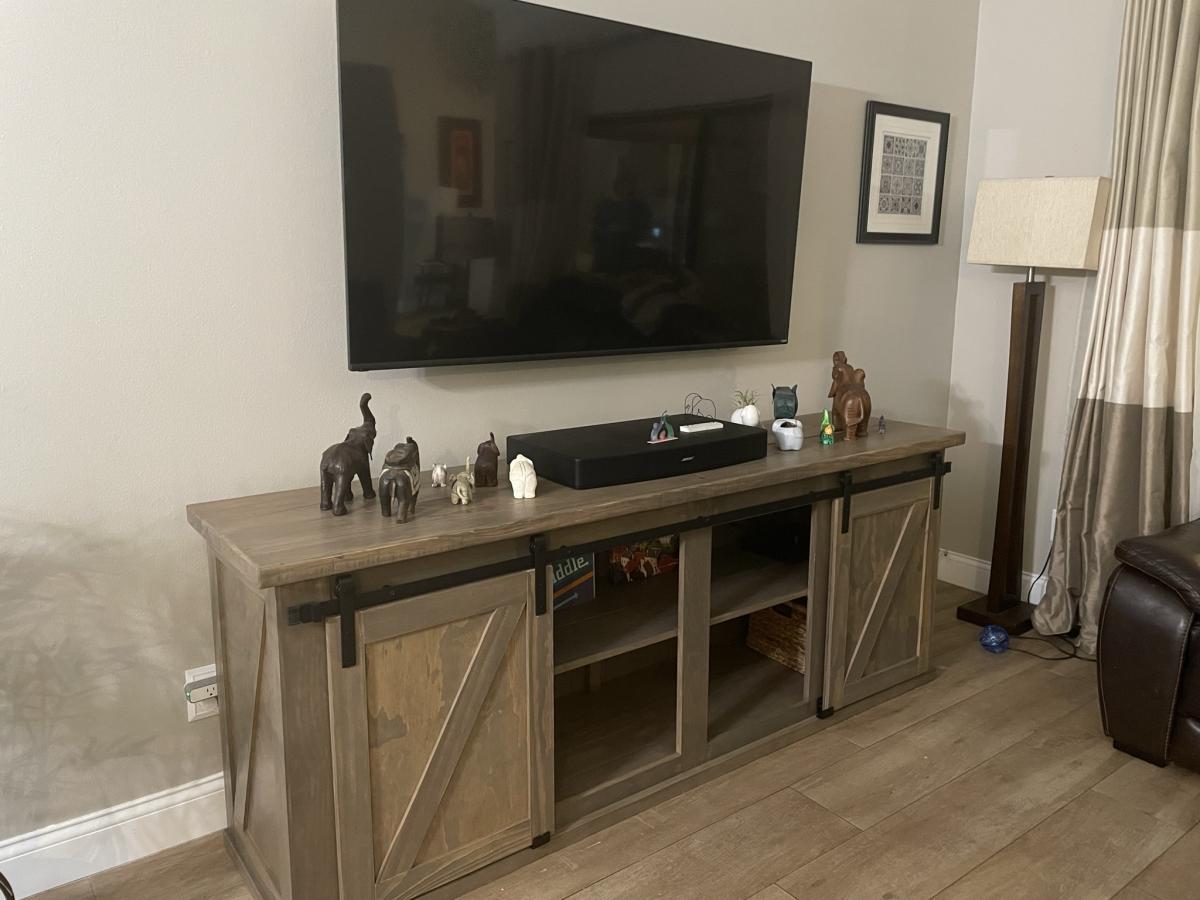
I built this TV console based on Ana’s plan and some modifications from The Turquoise home. Made it 6’ long and a bit lower to fit all my elephants below the TV.
It turned out beautiful and suuuper heavy.
Thank you Ana!
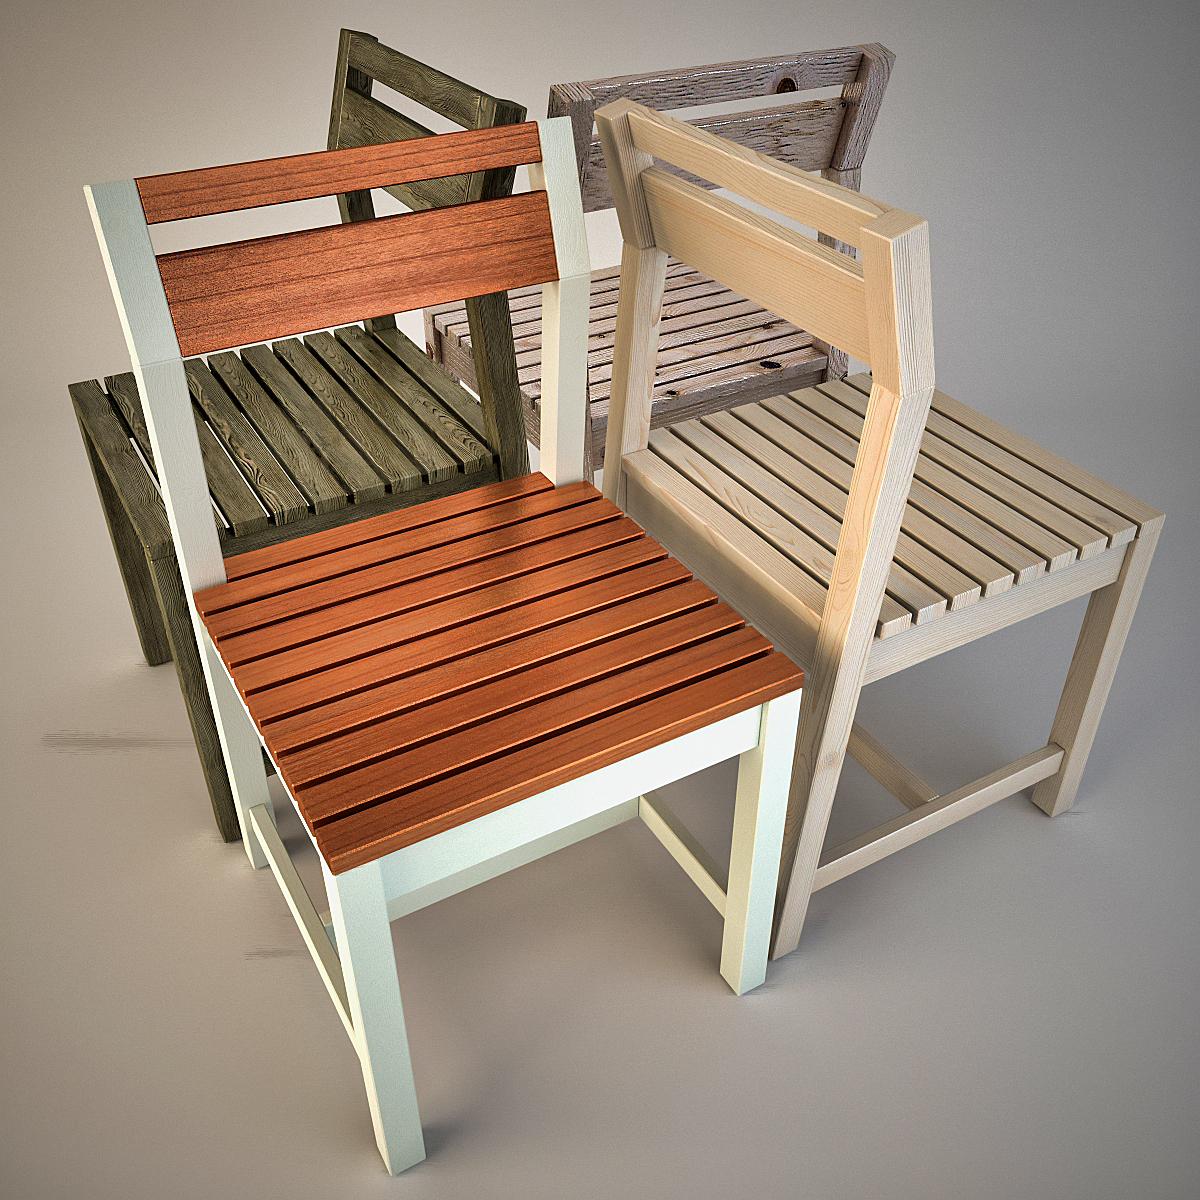
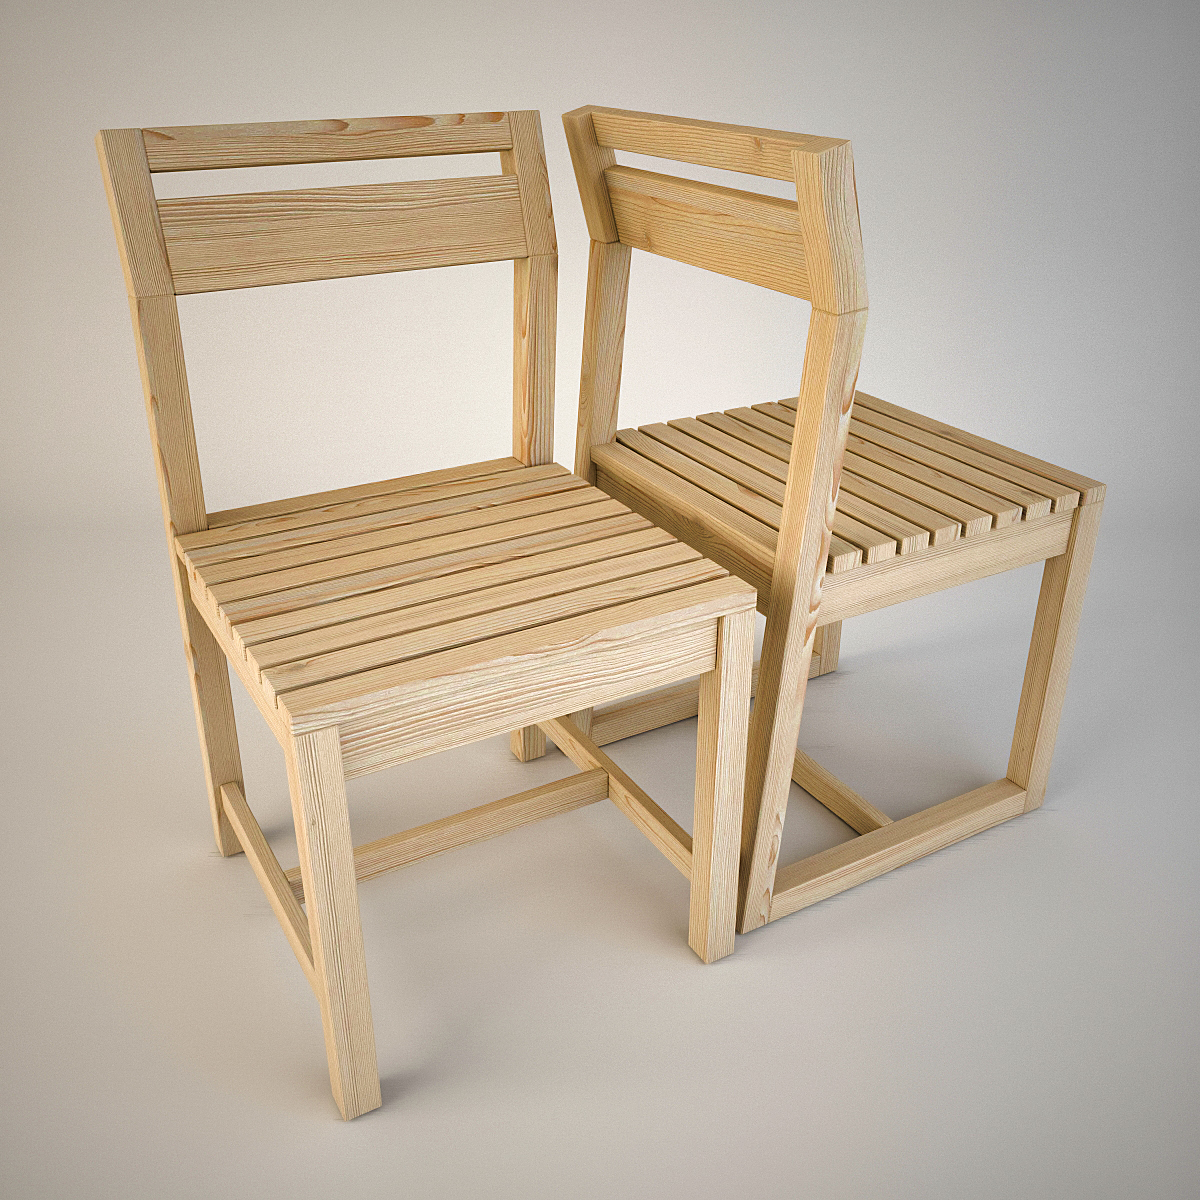
Hello Ana, I decided to modernize your project a little ...
This is 3DS MAX ... ;)
Thank you for your work ...
Regards, Serge...

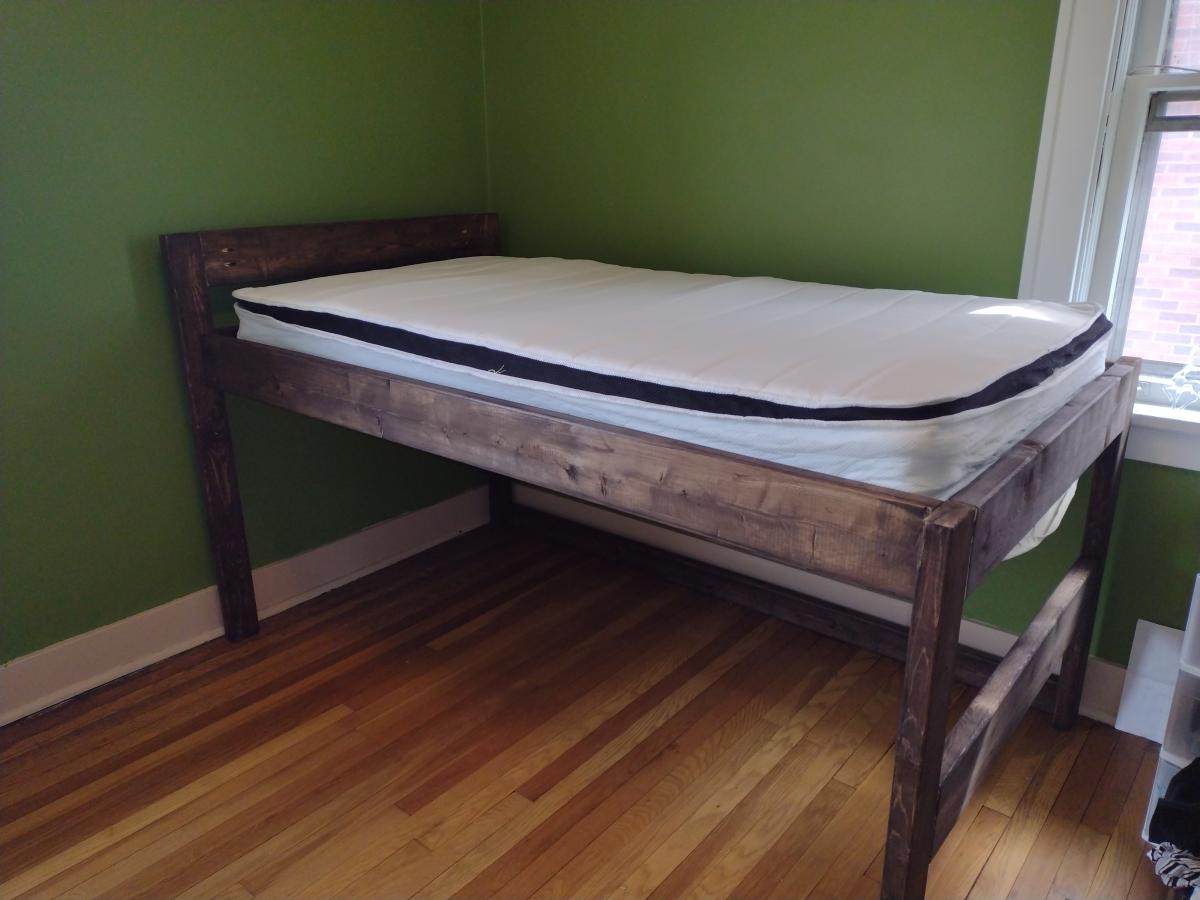
Moved into a new house after a fire destroyed almost everything, rather than buying new beds for my kids, we decided to build! They turned out beautifully, and the kids love them! Decided to modify the camp loft bed, removing the stairs and using the foot of the bed a ladder style.


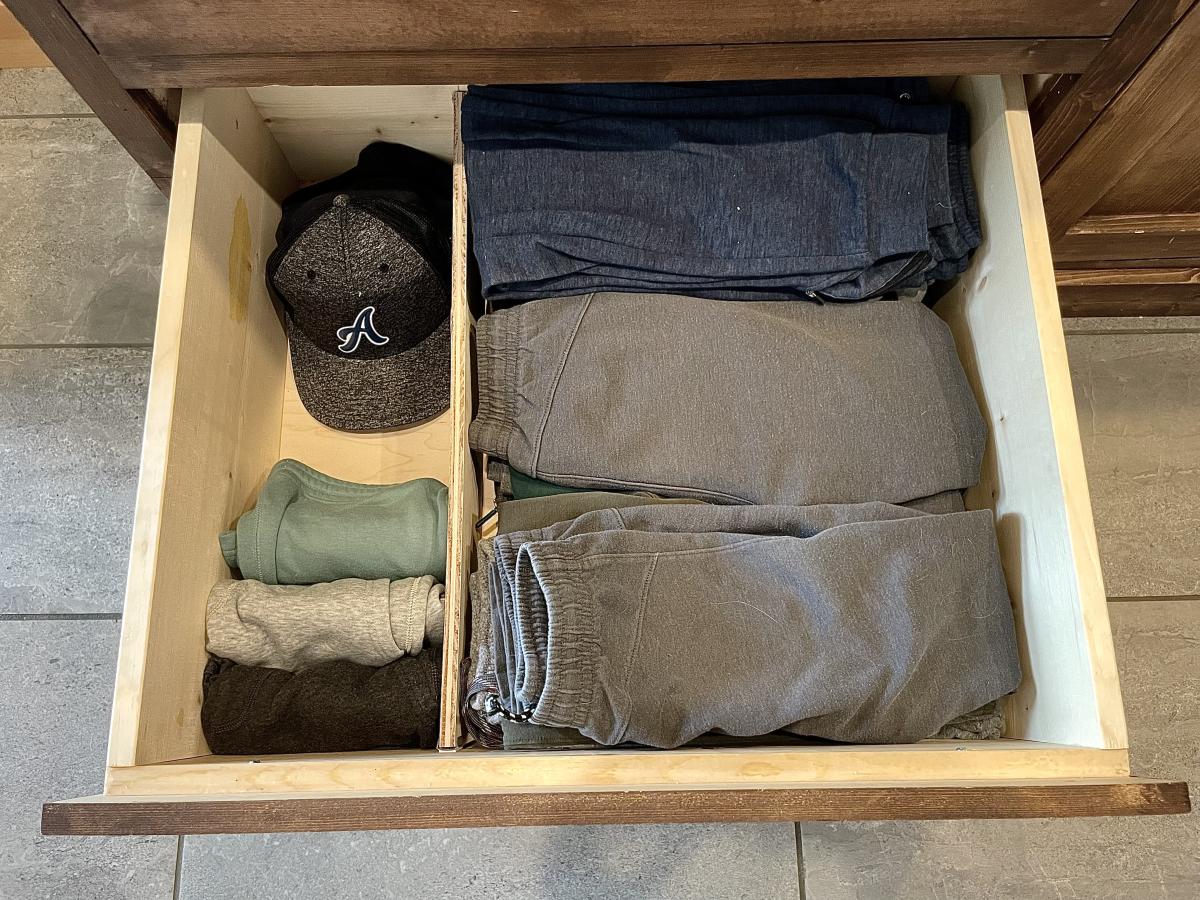
I used the stick on drawer organizer tutorial to divide a giant dresser drawer
With the divider, the drawer can hold more and is so much neater and easier to use
i love there is ZERO planning or sourcing of dividers with this method just have the basic materials on hand, open up a drawer and get it done

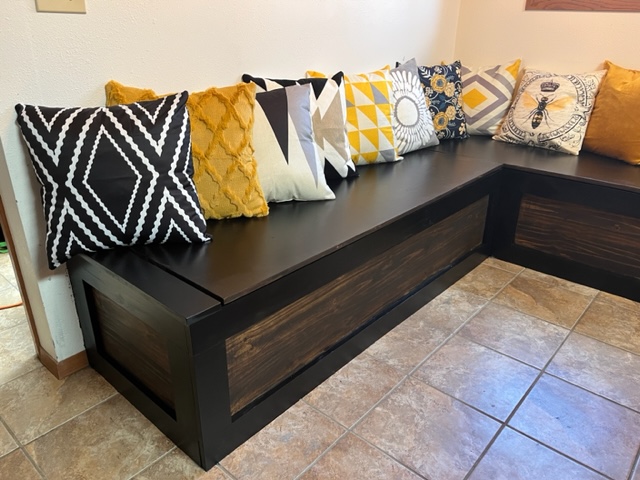
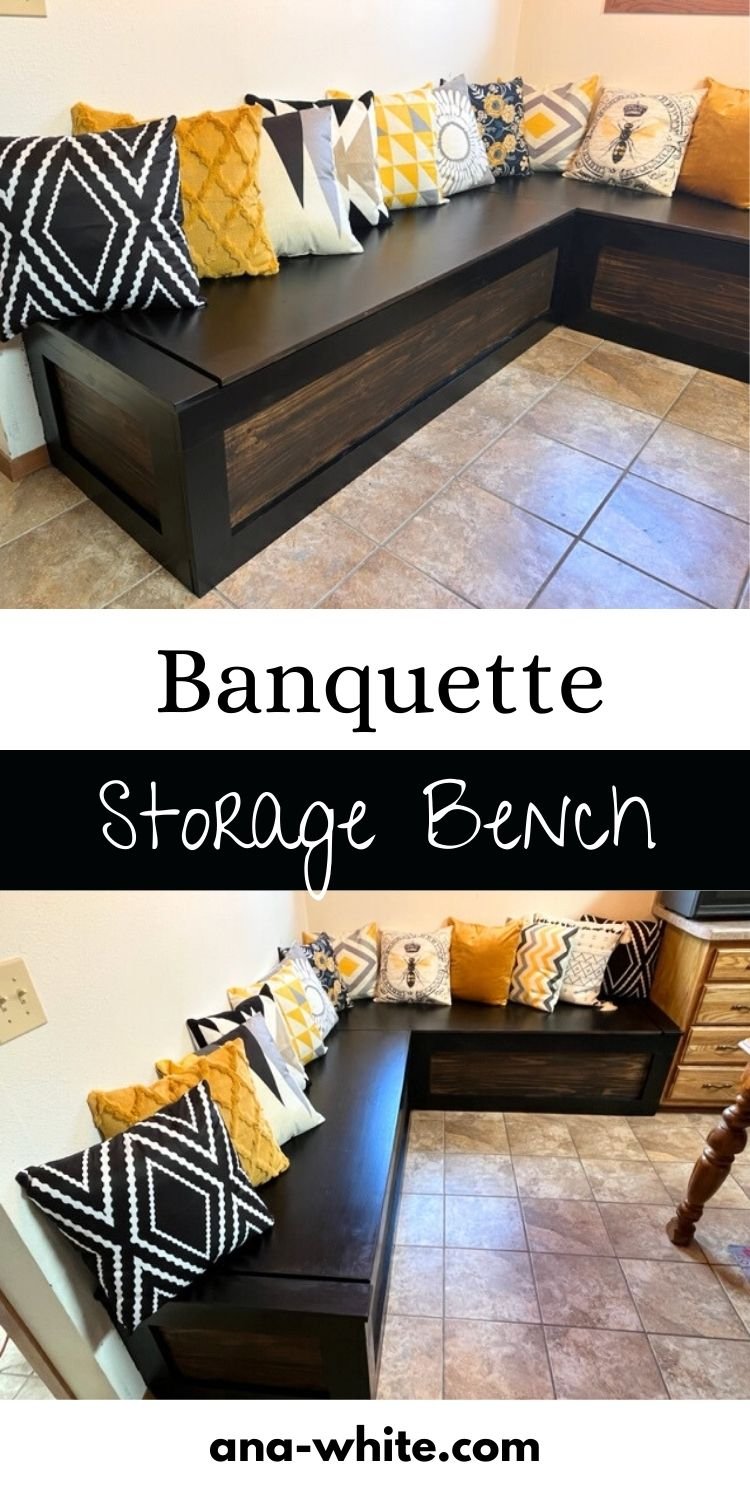
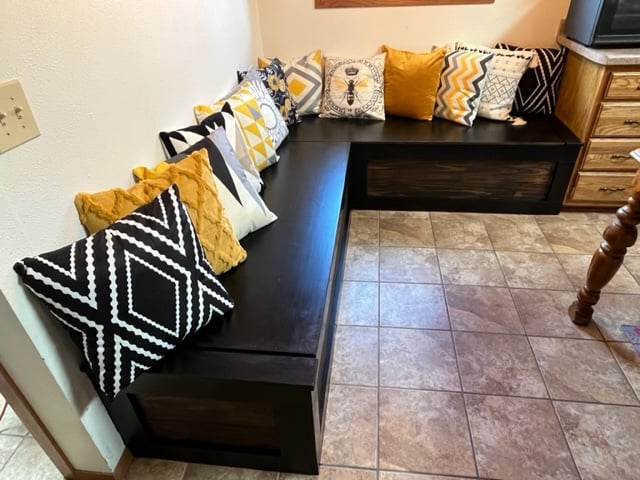
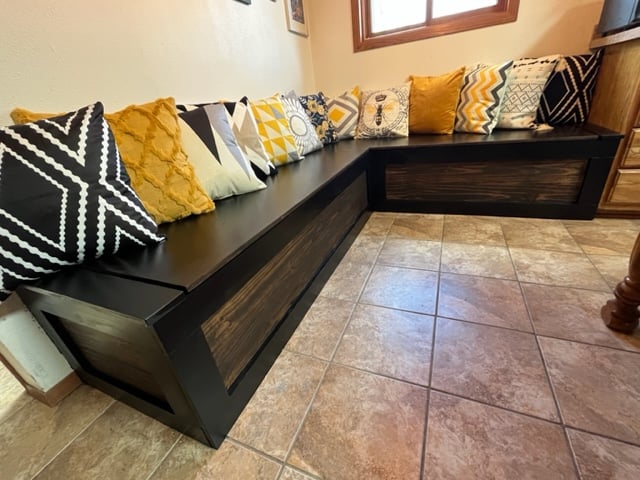
Here are the pictures from the finished Banquette. Thank you for the free plans. Very much appreciated.
by Jason
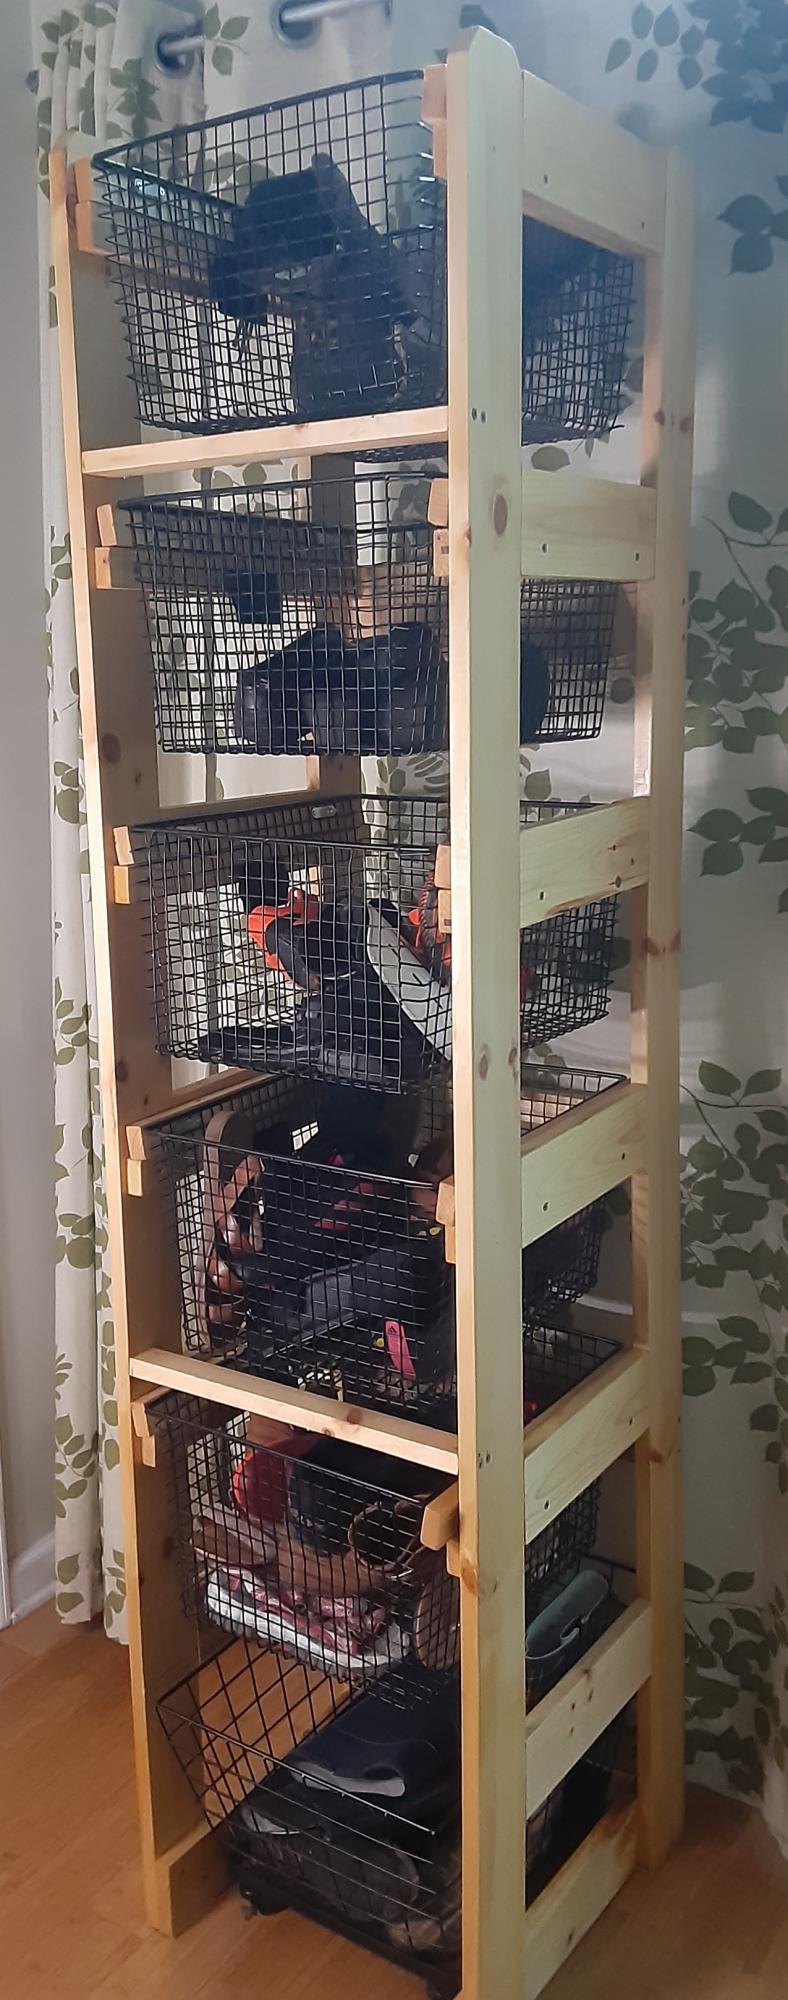
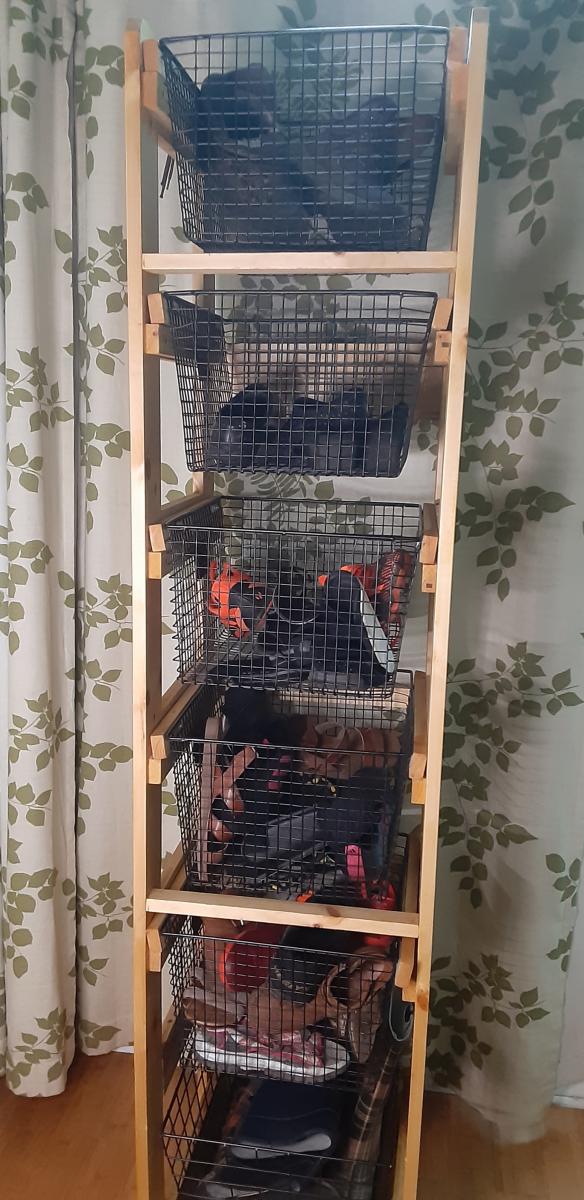
I needed a shoe rack that would work for our limited space and the Laundry Tower that was on the brag post caught my eye. It was modified from the Open Frame Laundry Basket Organizer. This shoe rack is working great for our family now! Thanks for this community!
Sat, 05/06/2023 - 21:09
Thanks for sharing your project, it looks really great!
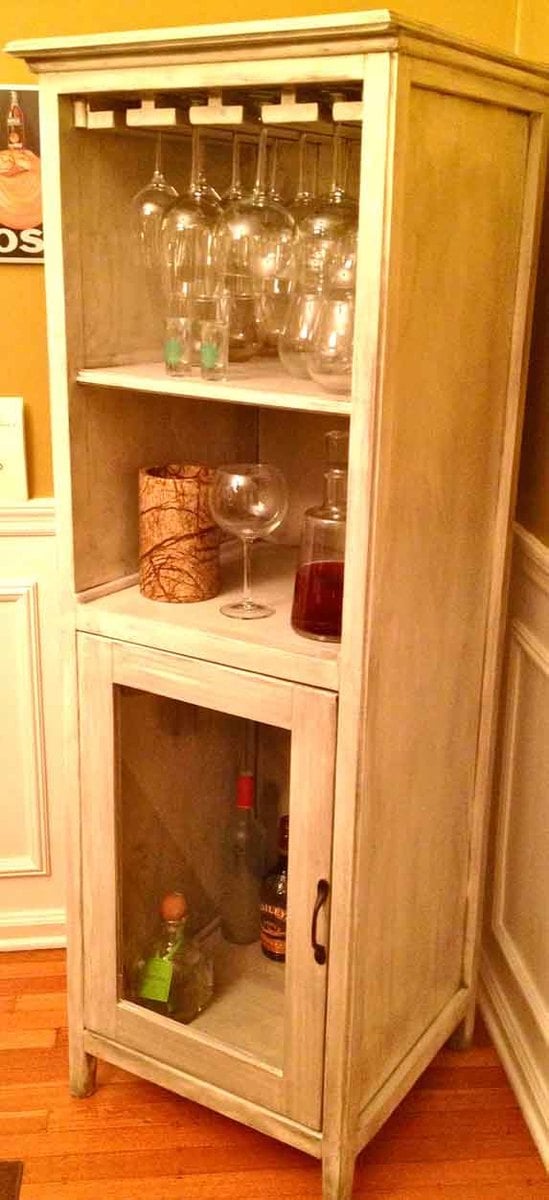
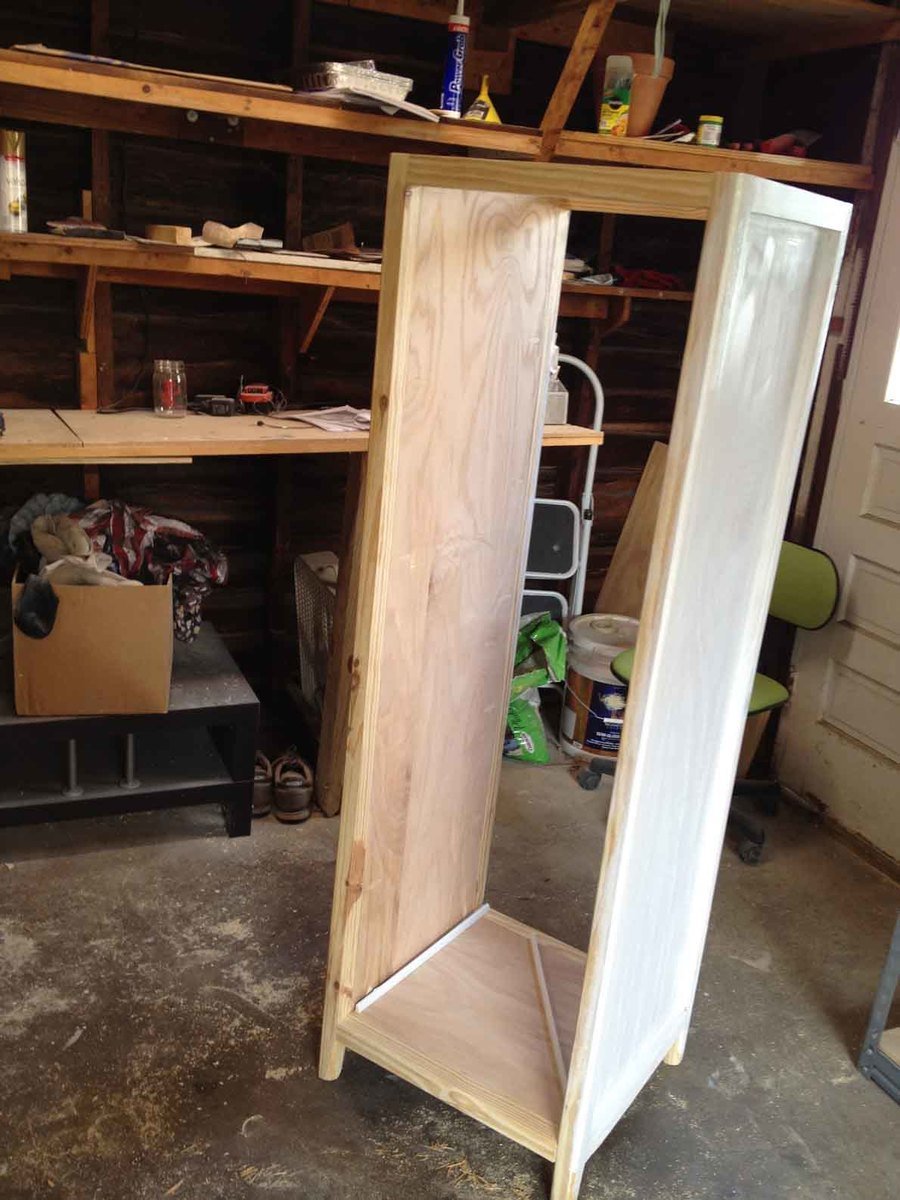
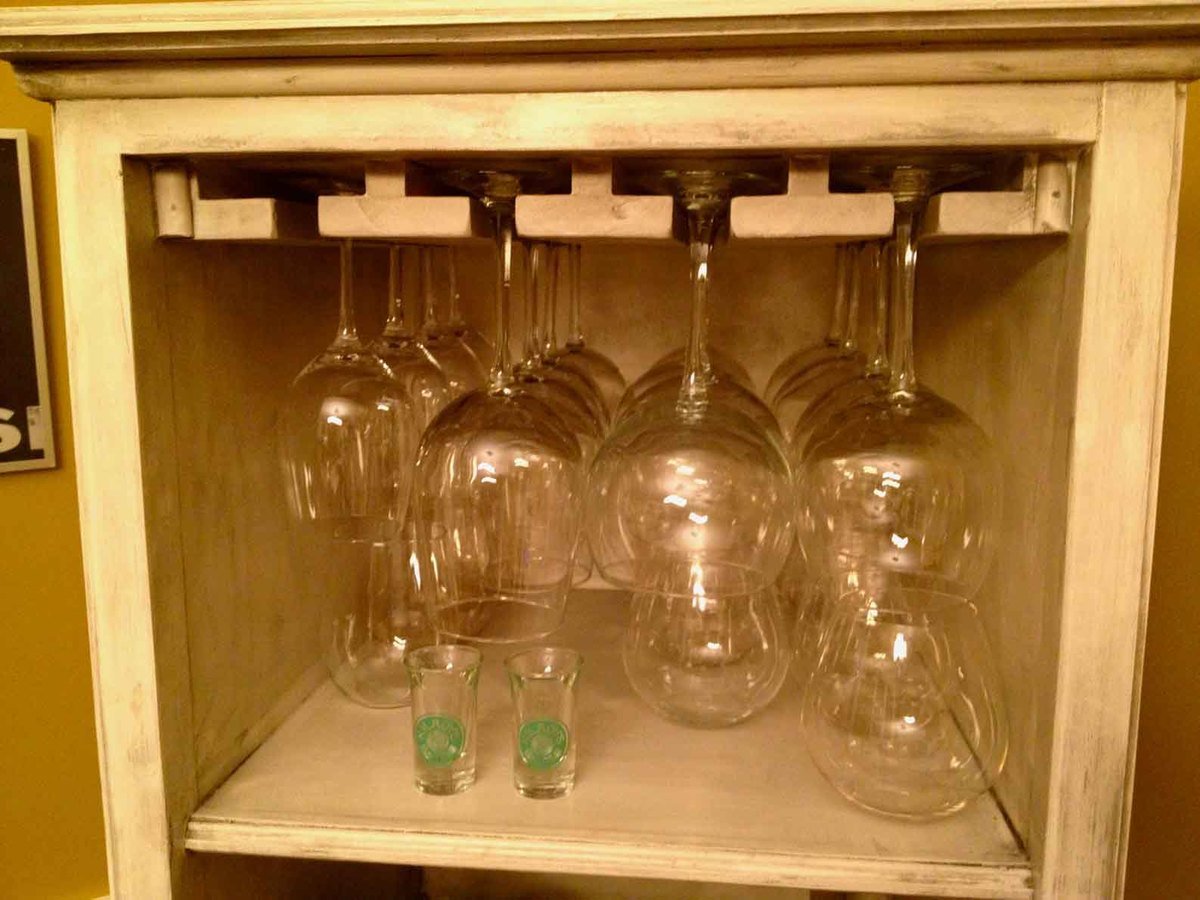
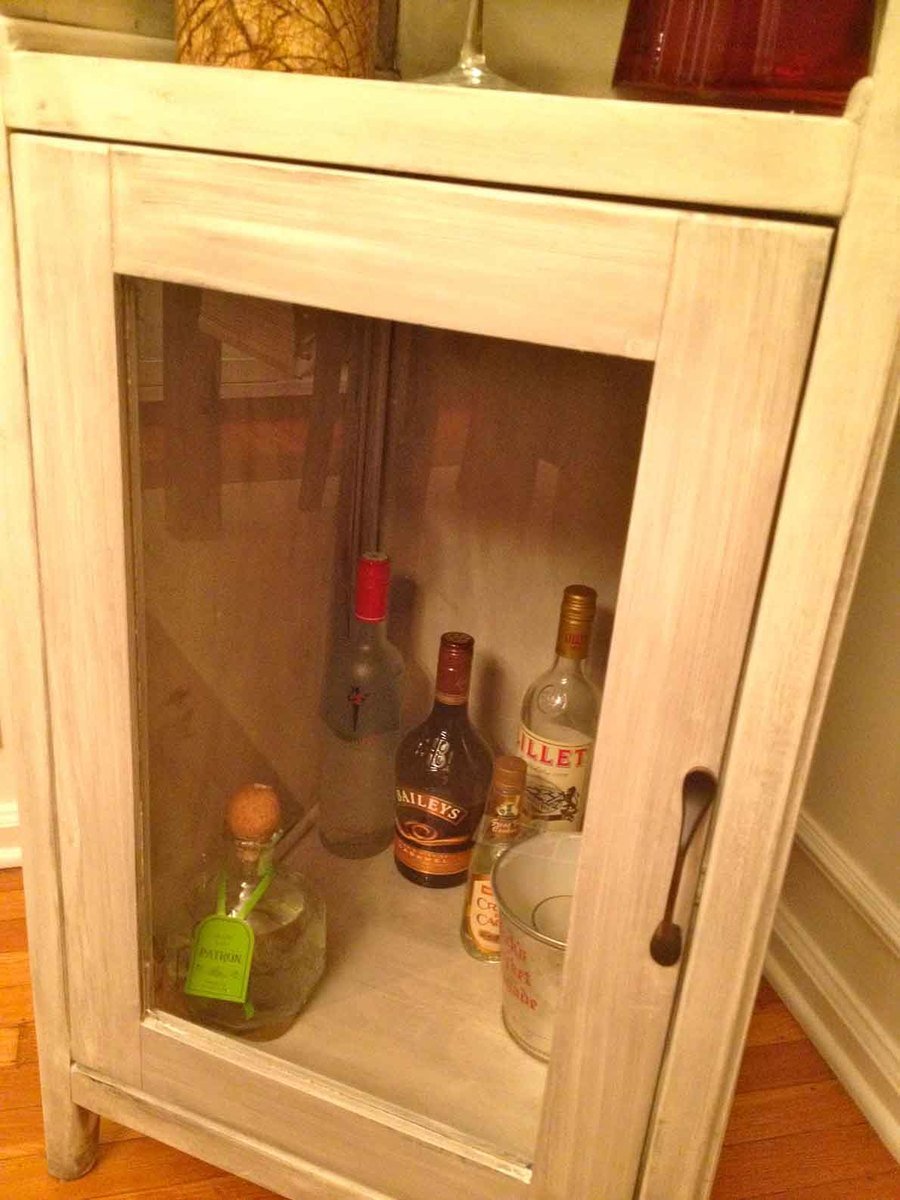
Hallelujah!! Finally, somewhere to store all our alcohol-related necessities :) We adapted Ana's Benchmark Storage Unit to work as a liquor cabinet. We kept the basic design the same, but added some stemware storage across the top (a feature we loved in a Crate and Barrel liquor cabinet that was $$$$$) and some decorative molding to bulk it up a little bit. We lovvvvvve it! Thanks Ana!
PS: everyone please check out our blog for more details on this and other projects!
Thu, 01/05/2012 - 17:18
Wow, that is so awesome! I'm gonna have to build one now!