Mudroom bench with easy drawers
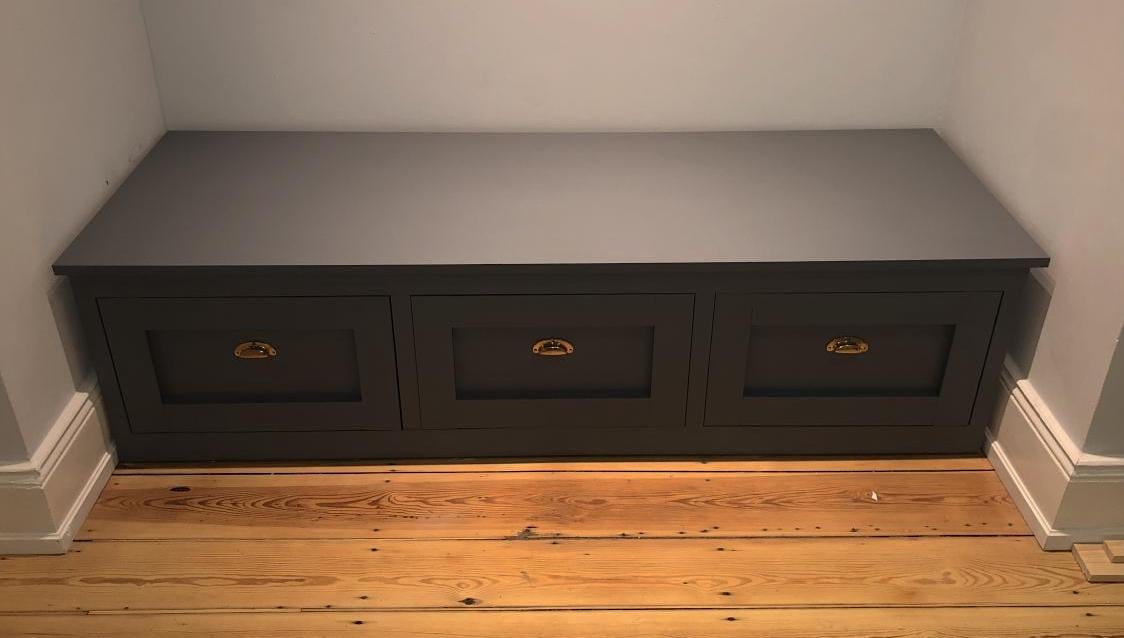
Not as easy at it seems... but also, this was one of my very first woodworking projects.

Not as easy at it seems... but also, this was one of my very first woodworking projects.
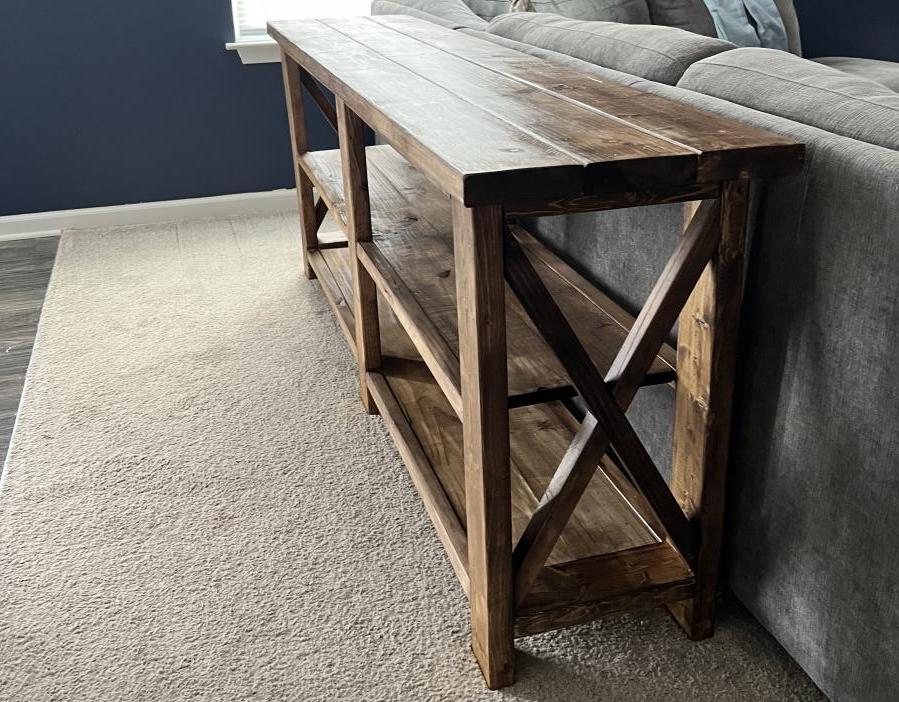
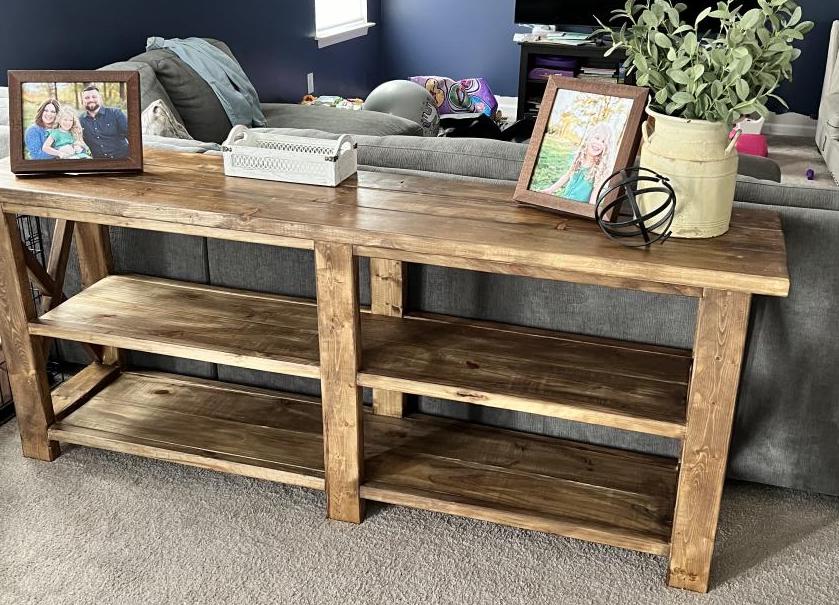
This was my first Ana White plan after lurking for awhile! I’ve dabbled with other DIY furniture and woodworking plans but this my first one for indoors that required some more meticulous finishing. Super happy with how it turned out!
Tue, 04/11/2023 - 11:43
Wonderful job, it looks perfect there! Thanks for sharing.
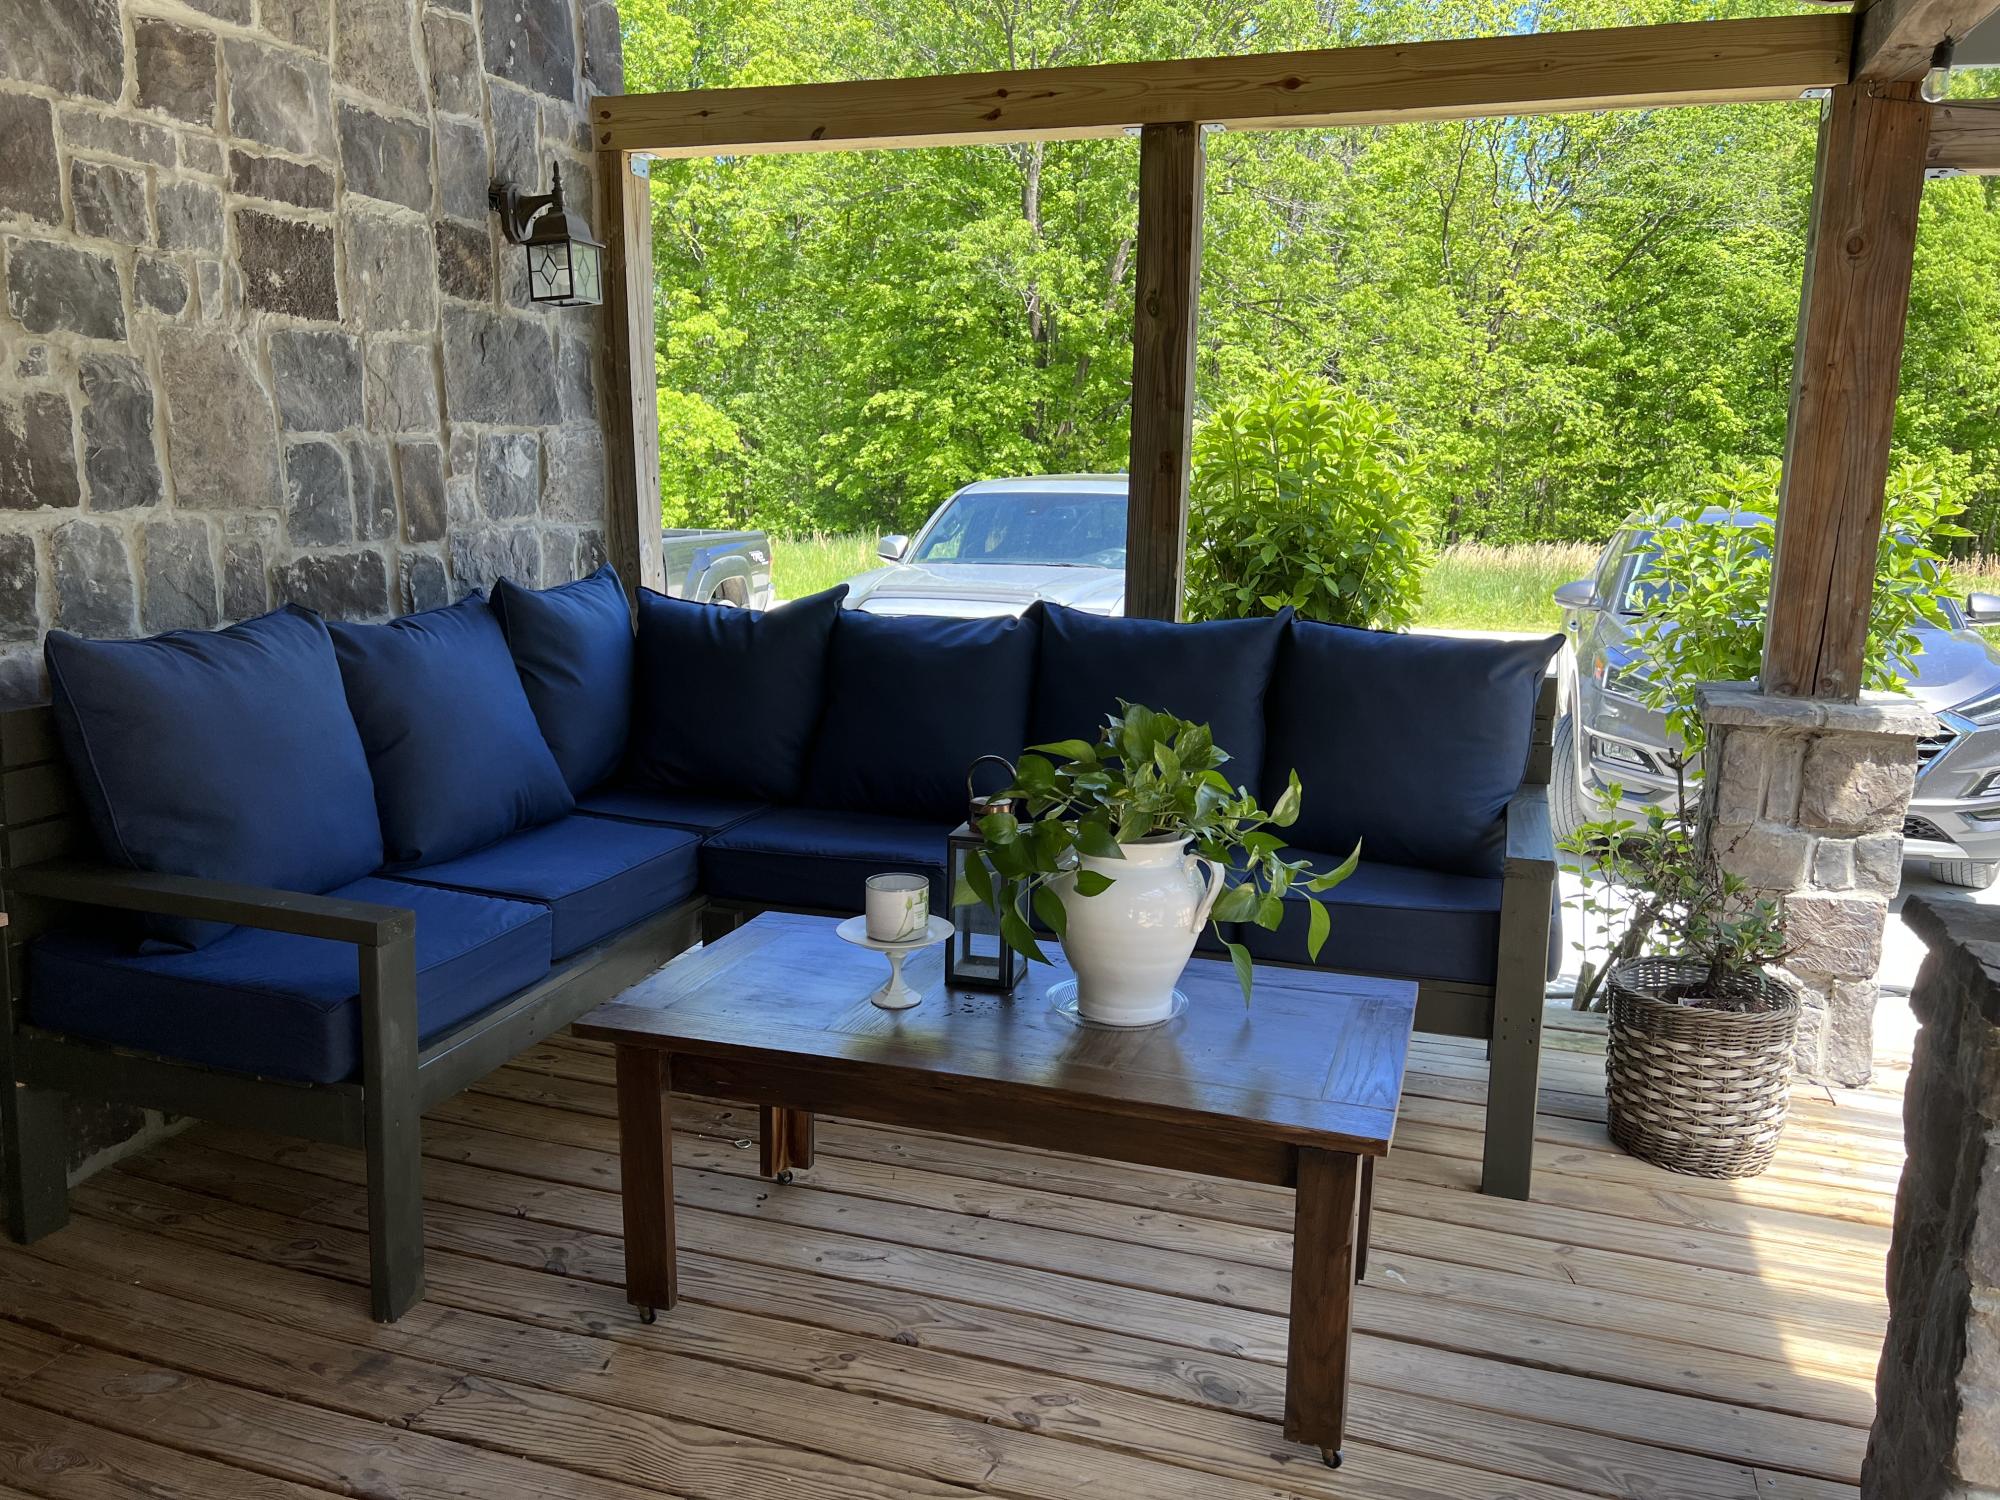
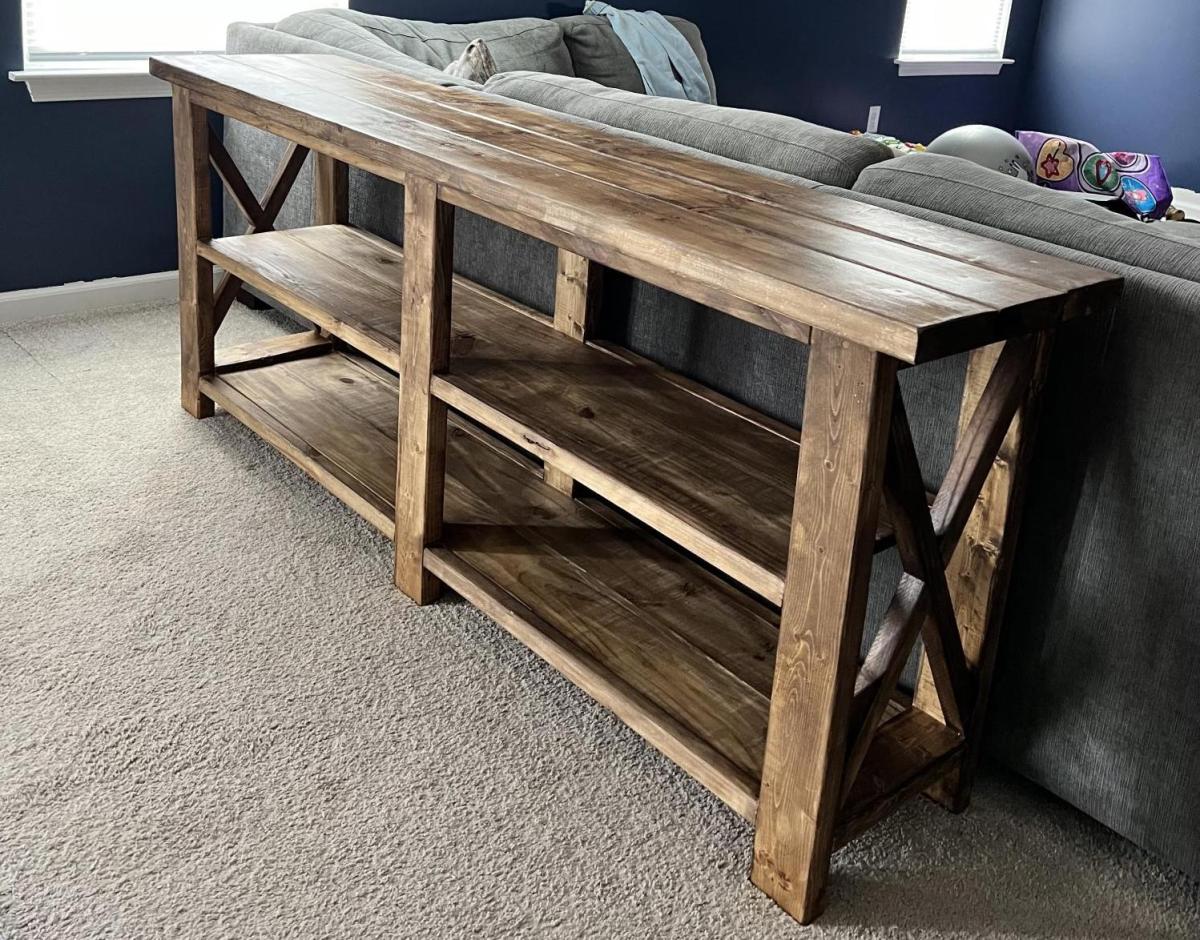
My husband whipped this up in one day using Ana’s plan. This is my new favorite spot to relax.
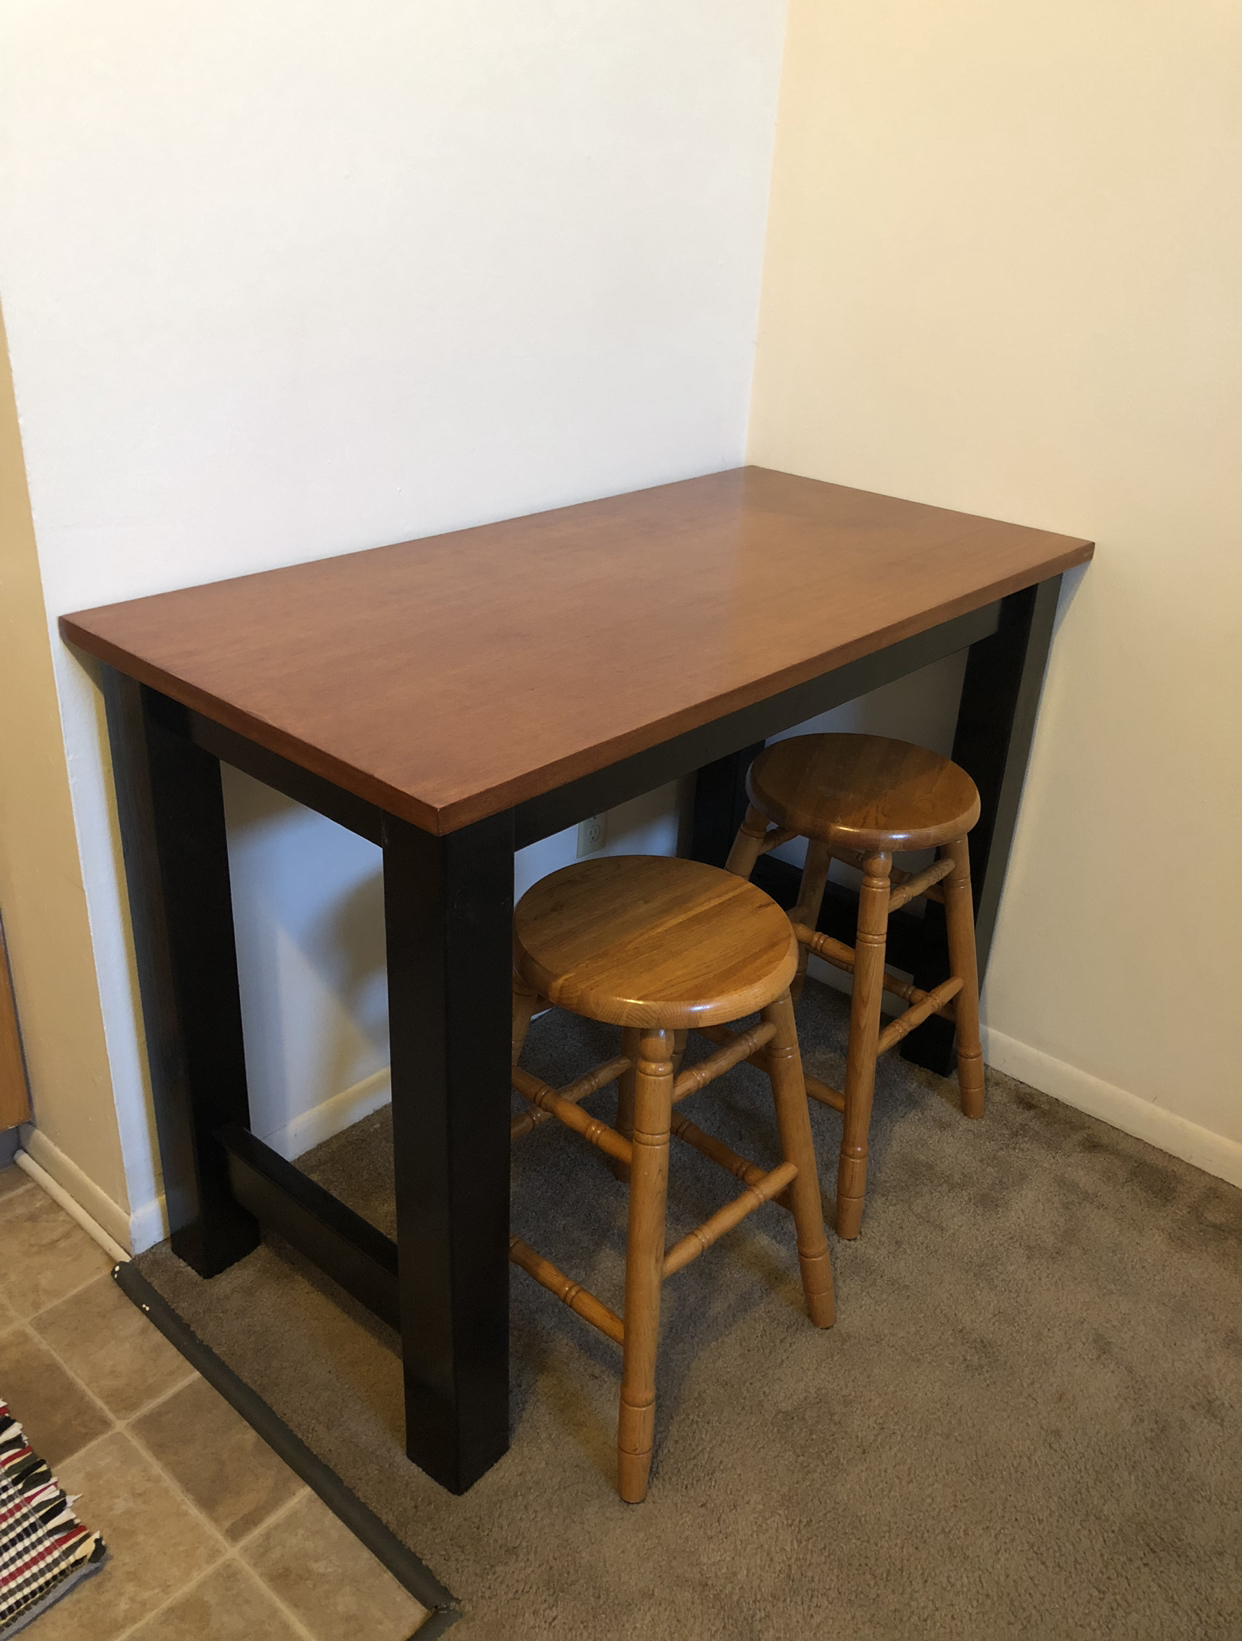
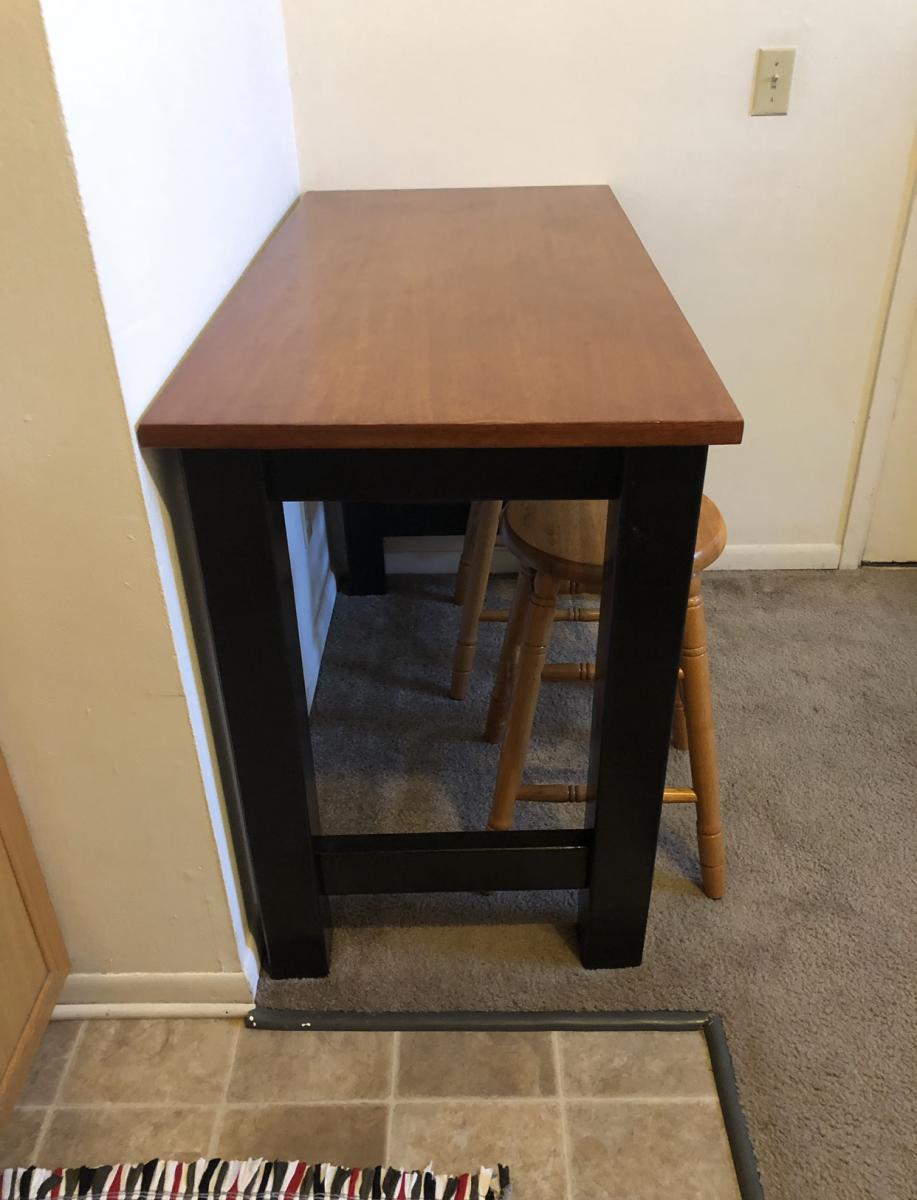
Our son was moving into his first college apartment. The dining area is small and he thought a breakfast bar would be perfect in this spot. We built the base using Ana’s Counter Height Farmhouse Table for Four plans. We modified the plans to to fit the table top - which was originally the top of a desk. We purchased the desk at our local Habitat Restore. We planed to use the base of the desk for another project- so using the top for this breakfast bar was perfect! The breakfast bar was a perfect fit!
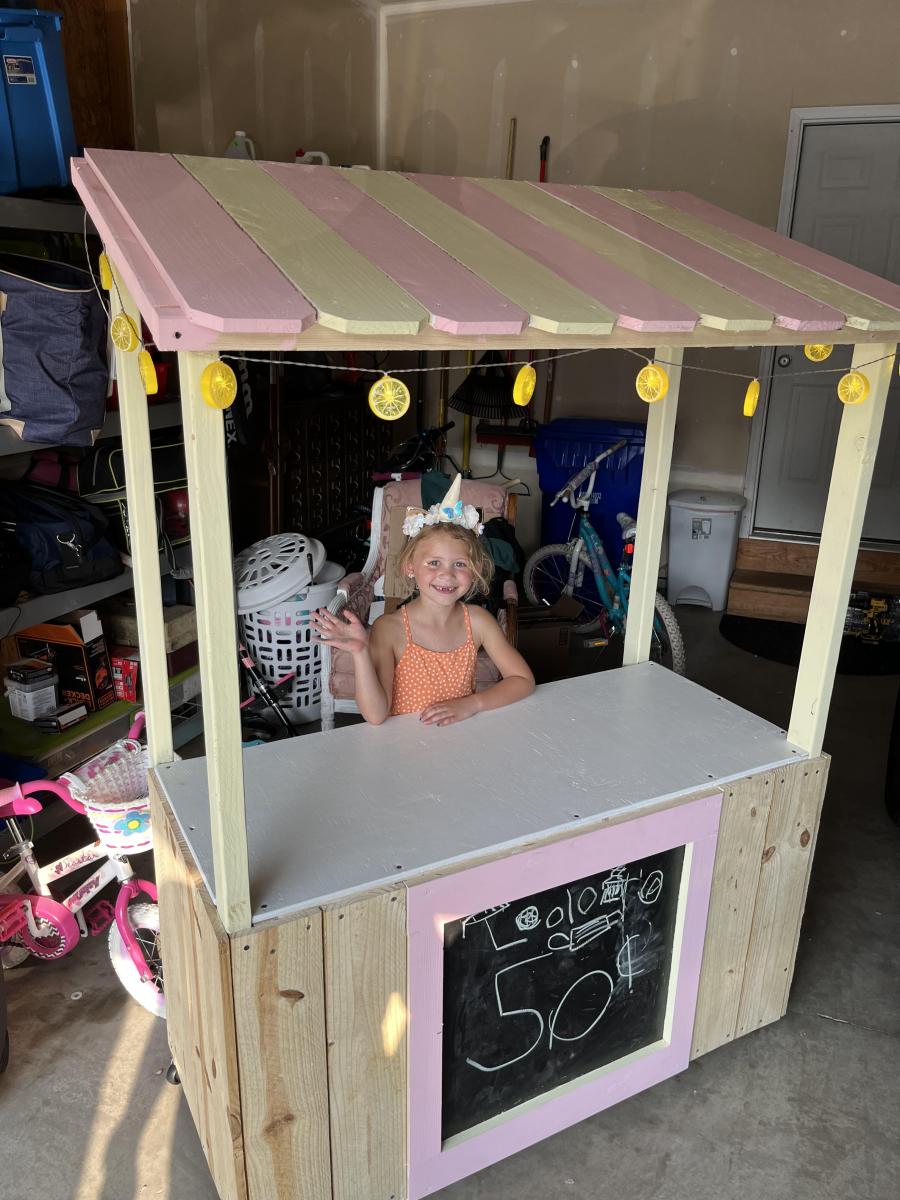
DIY lemonade stand with awning
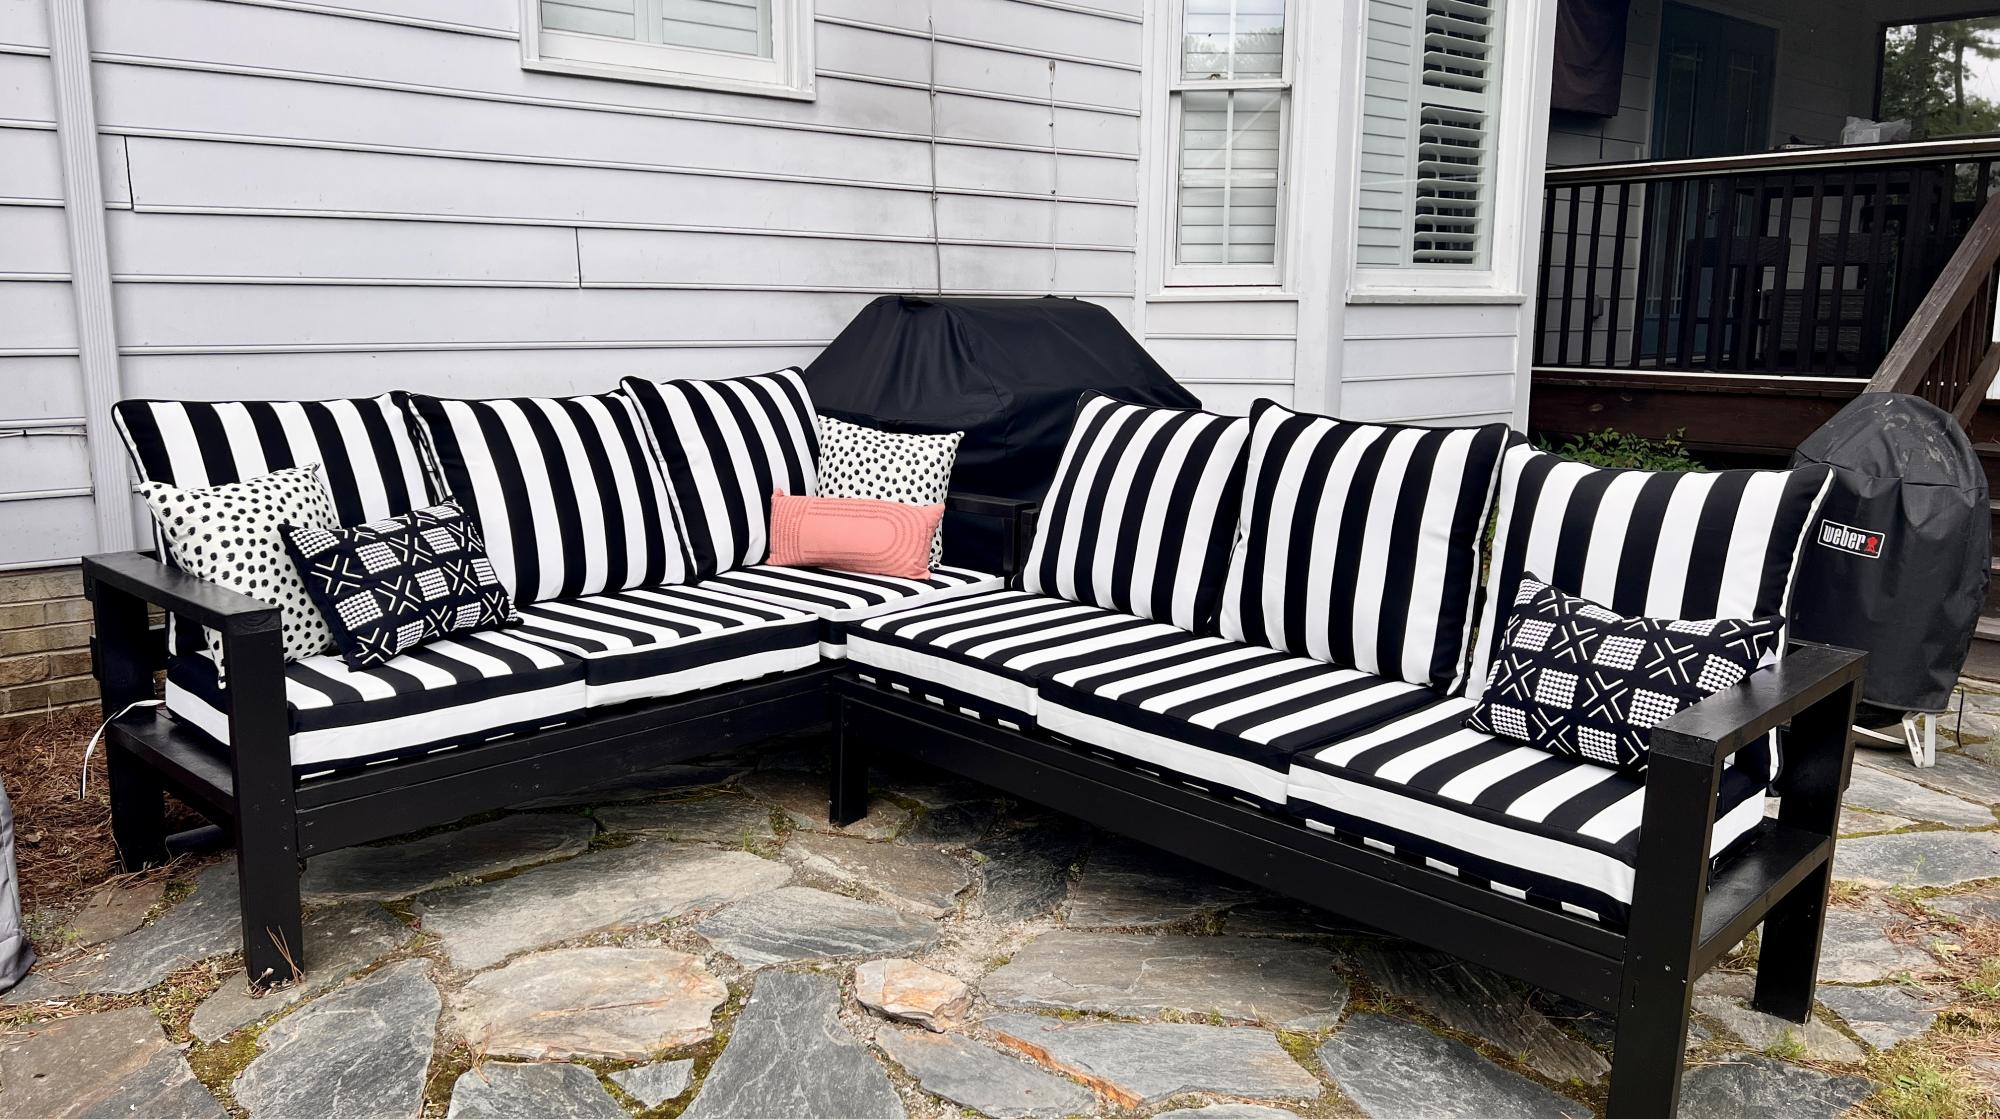
Sectional painted with Glidden semigloss exterior paint in Phantom Mist. Cushions from Overstock and pillows from Homegoods.
Sat, 05/27/2023 - 19:31
Fabulous work, love all the color choices! Thank you for sharing.
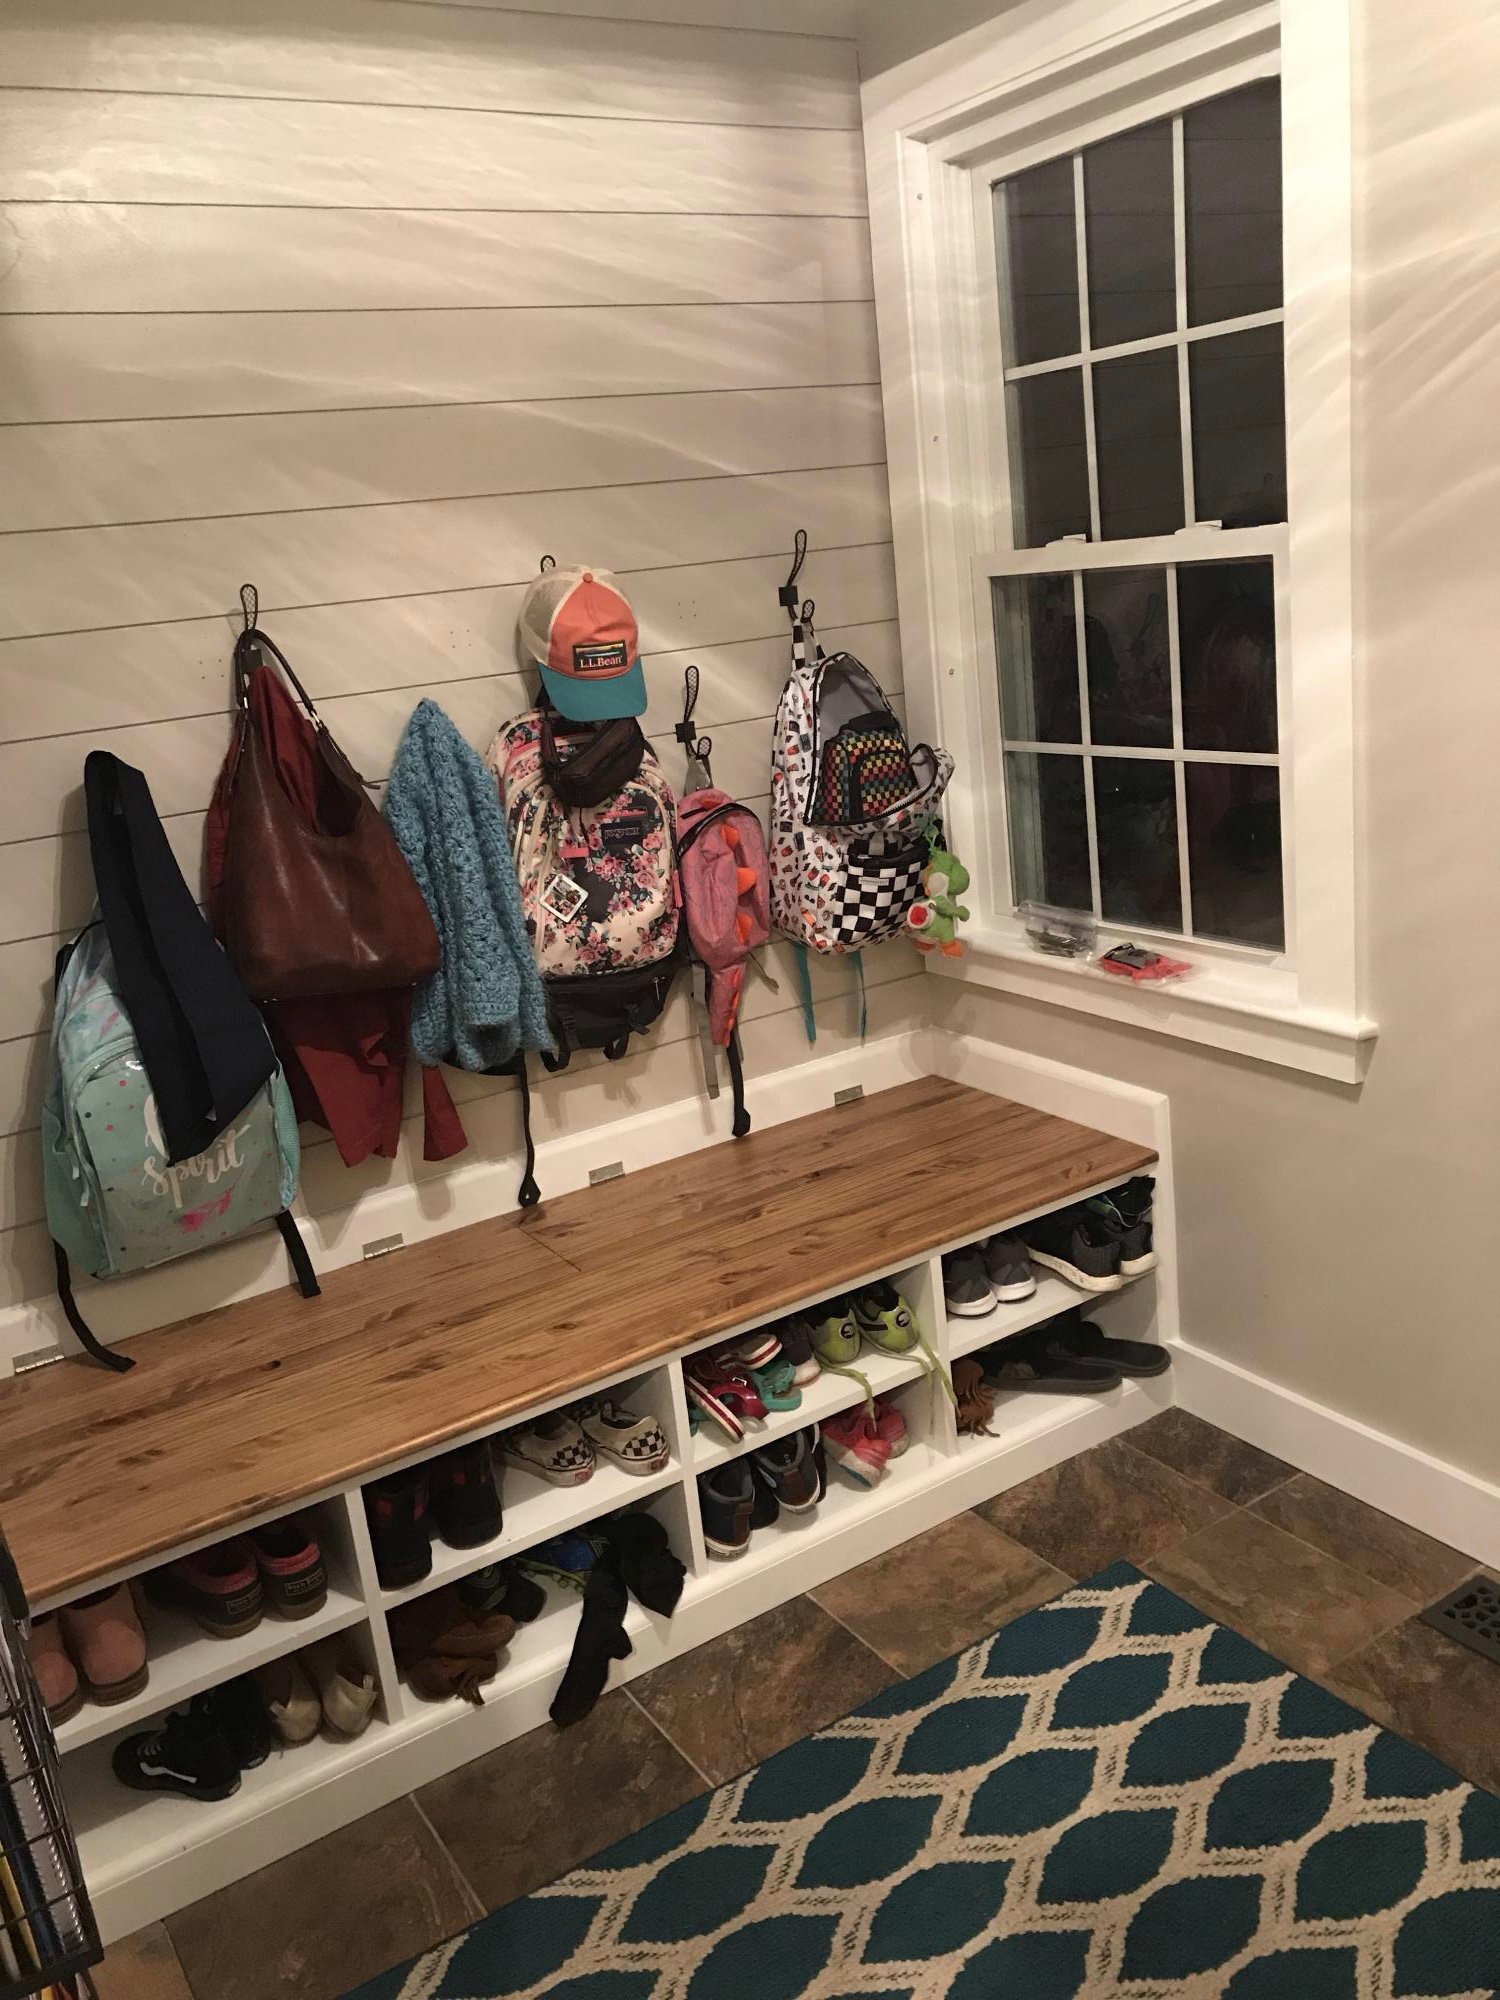
The plans for this bench fit out mudroom perfectly! All ready for winter now with the boot storage in back ☺️
Wed, 10/02/2019 - 09:29
We love this shoe bench!!! So much storage, great job!

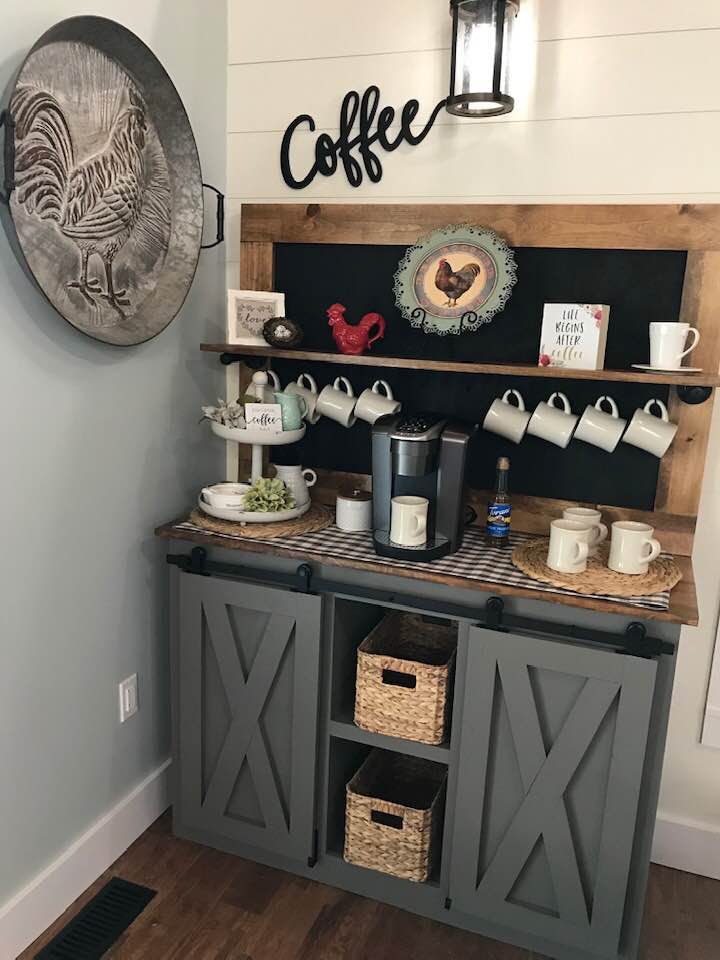
Modified Grady barndoor console into a coffee bar with chalkboard upper piece
Wed, 11/18/2020 - 19:01
This piece was built by my hisband Mo Coomer. Our little shop is called Rugged Cross Custom Designs. It states submitted by anonymous.

These were inspired from a few different projects of Ana’s, great fun to build and have transformed our patio area
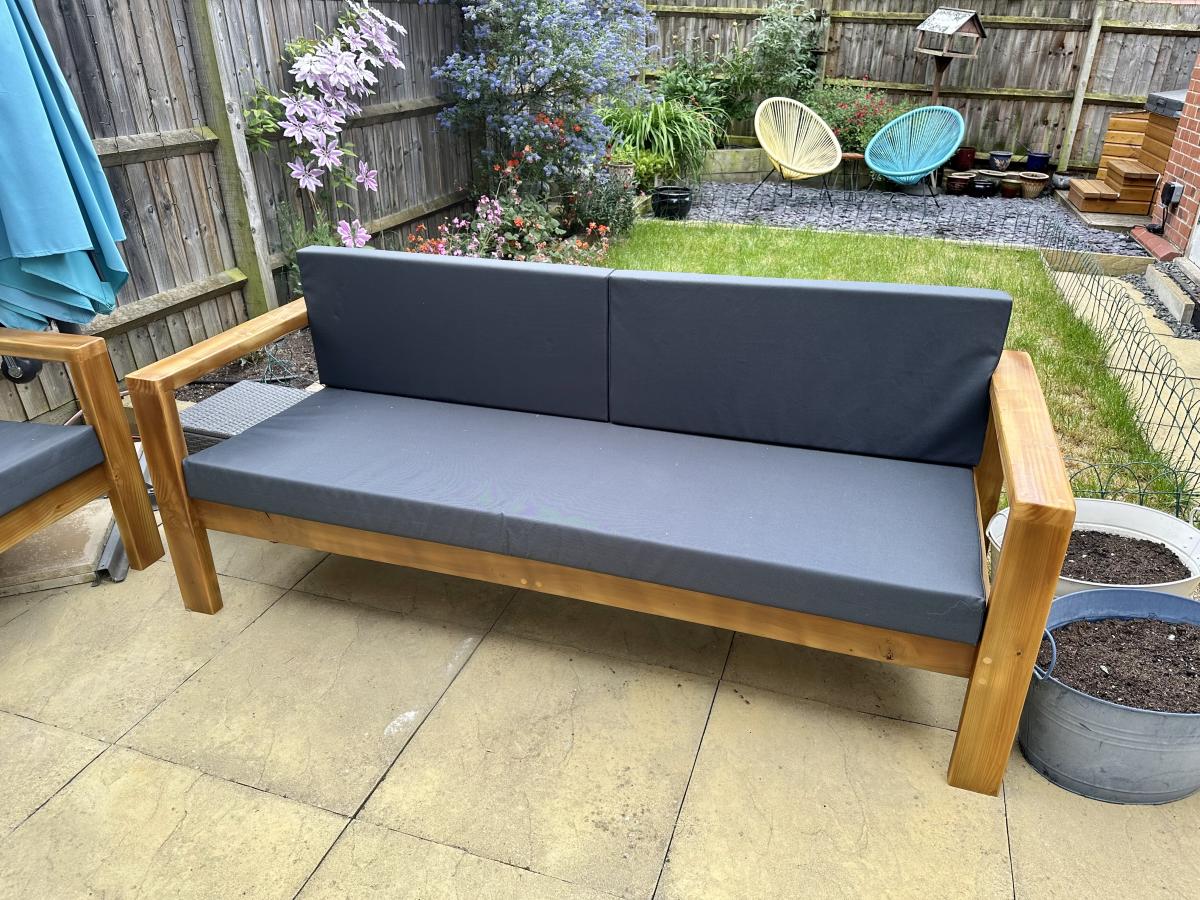
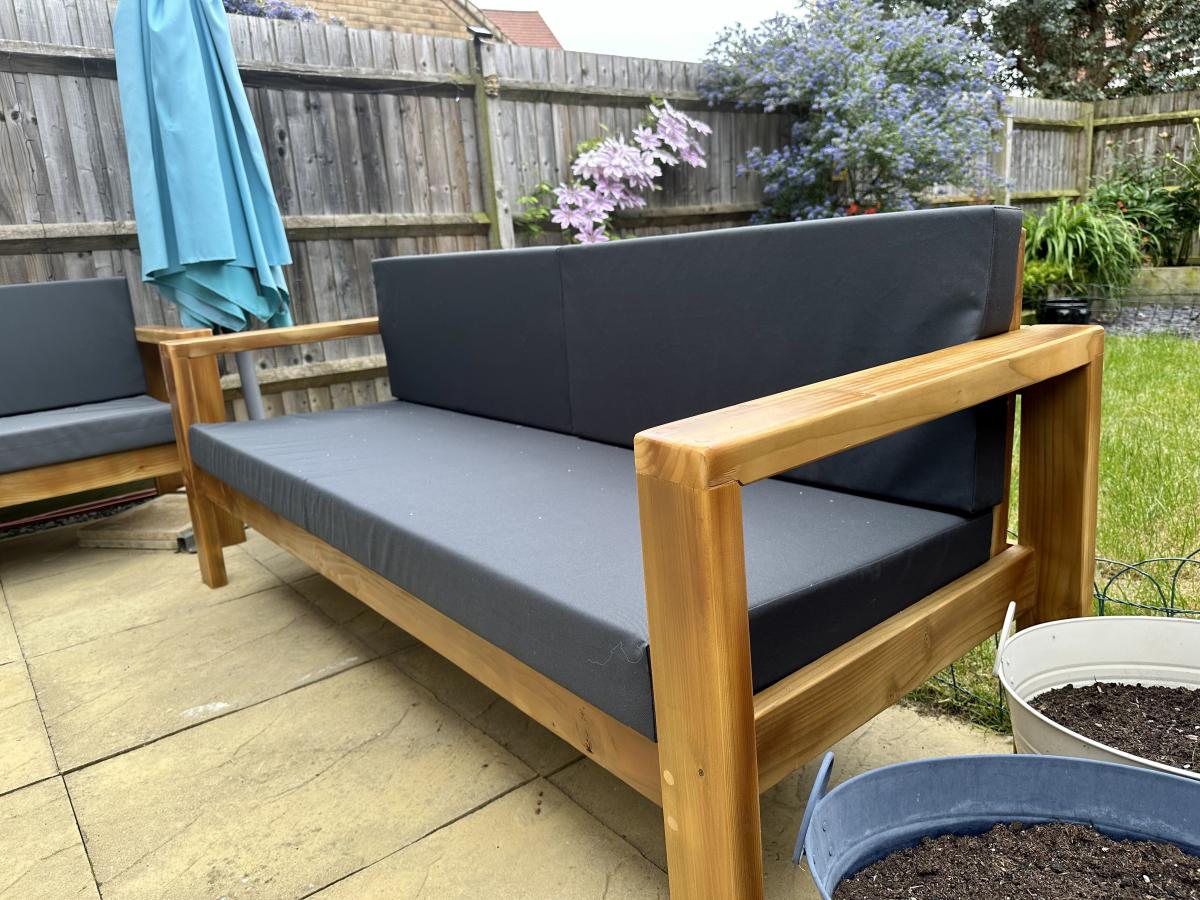
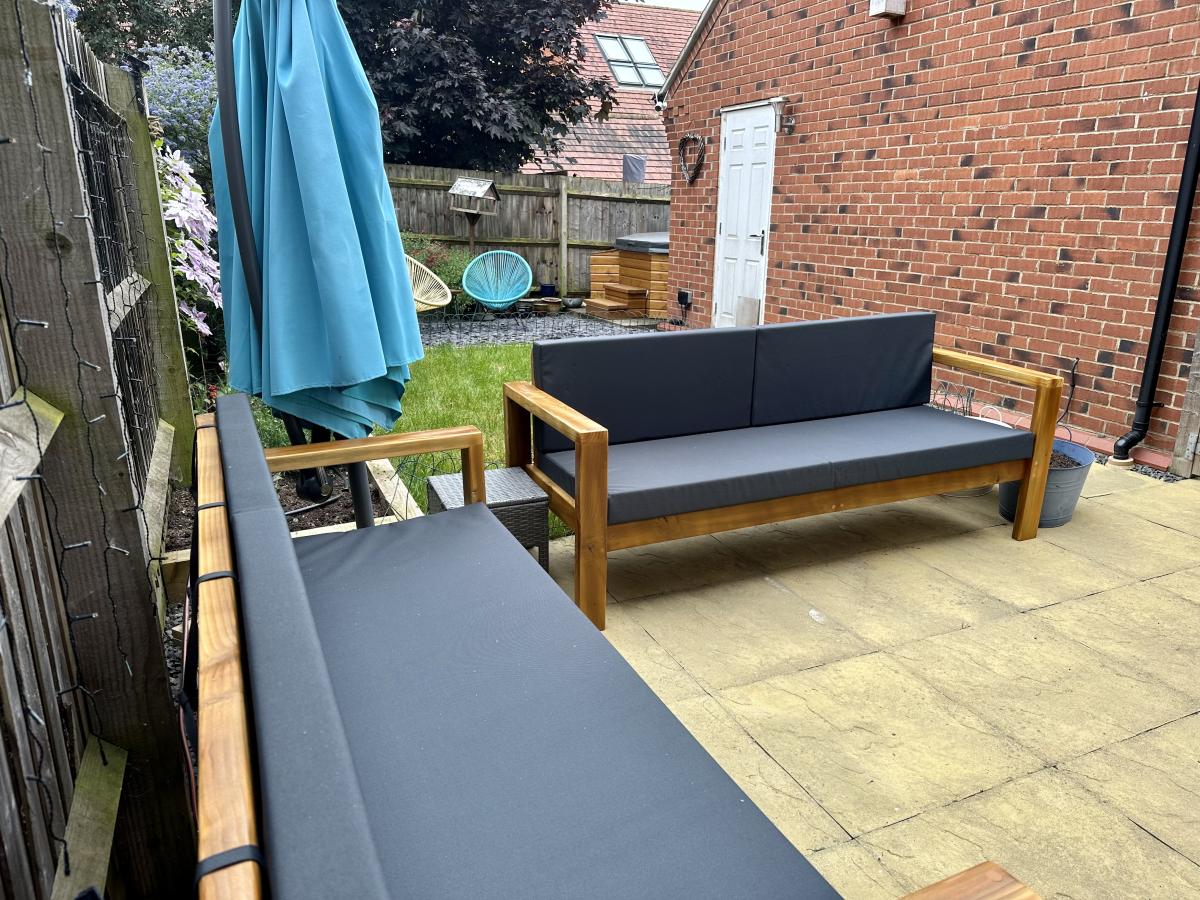
This was my first time doing a big project like this . Thank you for the plan for this.
Thu, 06/15/2023 - 09:19
These look awesome, can't wait to see them all in place and filled up! Thanks for sharing.
We recently decided to turn our bonus room into a Den/Play room for our energetic 20 month old son. It quickly became apparent that we needed storage... and FAST for all of those little toys that toddlers love so much.
I loved the idea of the 5' x 5' room divider cubby, but needed something that would accommodate the sloped roof. I modified Ana's plans to allow for a tiered storage option that would work with the roof line.
Cutting/prepping and assembling went quickly with the Kreg Jig. I prepped all the materials and assembled the unit in the room as it is quite heavy completely assembled. Cutting and Assembly took about 1 and 1/2 naps for my toddler (so about 3-4 hours). Sanding and Painting the following day took about another naps worth of time (2-3 hours).
The unit is still 72" tall at its highest point- and I modified the plans slightly to ensure that all cubbies would be a minimum of 13.5 inches tall/wide. After 2 coats of paint, it was ready to be mounted against the wall for safety. I installed 2 L brackets on the top and middle rows and screwed directly into the drywall- can't be to safe when it comes to toddlers and their love of climbing!
Cost Breakdown:
1 x 12 x 8 (6): 65.00
1 x 2 x 8 ( 3): 10.00
Low-Voc all in one Paint/Primer (Valspar) (Quart)- $2.50 (a paint department return area find!)
Total Project Cost (estimate) $80-90 (including screws, wood filler and supplies)
In reply to Great Work by NimbleShopper
Fri, 12/13/2013 - 06:33
Thanks! I'll be making another one to mirror it on the other side of the window for additional storage!
Wed, 01/15/2014 - 10:09
You got the right decision placing the window there. Great house by the way!
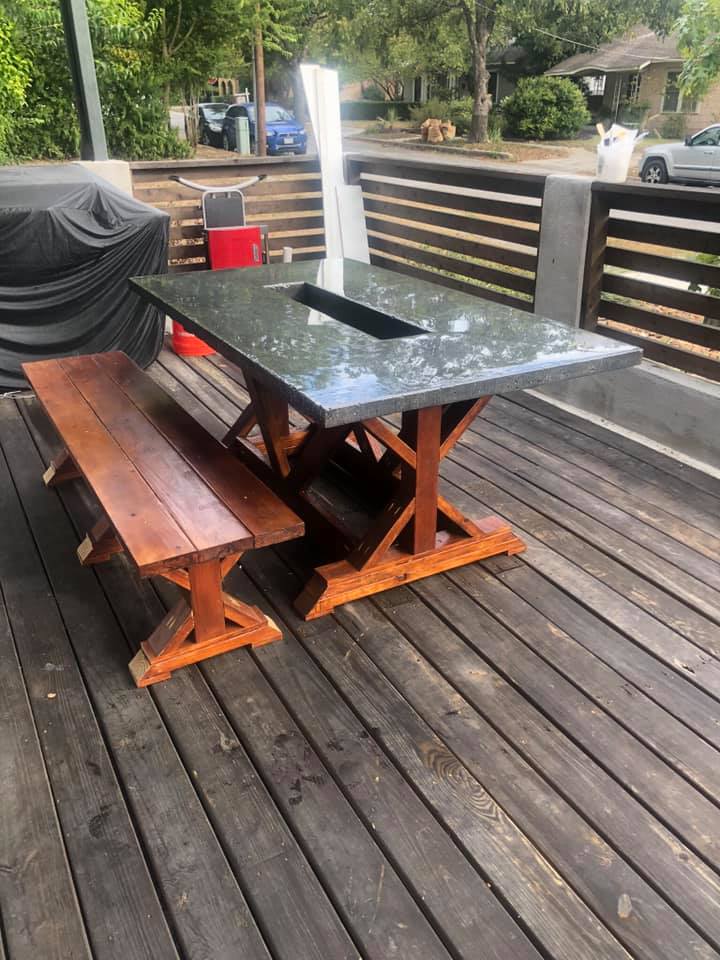
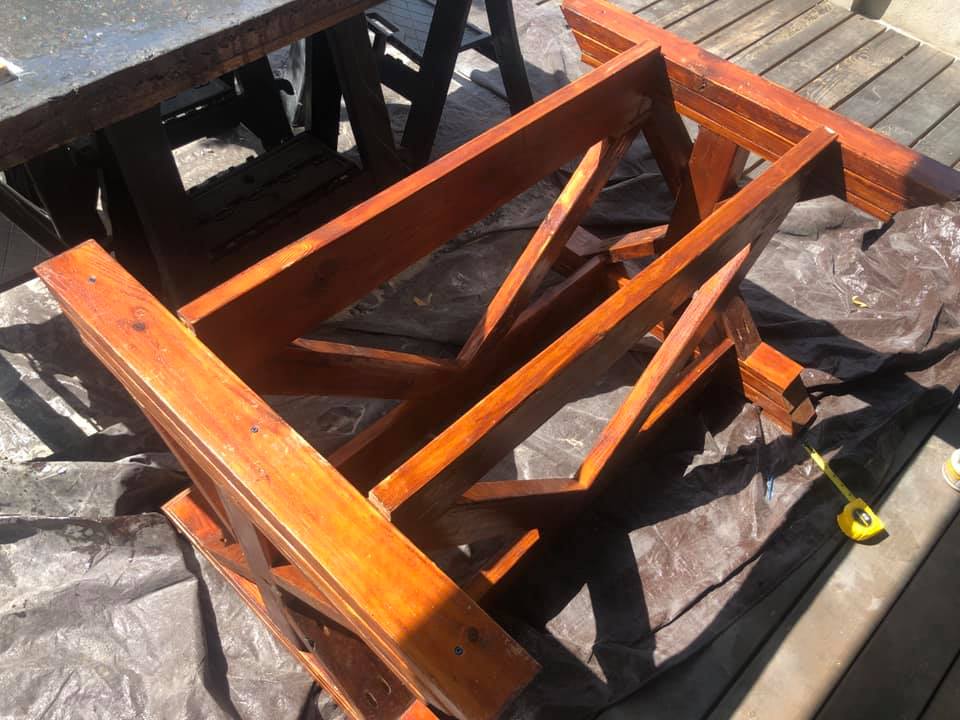
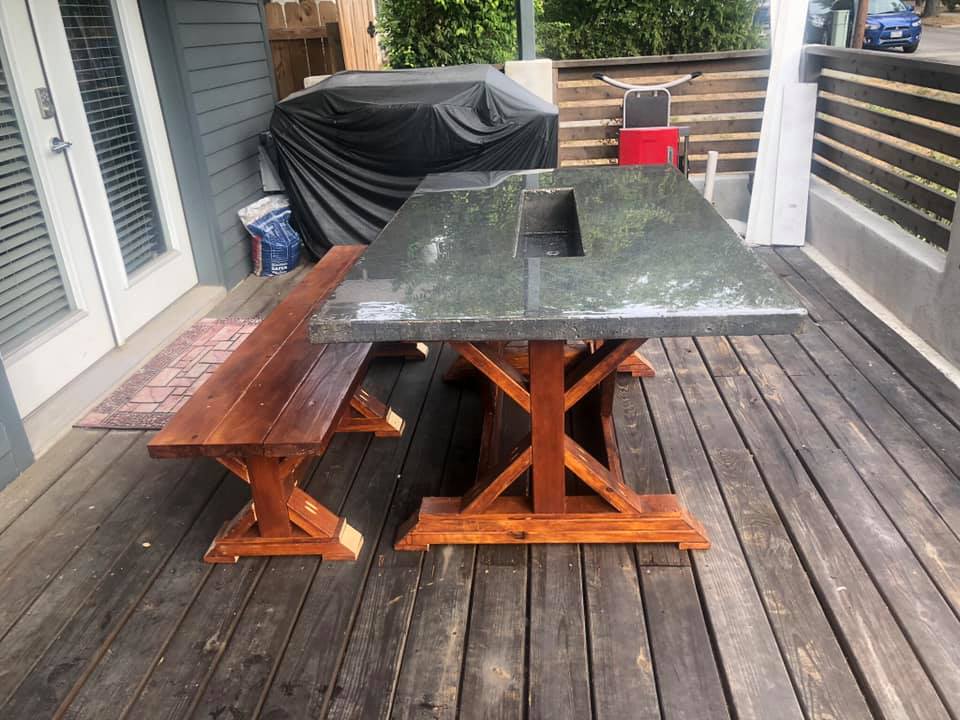
Used the fancy X farmhouse table plan with slight modifications. I decided to use a 4X4 vs two 2X4 as the main leg for the base. I thought it would provide more strength for my final product. Did the same on the bench. Then i moved the support and brace over and added an additional one to provide extra support for the concrete top and trough i made. All in all the base and the bench came out beautiful and am so over the moon with them both! It was my first project I have done (very ambitious I know) but now I am hooked!
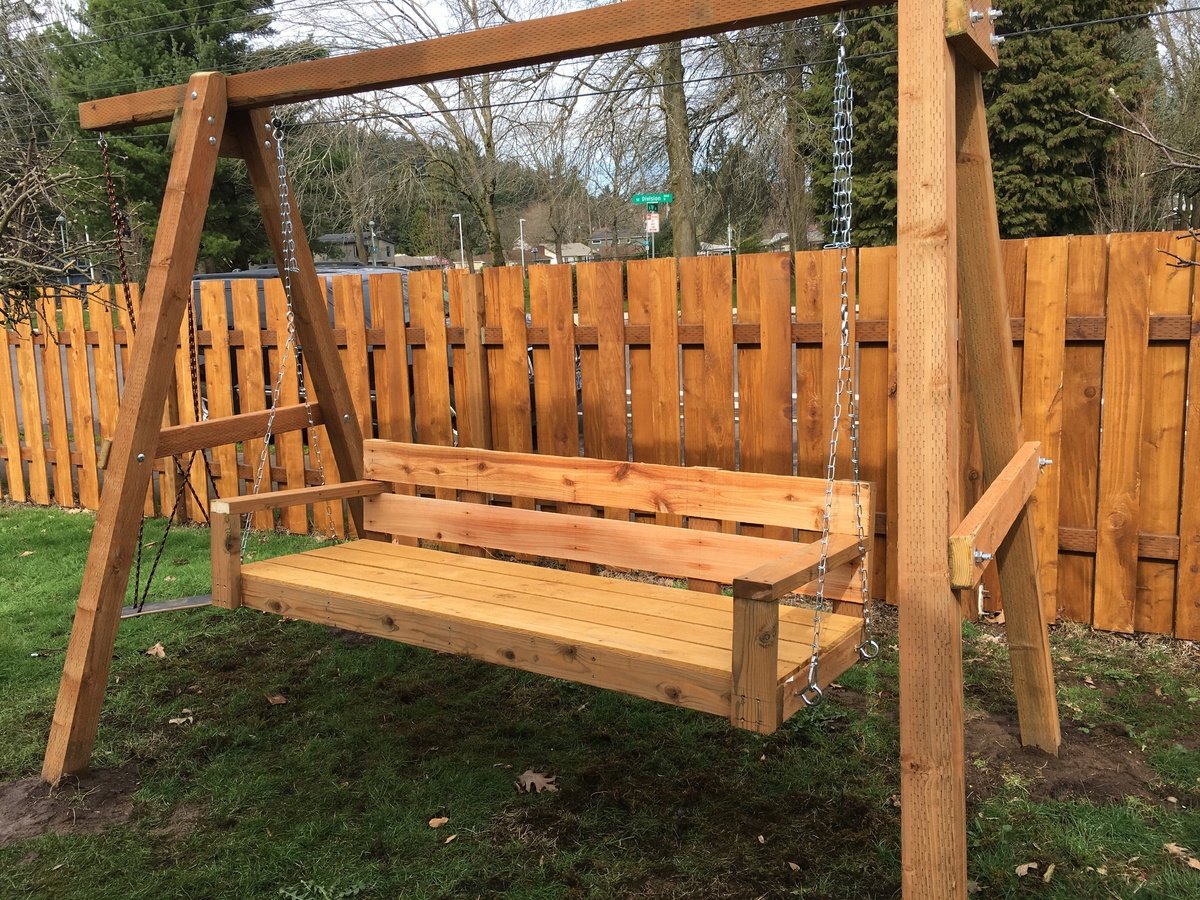
Quick build for the garden swing.
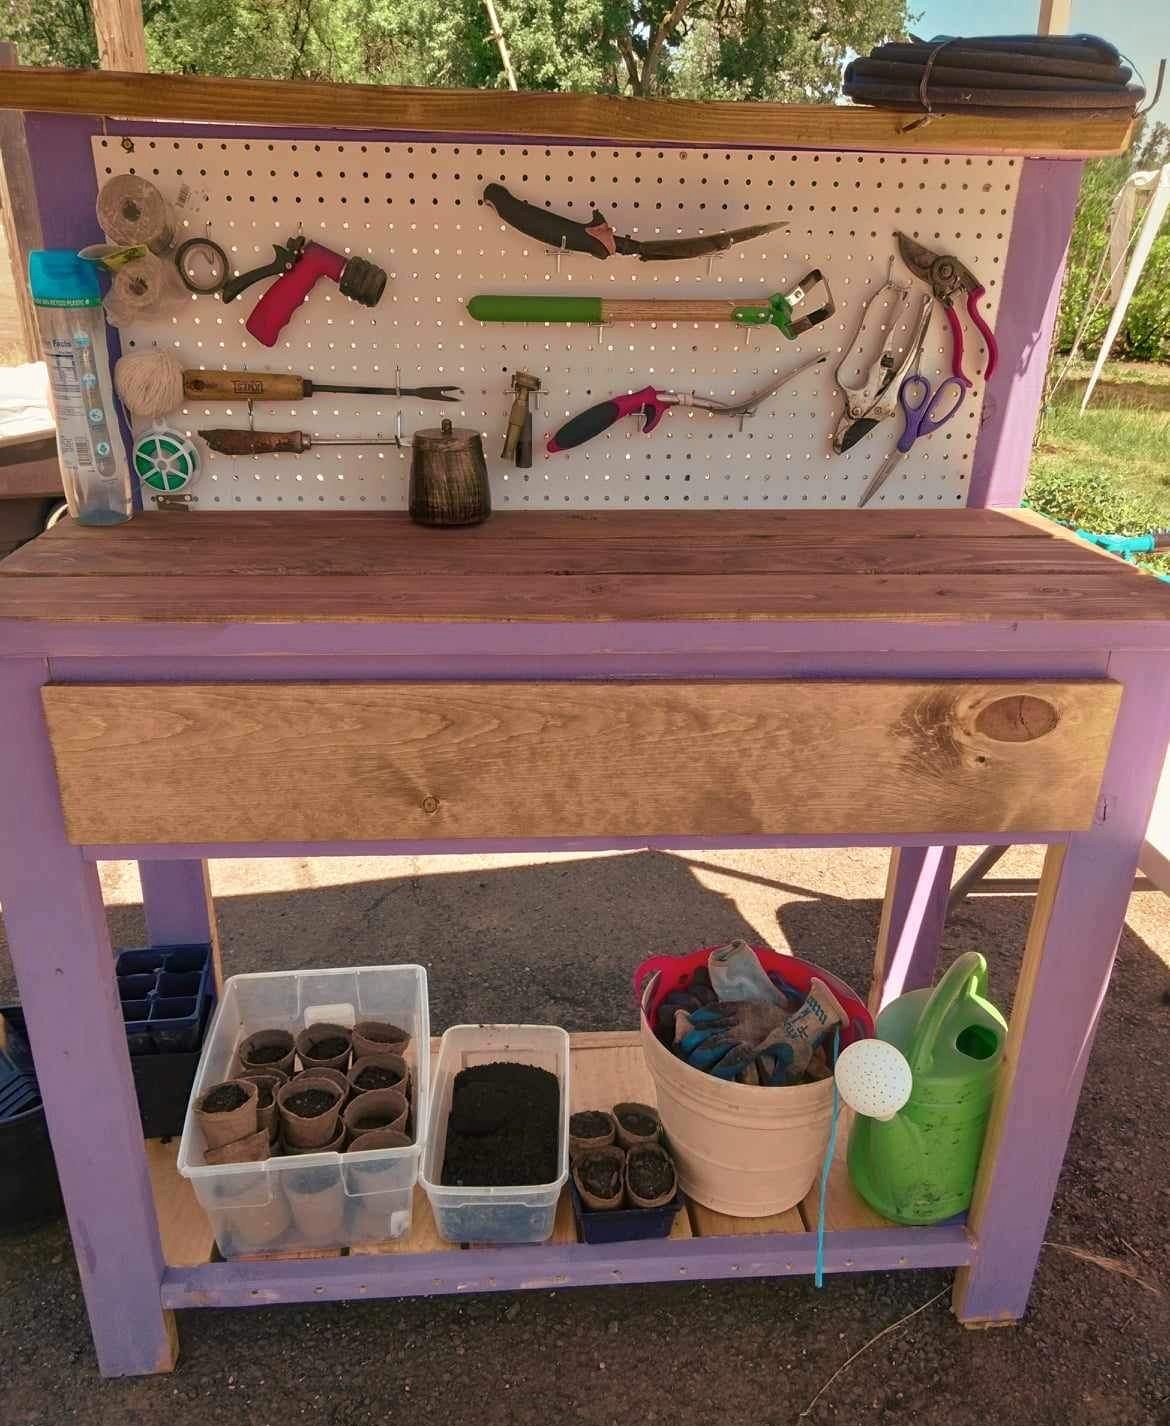
Your potting table is/was a hit and is used weekly with great love.
Darren S.
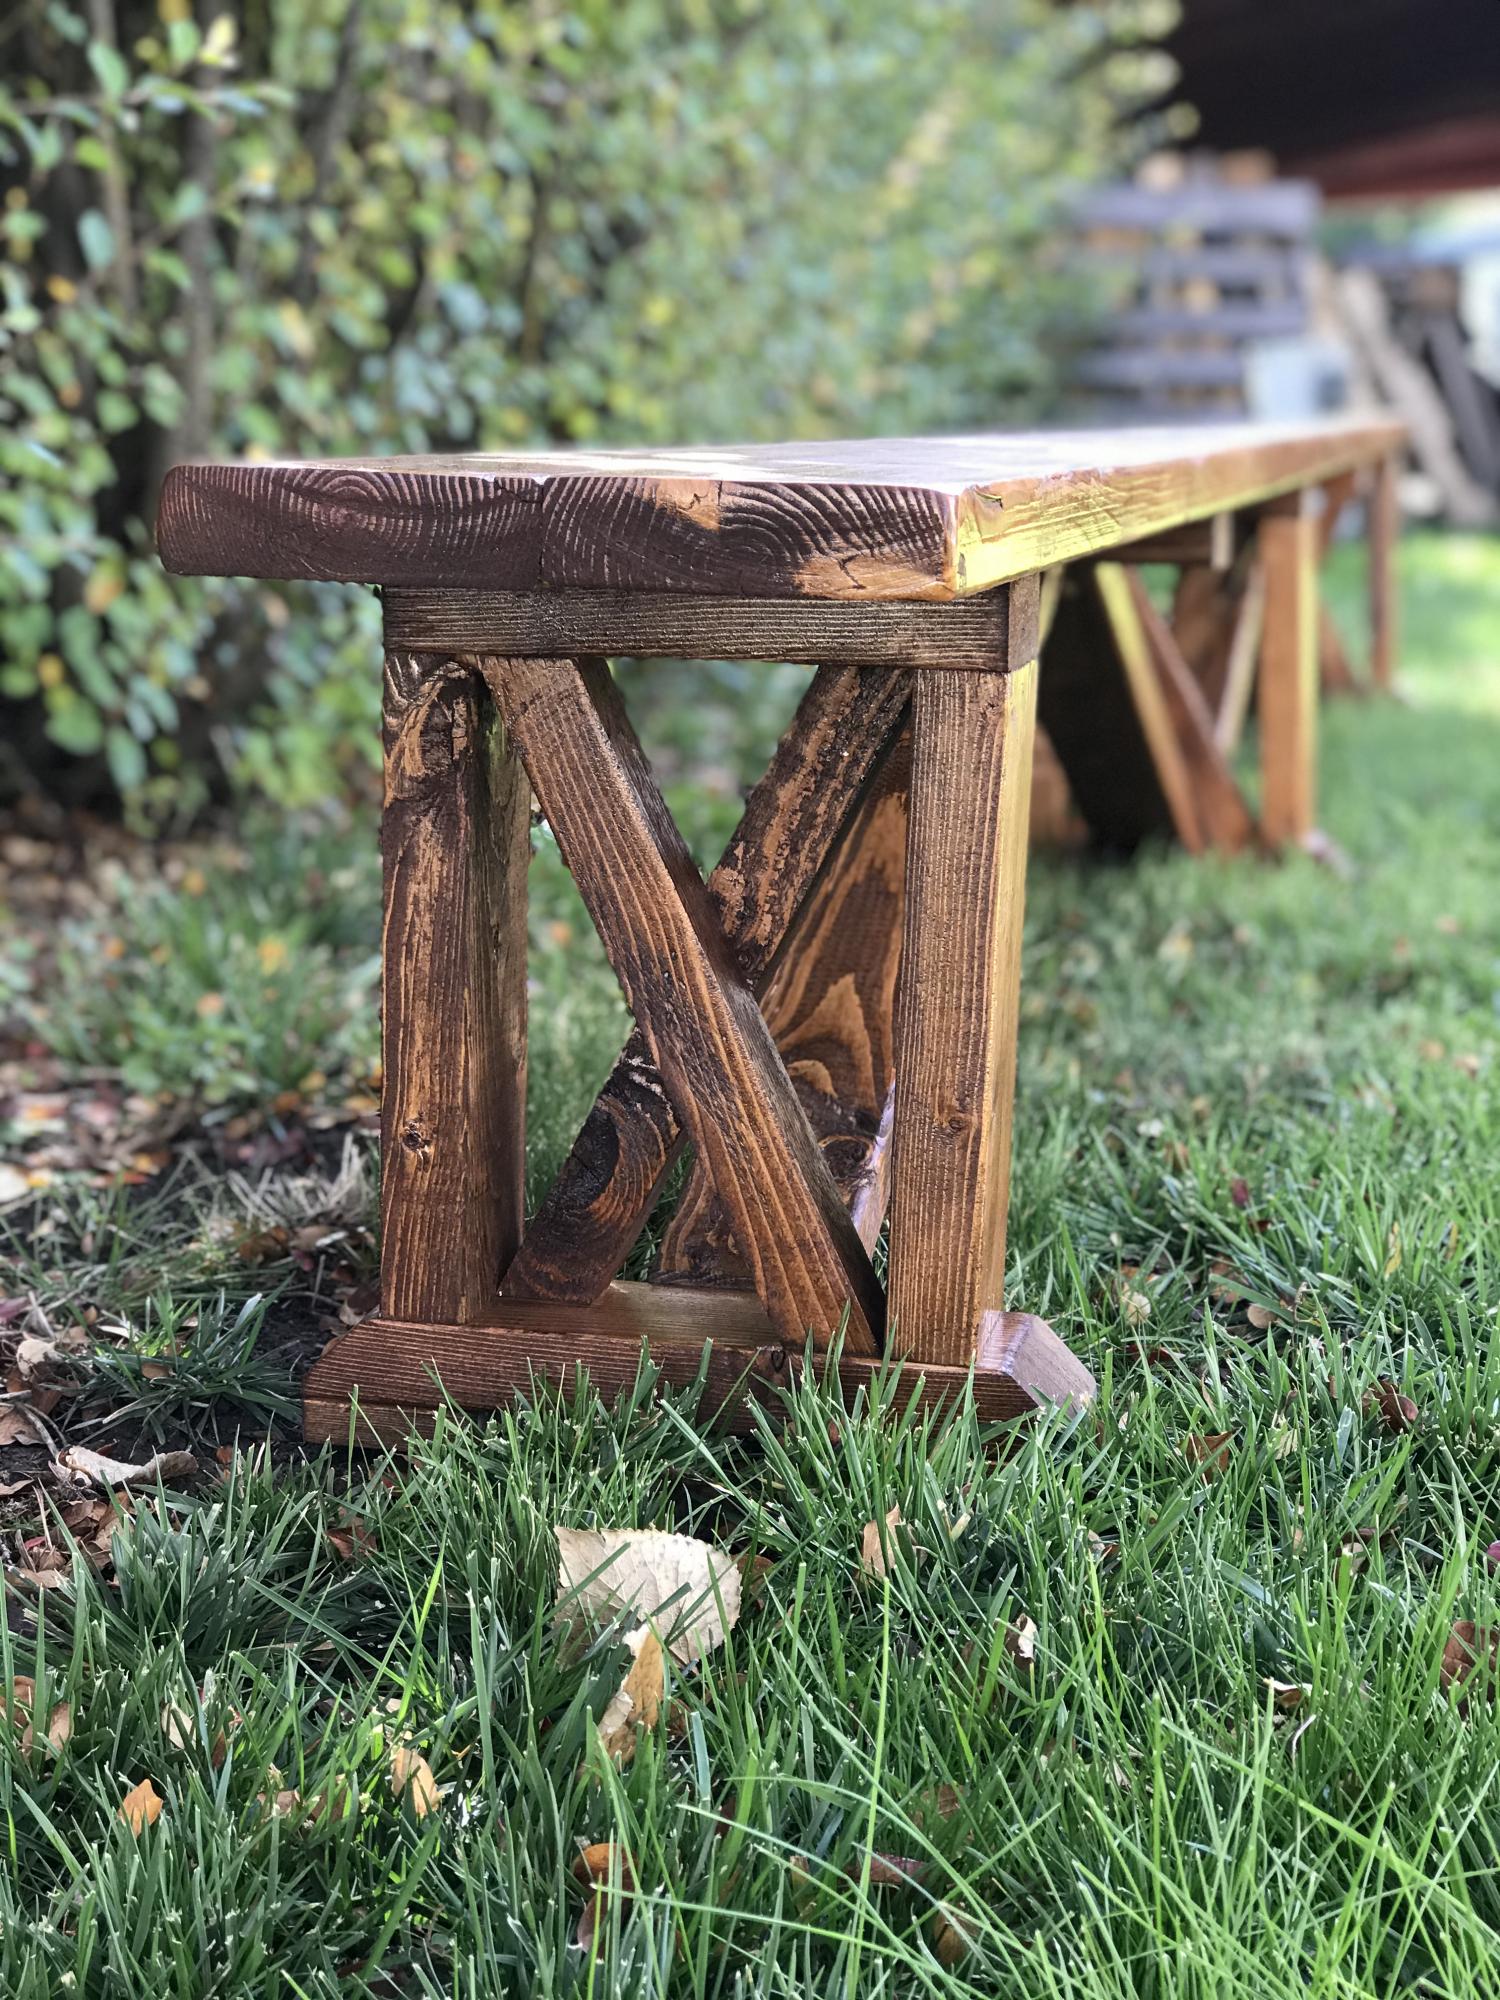
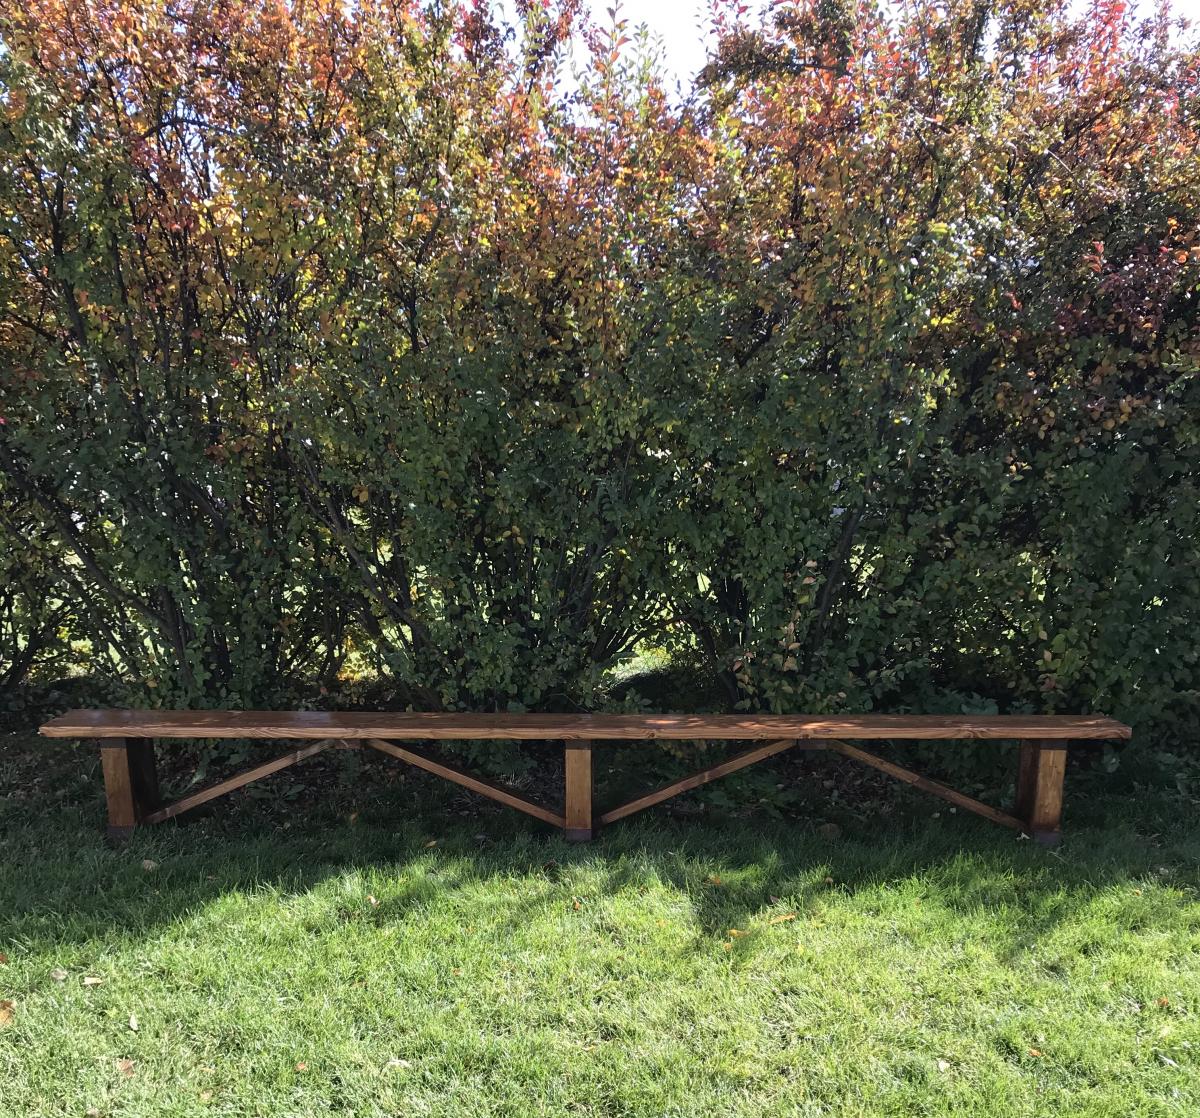
I was asked to surprise someone with a 12 ft. bench. After searching and searching I found a plan I really liked, but I felt it just wasn’t enough. I modified the plans to give it a little more of a farmhouse look. I also had to double the size of the original plans.
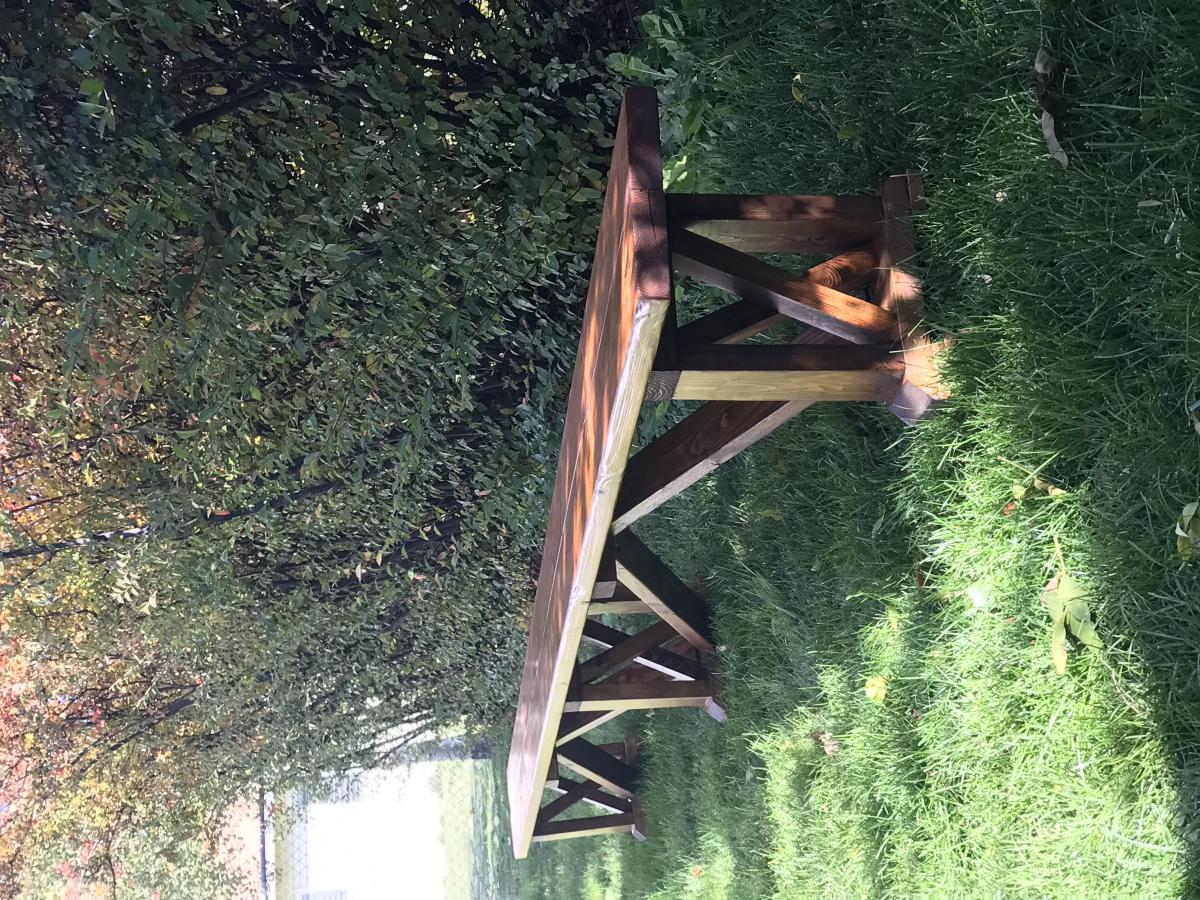
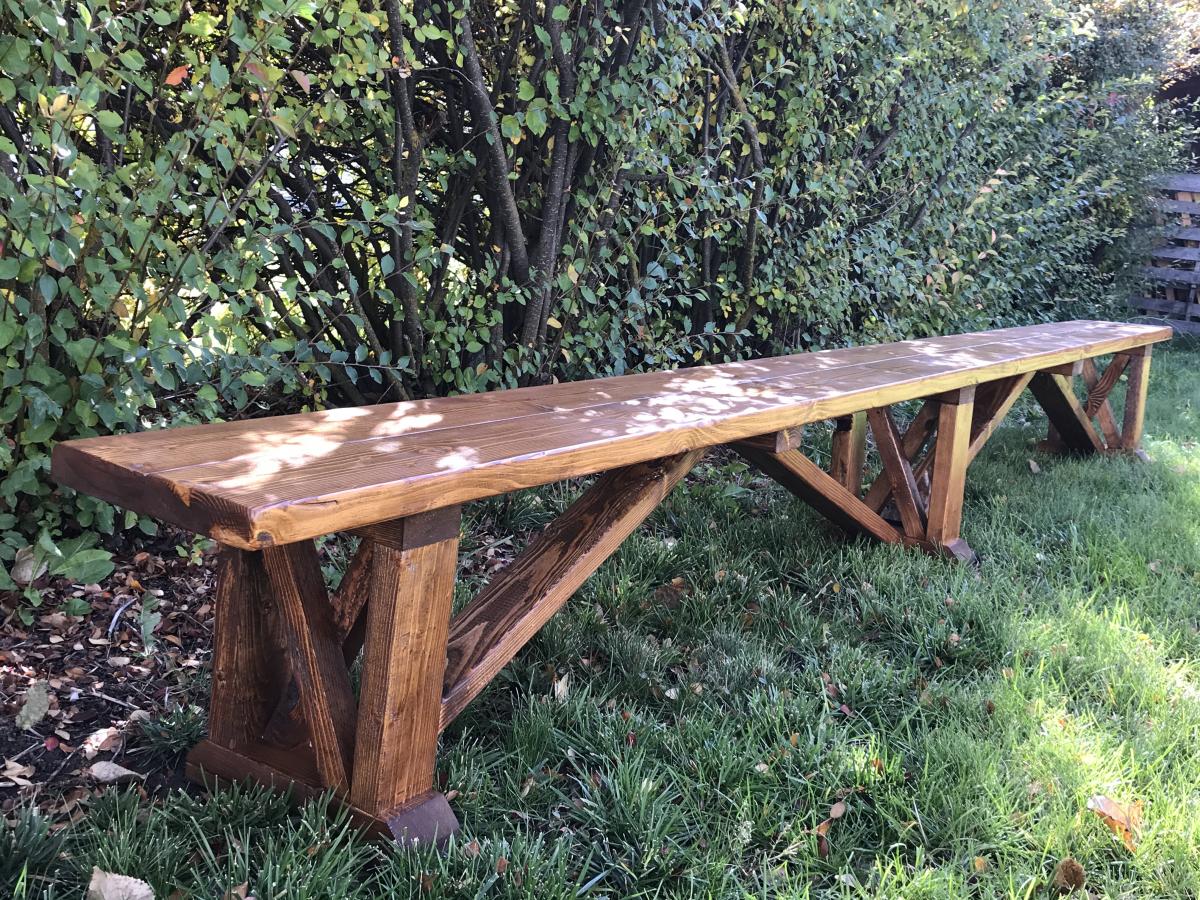
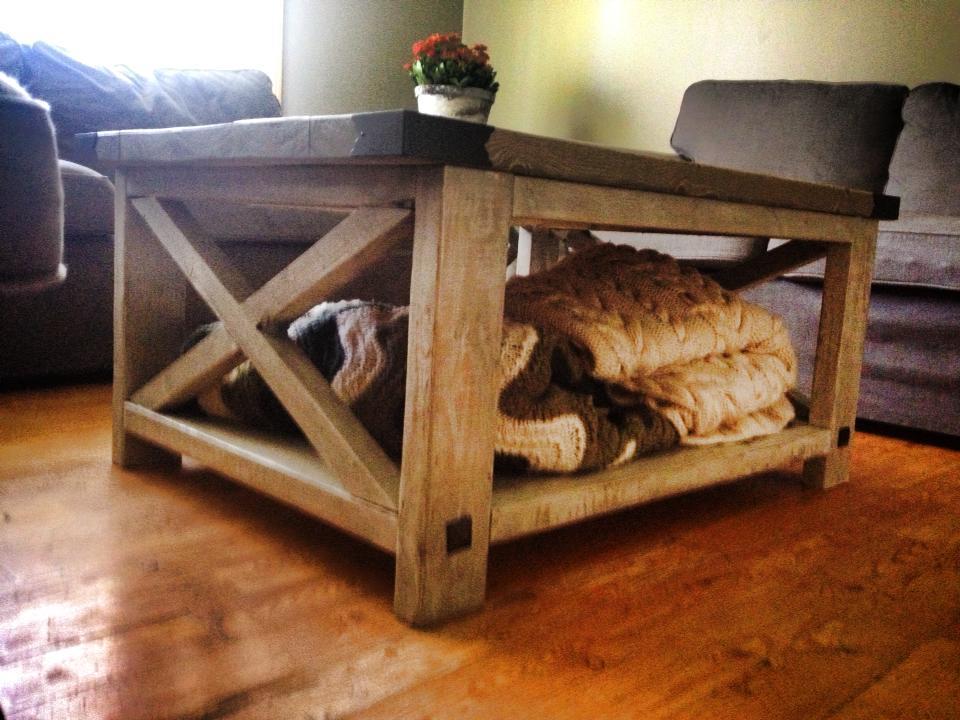
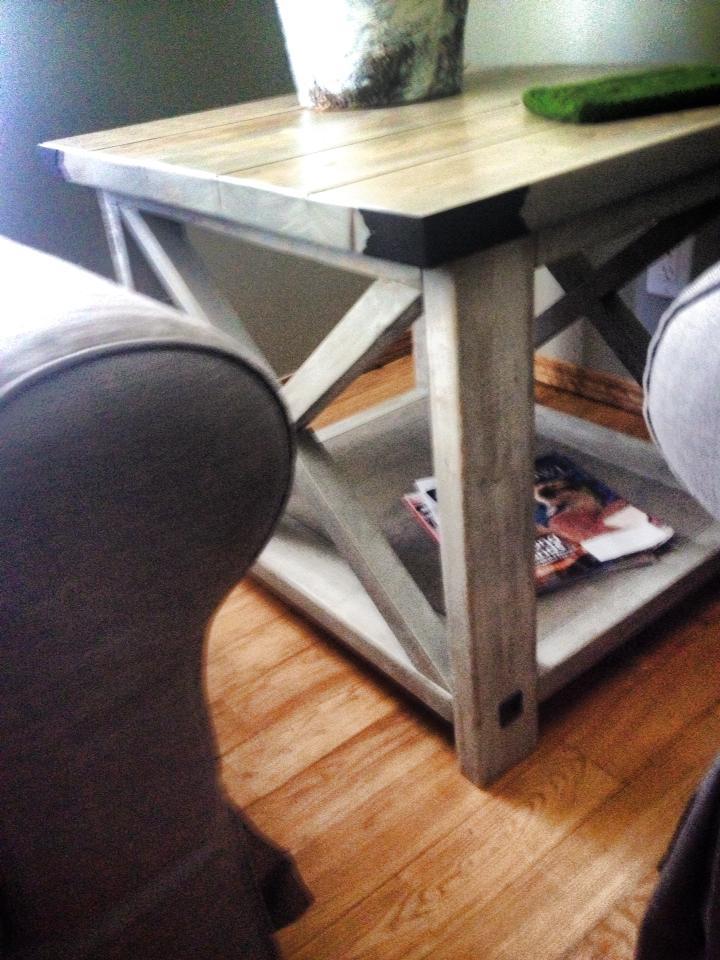
I used some flashings from Lee Valley to make these rustic tables really pop. The corners and the big brad nails really make them pop! These are also STURDY pieces of furniture as the Monster Husband has stood on them both without a wobble.

Wed, 09/23/2015 - 09:07
I know this post was awhile ago, but I am looking to create somthing similar. Where were you able to find a white oil based stain? I have called all of my local hardware stores and they all carry just water base? Did you put the dark mix stains on then, go over with white water base stain? Any clarification or assistance would be great! Thanks.
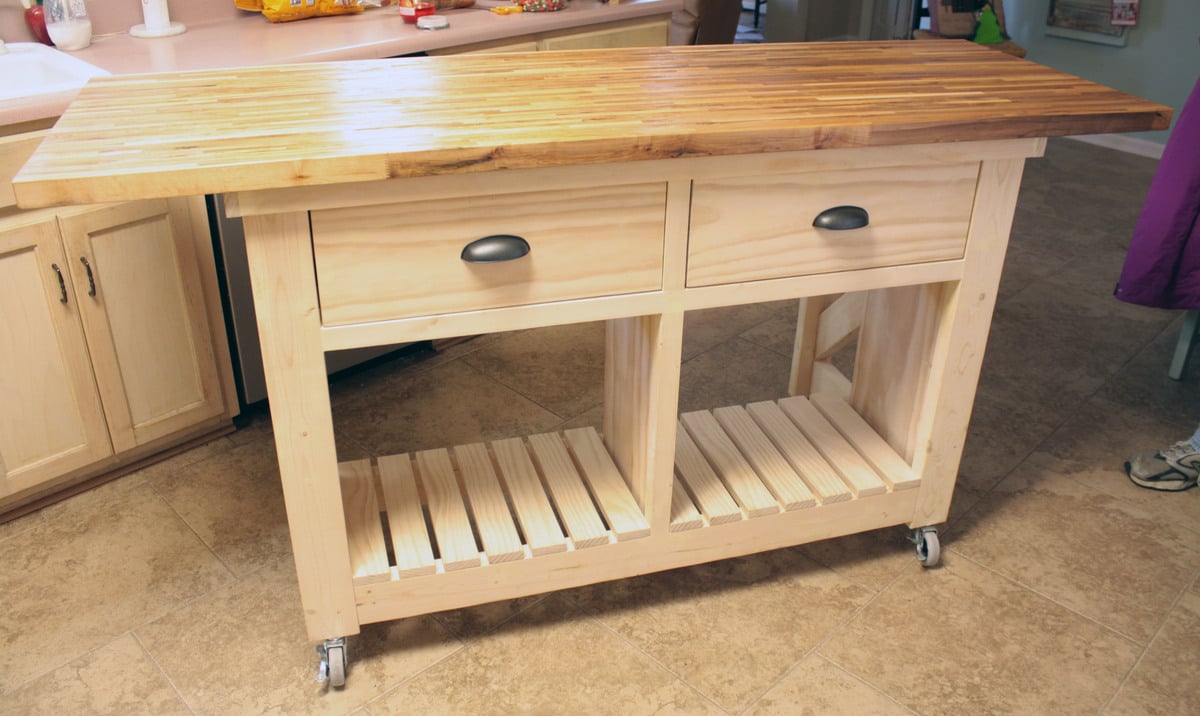
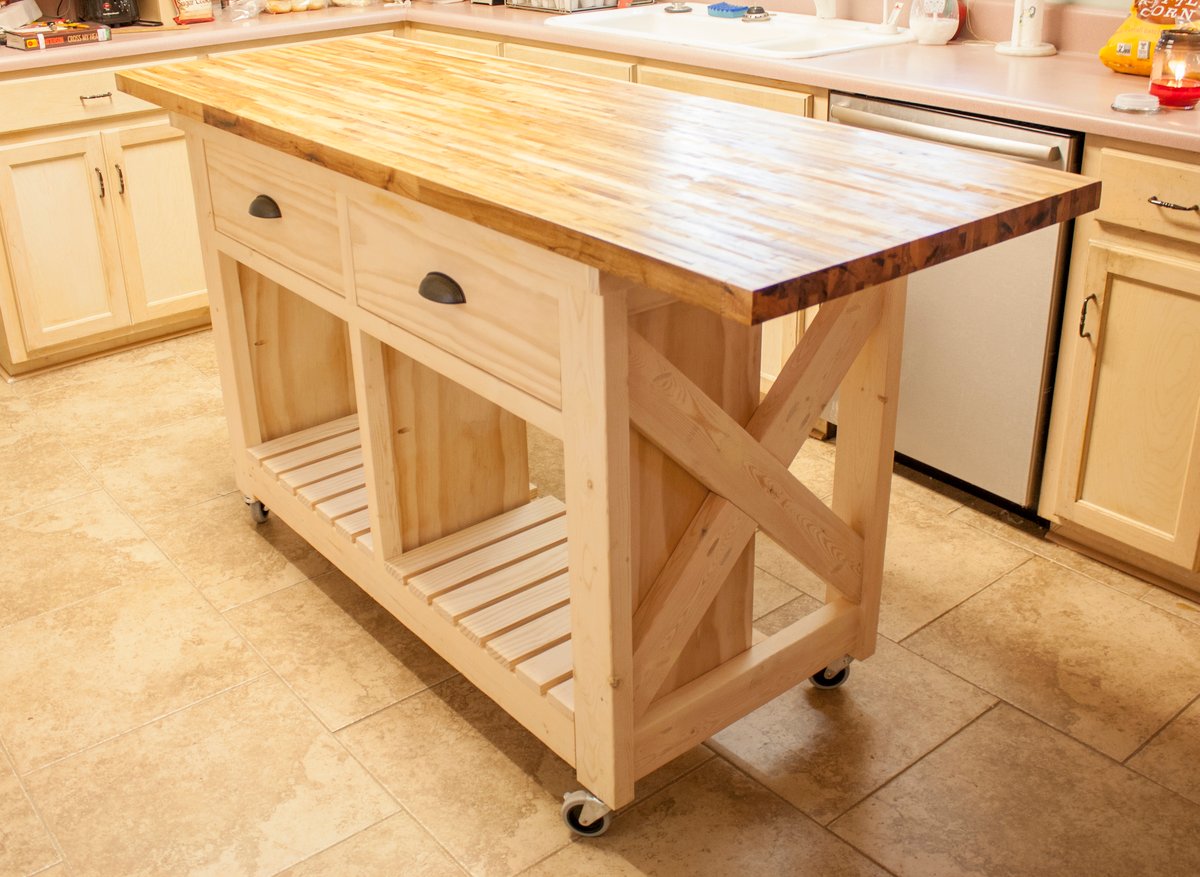
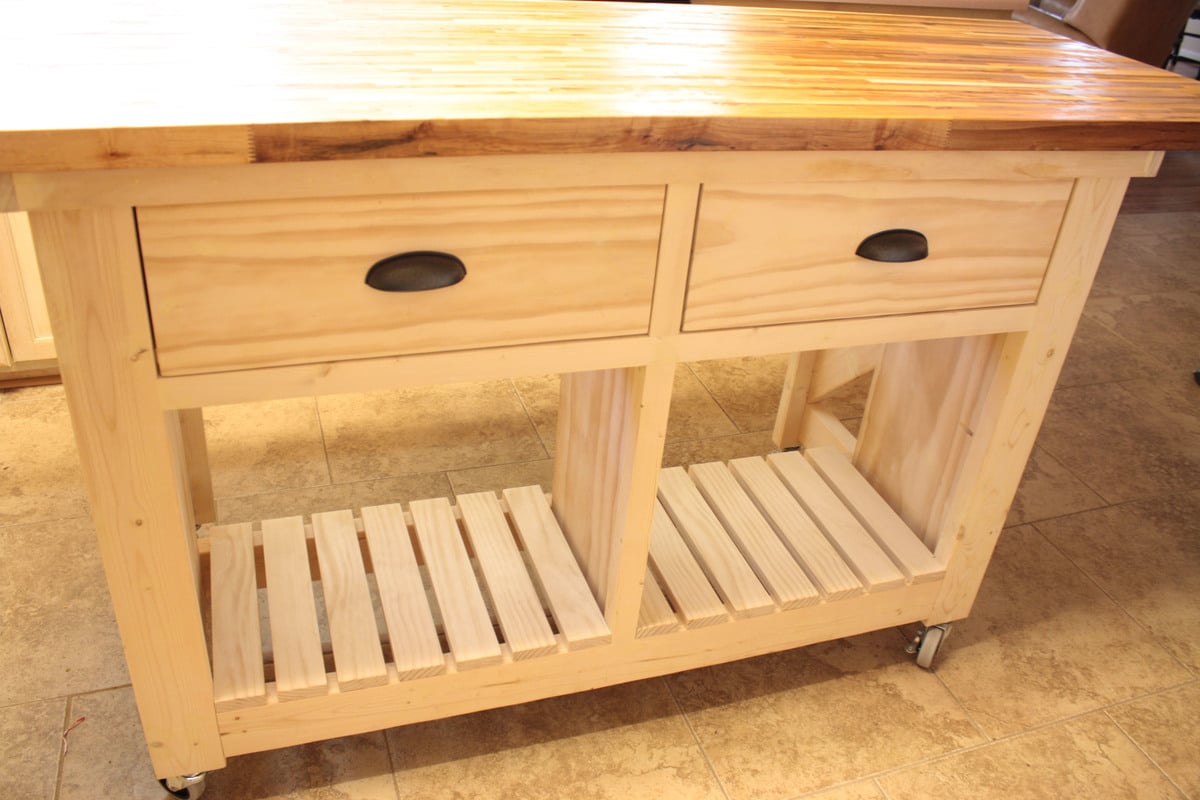
I started on the project when I went home for Thanksgiving and finished up the drawers when I was home for Christmas. I live about 7 hours from my family. I took a few tools with me (kreg jig and drill) but borrowed a circular saw and miter saw for all the cuts. It was difficult working on it because it was fairly cold and my dad only has a carport. Which is why it took longer. My step-mom says she wants to paint it maybe with some milk paint. She also did not want the center shelf as she wanted a place for taller items.
The butcher block top was $299. It comes from lumber liquidators in 25" by 96". My dad had about 2 feet cut off the length. Ikea also sells butcher block tops for roughly half the price I think, but they were out of stock in both Atlanta and Charlotte.
I also made the small kitchen island before and this one went much more smoothly. Having the extra set of hands was awesome and made for a wonderful memory as I built it with my father:-)
Thu, 08/15/2019 - 12:14
This is amazing Stephanie!!!! I can't believe I didn't see this sooner.
We are going to feature your photo with the plans - thank you so much for sharing a brag post! Hope you are well!
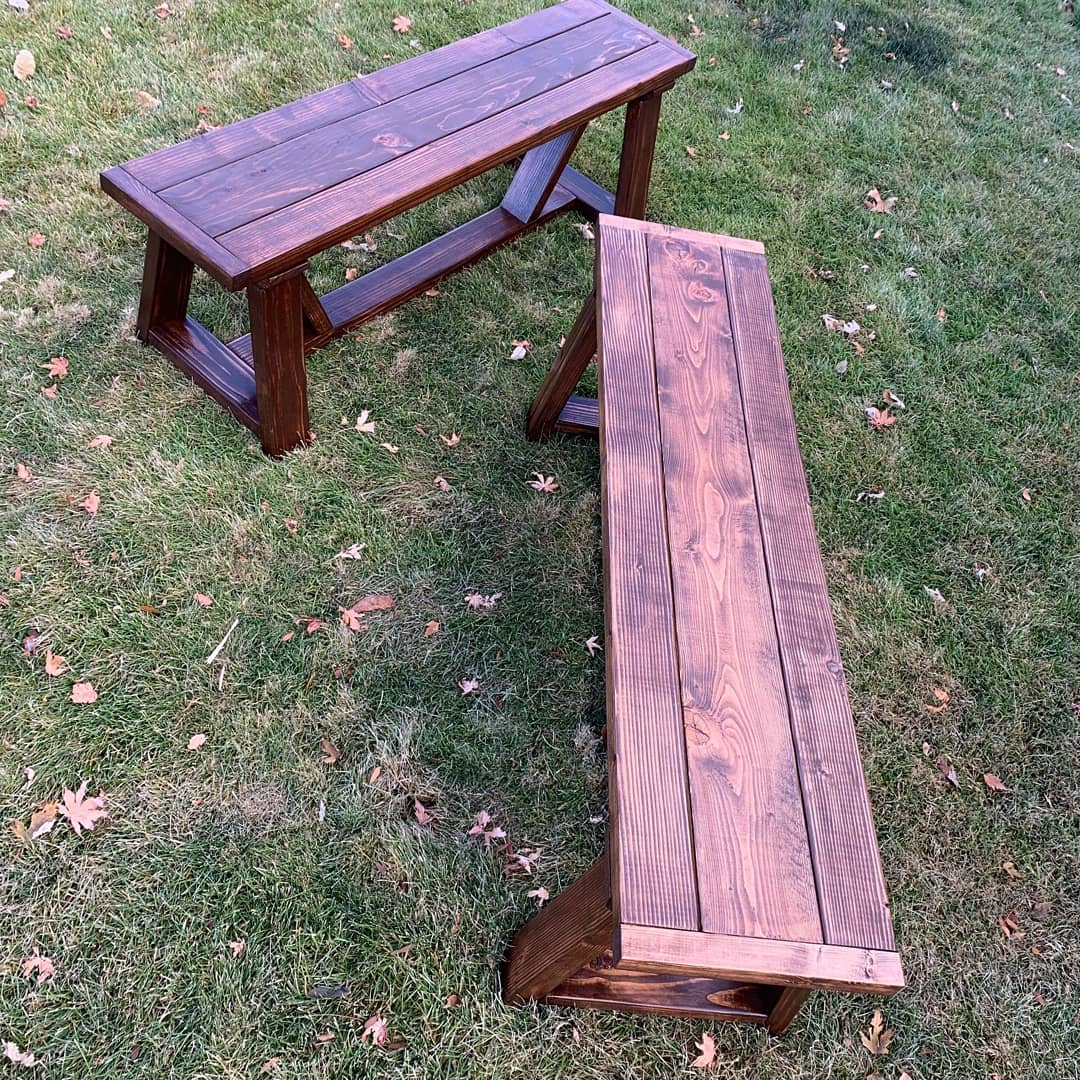
Fun project. Quite easy, but extremely sturdy. Gonna work great for kids.
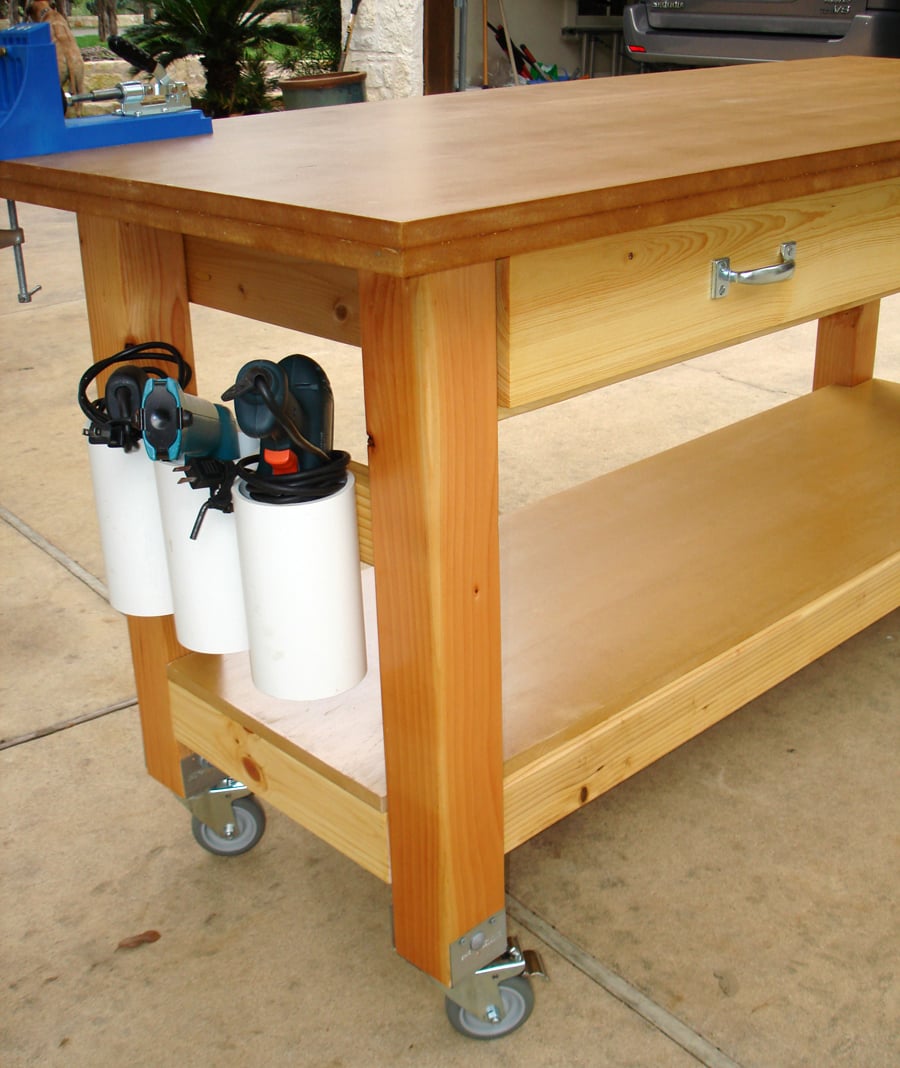
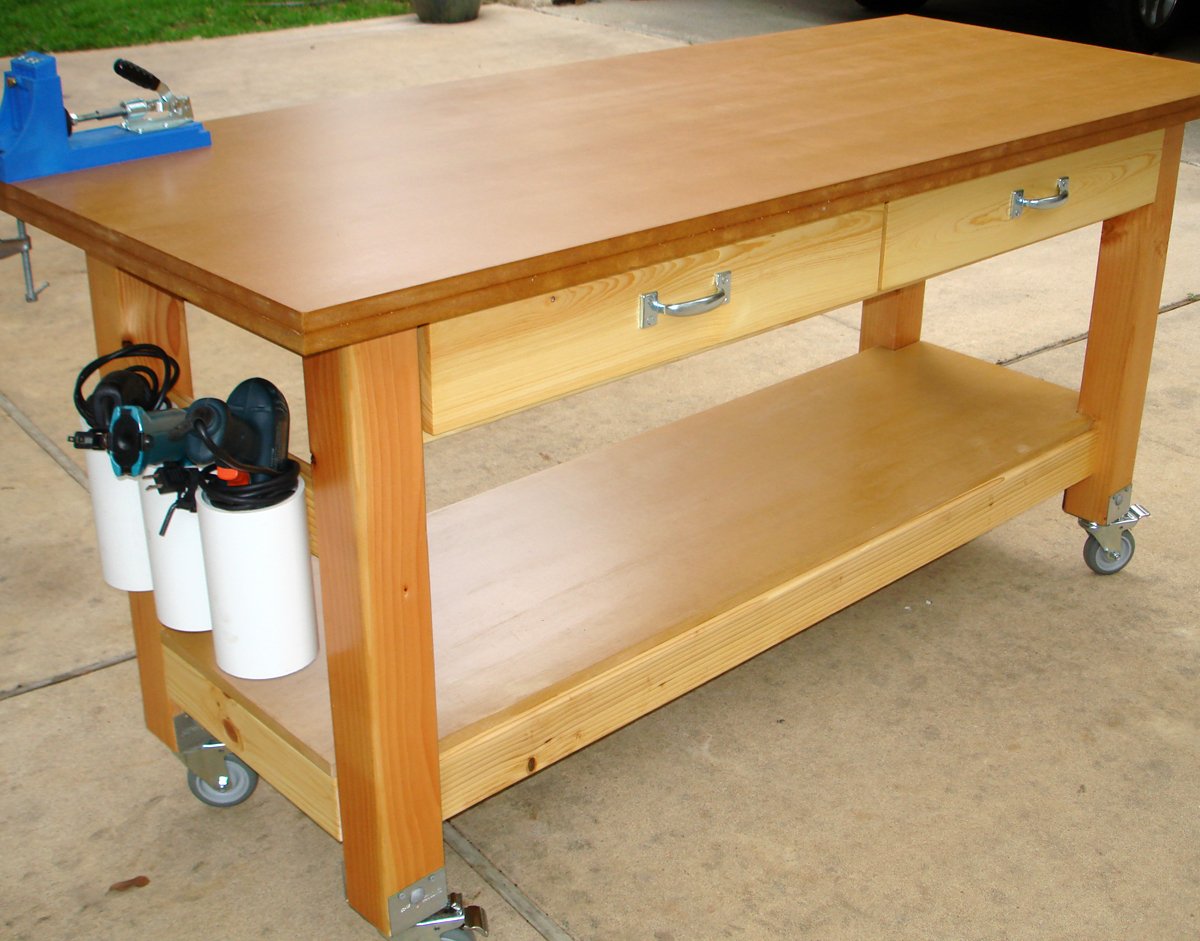
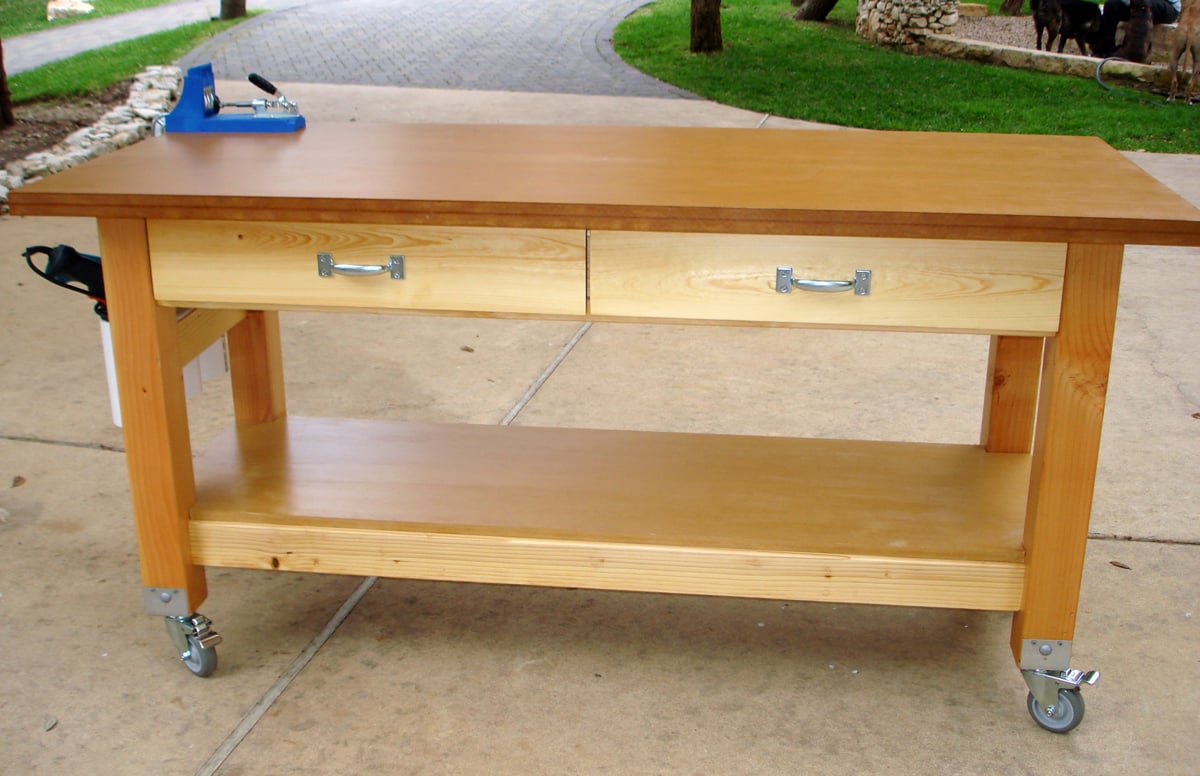
Given that I work out of my garage, I desperately needed a rolling workbench in order to roll out, make the sawdust mess, and roll back in. I had already made Michaela's island for another purpose inside my house, and I loved the sturdiness of the 4x4 posts as legs. I had industrial-type locking castors, but they only screwed in with a threaded post. Thanks to my engineer dad, he determined the best way to attach a screw-in castor to the bottom of the 4x4 (and did all that work for me!).
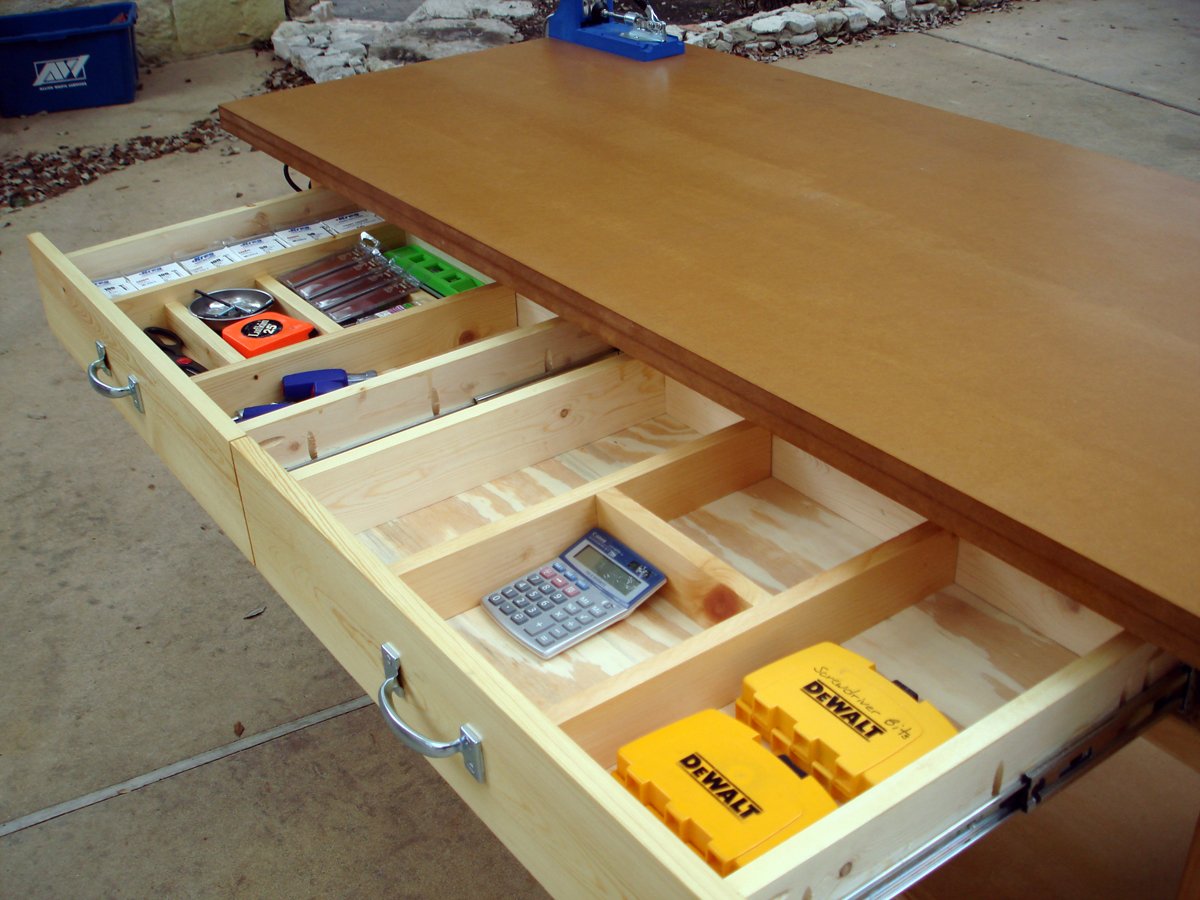
The size is modified from Michaela's original plan to include a 3 1/2" overhang all the way around for easy clamping (and top is 6' x 2.5'). I also cut a 2' piece of PVC pipe into 3 sections and attached for my drill storage. I put full-extension glides on the drawers and made some dividers from scrap wood.
Sun, 03/18/2012 - 18:21
This workbench is just outstanding!!! I want! Great job!
Mon, 03/19/2012 - 11:51
This would be the perfect workbench for my small shop/garage. Would love a full write up on how to create it. Great work.
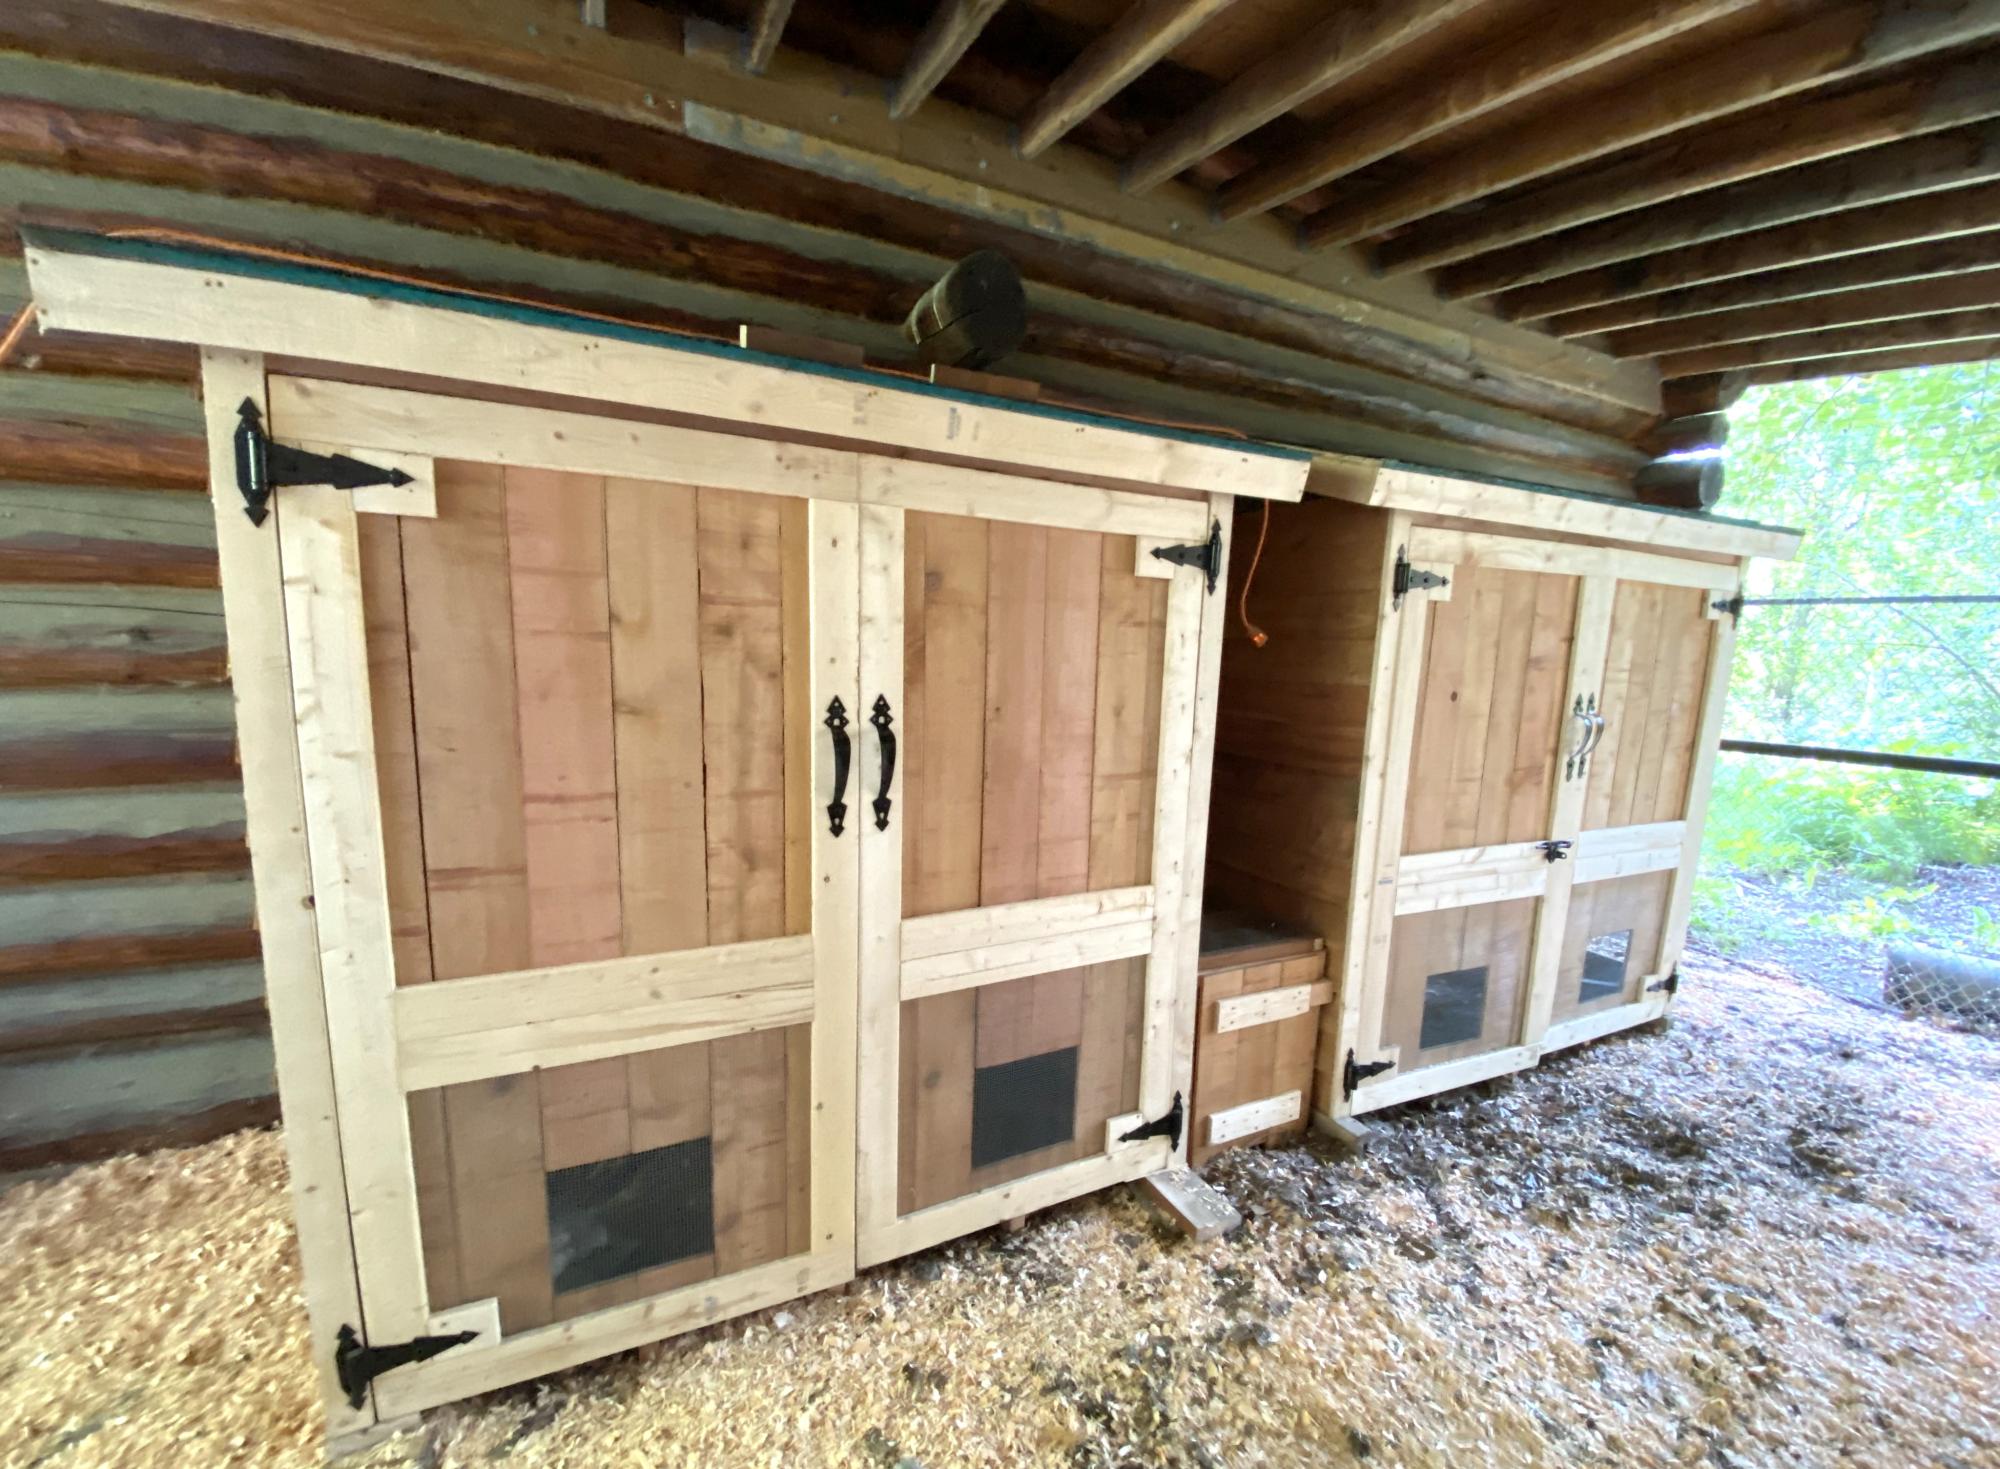
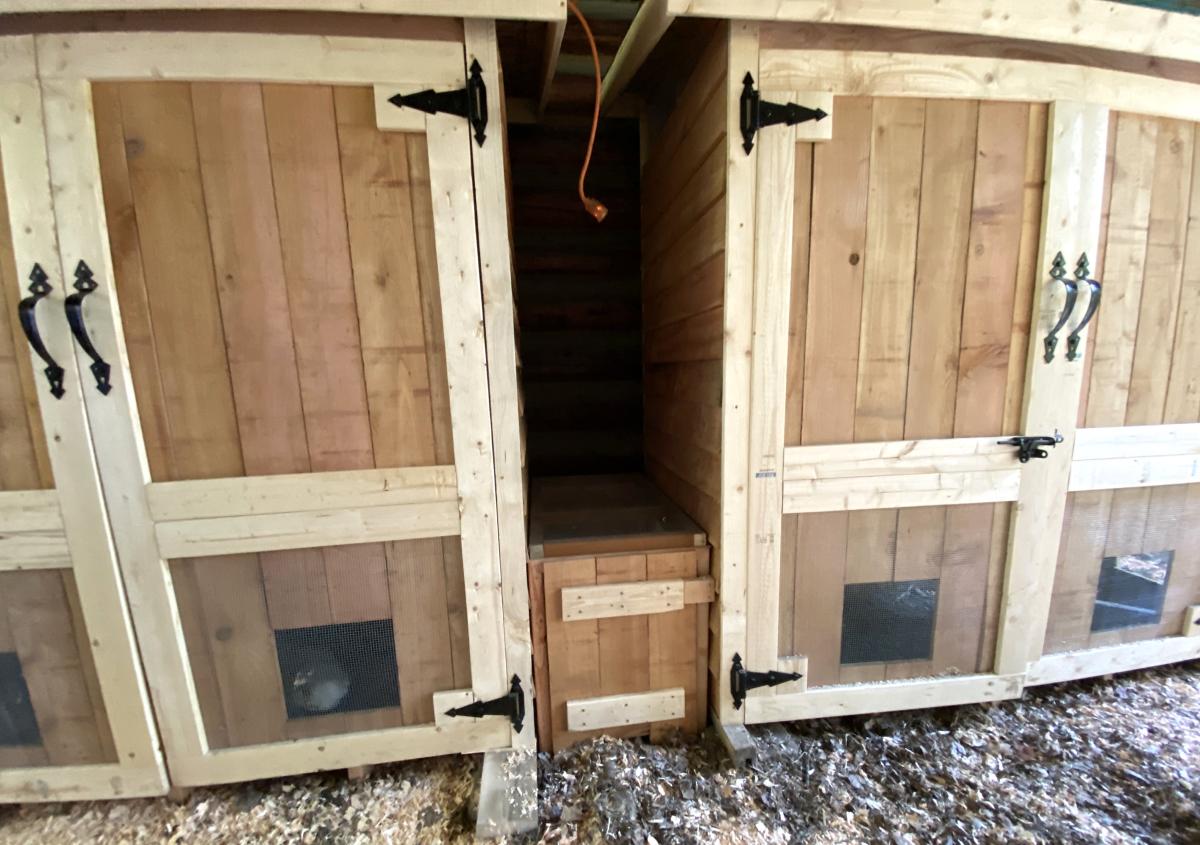
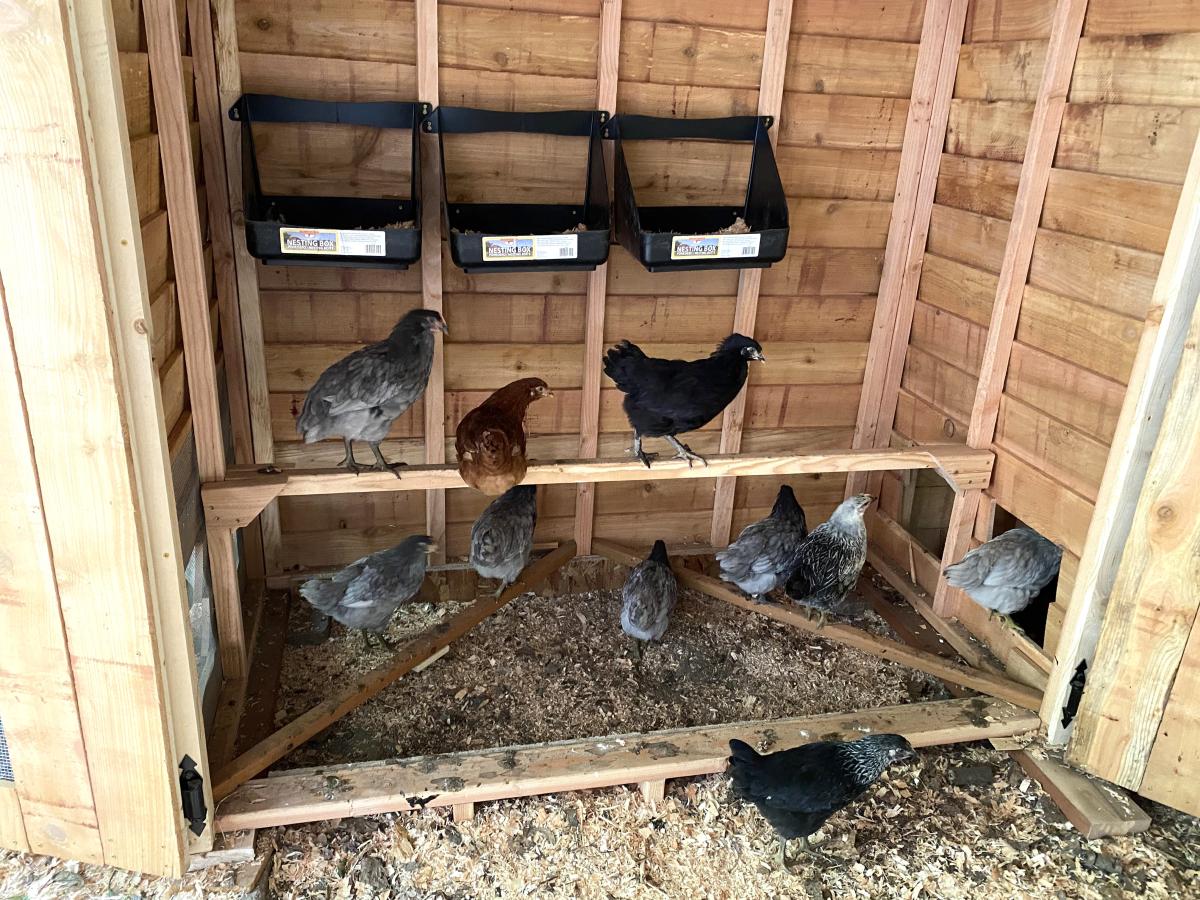
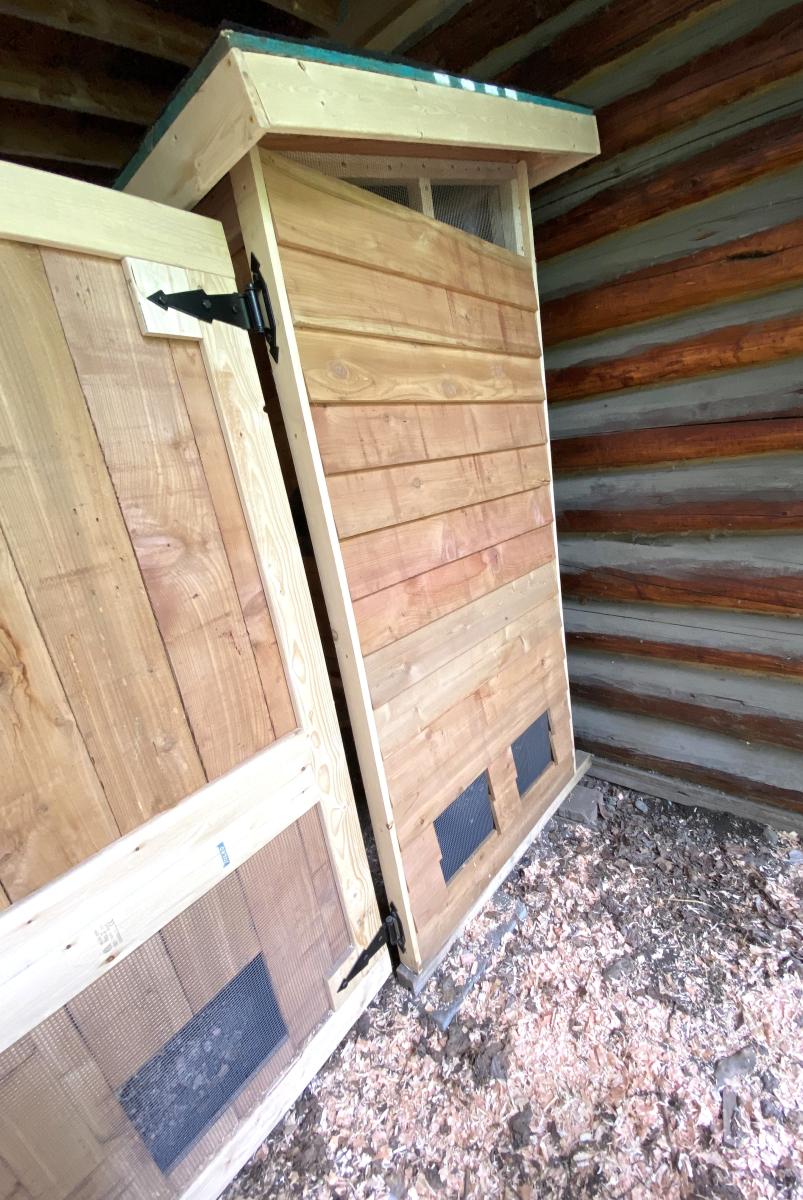
Our family decided to raise chickens but needed a place to keep them safe at night. We used your shed plan and adapted it to create necessary venting for the chicks.
Since we had 16 chickens we knew one coop would not be enough space so we built two. We created a vented tunnel between the two coops so the hens could go back and forth between them as they wished while still being protected. The girls are very happy in their new space!
Thank you for your great plans.
Holly

Took a day to build a bench to match my table! I am in love with this bench.
Take a little extra time on your angles to make sure you get them right or you will end up with a gap!
Comments
Ana White
Tue, 06/11/2019 - 09:25
This is an amazing first…
This is an amazing first project! I love how it fits perfect in your space and the color. What a beautiful floor too.