Community Brag Posts

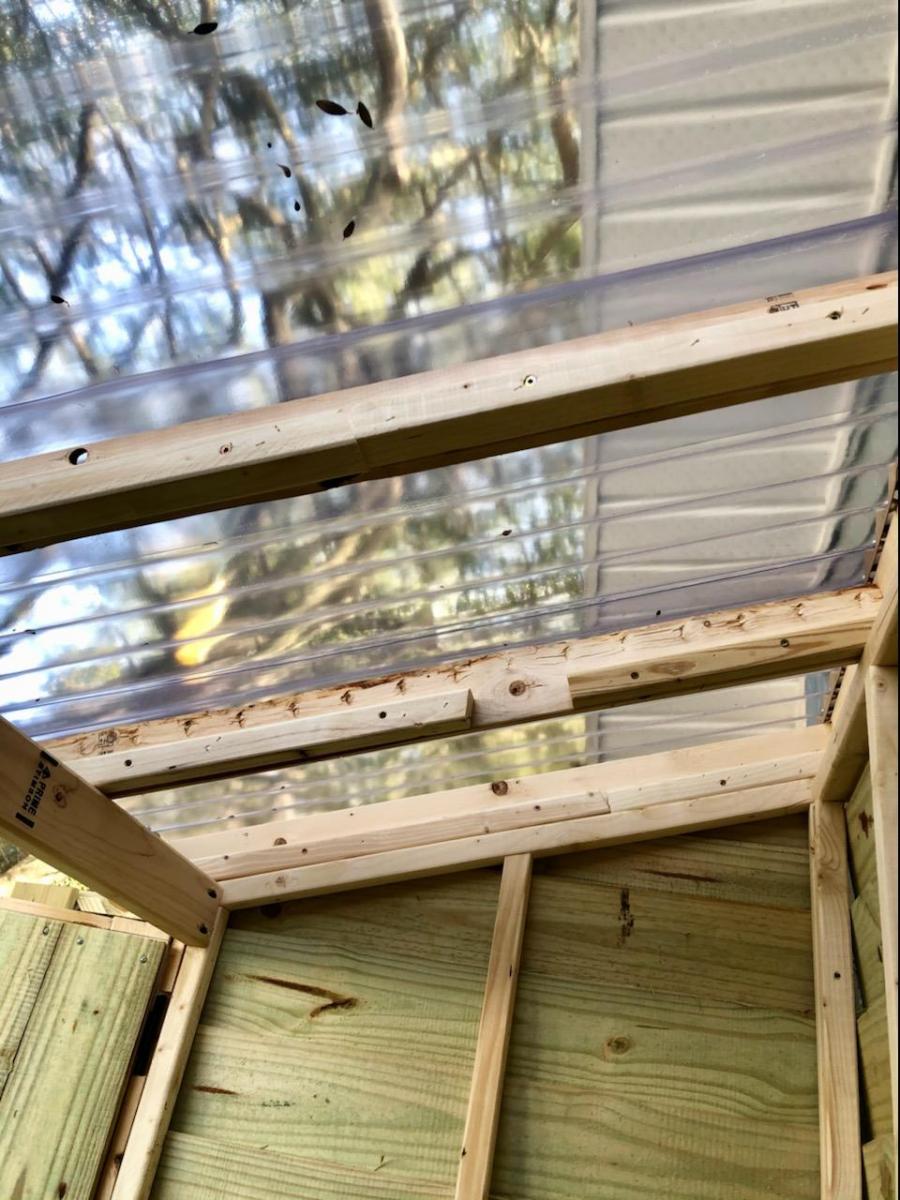
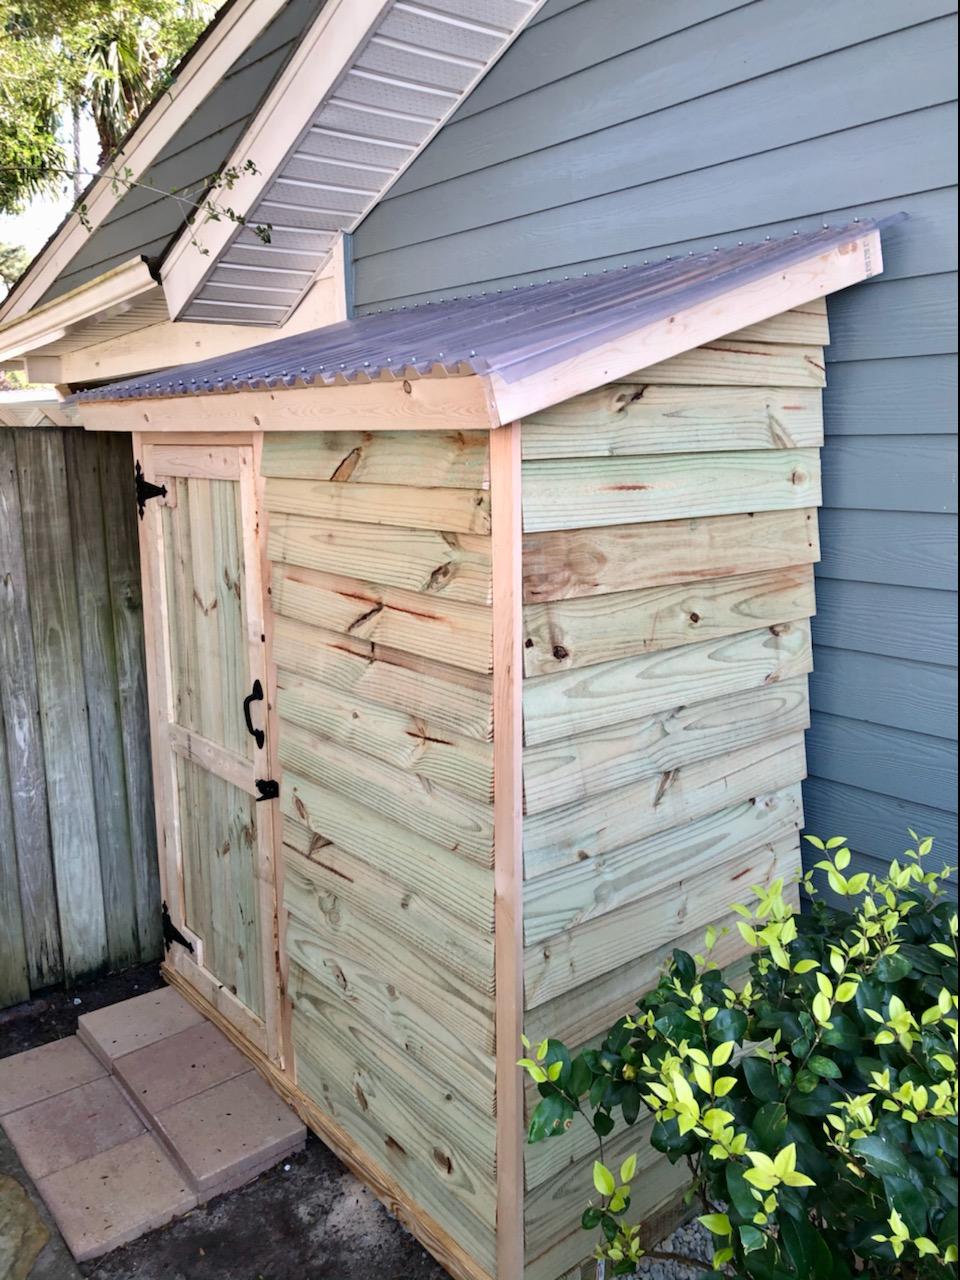
My take on "Lady Goats" cedar shed

Submitted by donbay91 on Sun, 03/14/2021 - 19:02

I absolutely loved these plans for this shed. I'm new to the site but I've been using your plans for things here at home... love it. I went with just one door to give me more places for shelves and I also went with a clear corrugated roof since it's shaded on that side of our house.

Built from Plan(s)
Estimated Cost
$300ish
Estimated Time Investment
Weekend Project (10-20 Hours)
Finish Used
No finish yet. I haven't made up my mind
Recommended Skill Level
Intermediate

Comments

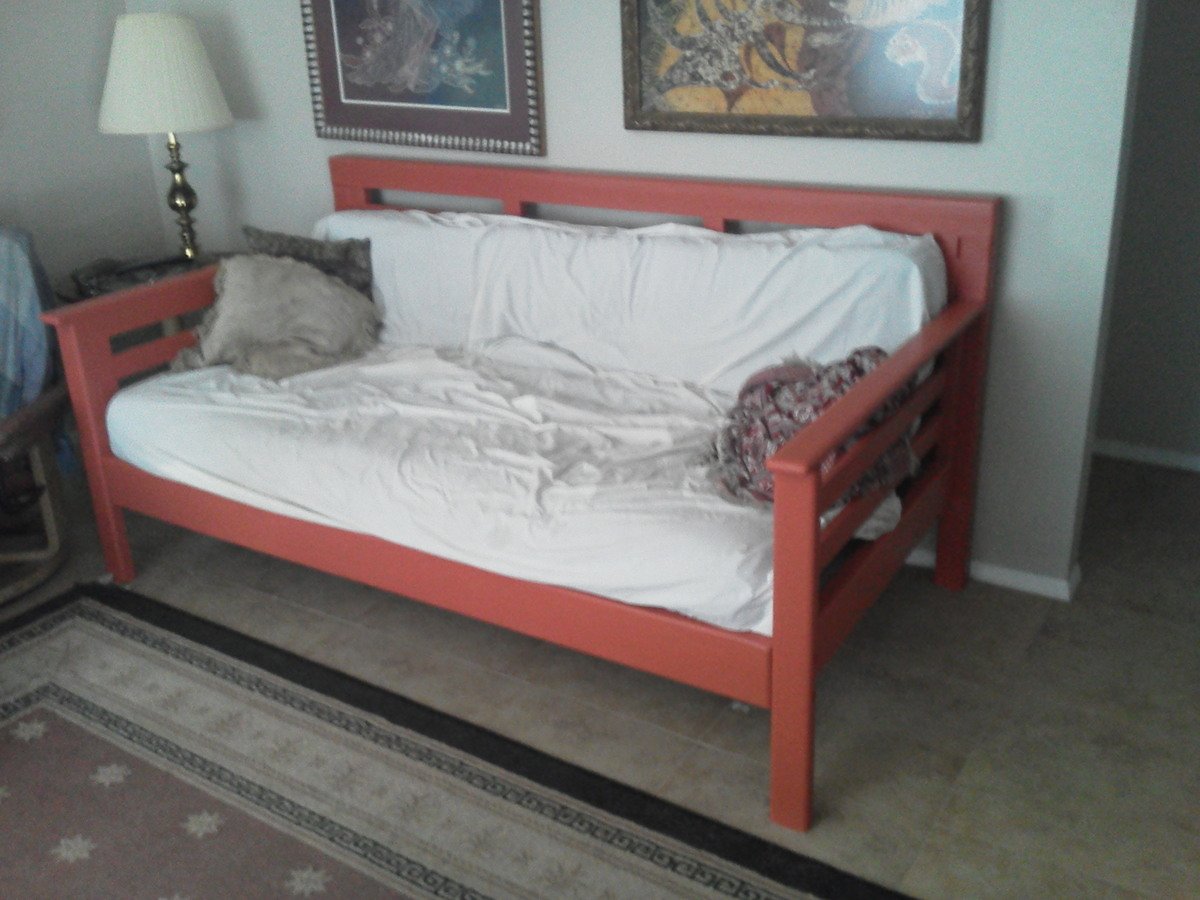
Chunky canopy daybed without canopy

Submitted by a_hard on Sun, 04/07/2013 - 22:09

We (myself and my girlfriend) decided to build this daybed after considering several options for a new sofa. With three big dogs we knew we wanted a big sofa and after looking at many $400+ options we saw several issues (besides cost), The biggest was the availability of slip covers for easy cleaning. We went with the daybed route because a mattress is far cheaper than foam for sofa cushions and twin sheets are readily available for low prices in many colors.

Obviously I altered the plans significantly as I wanted a chunkier, heavier frame that would withstand the abuse of day to day life. Also I removed the canopy as it's not needed indoors. The rear legs are 4x4 nominal which I resawed to 3x3 actual. The rear frame is 1x3 nominal horizontal pieces with 2x3 nominal boards as the verticals. These have rabbets cut in them to join with the horizontal pieces. The bottom support for the mattress is a 2x6 resawn to 2x5 actual and rabbeted to fit each vertical and the legs. Also, the top two horizontals are longer to fit into rabbets in the legs - this allows the back structure to be far stronger.

The sides are constructed of 1x3 horizontals with the leg and arm cap being 2x4 nominal resawn to 1x3 actual. The verticals were rabbeted like the rear to accept the horizontal pieces. The front crossmember is a 2x6 nominal block planed to match the front legs.

Joinerys consists of the following -
All rabbeted joints are glued and brad nailed together.
The legs and arm/top caps are pockted screwed to the horizontal crossmembers.
The front, sides, and rear join with 3 1/2" deck screws and 5 1/2" lag bolts.
Stringers/mattress supports are 2x3 nominal.

Finish is Behr premium plus interior latex eggshell paint/primer sprayed with an HVLP sprayer.

If anyone is interested I can take some measurements and more photos. Right now we just have our old futon mattress on (we're saving to do some other projects).

Built from Plan(s)
Estimated Cost
$375 (including mattress, pillows, and paint)
Estimated Time Investment
Weekend Project (10-20 Hours)
Finish Used
Behr Premium Plus Paint/Primer - Tibetan Orange
Paint applied with HVLP sprayer (the type used in automotive finishing).
Recommended Skill Level
Intermediate

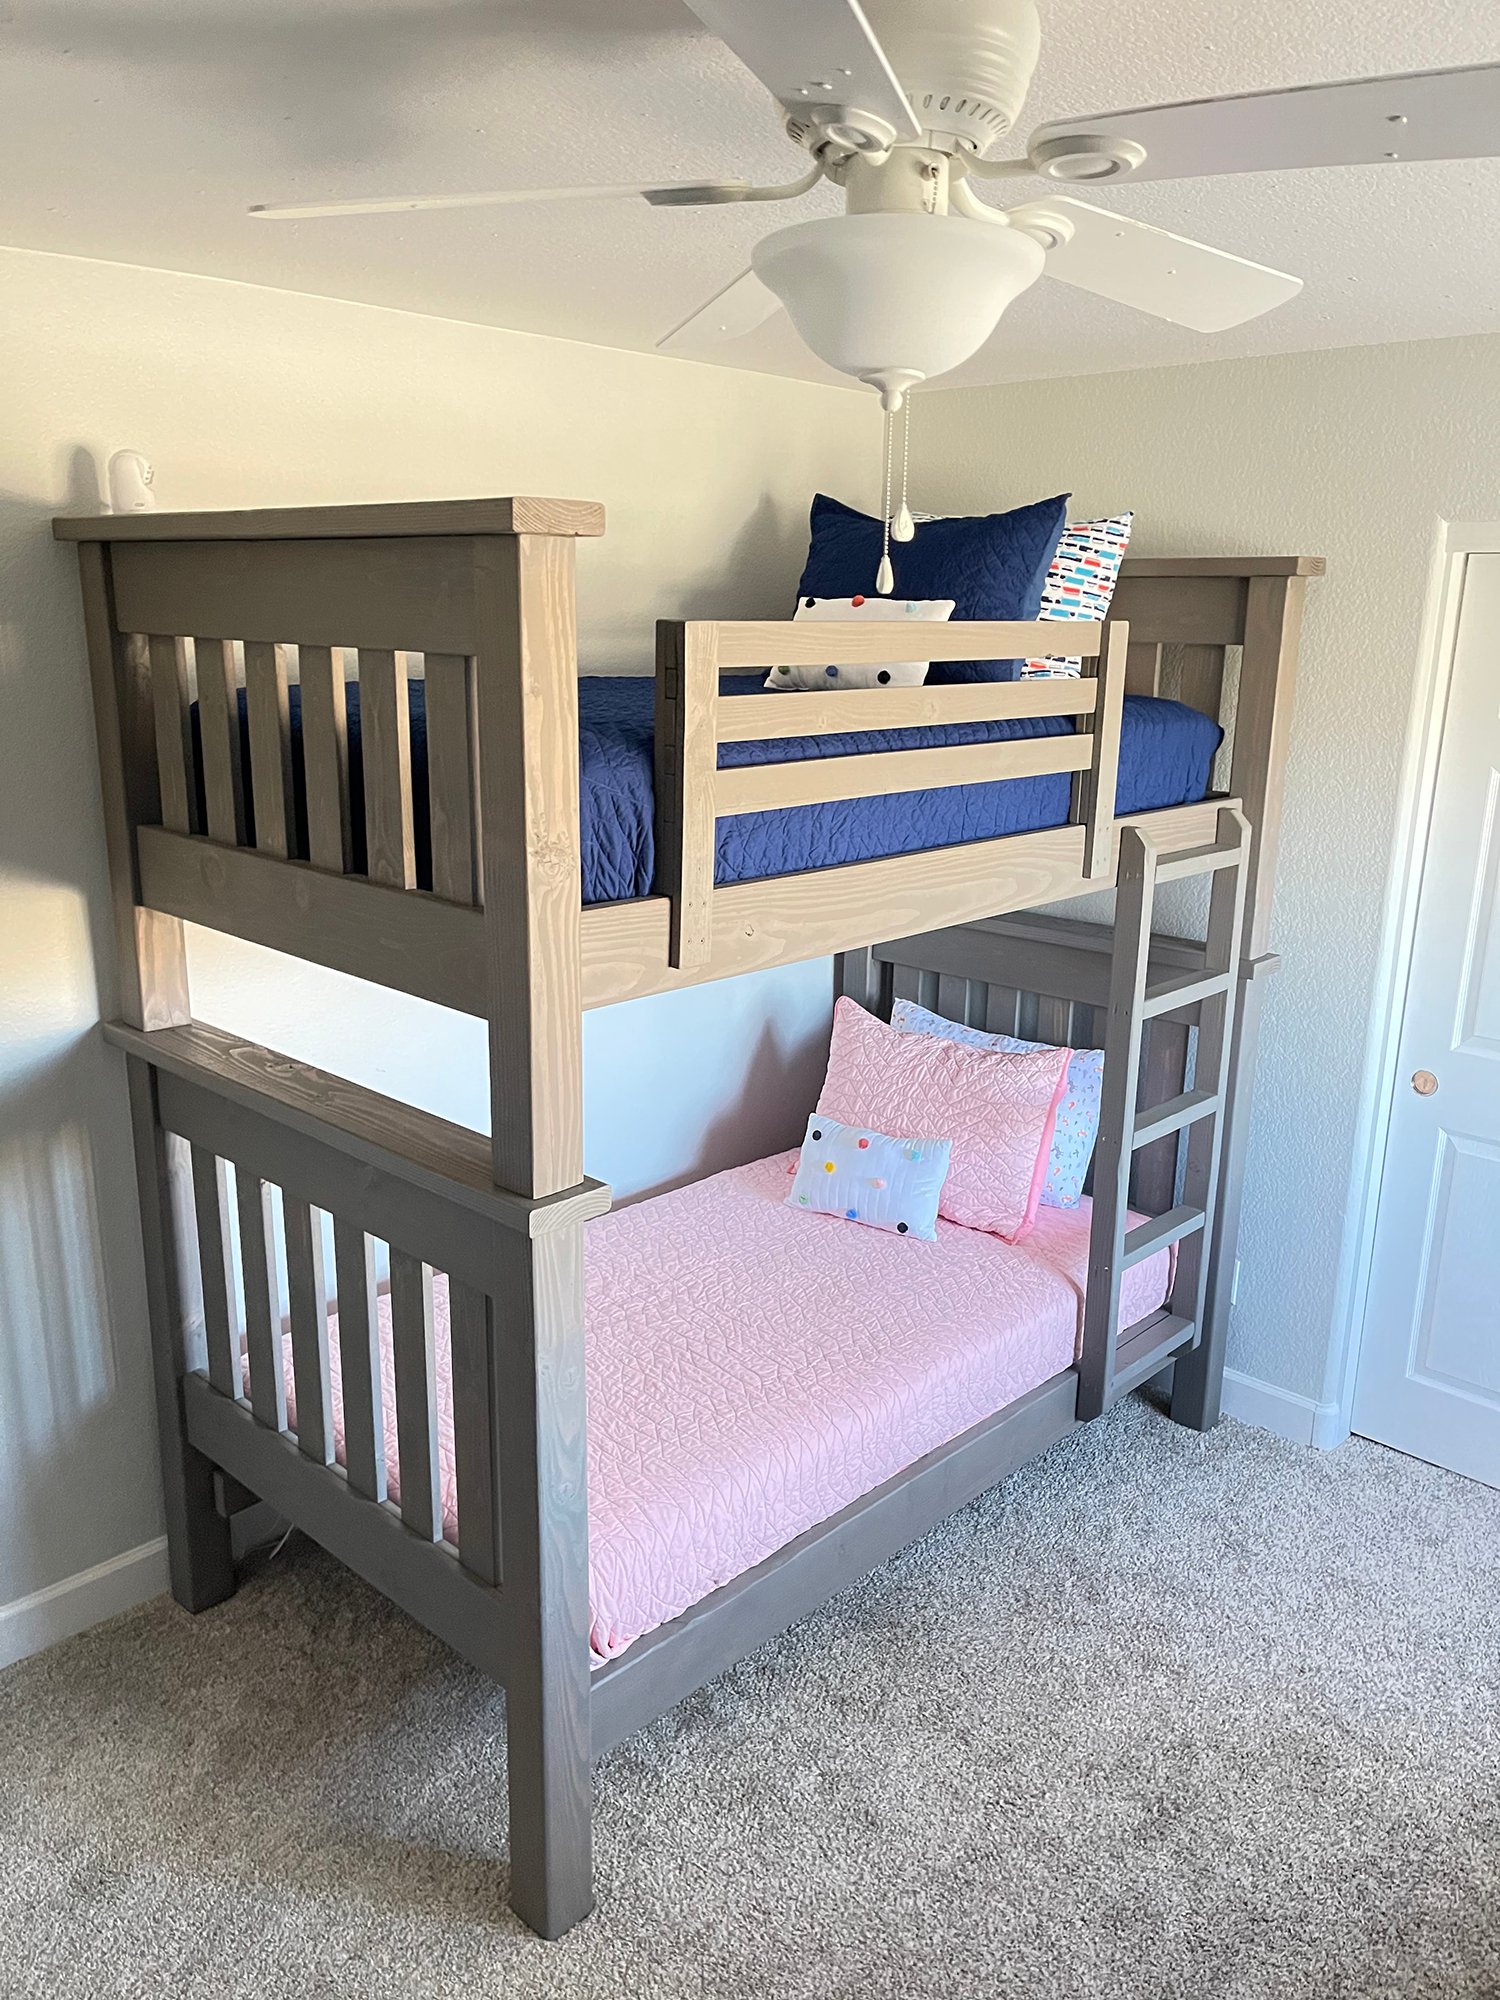
Simple Bunk Bed

Submitted by jmartell10 on Sun, 06/27/2021 - 09:34

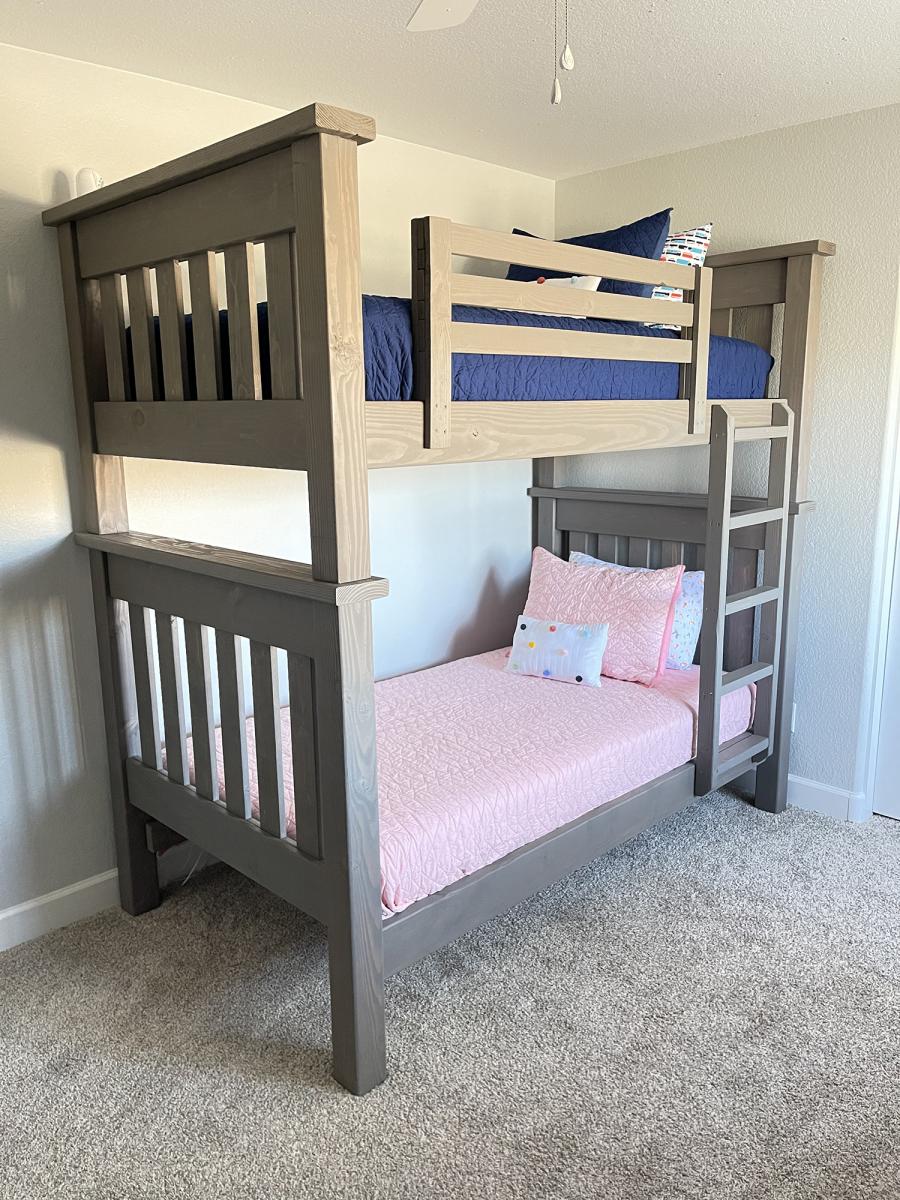
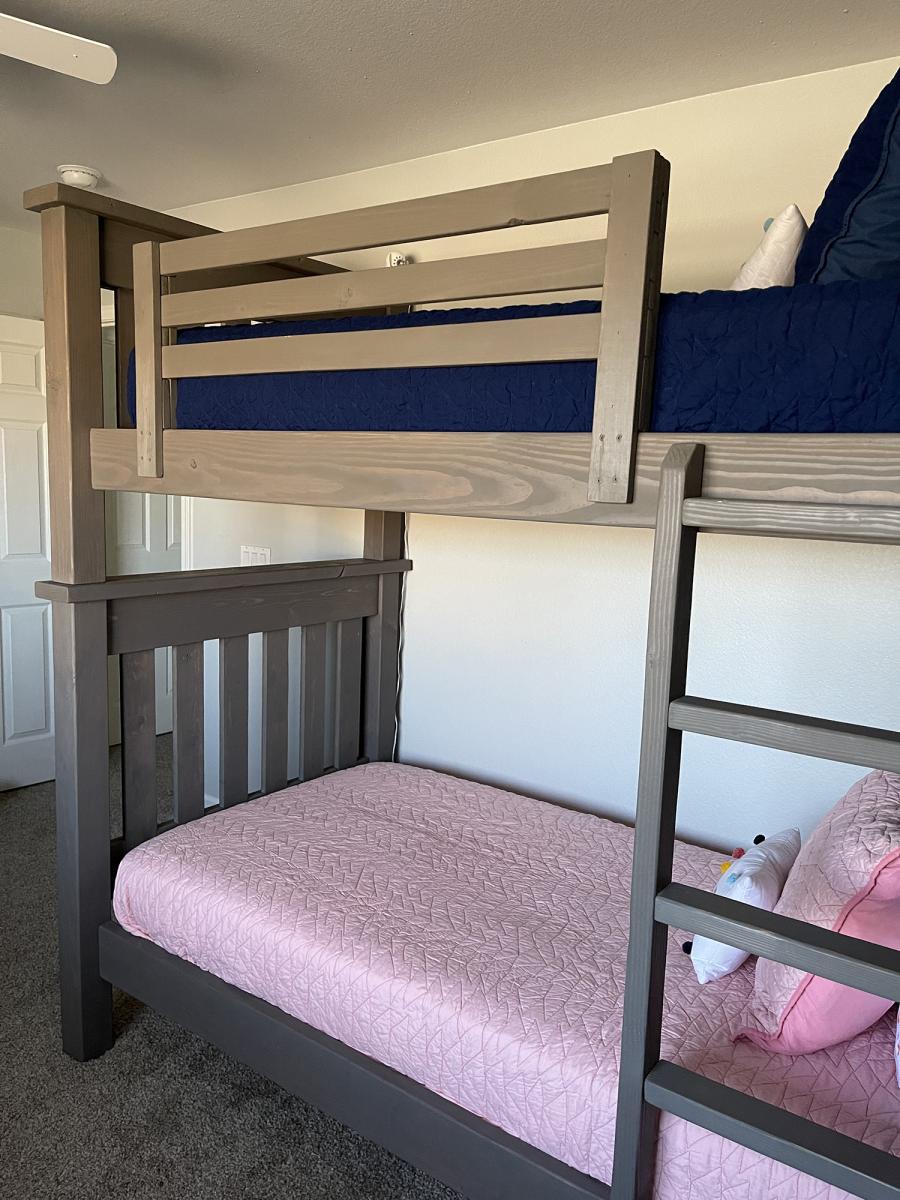
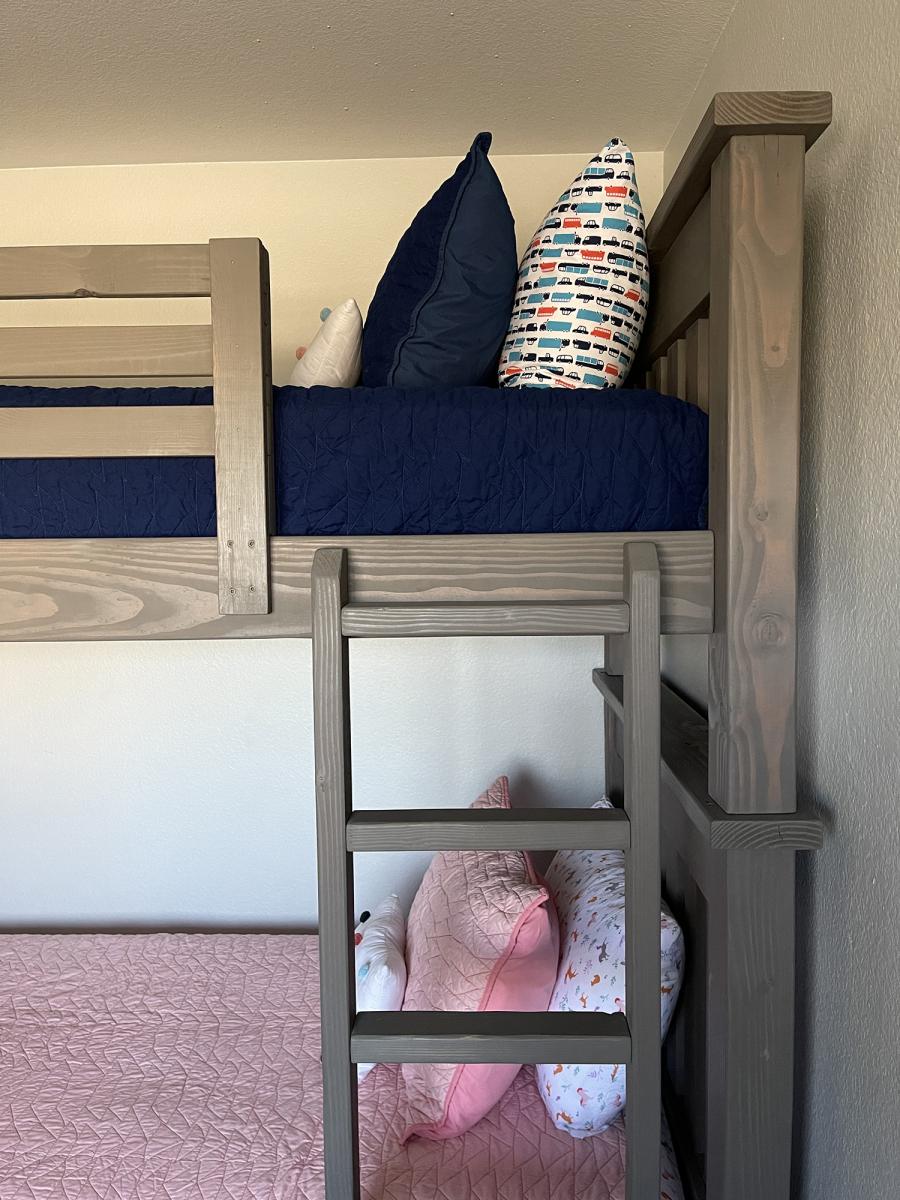
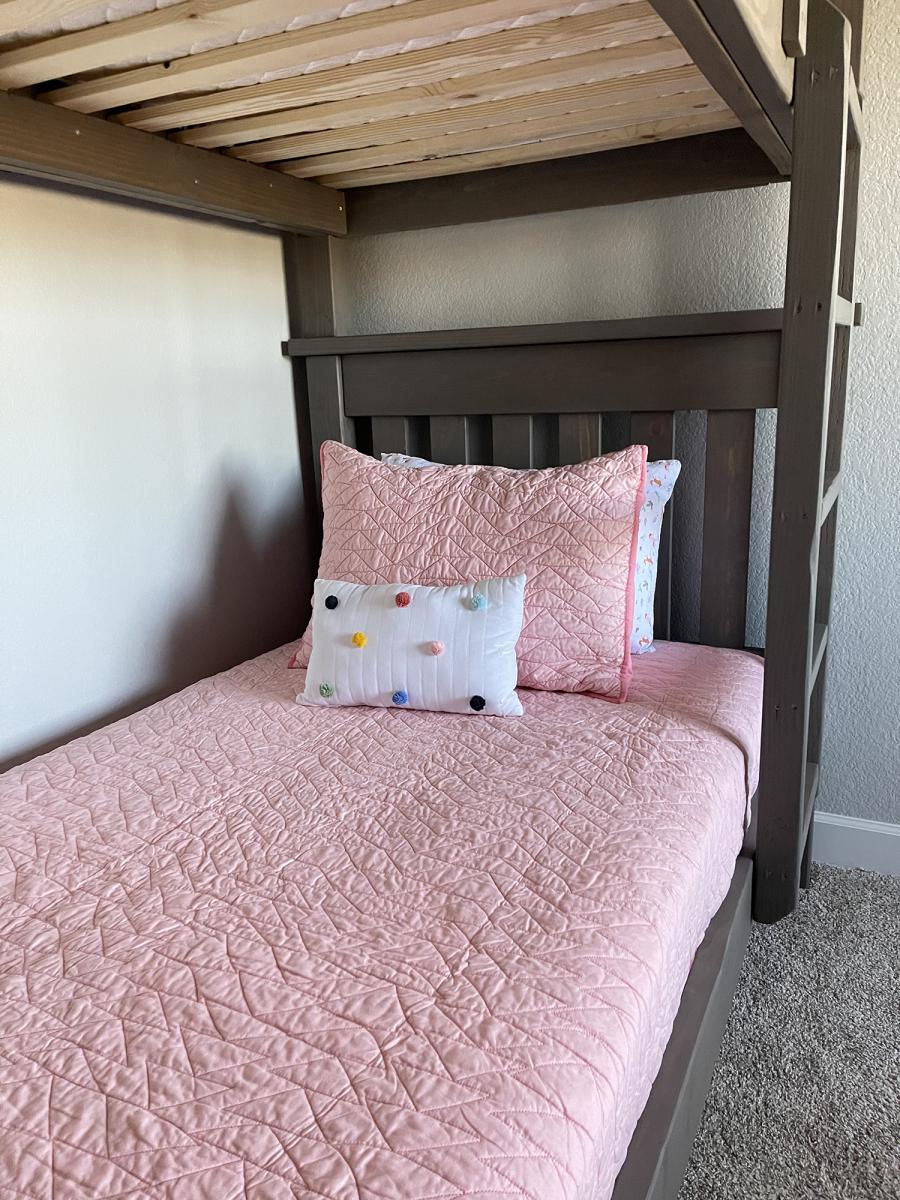
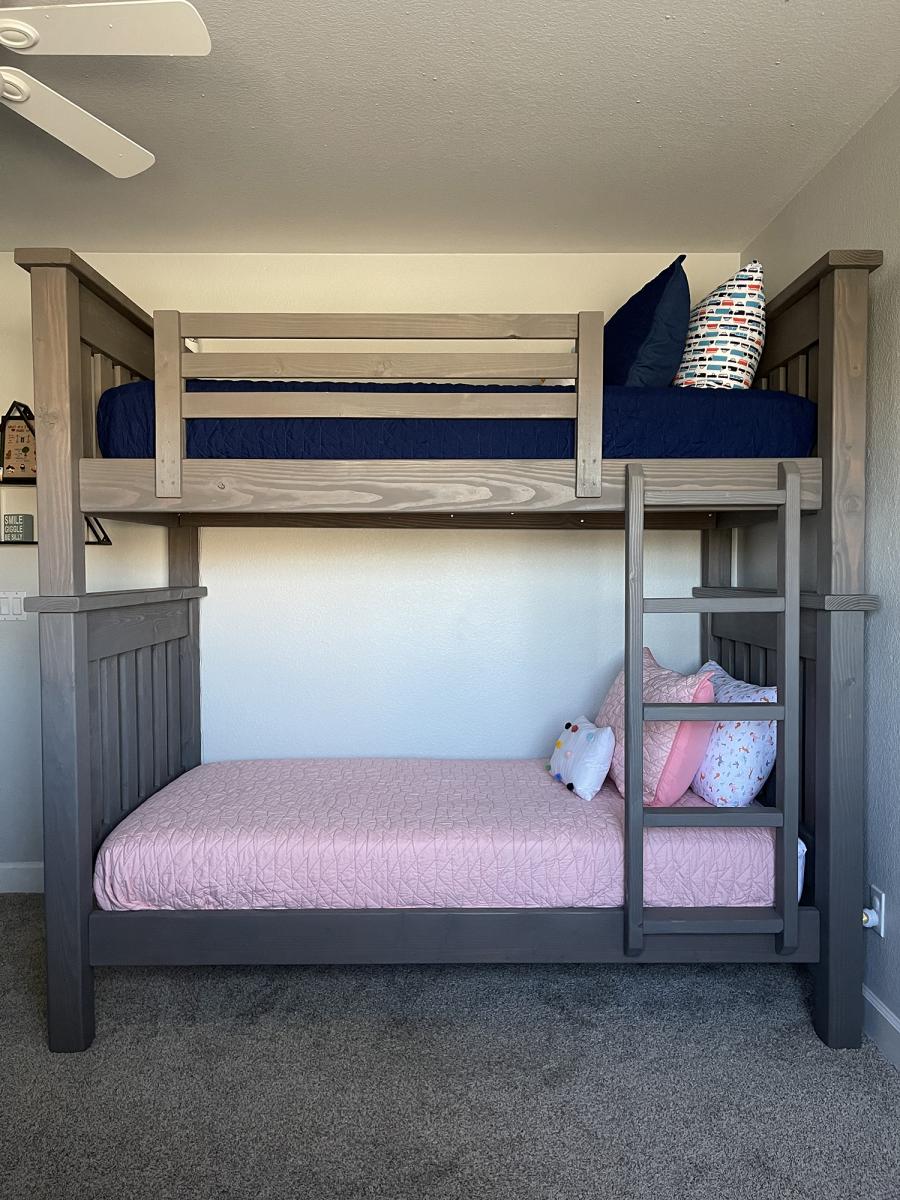
I searched high and low for the perfect bunk beds to buy for my four-year-old son and two-year-old daughter when our third child was on the way. We wanted something that had enough clearance between the top and bottom bunks so my husband and I could comfortably sit on the bottom bunk with our kids to read books before bed and it was nearly impossible to find a pre-made bed that fit that requirement in our price range. I was excited to find this plan because it looked like the perfect fit and we could modify it to meet our needs.

I built and stained most of the parts of the bed (while six months pregnant :P) and my husband did the final assembly. It took us about two weeks from start to finish since we could really only work during naptime and bedtime. We stained them with Behr water-based stain in Classic Gray. I love the way they turned out and they are super solid and heavy. My kids love them too.

Estimated Cost
$500
Estimated Time Investment
Week Long Project (20 Hours or More)
Finish Used
Behr water-based stain in Classic Gray
Recommended Skill Level
Beginner

Comments

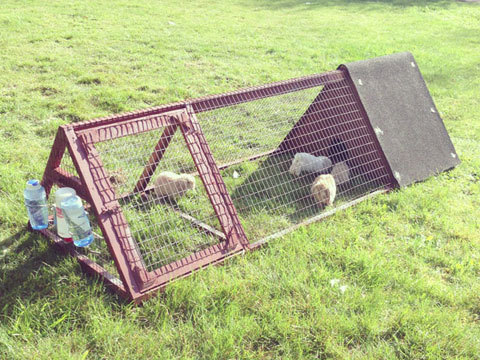
Triangular Rabbit Hutch

Submitted by Medeek on Fri, 05/03/2013 - 18:14

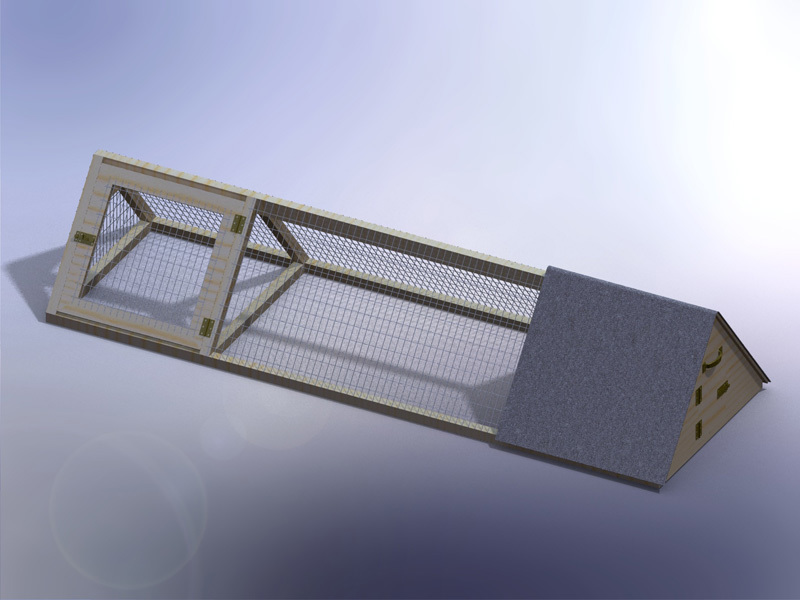
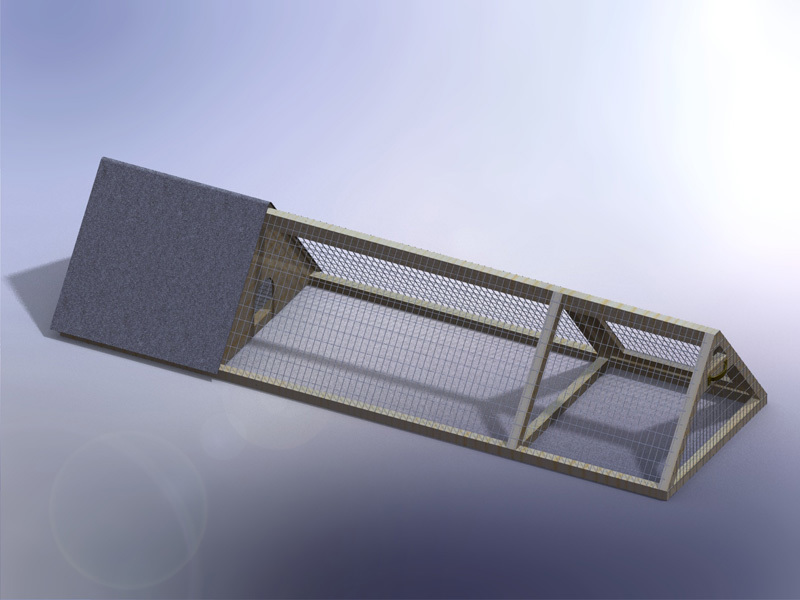
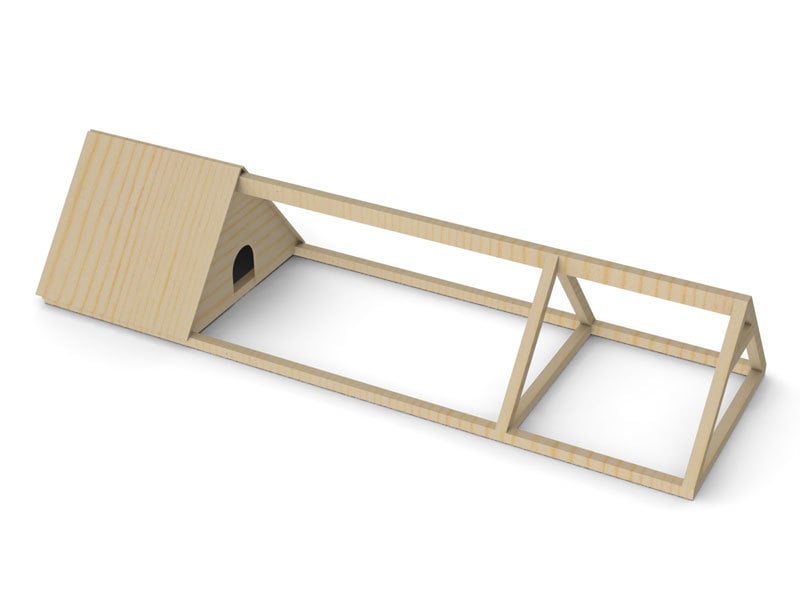
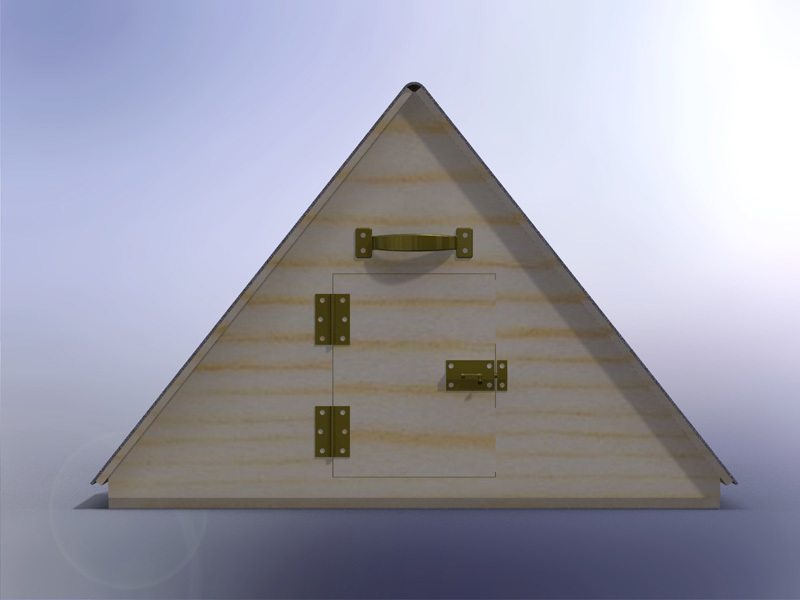
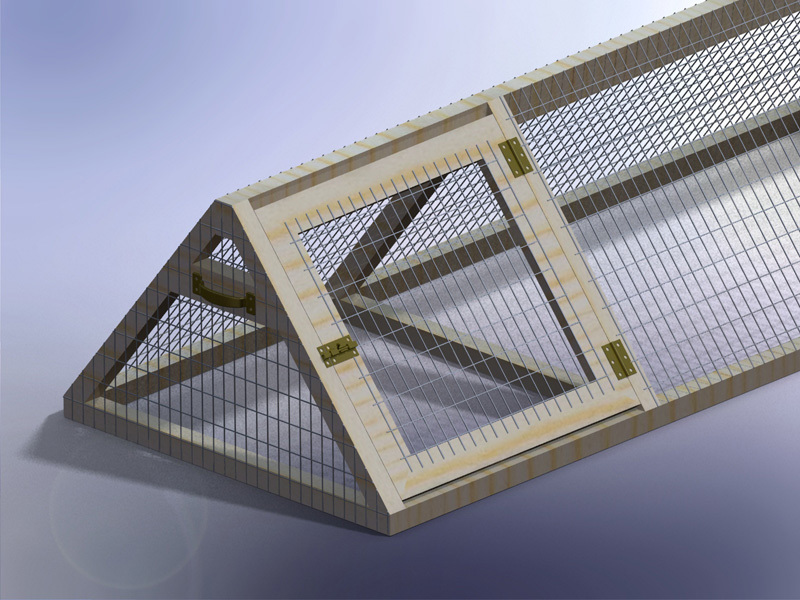
This is a rabbit hutch I created for my kids 5 rabbits. The thing that makes this hutch really nice is if you have a large lawn you can just move the hutch a little bit every day and the lawn gets mowed, fertilized and you don't have to worry about cleaning up all the rabbit droppings. I also mounted a rabbit feeder on the inside of the house door to keep the food dry, which has worked really well.

Here is a short blog of all the steps in its construction:
http://design.medeek.com/gallery/RH3080_COPALIS_2013/RH3080_COPALIS_201…

Estimated Cost
150
Estimated Time Investment
Day Project (6-9 Hours)
Finish Used
Exterior Paint brush or spray. Choose your color.
Recommended Skill Level
Beginner

Comments

Medeek

Sun, 05/05/2013 - 01:52

I apologize I haven't got the completed planset up for this project yet but I will try to get it up in the next couple of weeks as well as a very complete materials list. You will need to go to a farm/feed store to get the correct 1"x2" wire and 1/2"x1" wire for the floor. Do not go to Home Depot and use the cow wire they have or the hardware cloth for the floor, neither of which are the correct choice. Home Depot has the lumber but not the wire. If you have any questions or even improvements to my design I would be interested in hearing from you.

Medeek

Sun, 09/13/2015 - 19:18

Finally got around to uploading the plans.  I still need to create a material list for this plan but the basics are there now.   We've had rabbits in it for about a year but recently we've tried some guinea pigs and it works great for that as well.  The guinea pigs can pretty much live off just the grass and dandelions but you do need to move it daily to give them plenty to eat.

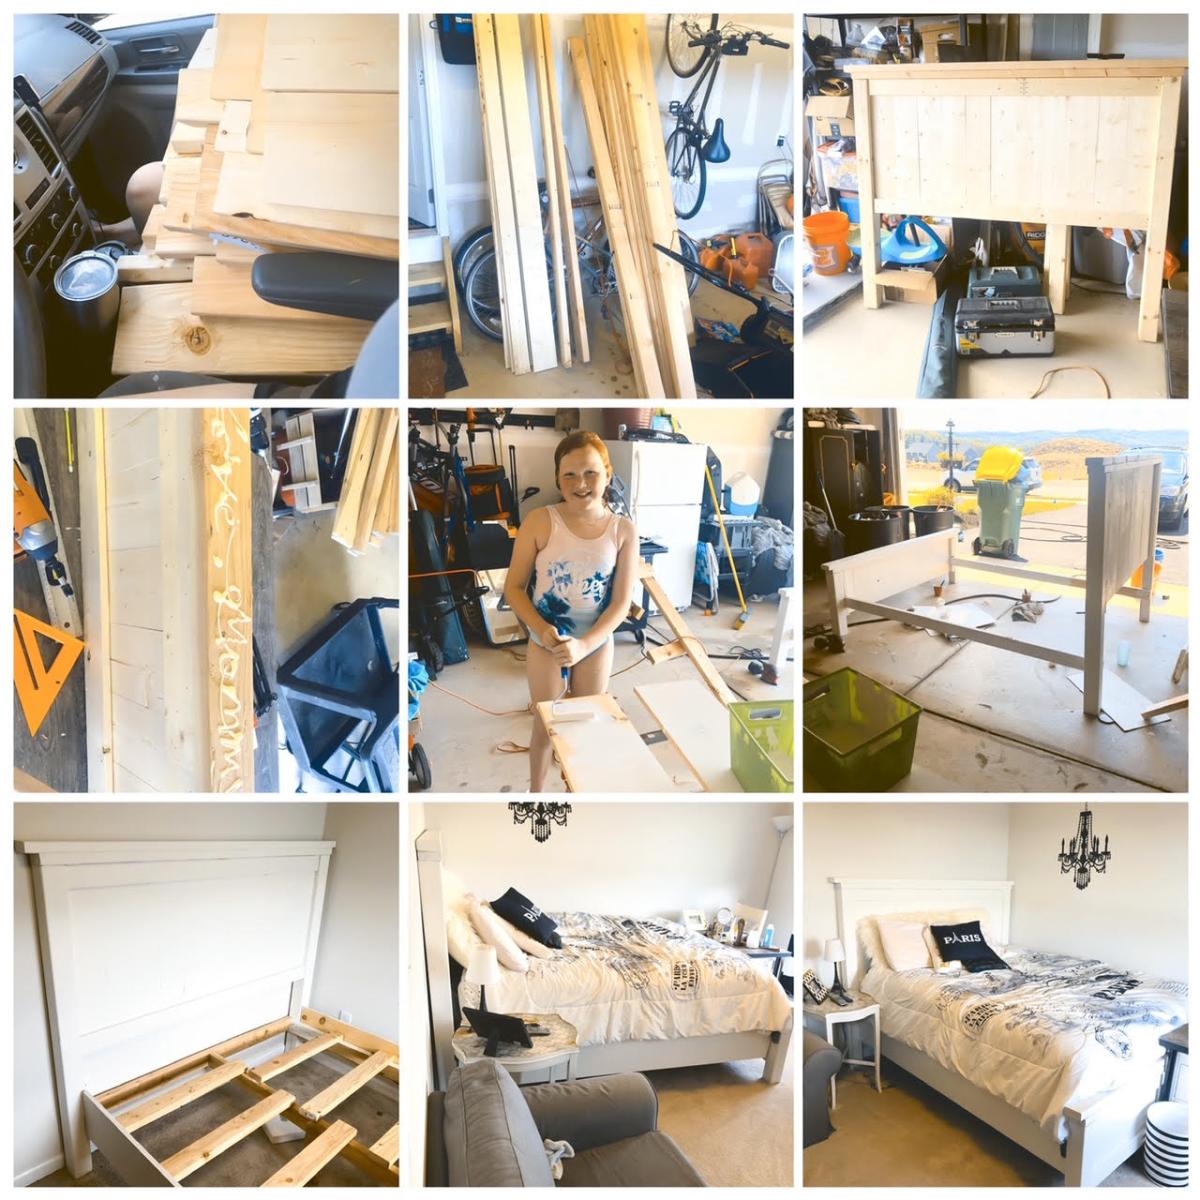
White Bunk beds with ladder instructions

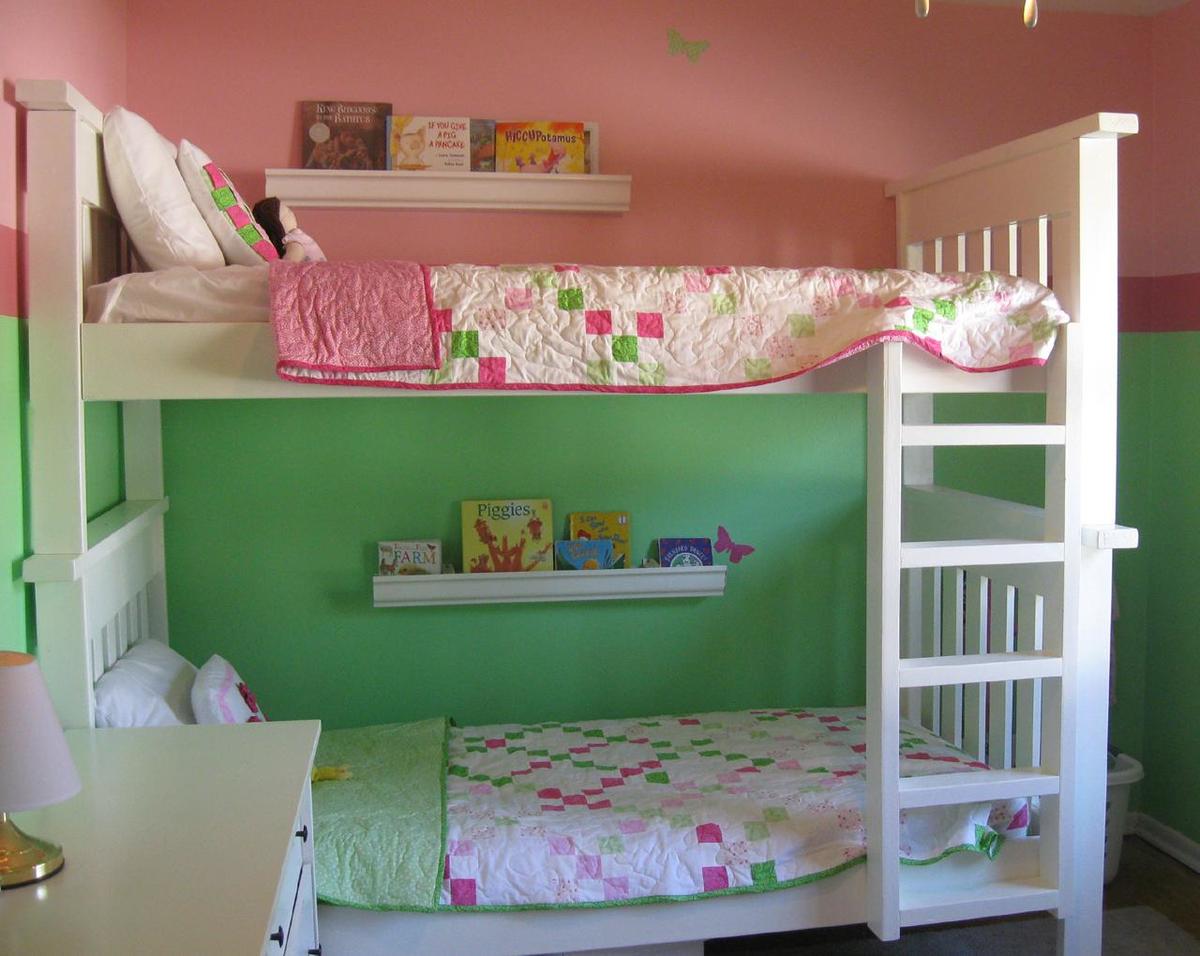
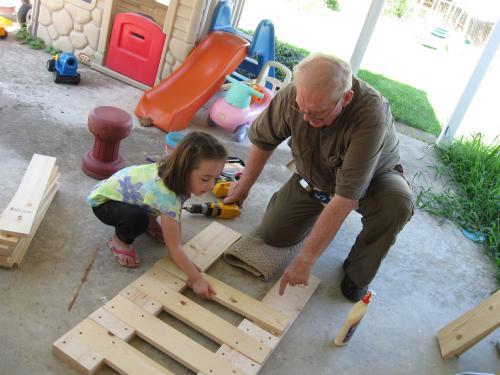
I redid this whole room for less than $600! Make sure you take your time with cuts and fitting. I did this with my father in law (my daughter even got to help out!), and it's less than perfect due to some rushing! More details on my blog.

I also couldn't find any 4x4's. Instead of doubling up on 2x4's, I just used one. That allowed me to change the tops of the head/foot boards to only 48" instead of 50 1/2. You can get enough for a head and foot board out of one board this way.

After looking at a TON of bunk bed ladders online, I designed my own. Just some leftover 2x4's. The sides are 47 1/2 inches long, and the rungs are 13 1/2 inches long. It's screwed to the bunk bed from the back so you don't see the screws.

Estimated Cost
$300
Estimated Time Investment
Weekend Project (10-20 Hours)
Finish Used
Sanded the heck out of everything, then two coats of Behr primer, followed by 2-3 coats of Behr semi-gloss in New Day Dew (it's a Disney color)
Recommended Skill Level
Beginner

Bedside Table

Submitted by RITWood on Fri, 09/15/2017 - 14:44

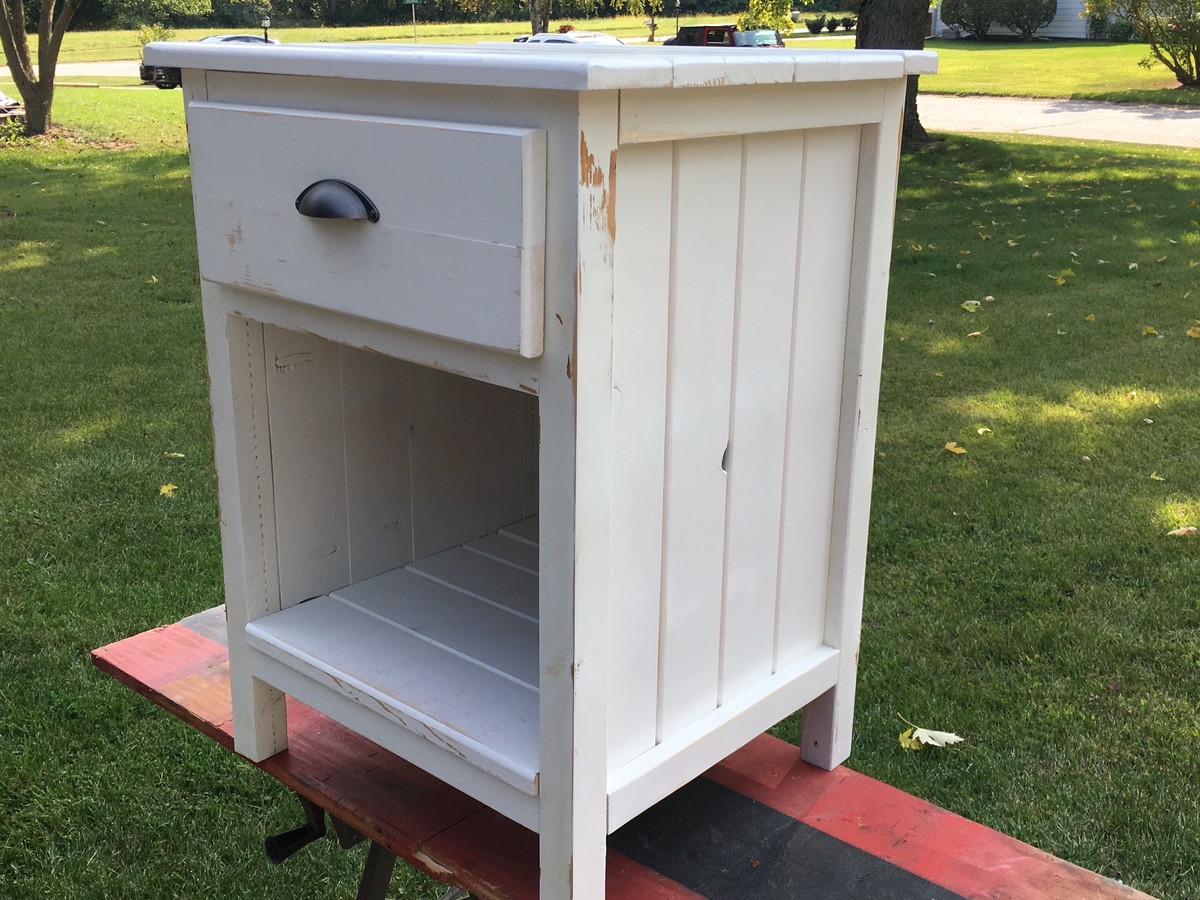
This is my interputation of the Reclaimed Wood Look Bedside Table.  I beveled the edges of the of the 1x material and a top drawer with a large cubby beneath.  I used a sprayed latex paint then a light sanding to give it the distressed look and the two coats of clear poly.  

Estimated Cost
$35
Estimated Time Investment
Day Project (6-9 Hours)
Finish Used
Sprayed on latex paint followed by two coats of water base poly. After the paint dried I lightly sanded using 150 grit exposing the raw wood underneath. I didn't want too much wear showing and I left some of the machining marks to give it more of the rustic feel.
Recommended Skill Level
Beginner

Cedar planters

Submitted by mmarsha9 on Sun, 10/10/2021 - 14:08

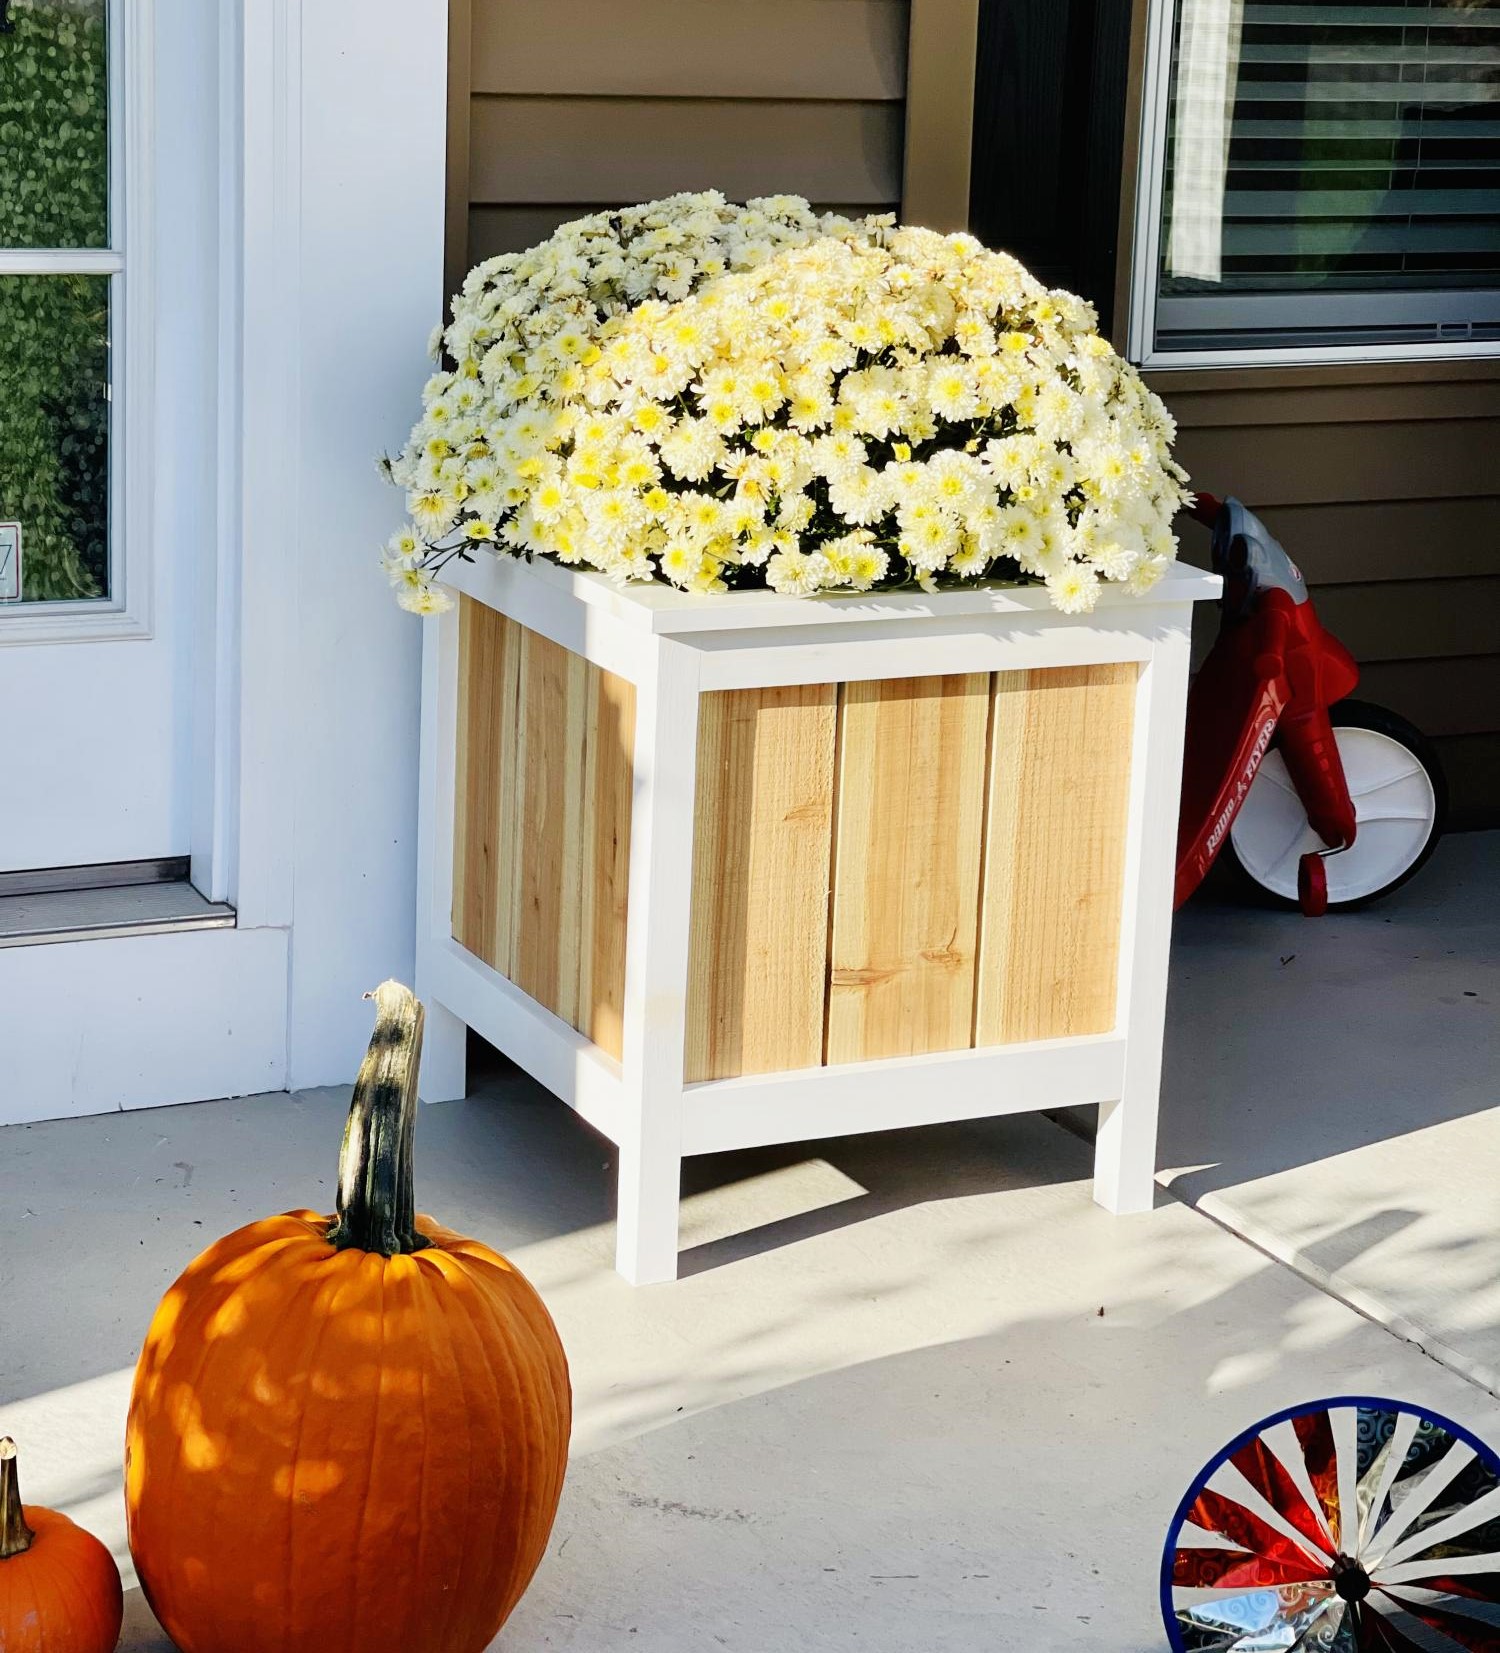
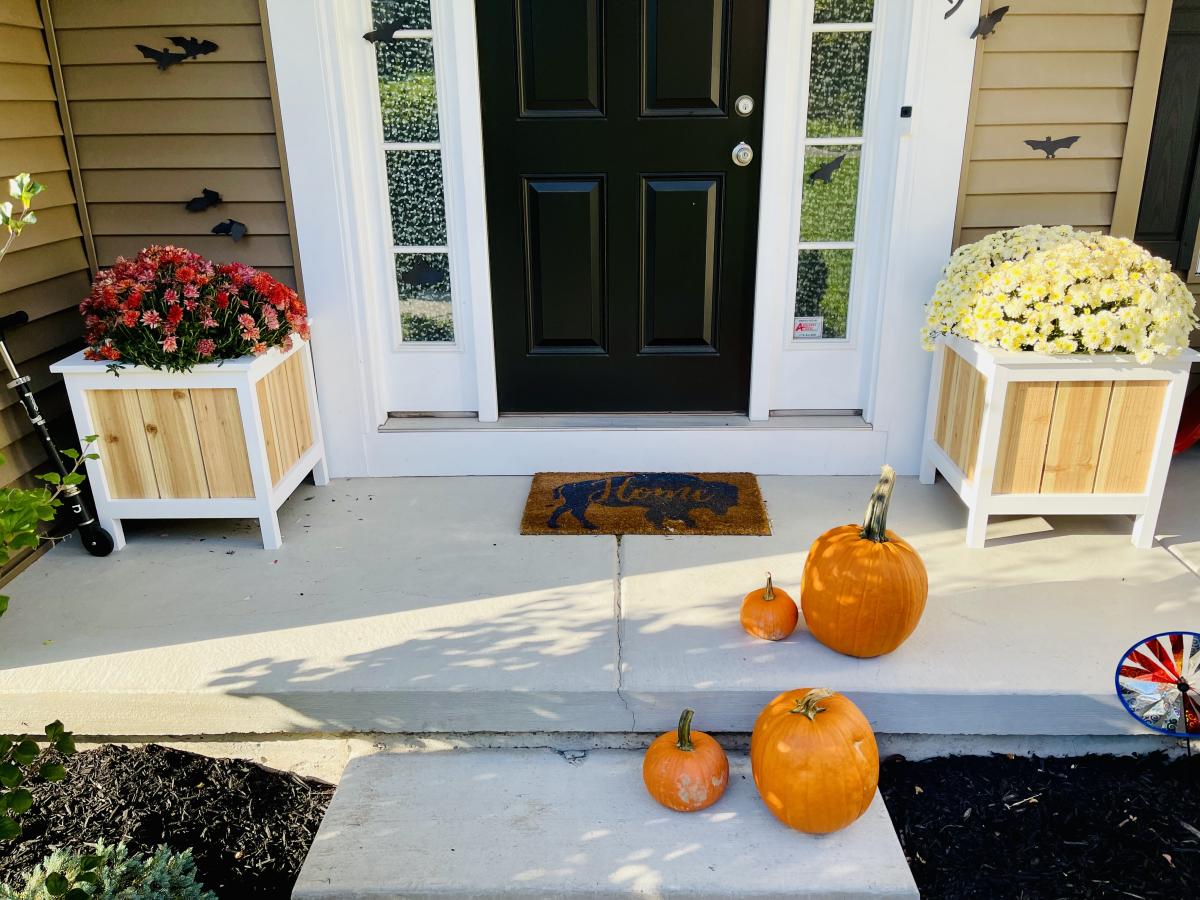
My wife wanted some planters for the front porch. Thanks to Ana whites page for these plans. Also loved the top modification that I think is a must.

Built from Plan(s)

Comments

Seasonal And Holiday

Armoire for Repurposed door

Submitted by JES on Sat, 03/19/2011 - 11:05

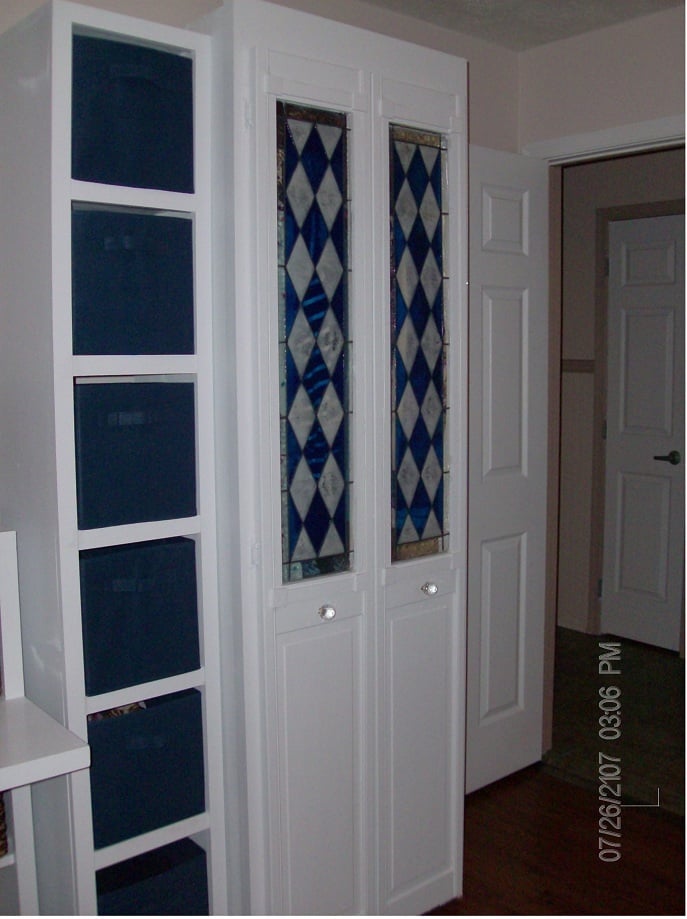
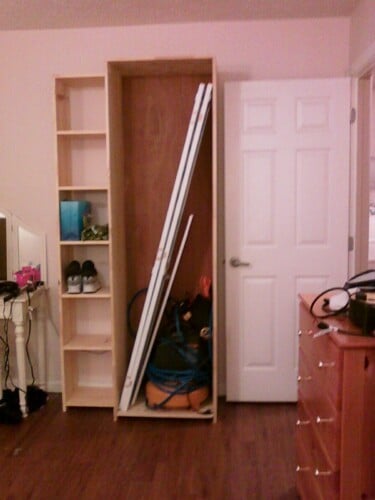
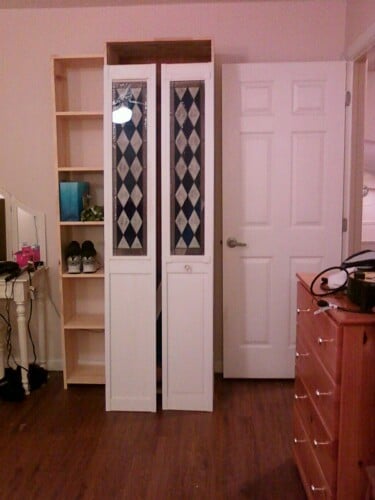
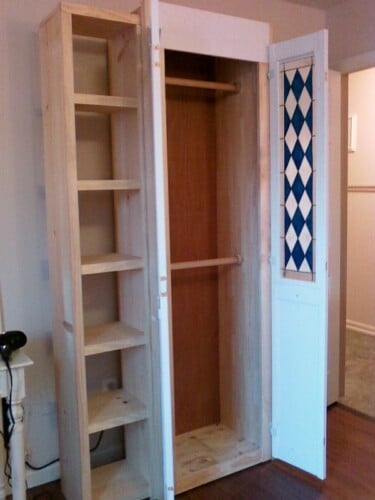
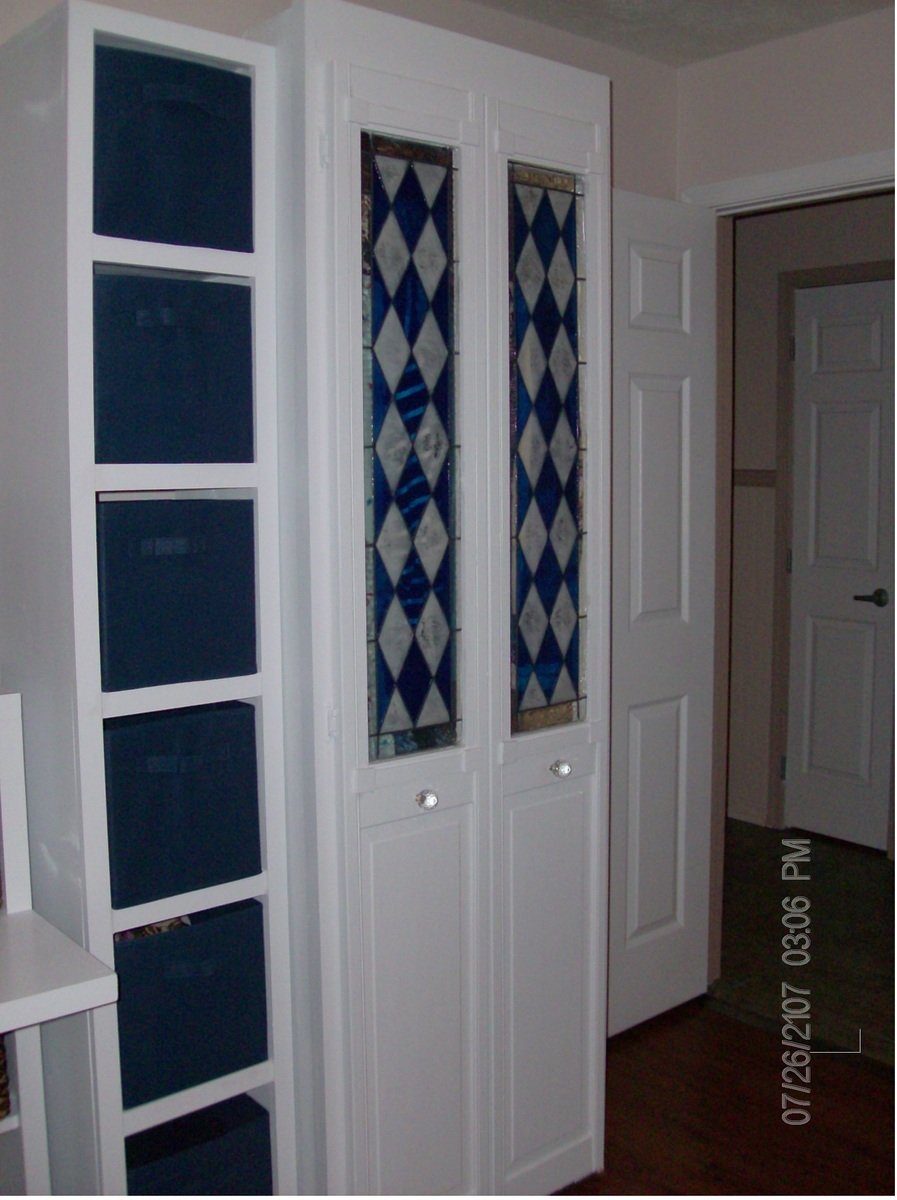
This is modified from Ana's Simplest Armoire plan, re-sized to fit the door (already had this, from another project -- I couldn't part with it when that room was remodeled- that gallery glass insert took me so long to make) and deep enough to hang clothes.  Used my favorite new toy, the Kreg jig for this.

Such a fun project, now we're hooked!  We've made a bedroom full of pieces to go with this one, and still making more.

Ana, thanks for the inspiration!

Built from Plan(s)
Estimated Cost
110.00
Estimated Time Investment
Day Project (6-9 Hours)
Finish Used
1 coat Zinsser primer, 2 coats Ace Royal High Hiding white in semi gloss
Recommended Skill Level
Beginner

DIY Workbench on wheels

Thanks to www.shanty-2-chic.com for this plan! I needed a workbench for all these projects that I was starting and I was tired of getting out a piece of plywood and the sawhorses every time. So this was just perfect for what I needed!

Estimated Time Investment
Afternoon Project (3-6 Hours)
Recommended Skill Level
Beginner

Outdoor Sectional

I scaled back the length of the sofa by a few inches and I made the sectional only one seat to fit my space on the deck. This was my first woodworking project that I did by myself. I got the cushions for more than 1/2 off at Ikea so the whole project cost about $150 ($80 for the cushions). It took me about a week to complete but the total time was less than 10 hours to build and stain. I'm pretty happy with how it turned out.

Estimated Cost
$150
Estimated Time Investment
Weekend Project (10-20 Hours)
Finish Used
Pittsburgh Paints Stain & Sealant in One for Decks, Fences, & Siding in Walnut. I brushed on the exterior stain just like a paint. I did the top part of the sofa first, then flipped it over and stained the bottom. Read instructions on the label.
Recommended Skill Level
Beginner

Comments

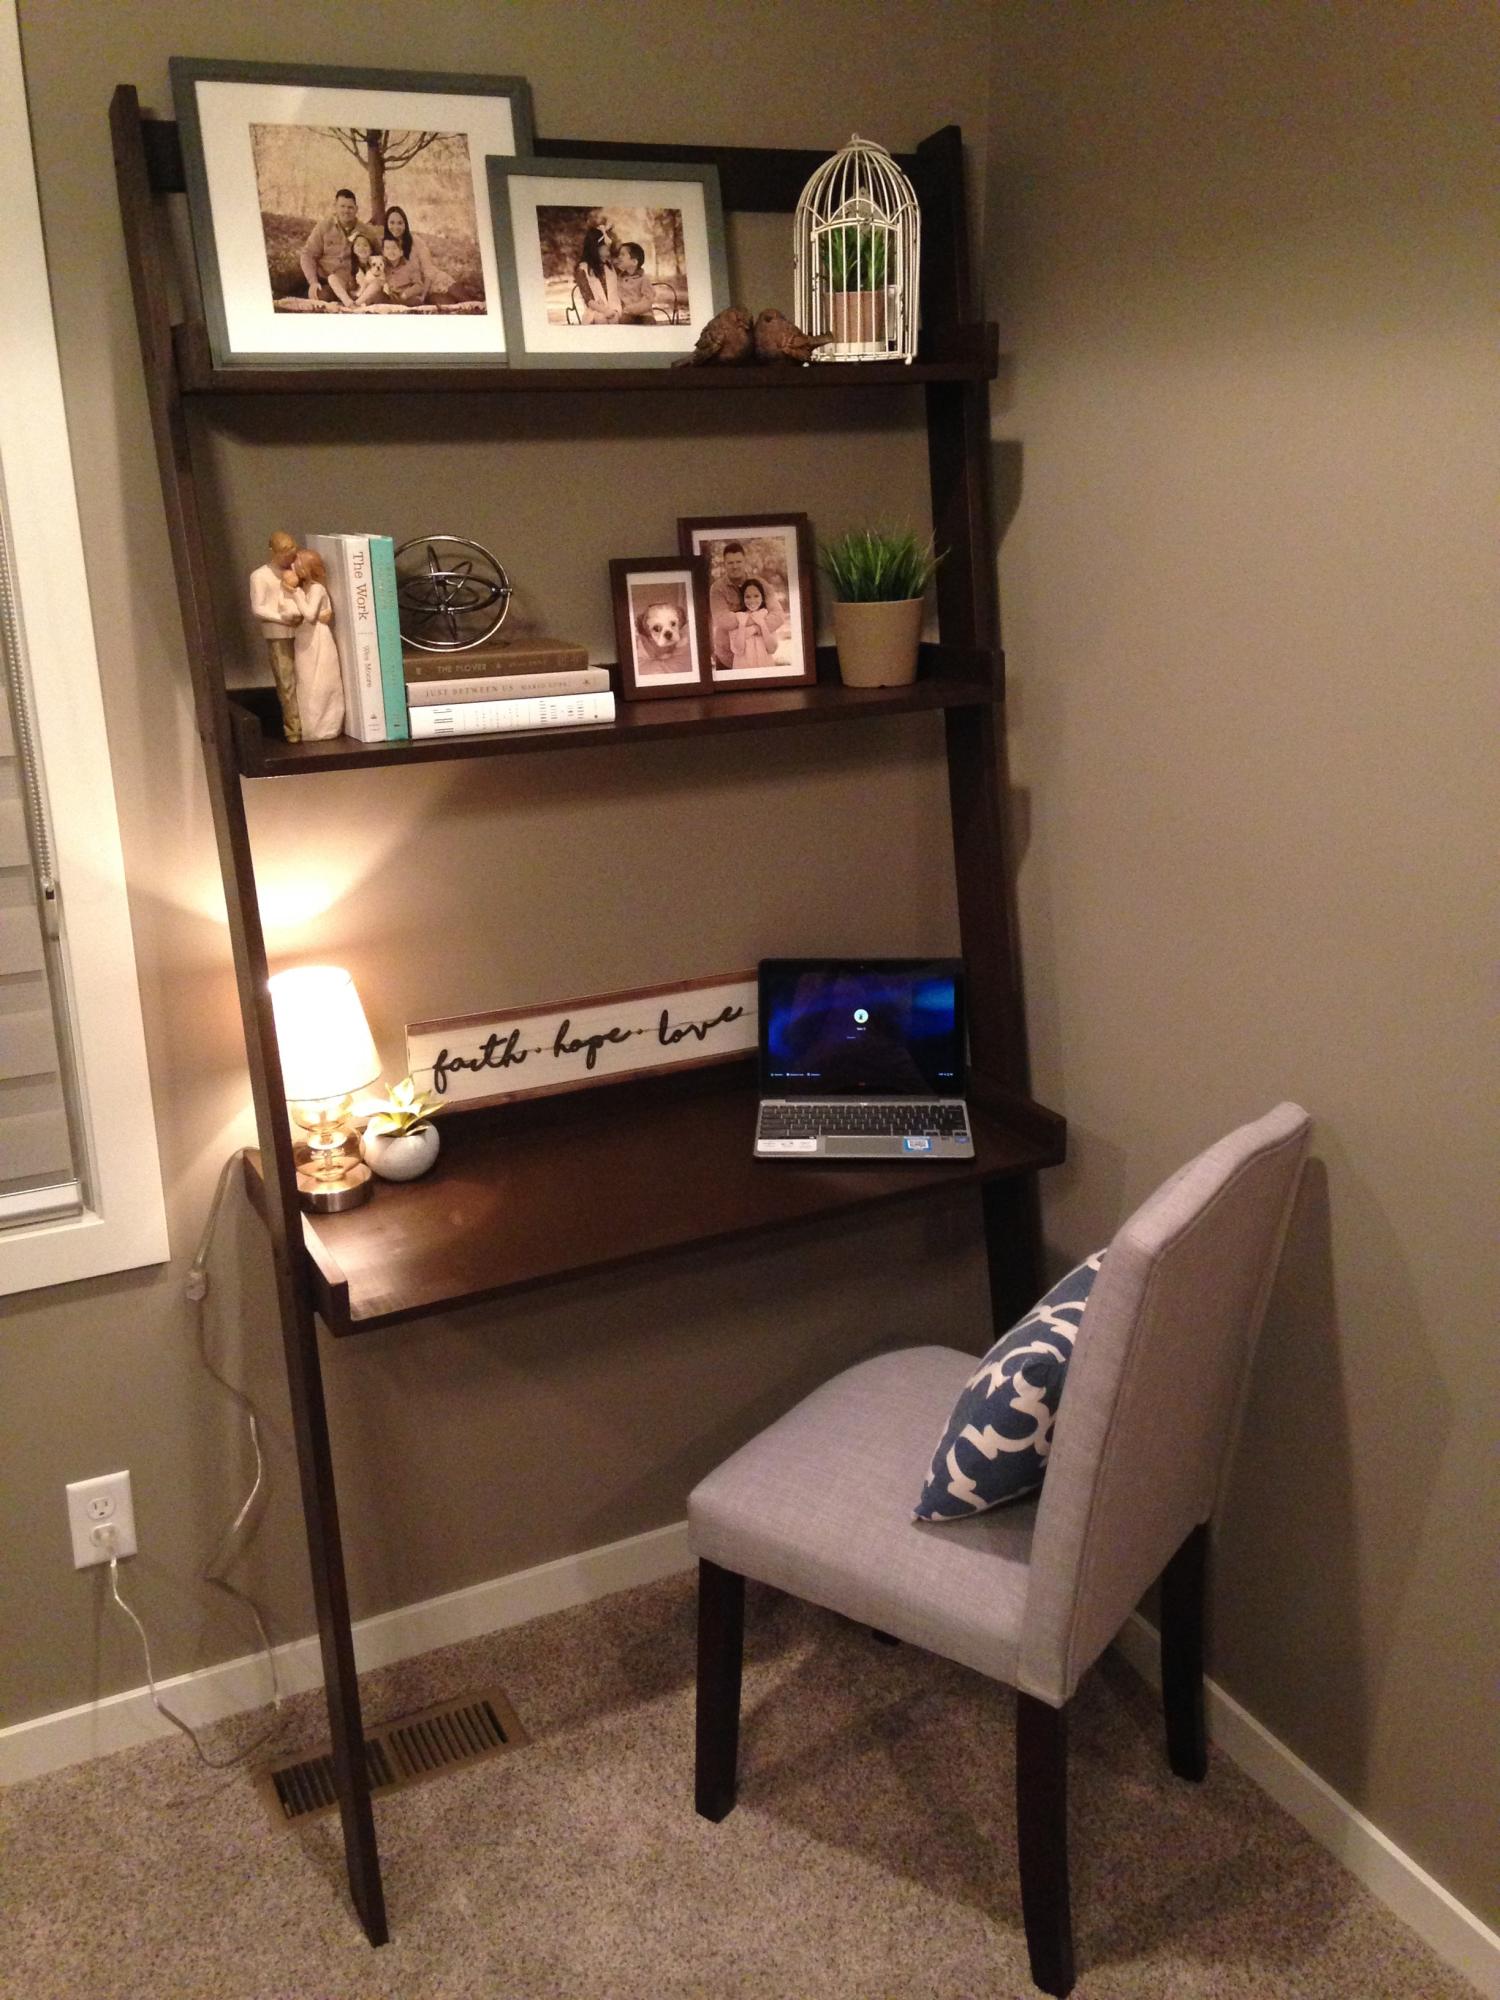
Leaning wall desk

Submitted by nanpannapa on Mon, 01/15/2018 - 09:56

Thank you Ana for the plan my husband loves it. So functional yet requires very little space. I made it a littlest wider- 38 inches overall width and 83 inches overall height.

Built from Plan(s)
Estimated Cost
$50
Estimated Time Investment
Afternoon Project (3-6 Hours)
Finish Used
Painters touch Expresso
Recommended Skill Level
Beginner

Bedside End Tables

Submitted by Grace734 on Mon, 02/05/2018 - 07:38

These are made from the three drawer plans but modified the size to meet our needs and used planks for shelves instead of drawers. Painted white and black gel stain. 


UPDATE FROM ANA - We have received MANY requests for this plan and have created a plan inspired by this post here.

Shopping List (for ONE bedside table) + Tools

  • 1 - 1x2 @ 6 feet long
  • 5 - 1x4 @ 8 feet long
  • 2 - 2x2 @ 8 feet long
  • 1-1/4" and 2-1/2" pocket hole screws
  • 1-1/4" brad nails
  • wood glue
  • Kreg Jig
  • Compound Miter saw
  • Drill
  • Brad Nailer (18 guage)

Cut List (for ONE bedside table)

  • 4 - 1x2 @ 14" - Side panel trim
  • 8 - 1x4 @ 23-1/4" - Side panels
  • 4 - 2x2 @ 27-1/4" - Legs
  • 6 - 2x2 @ 14" - Shelf support
  • 8 - 1x4 @ 17" - Shelves
  • 5 - 1x4 @ 18" - Top

Cut 1x4s and 1x2s with miter saw. Layout side panel 1x4s as shown above.  Measure and cut 1x2 to length.  Nail the 1x2 to the 1x4s, two nails per overlap with glue.  Make sure your side panels are square.  Build two.

Drill 3/4" pocket holes on inside edge of 1x4 ends as shown above.  Cut 2x2s with compound miter saw. Attach to the 2x2 legs with 1-1/4" pocket hole screws.

Set Kreg Jig to 1-1/2" setting.  Drill 1-1/2" pocket holes on end of each 2x2, one per end.  Attach to 2x2s with wood glue as shown above.

Cut 1x4 shelf boards with compound miter saw.  Nail and glue to the inside of the project as shown above.

Cut 1x4 top boards with compound miter saw.  Nail and glue to top with 1-1/4" nails and wood glue.

If you wish to add a back, measure and cut from 1/4" plywood and attach with 3/4" brad nails.
Estimated Cost
100.00 for both.
Estimated Time Investment
Weekend Project (10-20 Hours)
Finish Used
One coat of eggshell white PPG
Two coats of ebony gel stain
Recommended Skill Level
Beginner

Comments

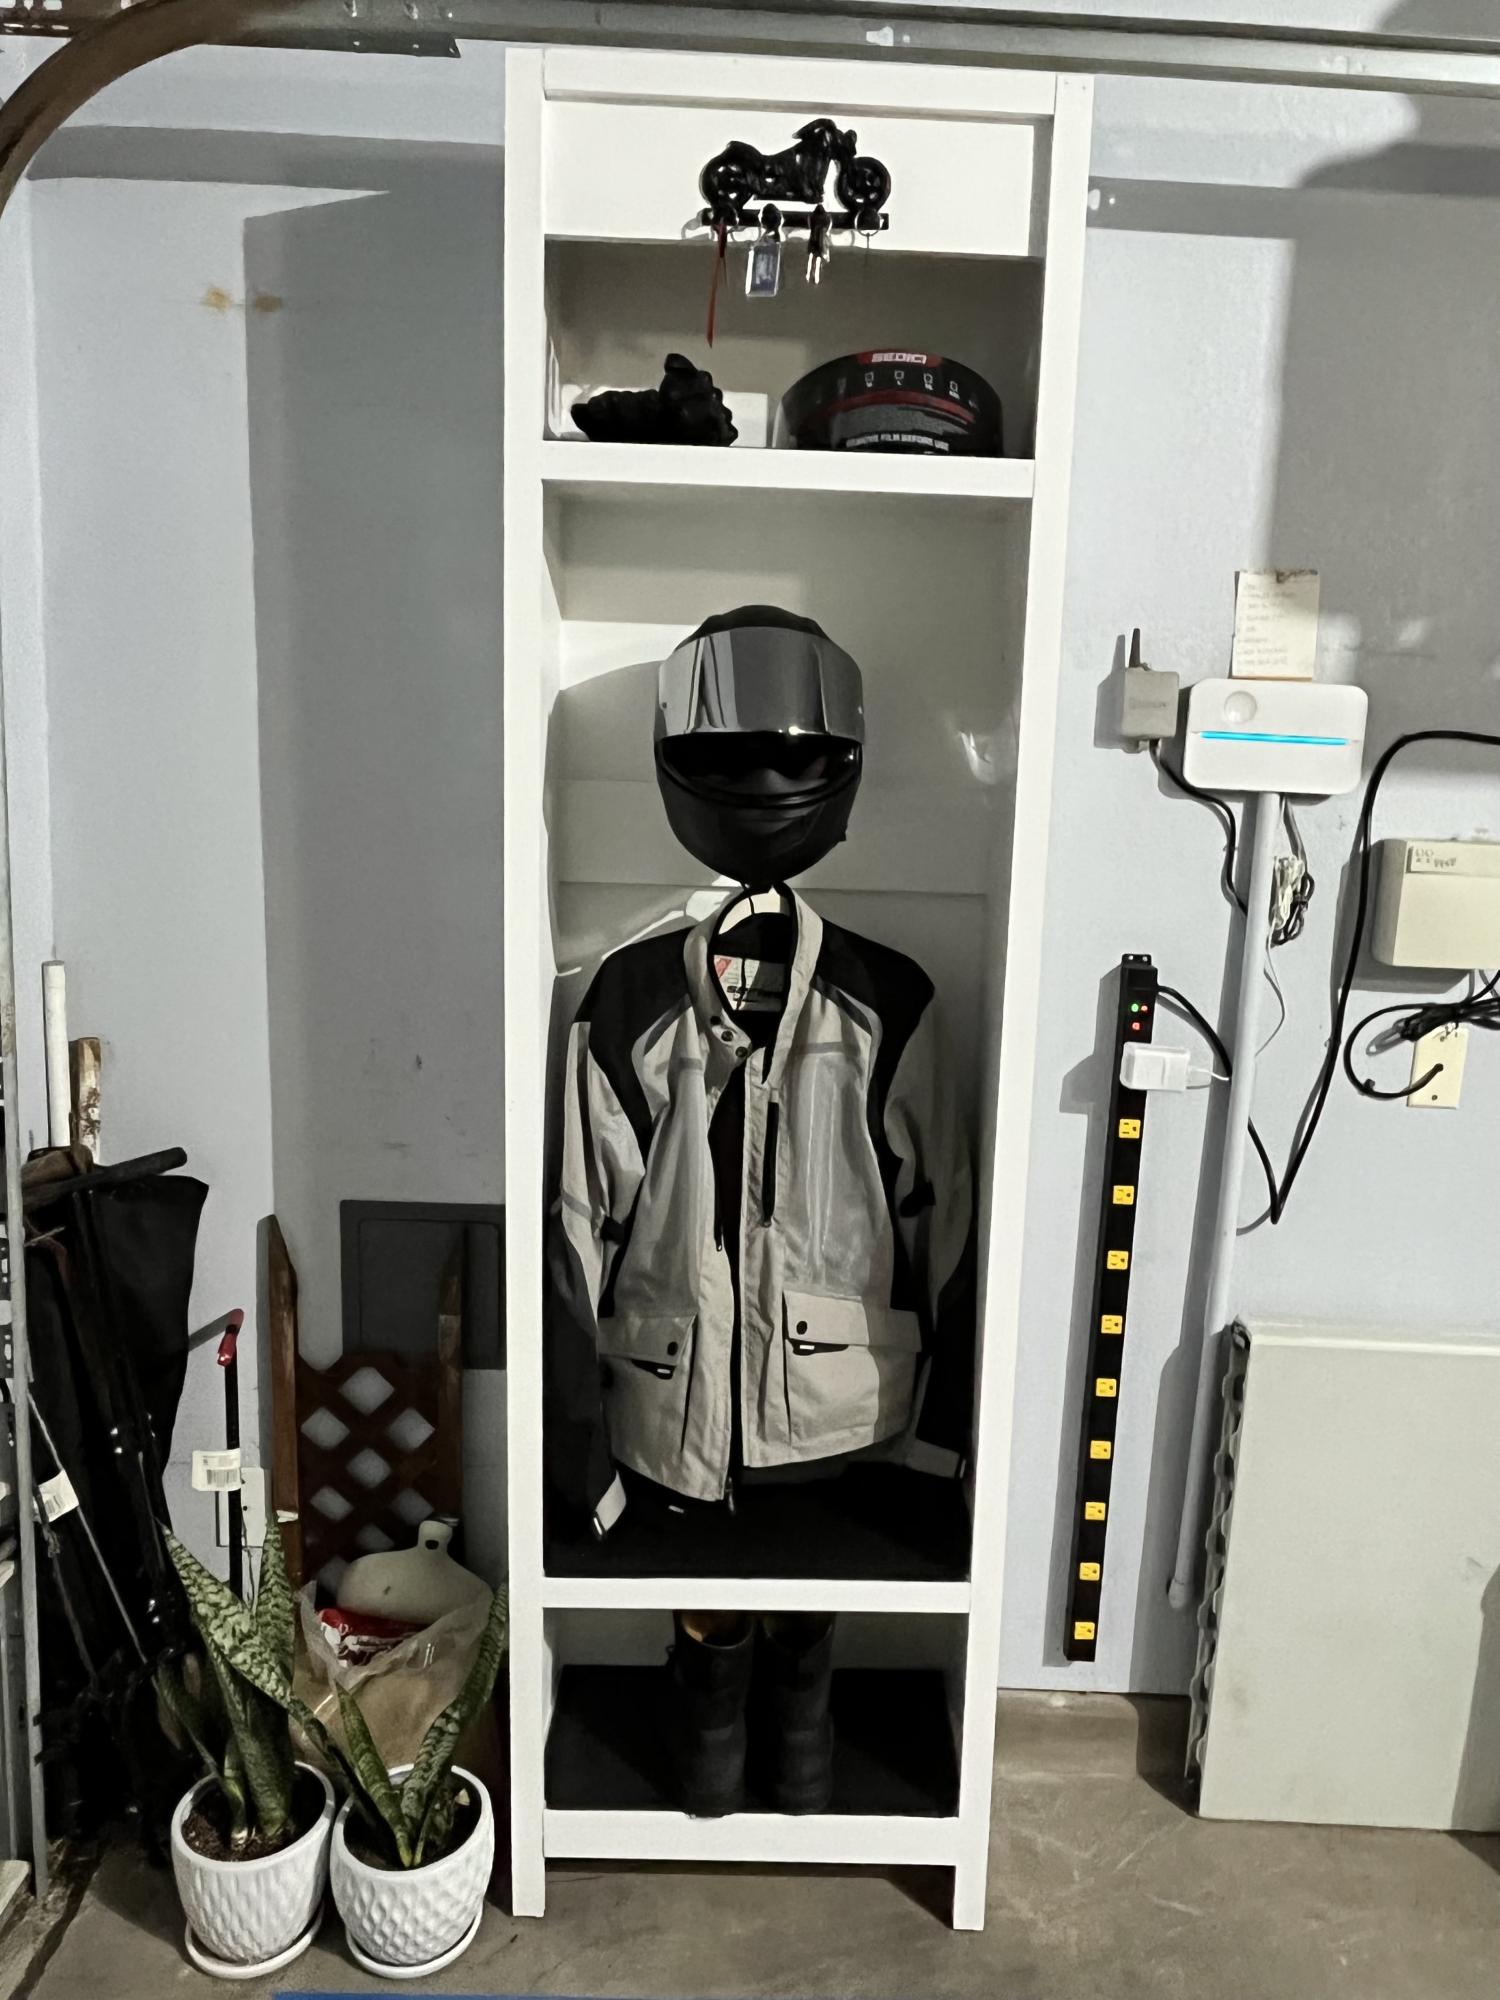
Motorcycle Gear Locker

Submitted by abarbato82 on Sun, 02/27/2022 - 05:45

Had all my motorcycle gear throughout the garage and wanted to pull it all together. The single locker plan was a perfect blueprint with just some adjustments to height and width. Thank you!

Built from Plan(s)

Comments

Modified Simple Outdoor Dining Table

Submitted by ewood on Tue, 05/31/2011 - 08:04

Wanted a Patio table and when I saw the plans on this site I really liked it; I just changed the plan a bit. Everything was screwed from the underside of the table, also I attached the legs with 2" lag screws.

Built from Plan(s)
Estimated Time Investment
Weekend Project (10-20 Hours)
Recommended Skill Level
Beginner

Comments

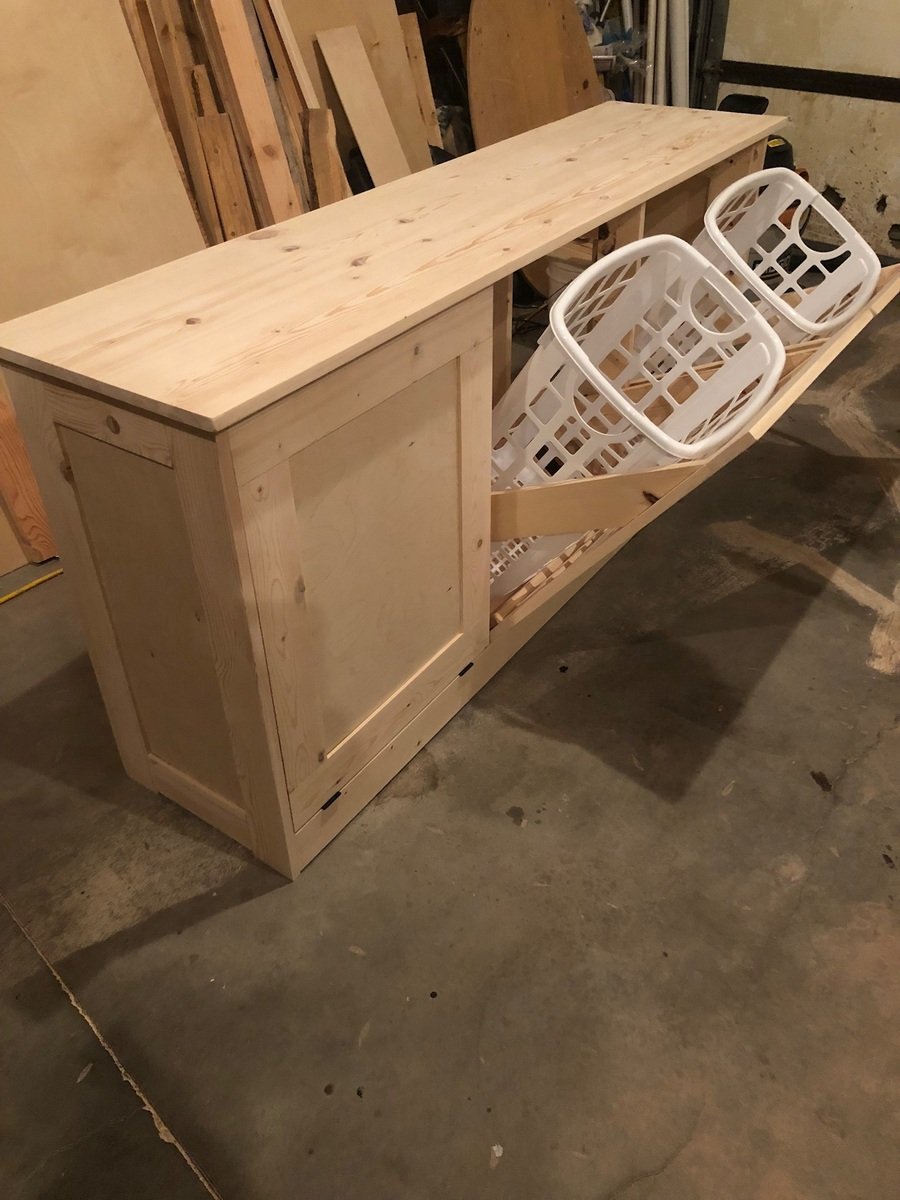
Laundry bins

Submitted by wy2ak on Mon, 05/07/2018 - 19:57

This was a build from a picture and made to fit into a space we have in the laundry room. Used the Kreg jig for much of it. 

Estimated Time Investment
Week Long Project (20 Hours or More)
Finish Used
Will be painted and distressed
Recommended Skill Level
Intermediate

Comments

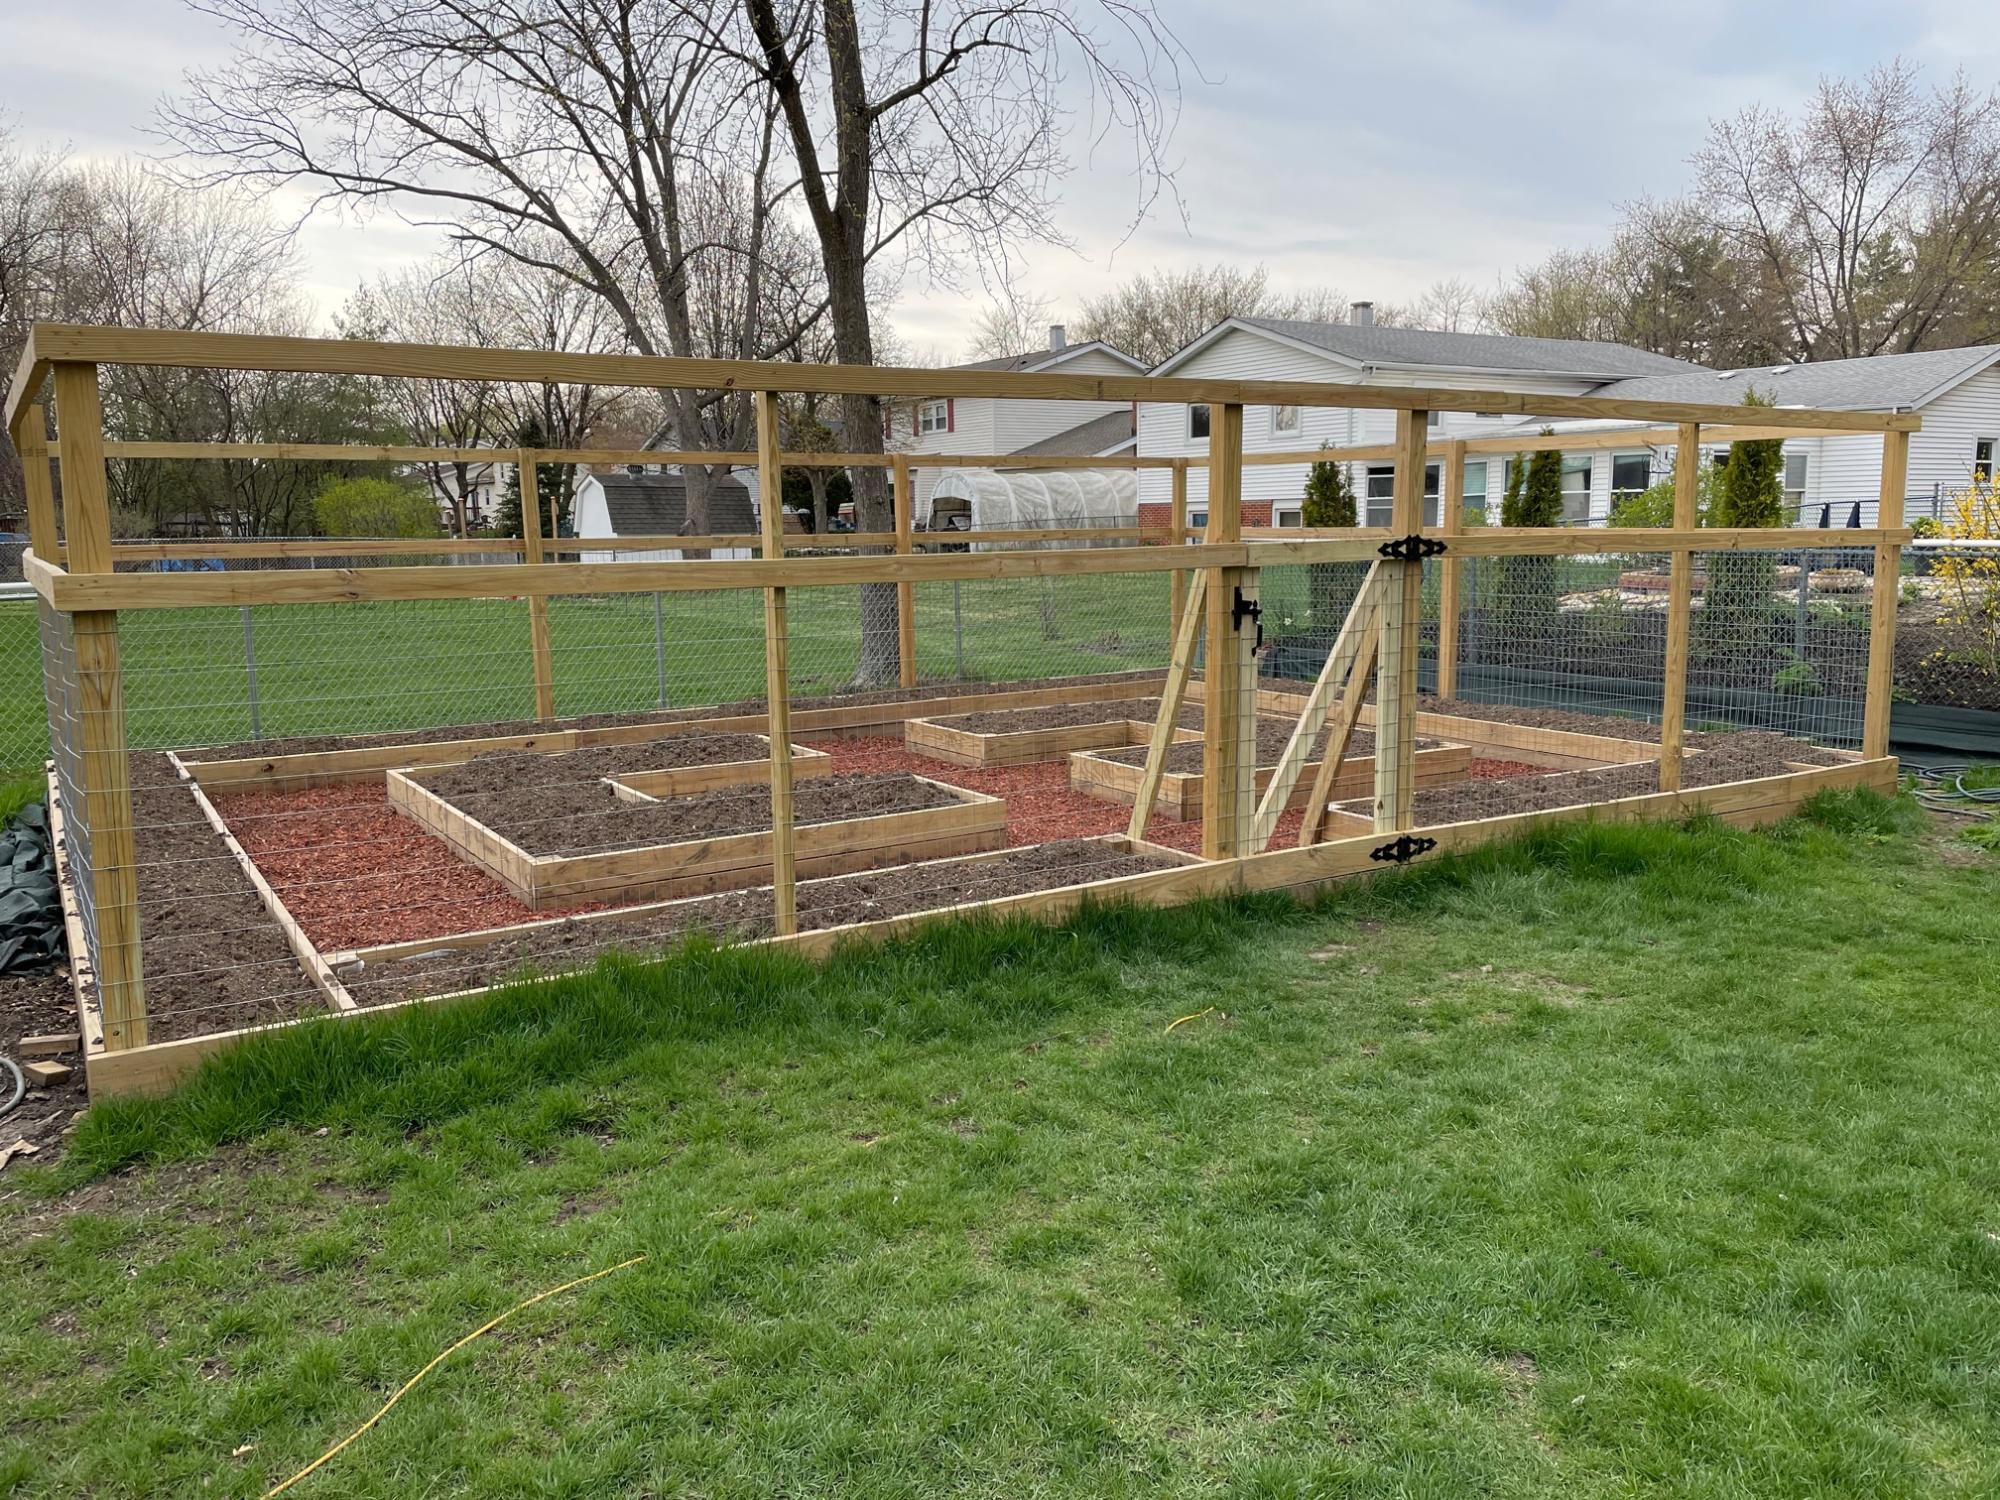
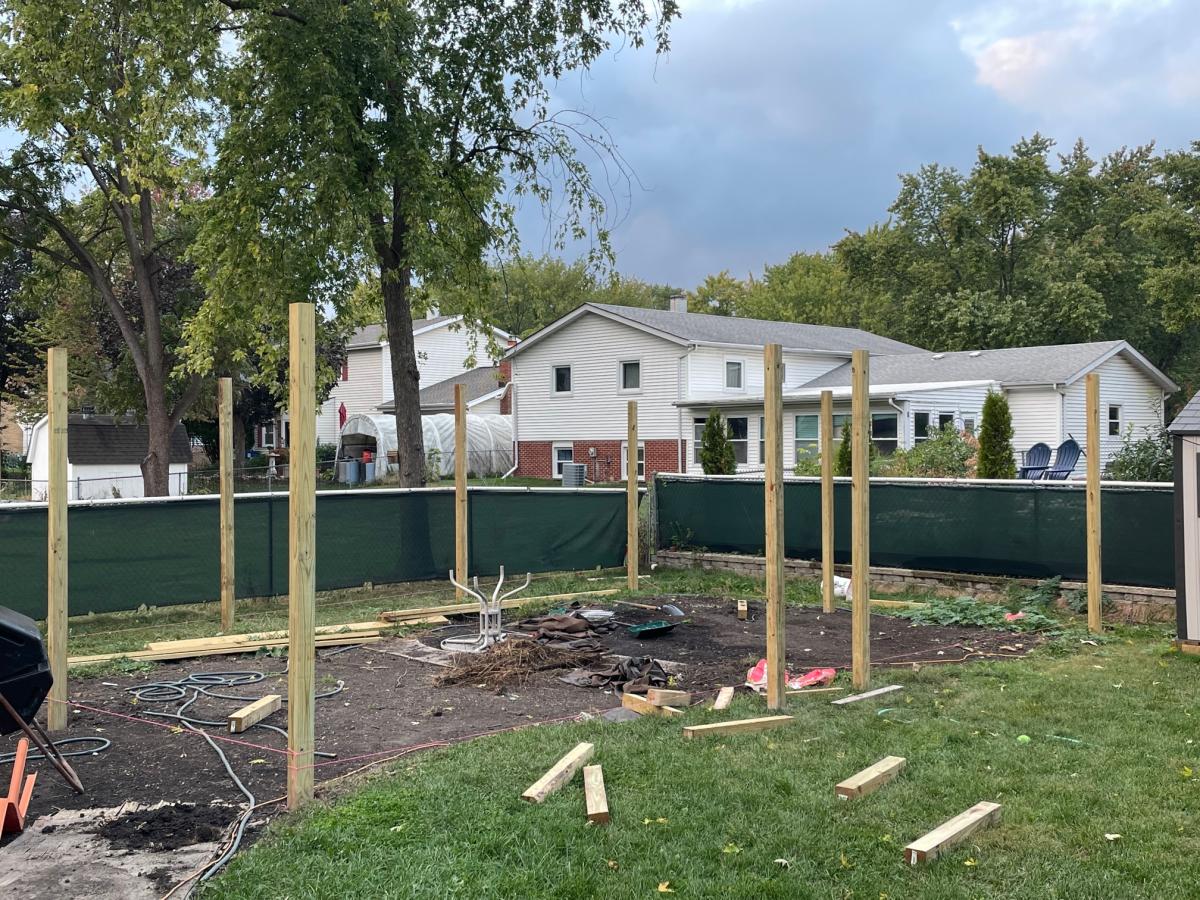
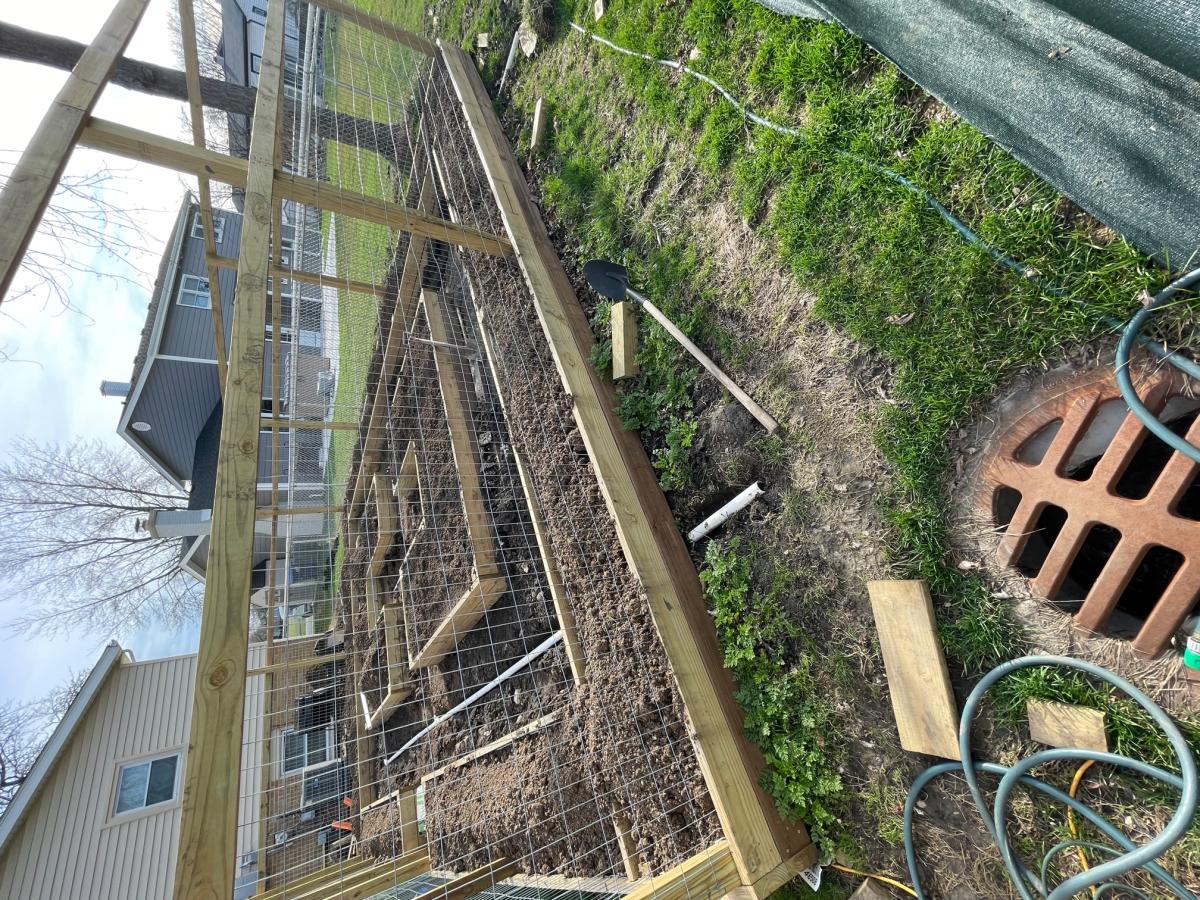
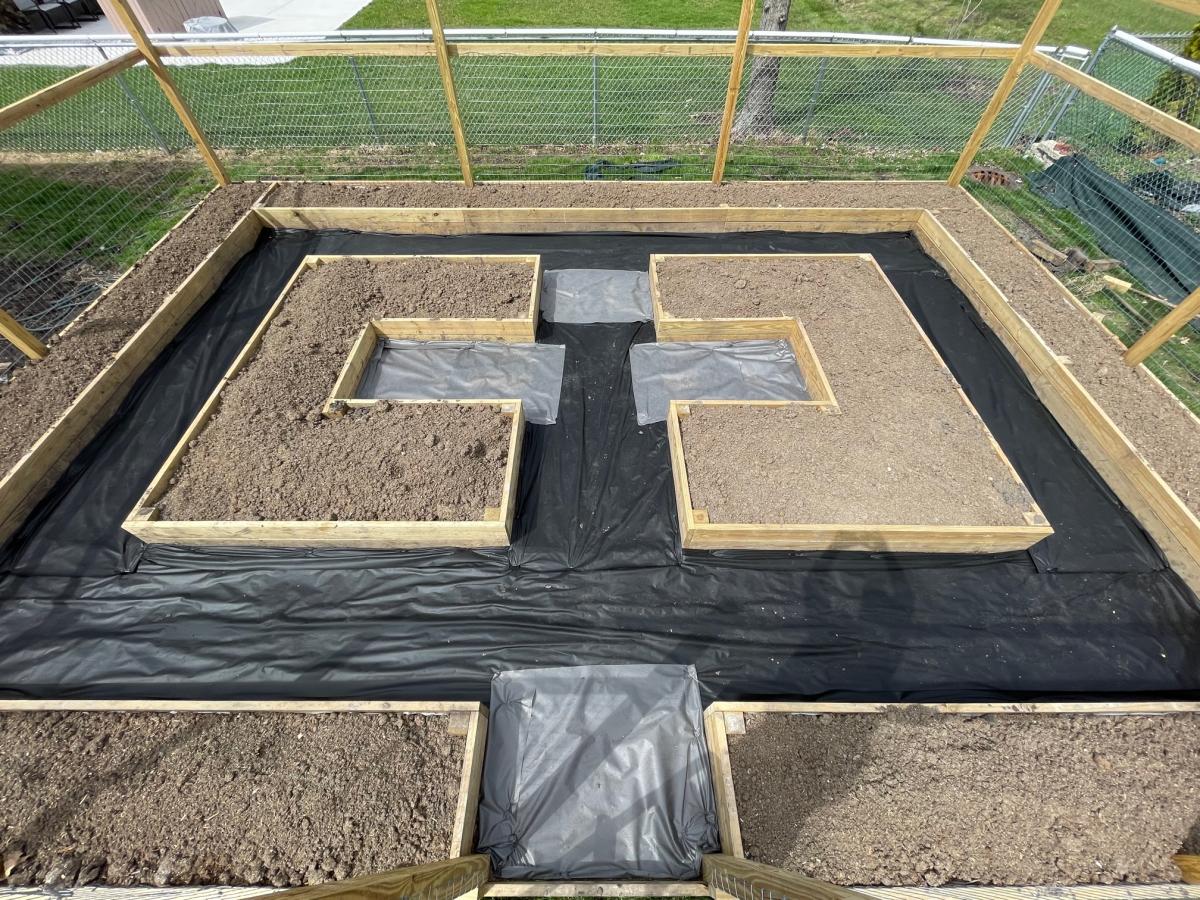
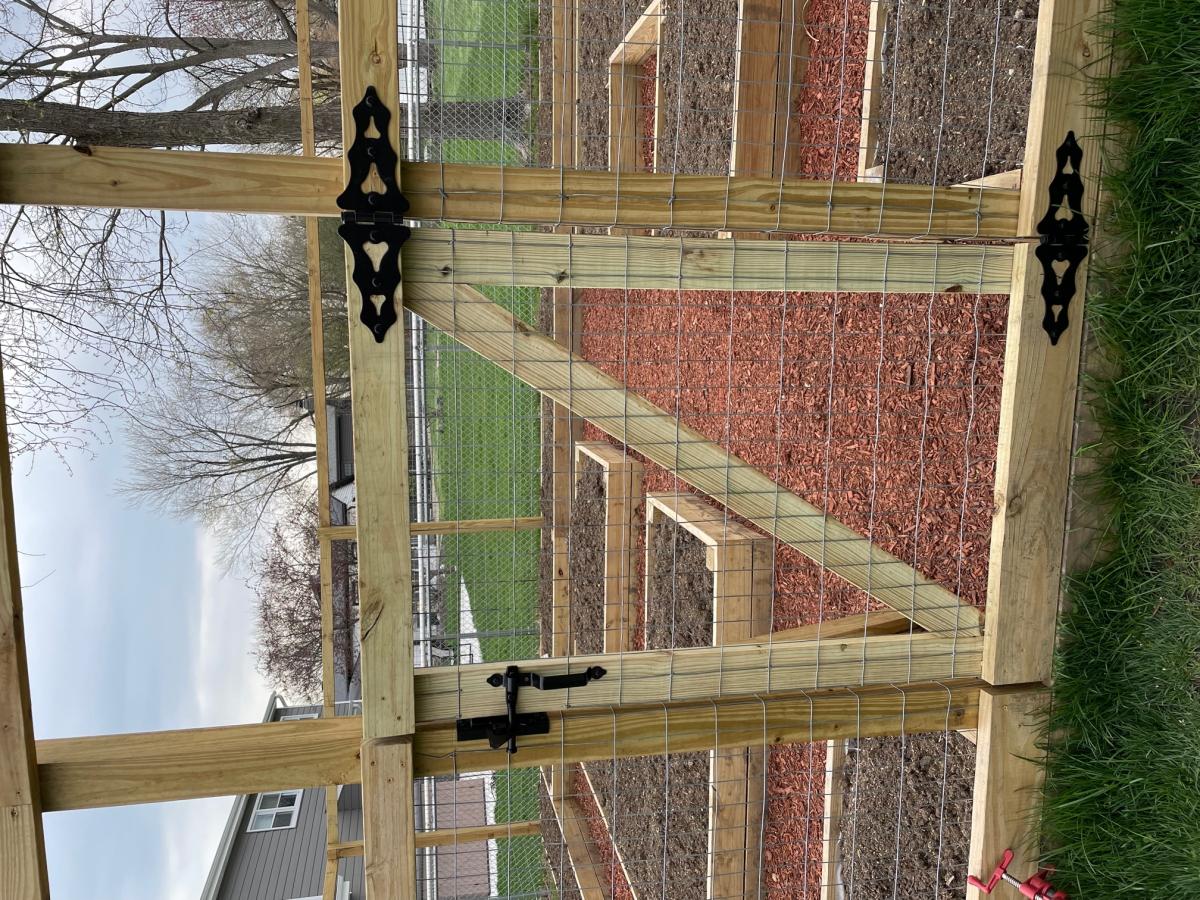
Fenced-In Walkthrough Garden

Submitted by jmholzma on Fri, 04/29/2022 - 17:08

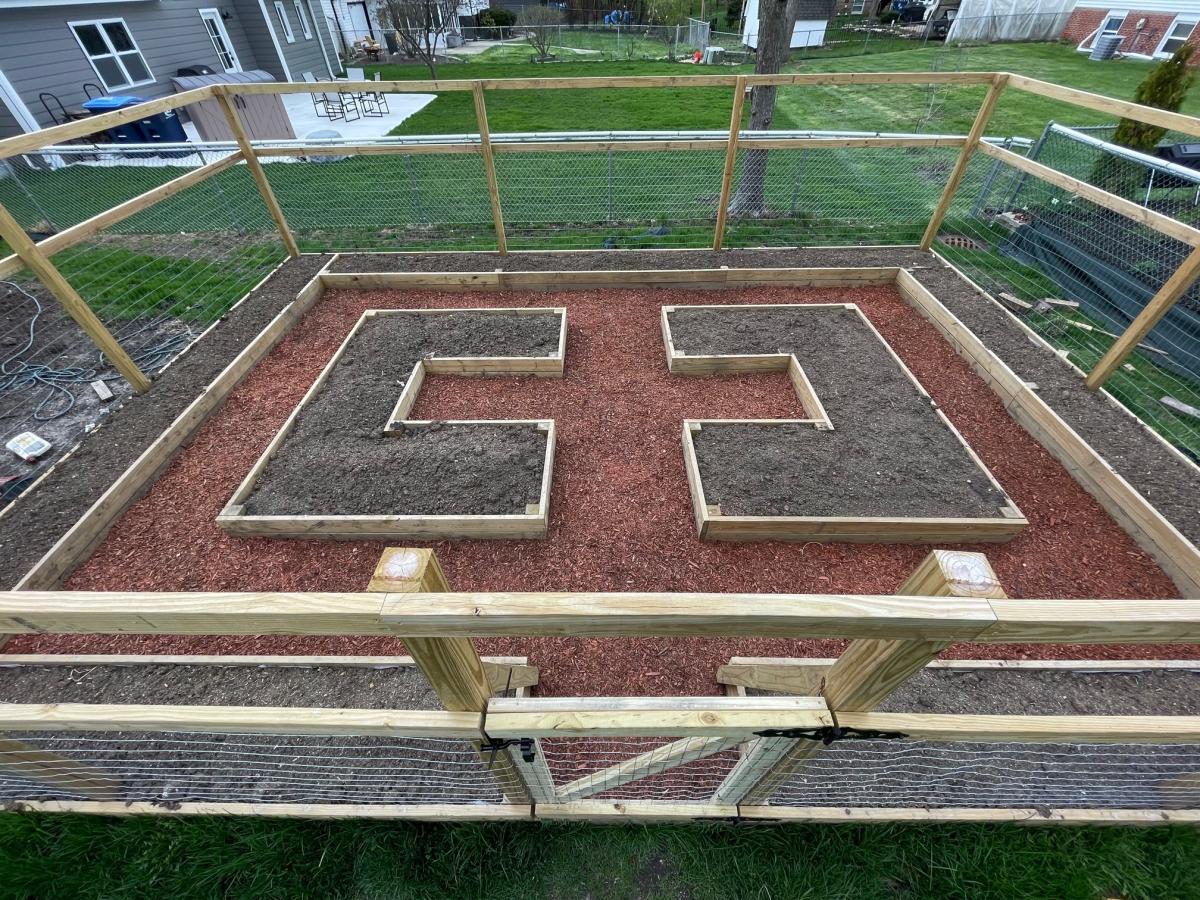
Used the Garden Enclosure plan as a reference, but wanted a much bigger area to walk through and relax in. Dimensions are about 30'x20'. Took a few months with a break for winter because it was just me working in spare time on weekends, would have gone a lot faster with an extra set of hands. Towards the end realized that drainage in the walk path was going to be an issue so I put in a very basic french drain before I weed fabric and mulched.

Really happy with how it turned out. Cost was pretty high, probably about $1500 all told, between wood, garden soil, etc. But we'll be able to enjoy it for many years.

Built from Plan(s)

Comments

Rustic Modern TV Console

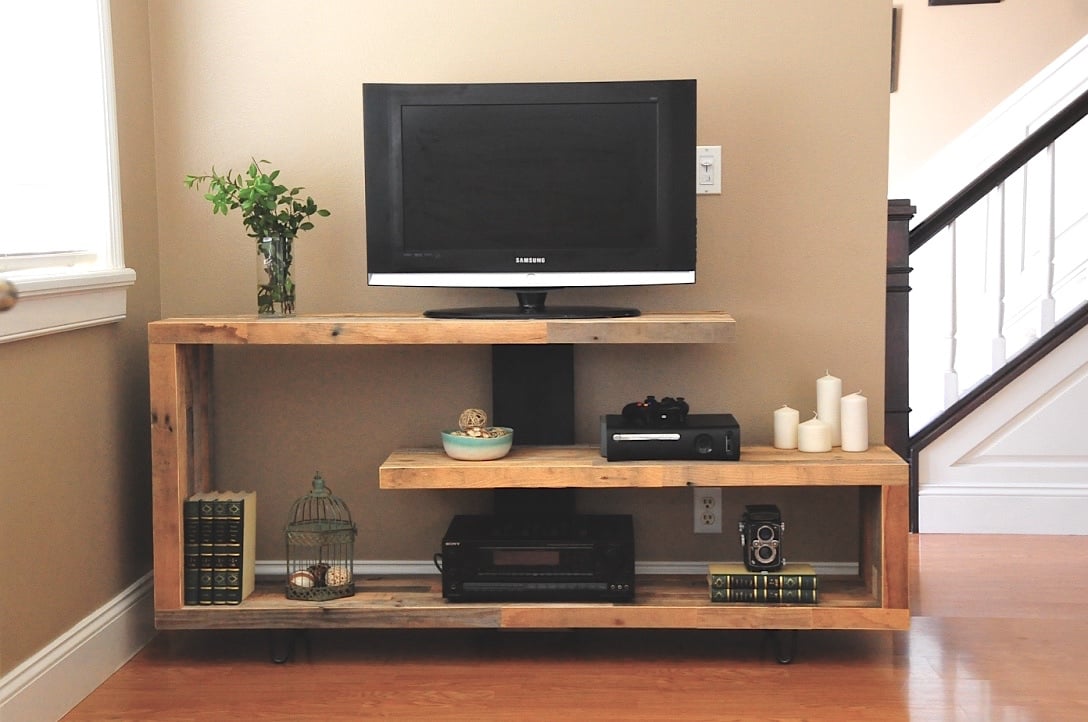
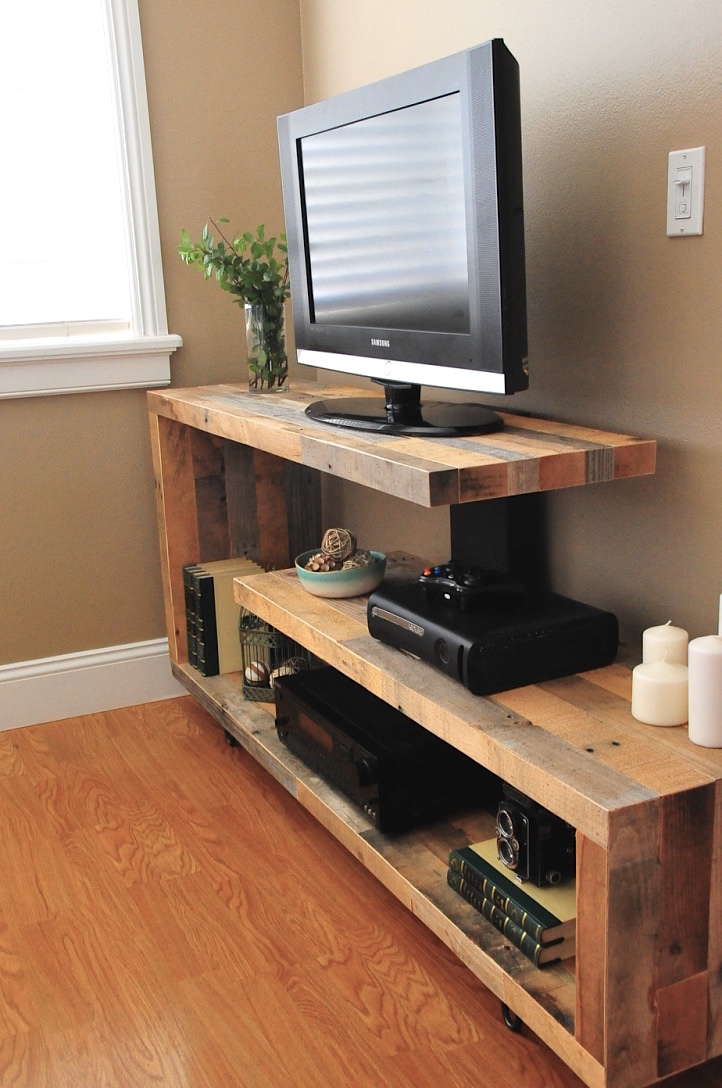
Just finished up this unique TV console.  Built from reclaimed pallet wood. 

Estimated Cost
$150.00
Estimated Time Investment
Weekend Project (10-20 Hours)
Finish Used
Clear coat of wax
Recommended Skill Level
Advanced

Comments

Templar

Mon, 12/02/2019 - 22:10

Hi there Im new to site and also have the issue of not seeing the plans for this Rustic Modern TV Console. Are they available and Im doing something wrong or??

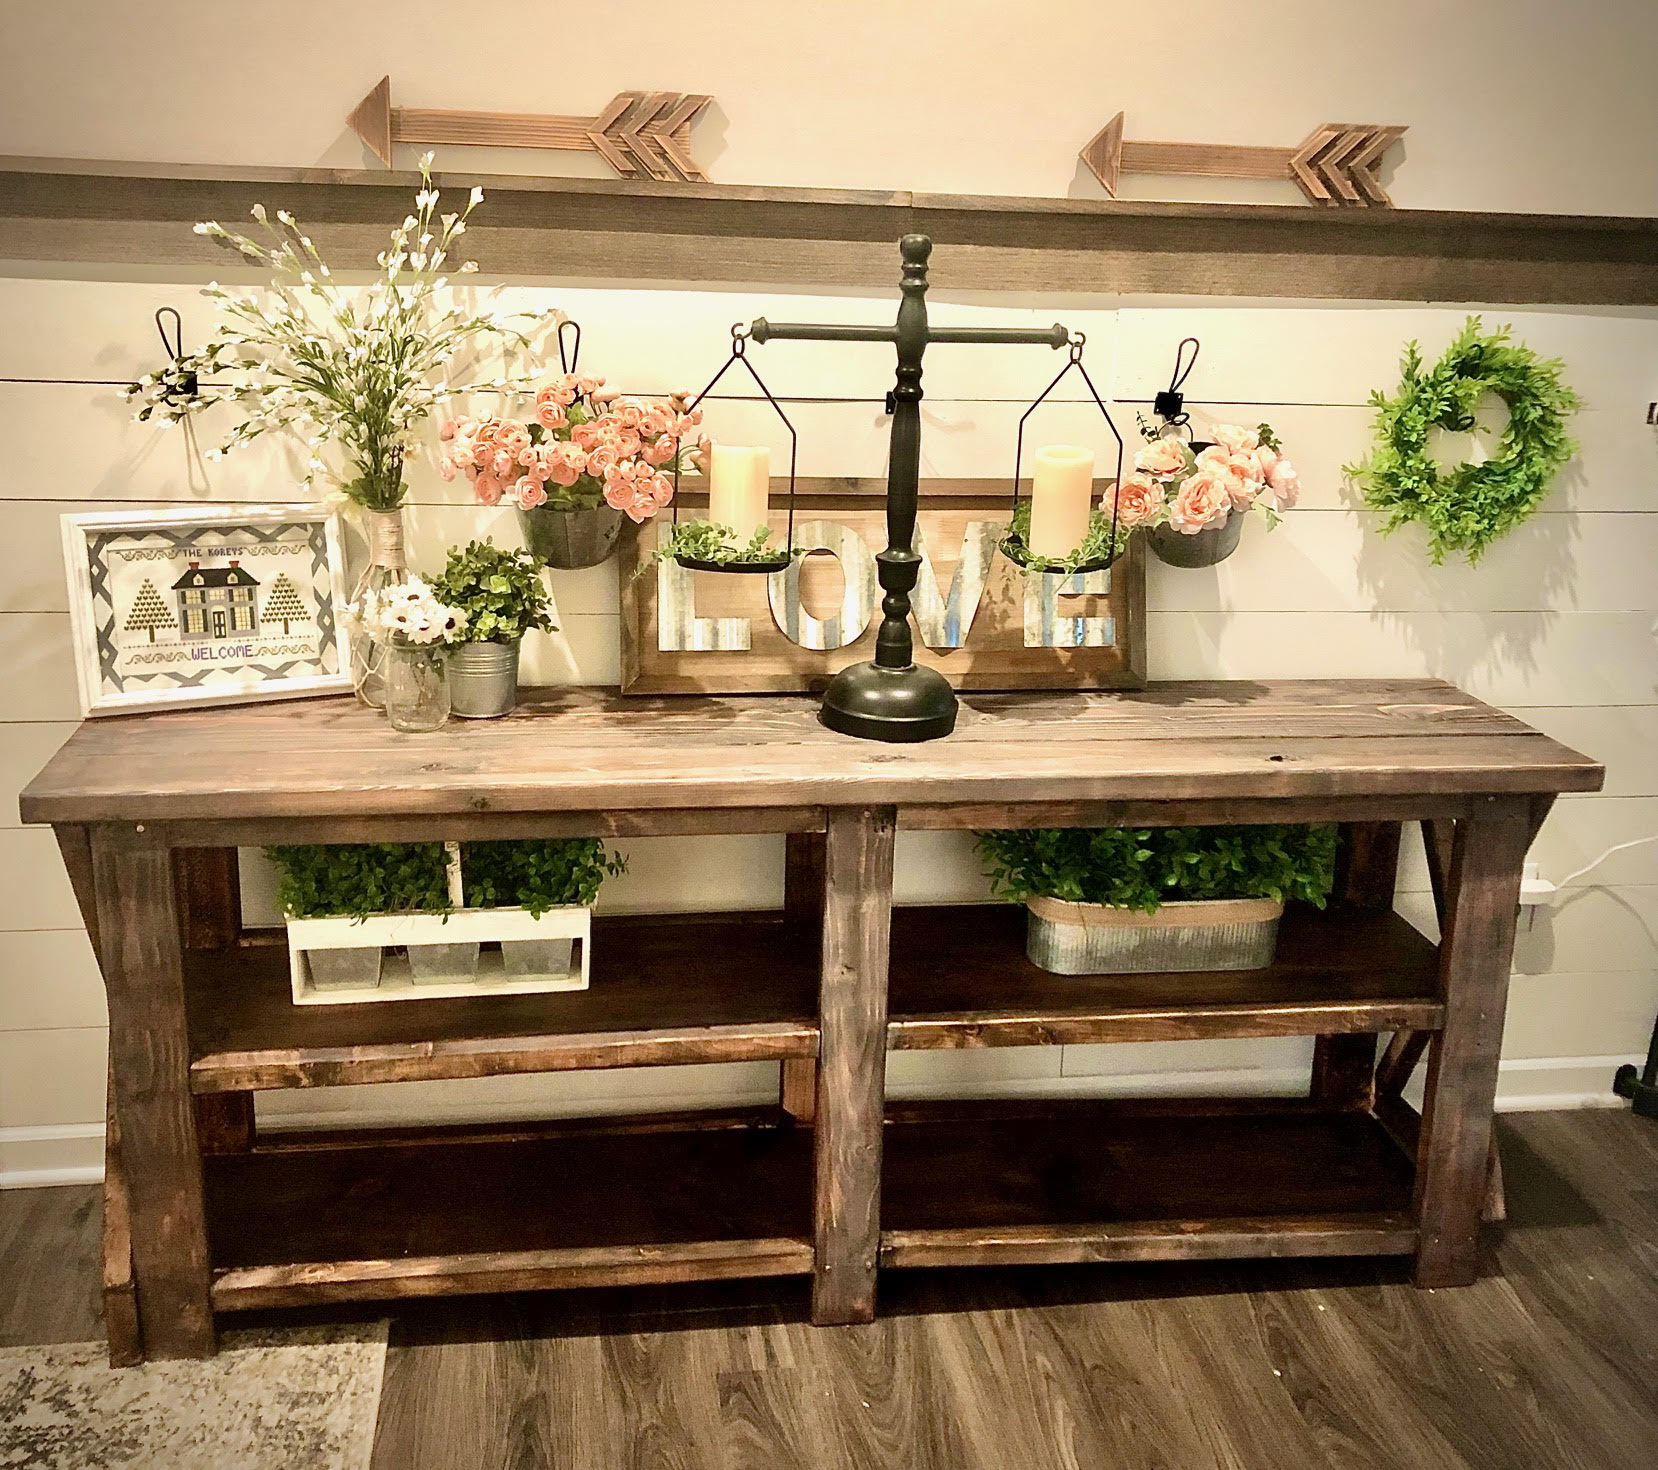
Slightly modified coffee table

Submitted by Anonymous (not verified) on Mon, 07/11/2022 - 07:59

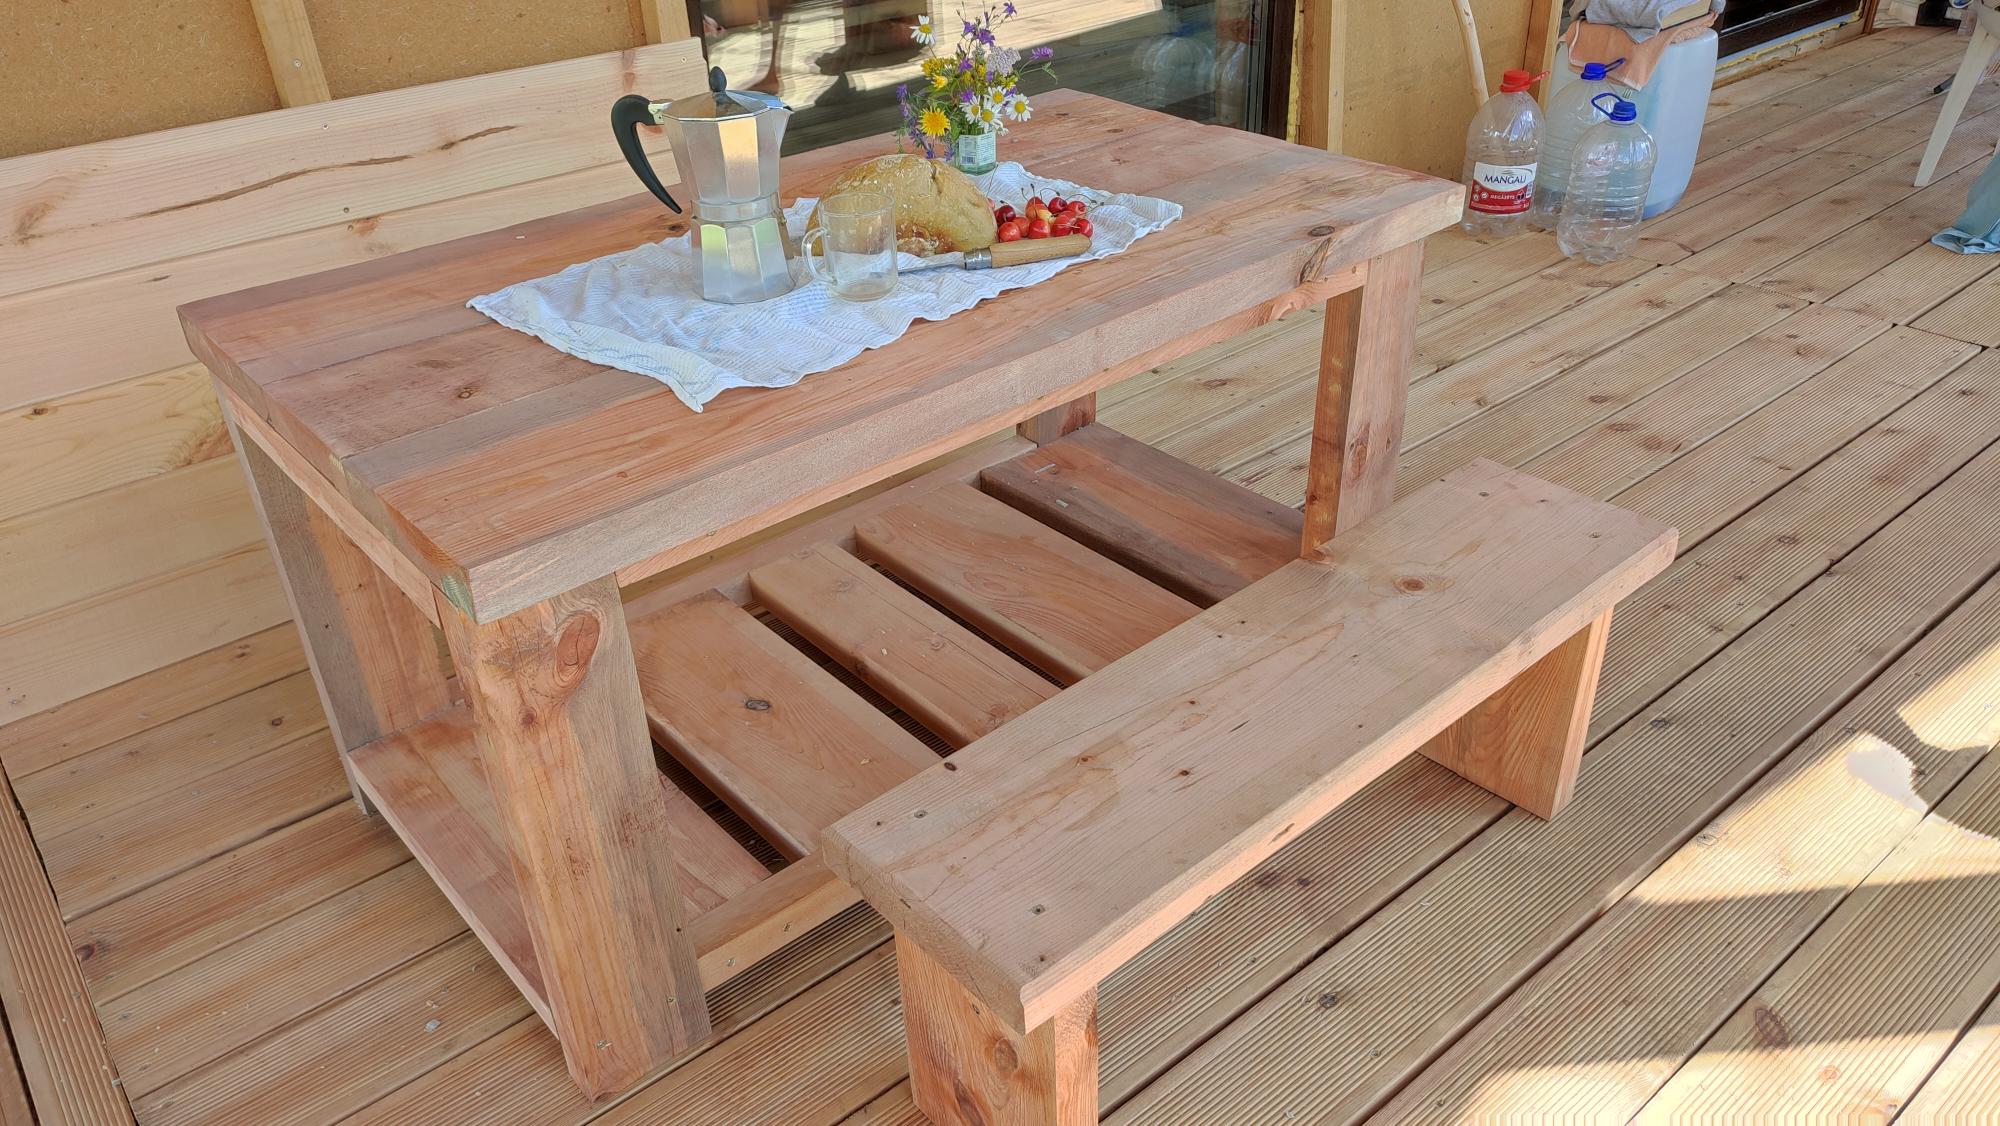
Table, based on Farmhouse coffee table project. Resized to roughly picnic table dimensions (1200*700 mm, 650 mm high), mostly as a means to recycle board cuttings, left over from building farmhouse itself. Didn't install X shaped sides, because there were no more suitable timbers remaining, which, it appears, my toddler greatly appreciated - bottom shelf makes a lovely crawl space. Shape of the shelf planks was a happy accident: what remained was sized 250 - 200 - 150 - 200 - 250 mm. Looks kinda nice doesn't it?

Comments

Media and Storage unit

Submitted by jpurp on Sun, 10/11/2015 - 18:47

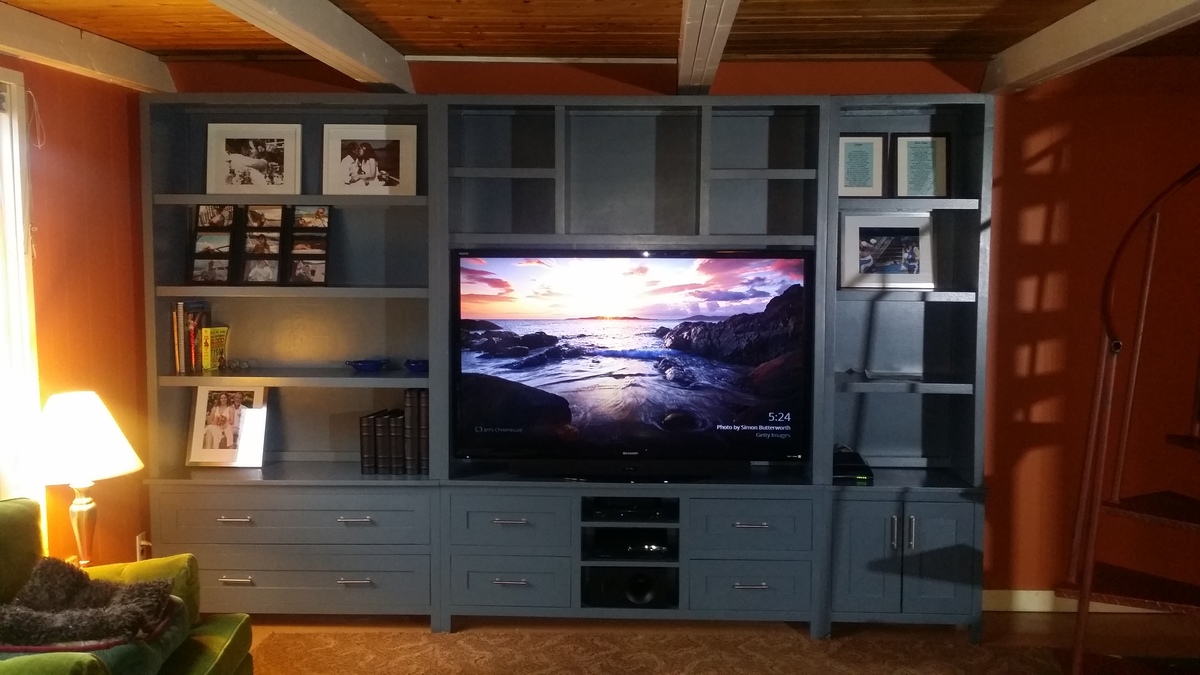
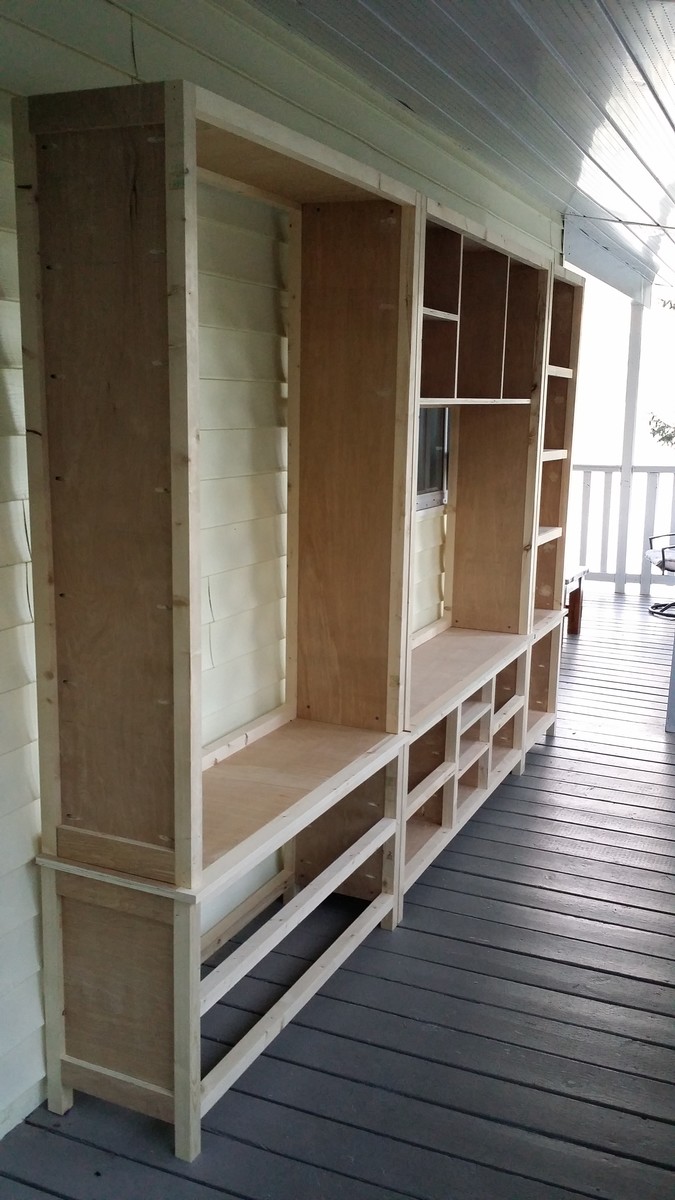
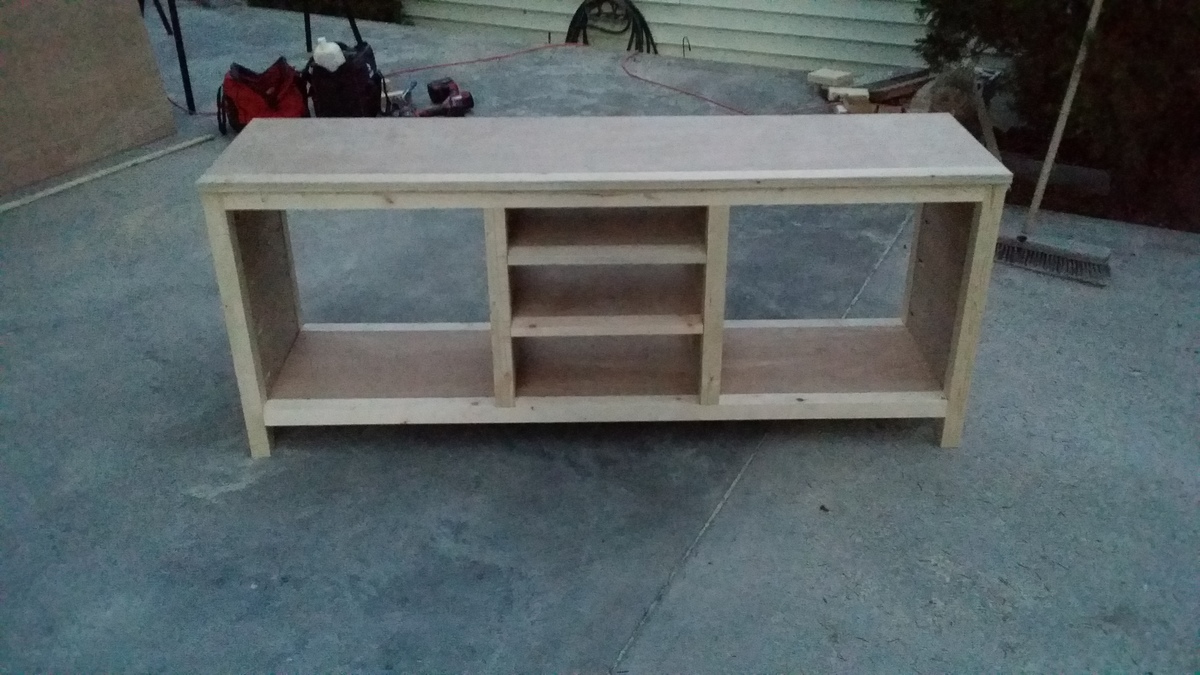
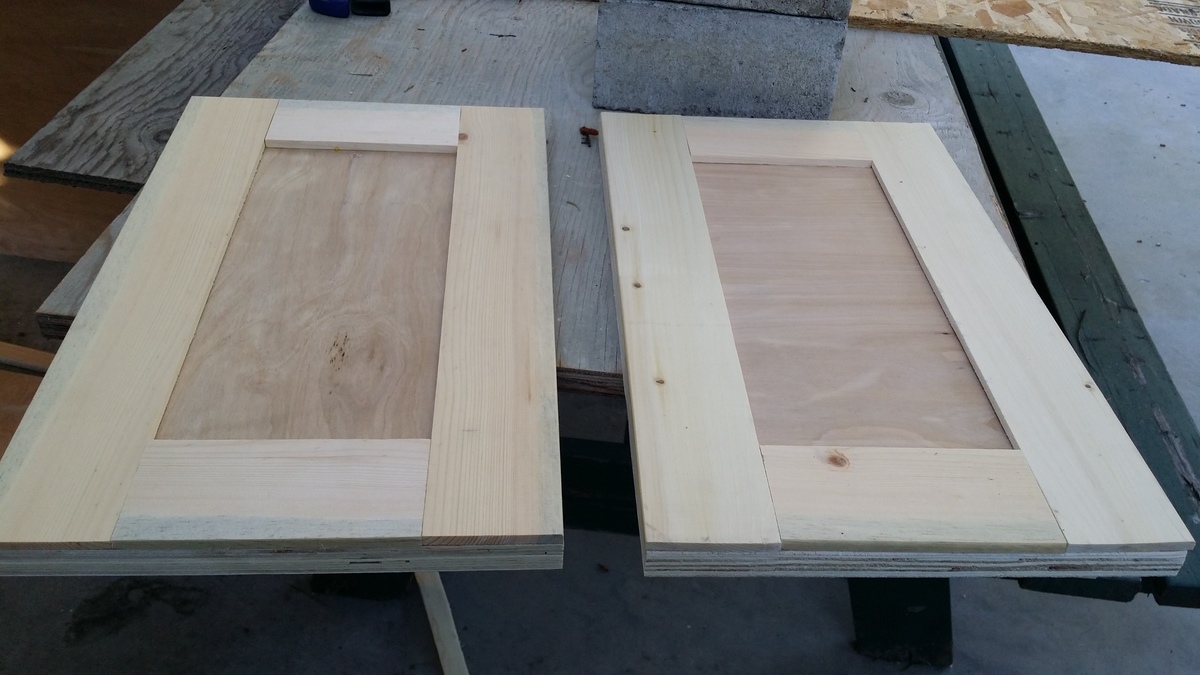
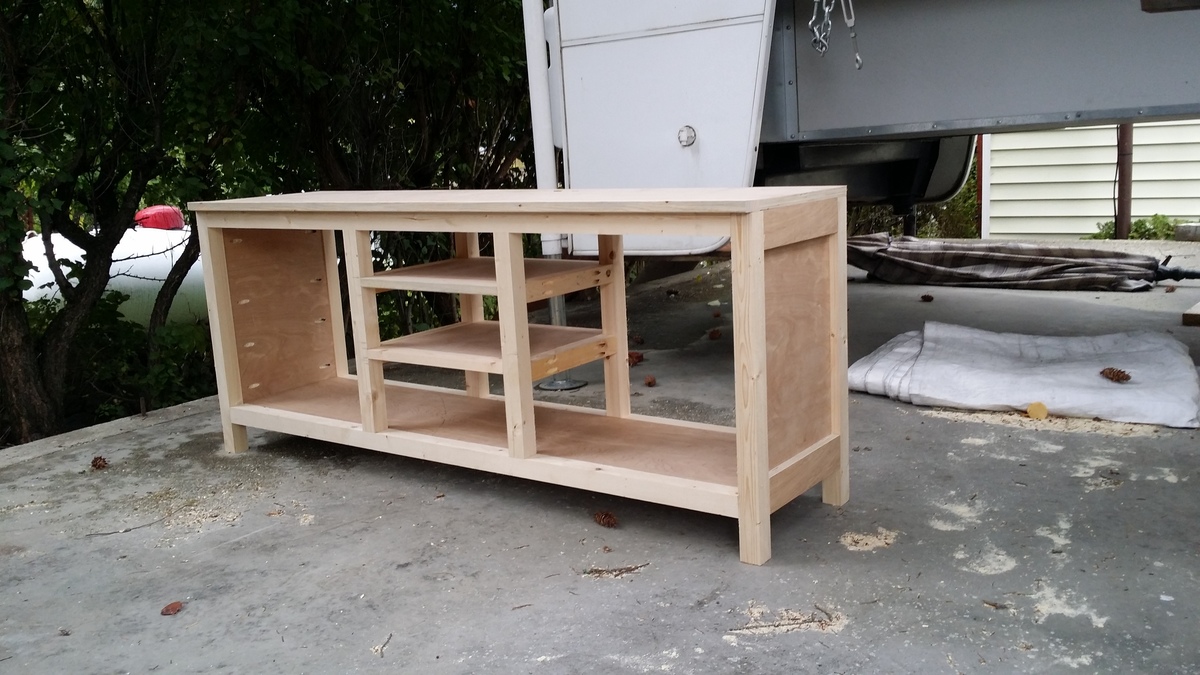
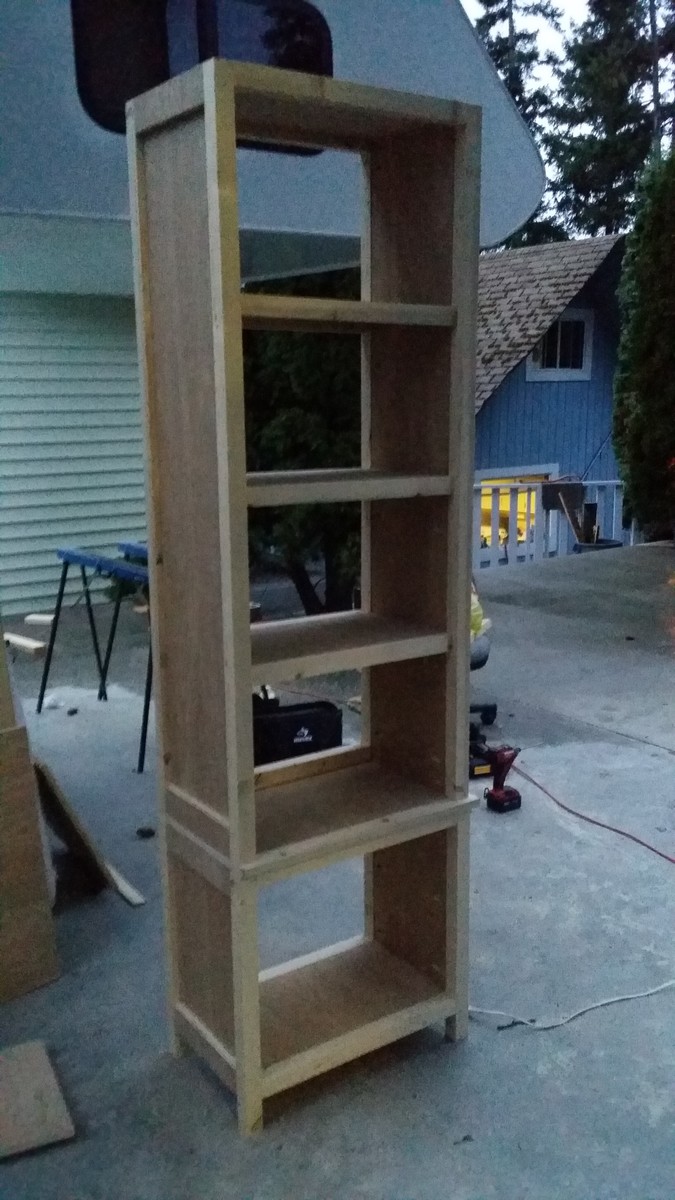
I followed the basic plans but adapted it to fit in my cabin.  The whole unit is 82" high by 126" wide.  I also put in more drawers and made the fronts in a shaker style. I used 2x4's that I ripped down to 2x2's and 3/4 inch birch plywood.  I trimmed out the birch with 1" pine boards. I sanded the whole unit, primed with an oil primer and painted 2 coats of latex from General Paint in Grayling.   I don't know how many hours I put into it.  A lot.  Probably around 80.  Mostly by myself.  My husband helped with getting the 4x8 sheets of plywood through the table saw and occaisonally when I needed a 3rd hand to pursuade some wood to do my bidding.  I love how it turned out.  Tons of much needed storage in my cabin.

Estimated Cost
Wood, screws, sandpaper, primer and paint. Approximately $600. I'm in BC Canada. Most things cost more.
Estimated Time Investment
Week Long Project (20 Hours or More)
Finish Used
Oil primer and latex paint from General Paint. Colour Grayling.
Recommended Skill Level
Intermediate

Comments