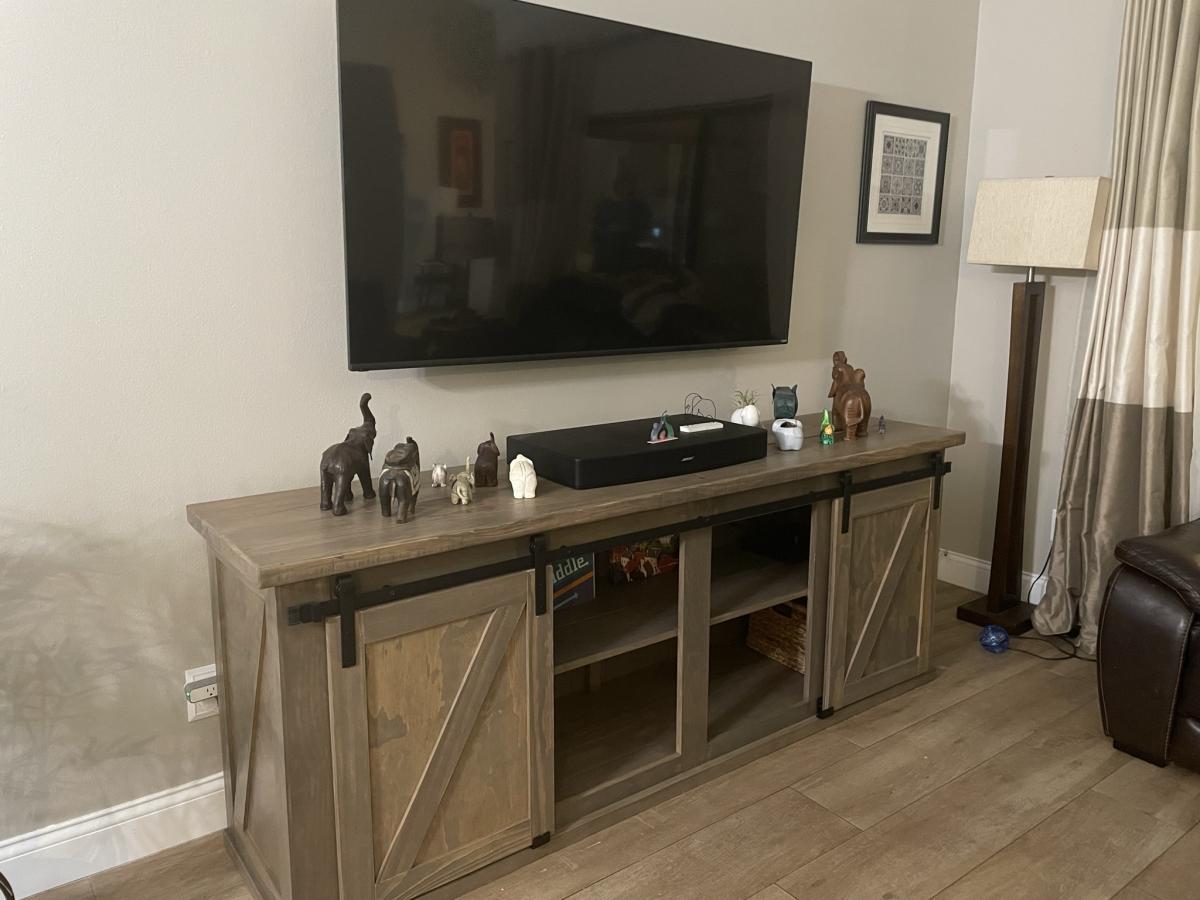
Farmhouse TV console table
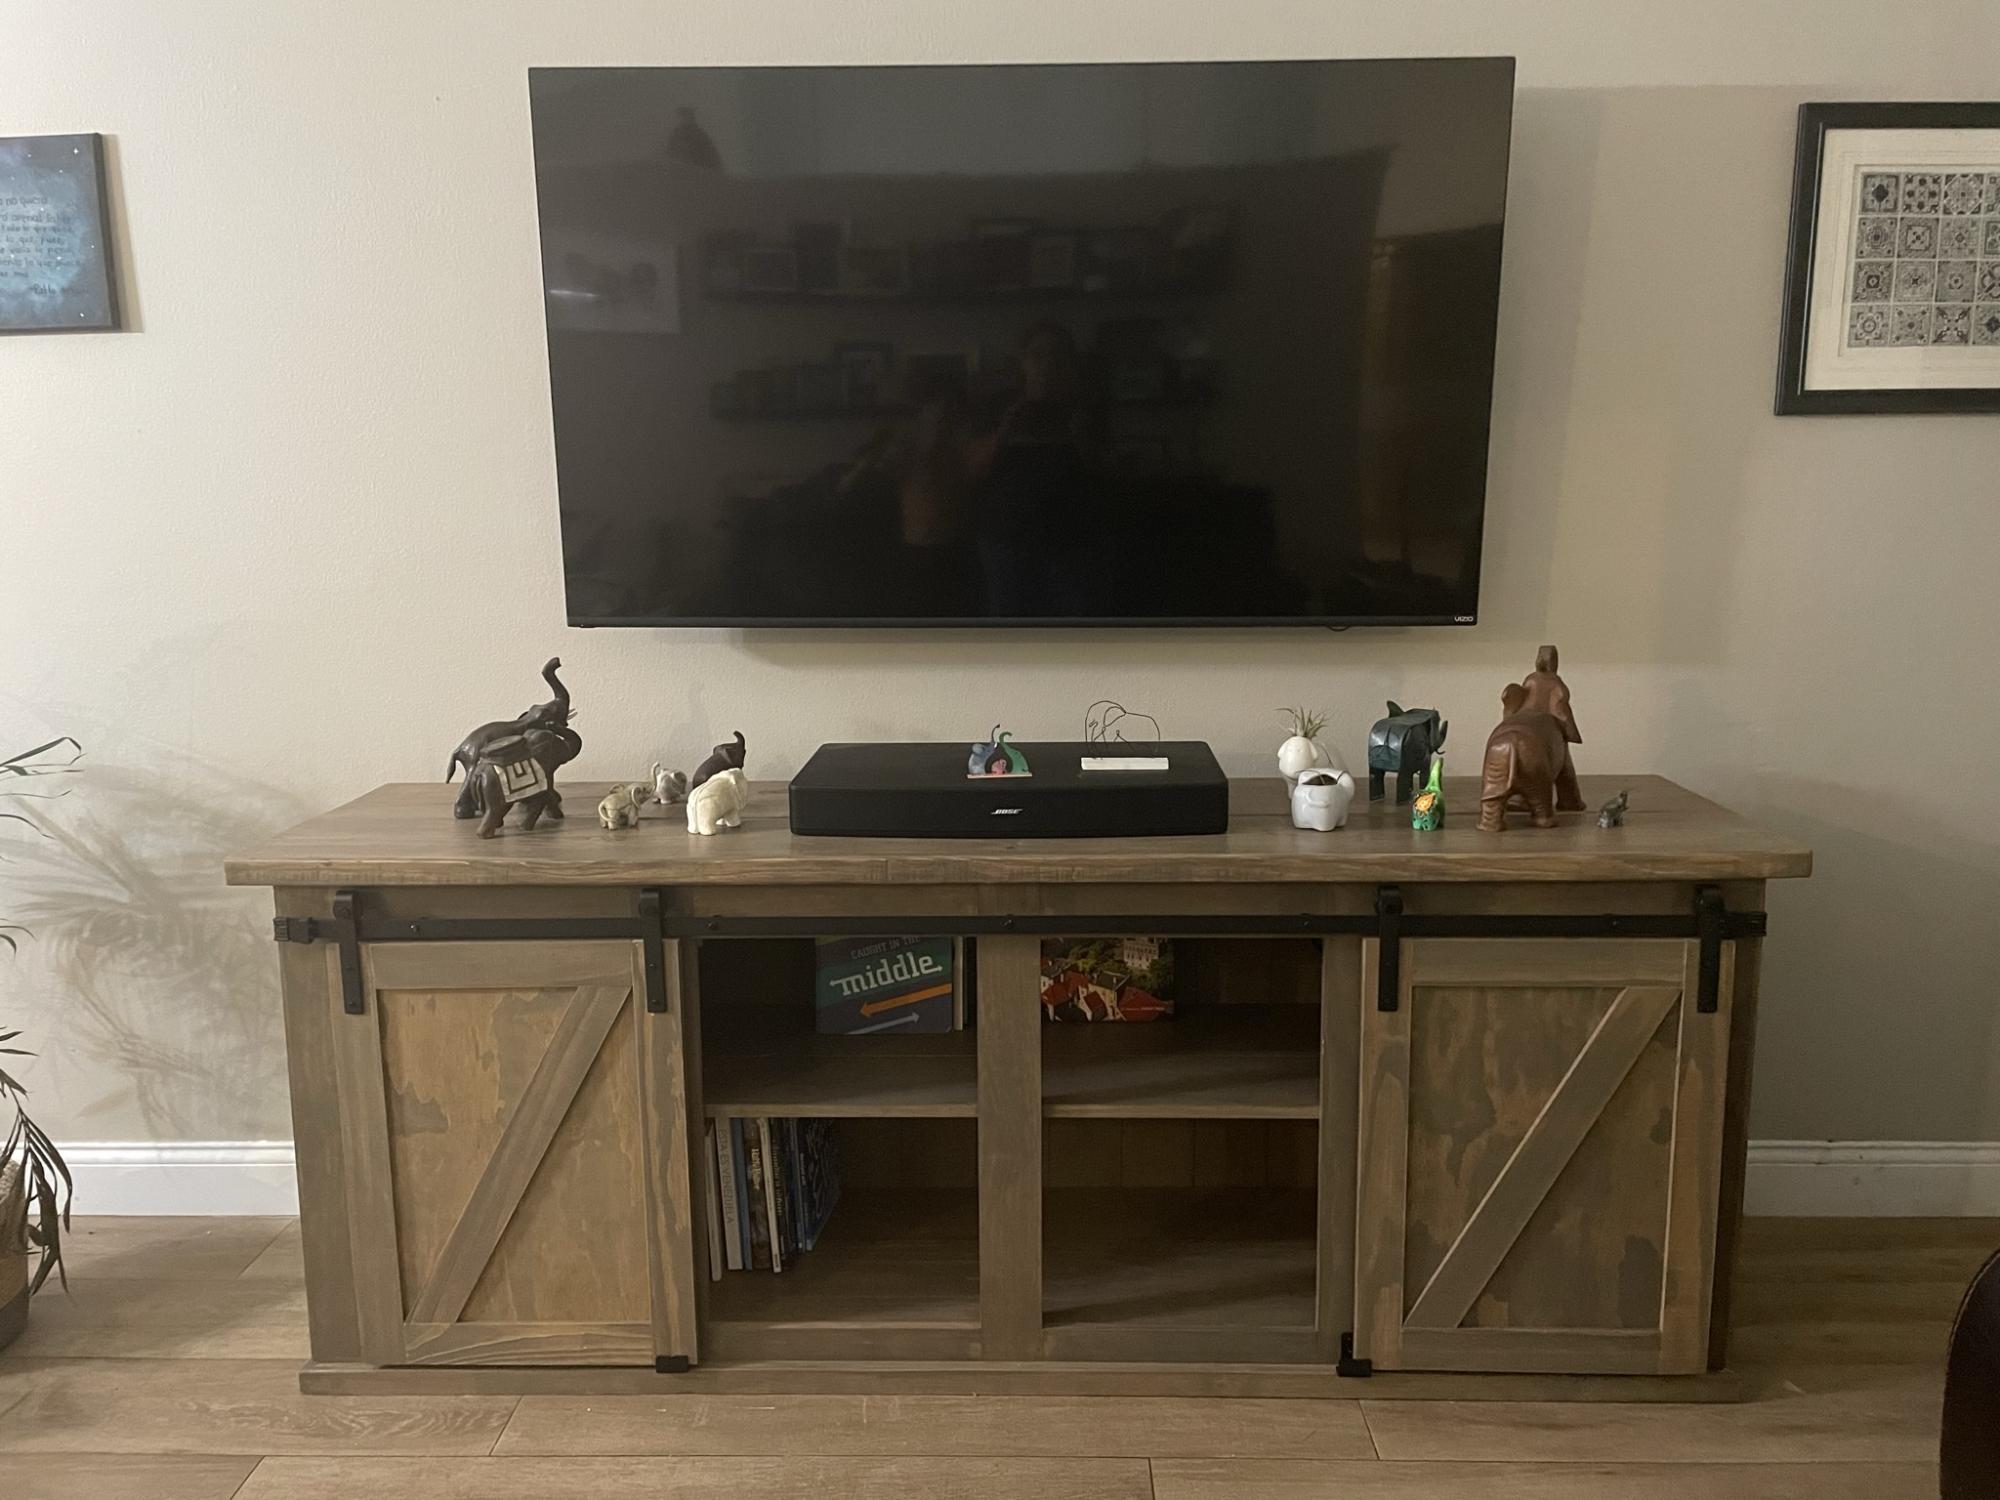
I built this TV console based on Ana’s plan and some modifications from The Turquoise home. Made it 6’ long and a bit lower to fit all my elephants below the TV.
It turned out beautiful and suuuper heavy.
Thank you Ana!
I built this TV console based on Ana’s plan and some modifications from The Turquoise home. Made it 6’ long and a bit lower to fit all my elephants below the TV.
It turned out beautiful and suuuper heavy.
Thank you Ana!
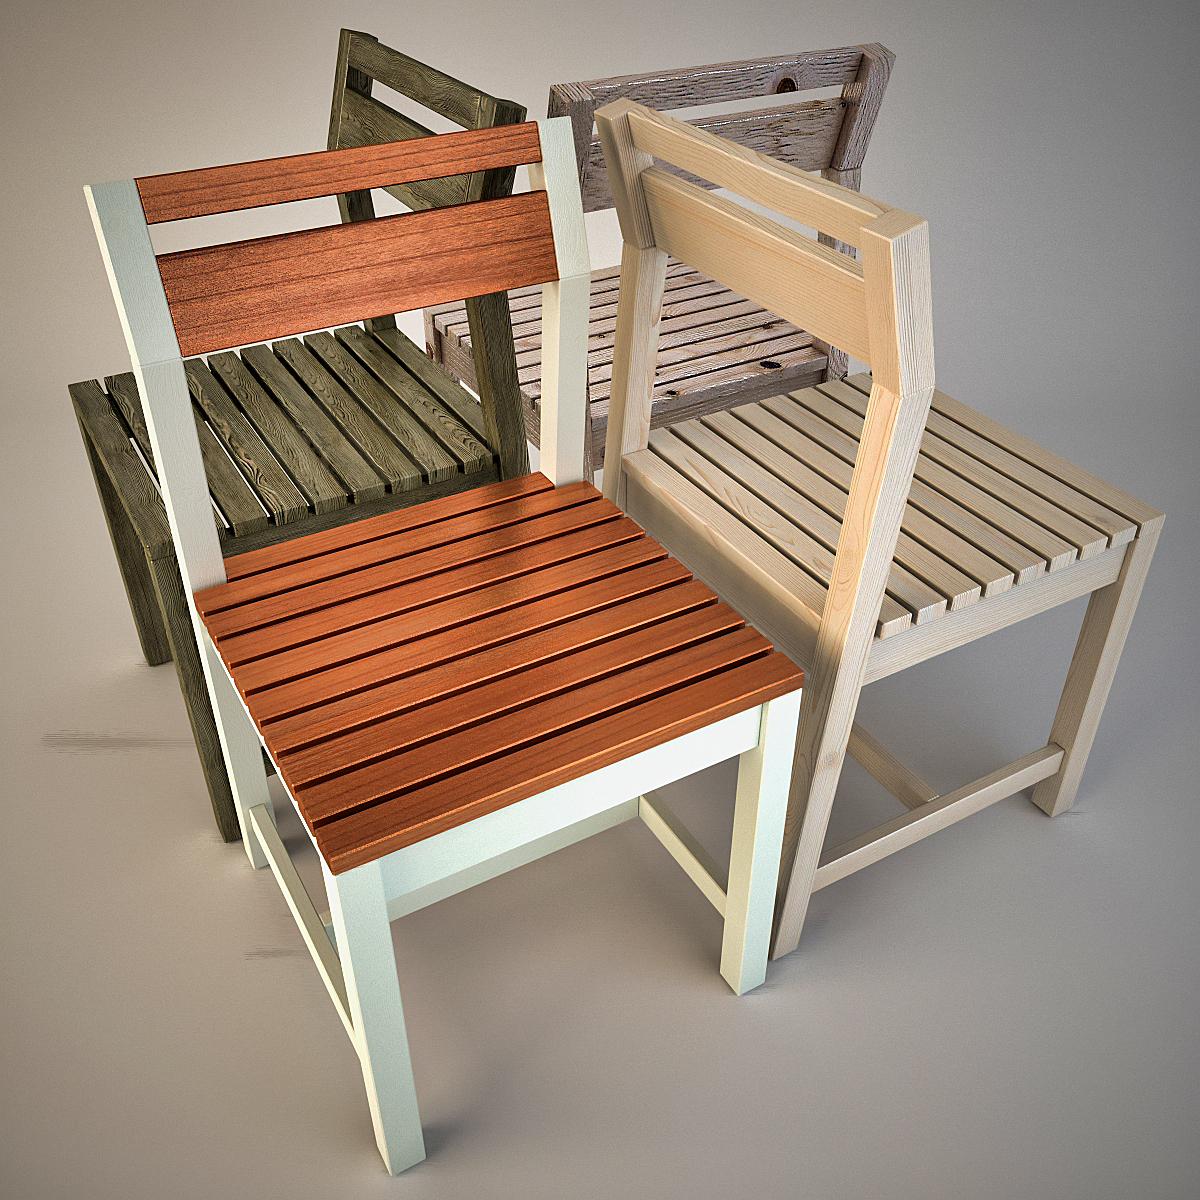
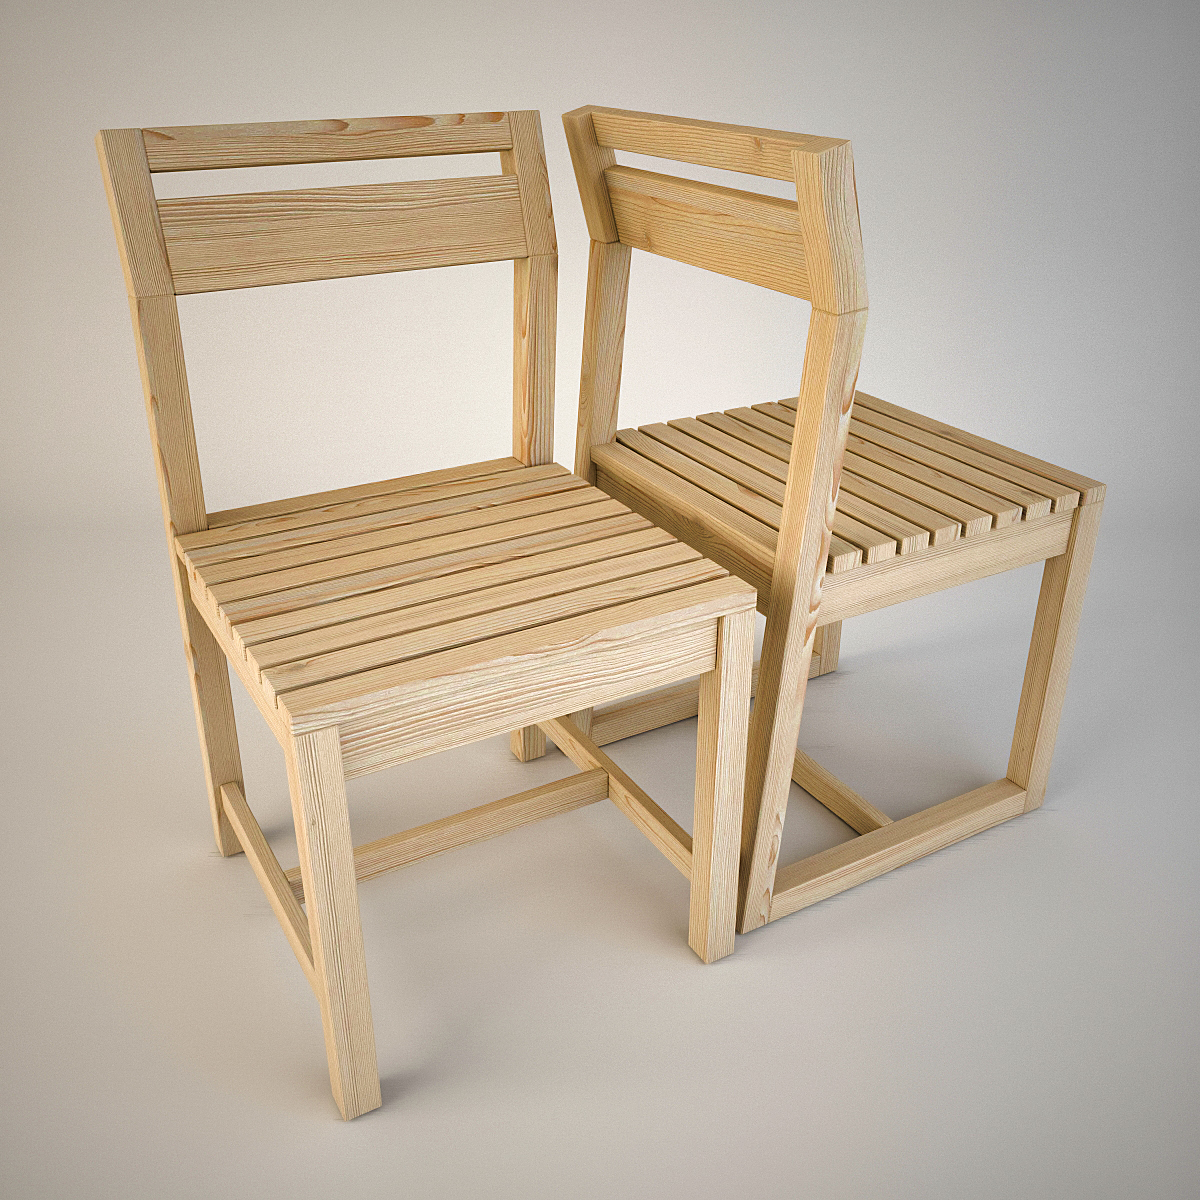
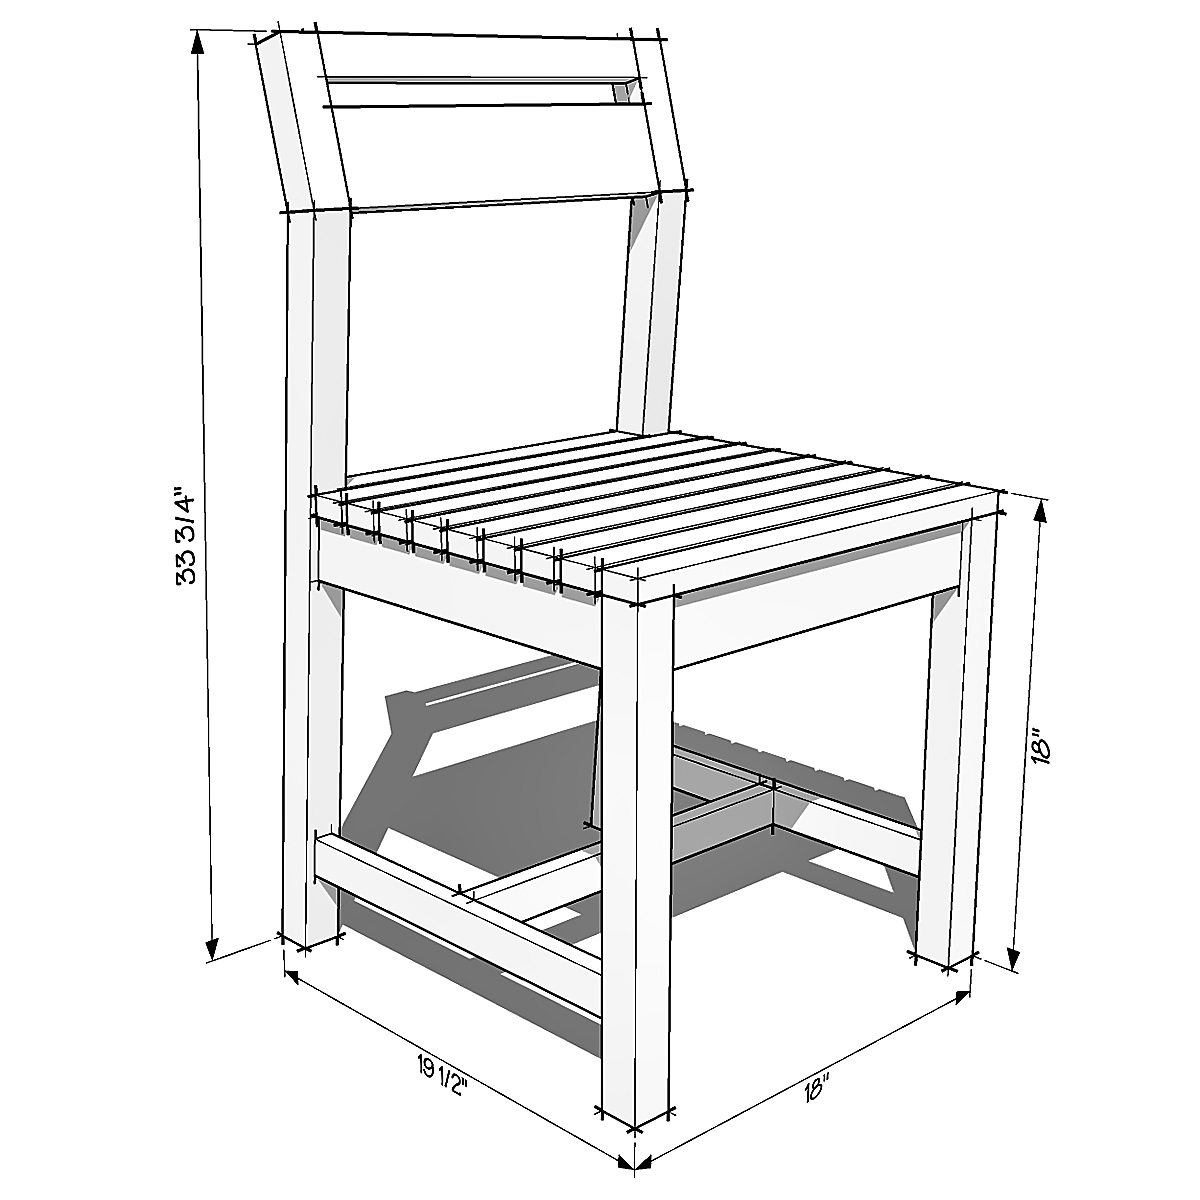
Hello Ana, I decided to modernize your project a little ...
This is 3DS MAX ... ;)
Thank you for your work ...
Regards, Serge...
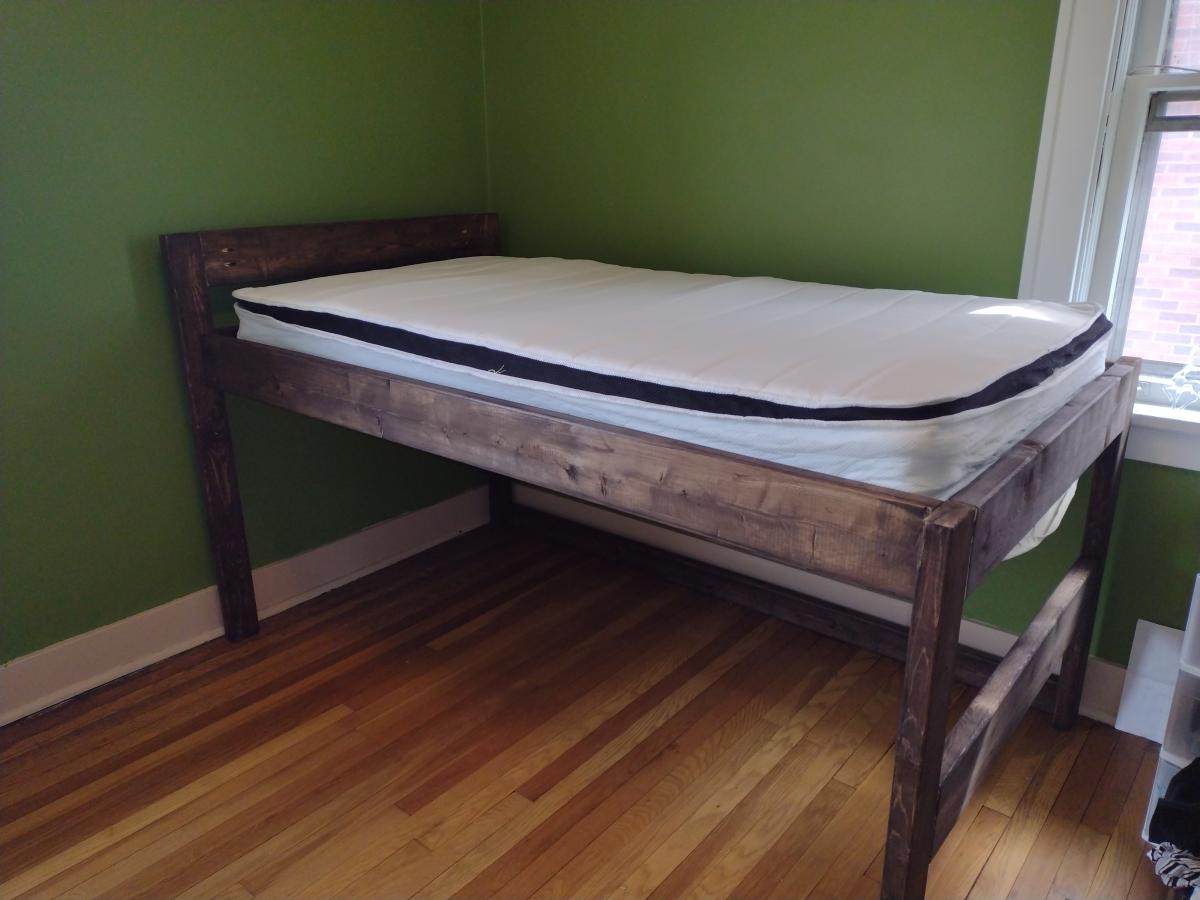
Moved into a new house after a fire destroyed almost everything, rather than buying new beds for my kids, we decided to build! They turned out beautifully, and the kids love them! Decided to modify the camp loft bed, removing the stairs and using the foot of the bed a ladder style.
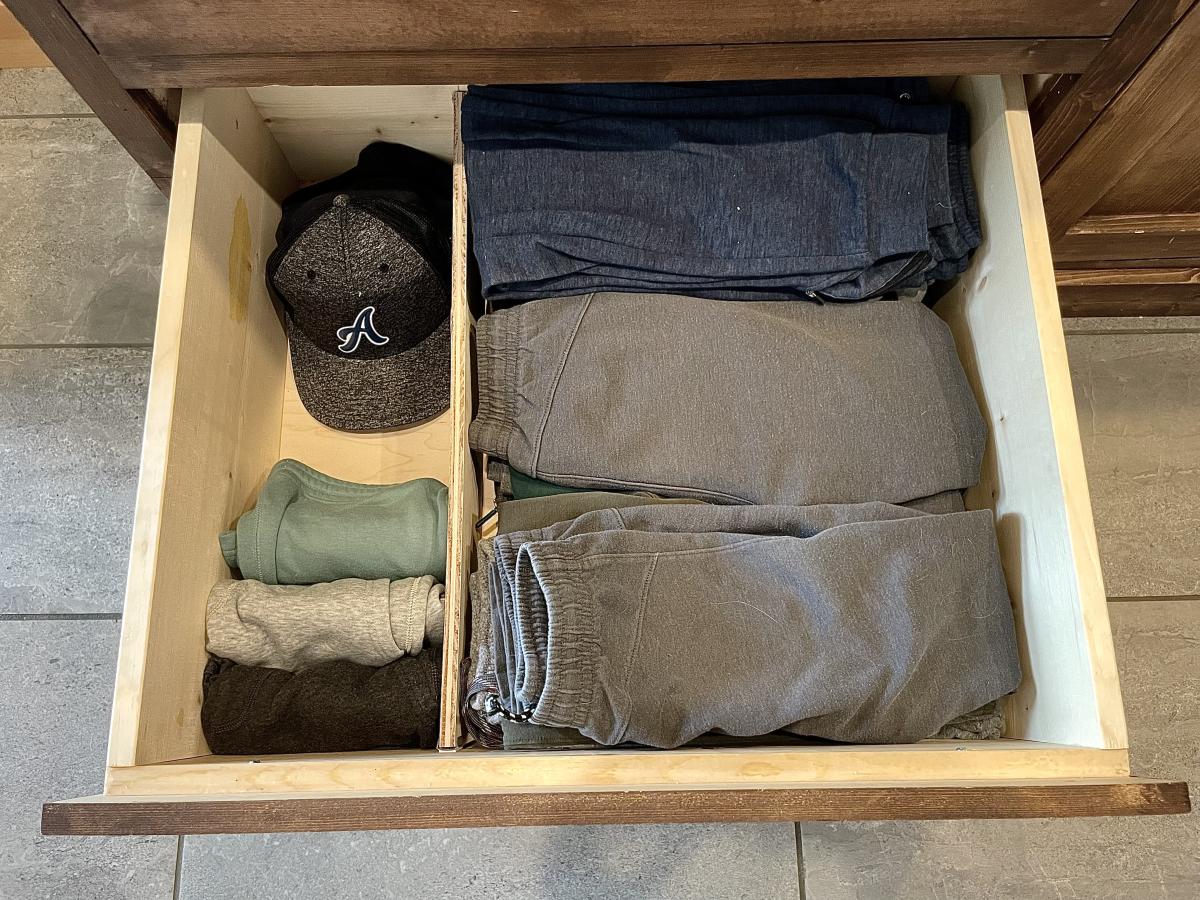
I used the stick on drawer organizer tutorial to divide a giant dresser drawer
With the divider, the drawer can hold more and is so much neater and easier to use
i love there is ZERO planning or sourcing of dividers with this method just have the basic materials on hand, open up a drawer and get it done
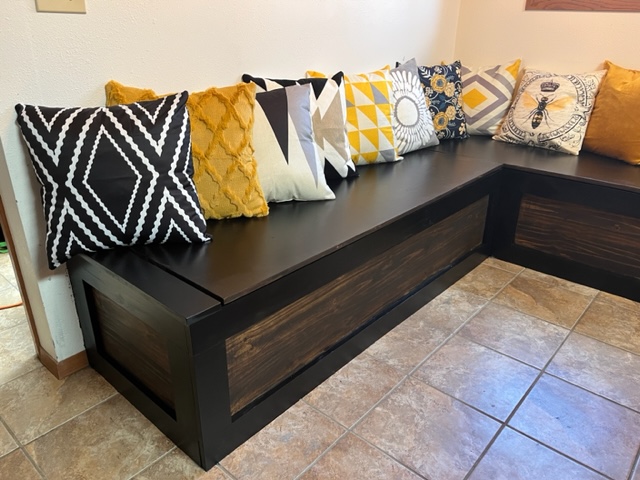
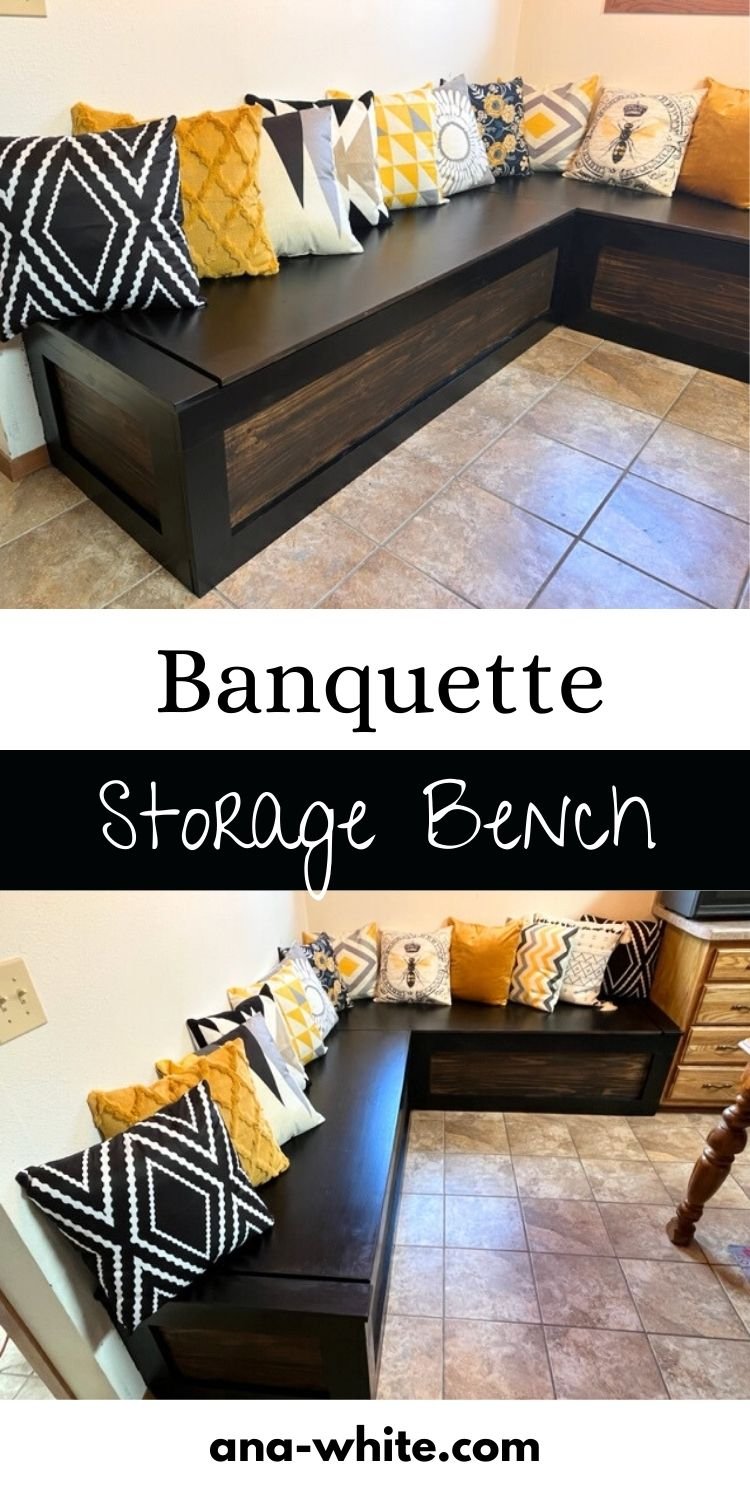
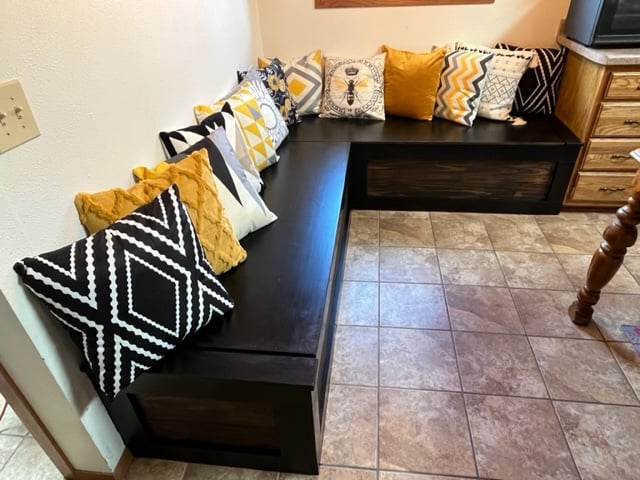
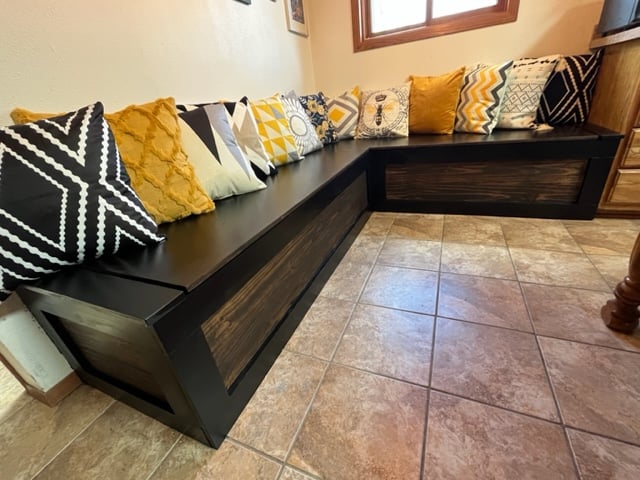
Here are the pictures from the finished Banquette. Thank you for the free plans. Very much appreciated.
by Jason
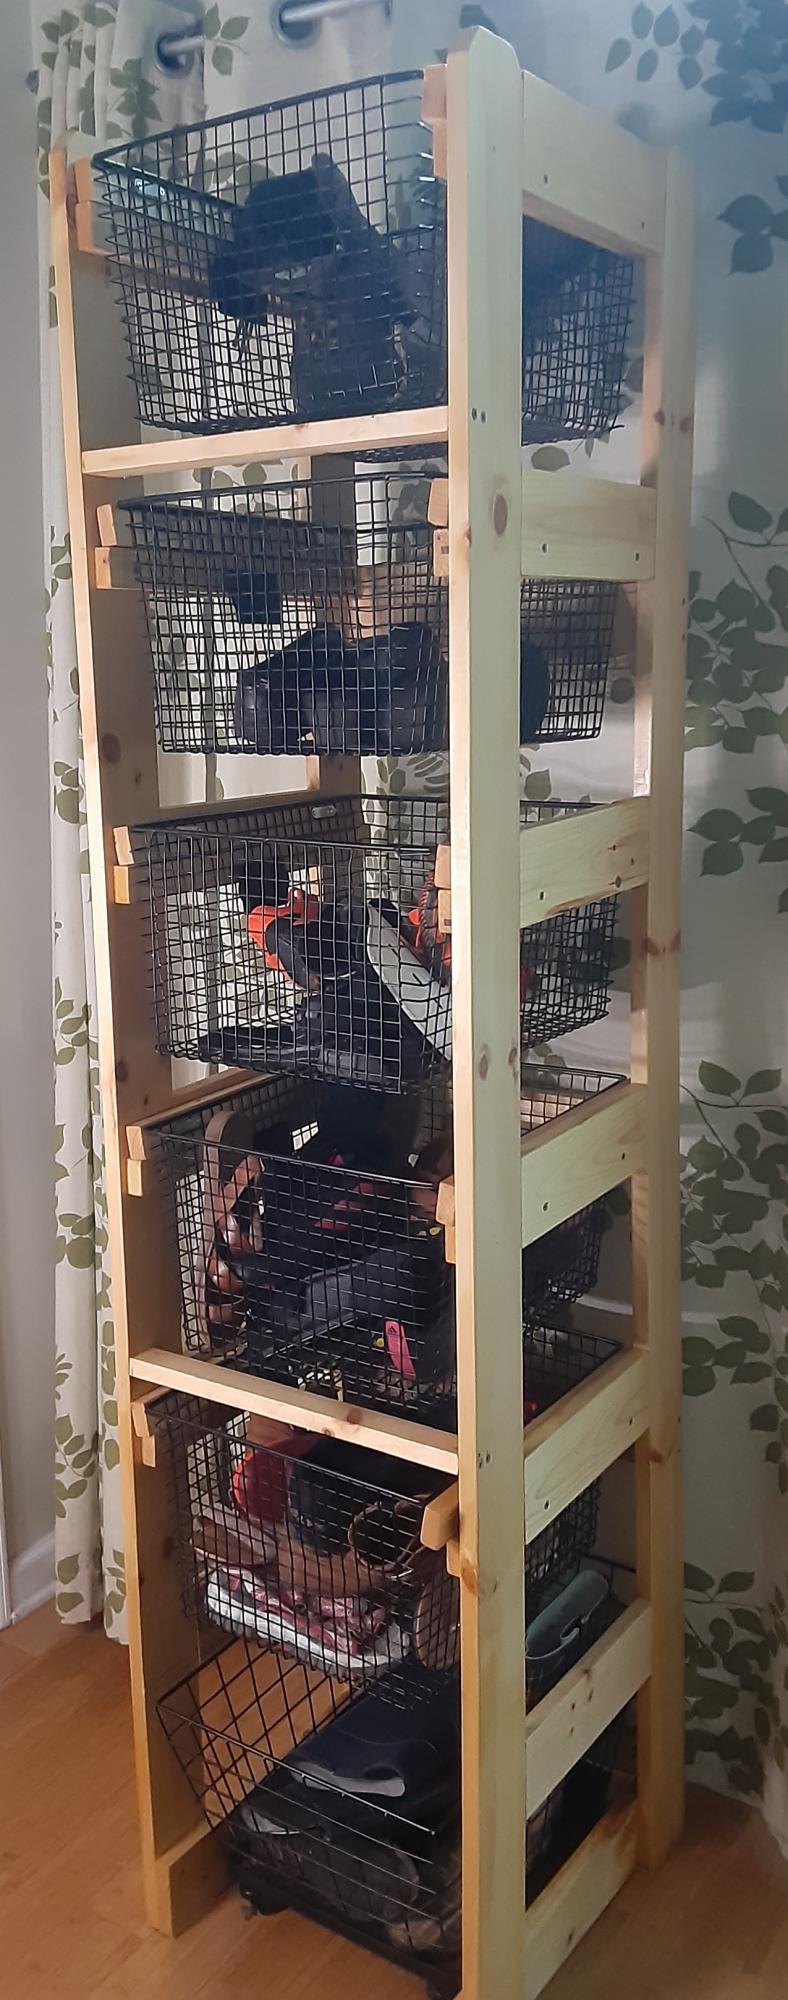
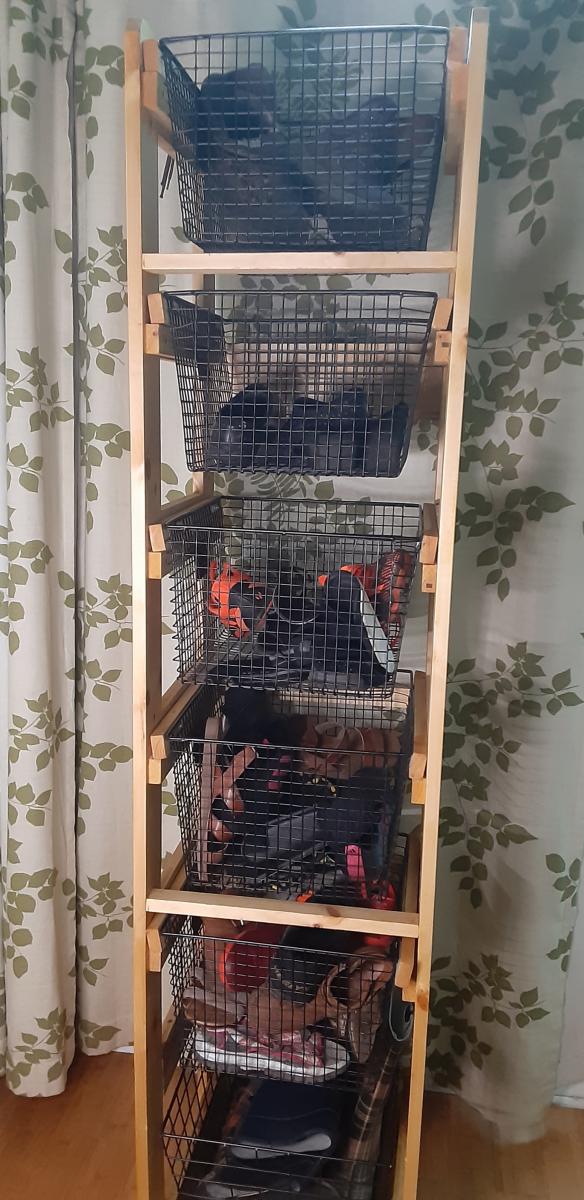
I needed a shoe rack that would work for our limited space and the Laundry Tower that was on the brag post caught my eye. It was modified from the Open Frame Laundry Basket Organizer. This shoe rack is working great for our family now! Thanks for this community!
Sat, 05/06/2023 - 21:09
Thanks for sharing your project, it looks really great!
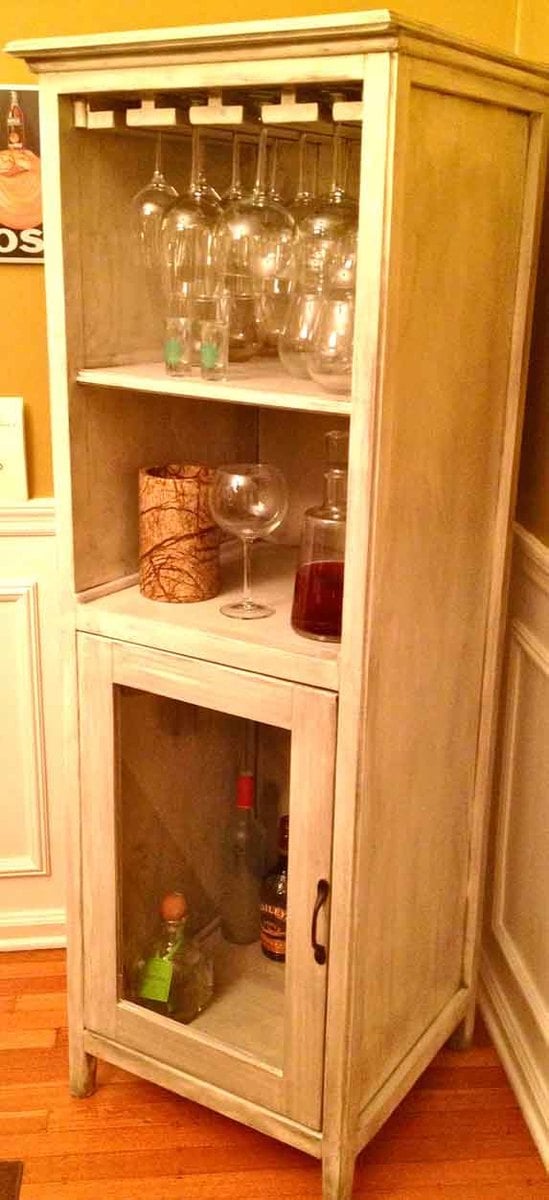
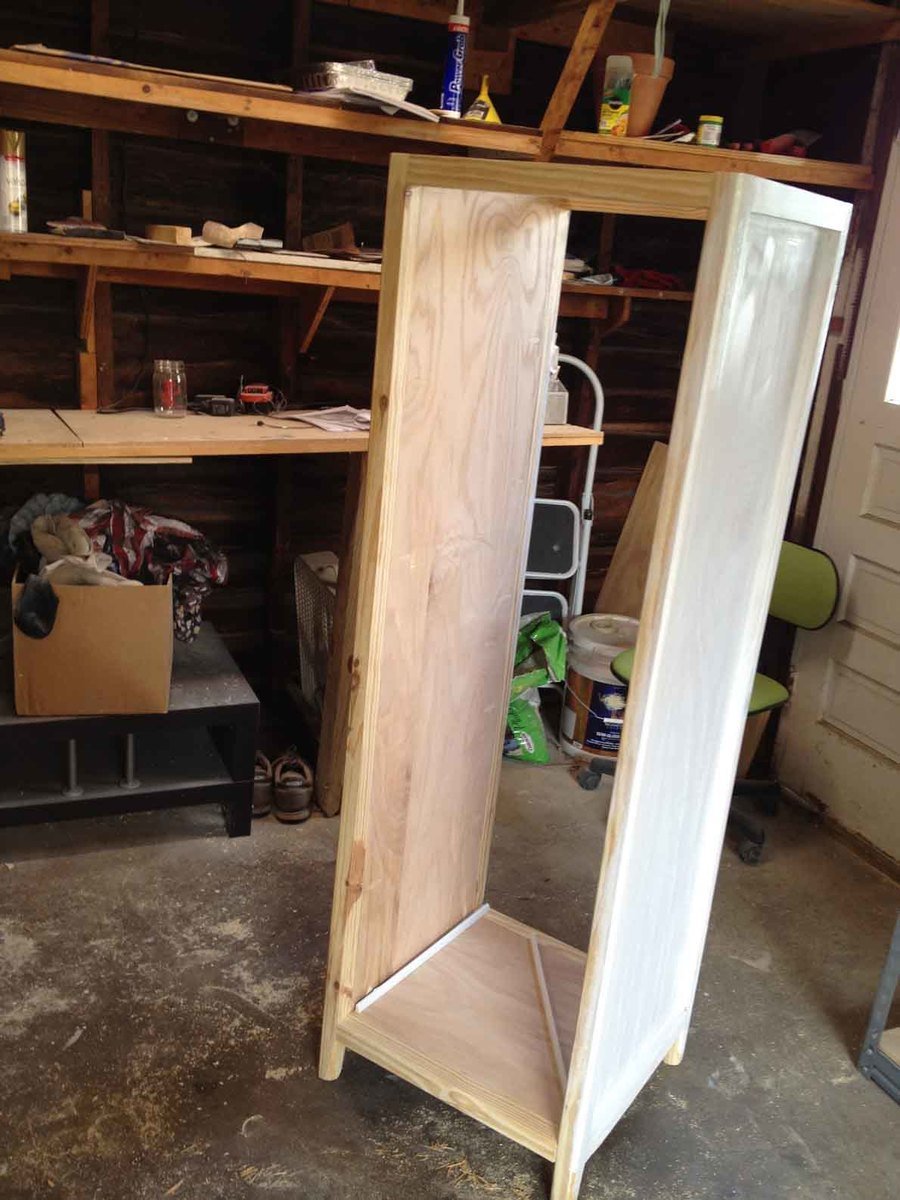
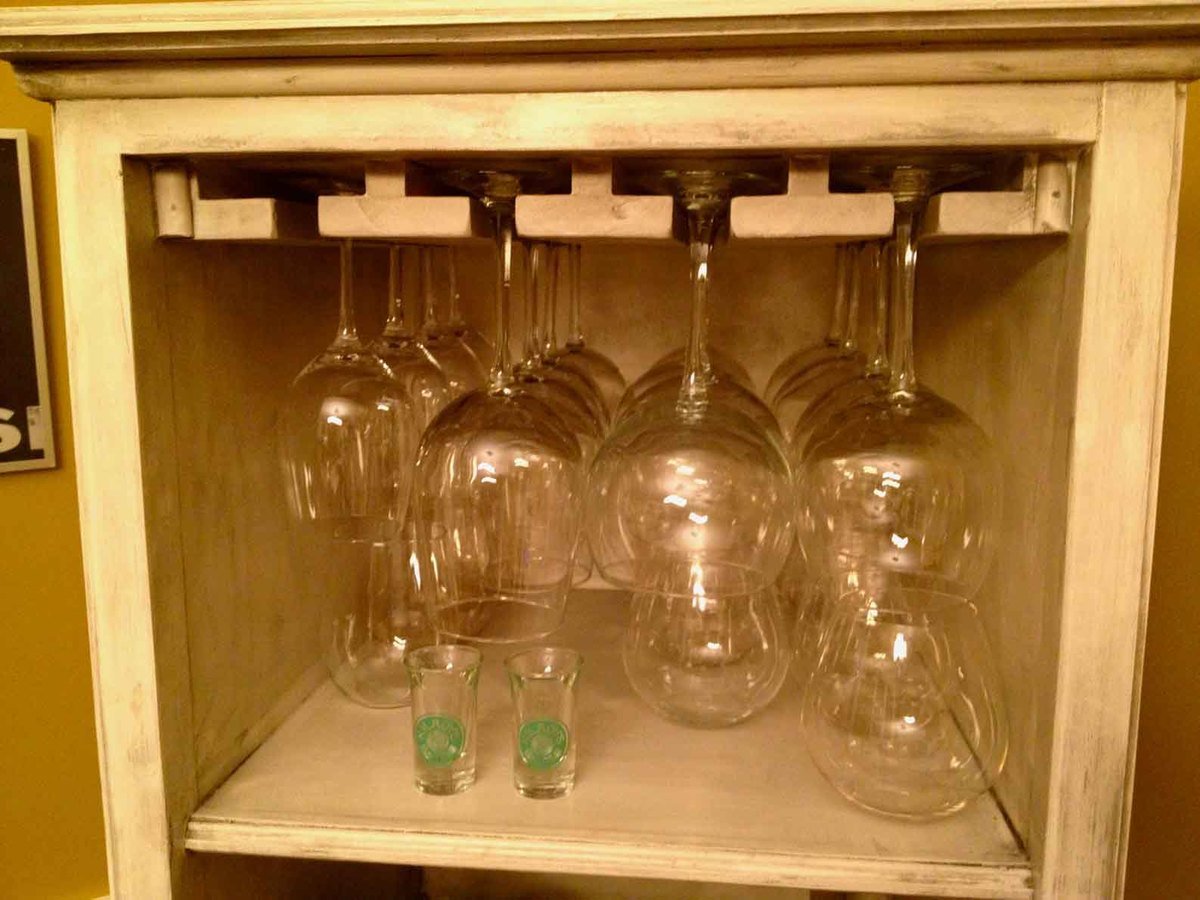
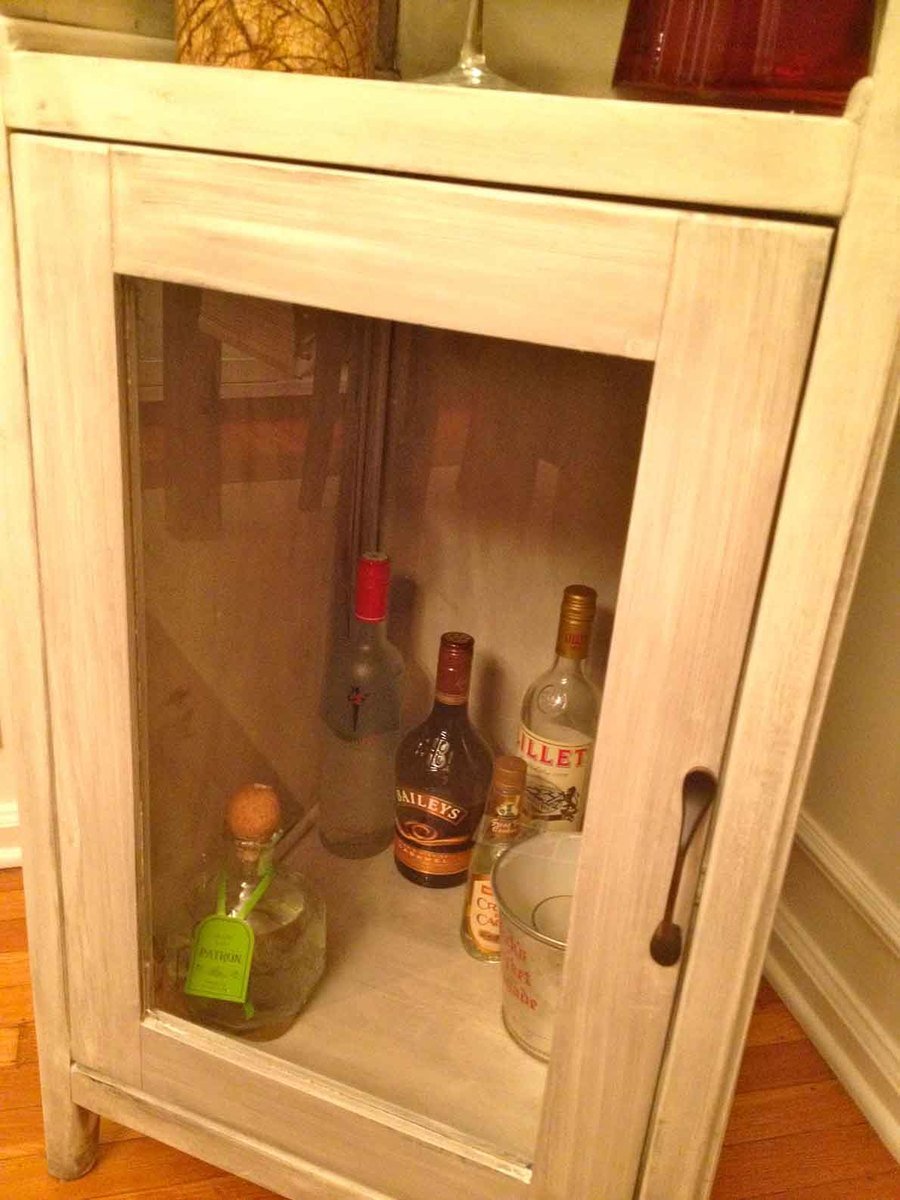
Hallelujah!! Finally, somewhere to store all our alcohol-related necessities :) We adapted Ana's Benchmark Storage Unit to work as a liquor cabinet. We kept the basic design the same, but added some stemware storage across the top (a feature we loved in a Crate and Barrel liquor cabinet that was $$$$$) and some decorative molding to bulk it up a little bit. We lovvvvvve it! Thanks Ana!
PS: everyone please check out our blog for more details on this and other projects!
Thu, 01/05/2012 - 17:18
Wow, that is so awesome! I'm gonna have to build one now!
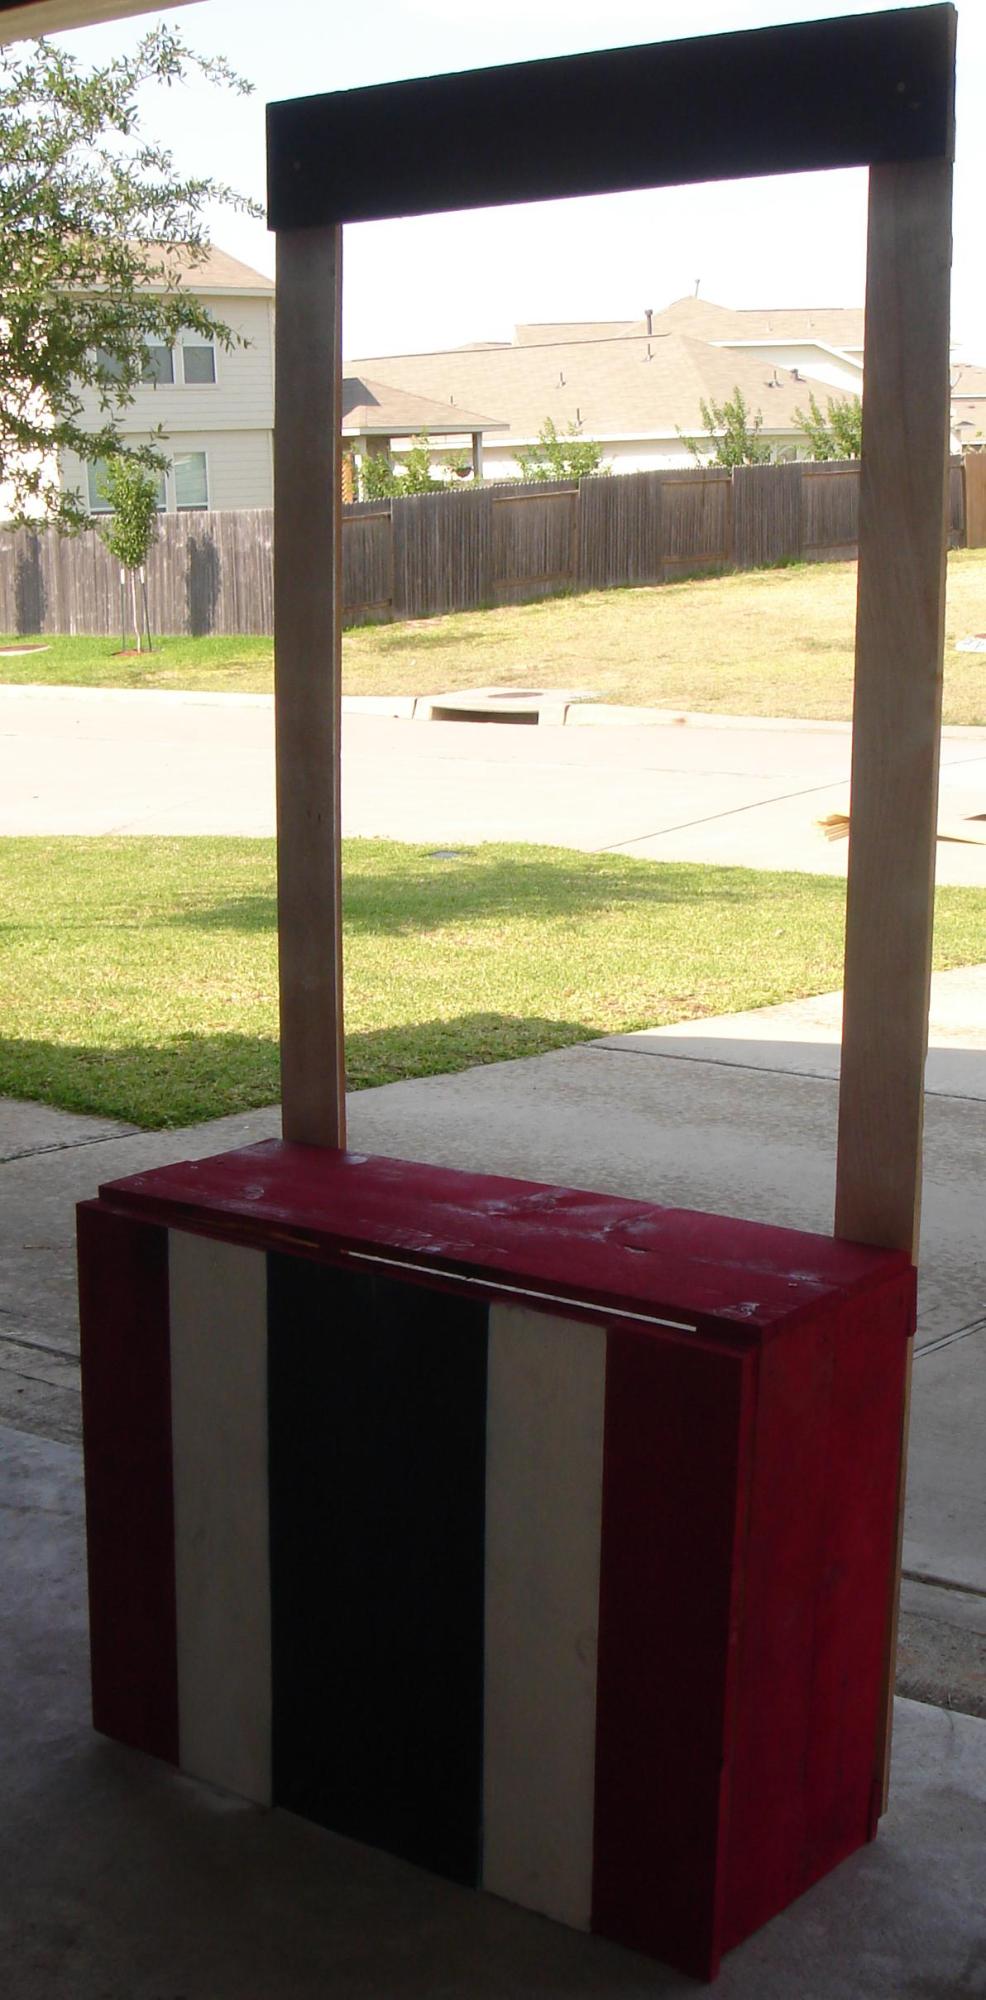
My kid-o's love to sell lemonade. So, we made a trip to the local hardware store. Because I am terrified to use my husbands electric saw, any wood we purchased would have to be cut with a hack saw and a miter box. And since the stand is to be stored in the backyard, we opted to build it from cedar. We ended up purchasing 8 fence pickets for about $15 total. This was also to be a great way for my kids to apply the some of the knowledge they have picked up this year, our first year of homeschooling. My children, ages 7 and 9, measured all of the boards that needed to be cut. It turned out GREAT! We already had some extra boards, spray paint and screws on hand; so, the grand total was $15.00 for the entire project!
Tryde Console Table. First project undertaken. Decided to make a bottom shelf. Used 4 1x4s and notched the middle two to fit around legs. Being that is was out first project, we had a few problems with keeping everything square and level but with a few minor tweeks it ended up looking really good.
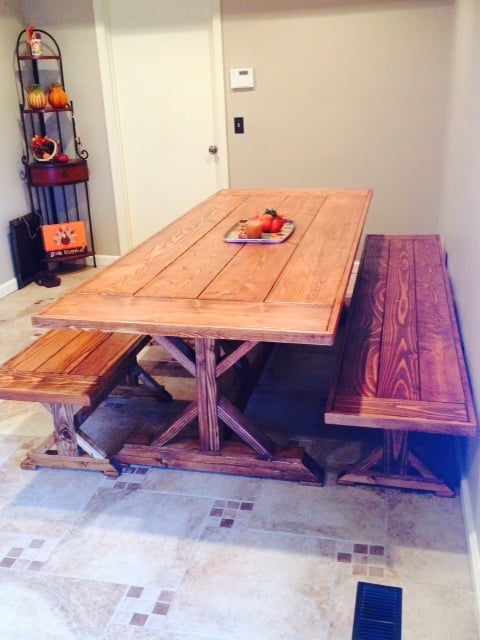
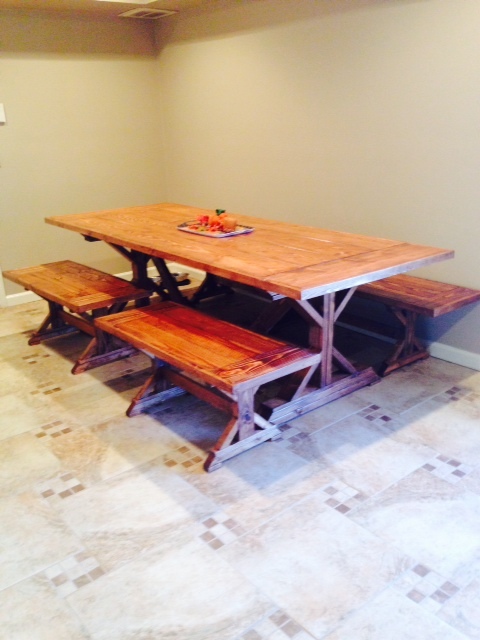
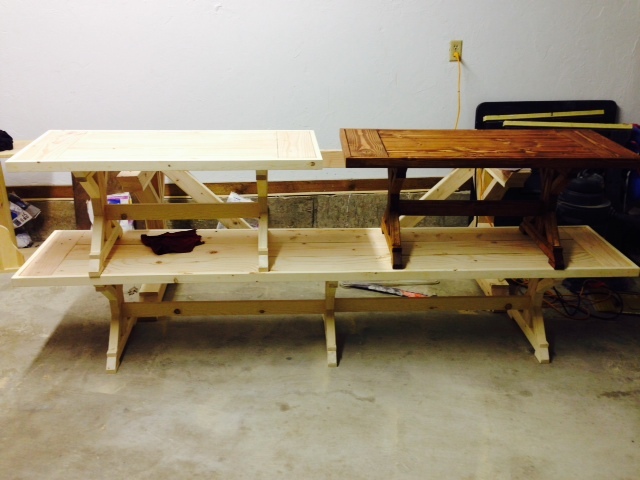
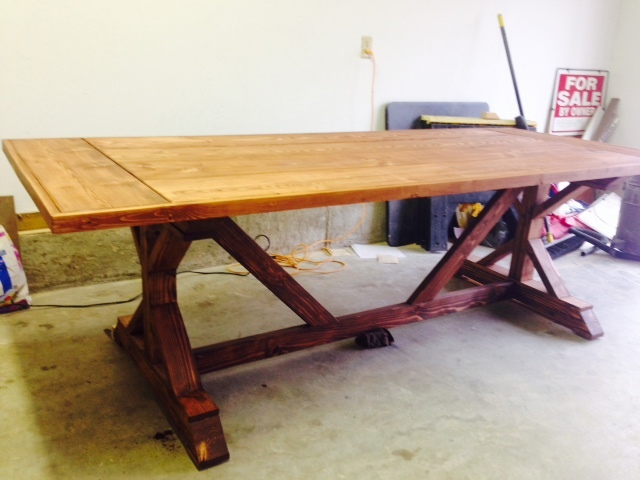
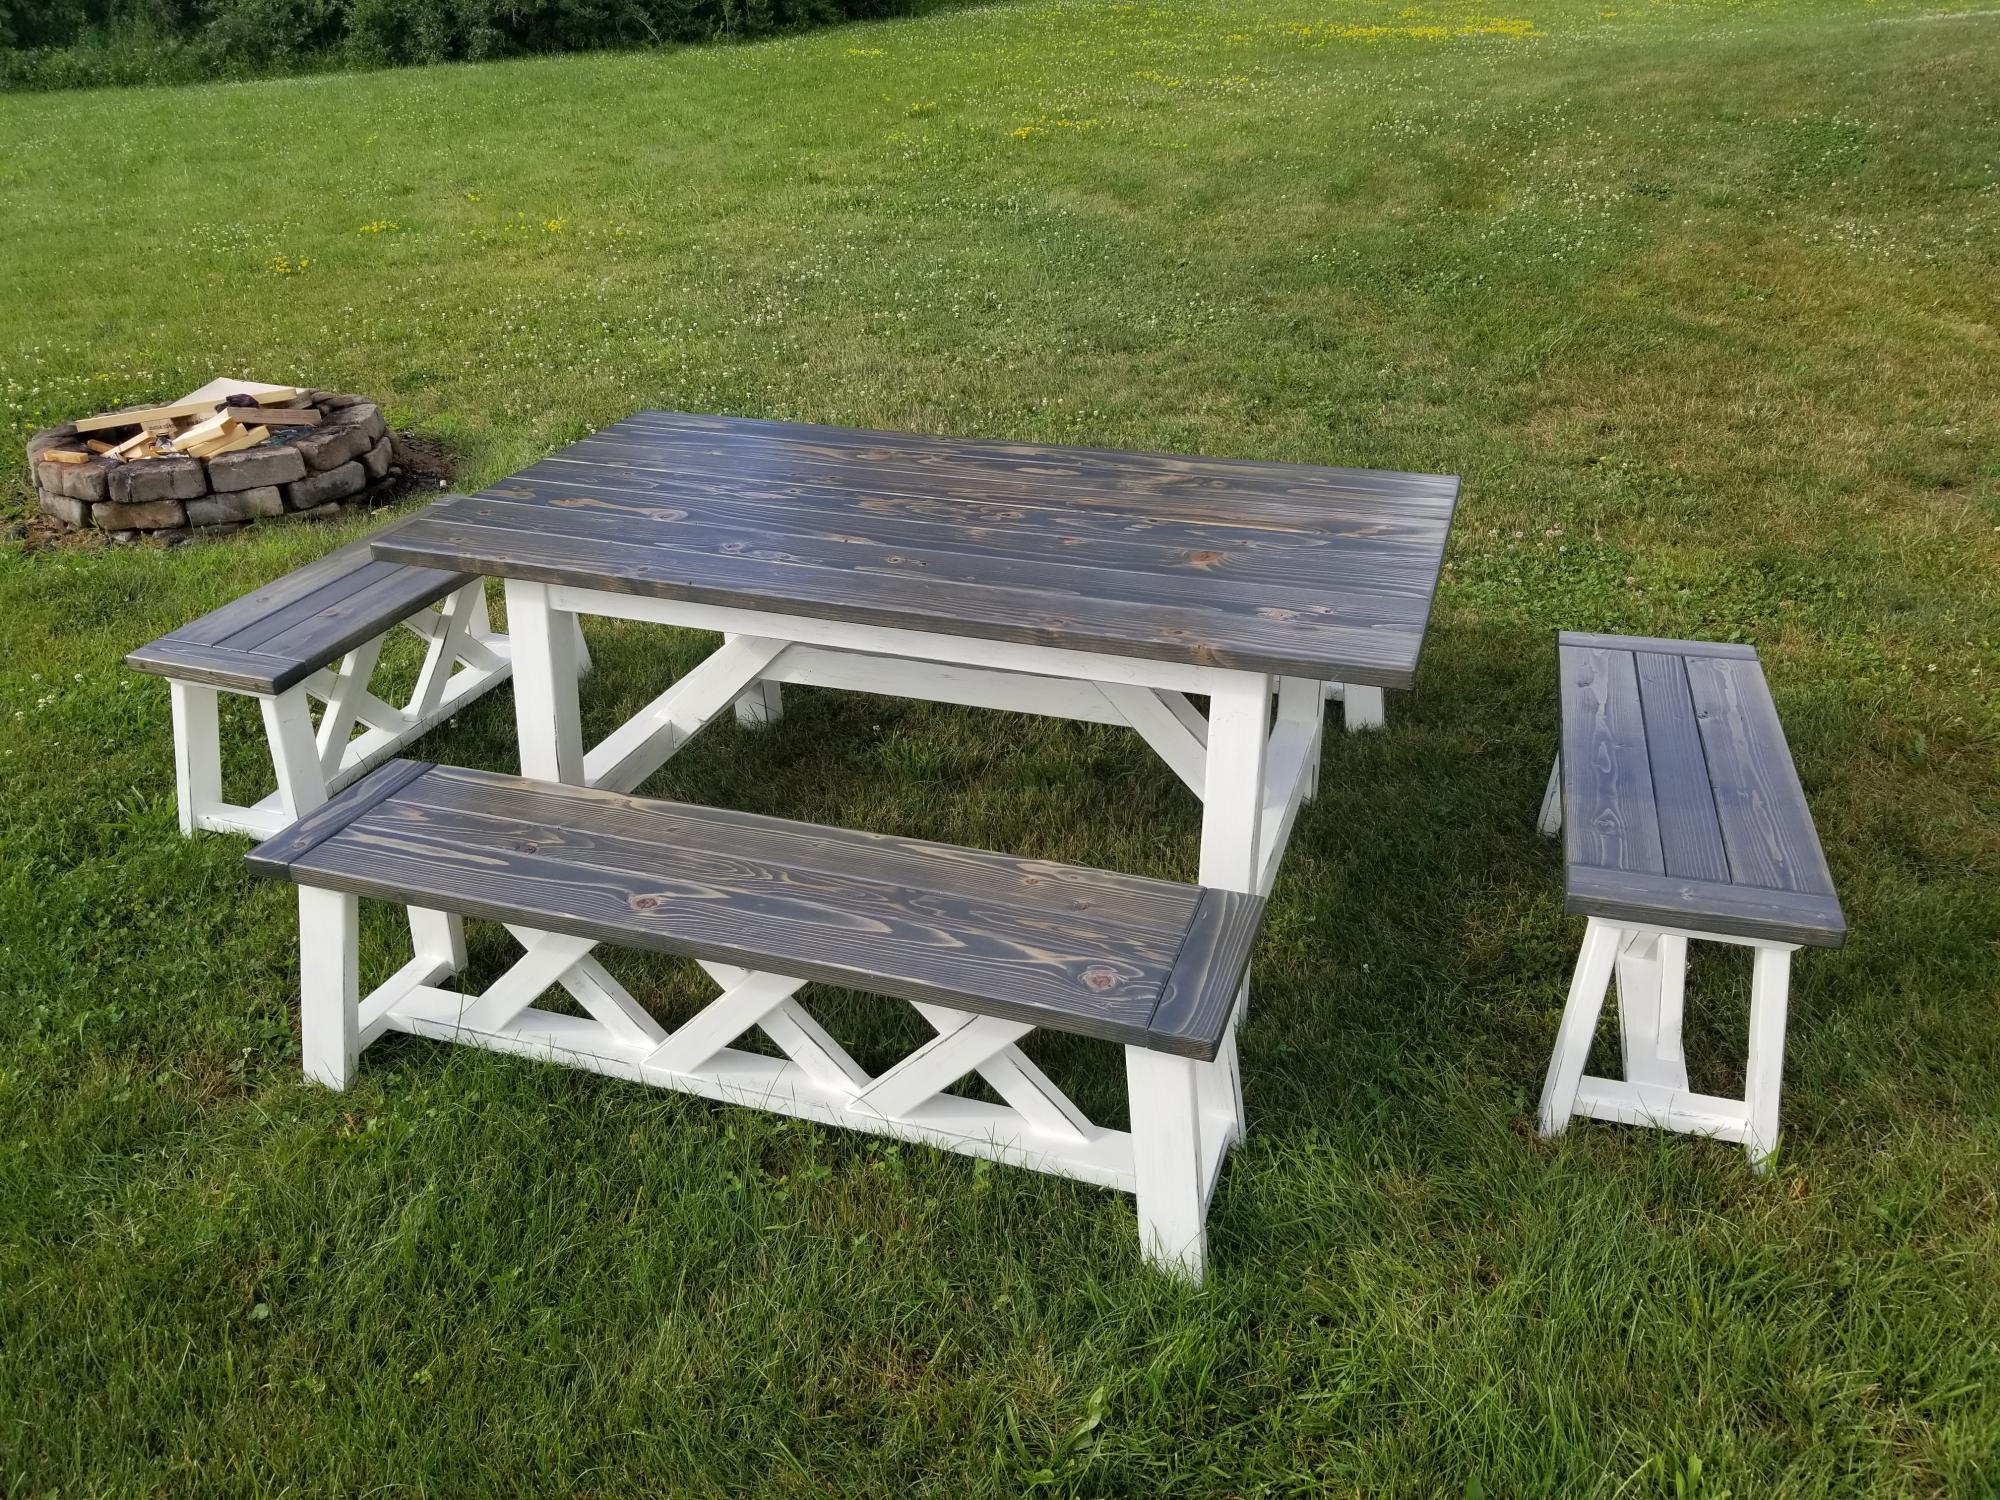
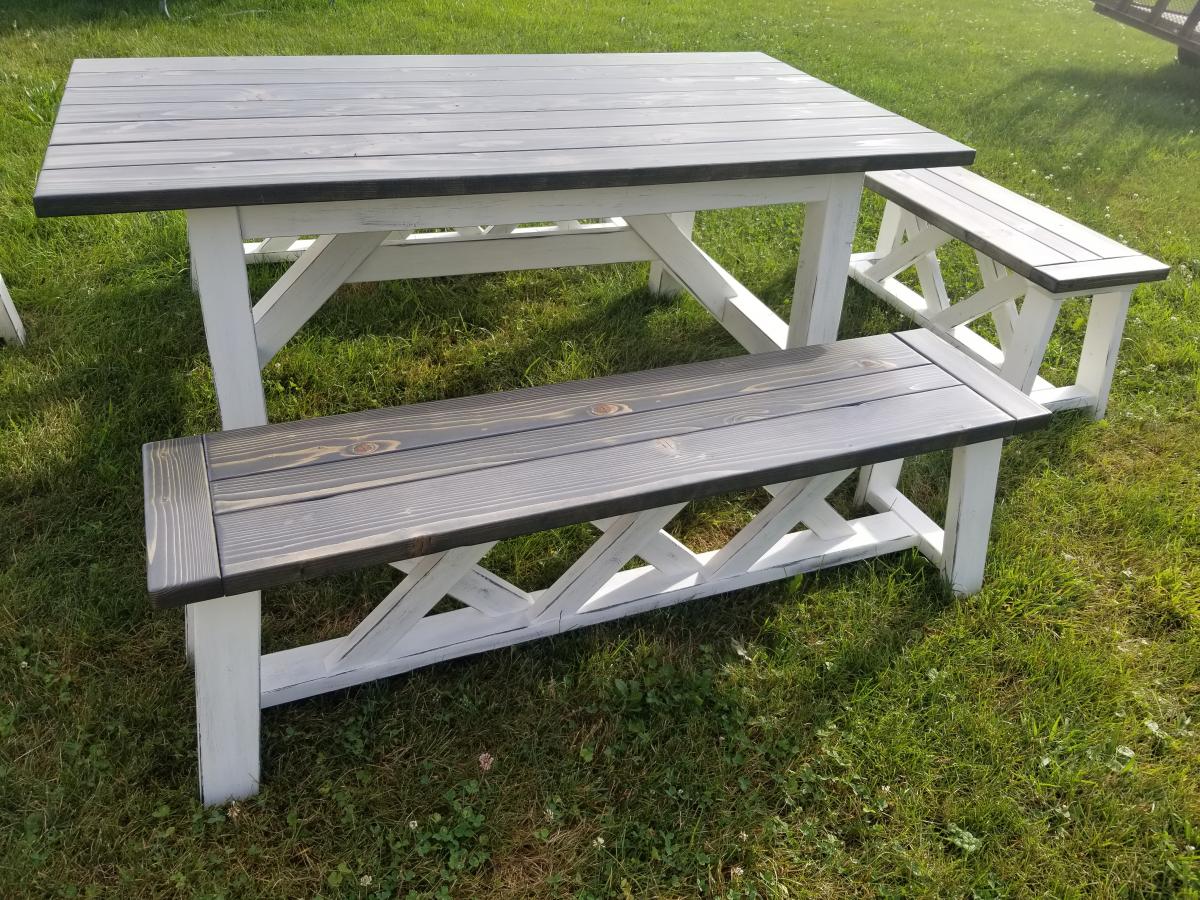
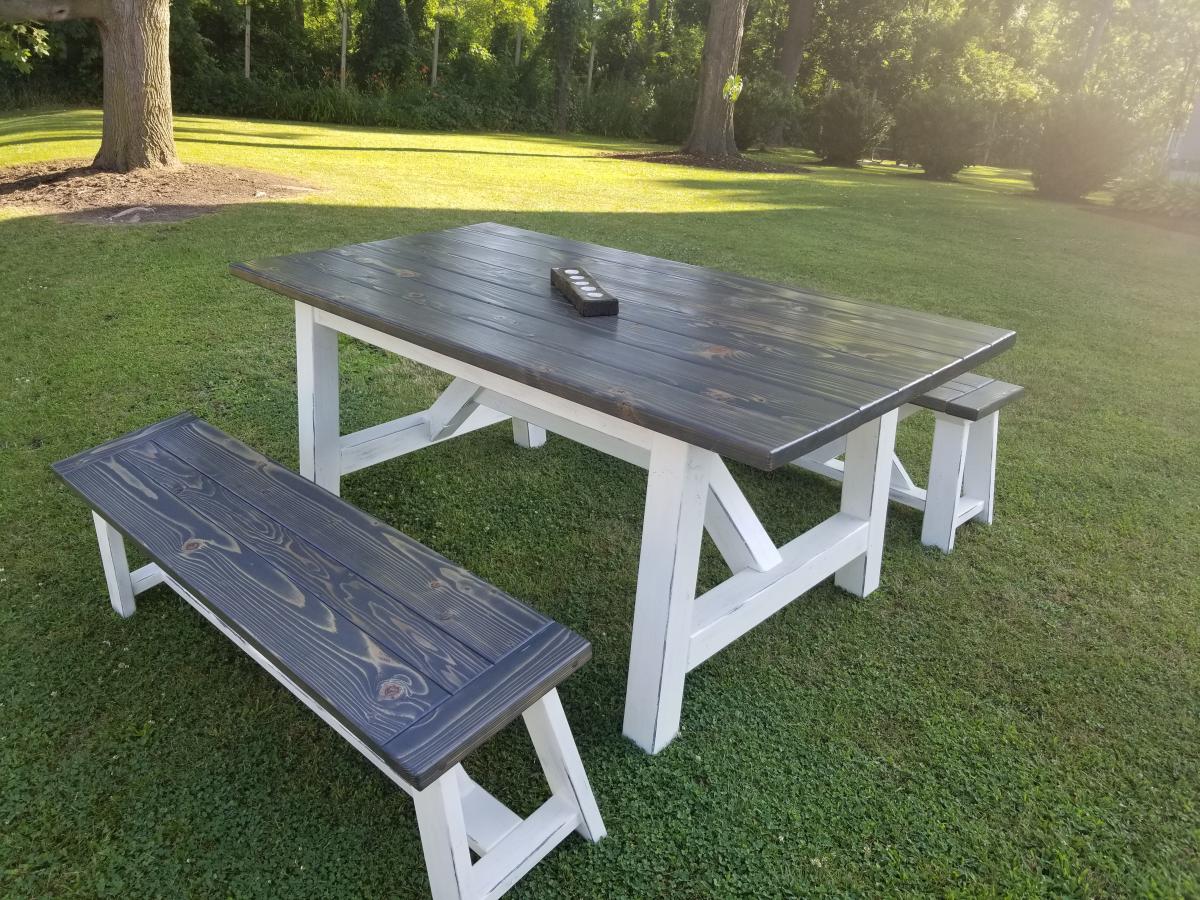
We are a foster family which means we have a large family. The Mrs. wanted a large table to fit 8-10 people, so off to ana-white.com i went.
Plans were perfect! Made one long 96" bench and two 42" benches from the same plans. I changed it up a bit by adding a perpendicular plank on the ends and trimmed it with 1x2's for look and strength. 2 coats of stain and 2 coats of polyurethane. Just in time for the holidays! Thank you again for the plans, this is the third thing I have built.
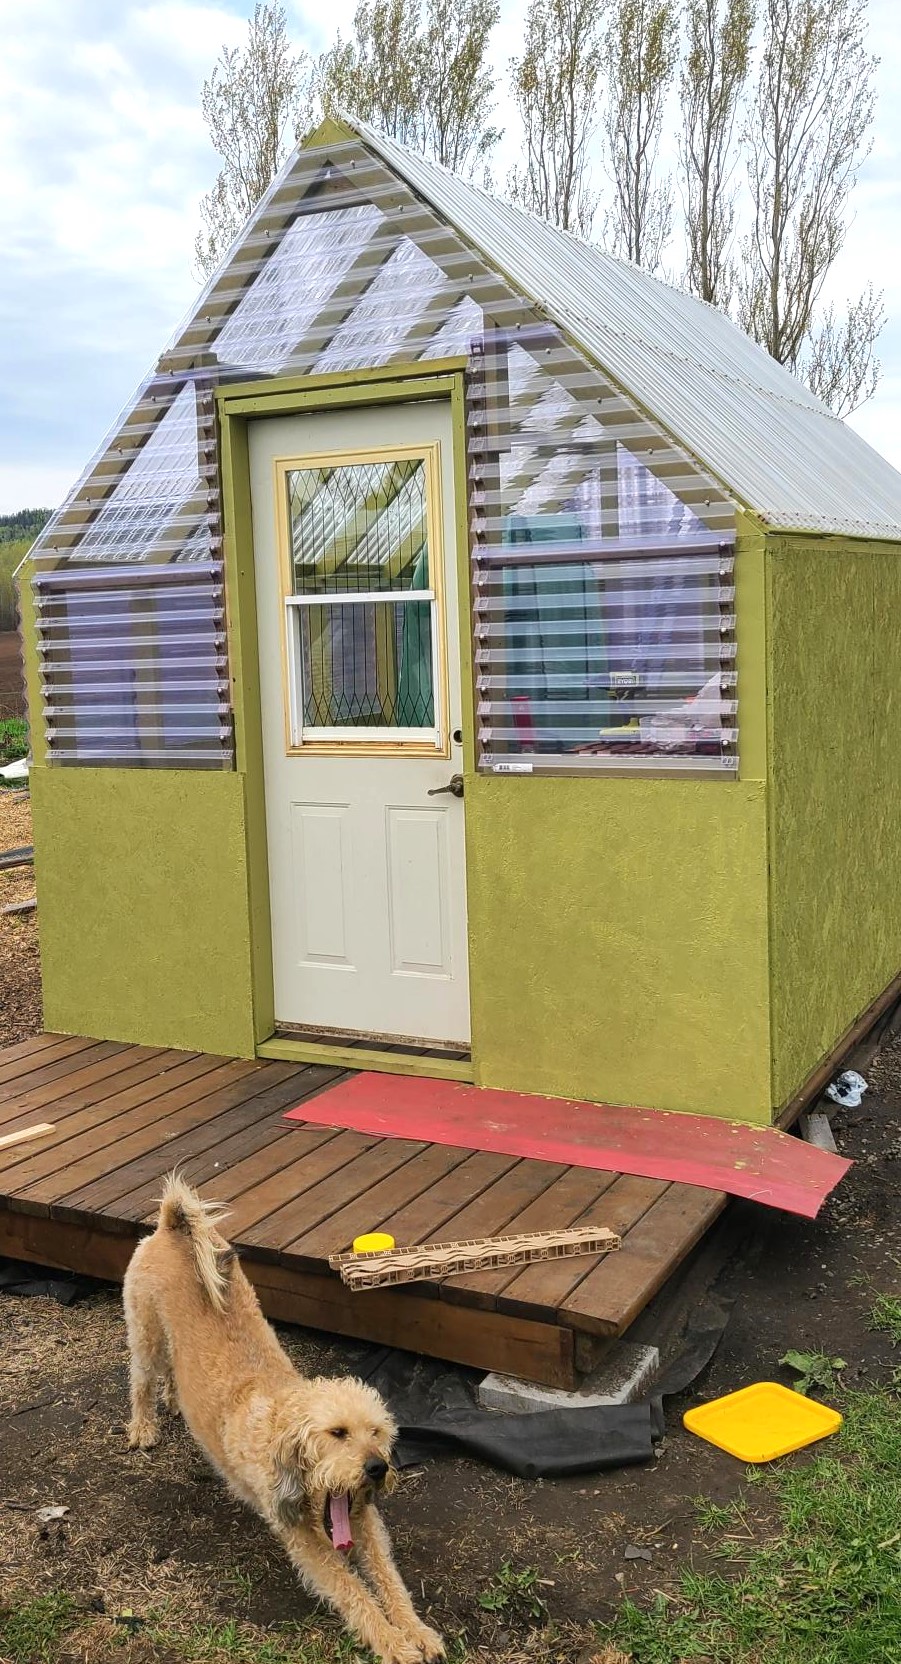
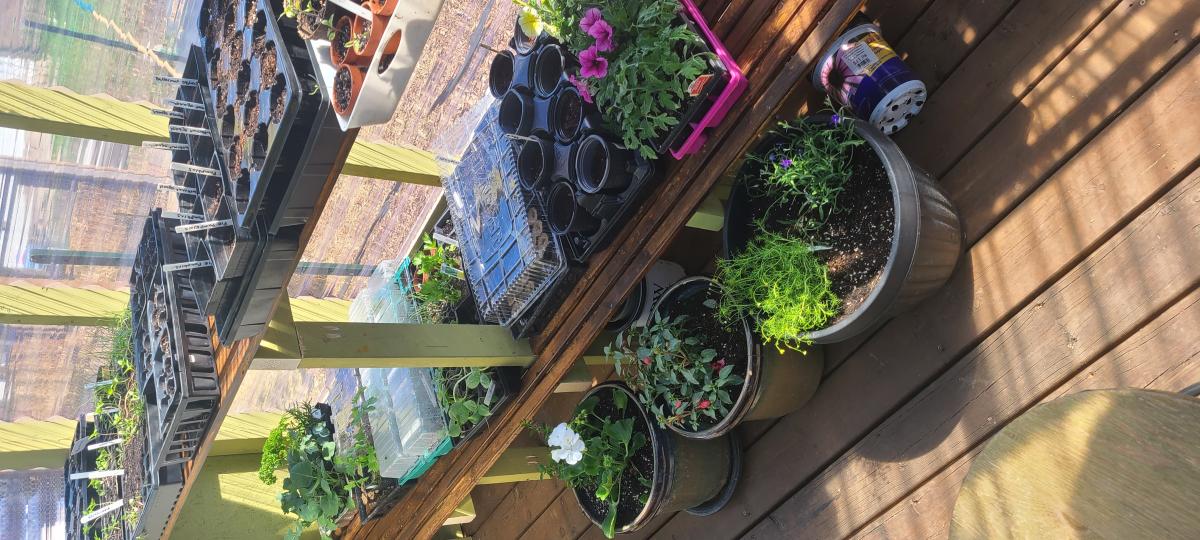
We followed Ana's plans but went 1 ft taller on the pony walls to increase the height. We are so impressed with how it turned out. I'm excited to grow plants in Northwestern Ontario.
Fri, 05/26/2023 - 19:43
It looks awesome and love your pup! Thank you so much for sharing.
This is my first DIY furniture project inspired by Martha Inspired Craft Space Table posted by Ry. I built it for my combination of console table and craft space. I will be using the shelves in the middle to put my wicker baskets(that is why it was not nicely stained:-)) for quicker access of some of my craft stuff. Thanks for the plan!
Sun, 01/15/2012 - 15:21
The plan that you linked to was actually posted by Ry at The Design Confidential! I'm sure she would LOVE it if you would hop on over to her site and post a brag blog there!
Great Job!
In reply to Wow - Amazing piece! by Lady Goats
Sun, 01/15/2012 - 18:21
Thanks Lady Goats for pointing that out. I am editing..
Sun, 01/15/2012 - 18:21
Leave it here! I'm sure everyone here would LOVE to see this (it's amazing!). AND the plans were posted here. I just know that Ry loves to see, too! :-)
Mon, 03/26/2012 - 15:11
Could you please post the modifications/measurements you made to this plan? I love your changes and would love to make something similar for my foyer.
Sun, 04/01/2012 - 11:13
Console measures 43" long X 13-1/2"depth X 33" tall. The decorative sides were made from 1/4" x 1-1/2" x 8' Stain Grade Pine Lattice I got from lowes.
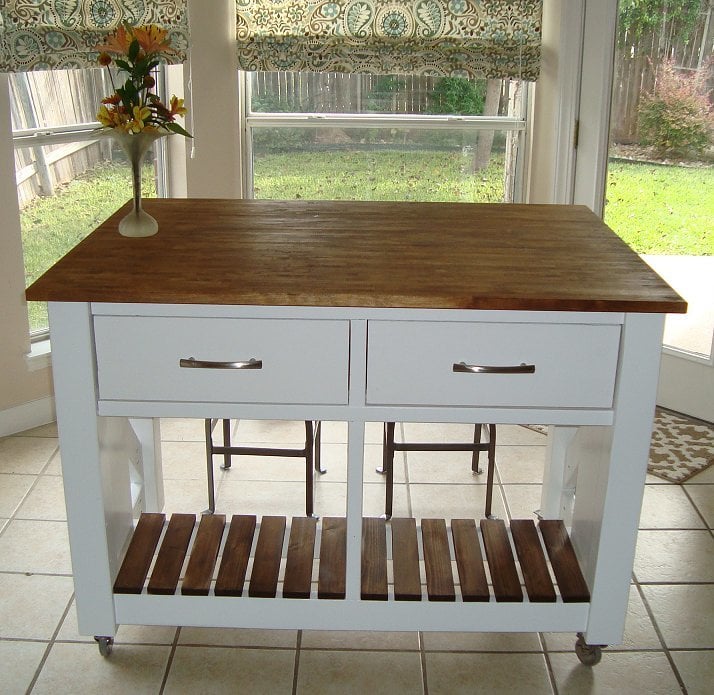
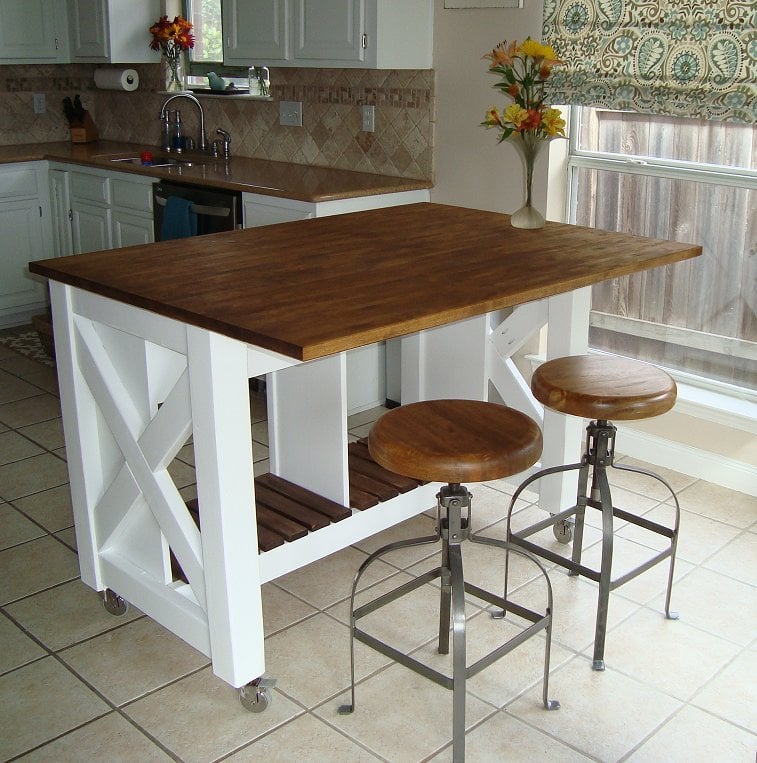
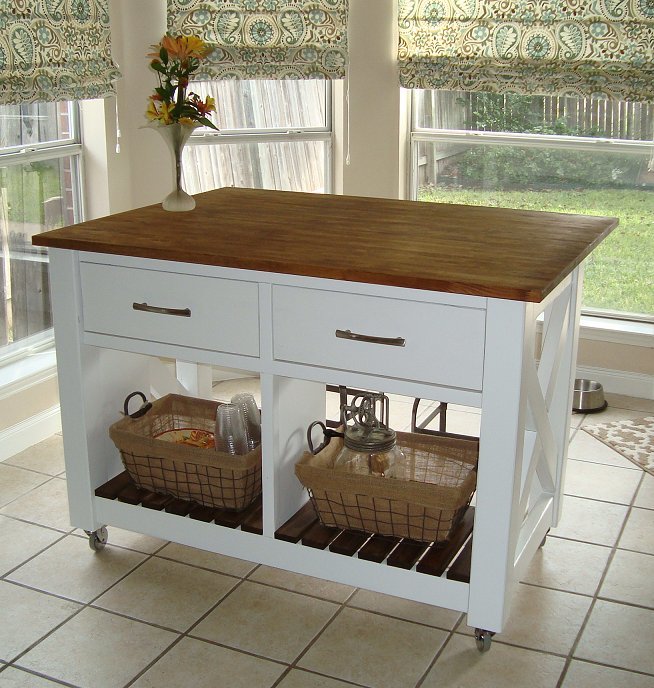
I had always wanted a kitchen island and saw this project. Seeing that the plans were well written I decided to tackle it. In addition I made a few small modifications to enhance the style of the island. These included using 4x4's on the corners and a IKEA butcher block top. The top allows for a larger surface area to work with and more space to sit under. The stools in the picture are from World Market and they were the perfect pair for the island. The island is great for family gatherings or just sitting with your morning coffee. I had family over for Thanksgiving and received lots of compliments. Thank you Ana!
Mon, 12/02/2013 - 21:39
Marvelous job on the island! The baskets are the perfect finishing touch!
Val
artsybuildinglady.blogspot.ca
Tue, 12/03/2013 - 17:43
I love how this looks. This is actually next on my list of projects, thanks for the inspiration!
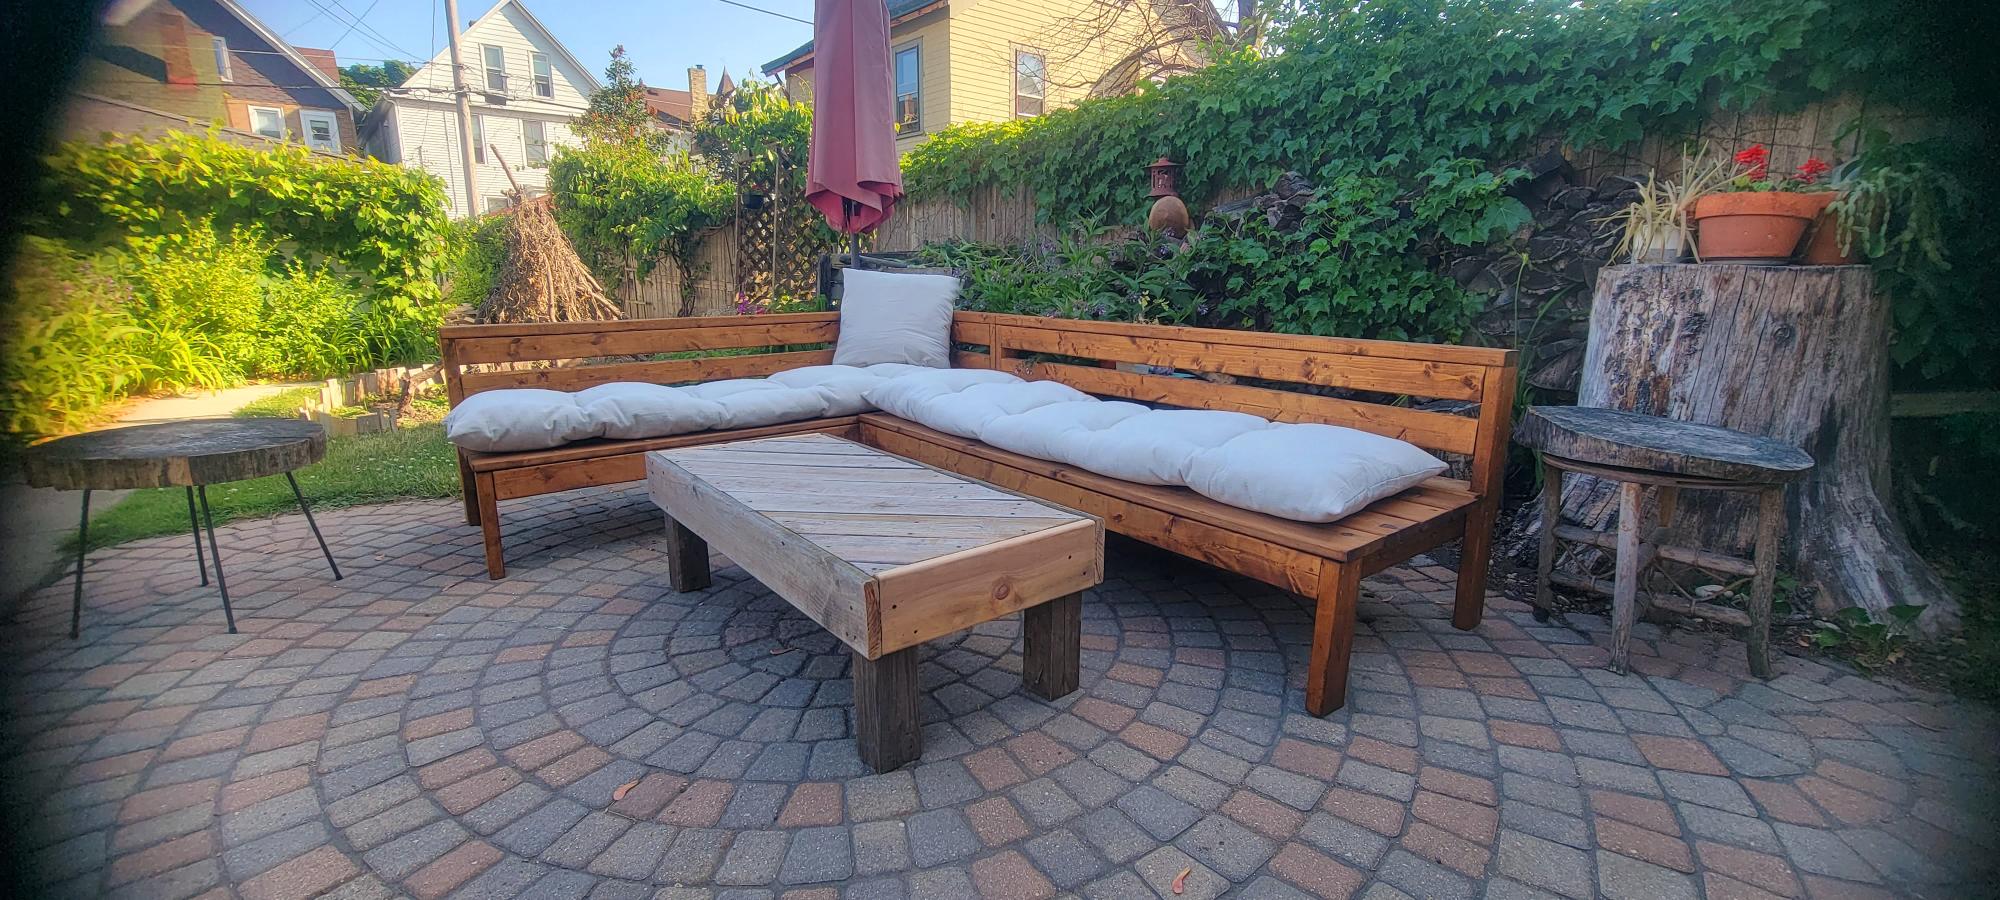
Made the outdoor sectional. The coffee table was made out of left over pieces!
Wed, 10/02/2019 - 09:54
So smart to make the coffee table out of the spare pieces.
Looks amazing!
My spin on the 4x4 truss beam table. Fun and rewarding project. I received many compliments on this build.
Slight mod, table added from wood picnic table that the sectional replaced.
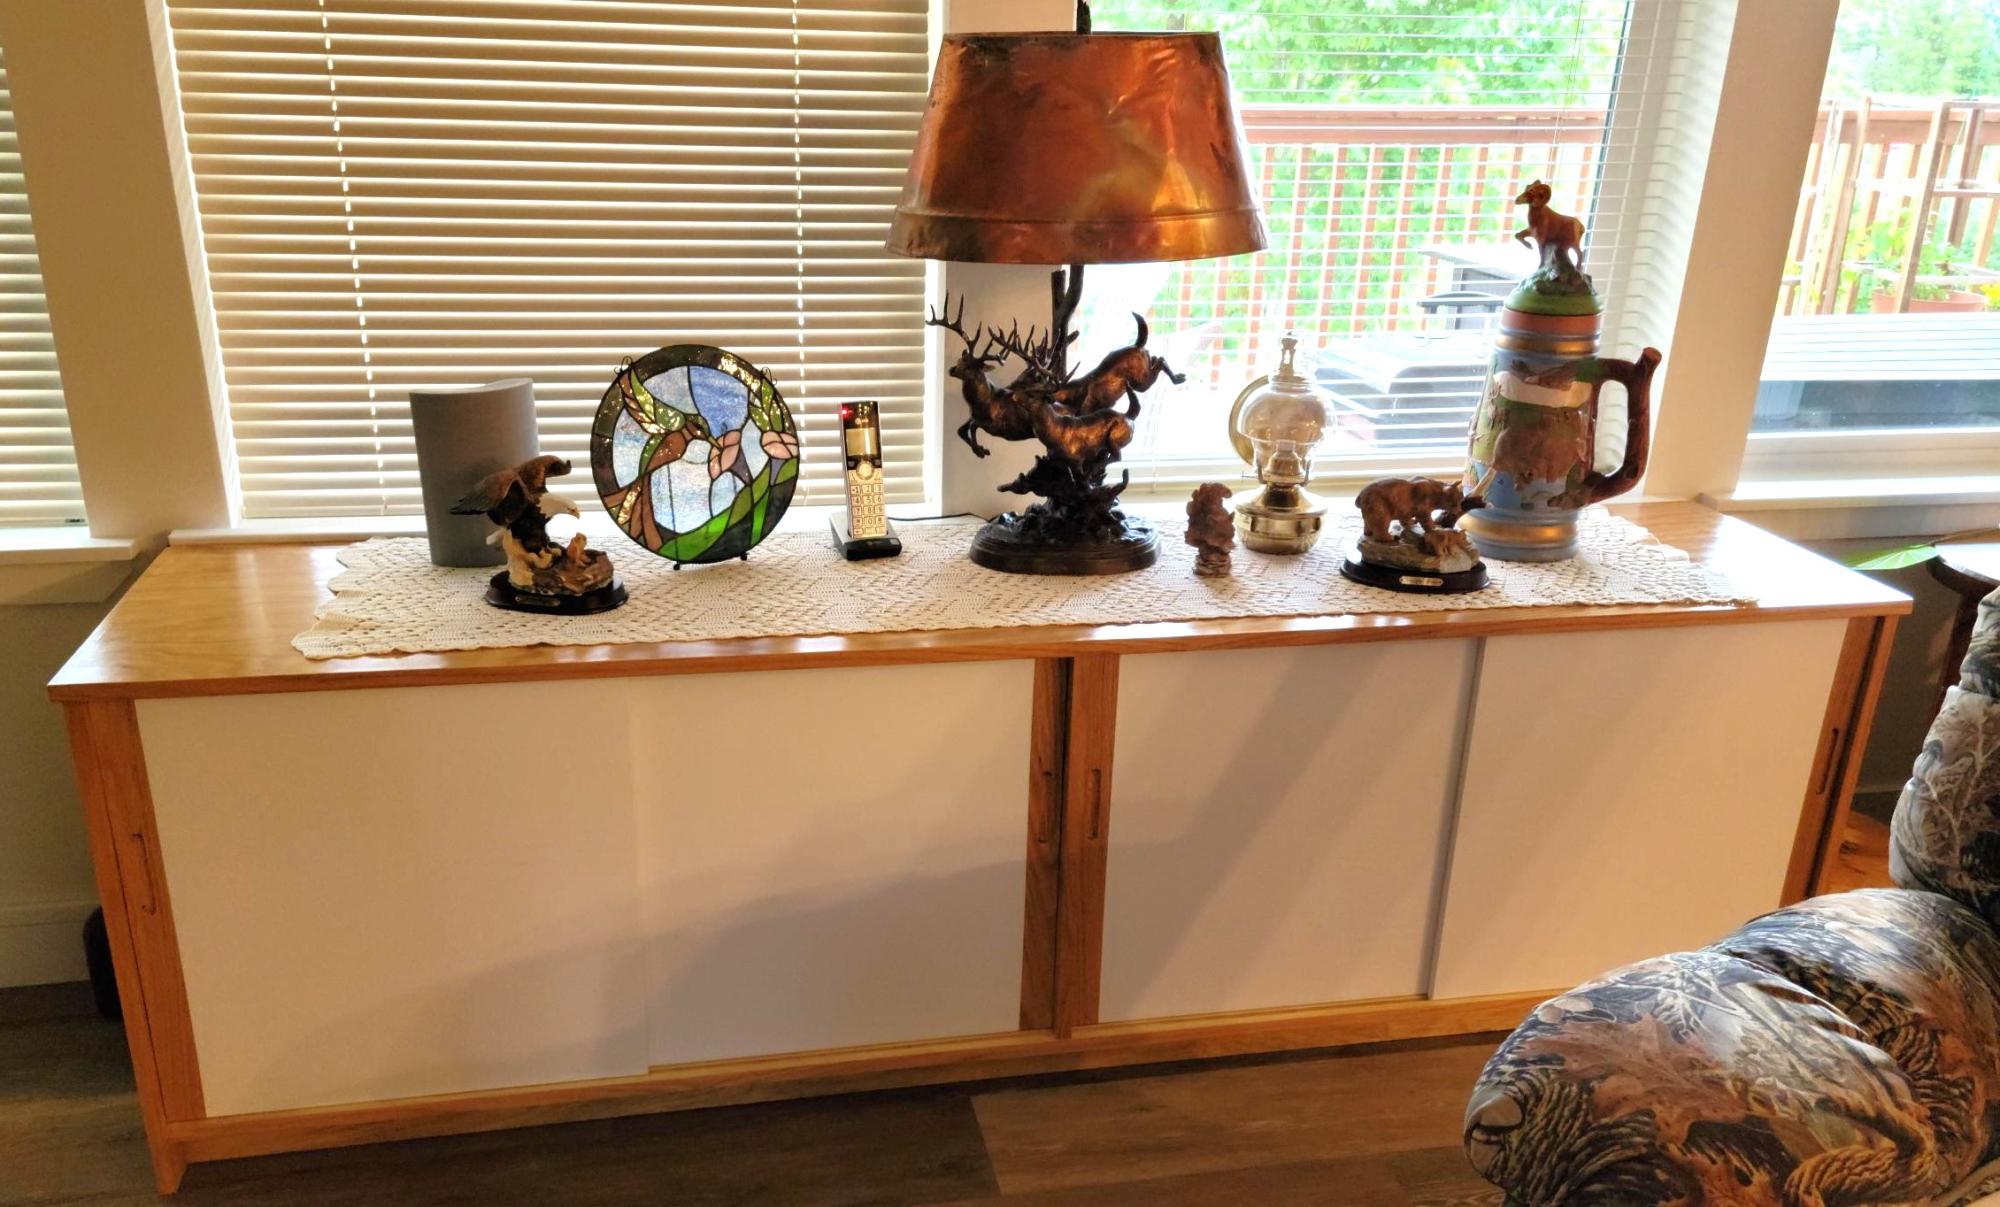
This cabinet was inspired by an Ana White project. My wife wanted more storage in our new home, and we had a sofa table at this location. But it was just a top, no shelves. I custom fit it to be flush with the window sills at the top and ends so it takes on a bit of a built in appearance. The top and bottom are oak faced plywood, all edges covered with iron on oak facing. As I was short of the expensive plywood, the ends, shelves and kick are doug fir plywood with a light oak stain; while not a perfect match gave a pleasing result that guests have not caught. The doors are 1/2" MDF, with a 2" solid oak end glued on where I routed the slots to open them. Slots are 1/4" +, 3/8" apart, and the top and bottoms of the doors routed to leave a 1/4" rail. The bottoms of the bottom slide slots have a slick poly tape in them, which really helps the doors to slide easily.
Sides and interior are brush finished with 3 coats of semi-gloss polyurethane, while the top has 5 coats. The MDF on the doors has one sprayed coat of white primer (oil based to avoid bringing up the MDF) with a final sprayed coat of mat finish enamel. I need to do one more step, light sand with 320 grit and paste wax the top to get that really fine finish.
While not as easy as Ana makes it look, it turned out pretty well. That hard part on a piece this size is getting all the pieces cut precisely, and I mean with less than 1/32nd difference, to provide a good fit. As it was I had to custom cut the oak opening ends on the doors to account for the small differences in widths at the top and bottom to obtain a nice fit against the sides. Next time I'll triple check all finish dimensions to make those small adjustments in parts before assembly, then triple check again for placement during assembly.
While I'll always see the small "errors", my wife is very pleased with the finished cabinet.
Al King, www.KingTechnologics.com
Ana, you're the BEST!! Thank you so much for sharing these plans. This was a very simple build ... my problem was trying to decide how to paint and decorate it. There's a lady in our little town that cut out the letters for me. I think it turned out so cute. I'm working on a Christmas collection for our church auction next April and thought it would be fun to have Christmas in April :-). Thanks again Ana!!!
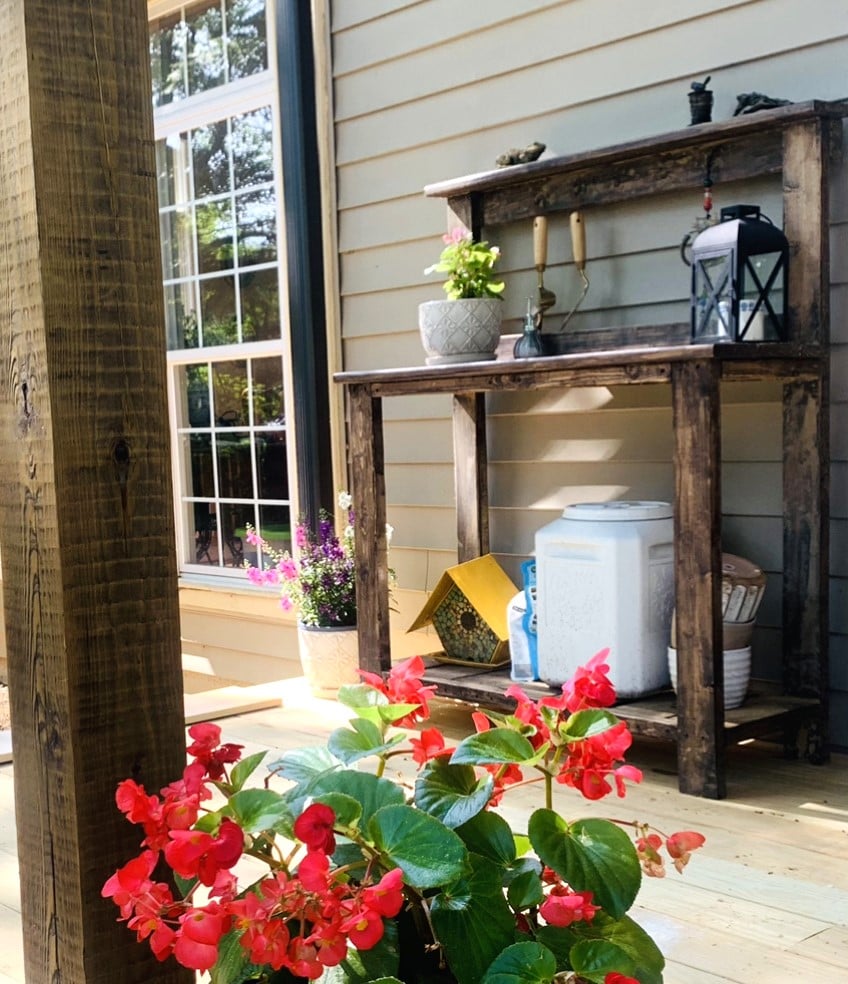
Flower potting bench for the front porch.
Mar
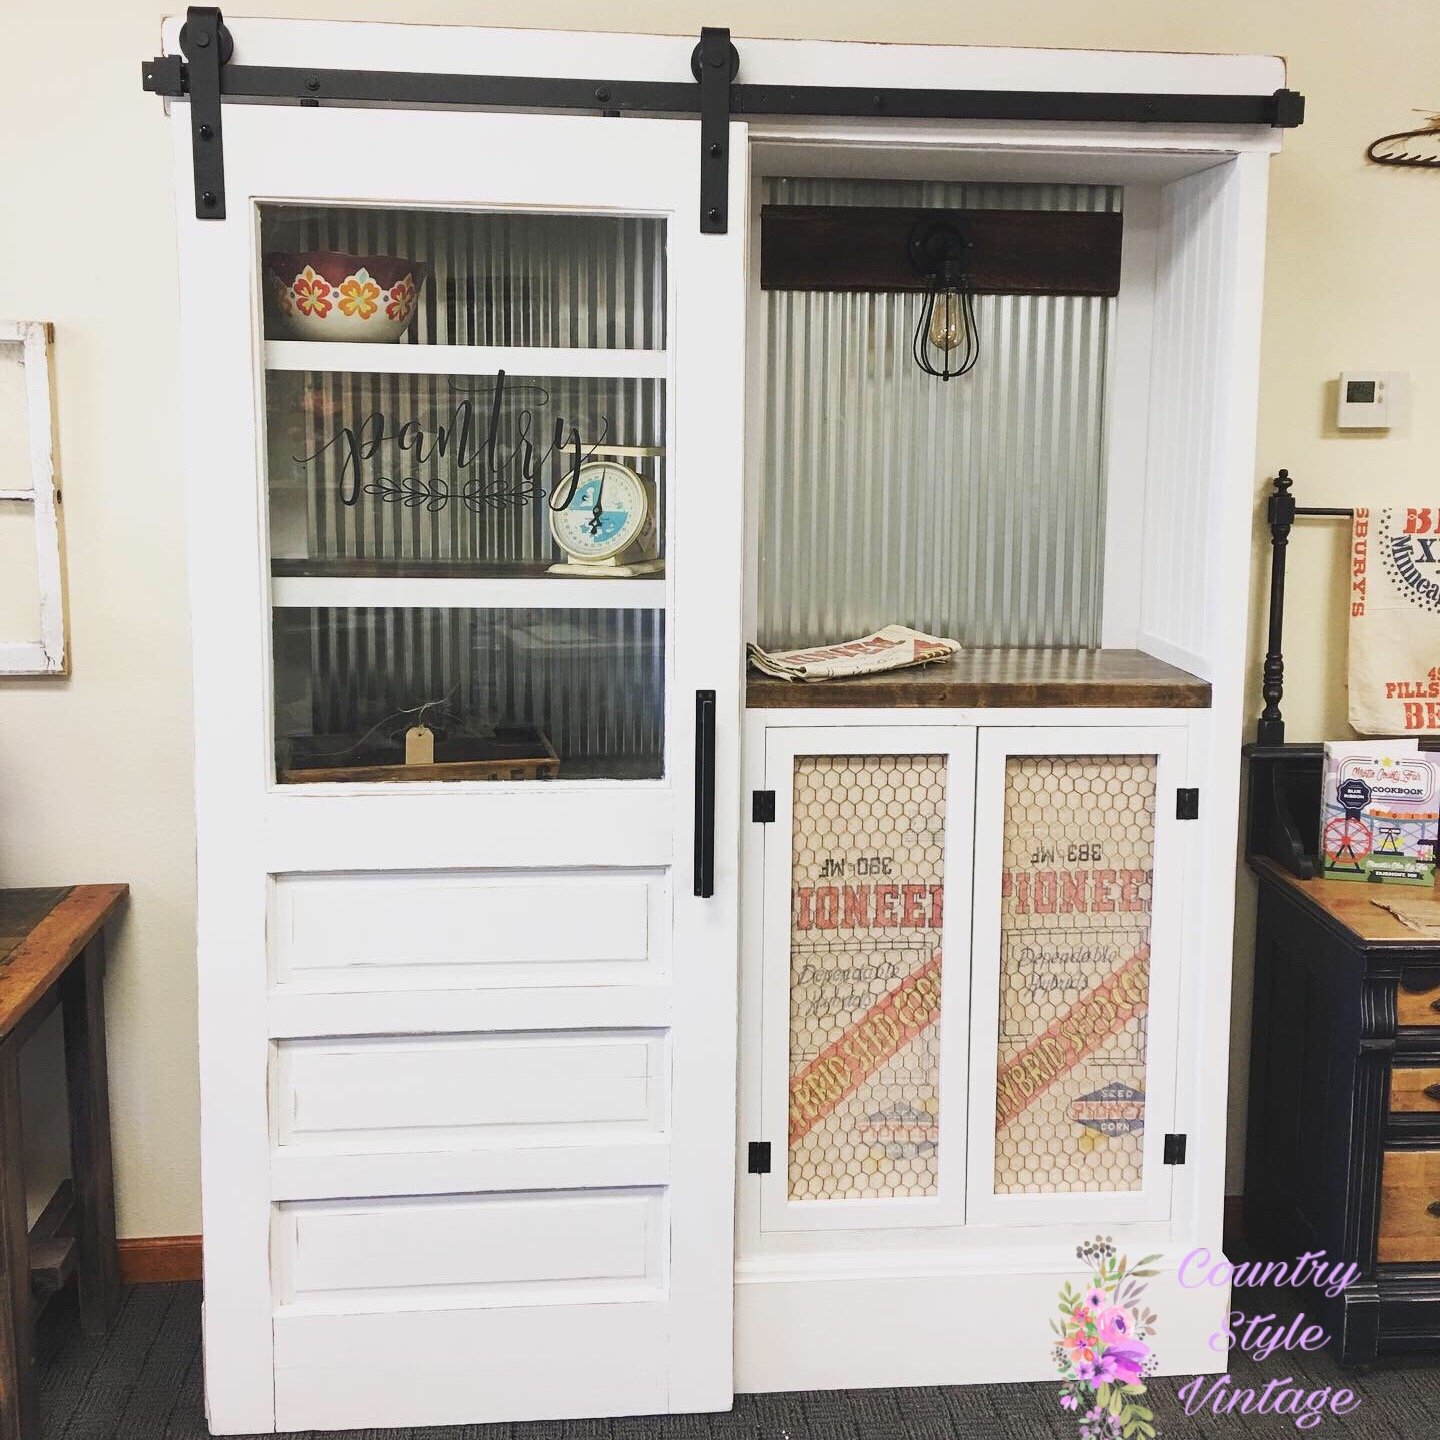
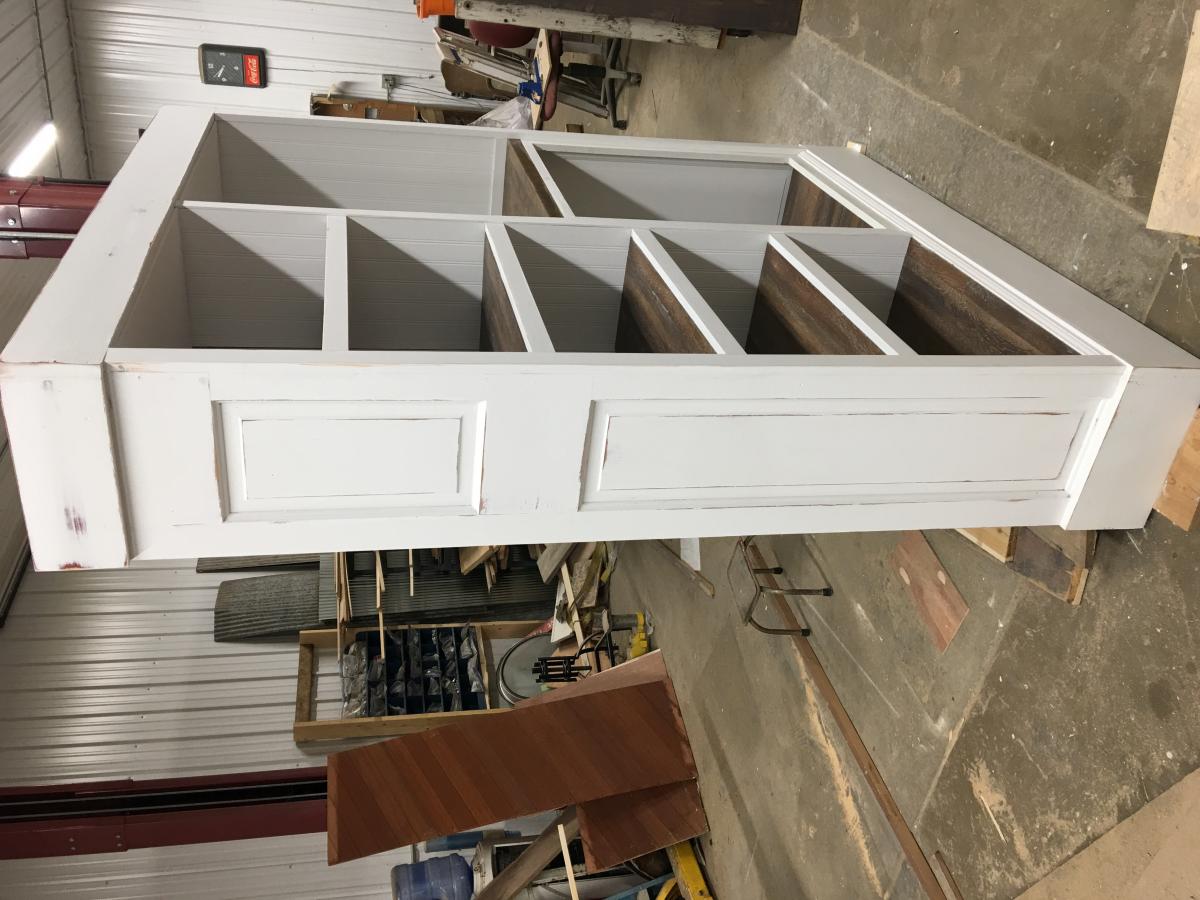
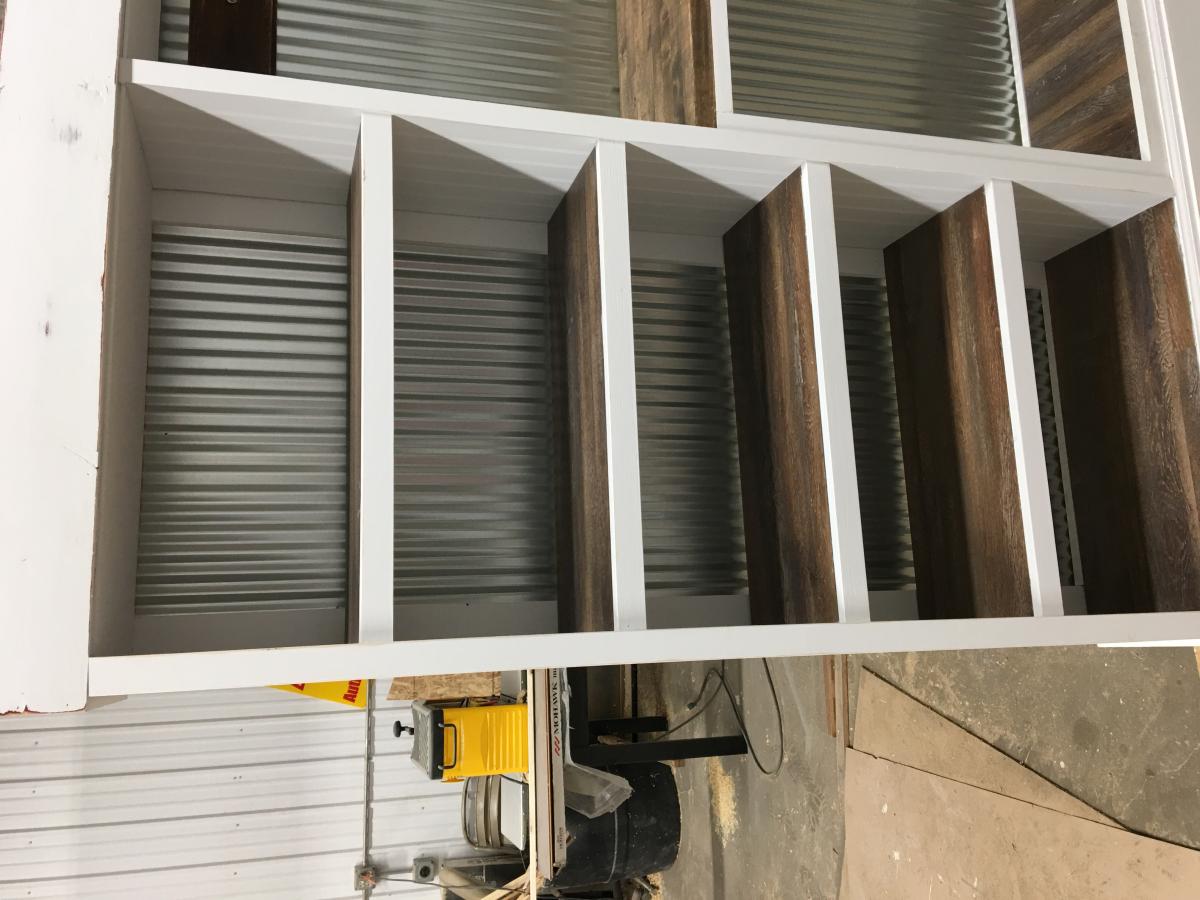
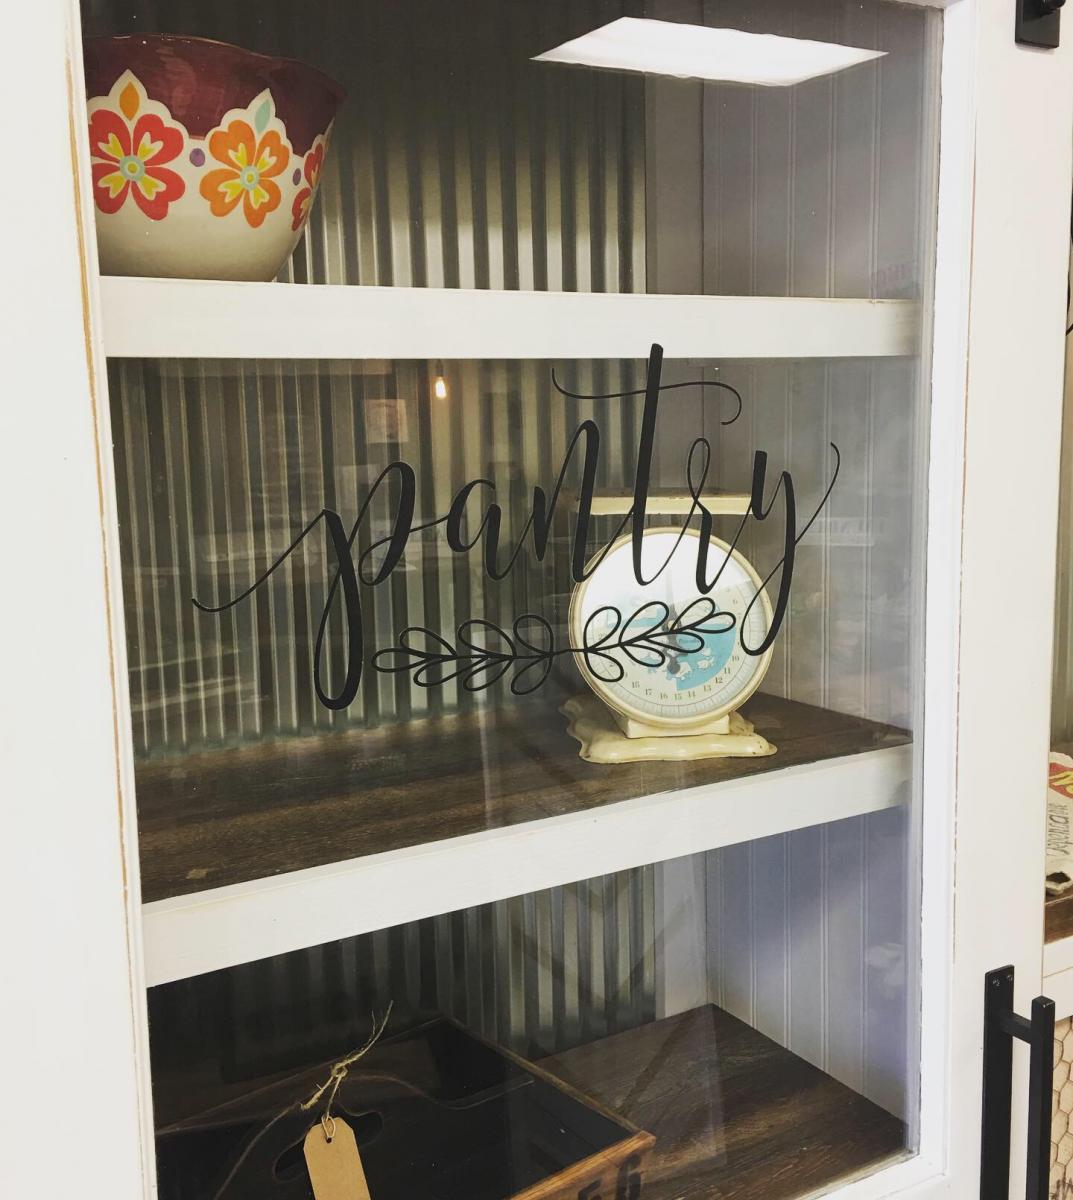
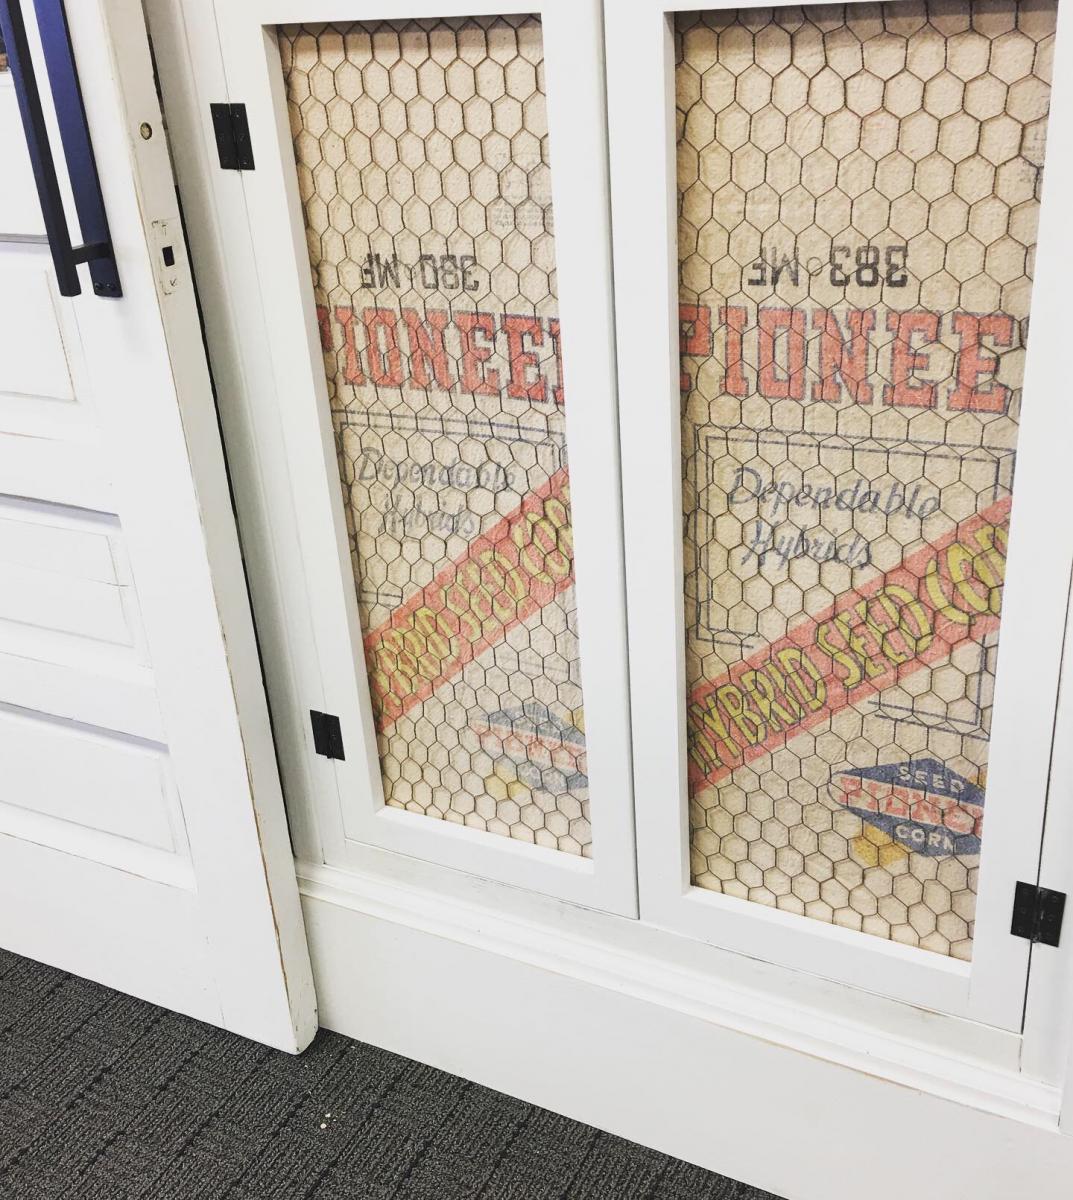
The Barn door cabinet / pantry is one of my favorite Ana White plans. This is the second one I’ve made and this time I challenged myself to use almost all repurposed materials. I wanted to use old doors so I adjusted the plans around them. He sides are an old door I cut in half and the main sliding door is also an old find I cleaned up. The shelves are actually old flat cabinet doors that I covered in laminate flooring (remnant box for $5). I like using laminate flooring to add character and protect high traffic areas from wear and tear. On the right side I added a display counter for your coffee center, tv, or microwave. I added a sconce because everything is cooler with a sconce! I used 2 sheets of galvanized tin on the back. My favorite feature though is the recycling center I added at the bottom. I just made some simple door frames with 1x4s stripped in half and then covered them in chicken wire and old Pioneer seed sacks.
I love Ana Whites Pantry design because it adds soo much storage and is completely customizable!
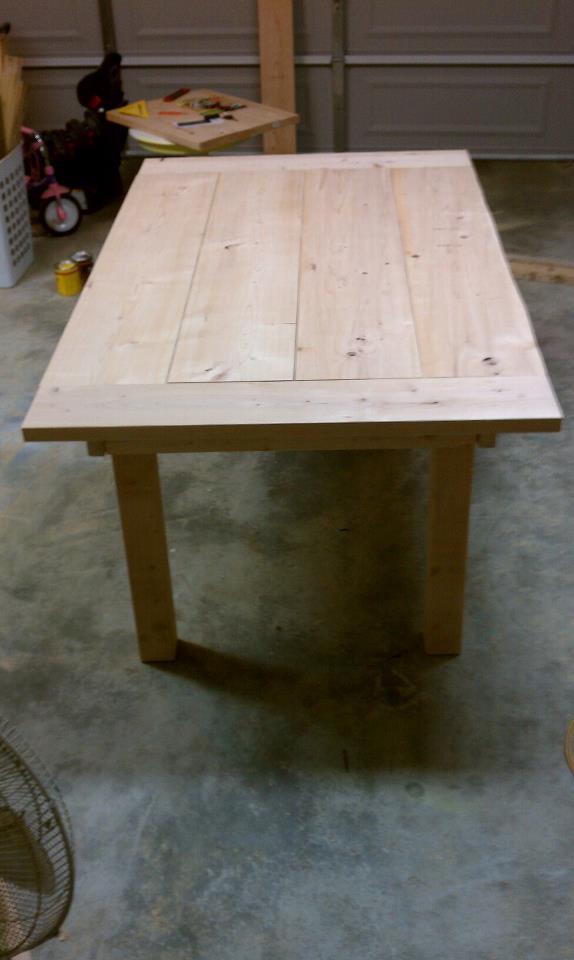
So I went off most of the specs on this table except I didn't want the brace on the bottom. Instead we braced it under the table with extra 2/4s. The longest part of this was the staining and poly due to it being cold as heck in Washington.
Sat, 04/21/2012 - 21:03
Hello,
I love you table! It is beautiful. I too would like to build this table without the brace at the bottom. could you maybe add some photos of how you did the bracing??
thanks!
In reply to details about the bracing under the table by Janelle Kay (not verified)
Fri, 04/27/2012 - 08:45
It's actually pretty easy, I took an extra 2x4 and braced it on the table top right against the table legs. It makes the table really sturdy.
Mon, 05/14/2012 - 12:32
I have been looking for a table that I like and that won't break my pocket. Haven't found one so I want to build this. Can you tell be the measurements of the wood pieces that I need. Thank you I would really appreciate it.
Fri, 05/18/2012 - 08:41
All the measurements I used are on the link below. This is a pretty easy build as long as you have the right tools. The only difference with my table I didn't use the leg braces like the plan states, I braced my legs right under the table so you wouldn't be able see the braces.
http://ana-white.com/2012/02/plans/farmhouse-dining-table
Mike